Mother’s Day Card Ideas for Grandma
Hello Graphics Fairy friends! Diana from Dreams Factory here, ready to share another lovely project with you! Today we are trying to bring a big smile to someone really special in our lives with these gorgeous Mother’s Day card ideas for grandma! If you’ve been wondering … Should I say Happy Mother’s Day to my grandma? Yes, you should! Grandmothers are Moms too and she deserves to get a beautiful Handmade card for her special day. You will need only limited craft supplies to make these. I’m sure Nana will treasure her card as a keepsake for many years! The printables in this post are for Personal Use.
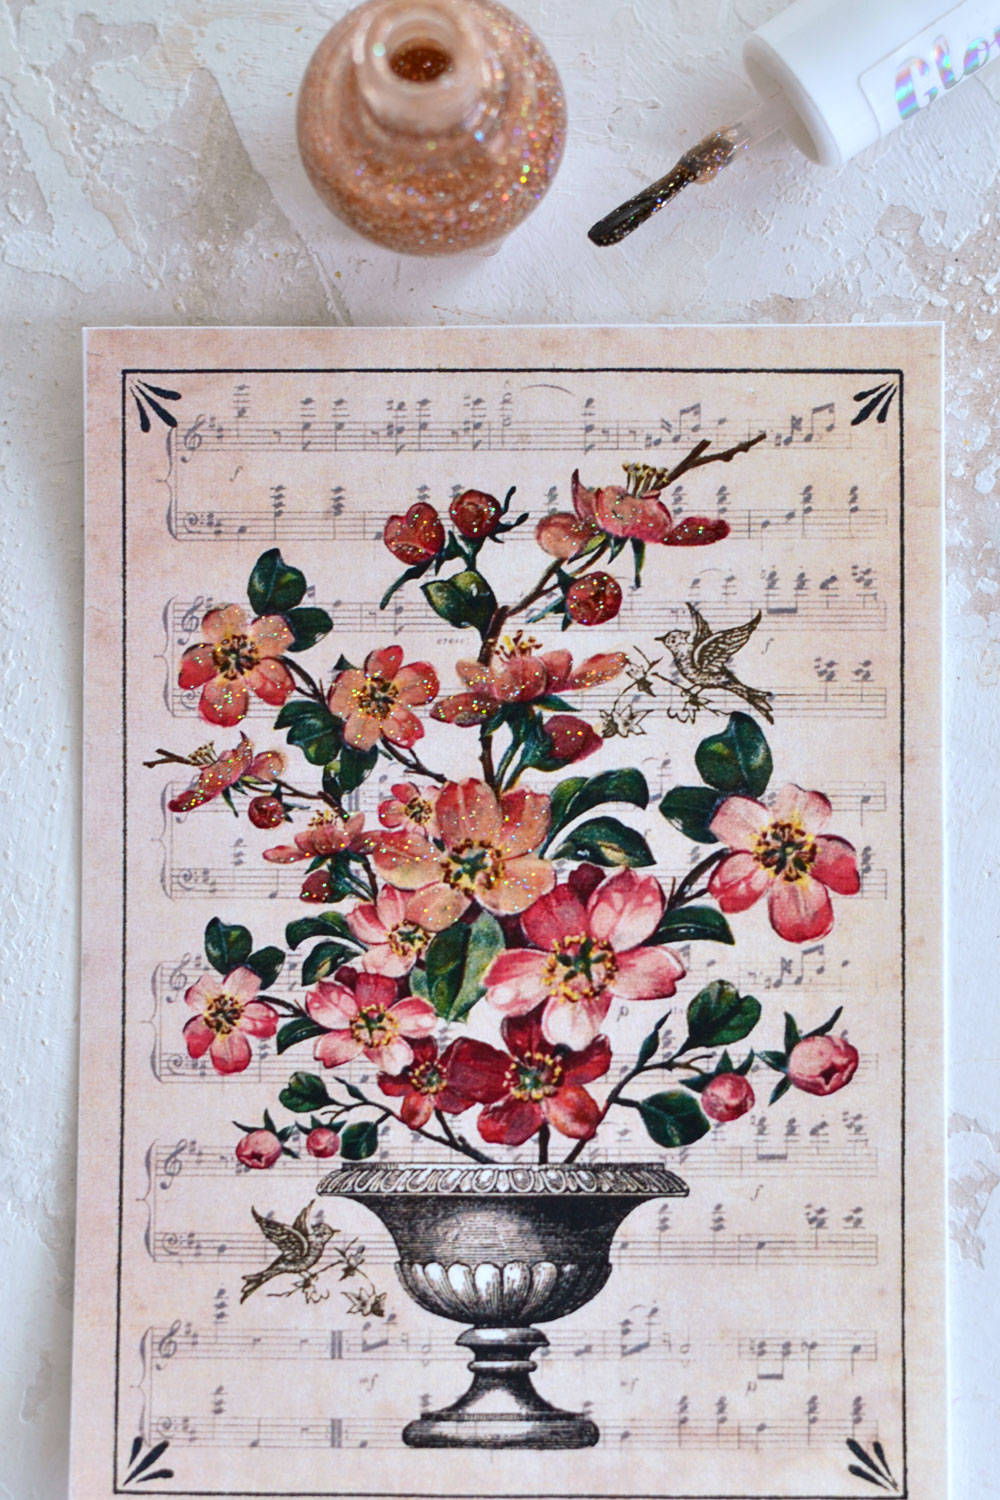
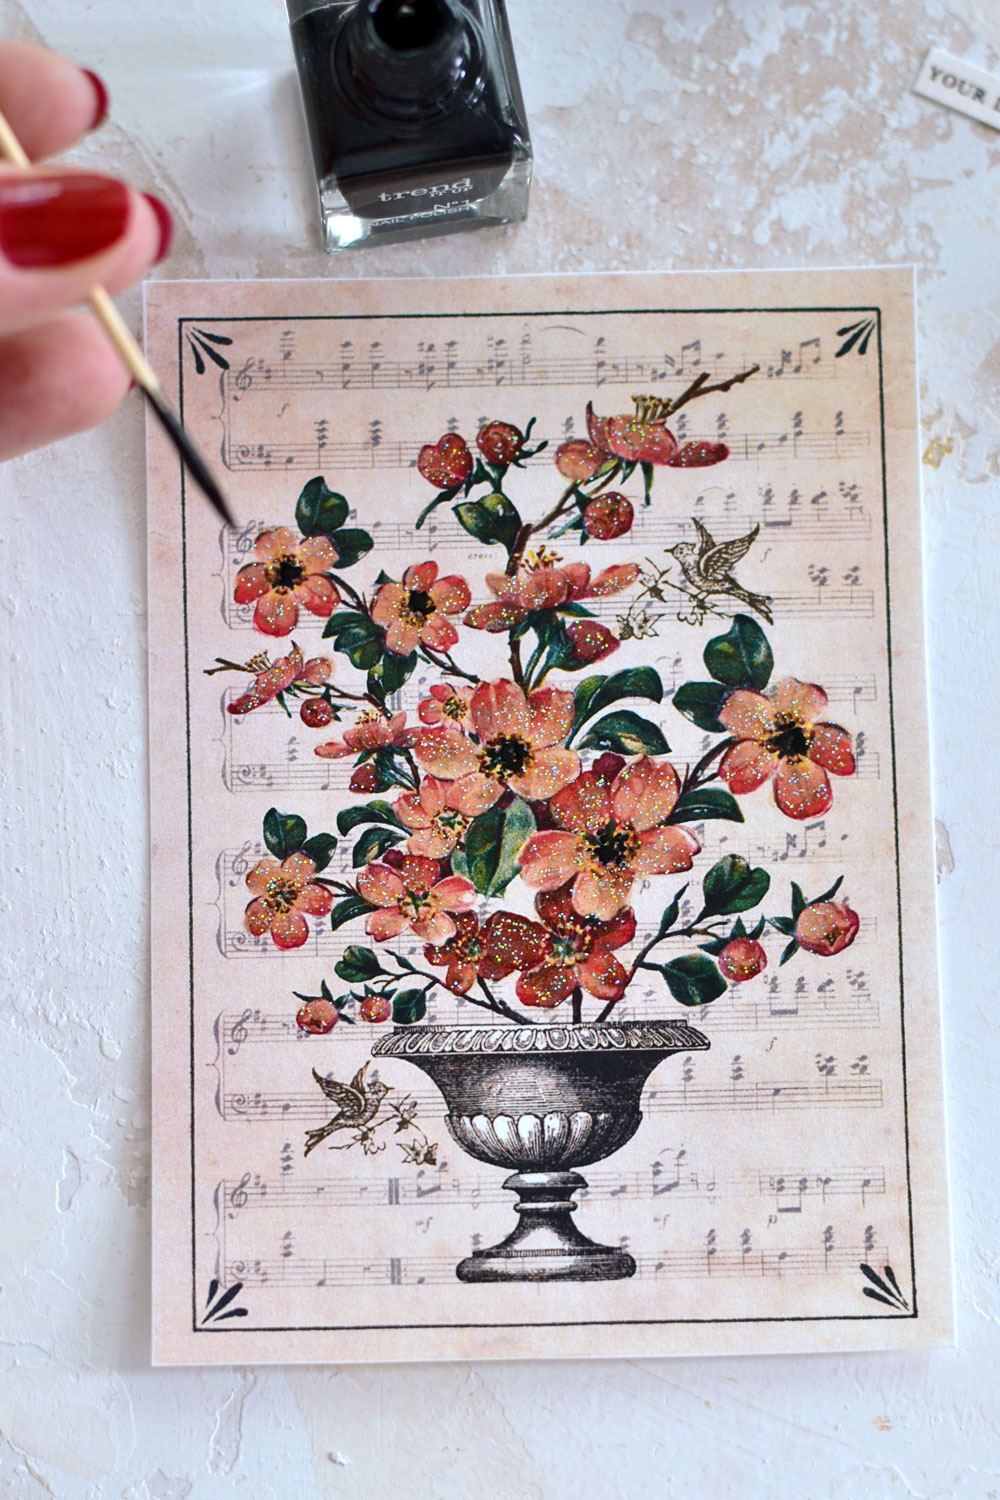
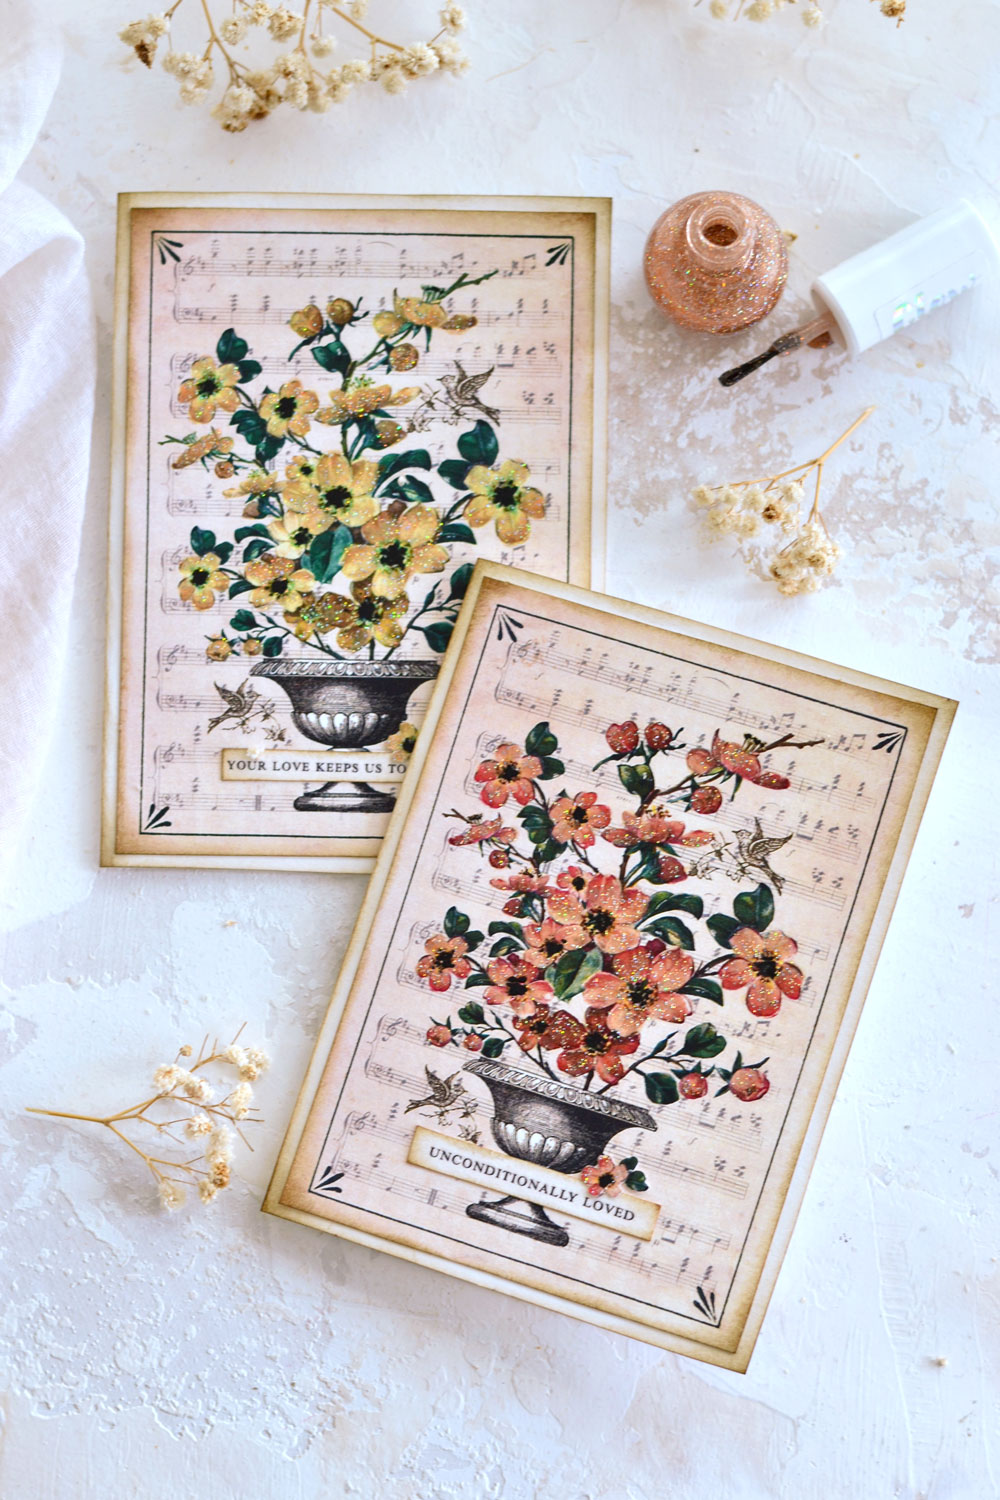
Now about that surprise beauty supply item that I hinted about above. This is not actually the first time when I’ve included this unexpected item in a project, but it is the first time when I went with a glittery version. I love using it because it imprints a subtle faux enamel look on the embellished image and creates quite a unique finish. It’s not what you would expect to find on paper, so it’s surprising and intriguing in a beautiful kind of way! Have you guessed the secret item already? Yes, it’s nail polish! I’ve used a glittery transparent nail polish to embellish the petals of the flowers and a black matte one to ‘paint’ the stamens of the flowers.
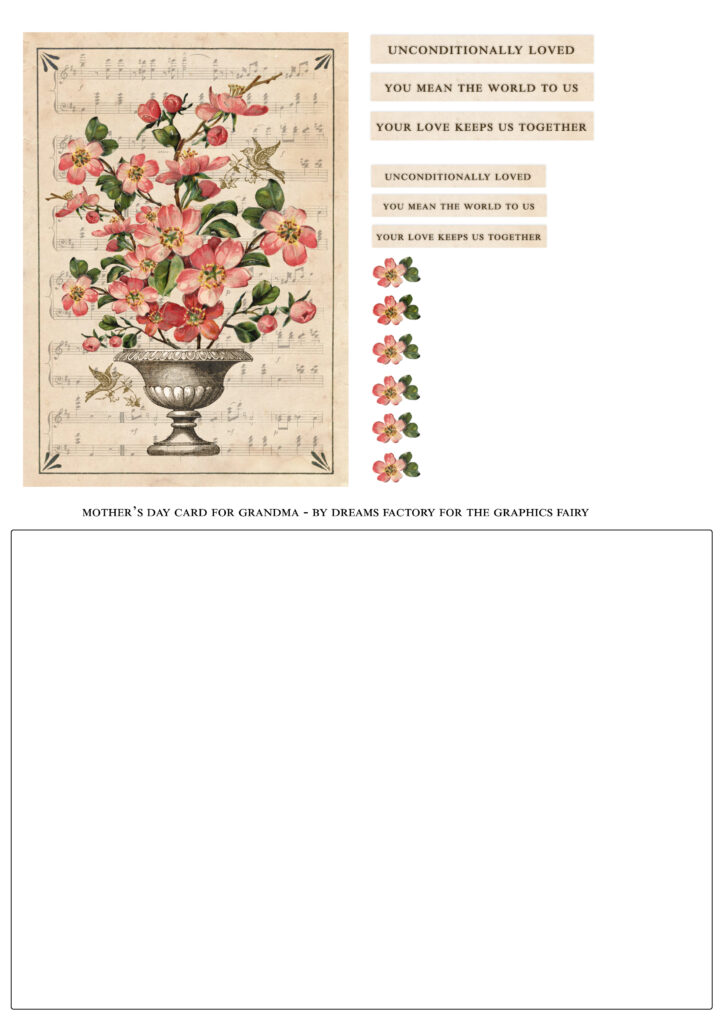
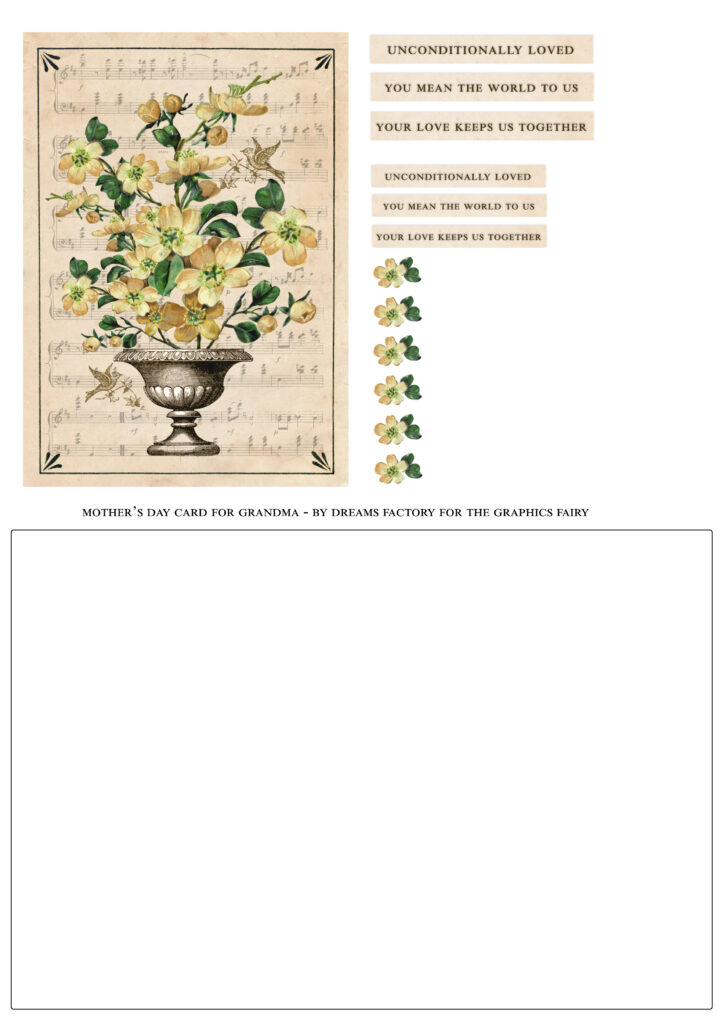
I’ve created two versions of the cards for you – one with dark pink flowers and one with yellow flowers. Each version comes with a card top design (the one with the flowers) and a blank card base. I’ve also included a few additional smaller flowers that can be used while finishing the cards and a few different-sized happy mother’s day wish sentiments that can be cut and glued on top. If you would prefer to use your own sentiments or special messages, feel free to add them to this easy craft!
Free Printable Templates for Mother’s Day Card Ideas
—> Click here to download the full size PDF – the dark pink version <—
—> Click here to download the full size PDF – the yellow version <—
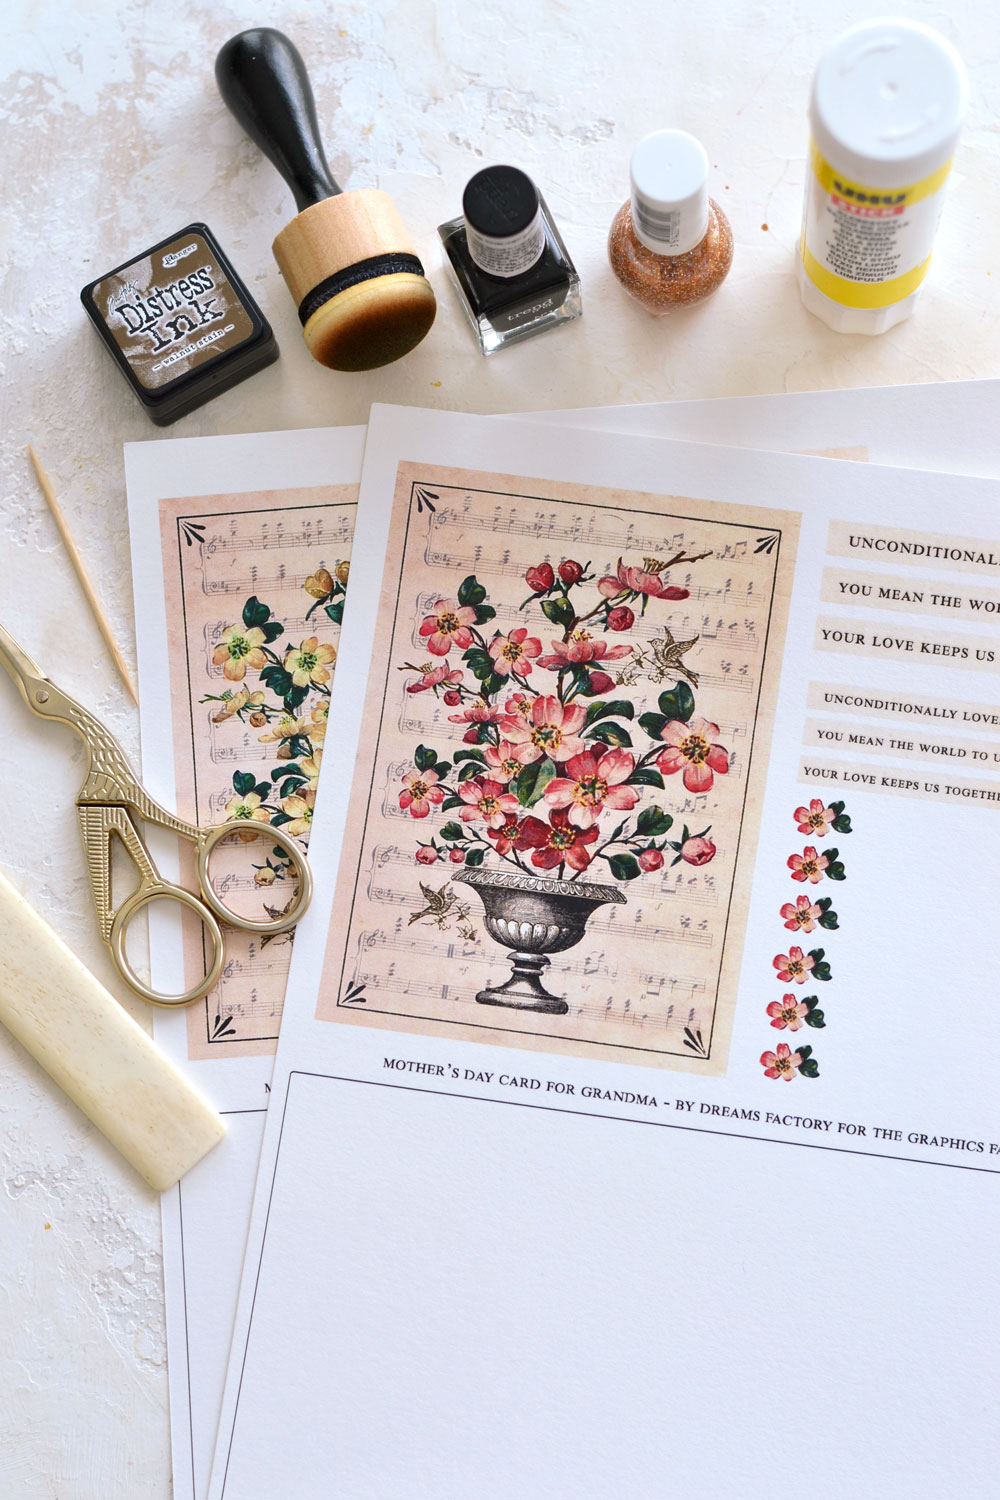
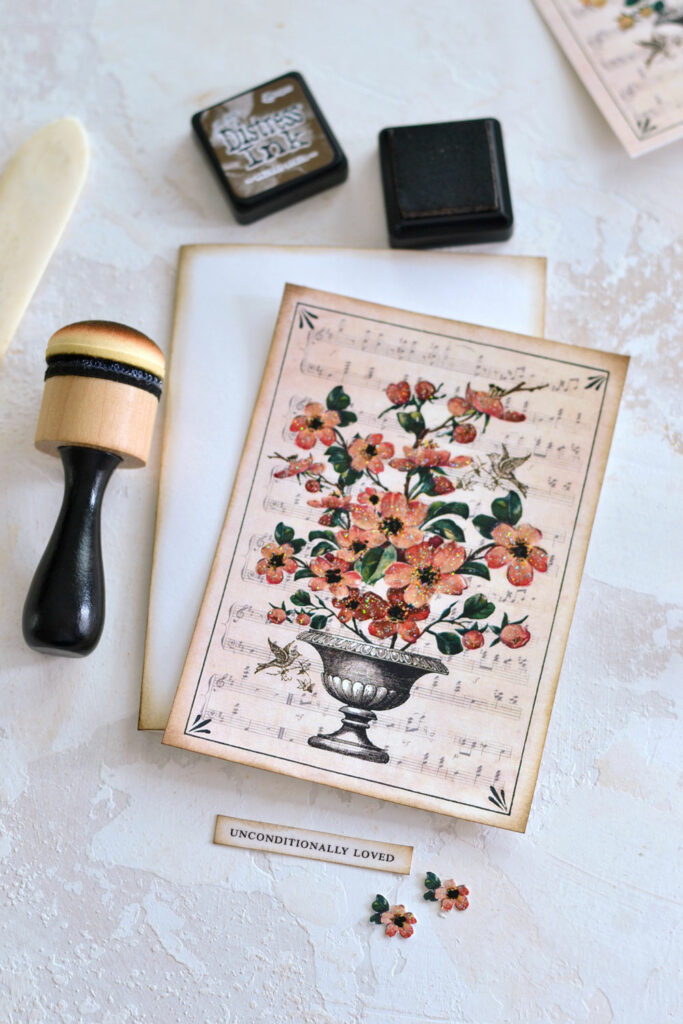
Supplies for Homemade Mothers Day Cards:
- the lovely blossom printable card template (choose the dark pink or the yellow one; or choose them both)
- cardstock paper
- laserjet printer (or inkjet printer just seal after printing with a spray sealer)
- glitter nail polish – to ‘paint’ the petals
- black nail polish – to ‘paint’ the pistils
- toothpick
- scissors
- bone folder
- paper glue
- mini distress inks
- blending tool with foam
- place card holders (optional)
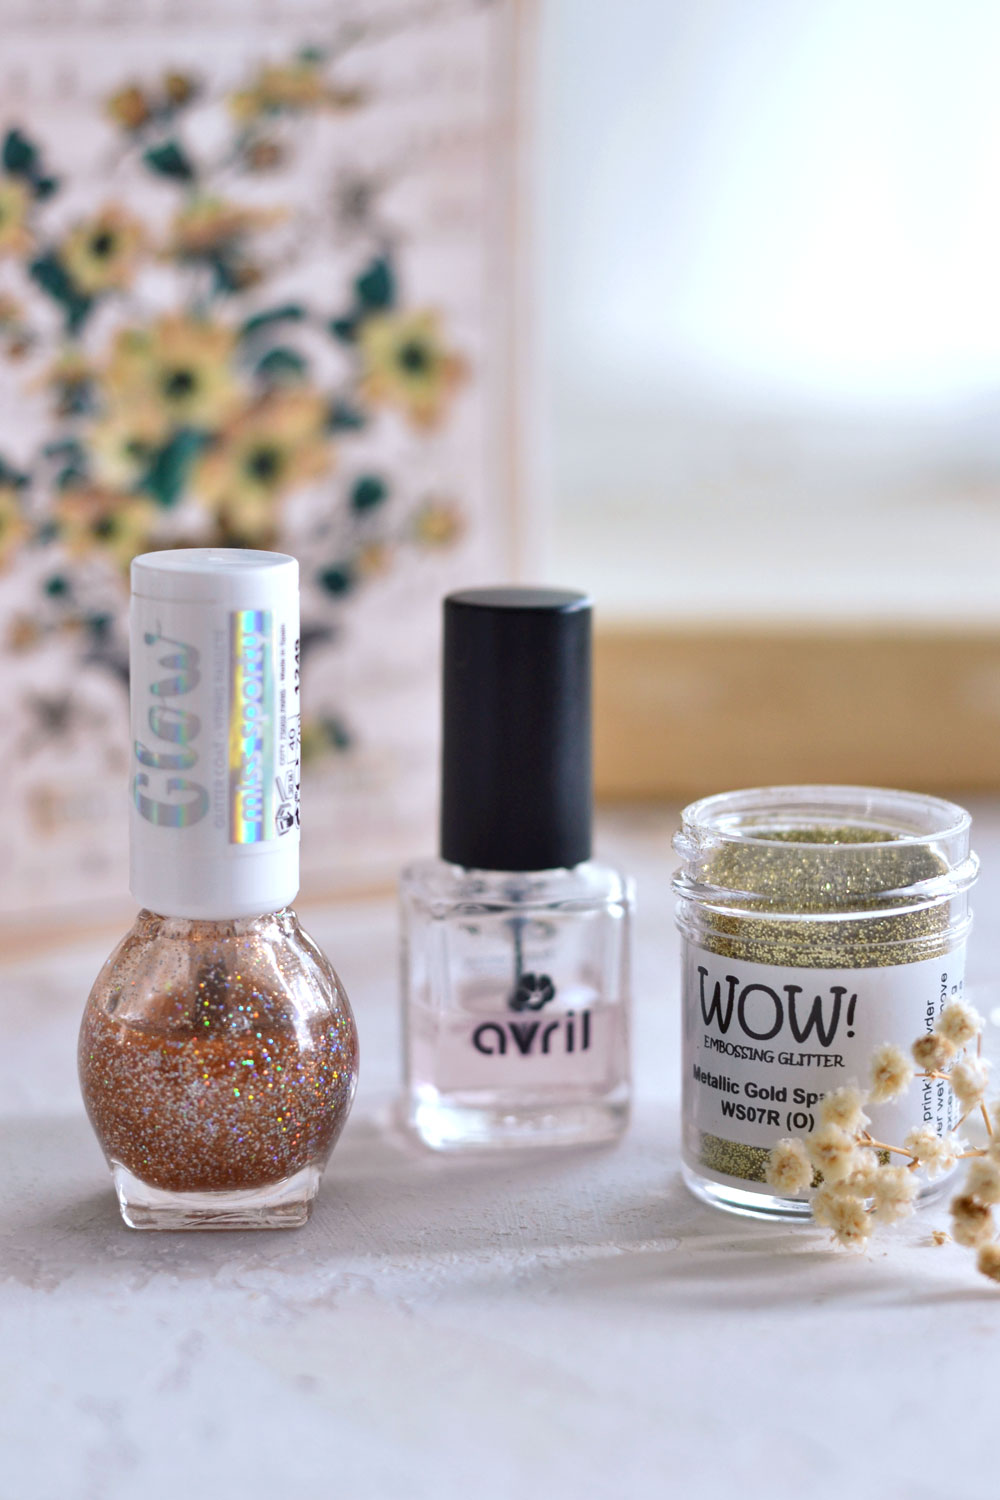
I’ve decided to use the Miss Sporty Glow Glitter nail polish for today’s project (the bottle on the left), but of course, you can use what you have around.
Before we jump right in, I wanted to share a quick idea on how to create your own glitter transparent nail polish if you don’t already have one on hand. It’s really easy, you’ll just need to mix clear nail polish with some glitter from your crafting stash! It can be gold, silver, multicolored or holographic glitter, just make a small improvised paper funnel to pour it into the clear nail polish bottle, then shake the bottle a few times and it will be ready to use! So easy, right?
If you would prefer to use colored nail polish, just know that can be possible too! Maybe you have one that you really love using on your nails and you are wondering if it looks good on paper. For more inspiration on that, you can check this project here, where I’ve successfully used 6 colored nail polishes -> DIY Faux Enamel Nail Polish Blossom Tags.
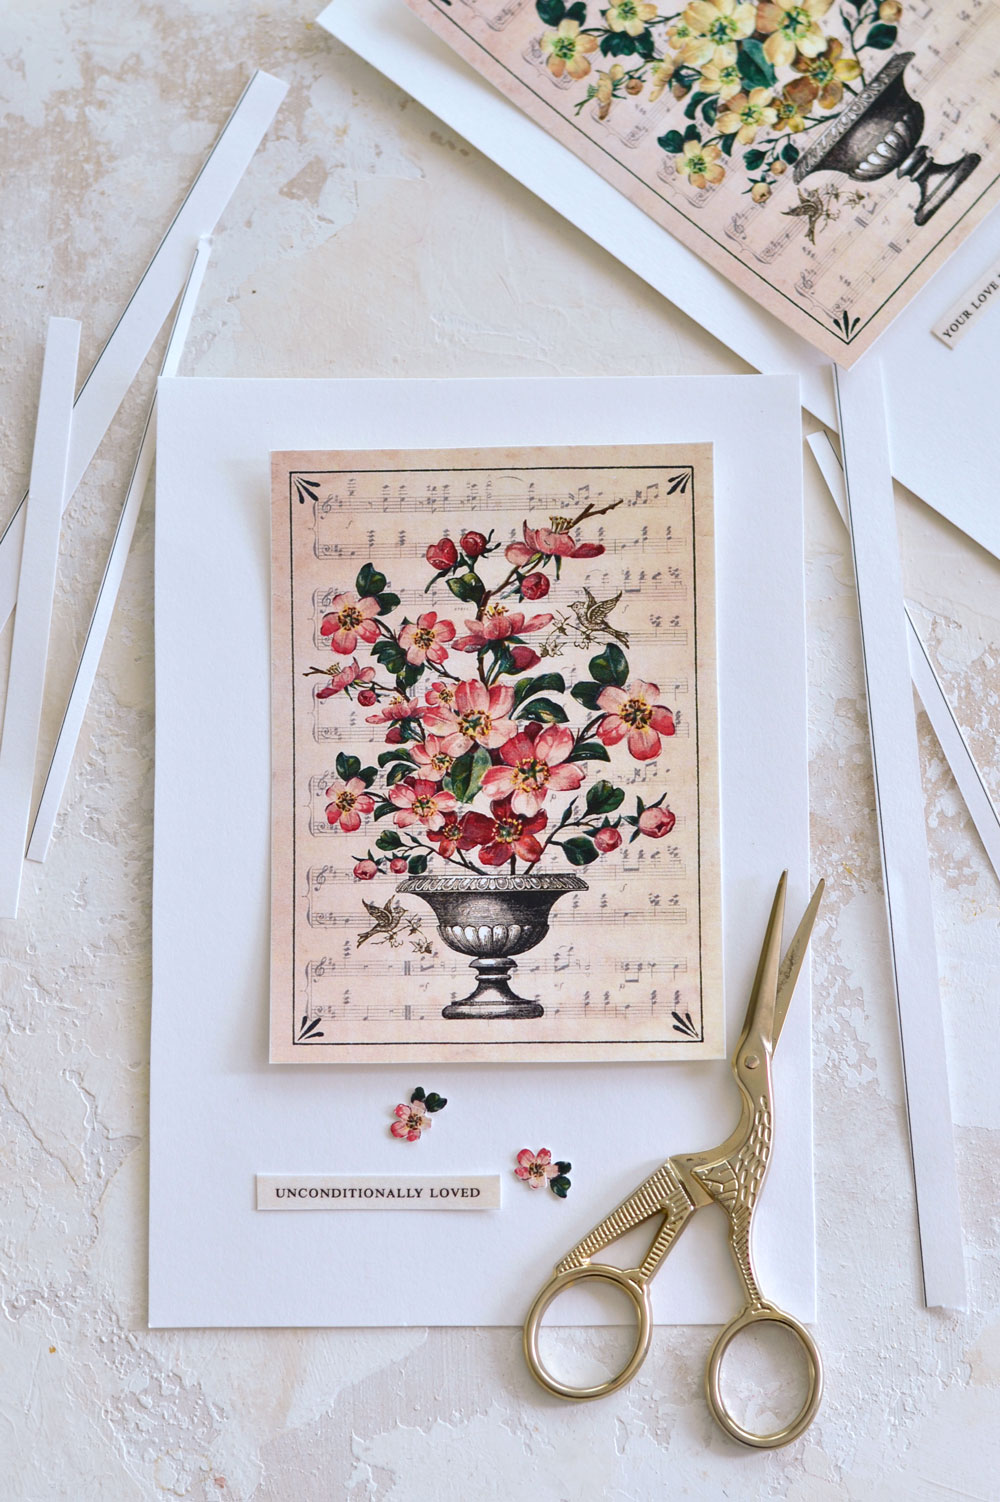
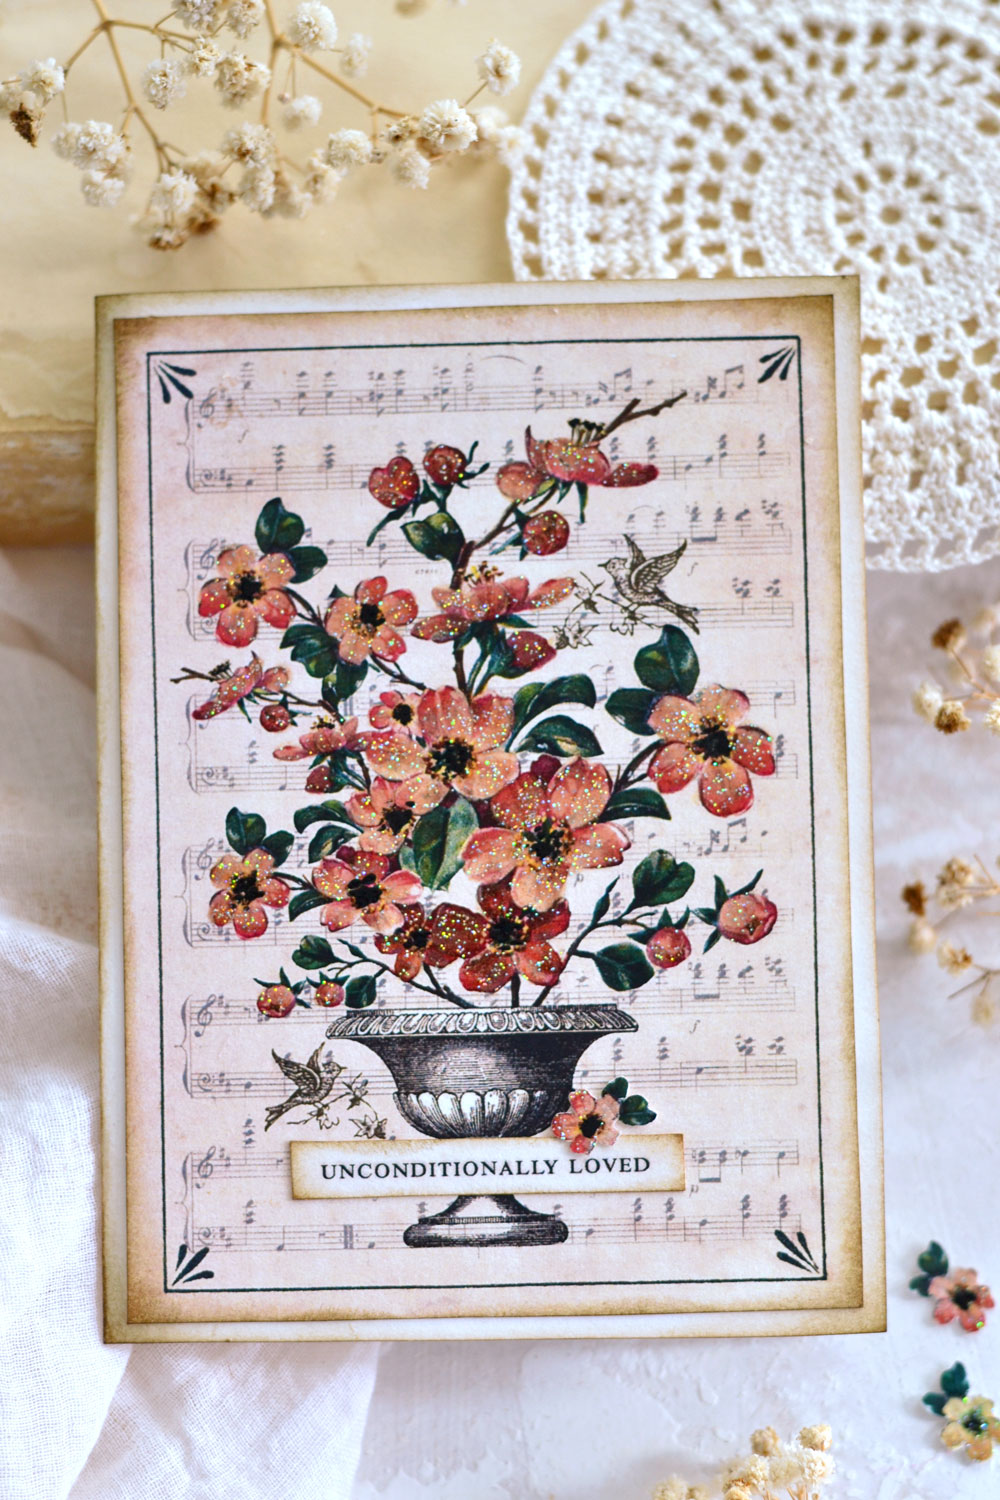
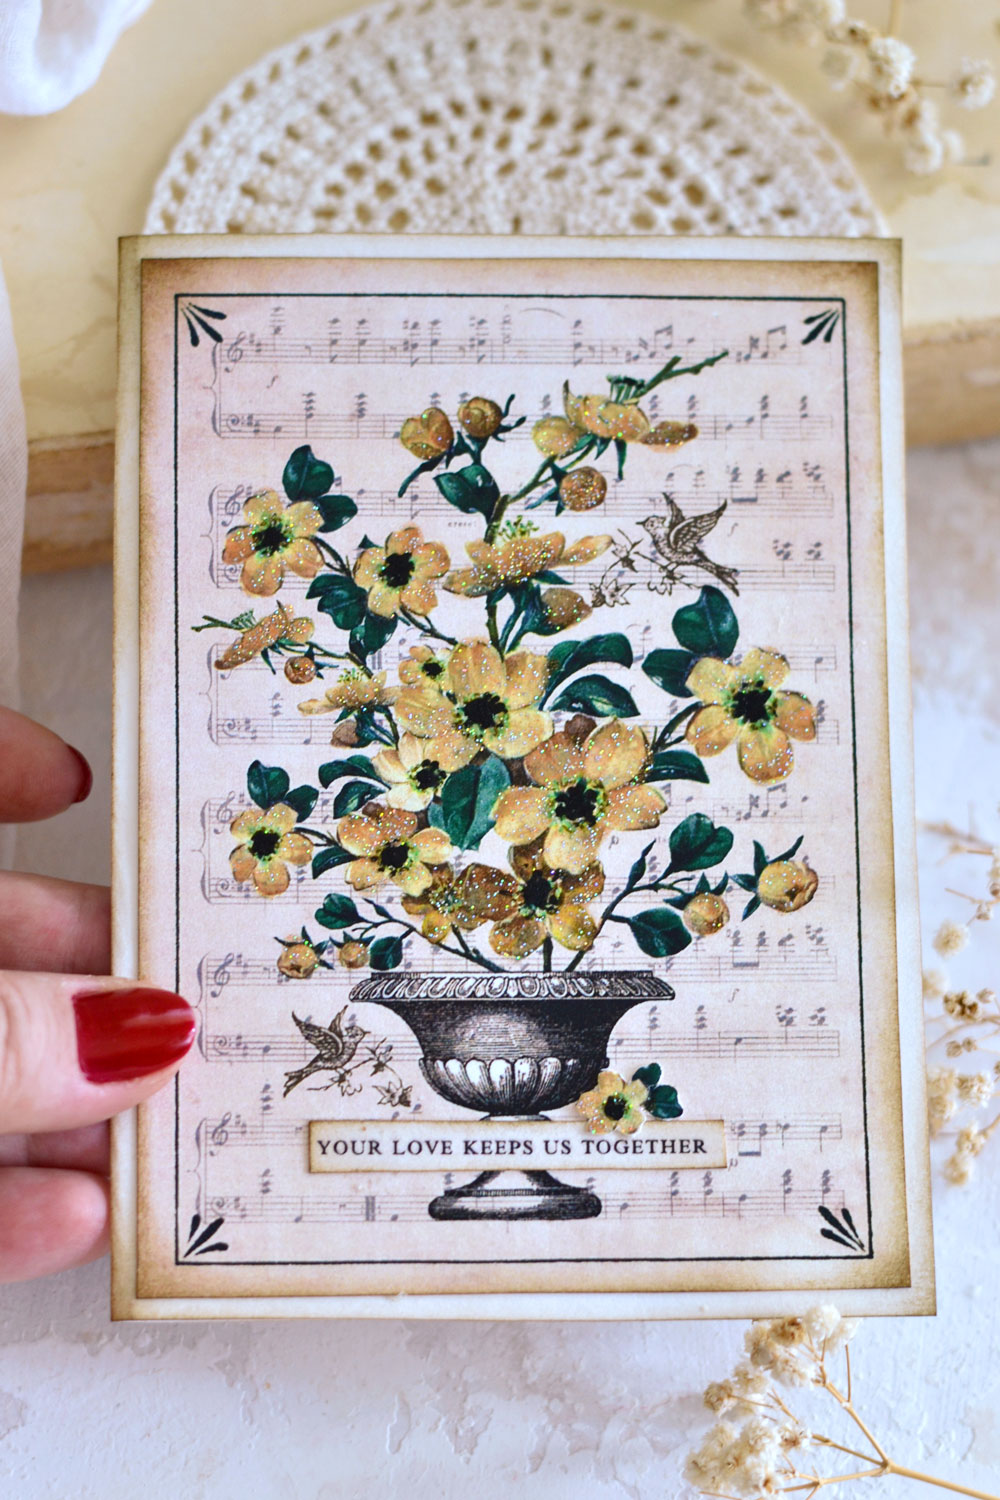
Step one: Decide on either the dark pink or the yellow flowers design – or just print them both, as I did. Use your scissors to cut each element out and decide on the sentiment that you would love to use. I went with ‘unconditionally loved’ for the pink card and ‘your love keeps us together’ for the yellow one.
For each card, you will need: a blank base, a top flower card, a mother’s day message and one or two additional flowers
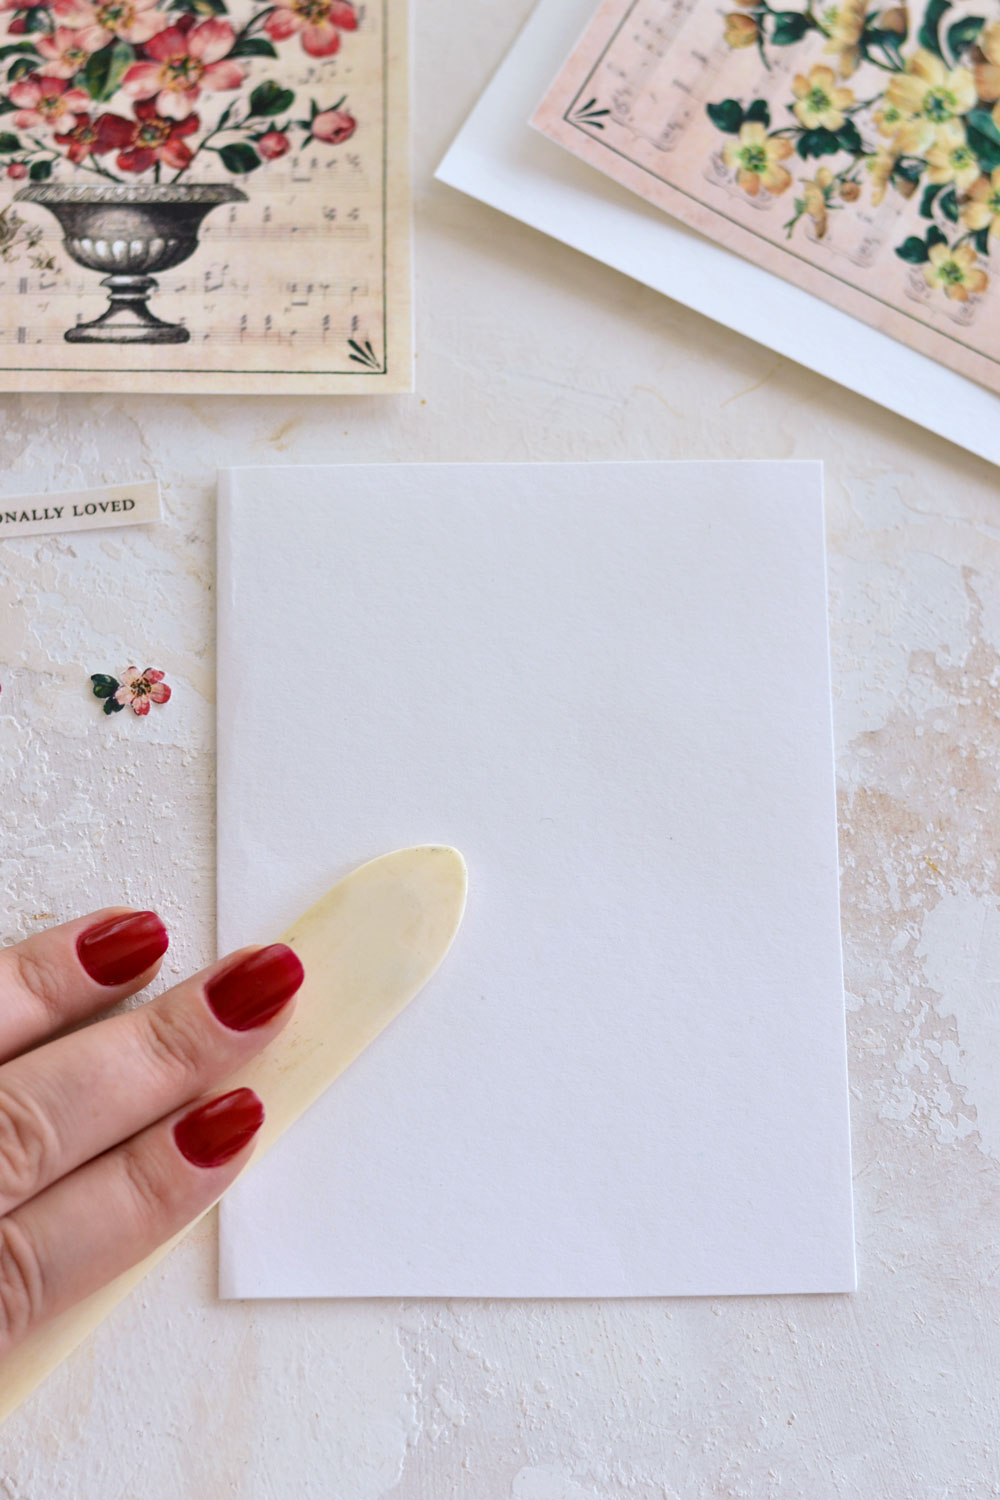
Step Two: Fold the blank card base in half and use a bone folder to fold it.
P.S. If your cardstock is thick, use a small ruler and a bone folder to score the paper first and only after that fold it.
Step Three: Use the brush of your clear glitter nail polish to ‘paint’ all over the flowers. Try to paint following the shape of each individual petal, rather than of the whole flower. Each petal should have its own brushstroke, this way you will be able to also create a lovely raised effect. Don’t stress too much to make them perfect, small imperfections are OK here and there.
Depending on the size and the shape of your nail polish brush, you might need to change its position while holding it in your hand and use it on the side to cover the petals of the smaller flowers.
You can start with the flowers on top and gradually work your way down, trying not to smear the already painted areas with your hand.
Step Four: When you are done with the petals, use a toothpick to pick some black (or any other dark color that you have) and paint the stamens. I painted a few connected dots in the middle, then went with a few random individual dots around them. Paint the stamens as randomly as you can because just like in nature, no two flowers are the same!
Safety Tip>>> Make sure you work in a well-ventilated area and let everything dry before moving on to the next step.
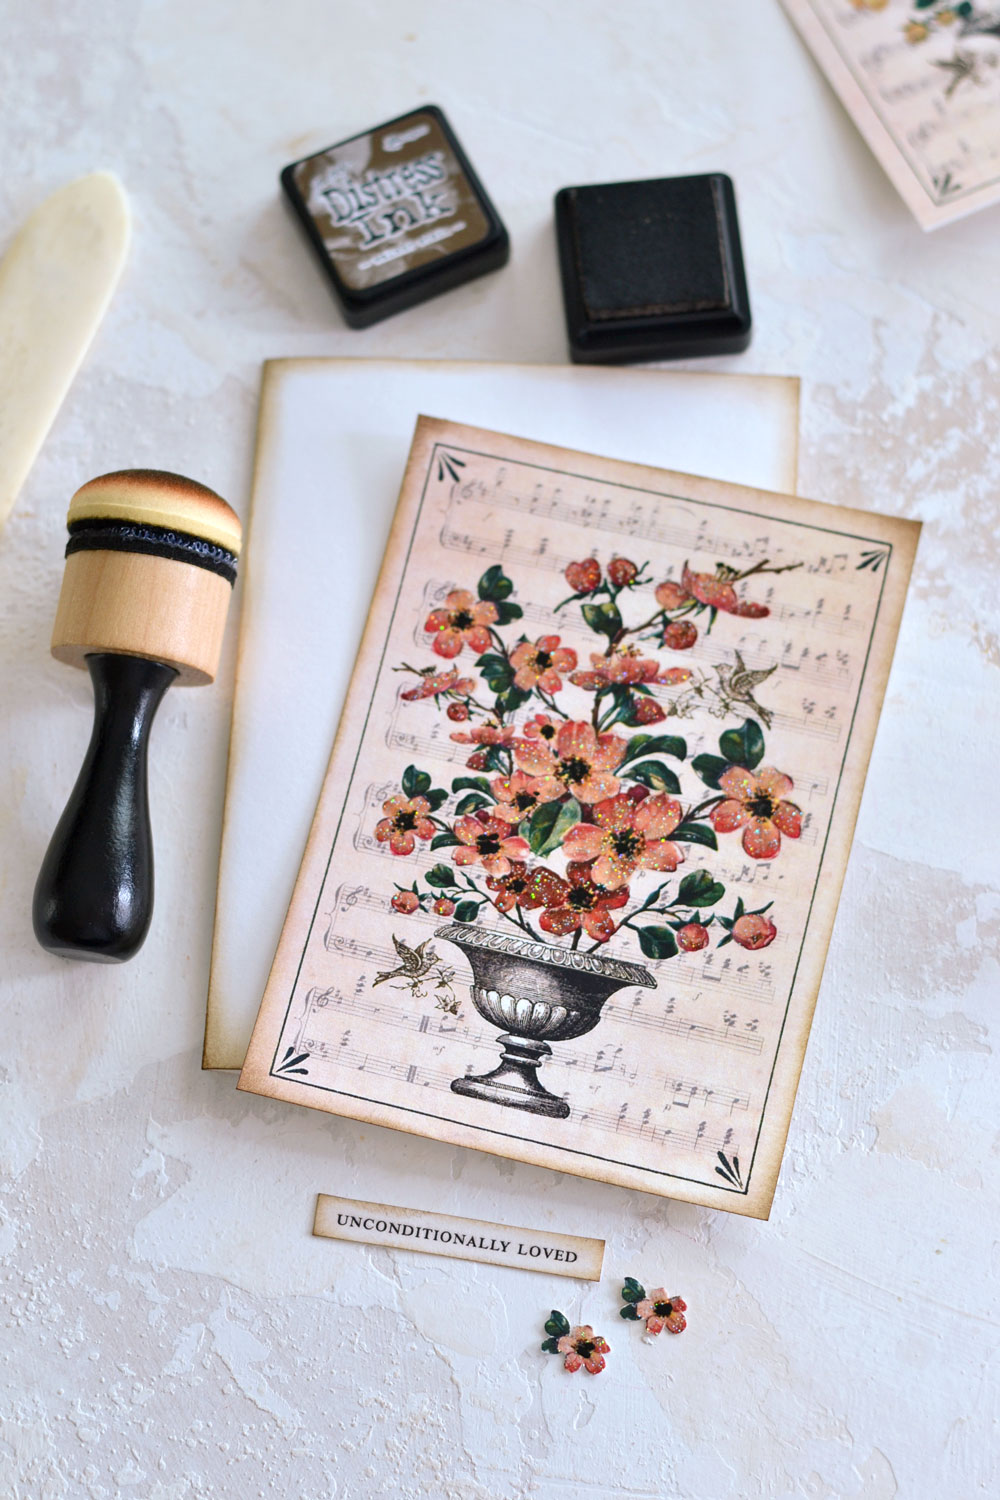
Step Five: Use your favorite distress ink (I went with Walnut Stain) to distress the edges of the top card and of the blank base. You can also add a little bit of ink around the edges of your sentiment.
Keep everything lightly distressed or go as crazy as you want!
Step Six: Use paper glue to assemble the dark pink card, then follow all these steps again for the yellow card. You can go back with another layer of clear glitter nail polish if you want to make the petals pop up even more.
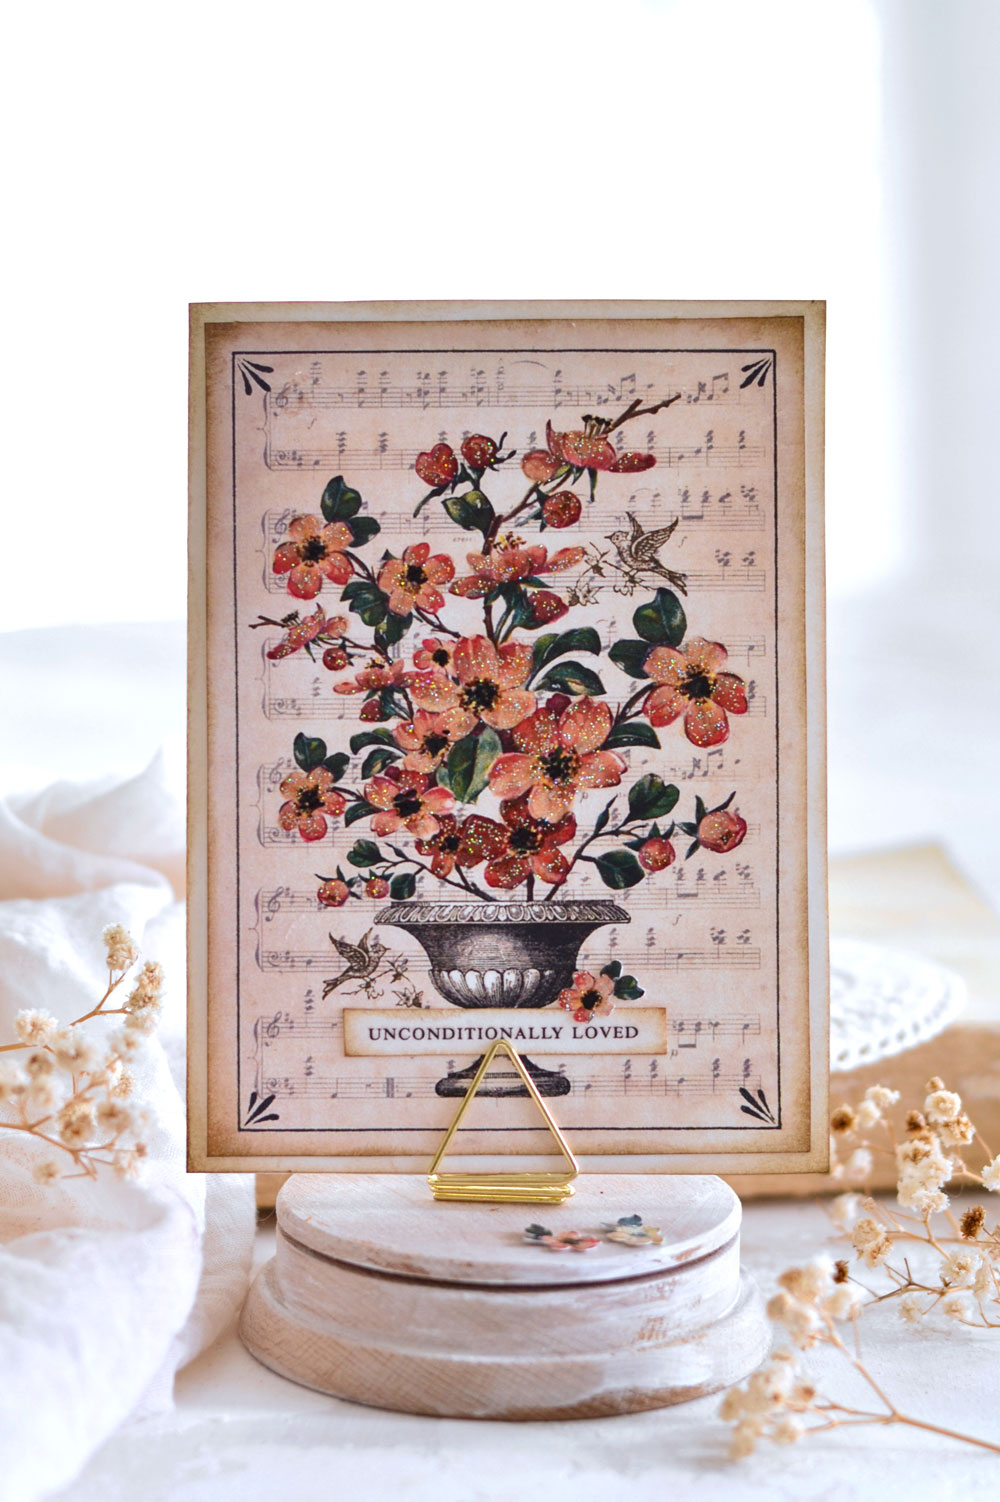
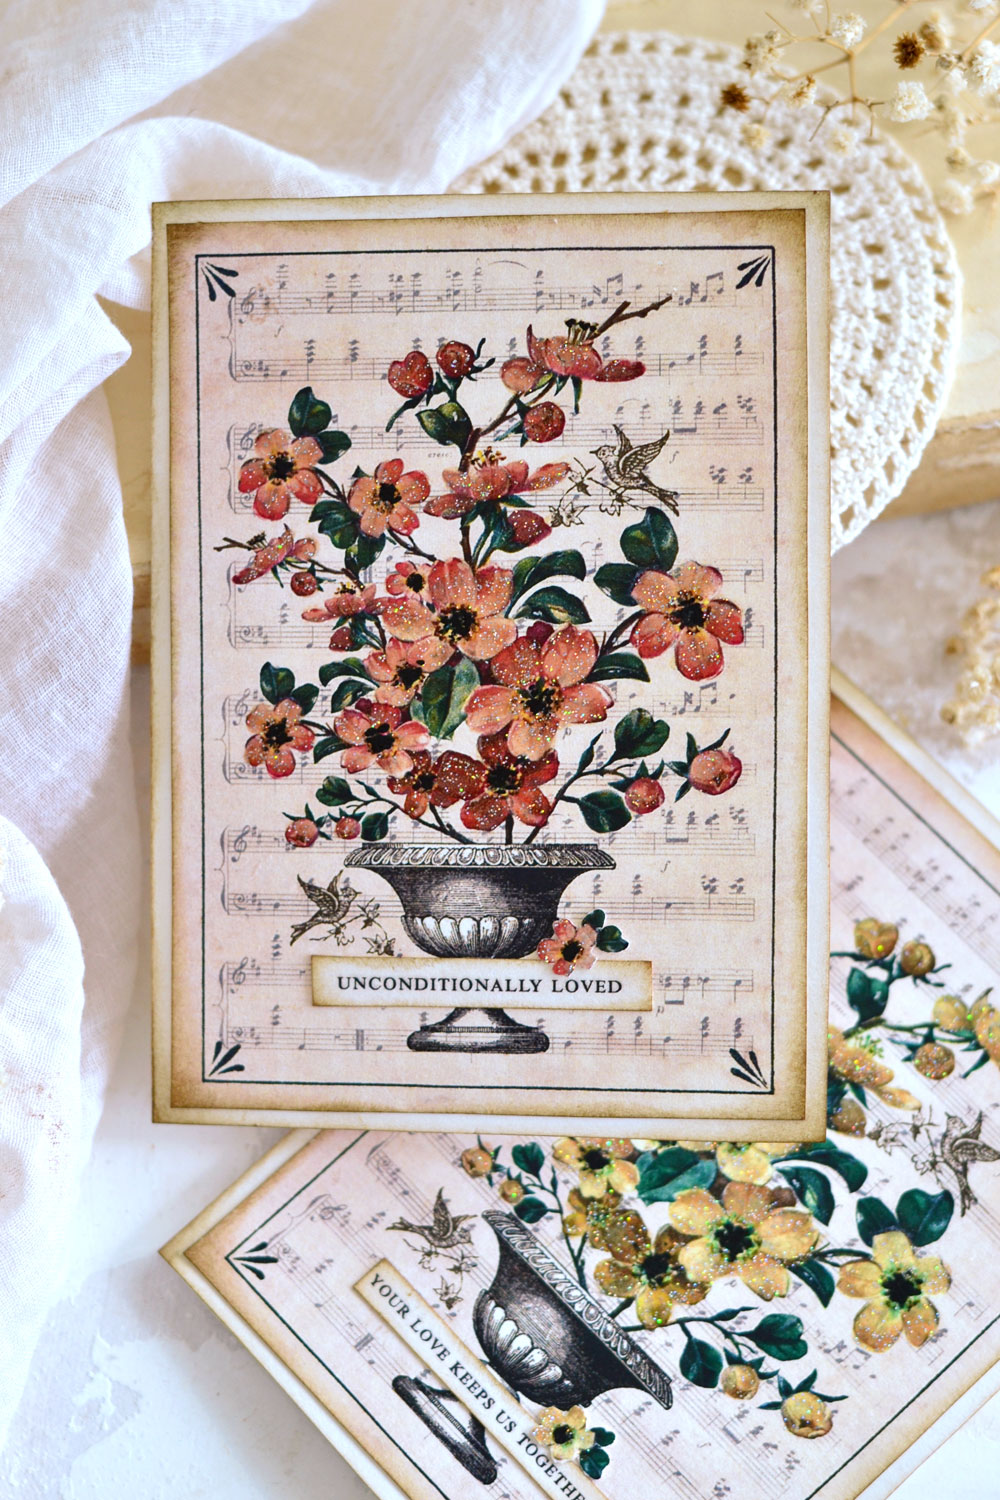
Such gorgeous final results with such a minimal effort on our part, don’t you think? Easy peasy! I absolutely LOVE the dark pink flower version of our Happy Mother’s Day card for grandma with the ‘unconditionally loved’ sentiment! The glittery nail polish creates a visually appealing effect but I feel like the black pistils are the ones that are really completing the whole look, turning our cards into small ‘paintings’. Our own pieces of art! It may be difficult to see in the photos, but that extra step really brings the flowers to life.
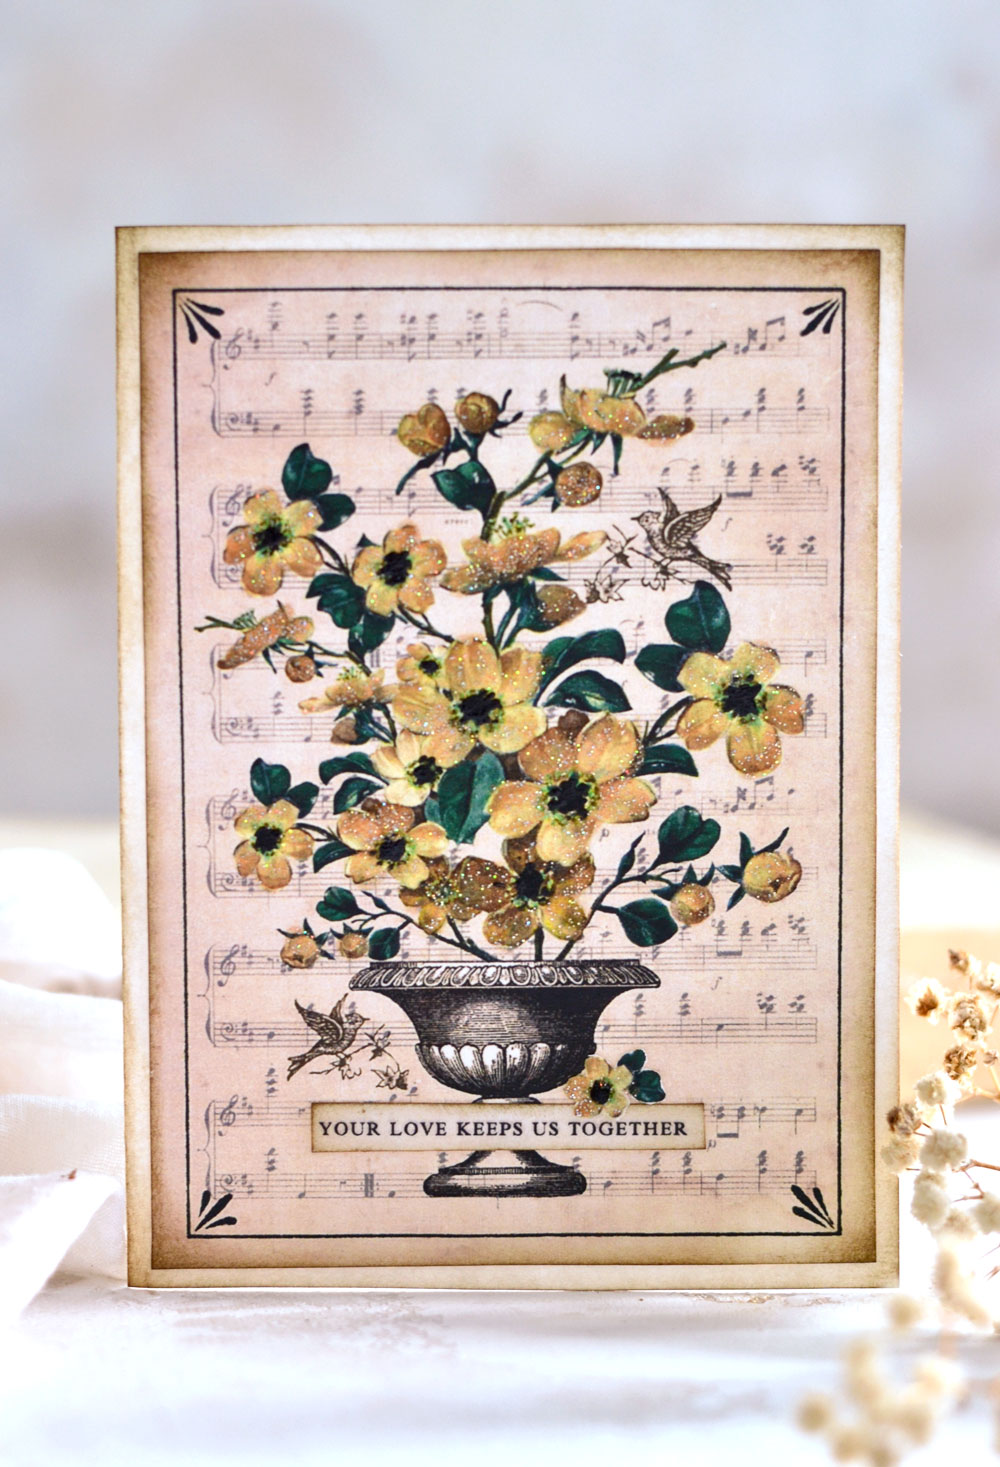
I’m pretty excited about the yellow version too, I guess it would be really hard to pick a favorite!
I feel like the ‘your love keeps us together’ sentiment is perfect for Mother’s day… mom and granny have their own secret way of gluing and holding a family together. Don’t forget to write your own wishes on the inside of the card too with a pen and why not use some of the additional flowers to further decorate the inside!
One last thing that you can do to really turn this gorgeous Mother’s day card for grandma into the perfect gift is to add a pretty place card holder! These beauties are inexpensive but are really lovely … the best ideas usually are! I like to think of them as small jewelry for our cards that will enable grandma to turn them into small canvases and display them in her home in a chic way. It’s all about the small details!
 I’m really hoping you will love this Mother’s Day Crafts idea, so give it a try if you do! It’s a lovely project for anyone wondering how do you make a Grandma’s Mother’s Day card, but of course it’s a nice project for your Mom, Mother in law or other family members too. The best homemade gifts are the ones that you lovingly create! You might also like the Free Printable Mother’s Day Tags from HERE and the Herb Tea Mother’s Day Card HERE.
Happy crafting,
Diana / Dreams Factory


ivanete de andrade says
LINDO! Gratidão