New Baby Card Ideas
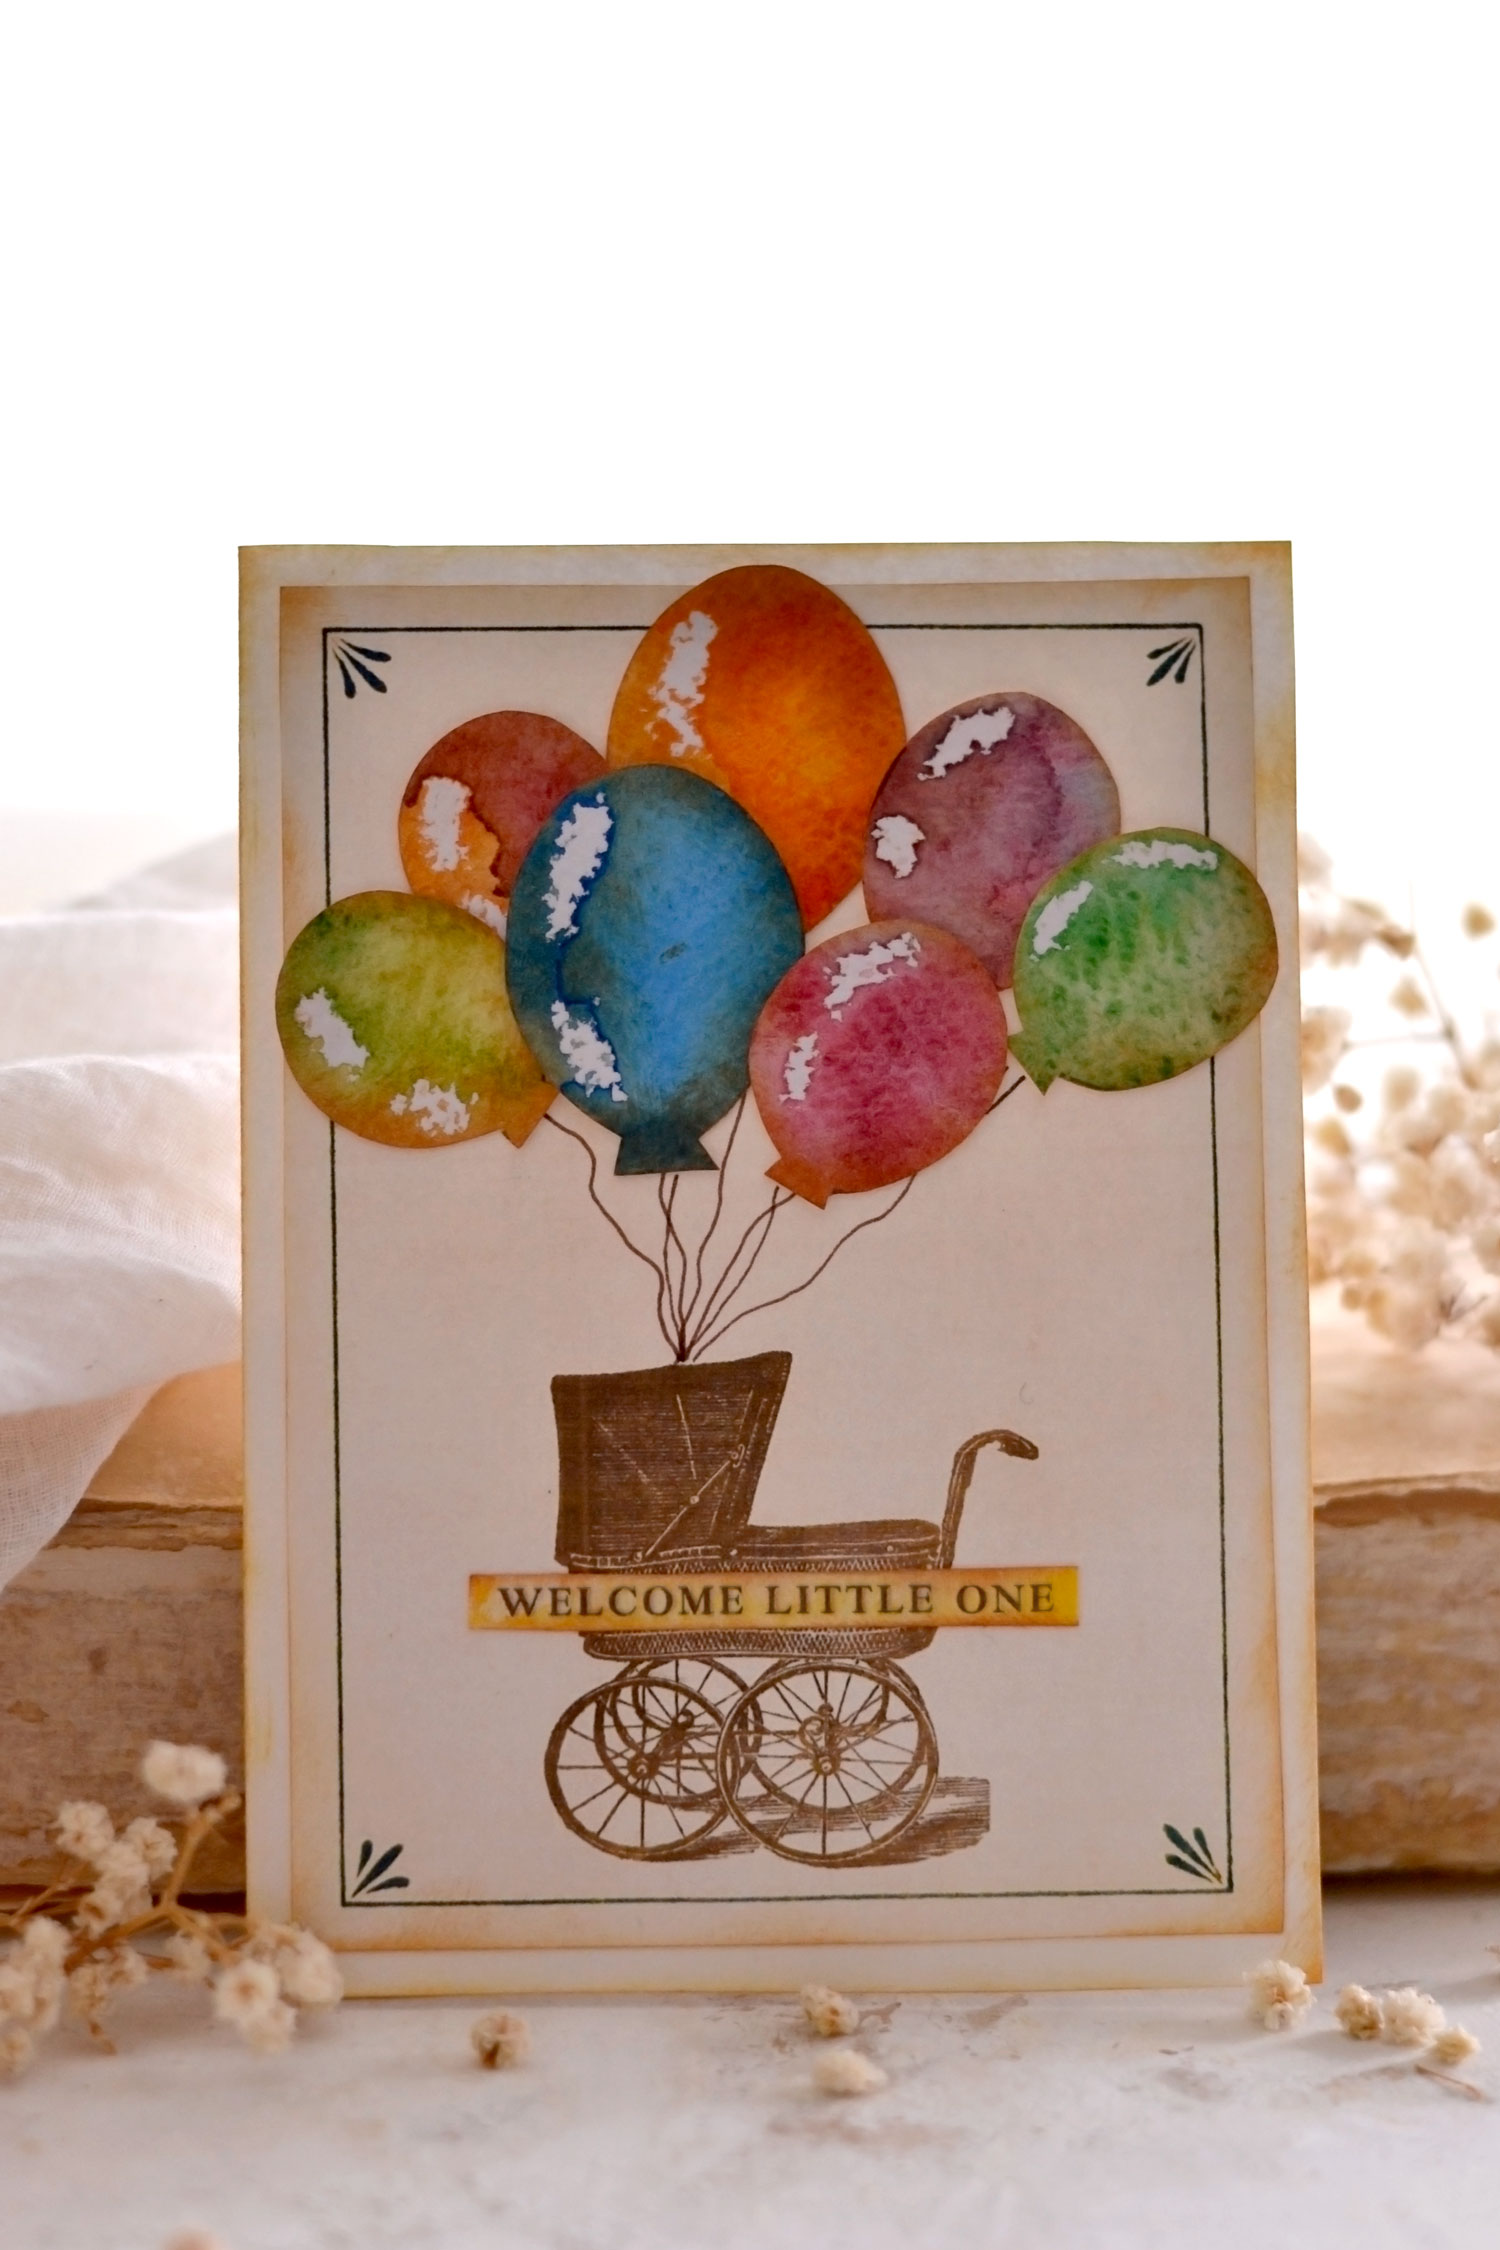
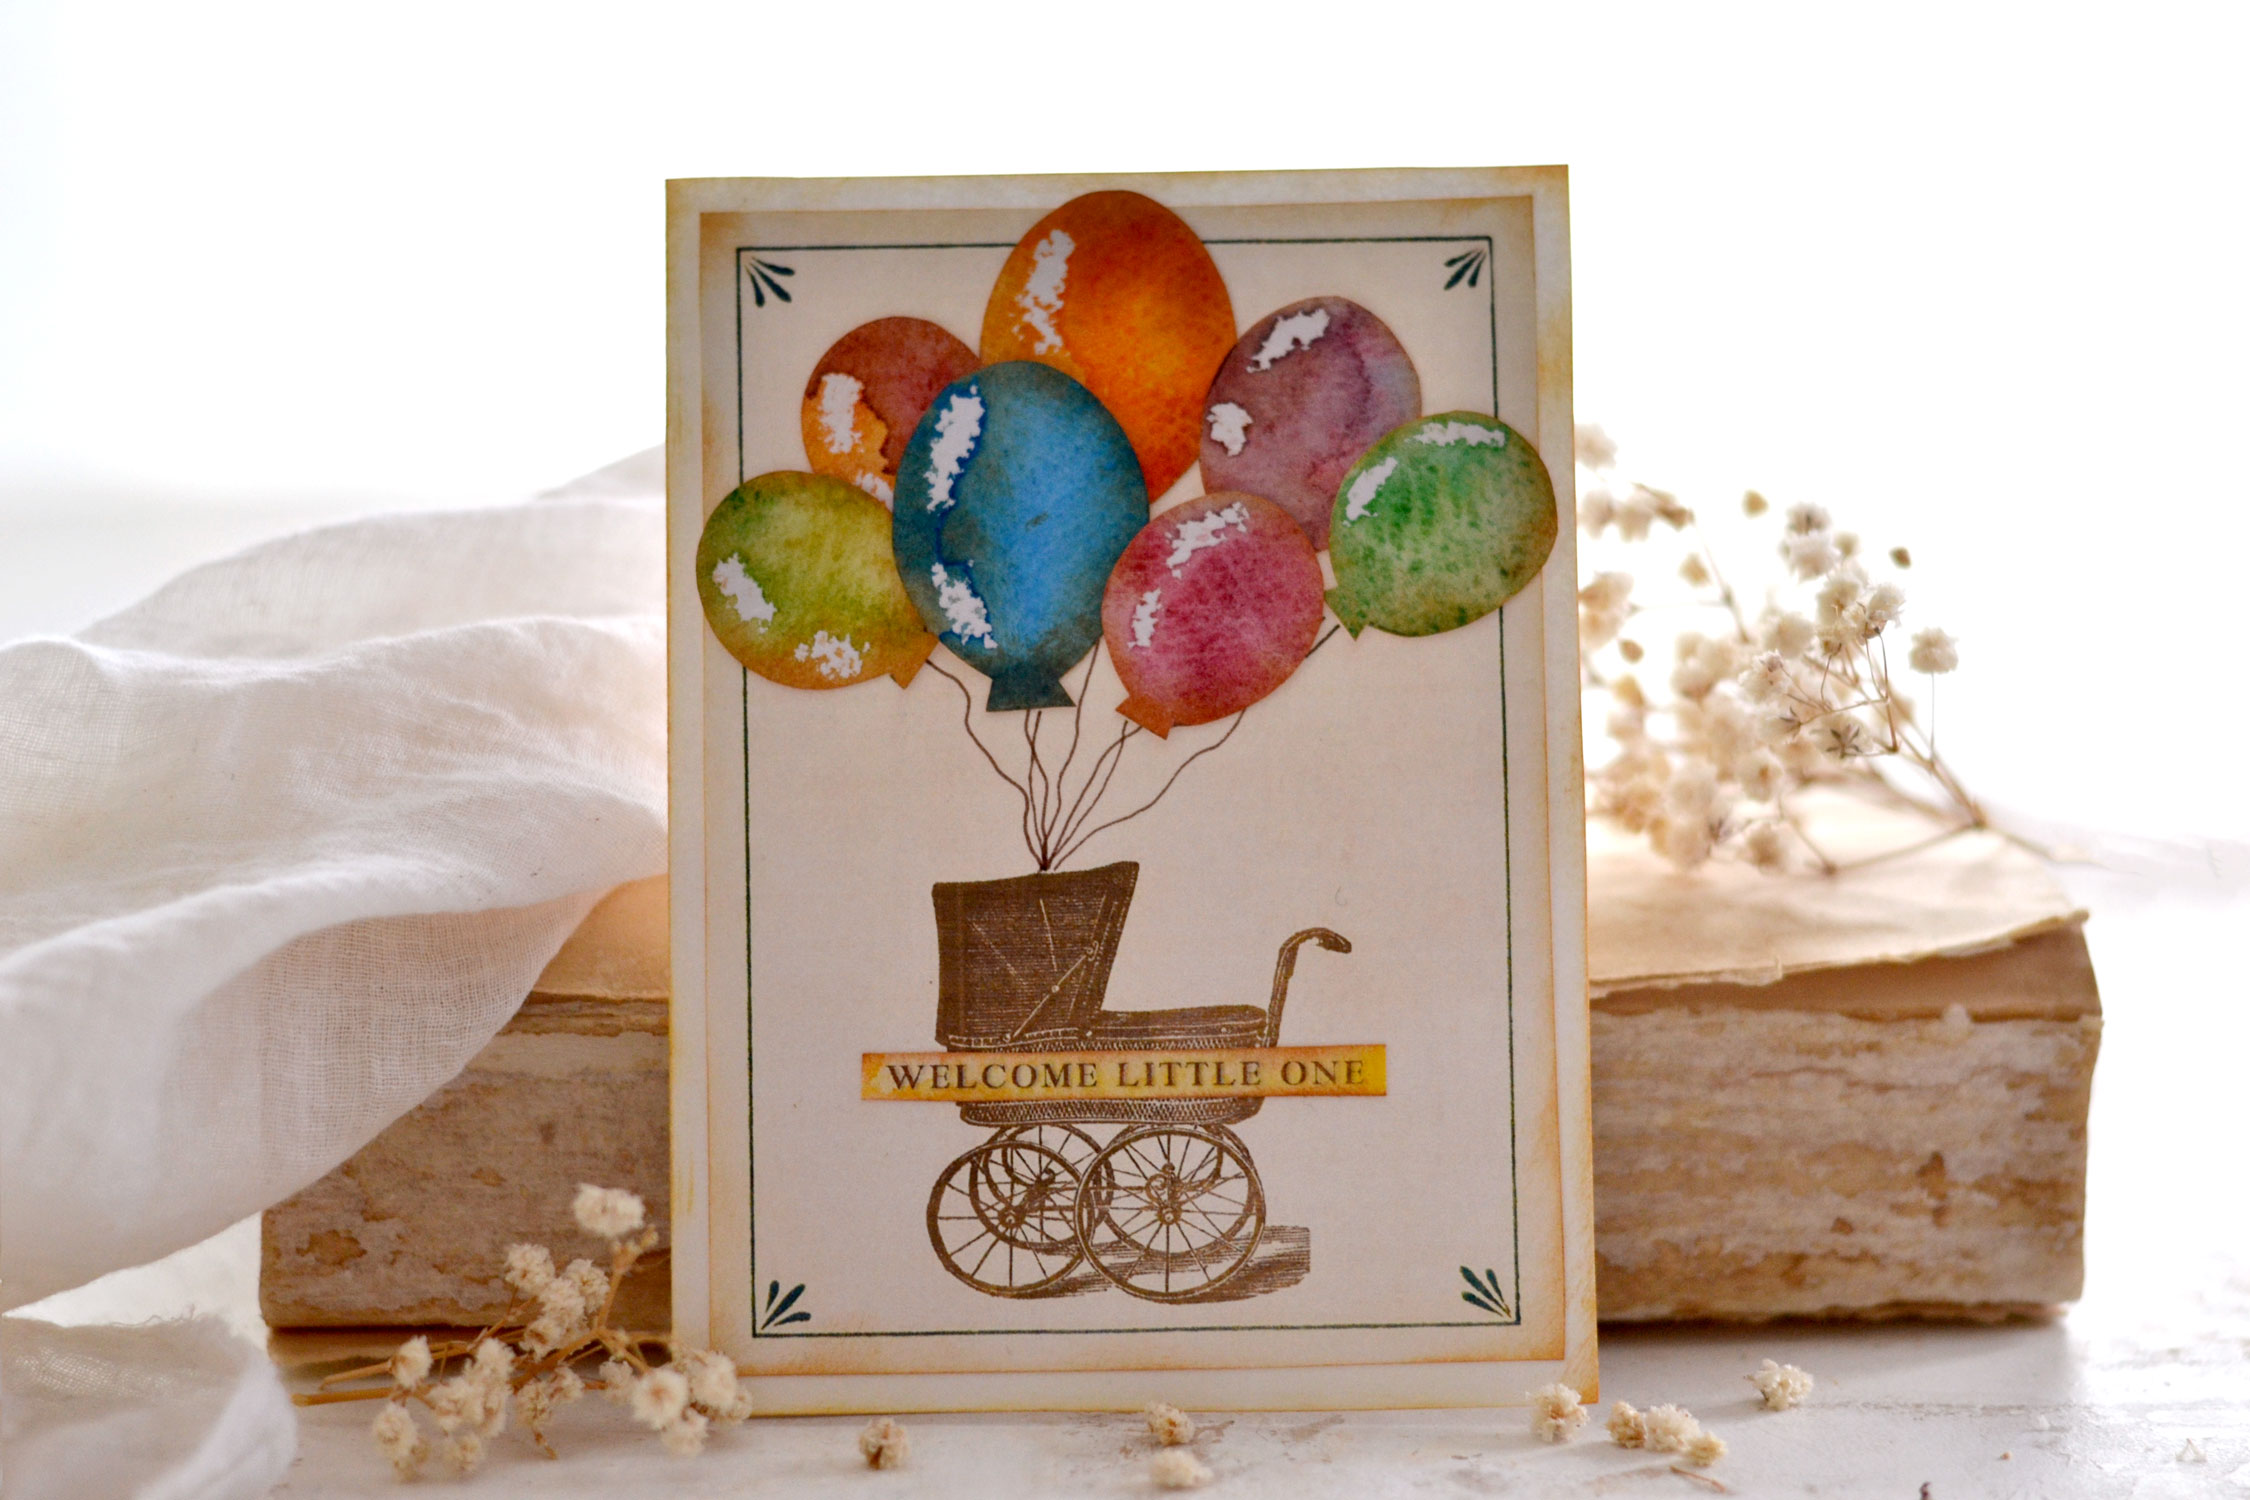
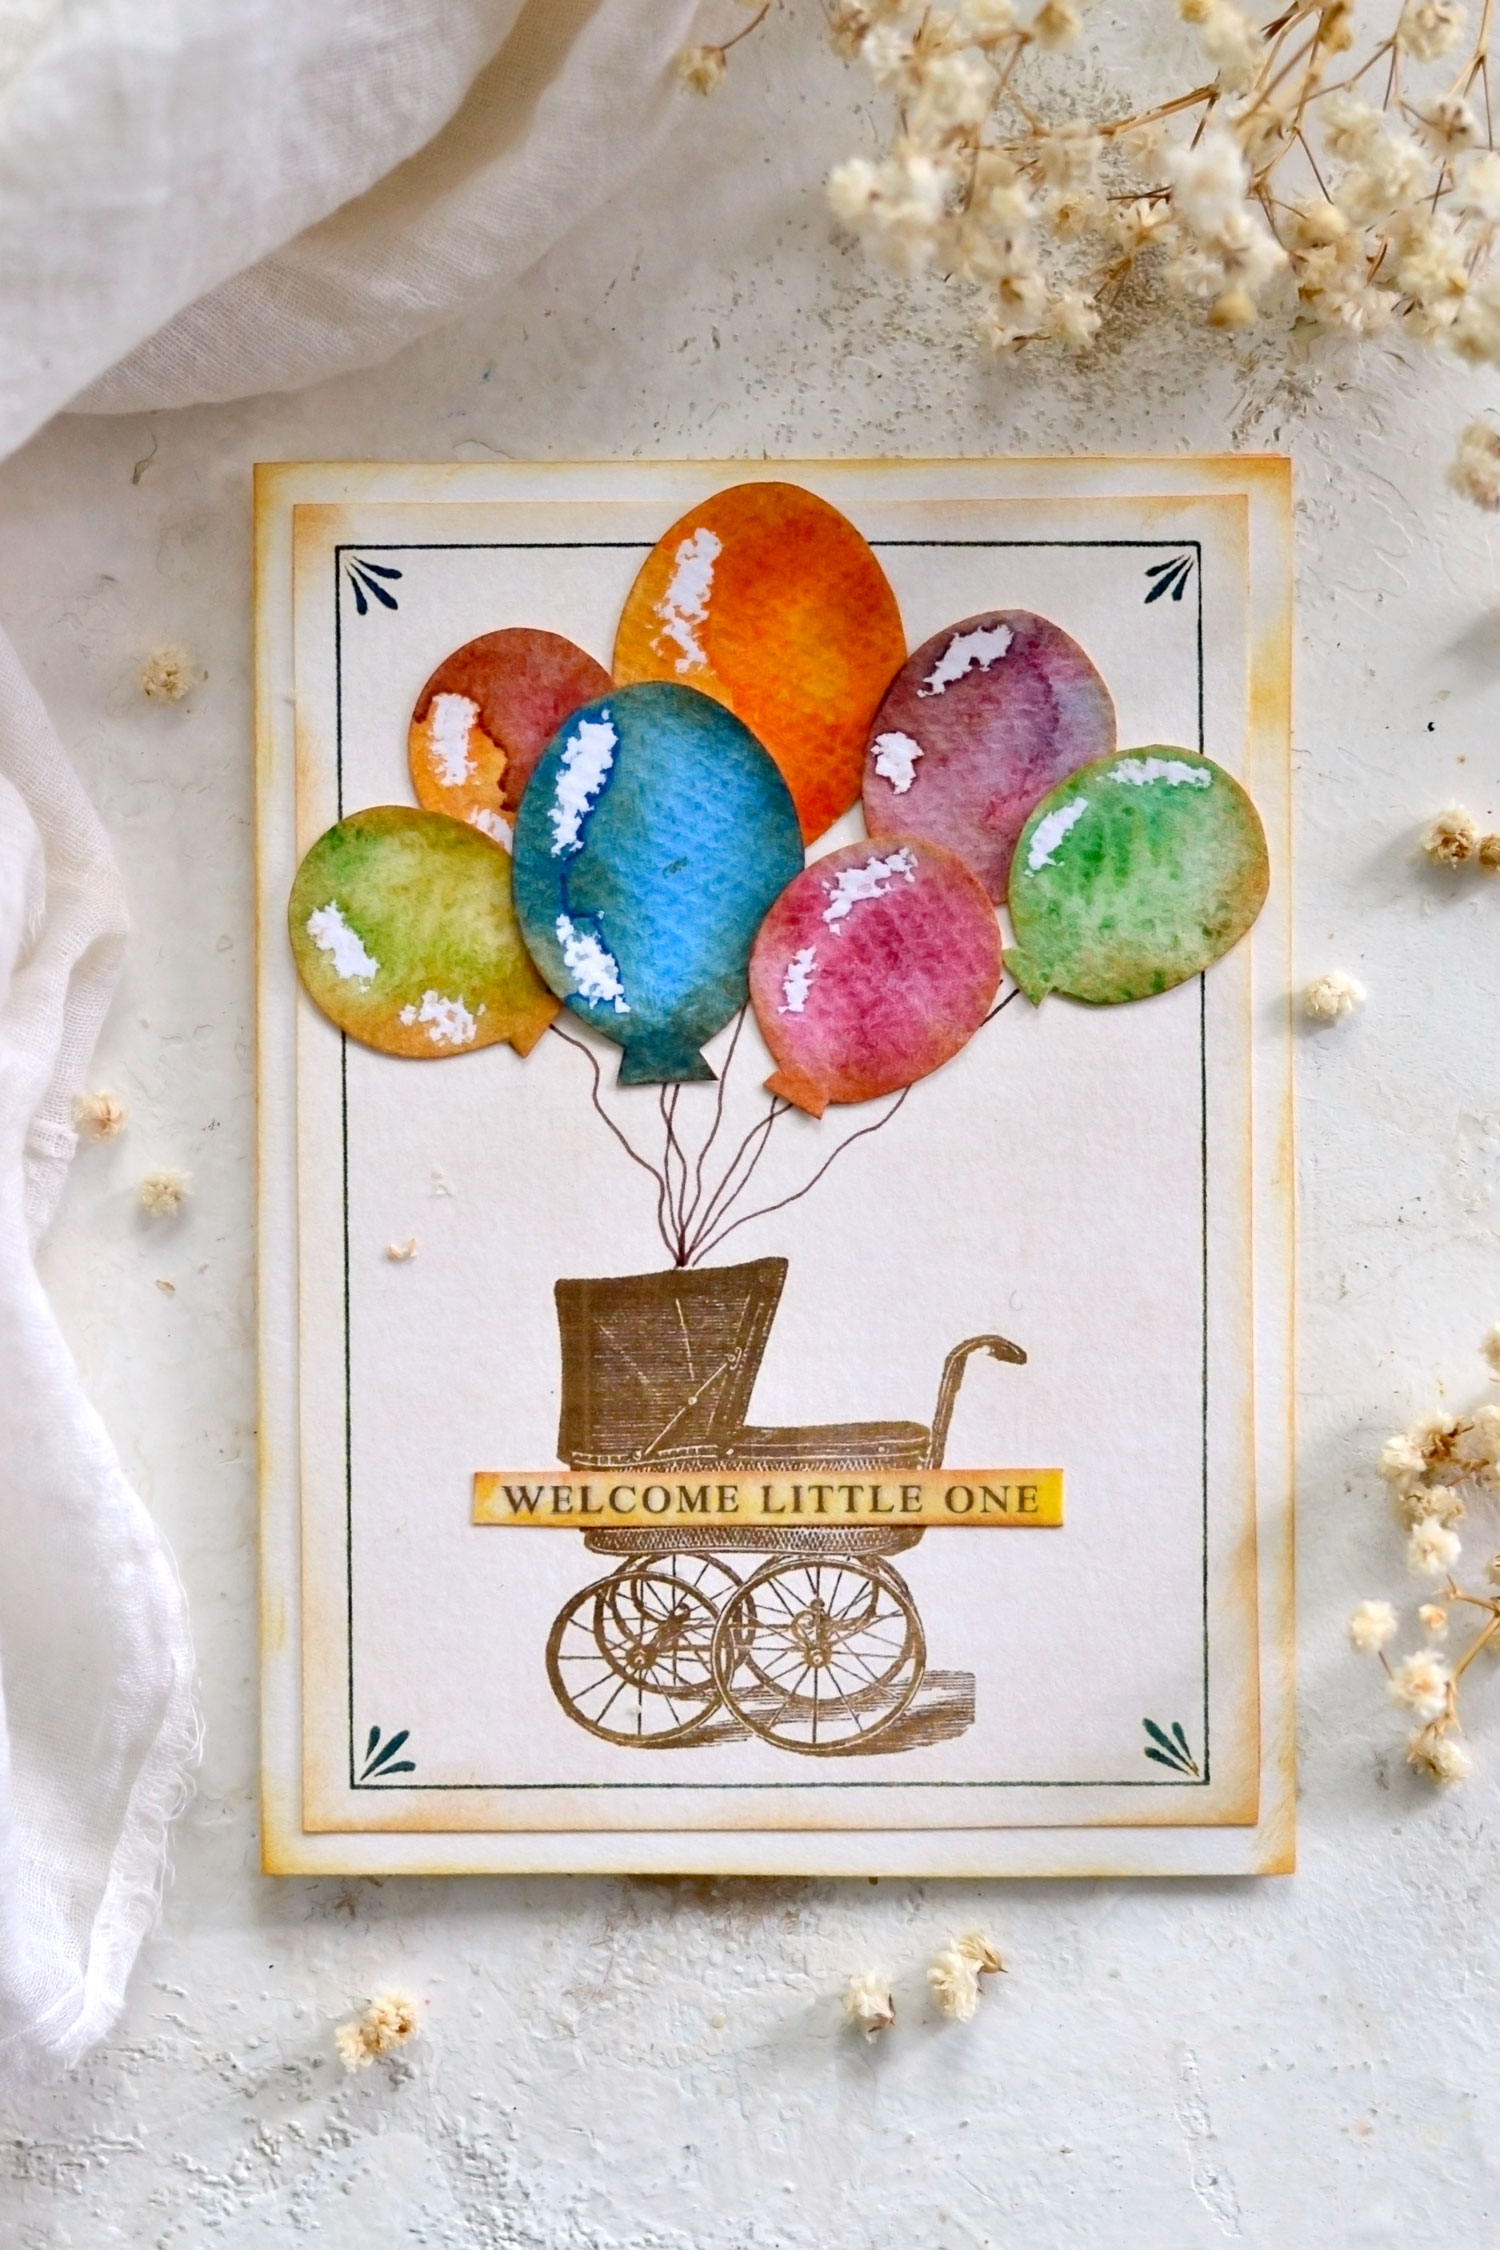
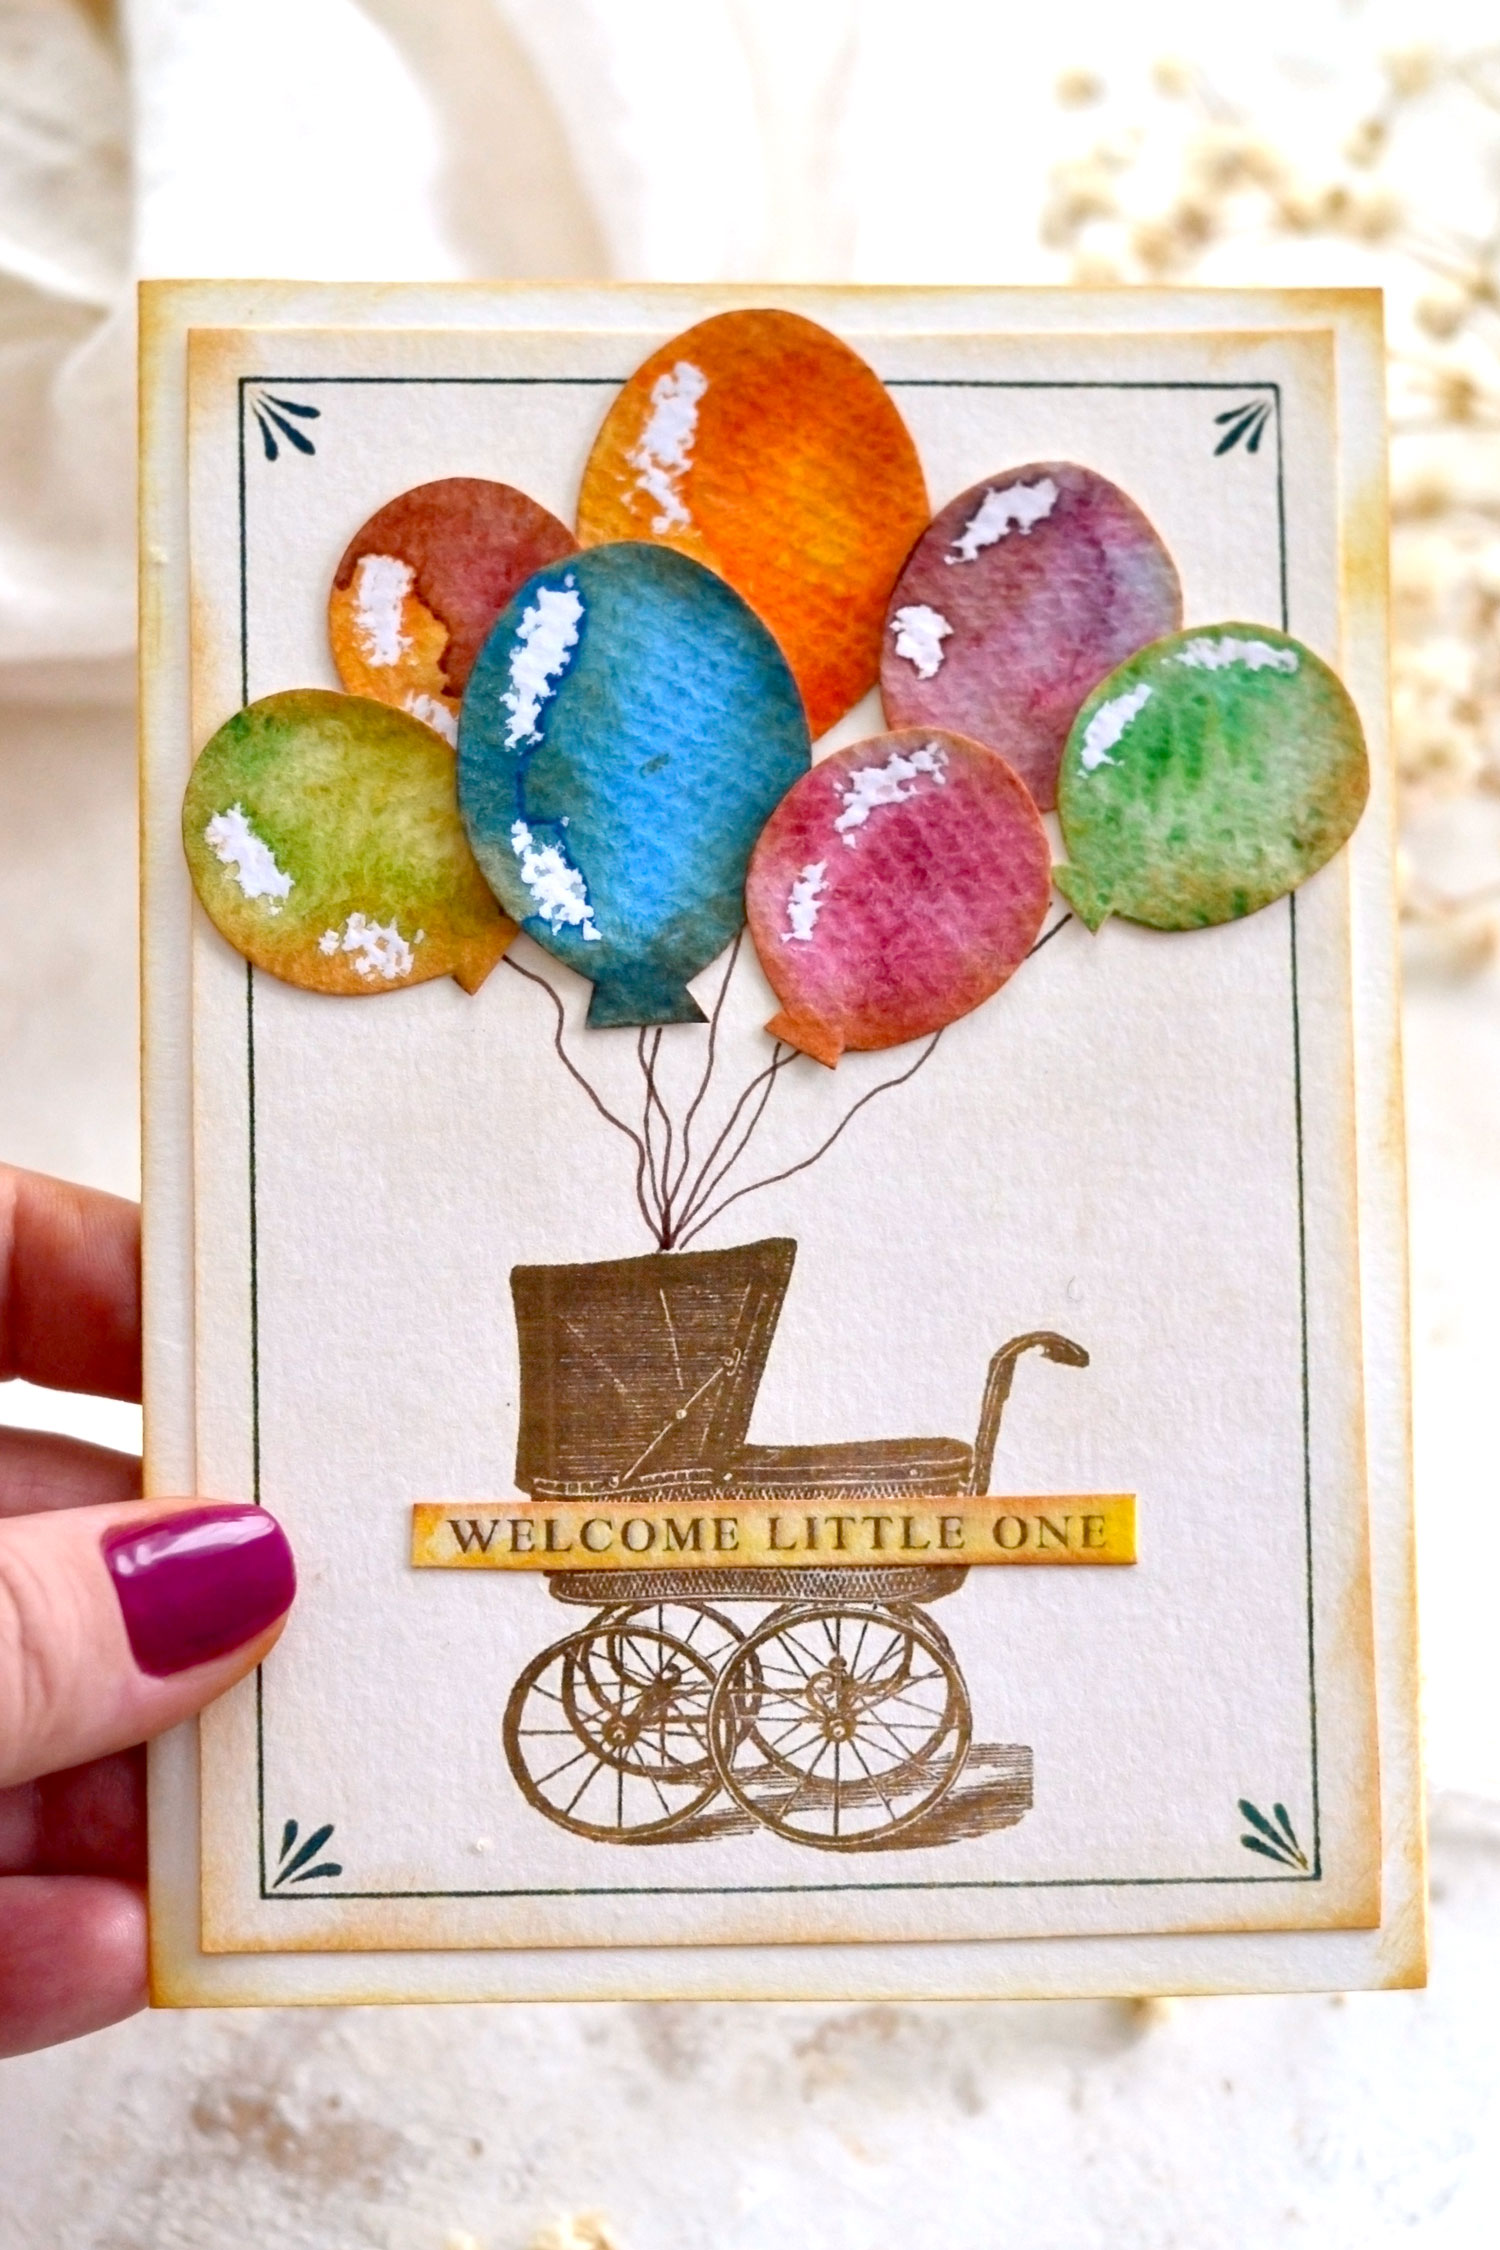
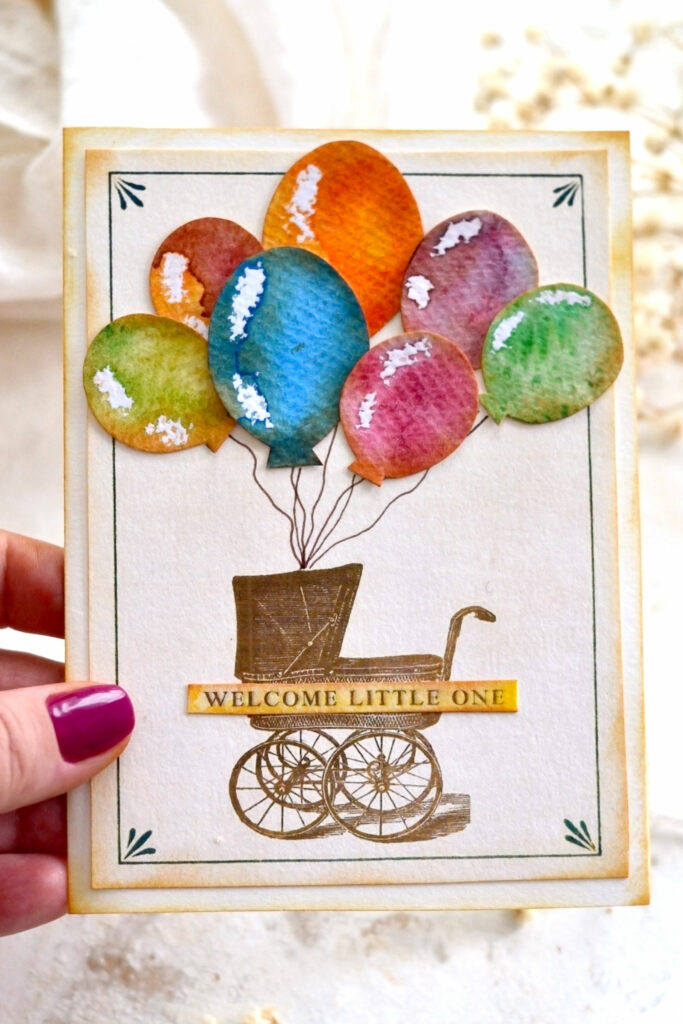
Hello Graphics Fairy friends! I’m Diana from Dreams Factory and I’m really happy to be here again to share another DIY project with you! Today I will show you how to make this beautiful DIY New Baby Card that will be the perfect handmade gift for family members or friends that just welcomed a new bundle of joy into their lives. And perfect for adoptions too of course. I wanted the card to be playful so that it would instantly bring a little bit of happiness to anyone receiving it so I chose colorful, oversized balloons for this purpose!
Balloons always have the power to make you happy, no matter the age. They bring laughter and loads of joy. So I thought they were a beautiful way to send the warmest congratulations to a beautiful family. And of course they work for a baby boy or a baby girl. But these are not just regular paper balloons, we will be using watercolors to paint them and watercolor paper to give them a little bit of texture. I’ll also show you a trick on how to make white resist spots on paper using a somehow untraditional ‘secret’ supply that will make our balloons look more realistic. And even more beautiful so that it’s extra special for the new arrival!
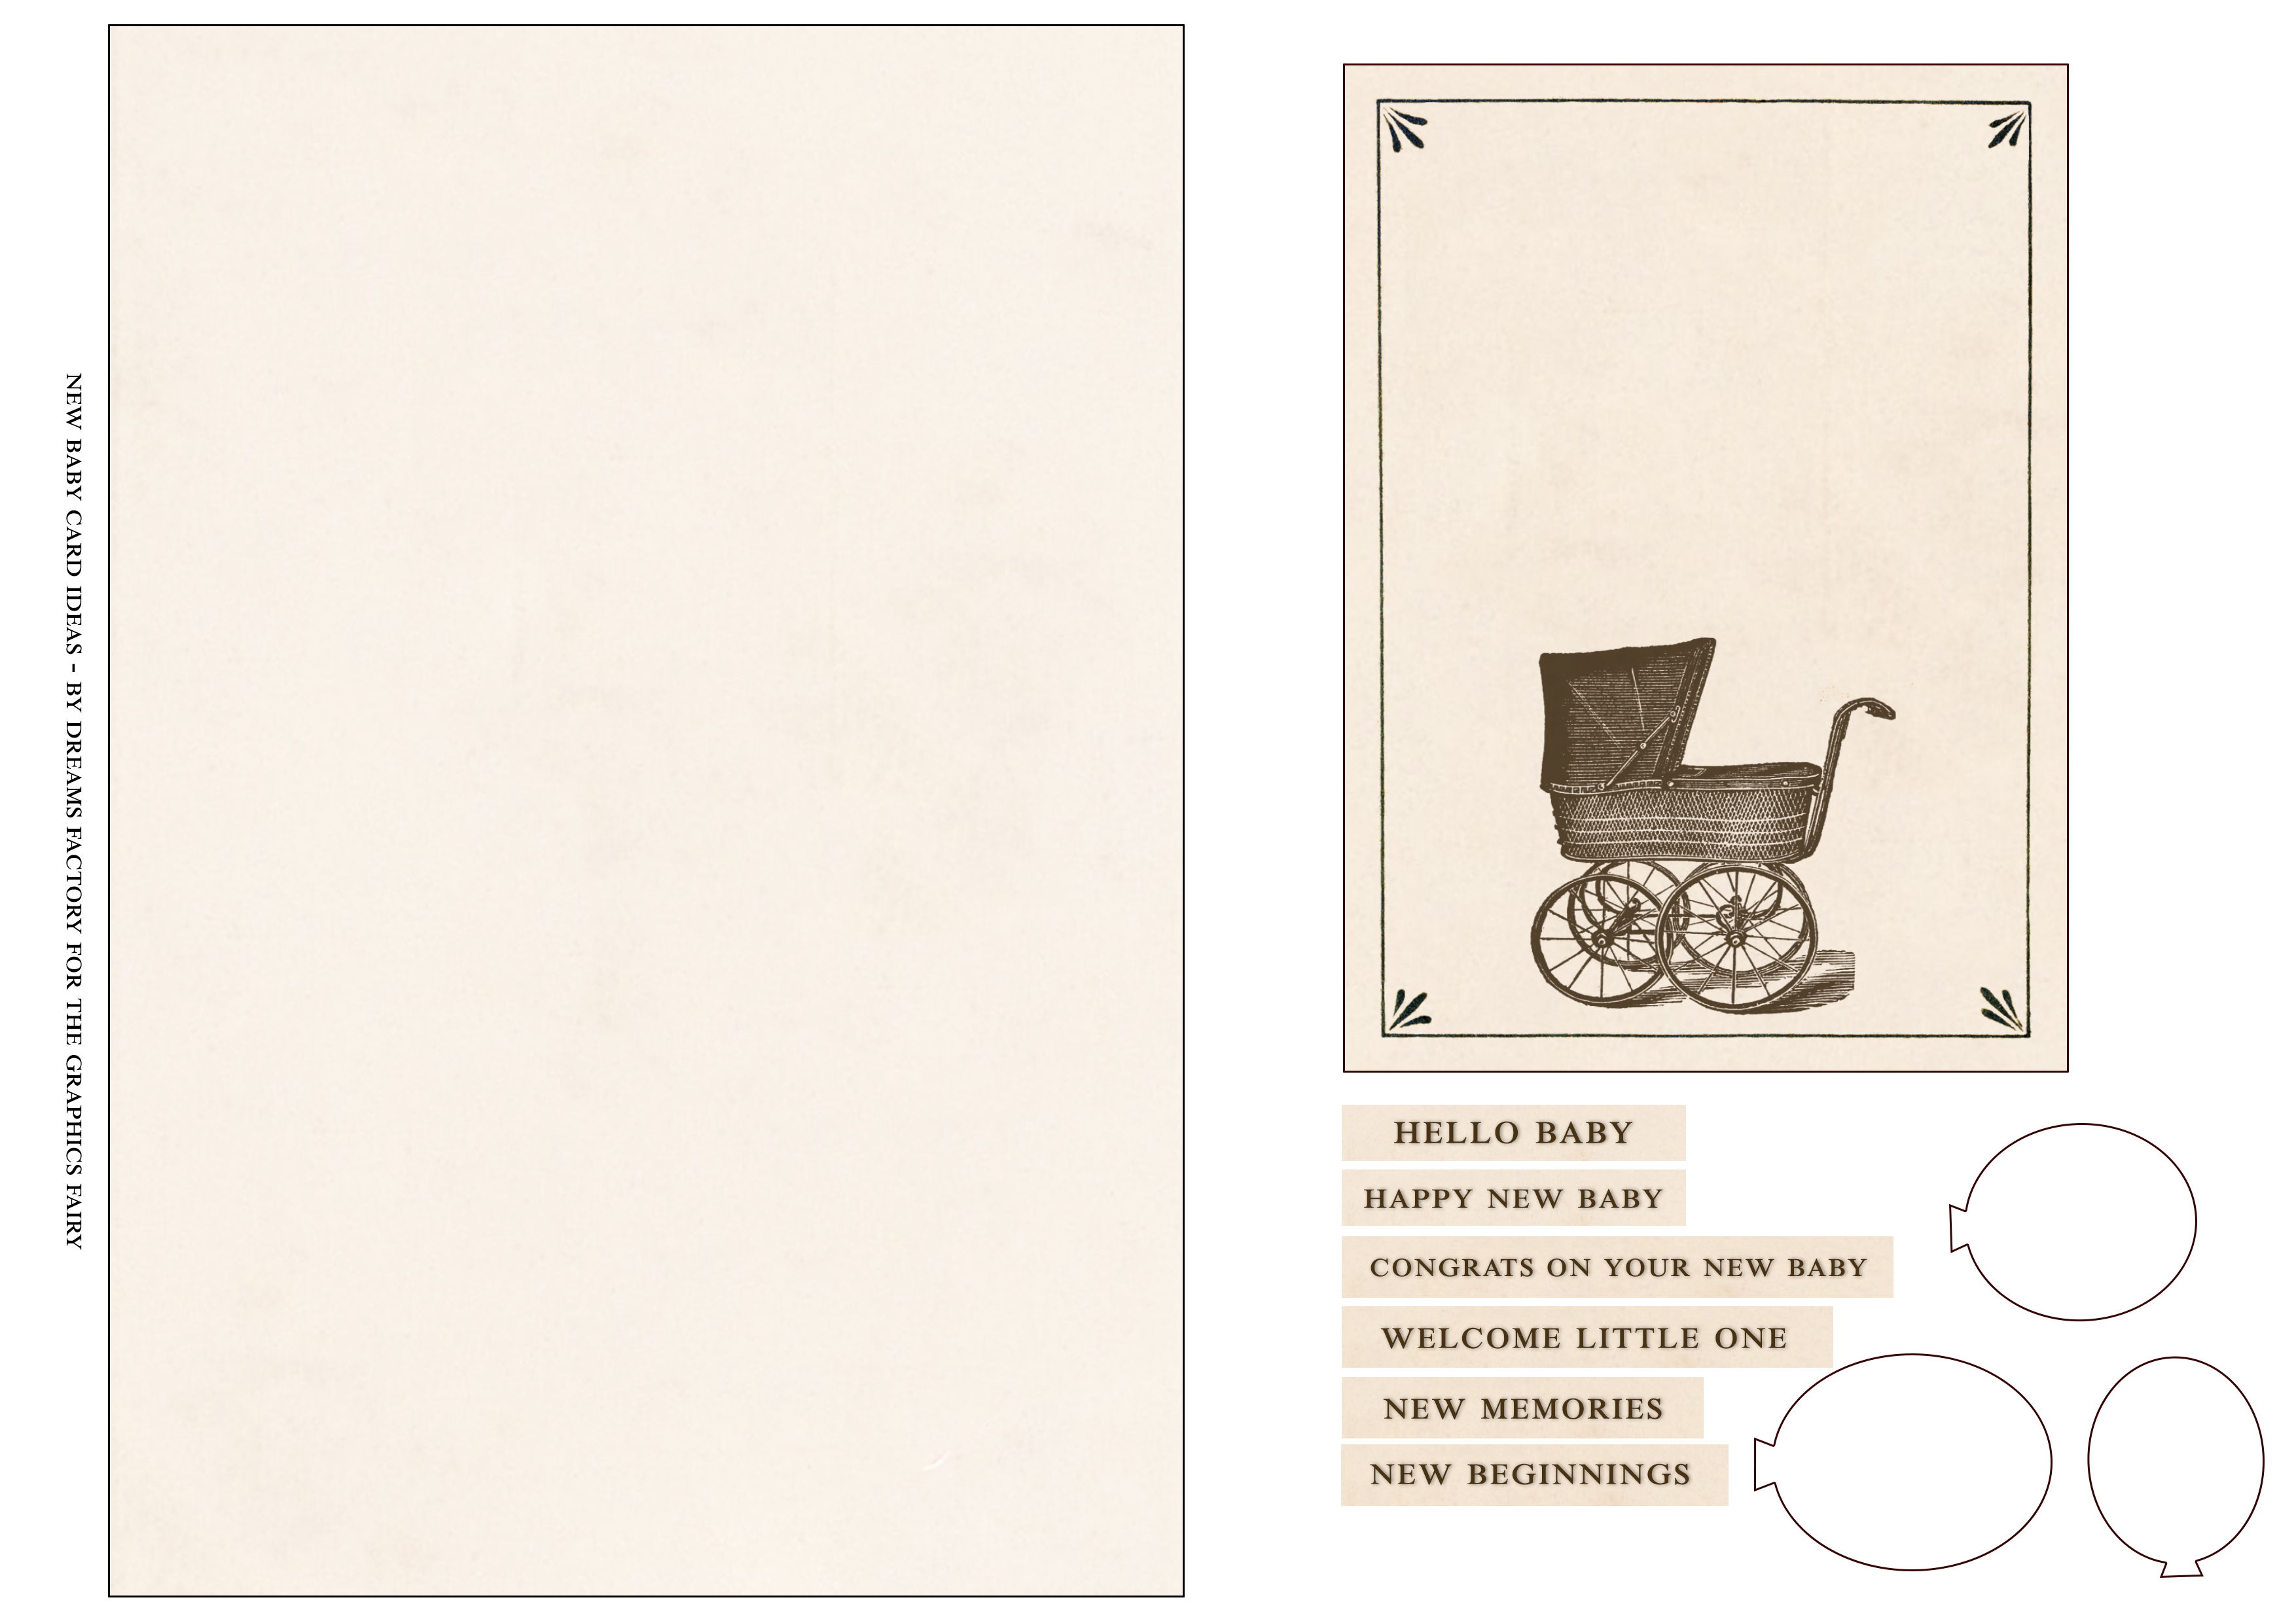
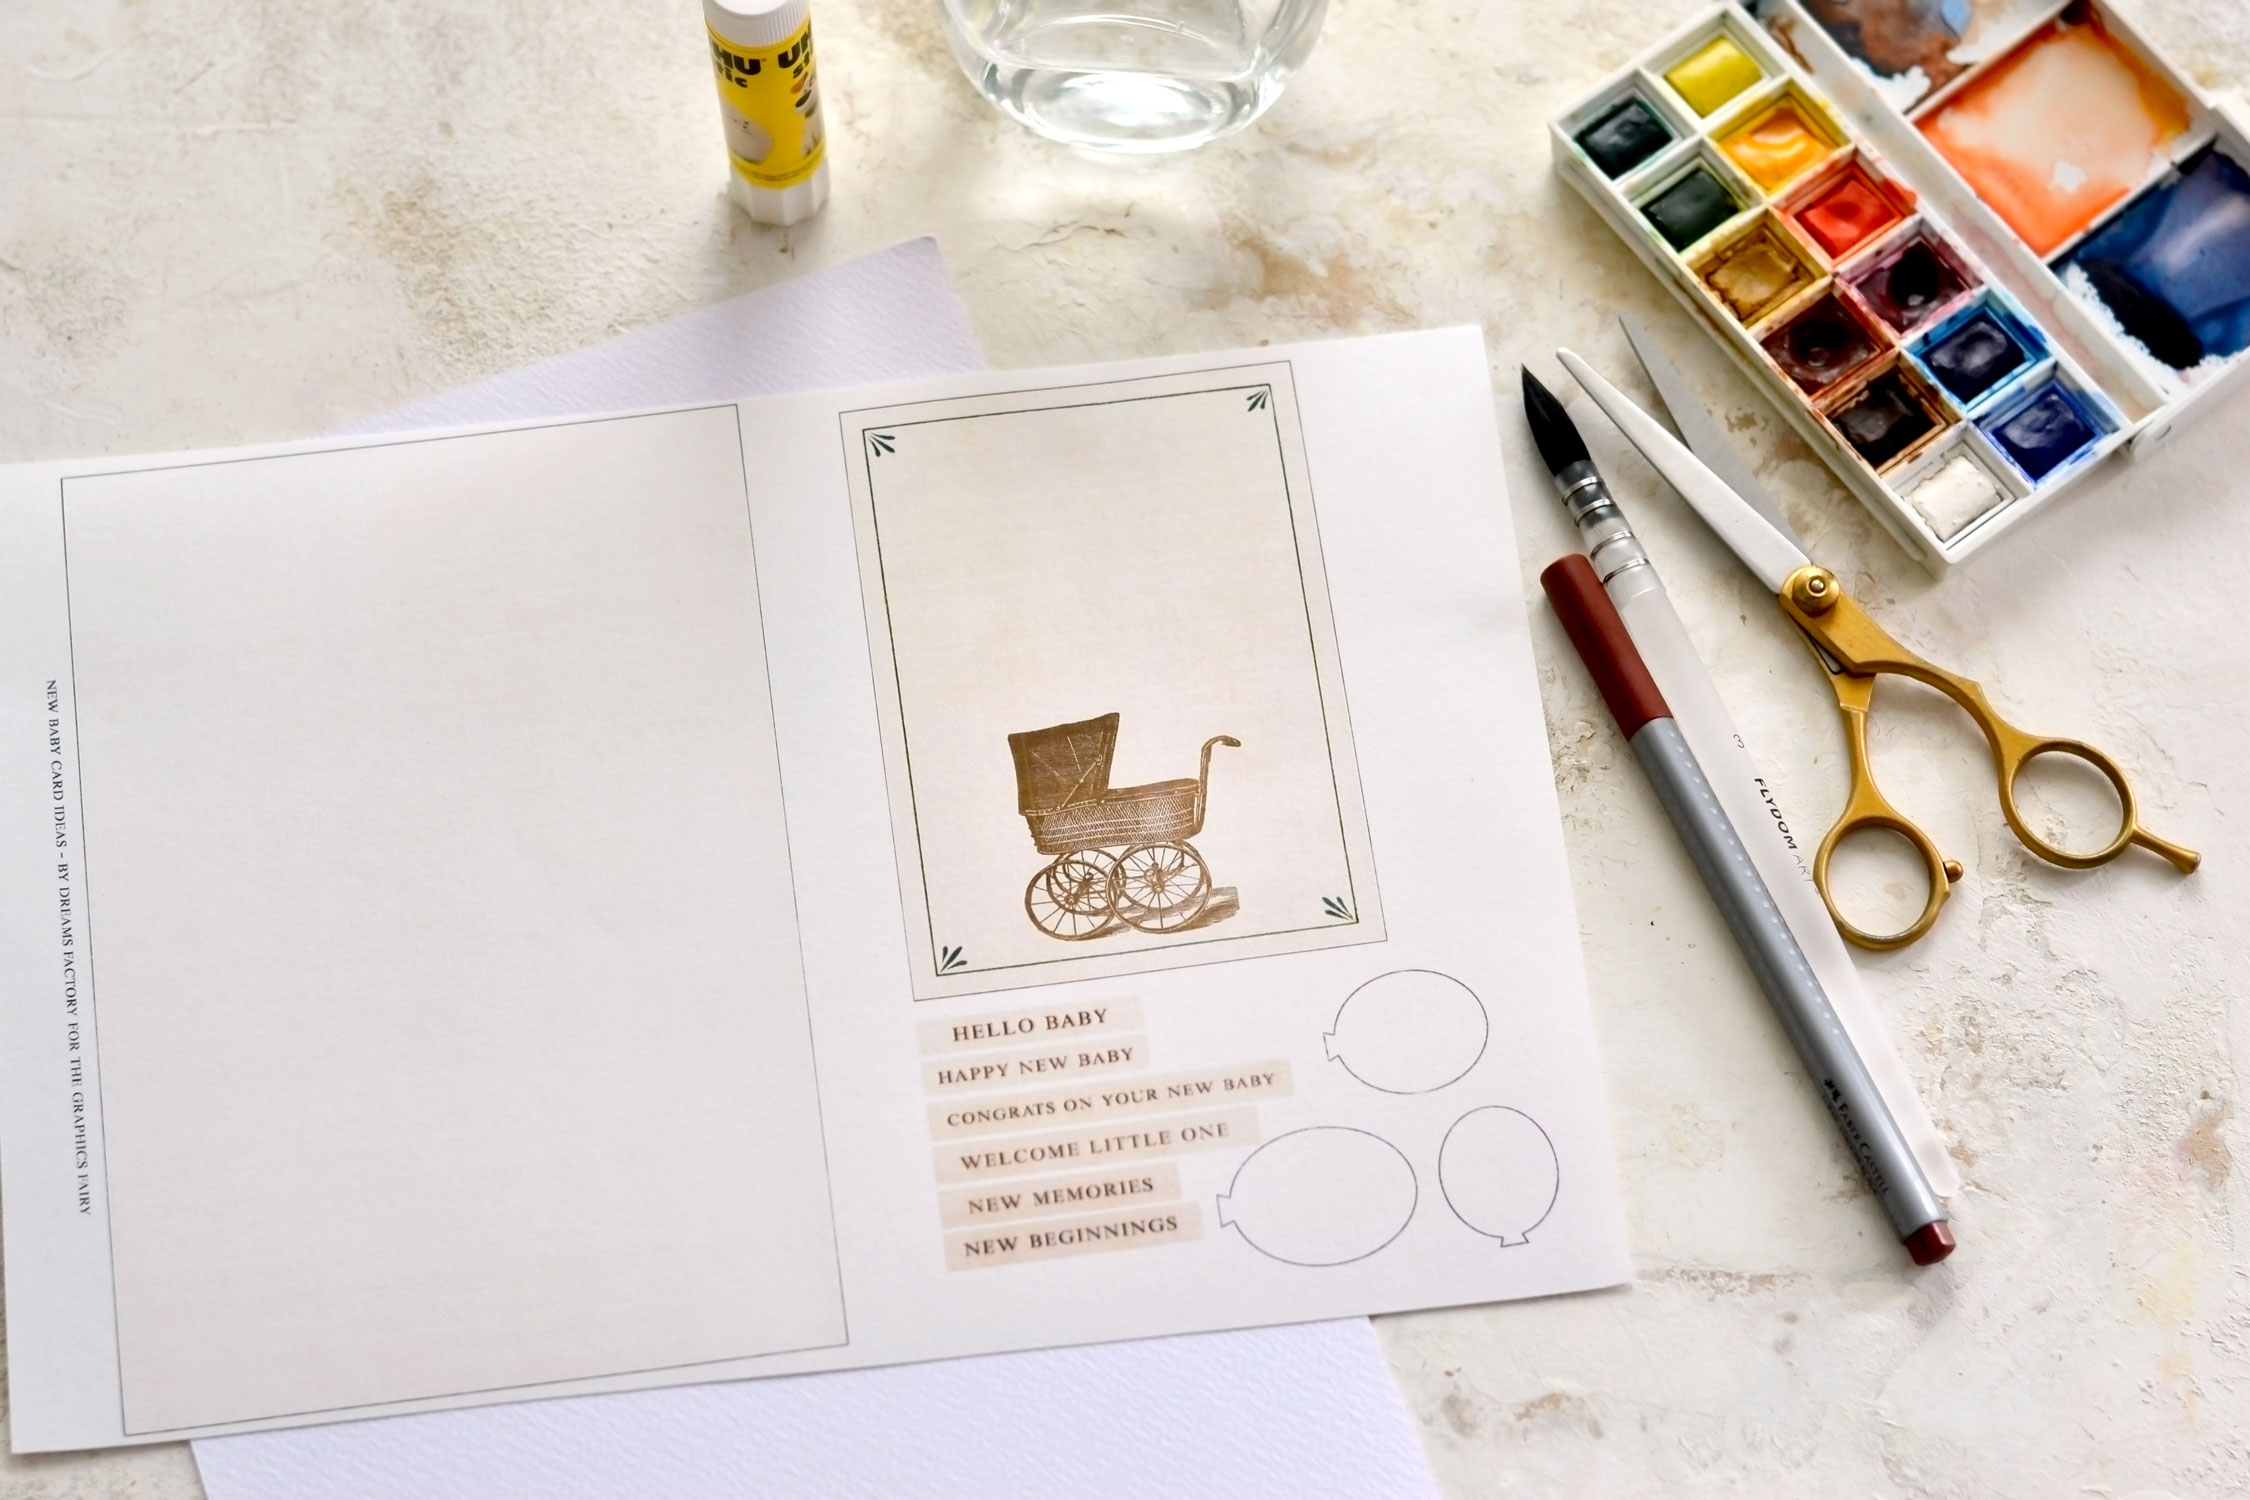
The printable that I created for this project is quite simple but beautiful, I wanted the balloons to be our stars today. You will find a card base, a card top with a lovely vintage baby carriage and a few wishes. I’ve also included the templates for the balloons here, in three different sizes.
—-> Click HERE to Download the Full Size Printable PDF <—-
New Baby Card Ideas Supply List:
- cardstock paper – to print the card printable
- watercolor paper or thick cardstock – to make the balloons
- home printer
- scissors
- mini distress inks
- blending tool with foams
- watercolors (I used the Winsor & Newton Cotman pocket set)
- jar with water
- brush
- paper glue stick or any other type of craft glue
- fine pen (I used a brown Grip Finepen 0,4 mm from Faber Castell)
- plastic sheet or a non-absorbent surface
Tutorial:
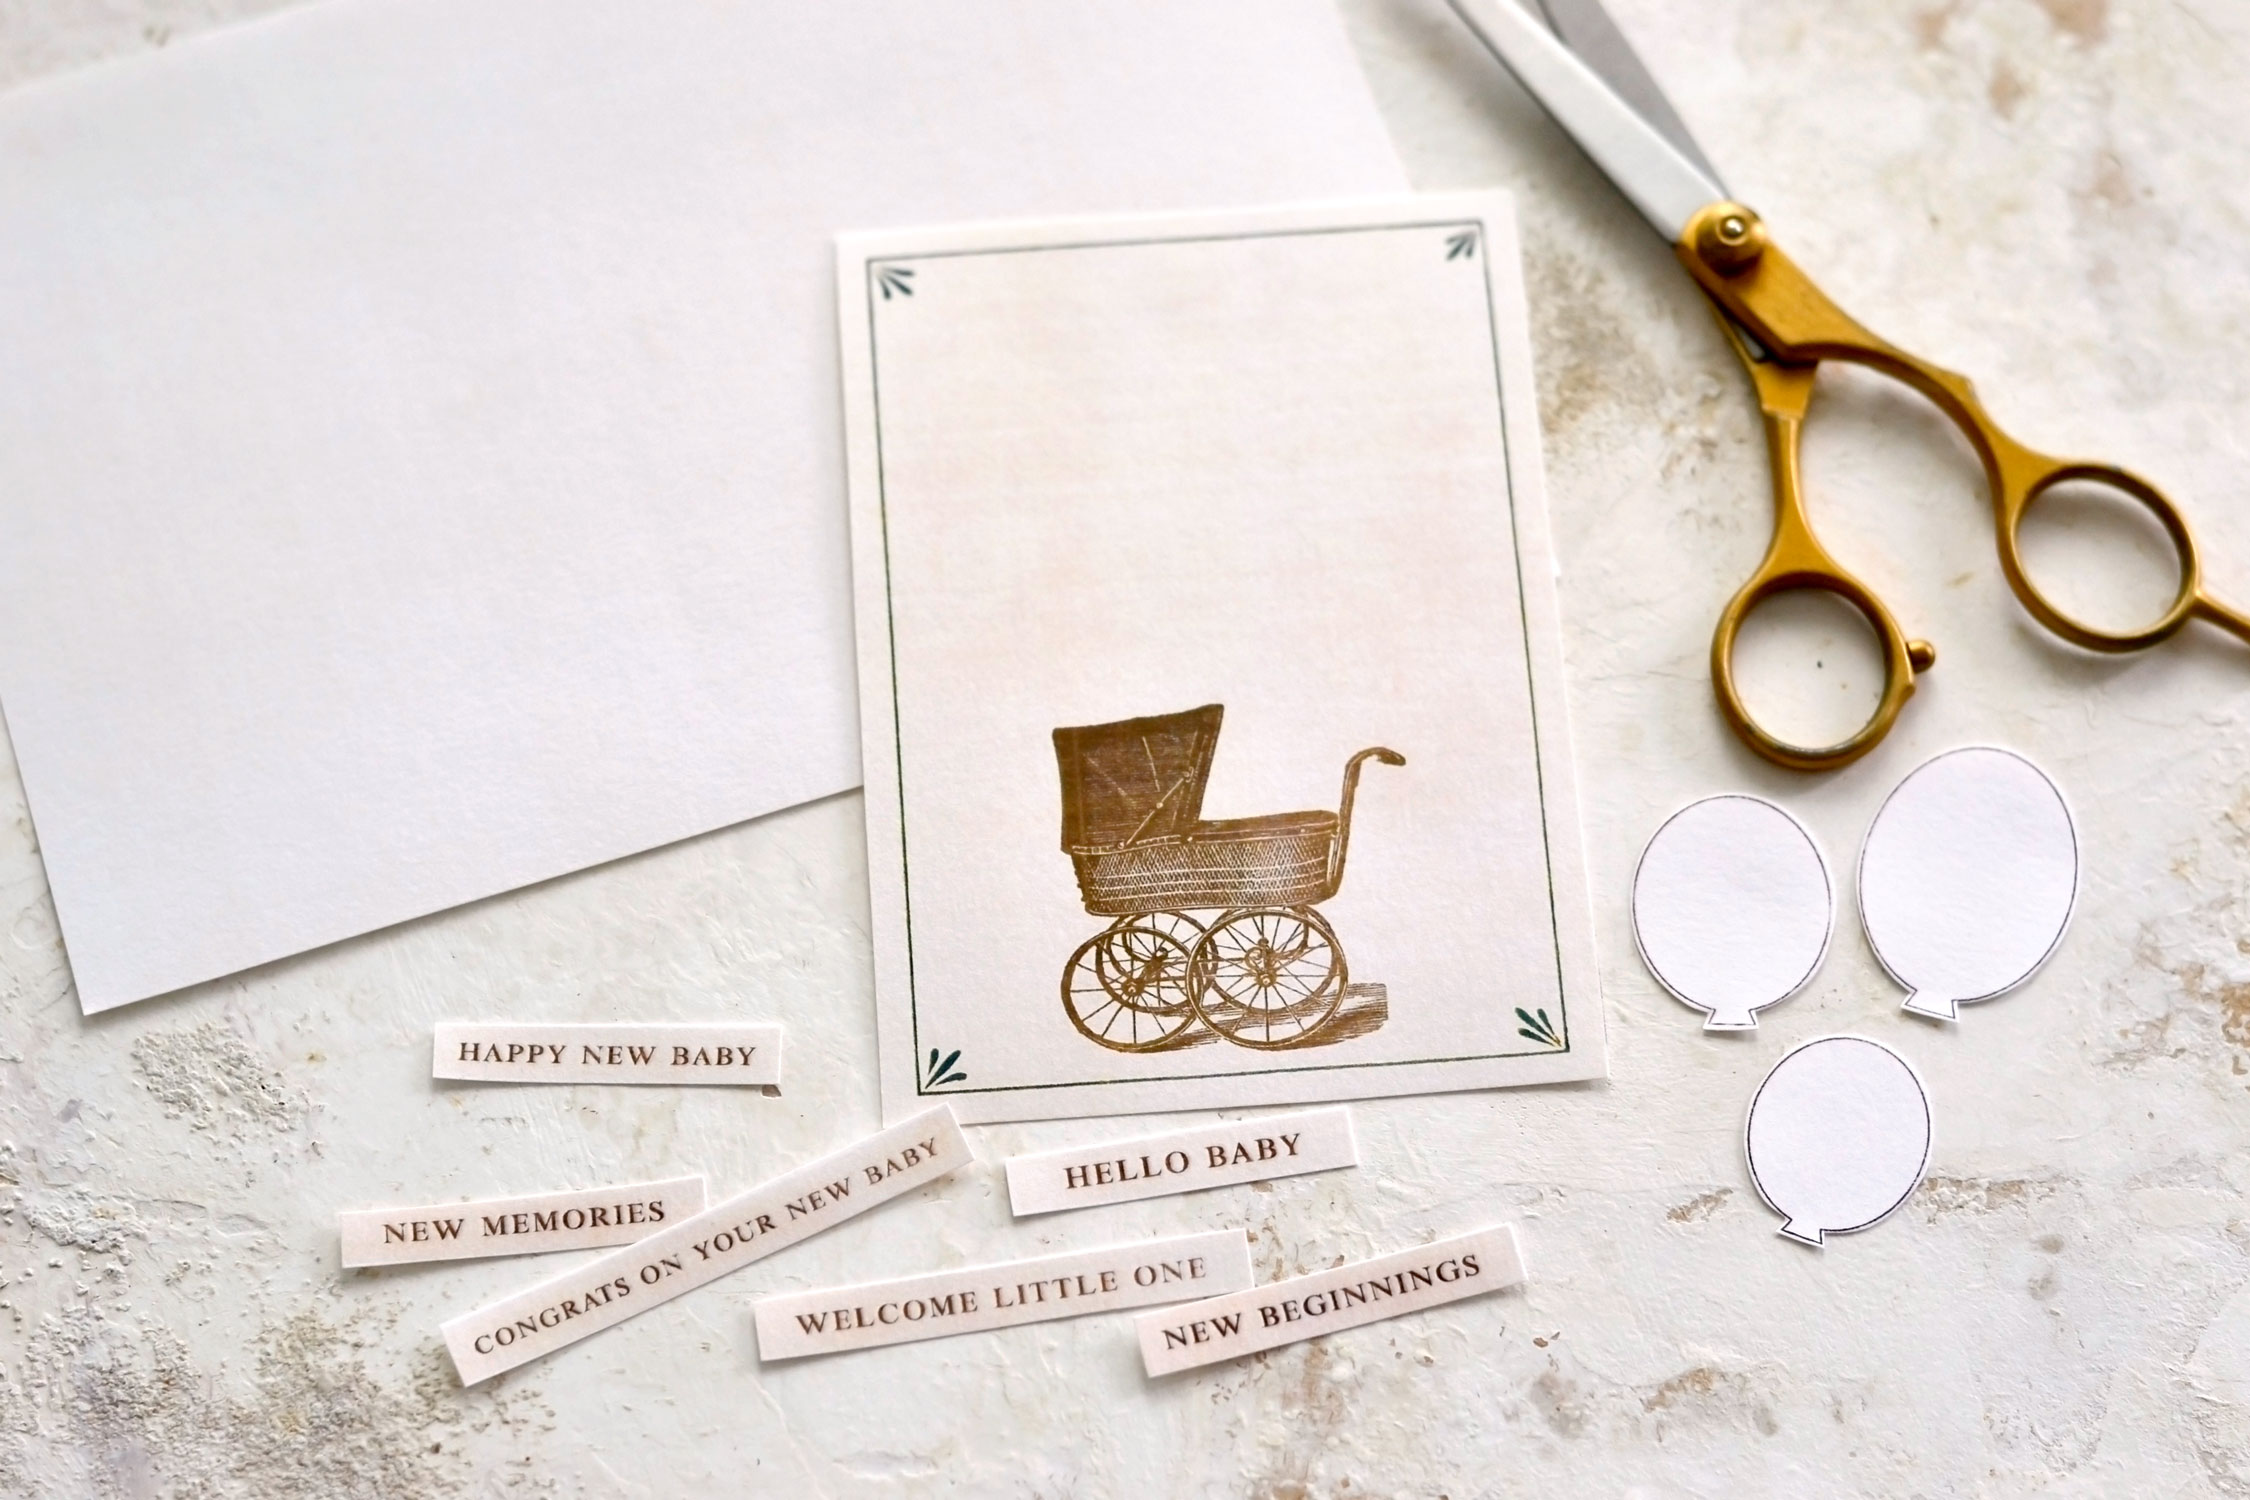
Use cardstock paper to print the printable with all the elements, then start cutting them using your scissors. You’ll need to completely remove the black border around the greeting card base and the card top, but keep it around your balloon templates.
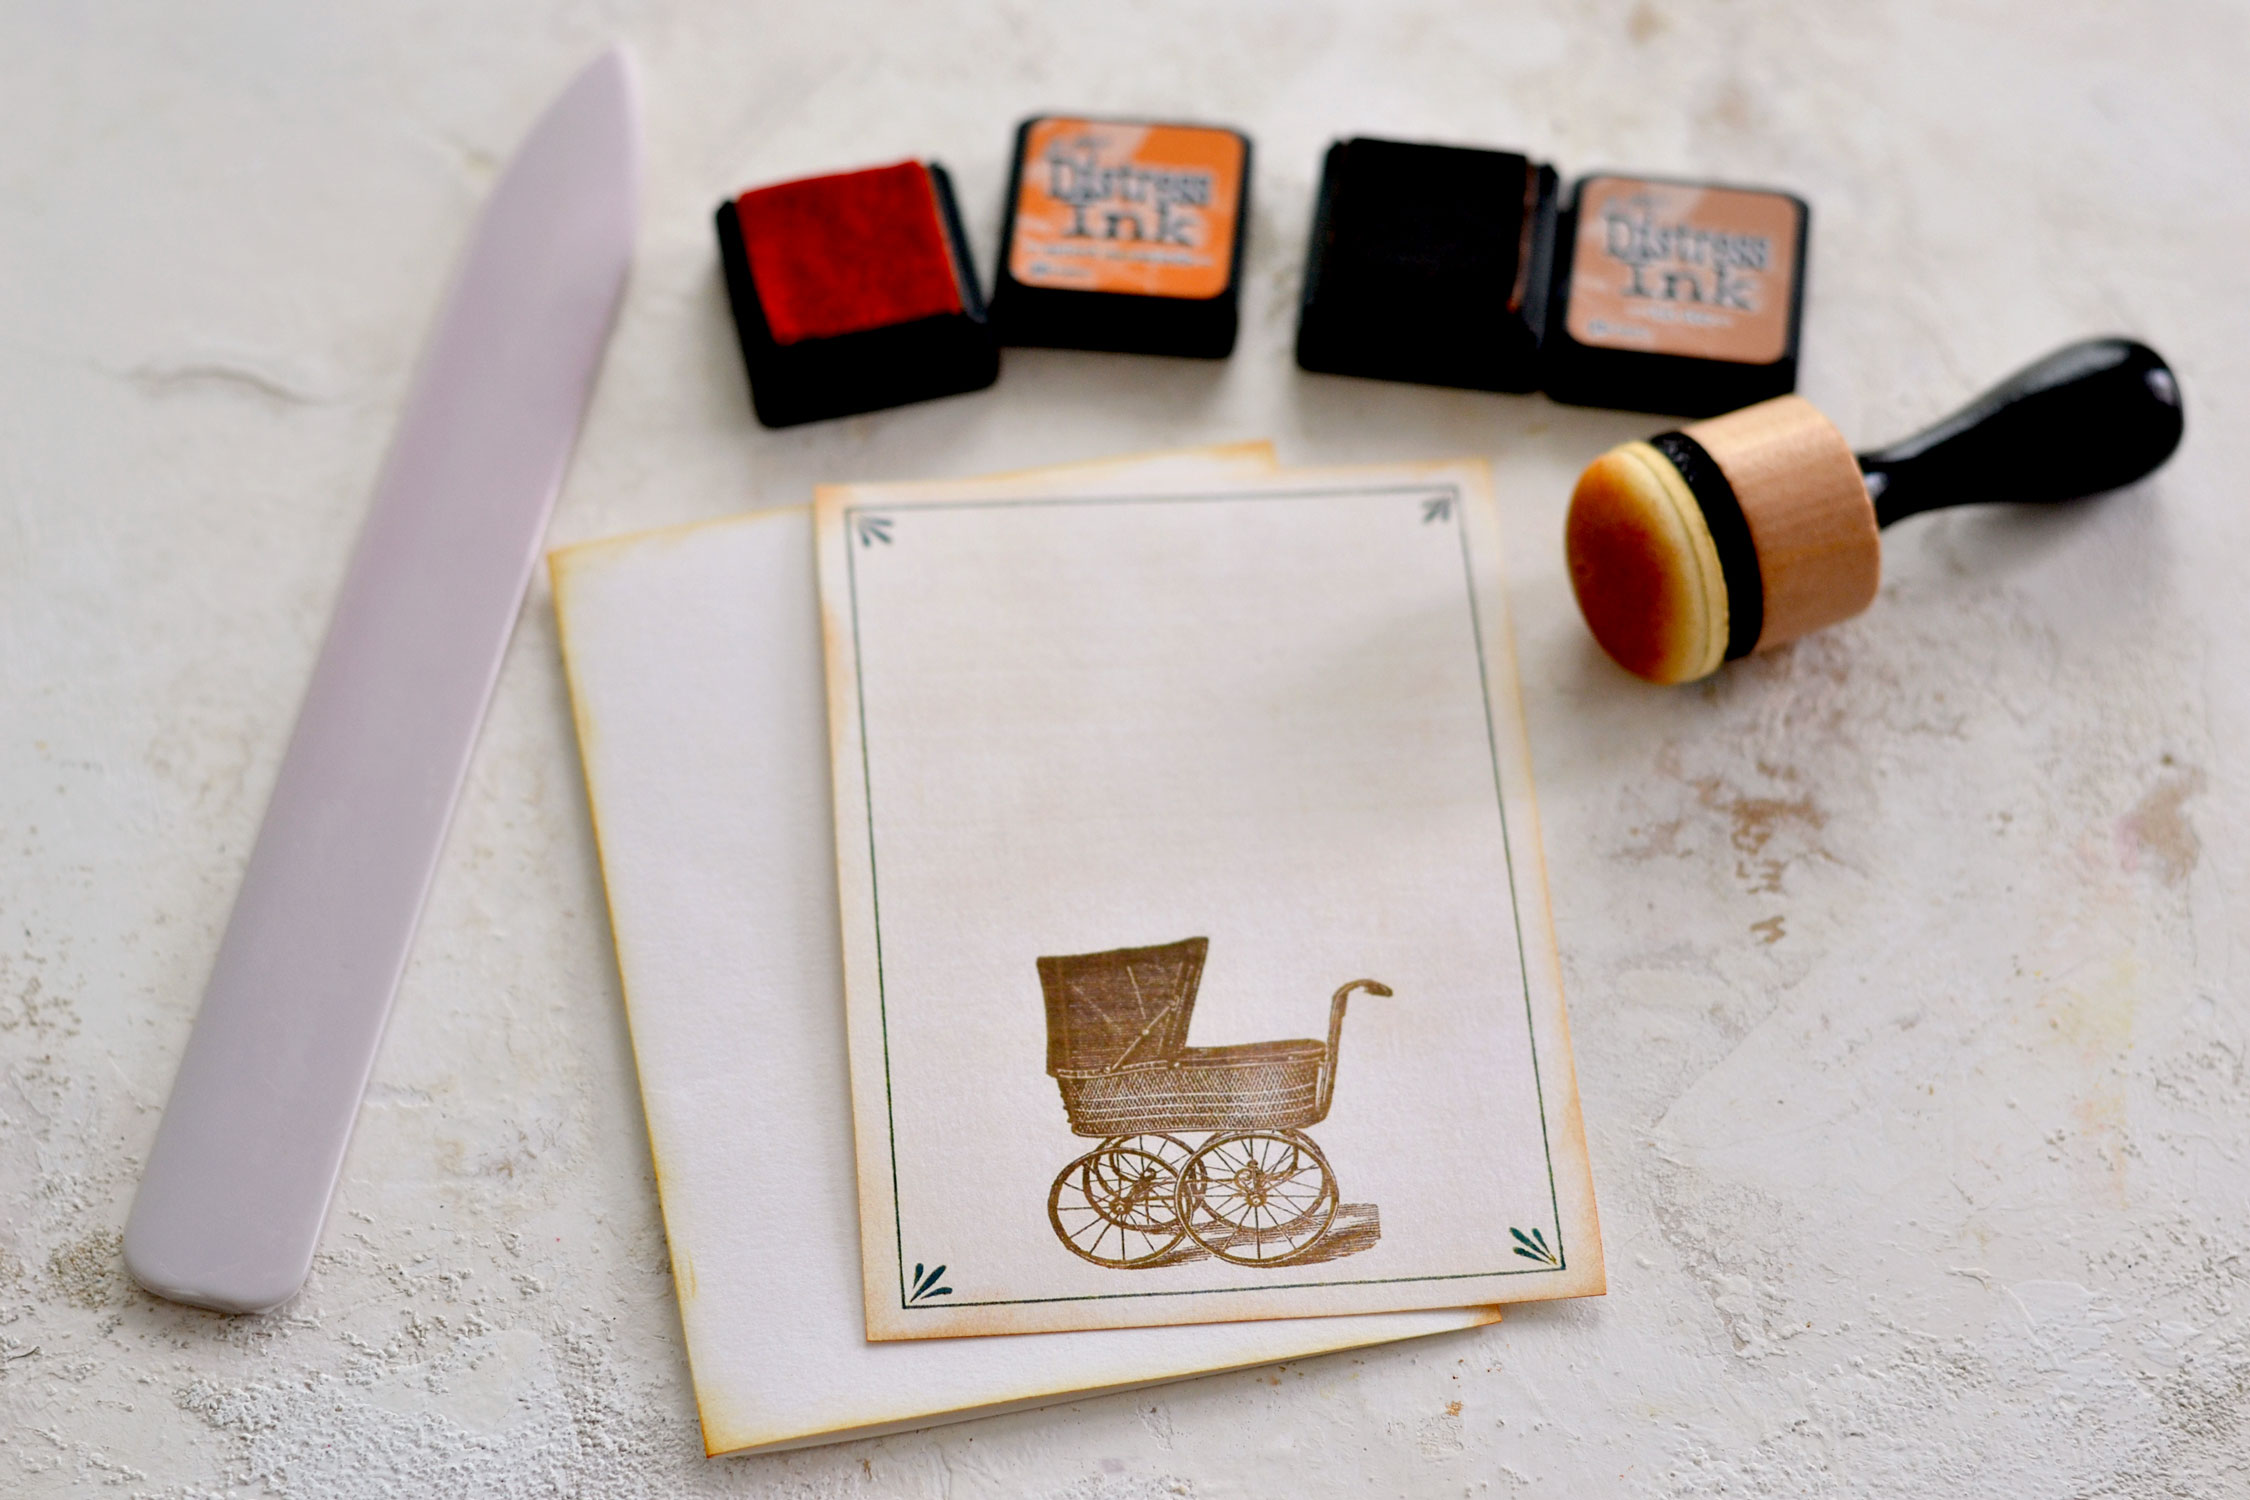
Use a bone folder to score and fold the card base in half, then use distress ink to lightly distress the folded base and the top. This time, instead of the usual brown, I used Tea Dye distress ink and Spiced Marmalade because I wanted to give the card more of a colorful and playful appearance. You can use other colors that you love or even go with a specific color if you are planning on painting the balloons that specific color. When you are done, put them aside for now.
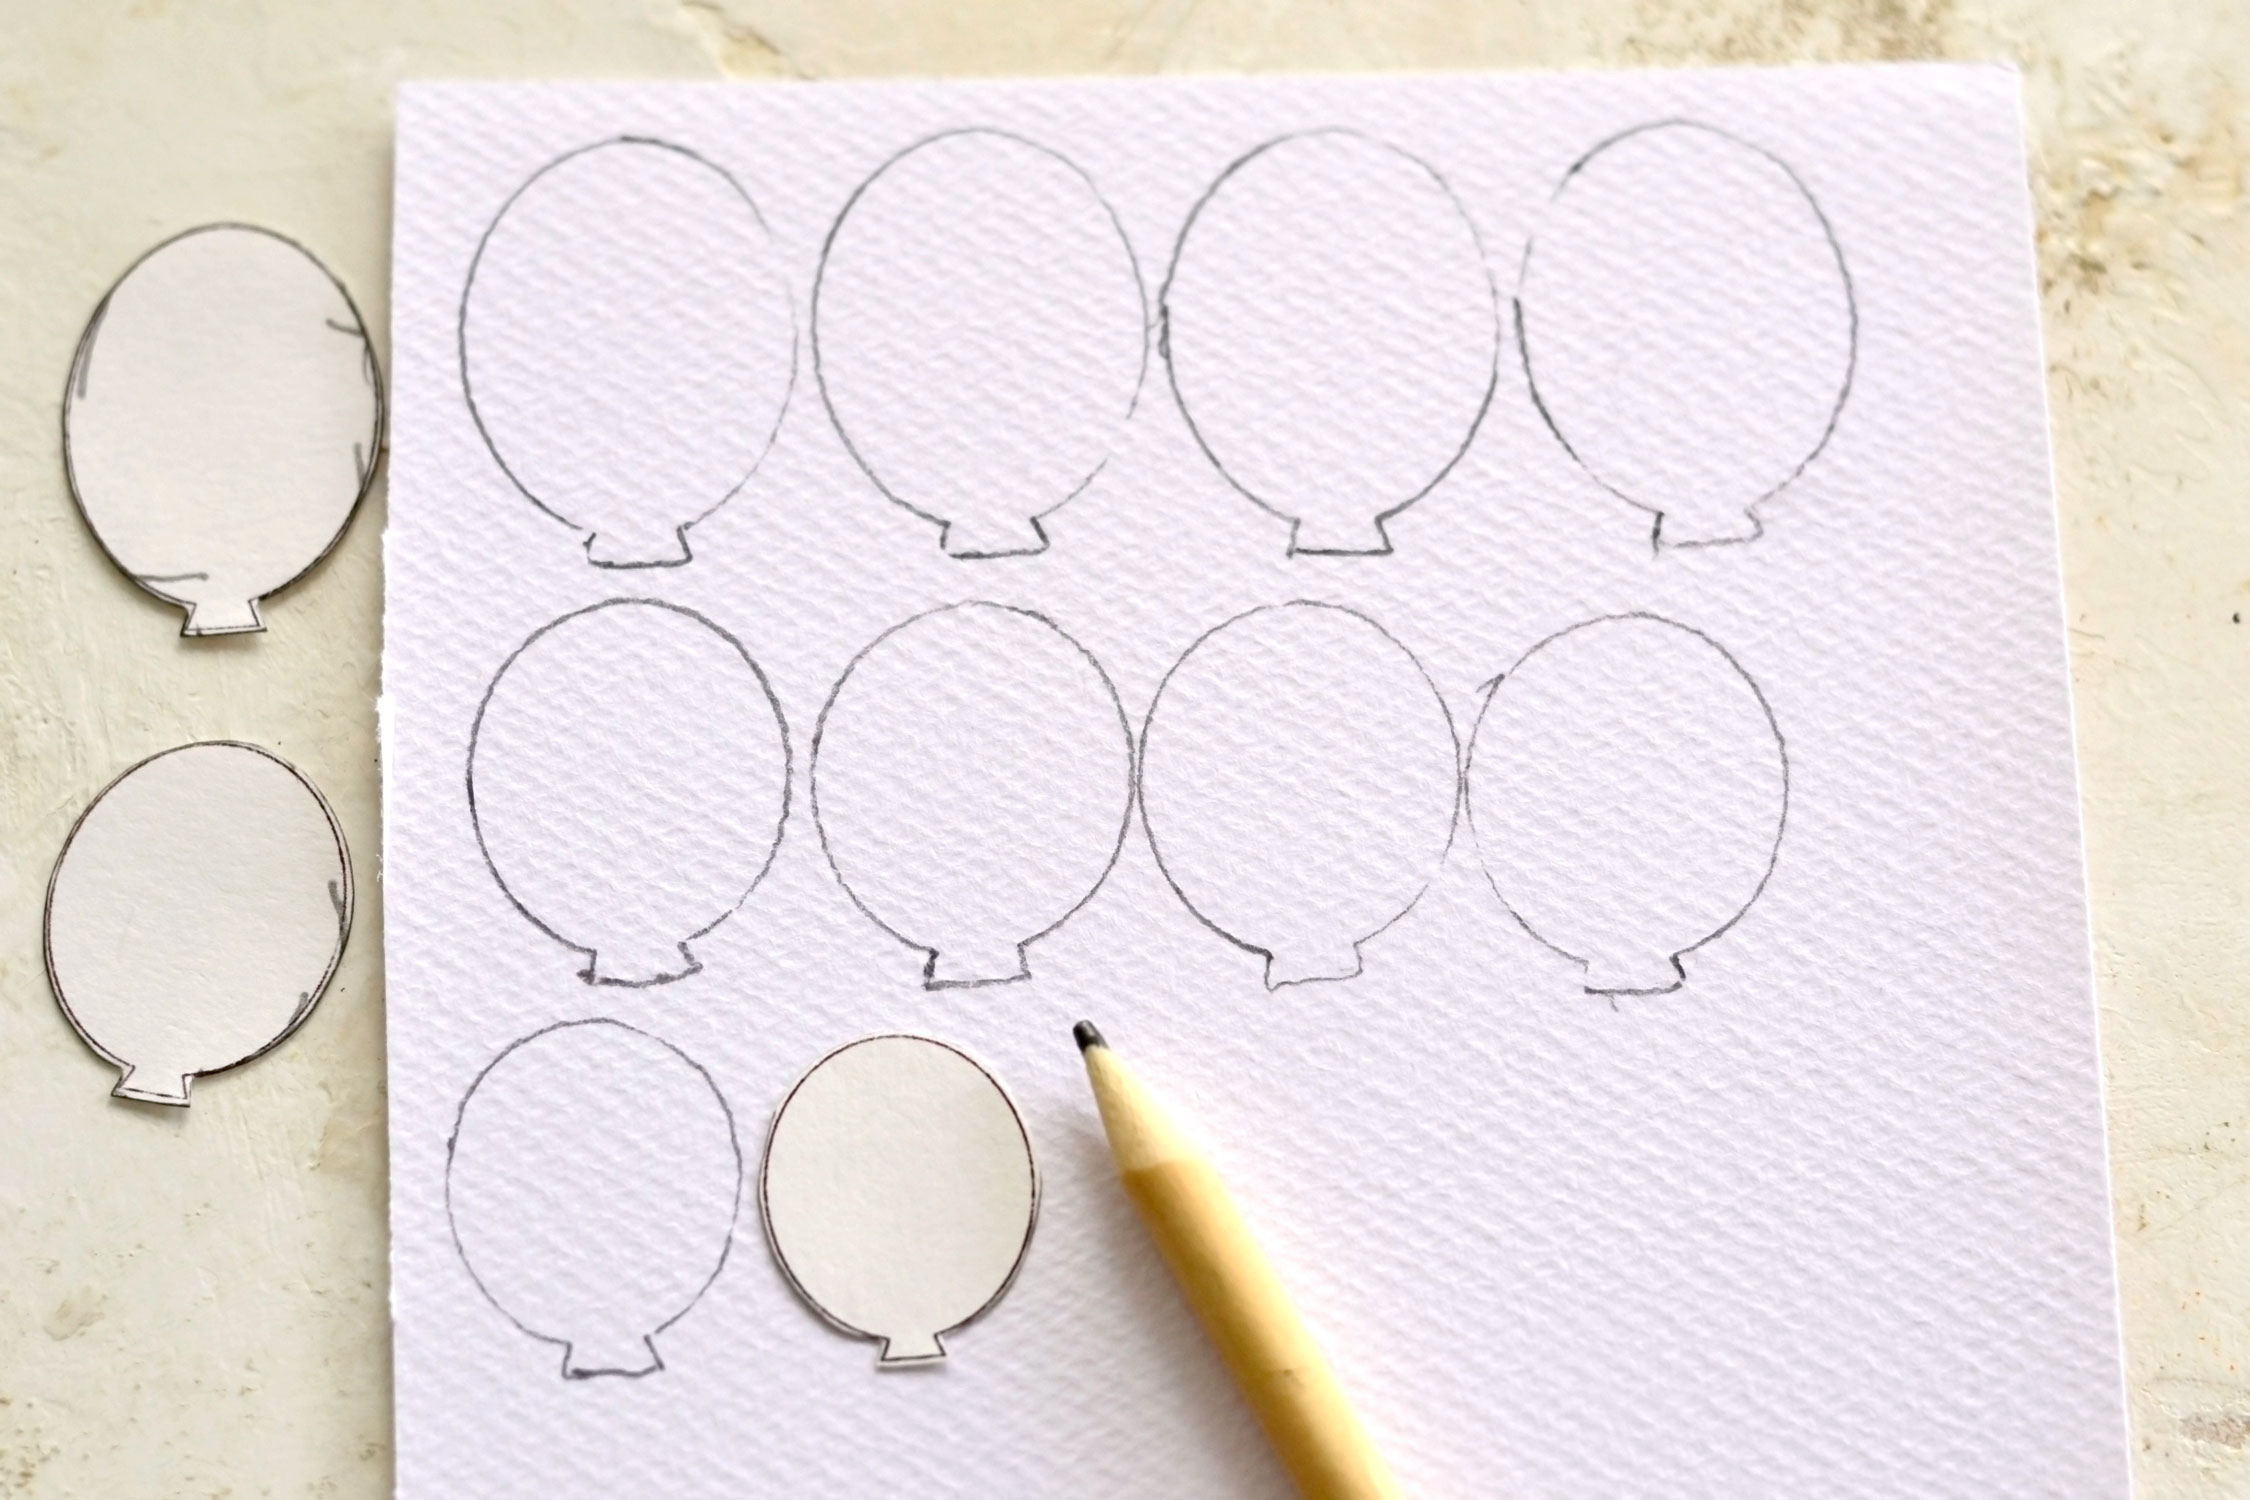
Trace your balloons on watercolor paper using the templates. You can trace as many balloons as you want, these are really fun to make and can be used on other projects too! The traced balloons don’t have to be perfect, so don’t stress too much if you have small imperfections here and there.
Let’s move to the cool trick that I mentioned earlier in the post using a somehow unconventional supply, shall we? This step right here will help us create the white spots on paper which will allow us to make our balloons more realistic! Are you ready to know the ‘secret’ ingredient? It’s candle wax! We will be using it to basically create a wax resist on watercolor paper, so cool right? You can use new or any leftover white candle wax for this, I had around a few scrap pieces.
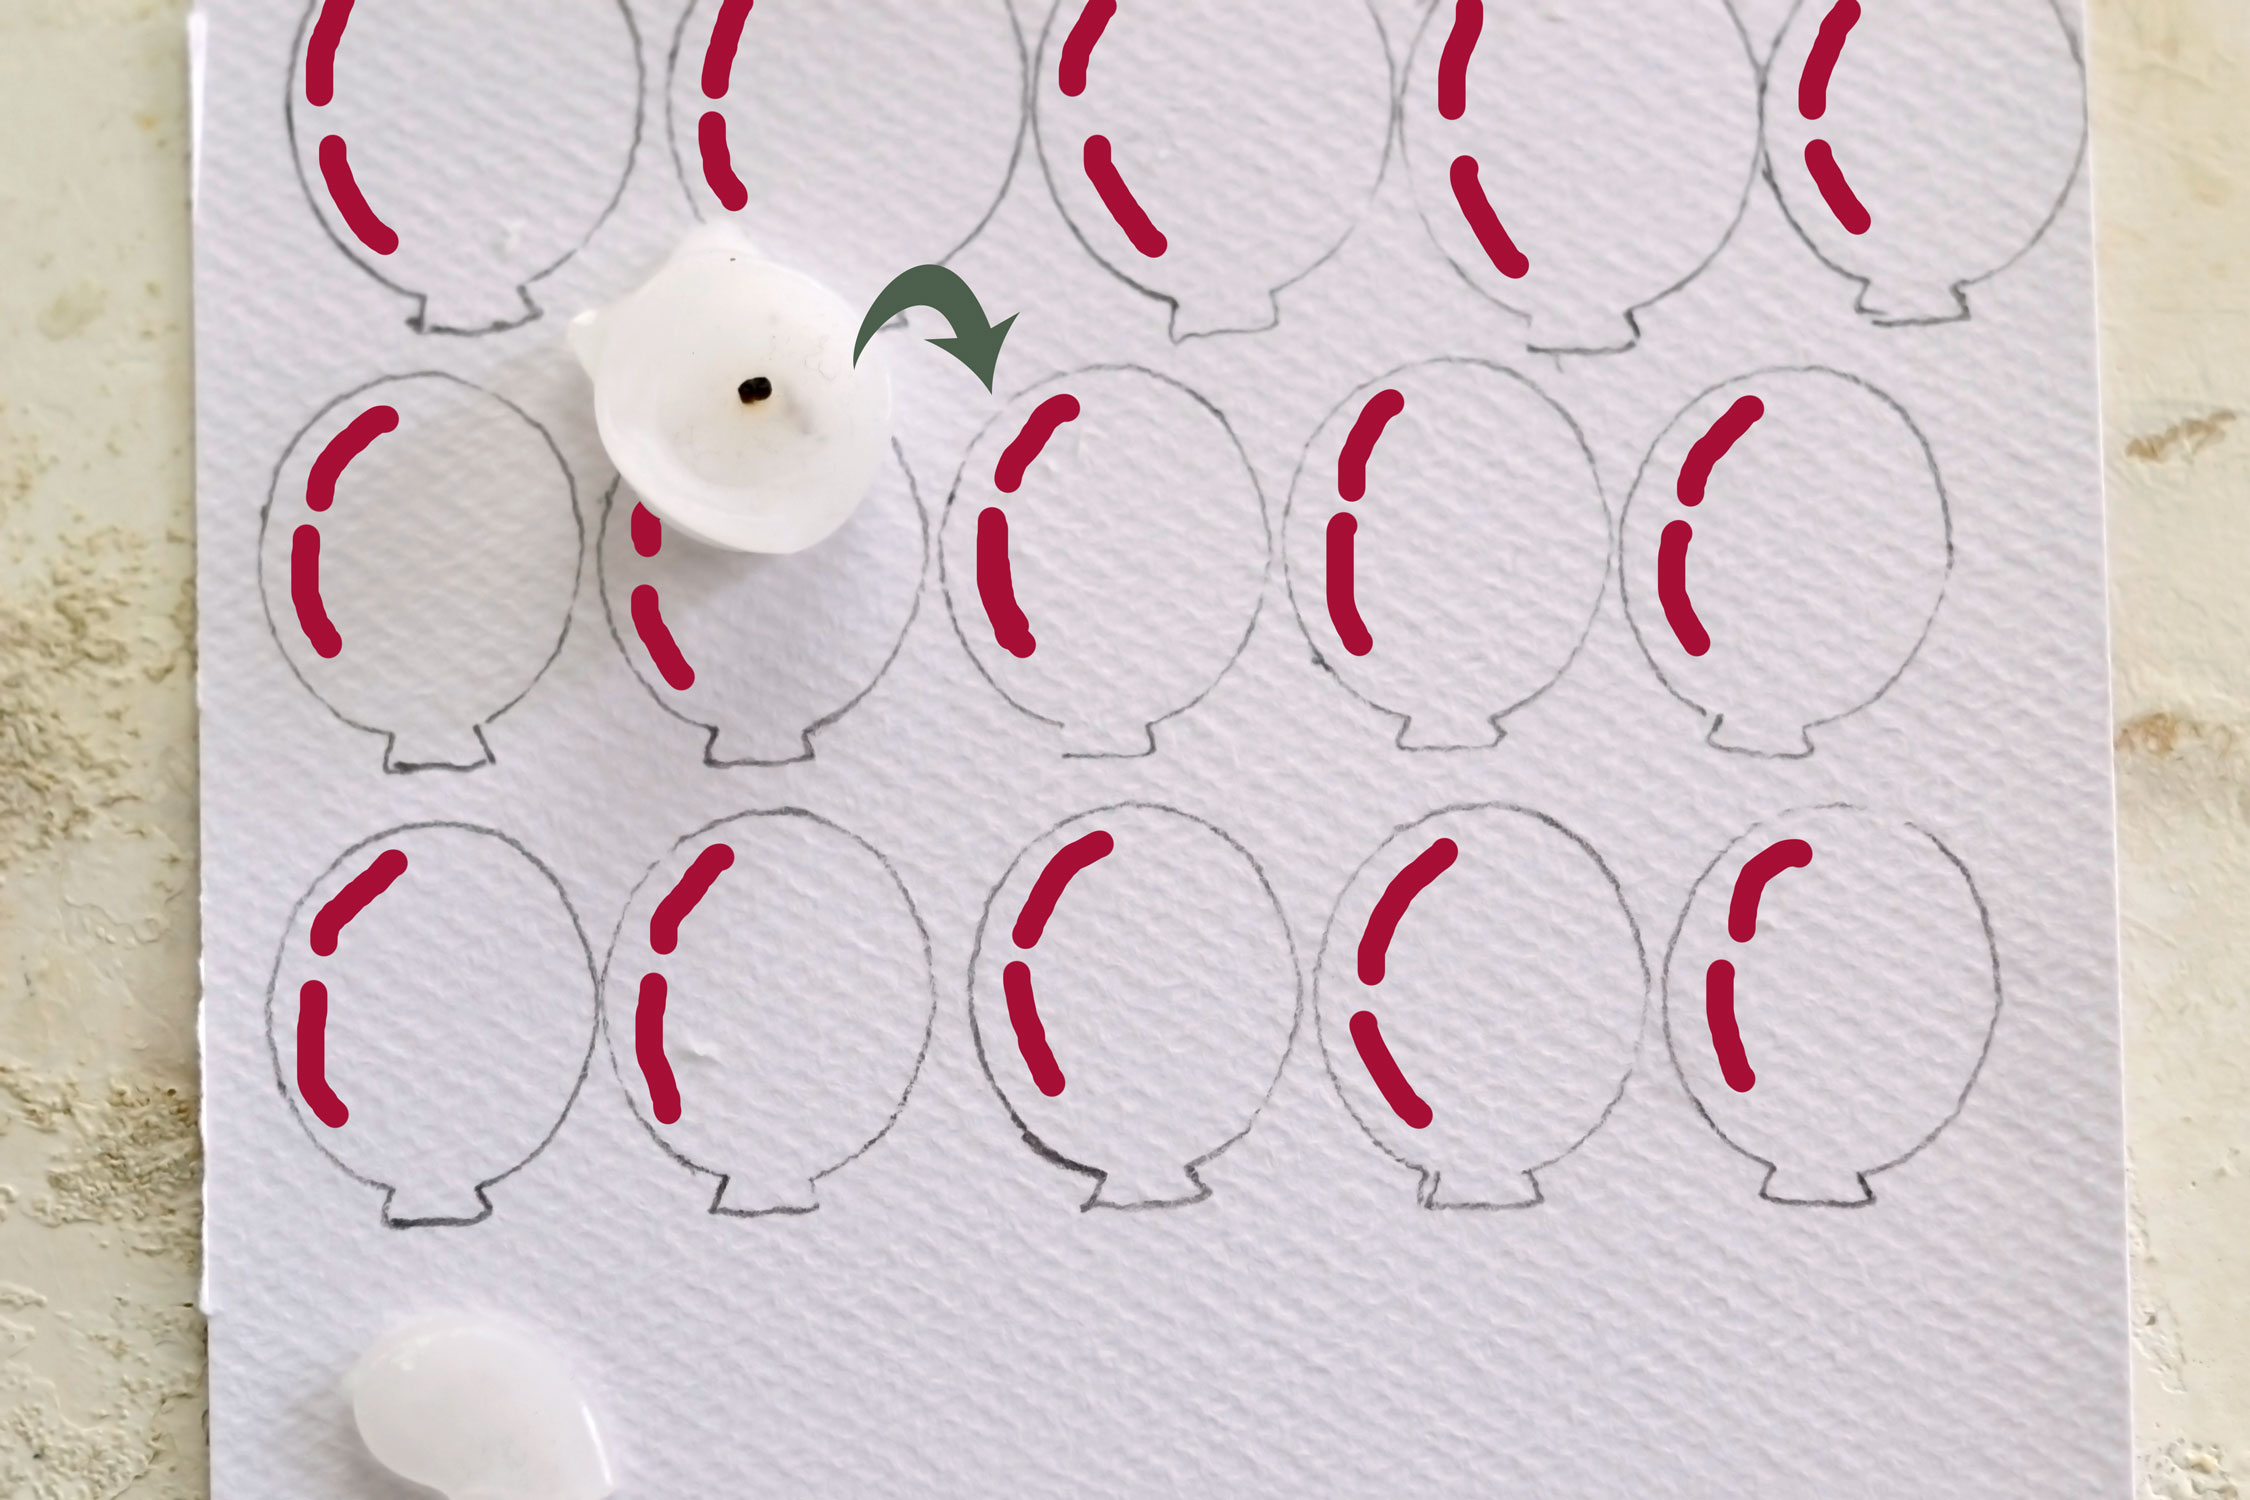
The process itself is really easy, you’ll need to rub your candle wax on the inside left side of your balloons to create 2 vertical lines that follow the shape of the balloon – I highlighted the lines in red so you can better see how they should look. Depending on the thickness of your candle, the lines will be more or less visible and quite irregular.
Now let’s just start painting, it’s lots of fun! Because I didn’t have one specific color in mind for this project, I decided to use yellow, orange, red, blue and some green. You know, a little bit of everything.
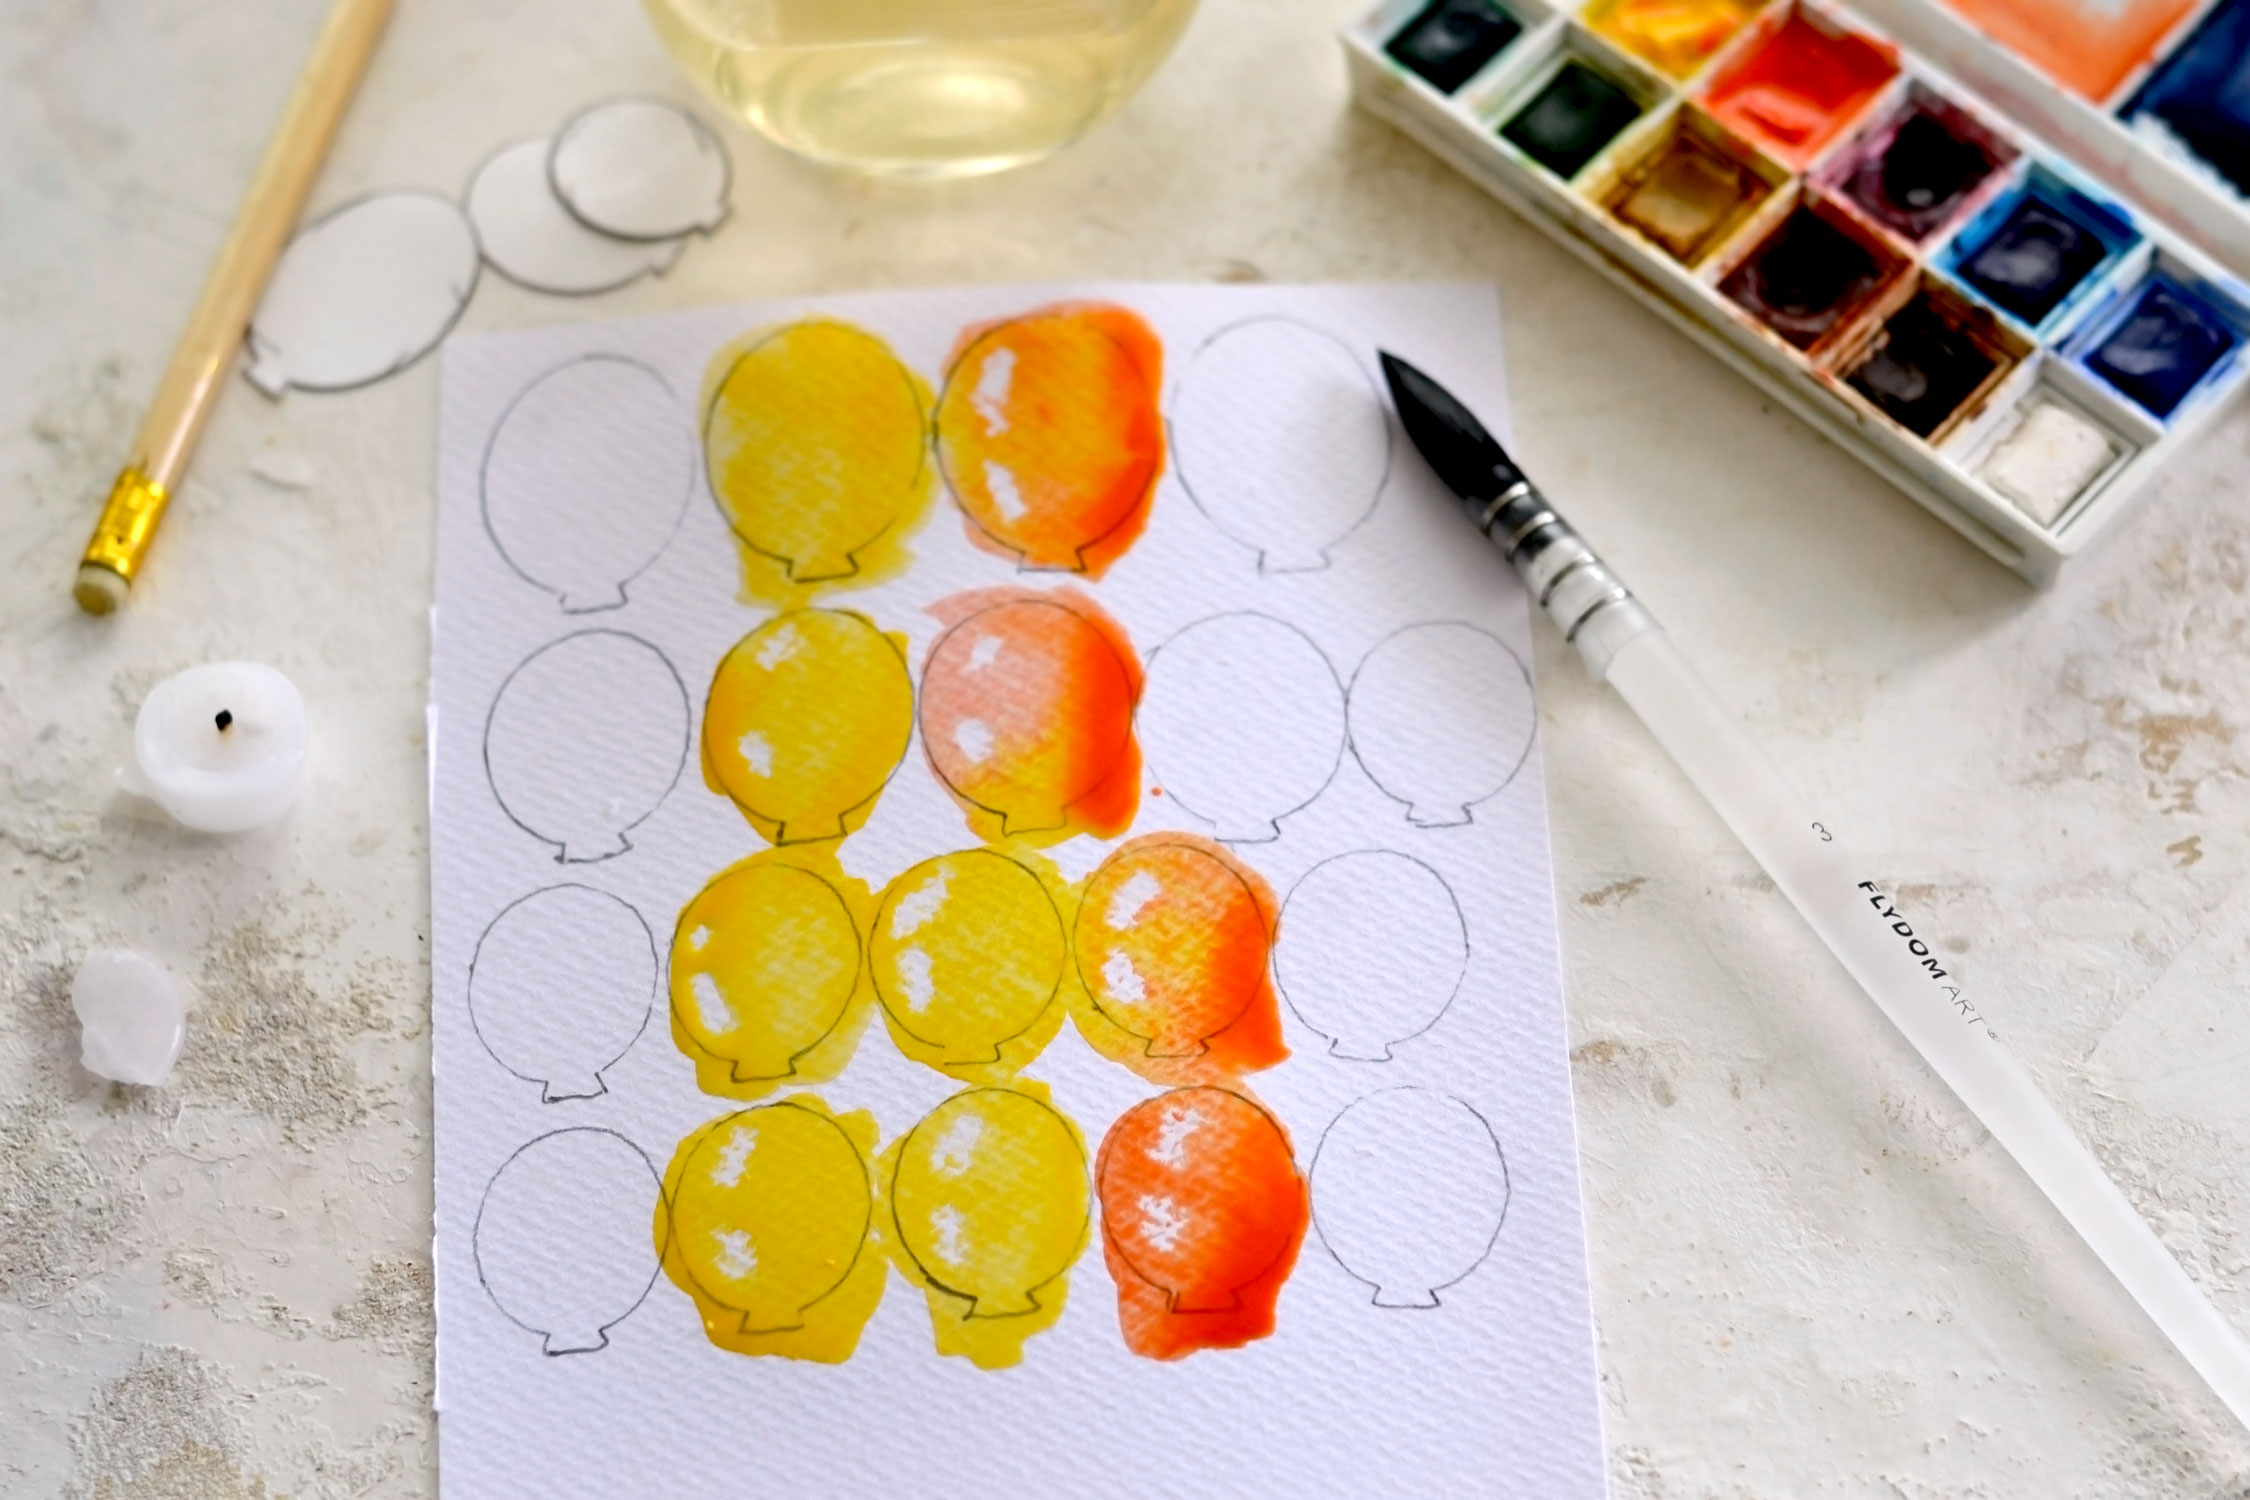
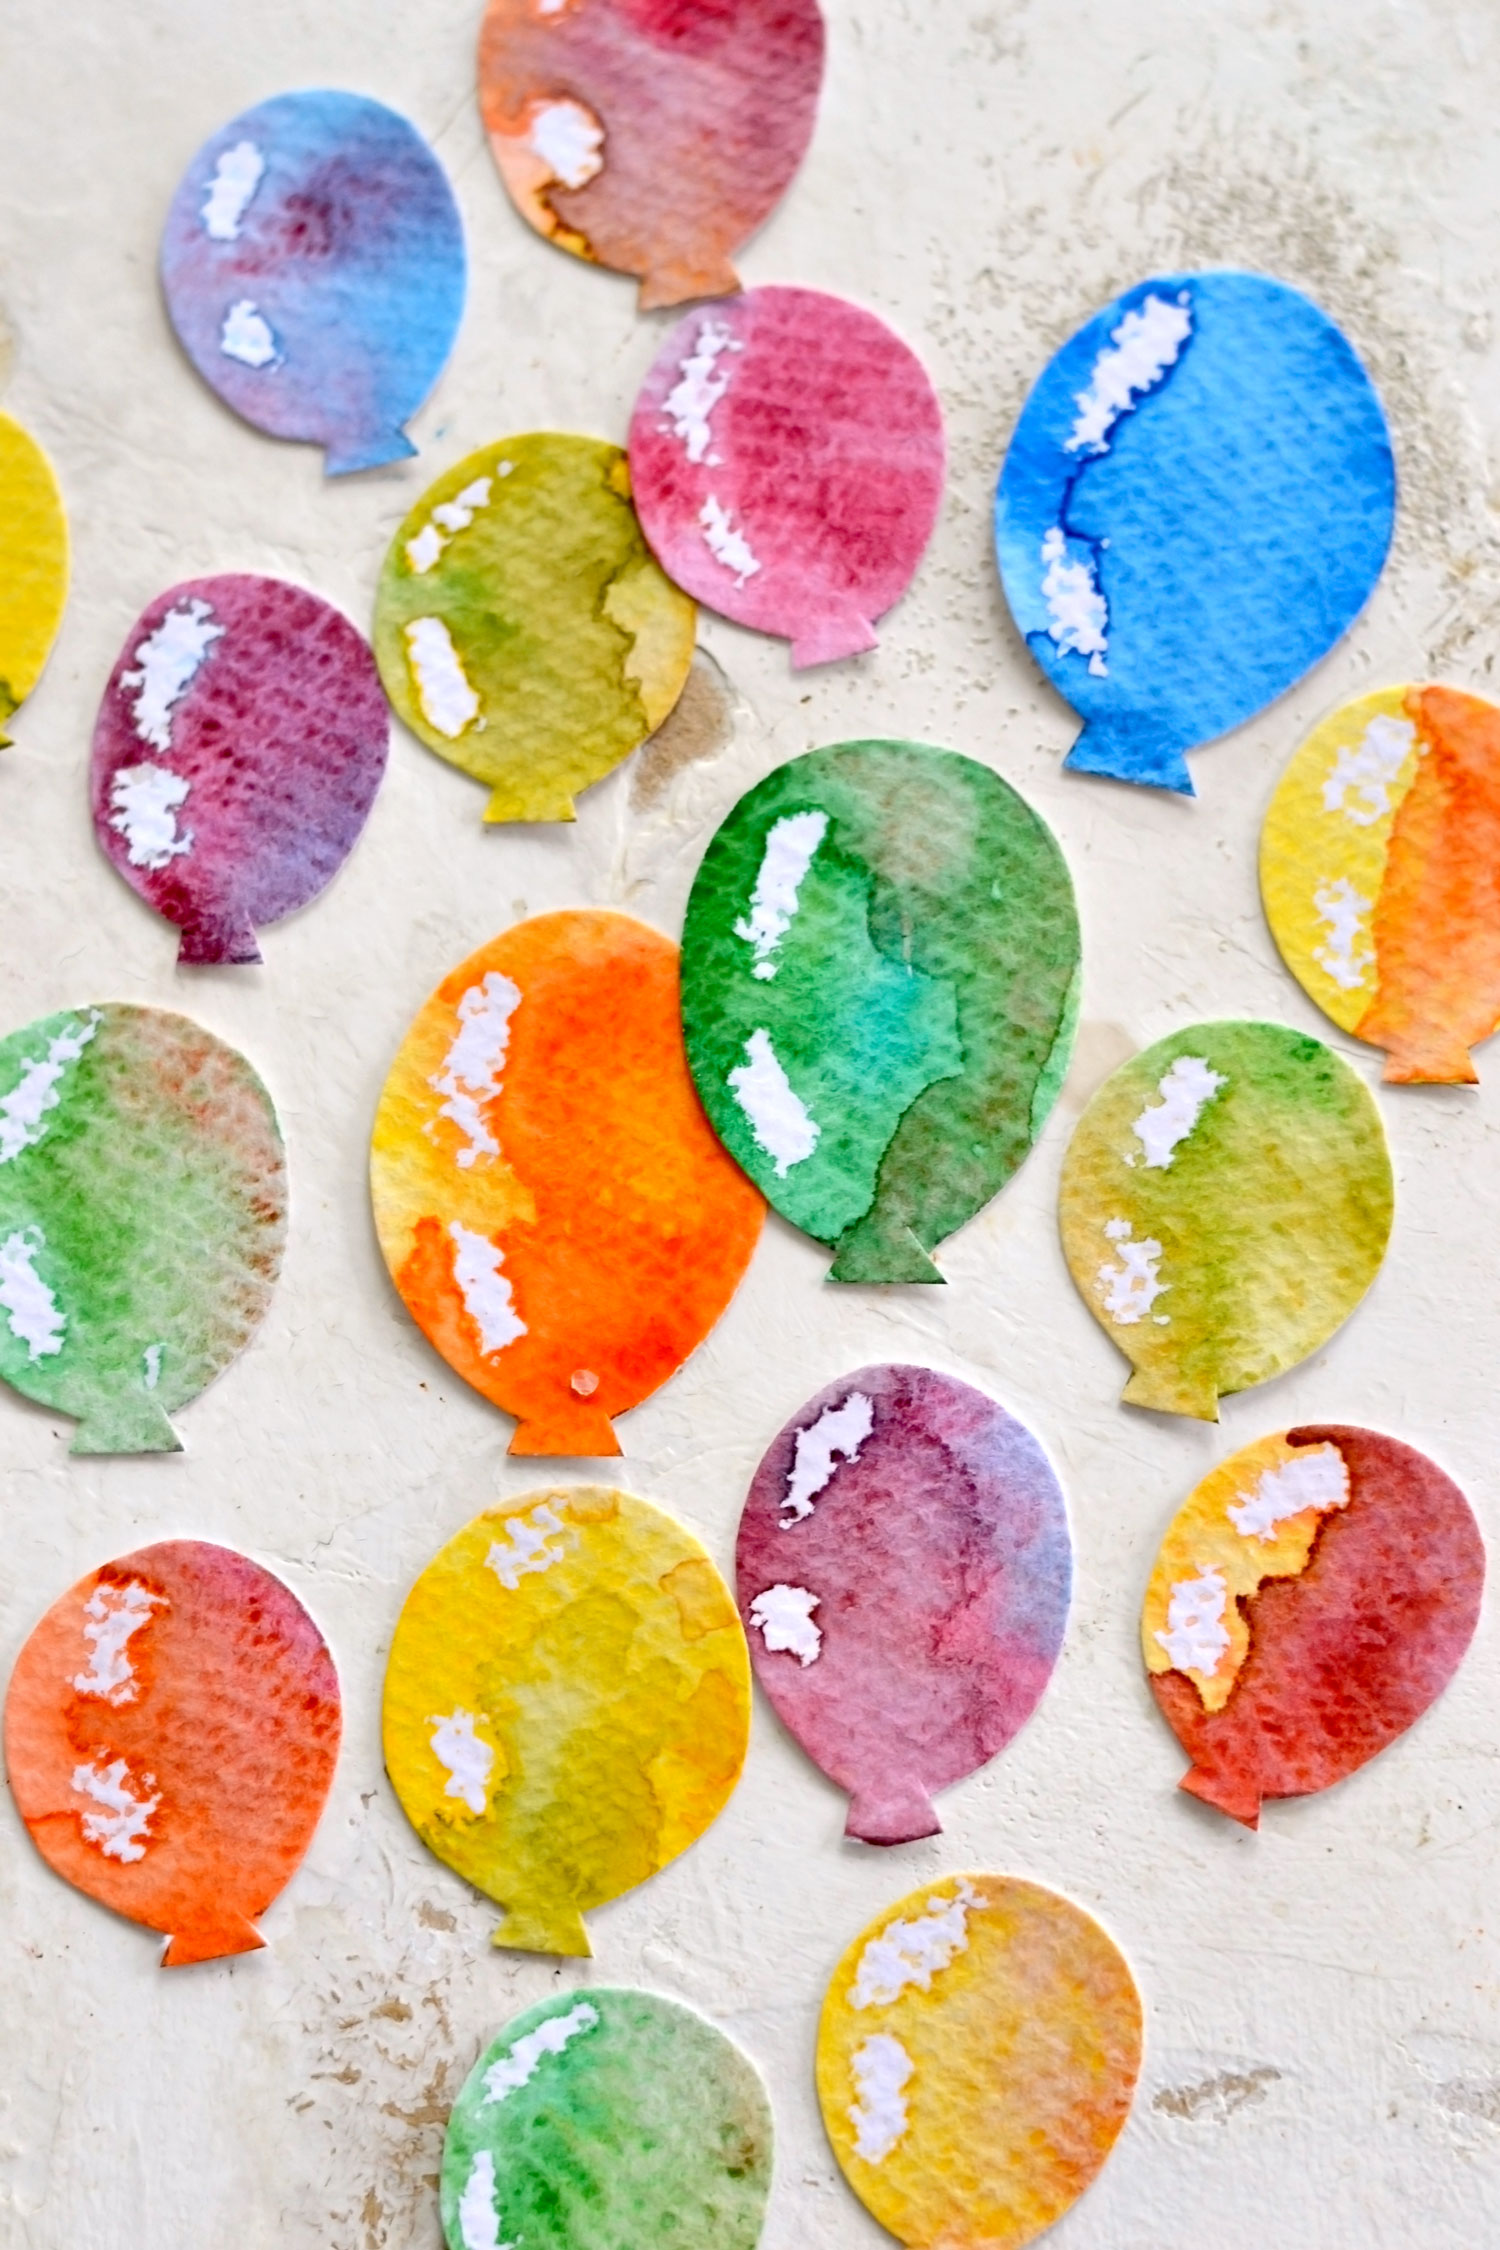
I like to use a small spray bottle to spray my watercolors and wake them up first, I dip my brush in the water jar and then I load it with the paint. As you can see, the areas where we created the wax resist are remaining white after painting. The wax prevents the paint from sticking to the paper creating this cool ‘light reflection’ effect on the balloons. The best part is that each balloon will be quite unique, no two balloons will be the same!
P.S. I left one balloon unwaxed (the second one from the first row) just so you can see the difference.
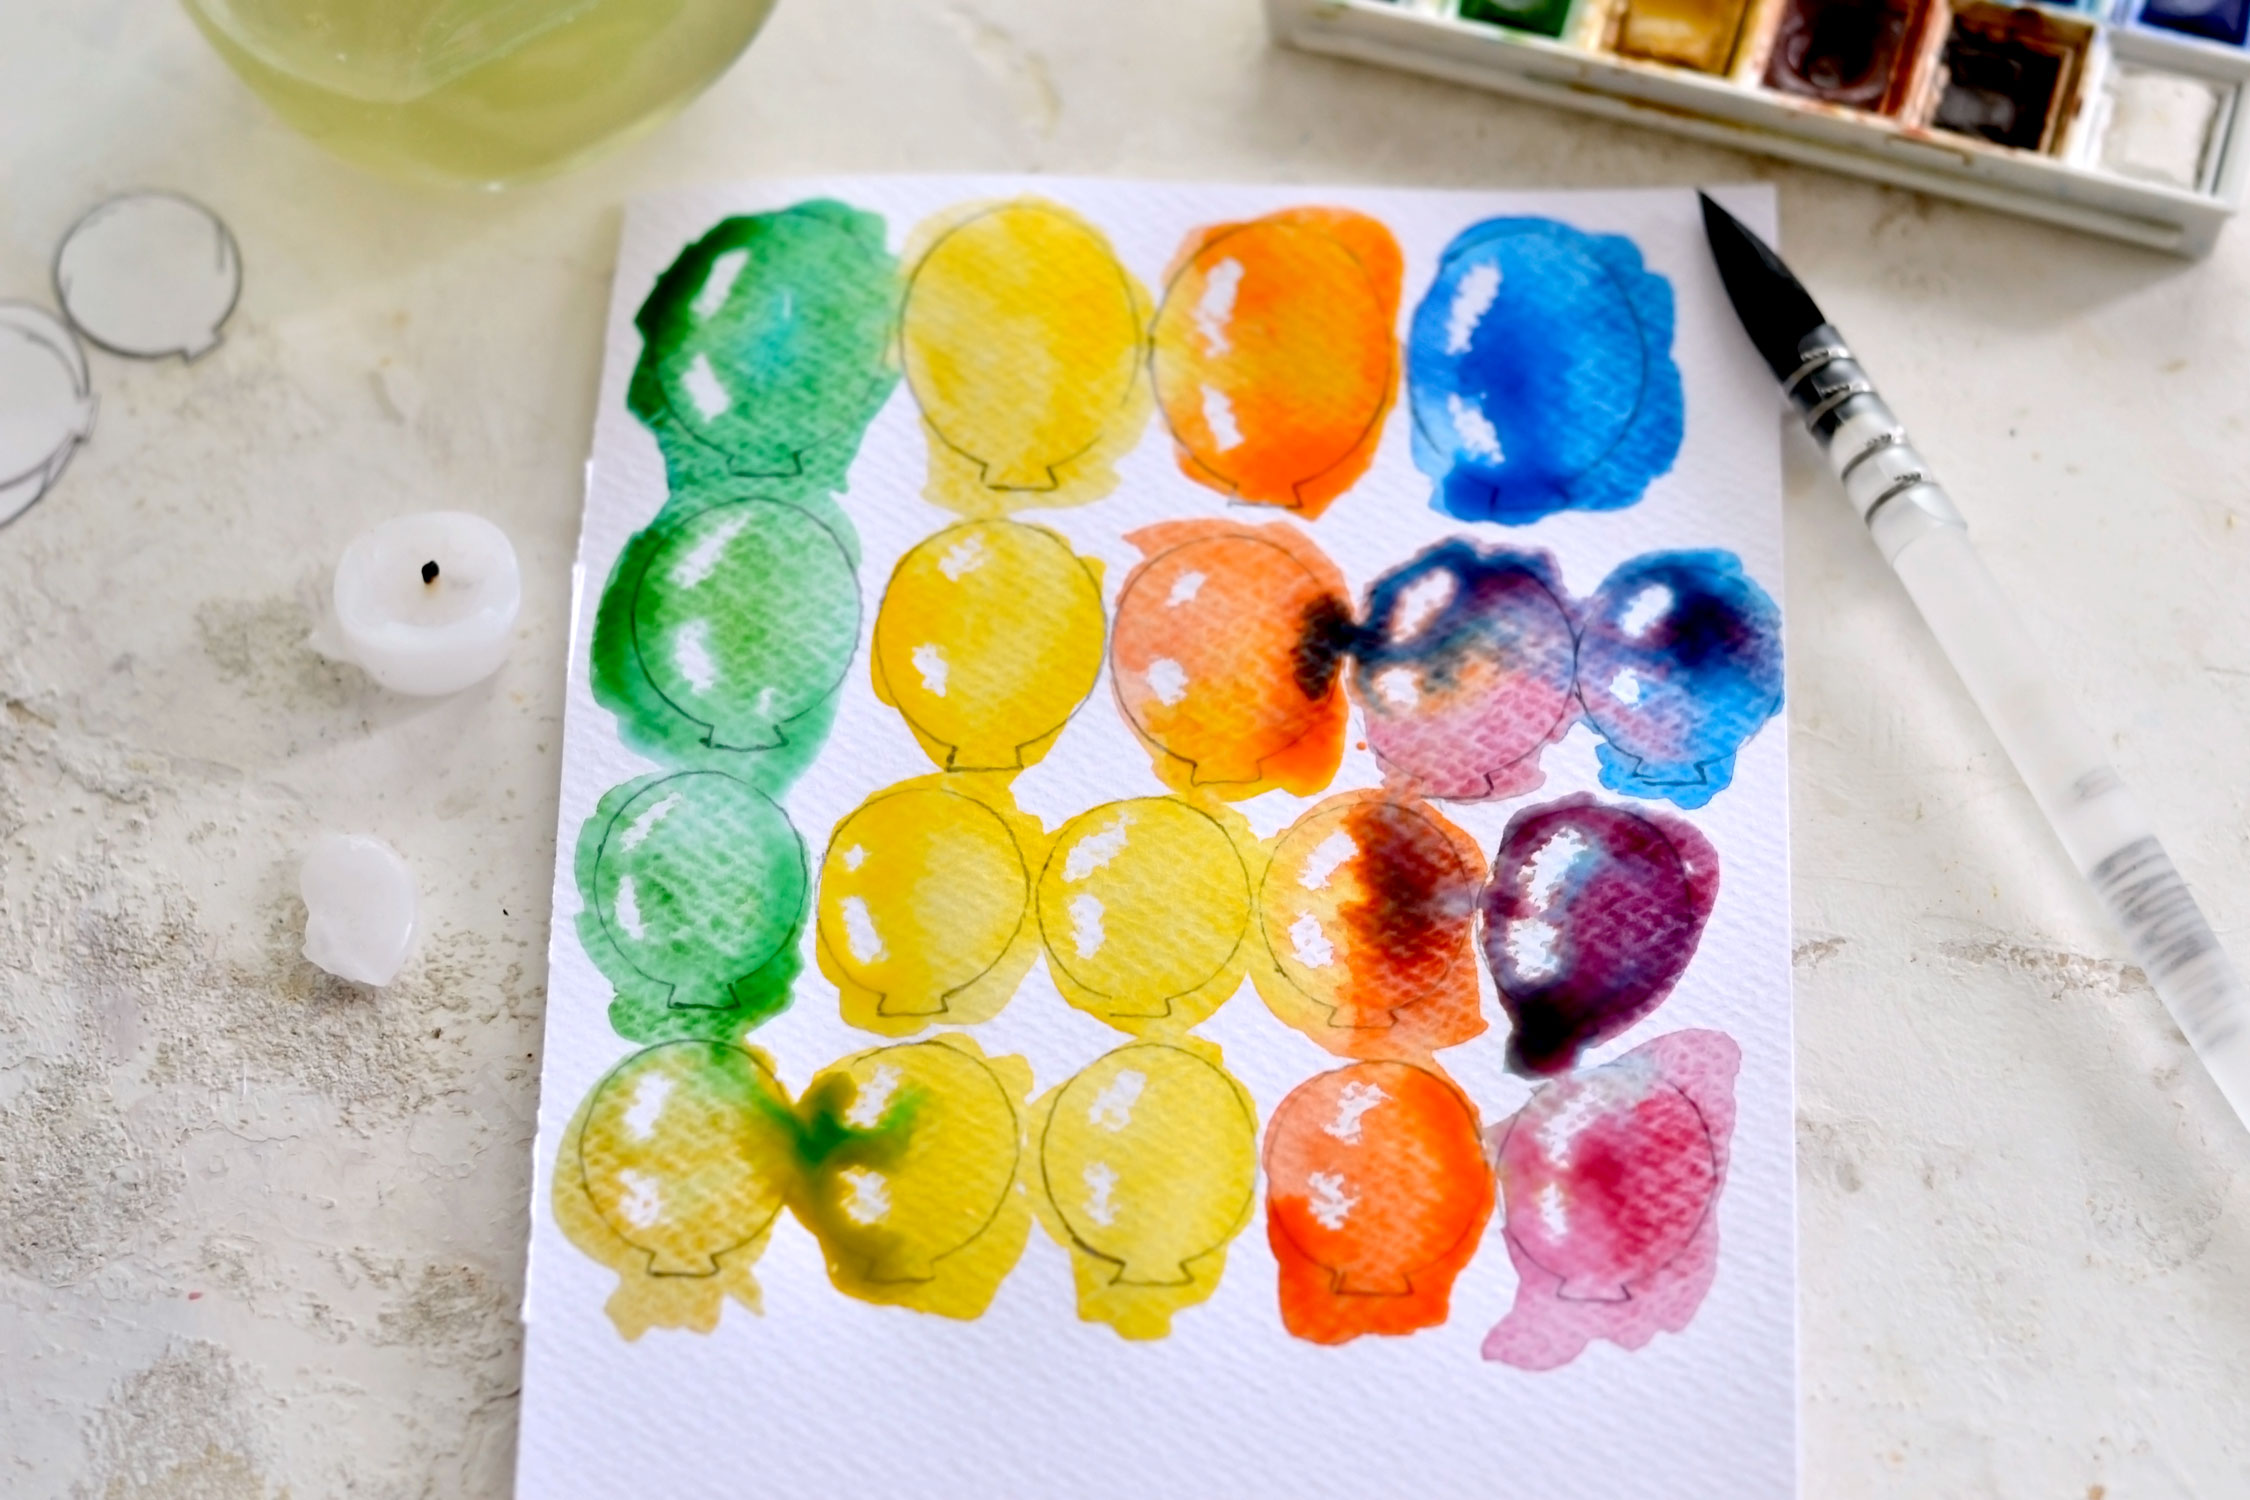
You can keep the colors simple or you can mix them as you want. I actually painted each balloon in one color first, then I added a little bit of paint in a different color. I intentionally placed the yellow balloons between the green and the orange ones. From orange, I moved to red, then blue. This will keep the color mixing somehow clean.
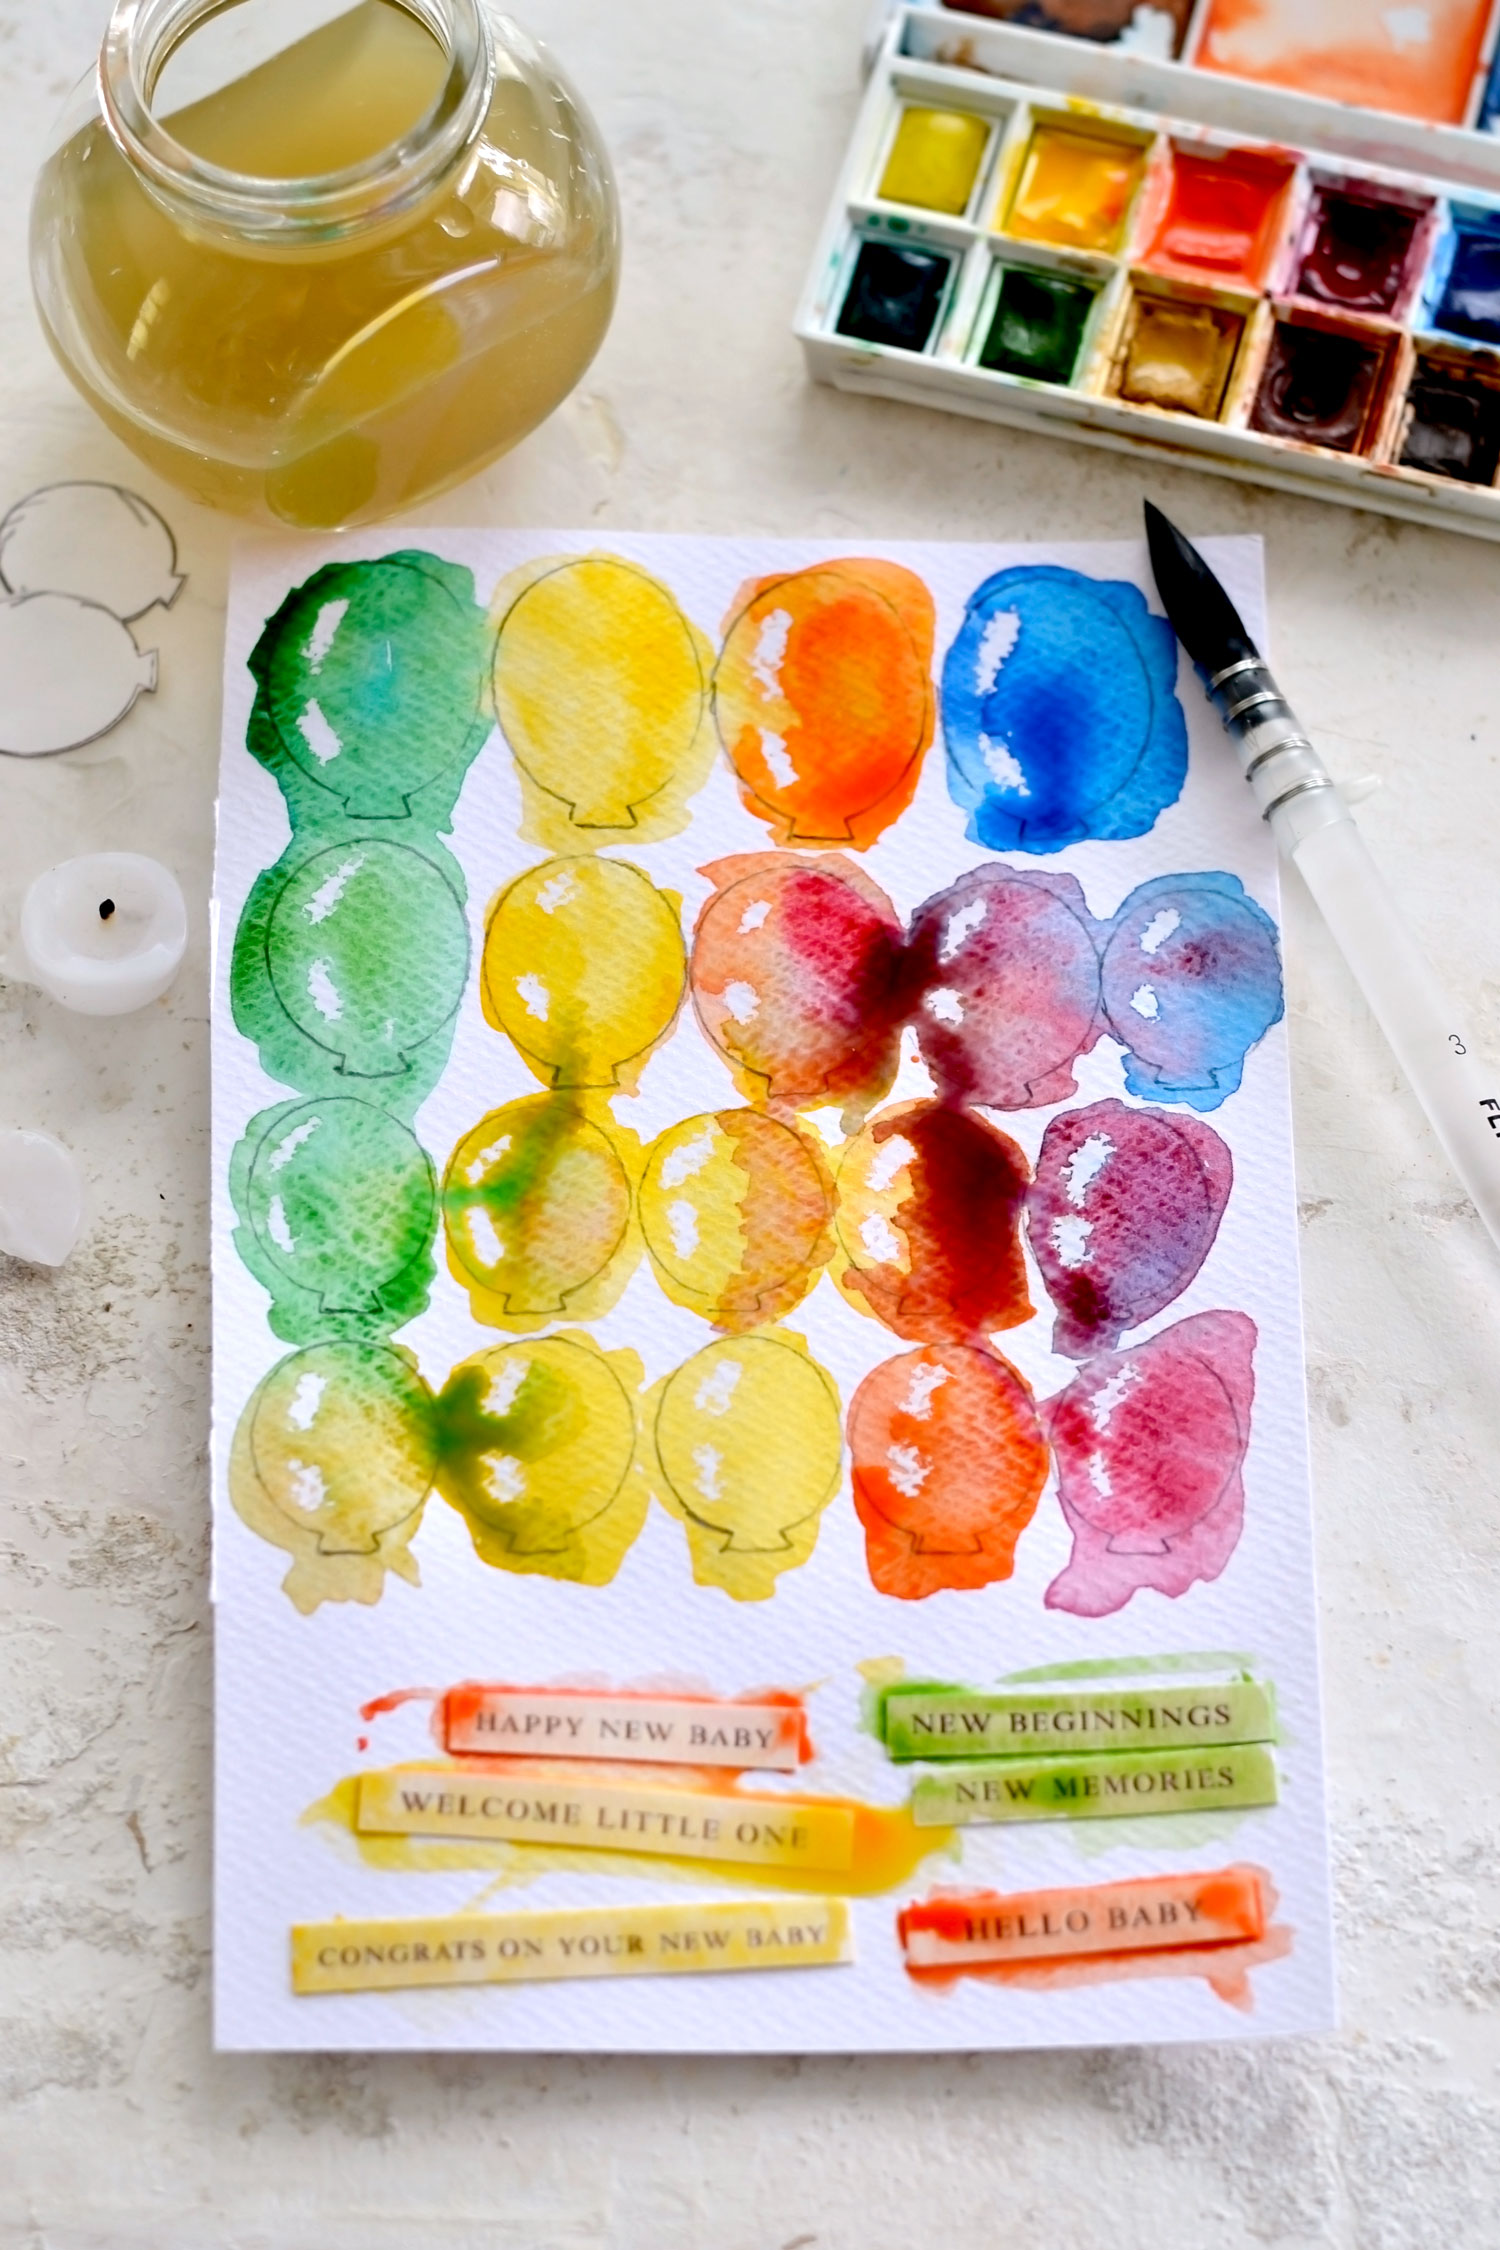
As you can see, some of the balloons got a little bit too wet so the color mixing was quite ‘unleashed’, but I didn’t mind it, these happy accidents usually make the most beautiful and unexpected color mixes.
If you want to keep a cohesive color scheme, you can place the New Baby sentiments on your watercolor paper and paint them too using one of these colors – try not to add too much paint, we don’t want to completely cover the writing.
Let everything dry completely before moving on.
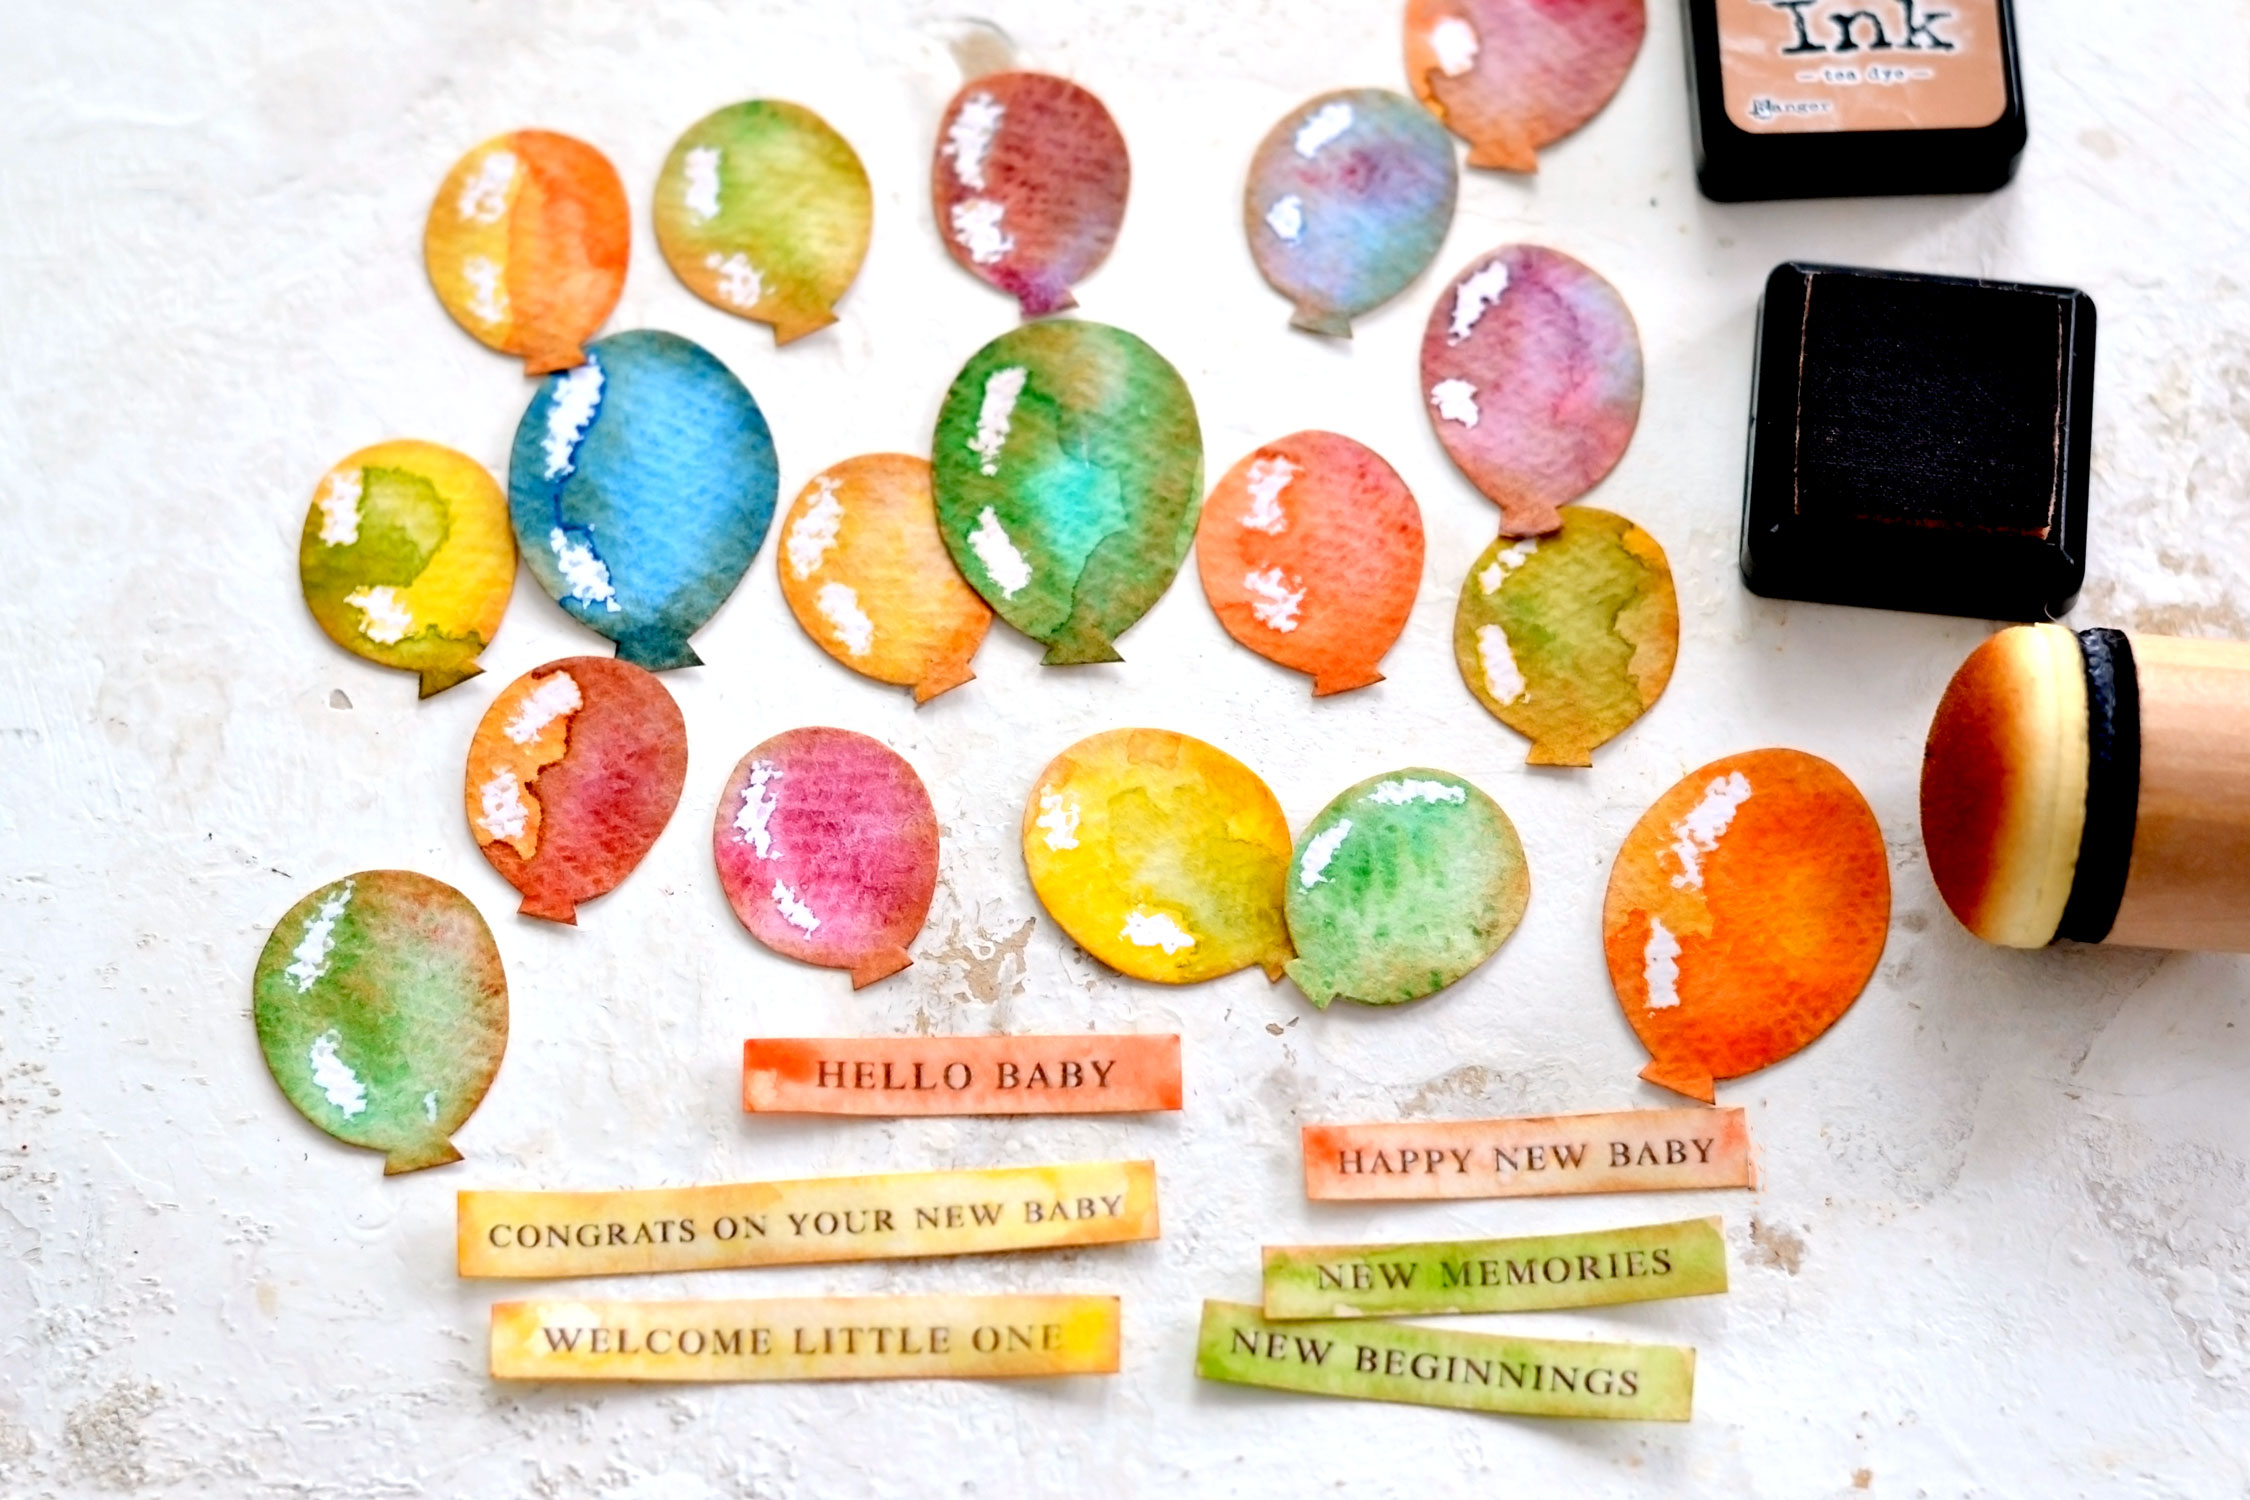
After drying, use your scissors to cut your beautifully watercolored balloons. So much cuteness! I really love the texture of these beauties and the wax resist effect really takes them to the next level, don’t you think?
If you want, you can also distress the watercolor balloons and the sentiments. I used Tea Dye distress ink again just to give them a little bit of dimension.
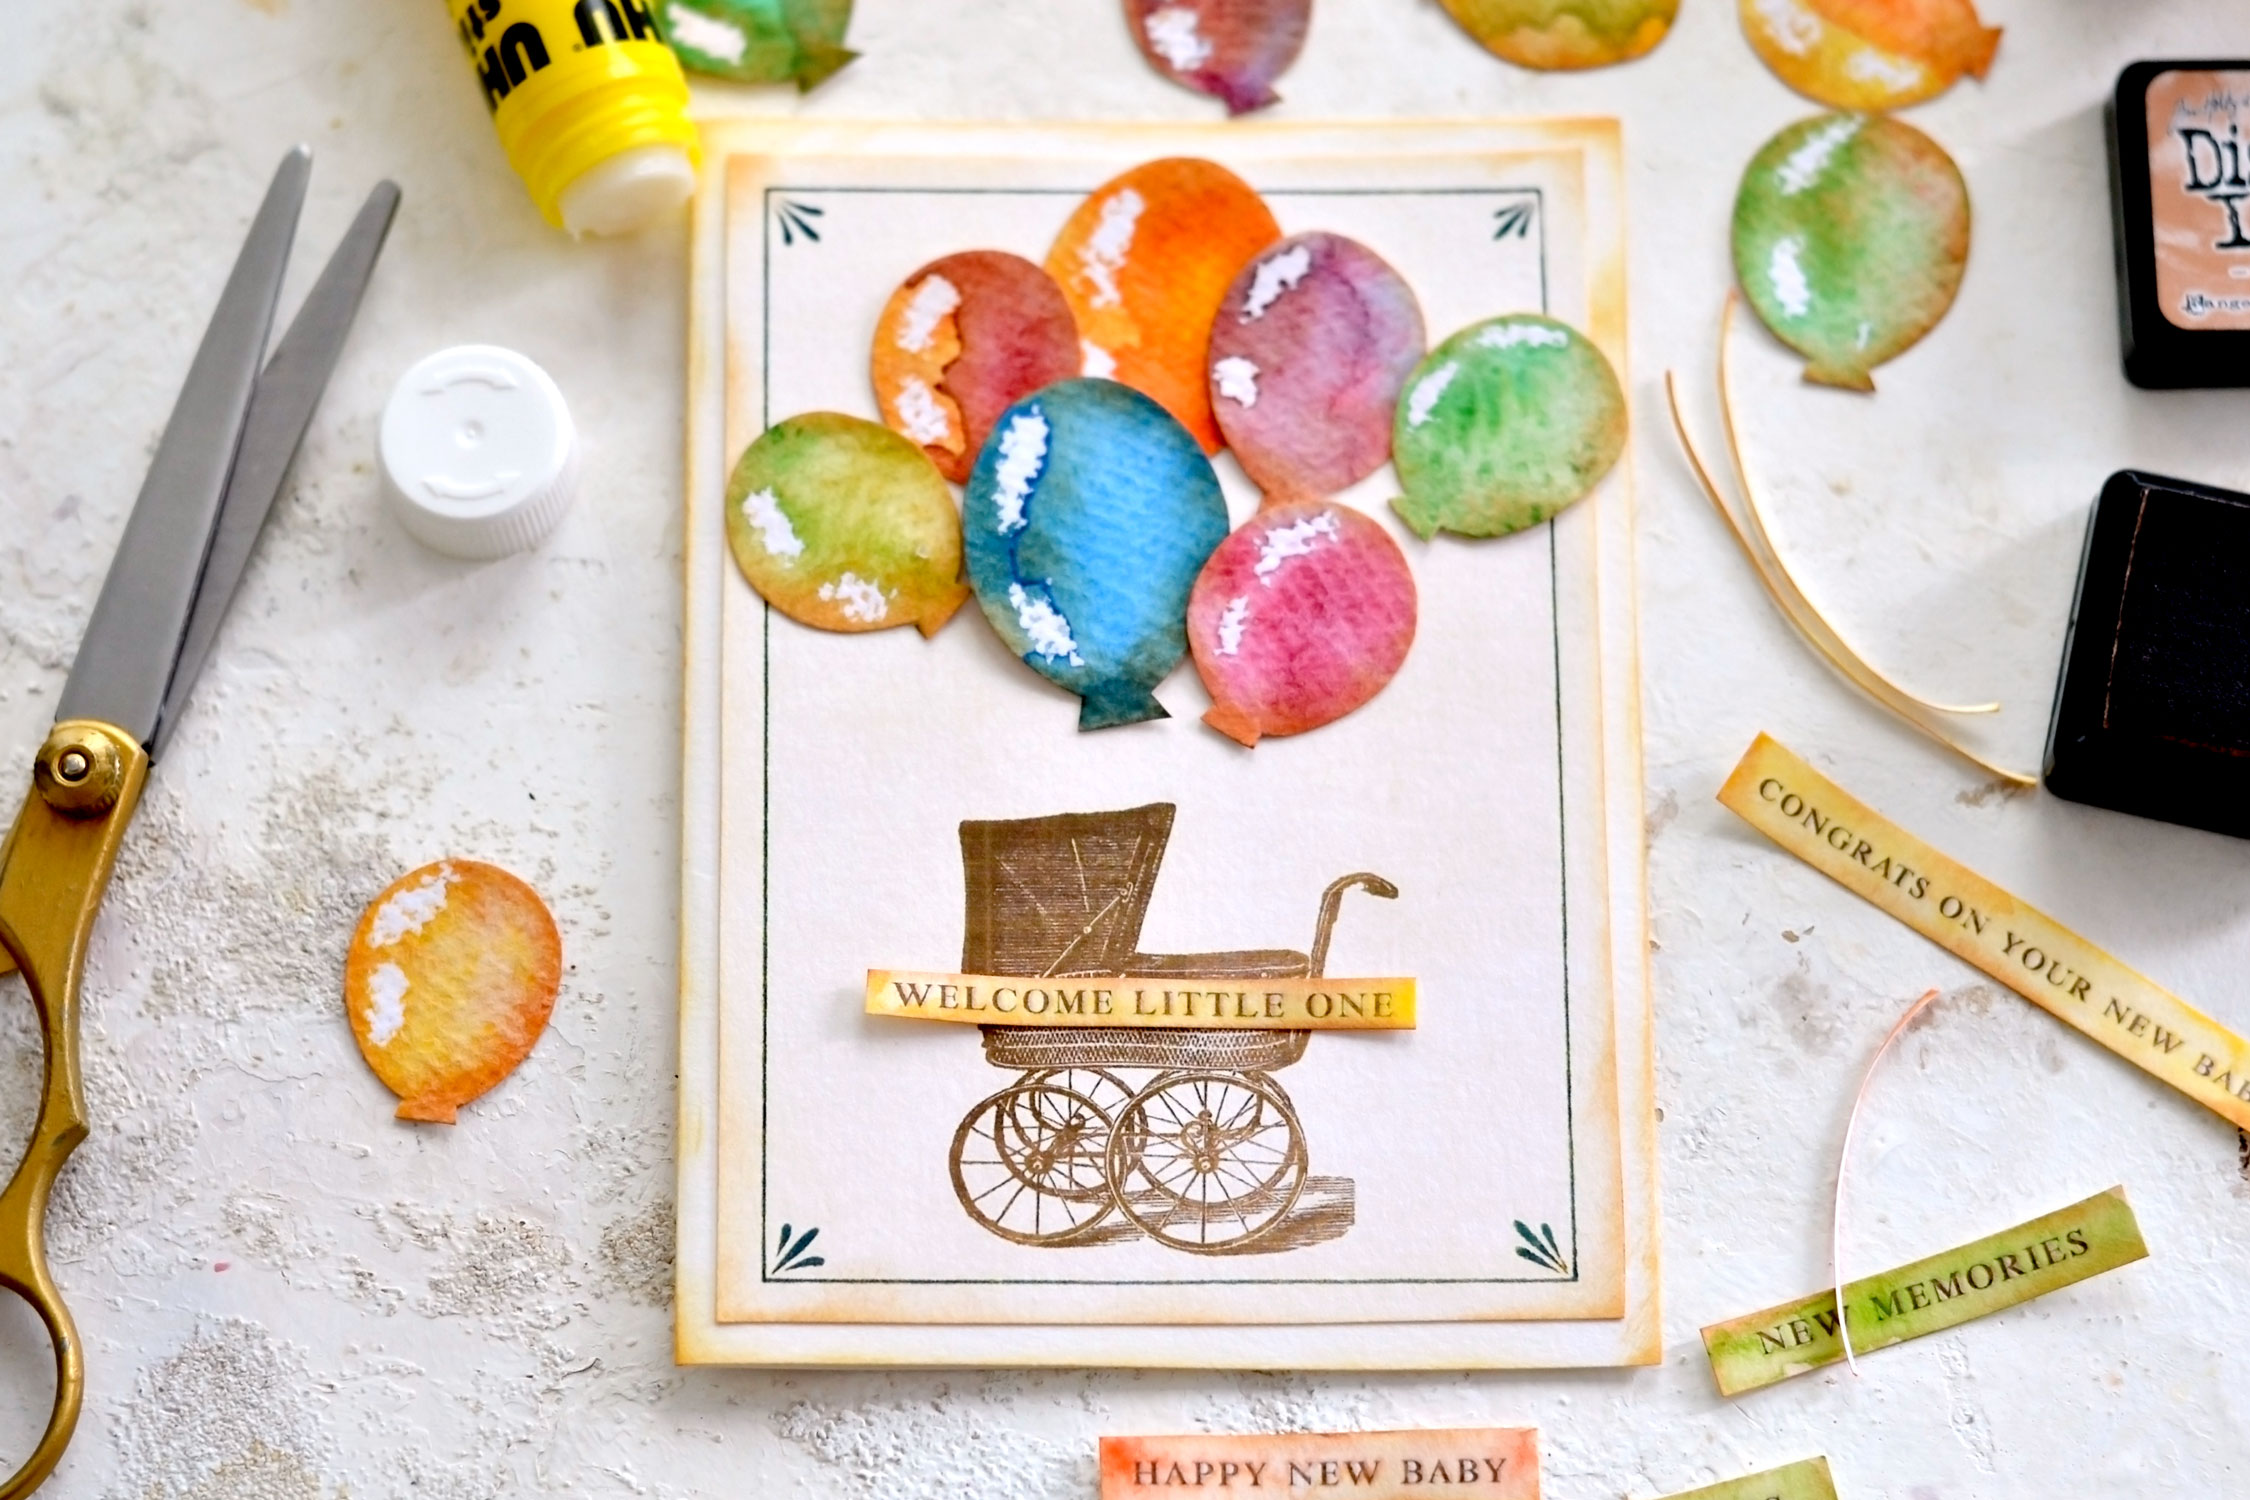
Decide on which balloons you would like to use and how many of them, then place them on your card to see how they look together. If you are overlapping them, as I did, try to use balloons that have different colors so you can better see their shape afterward. You could make all pink ones for a new baby girl card or all blue ones for a new baby boy card.
Try each of the well wishes sentiment from the set and decide on the one that you love the most. I think they are such a sweet touch!
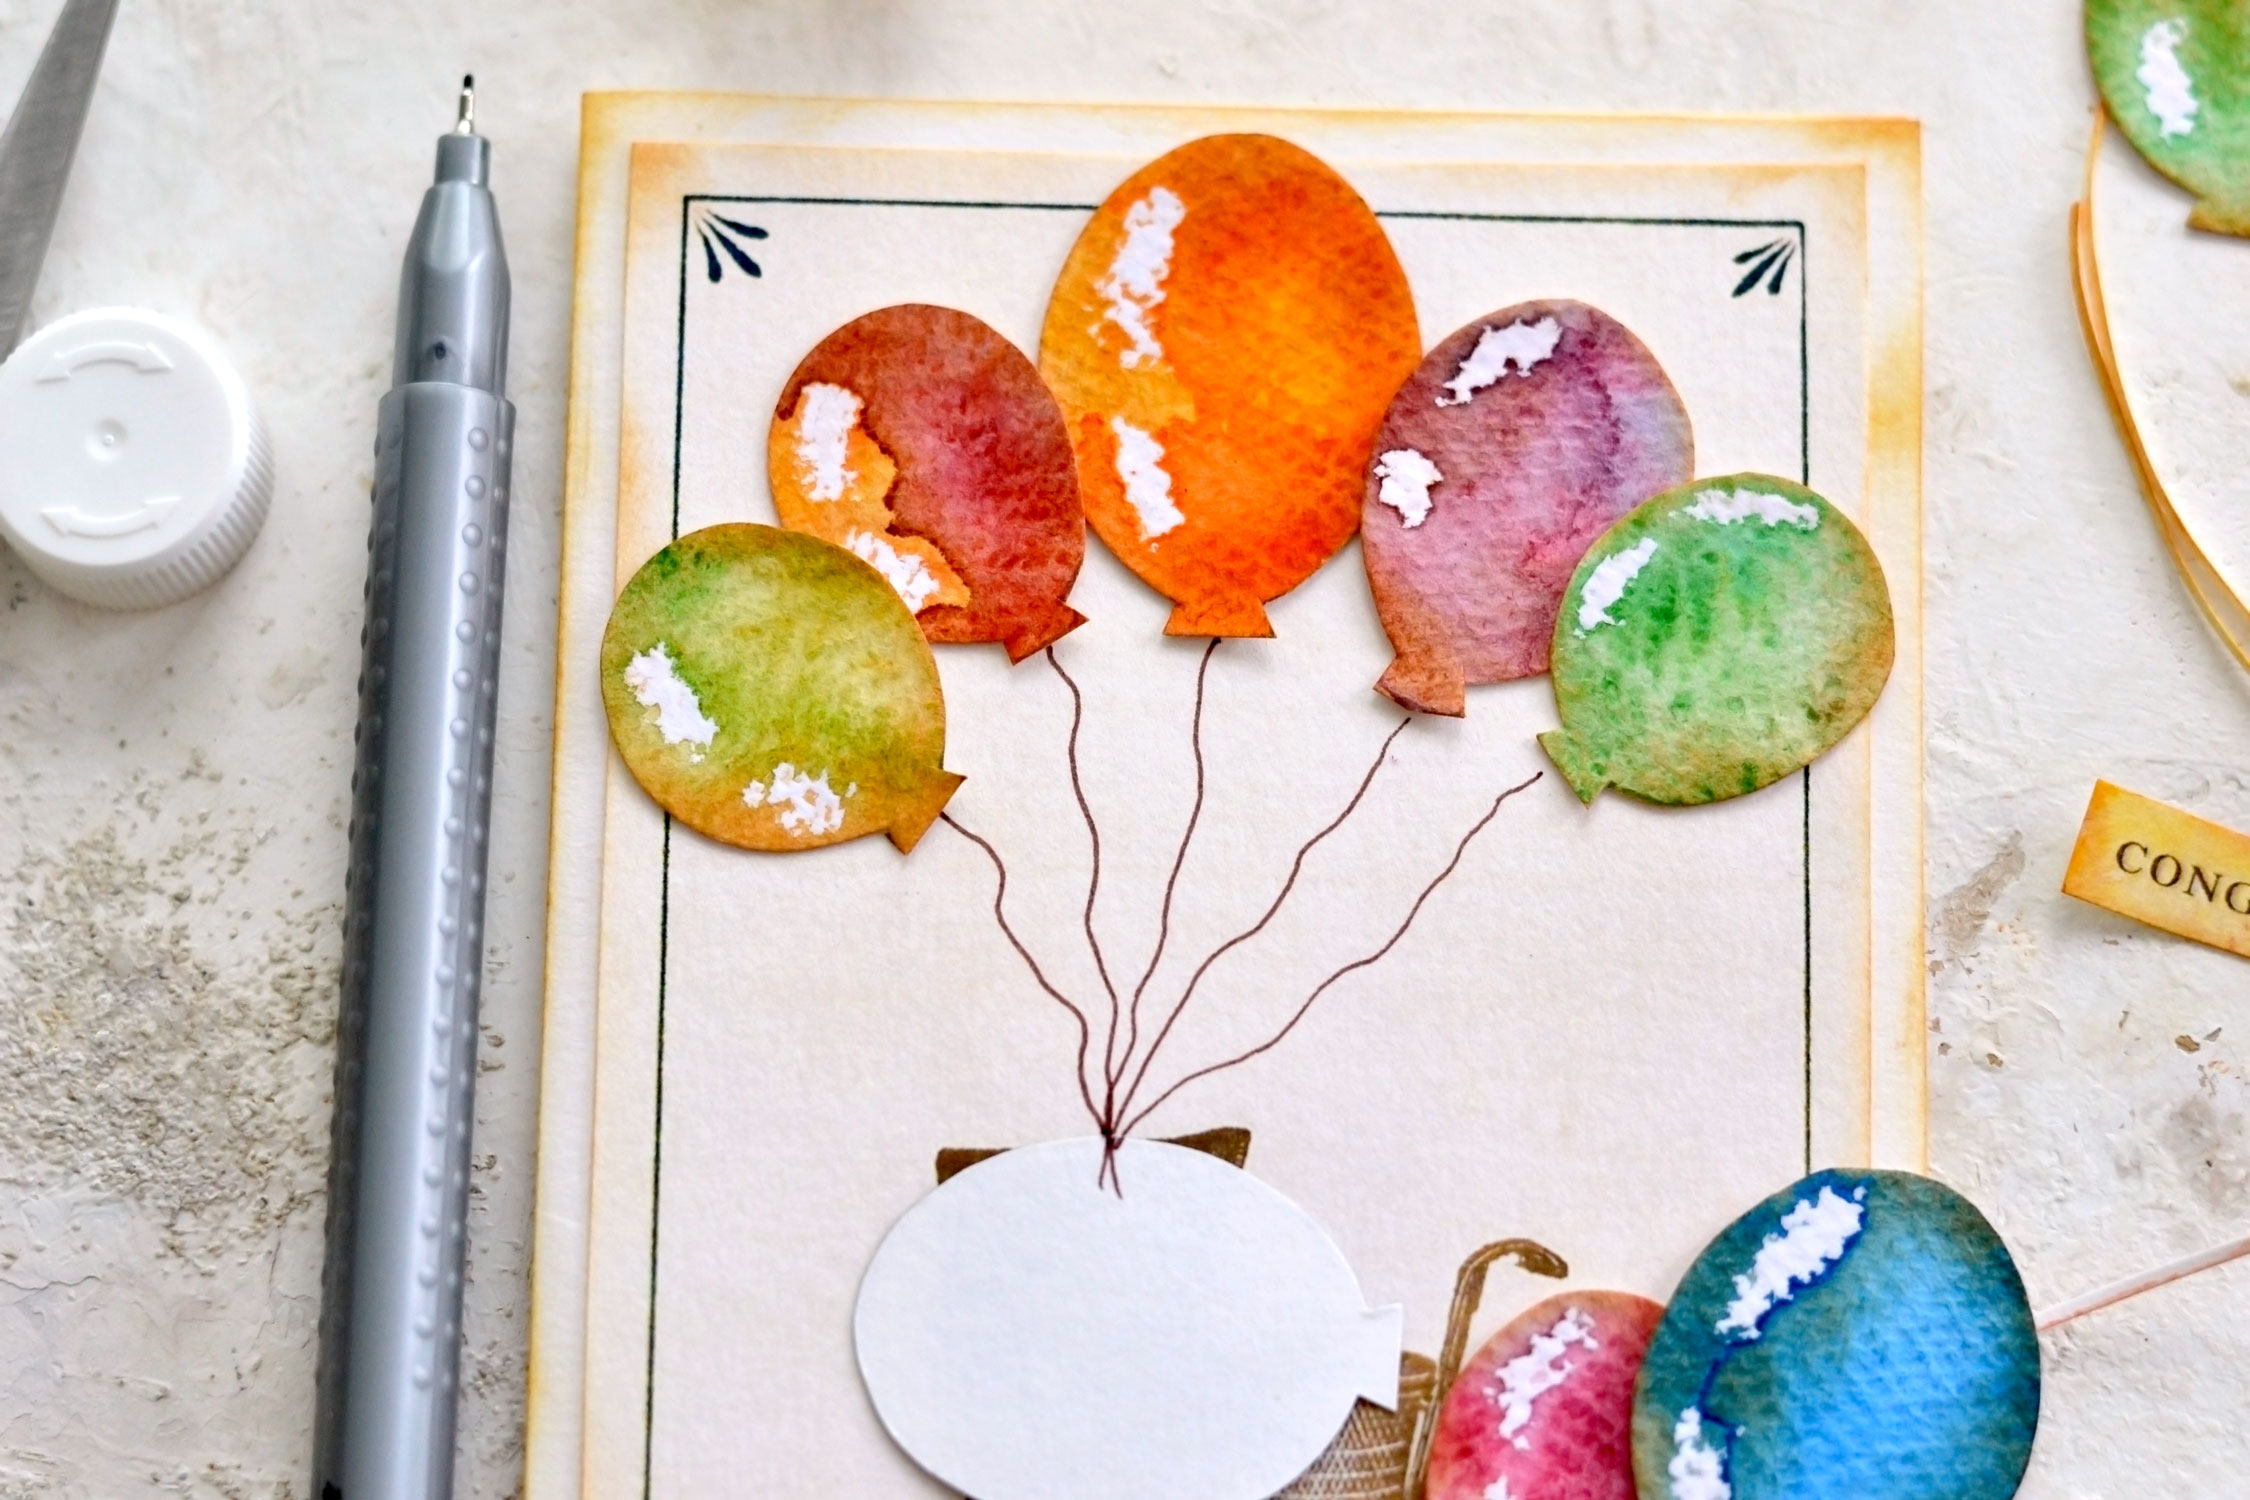
Start gluing the first row of balloons, then use a fine pen (I used a brown one) or a pencil to draw the strings. I used the back of a balloon template on the carriage as a stopper, so that all the strings look like they are coming from the same point. Glue the other balloons and draw some strings for those too.
Your beautiful DIY New Baby Card is now ready! It’s so colorful and playful, it will definitely bring a smile to the happy parents that will be receiving it!
If you want, you can even add some of the leftover watercolor balloons on the inside of the card, then write your wishes for the new baby!
I feel like this handmade New Baby Card with watercolor balloons could be one to cherish and keep for years! I’m sure the parents-to-be will love it so much that they will even use it as a small decorative item in their new little girl, or little guy’s, room while starting to create beautiful memories as a family. It’s a sweet way to send congratulations to the new mommy and daddy, as they enter a new adventure into the world of parenthood. Sometimes the littlest things are the ones most treasured.
 This would be a wonderful project for grandparents to make for their new grandchild sent from heaven! You might also like my Moon Card making Kit HERE.
Happy crafting,
Diana | by Dreams Factory



Esther says
This is so beautiful and will look different every time😀
Thank you so much, it’s a great little project.
Karen Watson says
Yes, you can really customize this one, I think metallic balloons would be cute too! I’m glad you enjoyed Diana’s fun project Esther.