New Year Card Ideas
Hello Graphics Fairy friends! Diana from Dreams Factory here, ready to share some gorgeous DIY New Year Card Ideas with you! I hope you are ready to get creative one more time, this will actually be my last project for this year. I envisioned today’s tutorial as a quick and easy card-making project, but I wanted the final results to be absolutely amazing.
You know, to end the year with a bang! I used gold metallic gouaches in different shades to imprint the cards with a lovely watercolor effect, you can also use metallic acrylic paint or watercolors to create something similar.
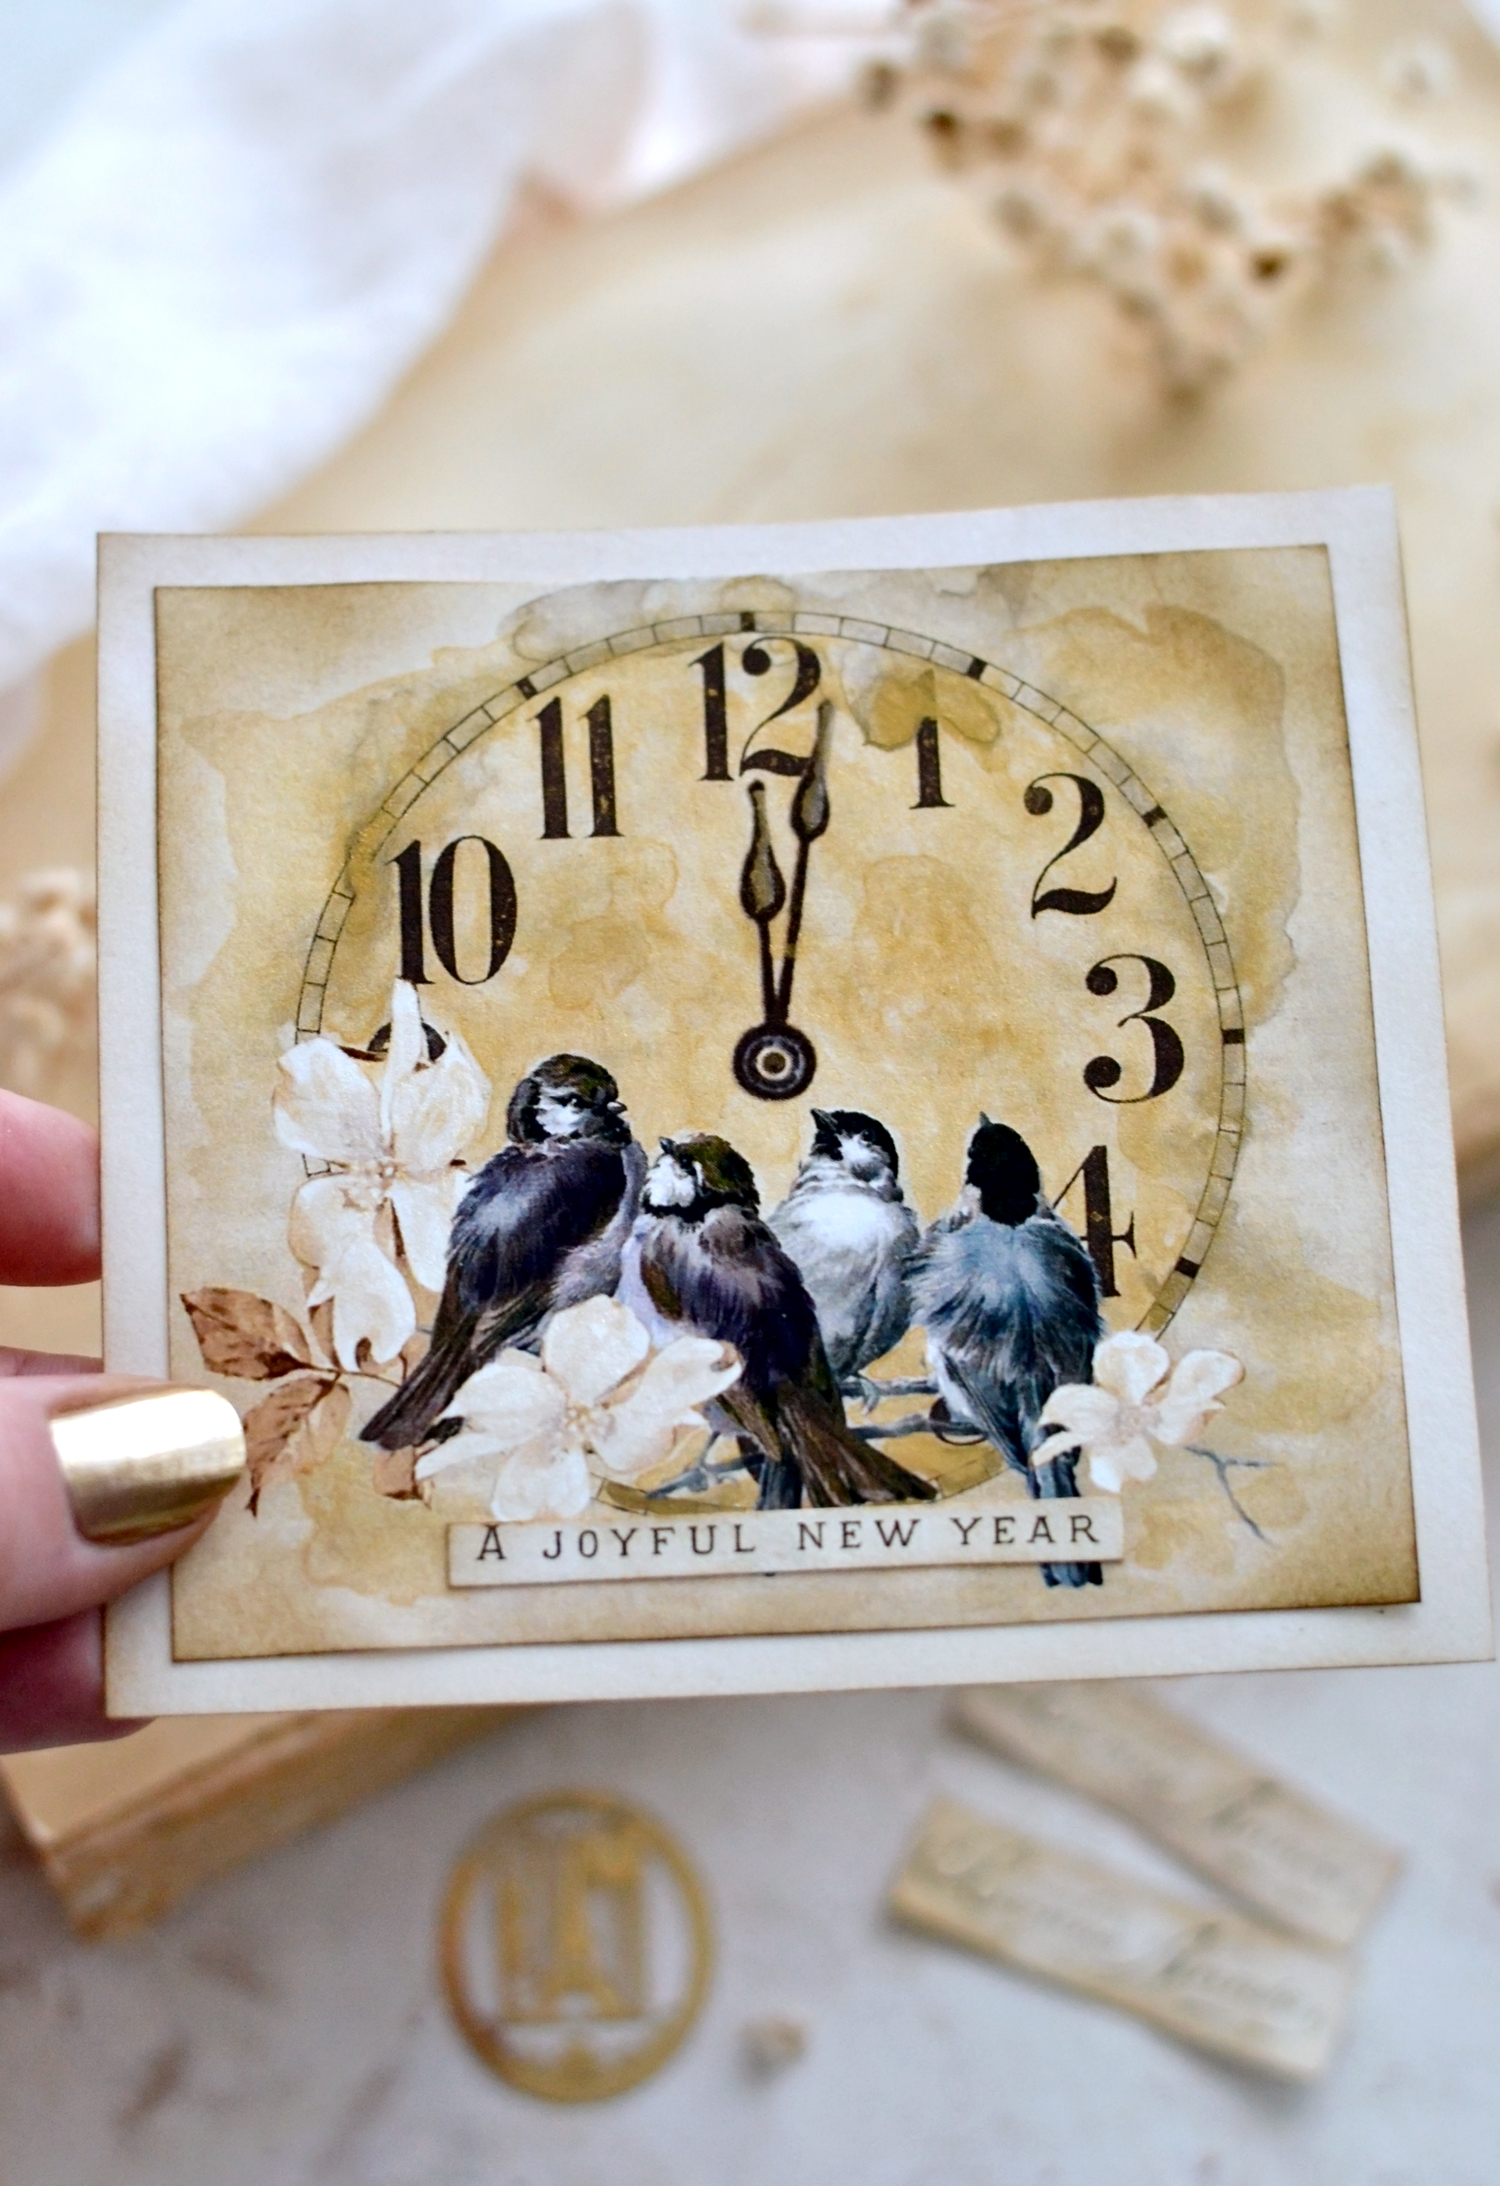
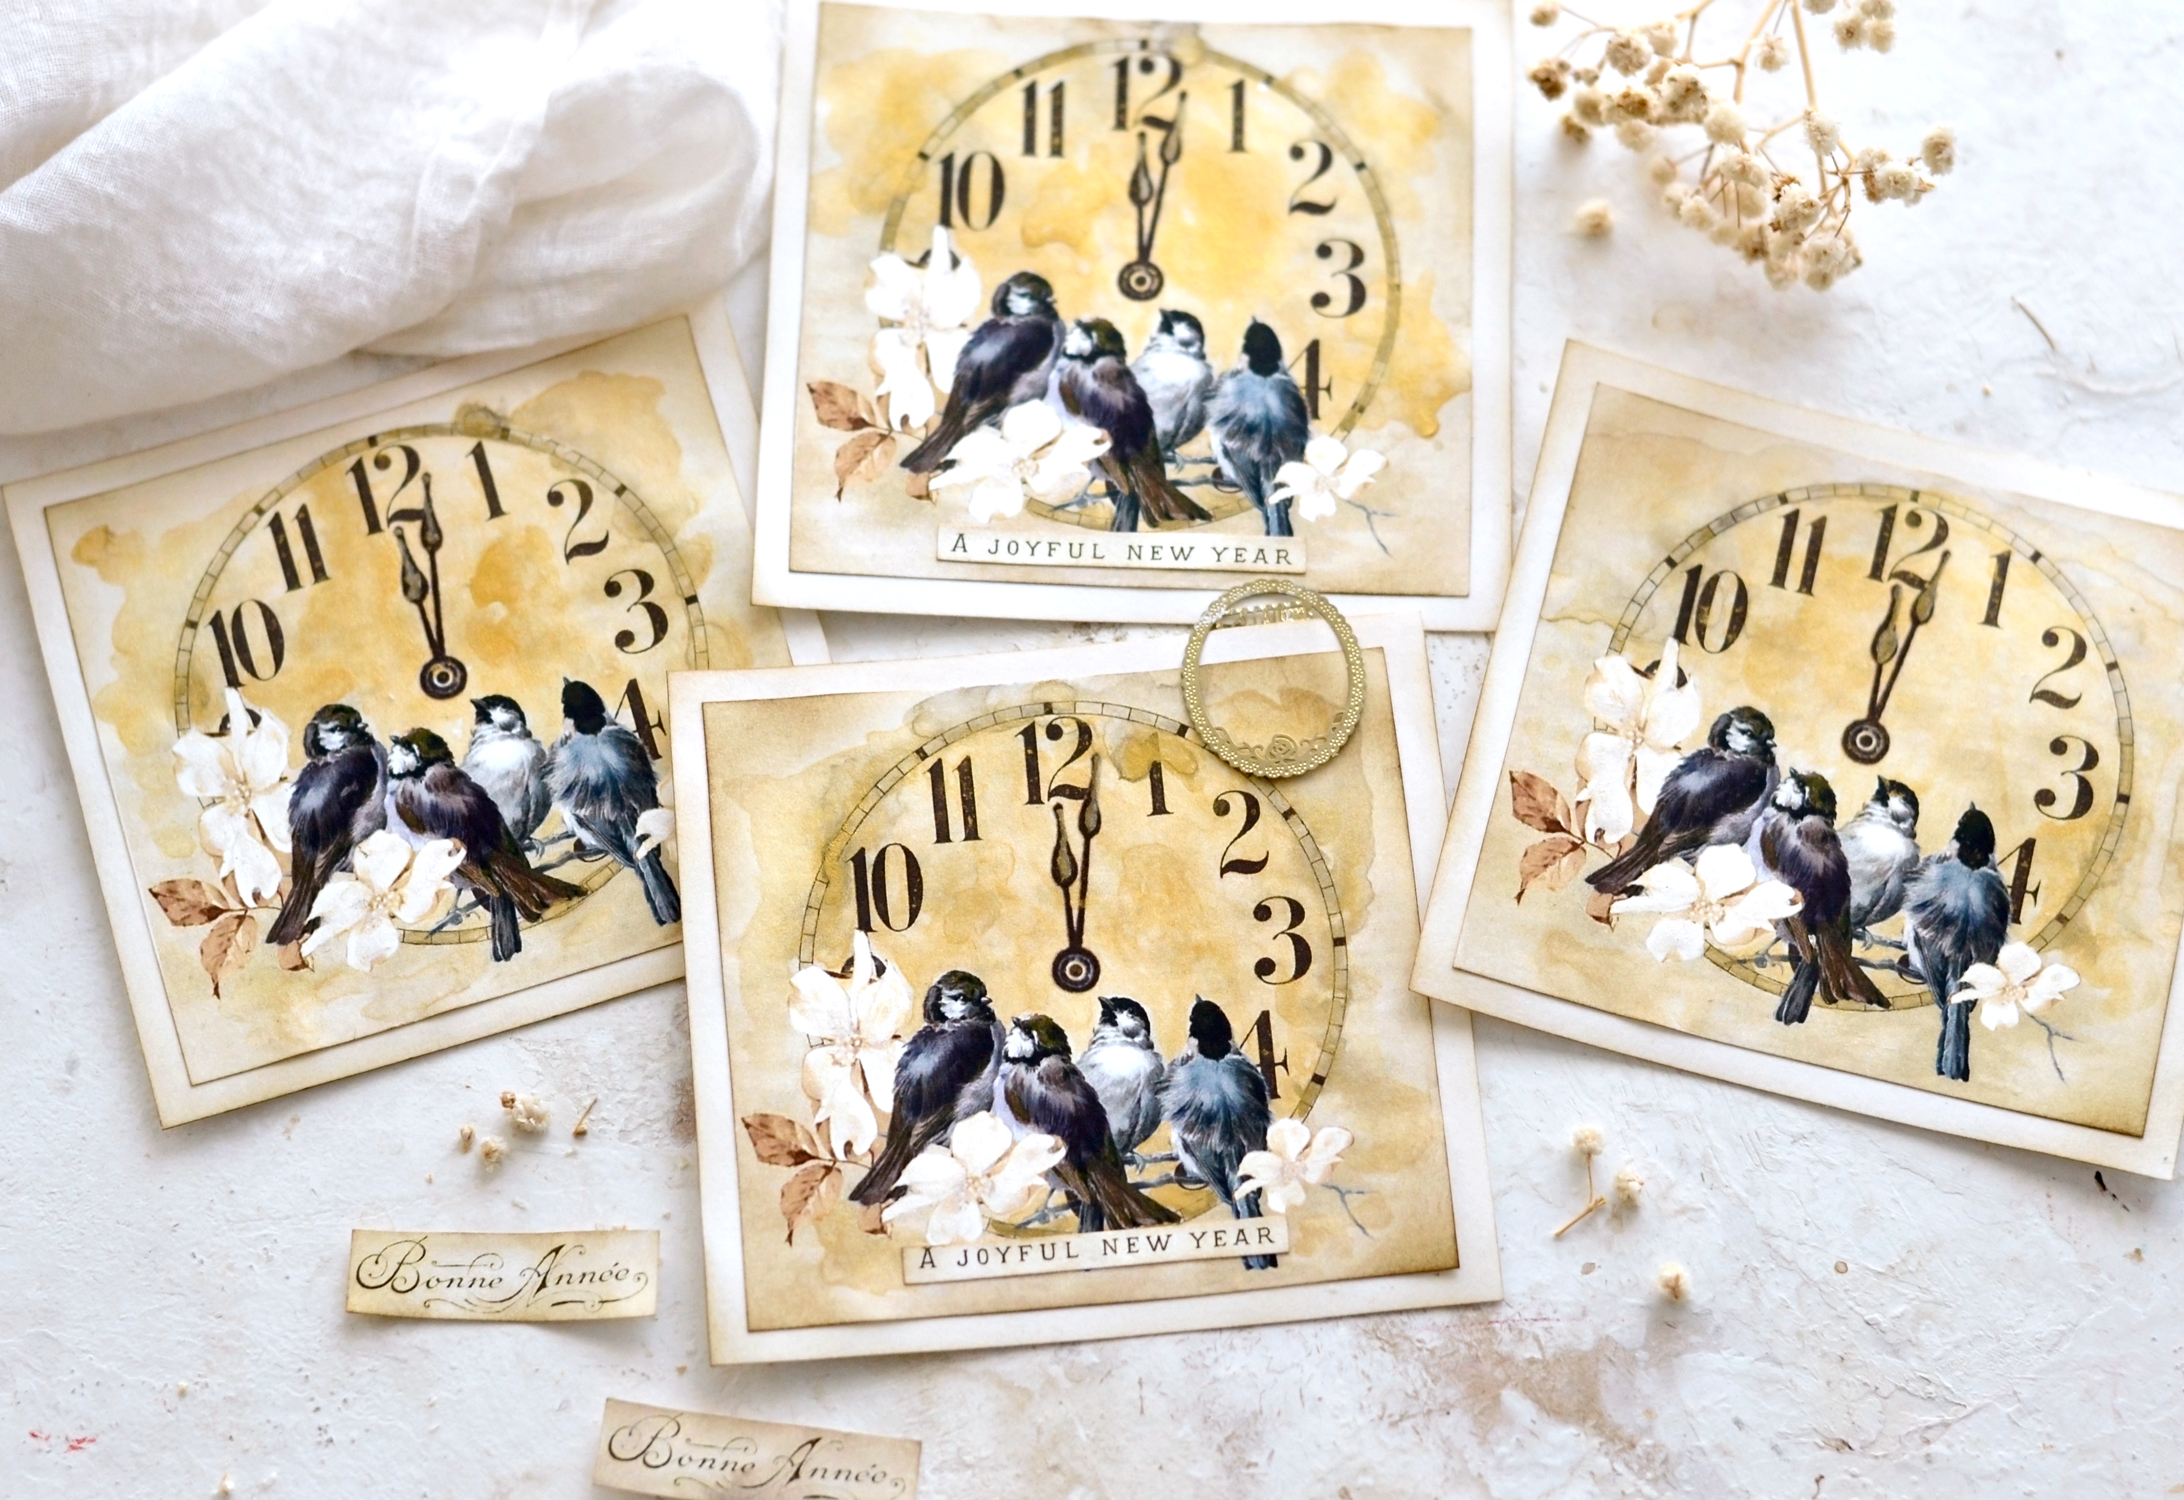
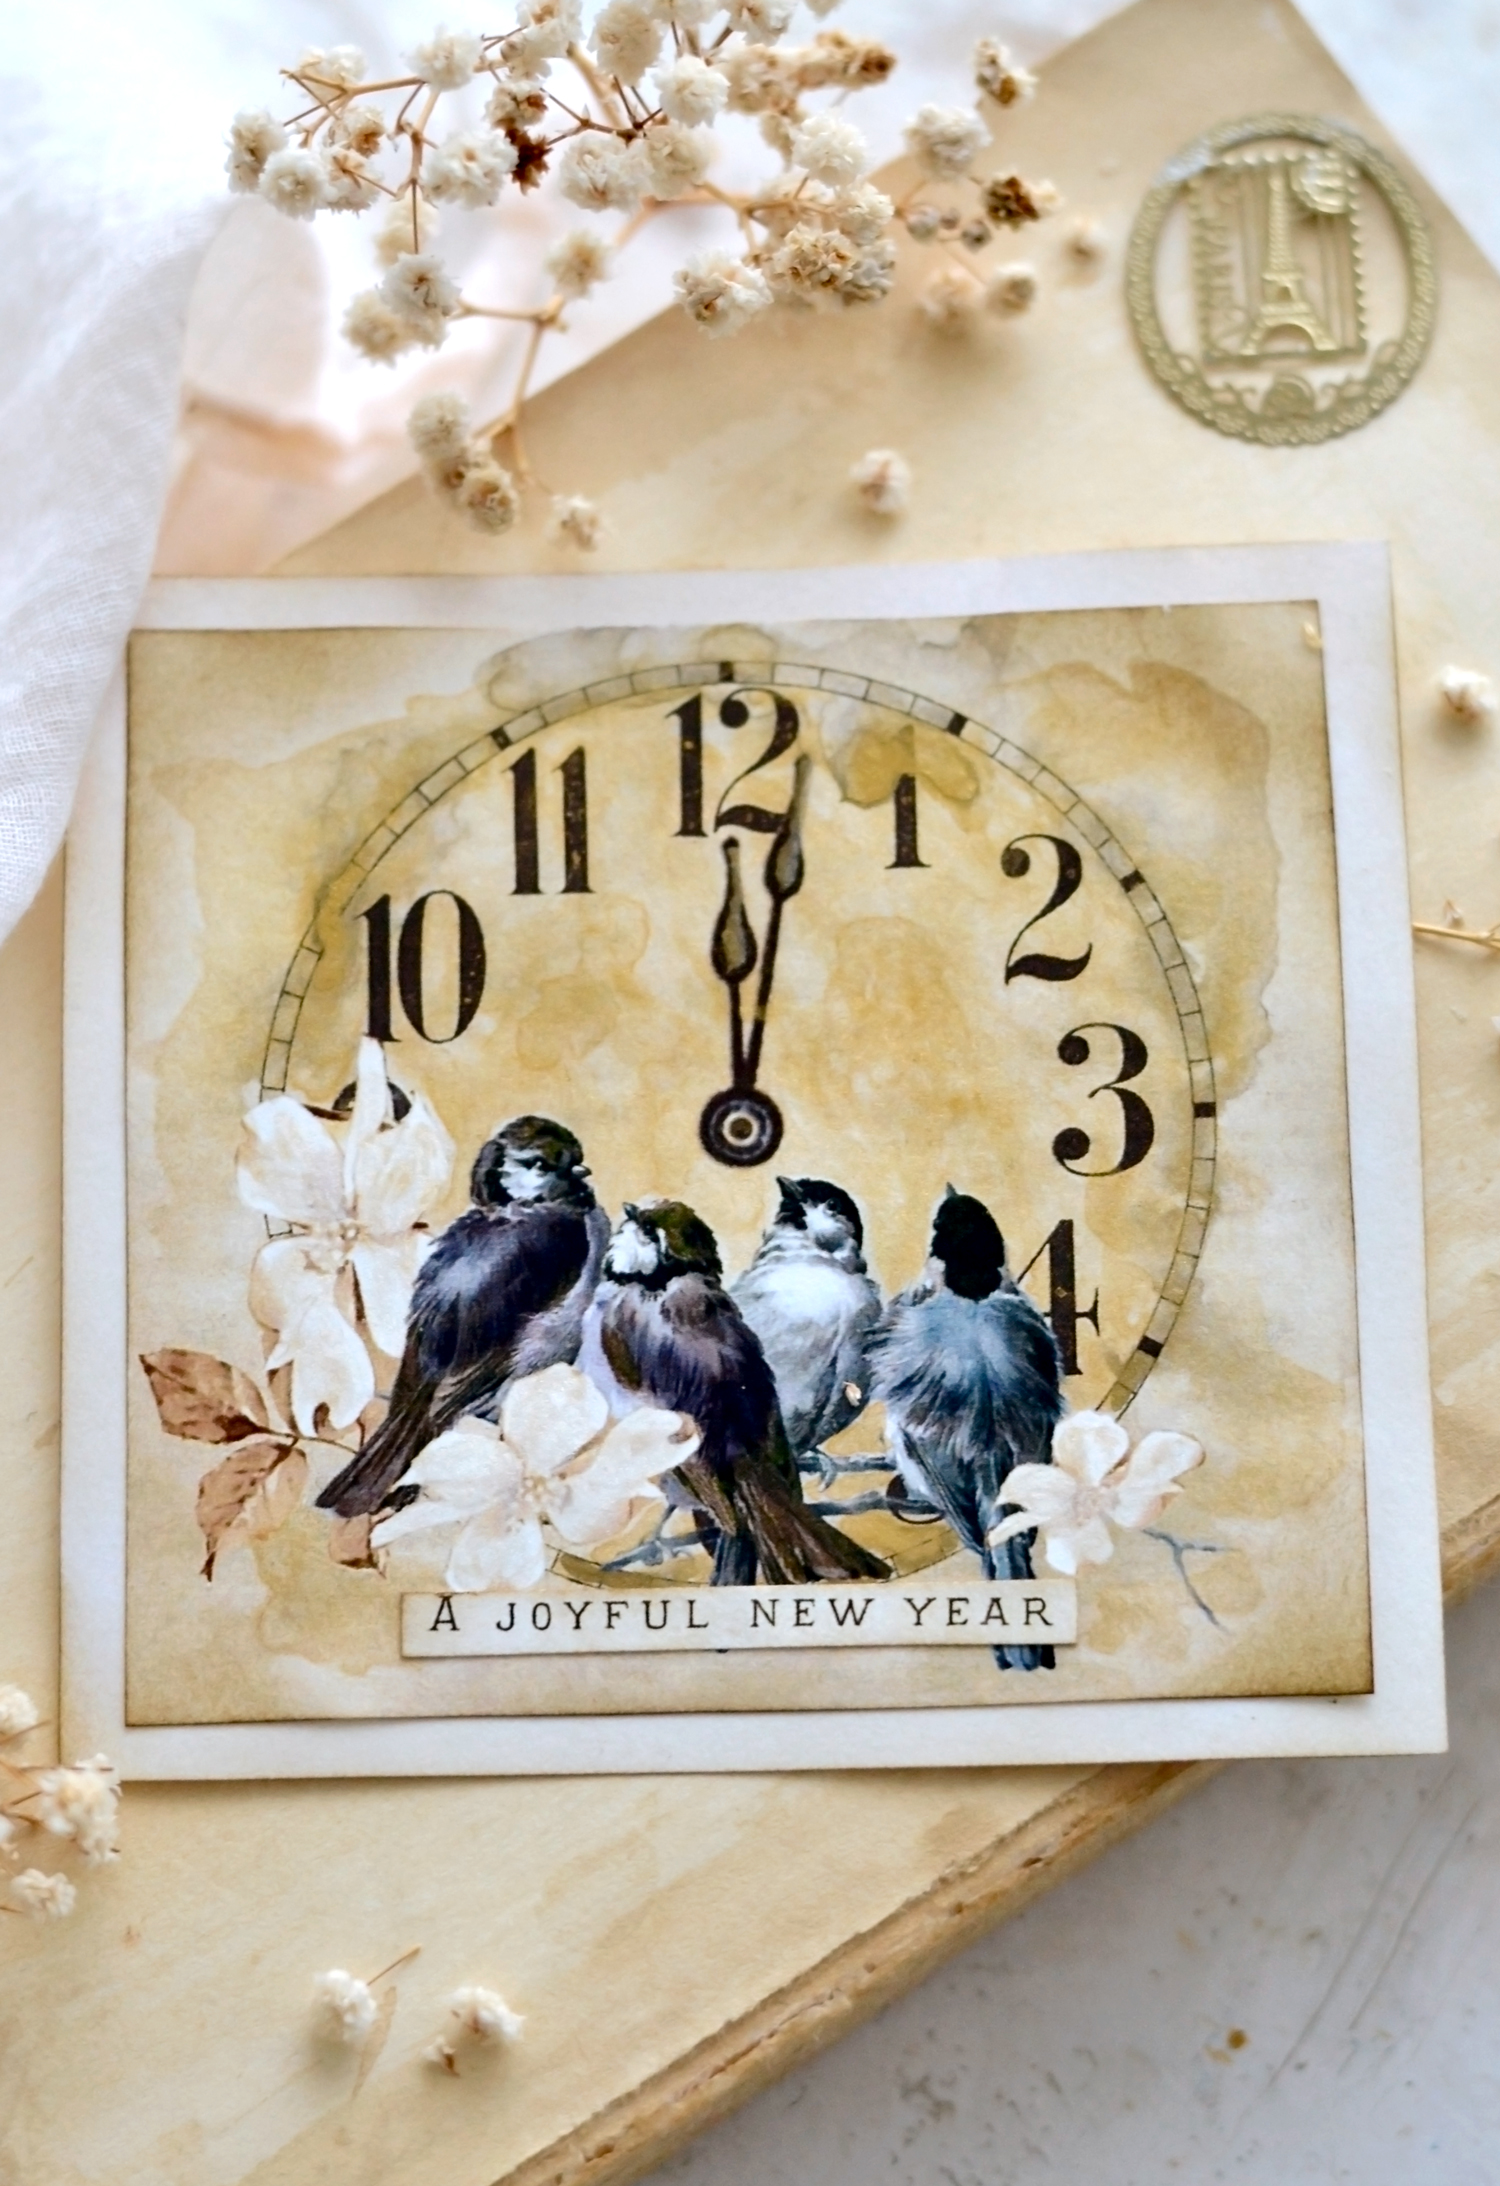
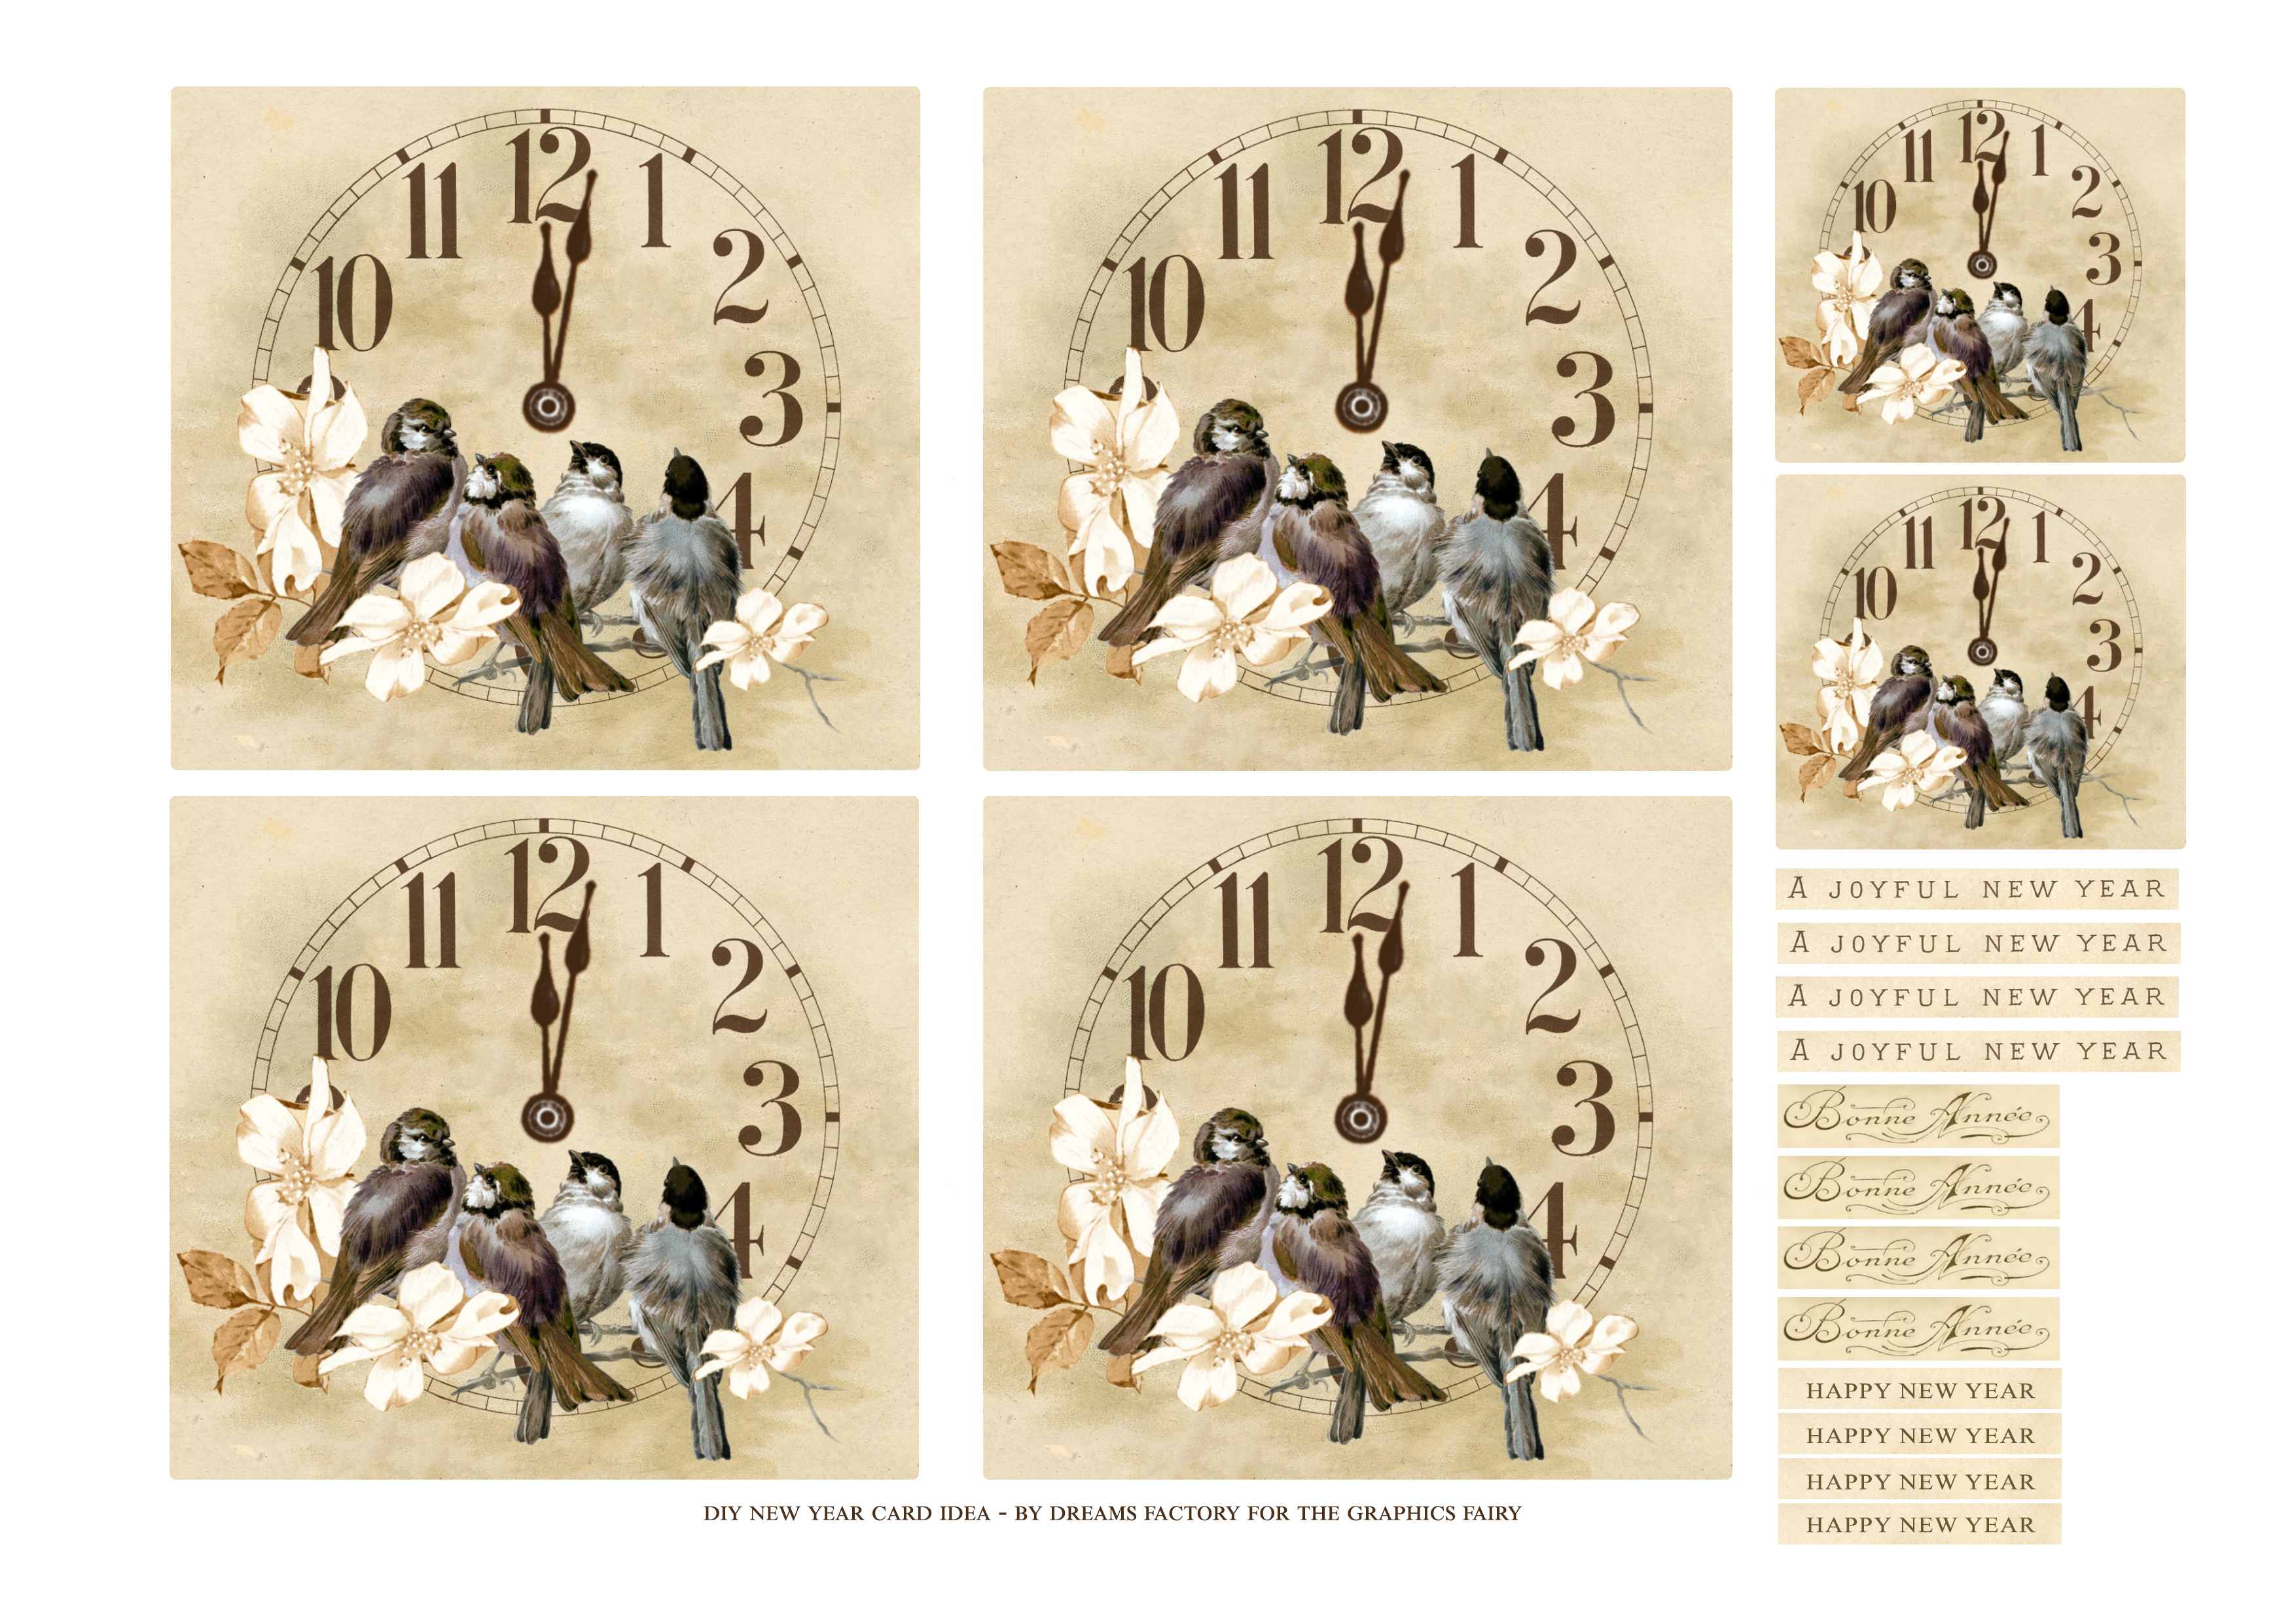
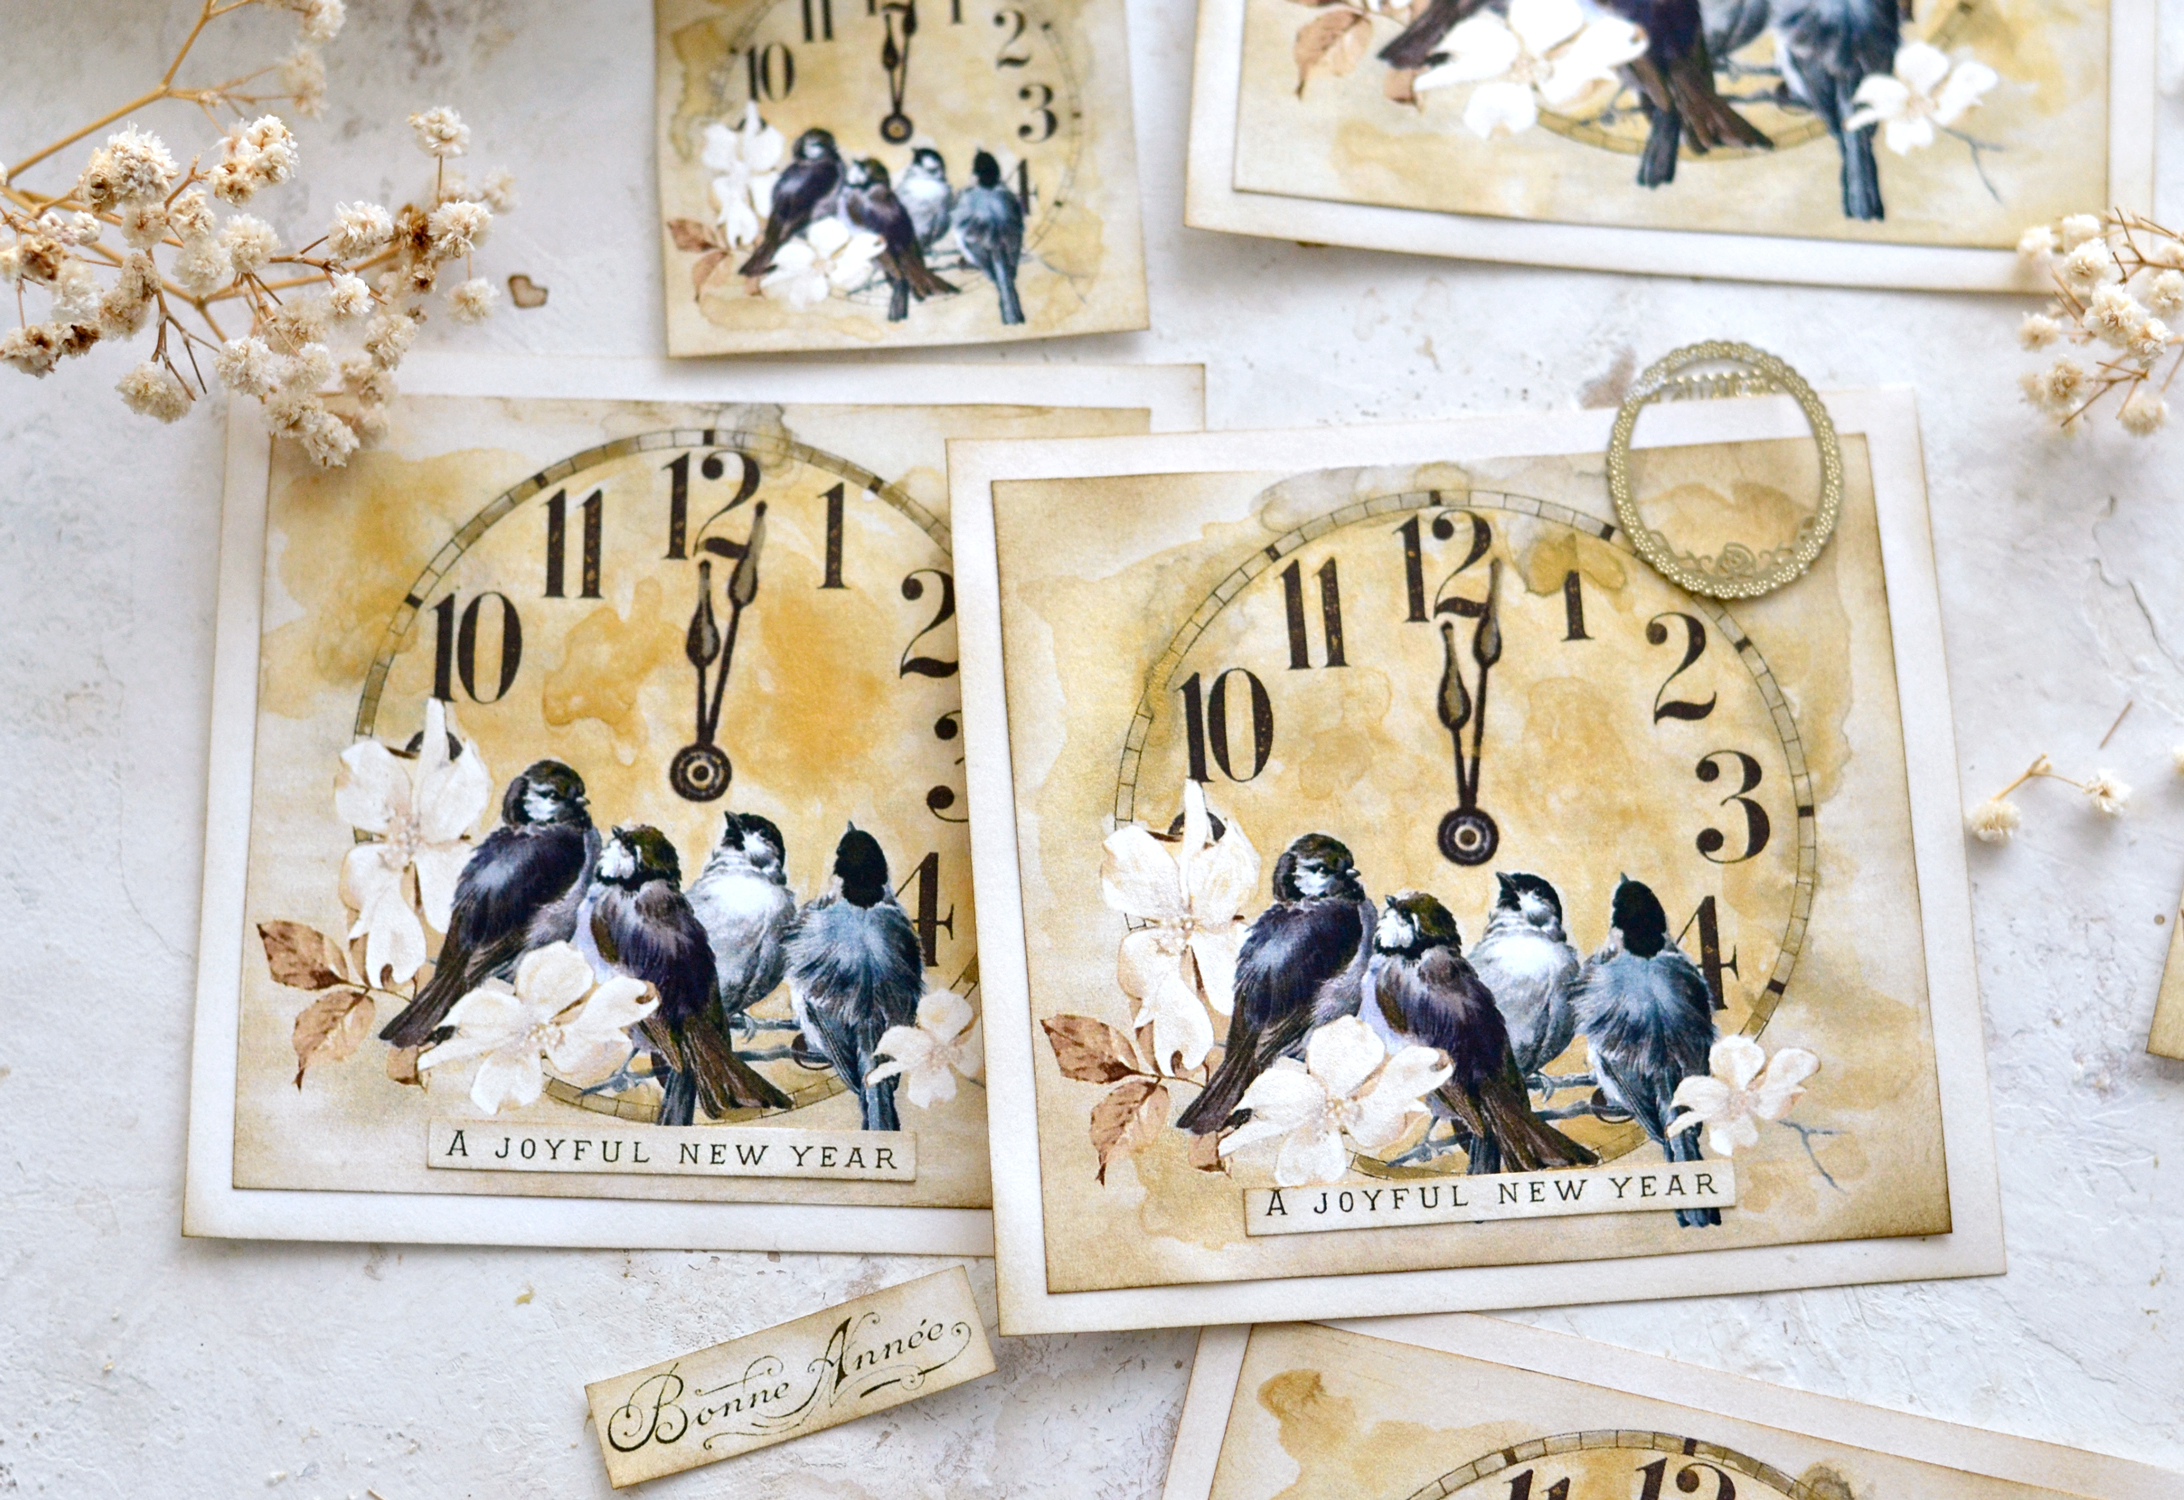
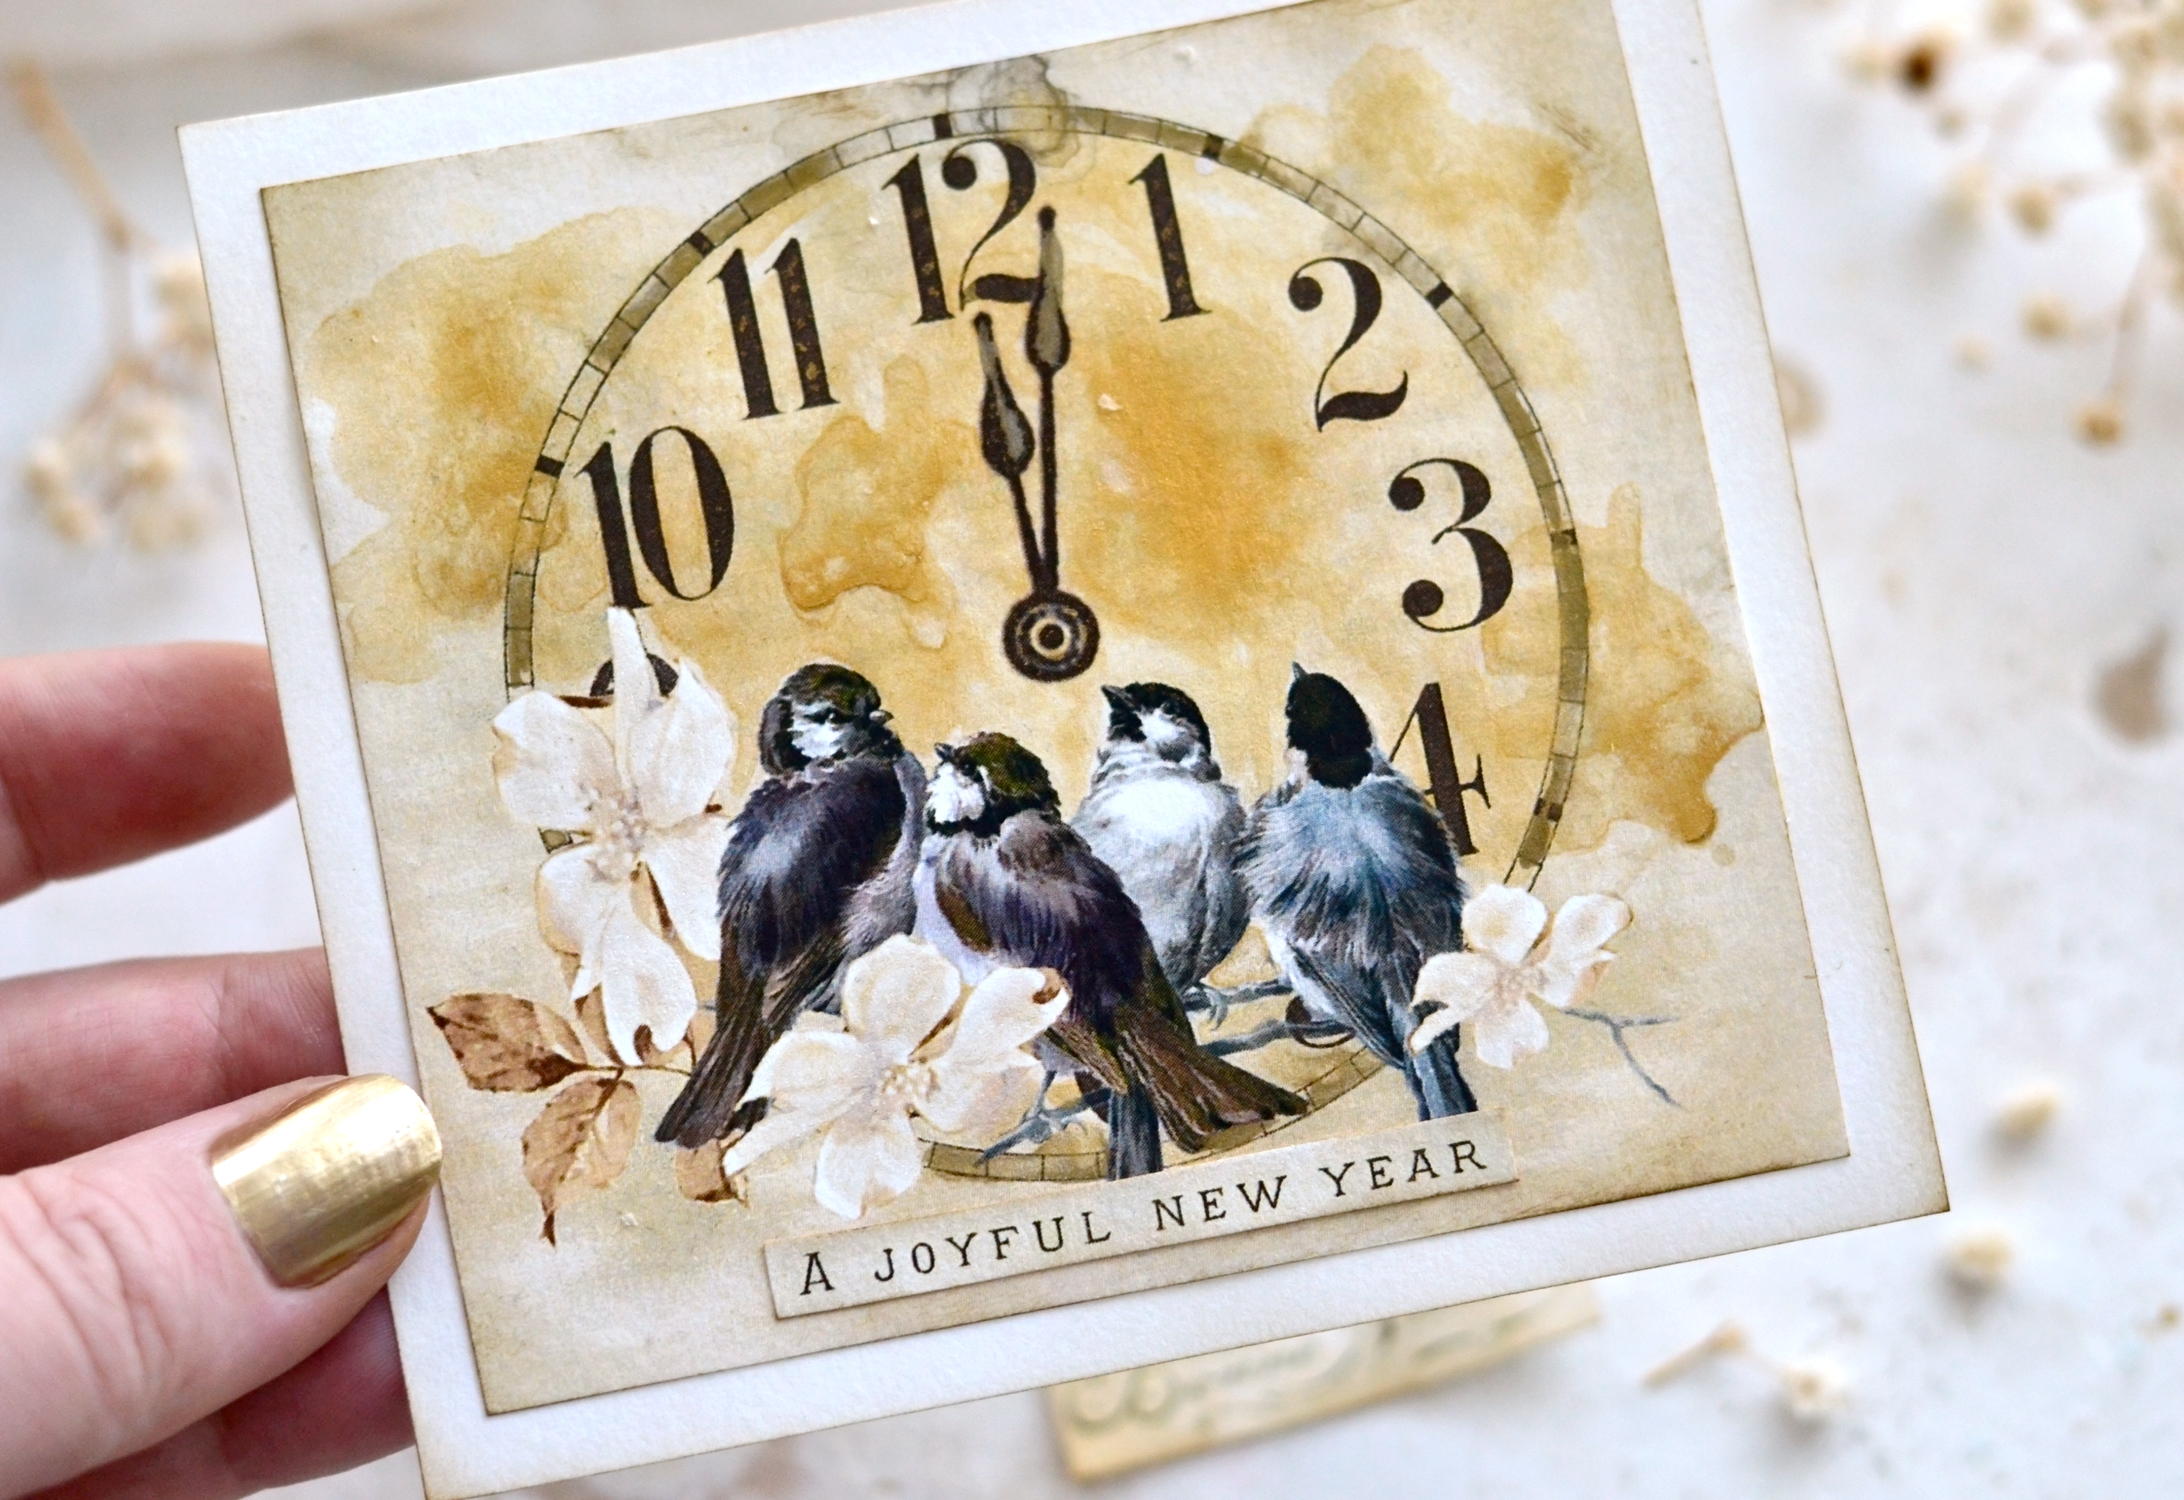
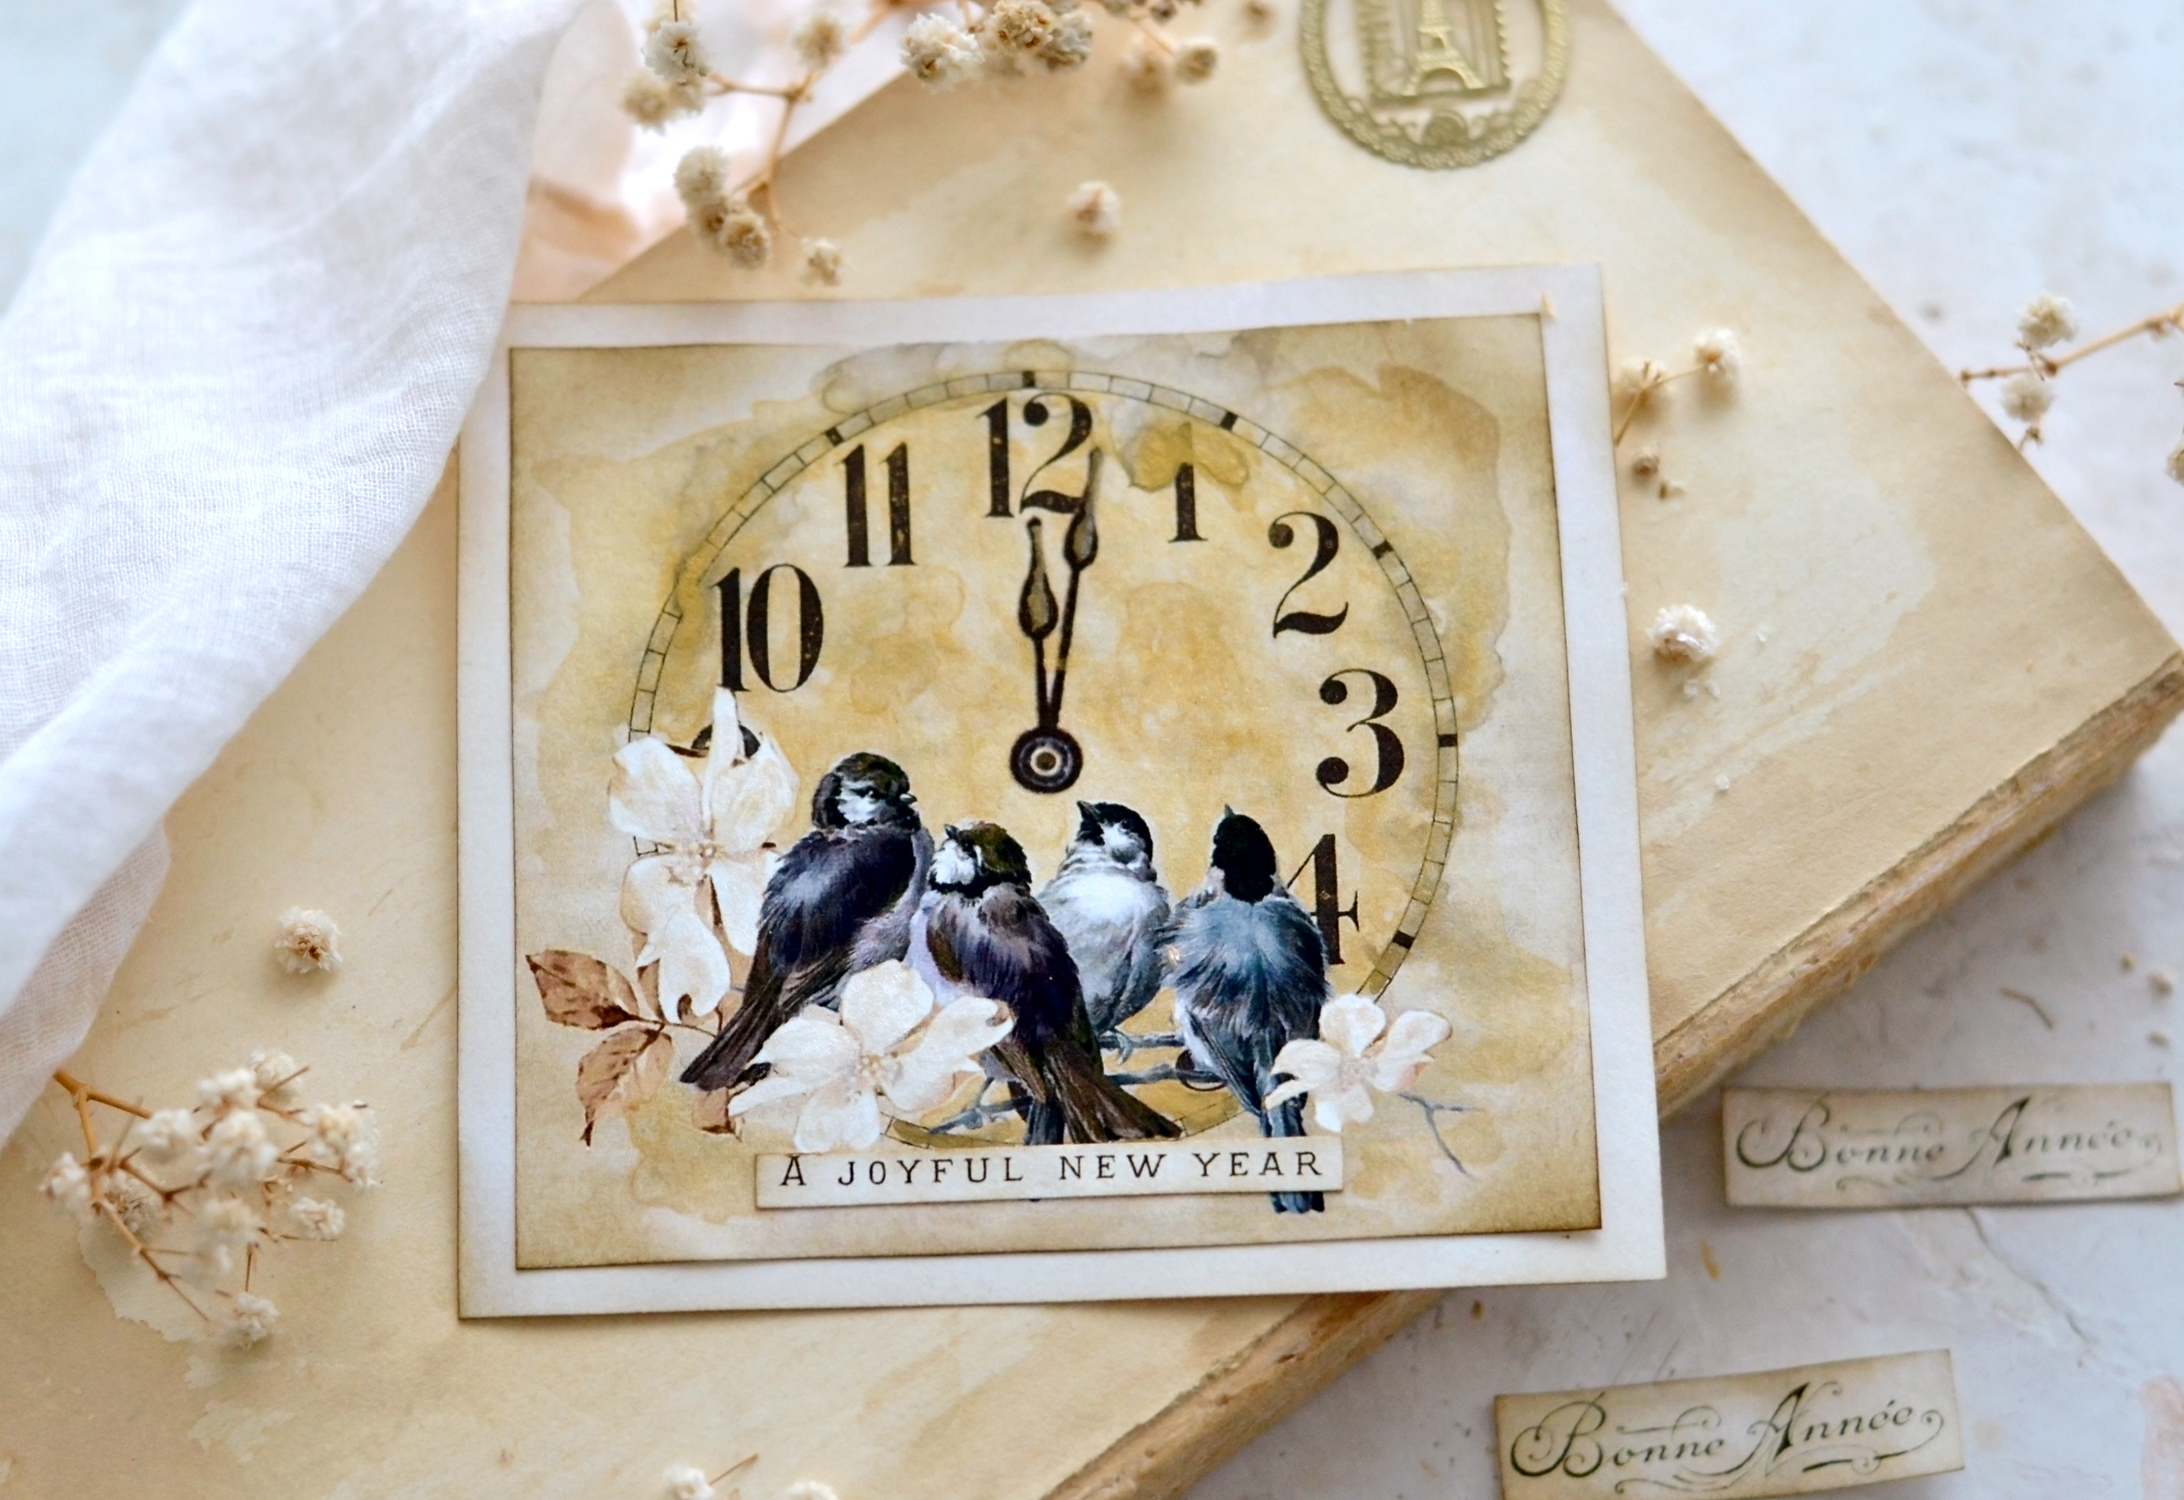
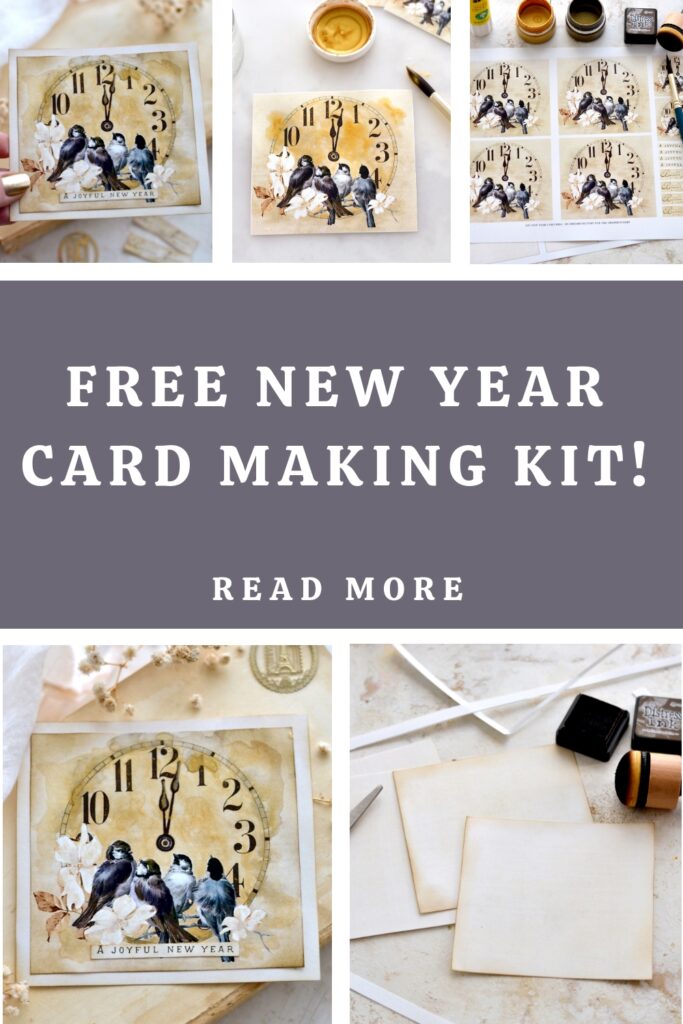
The truth is the design is so beautiful on its own, it doesn’t really need too many embellishments to make the perfect cards! I included an amazing clock face with the hands pointing to 12 to mark the transition to the new year, some gorgeous birds that are patiently waiting for new beginnings, and a few white flowers that are completing the whole look in such an elegant way!
You will find 4 bird collages to create the cards, but I’ve also included 2 smaller ones, just in case you’ll want to use them on other projects too. The top of the cards also include a few separate wishes for the new year, you will find ‘A Joyful New Year’, ‘Bonne Annee’ and ‘Happy New Year’ (I included this one later on, after photographing the project) – just choose the one that you love the most. For the card bases, to keep things simple, I designed a square shape with a vintage vibe, you won’t have to fold it, just cut and use it as it is.
—-> Click HERE to Download the Full Size Printable PDF – the top <—-
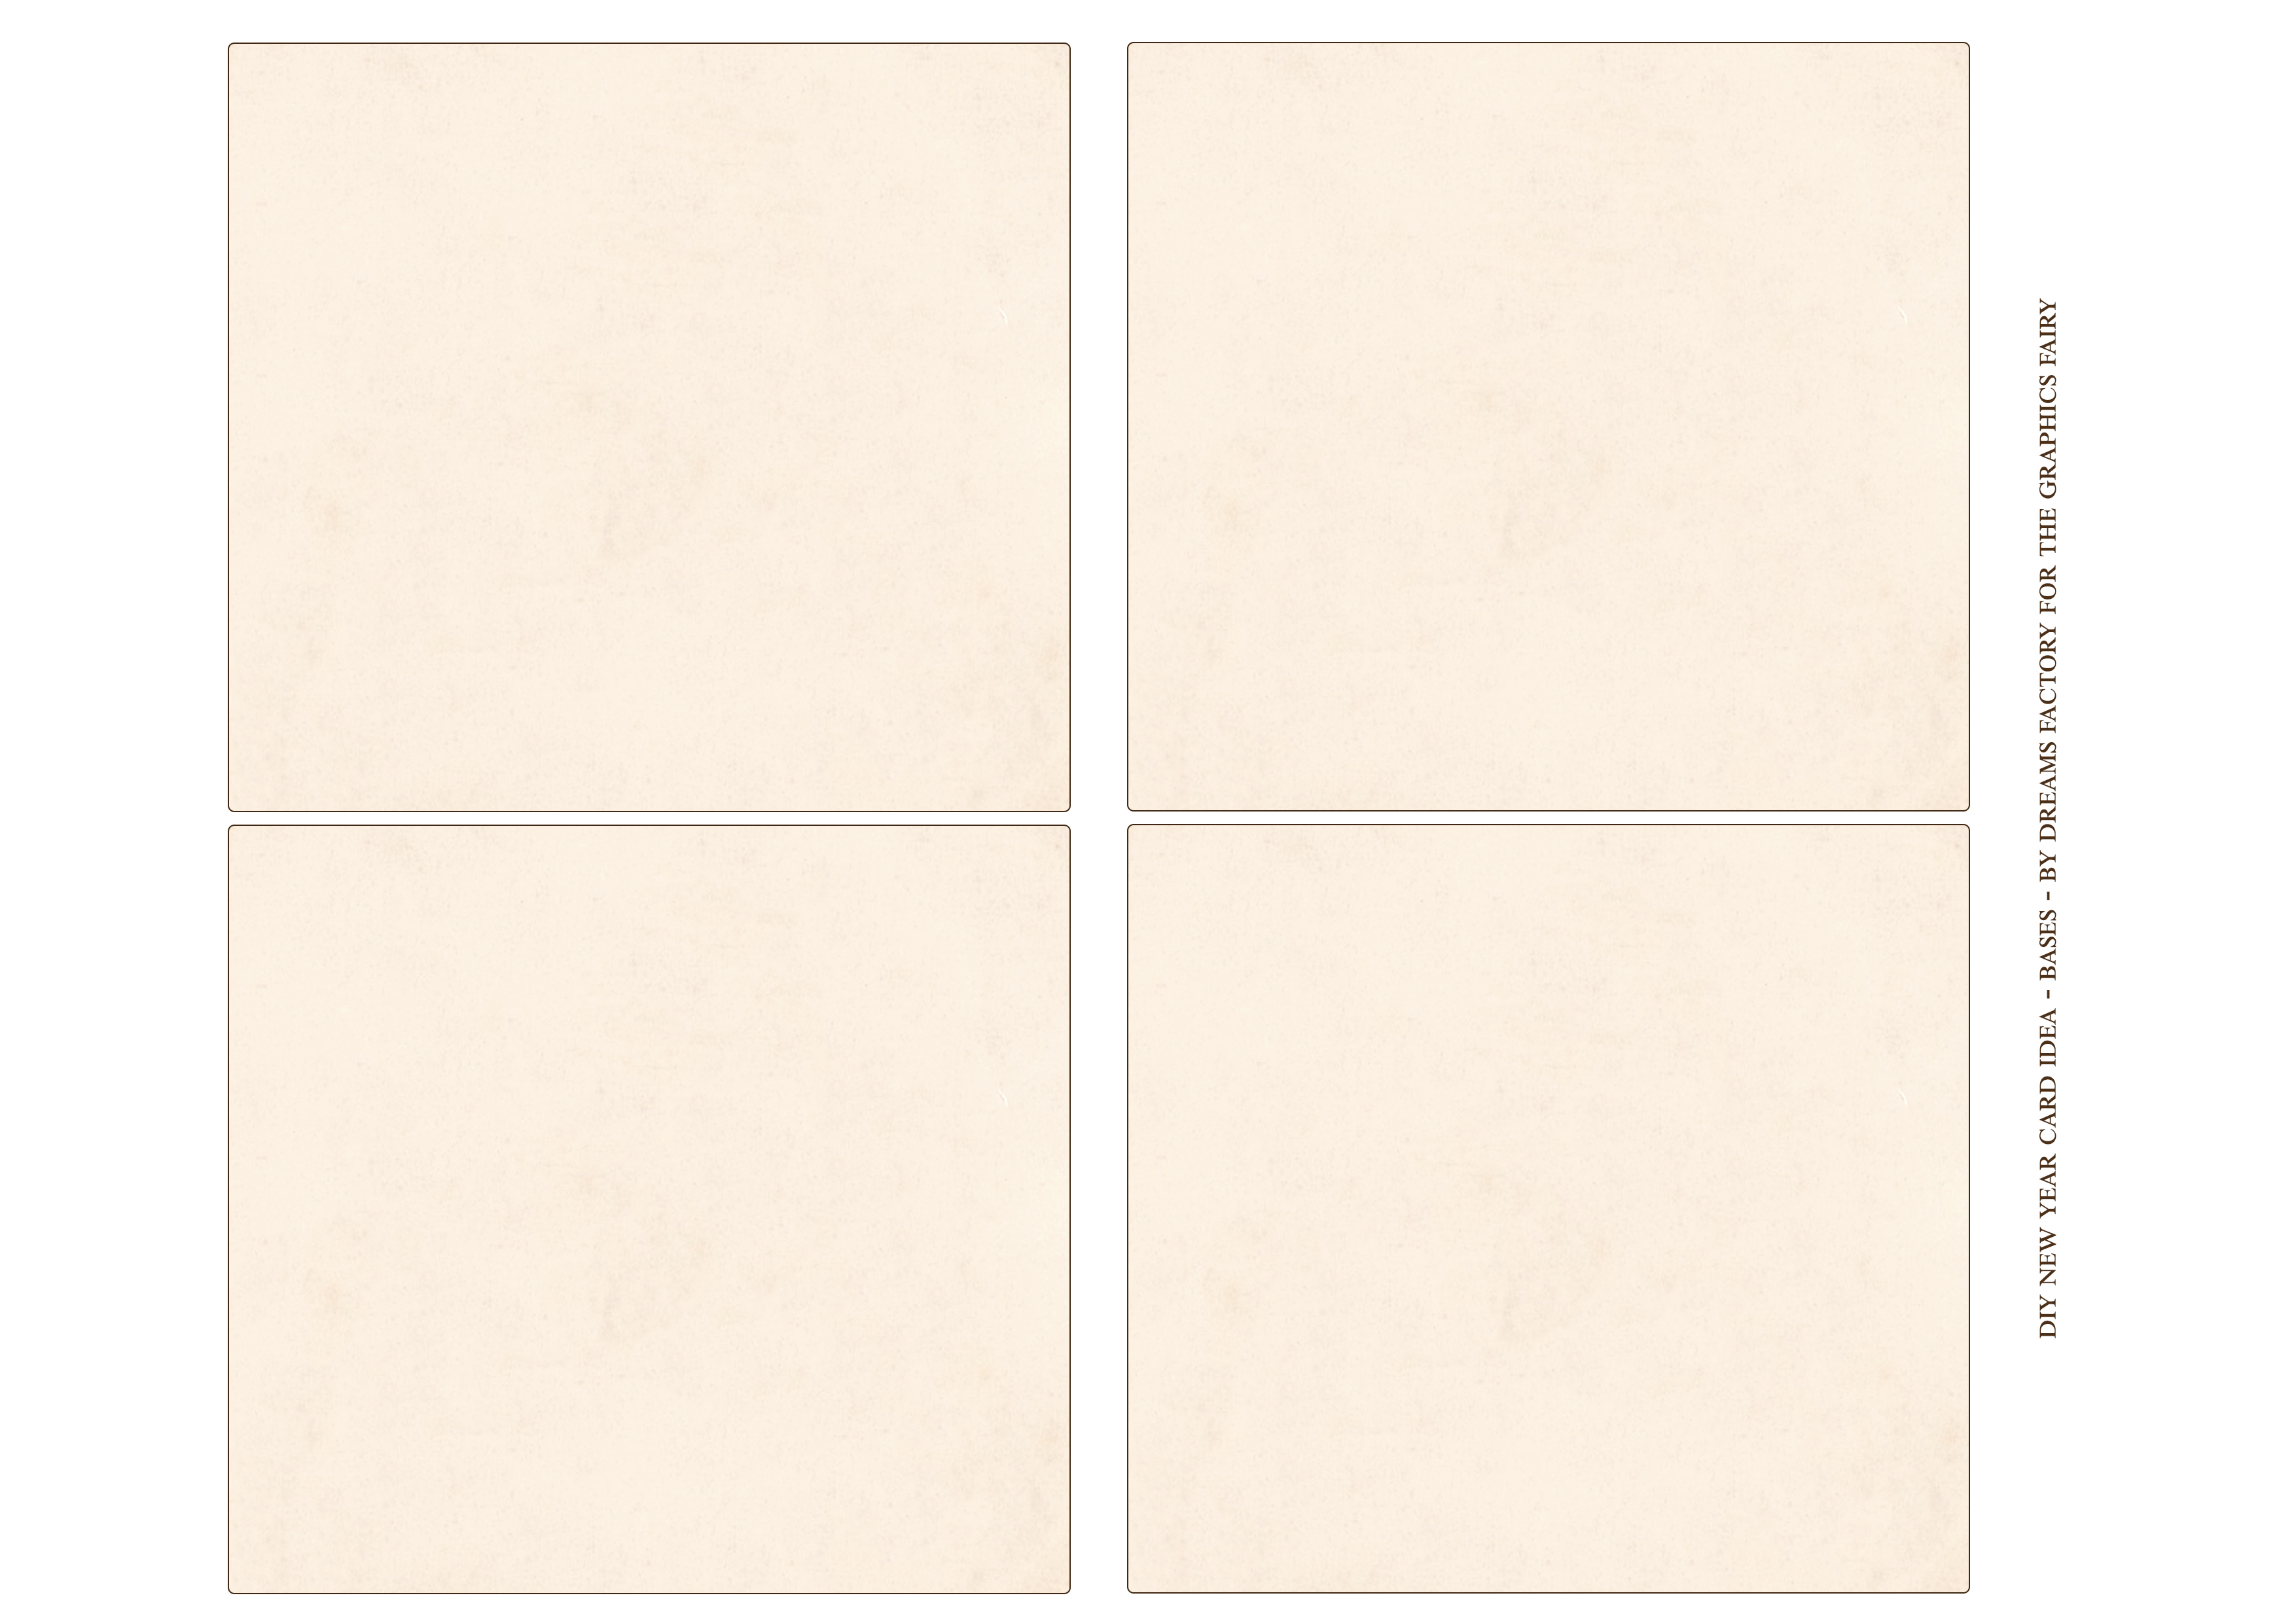
—-> Click HERE to Download the Full Size Printable PDF – the base <—-
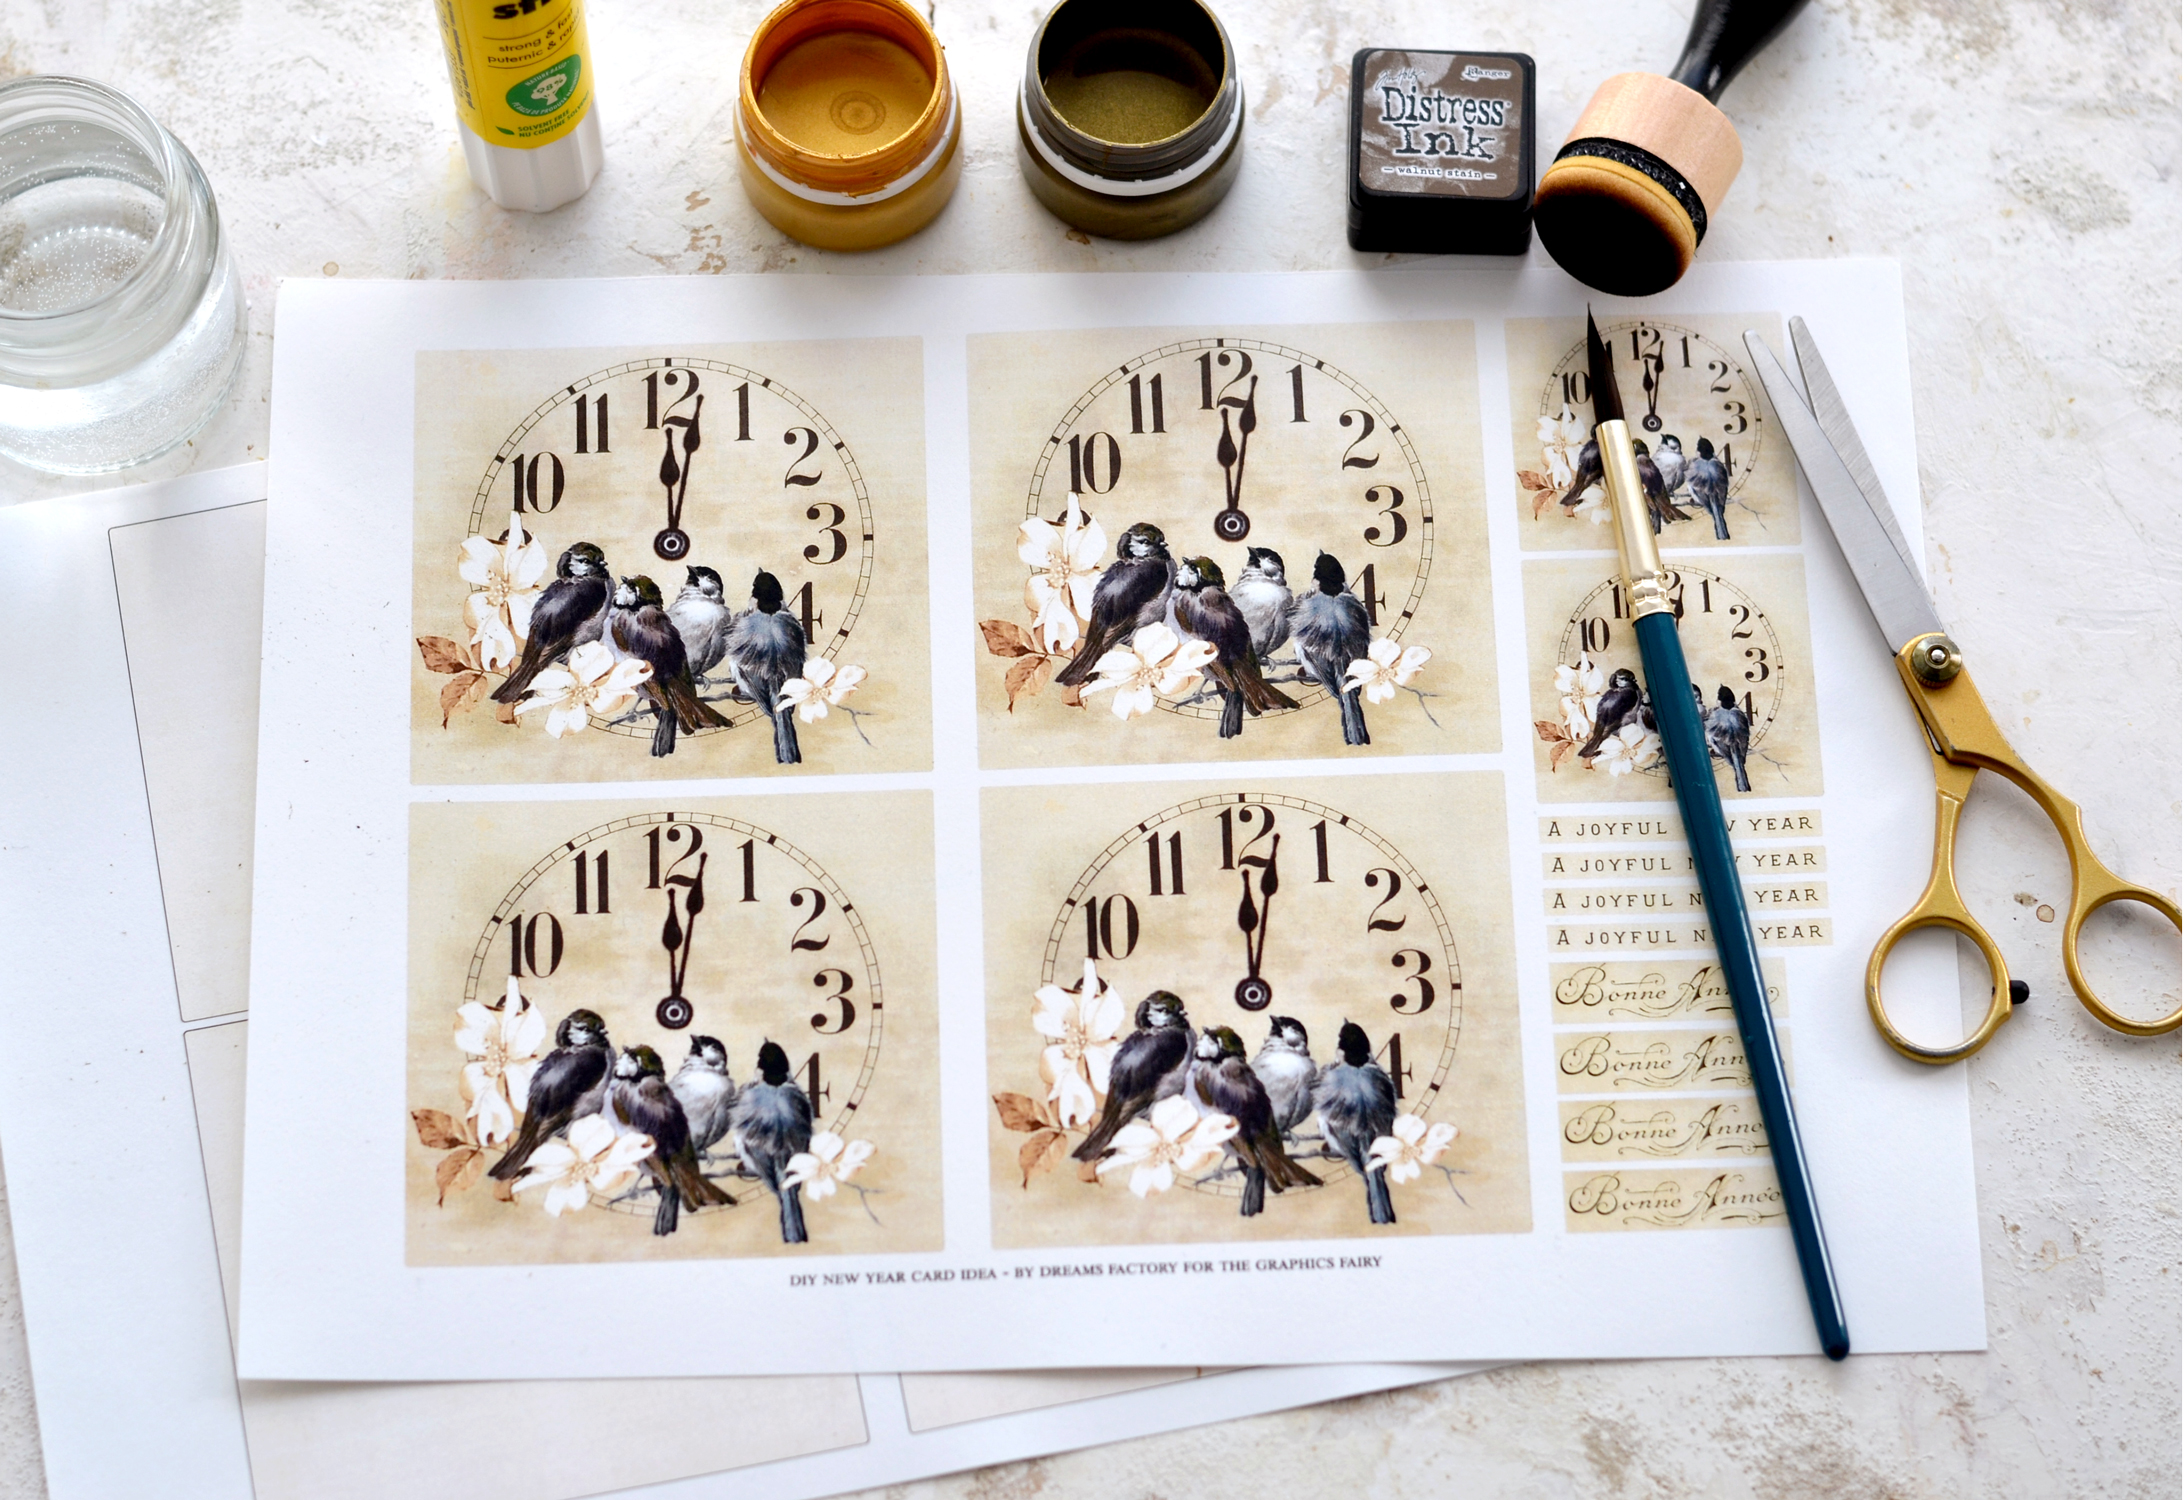
New Year Card Ideas Supplies:
- cardstock paper
- home printer
- scissors
- mini distress inks
- blending tool with foams
- glue stick or any other paper glue
- gold acrylic paint OR gold watercolor paint OR gold gouache (I used gouache)
- a round brush (use a watercolor brush if you have one)
- a small jar with water
- a plastic sheet or a non-absorbent surface (to protect your working area while using the water and the paint)
Tutorial Instructions:
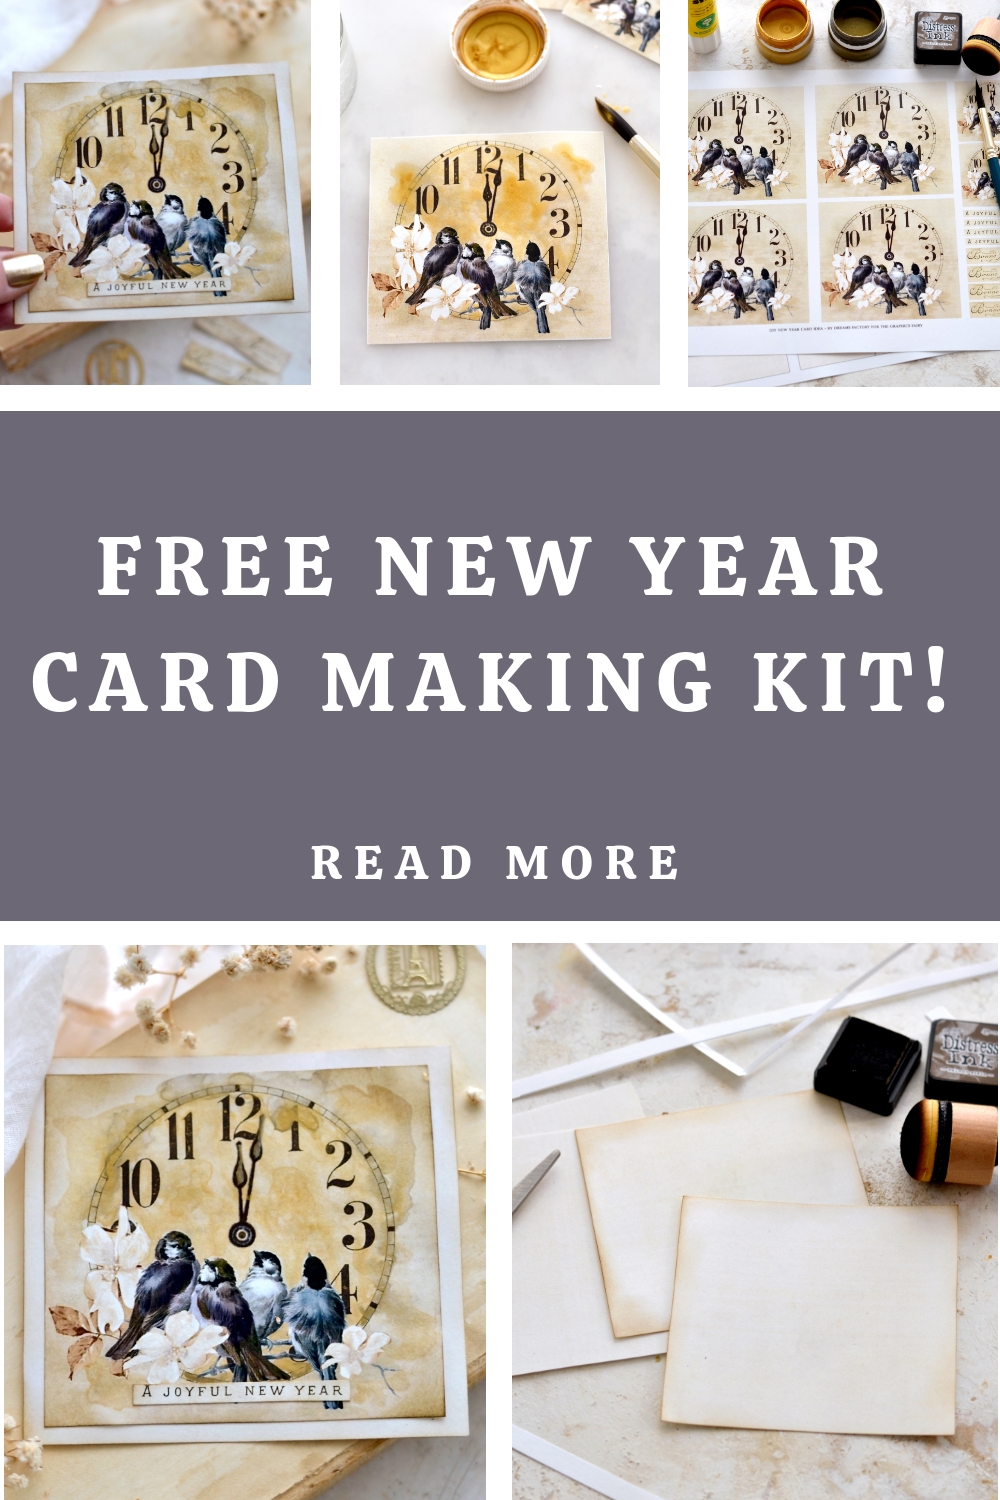
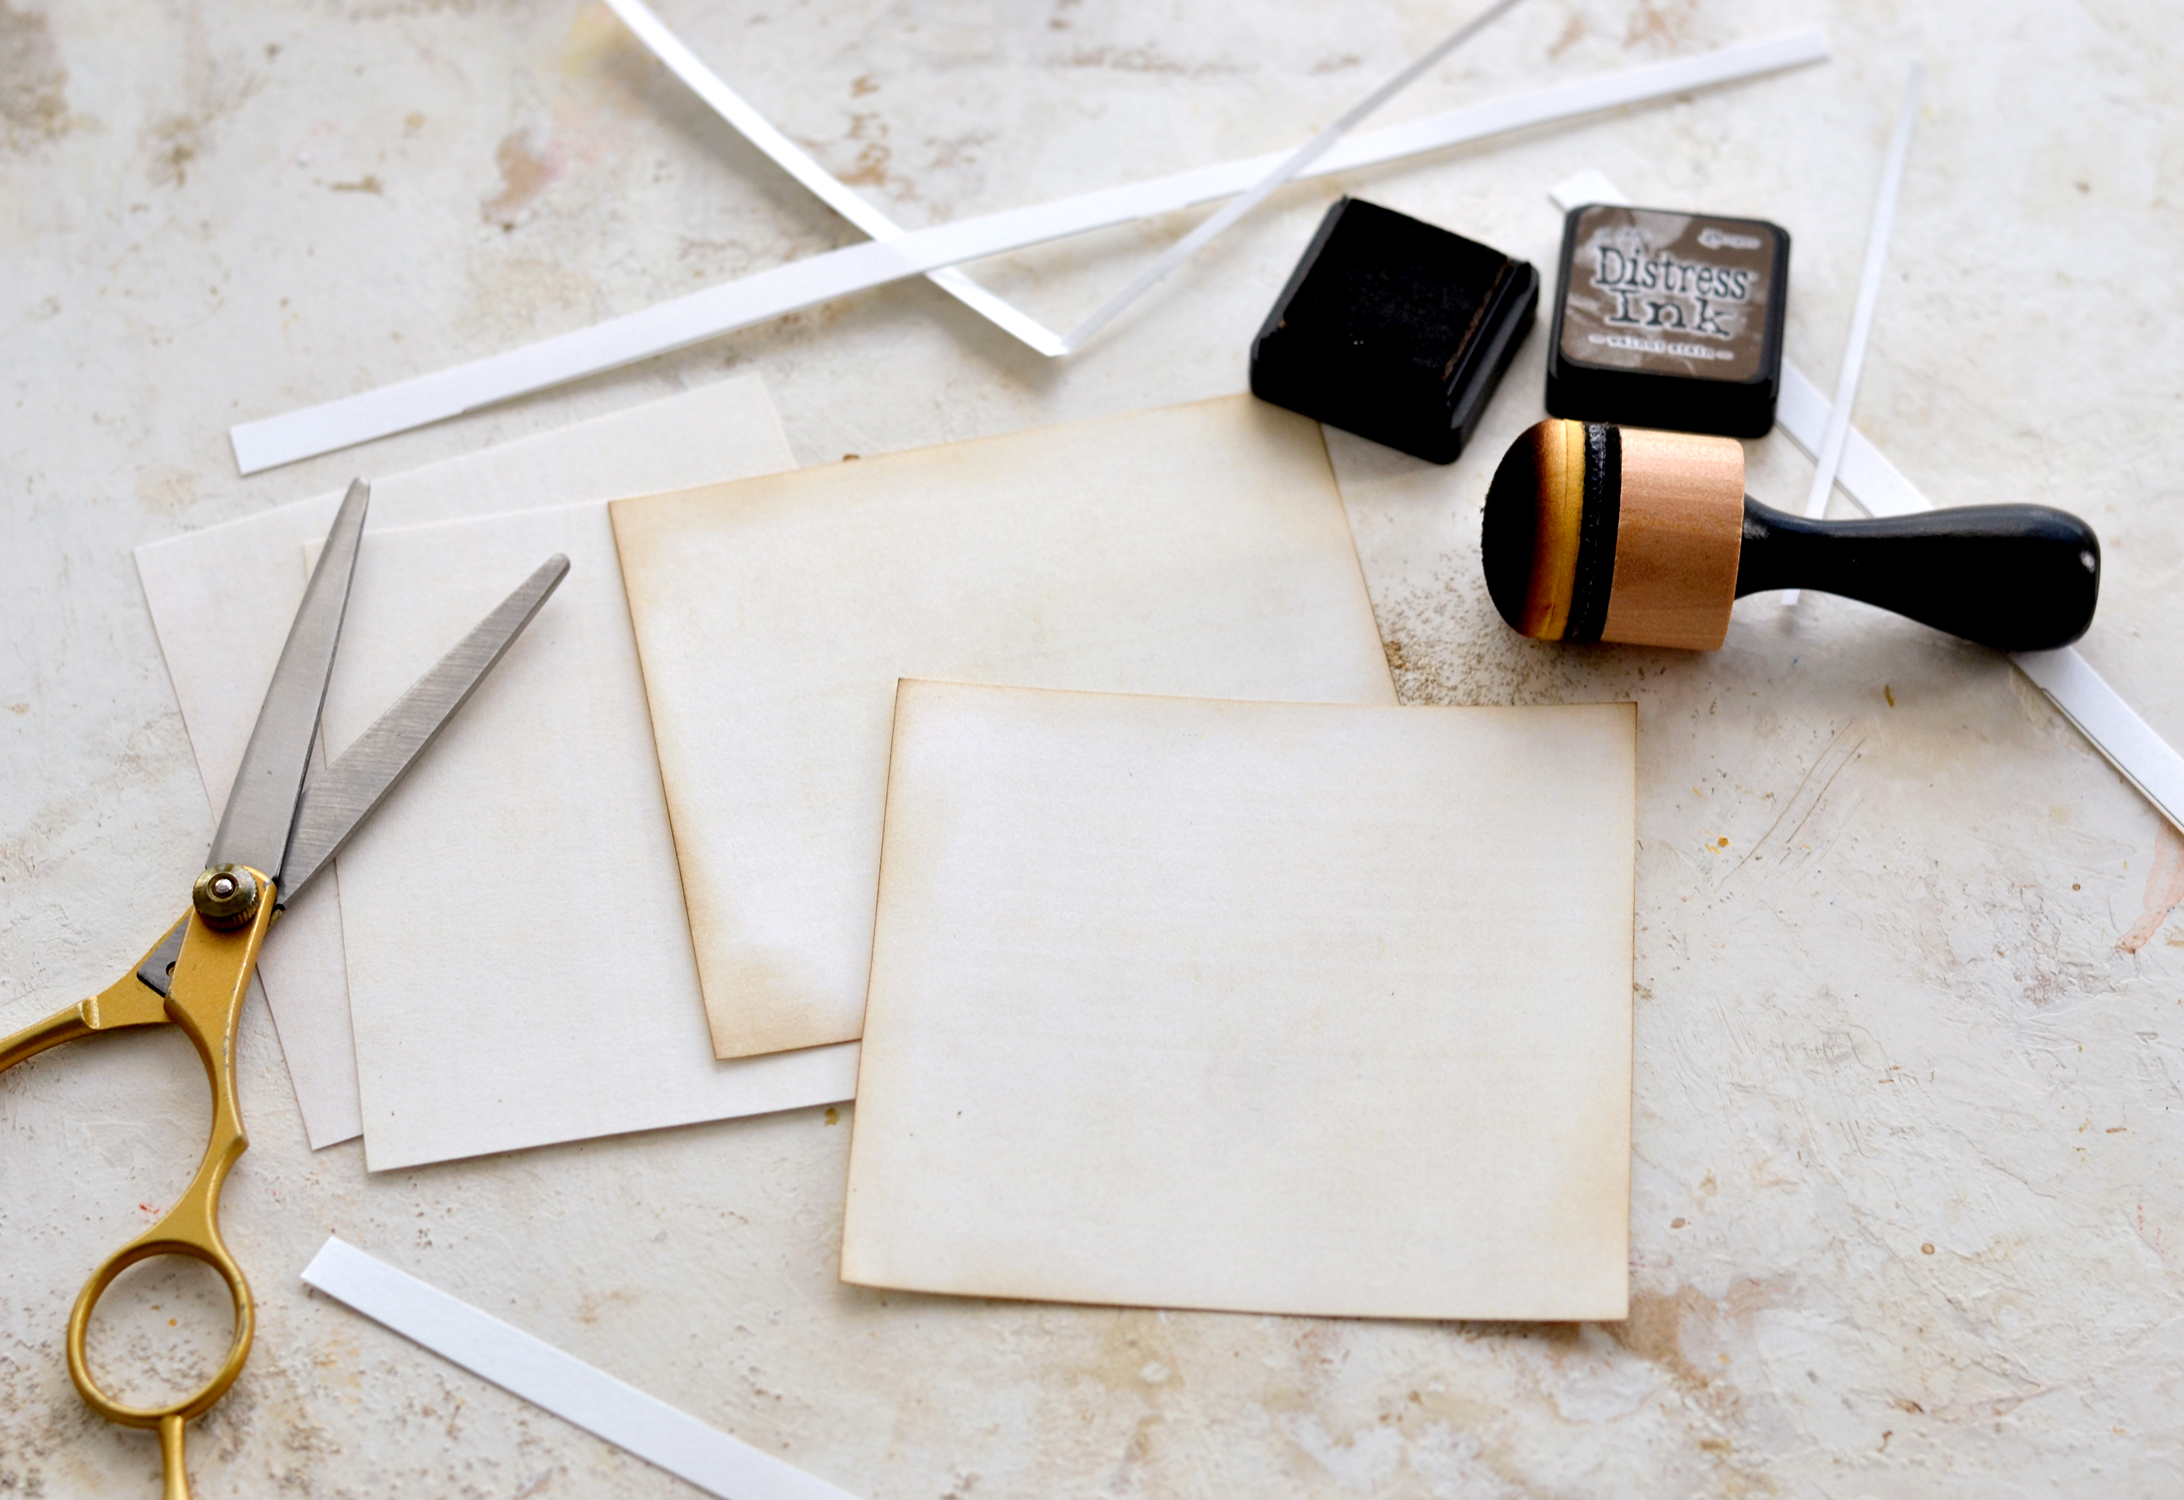
Start by cutting the square bases using your scissors, you’ll need to completely remove the black border around them.
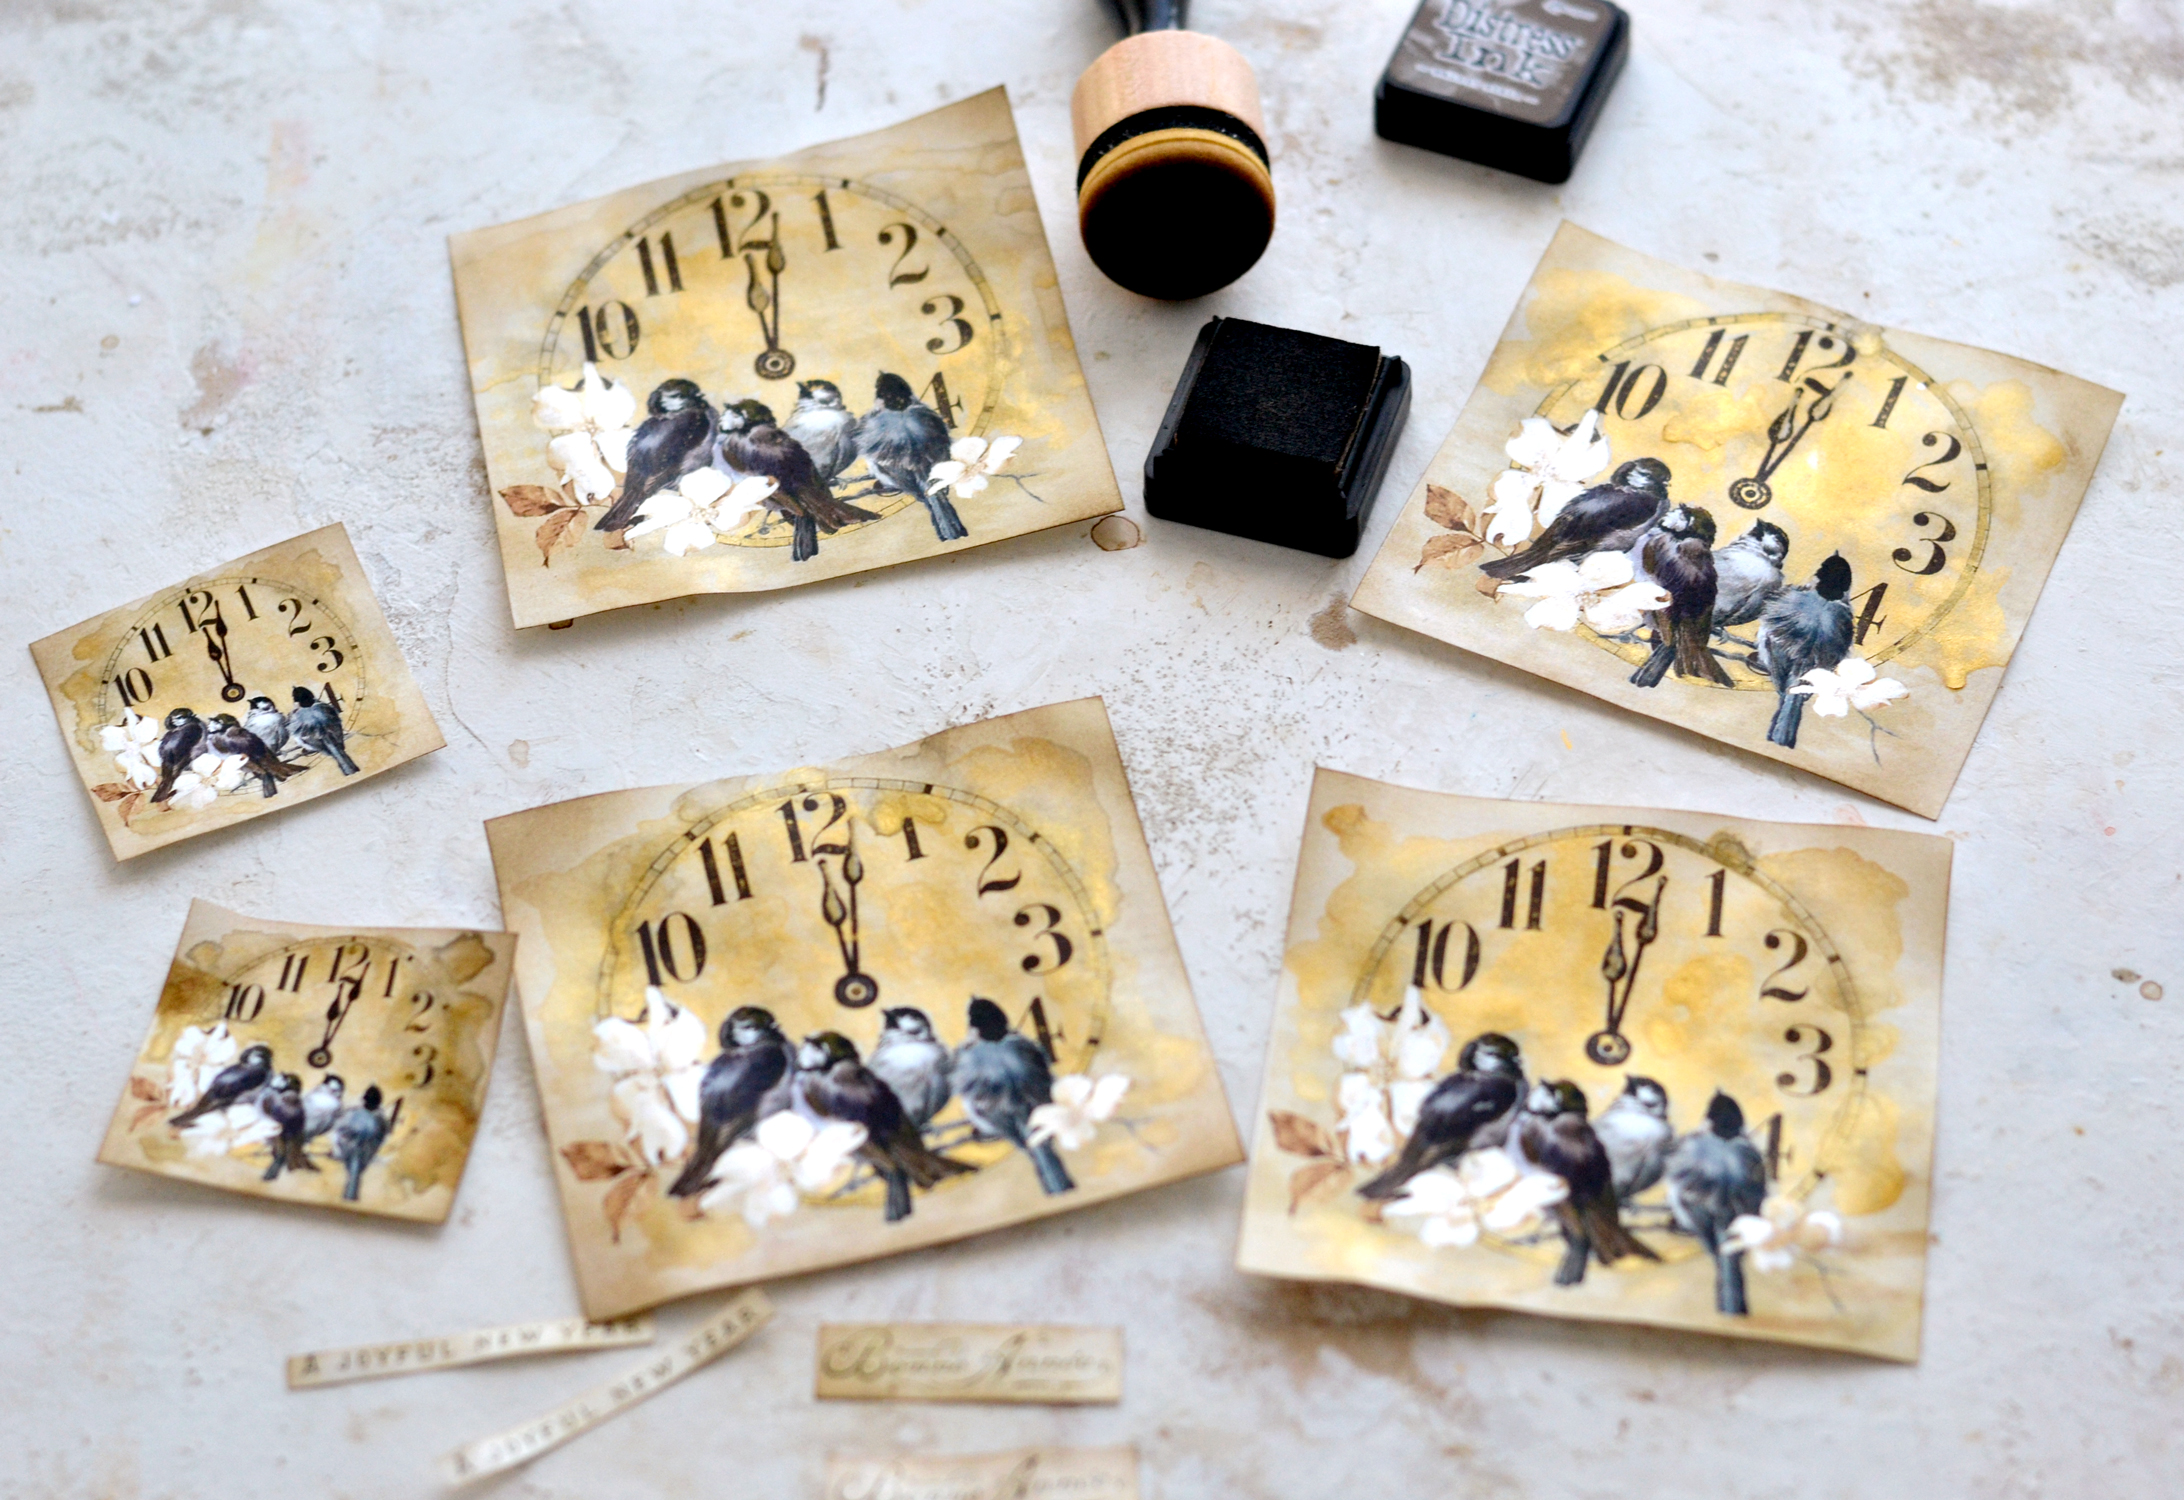
When you are done, use your favorite brown distress ink to distress the edges – I usually use Walnut Stain. As an idea, if you have some gold distress ink laying around, you could give it a try with these cards.
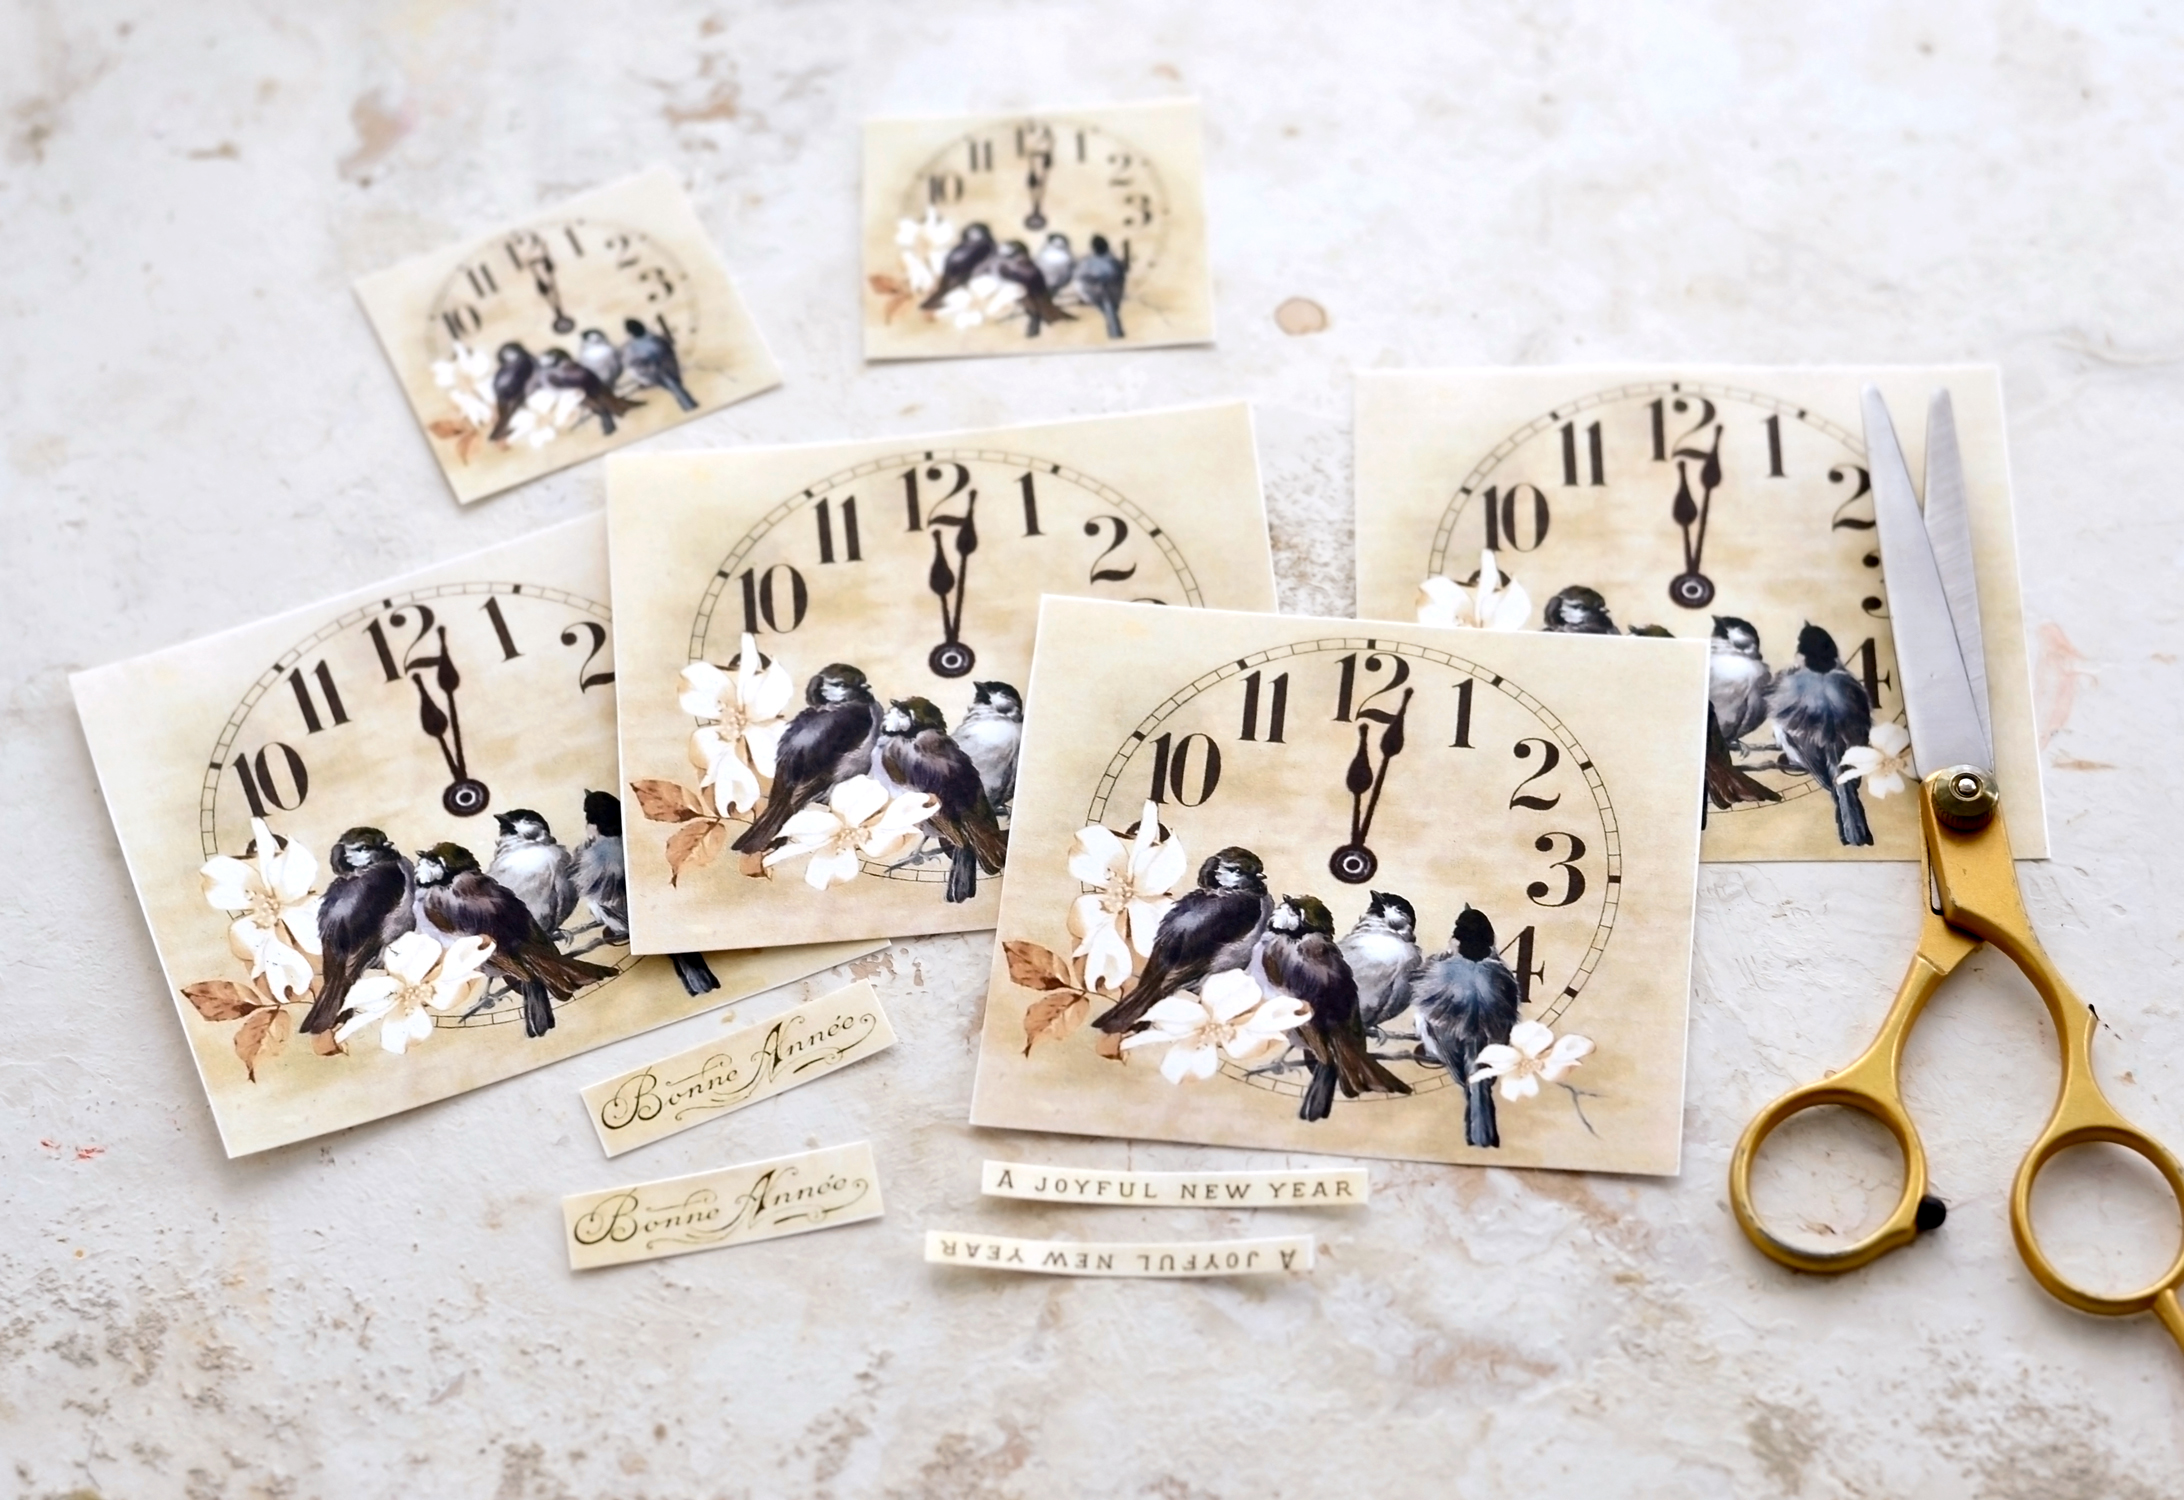
Moving on, use your scissors to cut the 4 tops with the gorgeous clock and bird design and the 2 smaller ones if you want. Decide on the wishing embellishments that you would like to use and also cut them at this stage.
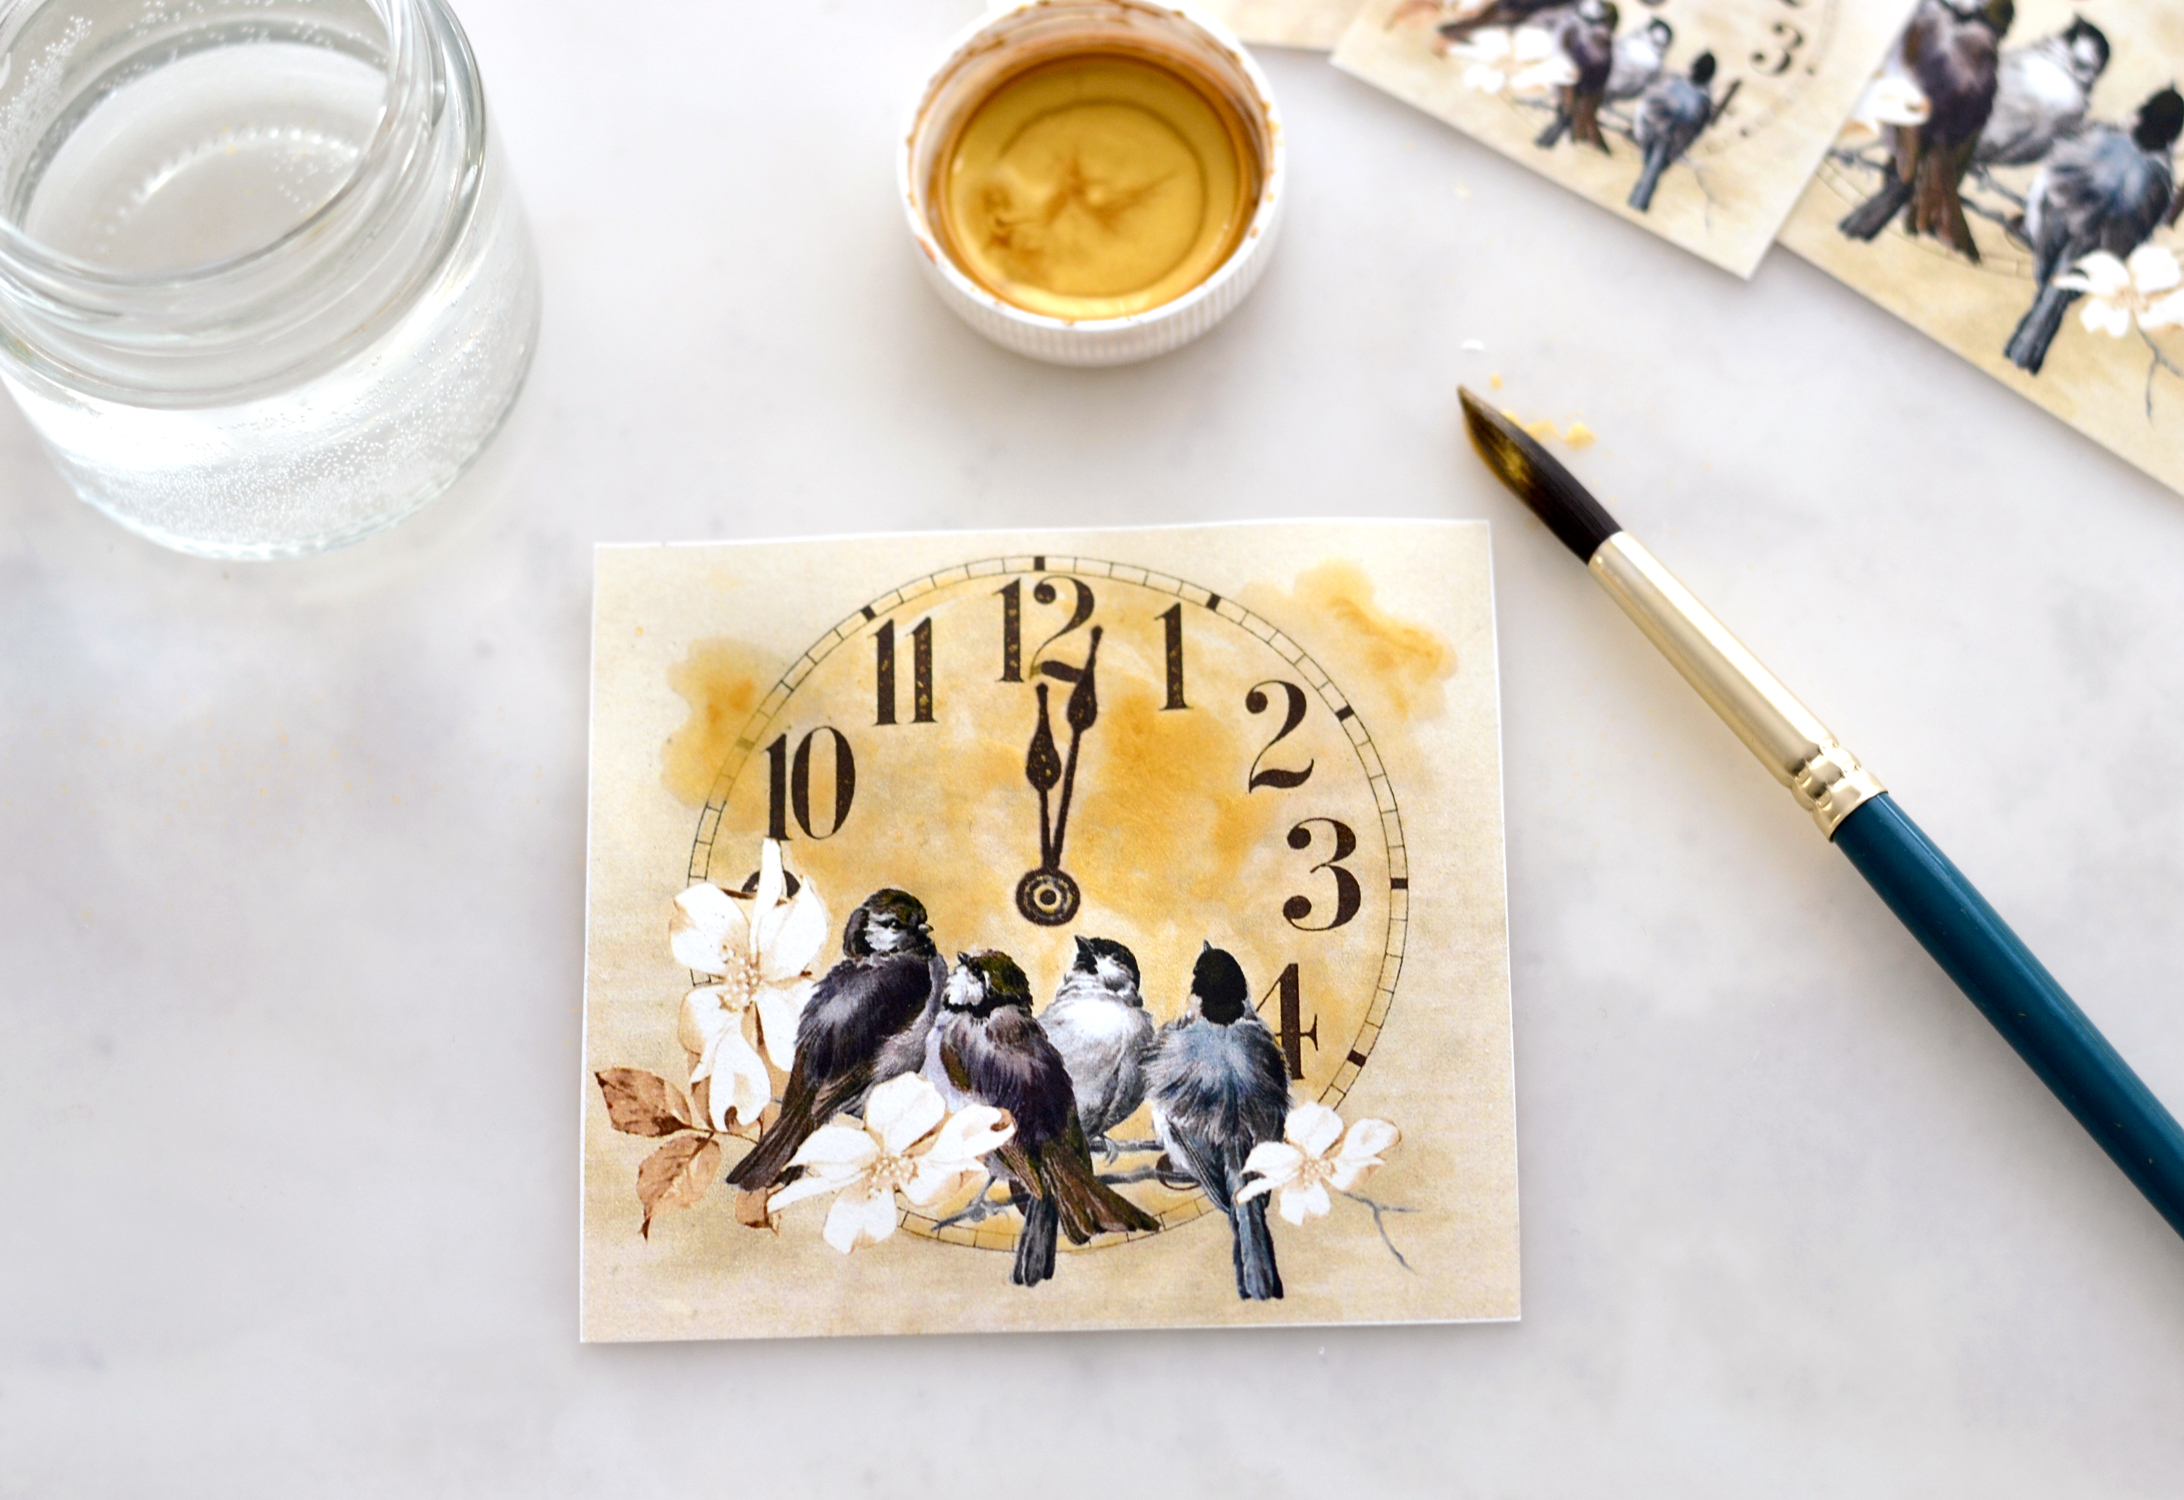
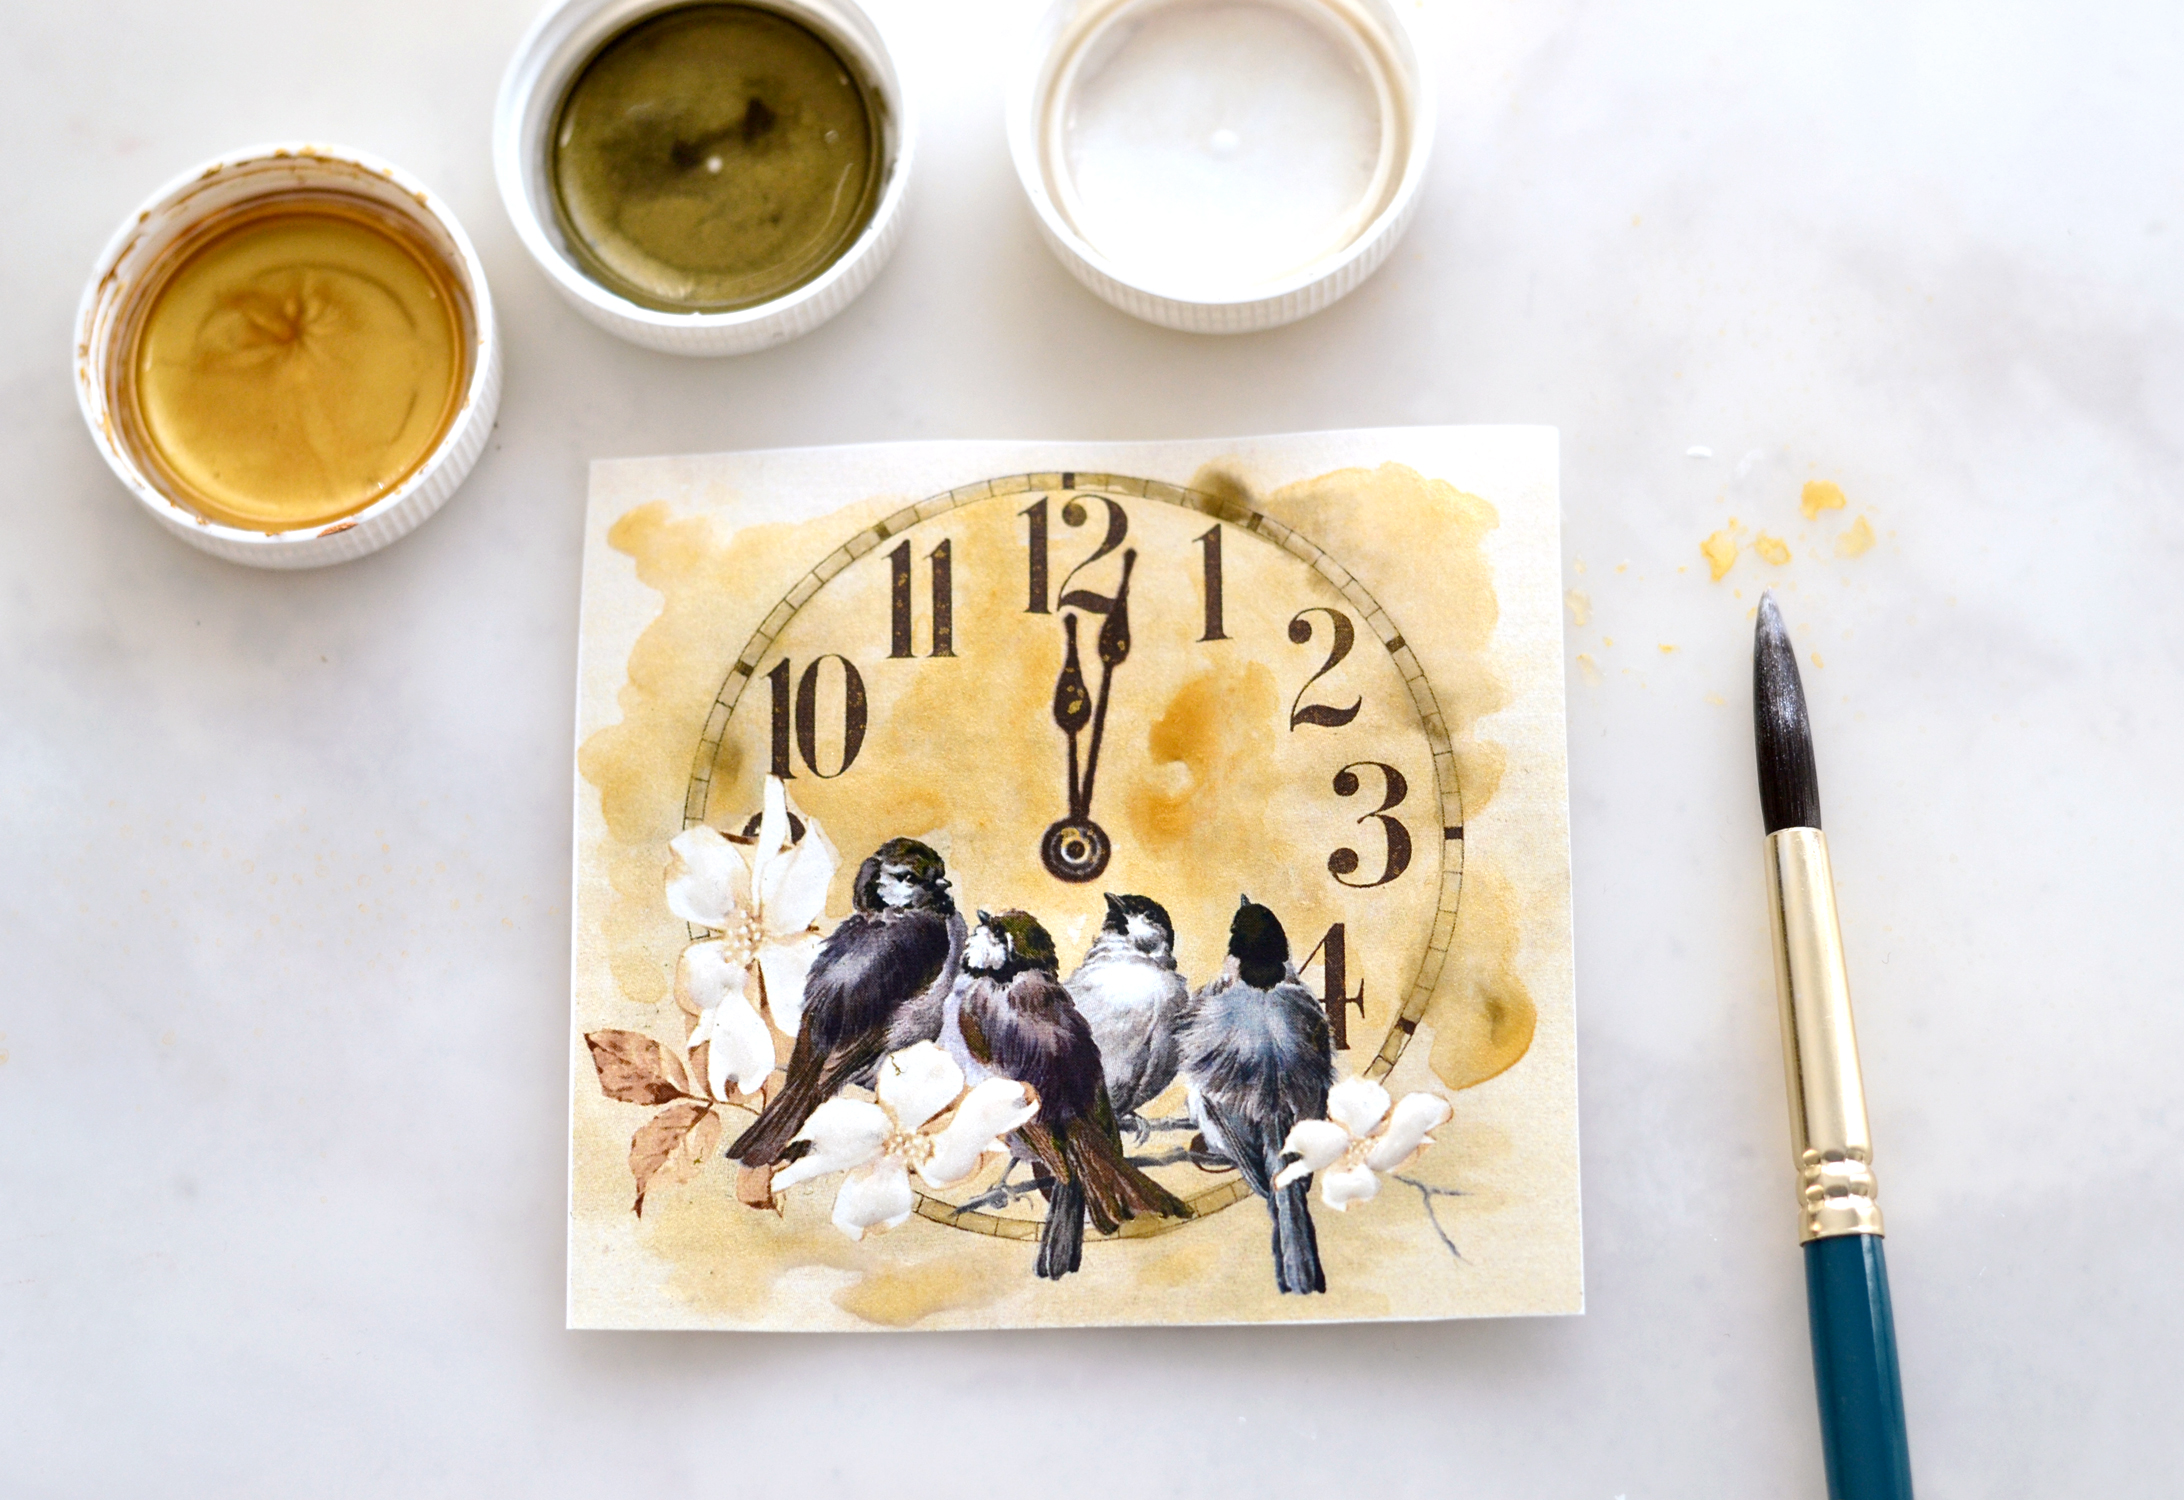
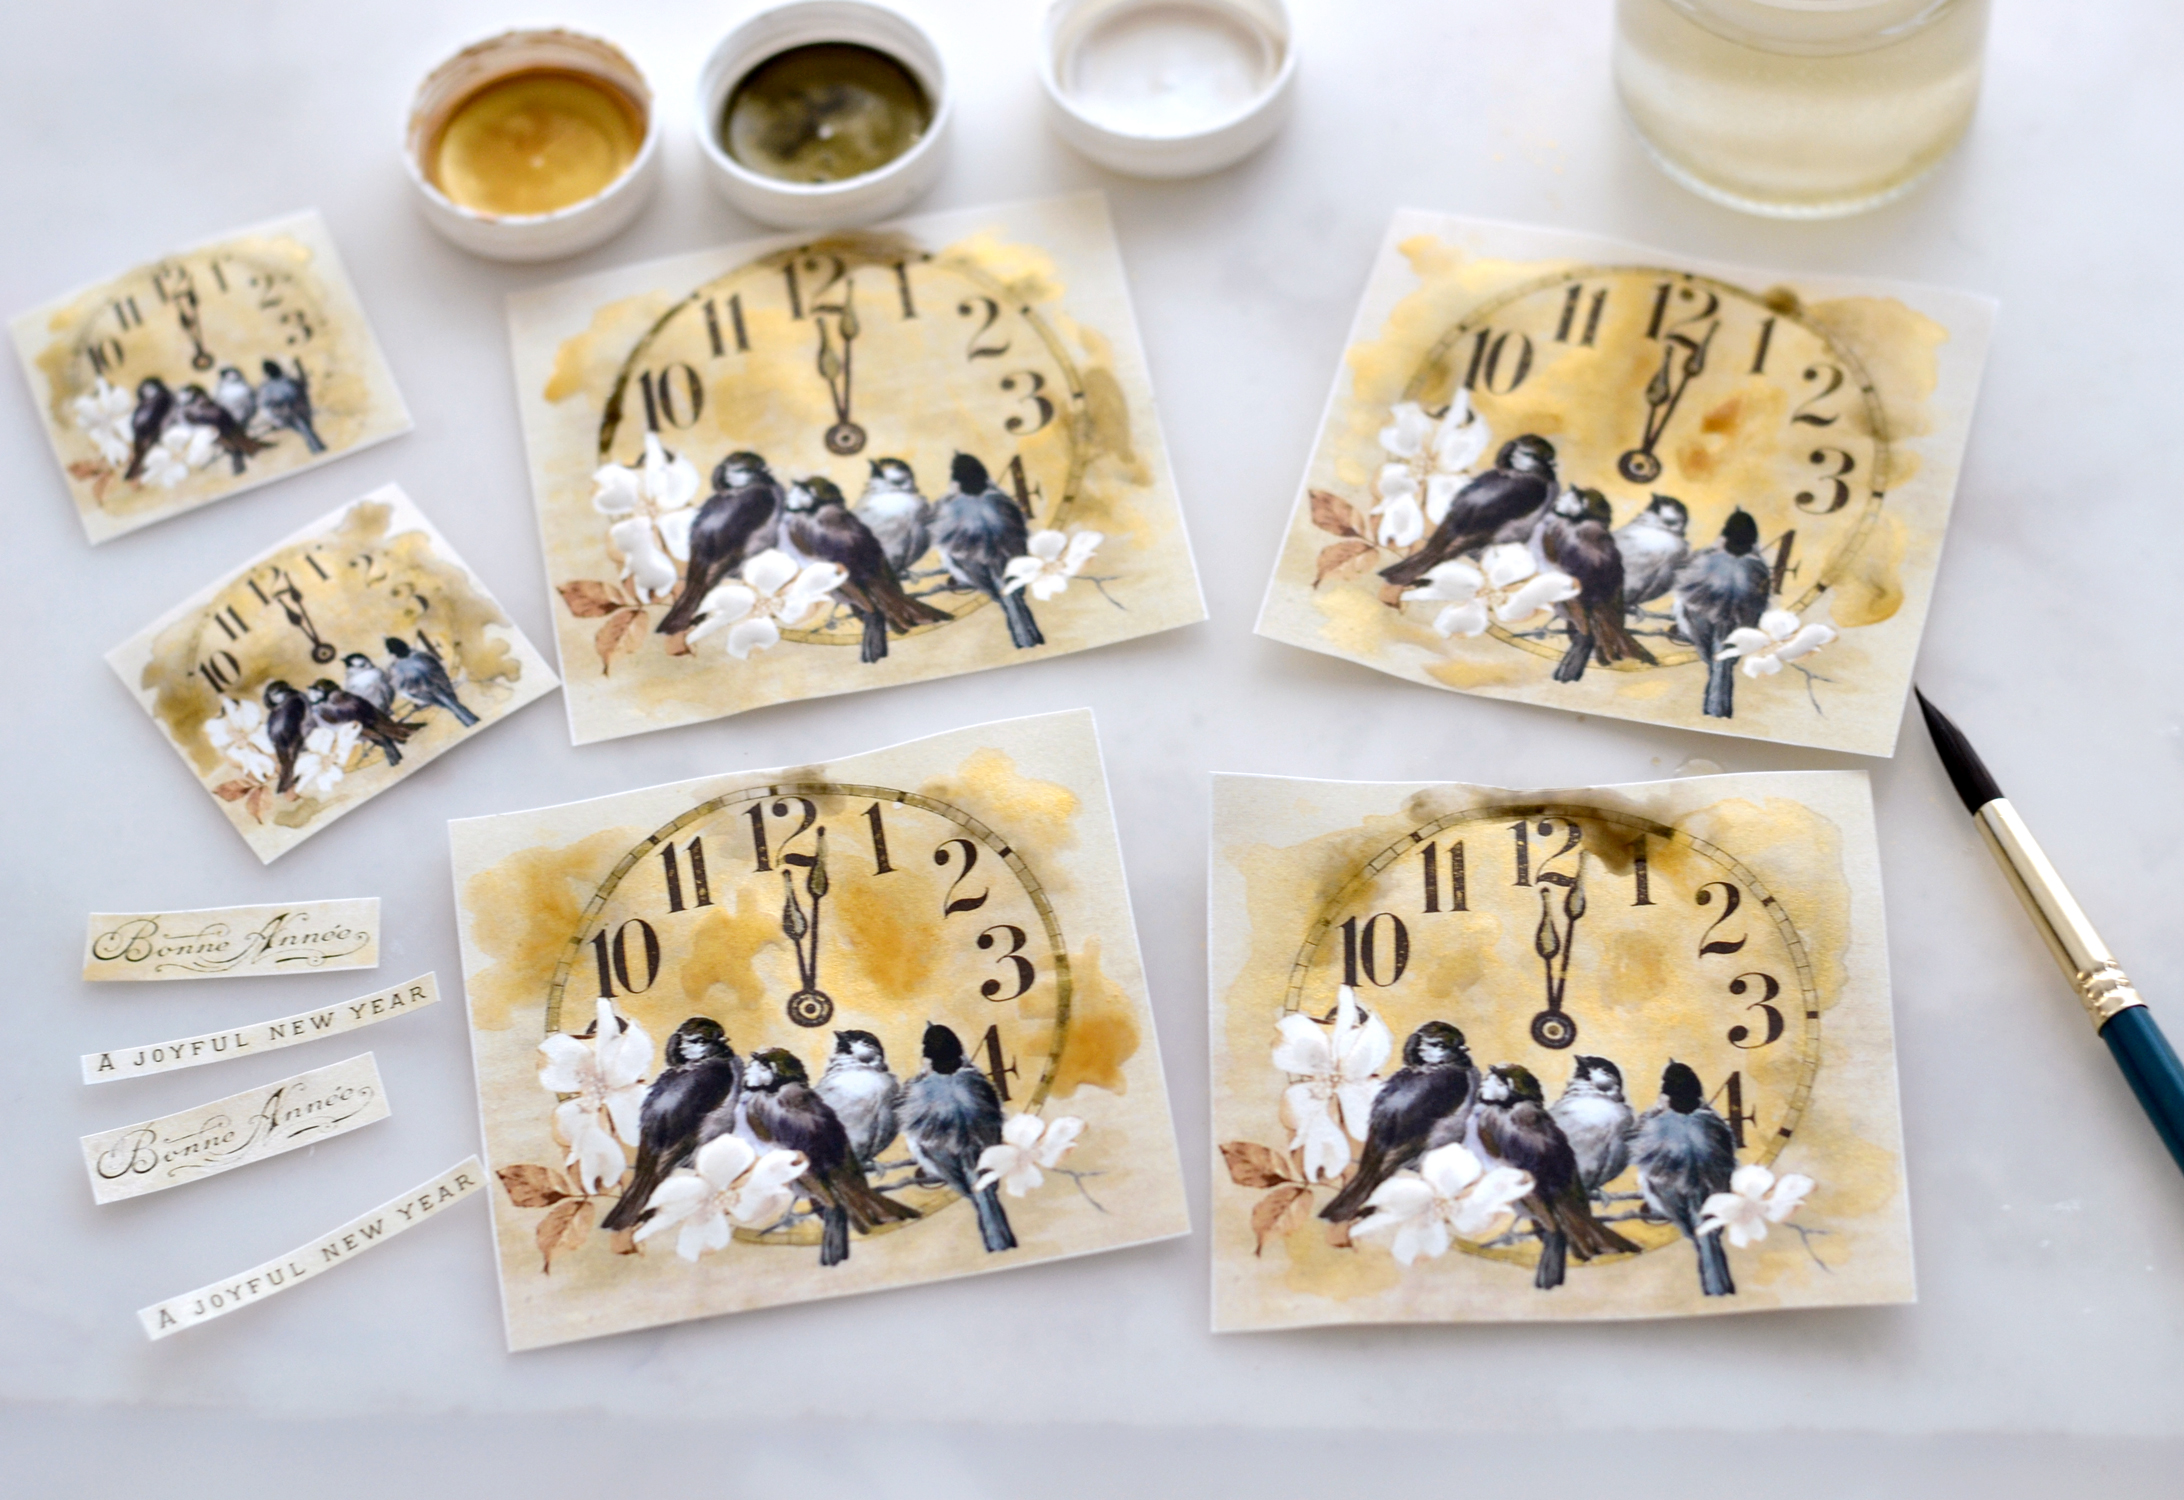
To paint the tops you can use any water-based metallic paint that you have around! Just keep in mind that you’ll need to highly dilute it to create this gorgeous watercolor effect. You will basically need a tiny bit of paint and a lot of water no matter if you are using metallic gouaches, as I did, or any other type like metallic acrylic paint or metallic watercolors. If your metallic paint comes in bottles, make sure you shake them really well before using them. I started with gold gouaches – I just loaded my brush with a lot of water and a small amount of gold and painted the inside of the clock. You can choose to only paint the inside of the clock to make it pop or you can use more water and paint to go outside the edges here and there.
You can also use your brush to ‘paint’ with water, then add the color on top, letting the paint and the water mingle to create gorgeous watercolor effects on their own.
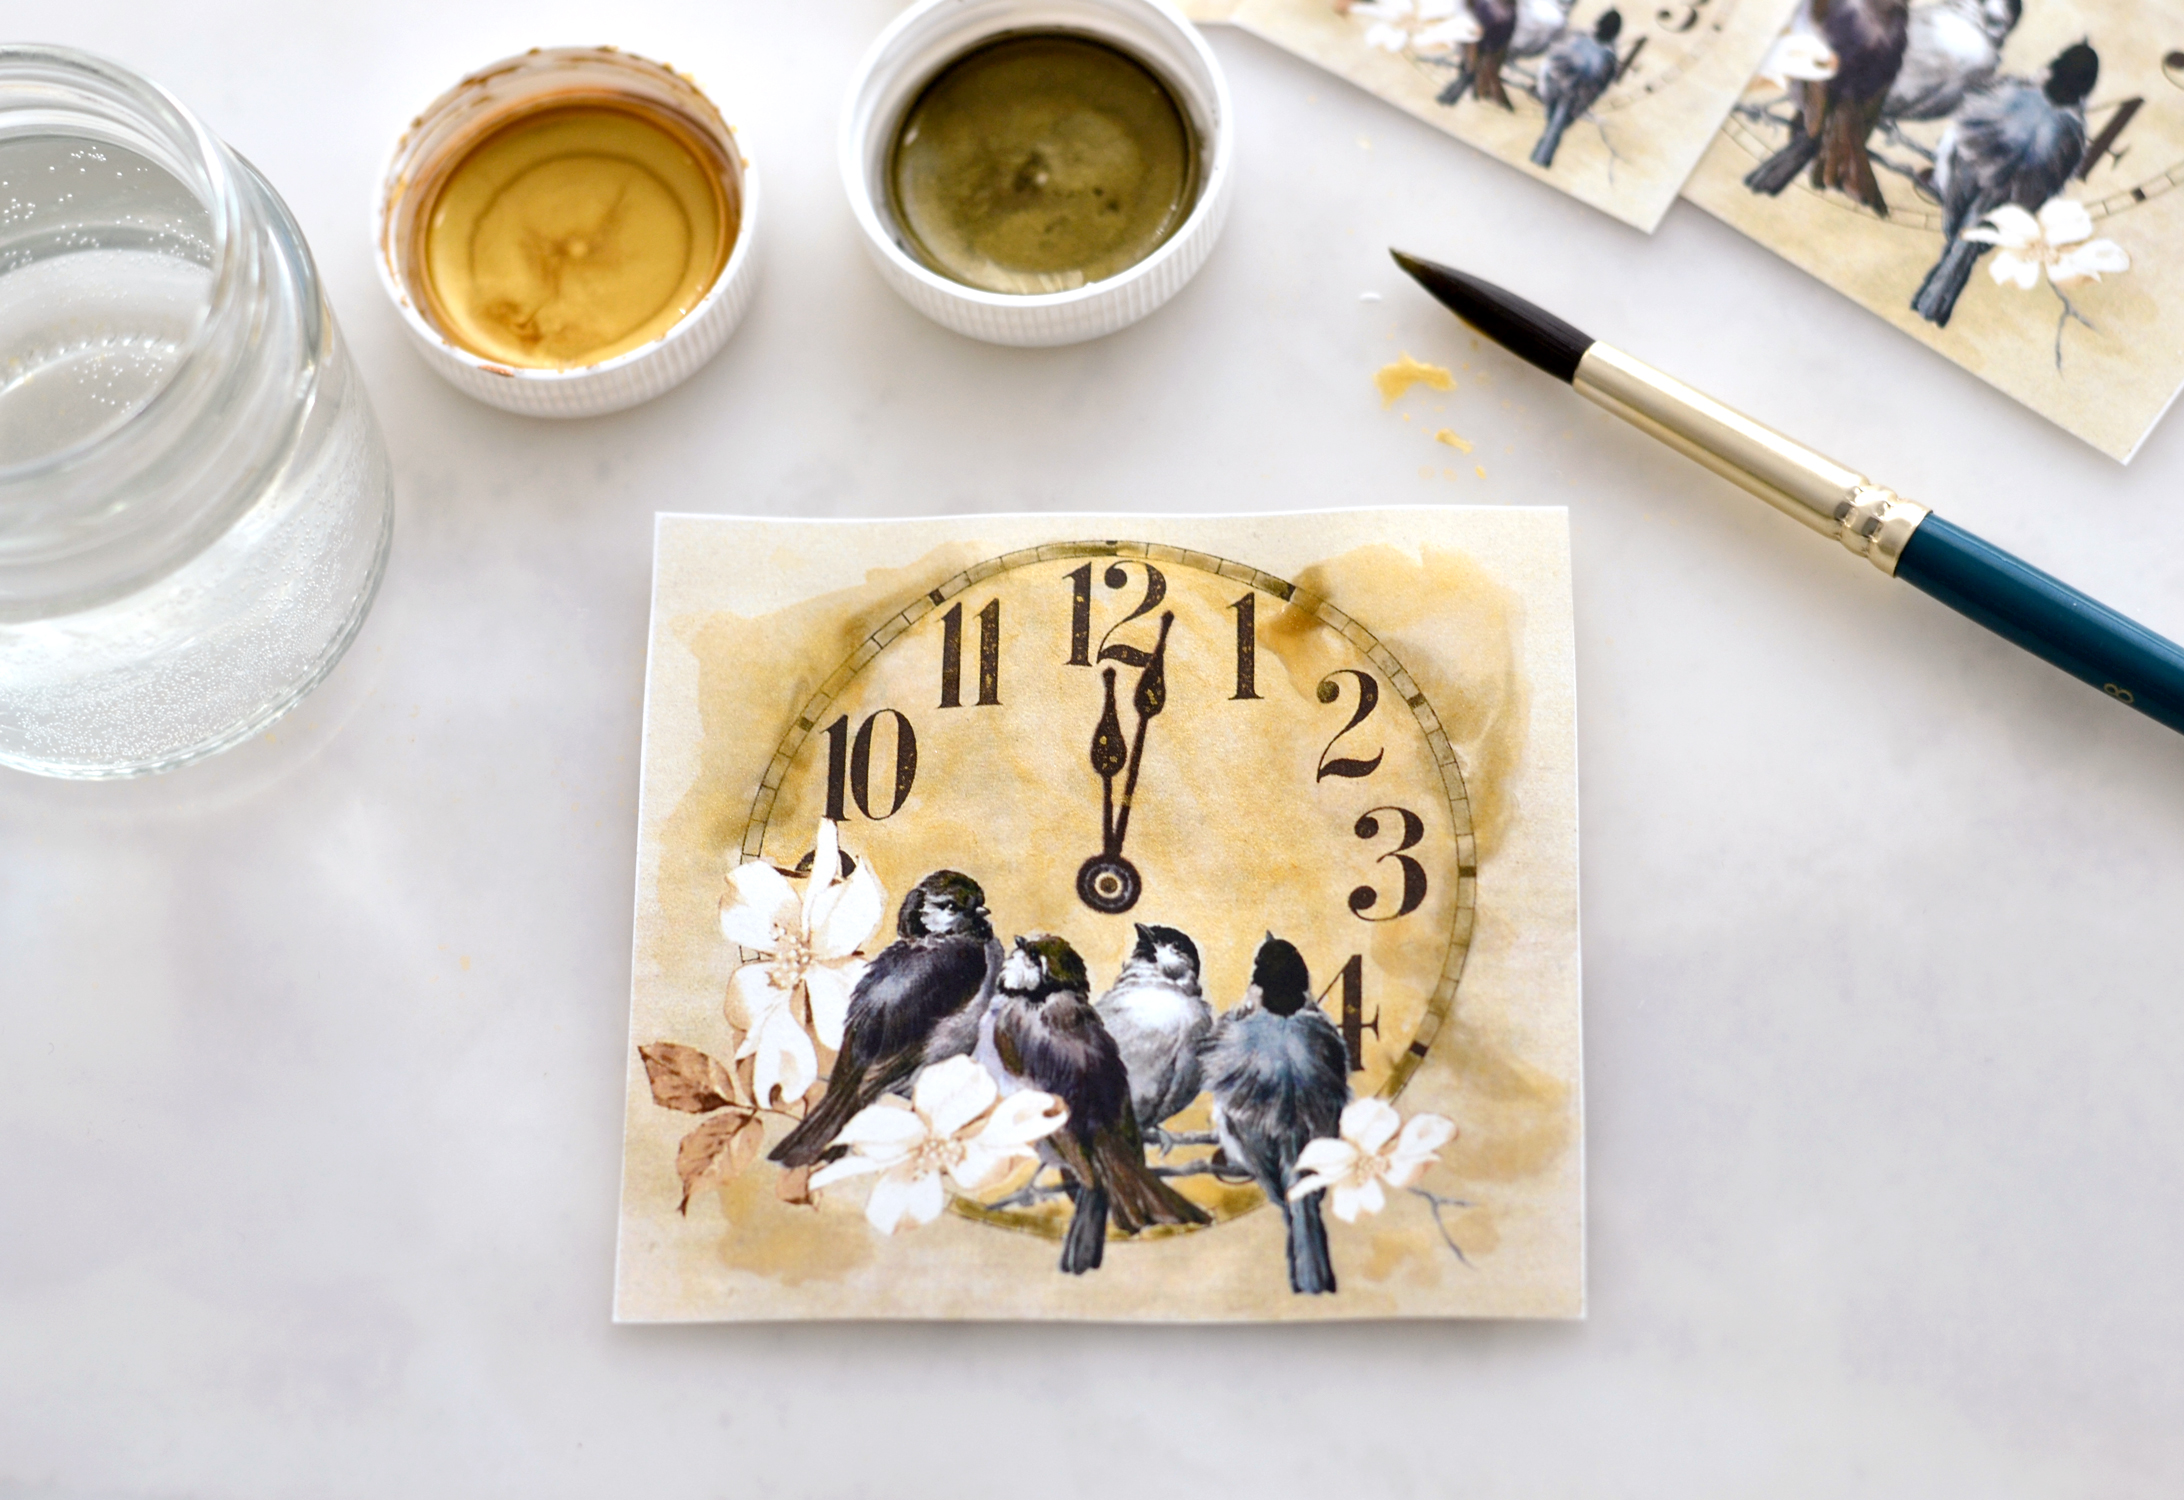
Choose a darker color – I went with this beautiful metallic green gold – if you want to create some darker shades or to emphasize some of the details – I used it on the edges of the clock as a contour but because of all this water, the paint also bled to the outside in some places, creating a lovely, quite organic effect.
My gouache set of paints also included a white pearlescent paint so I’ve decided to use it on the white flowers, just to give them a nice glimmery touch.
Have fun with these beauties as you want, just keep in mind that watercolors and gouaches (in this order) are more transparent than acrylic paints! If you are using acrylic paint, you’ll need to add more water! We only want the paint and the water to ‘dance’ together to create these lovely effects, but if too much paint is added, the details of the design will be covered.
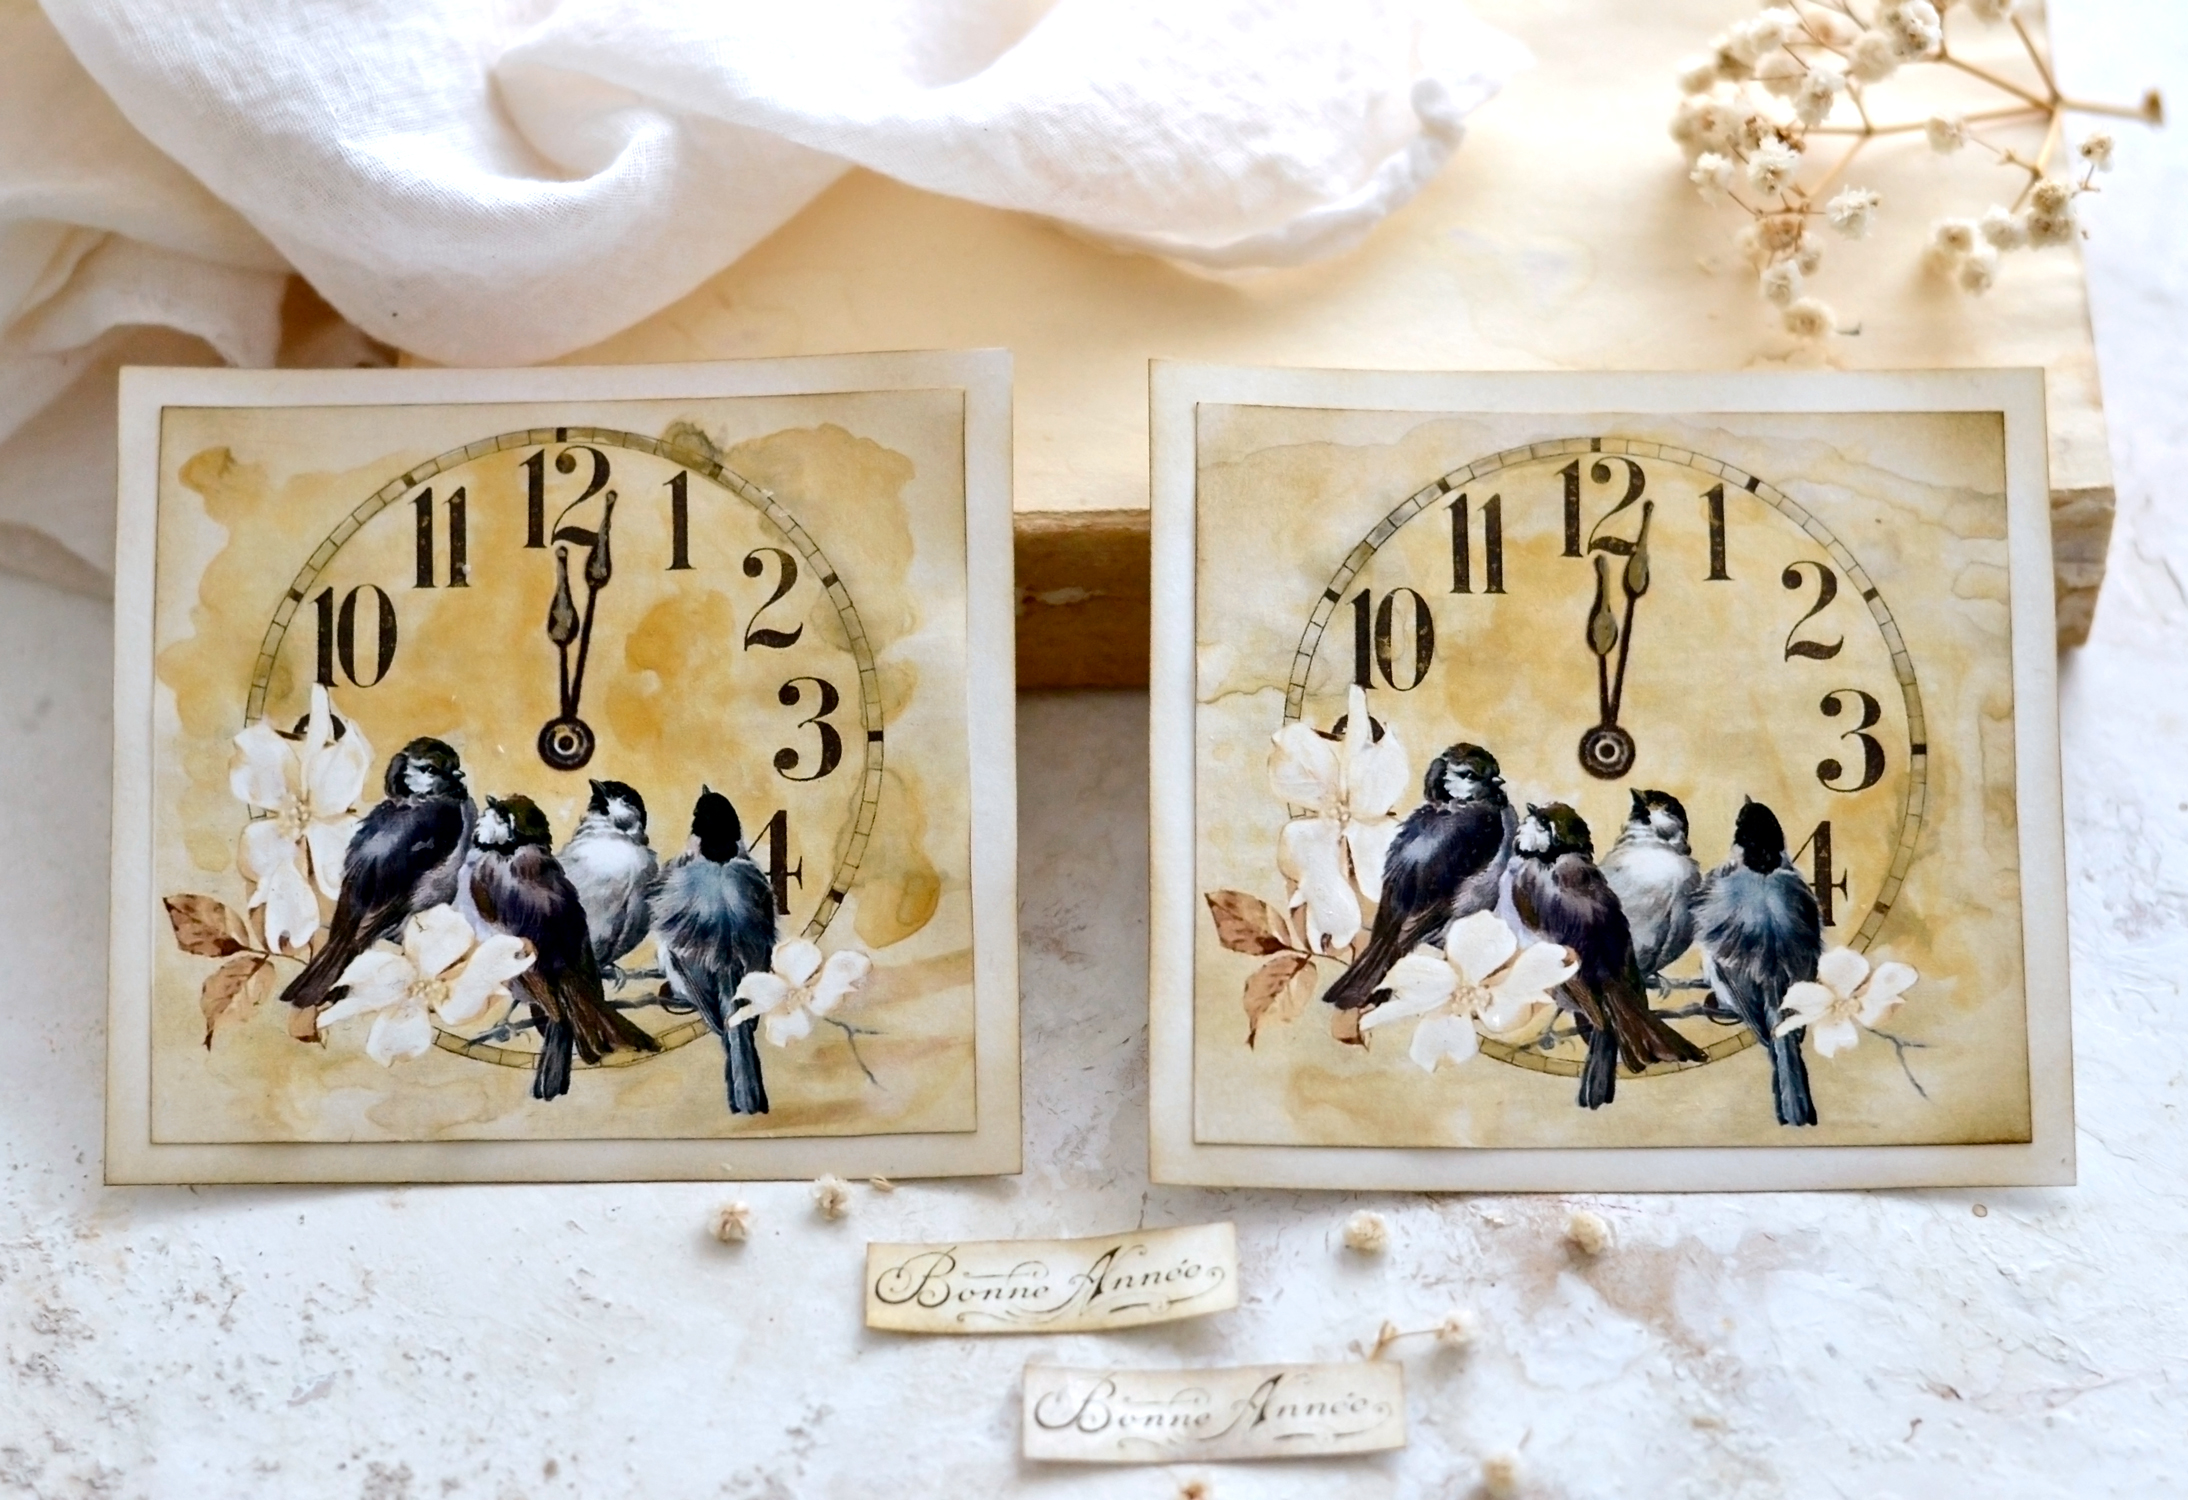
This is how my beautiful tops turned out, just let them air dry completely before moving on to the next step. Of course, you can also use your hair dryer or your heat gun if you want to speed things up.
The paper will bend and curl a little bit after drying, you can put them between the pages of a book if you want to flatten them again.
I didn’t mind the occasional warps, I just moved on and used some more of that brown distress ink to distress their edges.
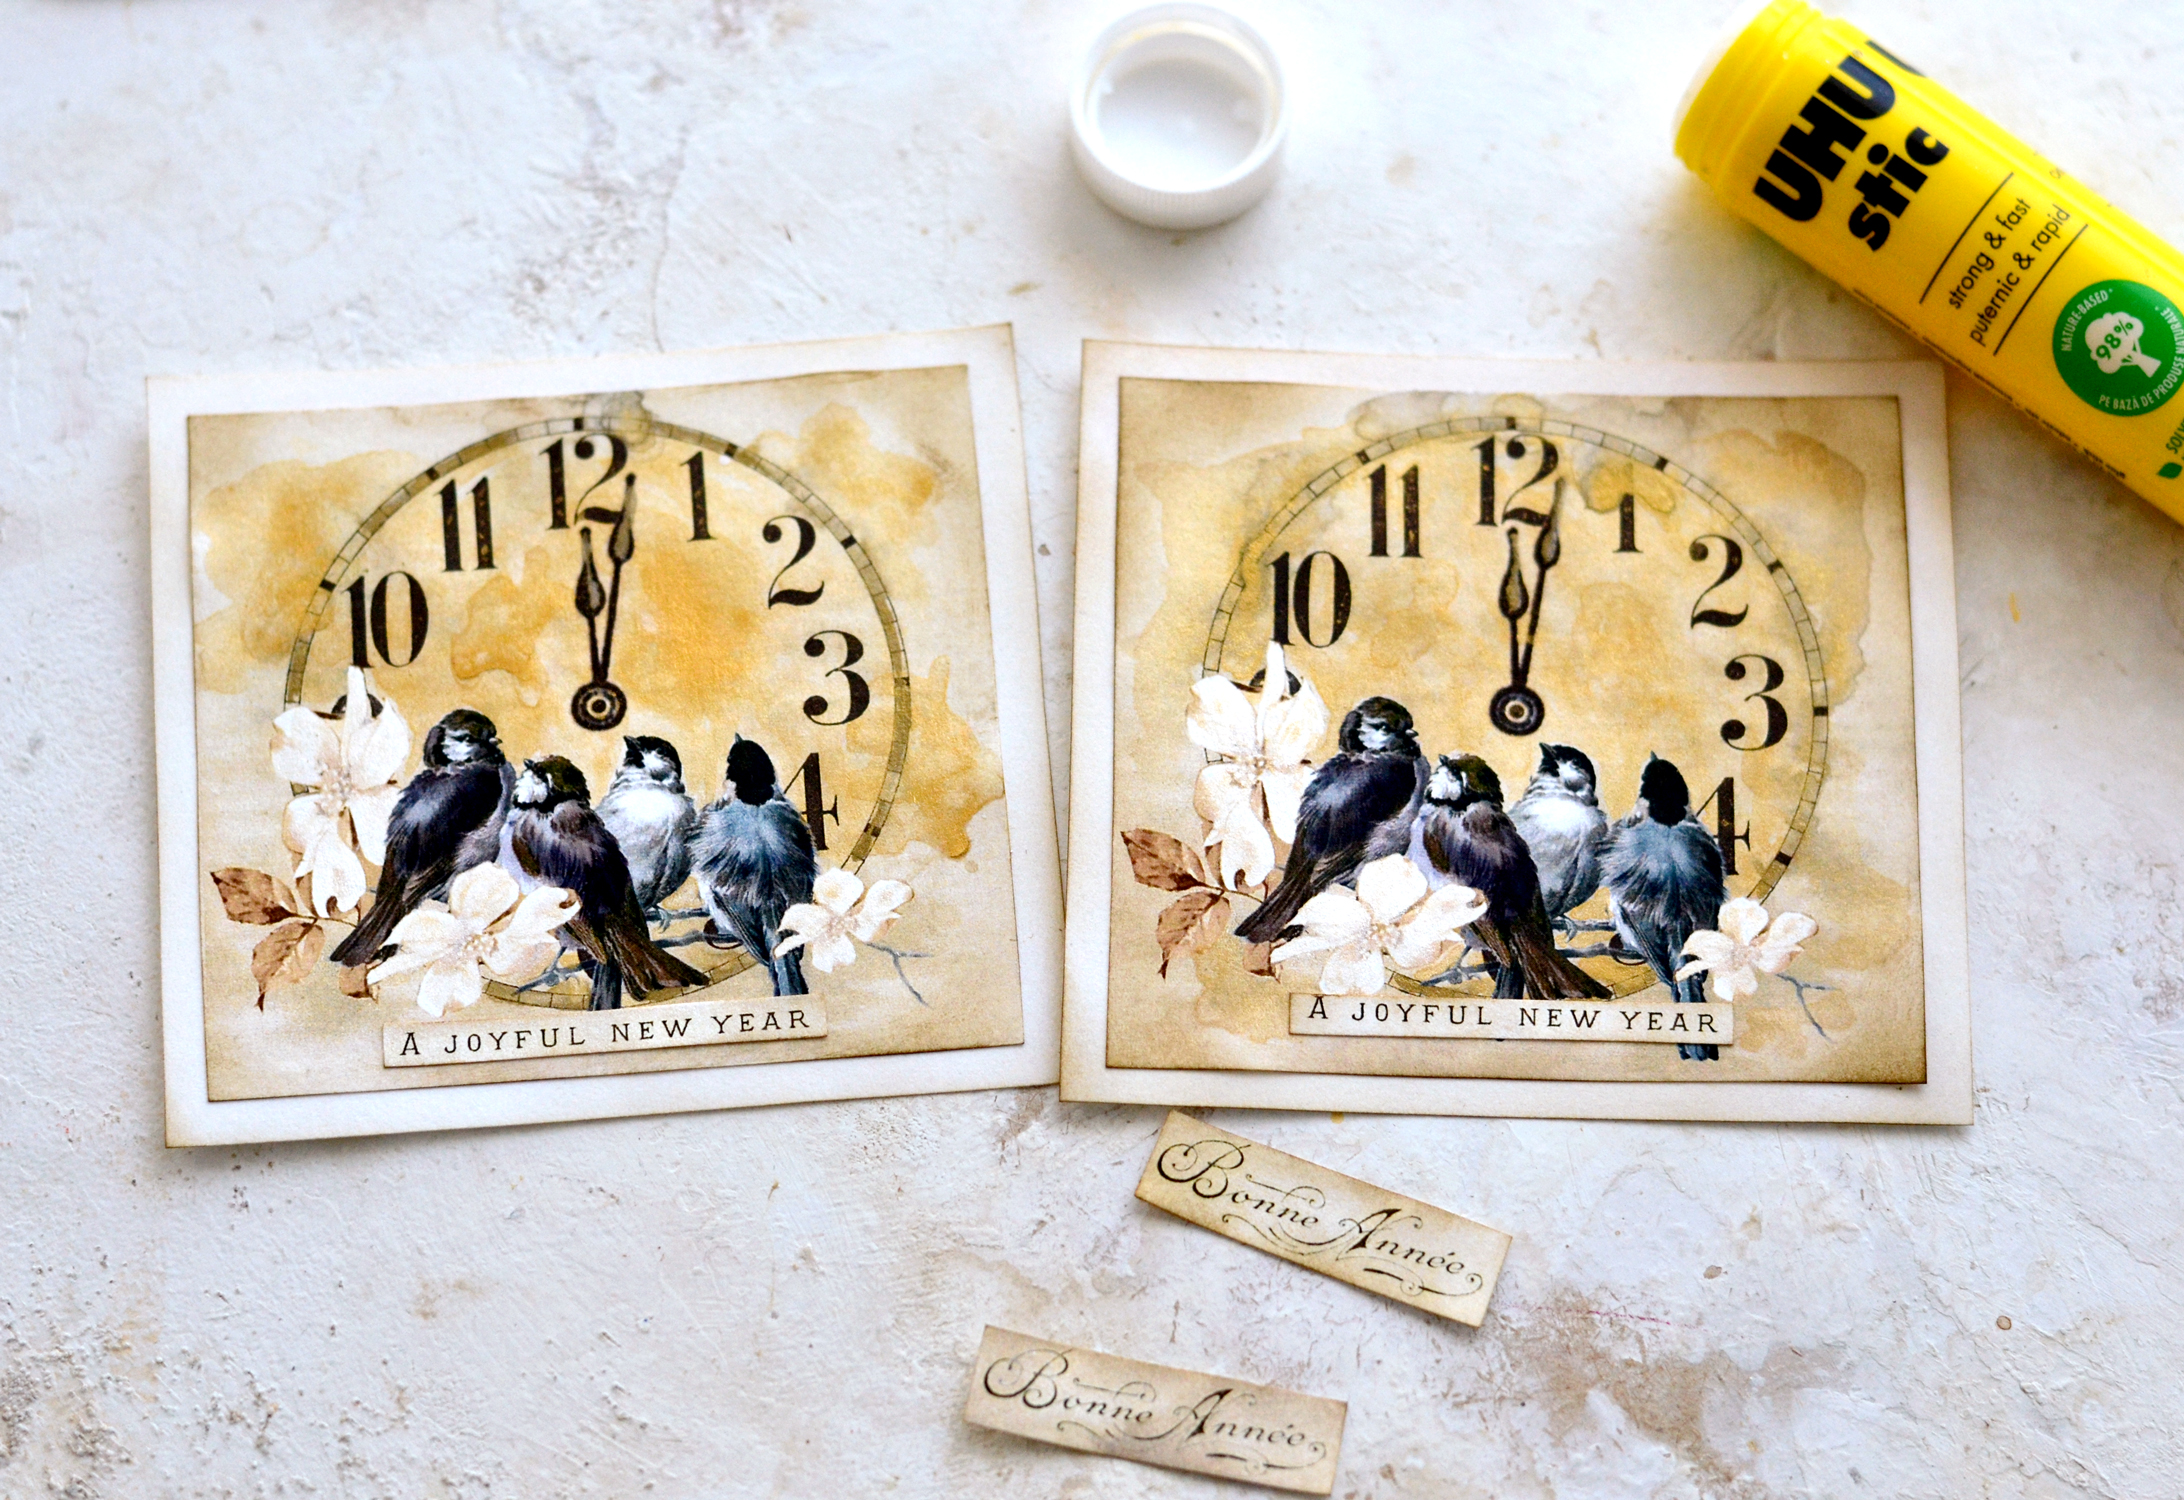
Apply paper glue on the back of the tops, then center and glue them on the bases. Choose the wishing embellishments that you want and also glue them on top!
The New Year cards turned out simply gorgeous, without too much effort on our part! Each card is truly unique, if following this painting technique with lots of water, you won’t get two with the same finish!
The details of the design along with the watercolor effect that we managed to create are simply a match made in heaven!
The cards will make the perfect gifts for holding New Year wishes, you can simply write them on the back! And if you are feeling somehow uninspired or want something more universal, you could just fill their backs with handwritten ‘Happy New Year’ wishes in different languages using a nib and some ink – use Google to make the translations for you.
And of course, these gorgeous vintage bird cards can be also used for other projects! They can be included in your junk journals, can be turned into unique tags or can be used as mini paintings in your home, along with a set of DIY Coffee Stained Vintage Books and other decorative items like small angel statuettes or scented candles. Simply leave out the New Year wishes or replace them with another message or sentiment.
I hope you enjoyed these DIY New Year Card Ideas. To conclude I would say that it has been a great year in terms of DIY projects, so I’m only hoping you loved recreating my projects as much as I loved making them for you! I wish you many more joyful and happy moments for the new year, let’s make it count and fill it with all the things that truly matter, like our families and friends! But let’s not forget the small things that make our hearts sing like all the fun experiments and DIY creative adventures that are just waiting to be discovered!
 You might also like these Moon Phase Card Ideas HERE too!
Happy crafting,
Diana | by Dreams Factory



Cynthia Murphy says
I love all your projects. Thank you for sharing them with us.
Karen Watson says
I’m so glad you have been enjoying Diana’s beautiful projects Cynthia!
Brita Stauf says
Hello, my name is Brita Stauf and I like your work and all the things on your page given to us.
I wish you all the best and a happy New Year.
Many greets from Germany near Cologne.
Karen Watson says
Thank you so much for your lovely comment Brita! I’m glad you’re enjoying my blog. Happy New Year to you too! 😊
Cheri L Casper says
Both of the PDFs are for the base. The one that should be for the top is a duplicate base. I have downloaded many items from the website so it is not a novice issue.
Karen Watson says
Hi Cheryl, I’ve tried it multiple times and I get the correct printable each time from those links. Can you try it one more time? Maybe they page jumped and you clicked the same link twice? Please let me know if you are still having issues with it.
Theresa says
Beautiful New Year’s cards – love all the gold paint! I am not able to print the main page with the clocks and sentiments. Can you please walk me through the printing steps? I don’t usually have this problem.
Thank you so very much!
Karen Watson says
Hi Theresa, just make sure you click on the words under the print and not on the print itself. The words “Click HERE to download the full size etc” are linked to the actual PDF and then you can print it out. I hope that helps!