Painted Halloween Owl Tray DIY – Sponsored
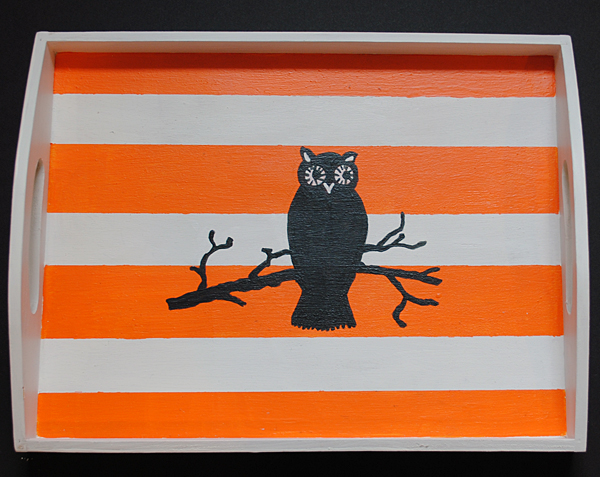
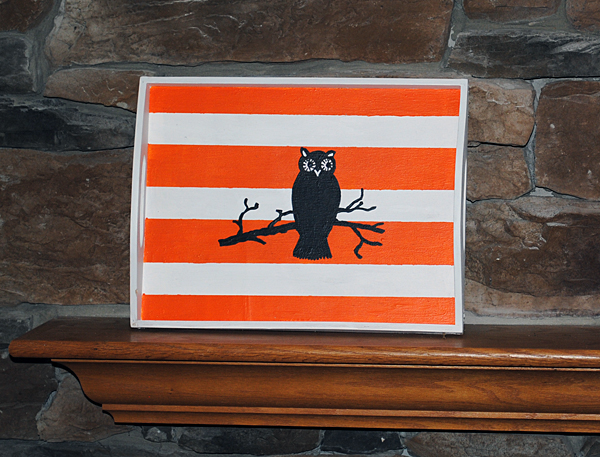
Today I’m sharing this fun, fast and easy, Halloween project! I created a cute Painted Owl Tray, using products from The Home Depot and a Vintage Graphic from my Blog! You can use this tray as part of your Halloween Decor or you can use it to serve treats to your Trick or Treaters!
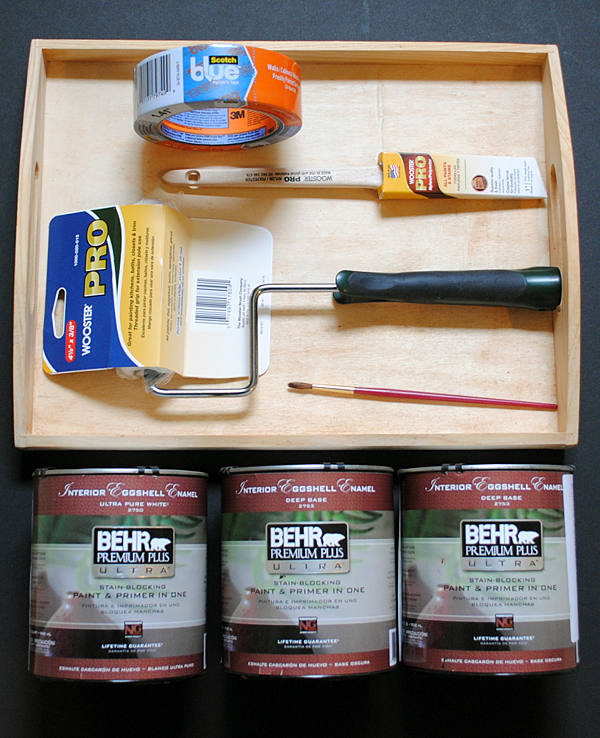
SUPPLIES:
1) Wooden Tray
2) Behr® Premium Plus “Electric Orange” #220B-7
3) Behr® Premium Plus “Black Suede” #S-H-790
4) Behr® Premium Plus “Ultra Pure White” #PPU-18-6
5) Wooster® Pro Thin Angle Sash Brush or Woven Cage Frame Roller
6) ScotchBlue™ Painters Tape Delicate Surfaces with Advanced Edge-Lock™ Paint Line Protector 2080EL
7) Small artists paint brush
8) Graphite Paper
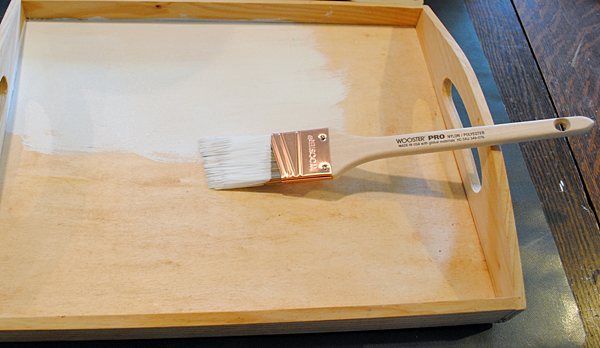
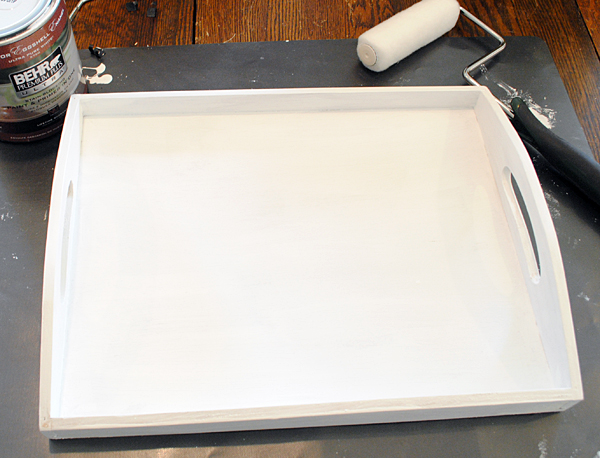
Step 1) Paint the tray with Behr® Premium Plus “Ultra Pure White”. This product is paint and primer all in one, so no need to prime first!
You can use either a brush or a mini roller, I used the Wooster® Pro Thin Angle Sash Brush.
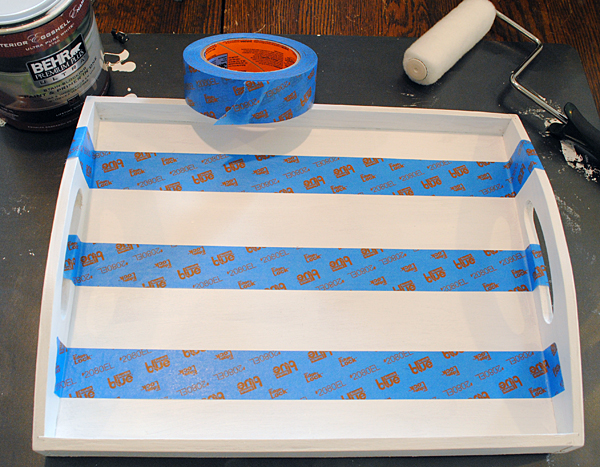
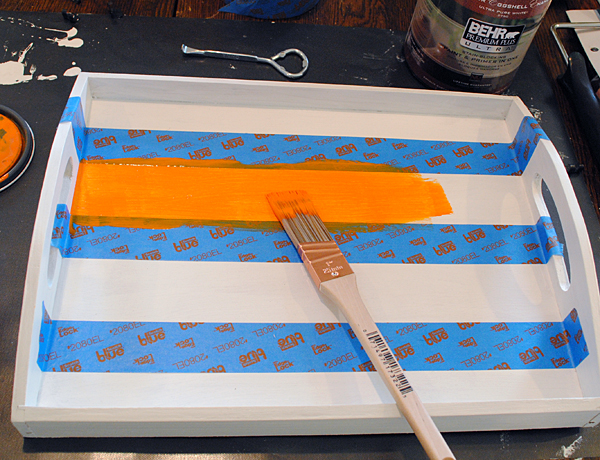
Step 2) Using ScotchBlue™ Painters Tape Delicate Surface with Advanced Edge-Lock™ Paint Line Protector, tape off the desired number of stripes that you like. This tape is great for painting stripes as it adheres nicely, but you can also reposition it until you get it right. You can make your stripes even, or you can vary the size. I think one large stripe across the center would also look nice!
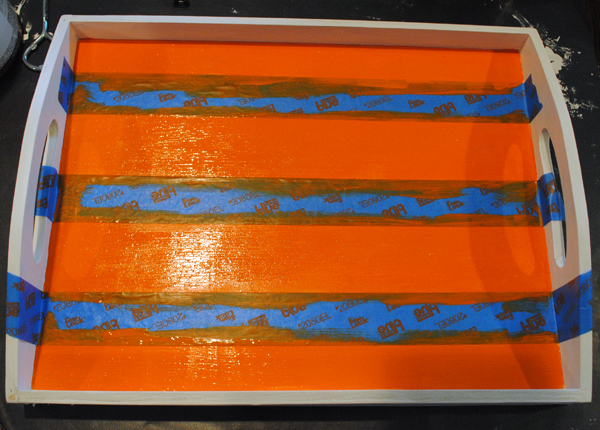
Step 3) Paint on the Orange stripes, with the Behr® Premium Plus “Electric Orange” paint. I used two coats.
Step 4) Allow paint to dry.
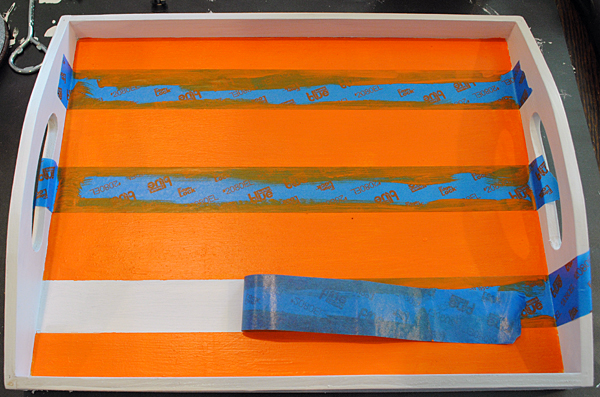
Step 5) Once thoroughly dry, remove the tape.
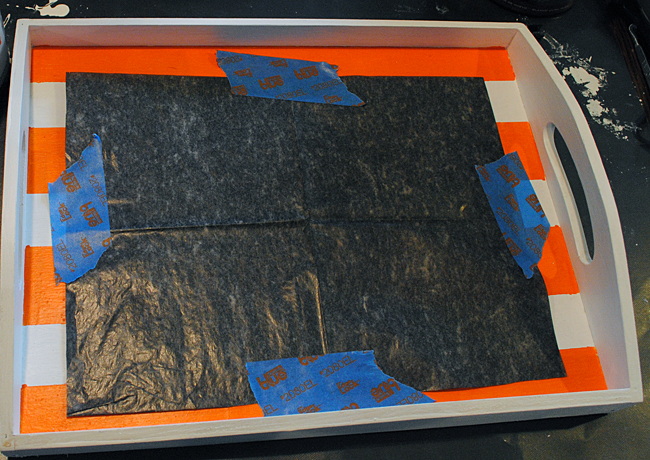
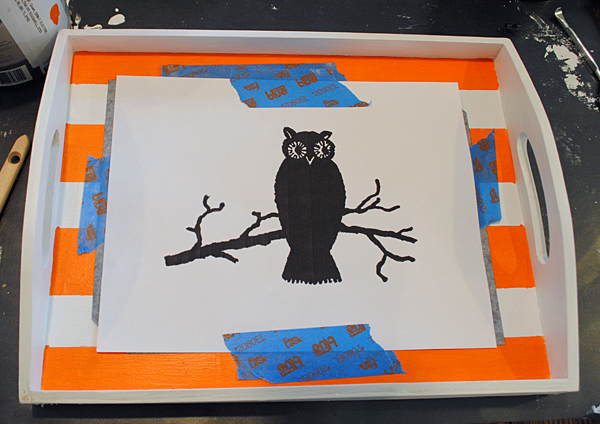
Step 6) Using the ScotchBlue™ Painters Tape… tape the Graphite paper to the tray. I found Graphite paper at my local craft supply store.
Step 7) Next tape your desired design on top of the Graphite paper. I used the Owl Silhouette Image HERE.
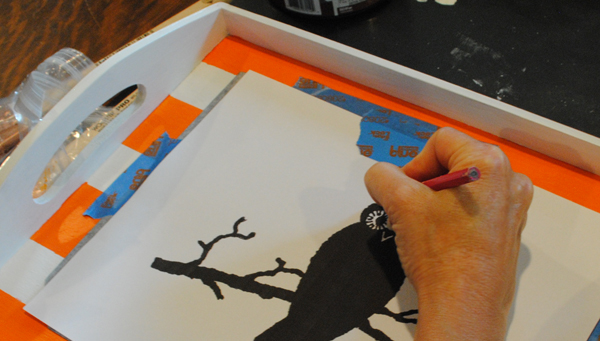
Step 8) Using a Pen or Pencil trace along the outline of your image in order to transfer the design to the tray.
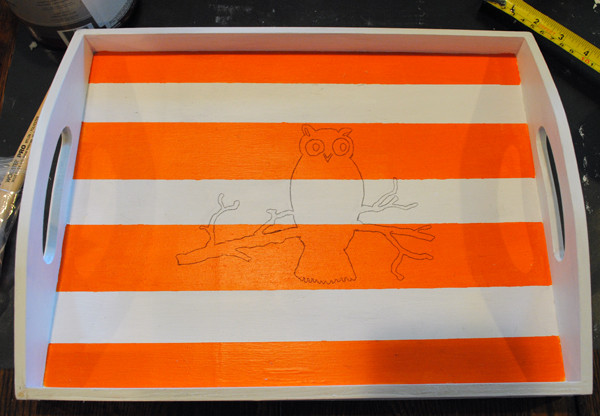
Step 9) Remove the Graphite paper, and the printed design, to reveal your completed transfer.
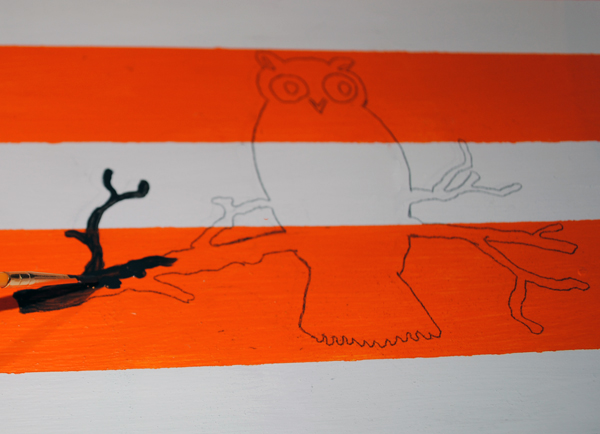
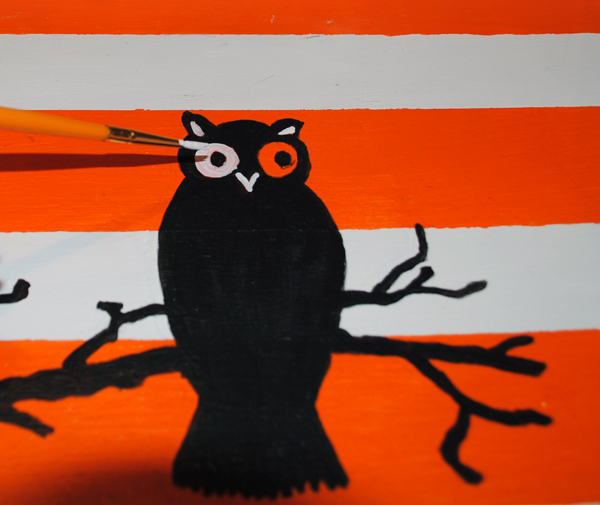
Step 10) Using a fine Art paint brush, paint the black portion of the design with the Behr® Premium Plus “Black Suede” paint.
Step 11) When the black paint is dry, paint in the white details for the eyes, ears and beak. And then follow up with the black paint, in order to paint the tiny lines in the eyes, if desired.
That’s it! You can protect your finished piece with a spray sealer if desired. The paint that I used had an Eggshell finish, which has a nice sheen to it, so it should hold up pretty well with out the sealer. I hope you enjoyed this project!
P.S. Have you joined The Home Depot Consumer program? You can join, and find out more info about it, HERE!
I am proud to be a 3M, Behr®, and Wooster® – sponsored blogger, and, as part of my responsibilities, I get the opportunity to evaluate products. Opinions are my own and additional product used in the project were selected by me.

