How to Paint a Room Fast
*Disclosure – This post was sponsored by HomeRight. The opinions here are entirely my own.
Today I’m sharing How to Paint a Room Fast! This post was originally created for Homeright Tools, but since then Wagner has acquired Homeright so you will see that some of the tools are now sold under the Wagner name and look slightly different, but they appear to work the same way. I’ve linked them to Amazon below, just make sure you read the reviews since they are no longer the exact tools that I used. I hope you still find this info useful. These tools made painting my Craft Room a breeze, and I was able to finish the room in record time!
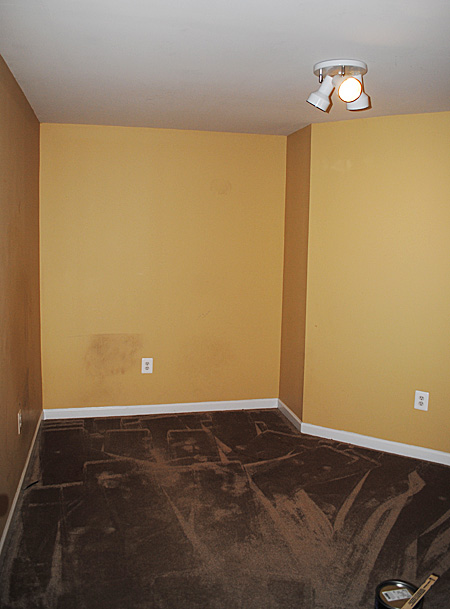
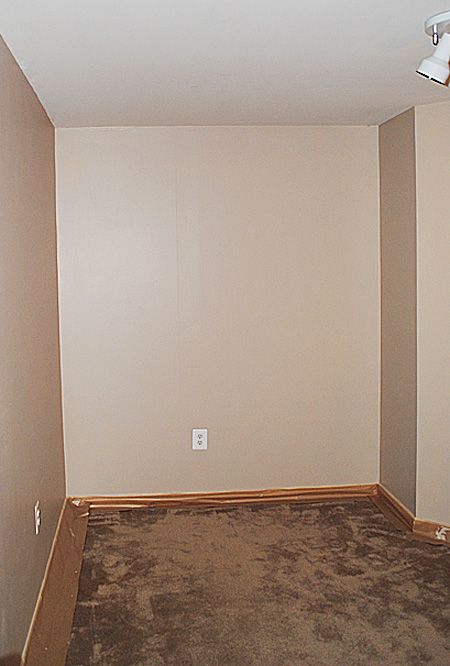
This is one of the before photos. Previously this was my son’s room, but his sister moved out and he took over her old room. Which left an extra room in the house, so I snagged it for my craft room and I can’t even begin to tell you how excited that I am, to have a whole room just for crafting and DIY!!
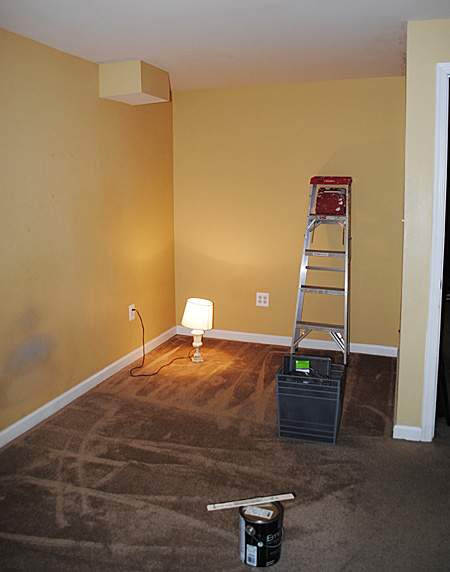
This is another before photo, this is the opposite side of the room. The color was gold and it was filthy. You can see there are stains on the walls, where he used to sit at his computer and put his feet up on the walls. Yuck! I shampooed the carpet first, since I wanted to freshen up every surface. Next it was time to paint!
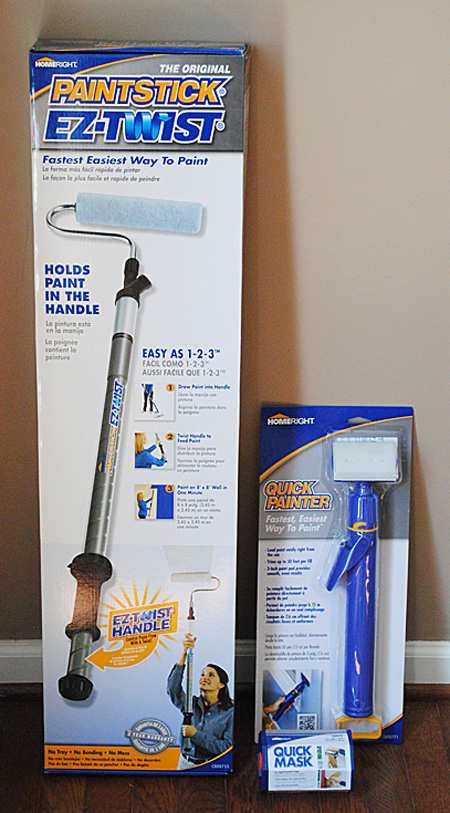
Supplies for How to Paint a Room Fast
These are the tools that I used from HomeRight (now part of Wagner). I tried out the EZ Twist Paint Stick, the Quick Painter Tool and the Quick Mask Tape.
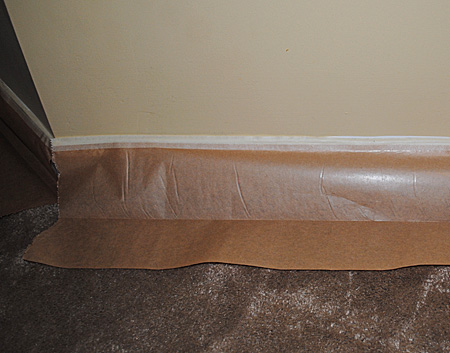
The first thing I did was use the quick mask tape around the baseboards. This stuff worked great! It was fast and easy to apply, and unlike regular painters tape, it folds out to protect the portions of your flooring, or carpet, that are closest to the wall.
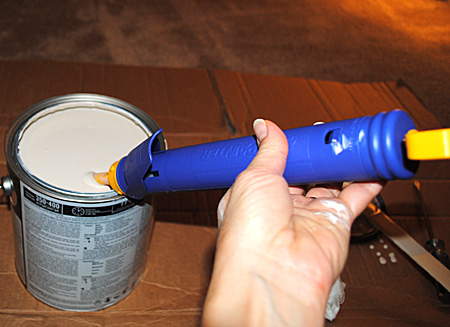
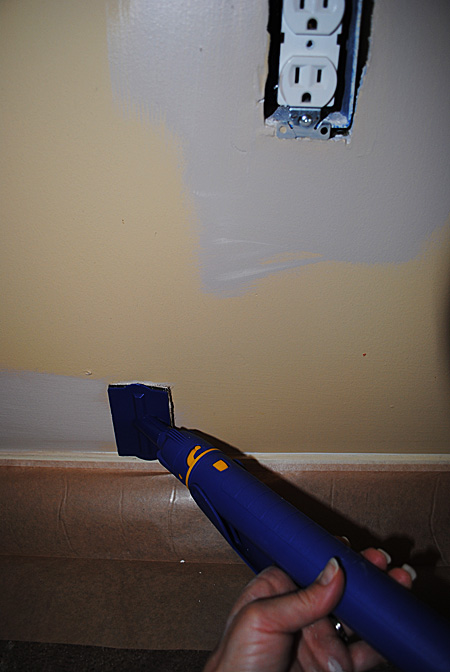
Next I trimmed out my walls, using the Quick Painter Edge Tool. Loved this tool! You just suck the paint up right from the can and into the handle, then pop the little paint pad head on and you’re good to go!
I saved loads of time with this thing. I finished trimming the whole room, including the baseboards, ceiling trim, and around the door, and outlets, in about an hour!
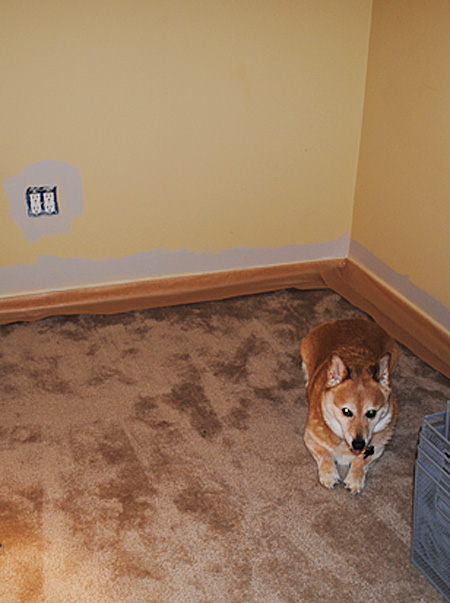
I have to give credit where credit is due, I did have some moral support along the way!
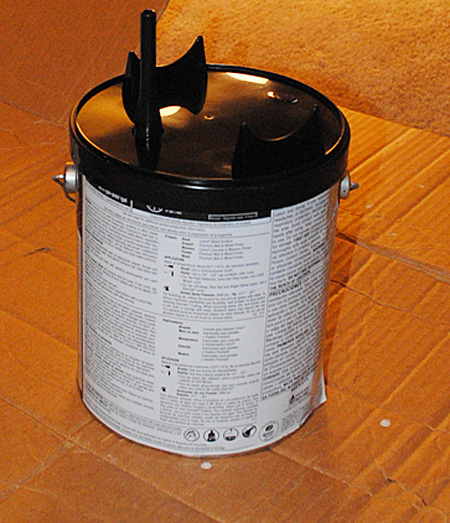
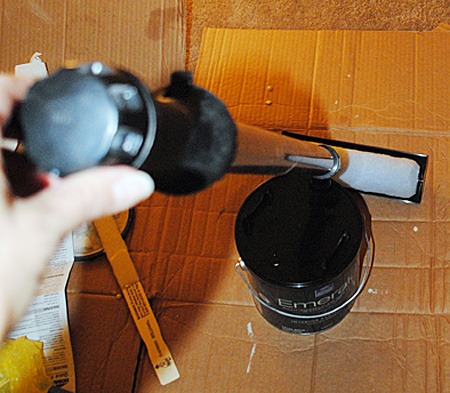
Next I tested out the Paintstick EZ Twist. Similar to the Quick Painter, the paint goes right up into the handle. You first snap on the lid, that comes in the box. It has a tube that sticks out of the top of it.
You place the handle of the Paintstick over the tube and twist to siphon the paint up into it. Just make sure you have it at a 45 degree angle, if you don’t the paint won’t go up as easily. You just paint like you do with a regular roller. It has a handy cover that keeps paint splatters at bay too!
I was able to do this whole wall with out stopping to refill, which is a HUGE TIME SAVER!! I was able to paint all of the walls in about an hour, and then I spent about another half an hour on touching up. So my total time for the entire room, including the trimming out, was about 2 1/2 hours!! Had I painted this room with my regular paint tools, I’m sure it would have taken me the entire day. How awesome is that!!
I love that I was able to get this room painted so quickly and I’ve already started crafting in it! Once I’m totally done with the set up of the room, I’ll share more photos with you guys.
Are you ready to paint your rooms fast?!
Be sure and check out the HomeRight web site for more information about these and other time saving tools! All of these tools can be purchased on Amazon, from their website, and some of them are also available at Walmart.
You might also like How to Clean Paint Brushes HERE.
Welcome, I’m so glad you’re here! Browse around to find thousands of Stock Images that you can use in your projects or designs! I post new Vintage images every day. Need more info about my site? Try my FAQ page.


Trudy says
We’ll be moving soon and I’m so glad to have run across this information. I love to paint, but soething tells me I’ll love it even more with these tools.
graphicsfairy says
I am glad this was helpful to you Trudy! Good luck with your move 🙂
Ashley says
What color is that on your wall I love the new color ??
graphicsfairy says
Hi Ashley,
Thanks so much I’m sure it was Sherwin Williams, but I don’t remember the name of the color. I’m sorry but the can is in the old house and we moved, so I don’t have access to it anymore. Check out their colors and I’m sure you’ll be able to find something similar, good luck!
Brittany says
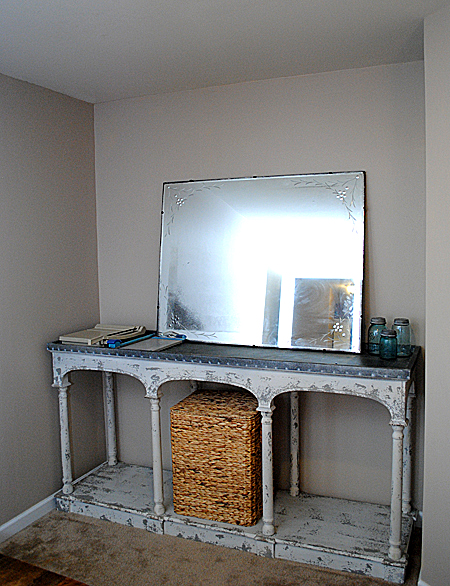
Can you tell me where your beautiful console table is from?
Karen Watson says
Hi Brittany, When I used to have my shop, it was a line that I carried. That was a few years ago, I doubt they still make that table, as they typically retire old styles each season and come up with a whole new line the next season. The company is called Peacock Park, you can check them out to see if they make something similar. I hope that helps!
CAROLYN says
We just recently renovated our basement including a new set of stairs going down to the basement. I would like to use some of your graphics on the risers of the stairs, what would you suggest for transfer material? Please keep in mind that somewhere down the road I may want to change the graphic, so removing it could be an issue.
Thanks for a most interesting daily email
Karen Watson says
Hi Carolyn, I would probably use method number 1 on my “12 easy transfer methods” post. You can just transfer the outline onto the steps and then fill in with paint pens or paint and a small brush. Since it’s just paint, you can always paint over it later if you get tired of it!
Erica H says
We just bought a big, ugly house that we will be painting from top to bottom. How was clean up with these tools? It seems like it would be a lot of extra work cleaning out the paint that sticks to the inside of the tube.
Karen Watson says
Hi Erica,
It really isn’t that bad to clean out the tube. In the same way that you pump paint into the handle, you can pump warm soap water up too and then push it back out. It took longer to clean the roller part, just because it had soaked so much paint into it, but I just let it soak overnight and finished it up in the morning, not bad at all!
Marie@InteriorFrugalista says
Thank you for sharing this post Karen! I’m definitely intrigued and want to try these products out on my next room makeover. I think my husband (who is anal when it comes to painting walls) would actually let me paint! Maybe I’ll just paint a room when he’s out of town and impress him. Looking forward to seeing your Craft Room reveal!
Karen Watson says
Thanks Marie! Yes, do it, and surprise him!!
Susan says
Thank you for sharing Karen. I first used this paint stick a few years ago and was so impressed with the time it saved. I have told everyone about it ever since – no more pans and frequent bending over for me! Plus, the long wand lets you reach to the ceiling without a ladder! I will have to try the edger next time as I’ve continued using a brush for that.
Thank you for all the wonderful ideas, advice and images you share. I don’t go a day without visiting your site!!!!
Karen Watson says
Thanks for your input Susan, I’m glad you had the same experience with this tool, and you’re right you don’t need a ladder! I’m so happy you are enjoying my site!!
Melissa says
This is so great. I am in the process of setting my new office up and house. So next will be all the painting to make it my own personal touch on the spaces. I will for sure try these tips and products.
Karen Watson says
Thanks Melissa! That’s so exciting that you’re getting a new office! I hope you have fun decorating your new space!!
sandra tyler says
Hi Karen!
Dropping by since honestly I learned more from you in that shuttle ride to the airport than the whole conference. You sweet and generous and wanted to keep in touch. ANd you’ve had a LOT of energy tackling painting one day back! Sandra
Karen Watson says
Thanks for stopping by Sandra! I’m glad I was able to help you out with your questions! It was so nice meeting you and chatting with you in the shuttle!