Paper Book Covers
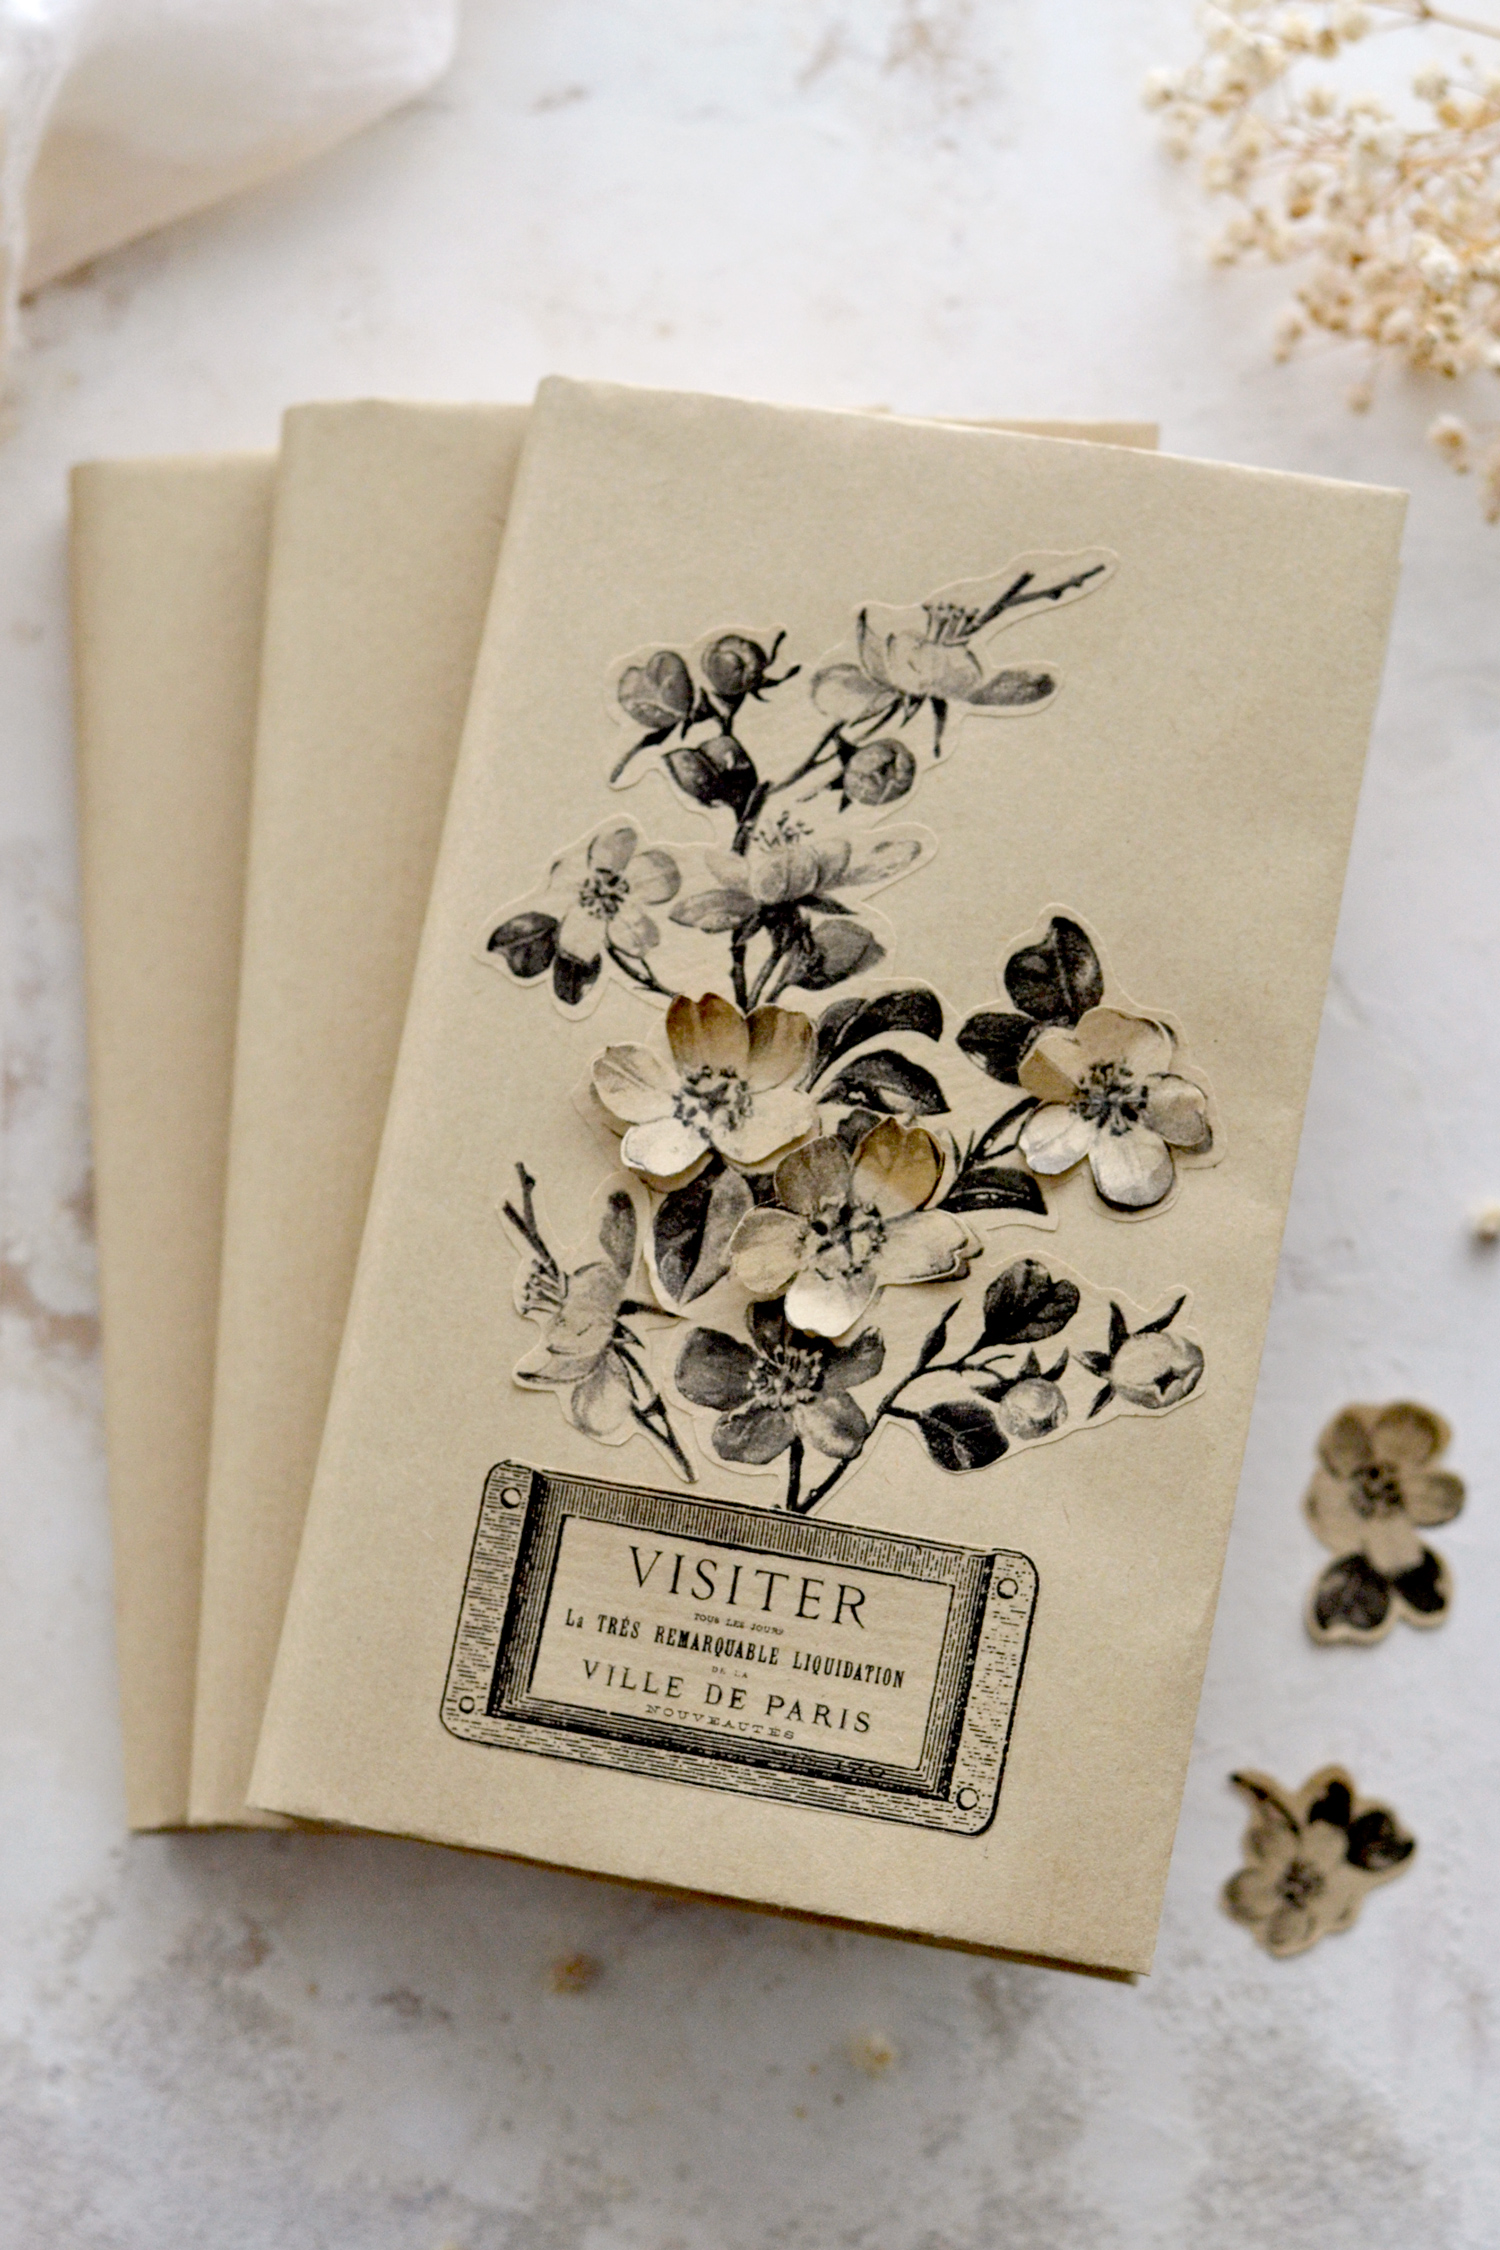
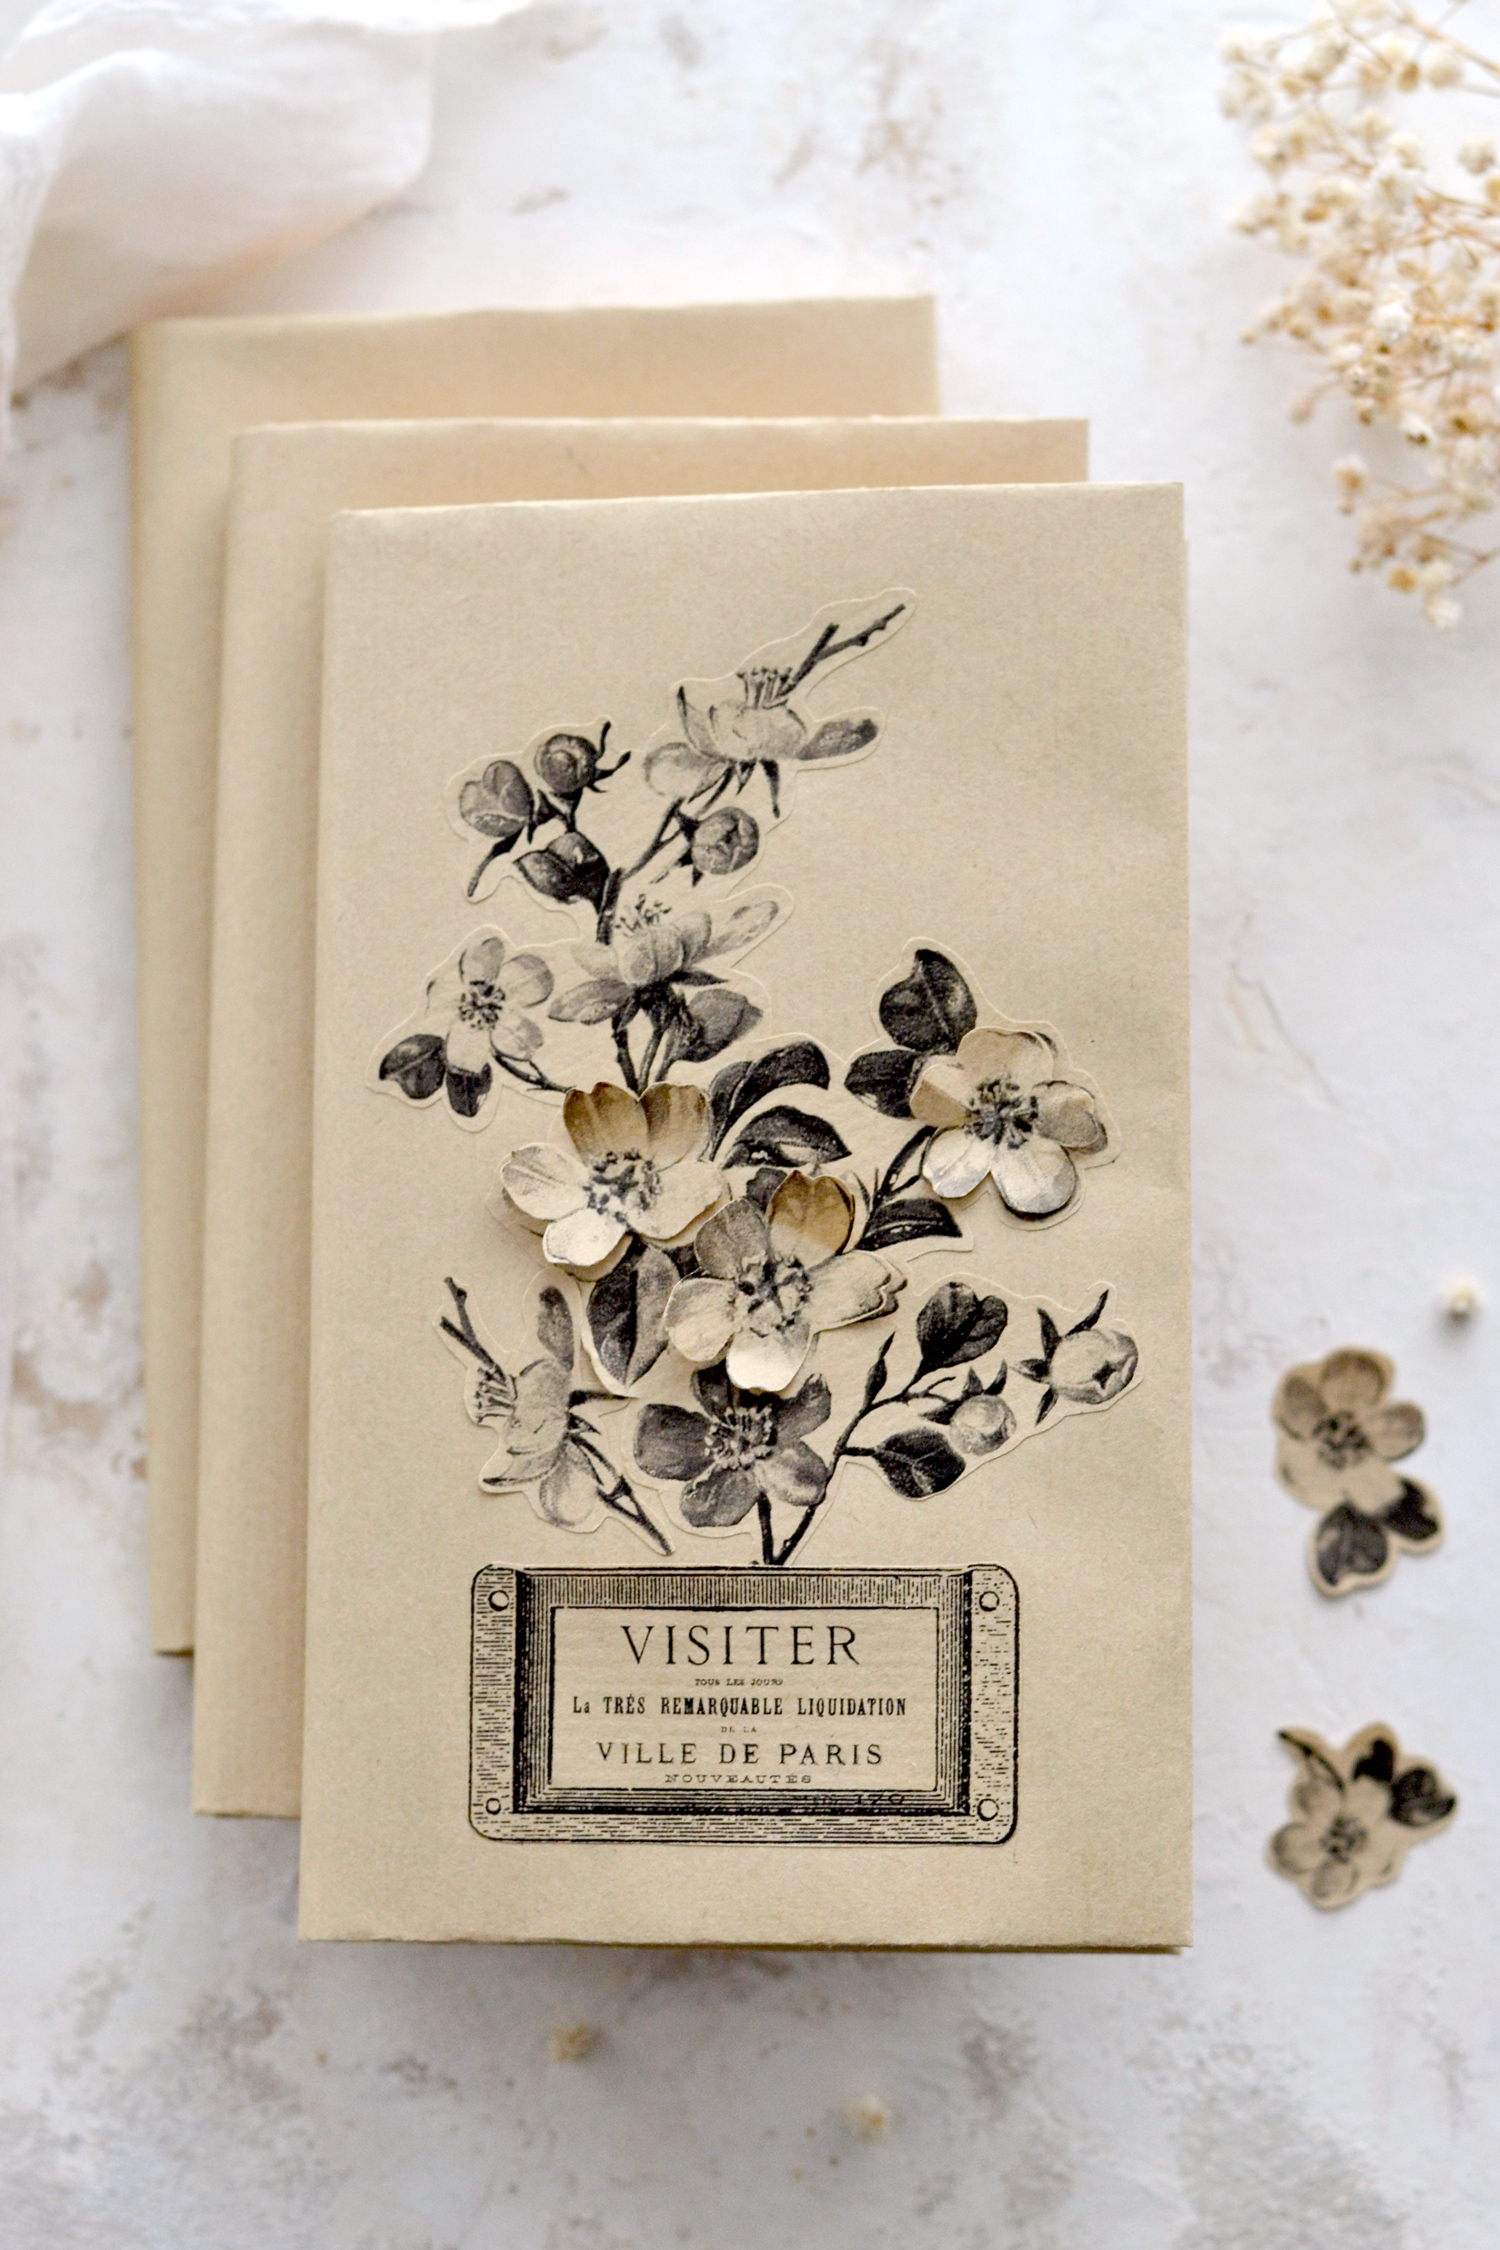
Hello Graphics Fairy friends! I’m Diana from Dreams Factory and I’m happy to be here again to share another DIY project with you! Today I have a lovely tutorial for you, I will show you how to quickly make some Old School Kraft Paper Book Covers with a chic Frenchified floral twist! If you already know how to make these from the good old days, you can use the tutorial as a reminder, but if you don’t you will be amazed how easy this technique actually is! You can keep the kraft paper covers simple or you can further decorate them as you want, there are endless possibilities to get creative with these!
We will be using a gorgeous black and white cherry blossom image to decorate the covers and a French ephemera image with a vintage frame. All these images are included in the printable that I created for this project so you can easily make these beauties in no time!
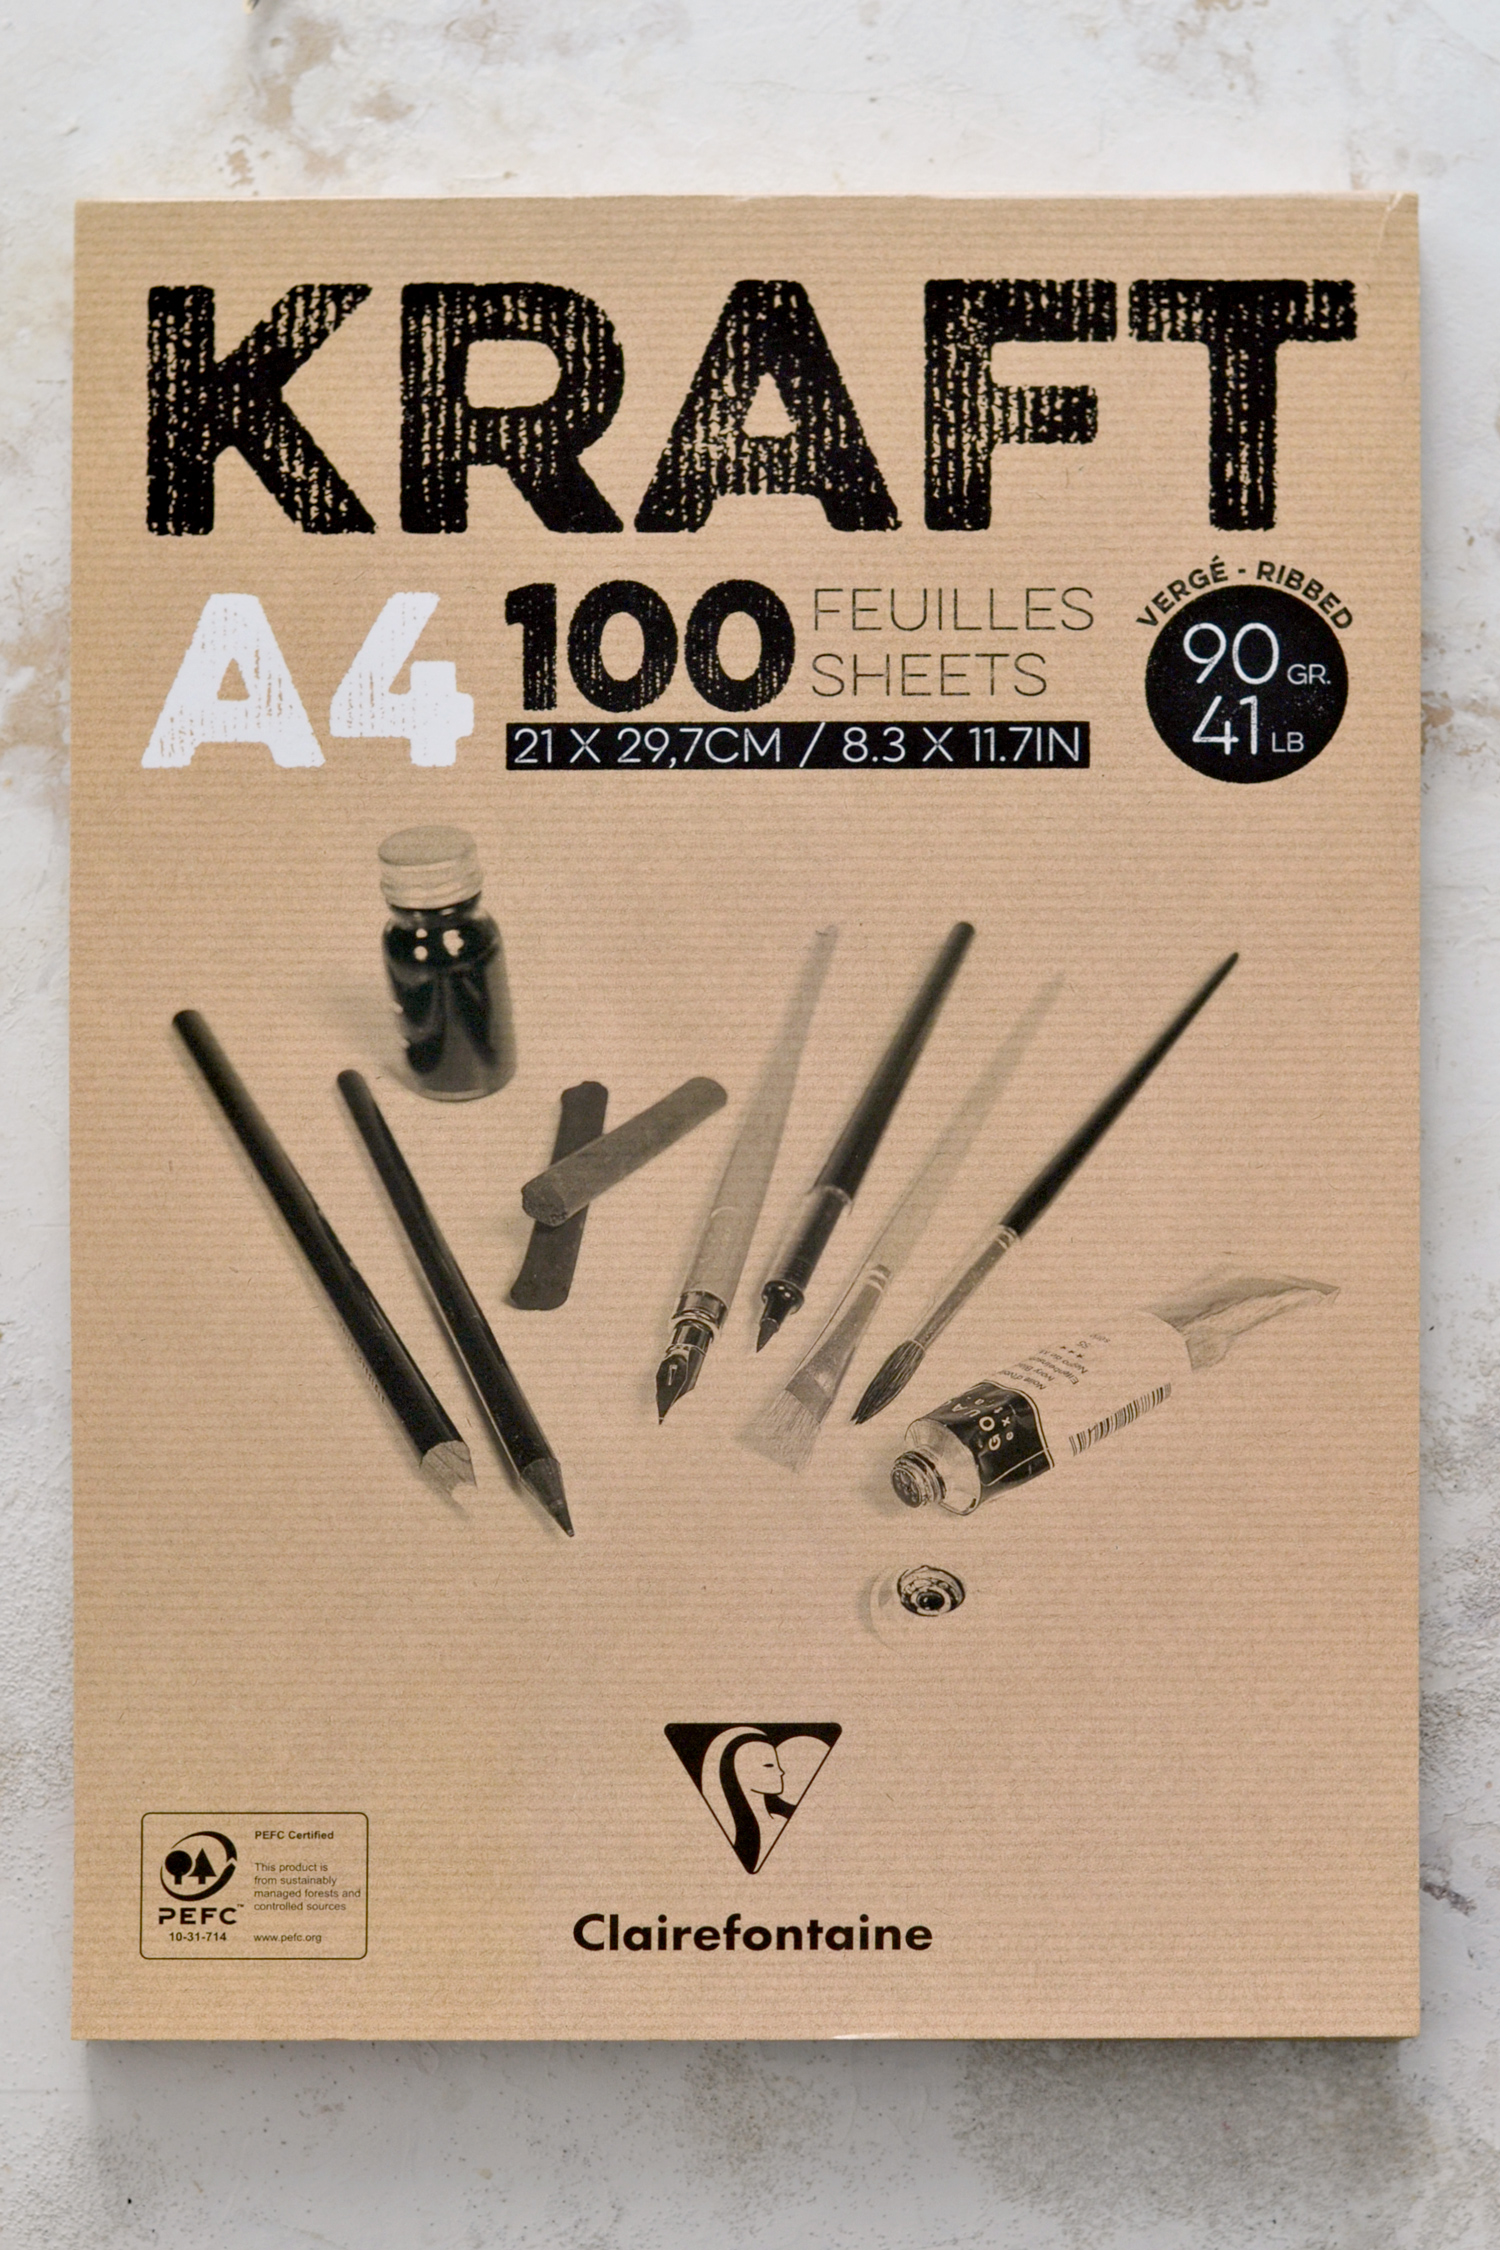
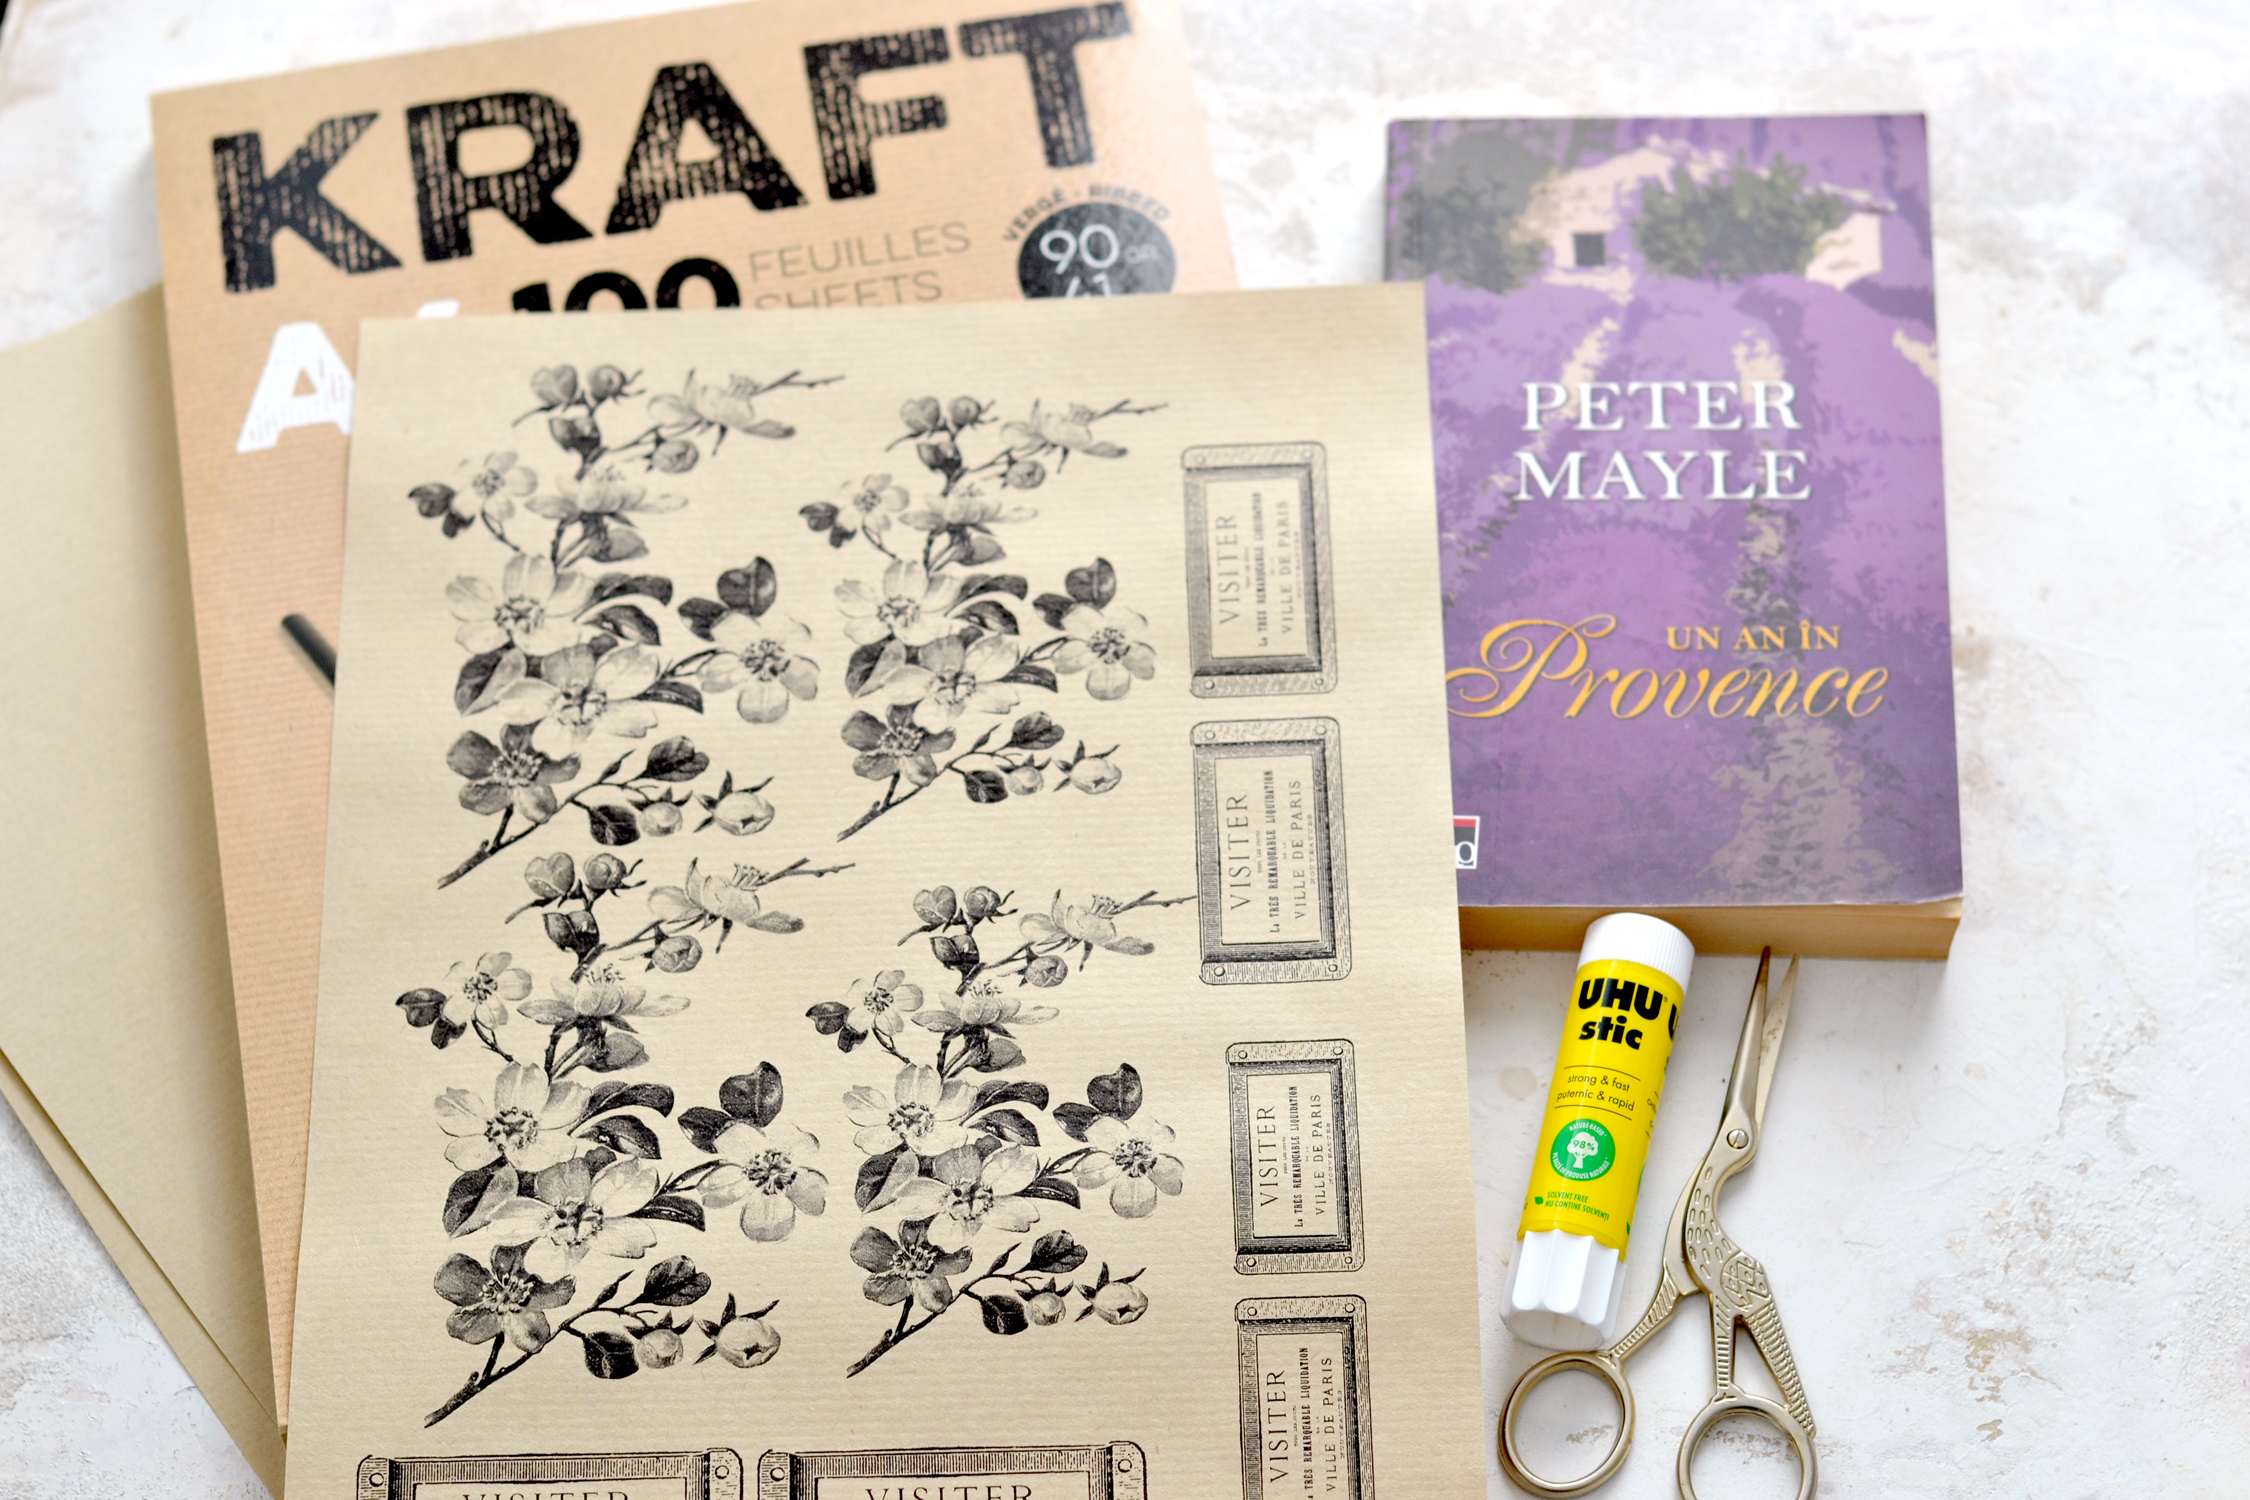
Let’s talk about the kraft paper that you need for this project first! I used a kraft paper pad from Clairefontaine to make the covers, but also to print the images – this will give a more cohesive look to your finished covers. If you find this exact type of paper, you can use it, but if not, you can use any other type of kraft paper pads or sheets that you have around, as long as they can be used for printing too. If you only have regular kraft paper that is used for wrapping, you can make the covers using it and then use another type of paper for printing. The colors may not be exactly the same, but I’m sure the final result will still look great!
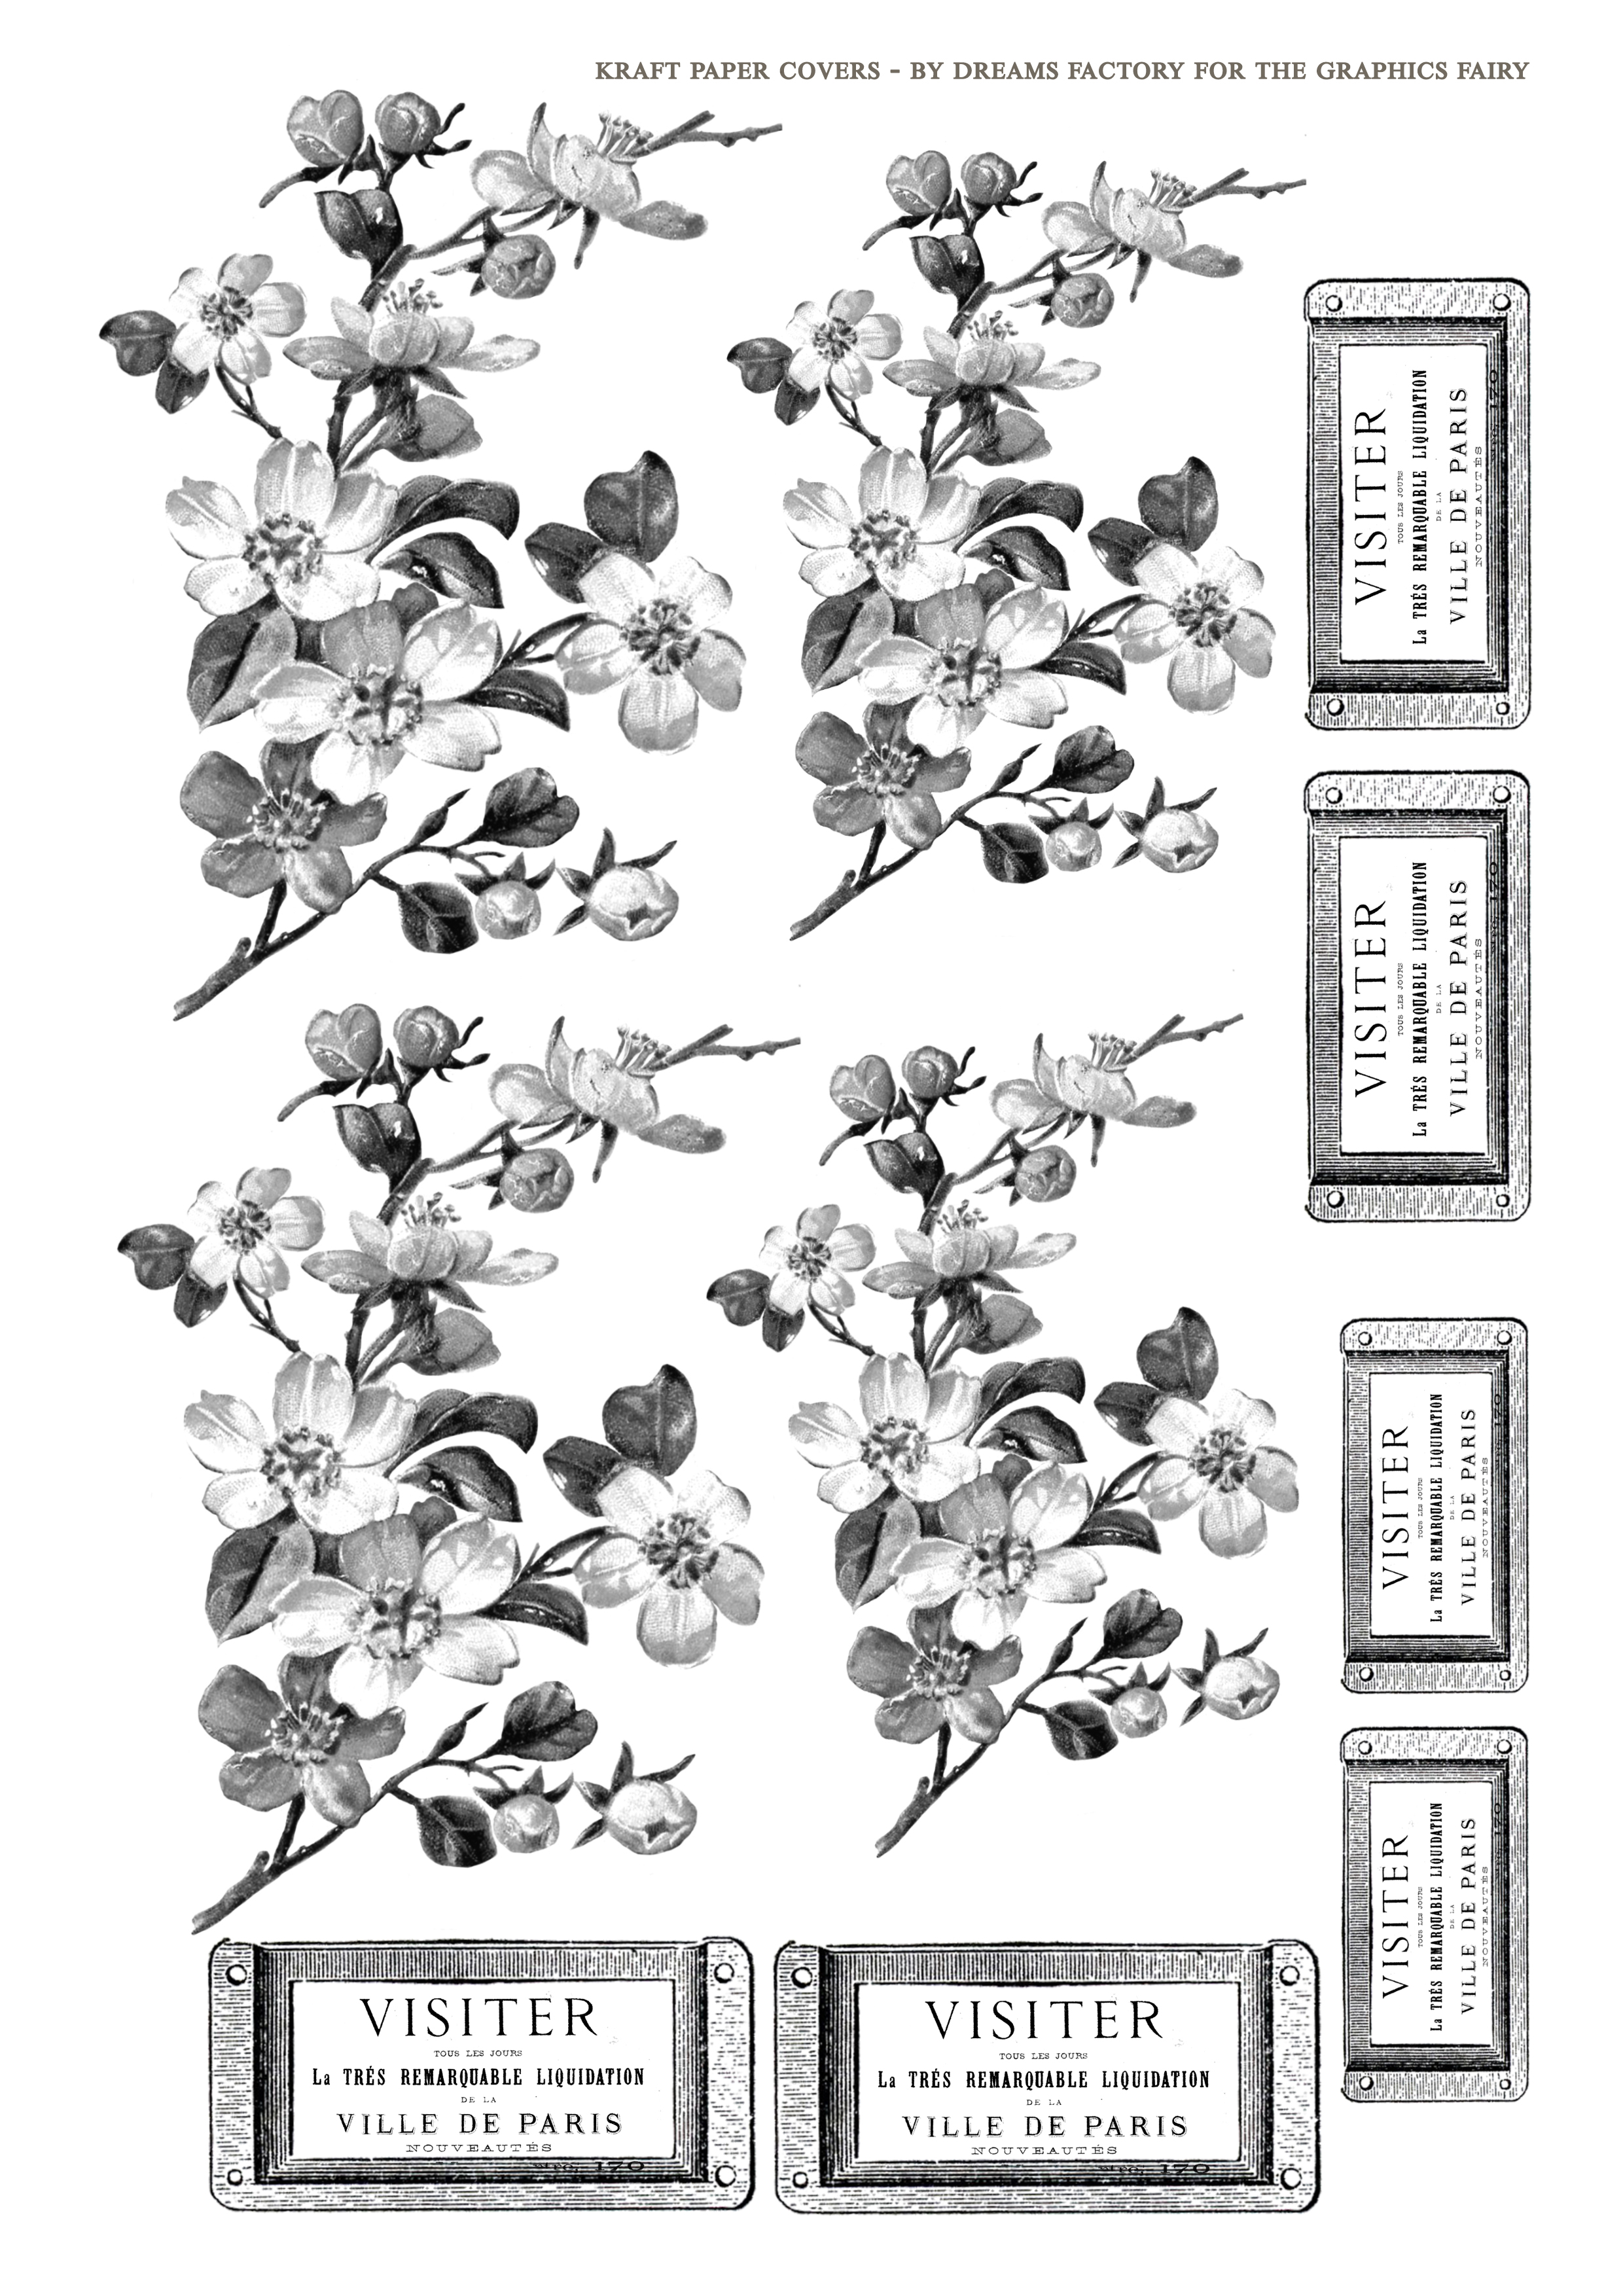
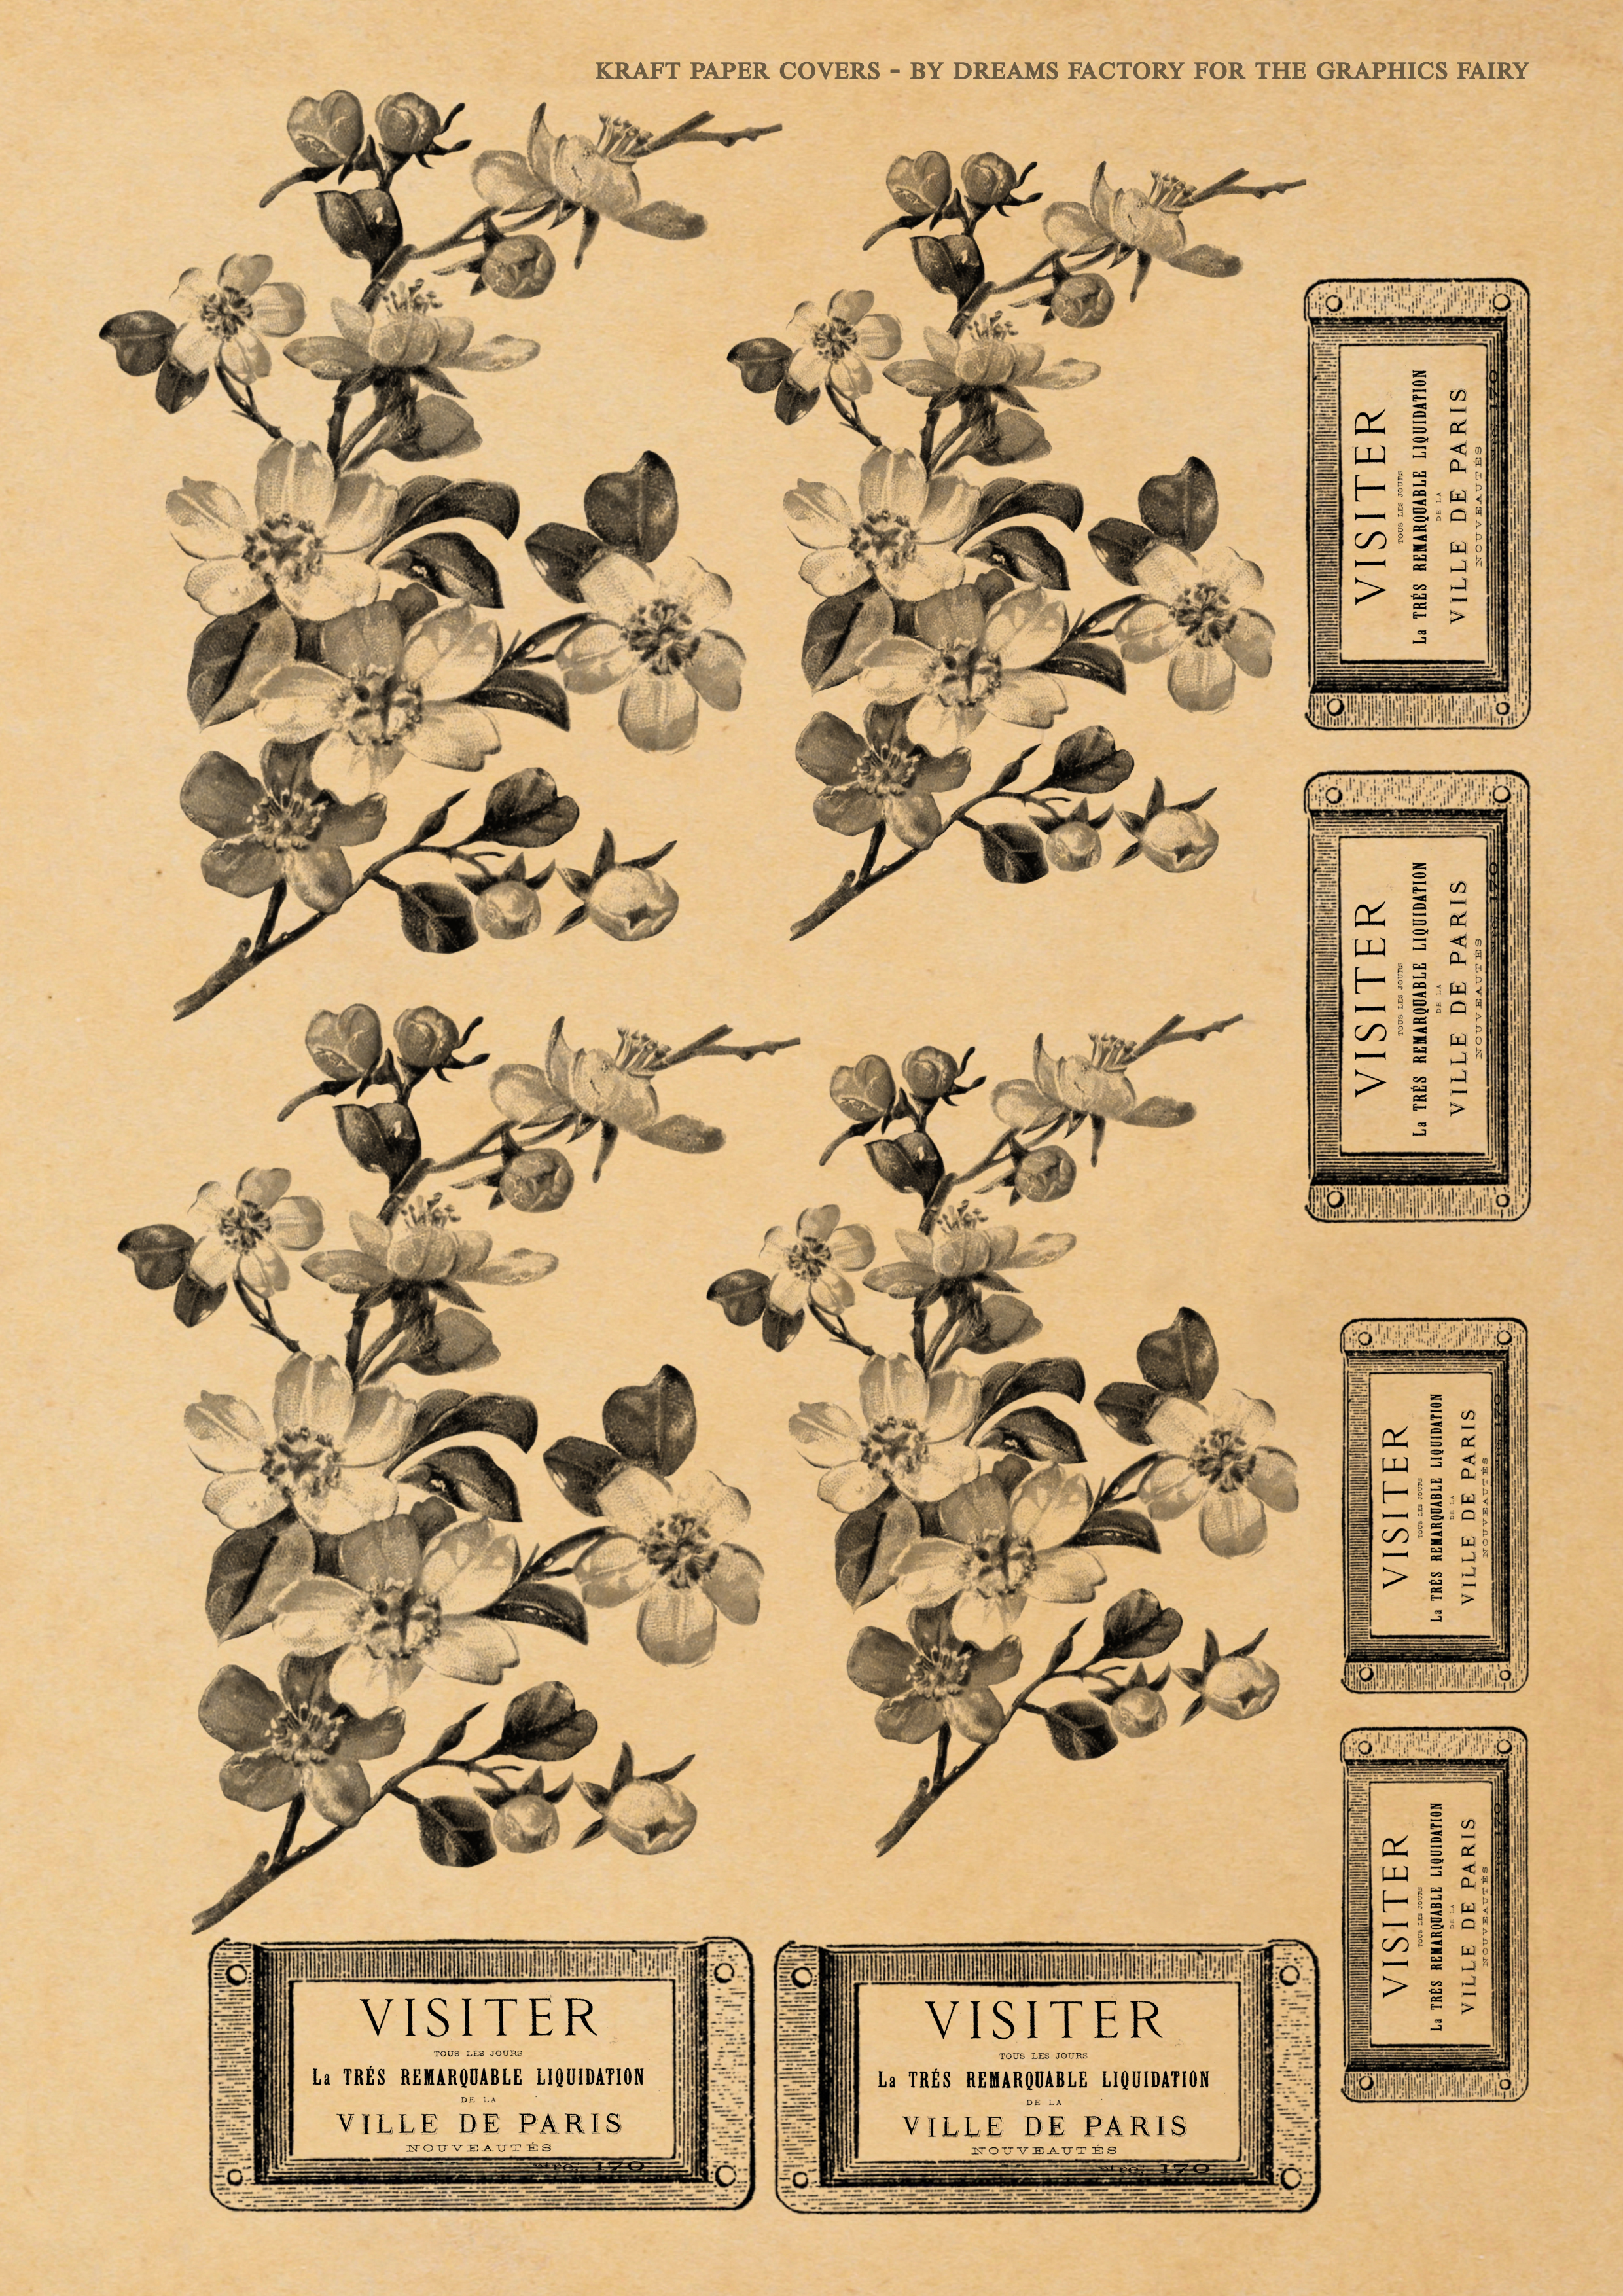
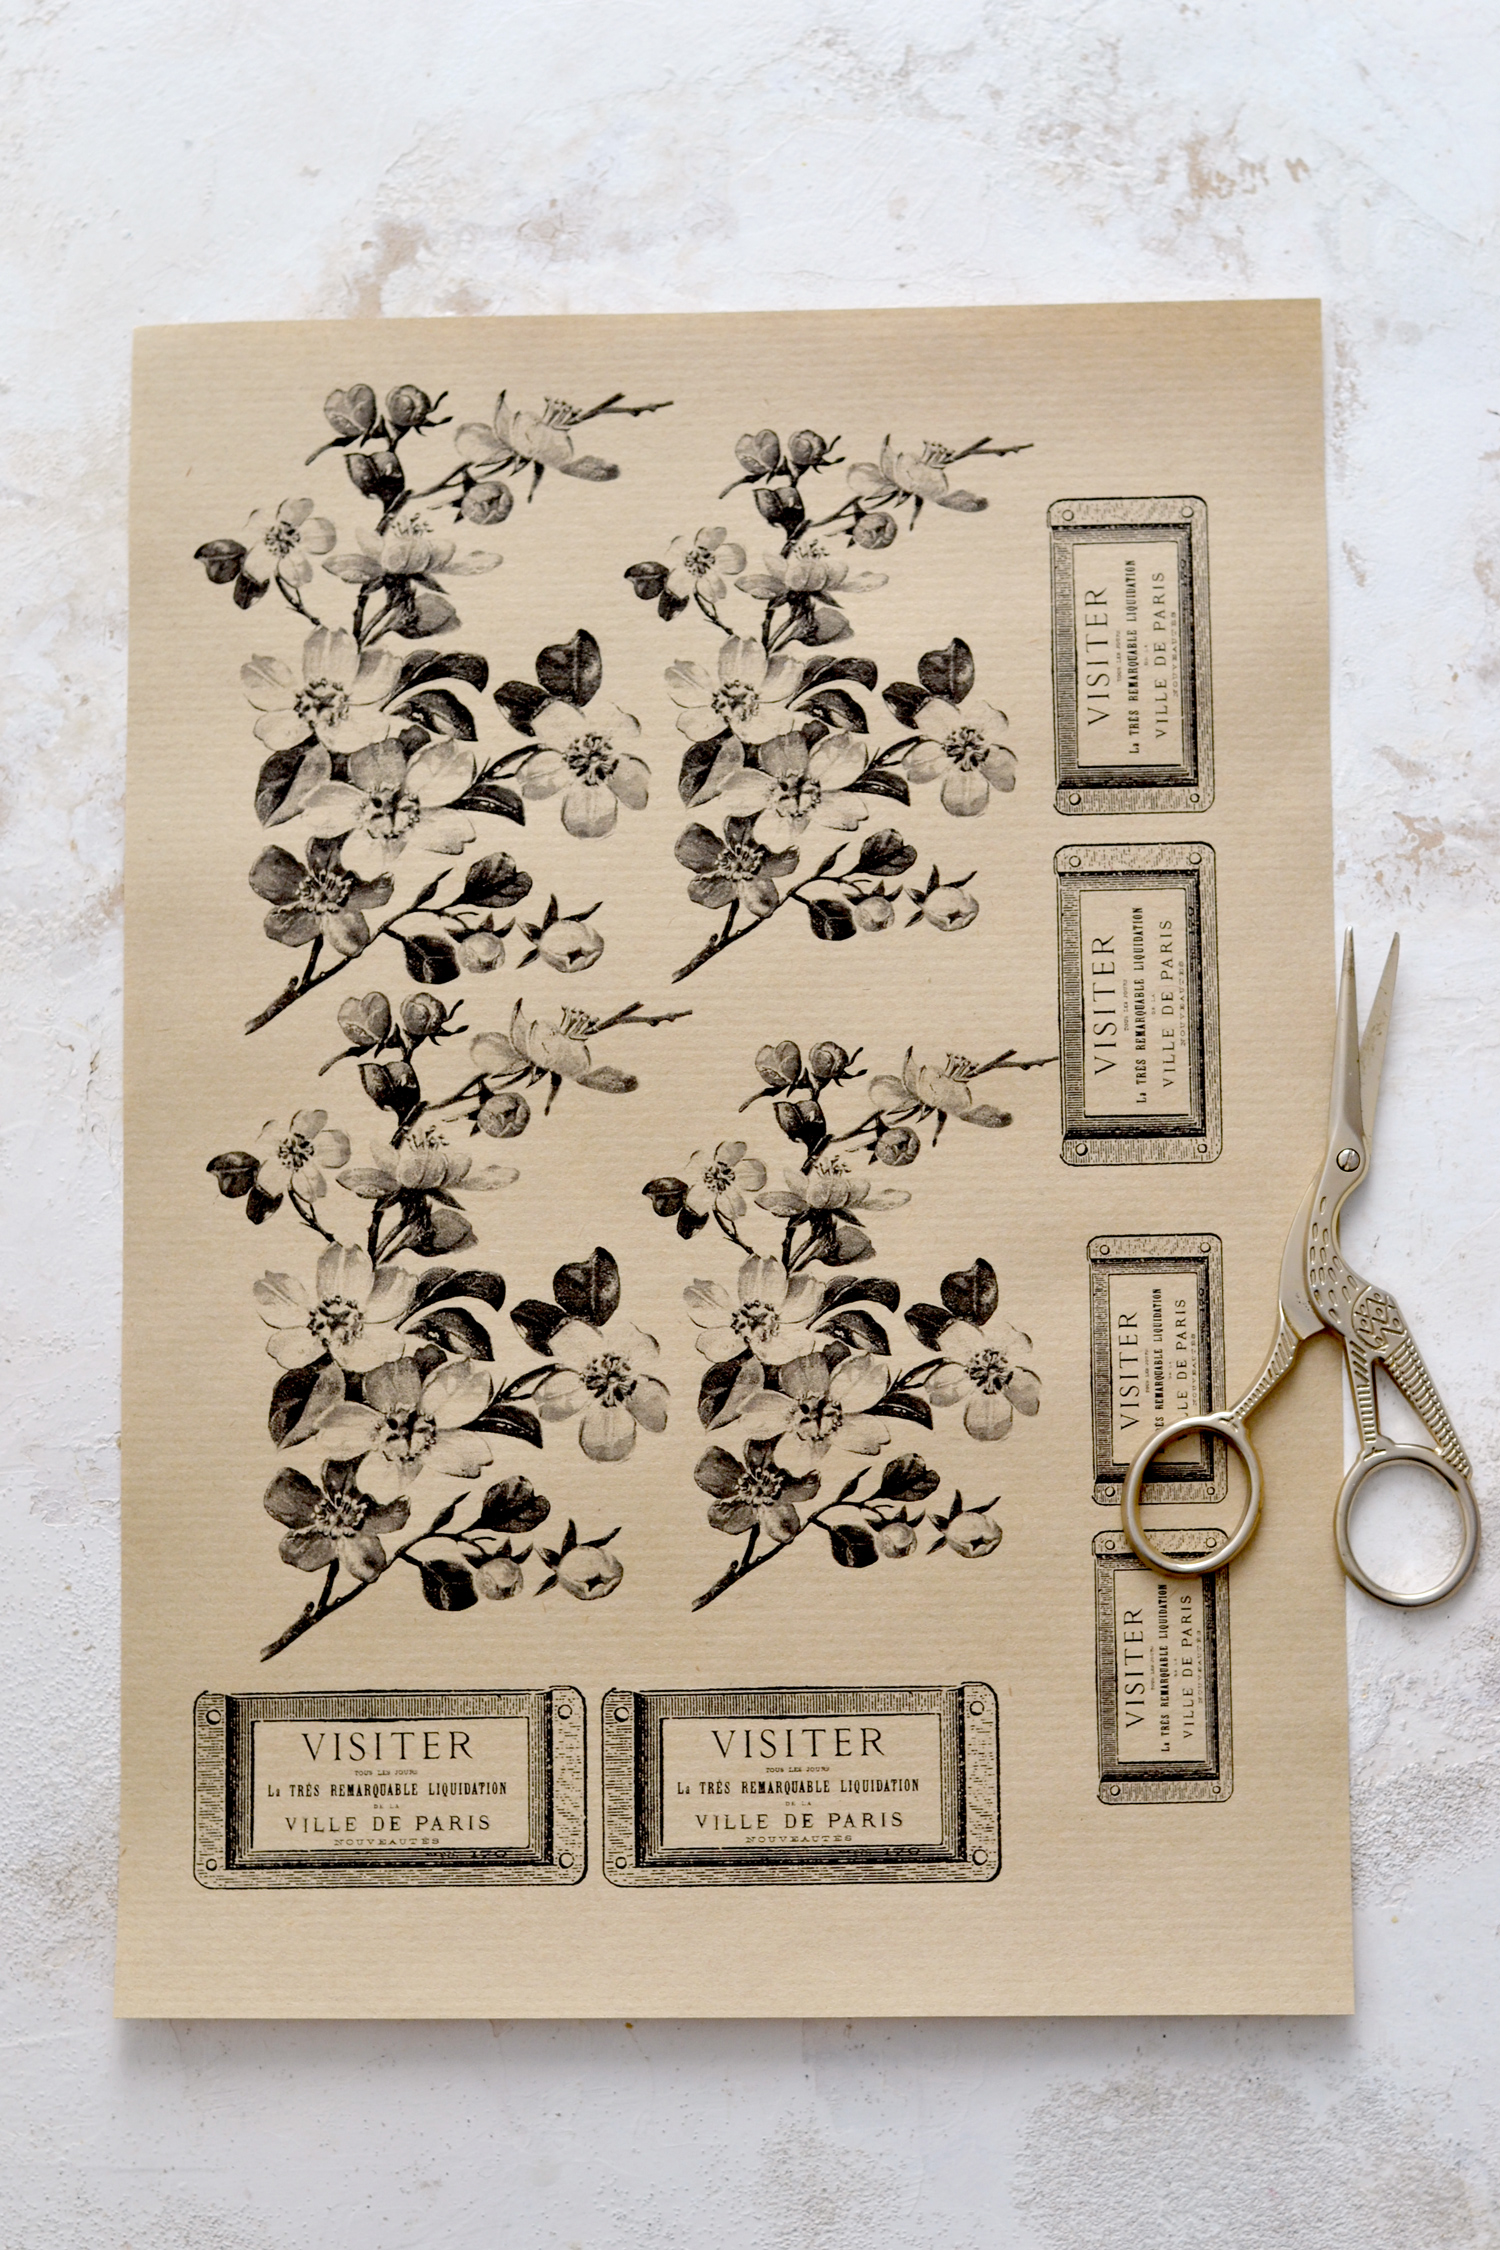
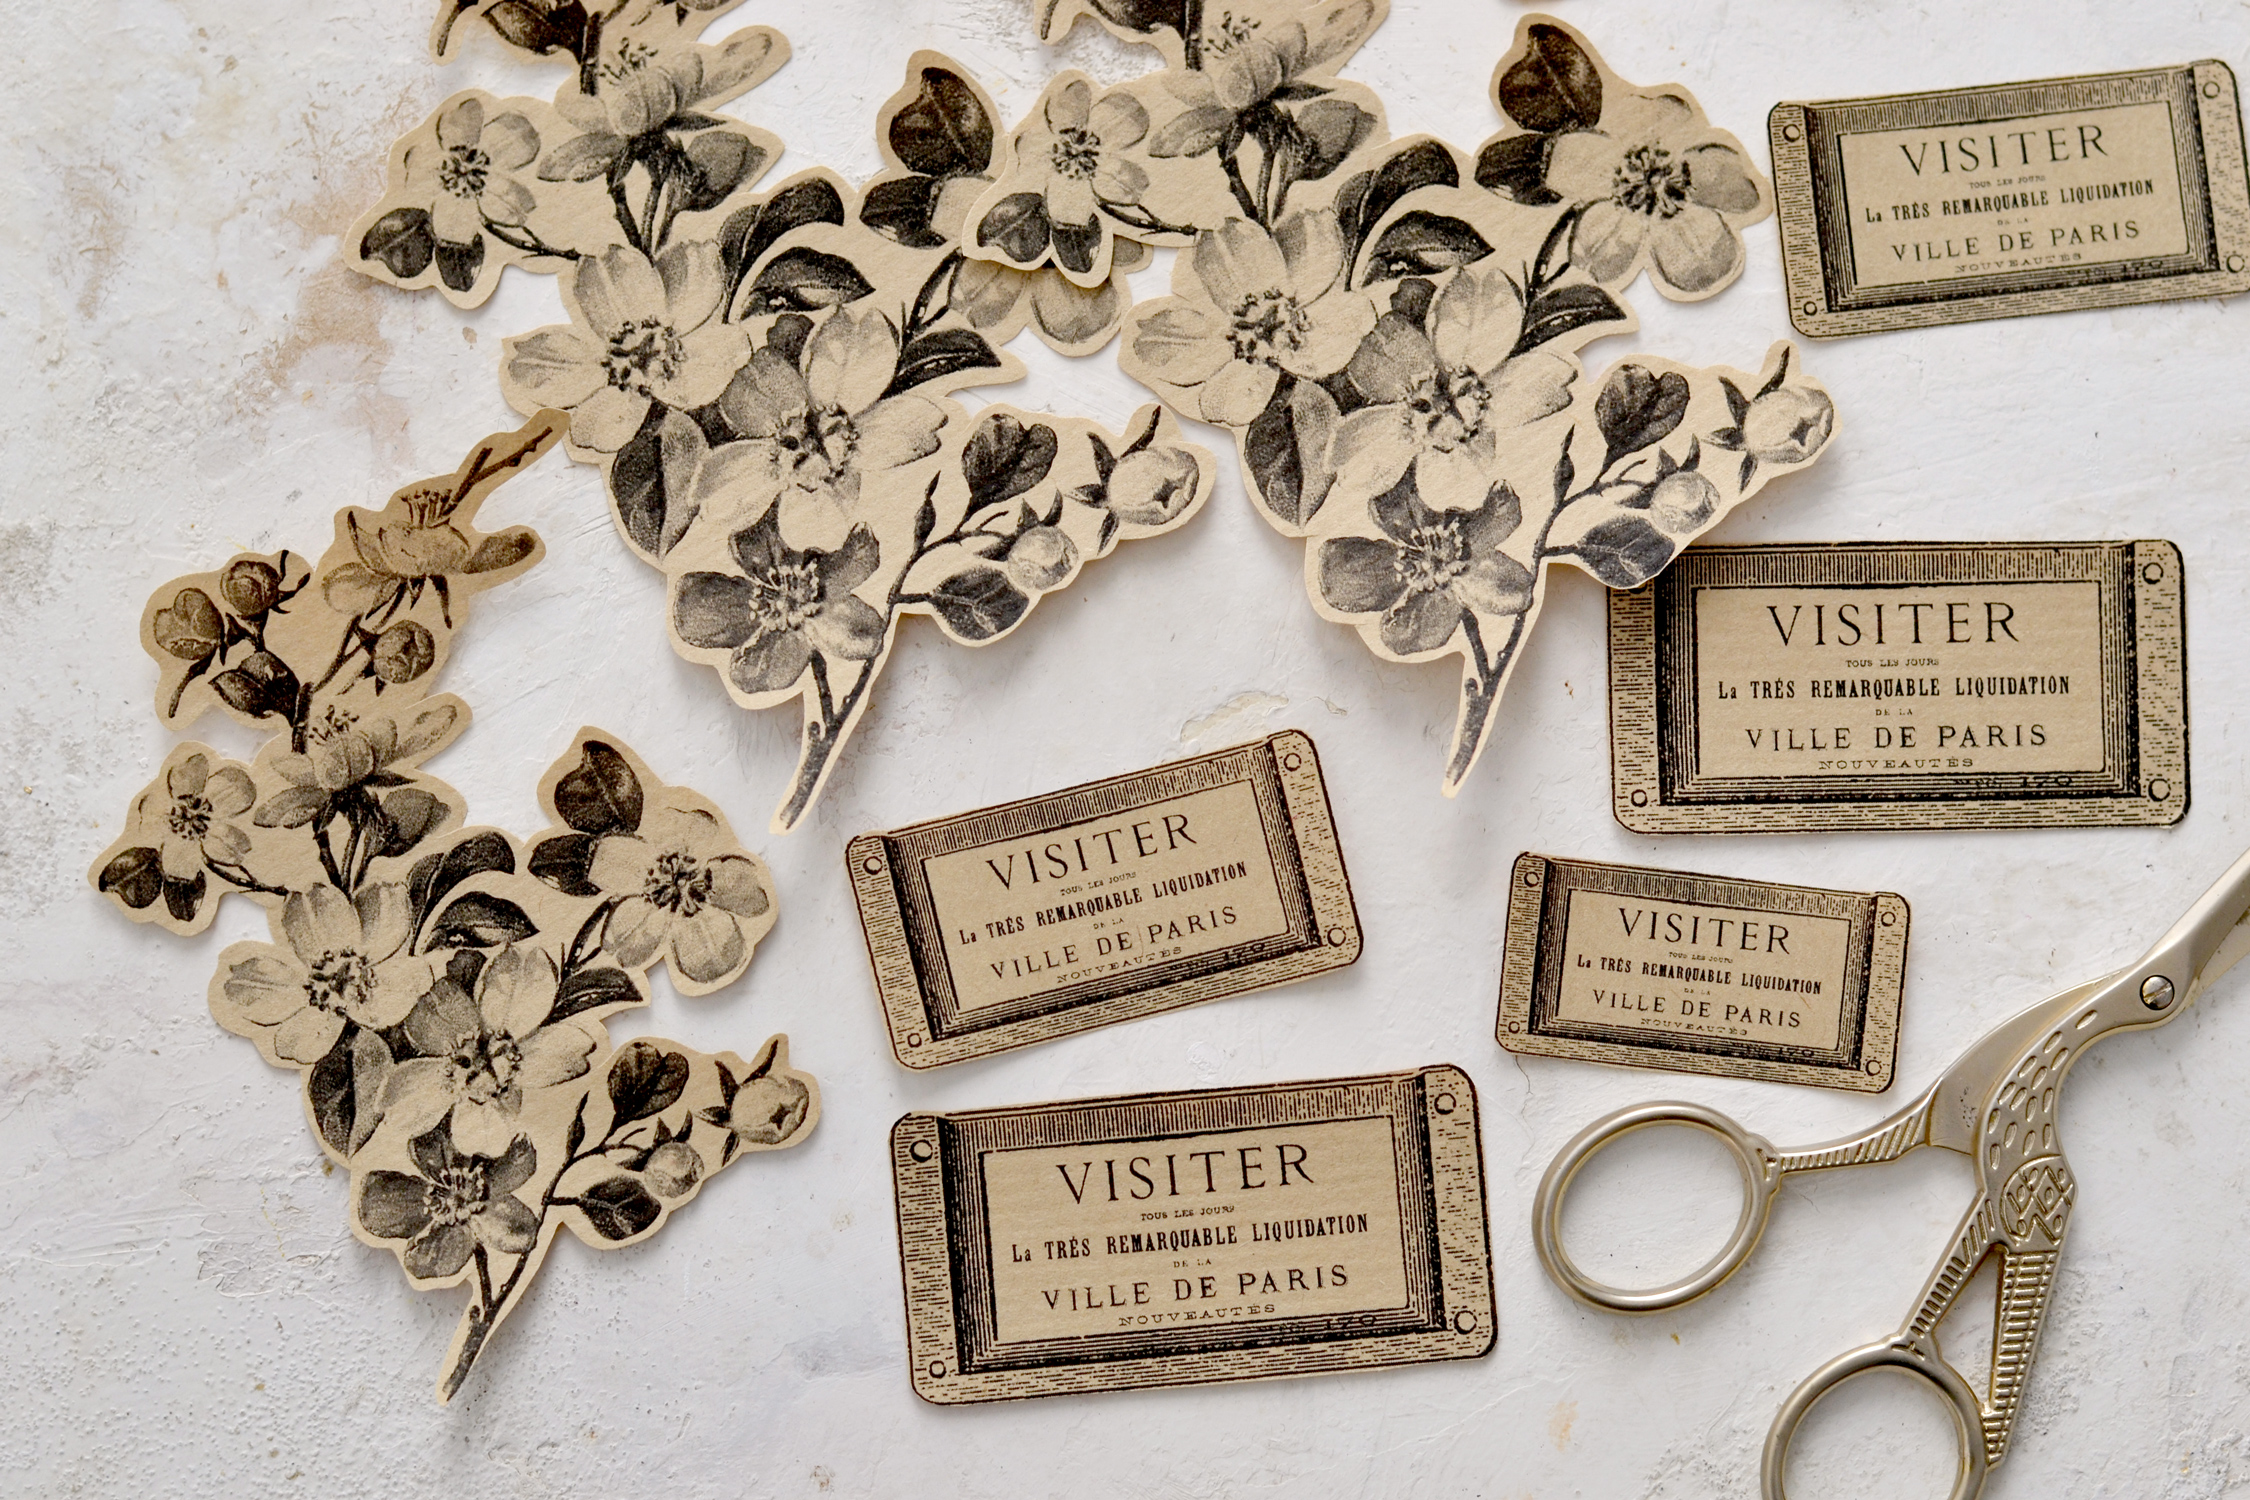
Here is the printable with the lovely cherry blossom images and the French ephemera labels that I created for you! You can see that I included several different images in several different sizes so depending on the size of your book, you can pick them accordingly. And just to give you a few more options, I included 2 versions – a black-and-white version with no background and one with a kraft-looking background.
You can use this simple no background version to print it directly on kraft paper.
Free Printables:
—-> Click HERE to Download the Full Size Printable PDF <—-
You can use this one with the kraft-looking background to print on regular paper to get a similar kraft-paper effect.
—-> Click HERE to Download the Full Size Printable PDF <—-
Paper Book Covers Supply List:
- books
- kraft paper pad – similar to mine: kraft paper pad 1 | kraft paper pad 2 | kraft paper sheets
- home printer
- scissors
- glue stick or any other craft glue
Step by Step Tutorial:
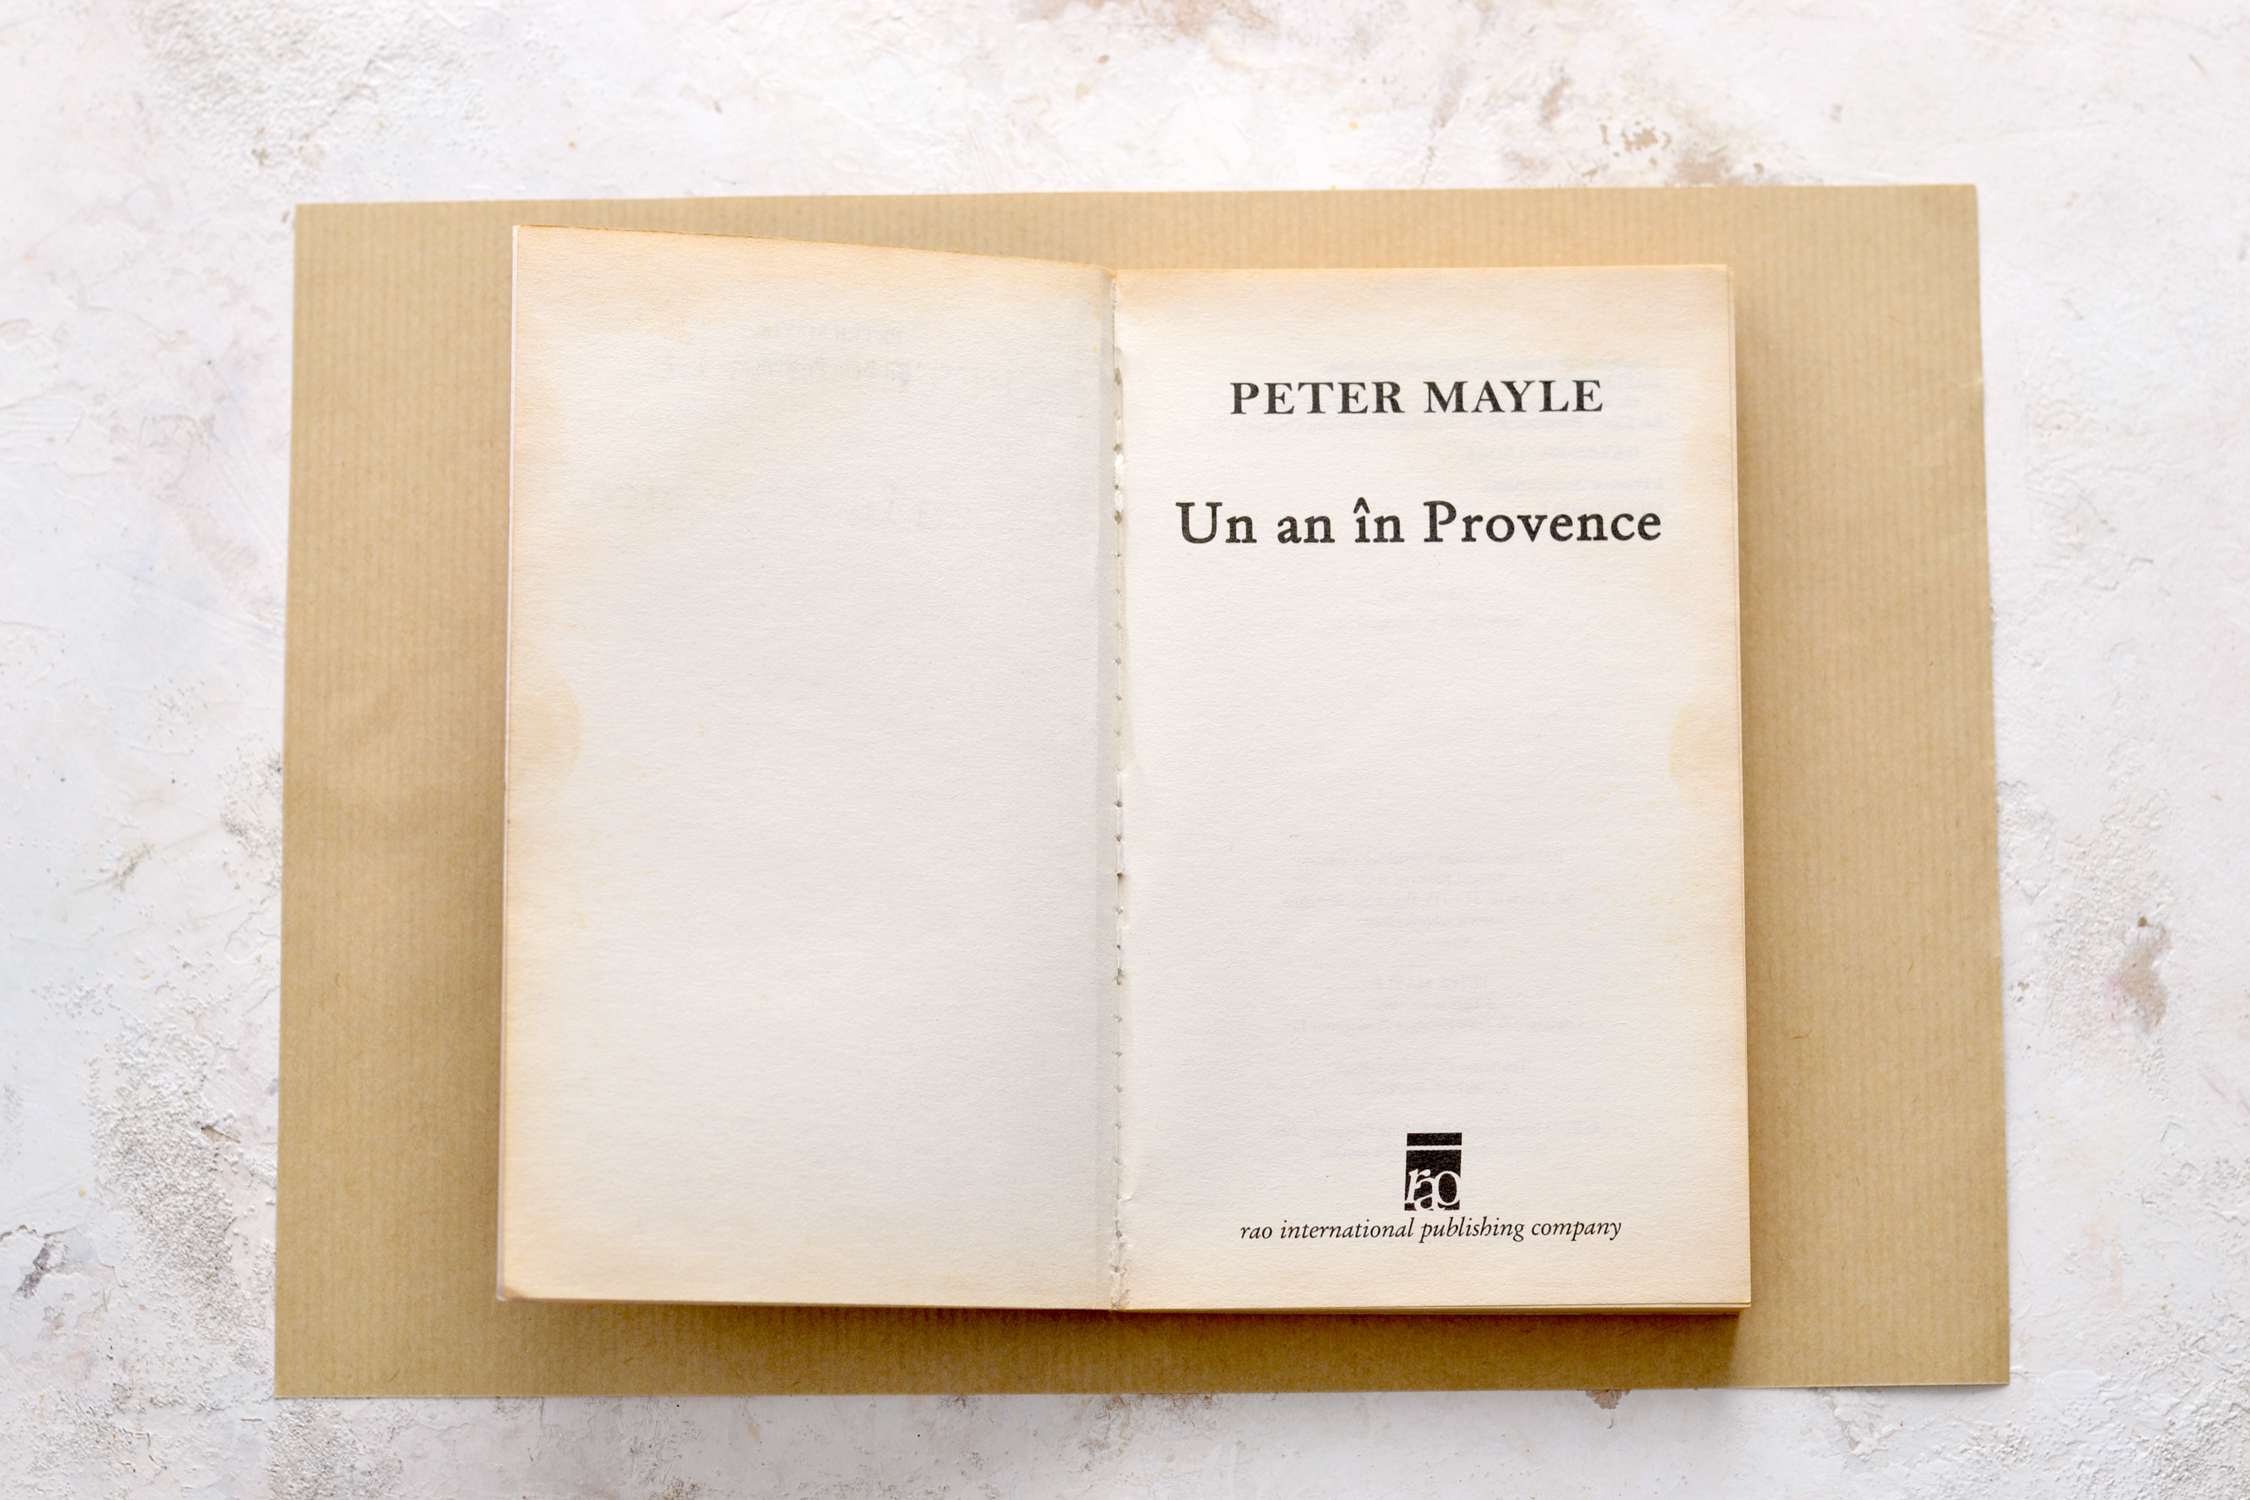
You can use any type of books that you want for this project – old or new books, notebooks, journals, planners, the sky is the limit! If you are using precut kraft paper sheets, as I did, just keep in mind that you’ll need to make sure your book is smaller than your paper and you have a little bit of extra space around it. This will somehow limit you to covering smaller books, if you want to cover something larger, you’ll need to cut the paper yourself according to that size.
Ideally, you will need to have around 1-2 inches (2.5-5 cm) of extra paper on the top and bottom and around 2-3 inches (5-7 cm) on the left/right side, but you can make this work even with smaller sizes.
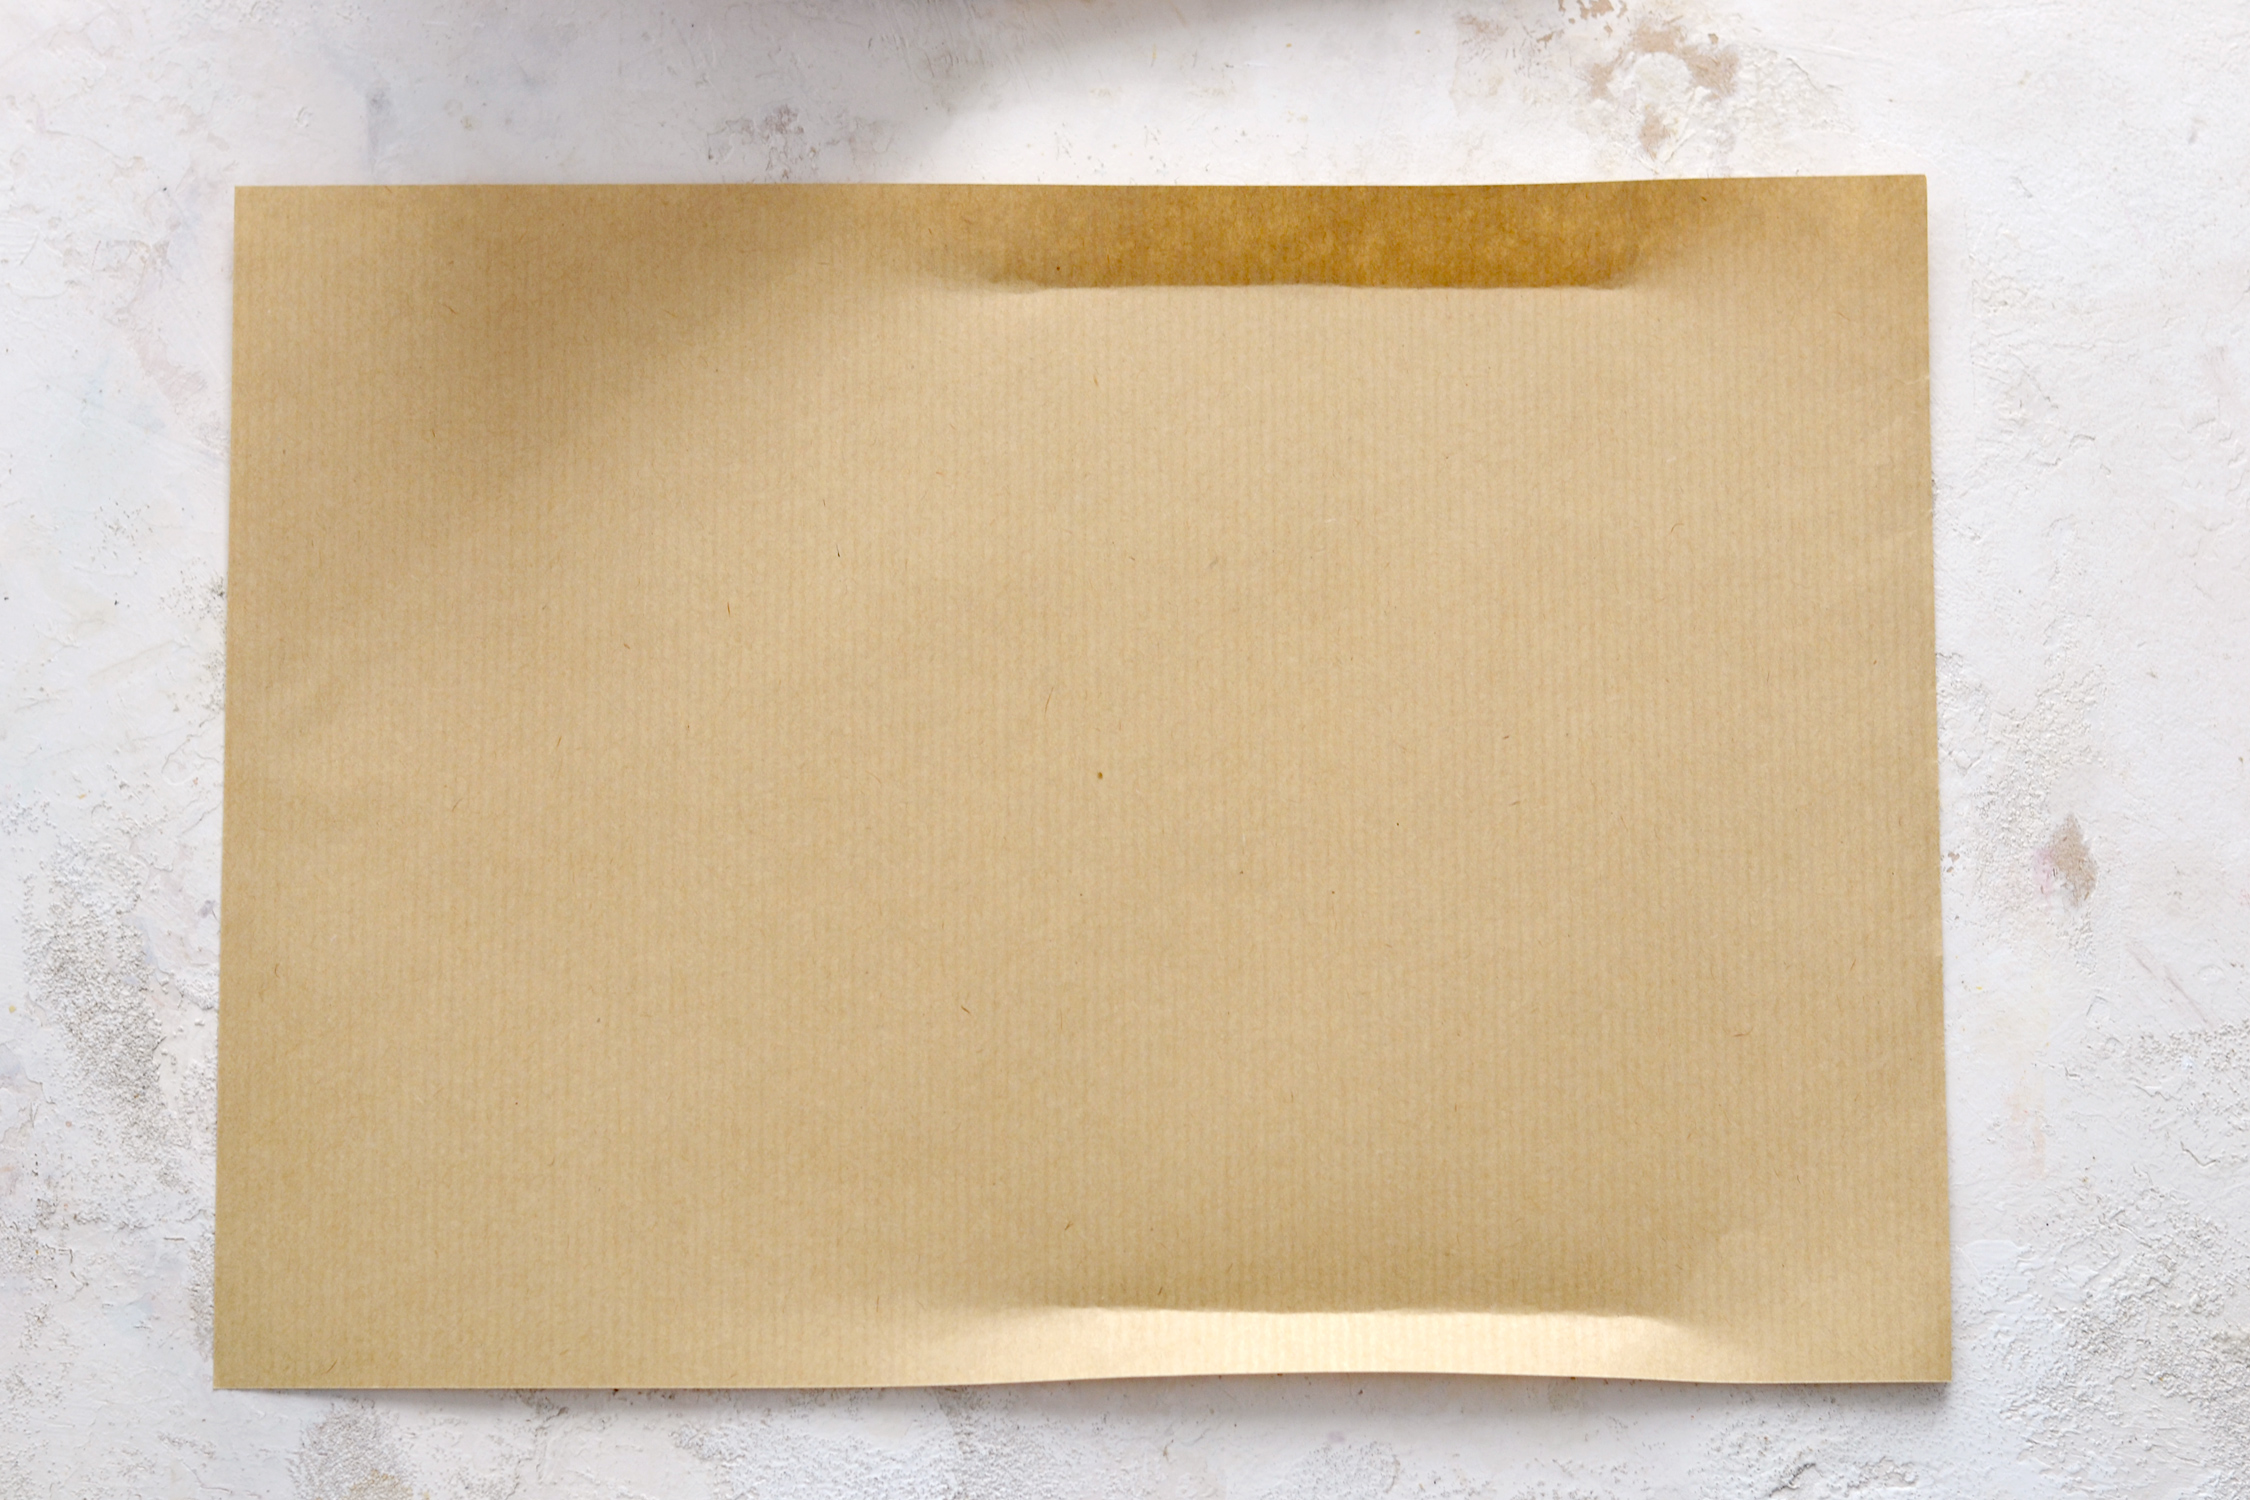
Lay your kraft paper sheet on your table and place your book on top, in the middle.
Hold the book on the paper with one hand, then use your fingers to make a horizontal crease along the top and then on the bottom edges.
Remove the book from the paper, your paper should look like this.
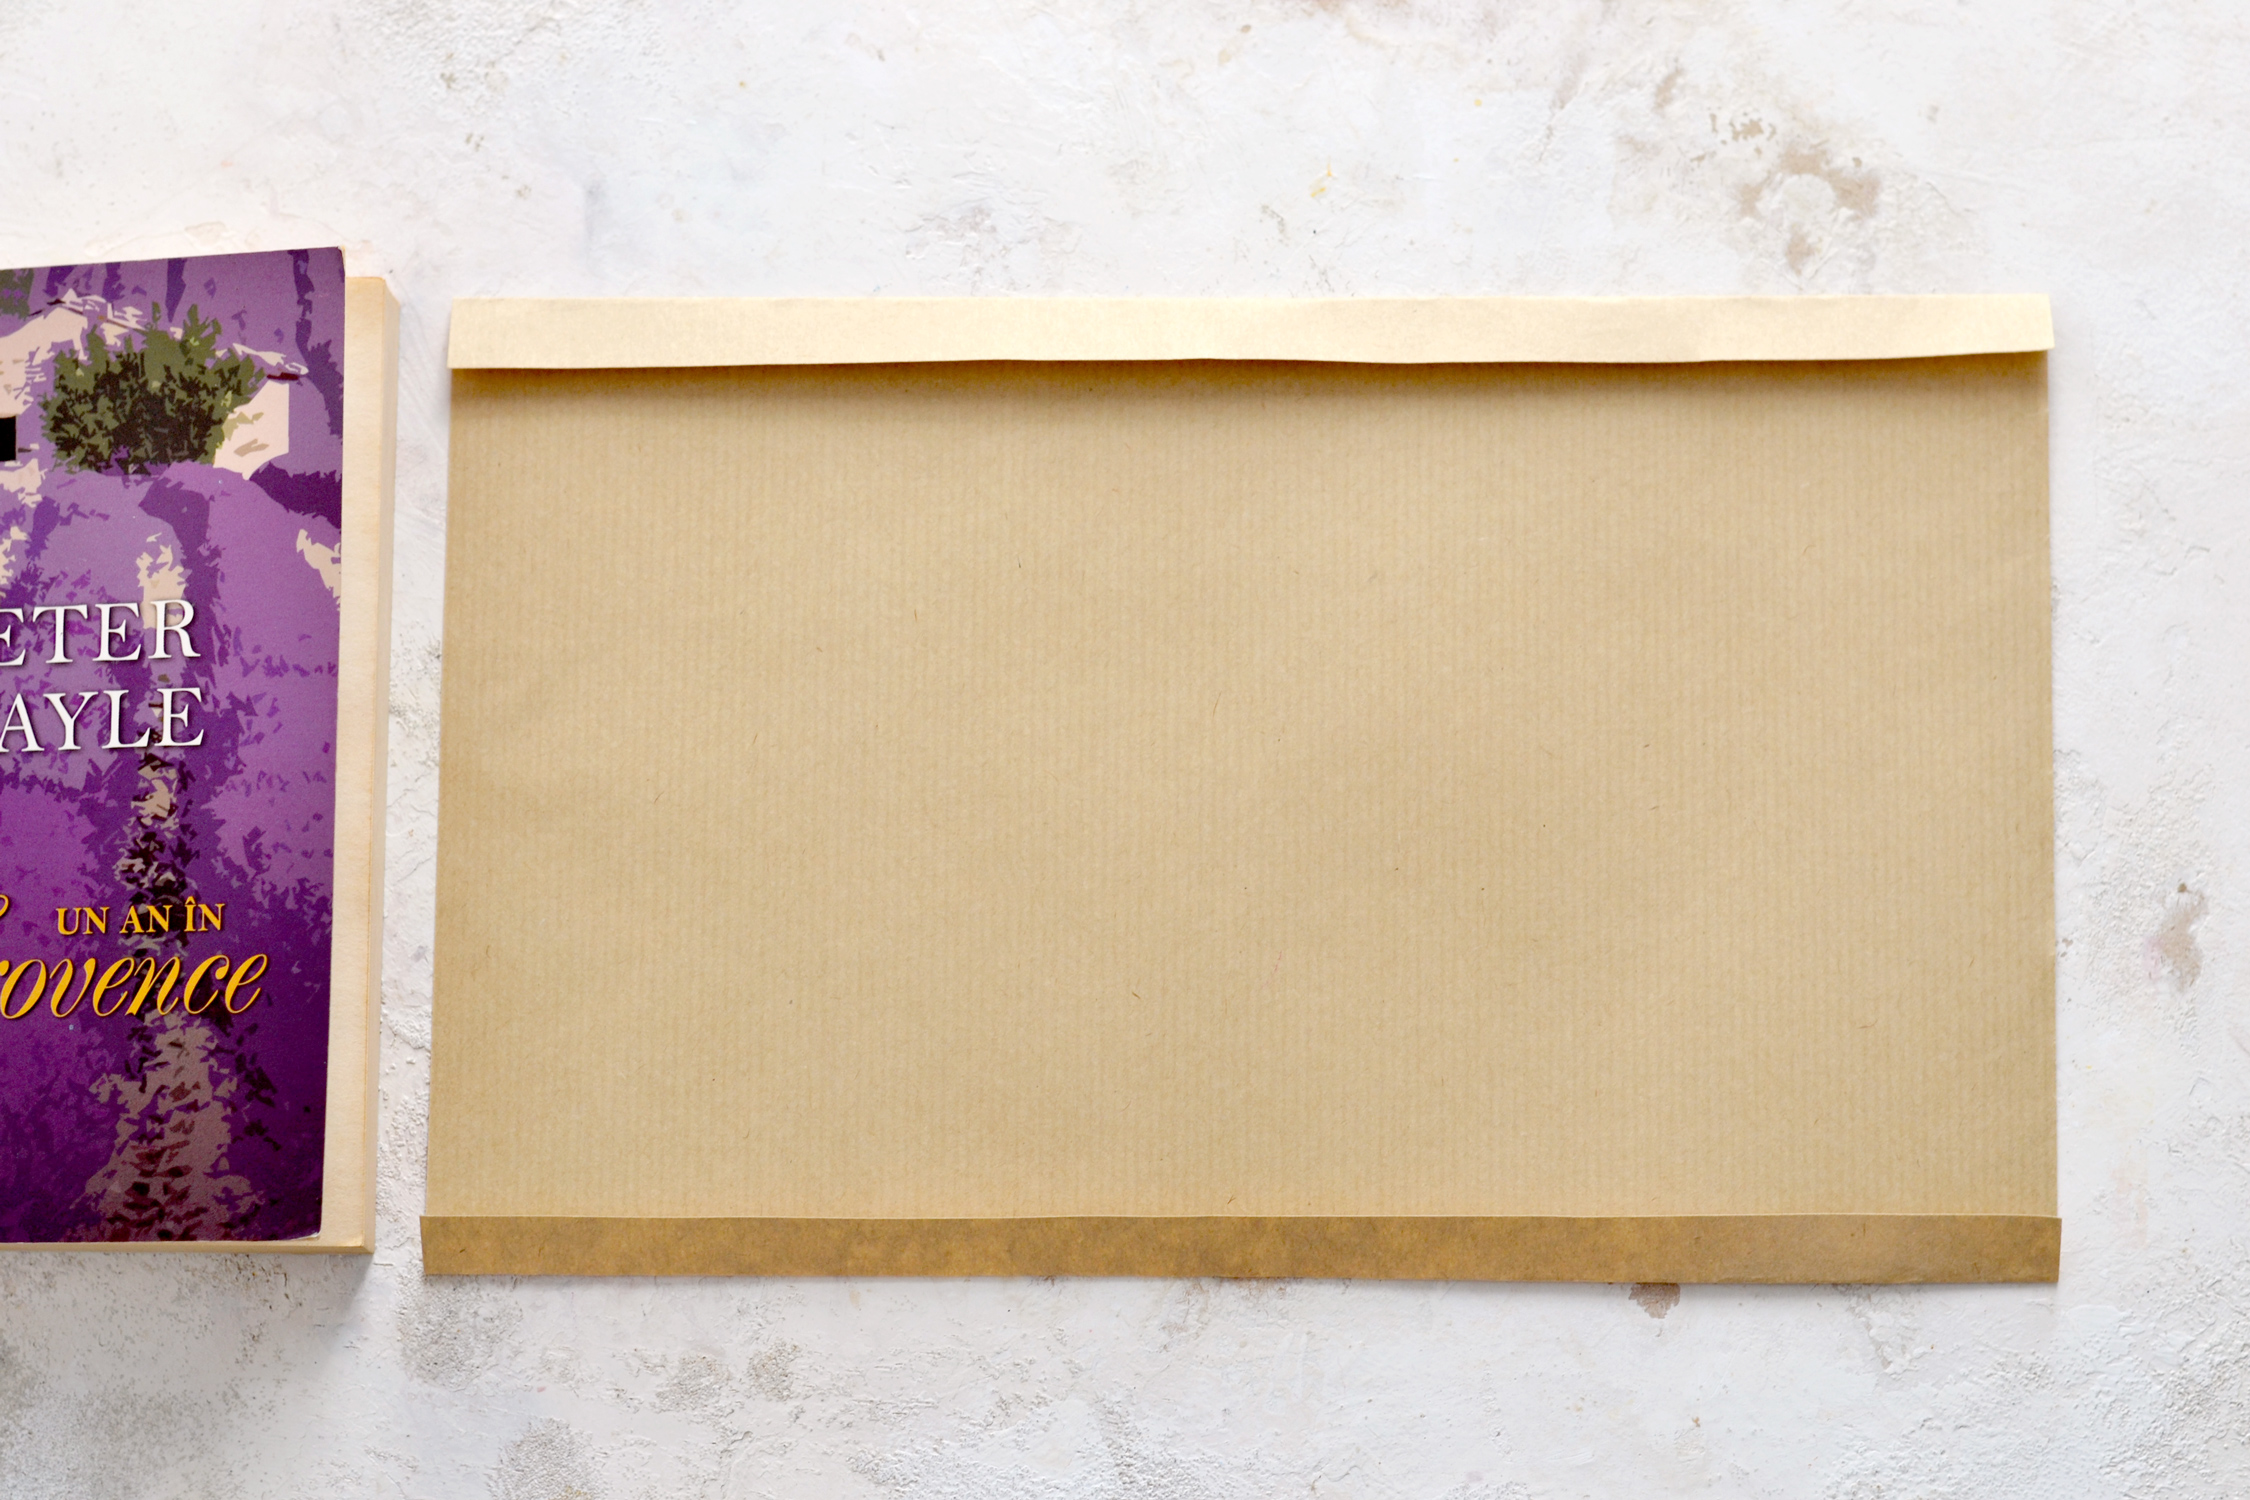
Use the creases as guidance to fold the kraft paper on top and bottom. You can use a ruler if you want, but we are not looking for perfection here, so your fingers will work! Just make these two horizontal folds as straight as you can.
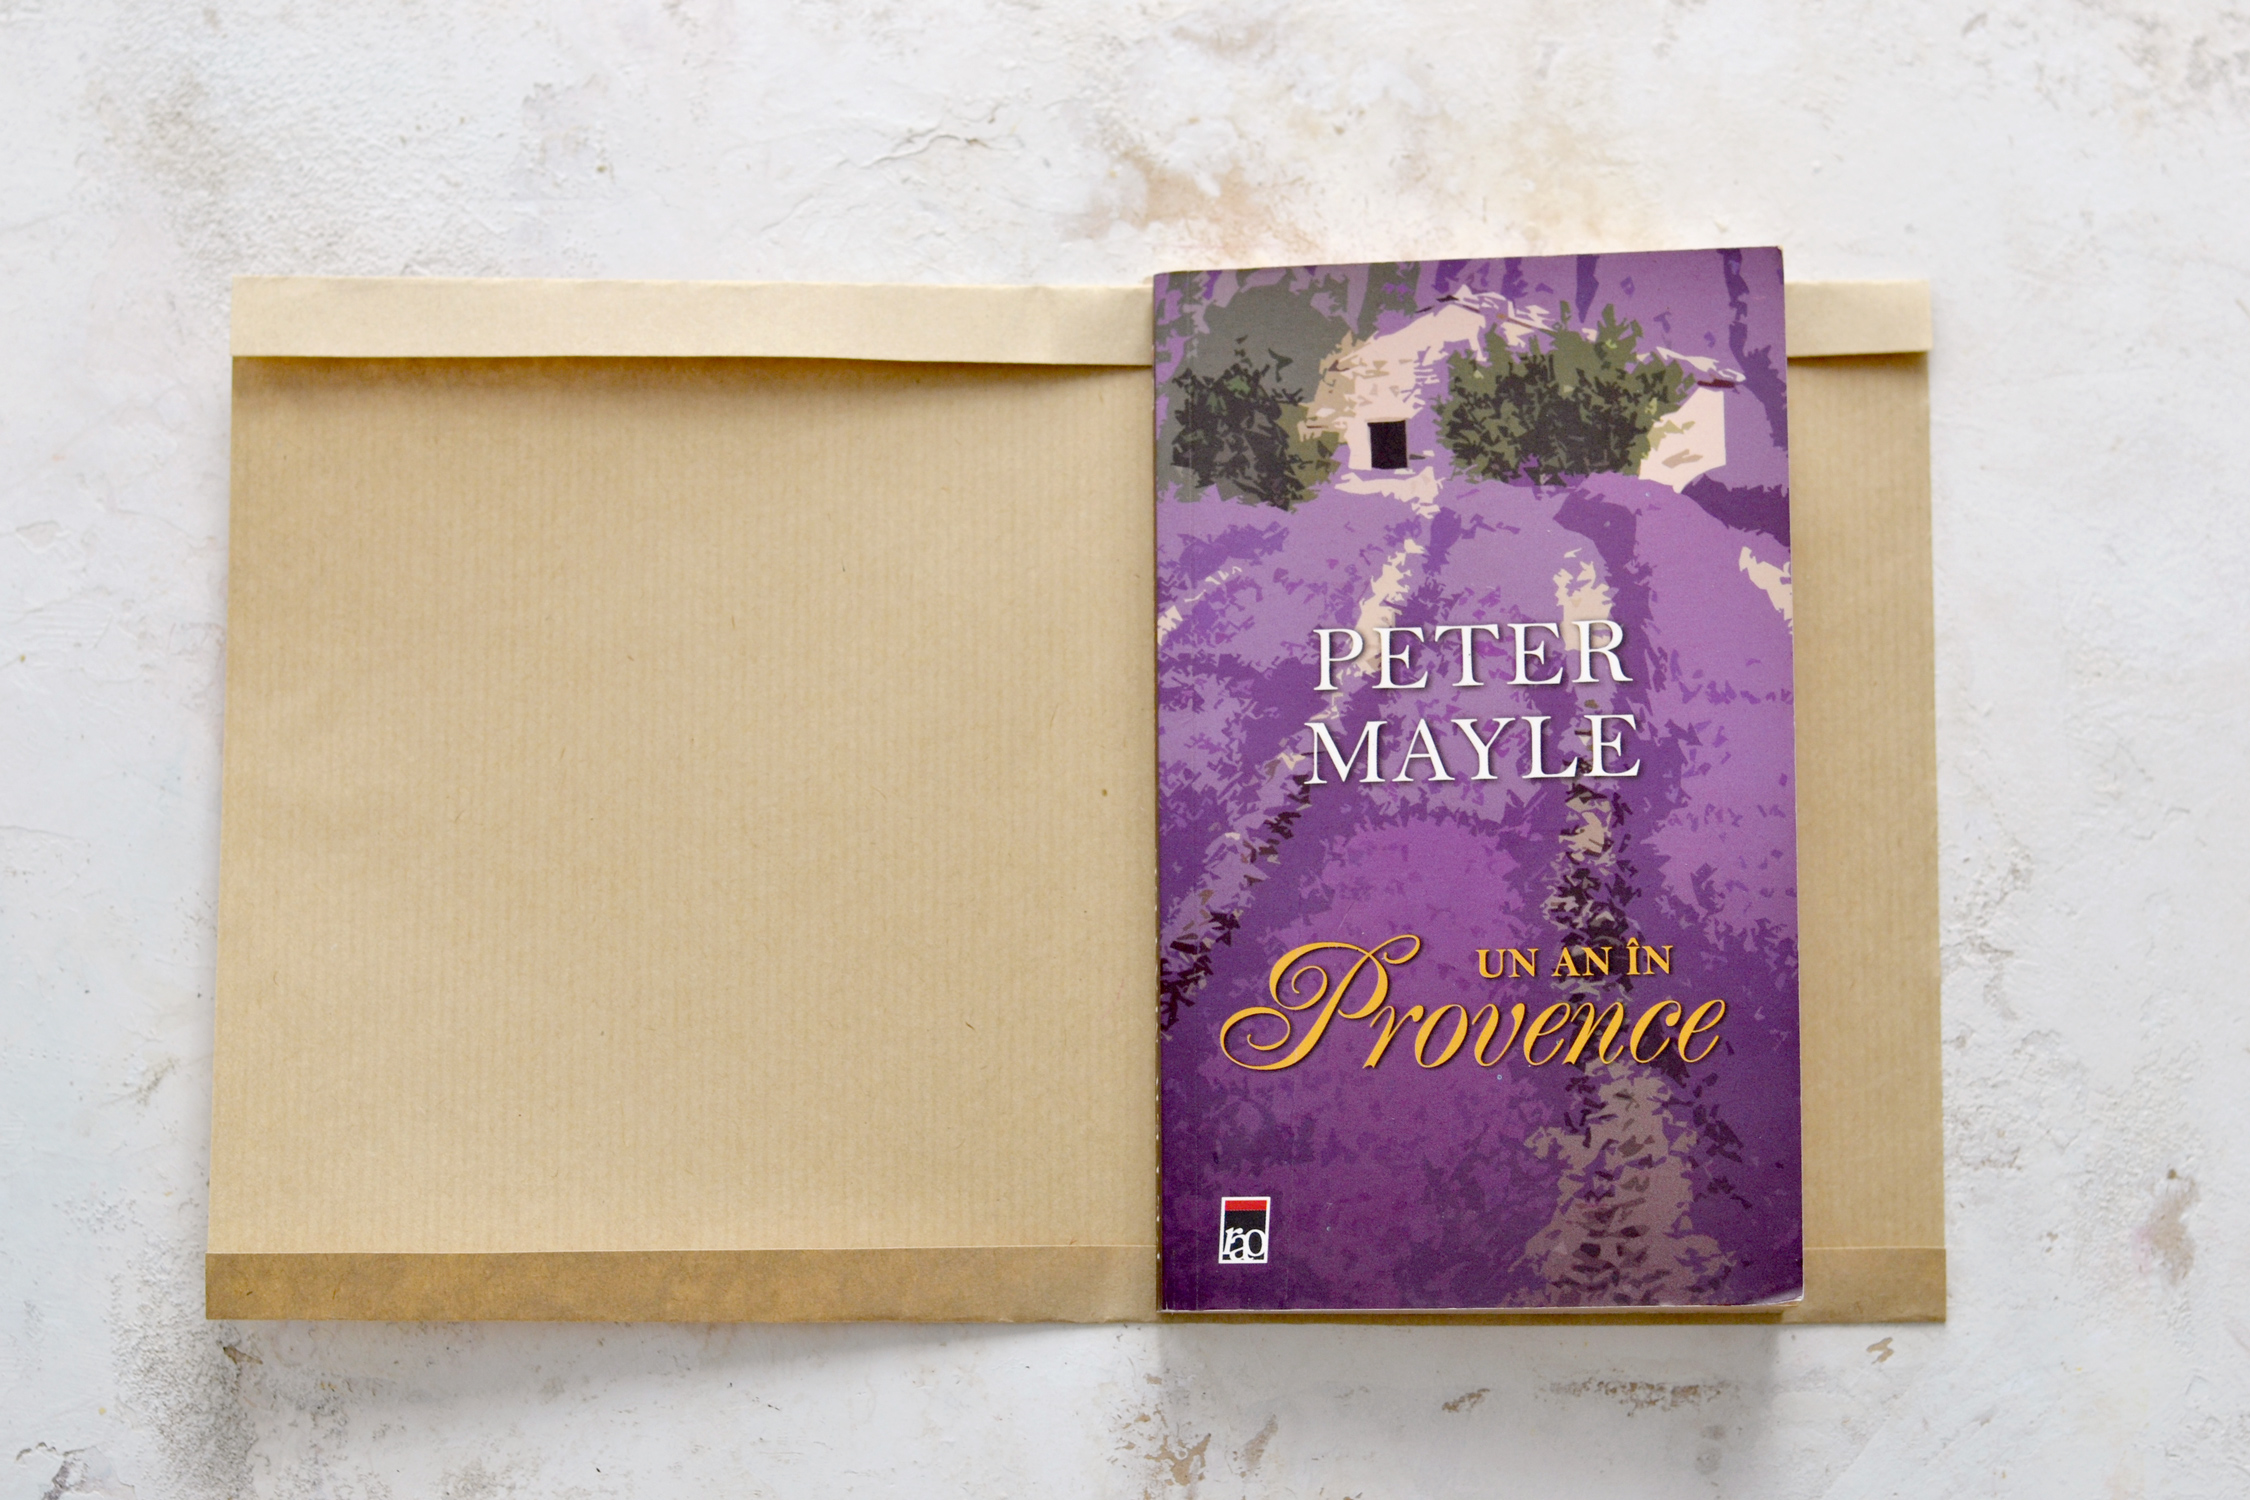
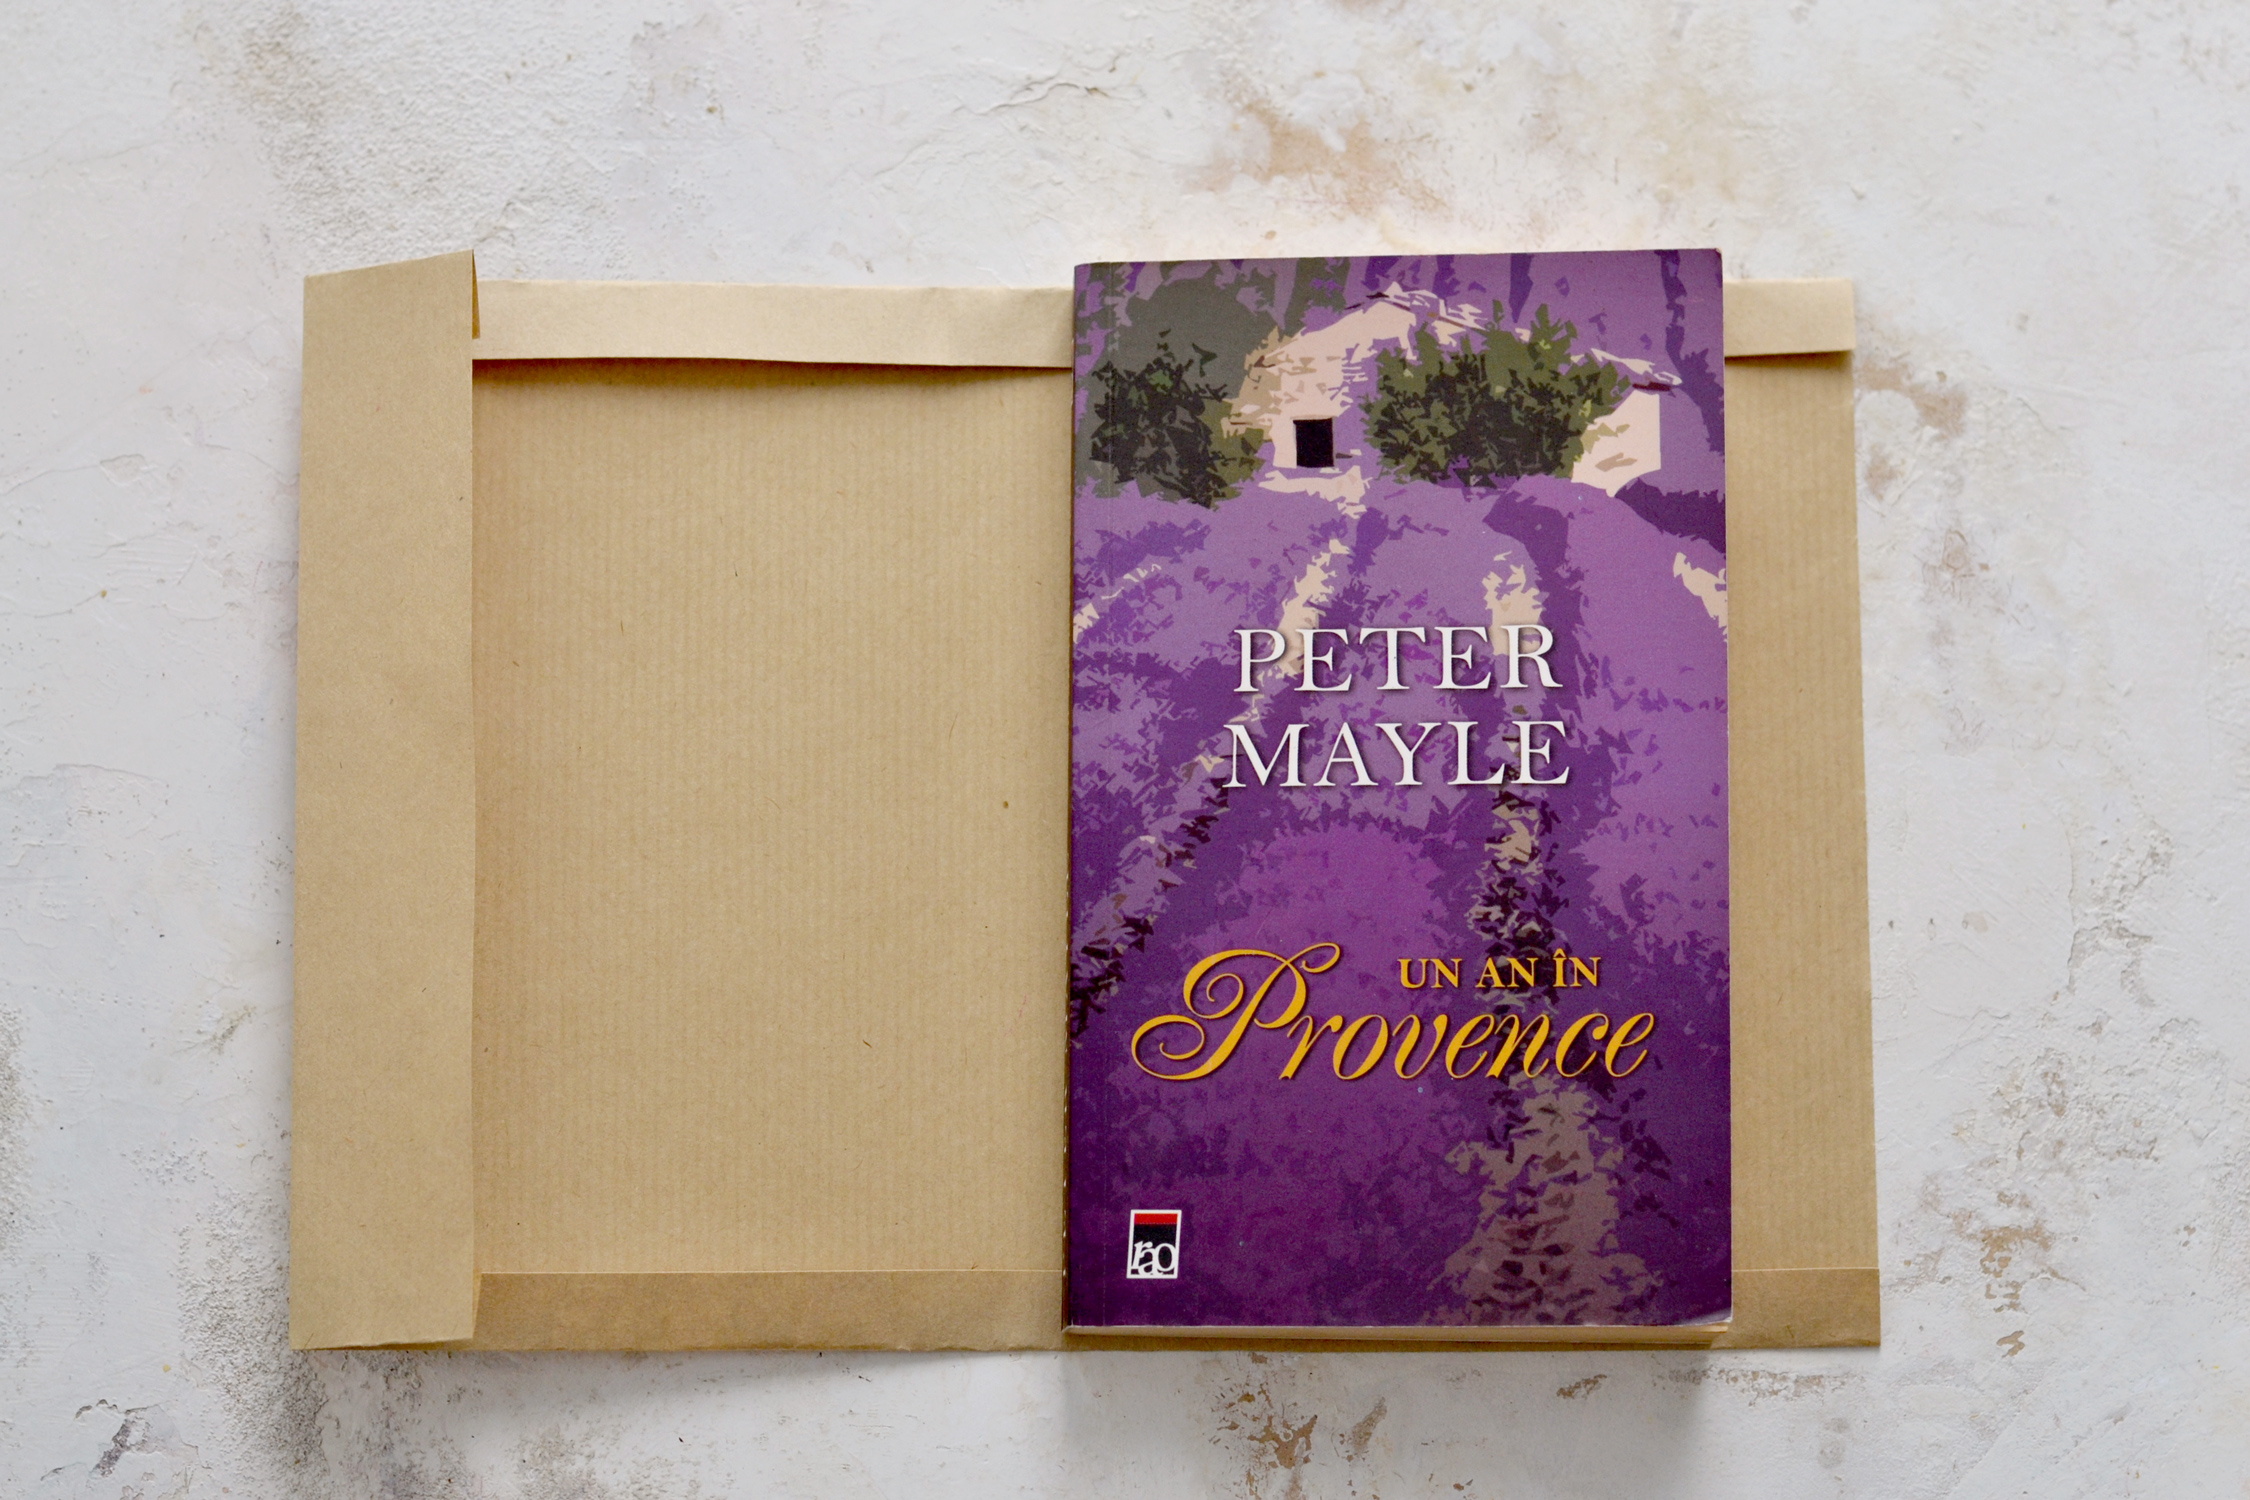
Place the book on top of the two top/bottom folded creases.
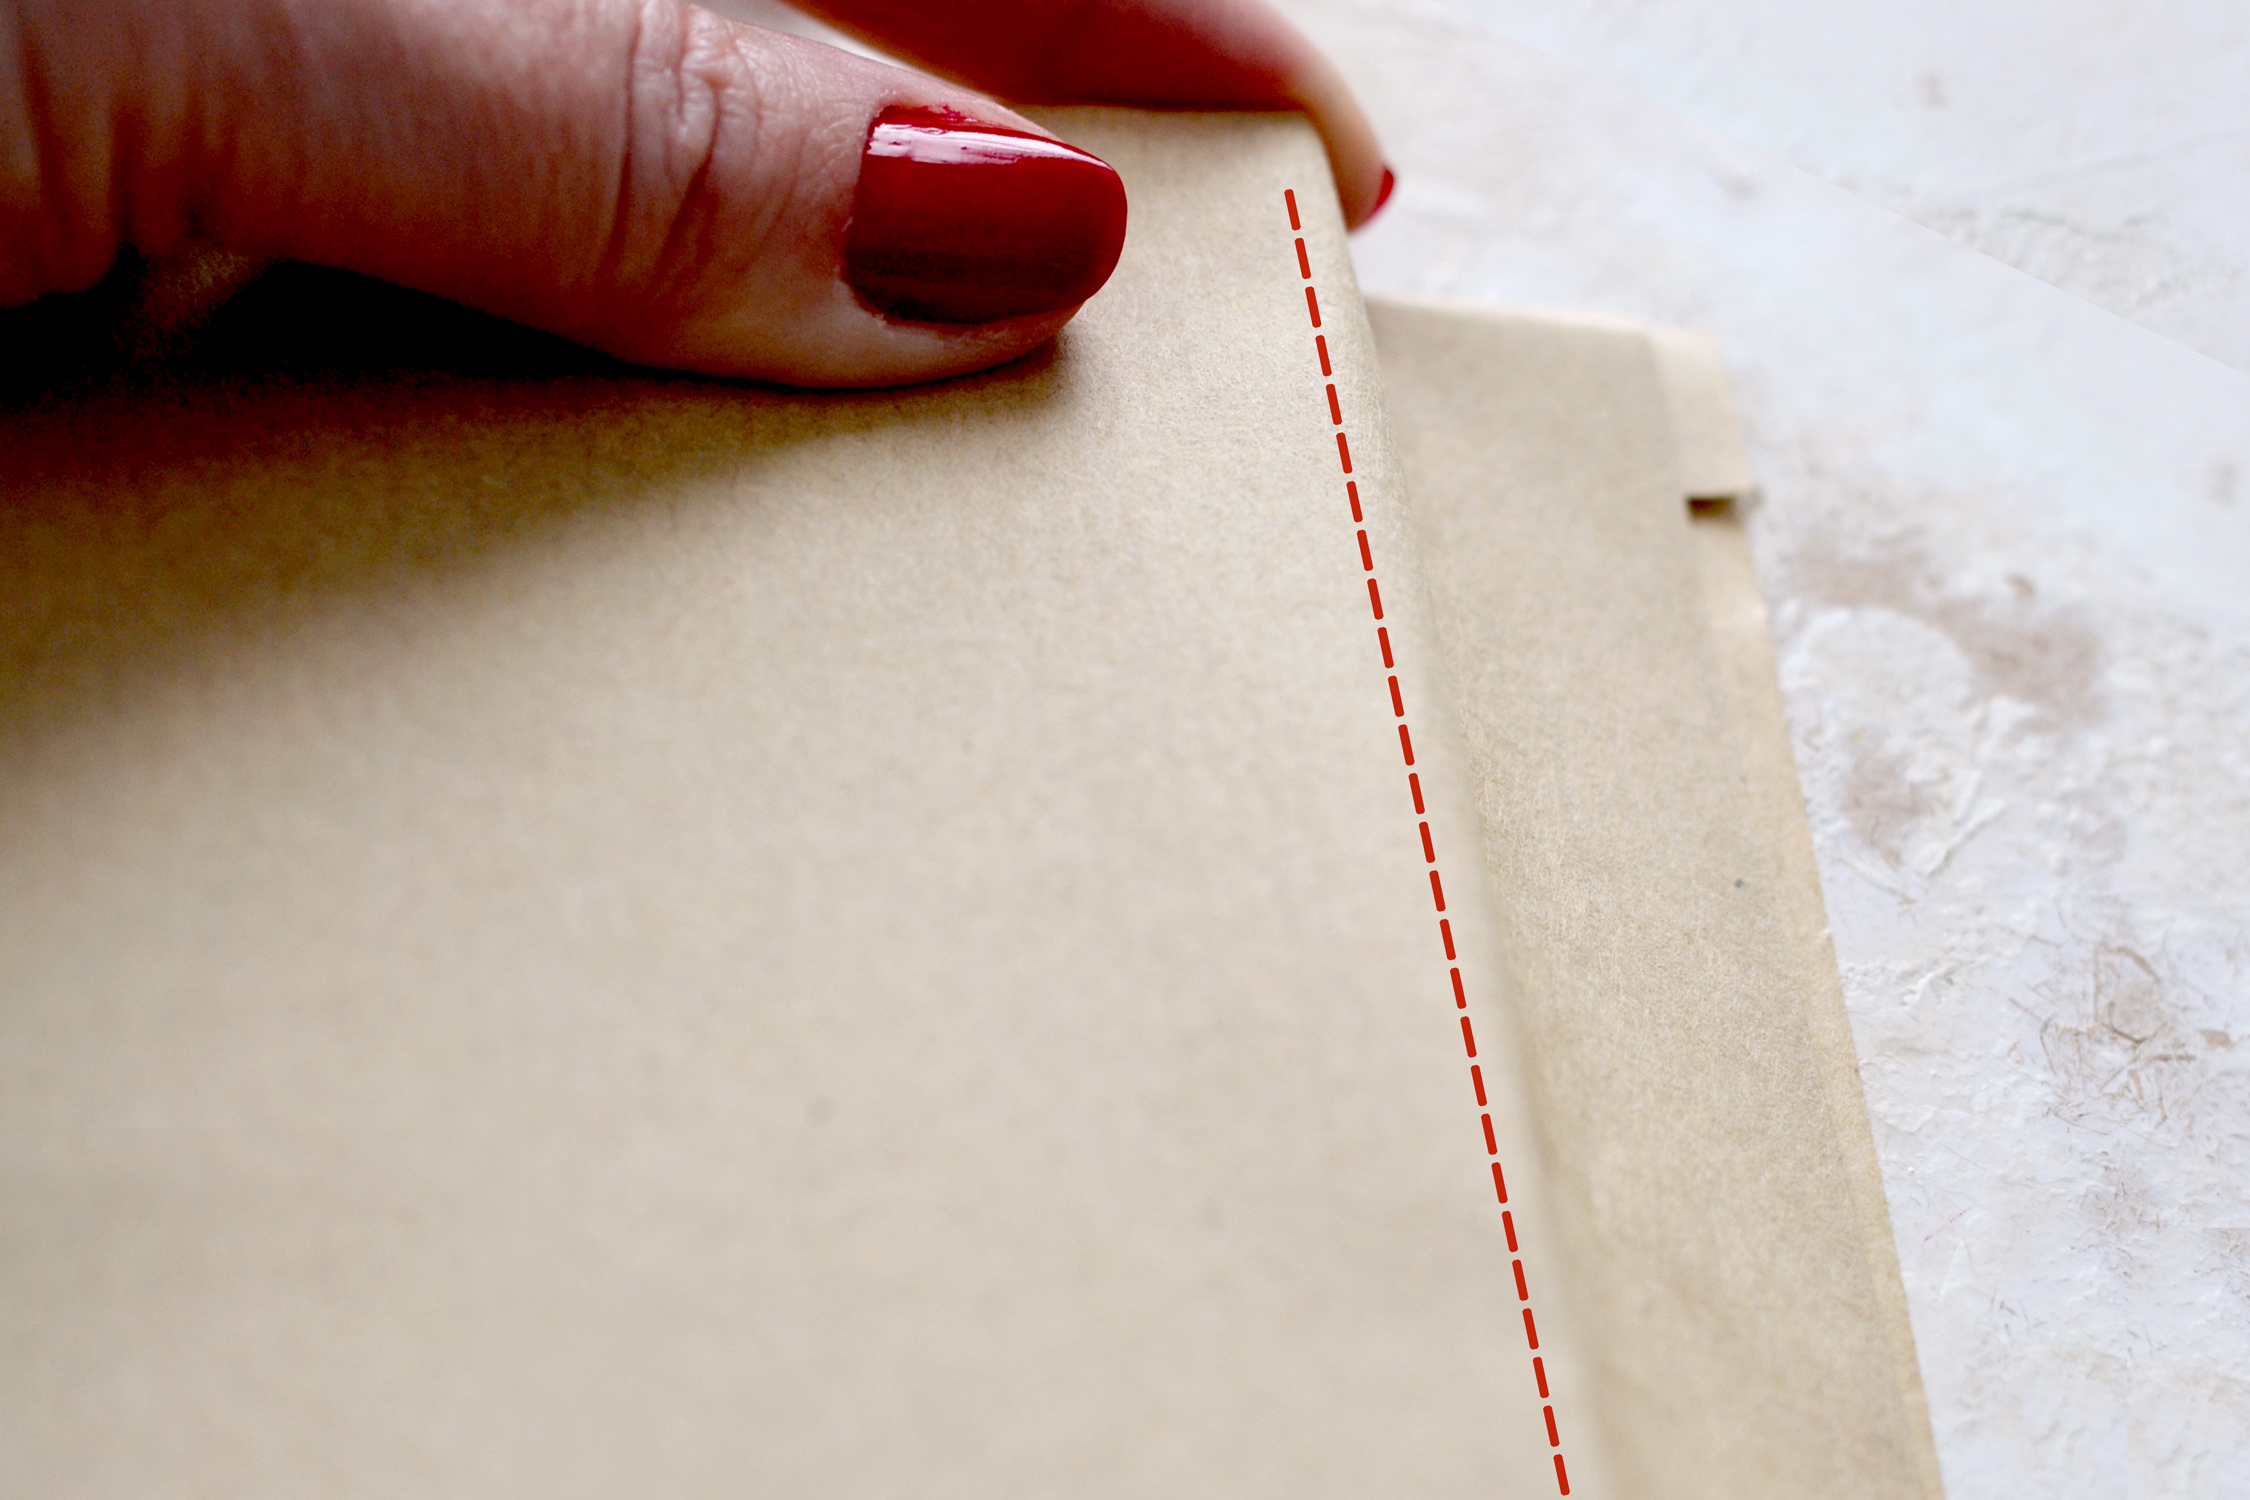
Close the kraft paper covers and make sure to book is placed in the middle, then use the book inside as guidance to create a vertical crease on the front cover edge with your fingers.
Open the paper cover and use the vertical crease to fold the top cover – the left side of our paper cover as it is placed on the table.
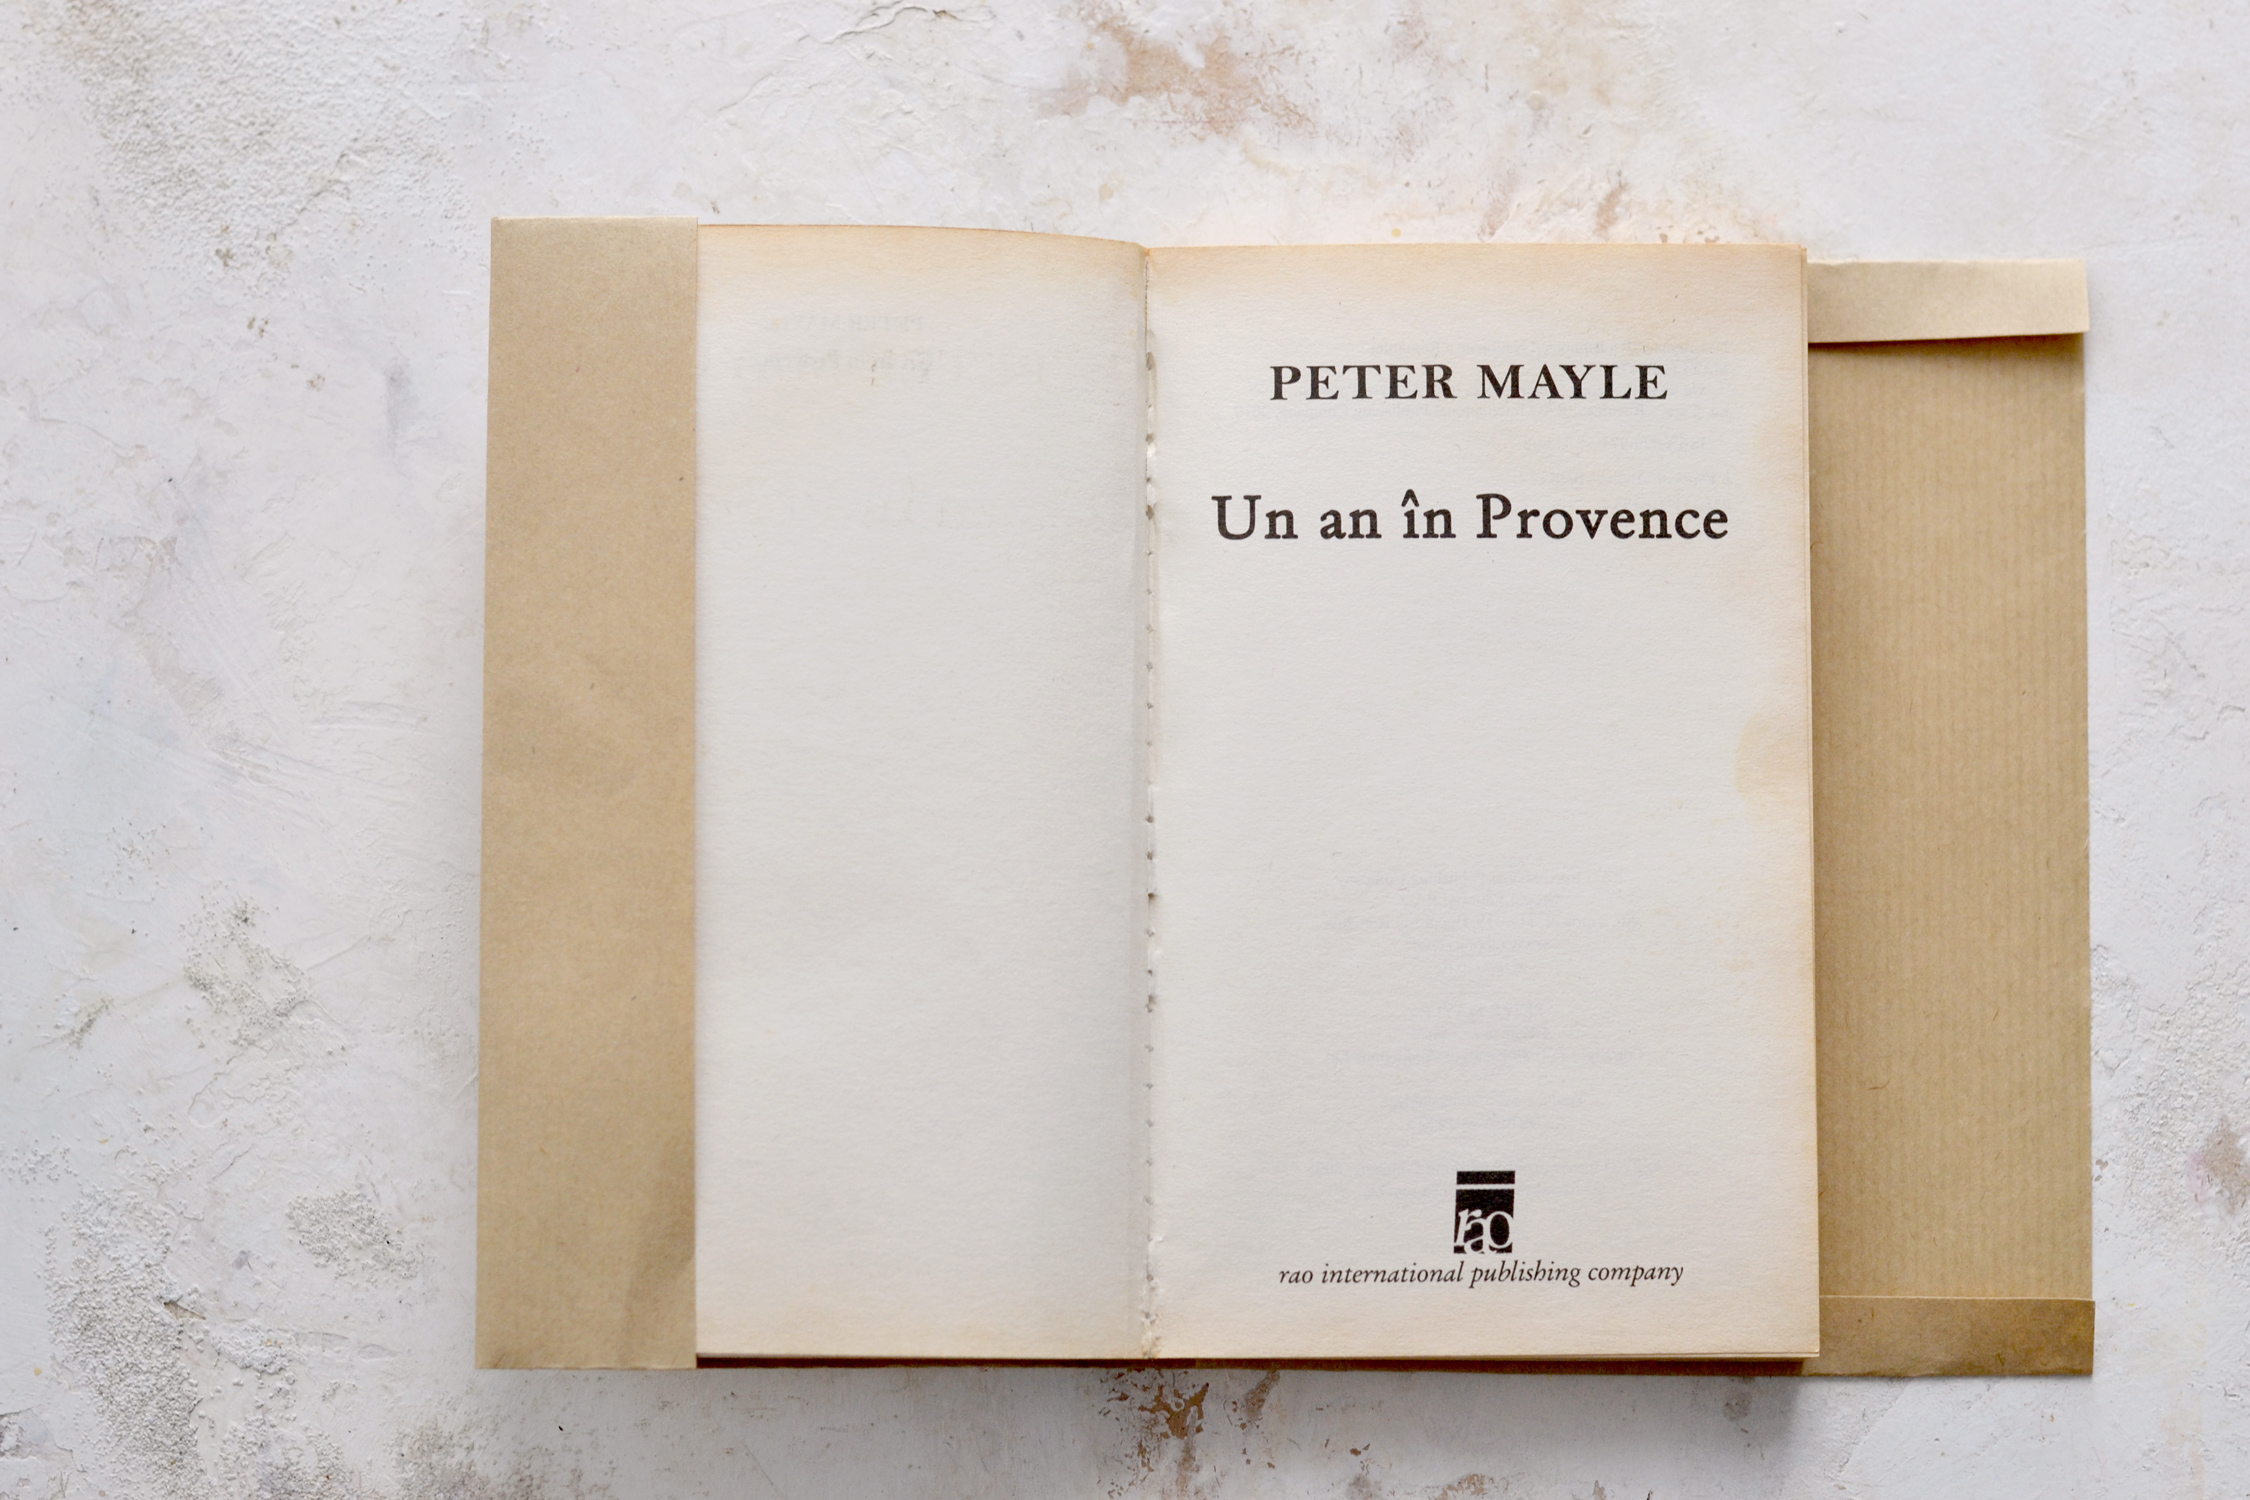
Open the book and tuck the front cover into the folded paper pocket on the left. The book should slide in quite easily.
Close the book again and place it on your table, then use your fingers to create a vertical crease on the back side of our paper cover, using the book inside as guidance.
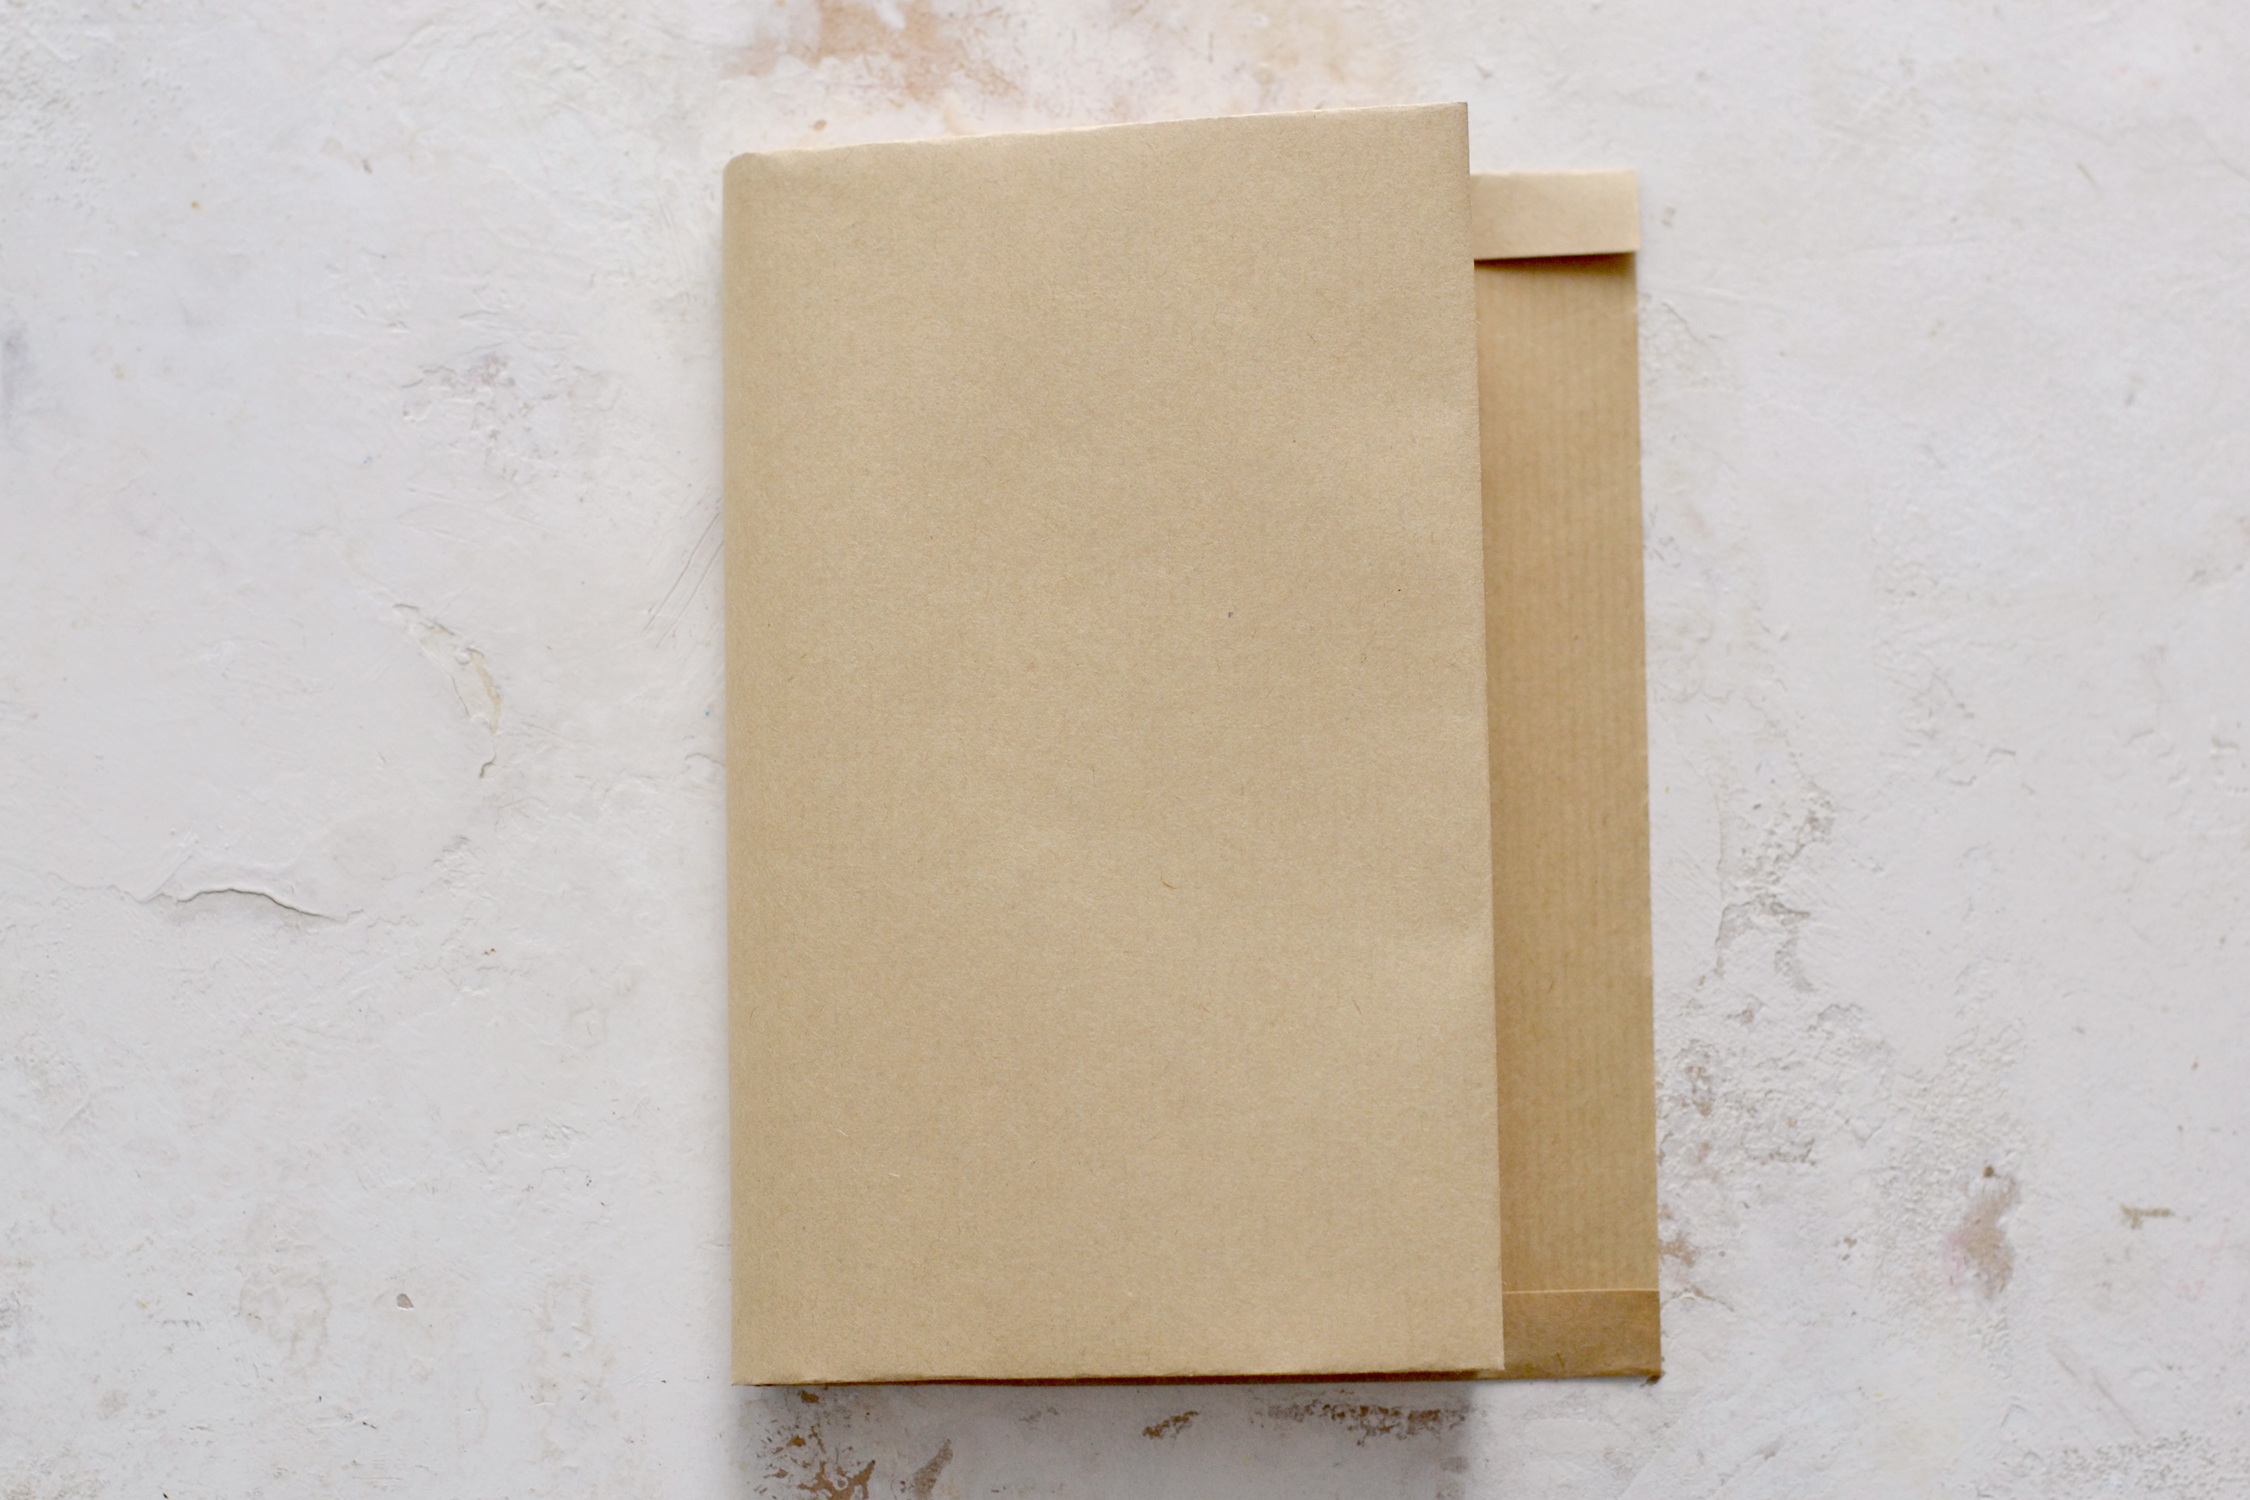
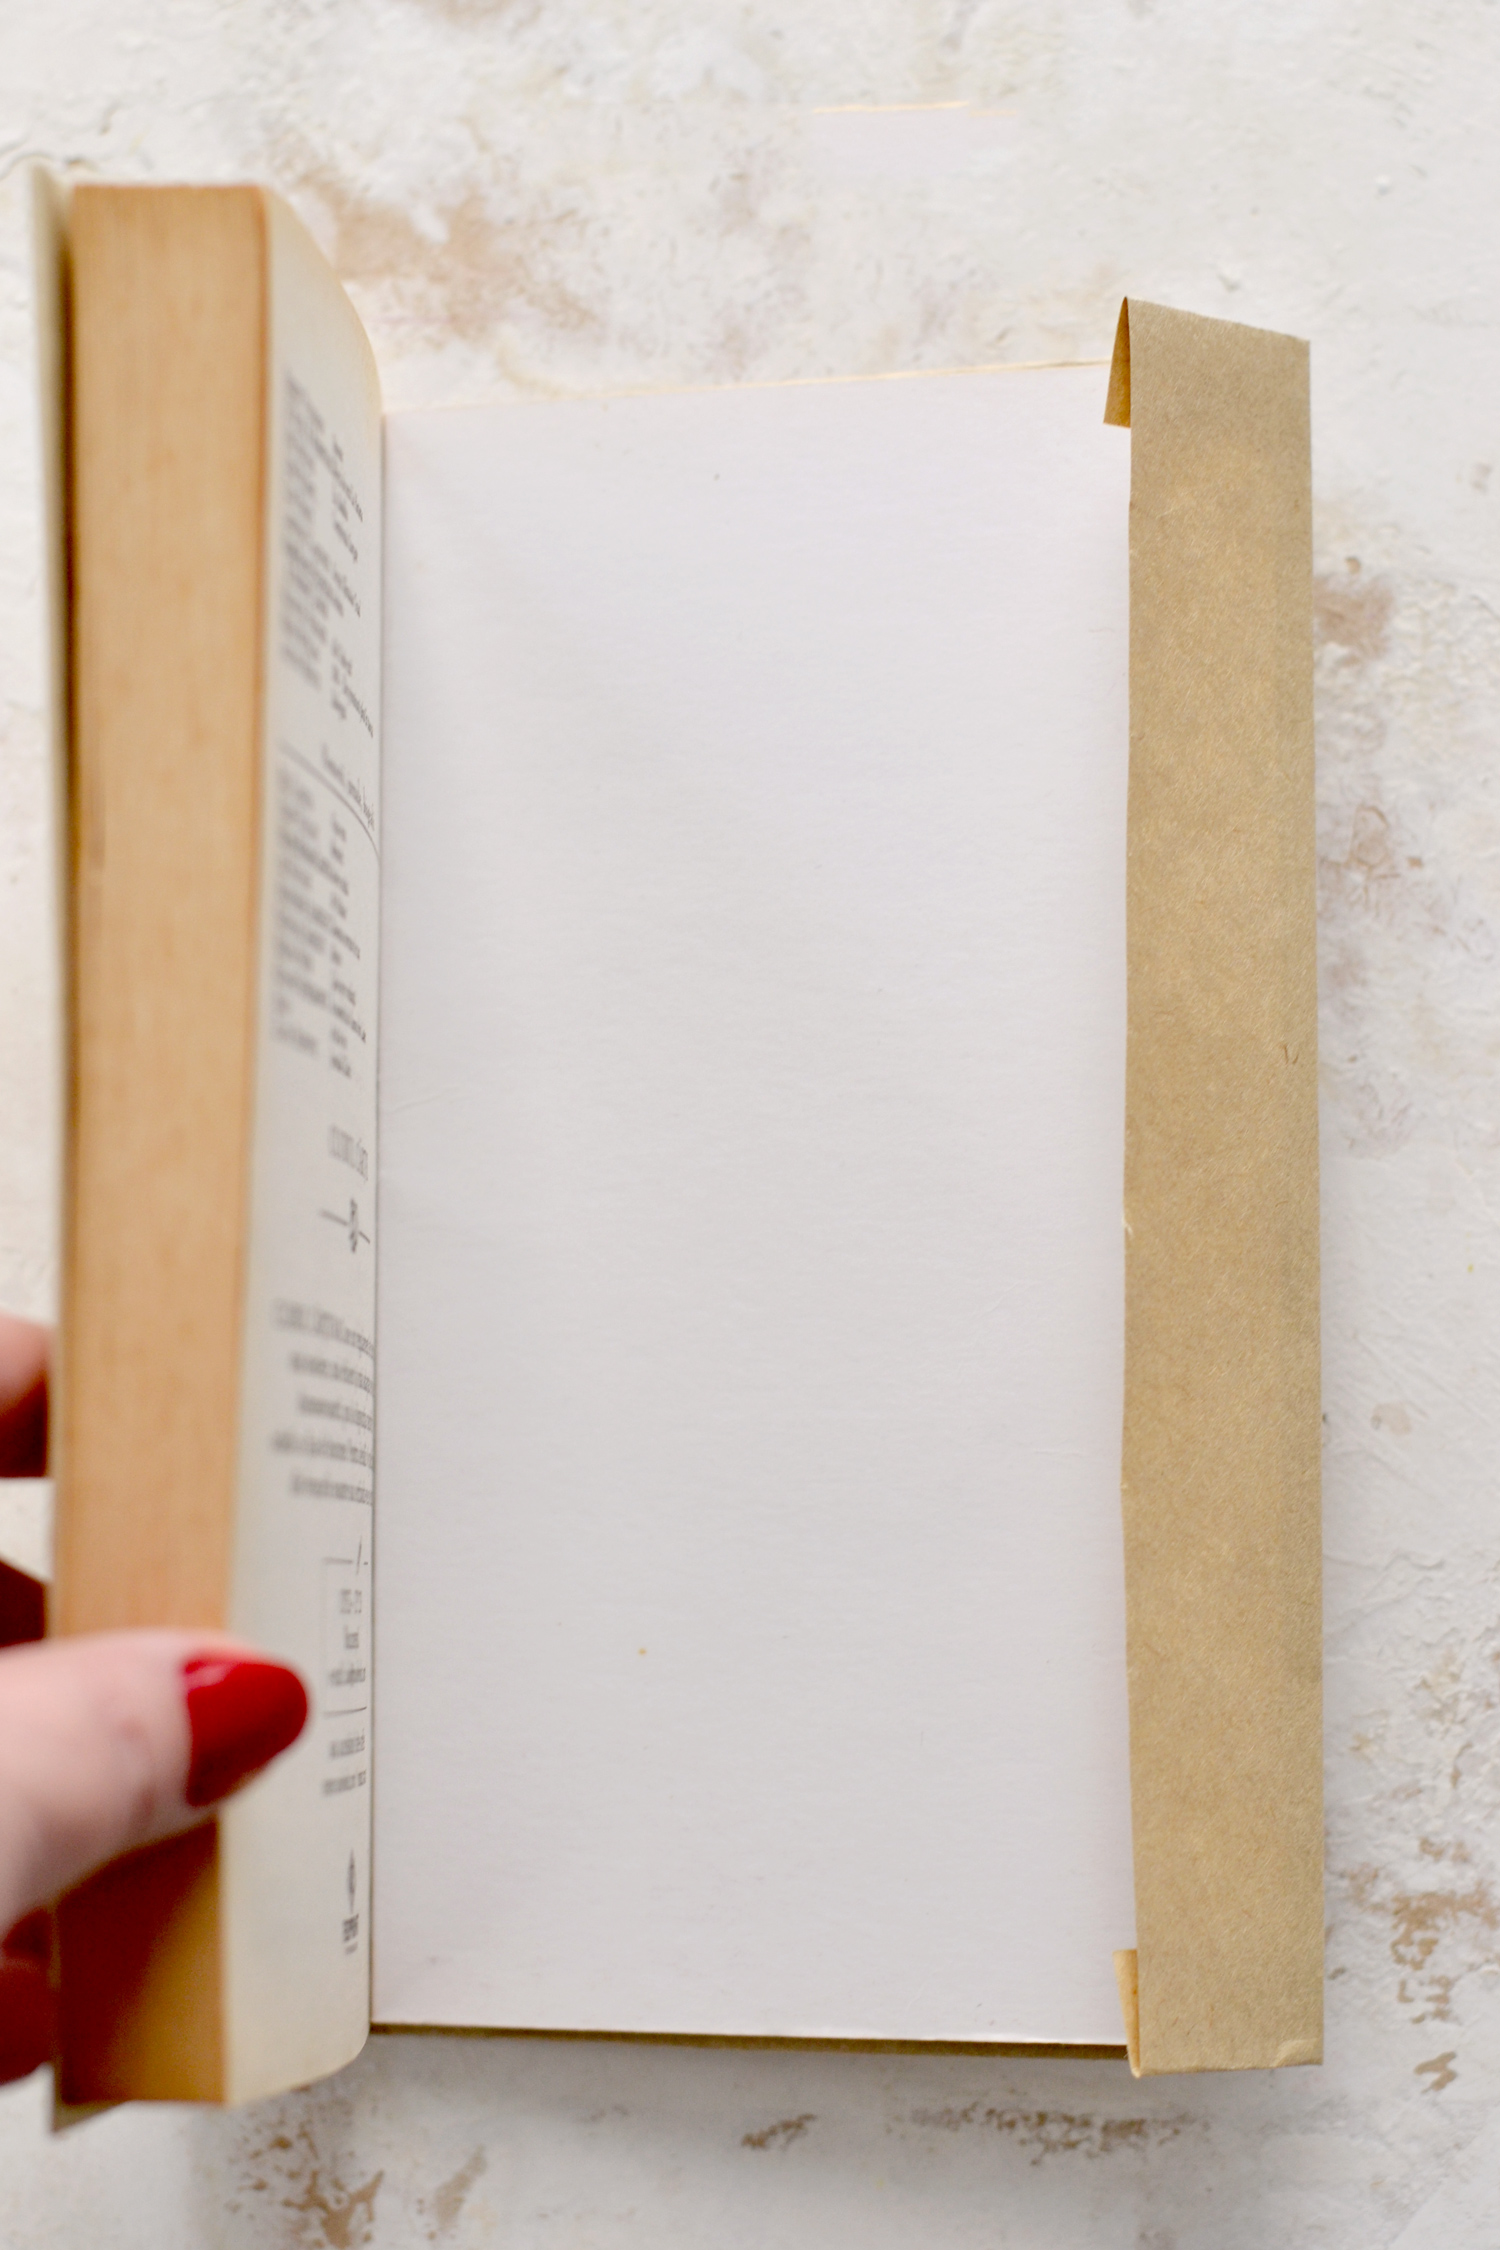
Open the book and fold the vertically creased paper, then simply tuck the back cover of your book inside.
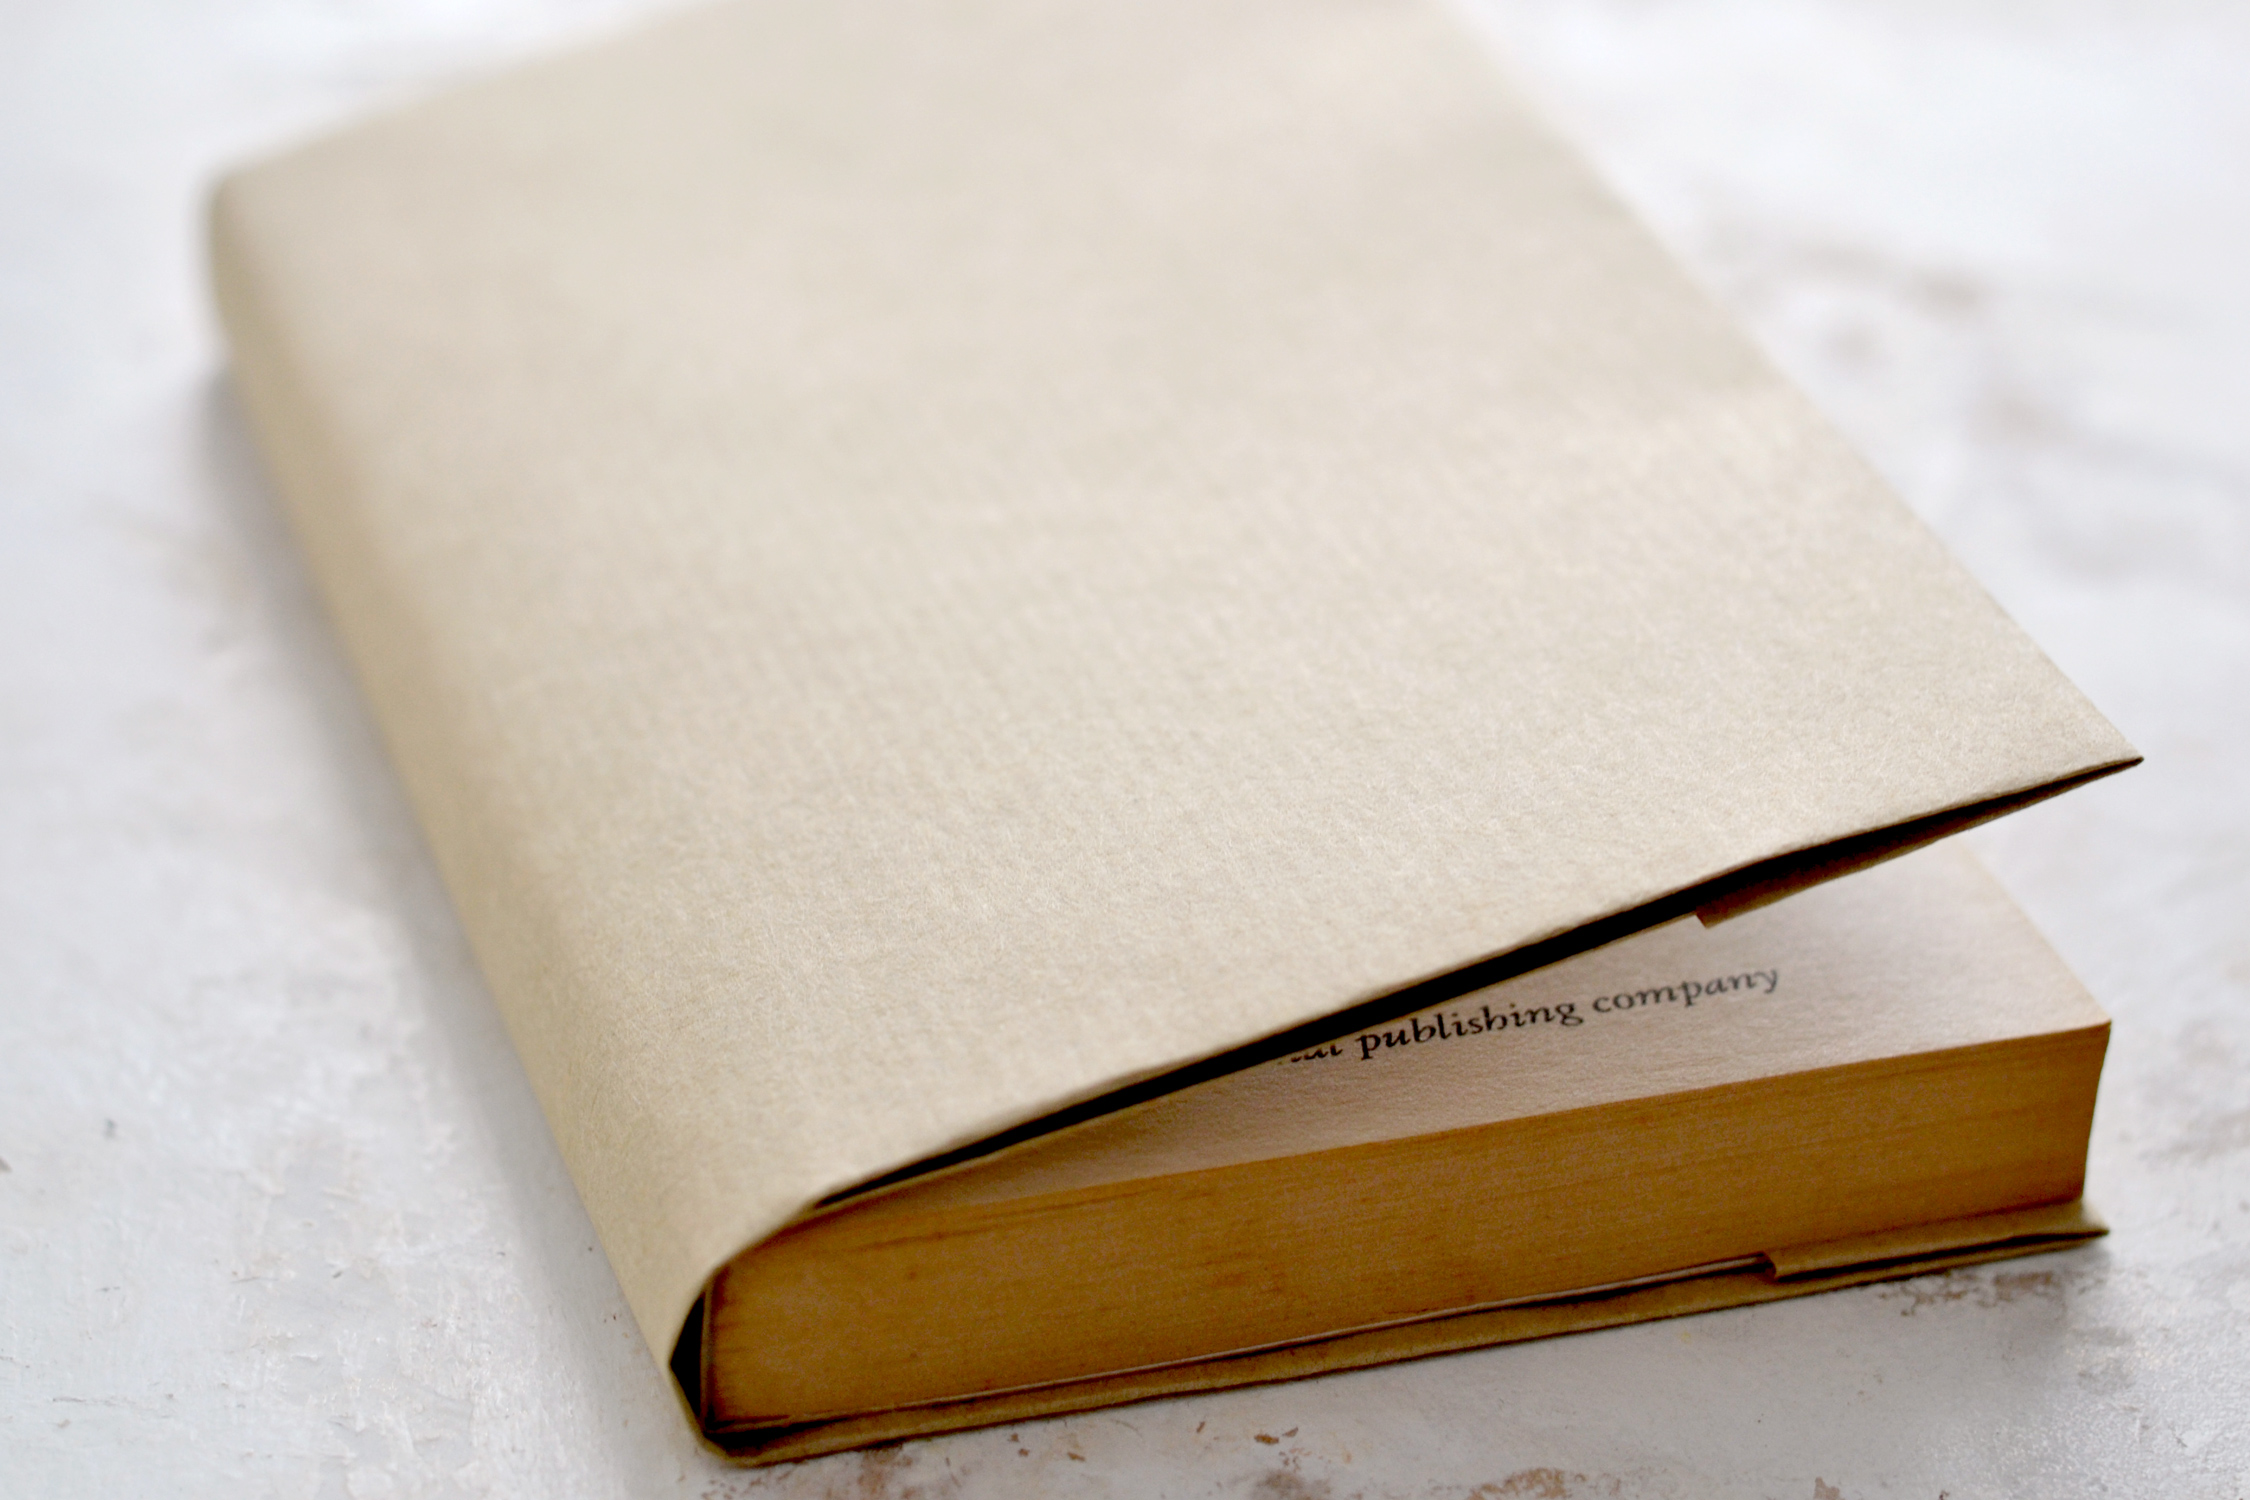
Our first book cover is now finished!
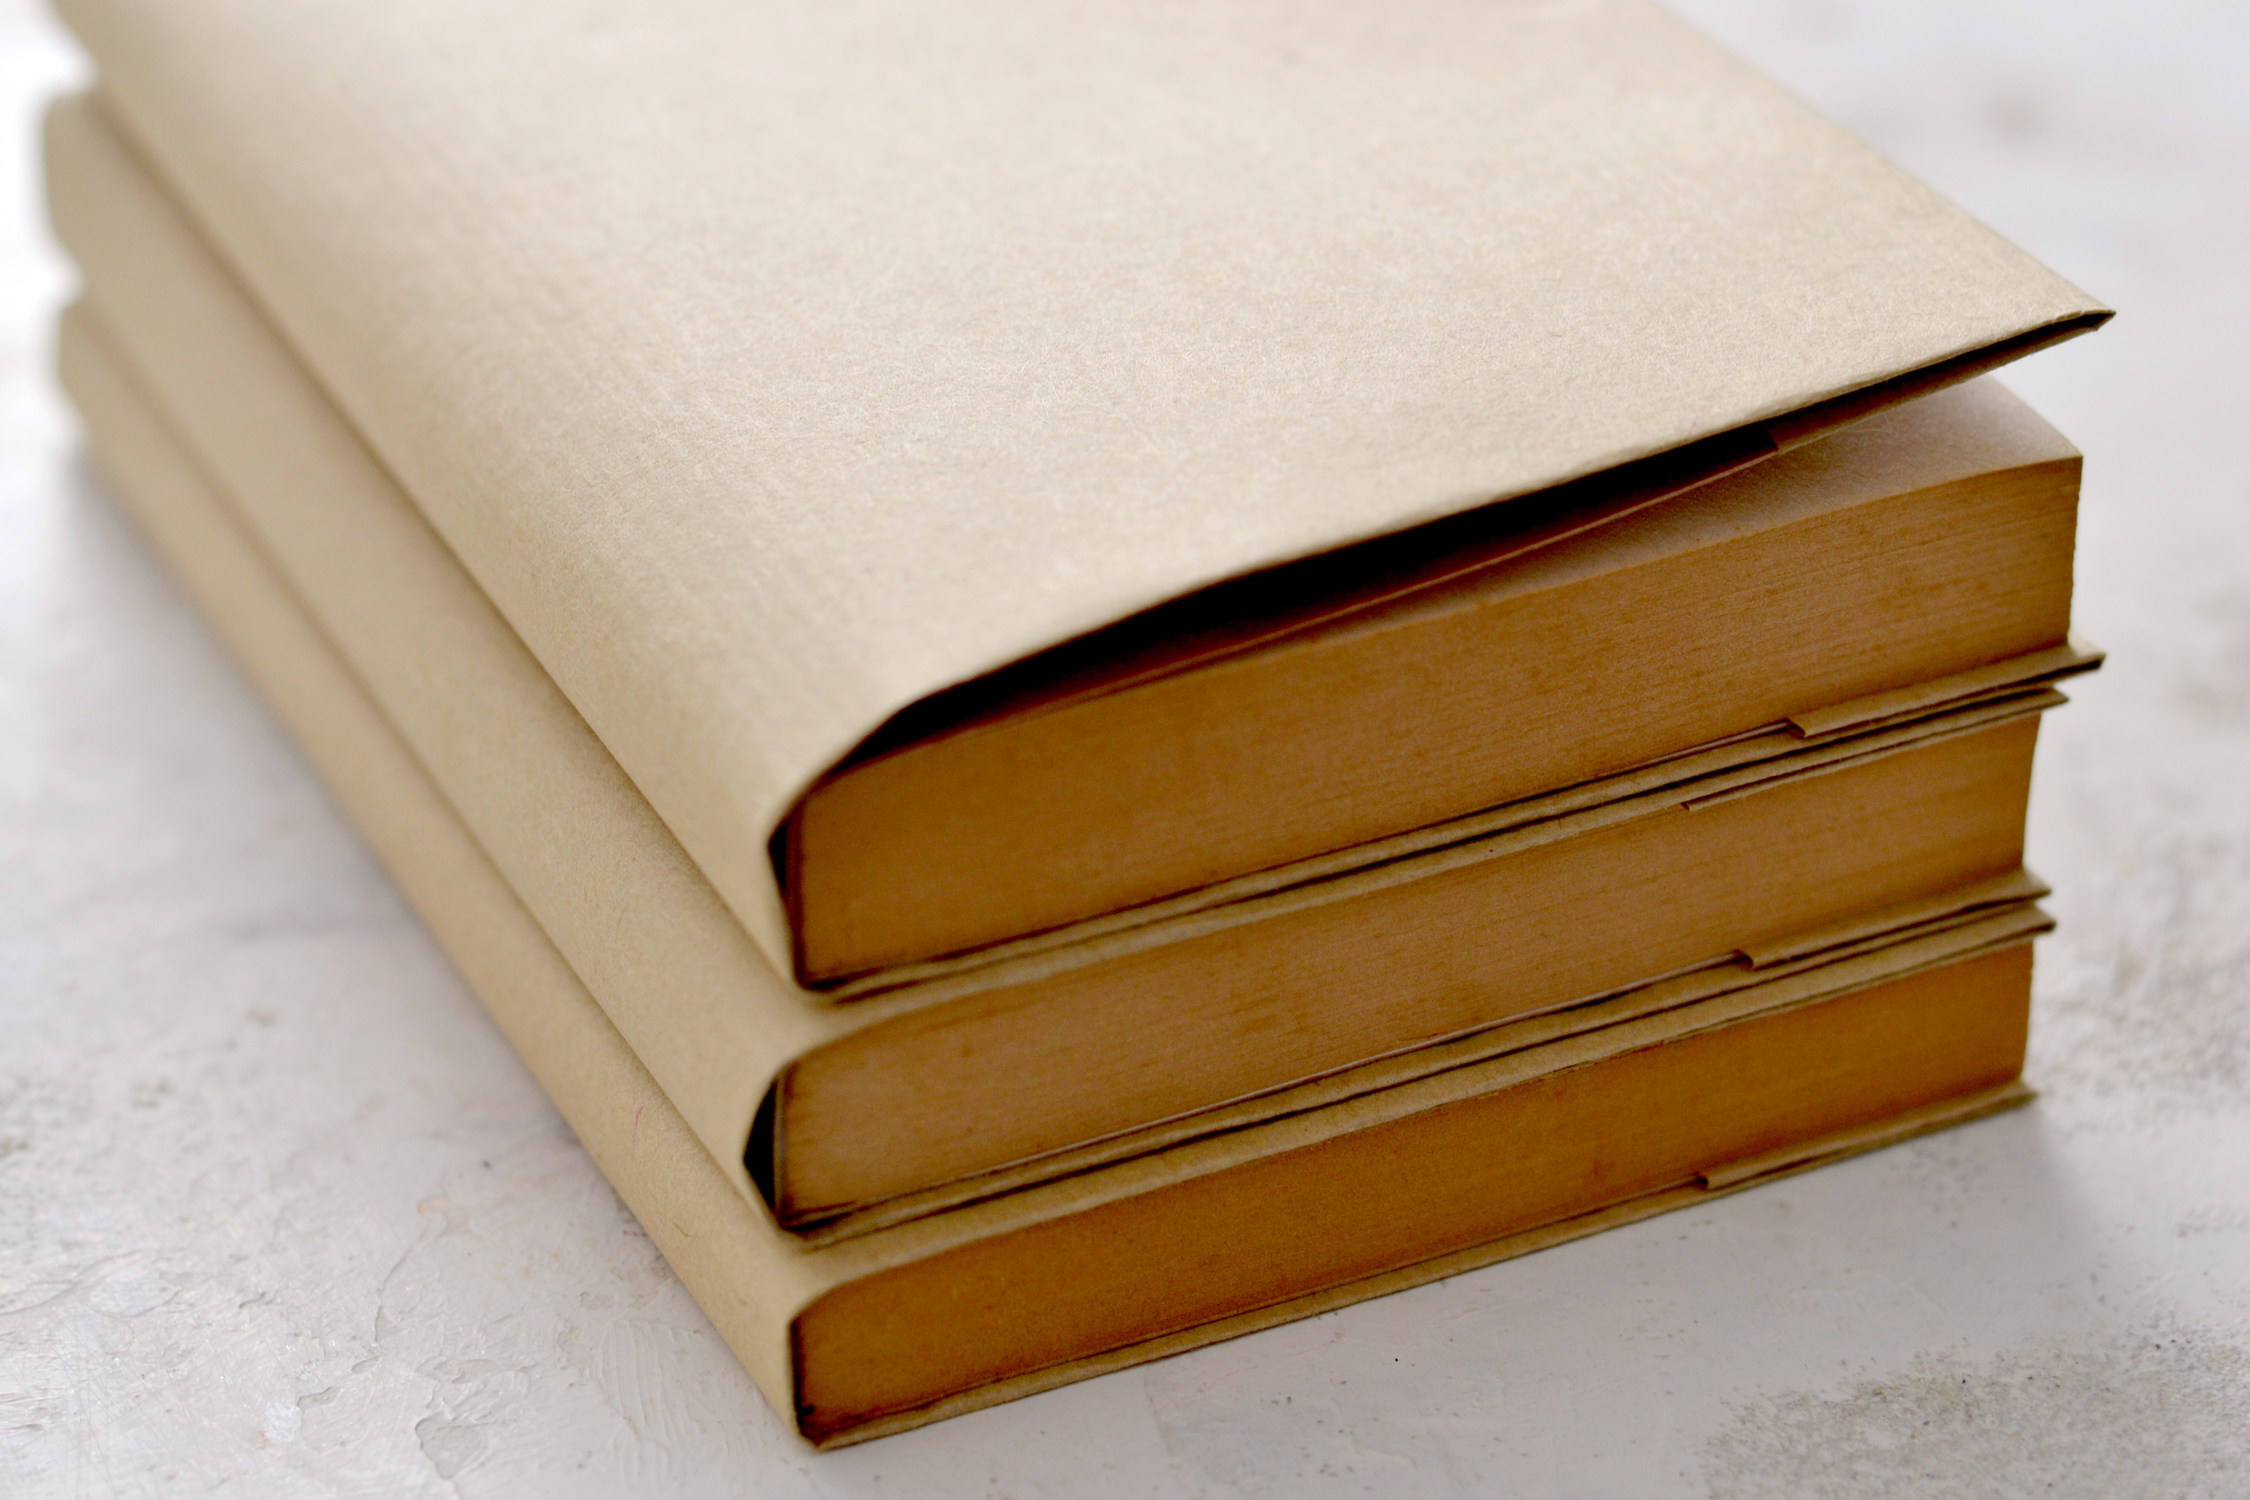
Let’s make a few more using the same technique!
Now we can move on to decorating the covers using the adorable printable that I created for you!
As I mentioned before, I used the printable with no background and the same cut-to-size kraft paper from the pad, I just love that it can be used for printing too!
Use your scissors to cut all the elements.
You can choose to leave a small fussy cut border around the flowers if you want or you can completely remove the extra paper if you prefer it that way.
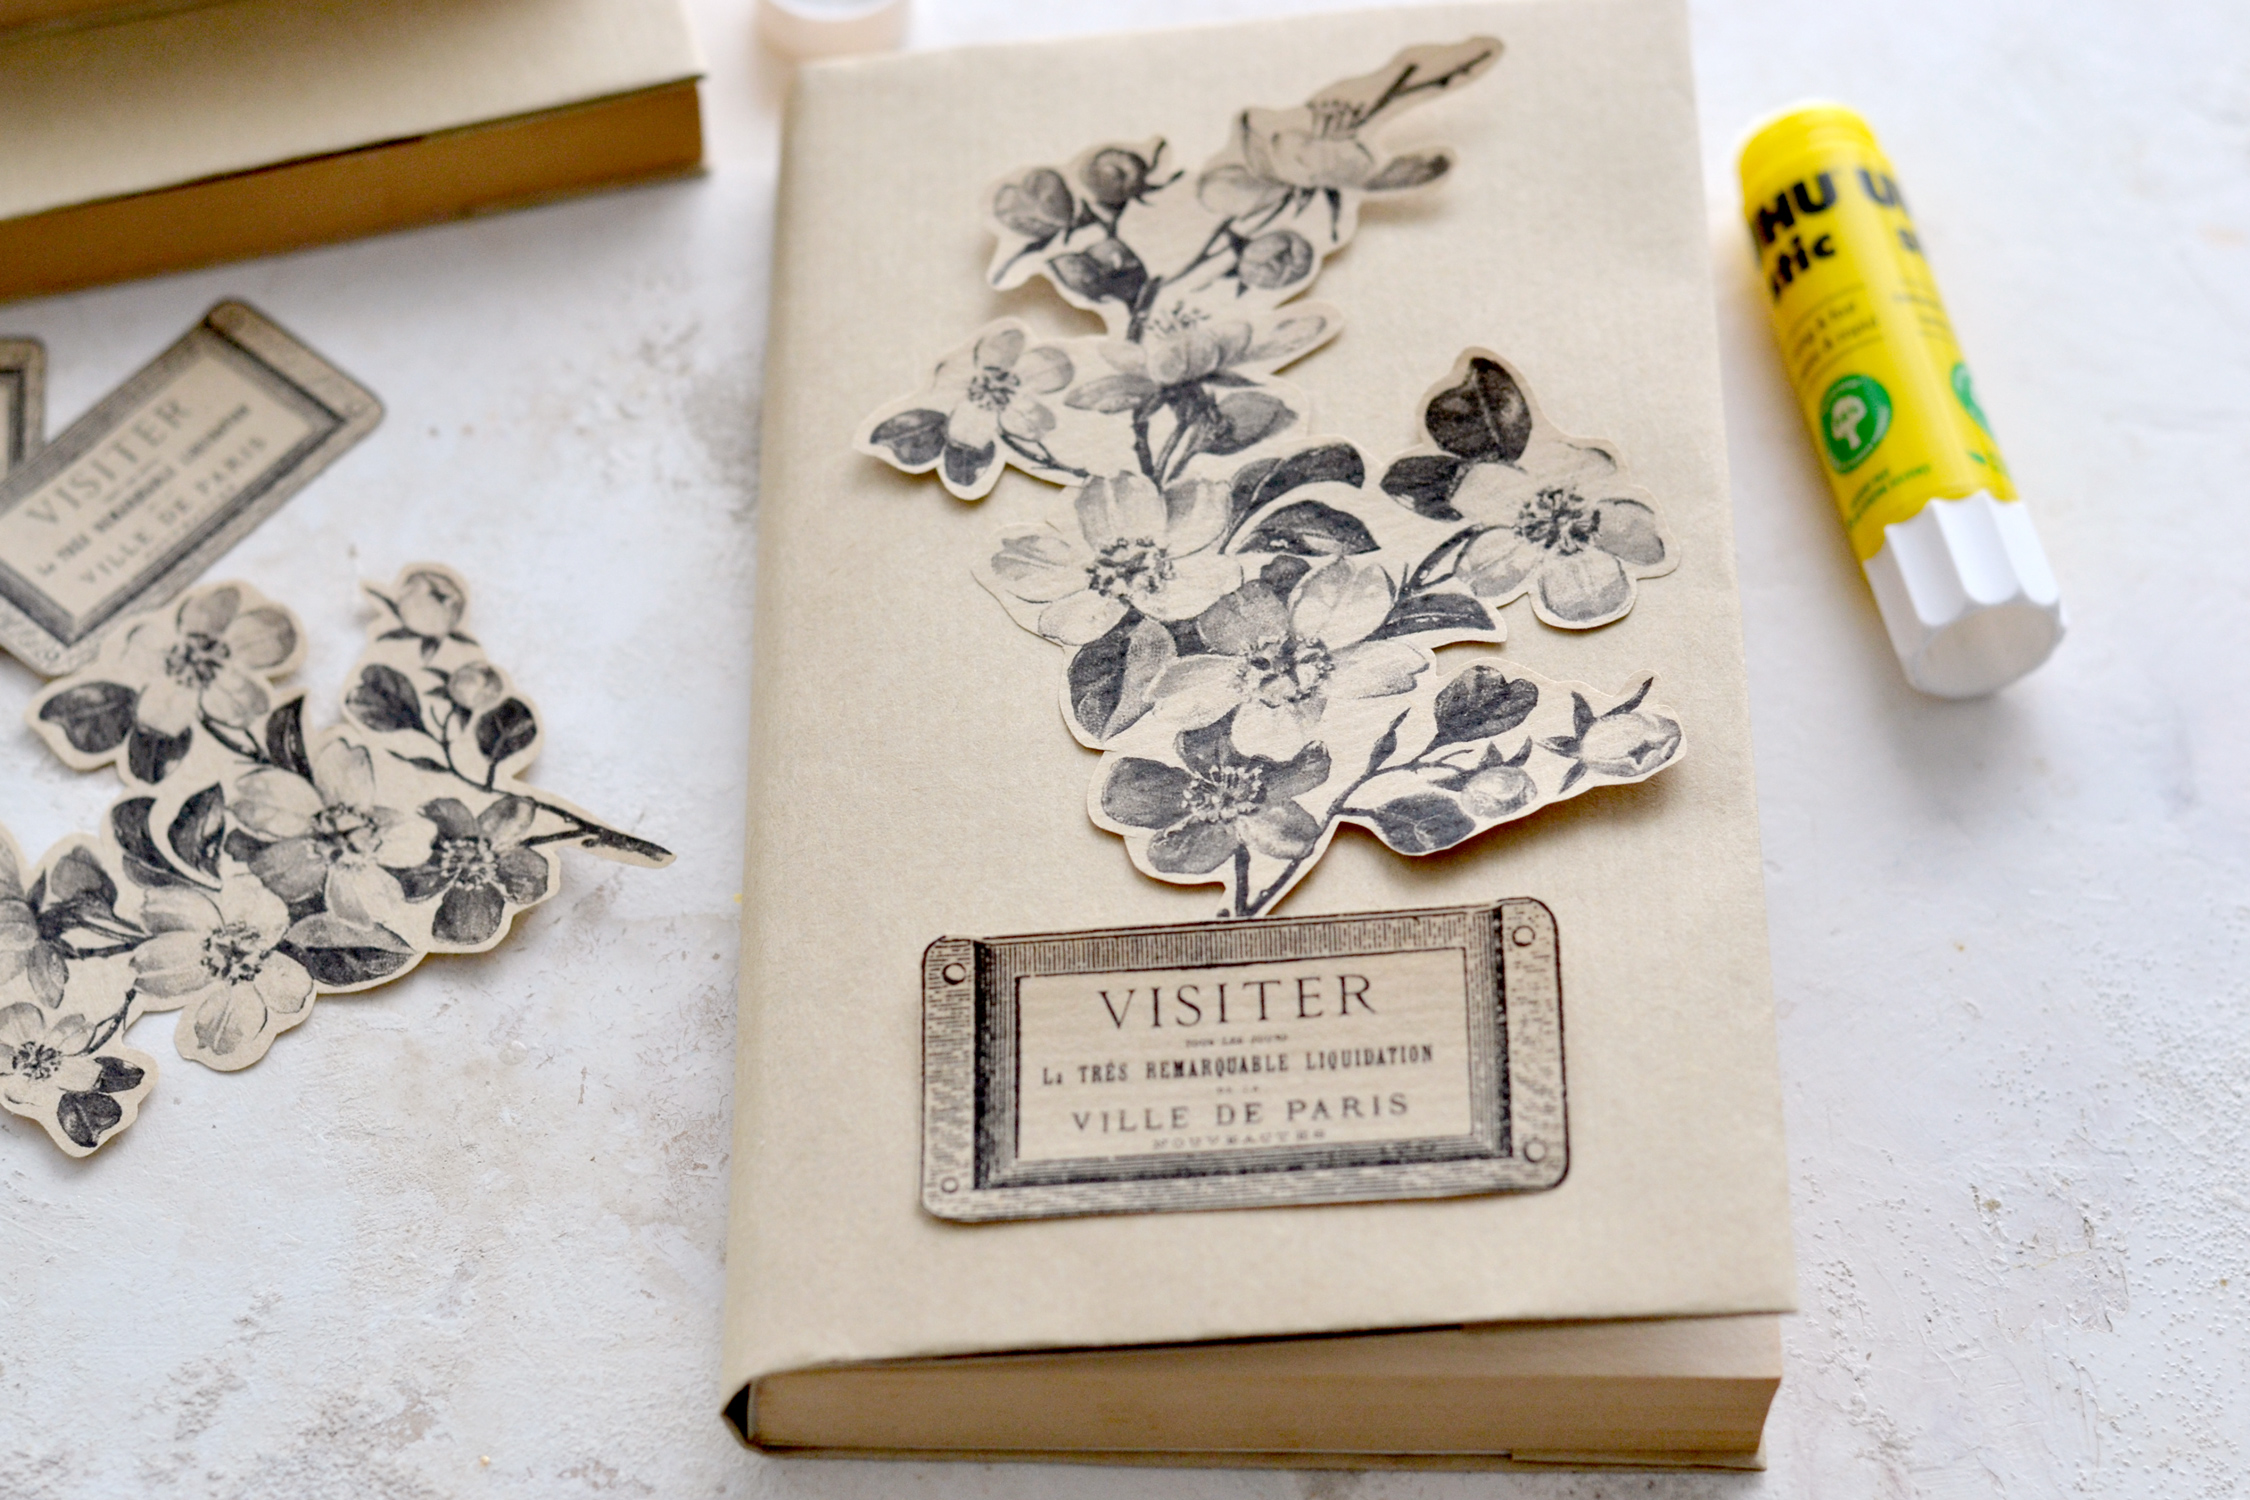
Choose your flower and your preferred French ephemera label and position them on your book so you can see how they look together.
When you are happy with their position, use paper glue to adhere them to your covers.
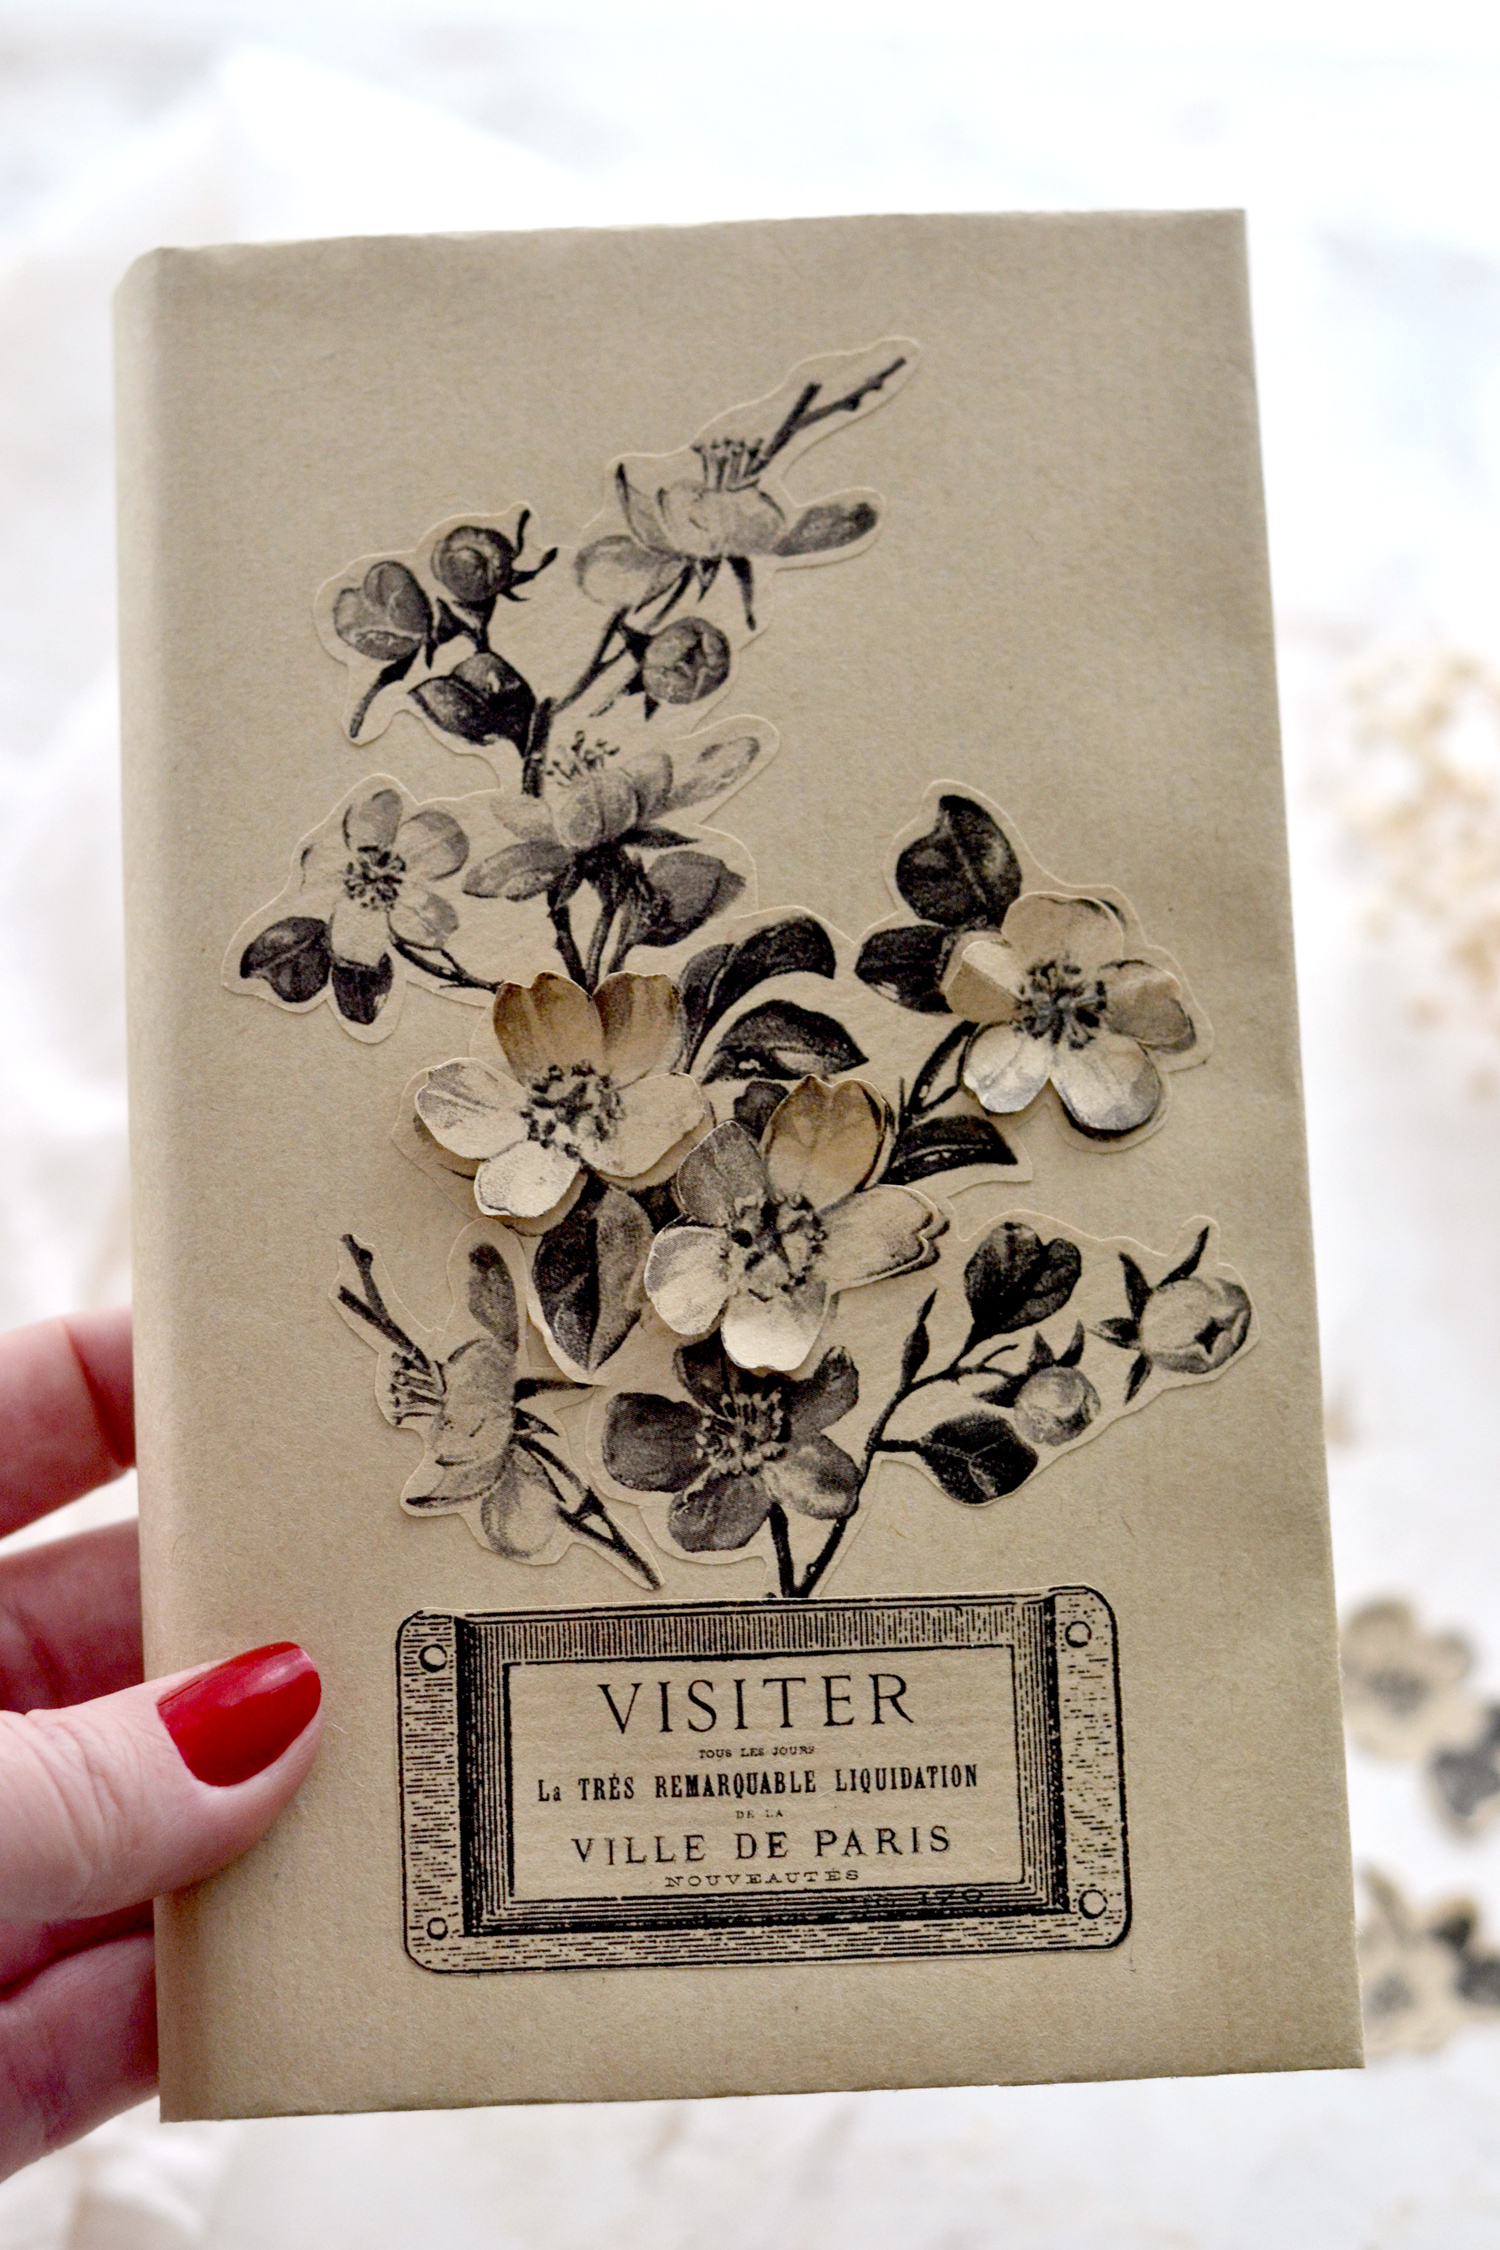
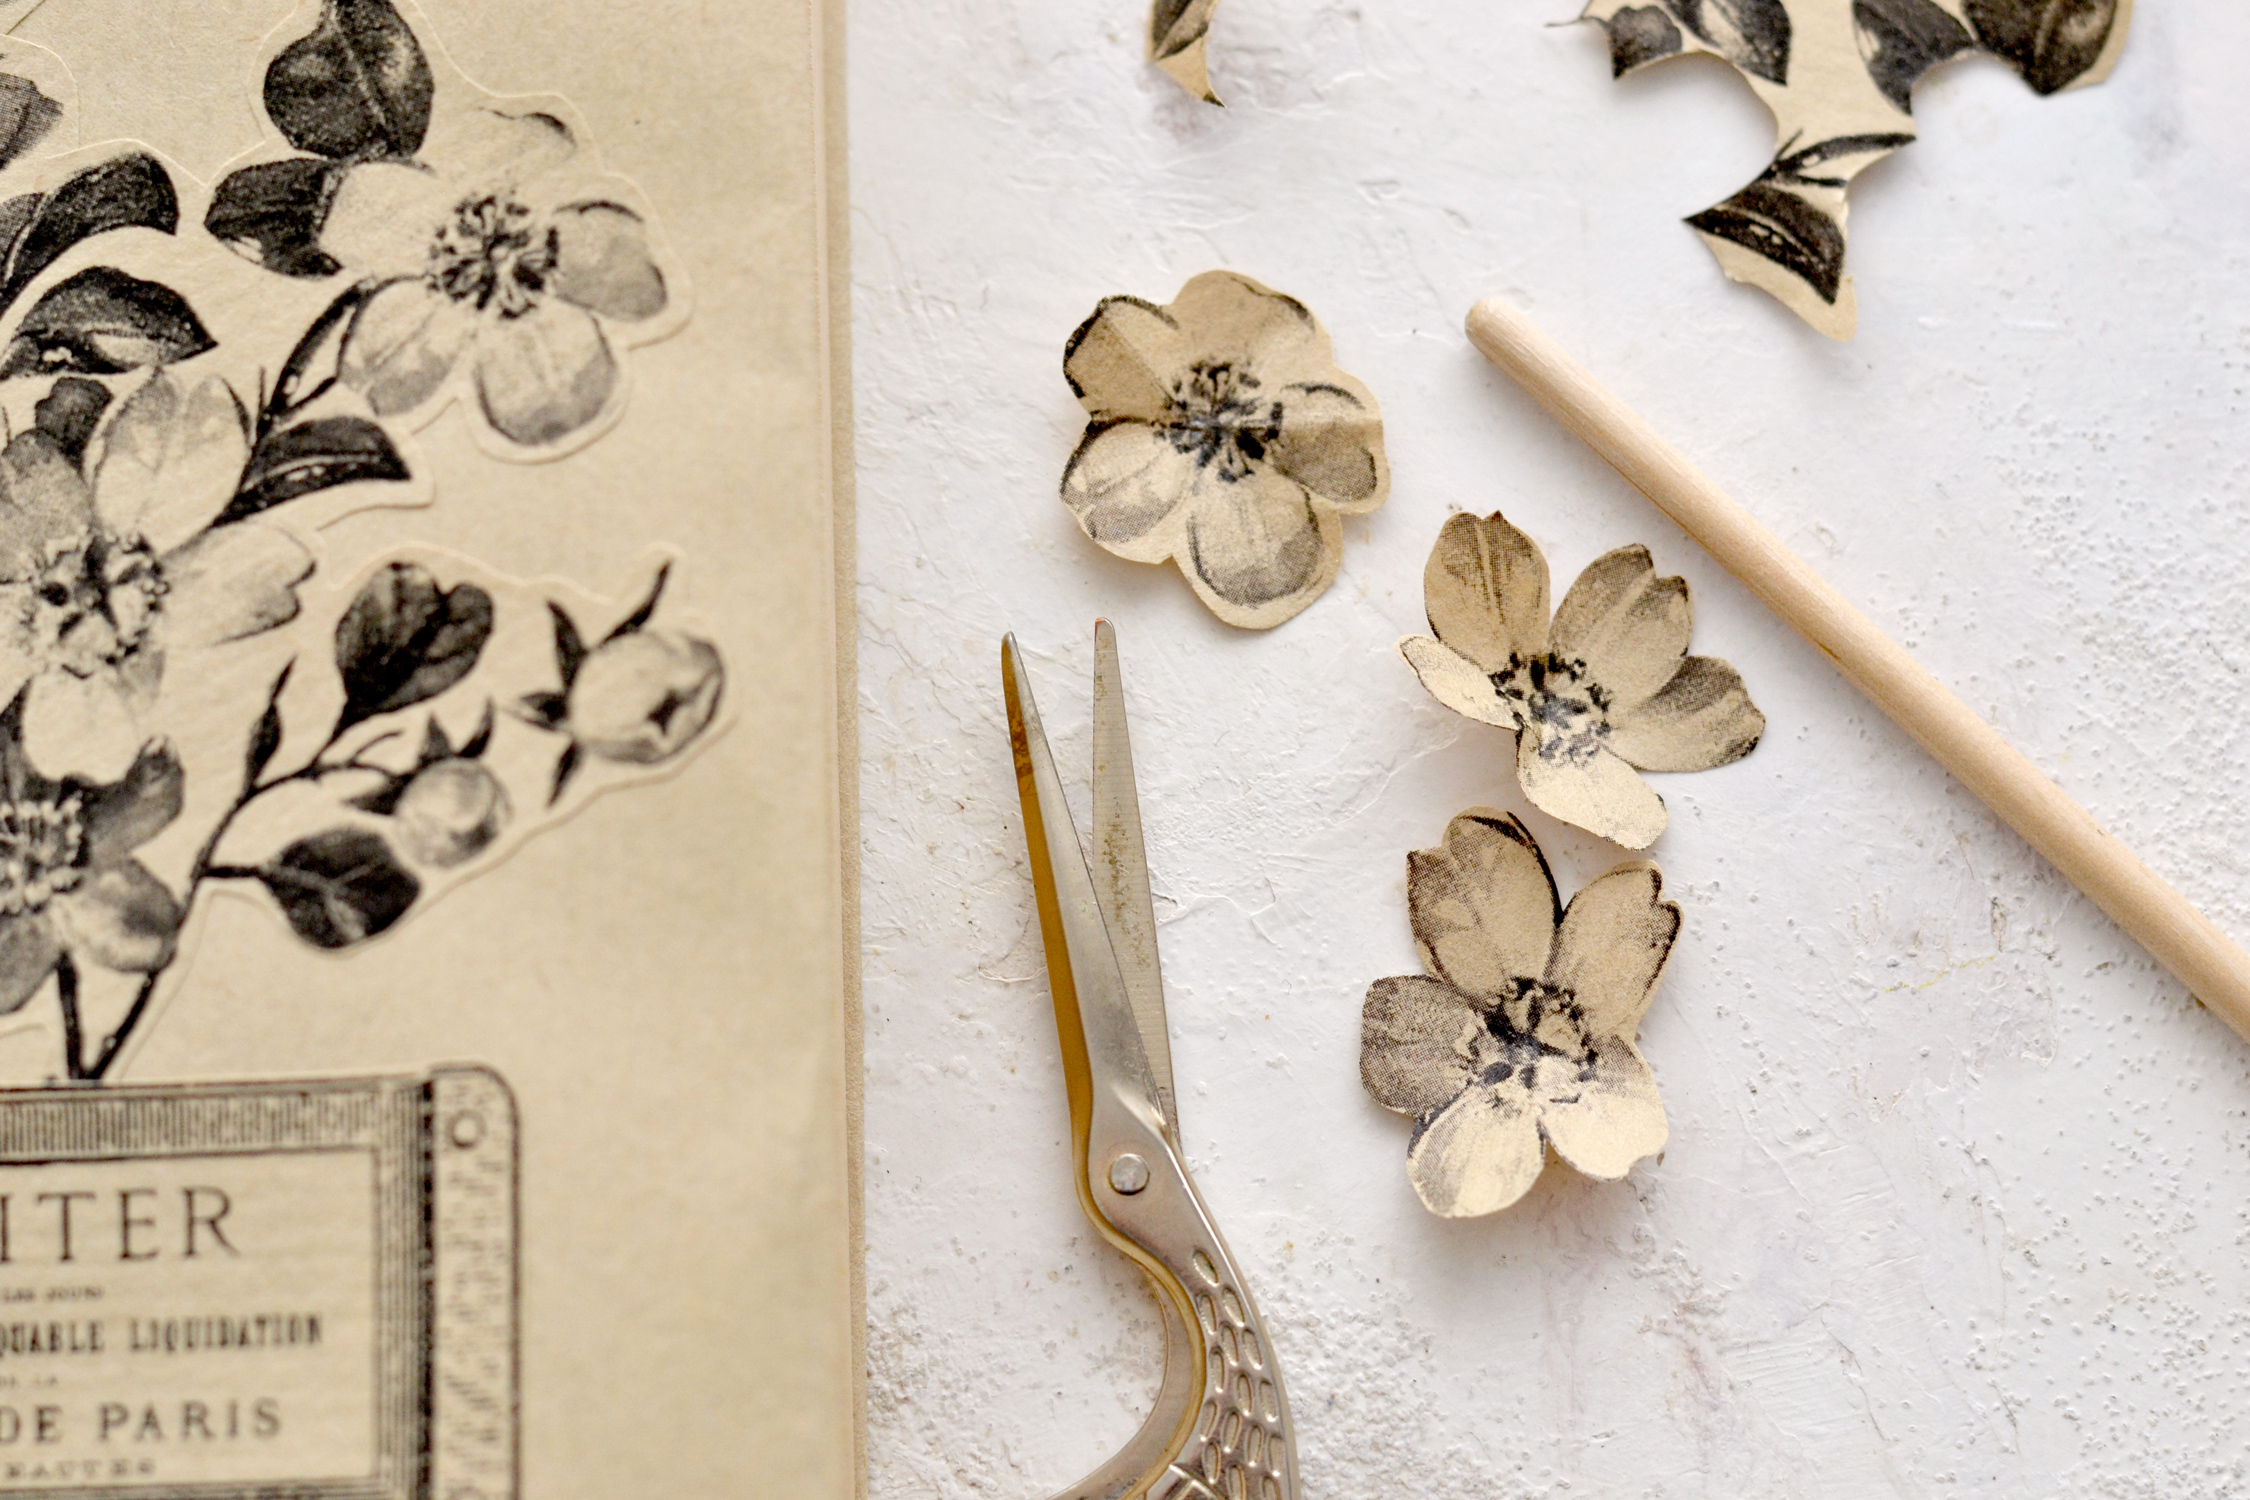
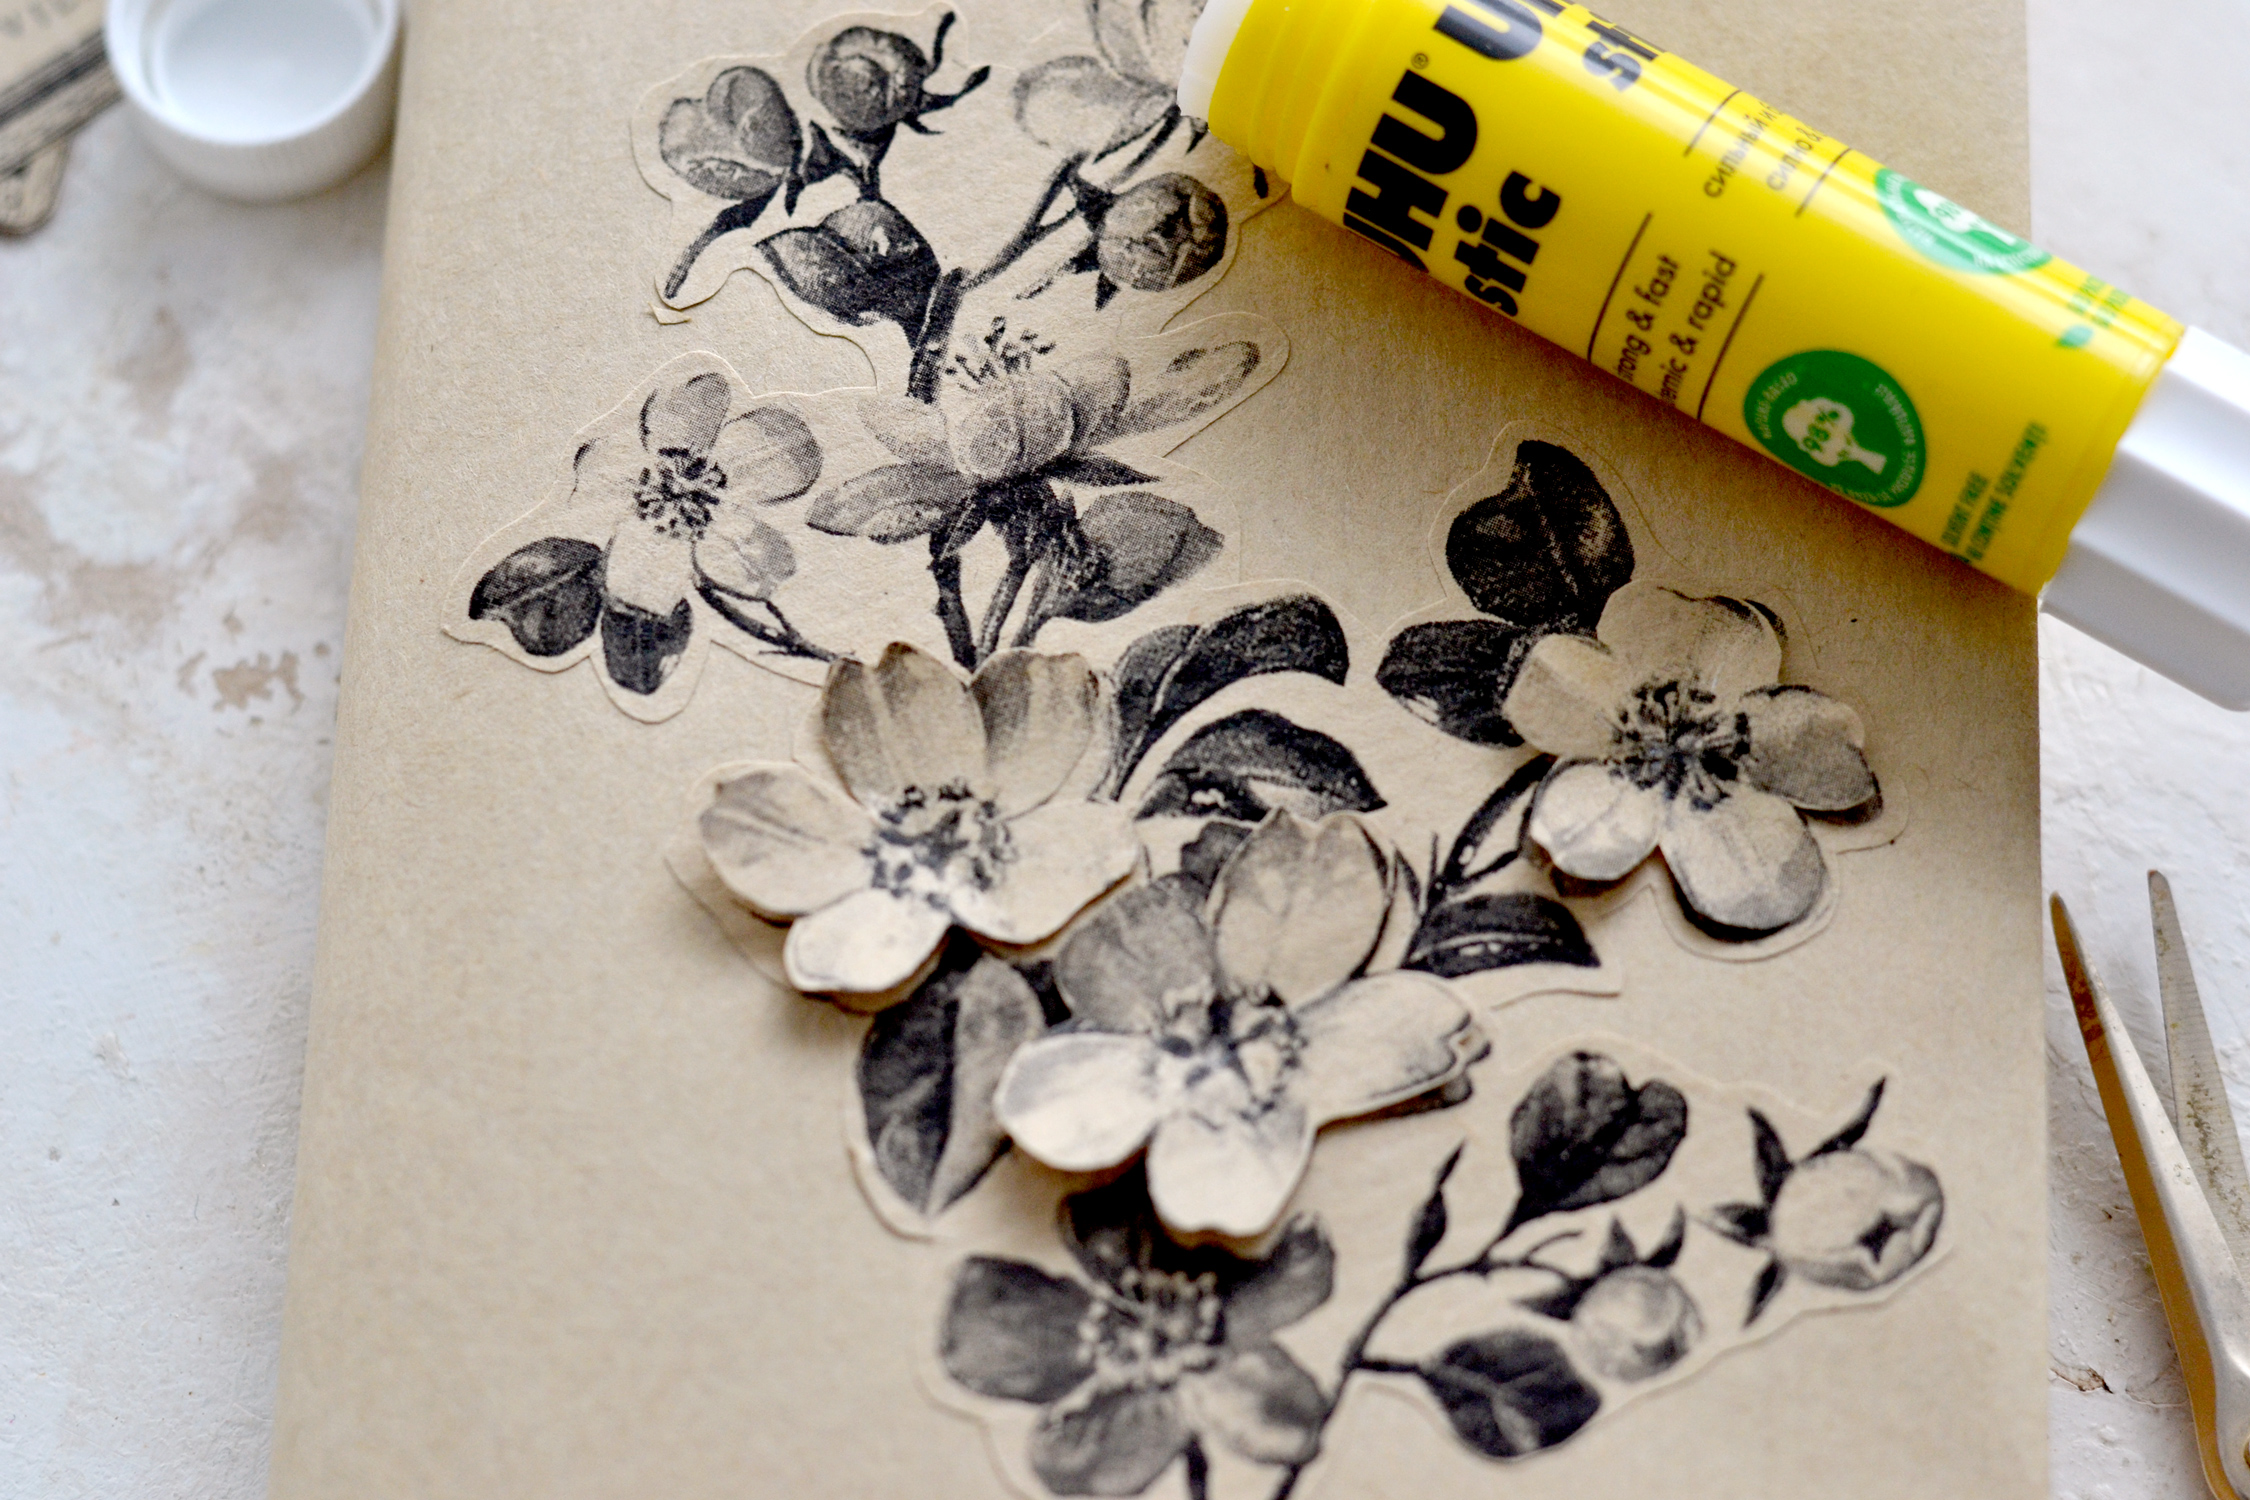
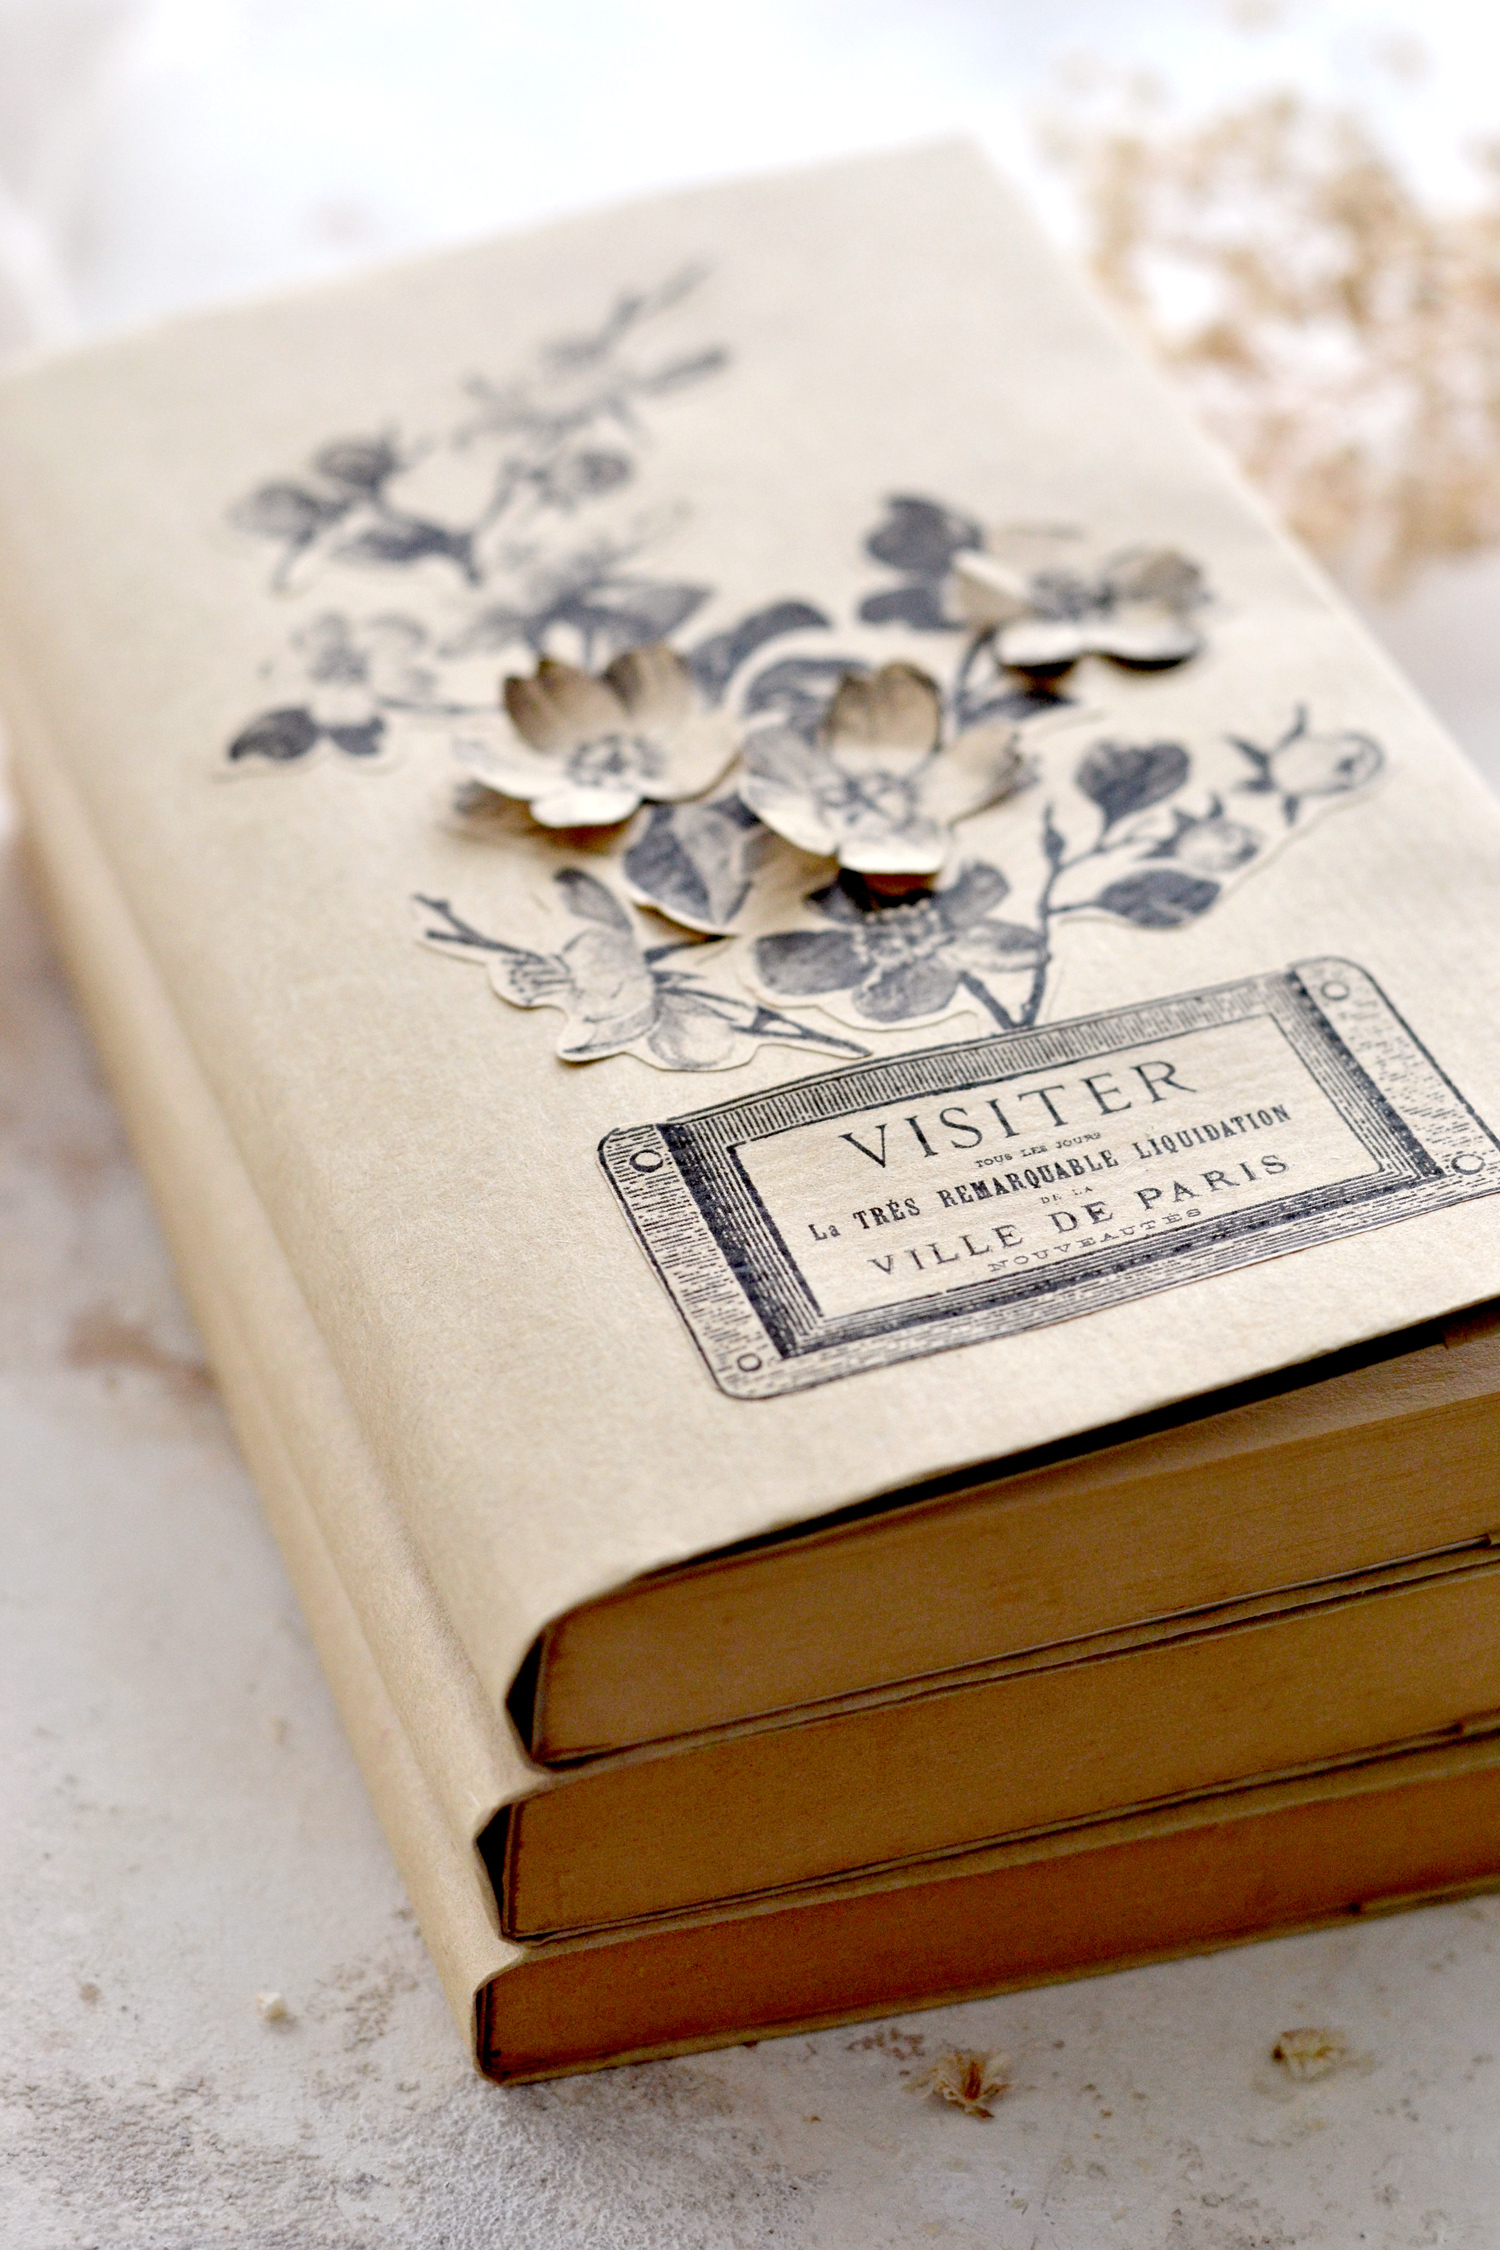
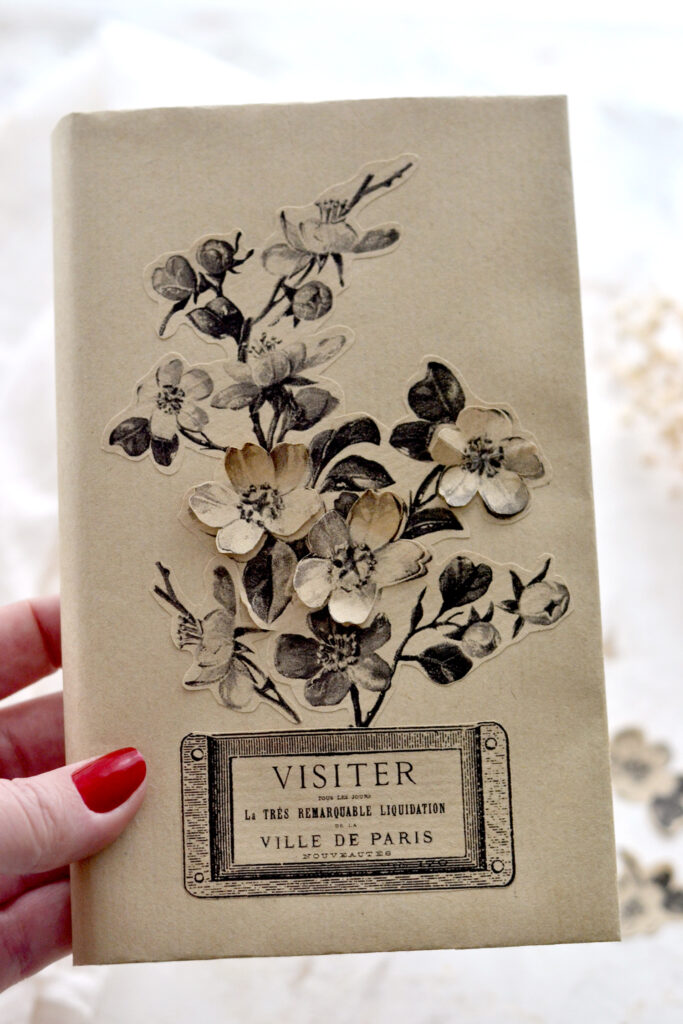
You can use the other elements to decorate the other books or keep them for other projects, but here is a cool trick that you can try if you want to give the flowers a little bit of a 3D look. Pick the same flower image size as the one you glued on your cover and use your scissors to cut off a few individual flowers – I cut three and this time I tried to remove the extra paper around the edges to reveal more of their lovely shape. Use the end of a brush to press the middle of each individually cut paper flower while holding it in your hand to give it a little bit of dimension.
Use some glue to adhere the middle part of each flower on top of our design, making sure the flowers are placed in the exact position as the design underneath.
You can choose to decorate the other kraft paper covers using the same images if you want or you can use other images to decorate them your way! I decided to keep things simple because I loved the black-and-white look of my cover, but of course, you can use your favorite mediums to further decorate the paper if you want. You can try using distress ink, watercolors, pastels, or even your favorite stamps to decorate the front cover, the spine or the image on top, just use your favorites. You can even use your gel plate to decorate the paper prior to or after creating the covers, just treat the kraft paper as a blank canvas and personalize everything according to your style!
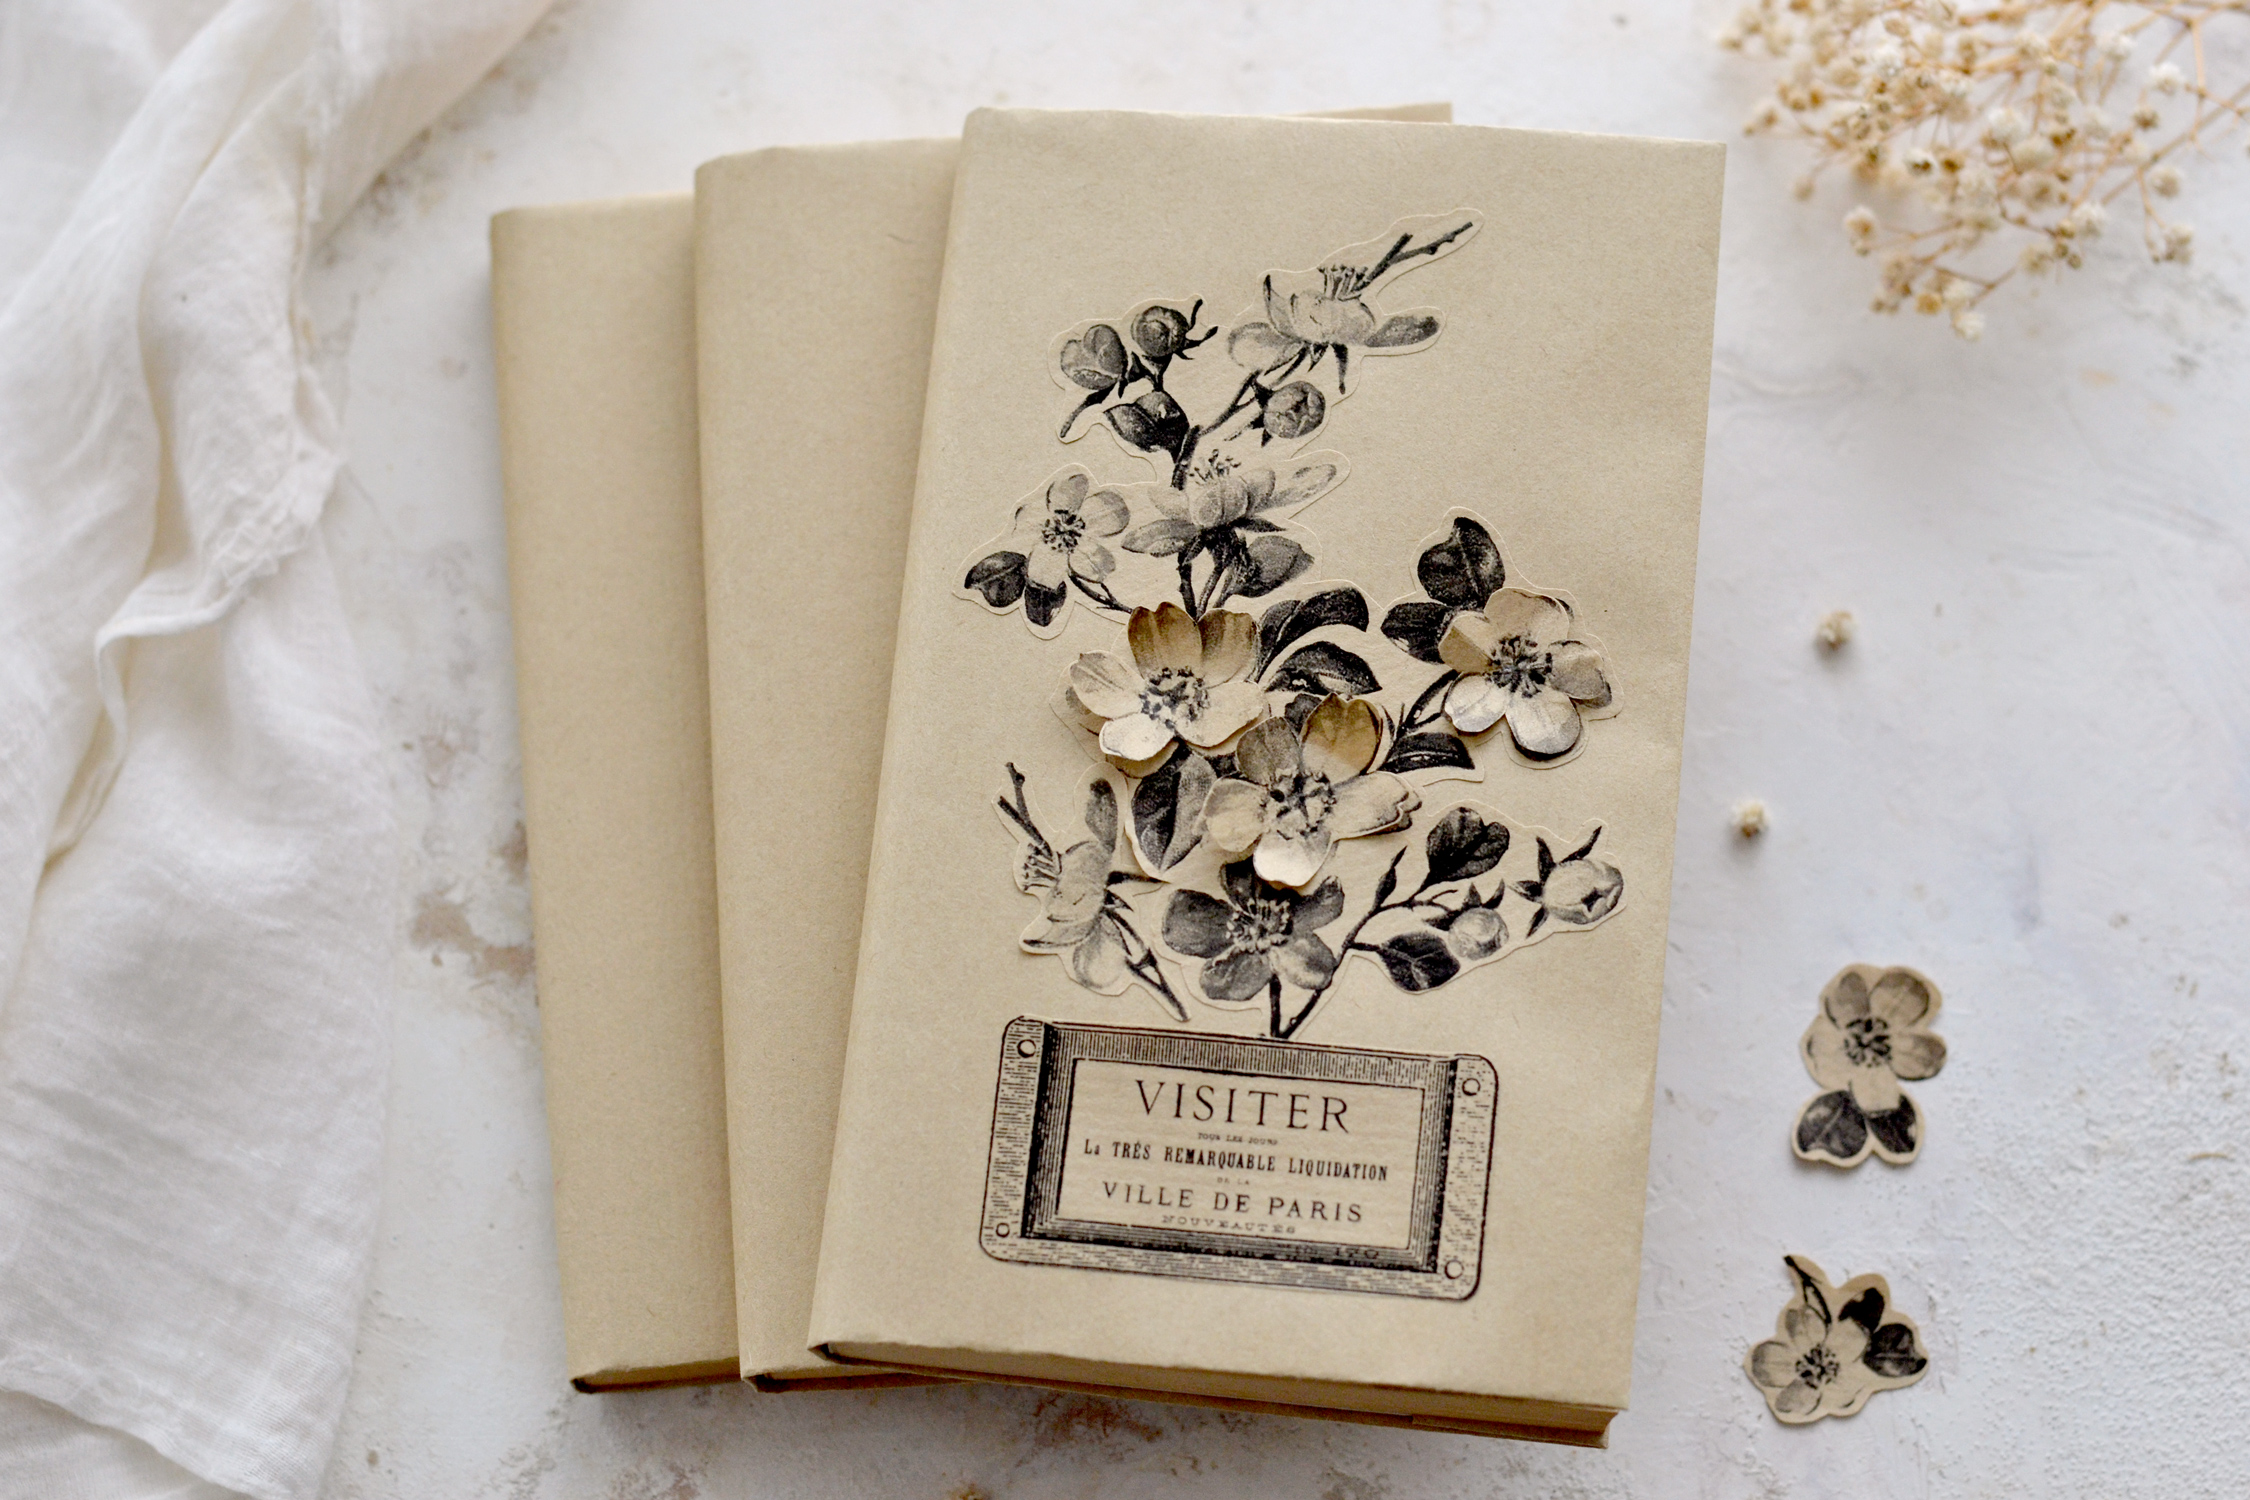
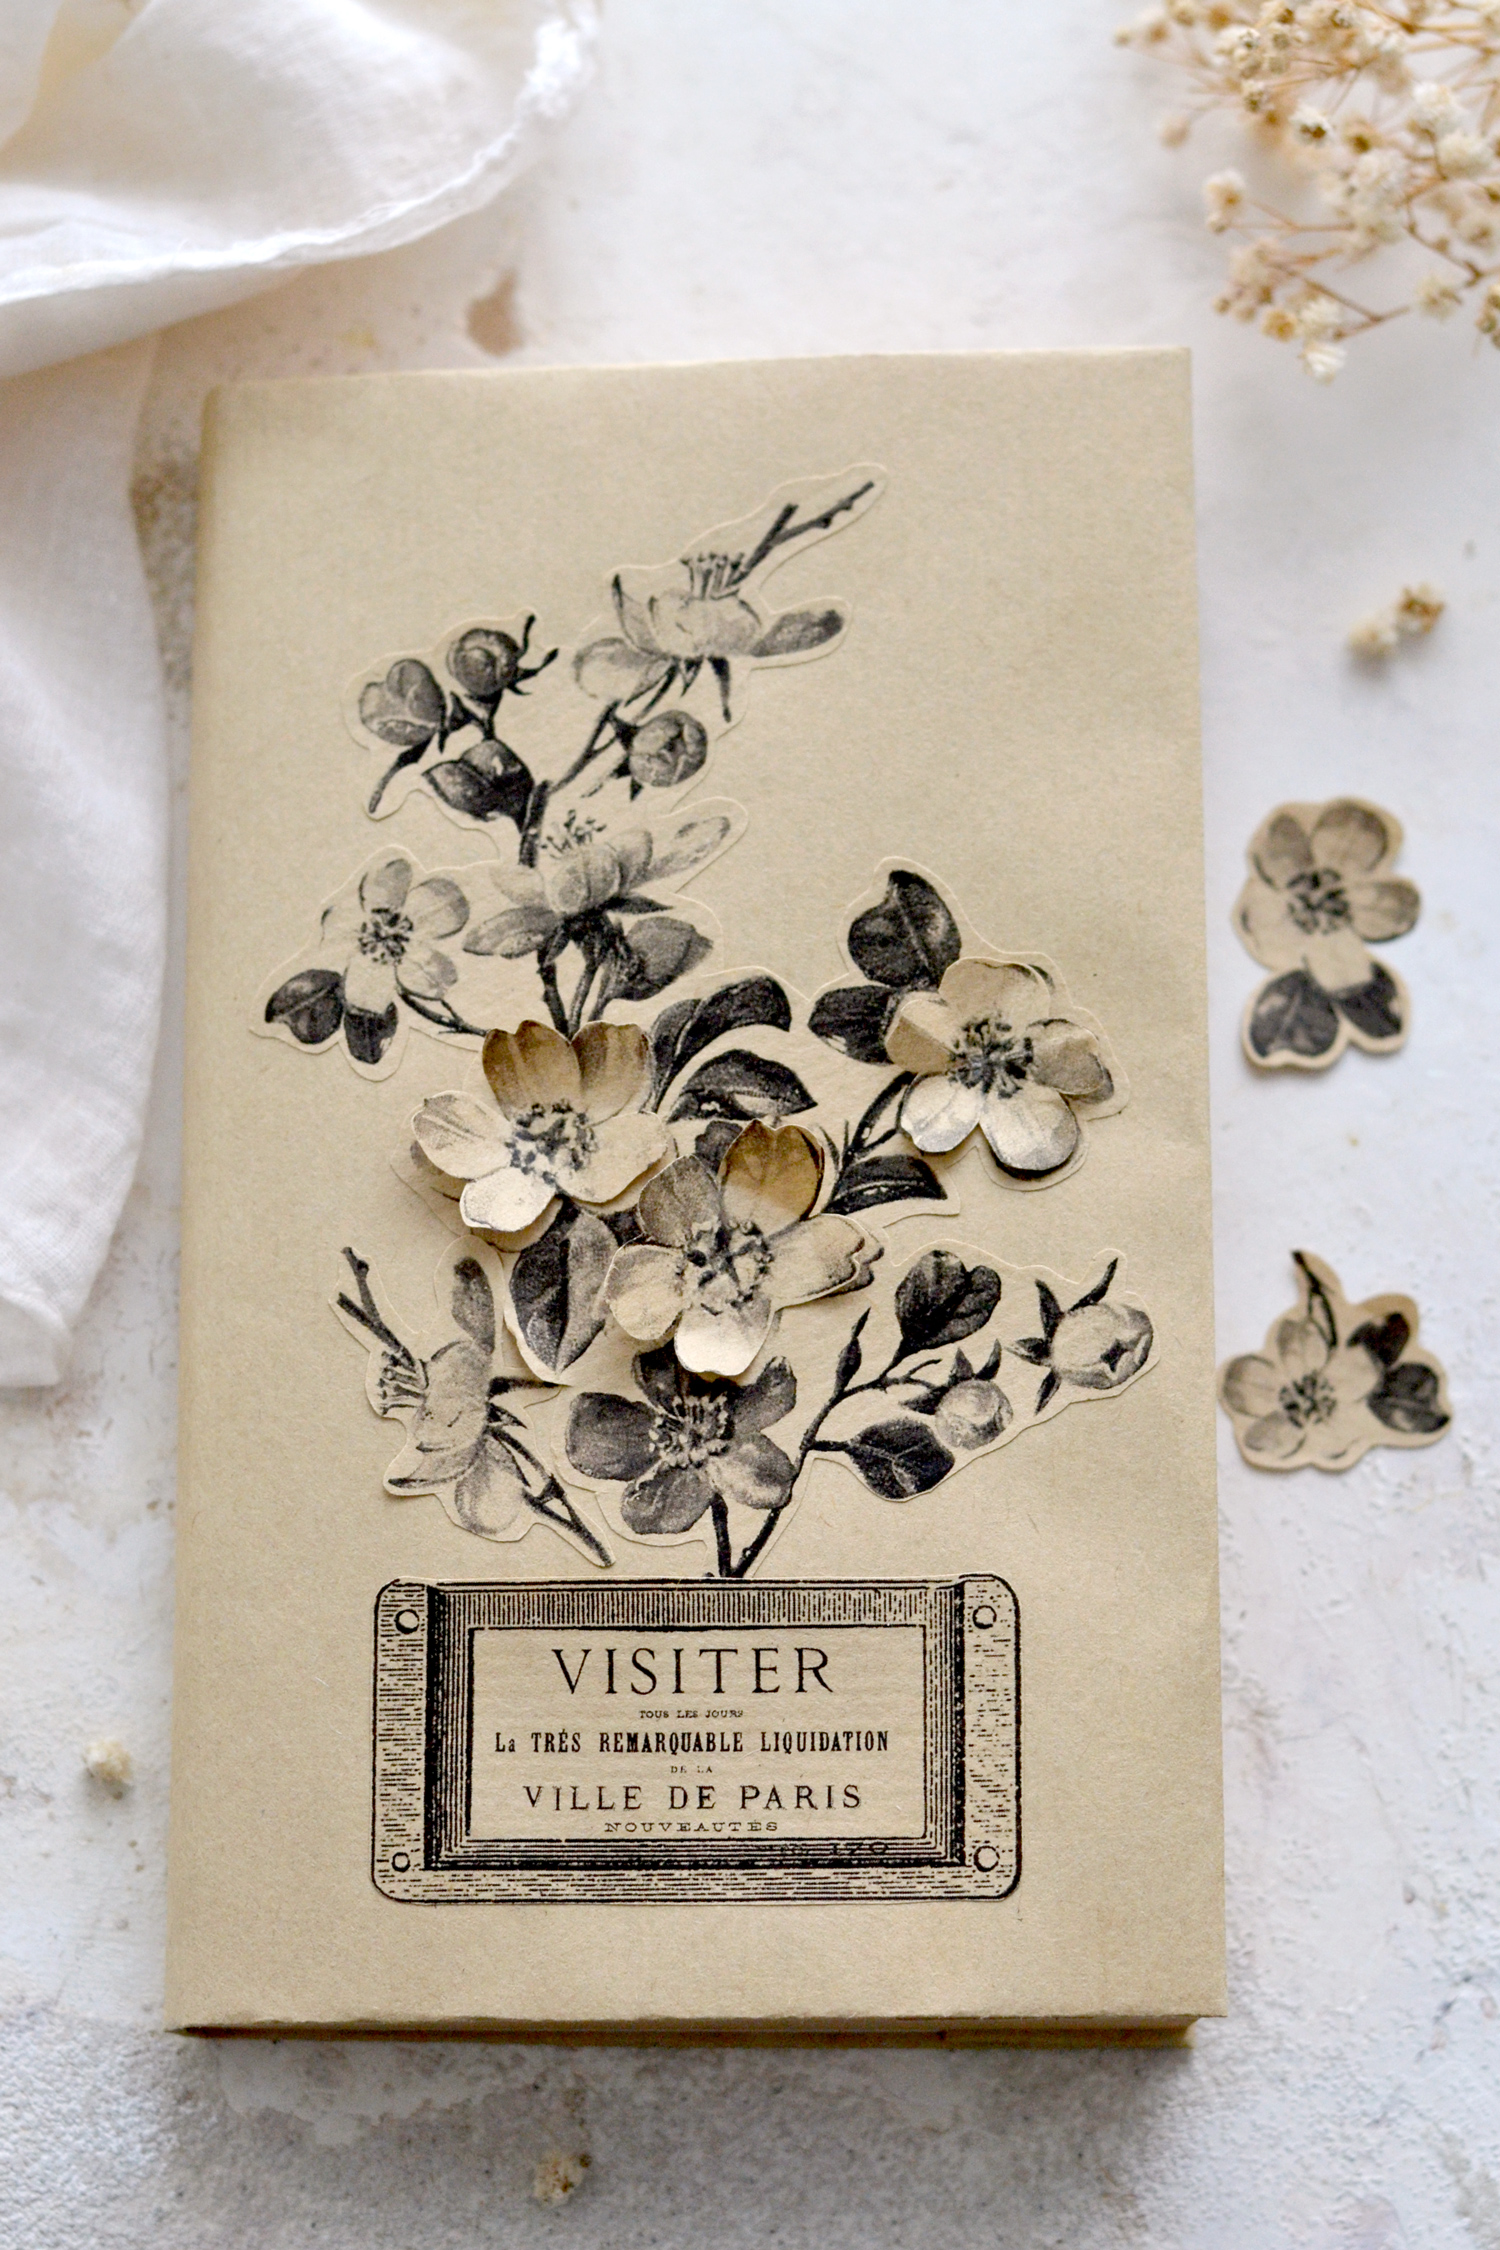
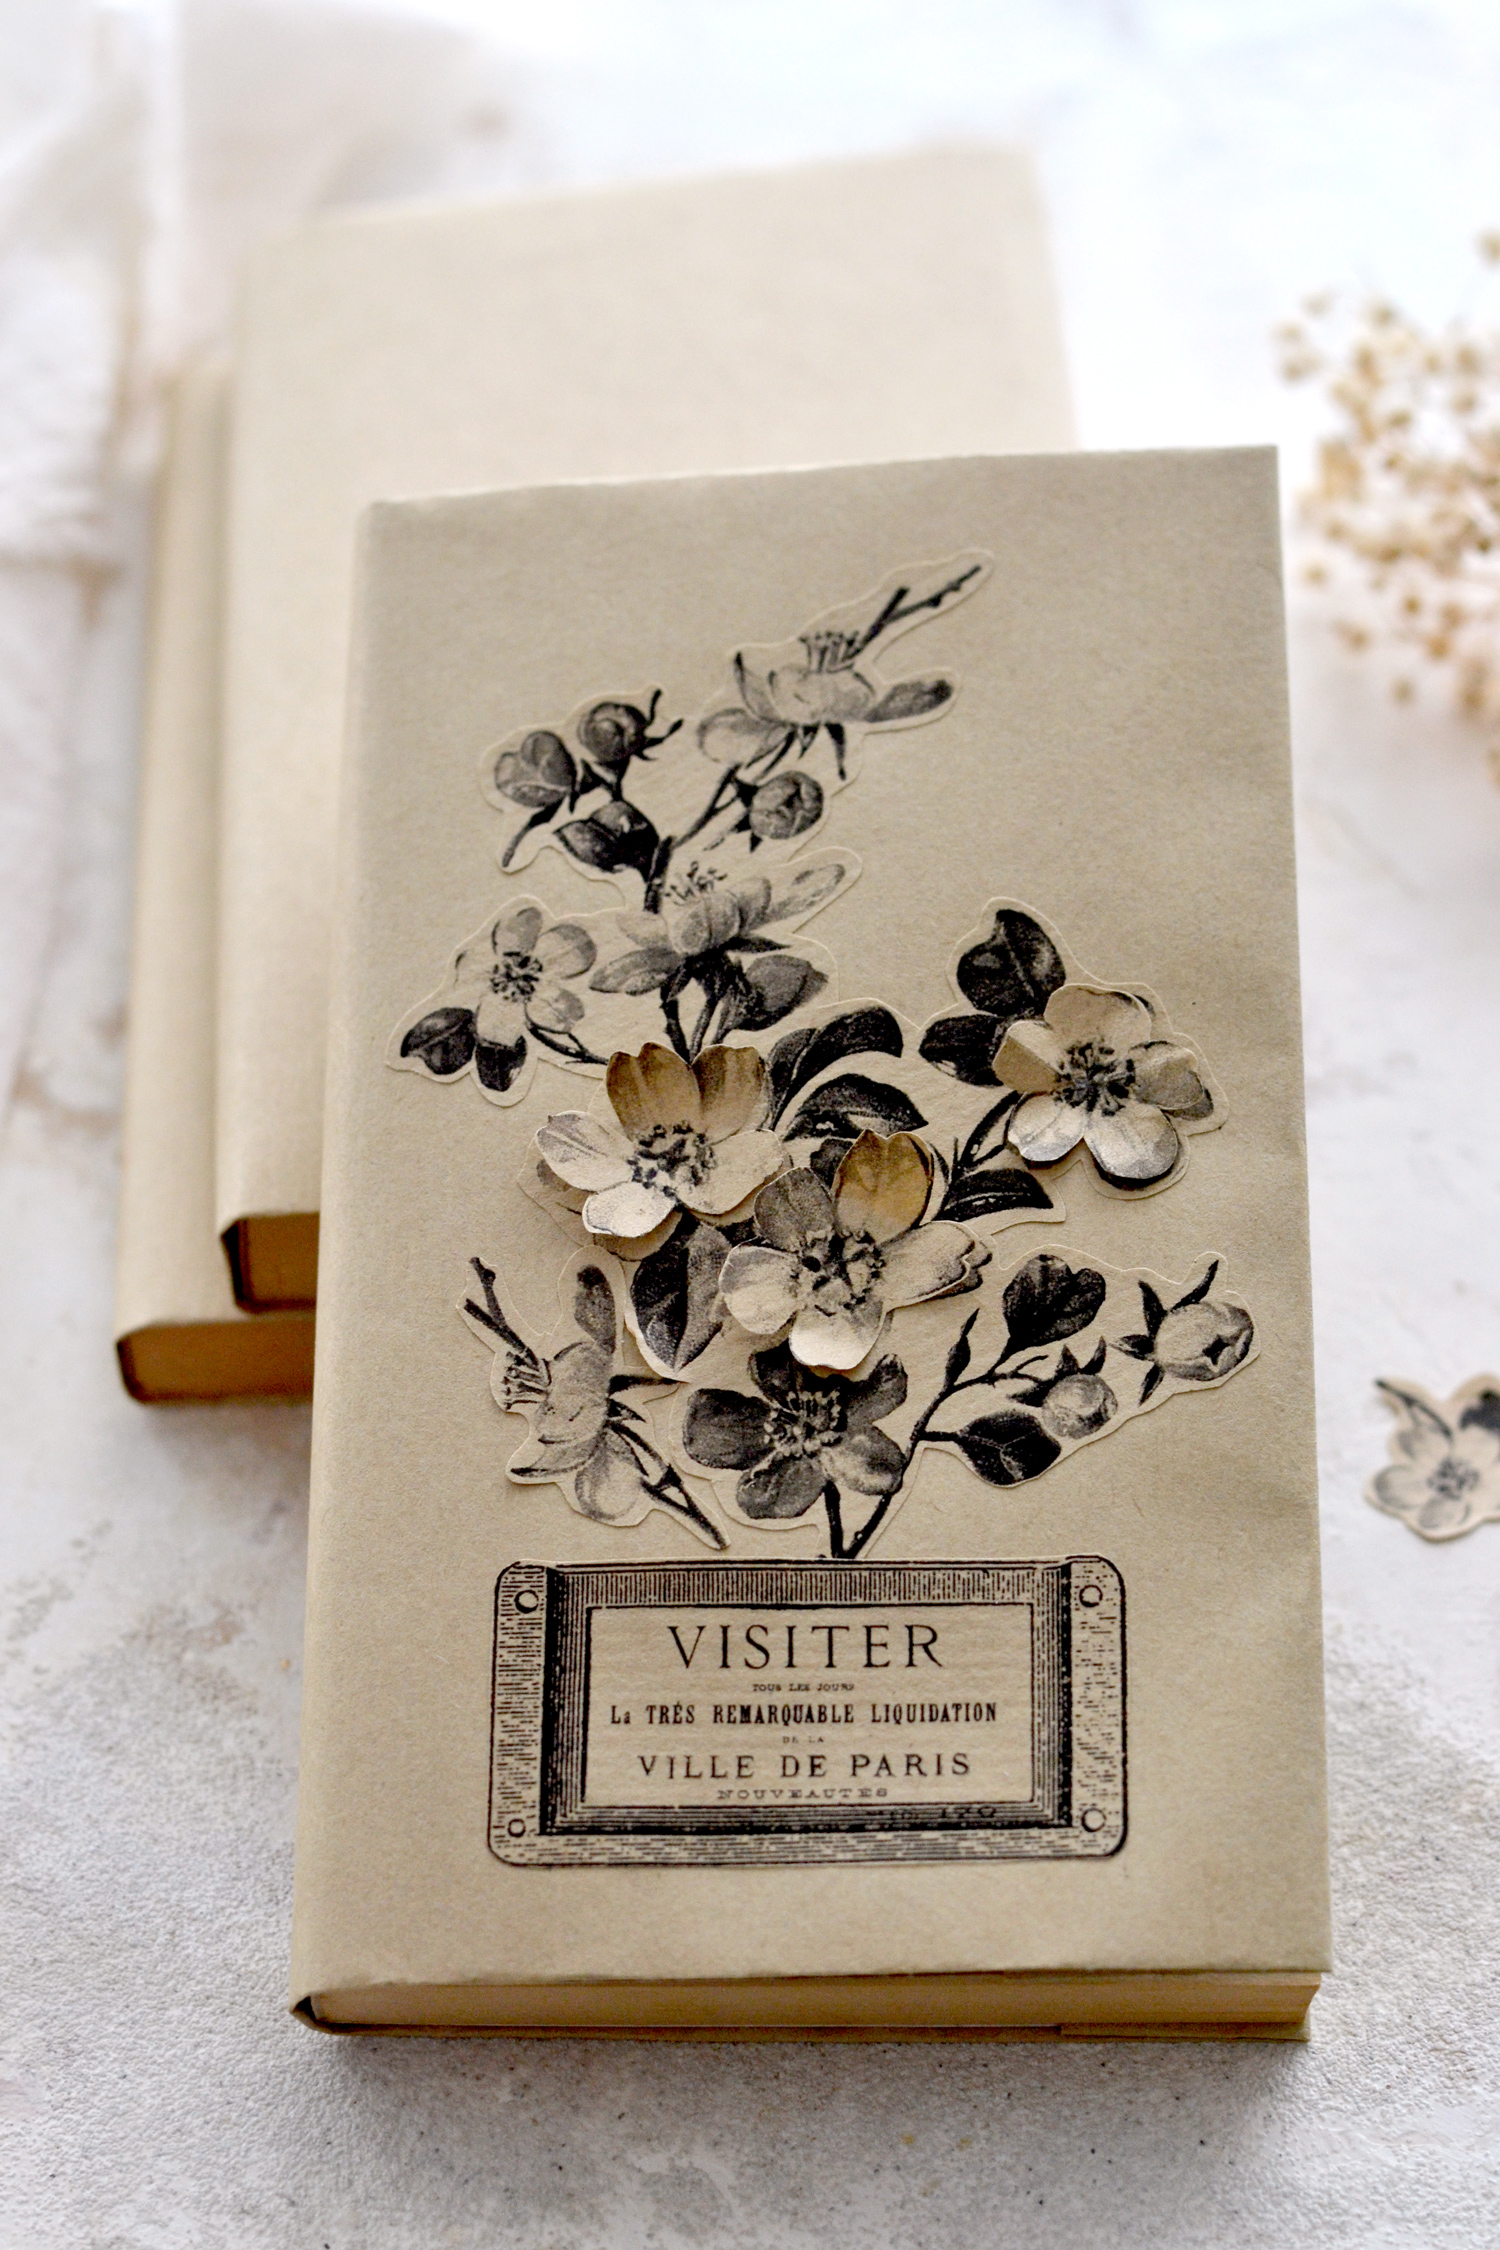
The final results are absolutely gorgeous, don’t you think? Who knew kraft paper covers could look this good?!
As you can see, I also added a small cutout branch on the left side of the flower image, I thought that side was a little bit off-balance and needed a little bit of extra care.
This old-school technique is pretty forgiving, you will see that the covers will not turn out perfect, but they will be absolutely gorgeous nonetheless! You will need to be a little bit careful while handling the open books since we haven’t used any glue to secure the covers, but you will quickly get used to them.
This technique was initially used to protect the book covers from being damaged, but I love that we were able to also give it an aesthetic role, besides its initial functional one. You can have fun using this easy wrapping technique to create gorgeous kraft paper covers for all sorts of books, notebooks, journals, planners or anything else that you can think of, no matter their size! You can create stacks of these beauties and use them as decorative items in your home, or you can quickly decorate your junk journal covers, the sky is the limit! Not to mention these would make the perfect last-minute handmade gift for special friends’ birthdays, they are so easy to make and can be ready in no time!
 I hope you will love this project and decide to give it a try! You might also like the Printable Paper Book Covers HERE and the Printable Journal Covers HERE.
Happy crafting,
Diana / Dreams Factory



Dianne Lynn Worley says
Love this. I’ll make this project as it is the first time. After learning the technique, I will probably print the background flowers twice, using foam block glue stuff (don’t know the name of these versatile dollar store dynamos), and have three layers. I might even use a fabric as the background, in future, as I have bought printable fabric that irons on to different surfaces. Lovely project and so easily translated into other types of projects. (Great name, too!) Thanks, Graphics Fairy. Your site is fantastic.
Karen Watson says
Hi Diane, Sorry for the late response, we just moved to a new house and I haven’t been online as much while trying to get settled in. I love all your ideas for this project!