Paper Bookmarks
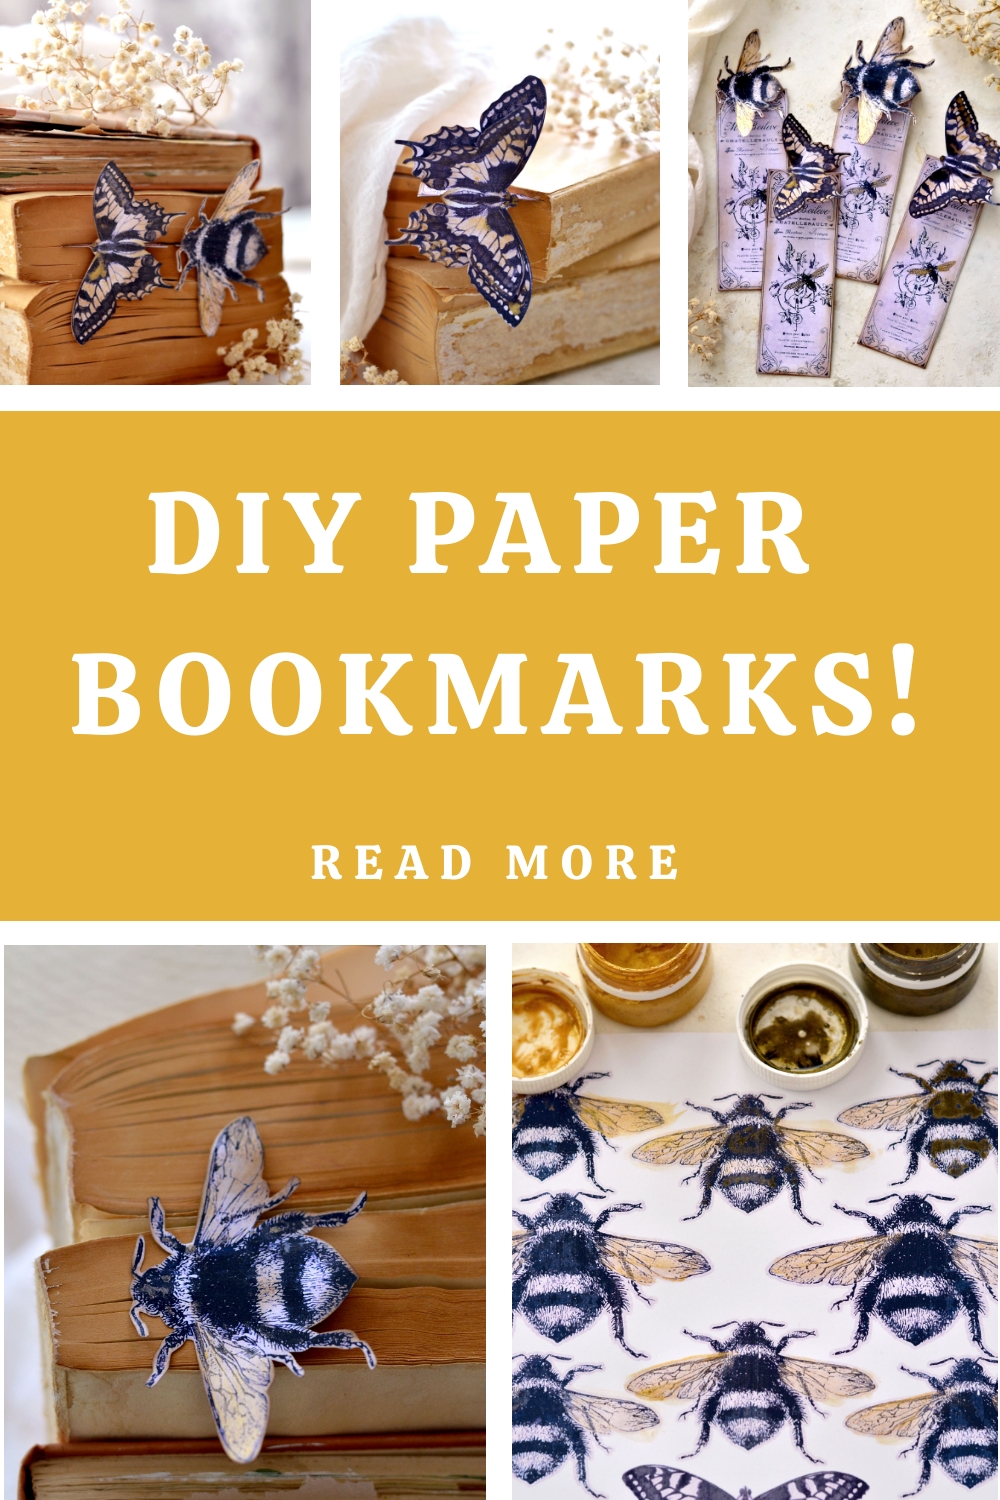
Hello Graphics Fairy friends! I’m Diana from Dreams Factory and I’m happy to be here again to share another DIY project with you! Today I will show you how to make these gorgeous Oversized Paper Bookmarks, with Bees and Butterflies, in a few easy steps, with only a handful of supplies.
These bookmarks are beautiful enough to be used as they are, but if you love adding a little bit of metallic gold here and there, you can choose your preferred method of further beautifying the bookmarks. I used gold gouaches, but gold watercolors or even gold acrylic paint will work here.
You might remember some similar Butterfly bookmarks ‘flying’ around this site, but I thought it would be fun to try a new variation of these. These bee and butterfly images are among my all-time favorites and my inspiration for this project, they always give the best results no matter what they are used in.
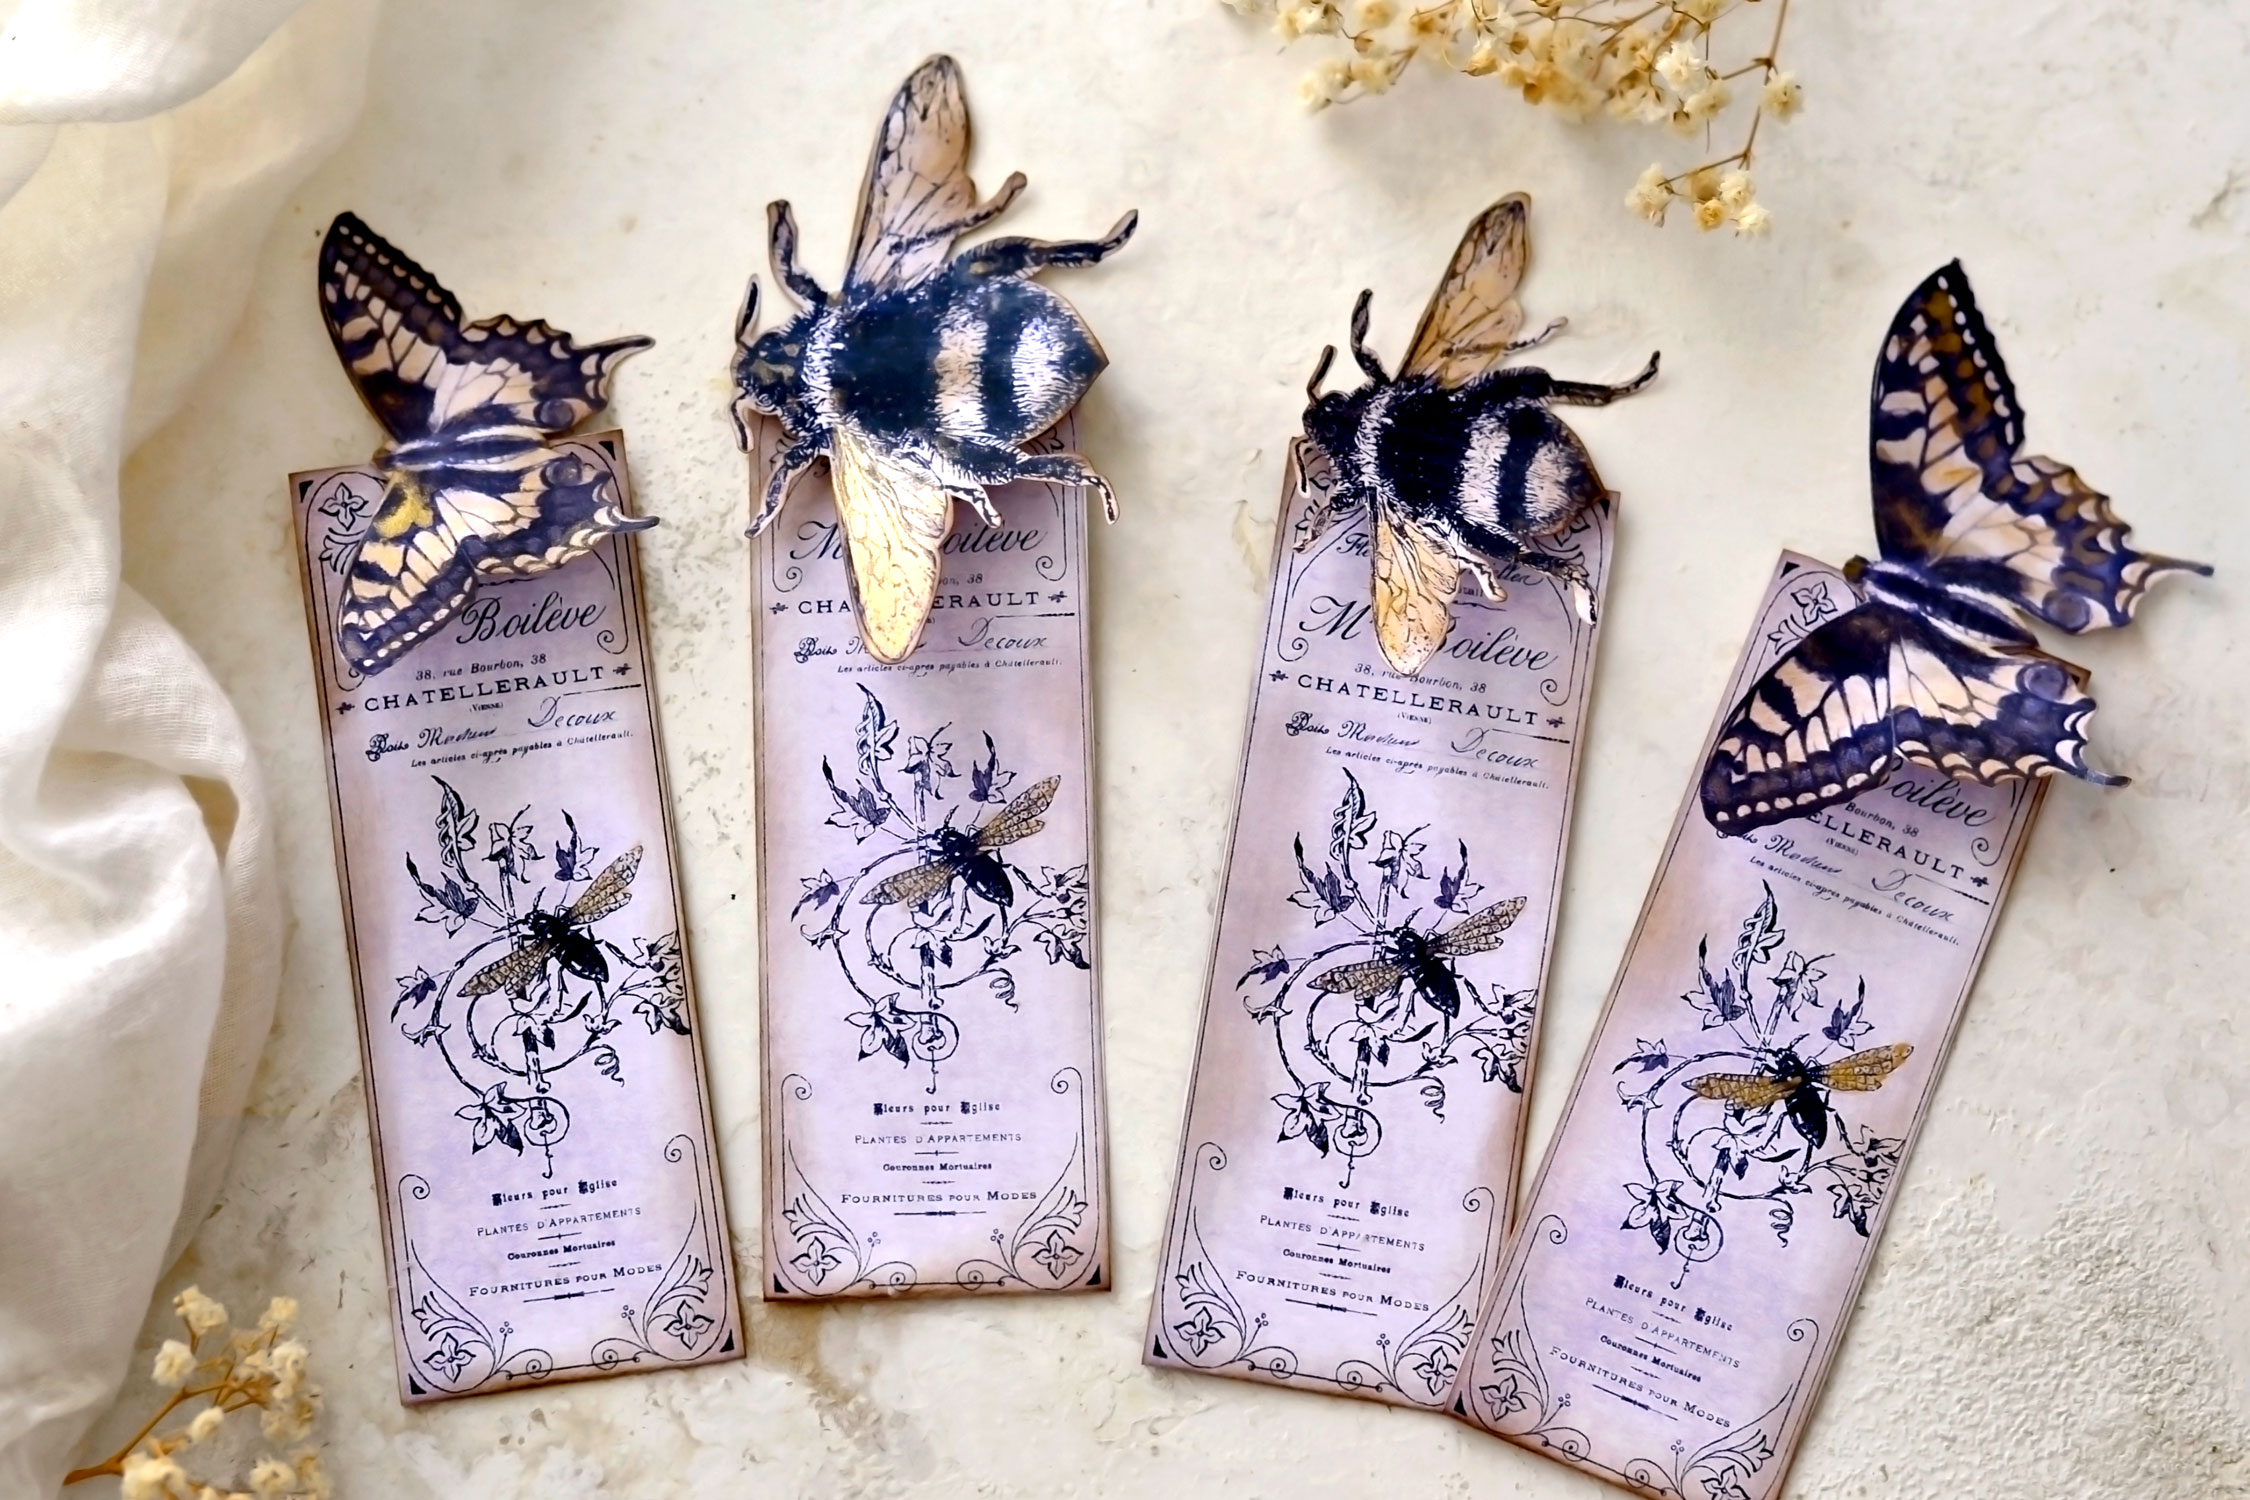
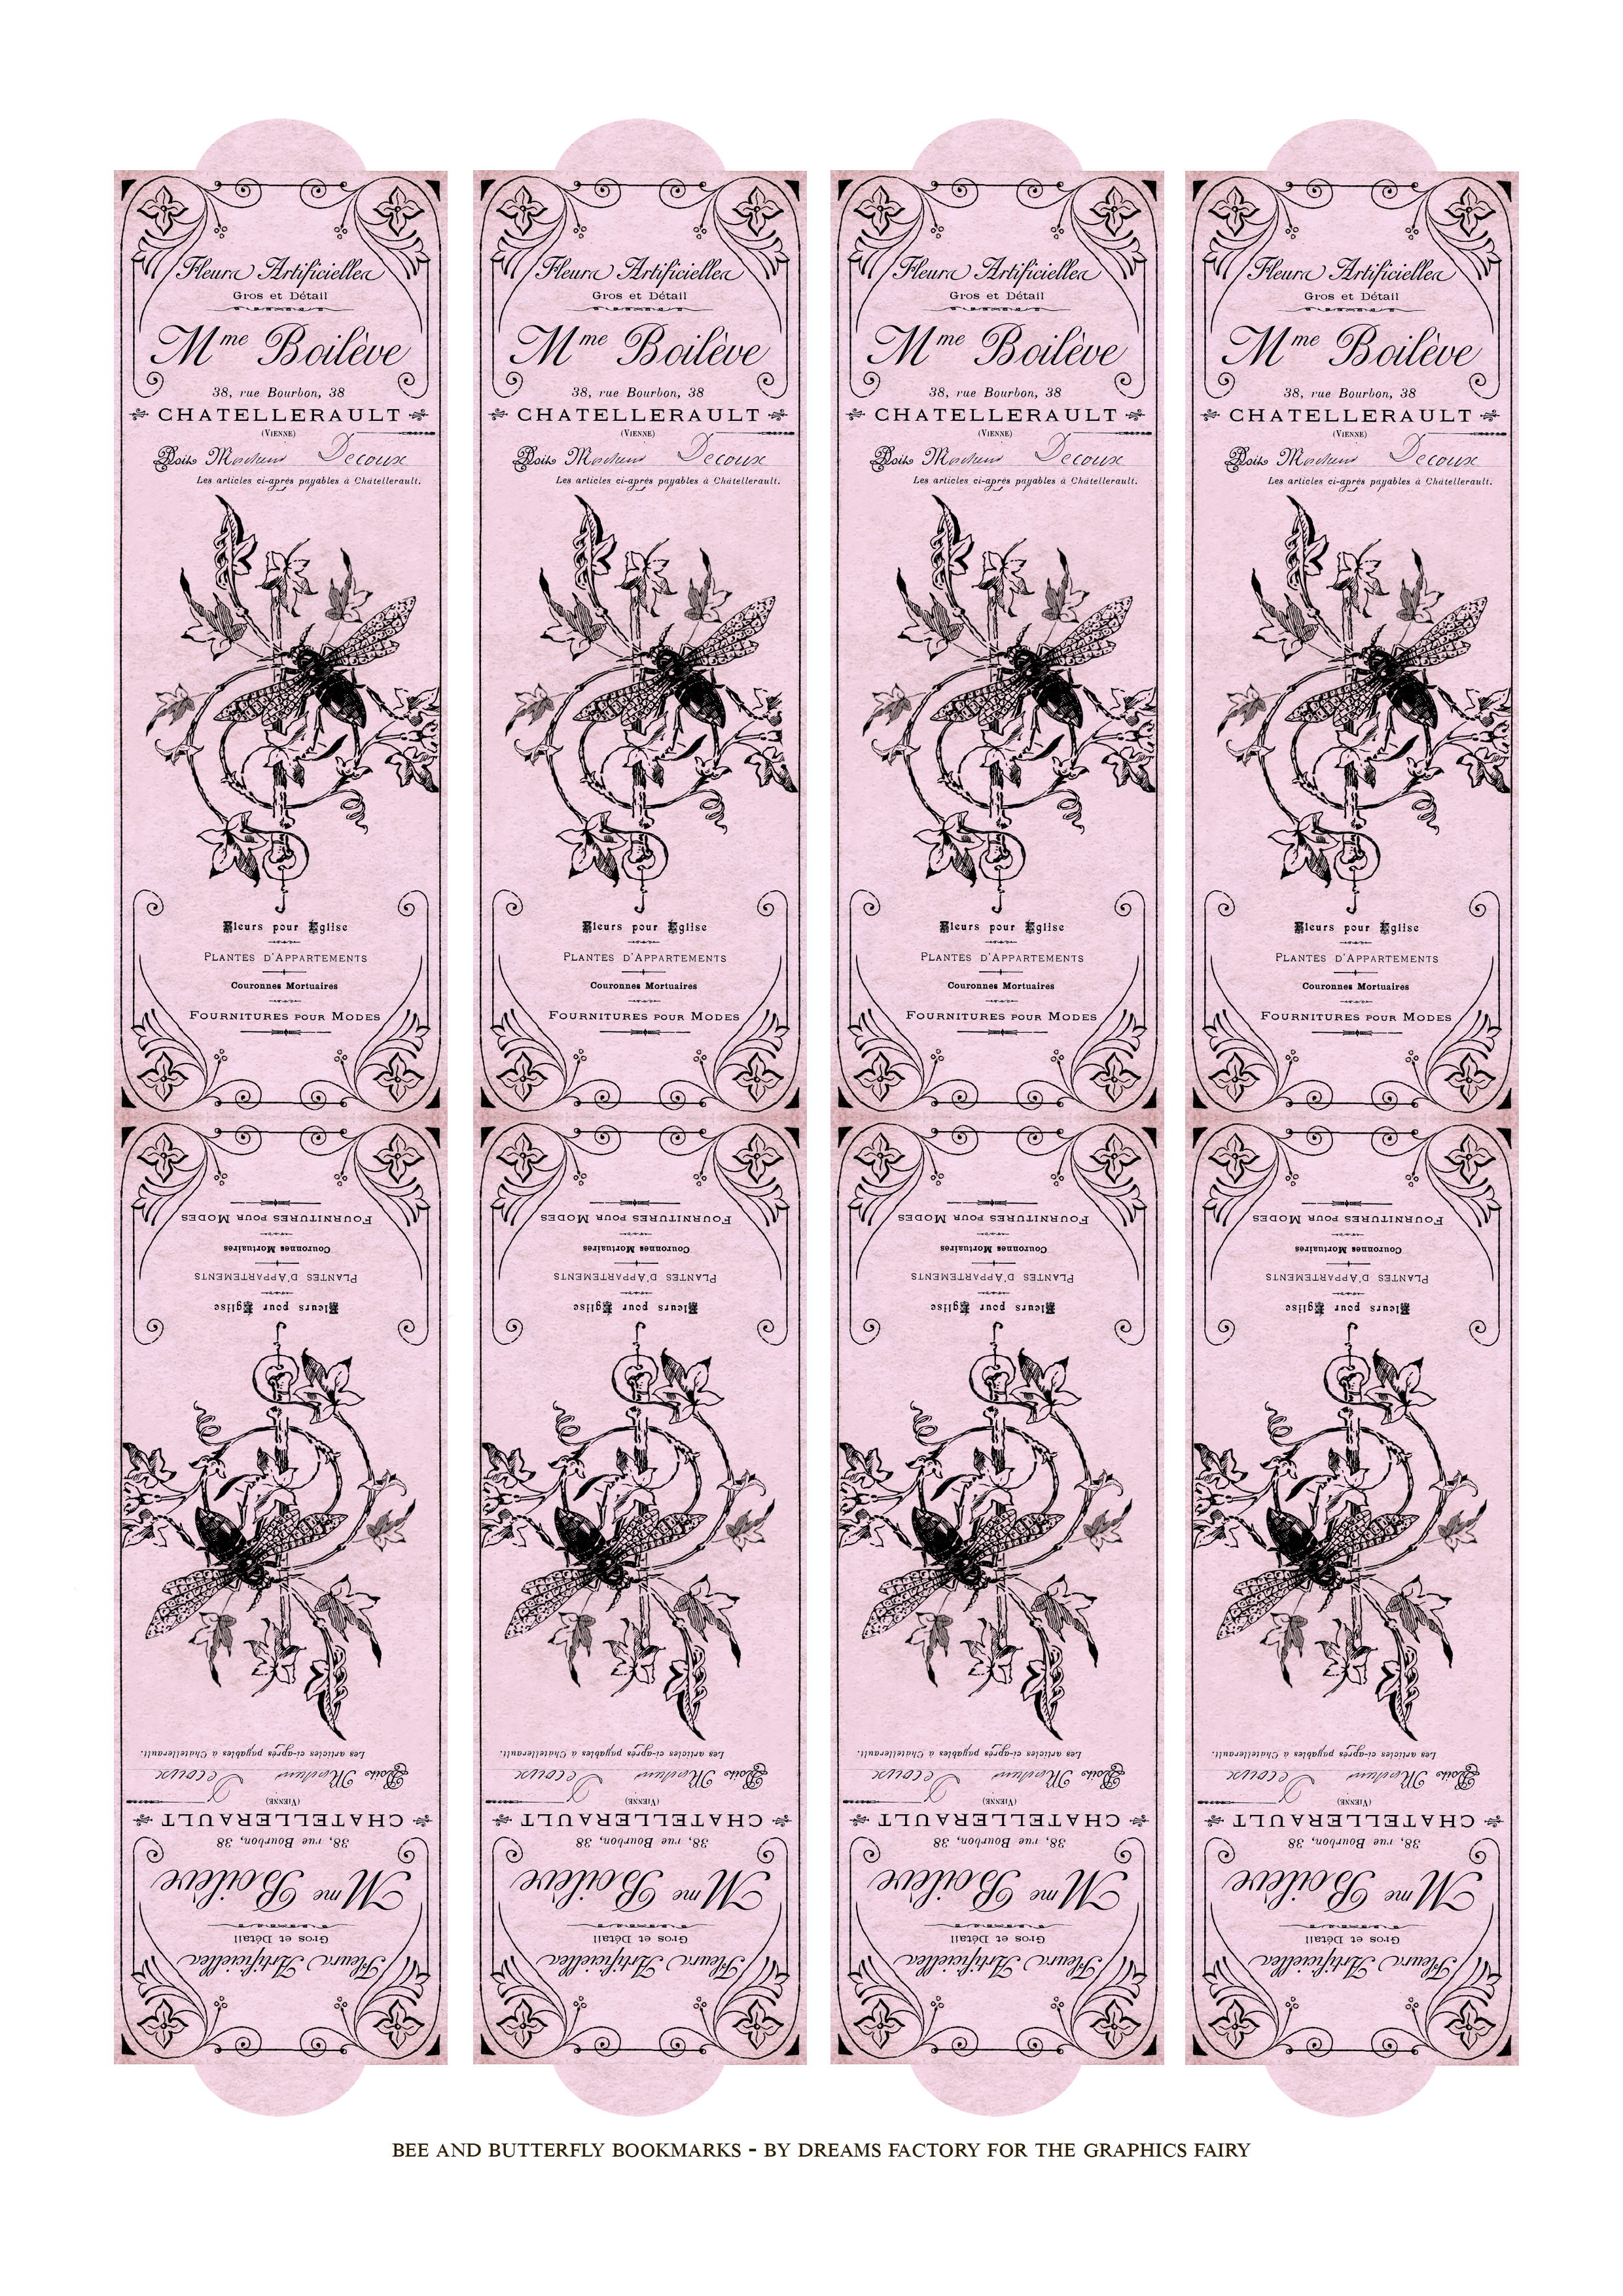
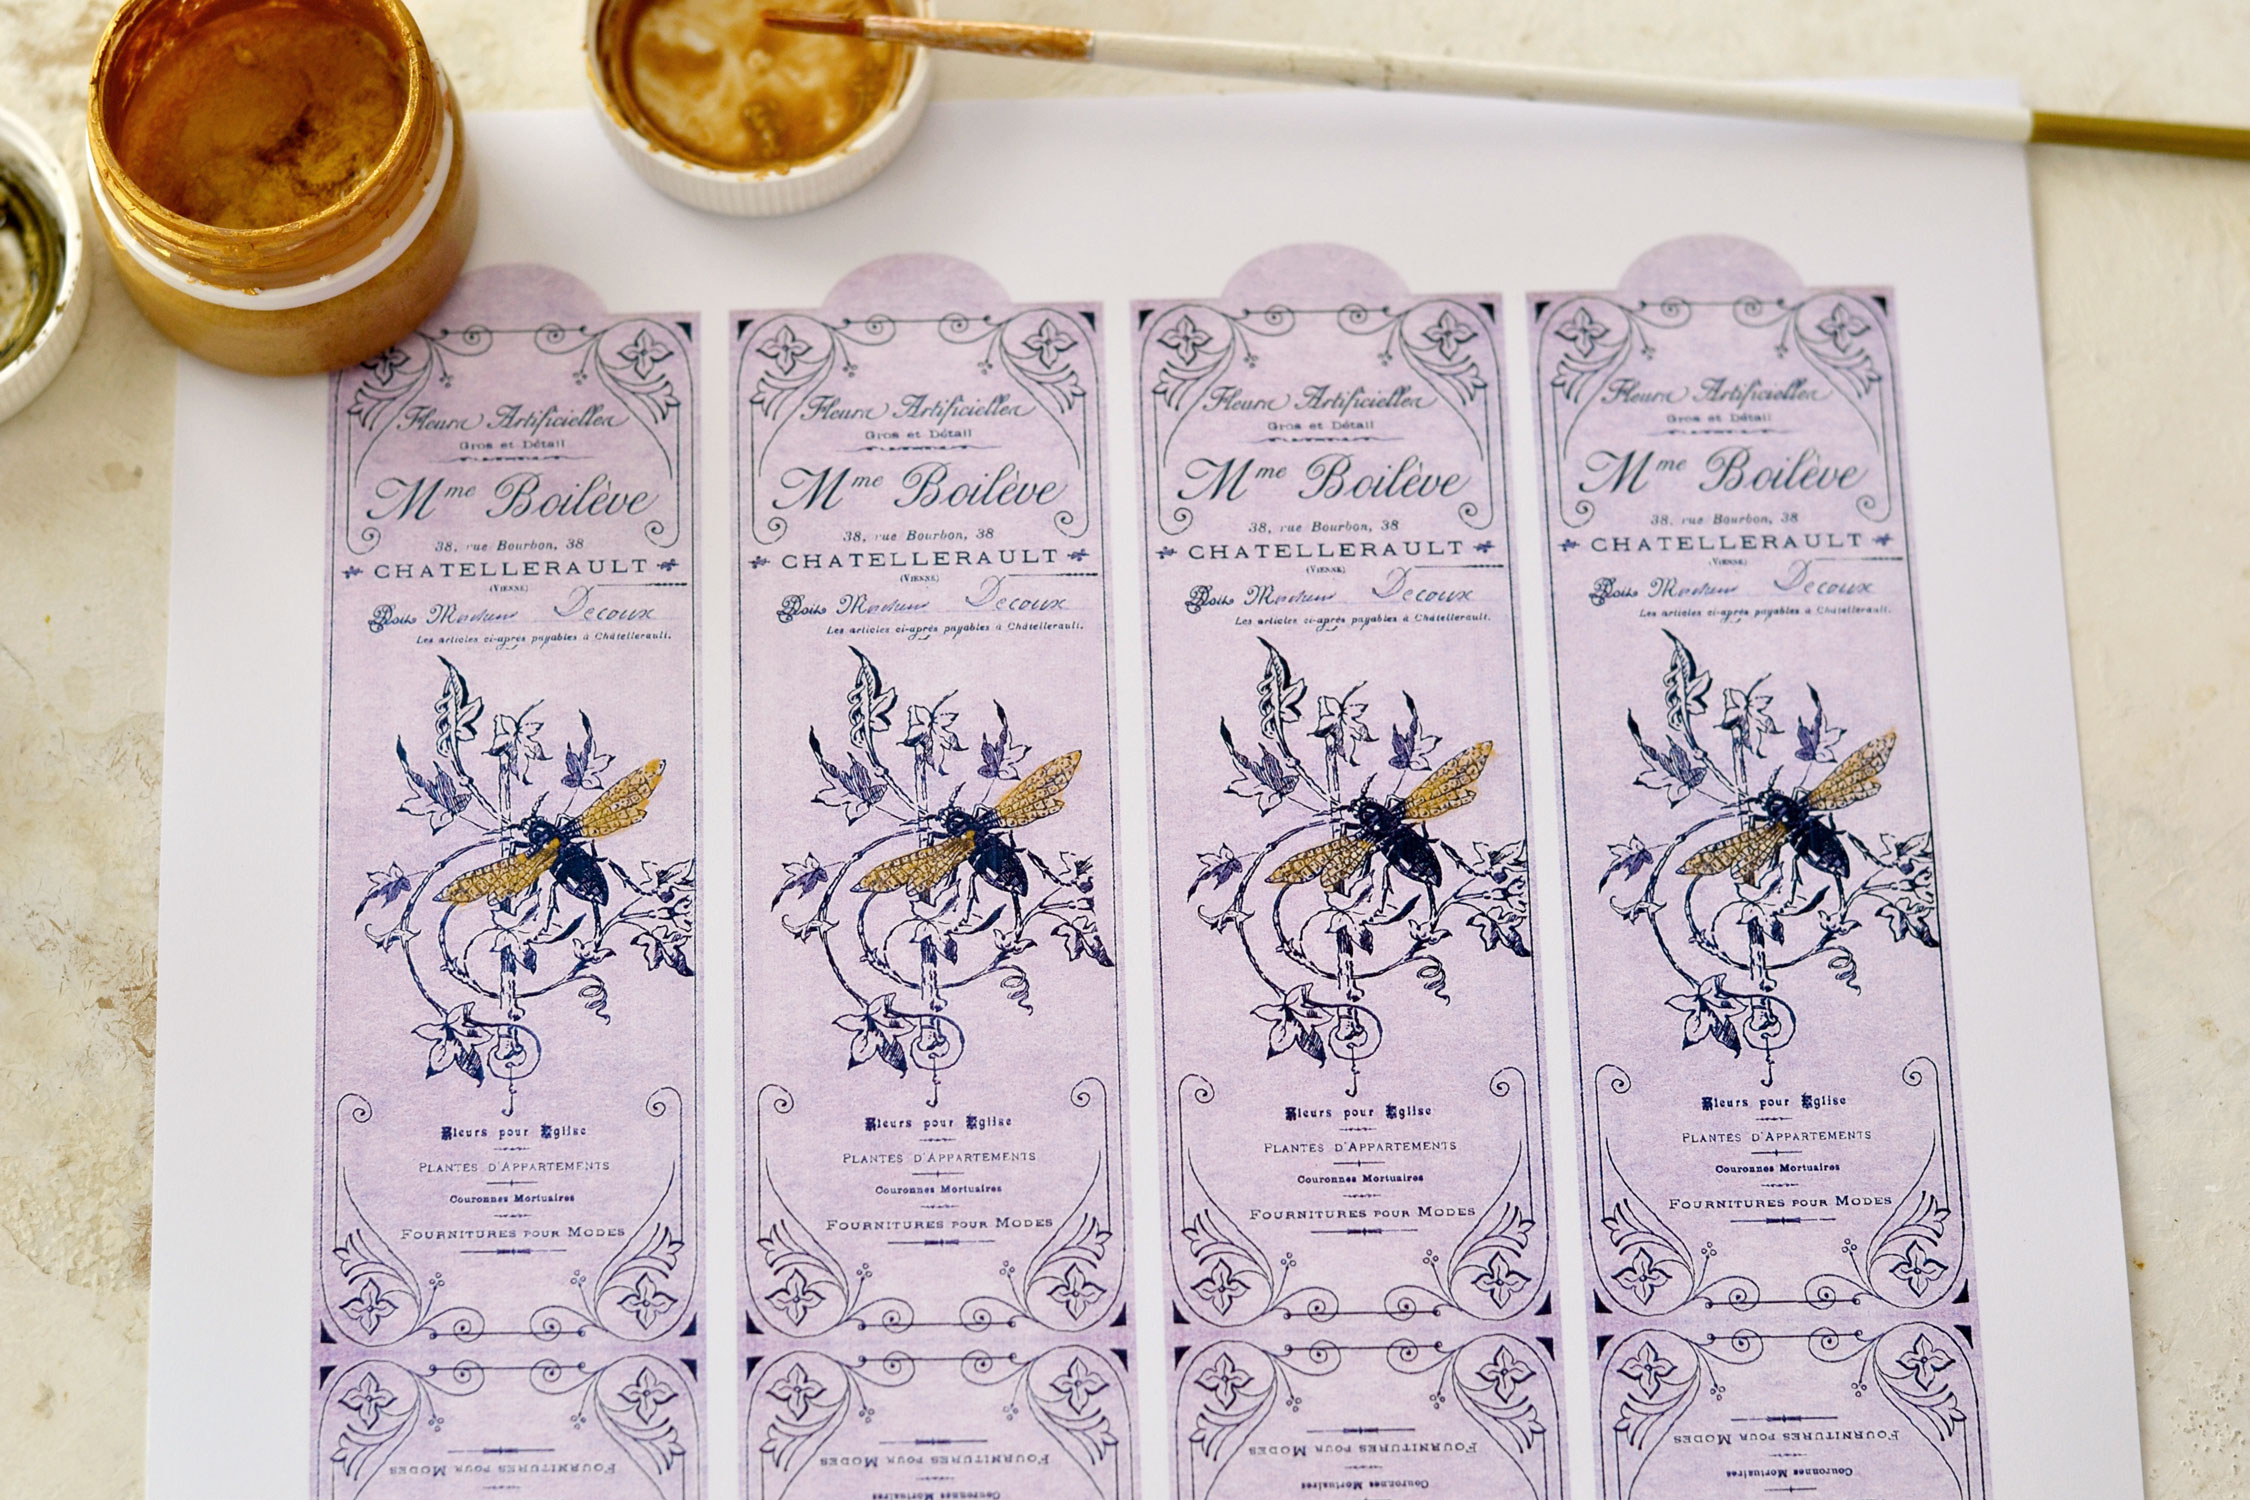
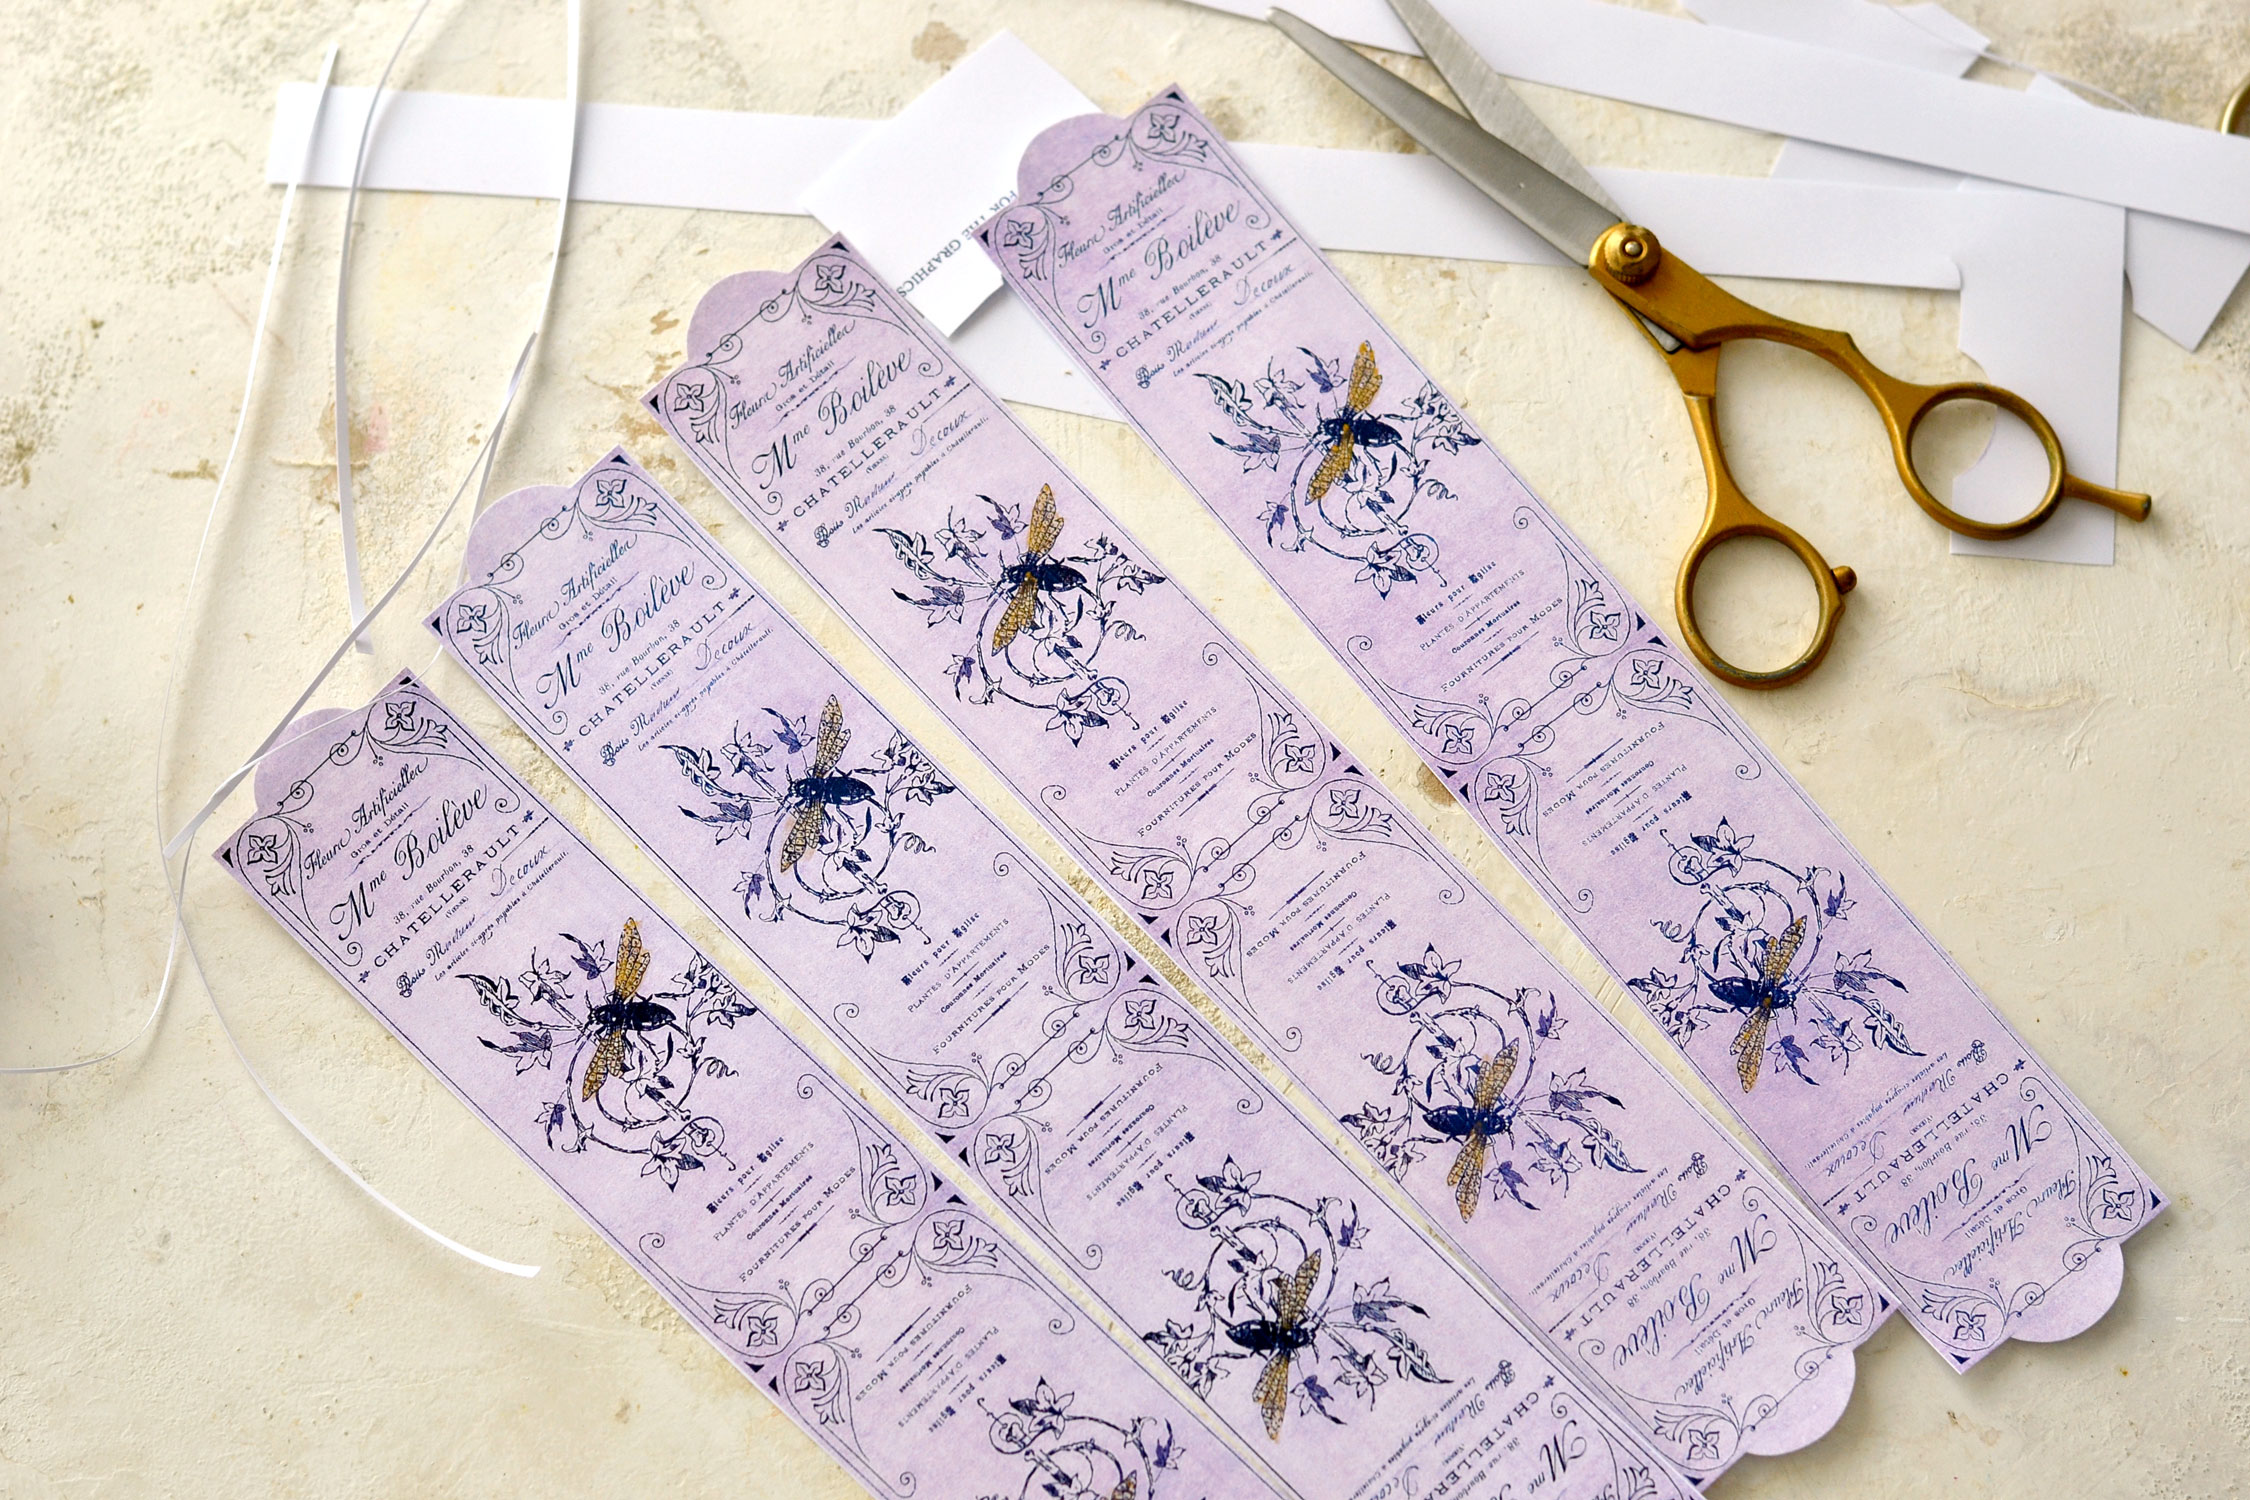
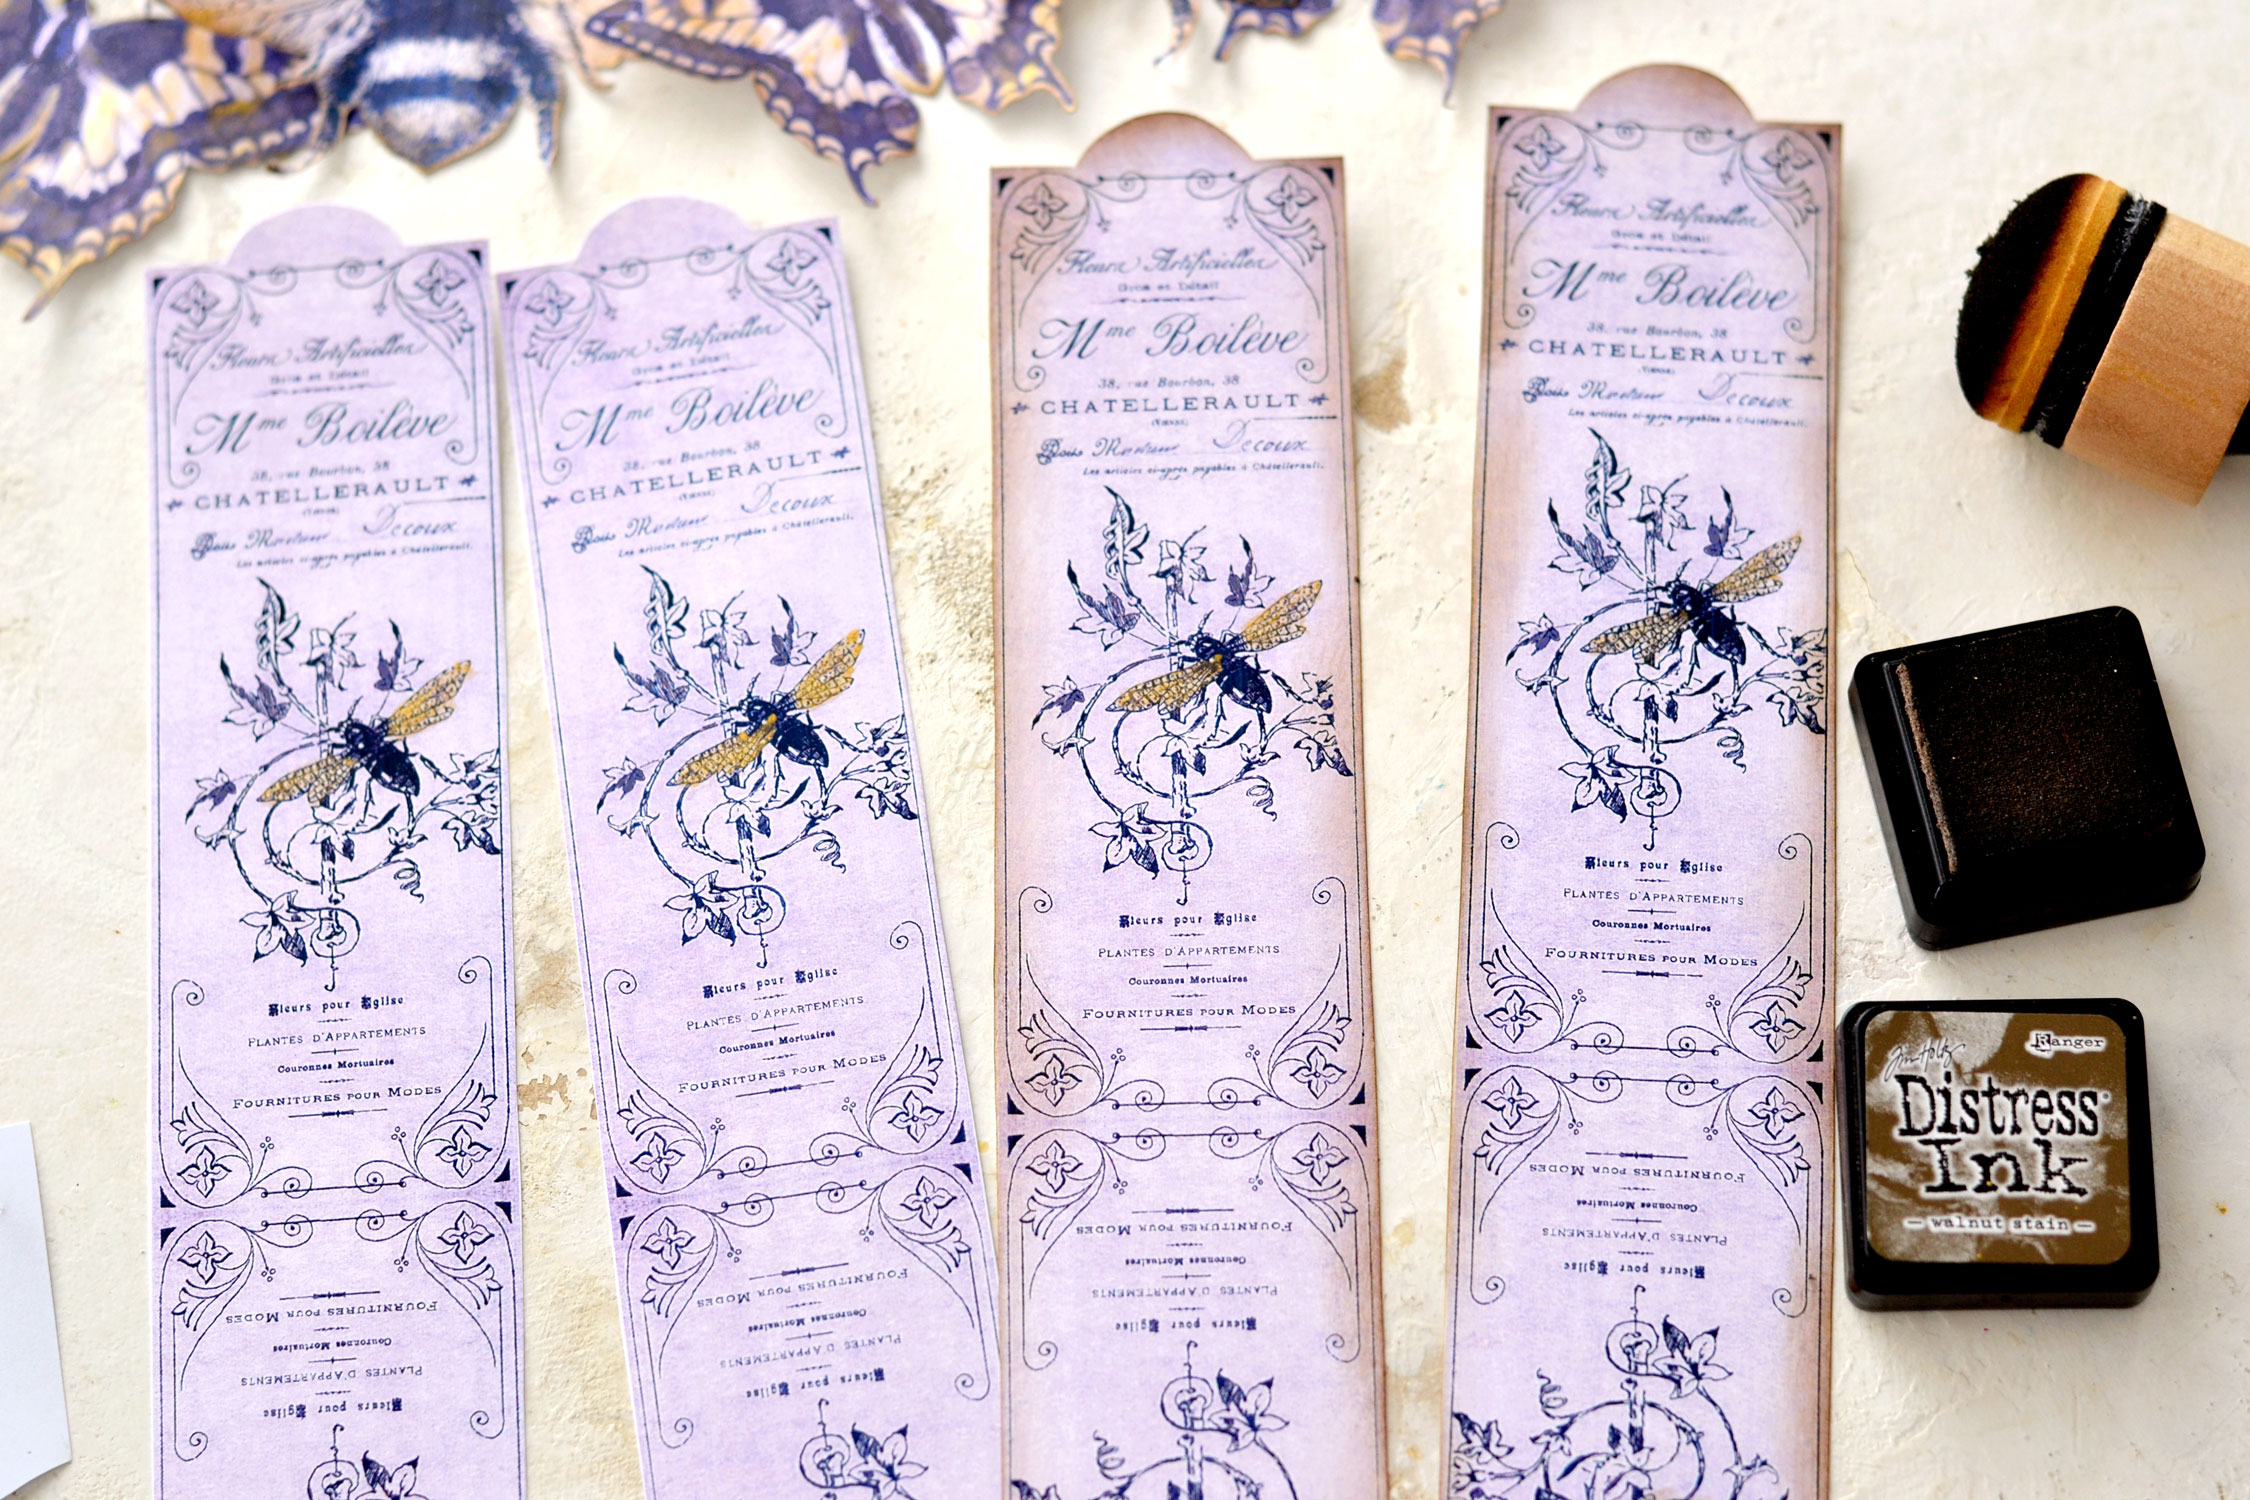
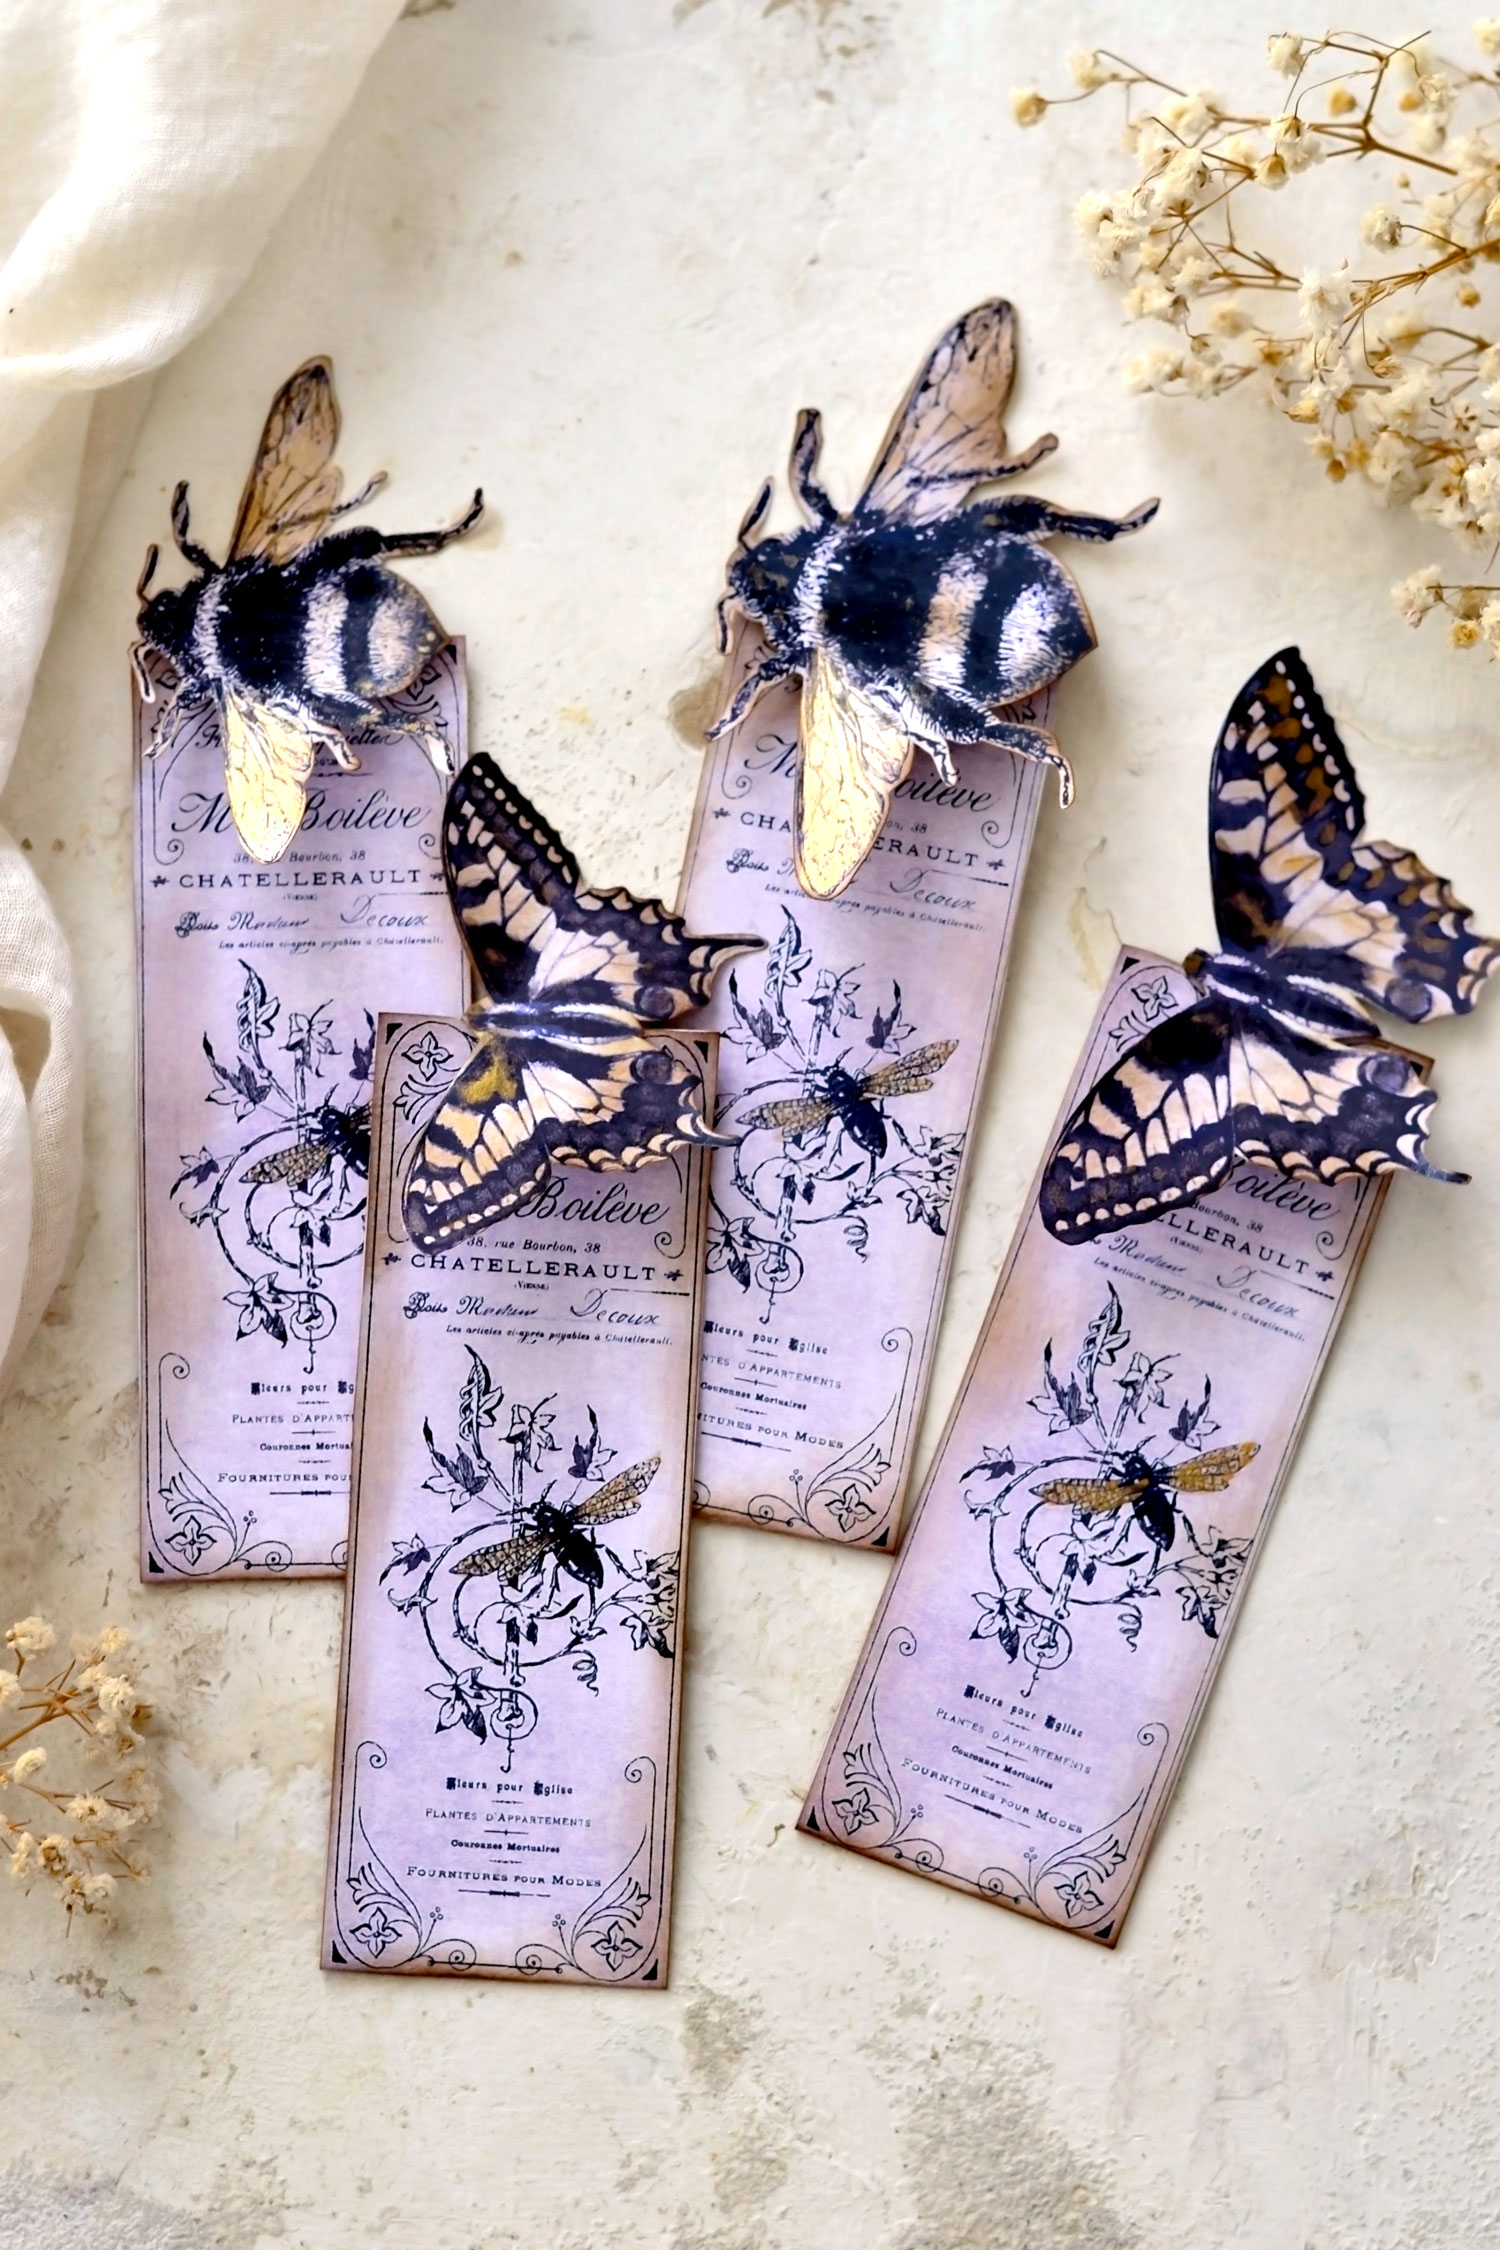
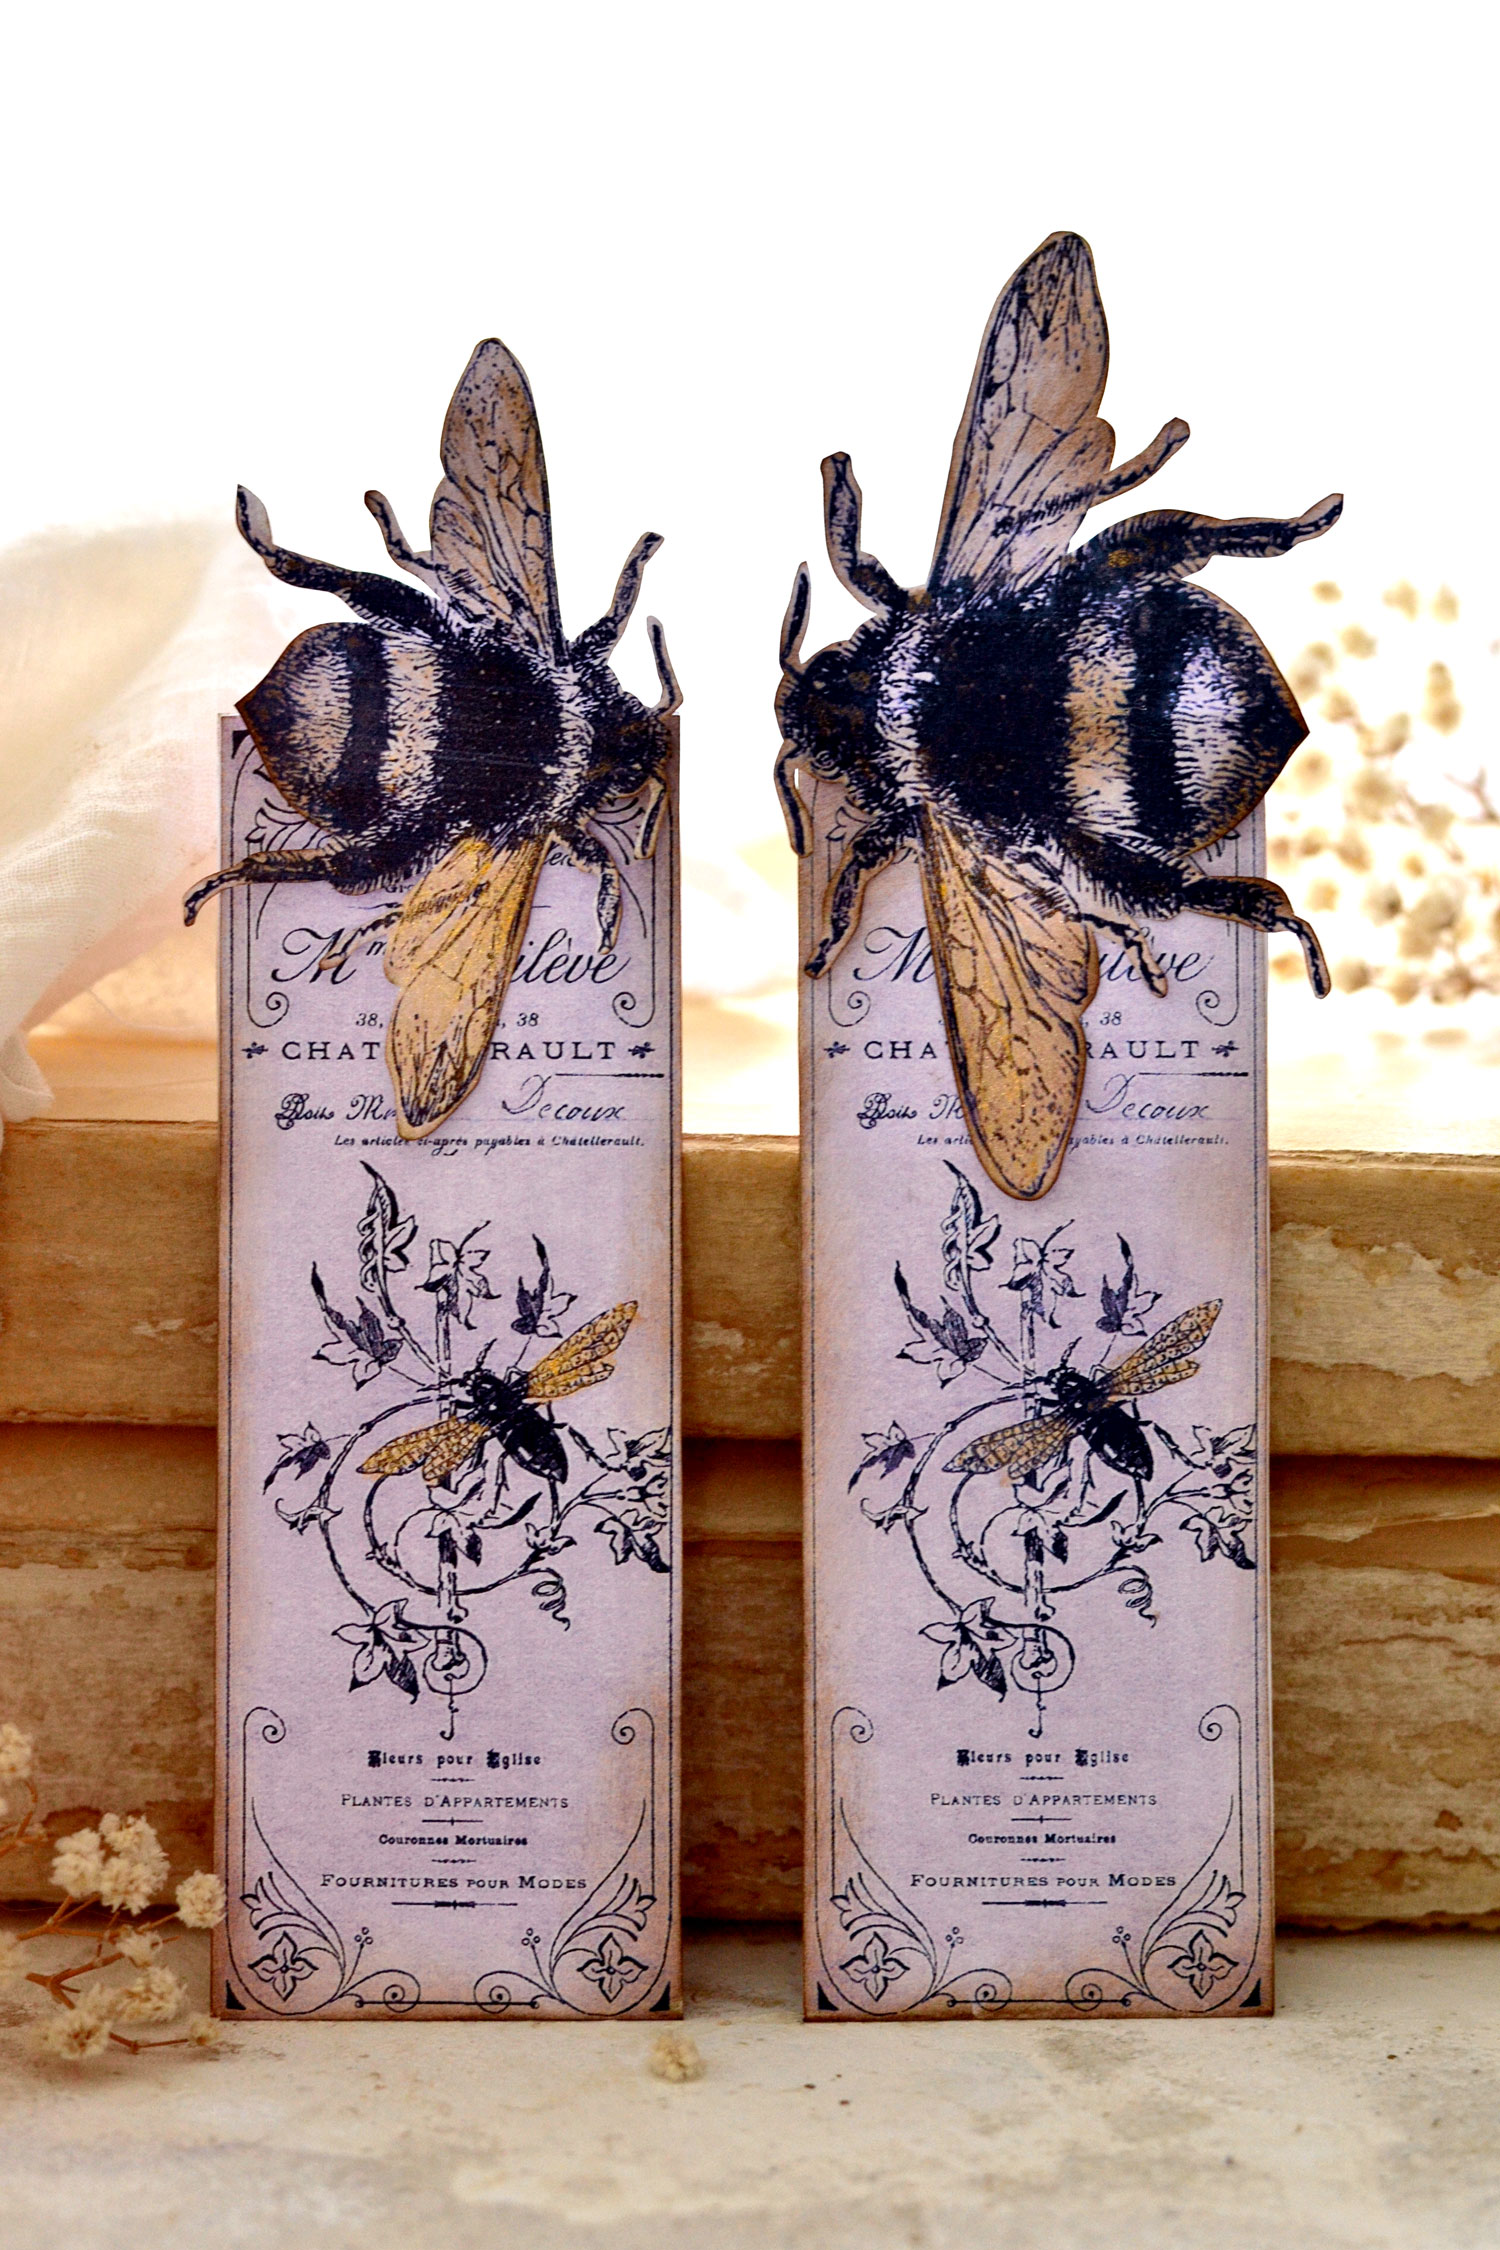
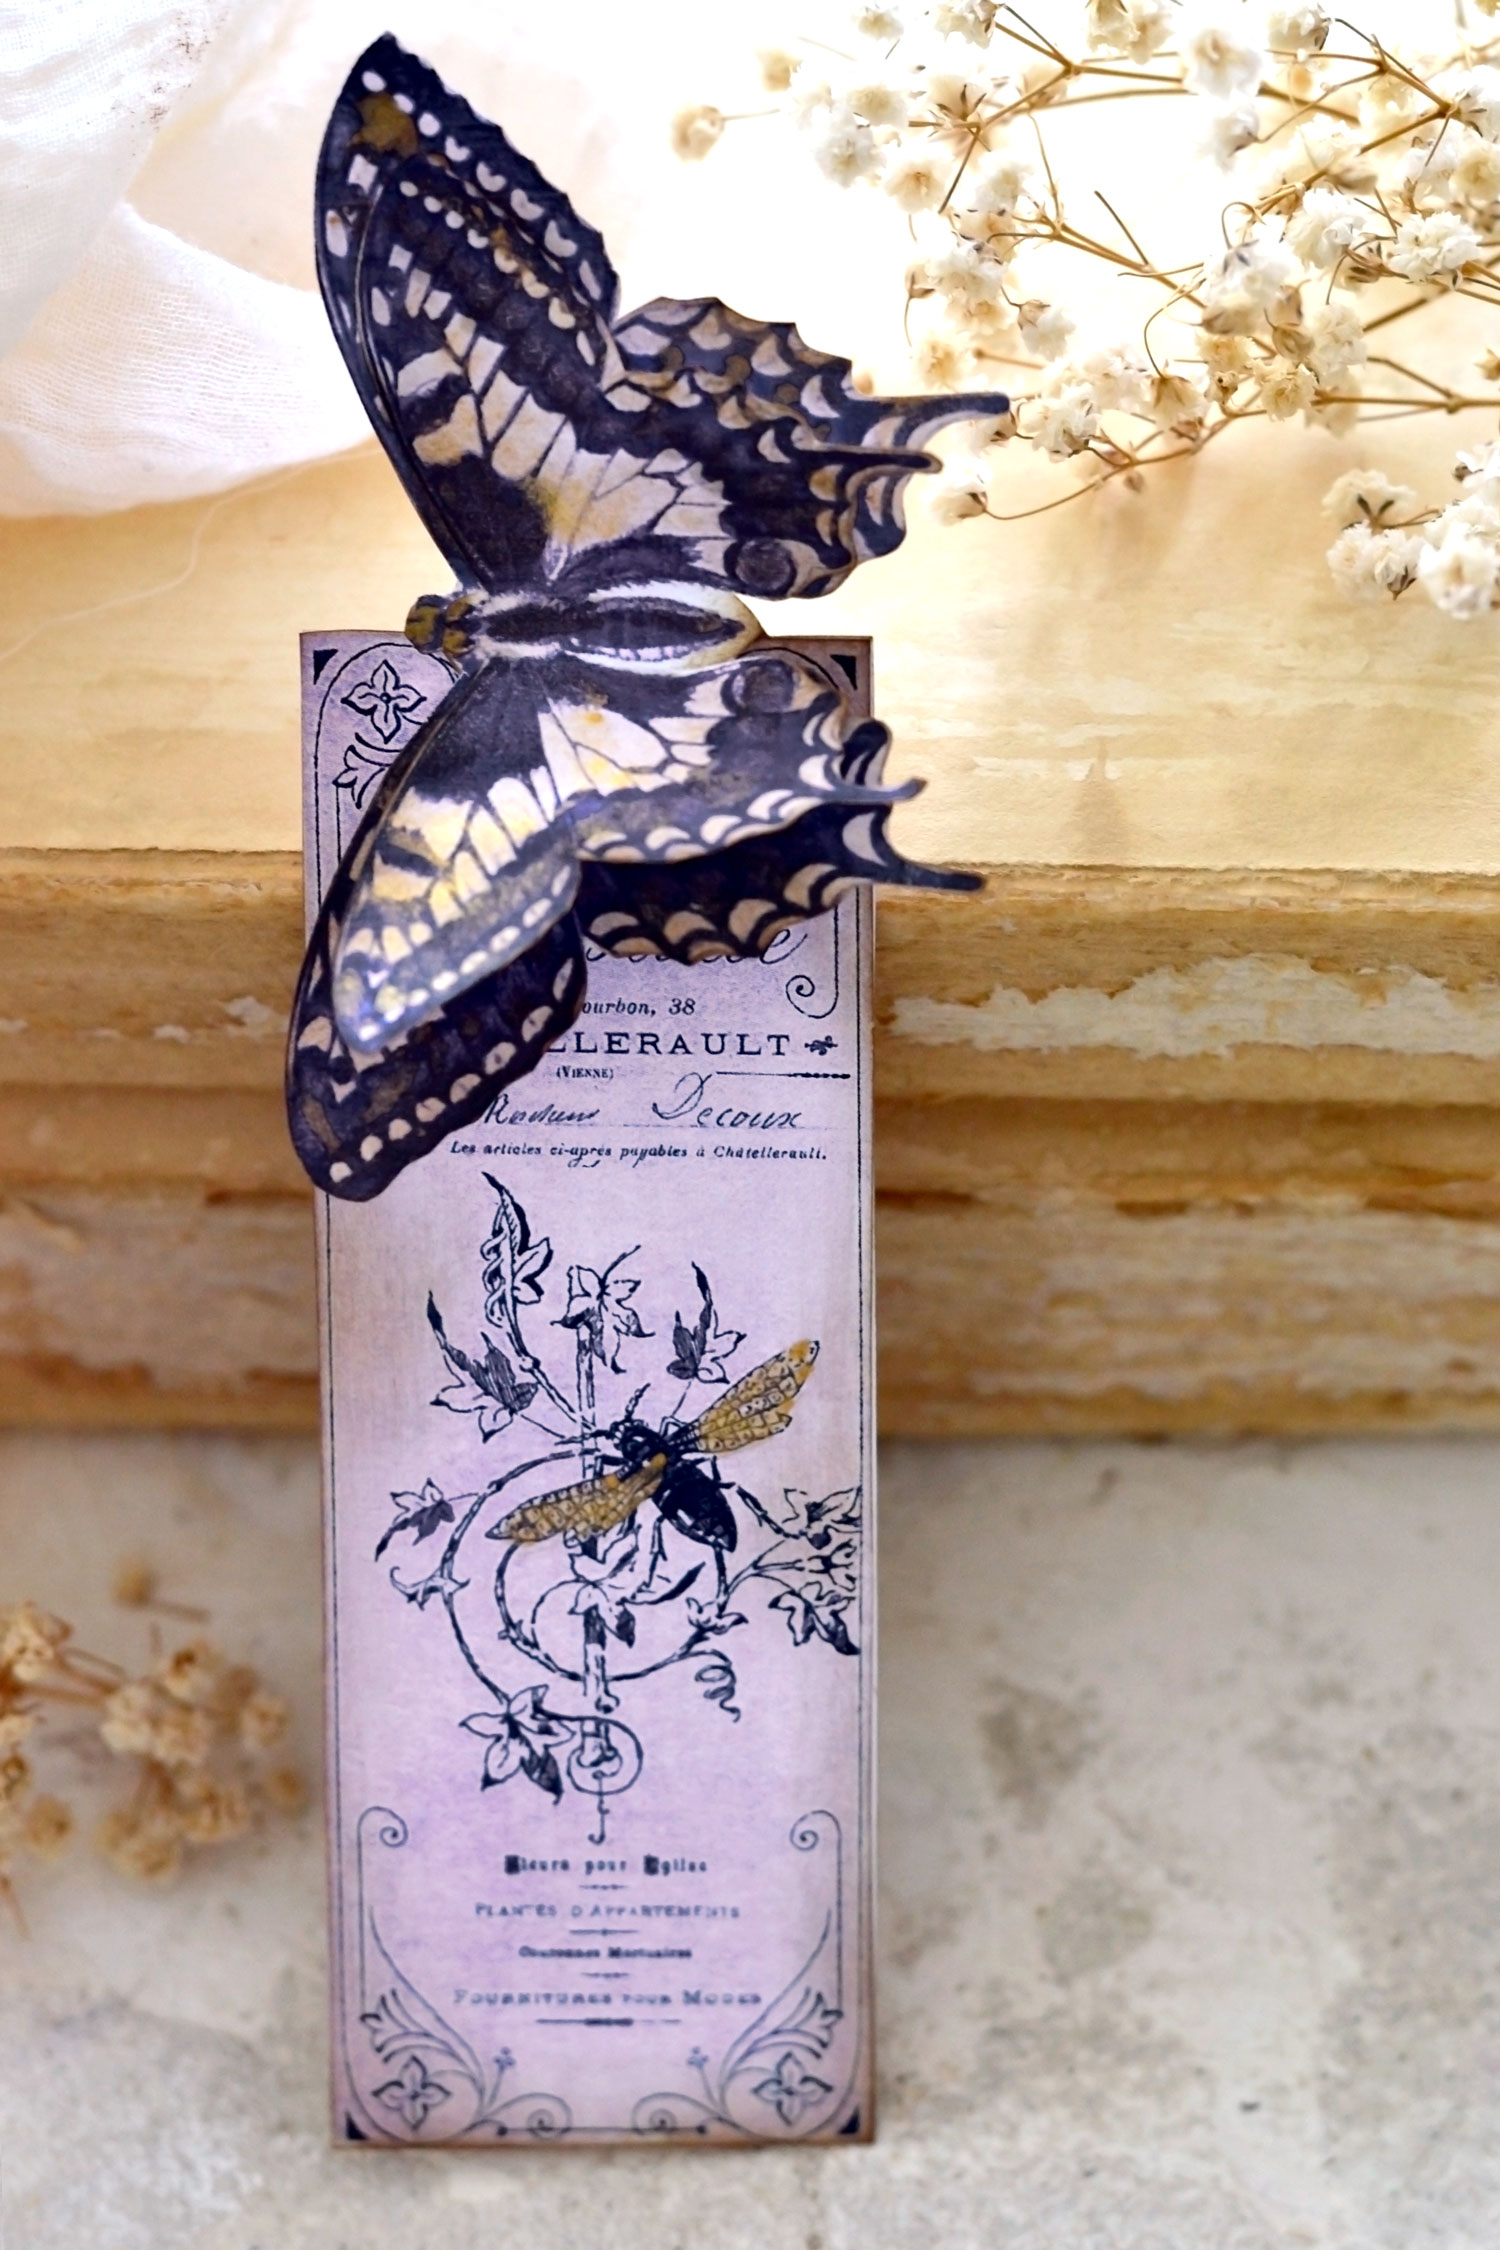
I’ve created the bookmark crafts using a French ephemera image and a soft purple-pink background that imprints them with a lovely vintage vibe. You will find 4 double-sided bookmarks on this printable, if you want to make more, you will need to print it several times. Just print it as many times as you want! I think they would make a great gift.
Paper Bookmark DIY Printables:
—-> Click HERE to Download the Full Size Free Printables PDF <—-
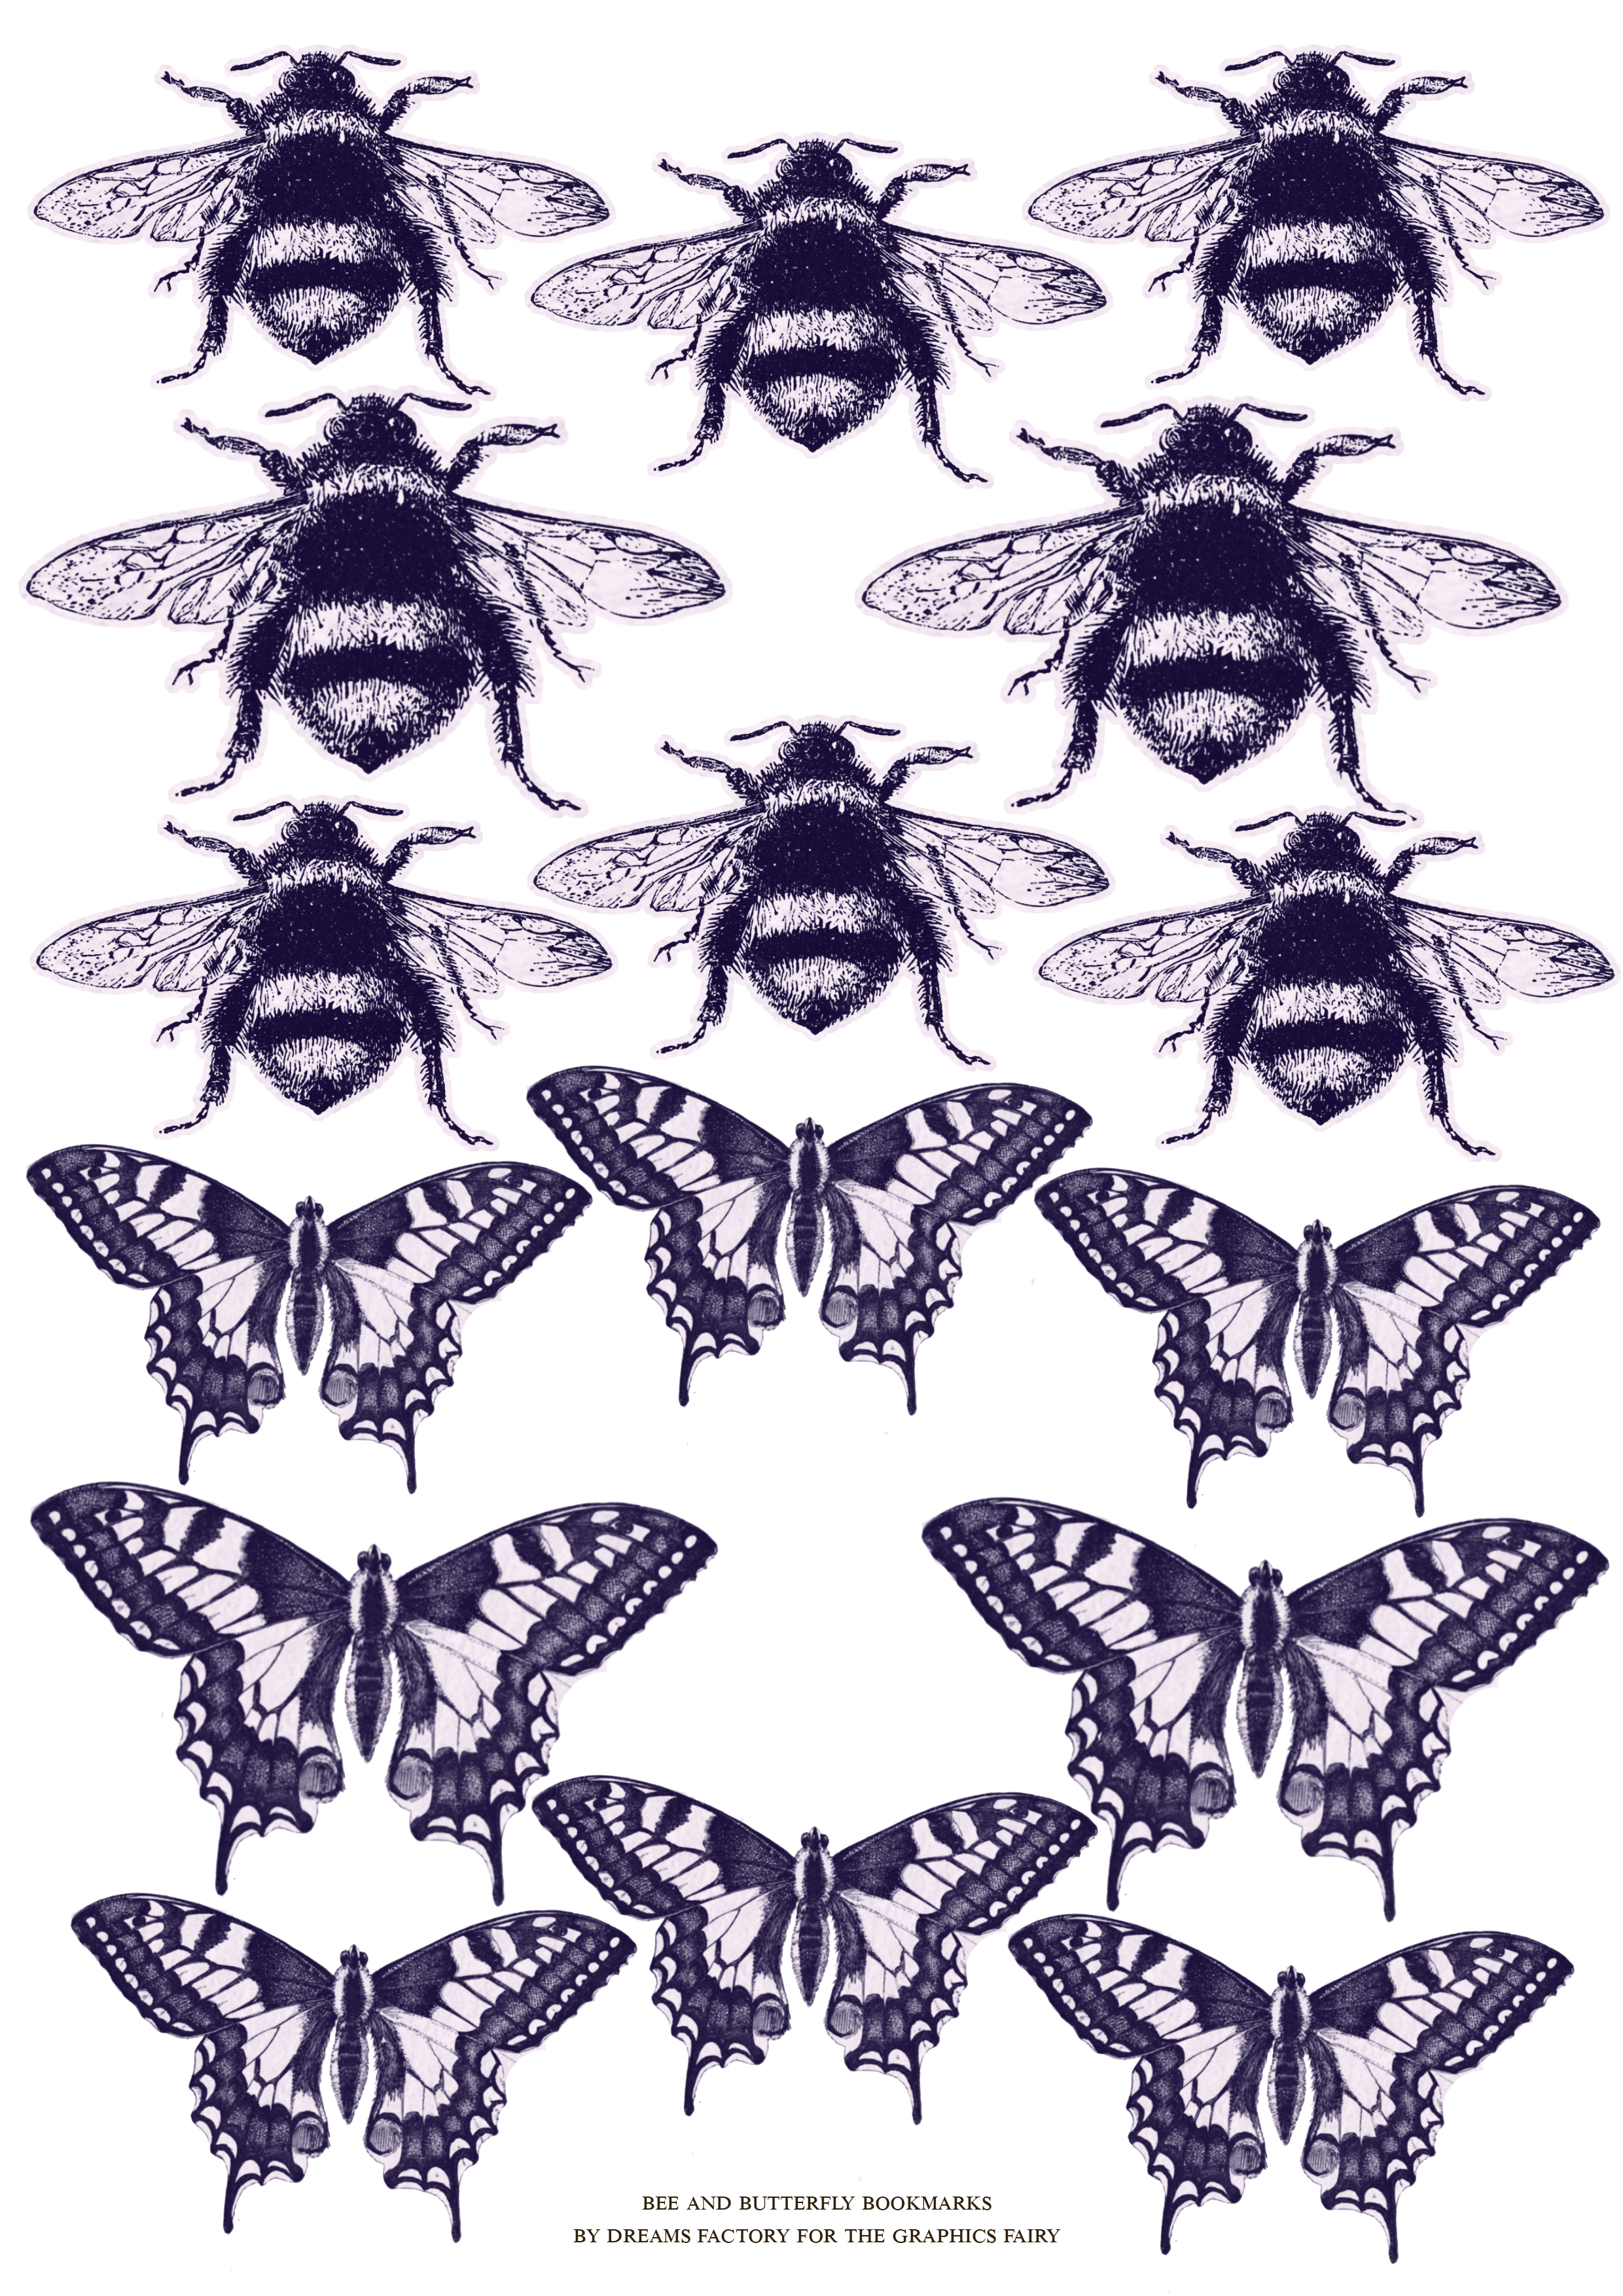
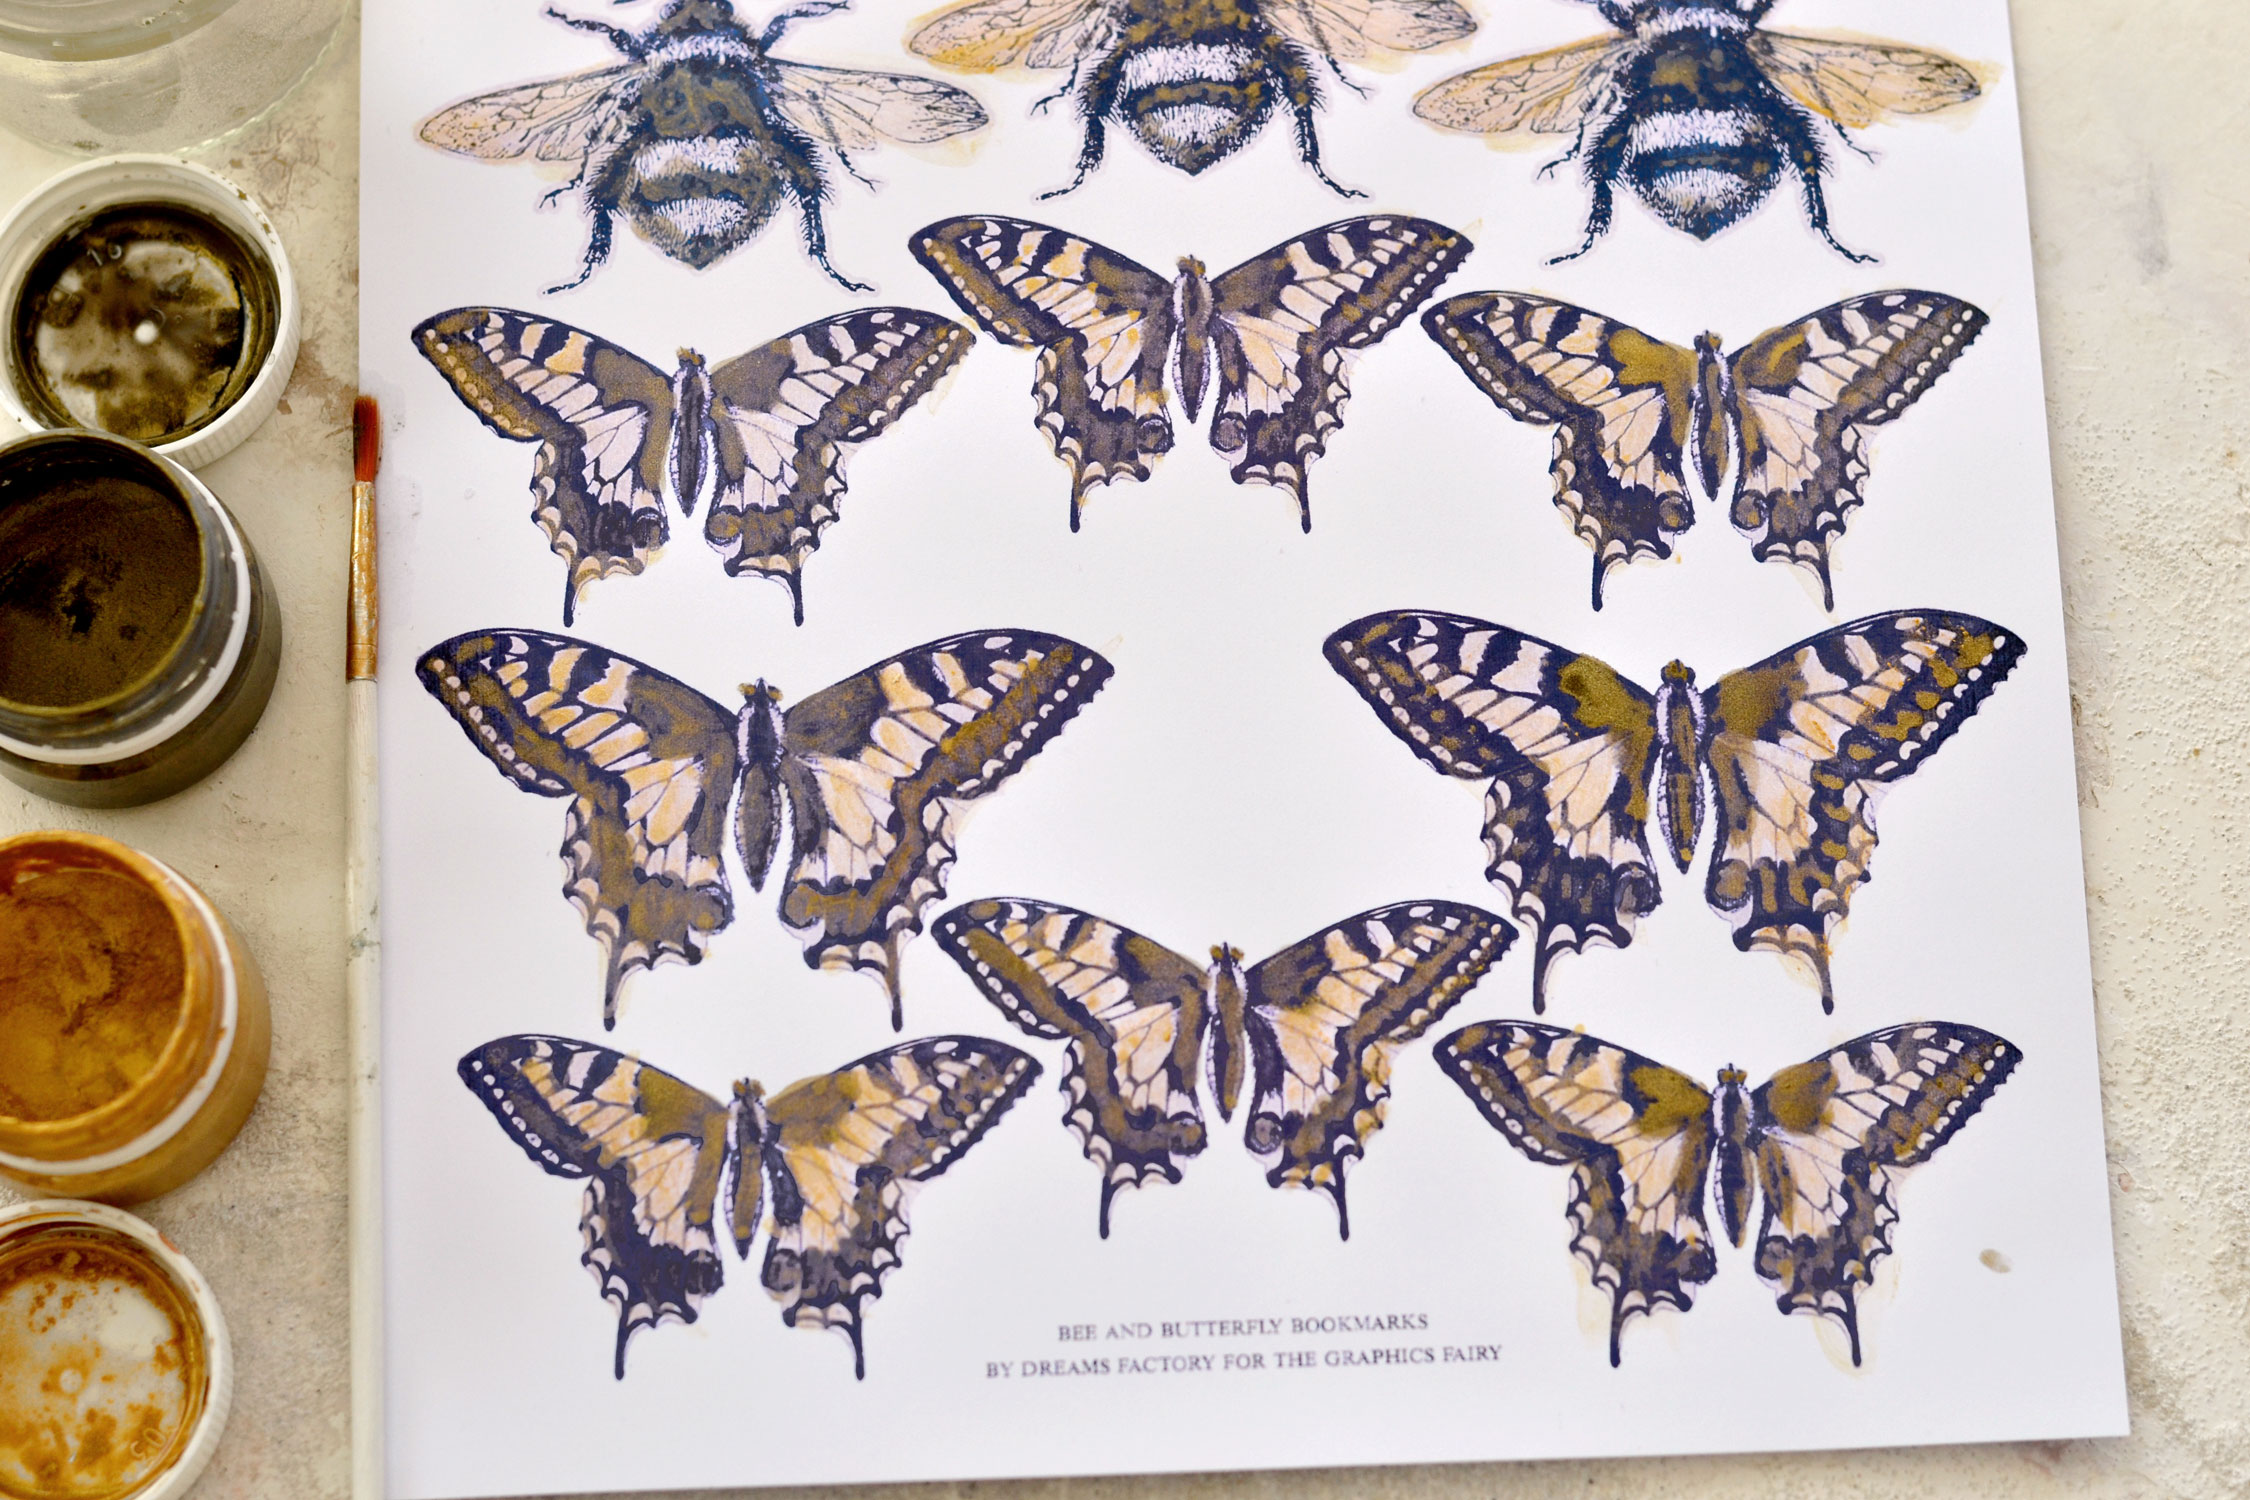
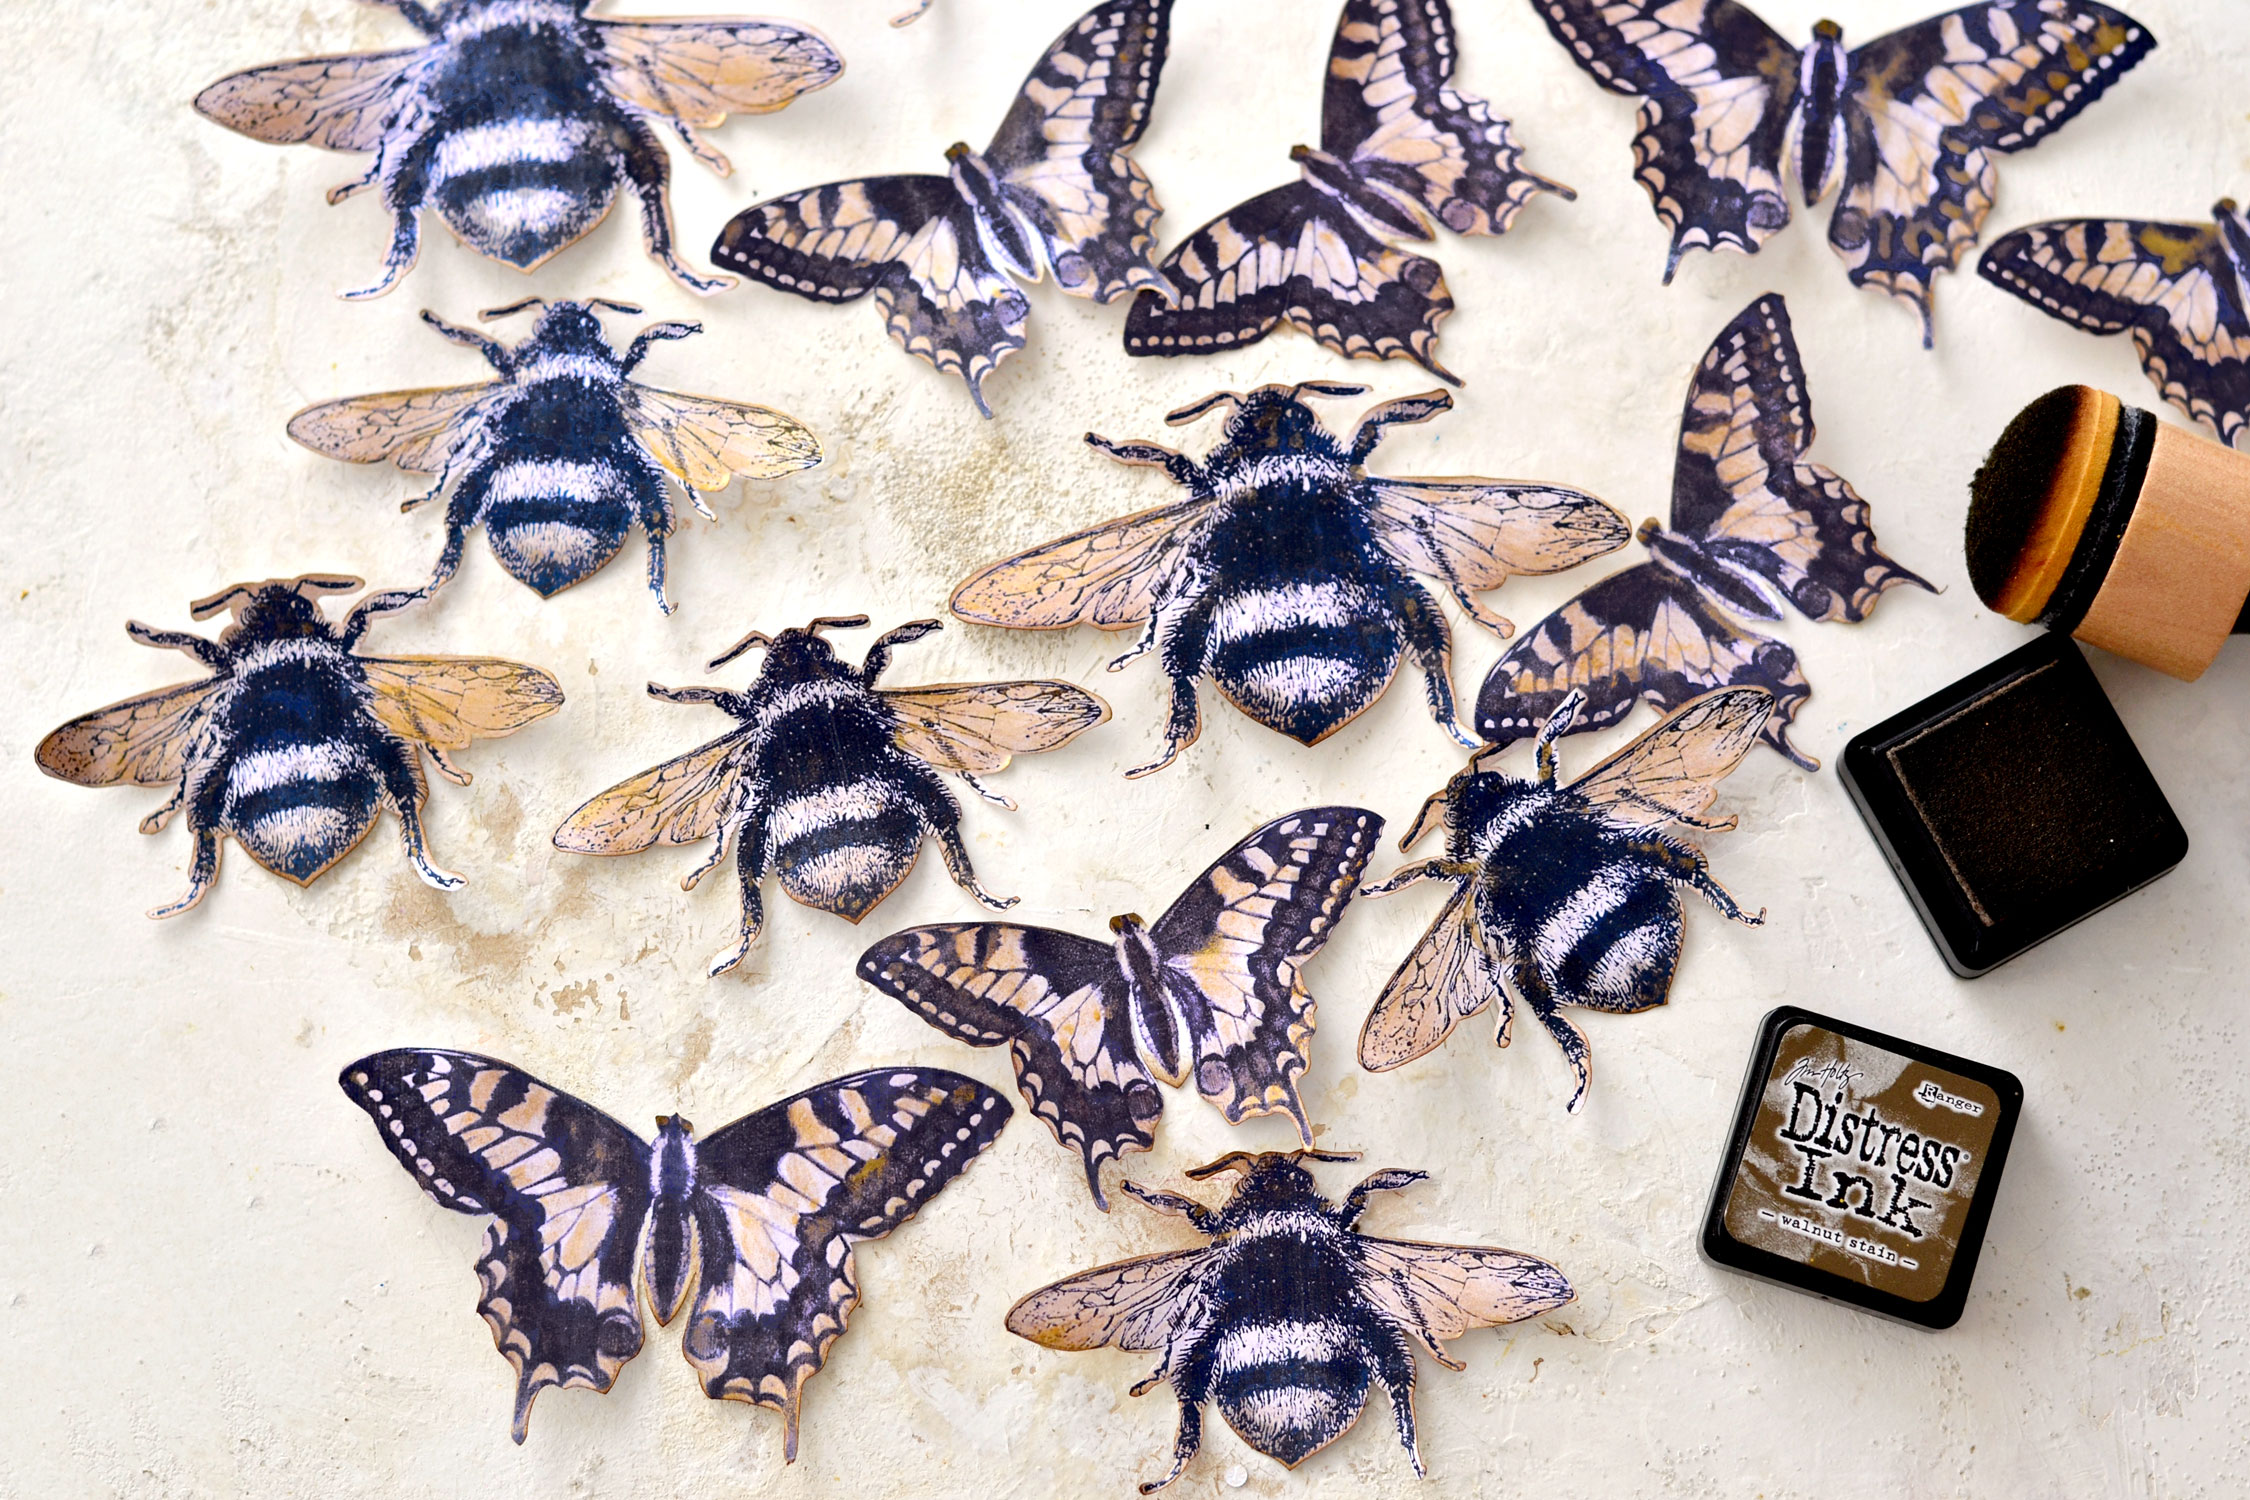
I went with dark purple for the bee and butterfly images that we will need for our project, I think it complements the soft color of the bookmarks really well.
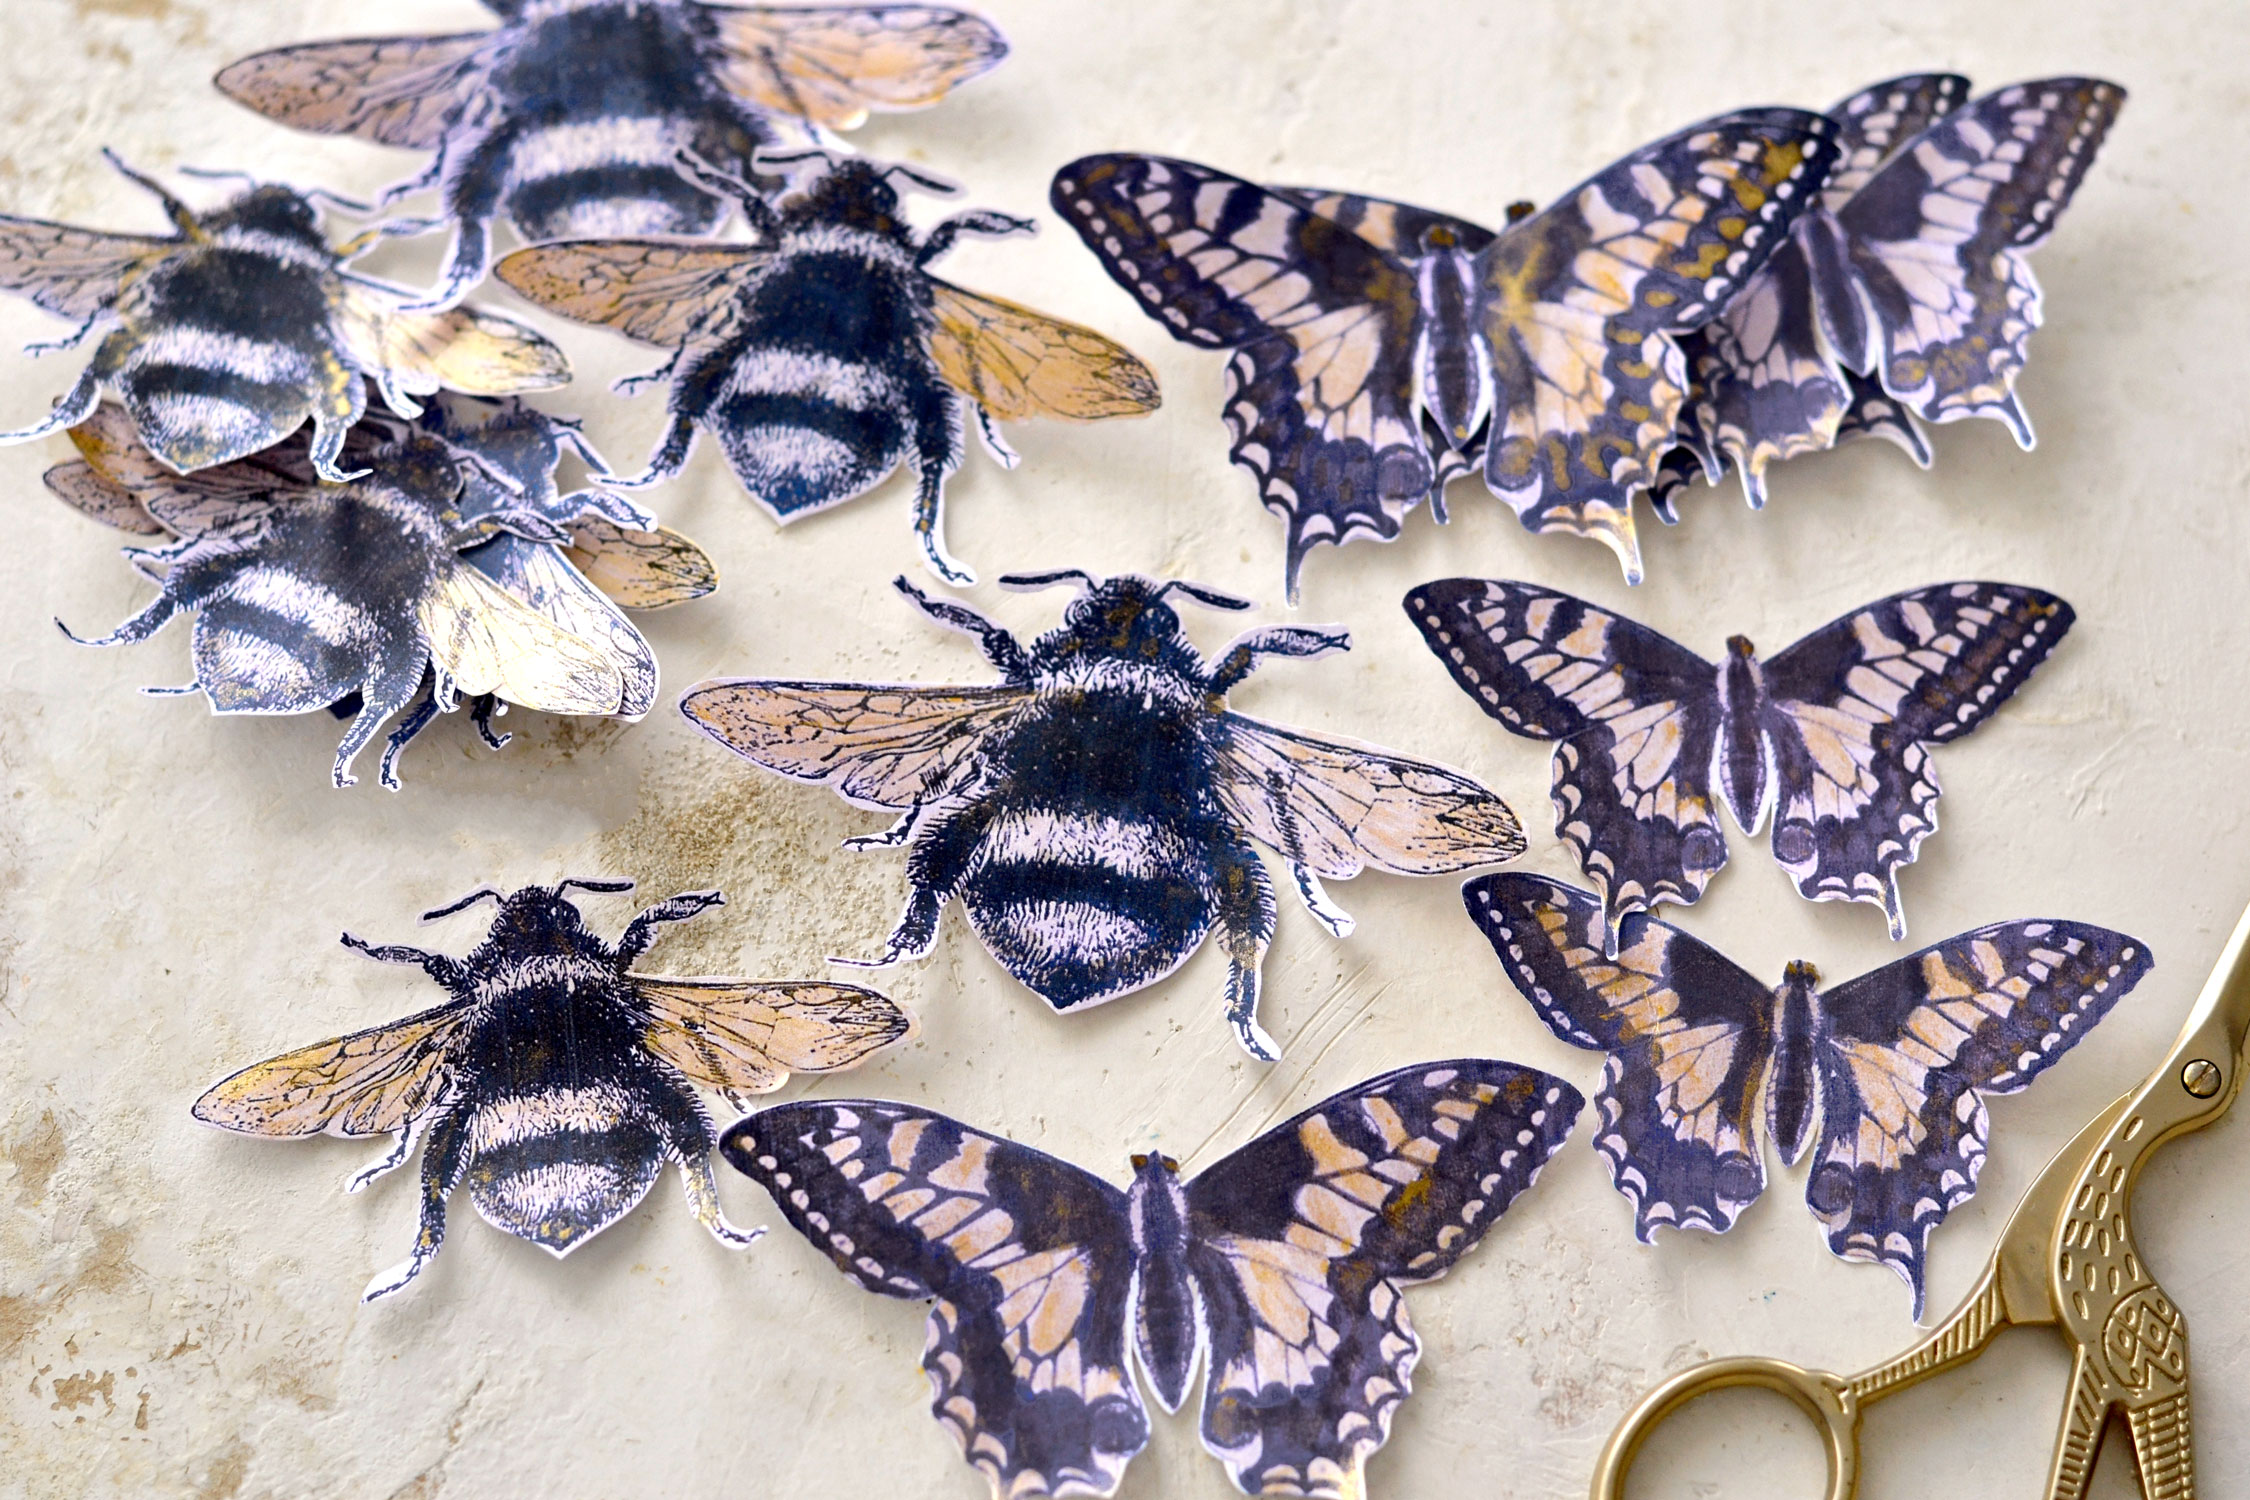
As you can see, there are more than the four images that we will need to create our bookmarks, but that’s a good thing, you can use the rest of them to make more bookmarks or just find other ways of including them in other creative projects.
—-> Click HERE to Download the Full Size Free Printables PDF <—-
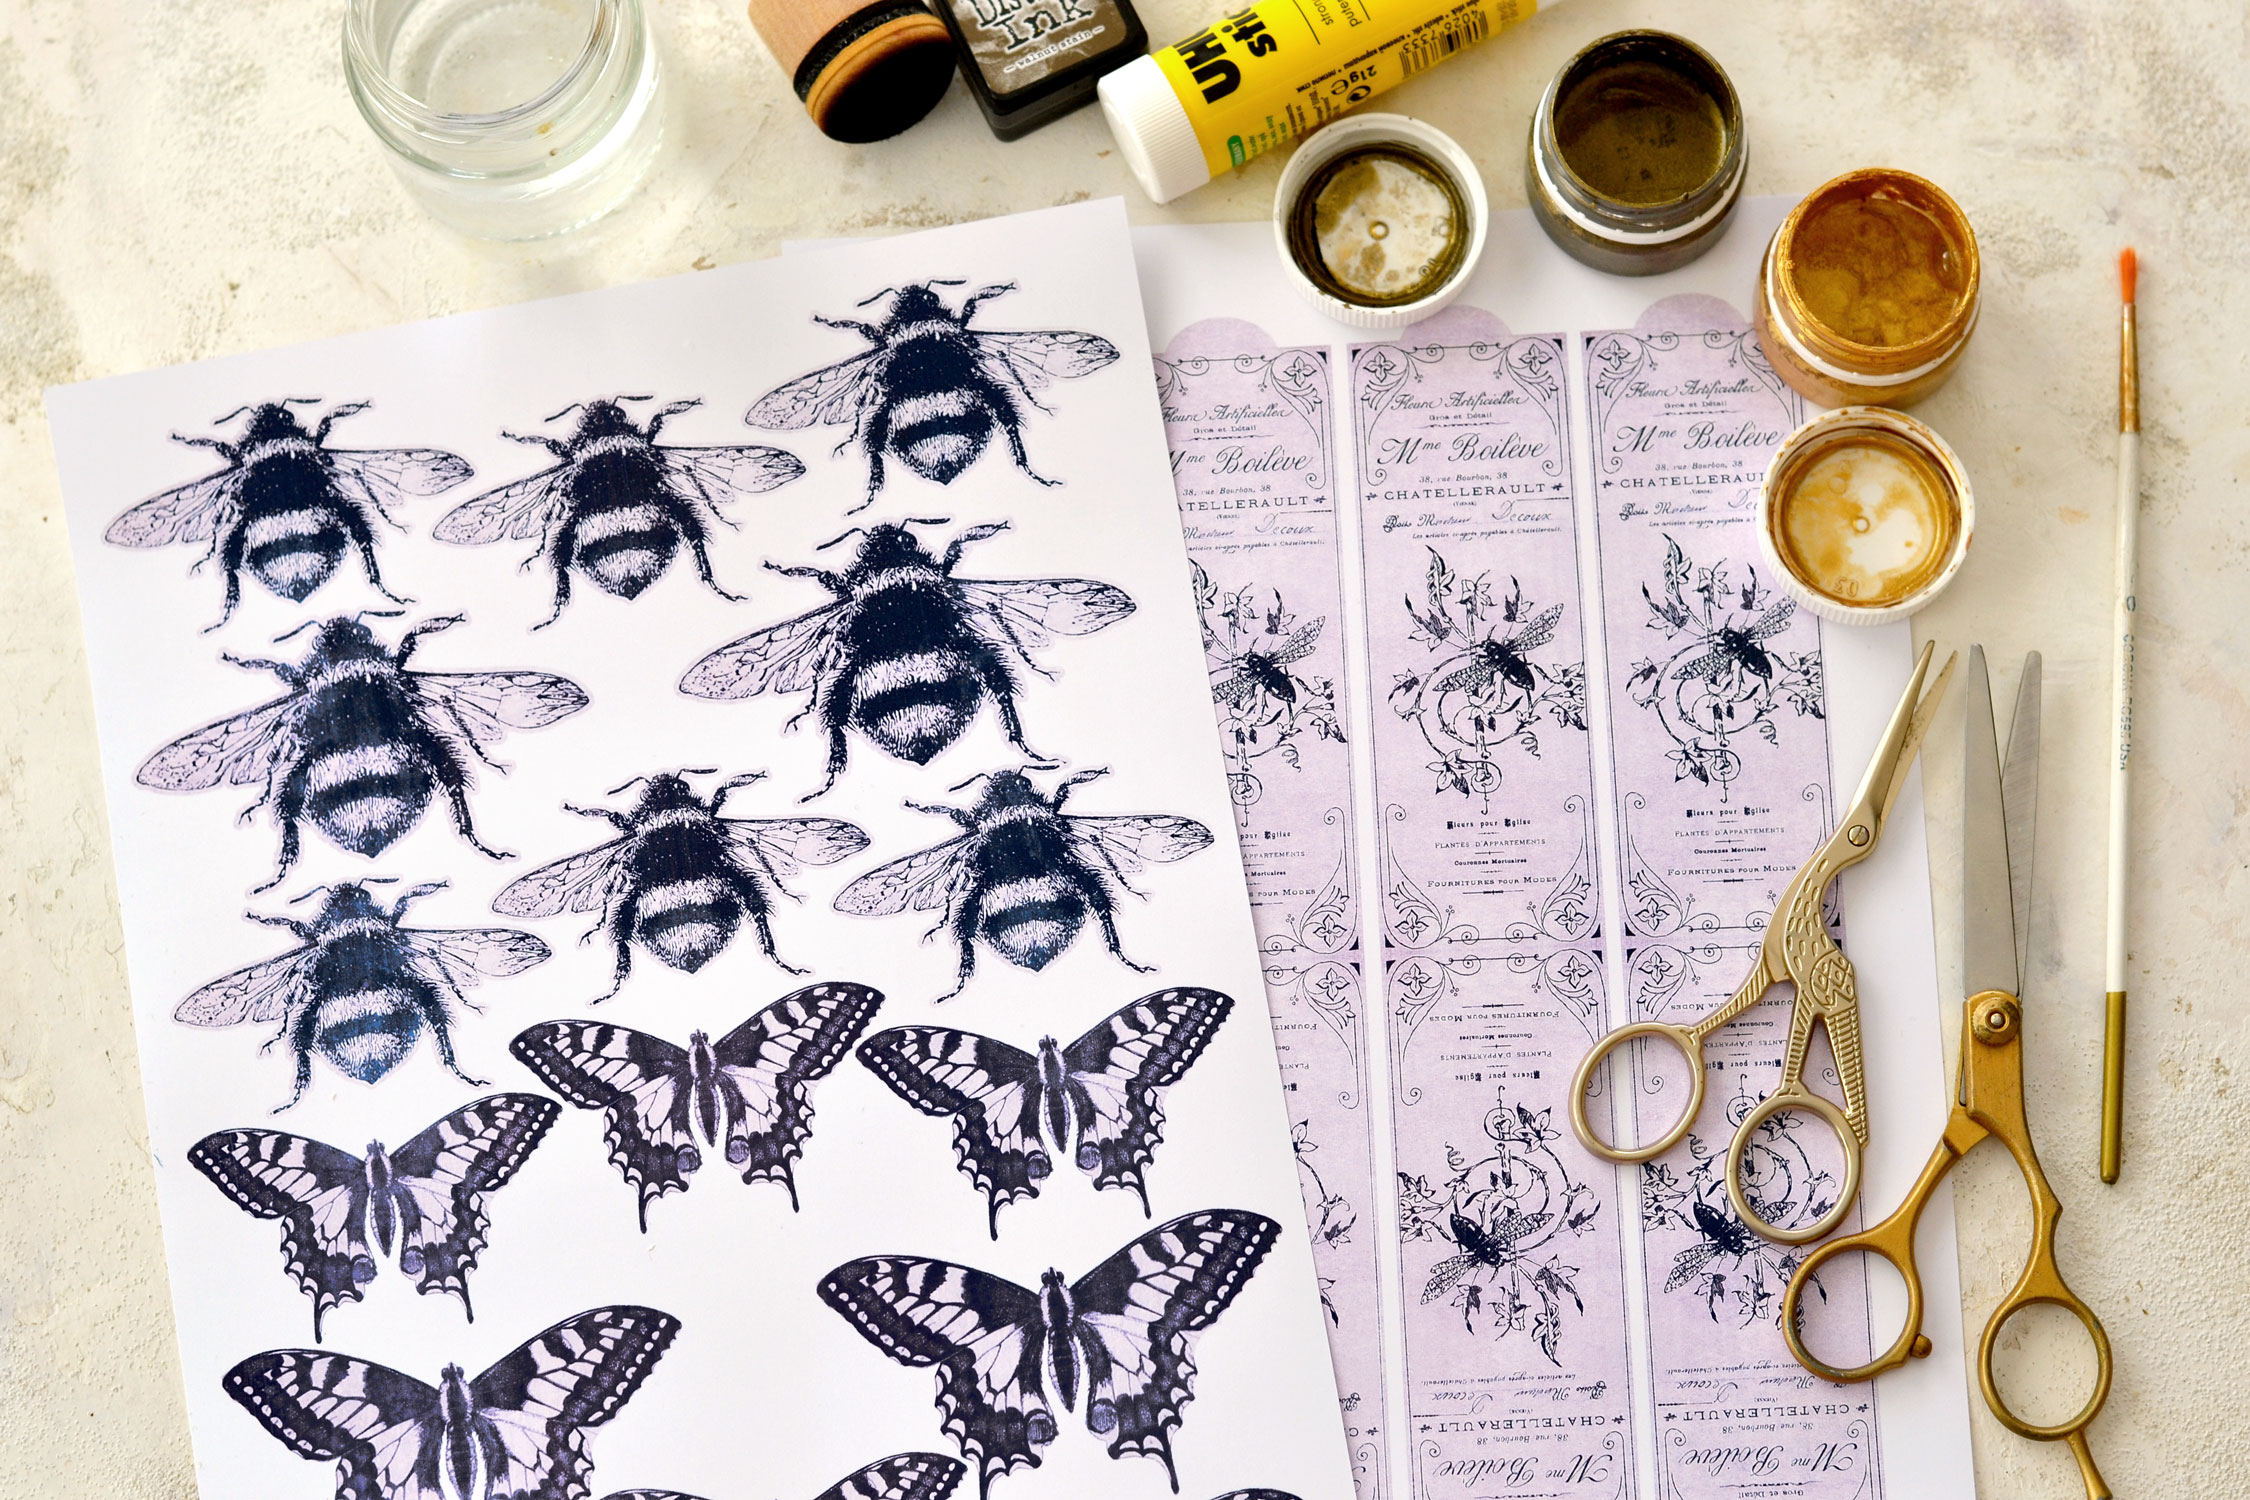
Supplies for Butterfly & Bee Paper Bookmarks:
- cardstock paper
- home printer
- scissors
- mini distress inks
- blending tool with foams
- glue stick or any other paper glue
- gold acrylic paint OR gold watercolor paint OR gold gouache (I used gouache)
- a round brush (use a watercolor brush if you have one)
- a small jar with water
- a plastic sheet or a non-absorbent surface (to protect your working area while using the water and the paint)
Tutorial Step by Step Instructions:
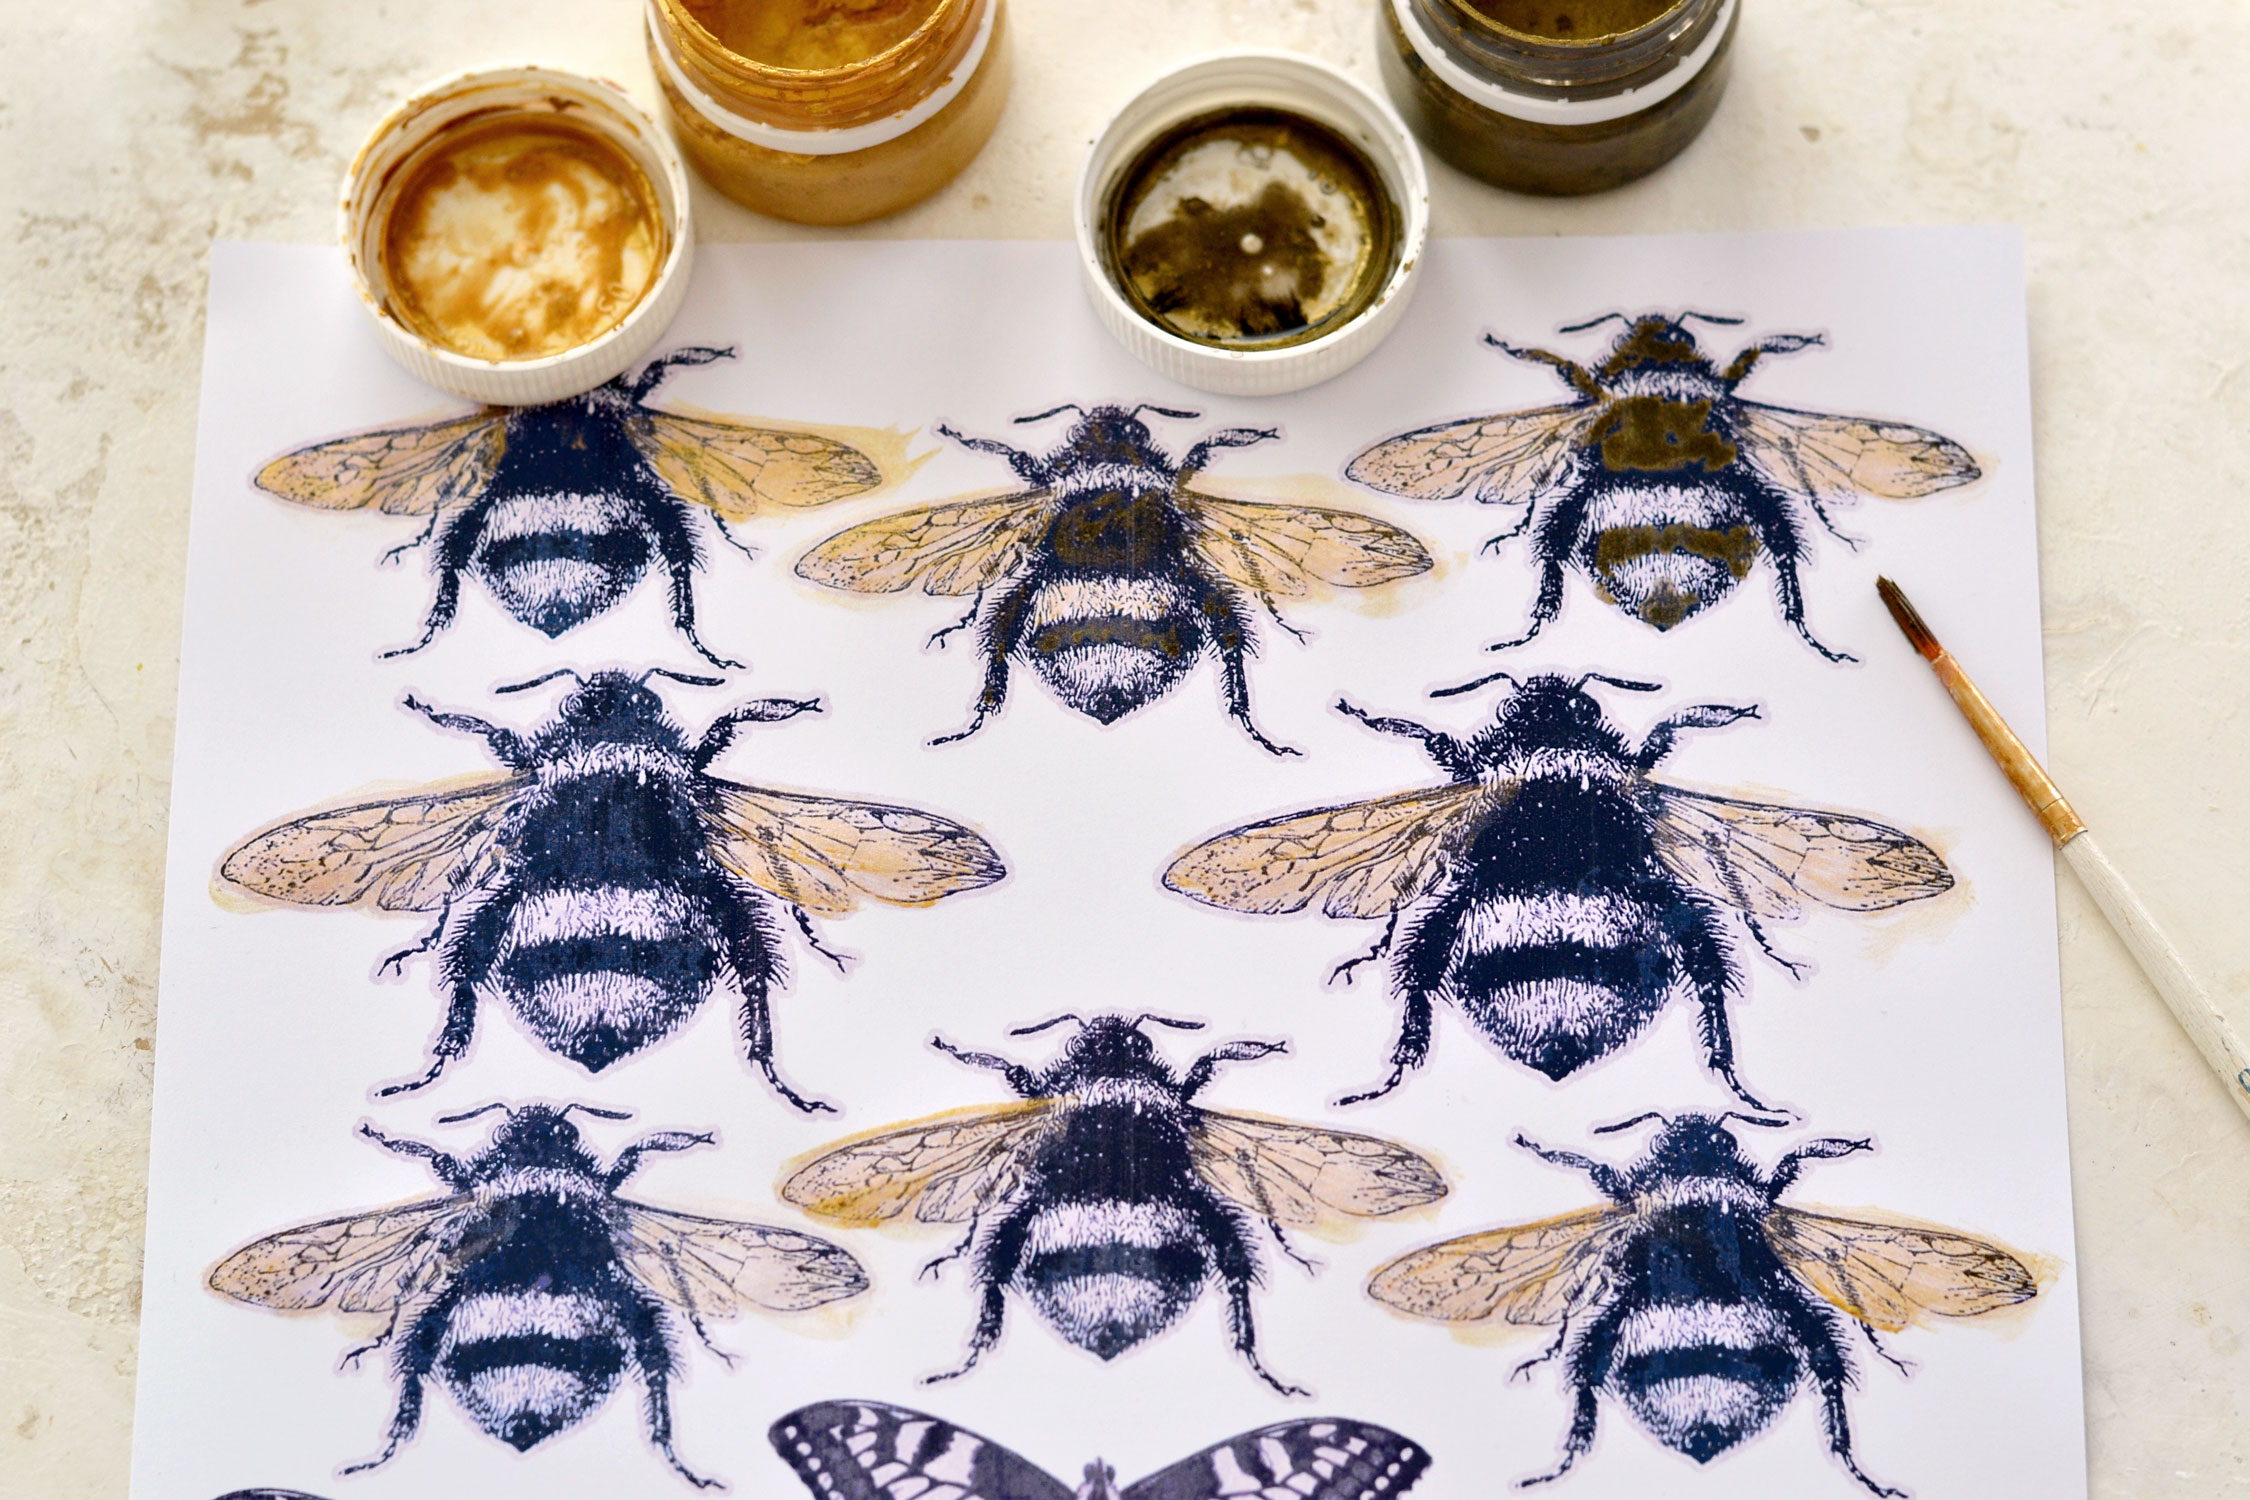
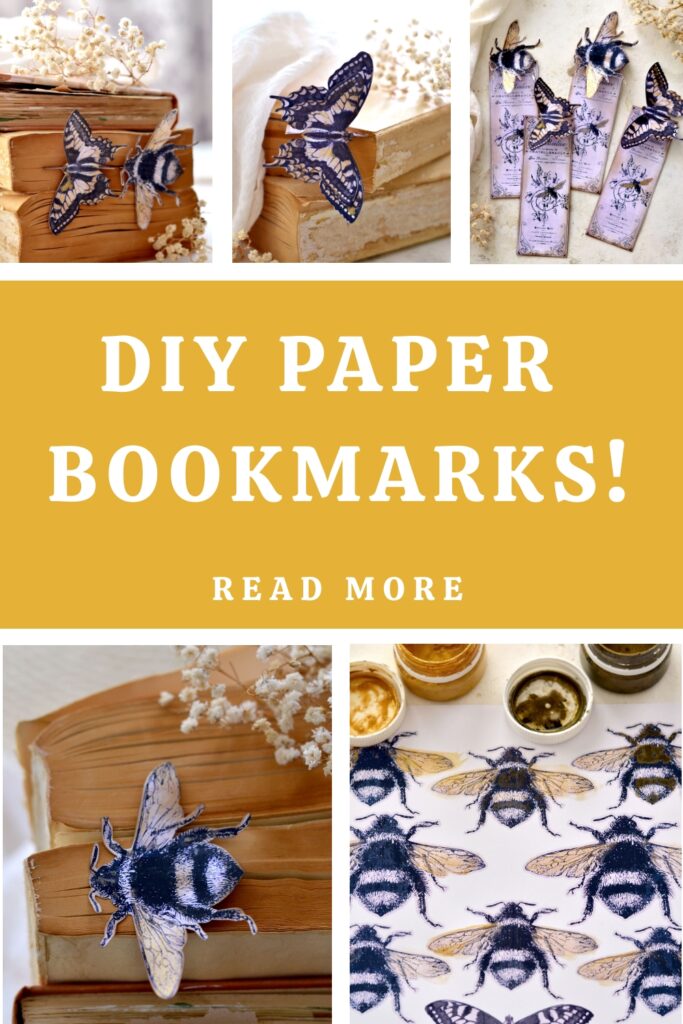
Start by printing your printables on cardstock paper. Use gold paint diluted with water to paint the wings of the bees. I used metallic gold gouaches for this part and then I continued with some green gold to paint different darker areas of the body. I don’t like to completely cover the printed details, I prefer to highlight them with a little bit of metallic paint.
Continue with the butterflies using gold for the lighter areas and some dark gold for some of the darker areas. Sometimes the paint tends to bead up in some areas, especially on top of laser-printed images, so I went in again after the paint had dried with some water and just picked up some of the excess paint.
P.S. Picking up paint with water only works with watercolors and gouaches, it doesn’t work with acrylic paint.
Use some more of that lovely gold to paint the wings of the butterflies from the bookmarks. You can paint any other details that you want! If you have some favorite gold markers, that may work too, but I really like the richness that the paint gives them.
After drying, use your scissors to cut the bookmarks following their shape, you will get 4 foldable bookmarks from our free printable. (You could use a paper trimmer for the sides of the long skinny templates, to get nice clean cuts)
Cut the butterflies and the bees. You will only need 4 images for our bookmarks, you can use the rest of these beauties as you want!
Then, use your favorite distress ink to give the paper a lovely vintage vibe. I love using Walnut Stain, but any other browns will work here. If you’re feeling adventurous, you can try other colors too, to add a personal touch!
I’m always amazed at what a difference a little bit of distress ink can make! Such satisfaction!
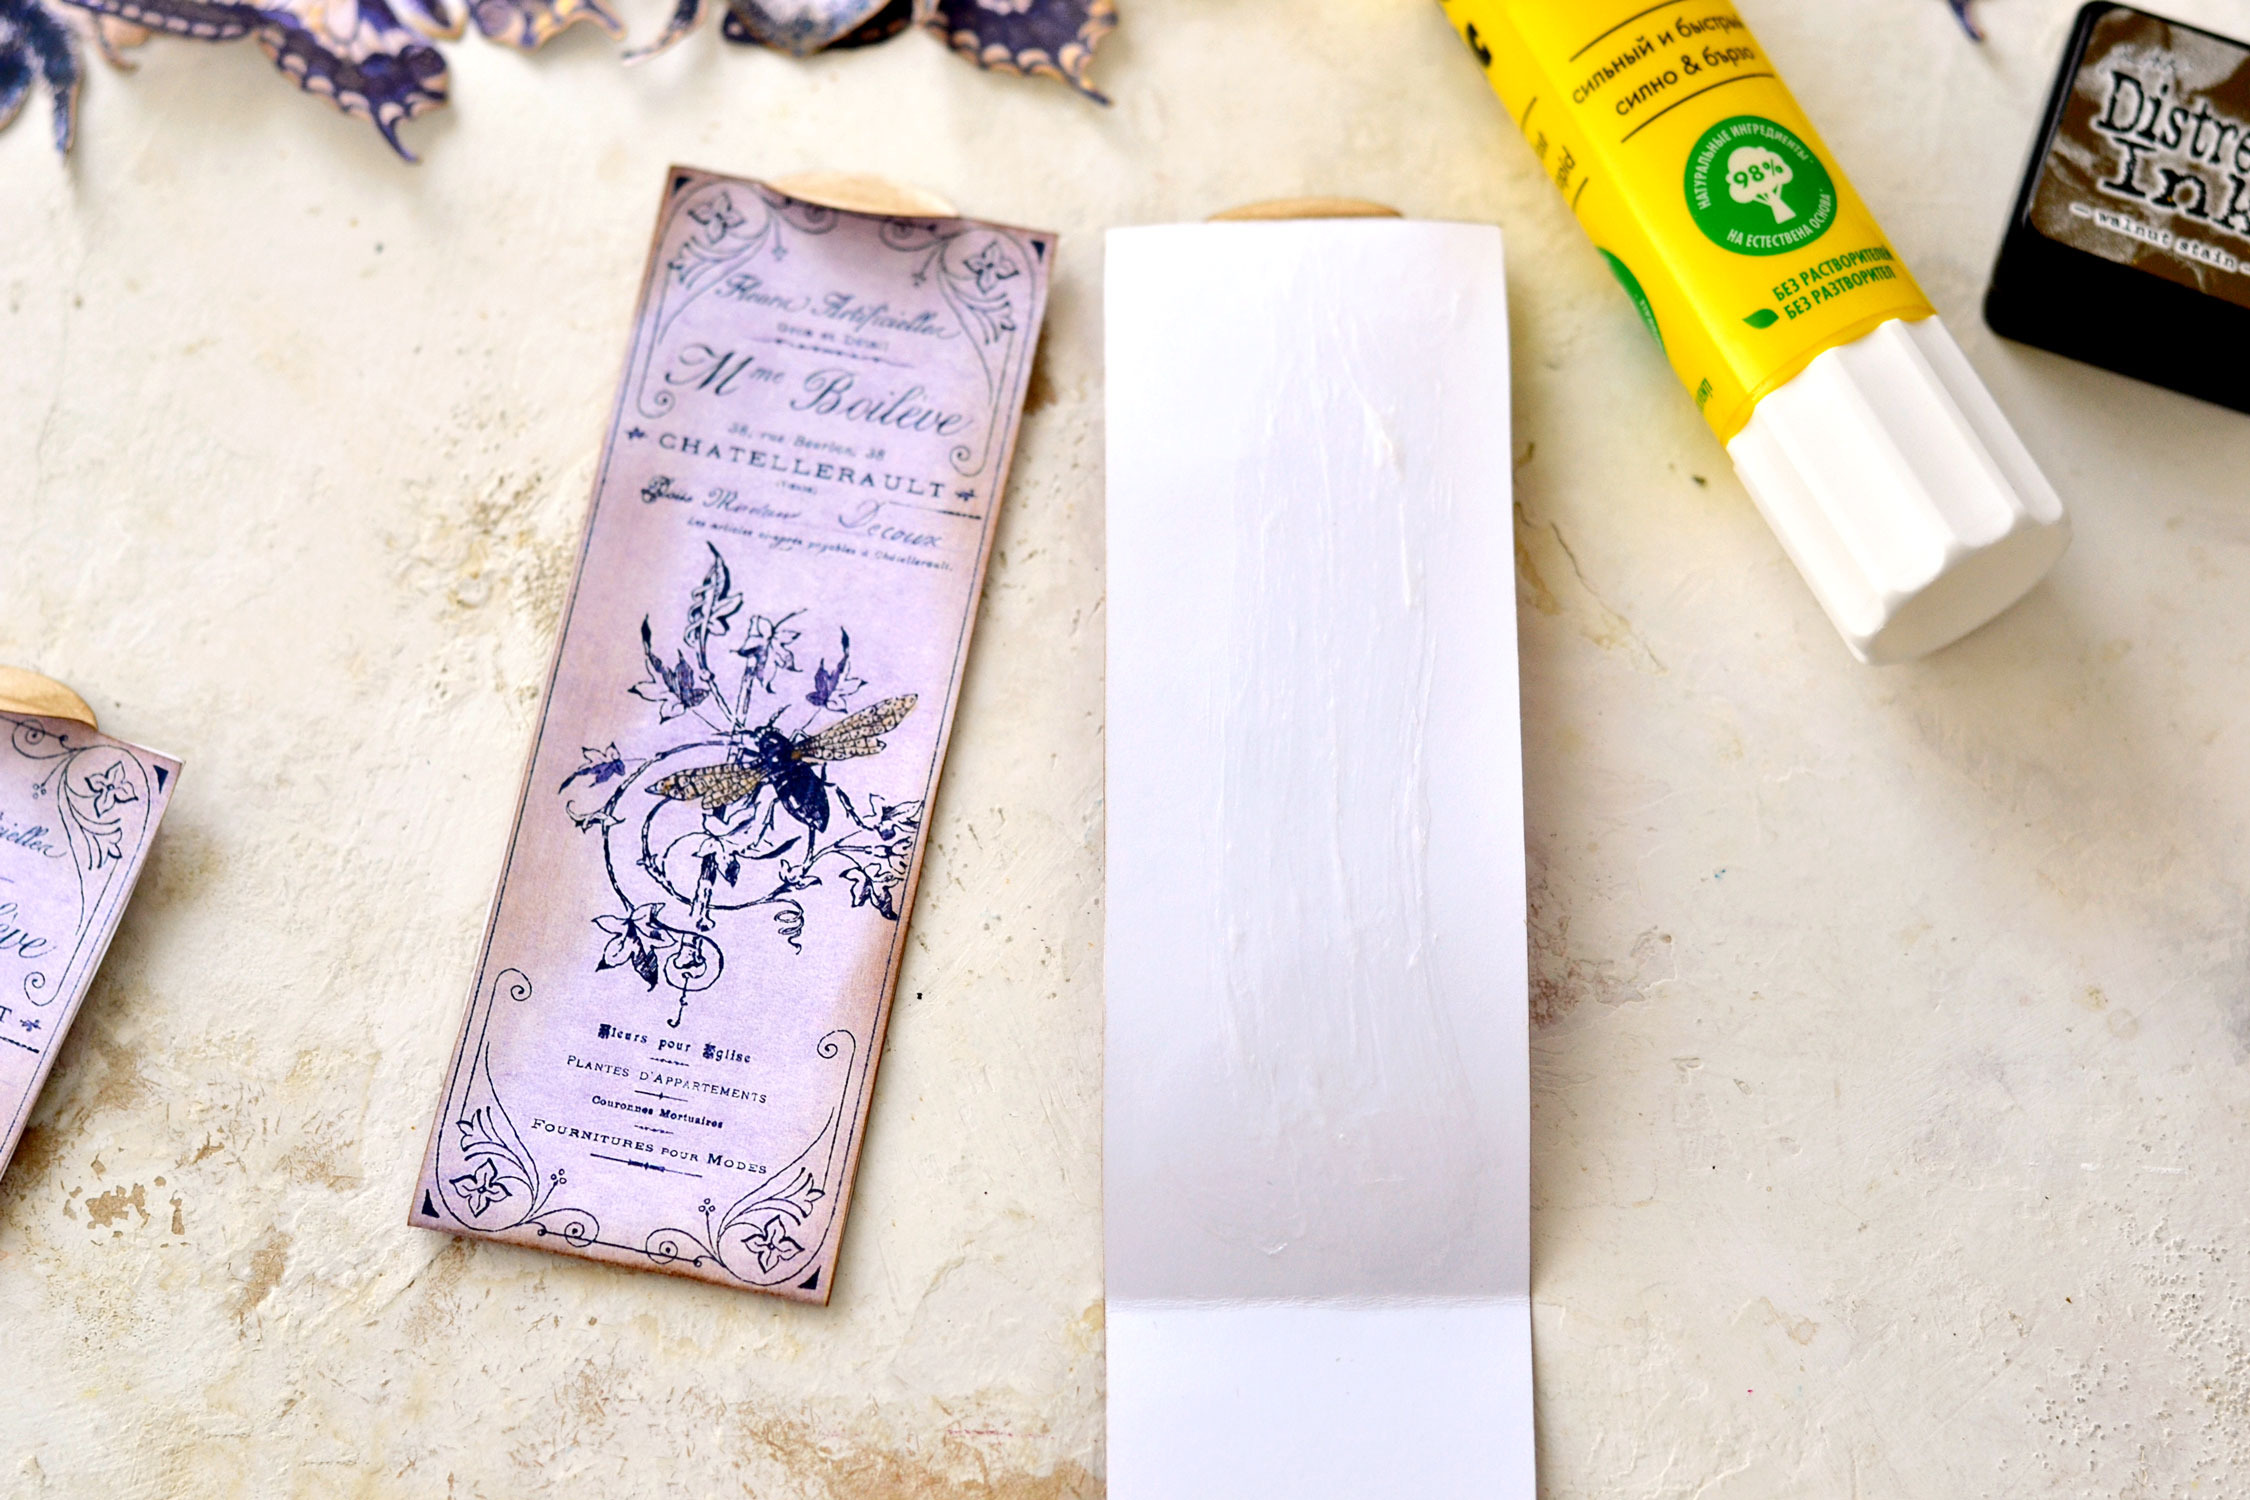
Fold each bookmark in half, then fold the tabs on top towards the outside. If you want, you can use some more of that vintage distress ink on top of the tabs, just in case there are some areas showing from underneath after gluing the insects on top.
Use paper glue on the inside to hold the bookmarks in place. Be careful when overlapping and gluing them, the two overlapped parts should be perfectly aligned. Use your fingers to hold them in place for a few seconds just to make sure they are gluing like they should.
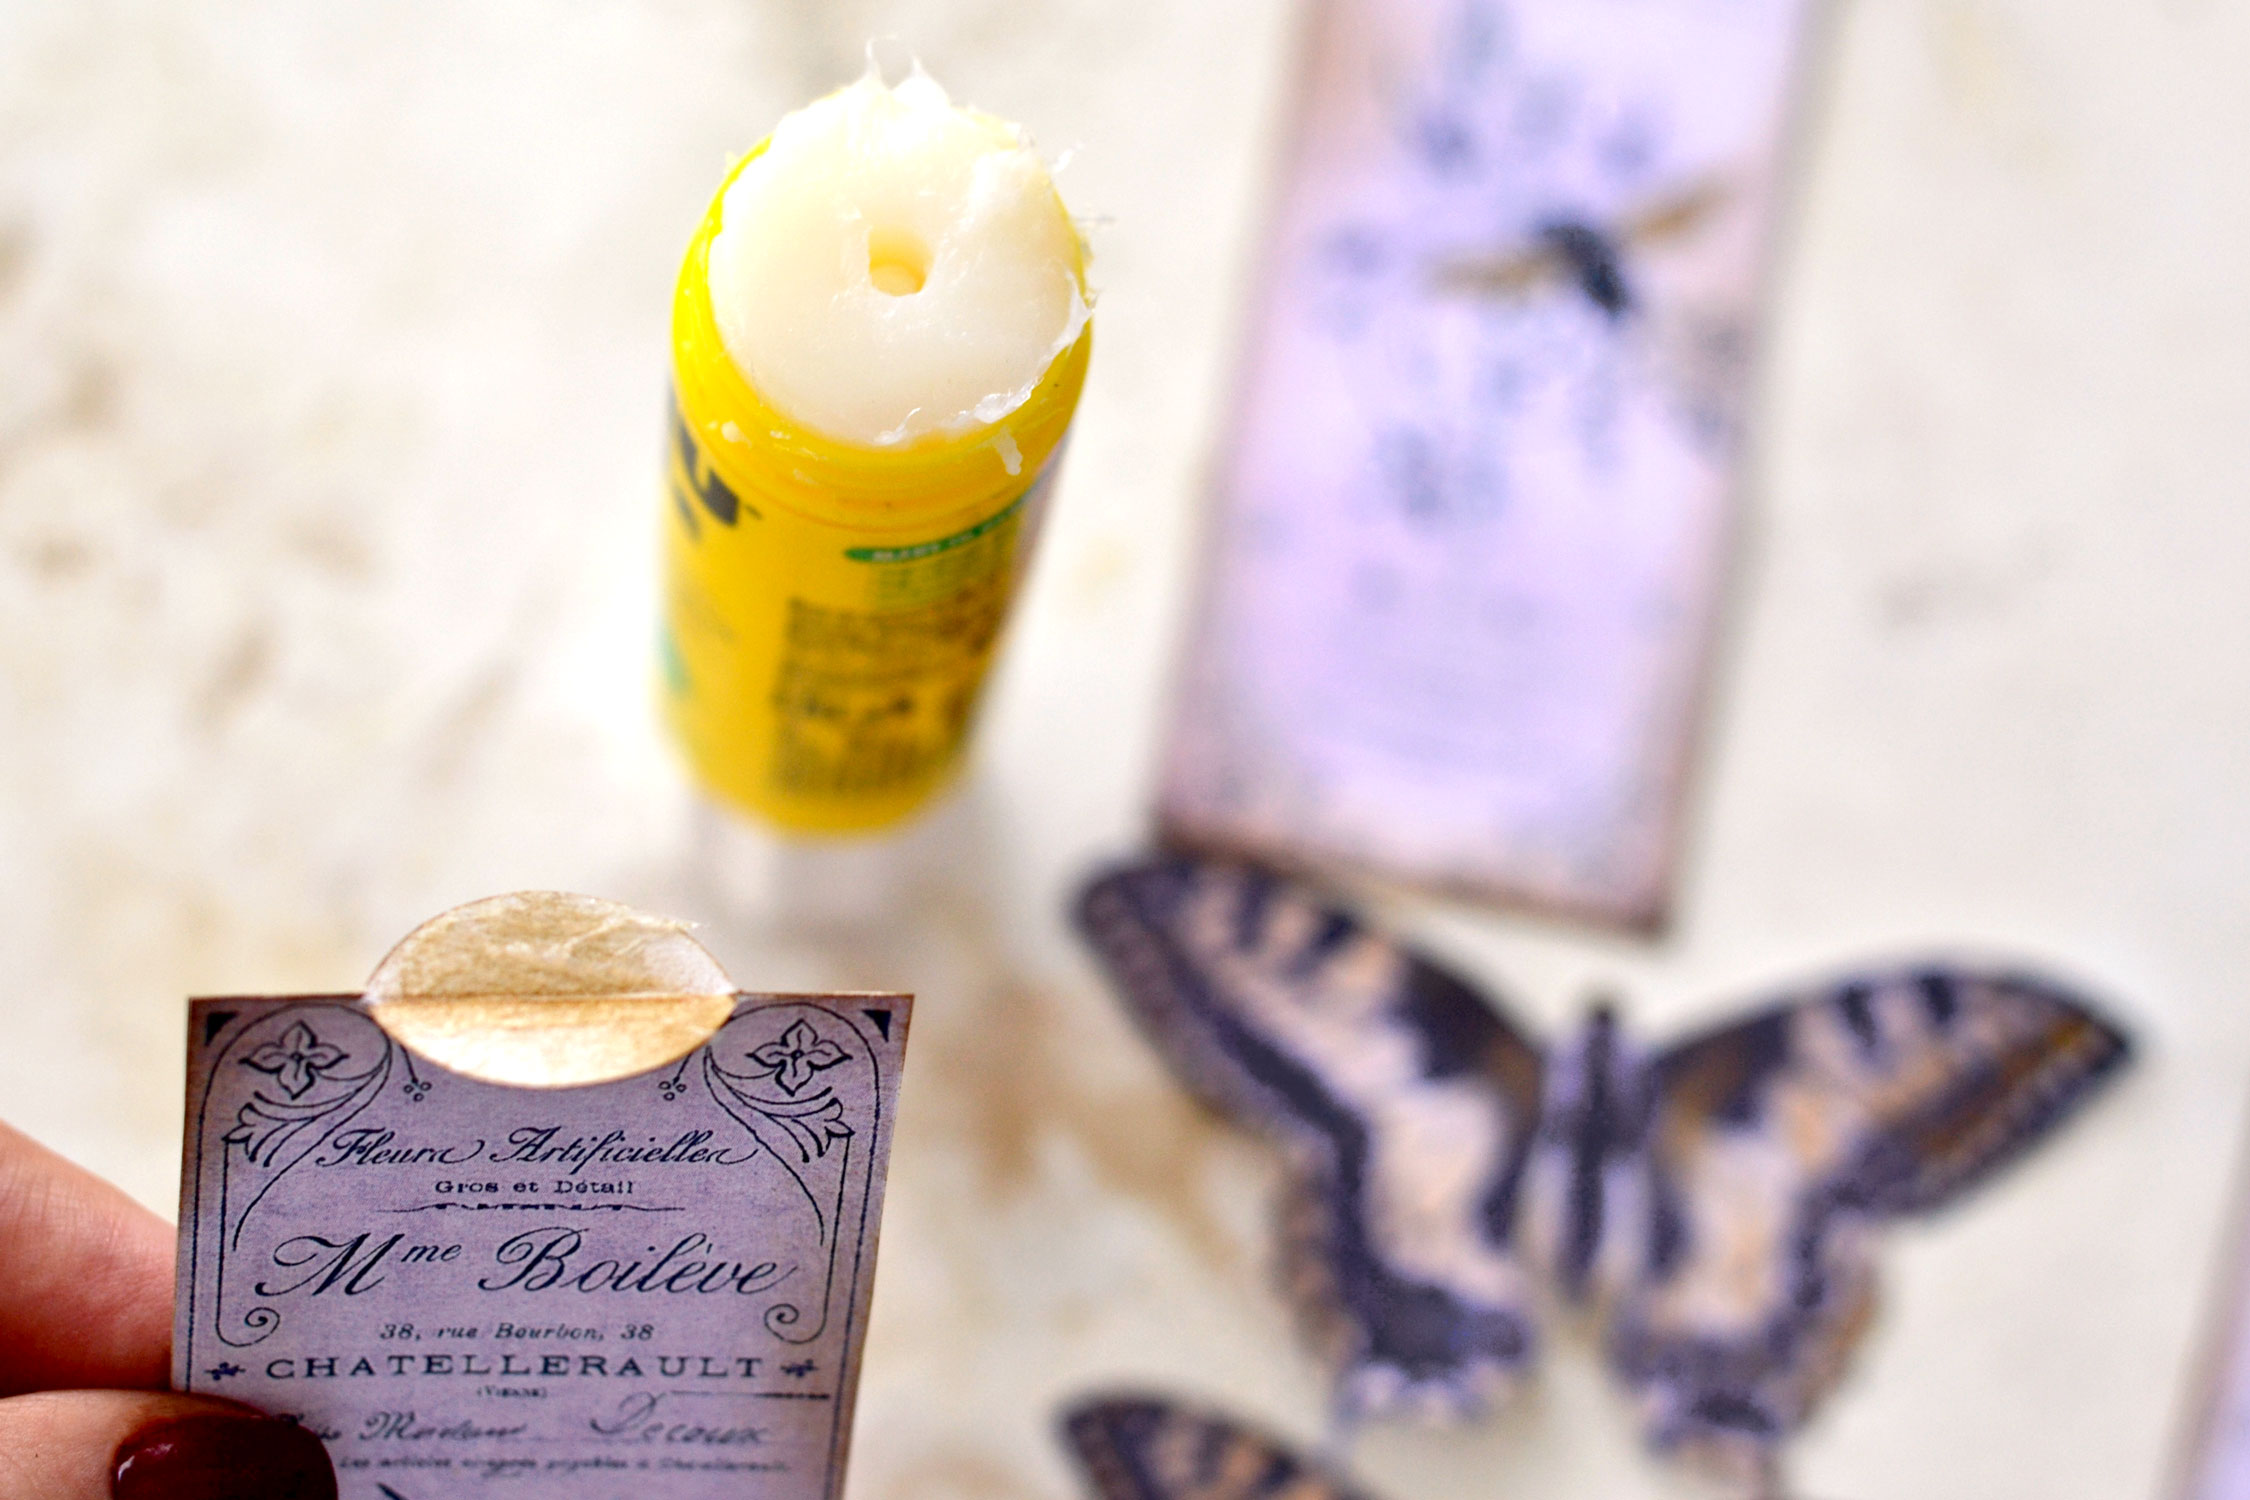
Don’t glue the tabs on top, we’ll need those to adhere our bees and butterflies on top.
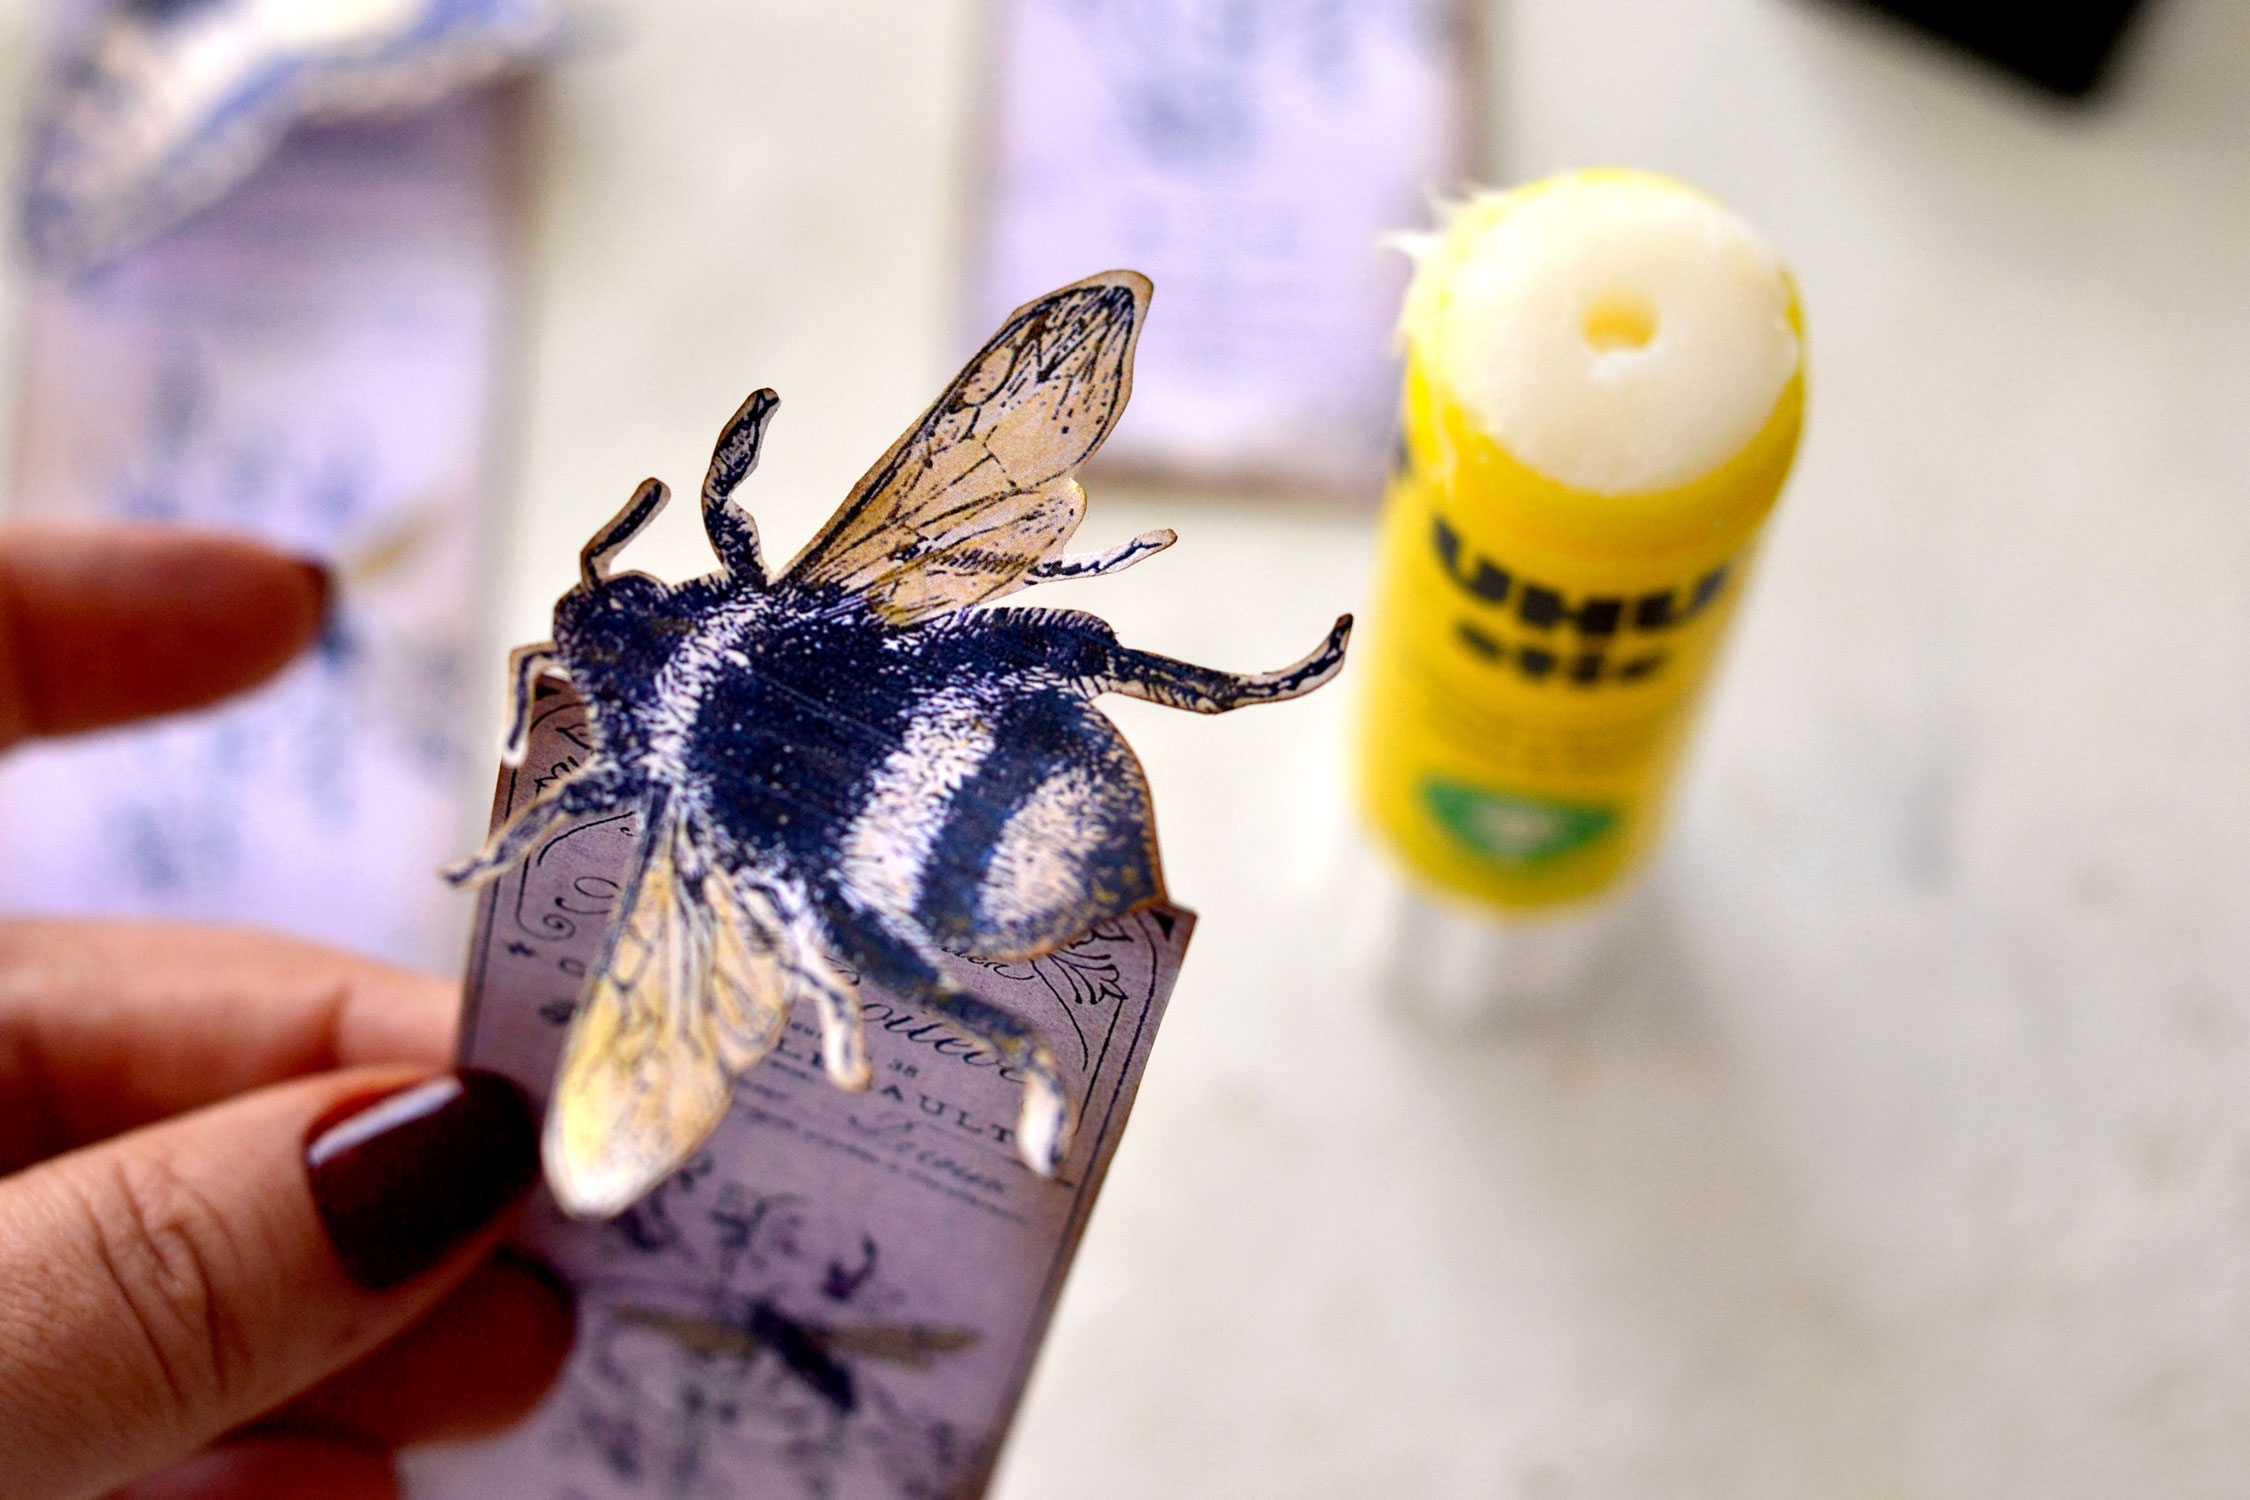
Now add some glue on top of the tabs.
Add one of the bees or butterflies on top and proceed following the same steps until you finish all the bookmarks!
When you are done, you can simply enjoy the bookmarks in all their glory! You could add additional adornments if you like, such as sequins, a button, ribbon, strips of fabric or whatever other embellishments or decorations that you have on hand.
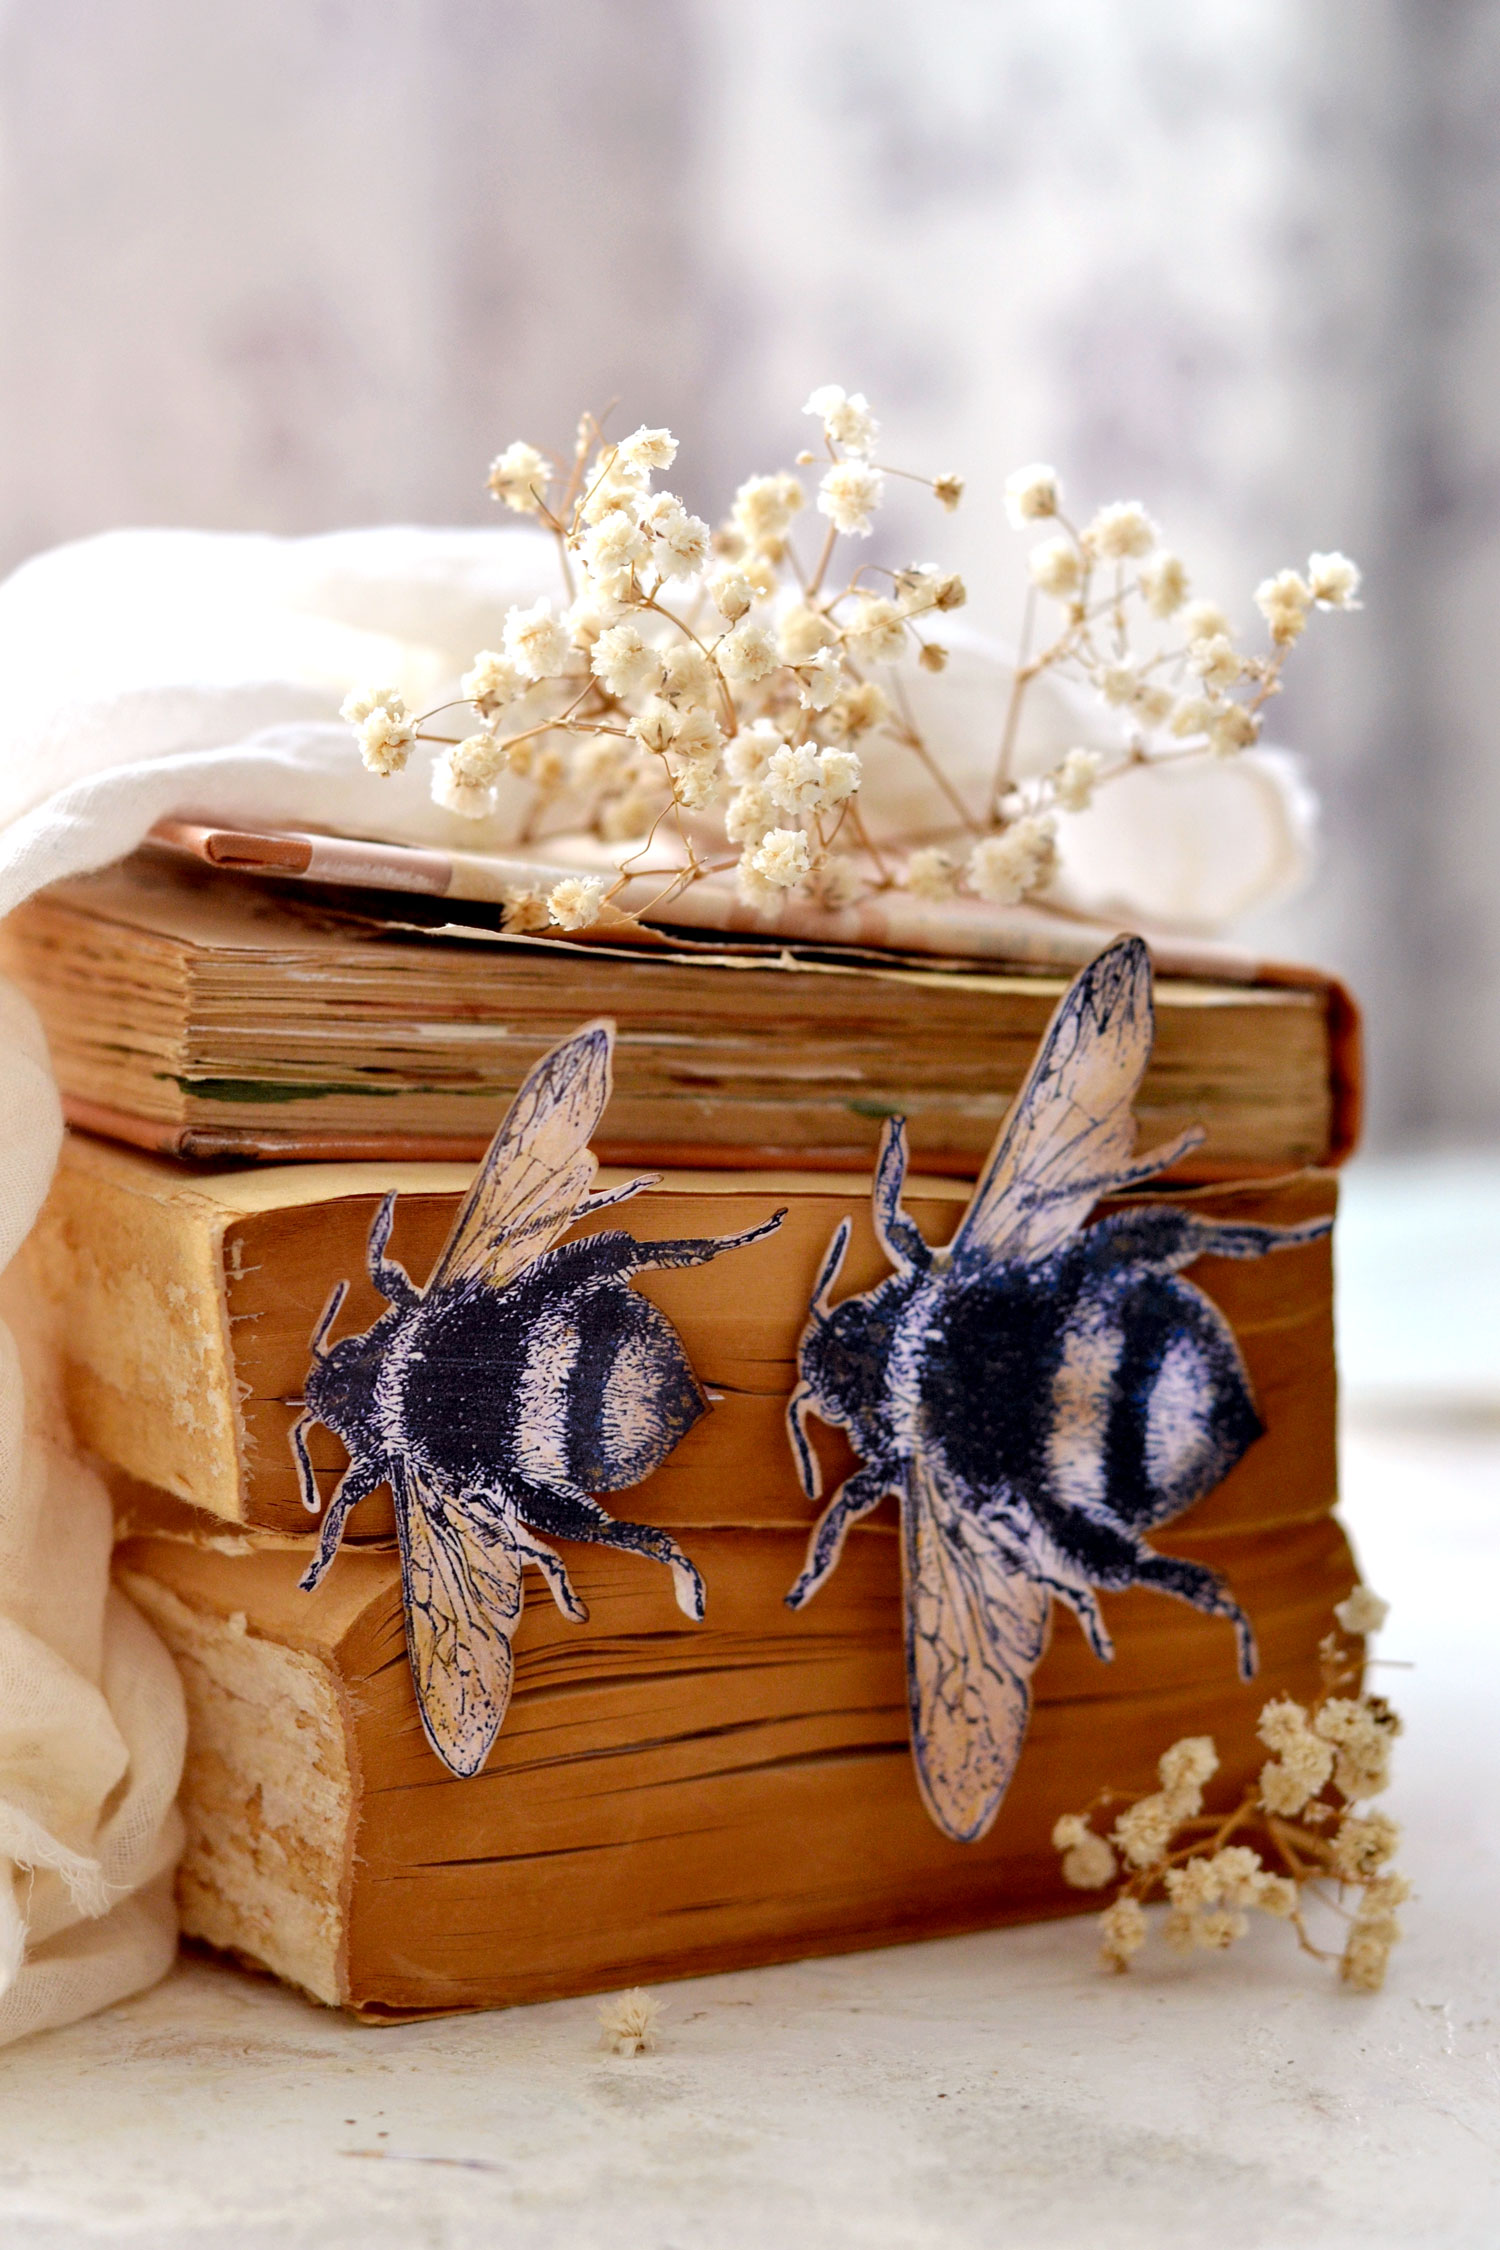
These beauties look amazing anywhere, no matter if you decide to use them on their own, as single elements or grouped, as a bunch of hive friends!
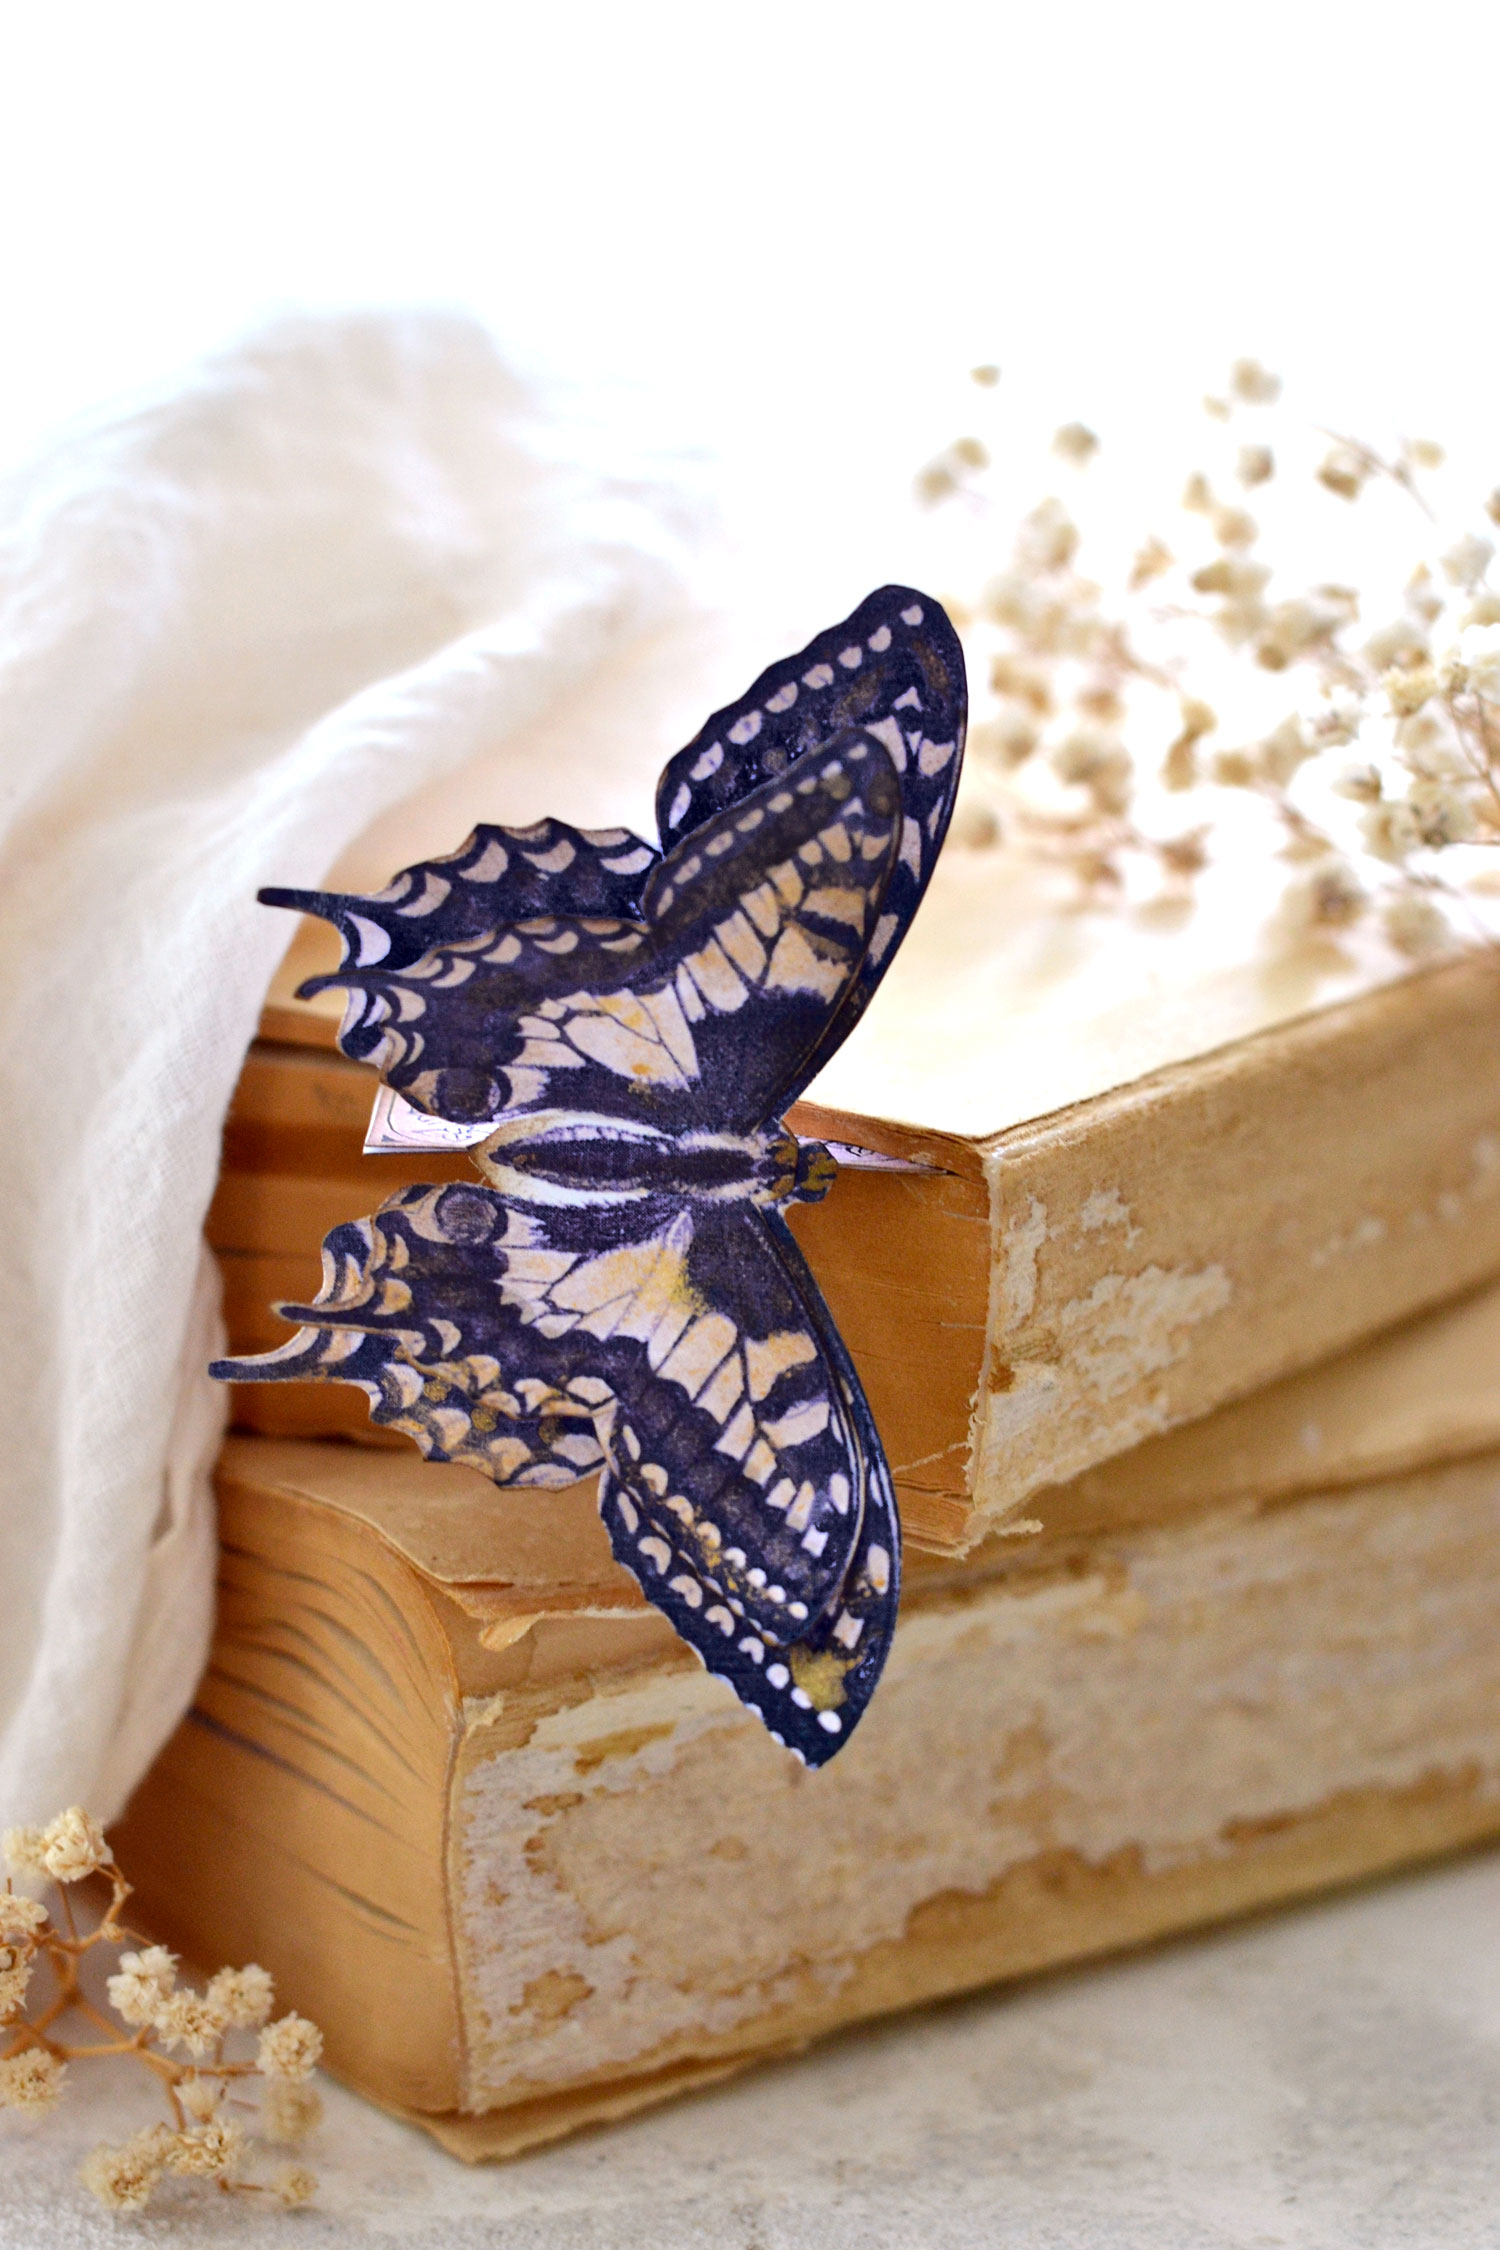
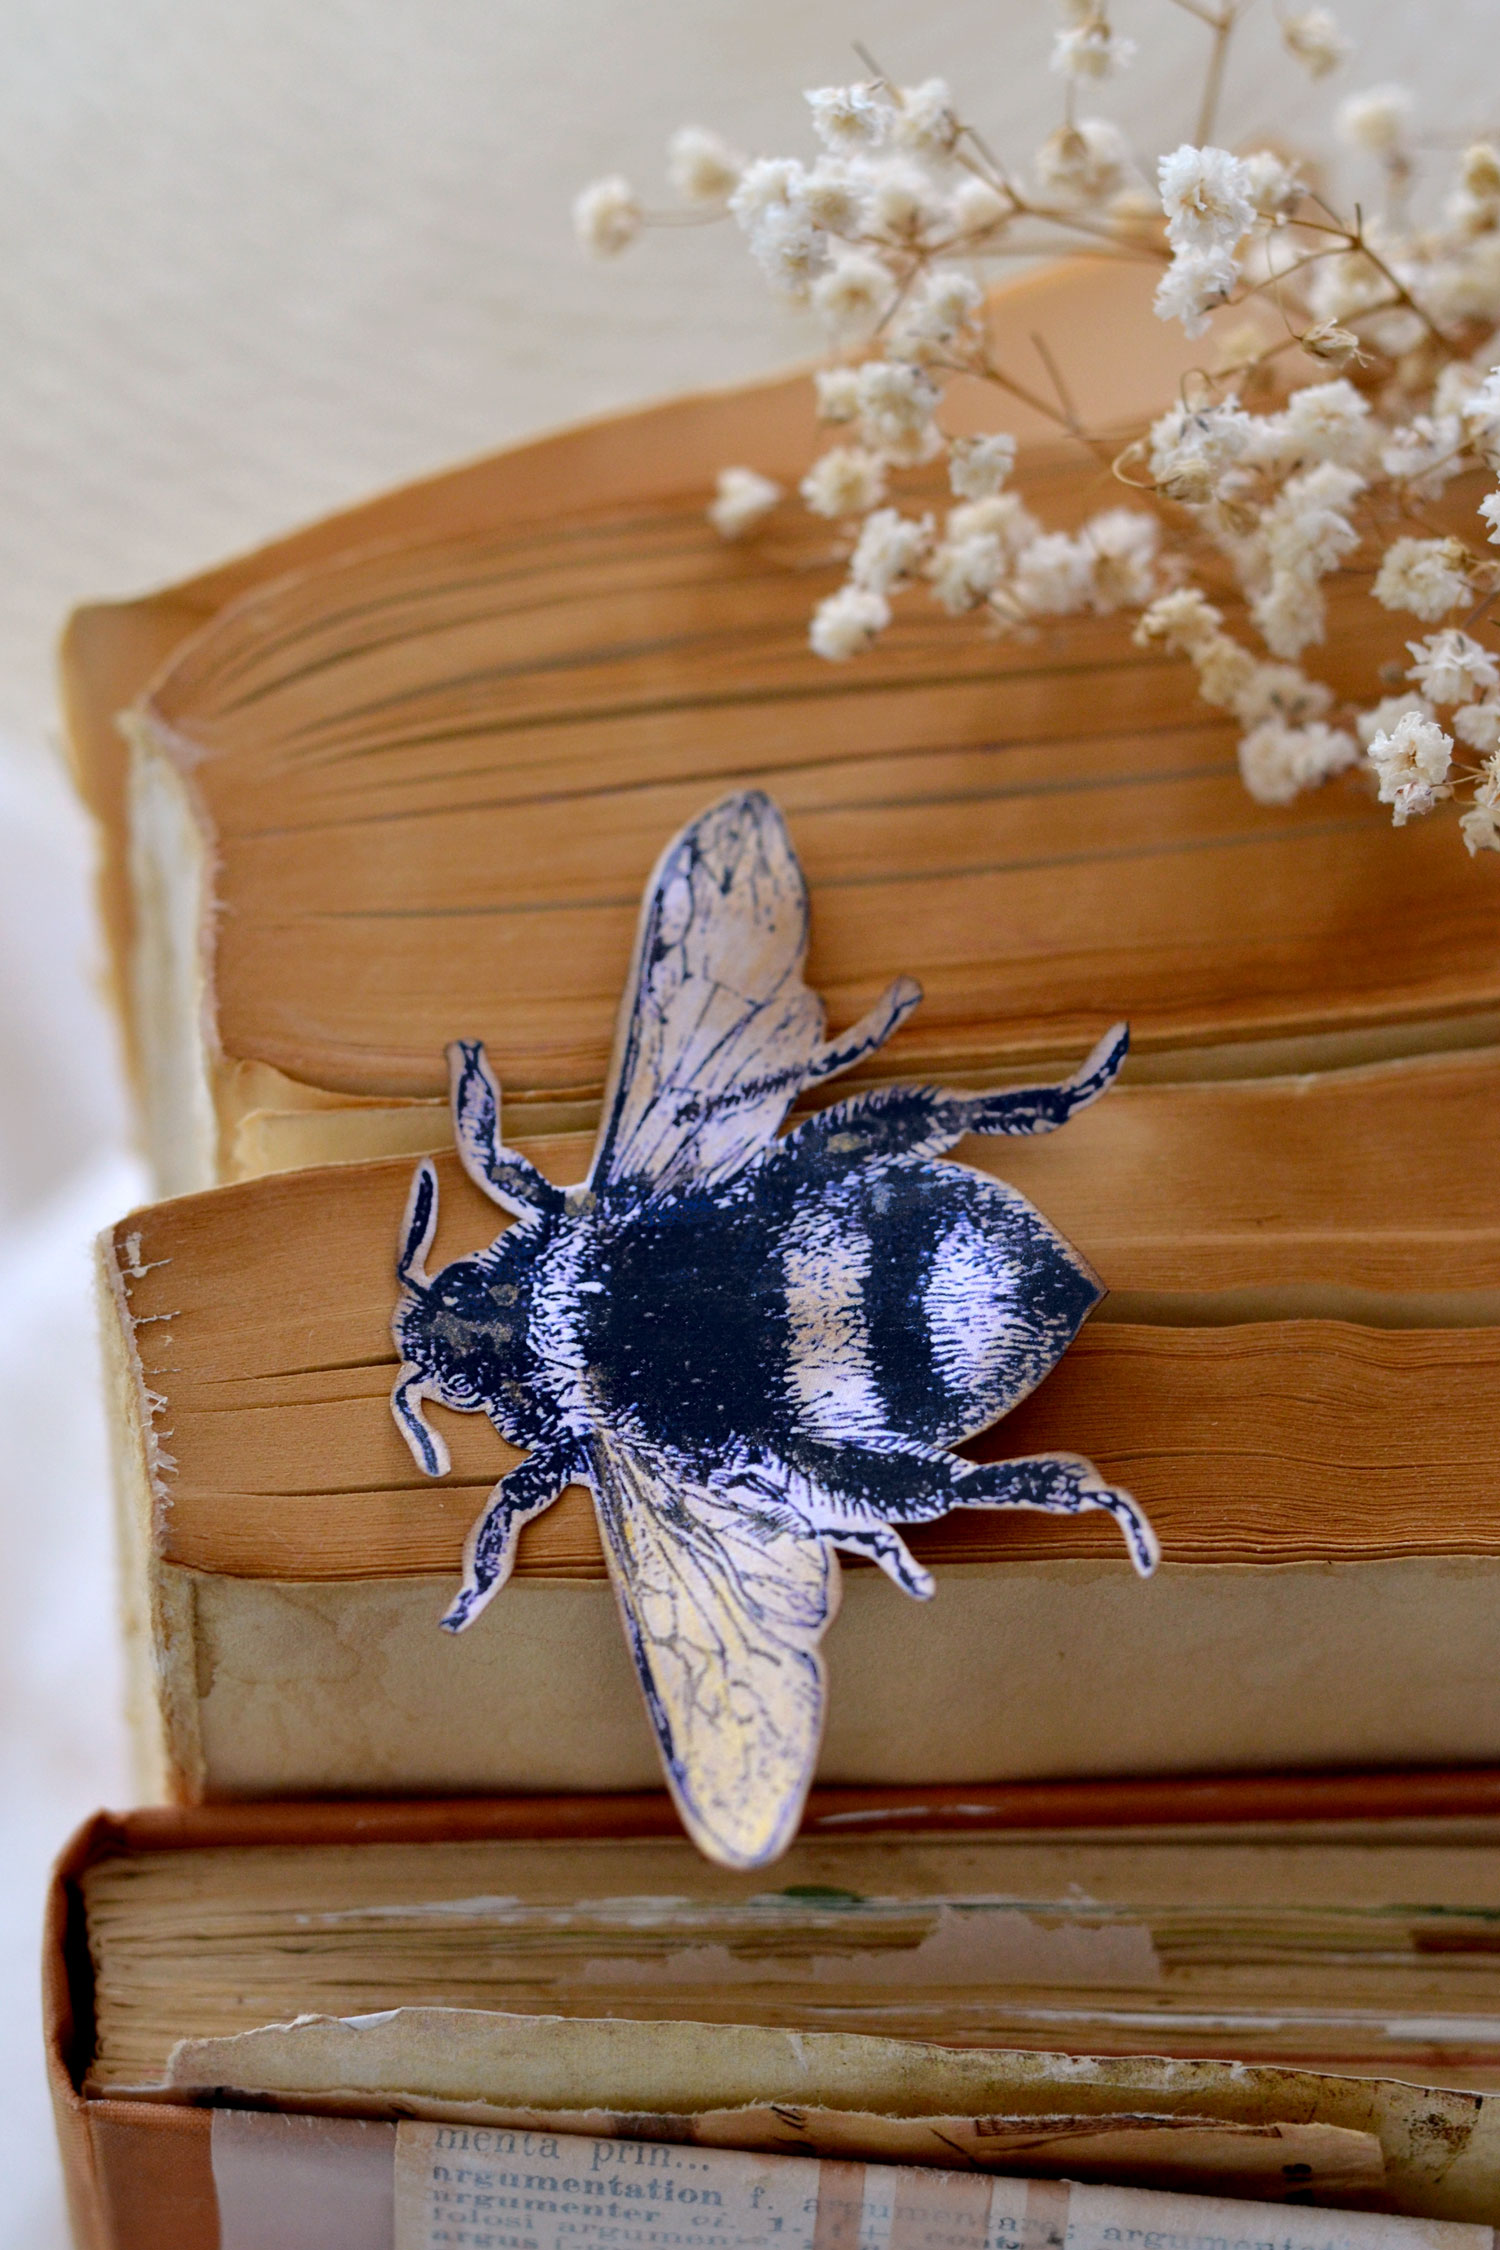
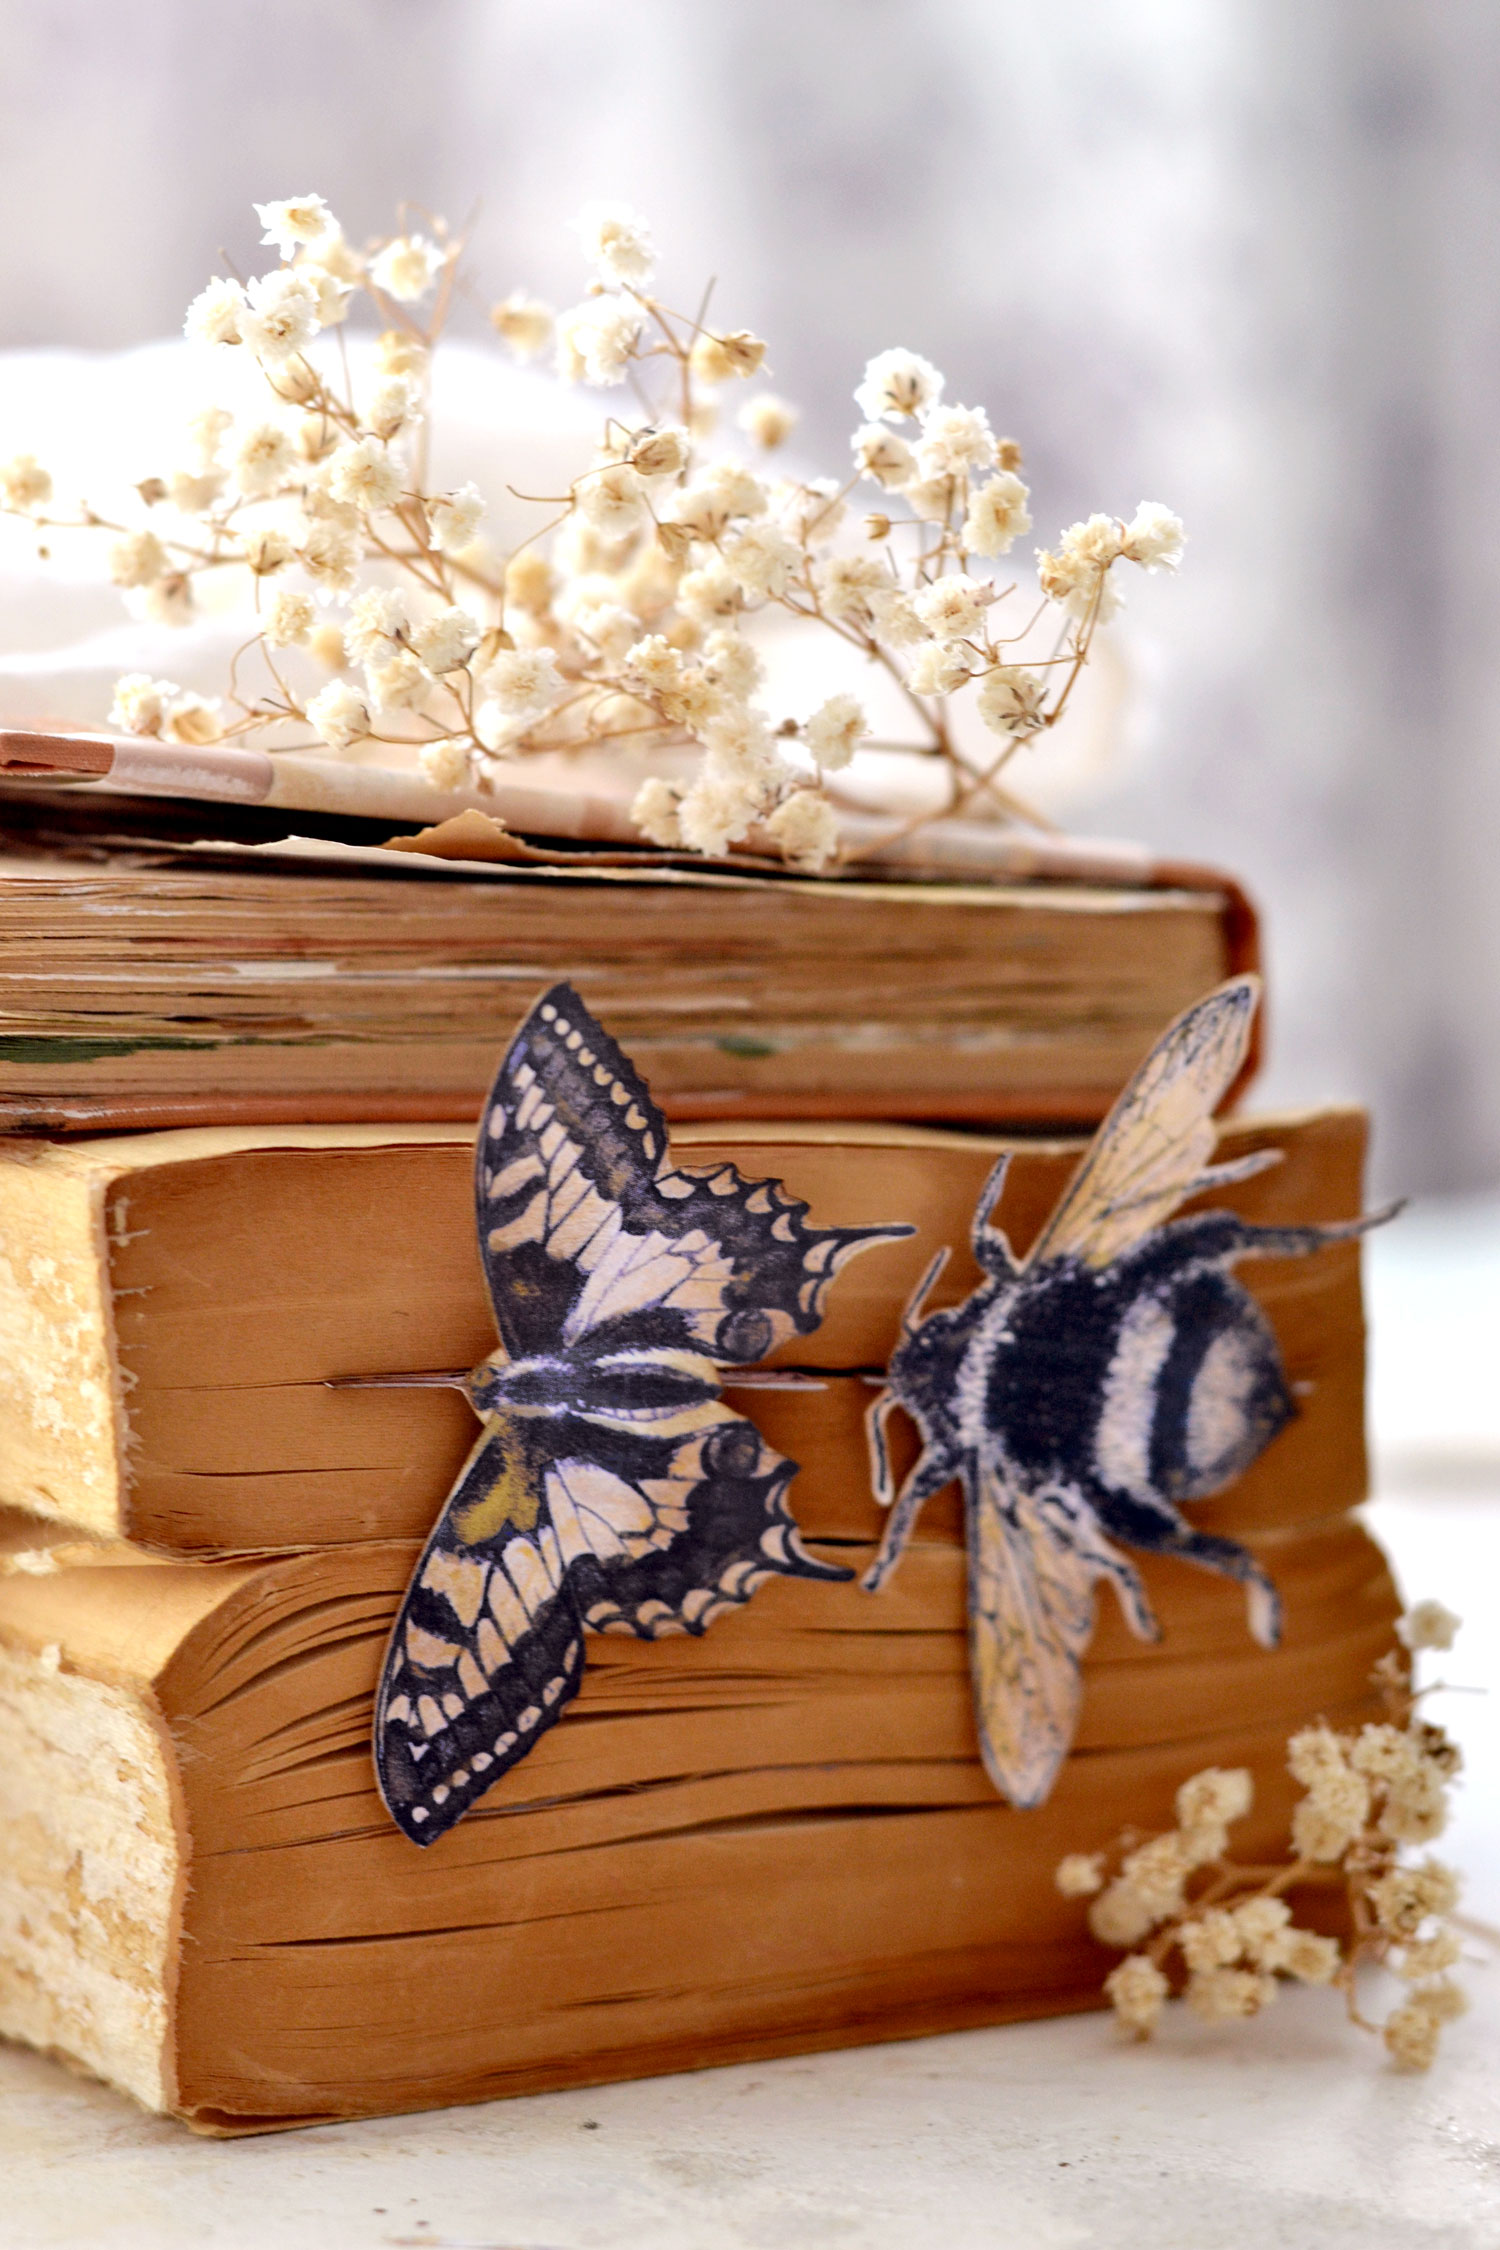
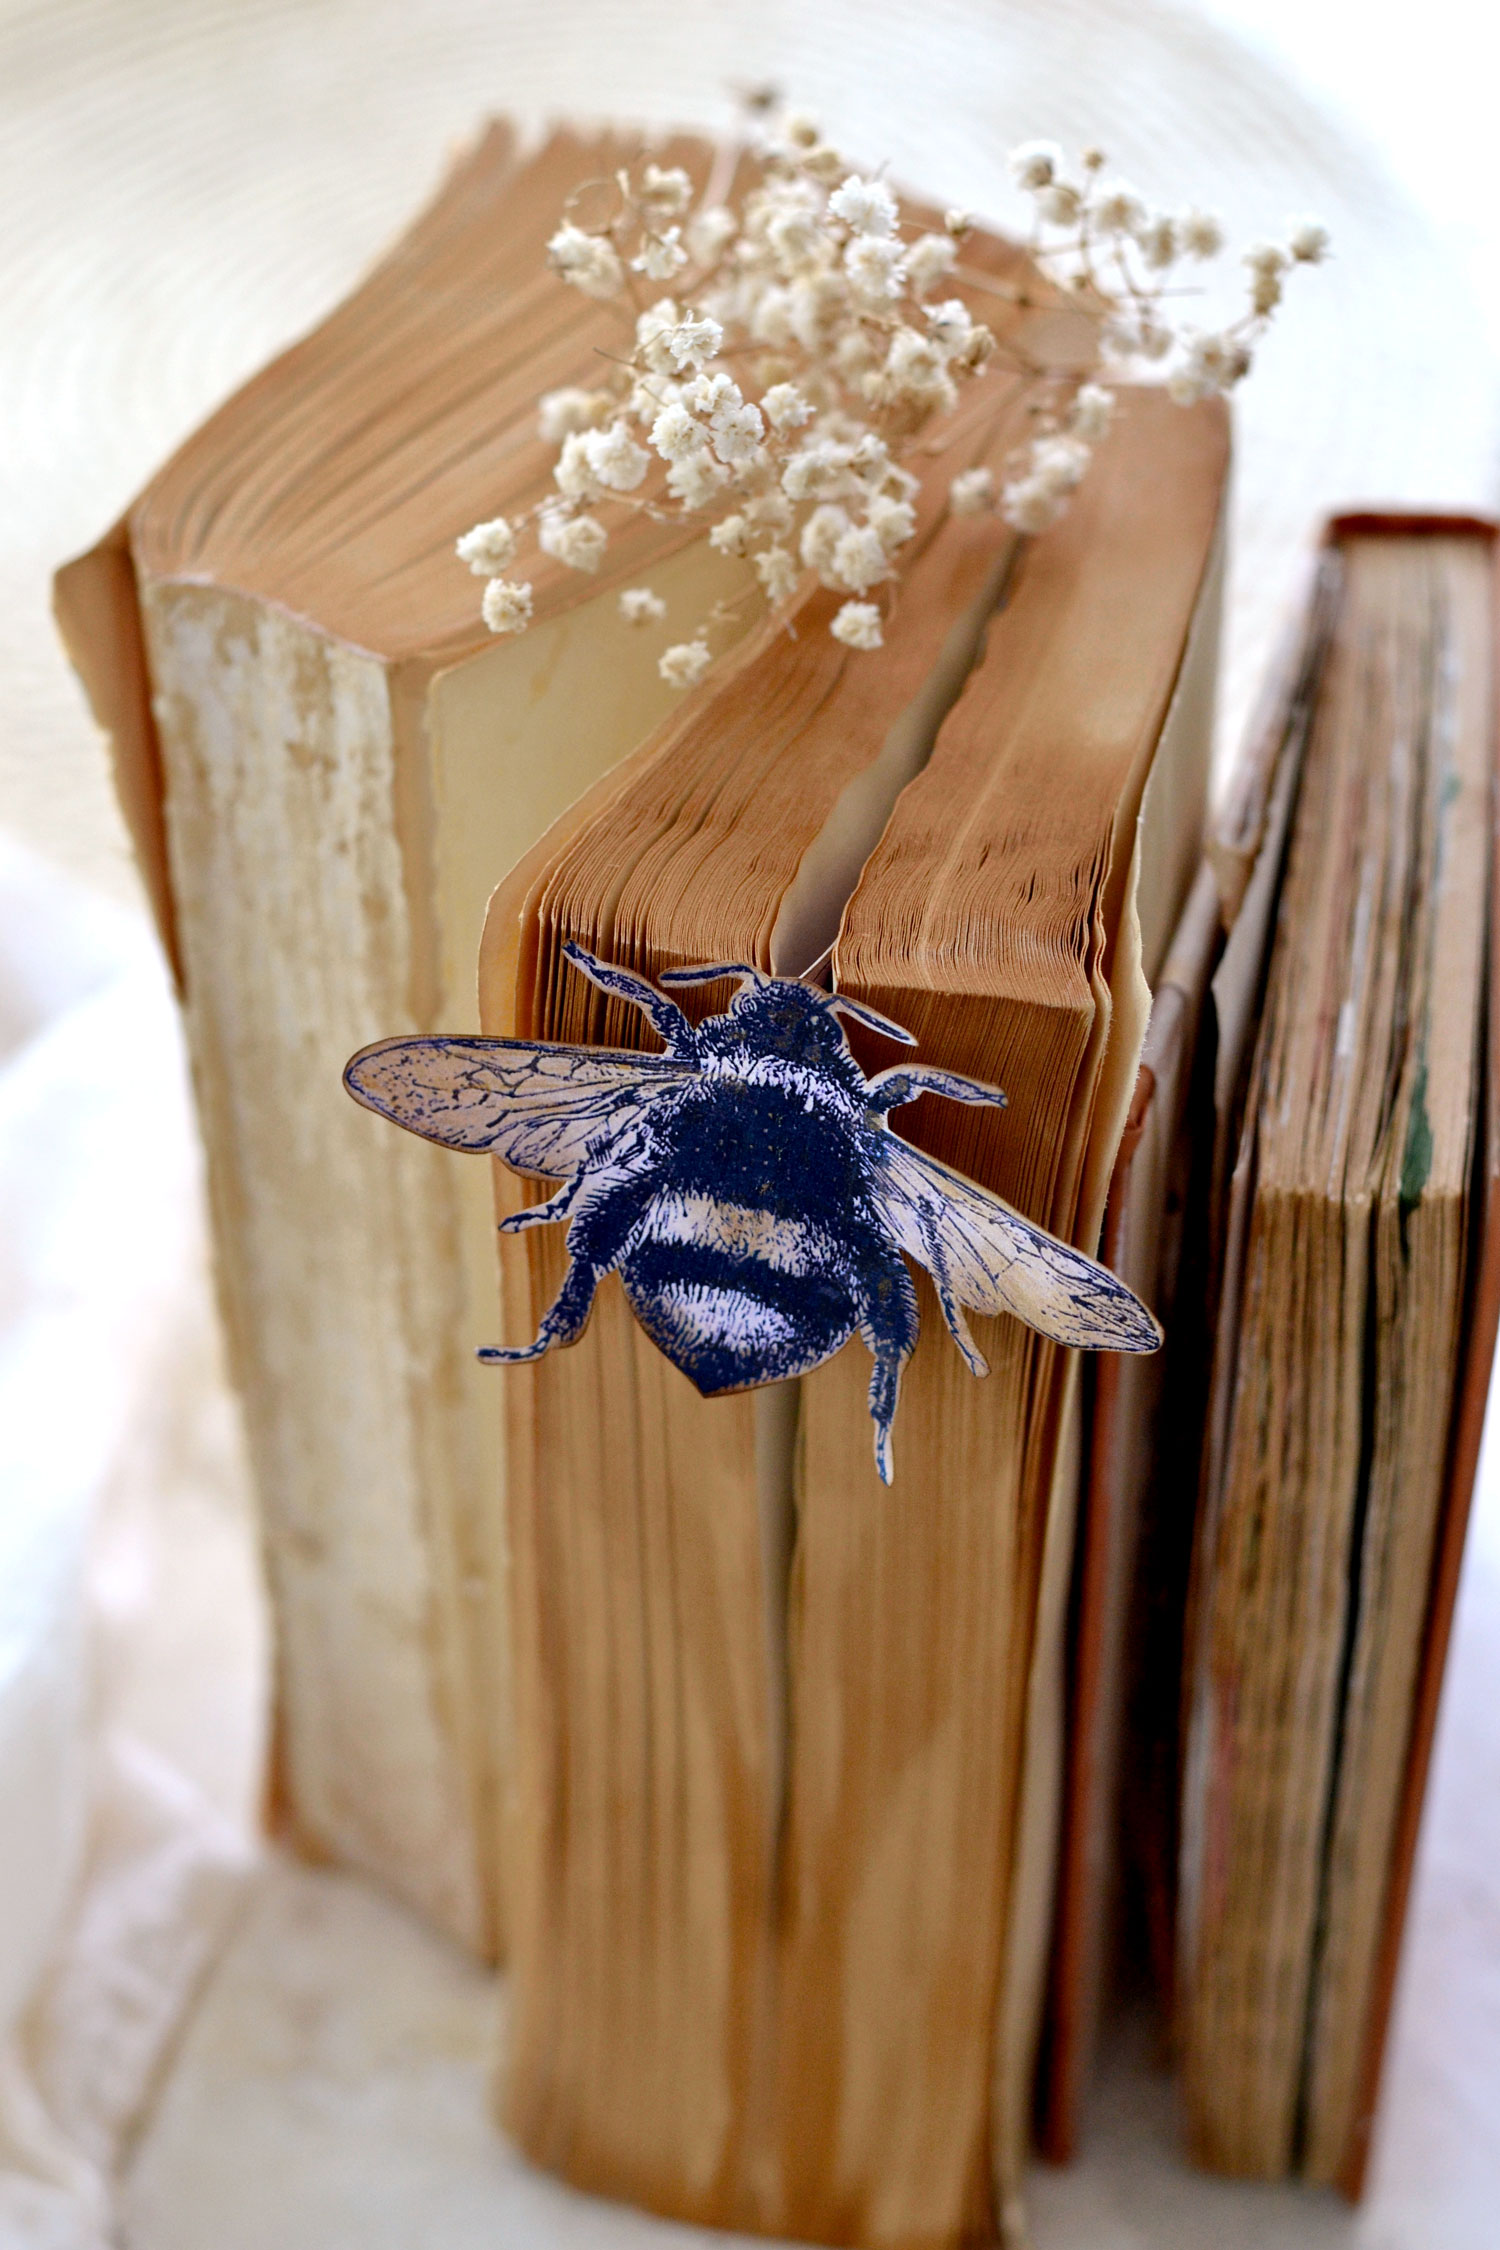
You can place the bookmarks inside your books and then let the bees or butterflies fly away on the outside! The gold metallic touches give them so much charm, especially if held in different lights, making them even more beautiful and unique.
These look amazing even as decorative pieces, so if you don’t want to use them as bookmarks, you can just use them to embellish your vintage books in a stylish way!
I created my bookmarks using two larger and two smaller bees and butterflies, I thought the different sizes would give me a better chance of using them together.
One thing that you can also try is to glue two butterflies on top of each other – preferably a smaller one on top of a larger one. This will give our bookmarks even more dimension!
The bees or butterflies can be used outside the books as 3D elements, but they can also be flattened on one of the sides and the bookmarks can also be used like this, inside the book, if you prefer this method better.
TIPS AND TRICKS: There will be a little bit of white space on the back of the insects – if you want to cover that space and even give the insects a sturdier feel, you could try gluing some scrap piece of vintage paper on their back, prior to cutting them.
I hope you’ll love my Oversized Bee and Butterfly Bookmarks and decide to give them a try! Maybe they will even become your favorites because this is such a fun and easy project that can be ready in no time and will yield absolutely amazing results every single time! Perhaps they will make your favorite novel that much more enjoyable.
 You might also like another one of my DIY Projects … the Magnetic Bookmarks HERE.
Happy crafting,
Diana / Dreams Factory



Yvonne A. says
Big fan of books, butterflies and bees! Absolutely perfect bookmarks, thank you so much! :0)
Karen Watson says
That’s great to hear Yvonne! Enjoy!
Kathy says
I am new to this and my sister encourages me and got me hooked love your freebie Friday projects .Thanks for the lovely ideas ✂️
Karen Watson says
That’s great Kathy! I’m so glad to have you, and your sister, here!
Sherri S. says
So pretty! I love them!
Karen Watson says
I’m so glad you enjoyed Diana’s lovely project Sherri!
Miv says
Very cute bookmarks thank you
Karen Watson says
Have fun creating these pretty paper crafts Miv!