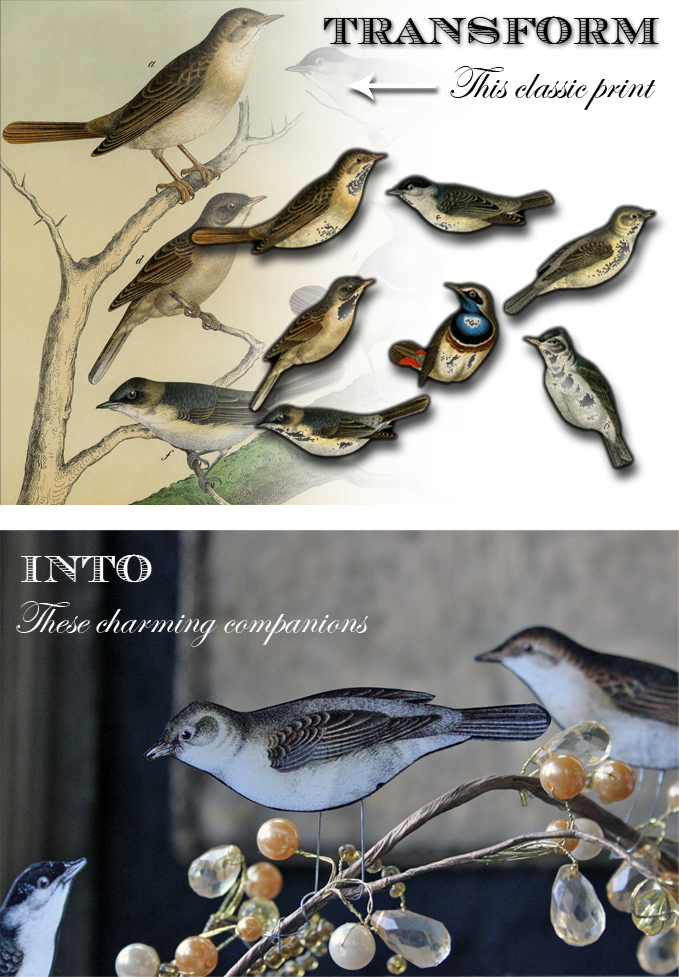
Hey everybody, it’s Heather from Thicketworks! Today I want to share a simple but super-fun paper craft project with you. These Perching Paper Birds are a cinch to create, and can liven up your mixed media projects or your home decor.
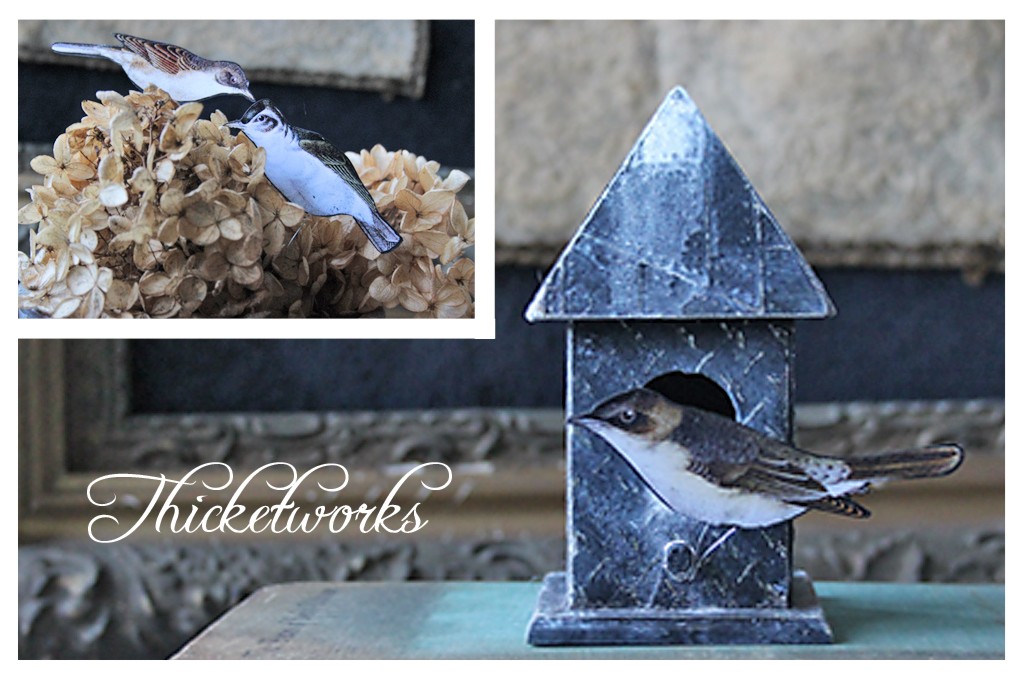
These are a perfect match for the little wooden bird houses that are sold at most craft stores…they look amazing in tiny bird cages…I perch ’em everywhere…
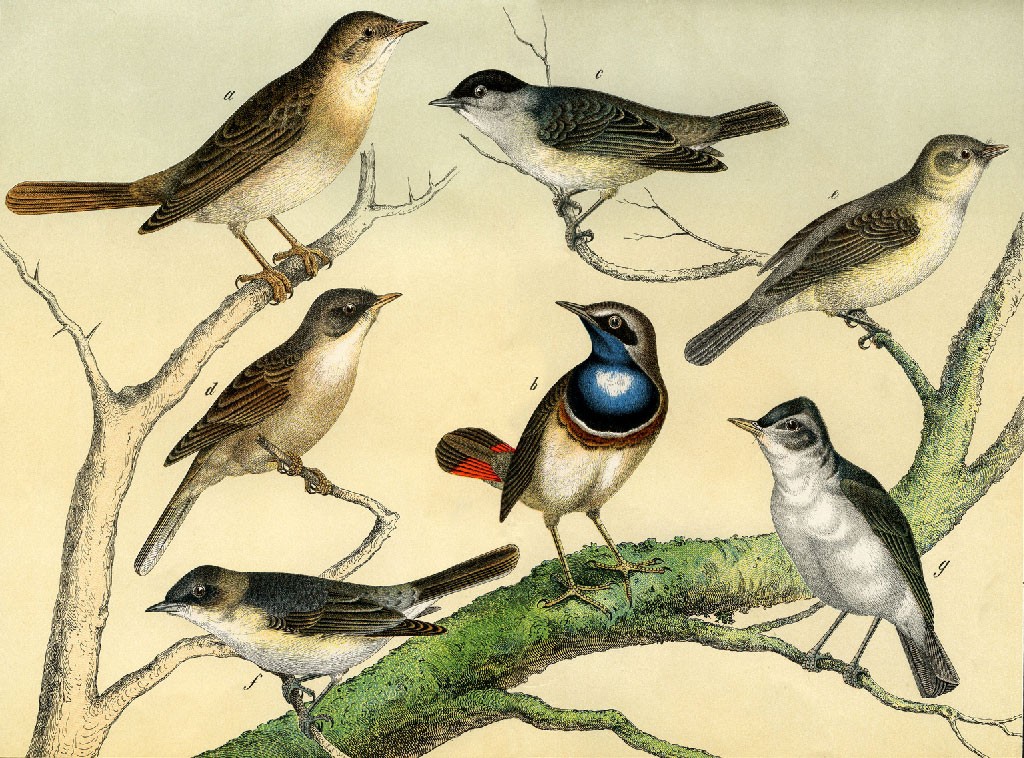
I’ve taken some liberties with the original image, but the basis for this project is this subtly beautiful Graphics Fairy illustration:
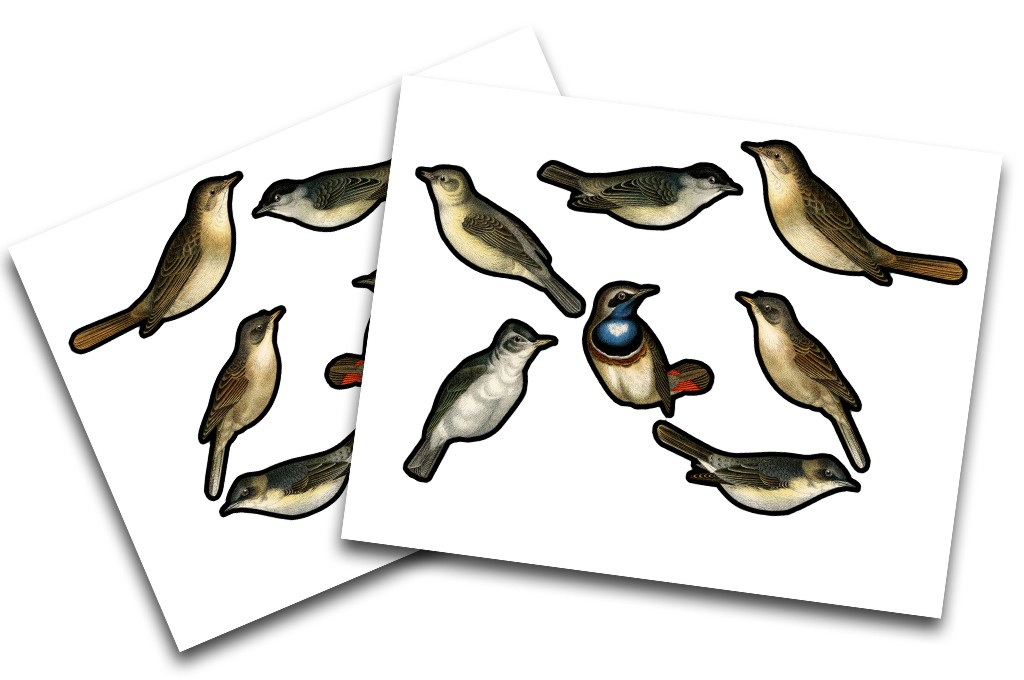
To simplify this project for us, I’ve made some slight alterations to the original file – to access the modified images, click here, and here.
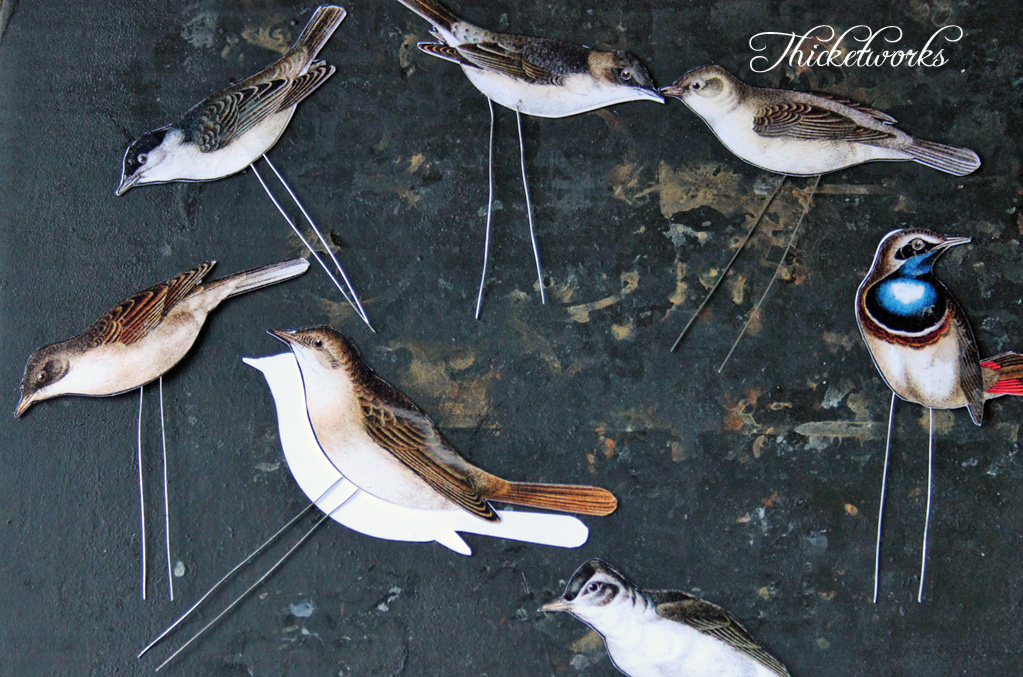
The images in the files I’ve created have been extracted from the background…and they’ve lost their legs!
(Don’t worry, it was painless & intentional).
Additionally, a narrow black border has been incorporated around each image, to aid in the process of cutting them out. I know it looks weird, but trust me, it will help disguise any errors artistic license you might inadvertently commit.
Finally, the images have been mirrored, so that each bird has a ‘front’ & ‘back’ image. We’ll be cutting out two versions of each bird.
Your printed pages should look like this:
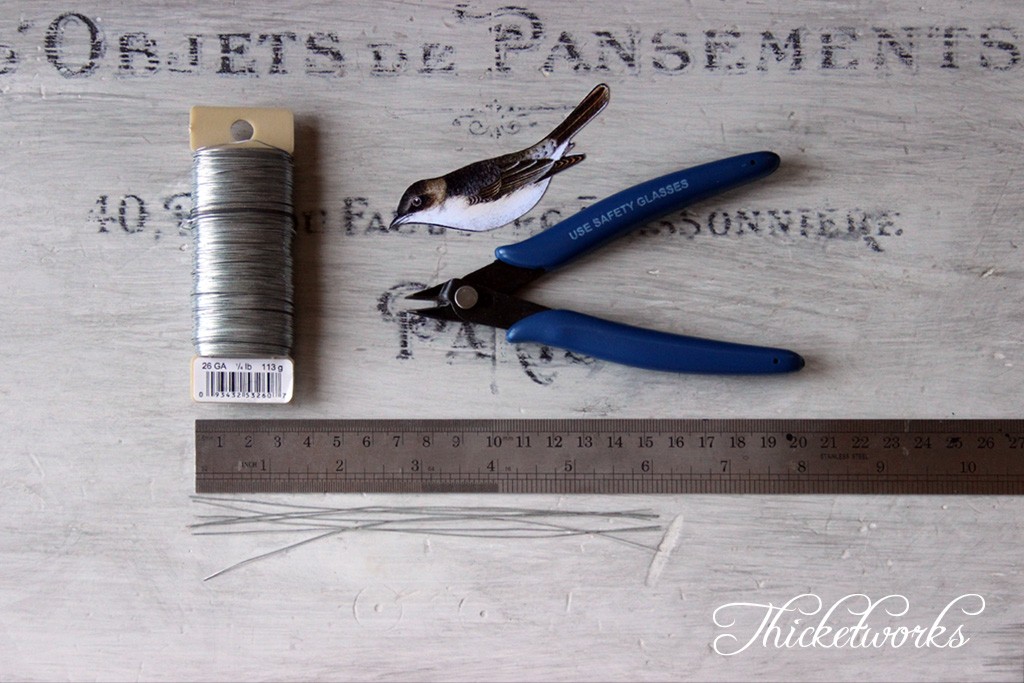
To complete this project you will need:
- A color printer, either inkjet or laser
- 2 Sheets of glossy photo paper for your specific printer.
- Scissors, preferably sharp and with fine blades
or - A craft knife with a sharp blade and a cutting mat
- Your favorite paper adhesive. (I like Aleene’s Tacky Glue, because it allows time for precision positioning) It’s likely that your dexterity is better than mine, so use the glue you love.
- Fine gauge craft wire, no special brand, but a dull finish is best
- Wire cutters (or scissors you don’t mind abusing)
- A Black Sharpie
- Optional: Cheap black craft paint
- Steady hands and a happy heart
1) To begin, download and print your files onto glossy photo paper. You can use matte cardstock, but the colors will be much more brilliant on glossy stock. (make sure to print both images sheets, for a total of 2 sheets).
Note: If inkjet prints, give them some time to dry thoroughly – you know your printer ink best. If laser prints, you’re good to go right away.
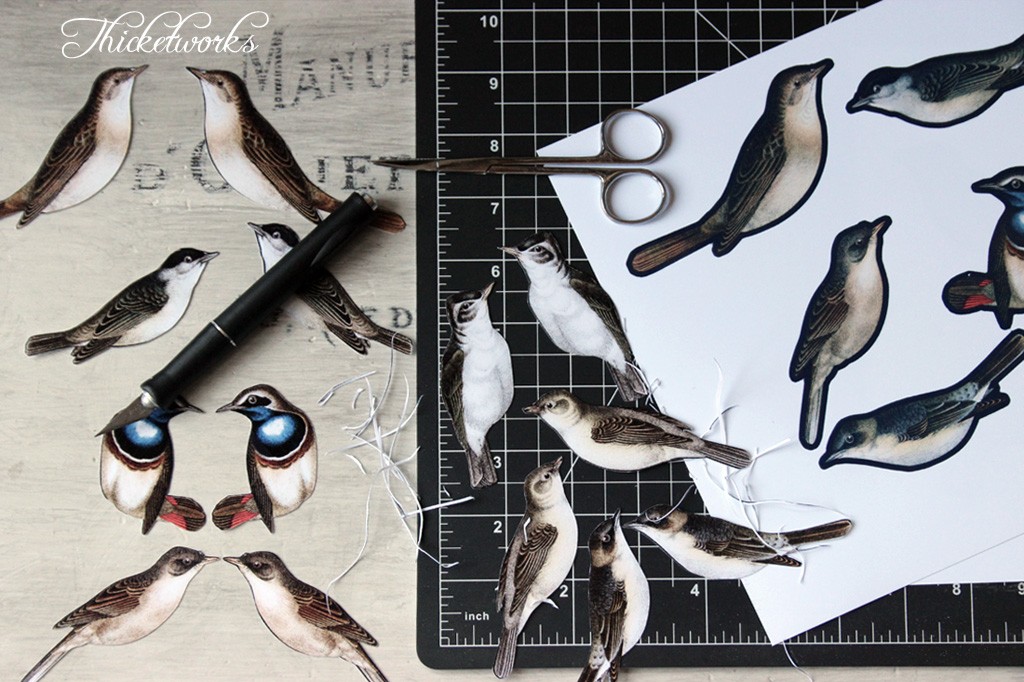
2) Carefully fussy-cut around each bird image, trying to avoid leaving any white margin. (This is why the black outline is there, to provide a bit of insurance for those of us with less than perfect fussy skills) It’s easier if you roughly cut out around each bird first, then get fussy. Make sure you have both a ‘front’ & ‘back’ for each bird. Test each matched pair for proper alignment, and trim if necessary.
Optional Step: Once you have all your little friends nicely trimmed, take the time to clean up all the little bits of paper that you’ve scattered about, or graciously explain to your long-suffering significant other that Artists Don’t Clean Up After Themselves, and see how that goes.
3) Cut a generous length of craft wire, oh – about 6″ or so for each bird. I know it seems too long, but you want to be able to wrap the excess wire around whatever your bird is perching upon.
4) Bend the wires into U shapes, like an old-fashioned hair pin
5) Place one bird image face down, and spread a modest amount of glue on the back. Enough so that it creates a slippery layer, but not so much that it squirts all over the place when you press the two sides together. It’s important that the glue be spread over the entire surface. Place the bent wire onto the glue covered surface, with the wires extending out where the legs ought to be.
6) Place the second / mirrored image face up over the wire, and carefully align the two sides. Do your best to get the edges to line up as closely as possible. I find that once I align the beak/head area, the rest falls into place easier. This is where Tacky Glue is a good choice for me: it can be a little tricky to line up the ‘front’ & ‘back’ of each bird, so being able to slide them around a bit helps. Other adhesives may dry too quickly.
7) Once you have your pieces all glued together, press them firmly together between your thumb and fingers, working the paper into a tight bond around the encased wire.
8) Allow them to dry thoroughly. I usually keep pressing them together periodically as the glue sets. (But I’m a little obsessive about these things)
9) When you’re sure they’re well bonded, set them aside while the glue cures completely.
This is a great time to prowl around your house, searching for the perfect items to perch your birds upon…
10) With a Black Sharpie, carefully trace around the silhouette of each bird, touching up the exposed white edges. This really helps them to look finished.
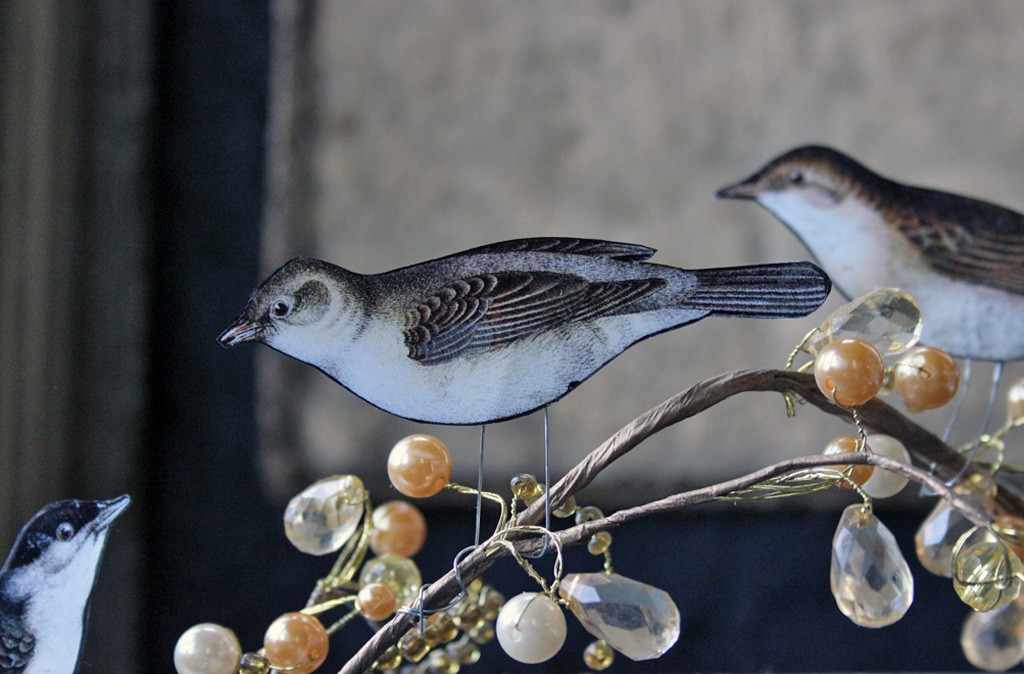
11) Use the wire to attach your birds to their perches!. Touch up any bright wire with a little black craft paint to tone it down, if you feel like it. Or not.
Thanks for joining me for this little project. I love making these, and hope you will too.
If you like this kind of thing, stop by Thicketworks to see what I’m up to, and discover even more ways to make messes that require good explanations.
Take Care,
Heather


Mary Cantz says
Thanks so much for this charming idea! I can’t wait to get started right away. Of course, the other two projects I’m in the middle of will kindly wait patiently. I have a decorative birdcage that’ll now have a purpose other than a place for my silk English Ivy—yay! Your creative and inspiring tutorials along with your awesome images have given this tired, old body new life and I’m deeply grateful.
Mary
Karen Watson says
We’re so glad to hear that your finding so much inspiration here Mary!
Vallie says
Thank you for all the little extra tidbits you include in your tutorial! I will be trying this out today 🙂
Heather says
Thanks to everyone who took the time to comment on this little project – your feedback is appreciated more than you know!
Gail Golden says
Love this idea, and the instructions are great.
Tania says
Thank you again for all the lovely images; it is really appreciated. I just love all that ‘old time ephemera’!
You are too kind.
Denise L. says
I have a lovely bird cage that I’ve never done anything with. This is perfect. I appreciate ALL your tips and the images you’ve prepared. Thank you kindly. Oh, and great instructions, by the way!
Sarah says
These are absolutely darling and go great with the birdhouse. I can see these popping up all over my home and perhaps secreting some away and hiding them at a friend’s for her to find later and be delighted.
And thank you for providing the mirror images for those of us still in the toddler pool. Much appreciated!
mimi says
I LOVE this post for crafting perching birds from Thicketworks! So simple and I can see myself using this for many other applications. Butterflies, Insects, and numerous other graphics. I cant wait to get started ! Thank you for outlining and mirroring the image for us .As usual thank you Graphics Fairy for the gorgeous images. I feel like I’ve received a magnificent gift in my email box!