Penguin Drawing
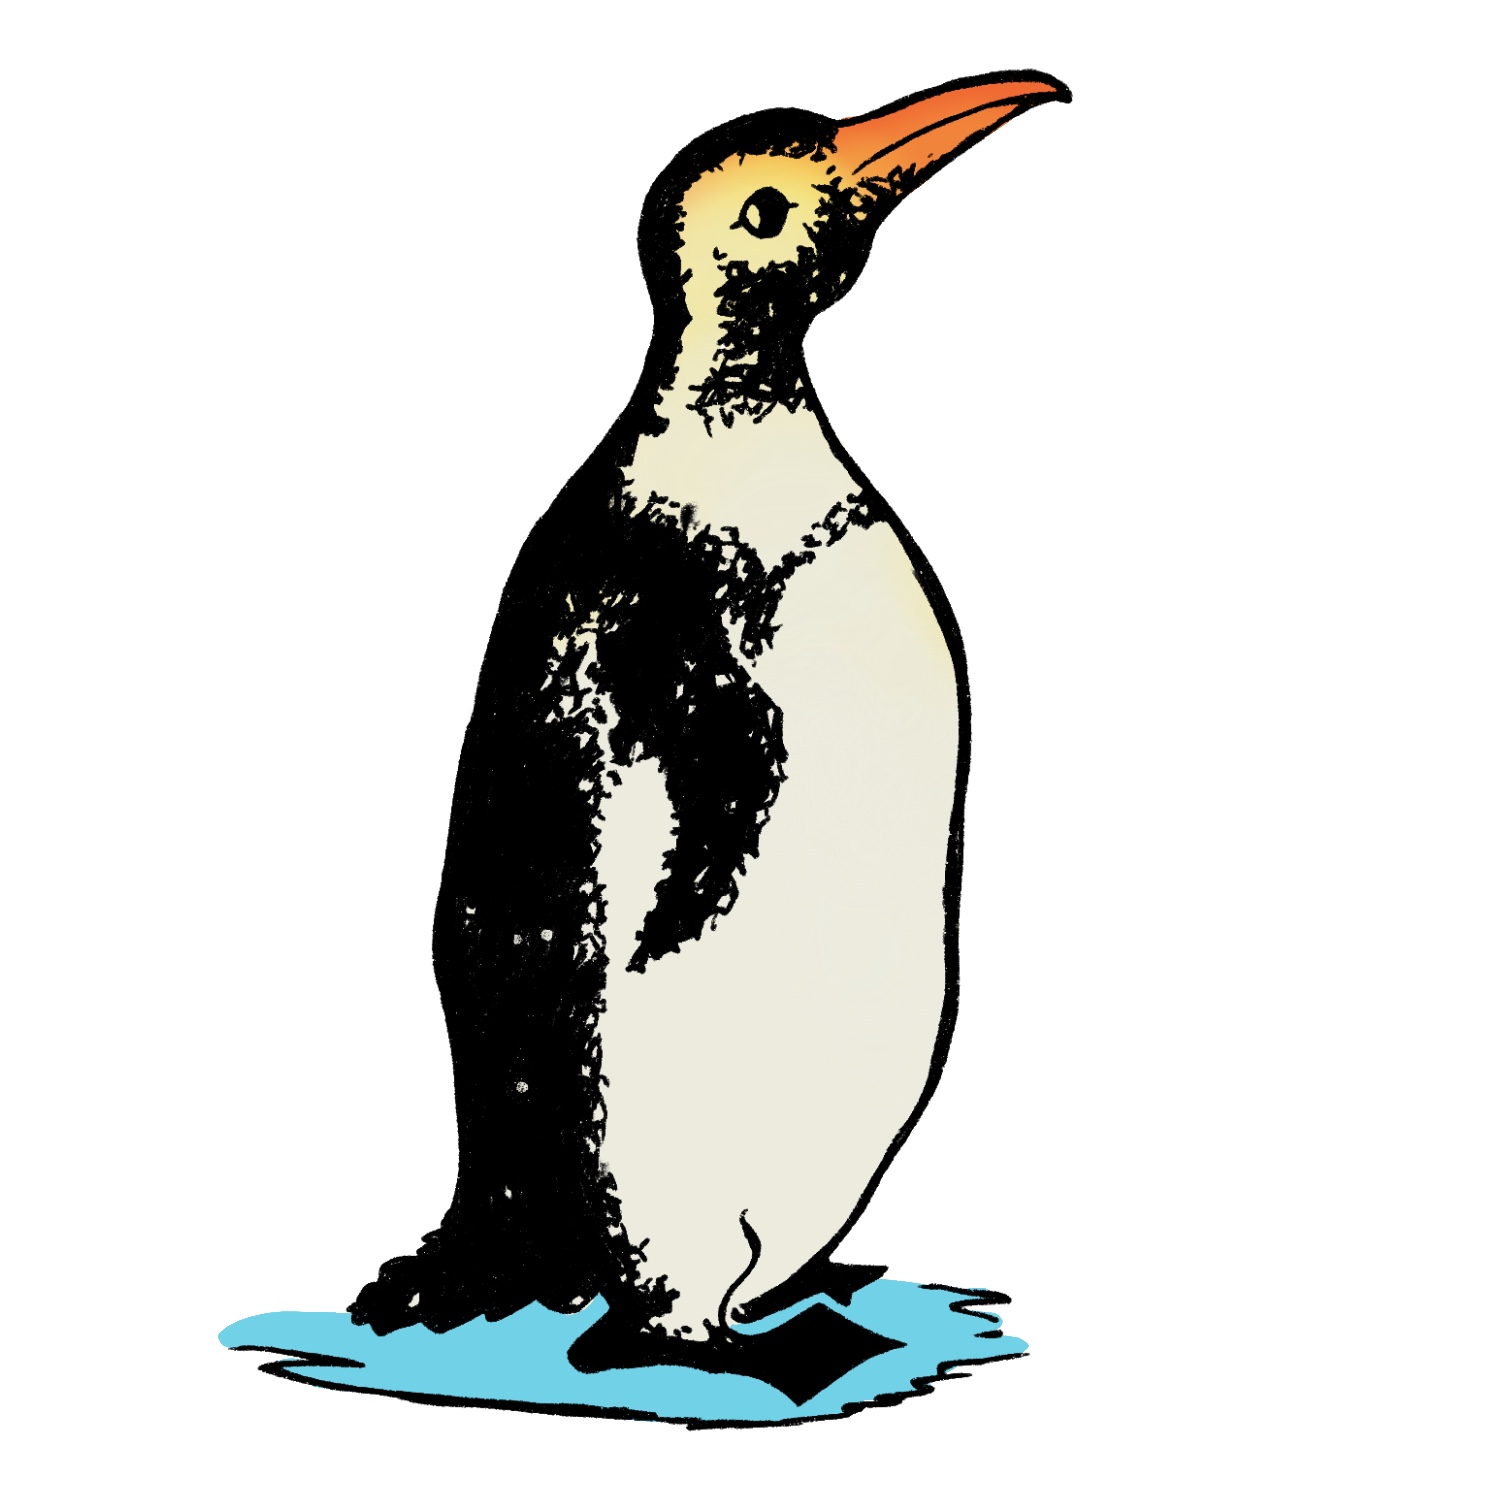
Today, let’s try Penguin Drawing! In this post you will find step by step instructions for creating an Easy Penguin drawing in just 5 steps. This fun lesson was scanned from a vintage children’s book in my collection. At the bottom of the post you will find a printable practice worksheet that you can print out, with some blank space included, so that you can practice right on the page. Practice drawing these and then create a whole Colony of Penguins if you like! You can print out as many of the worksheets as you want to share with your Family, Sunday School Class, Classroom, Creative friends meet up, Senior Center and more. Now let’s get drawing! For Non Commercial Use.
How to Draw a Penguin Step by Step
Kids or grown ups alike can follow these simple steps with this Penguin Drawing guide! I would recommend creating your drawing with a pencil, as you can erase if you have any mistakes. But you can always draw over it with an ink Pen or marker when you are done, to define it some more. You might find our Drawing Supplies for Beginners Post HERE useful. Have fun creating some of these adorable flightless birds!
Penguin Drawing Step 1
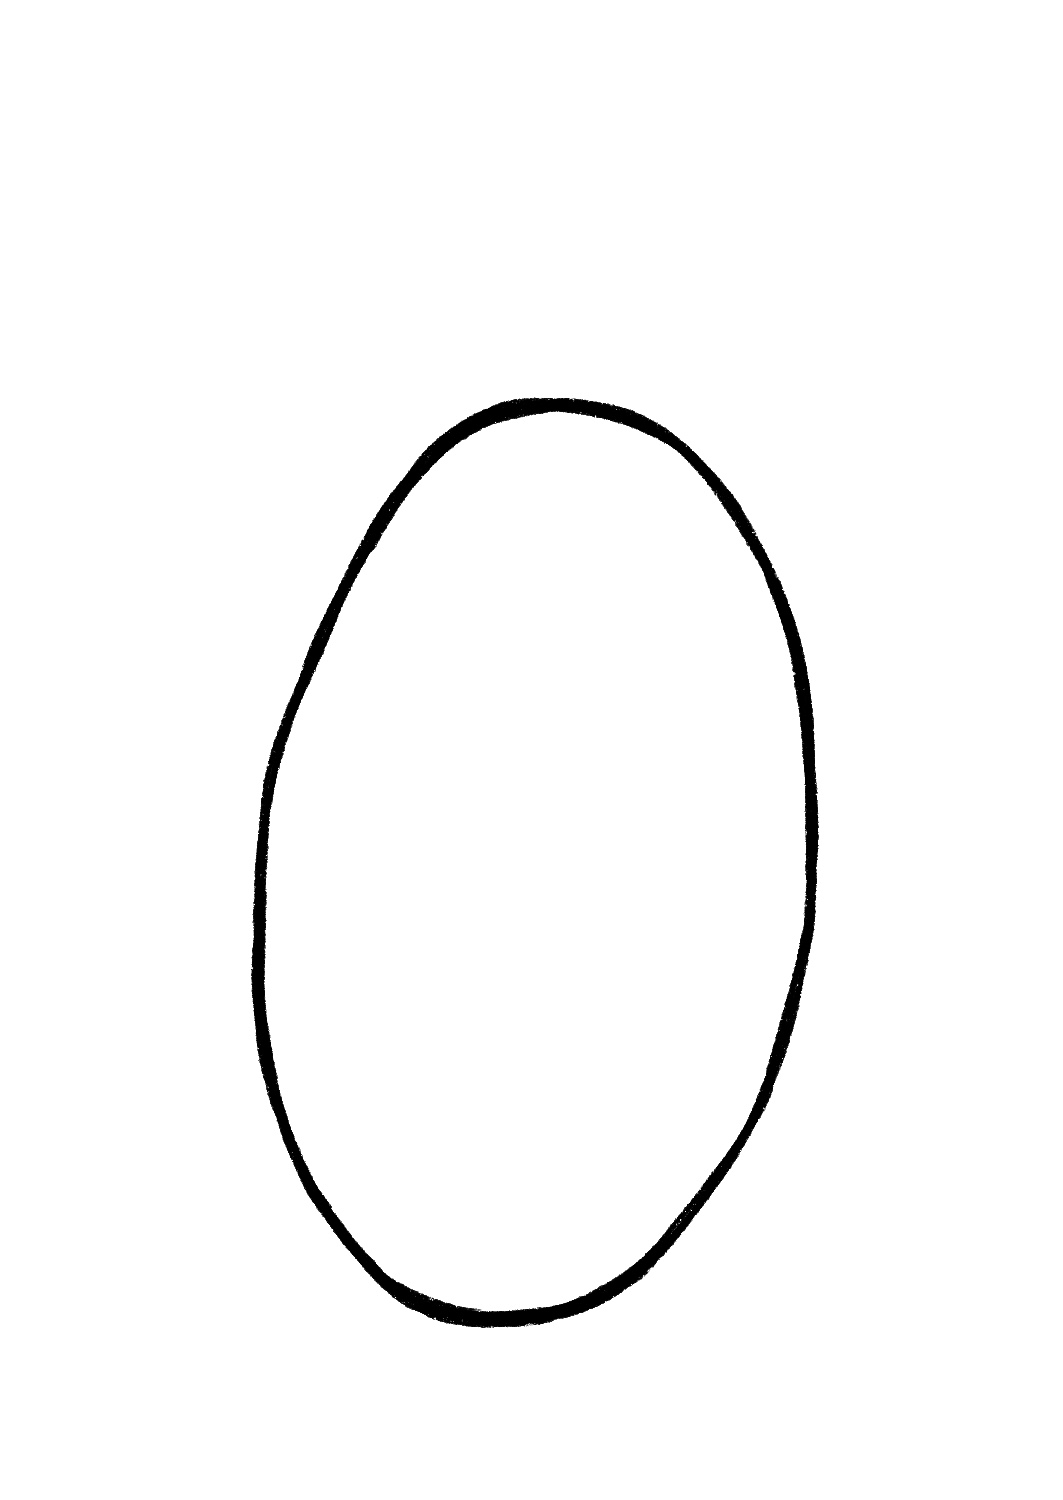
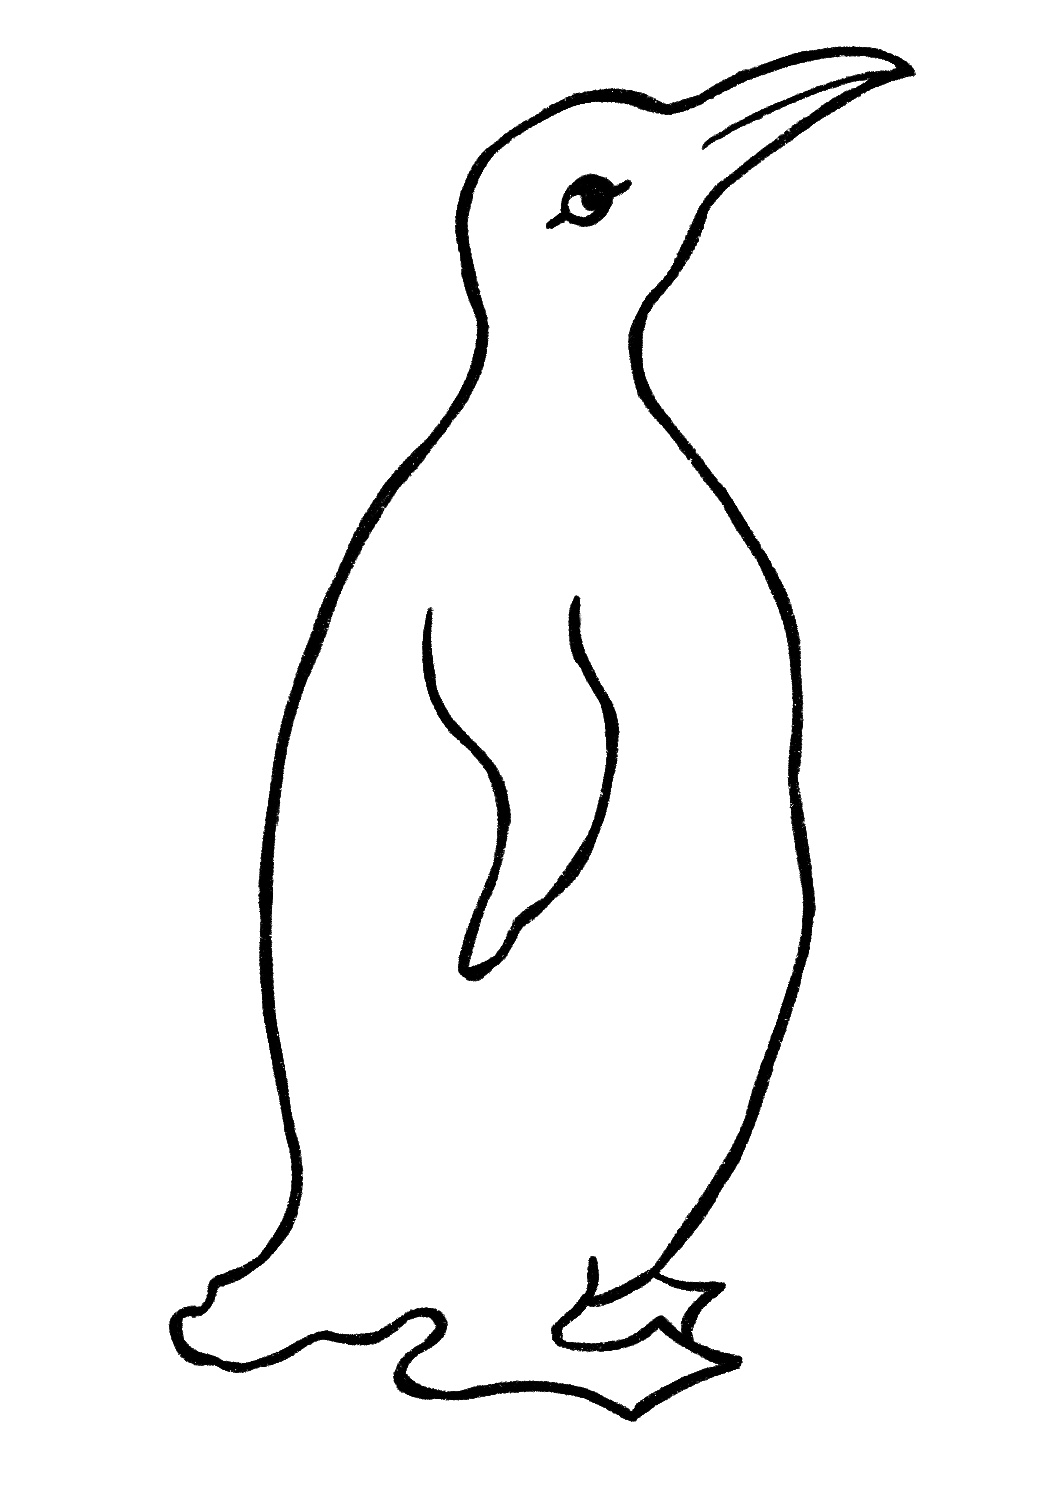
Step 1: Let’s start with the penguin’s body. To do that, draw an oval shape that is slightly tilted to the right.
Step 2
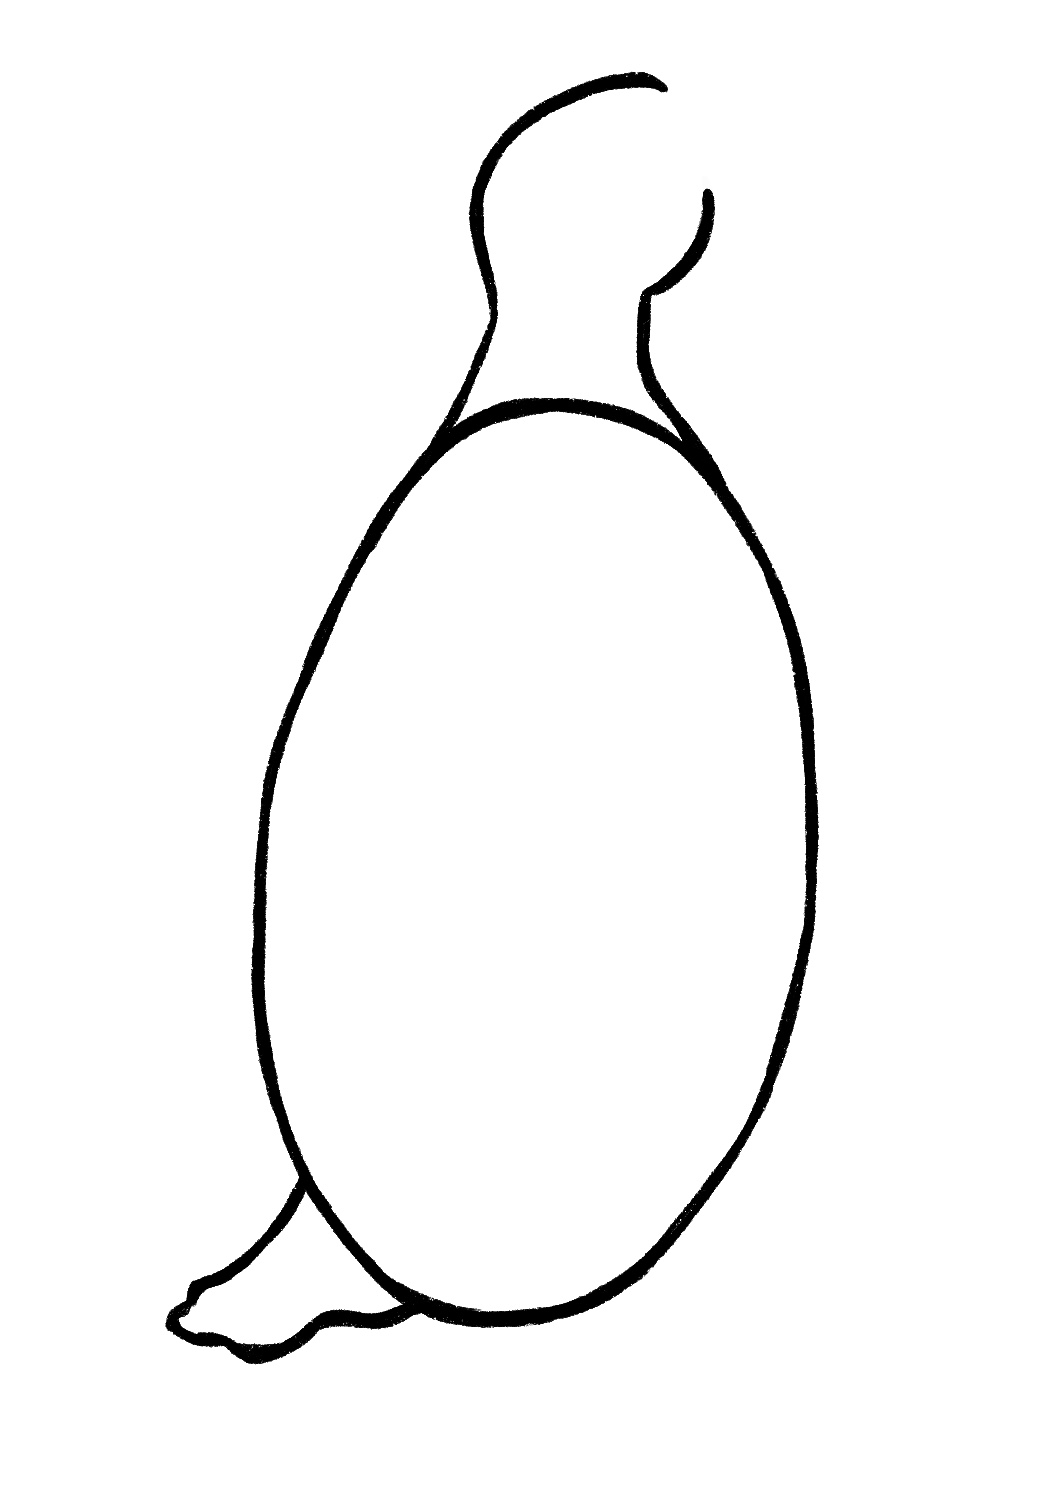
Step 2: Then, let’s proceed in sketching the head and tail of your flightless bird. For the head, sketch a keyhole-like shape on top with an end open. For the tail, sketch a flag-like shaped with one side attached to the bottom part of the body.
Step 3
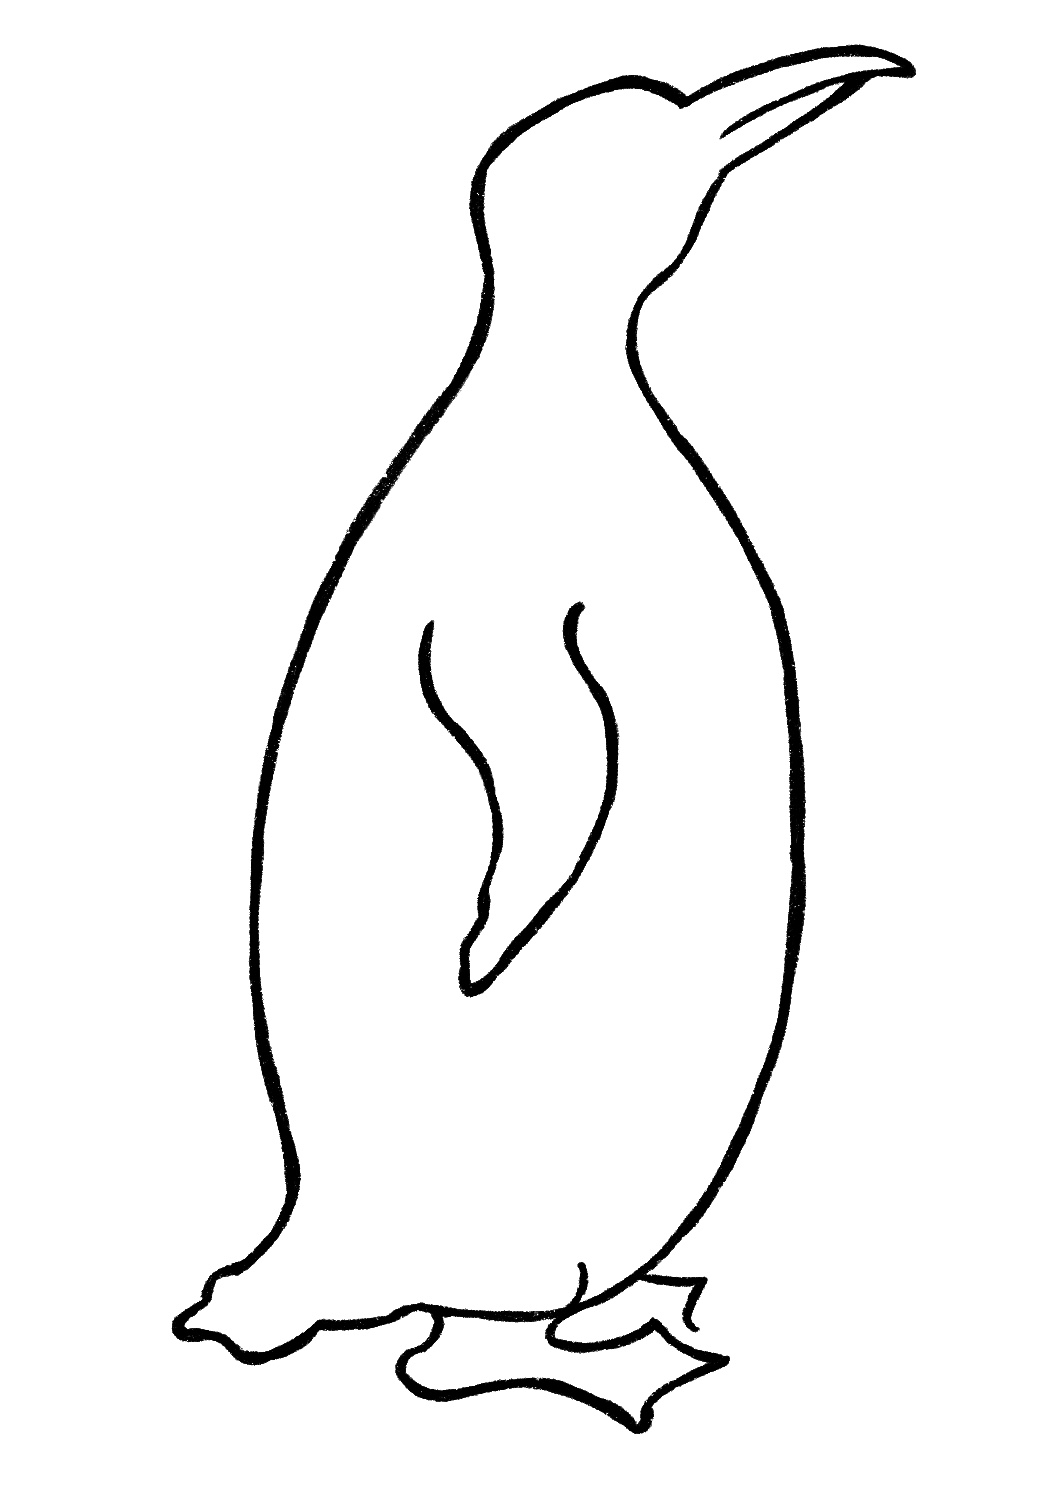
Step 3: Add the beak, flipper, and feet of your emperor penguin. To add the beak, draw a horizontal “v” shape. Then add a line to separate the beak. Next, for the flipper, draw a curve line going downward with the endpoint near the tail. And, draw the feet that have the same shape as a duck’s feet.
Step 4
Step 4: Next we will draw the eyes by adding a half-shaded circle at the head part. Then, draw two straight lines on both sides of the circle.
Step 5
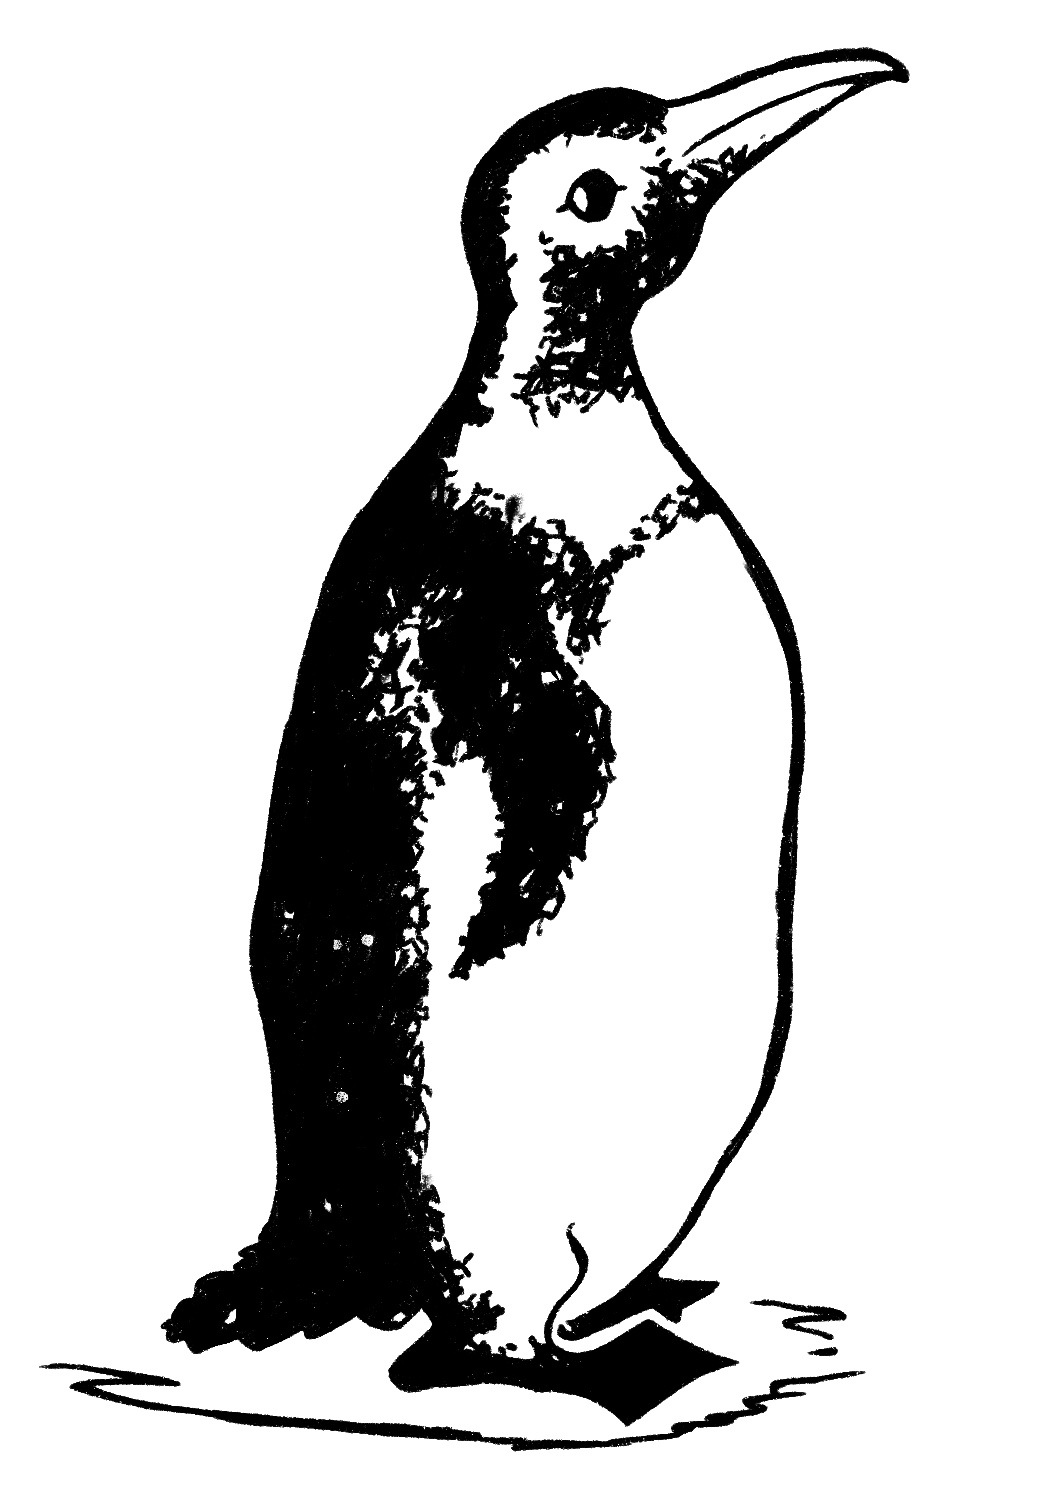
Step 5: Finish your lovely Penguin by adding in some shading to make it more realistic. Shade one side from the head going downward as well as under his chin and on his neck. Also color in his feet. You can add a sketched line around his feet if you like to create some ice.
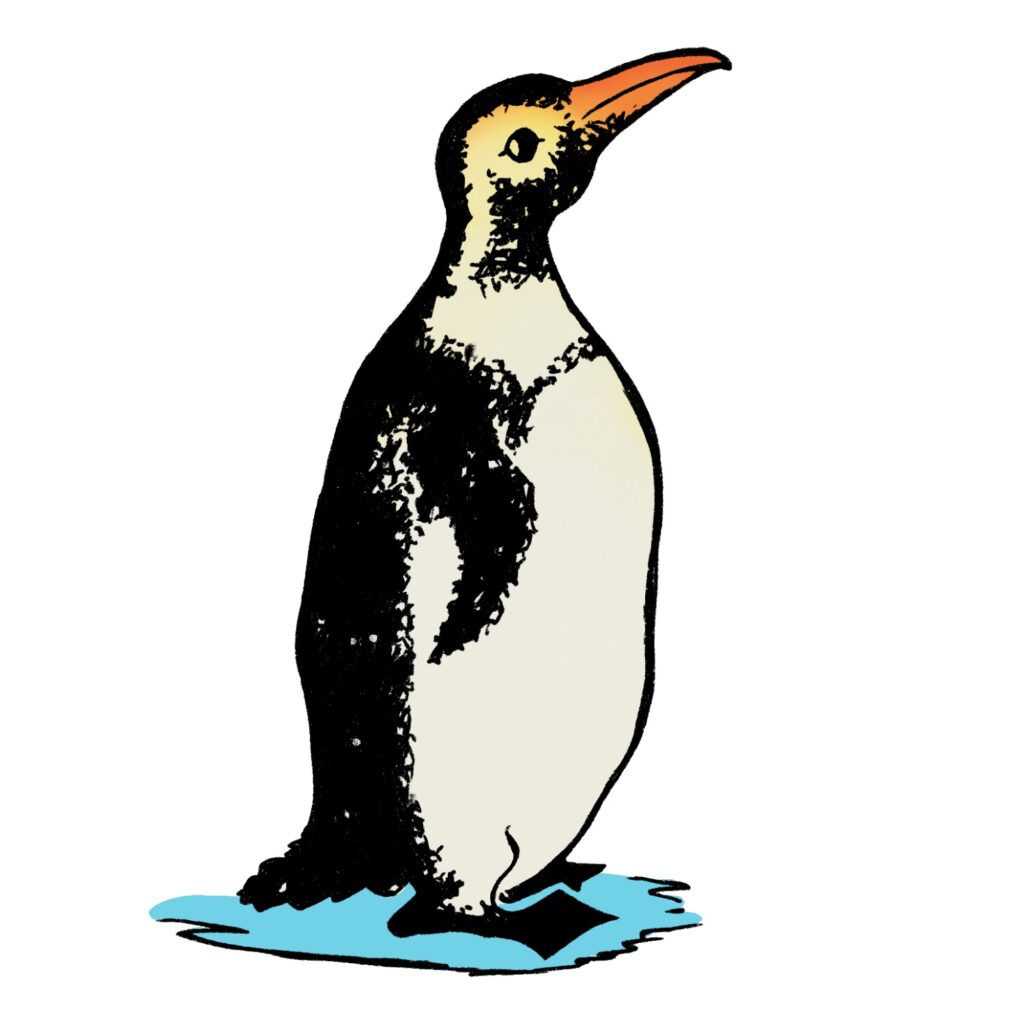
The only thing left to do now is to color in your friendly aquatic bird! Go grab your markers, Crayola crayons, oil pastels or color pencils, or whatever you have on hand, and finish your artwork masterpiece! This one is colored in with black and white body with an orange beak, but you can let your creativity go wild and use whatever colors you like! You get to decide!
How to Draw Penguin Worksheet
Click HERE to Download the Free Printable PDF of the Drawing Worksheet
Don’t forget to download the free practice sheet above so that you can print it out and hone your skills! There is plenty of space at the bottom of the sheet so that you can practice right on it. Great for Kids or Adults. I hope you enjoyed these easy steps and that you had fun with this Easy Drawing tutorial.
Here are a few other easy Drawing Tutorials that you might like as well:
How to Draw a Santa
How to Draw an a Manatee
How to Draw an Angel
How to Draw a Christmas Candle
How to Draw a Pirate
How to Draw a Gingerbread Man
How to Draw Dandelion
How to Draw a Red Rose
How to Draw a Cute Mushroom
All of the lessons above also include the free Printable Practice sheets that were included with this one.
 You might also like our post all about coloring with Colored Pencils HERE.
