Make Custom Push Pins
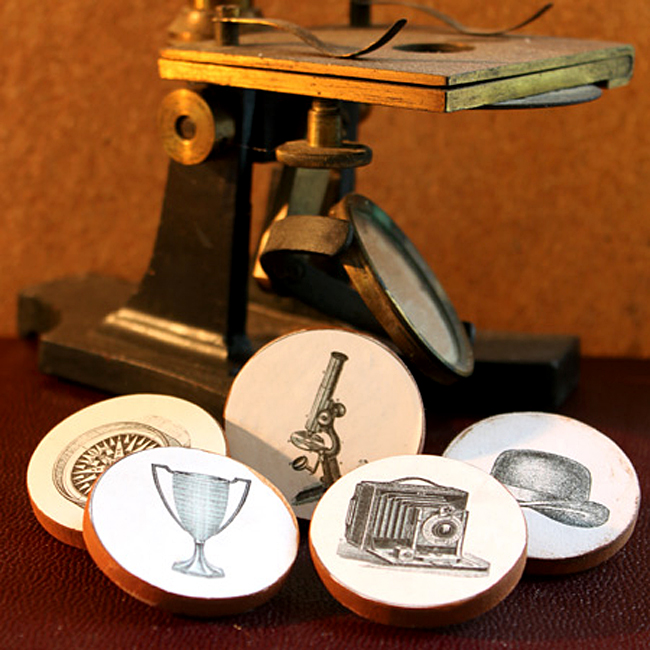
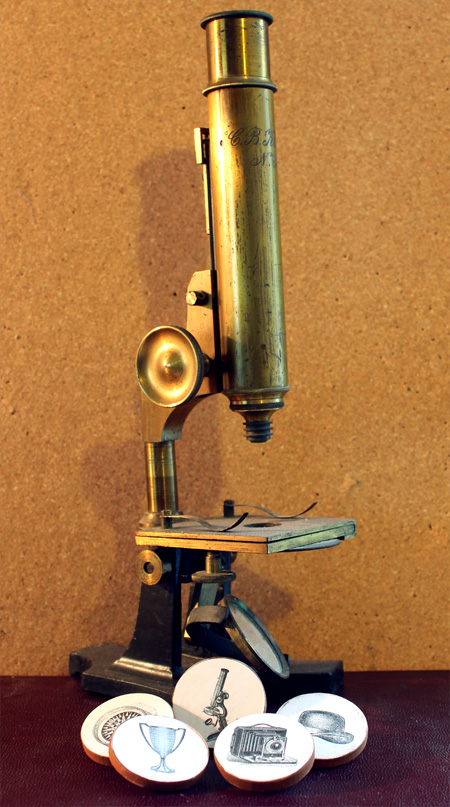
This is a super fun tutorial to make Custom Push Pins! I’ve actually consolidated 2 older posts together, by 2 different contributors, with 2 different methods. So you are getting a twofer here! The first tutorial was created by Andrea from The Cottage Market. The second one is by Gina from The Shabby Chic Cottage. These are such a great gift idea and you can customize them to fit anyone in your life, male or female. You could also use magnets on the back, instead of a pin and they would be just as cute! Now I will let Andrea get started in her own words …. I was thinking…I don’t do enough crafts that would make a good gift for men. I think that these easy Steampunk Push Pins are perfect for any man in your life or anyone really! If steampunk is not your thing… you can take this simple premise and create a set of thumb tacks with any of The Graphics Fairy images…the possibilities are limitless…so put on your imagination cap and create what moves you…
Supplies to Make Custom Push Pins Method #1
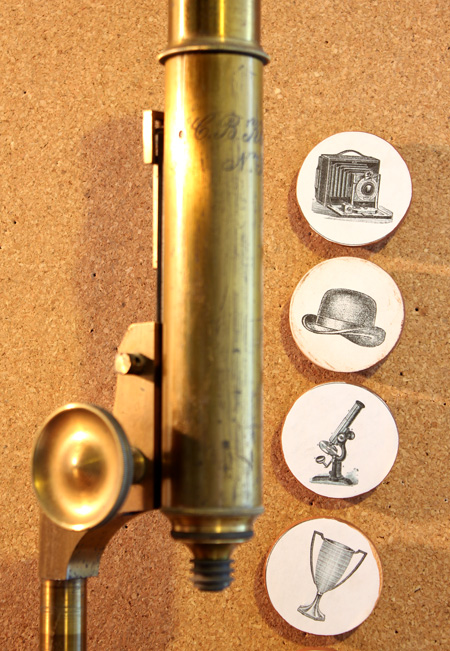
You will need a few supplies…wooden medallions… Matte Mod Podge… prints of your favorite images (you can find more Steampunk Images HERE)…we are supplying you with the ones that are used here sized and ready to print… a brush and then you will need a sand block or sand paper and the color paint you love and you don’t have to use paint at all!
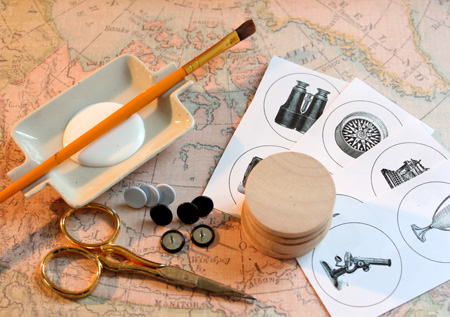 Steampunk Printable
(these are 1 1/2″ images… just click on the Steampunk Printable above and save to your computer to print)
Instructions for Method #1
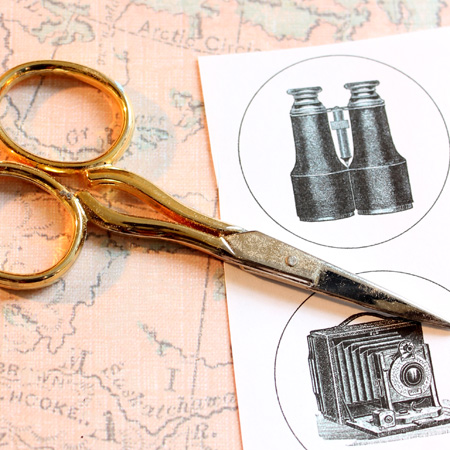
Step 1: First you cut your circles out…or you can use a punch…whatever you like.
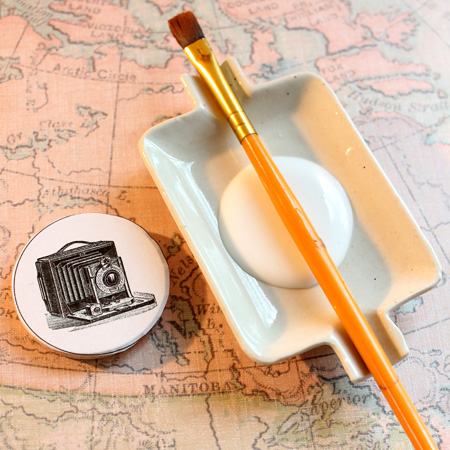
Step 2: Now brush the medallion with a nice even coat of Mod Podge and then place your cut image on top…don’t worry about any little edges…we will take care of that in a moment.
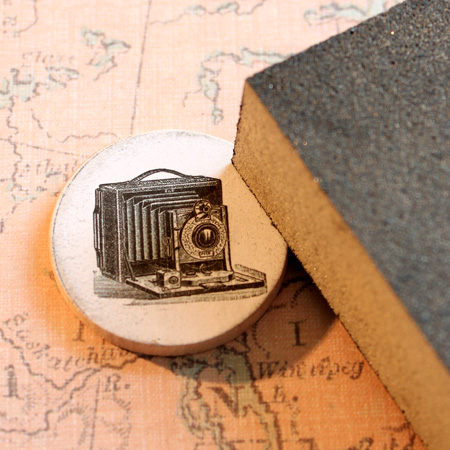
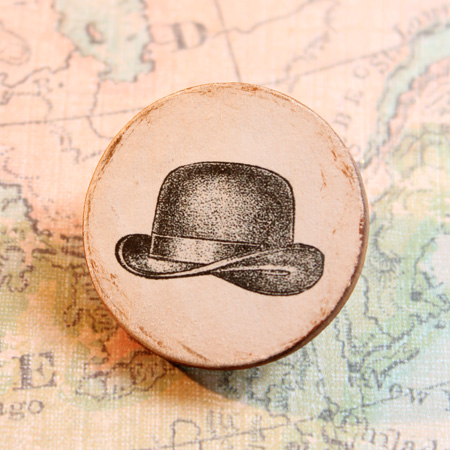
Step 3: Now with a sand block…sand off the edges so you have a completely smooth piece. Also at this point…you can add a coat or two of Matte Modge Podge to seal the thumb-take and make it much more durable. Also, I chose to paint the sides of the medallions…you can choose to or not to…totally your choice! I wanted a little bit of an aged look.
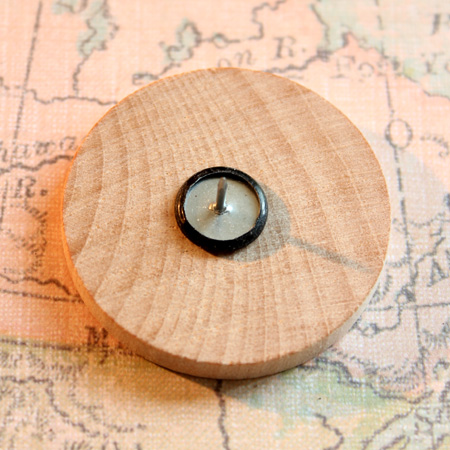
Step 4: Now just add your thumb-tack to the back of the medallion with hot glue …
and now you are finished!
All you need to do now is add them to a cork board and you have a fabulous gift. Or place them in a cool tin and decorate with a vintage image.
Hope you enjoyed this little DIY…if you have time during your busy day…come on over and visit me at The Cottage Market...would love to see you there : )
HUGS
Andrea!
DIY Thumb Tacks Method #2
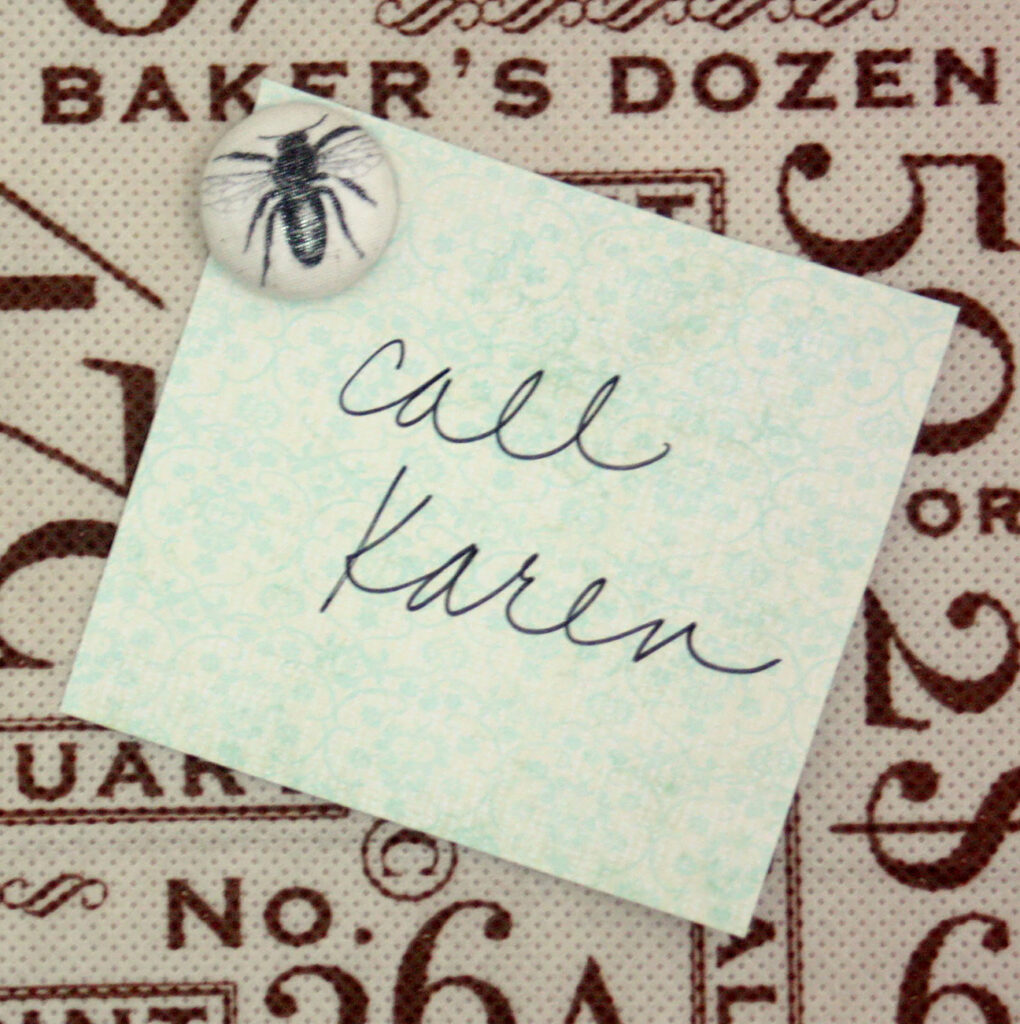
Next up is this quick and easy DIY Thumb Tack idea by Gina. I will let Gina take it away in her words now …. Remember way back in the day before we were all obsessed with Pinterest? That was like a year ago, right? We all used actual pin boards to pin up our notes, mementos, etc. I don’t know about you… but I still use one. I’m old school like that! The pushpins themselves can be kinda boring – or if you buy the fancy schmancy ones they are somewhat expensive. So I made some. Go figure!
Supplies for Method 2:
Printed Fabric
Button Cover Kit with Tools and Template
Plain Metal Thumb Tacks
Hot Glue Gun



The Decorative Dreamer says
Oh I love this idea! I hope you don’t mind but I just have to “pin” this one under my DIY projects. This is something I think I could totally do! Love it! Thanks for sharing your idea!
The Polka Dot Closet says
Gina this is fabulous and easy. I have used covered buttons, but never thought of printing a graphic of my choice! I was always finding just the right flower on a fabric to cut out…Your a genius!
Carol
Kathy @ Creative Home Expressions says
Great project, Gina! I never would have thought to use those fabric covered button covers, but how perfect because you can customize and personalize your own pushpins!