Printable Valentine Frame Cards
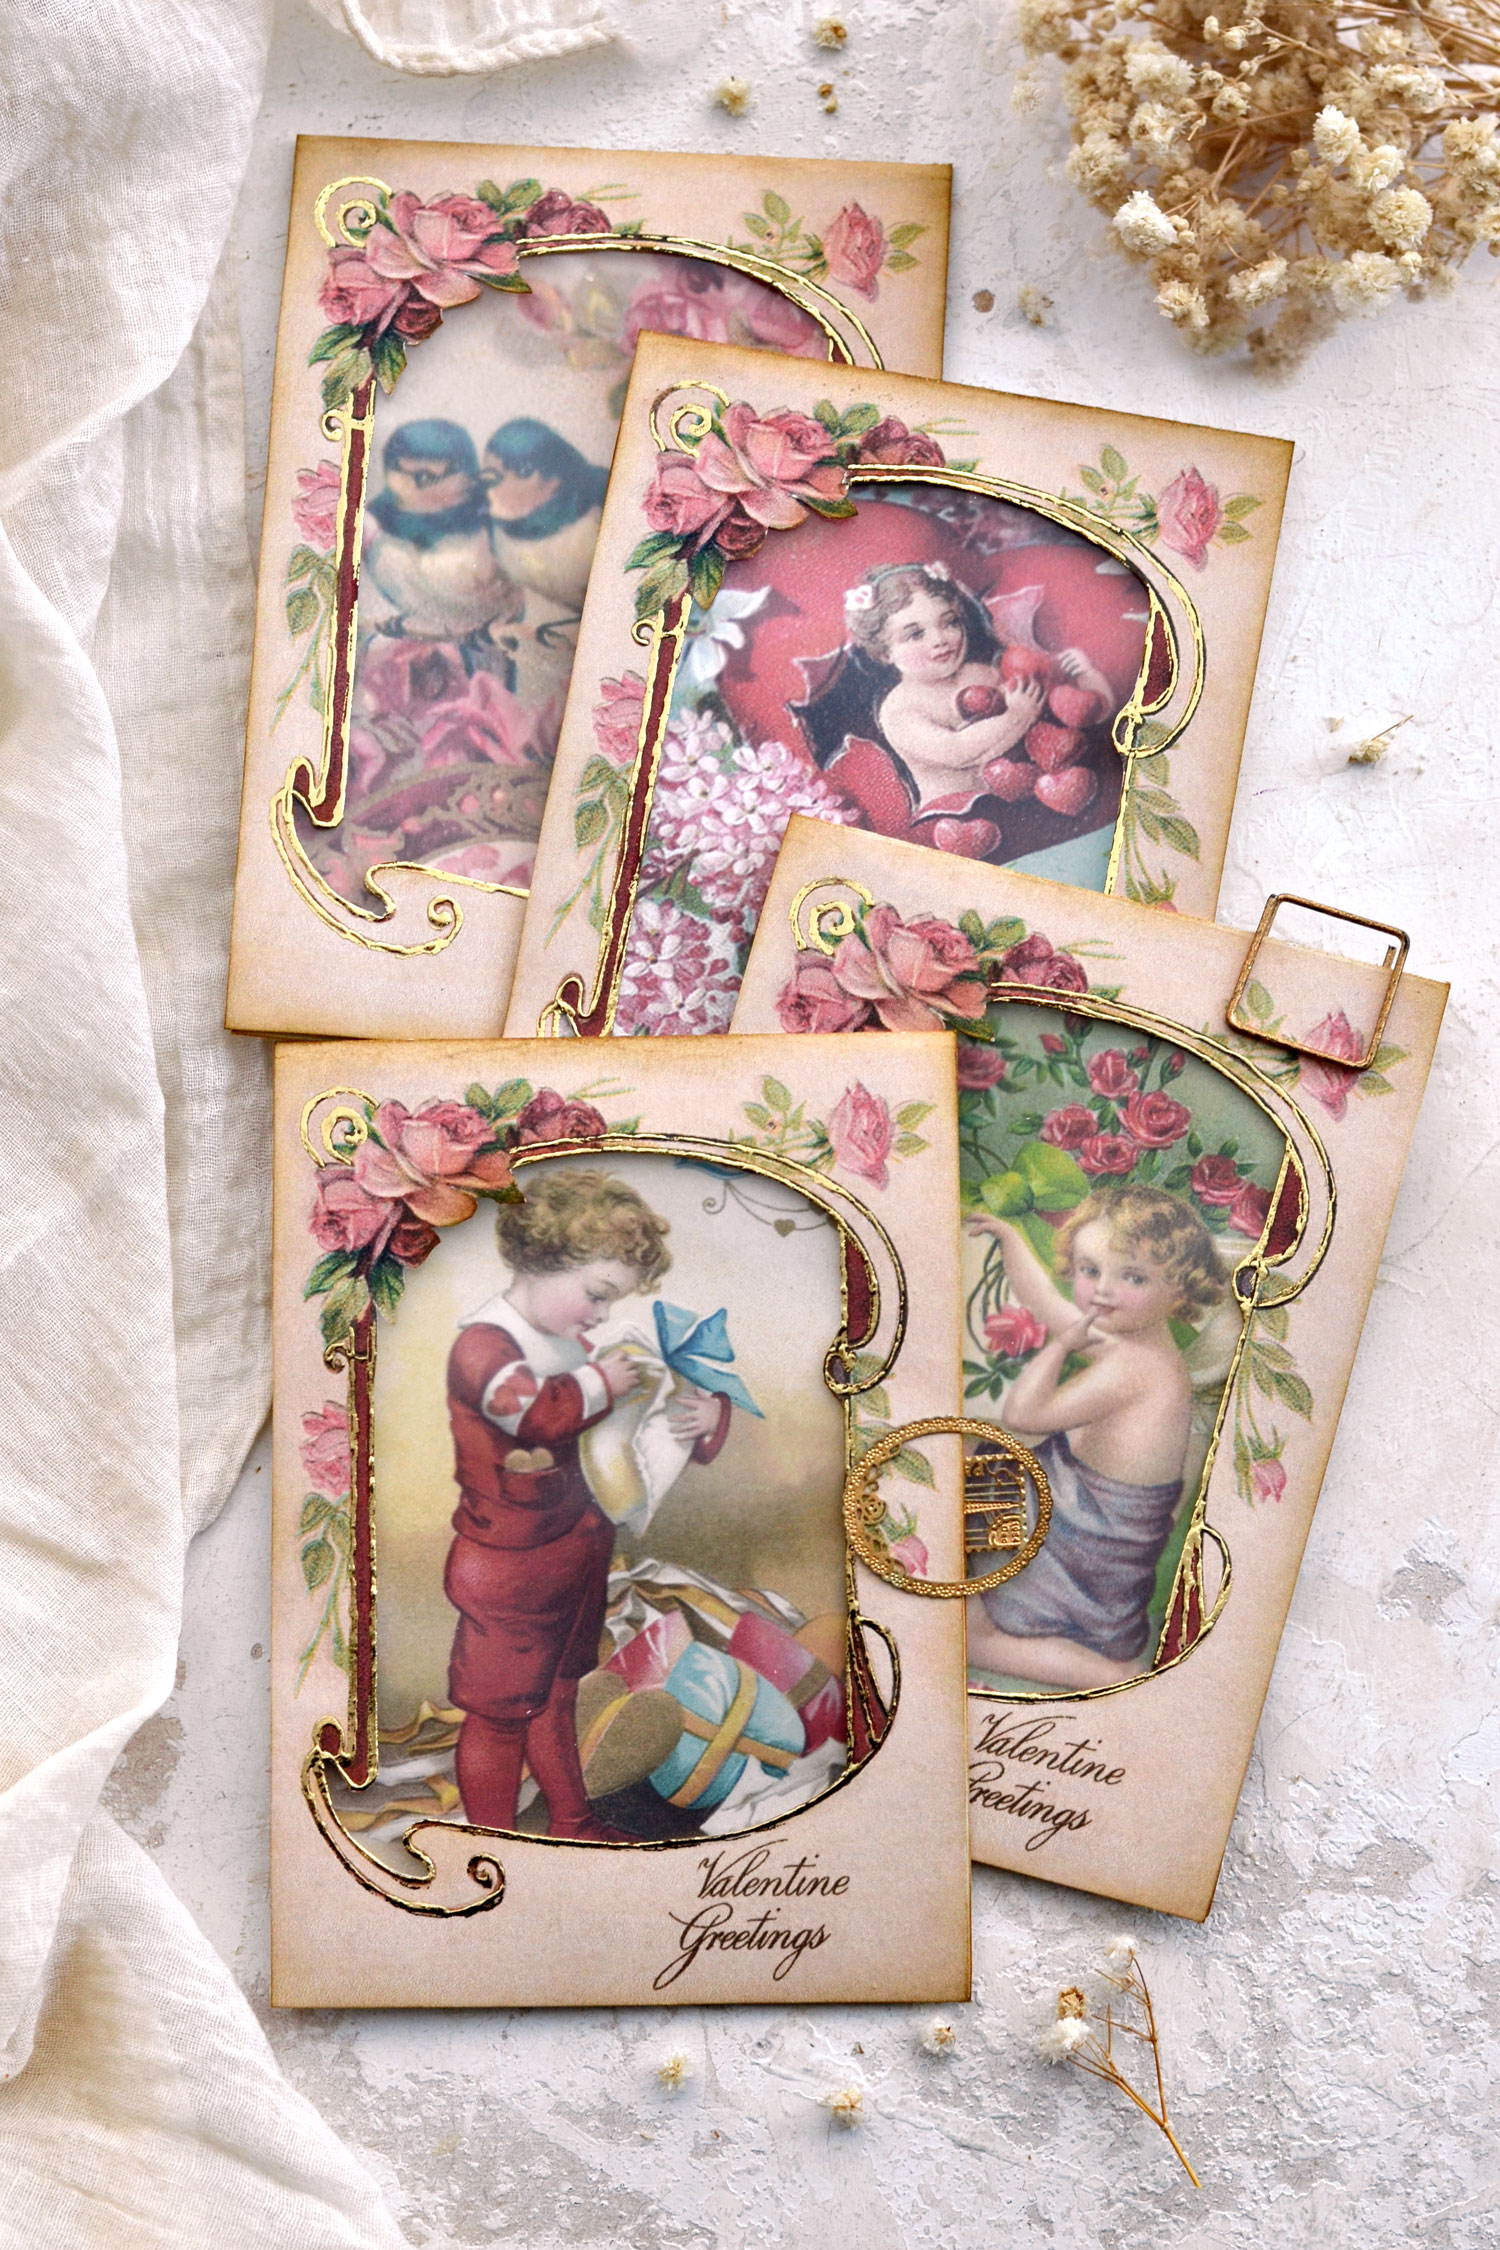
Hello Graphics Fairy friends! I’m Diana from Dreams Factory and I’m happy to be here again to share another DIY project with you! Today, I will show you how to make these adorable Printable Valentine Frame Cards with hand-painted touches of gold and a sheer window. You will love how easy these are to make and how beautiful the final results can be! A perfect little companion that will add that special handmade feel to your Valentine’s Day gifts this year!
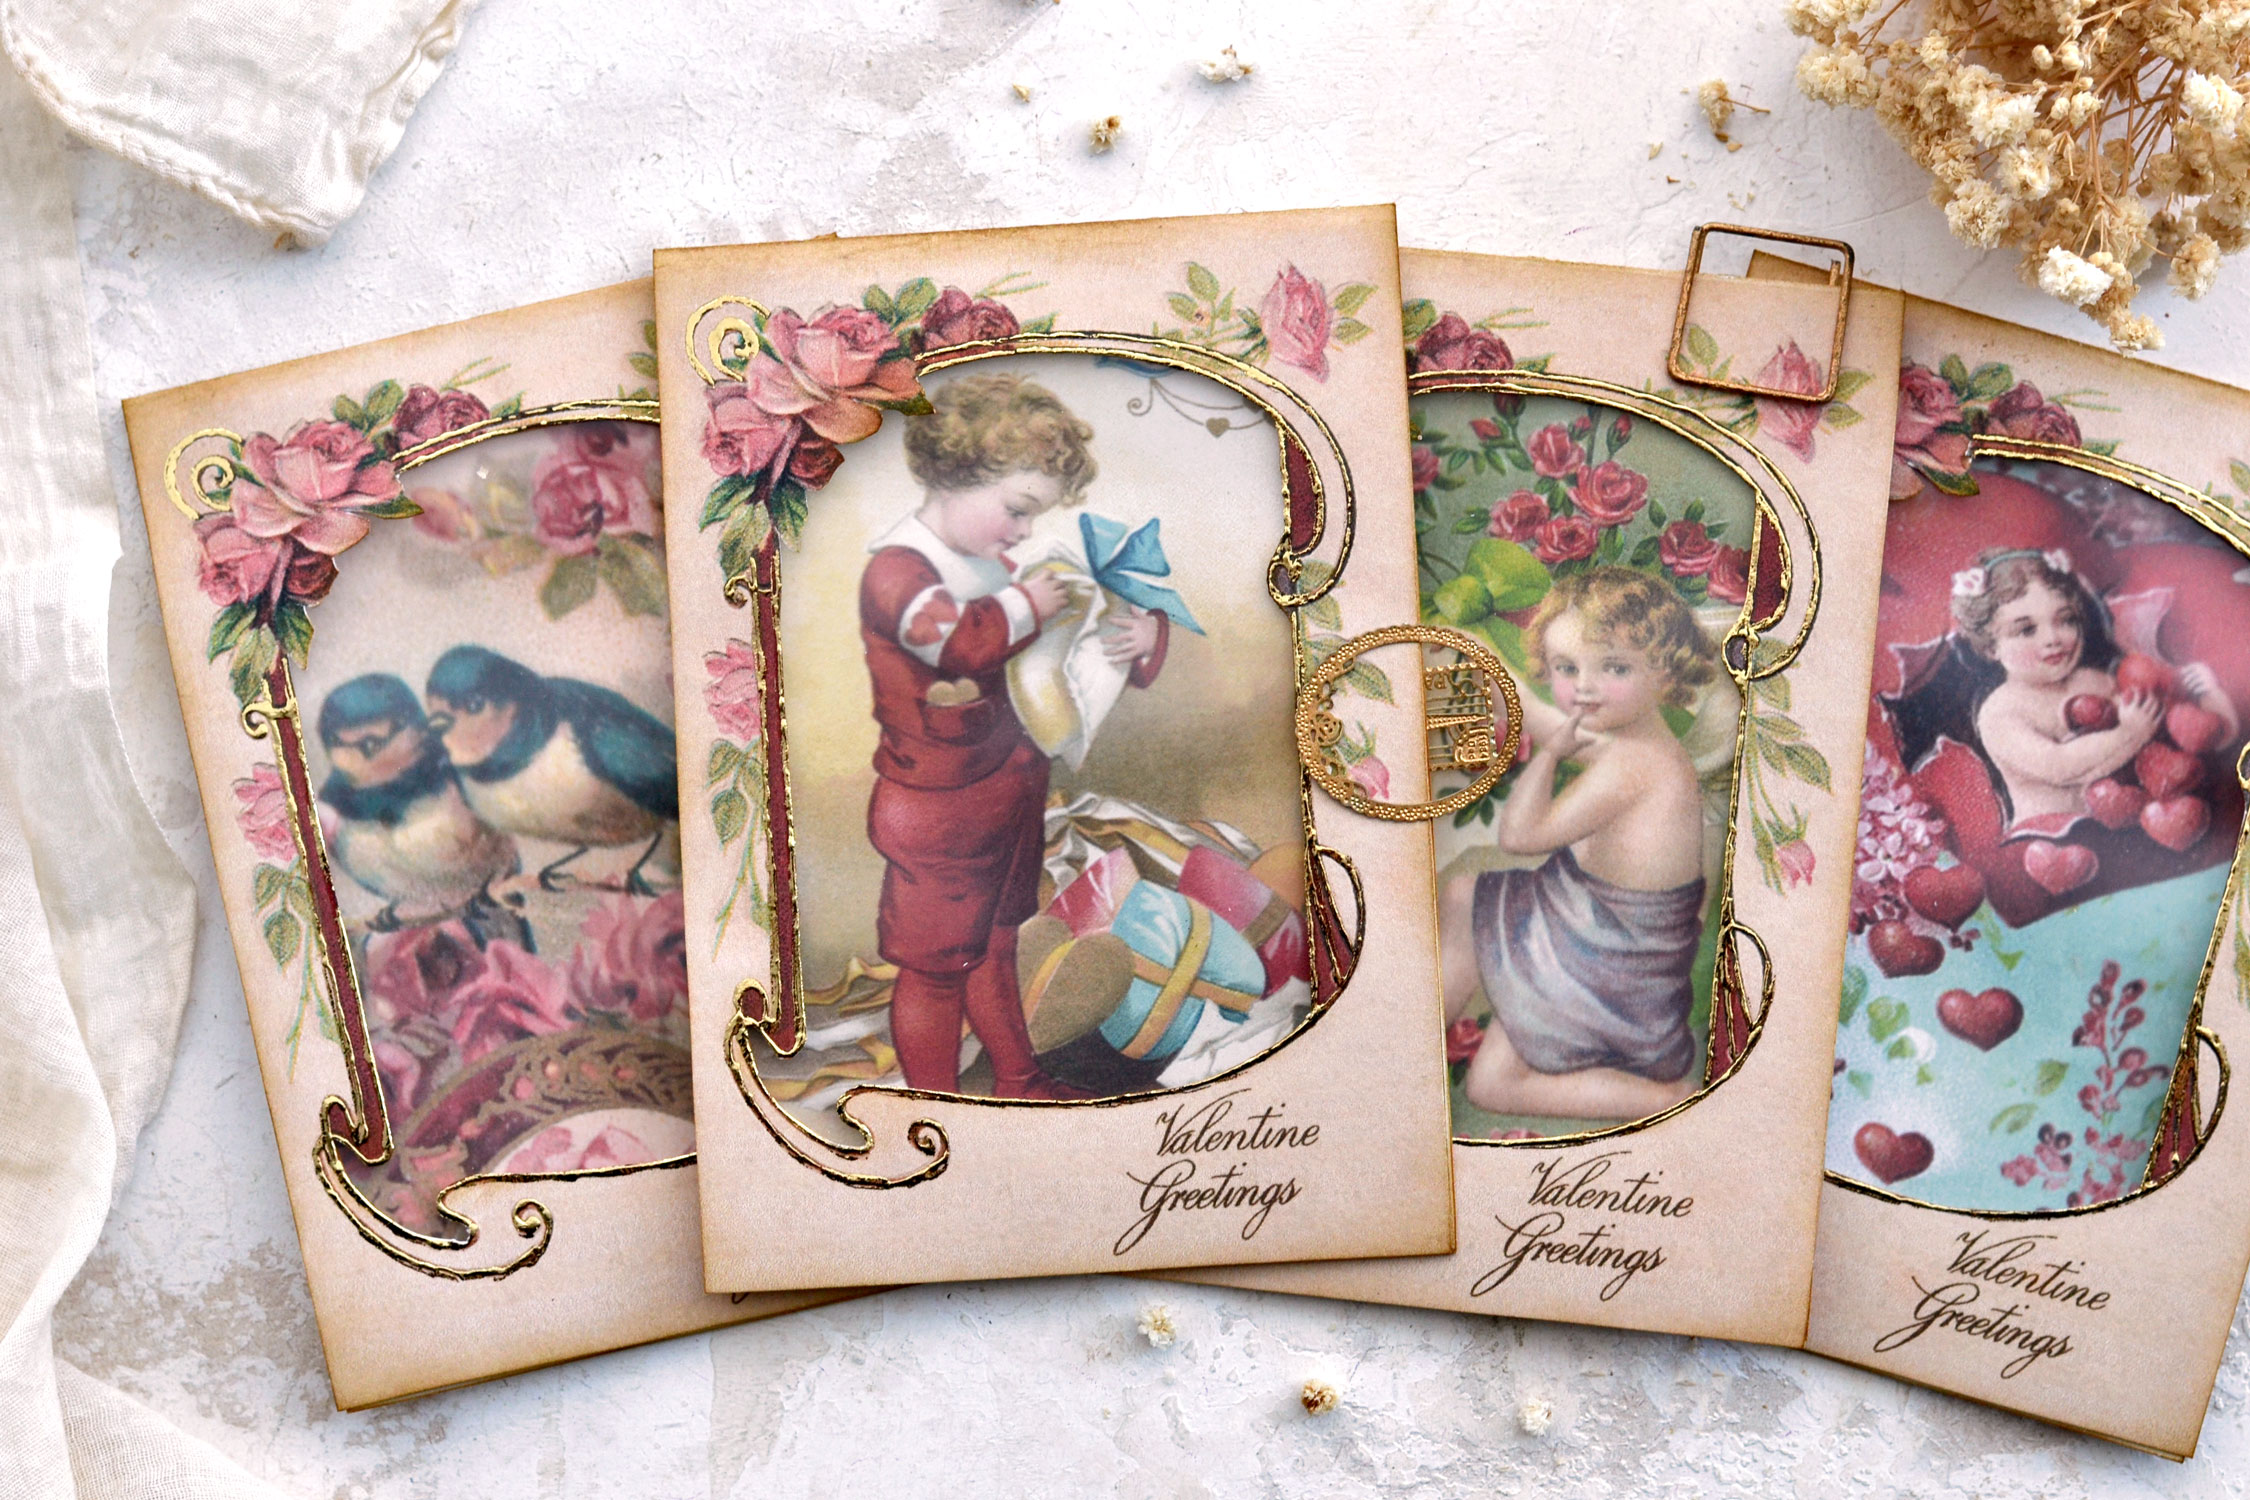
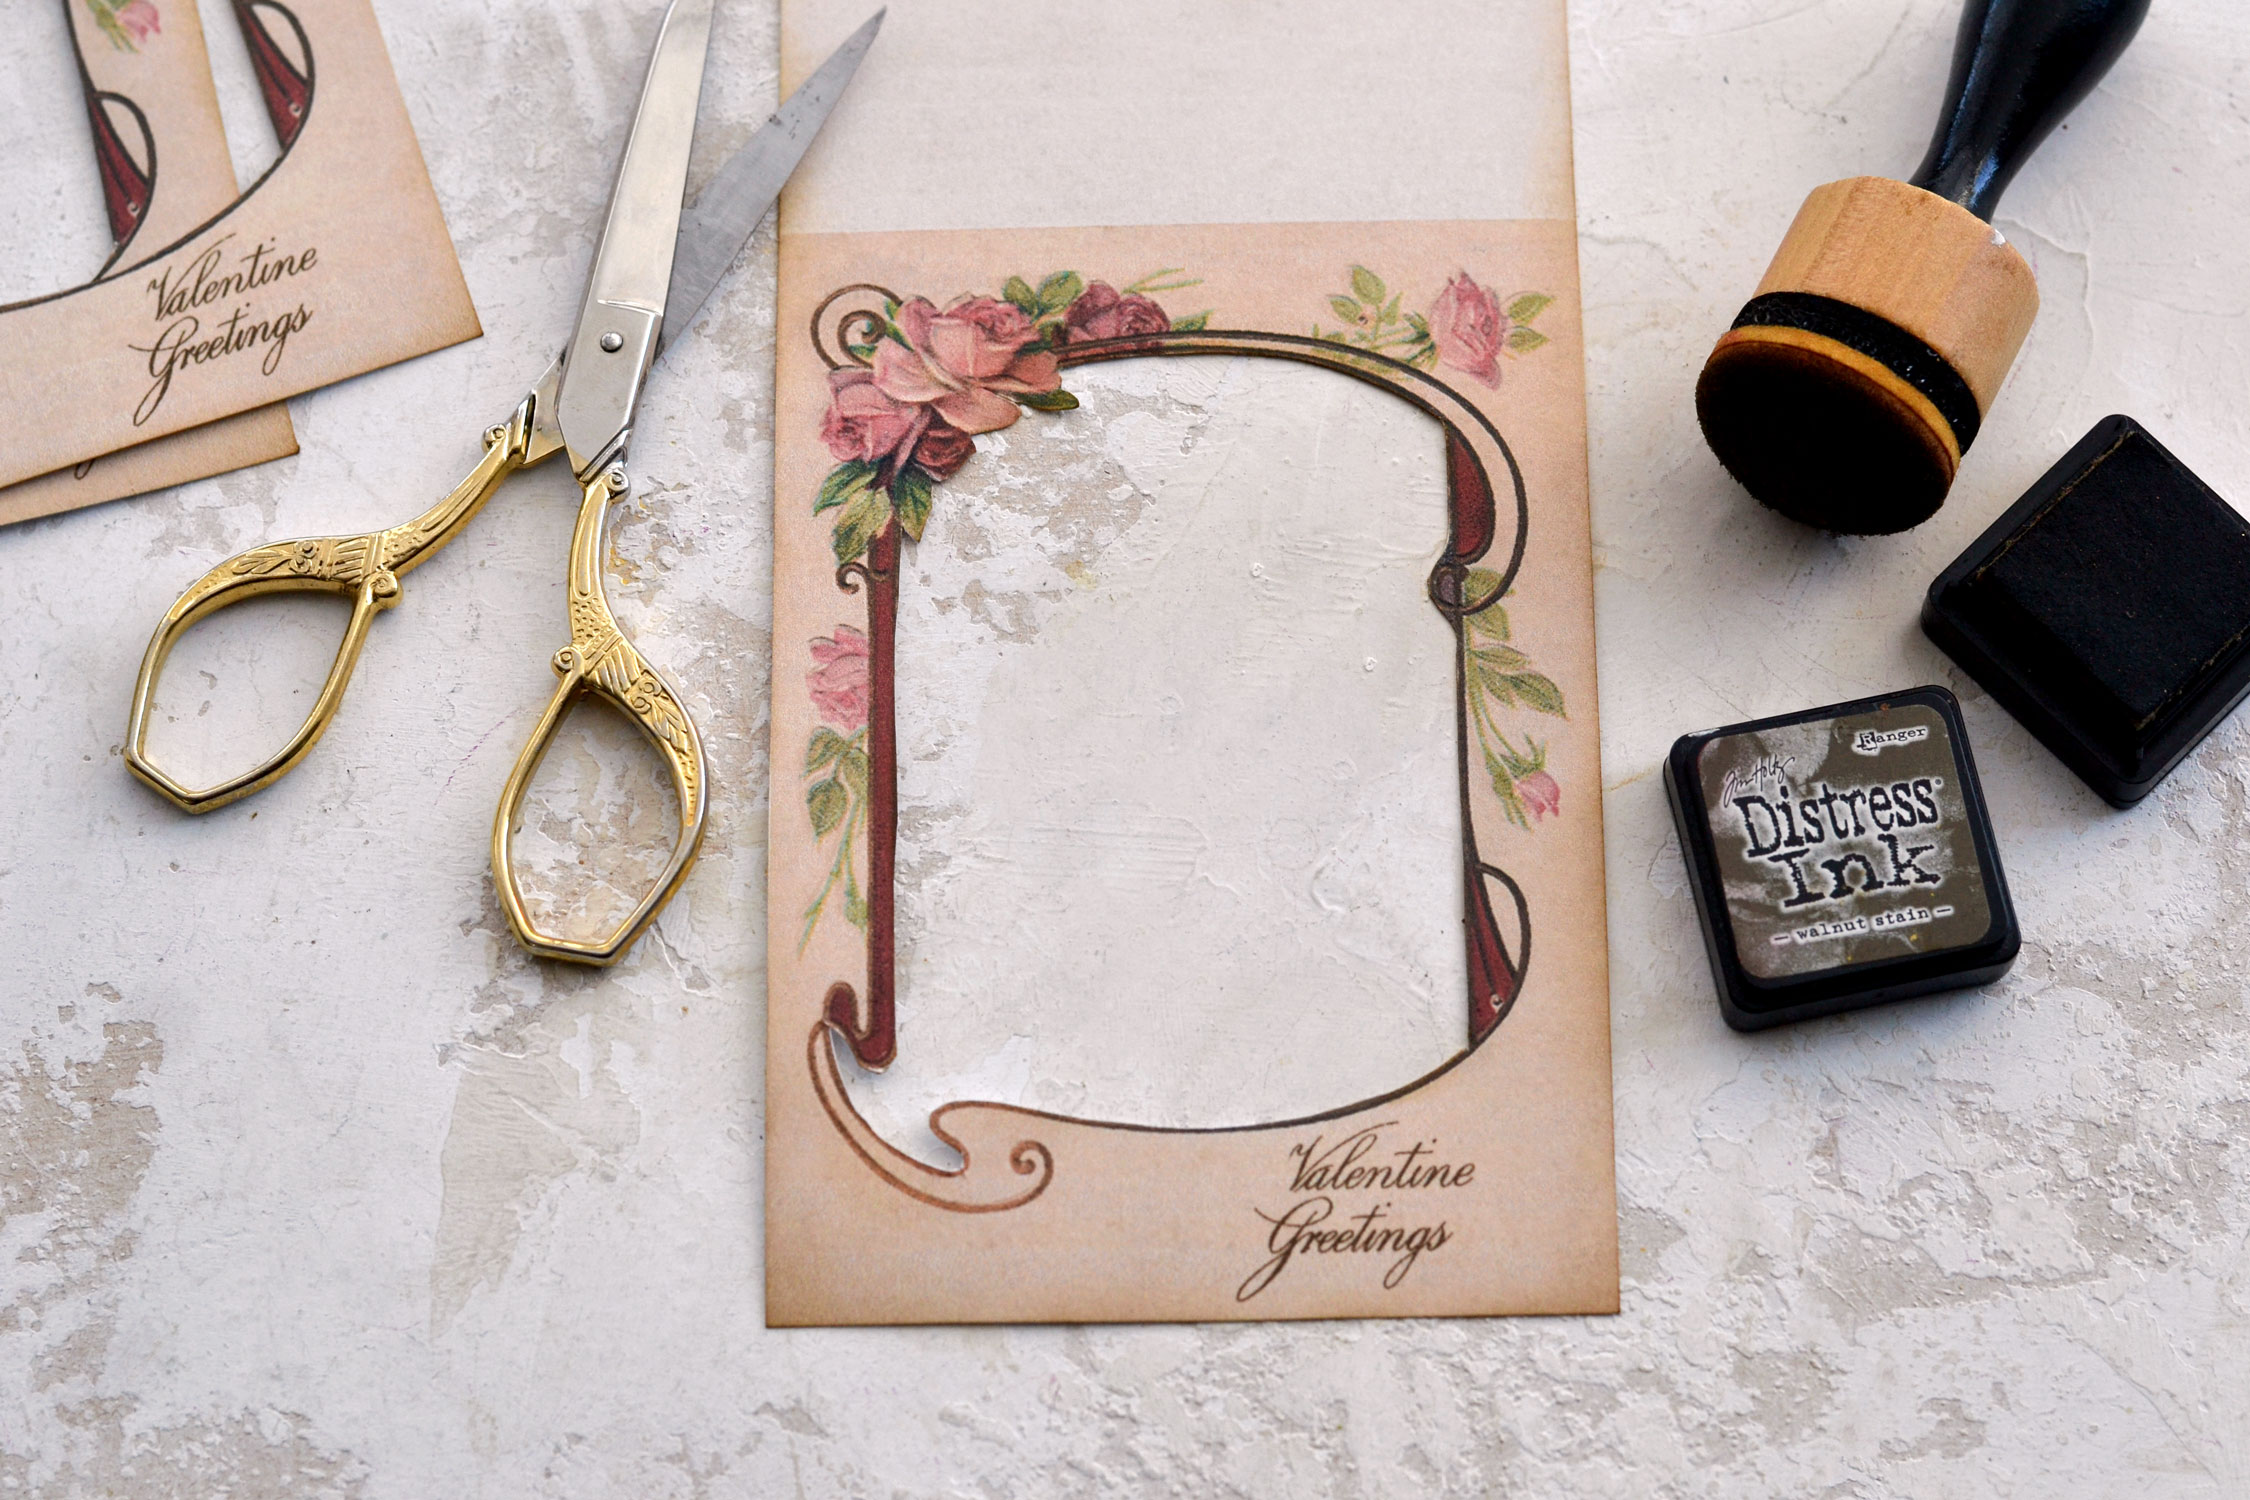
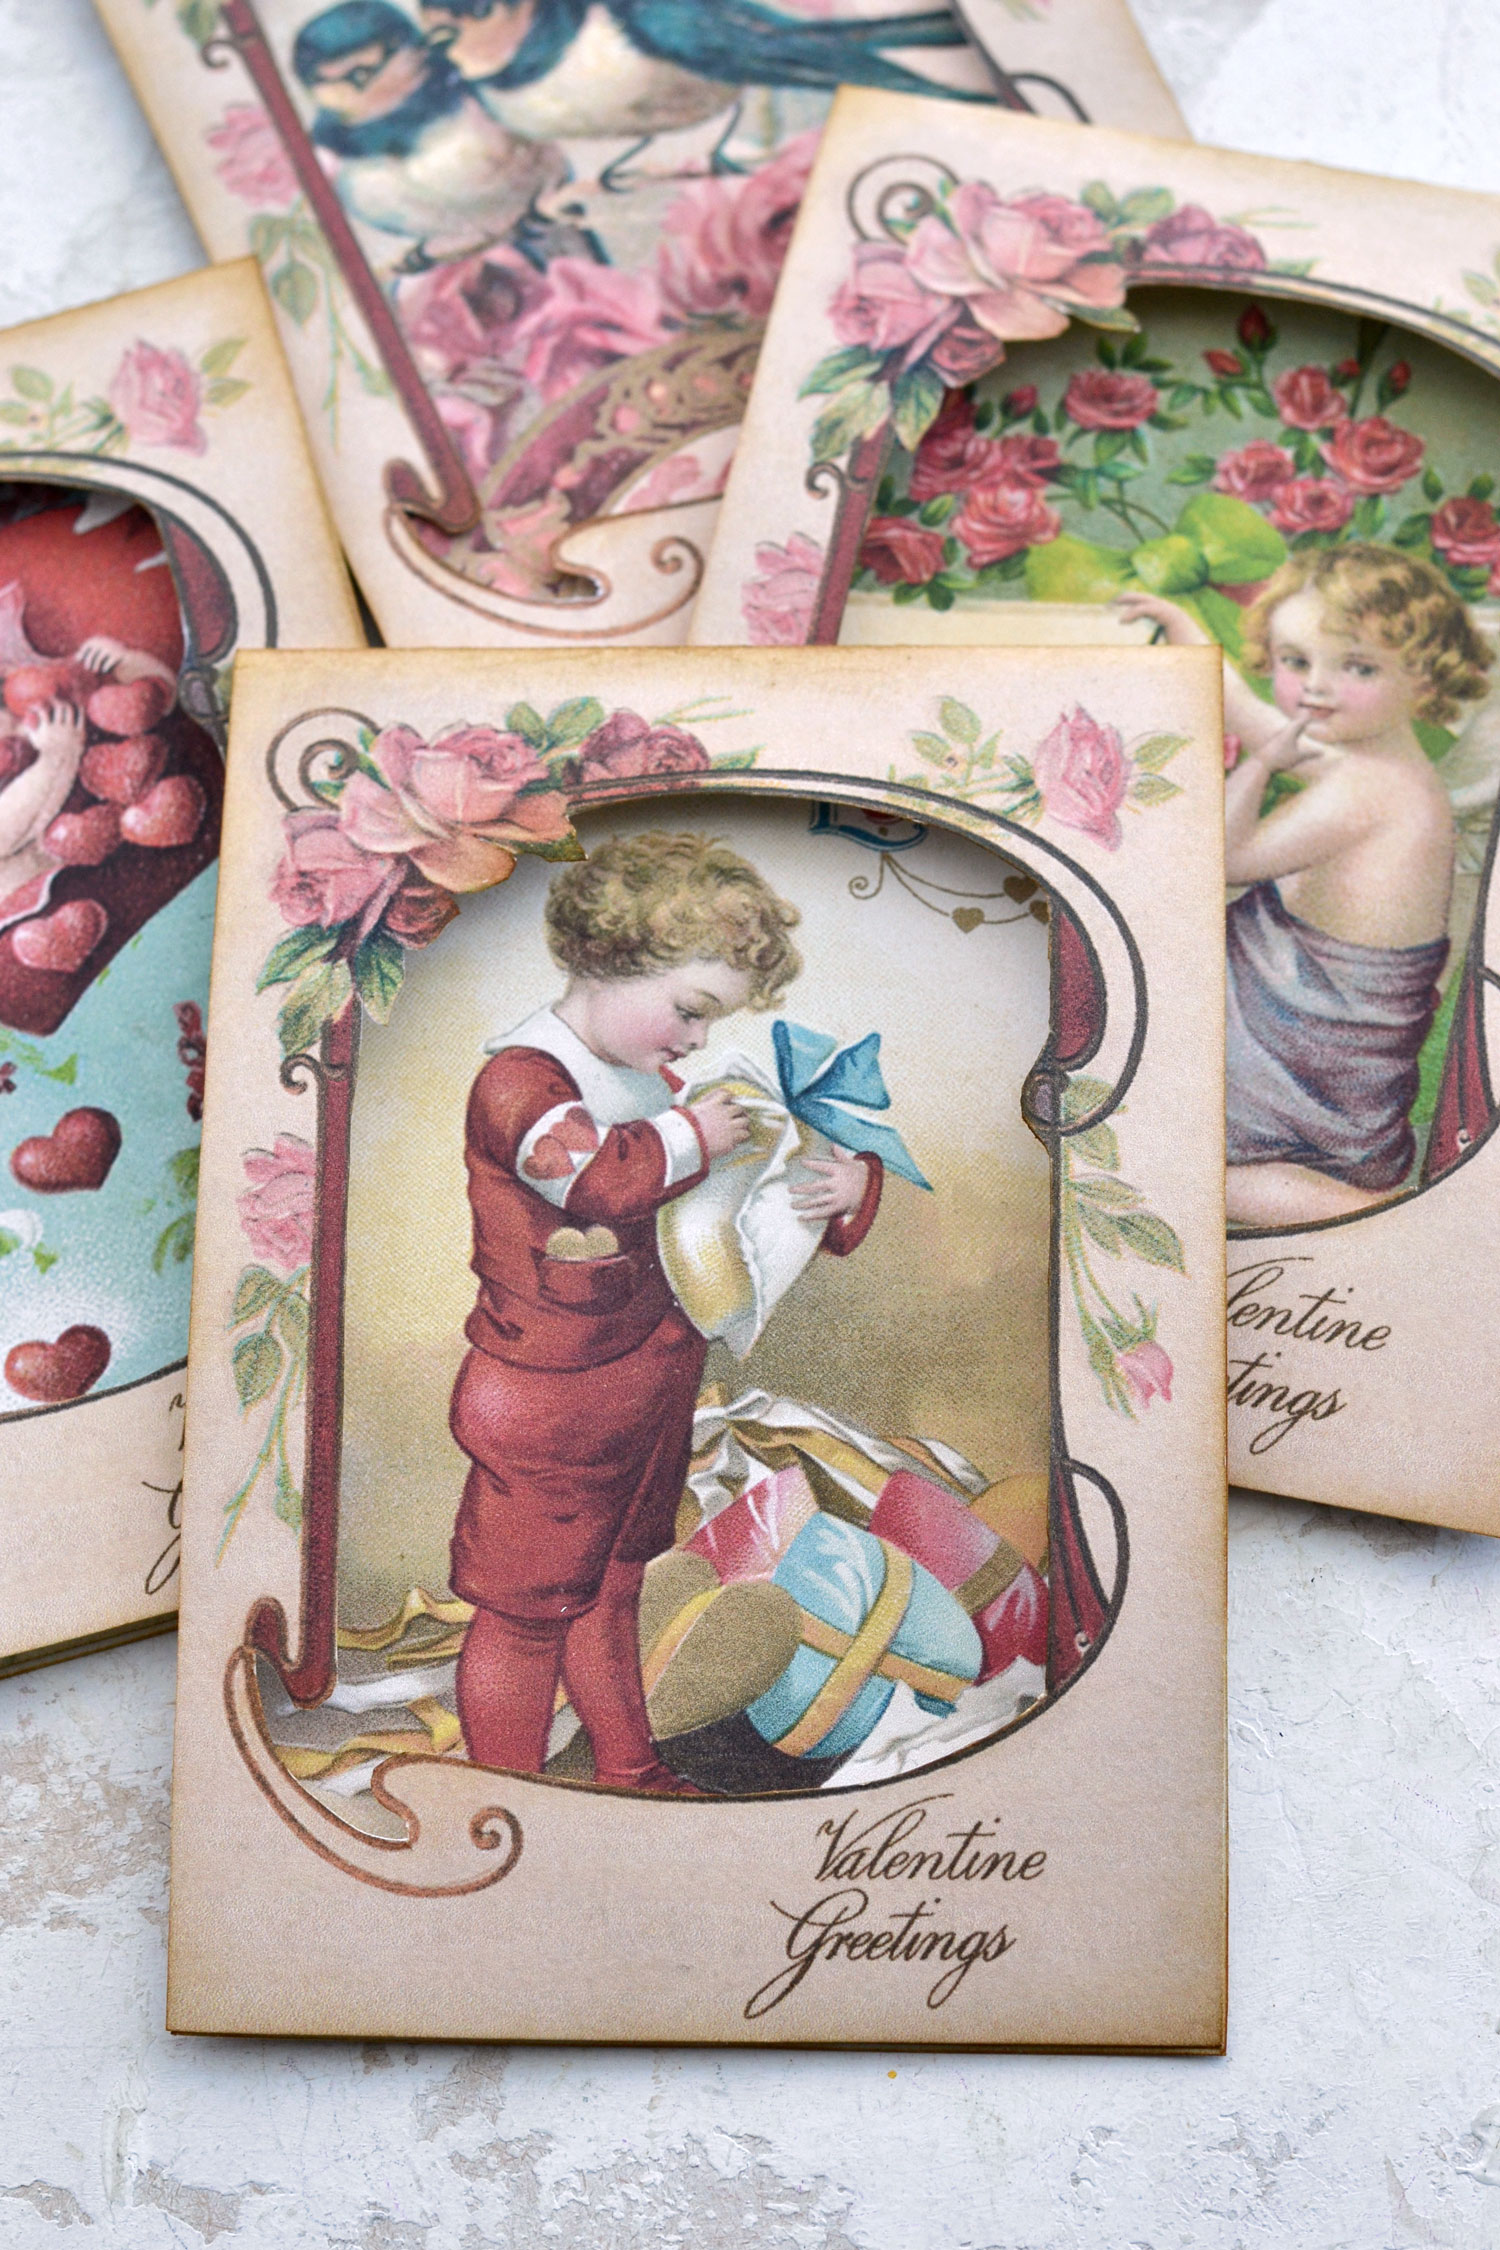
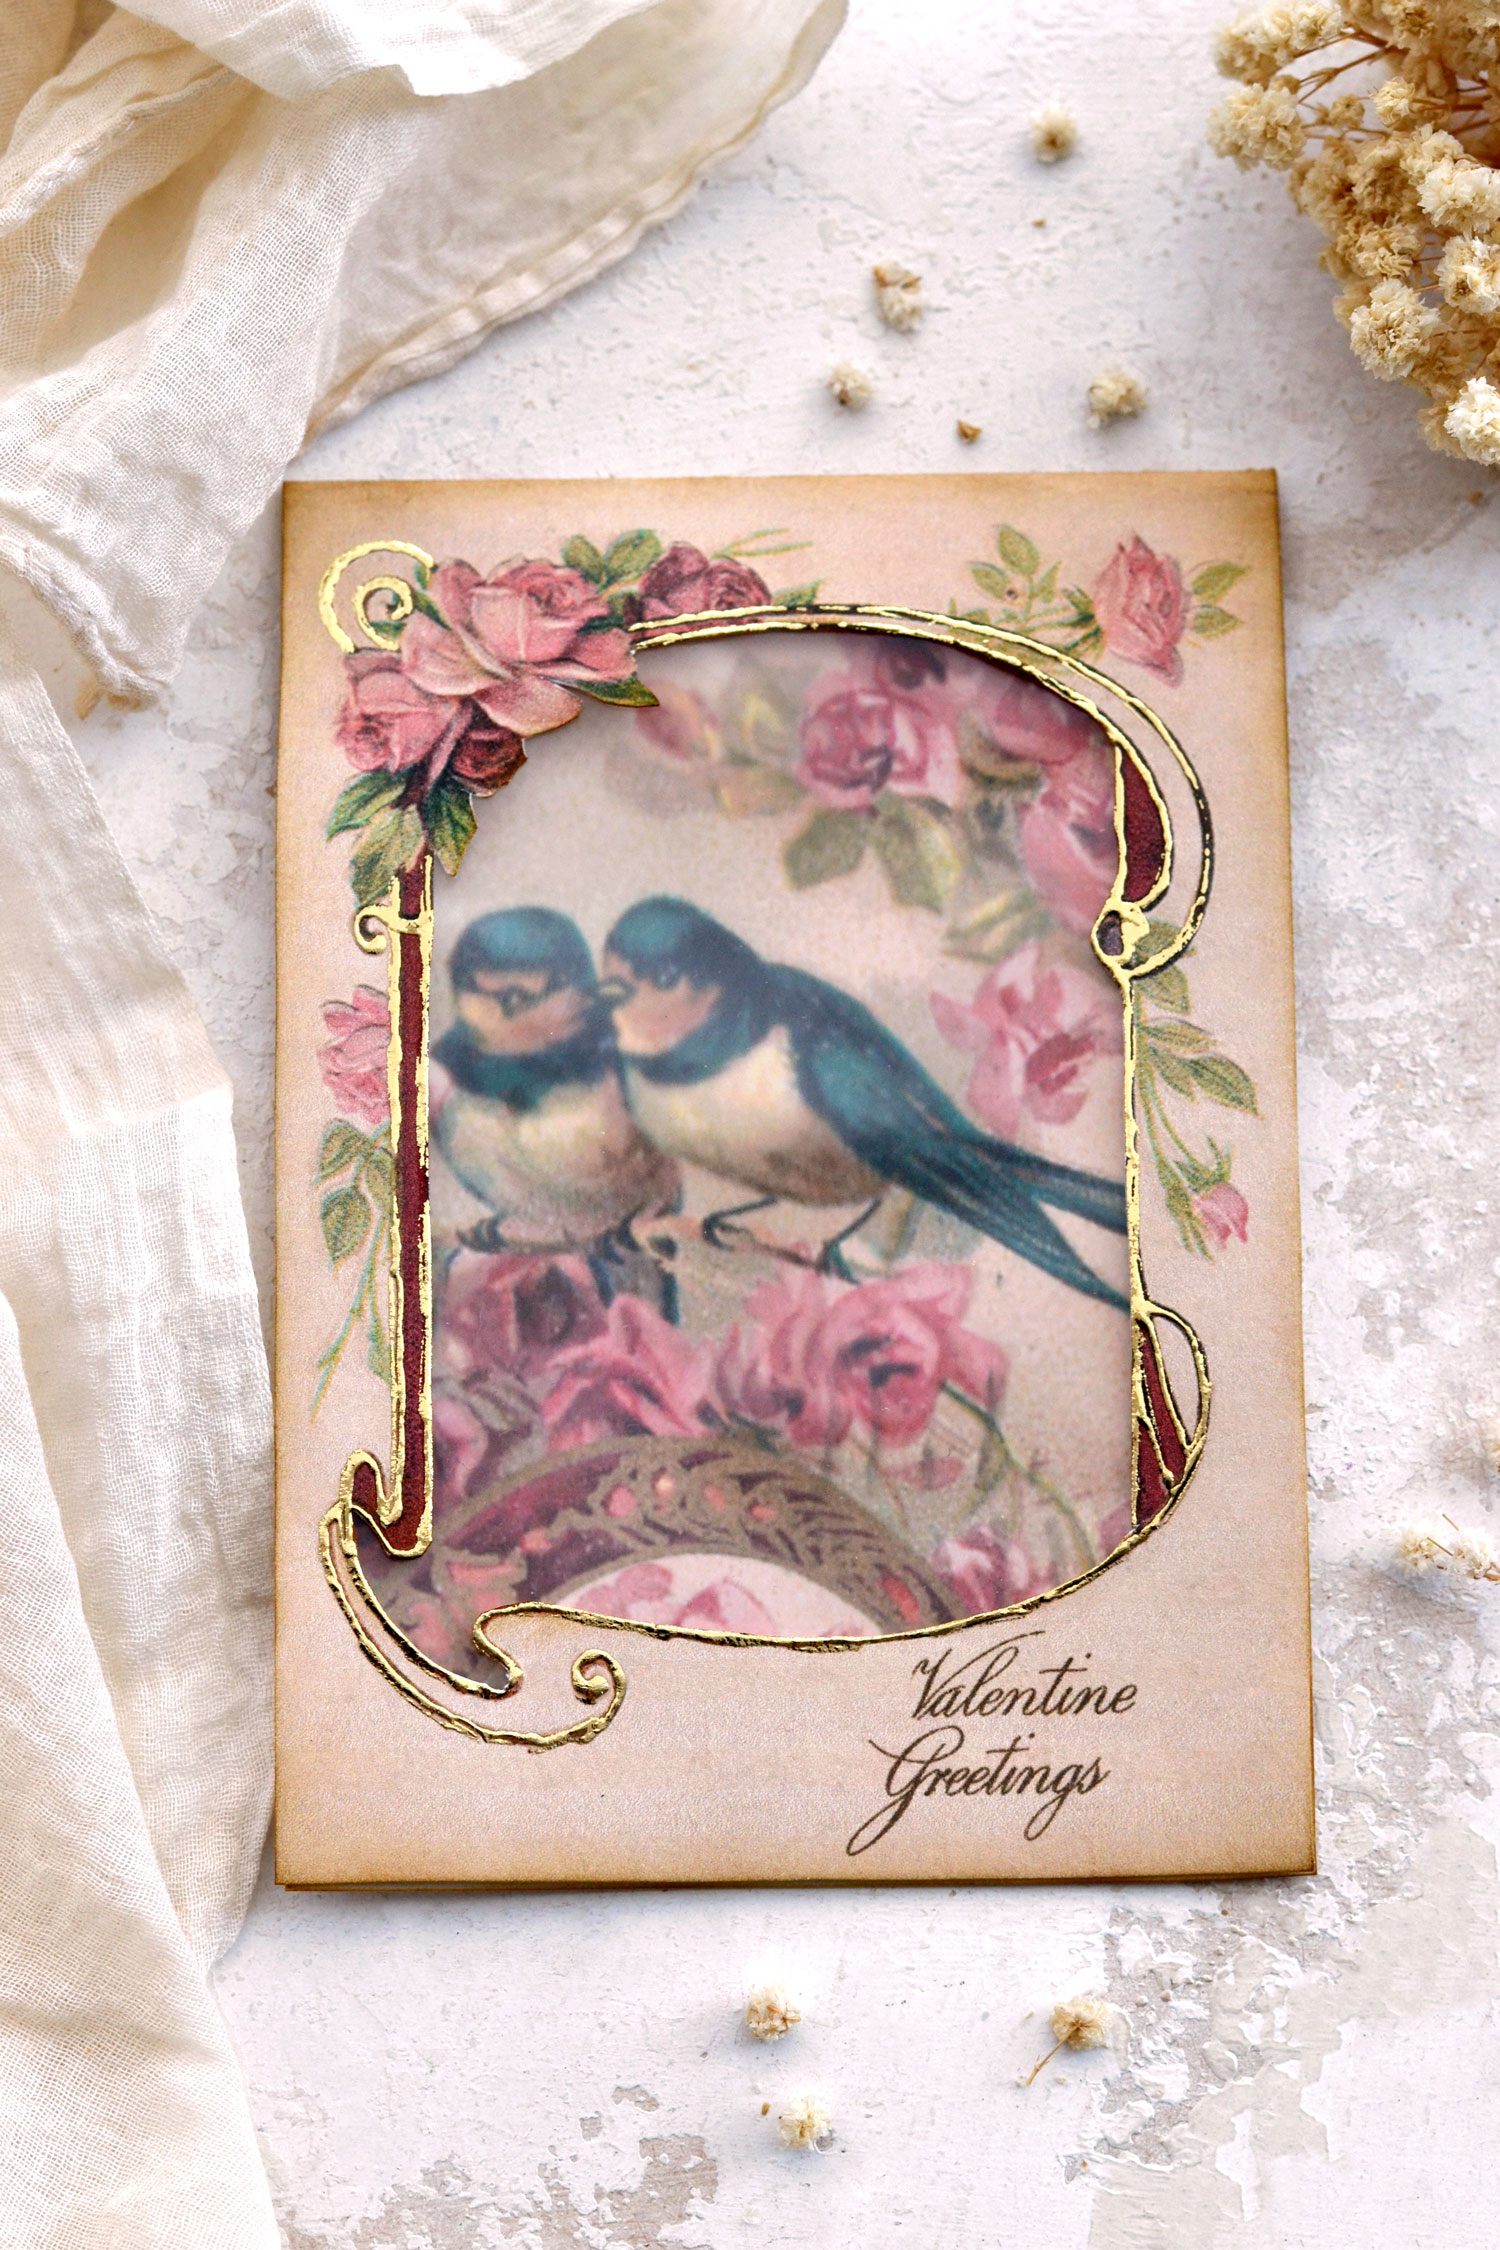
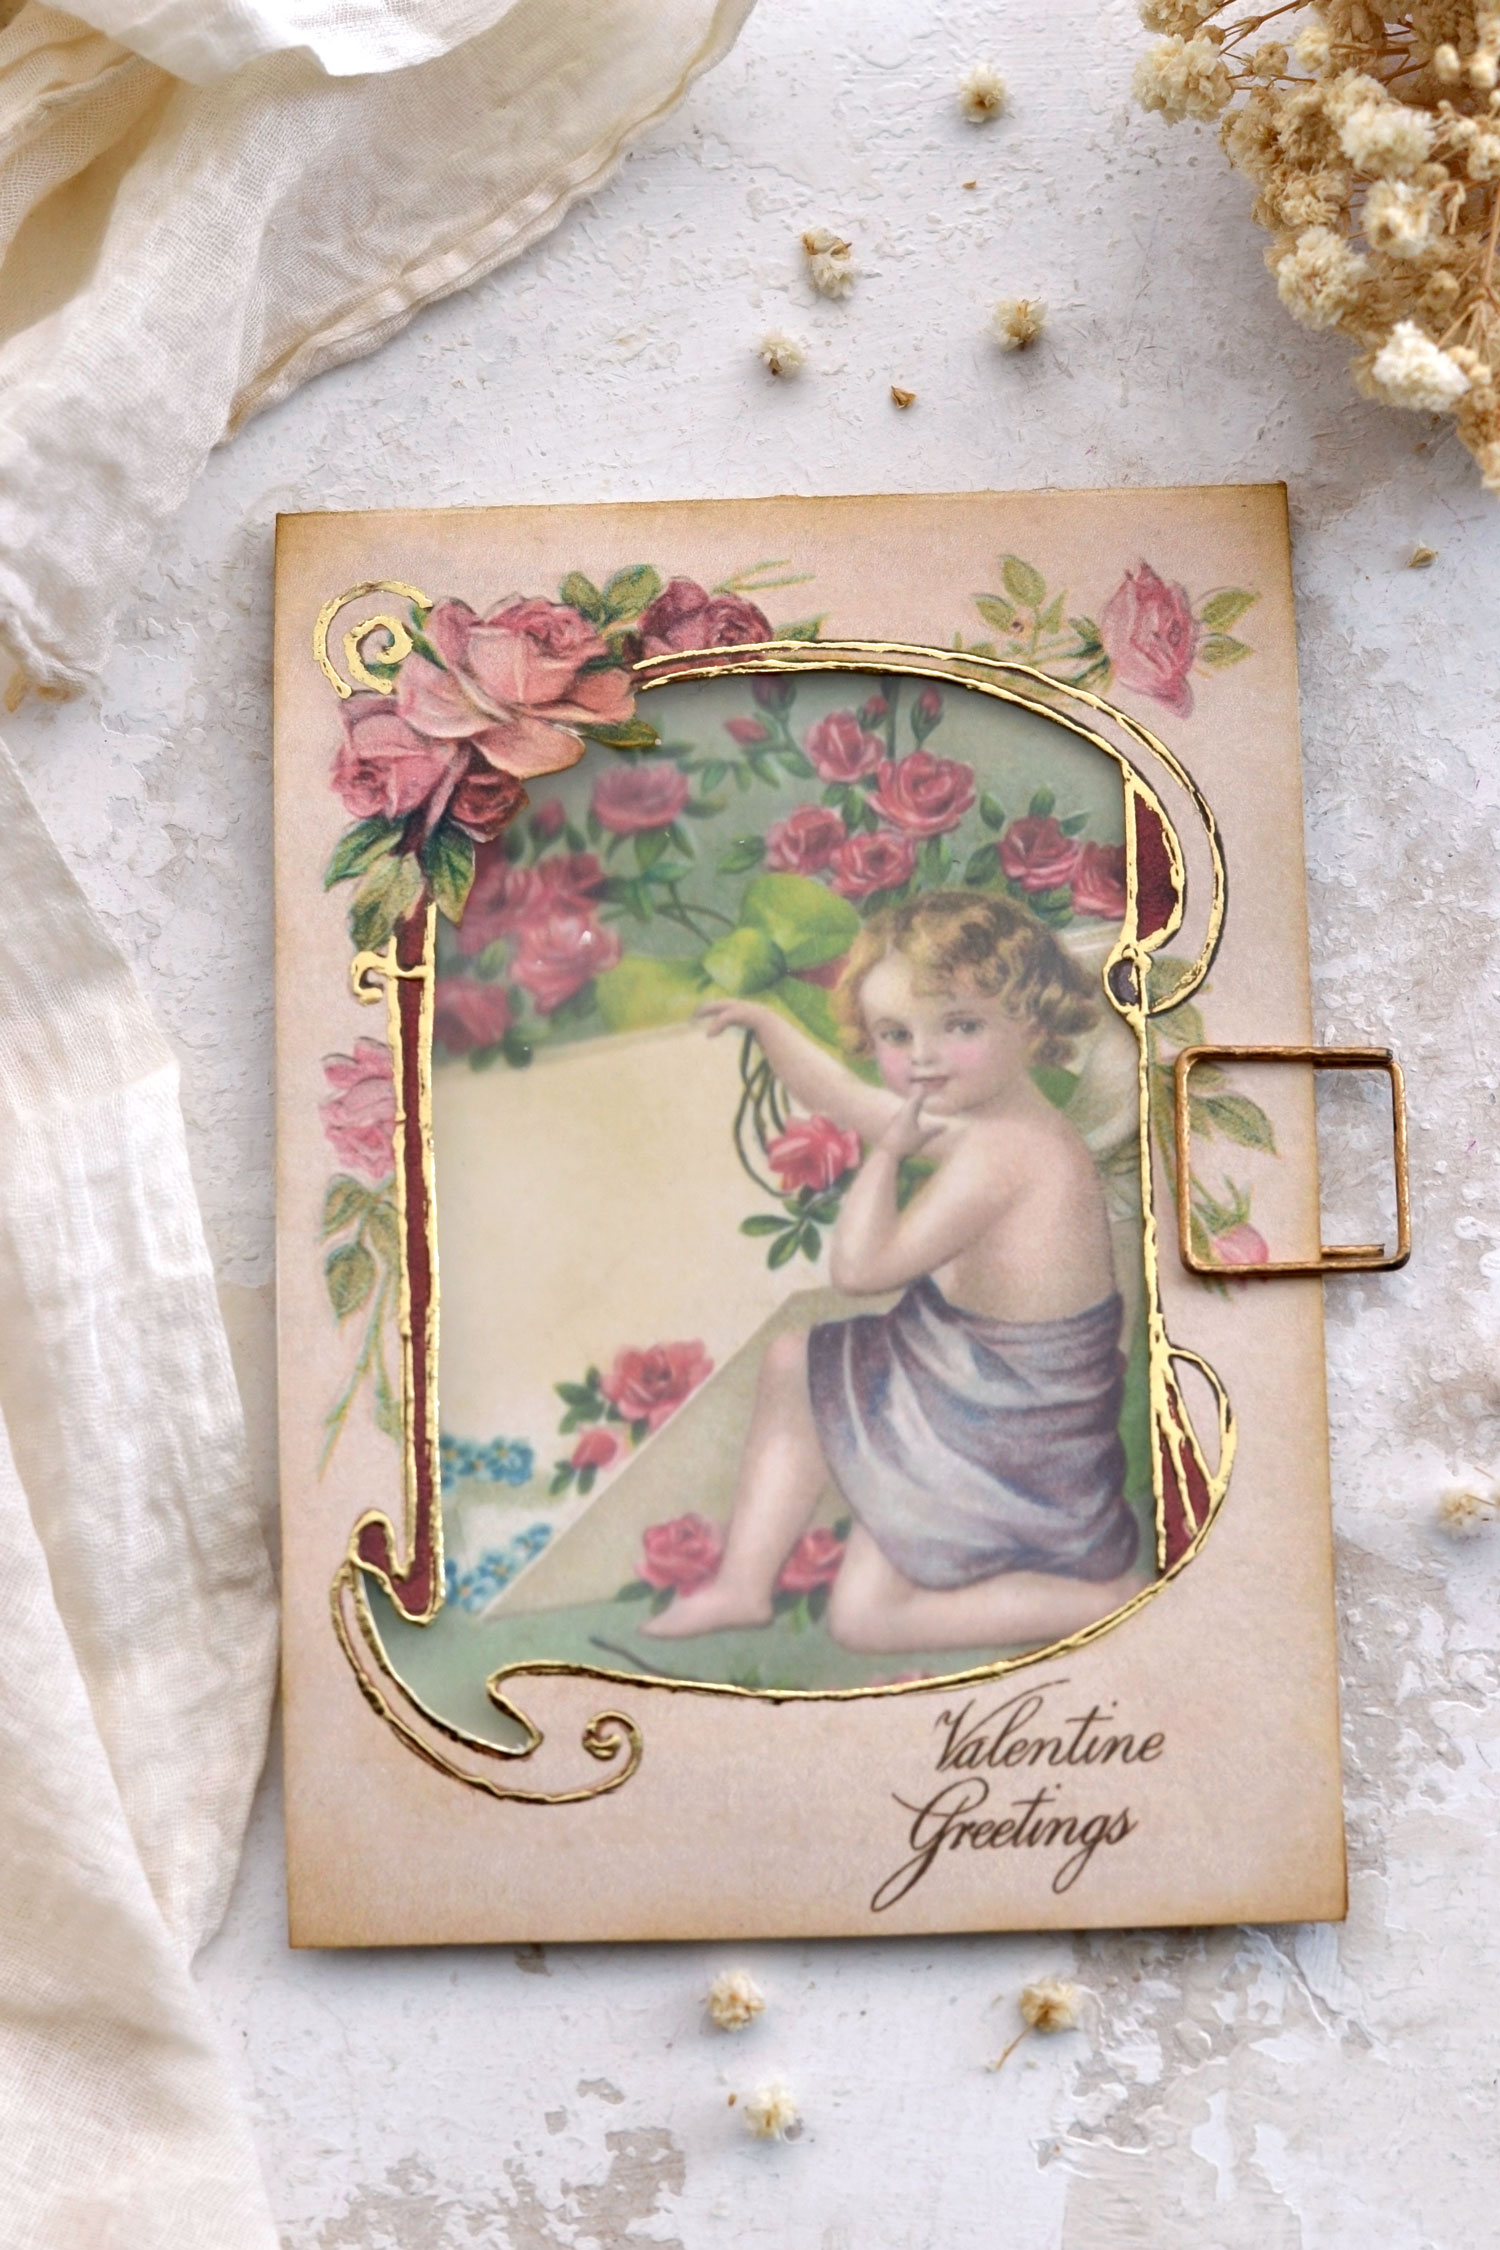
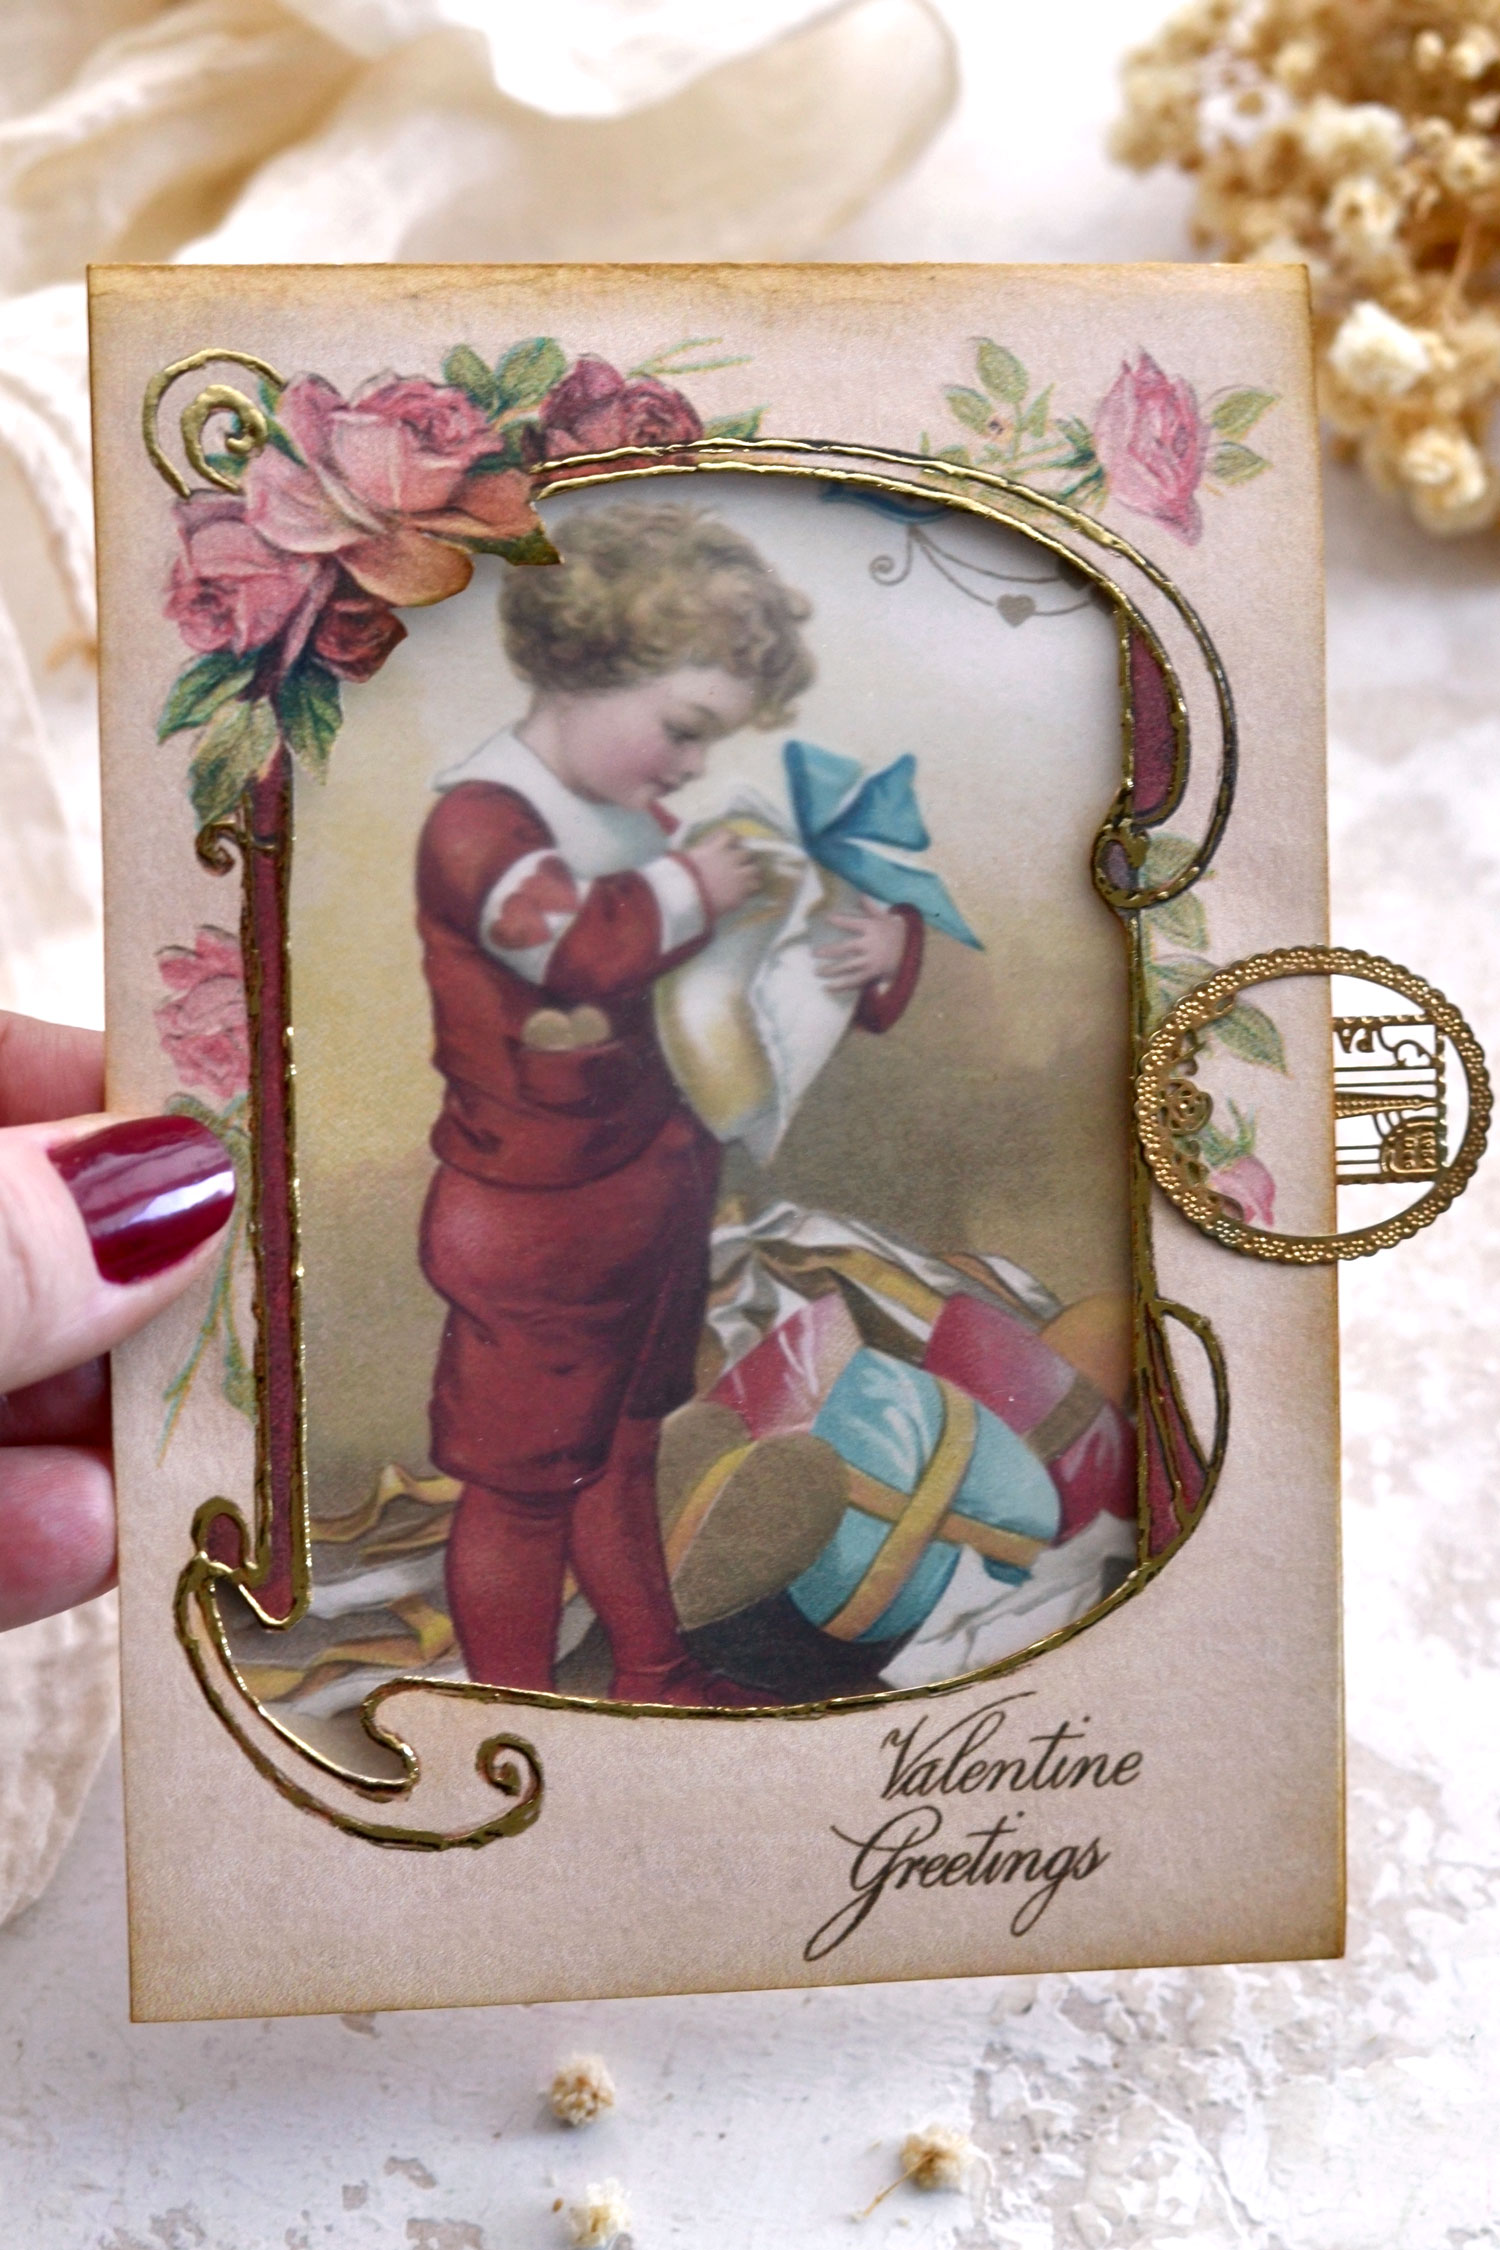
Ever since I discovered this stunningly embellished frame with roses on The Graphics Fairy, I knew I had to use it for a project like this! The frame initially came with a different image, but I adapted it for our project. The window frame is large enough to reveal most of the image placed inside, but you will still be able to discover more details once you open the card. This frame definitely deserves a seat in the spotlight and I think the gold perfectly enhances it, making it shine even more.
You will find two card bases on the first printable, which will allow you to create two cards. I added a special ‘Valentine Greetings’ wish on the first version, a beautiful element that adds to that special handmade feel I wanted the cards to have.
Printables:
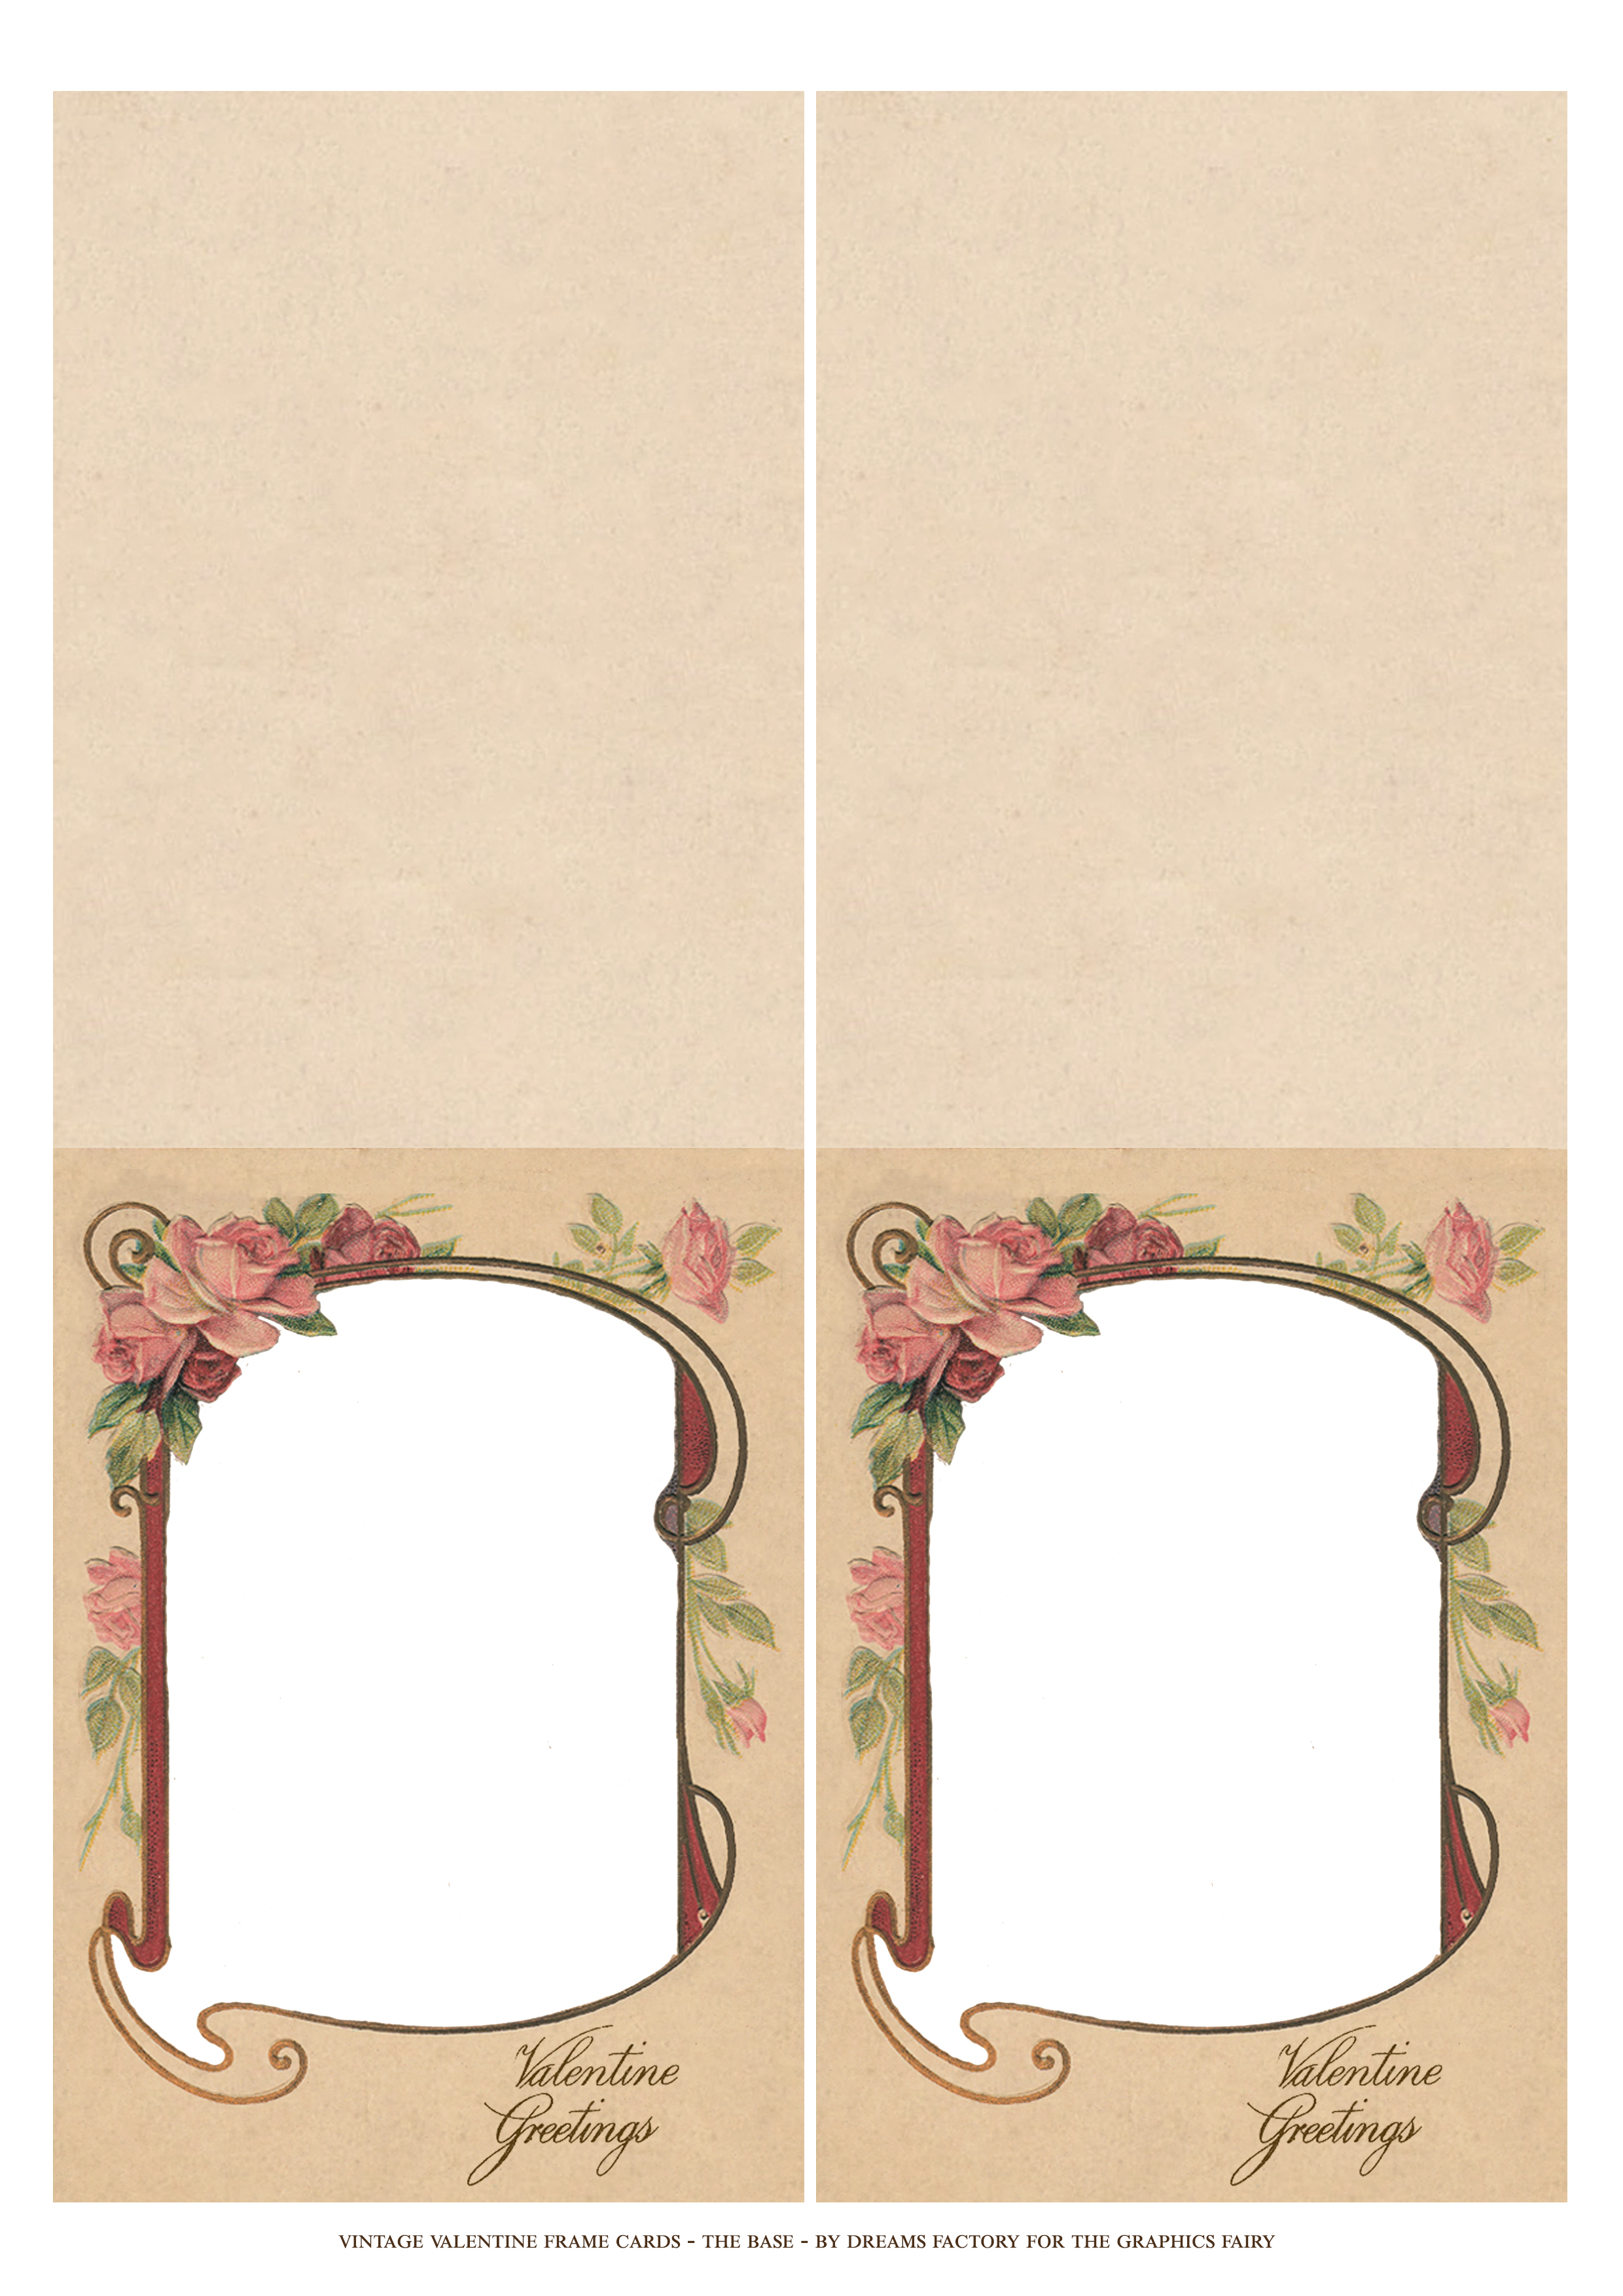
—-> Click HERE to Download the Full Size Printable PDF – the base <—-
I’m also sharing a blank version without any wishes, just in case you would like to add your own to these beautiful cards. Or why not, even use or adapt them to a different project!
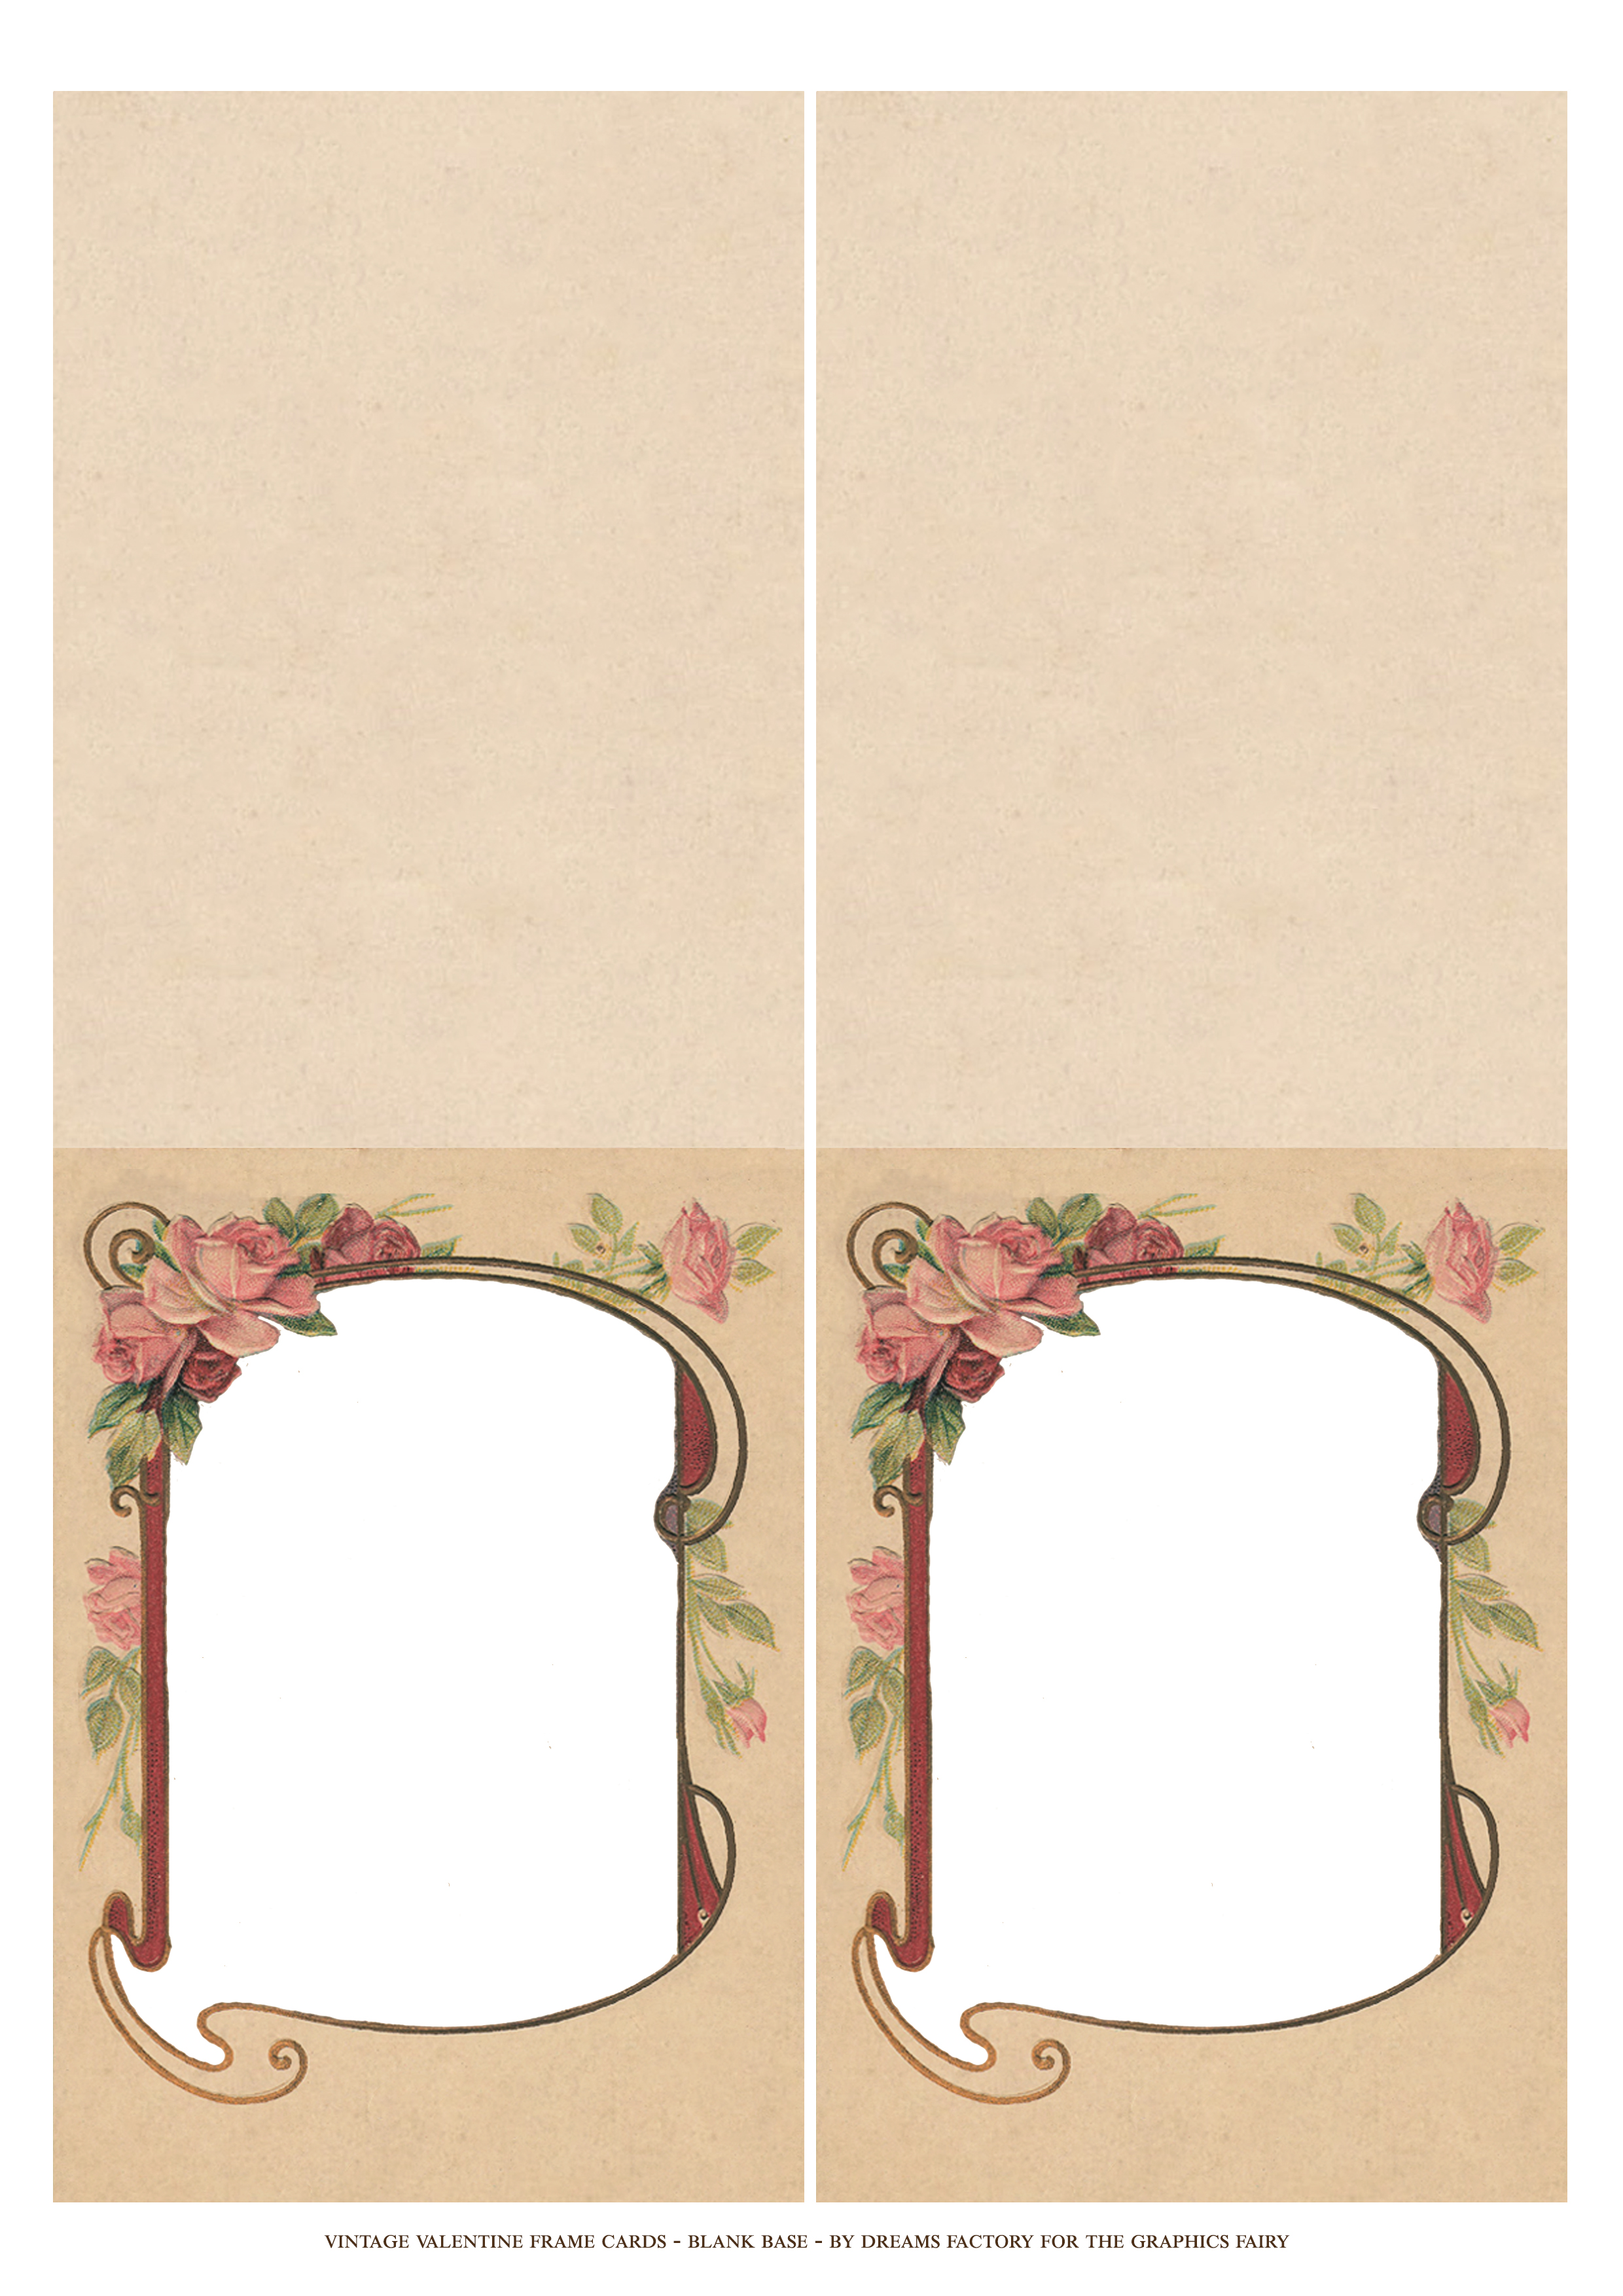
—-> Click HERE to Download the Full Size Printable PDF – the blank base <—-
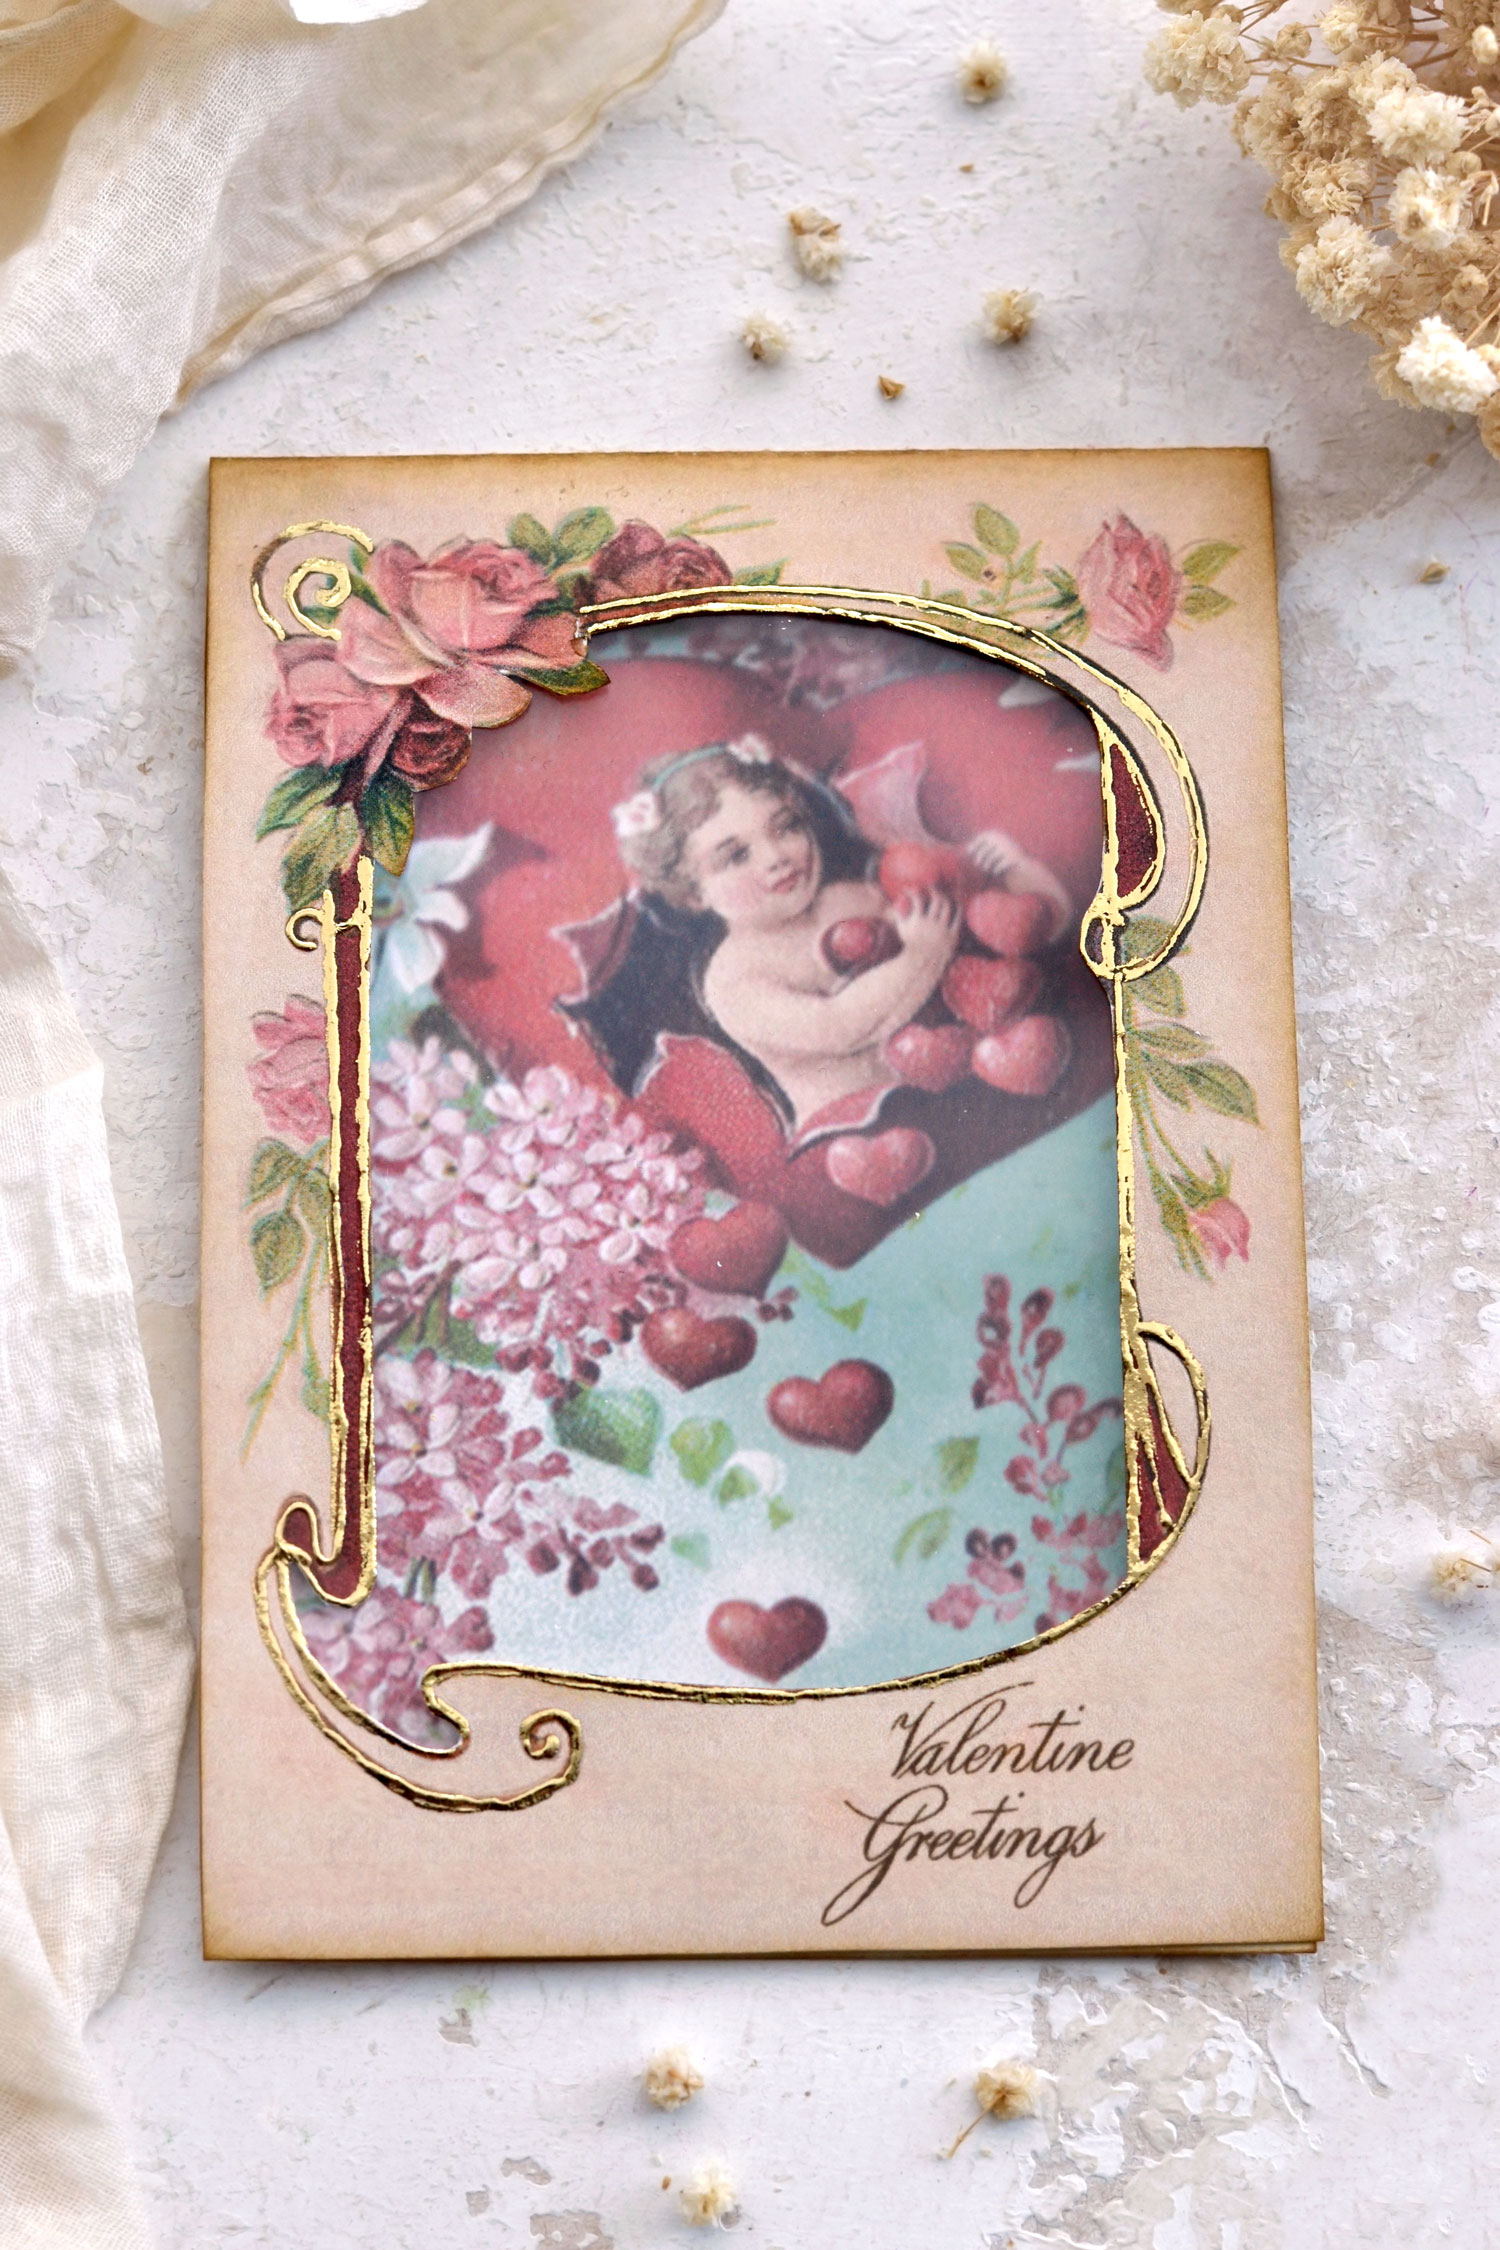
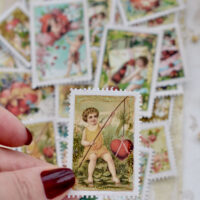
The inserts come with four vintage Valentine images, one more beautiful than the other! Printing it once will allow you to make four cards, just keep in mind to also print a corresponding number of card bases.
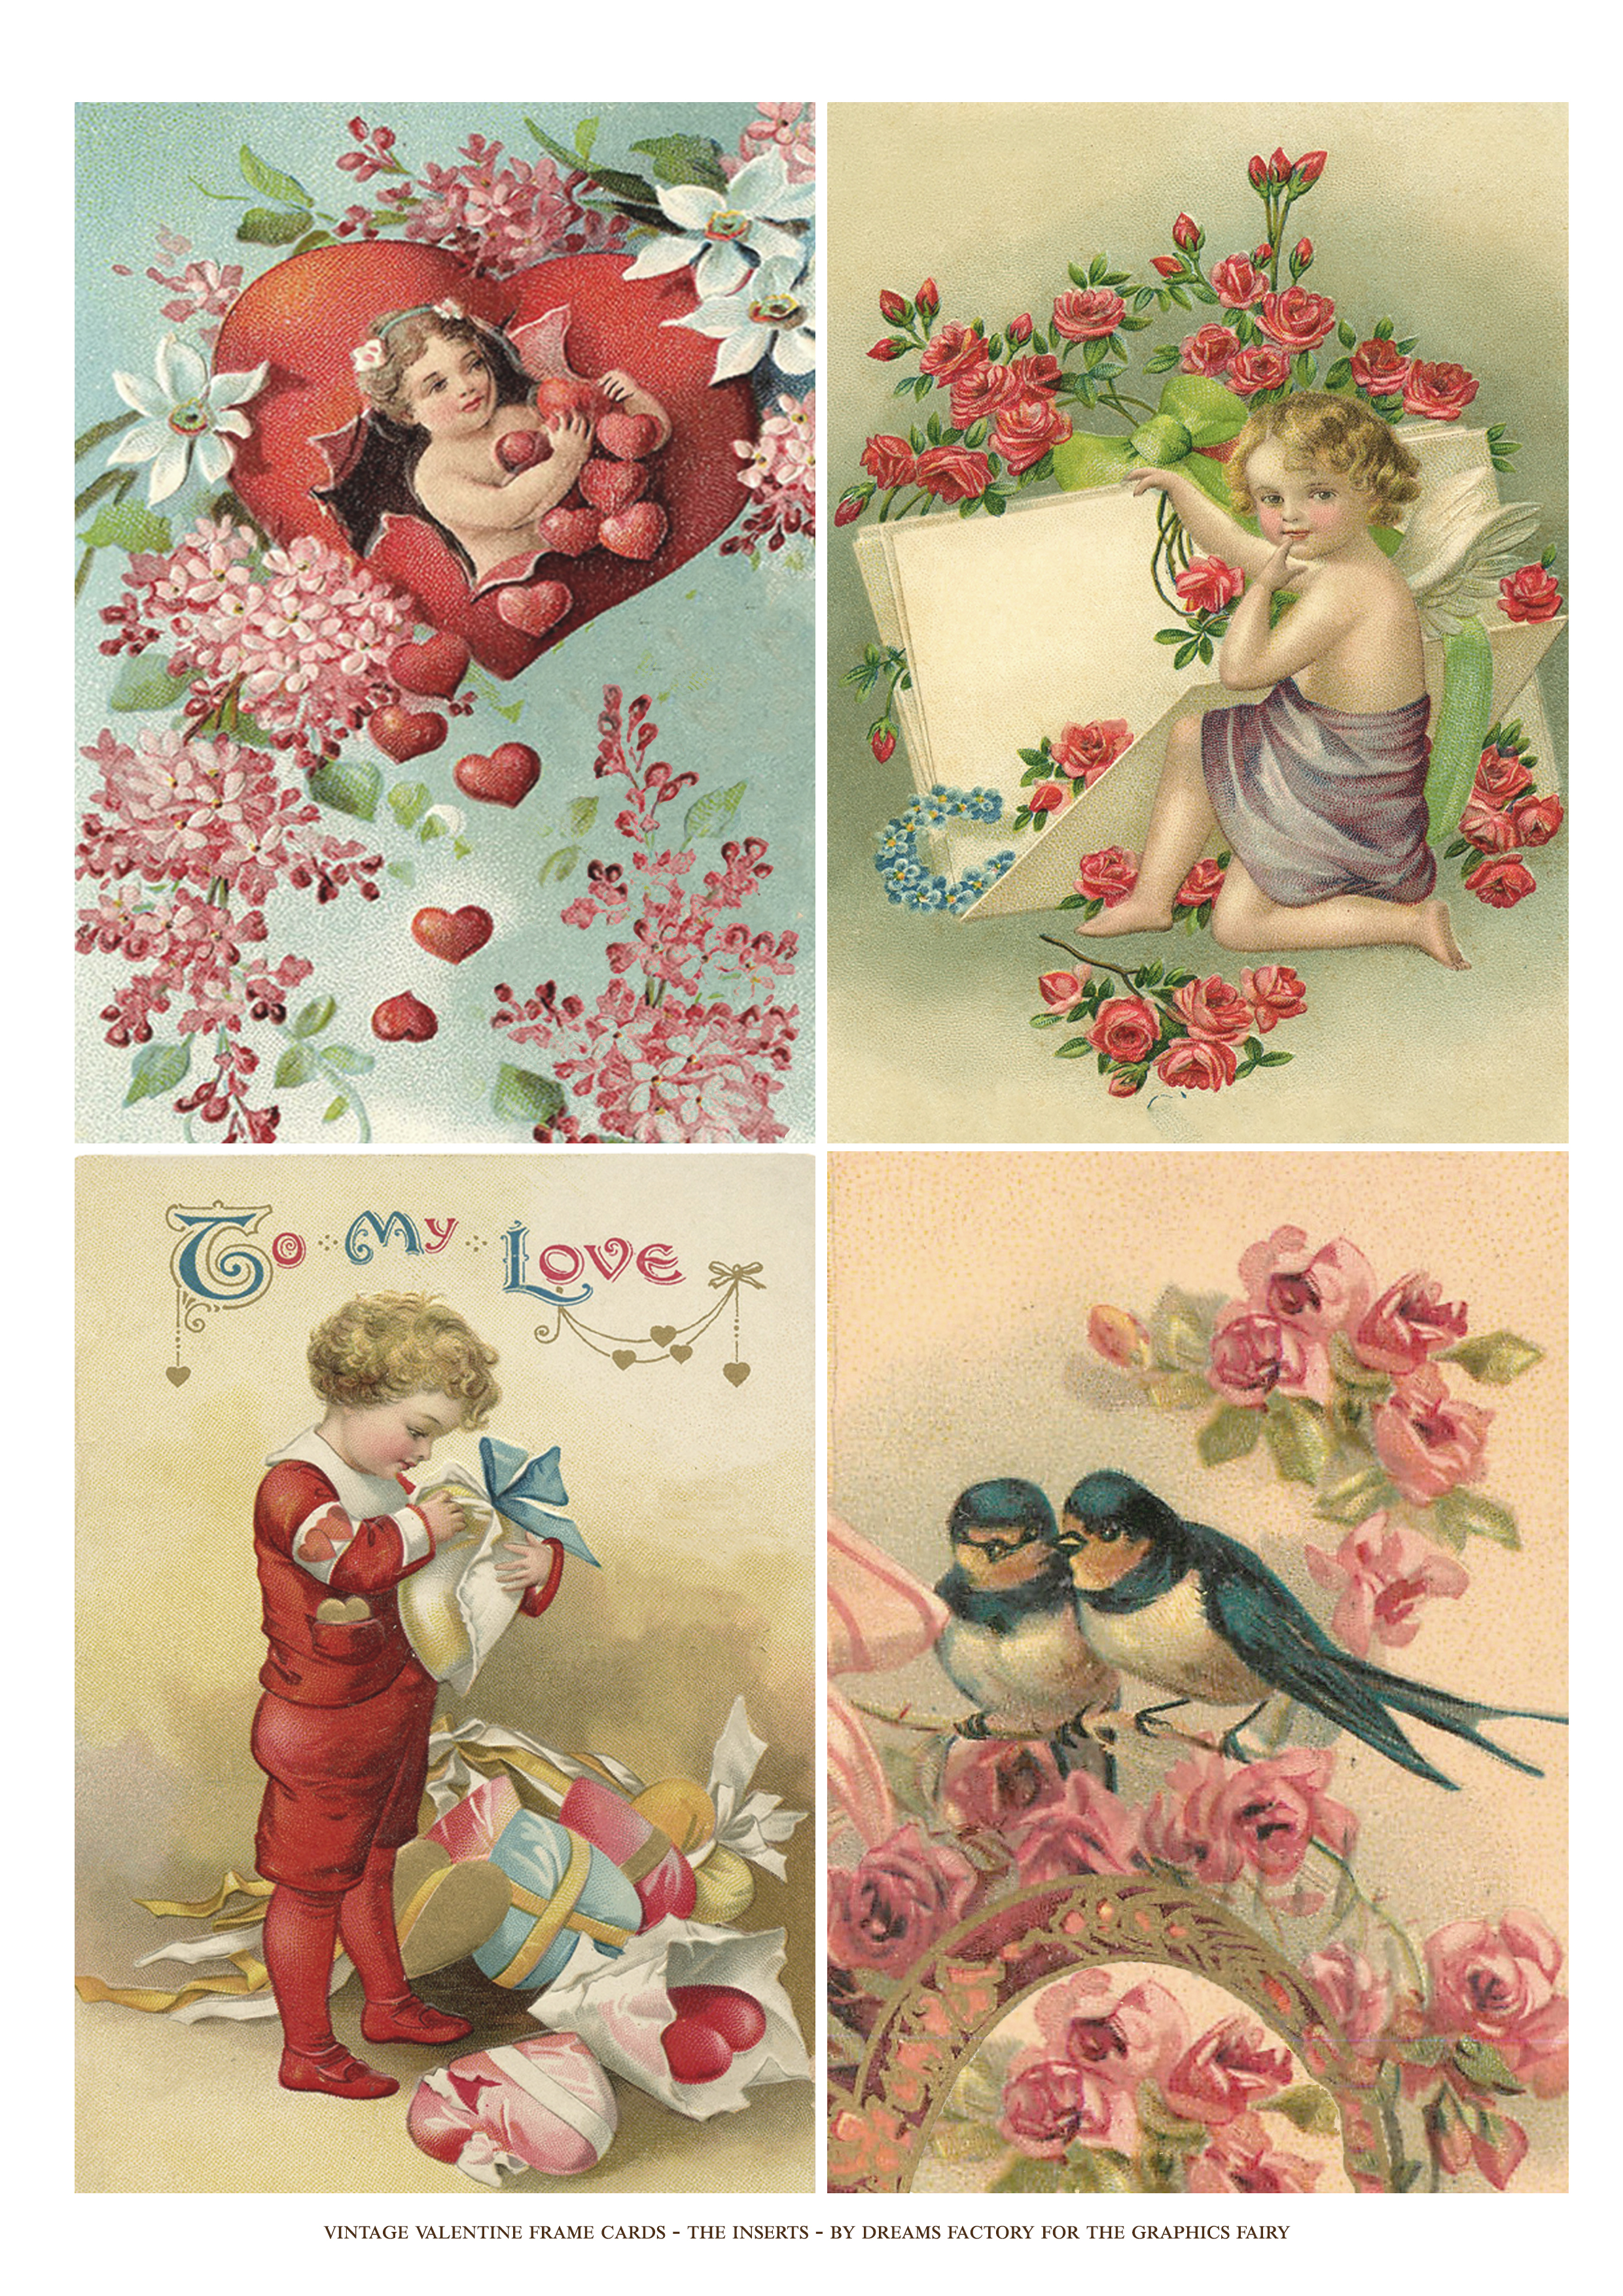
—-> Click HERE to Download the Full Size Printable PDF – the inserts <—-
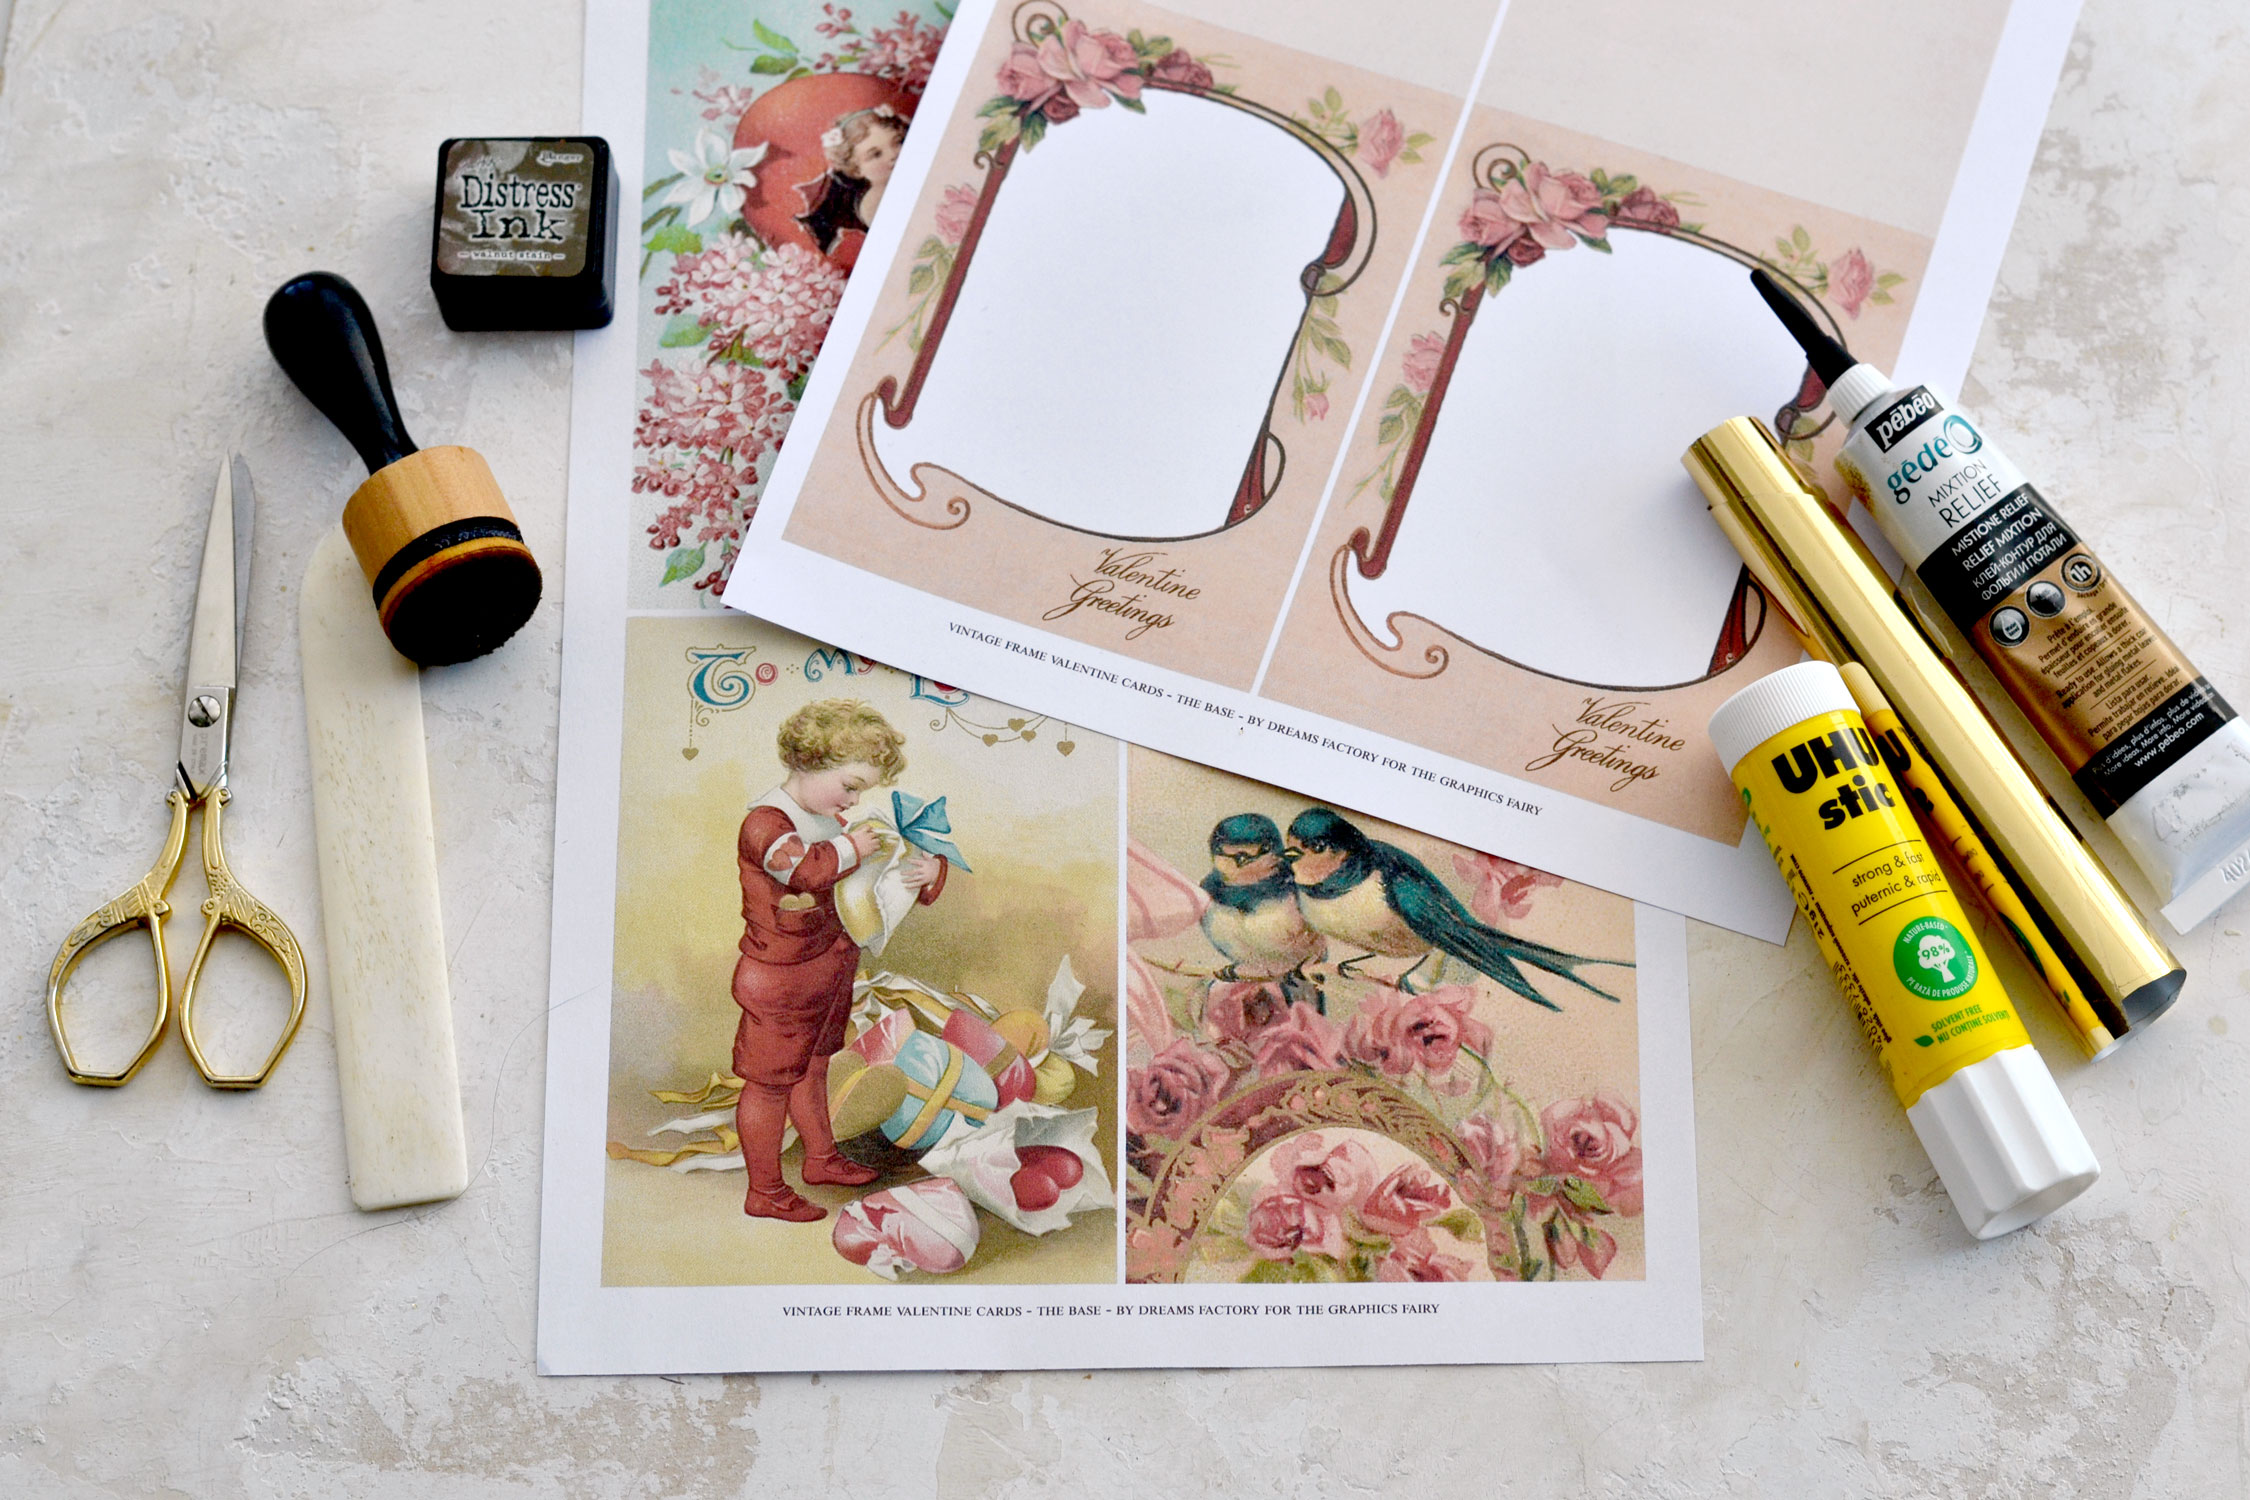
Supply List for Printable Valentine Frame Cards:
- white cardstock paper
- home printer
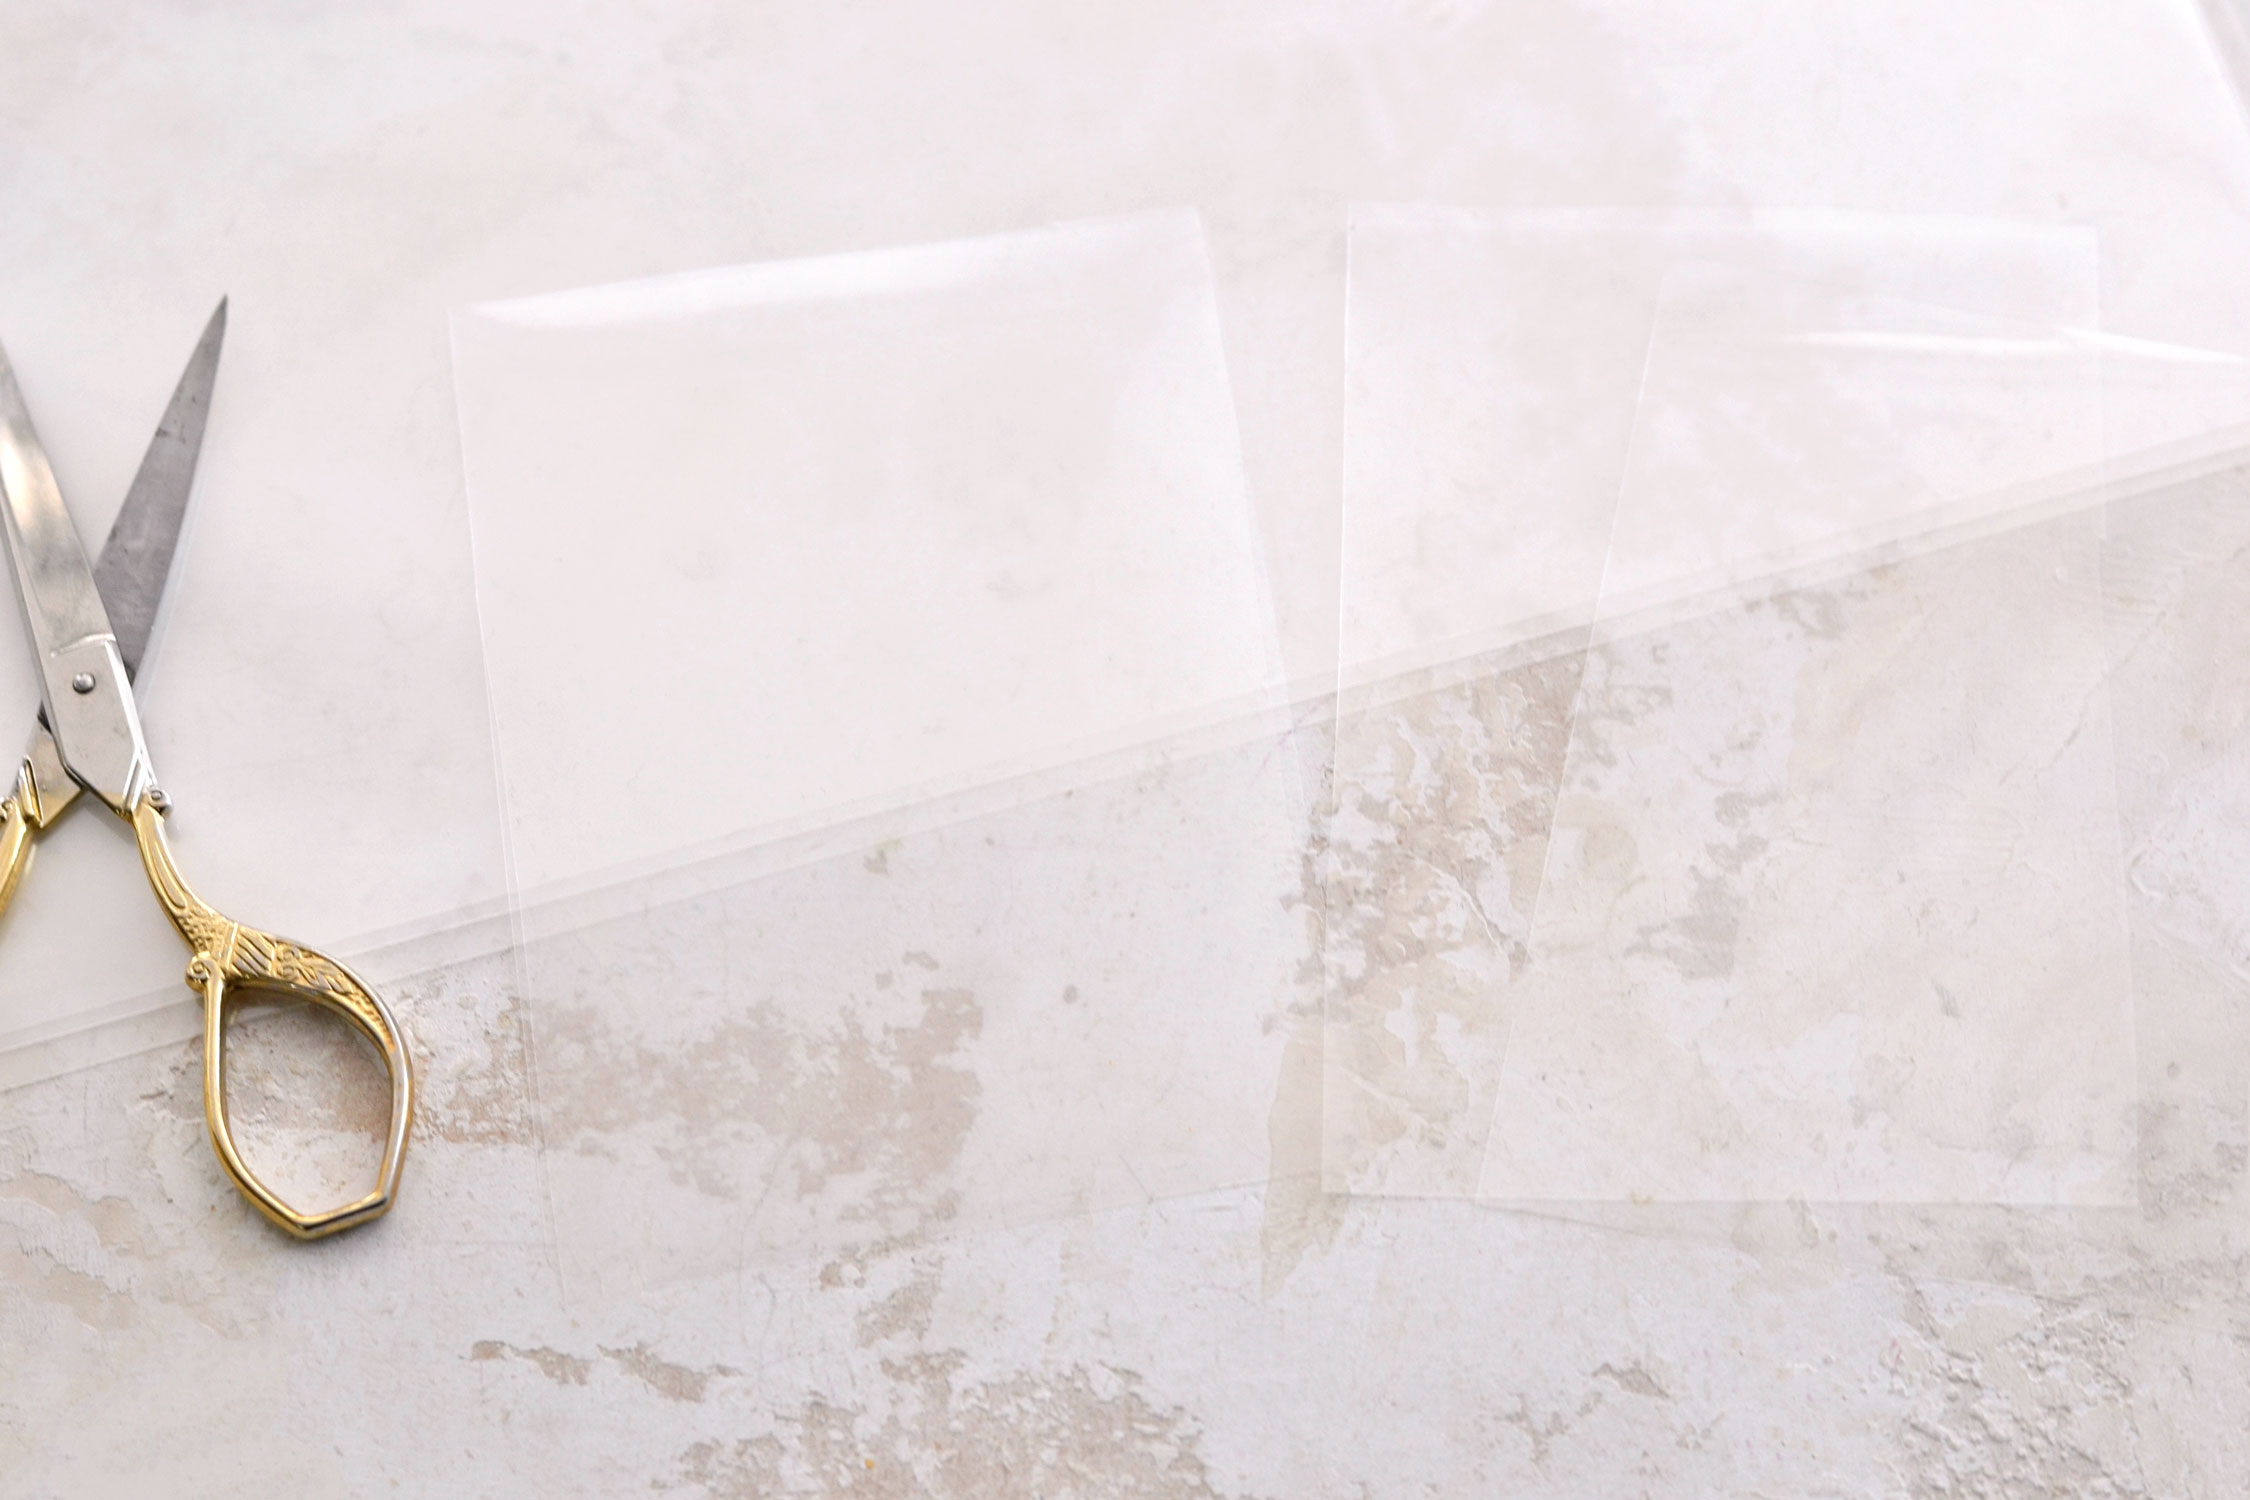
- regular scissors
- mini distress inks
- blending tool with foams
- bone folder
- paper glue stick or any other craft glue
- gold foil
- gold foil glue with a fine tip applicator
- acetate or laminator pouches
STEP BY STEP TUTORIAL:
Start by printing your printable on cardstock paper. I used a heavier cardstock for the card bases and a lighter one for the inserts.
Remember that you’ll need to print the card base printable two times to make four cards!
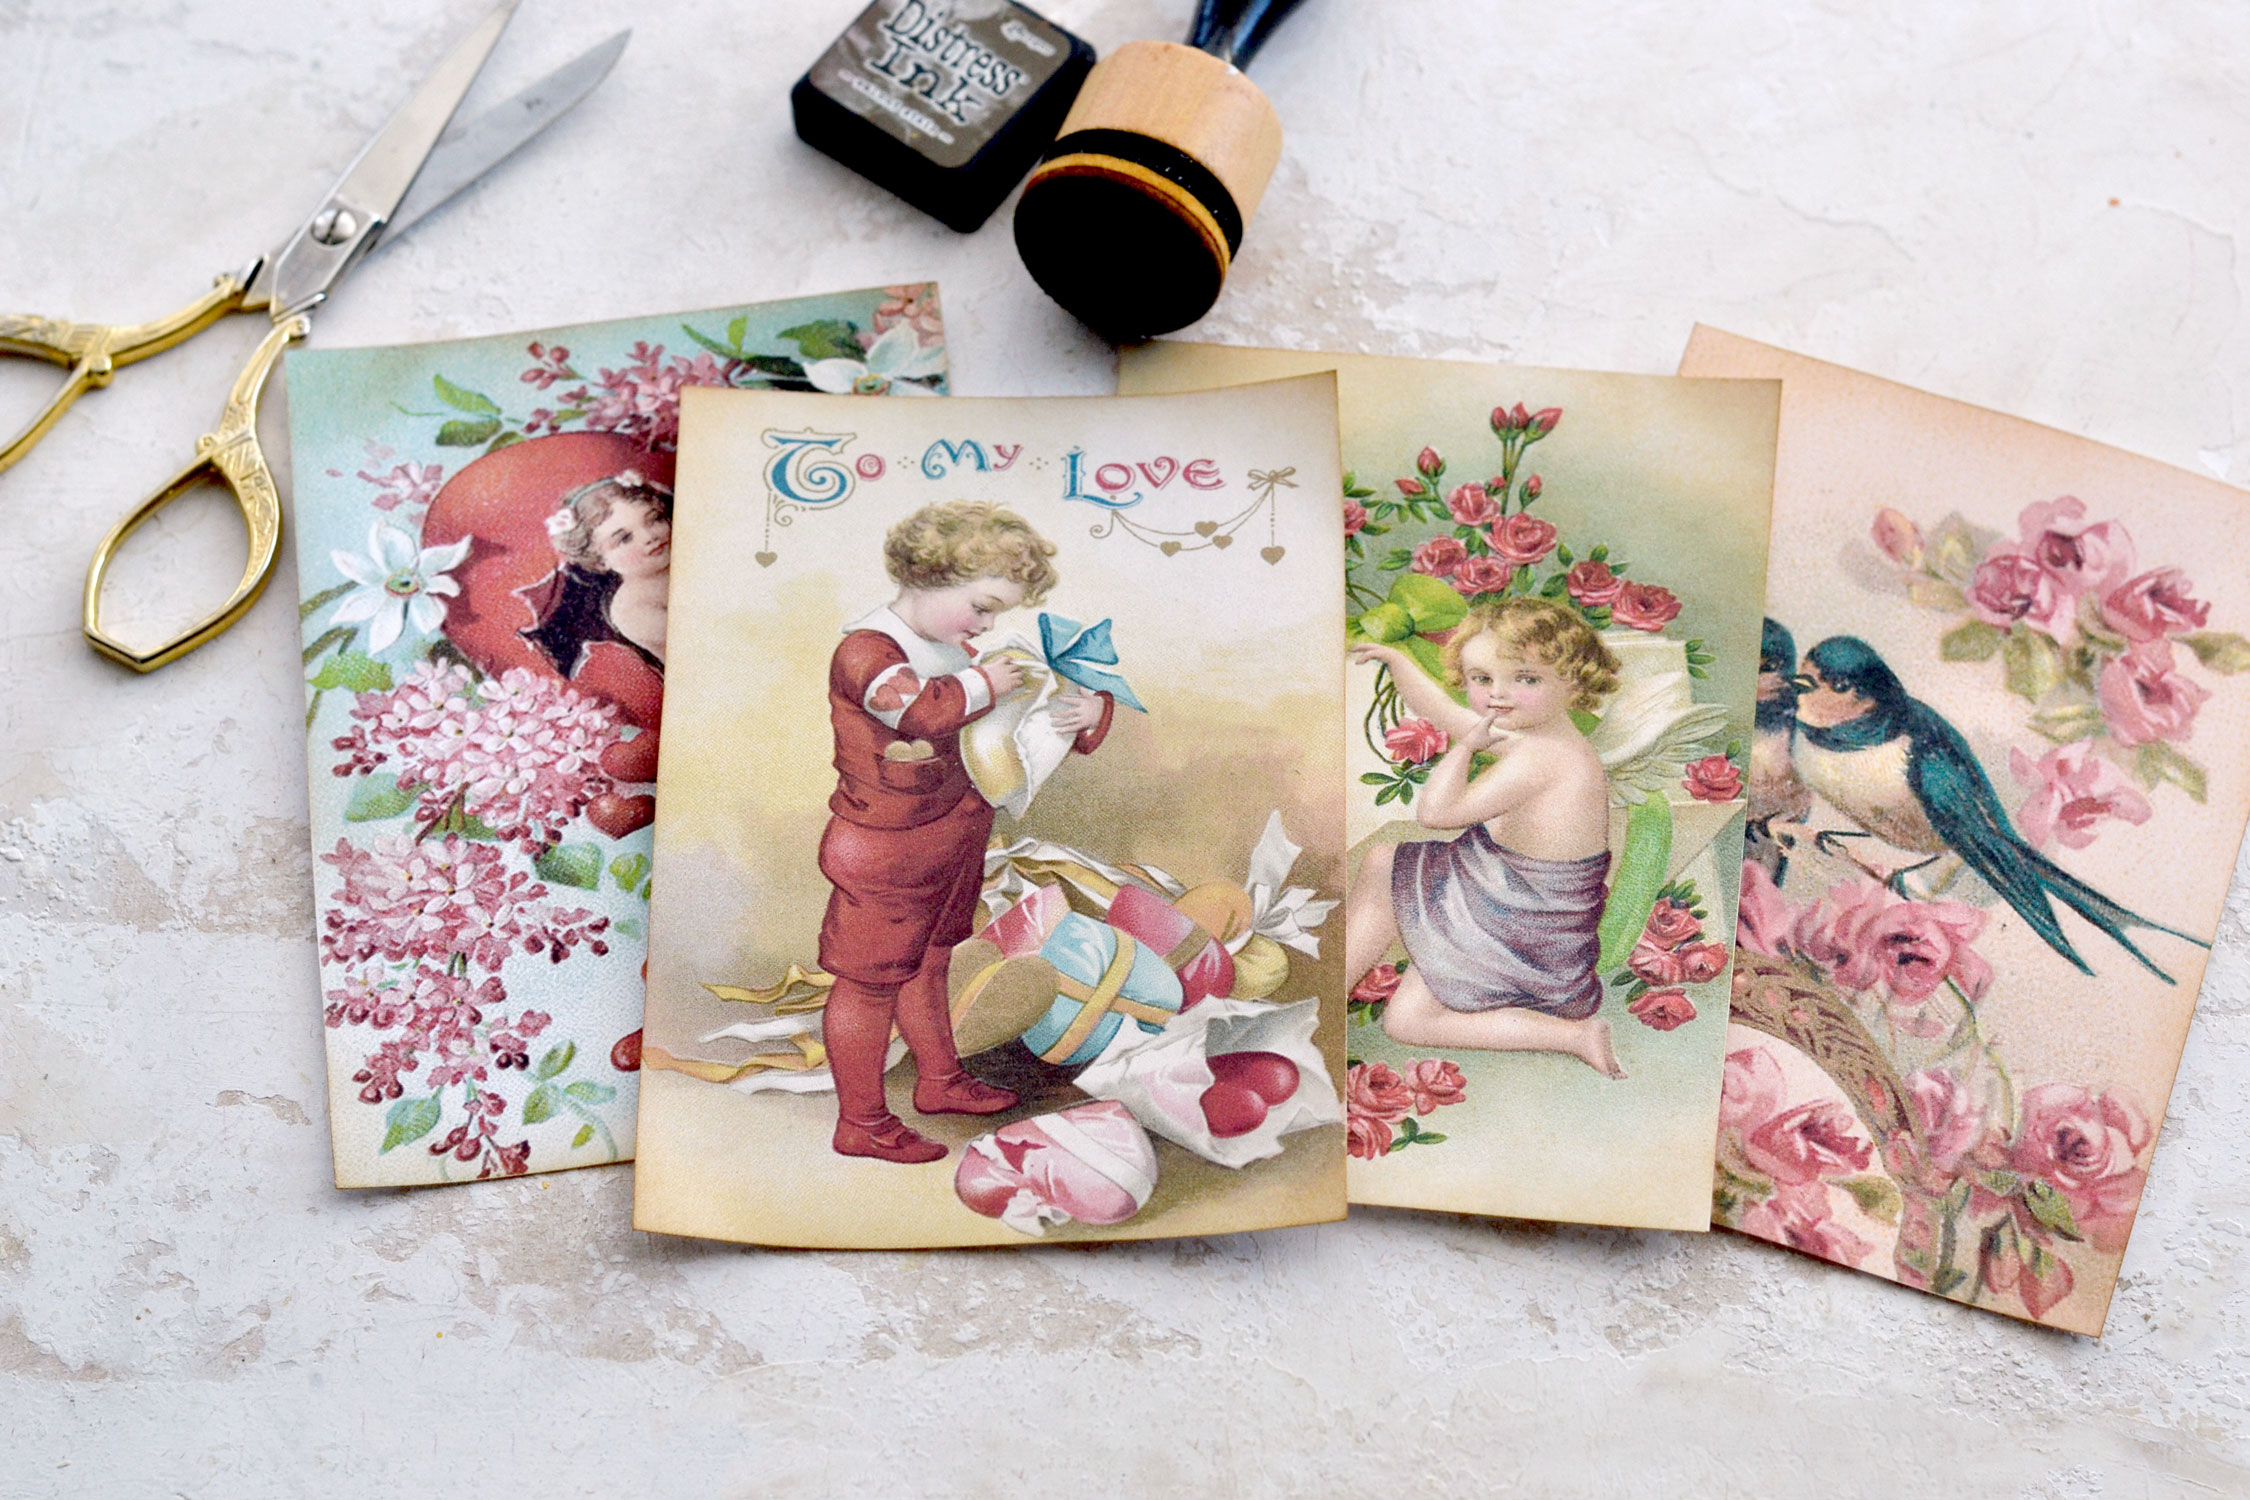
Use your scissors (or a trimming/cutting machine) to cut the inserts first, then use some distress ink on the edges and put them aside for now.
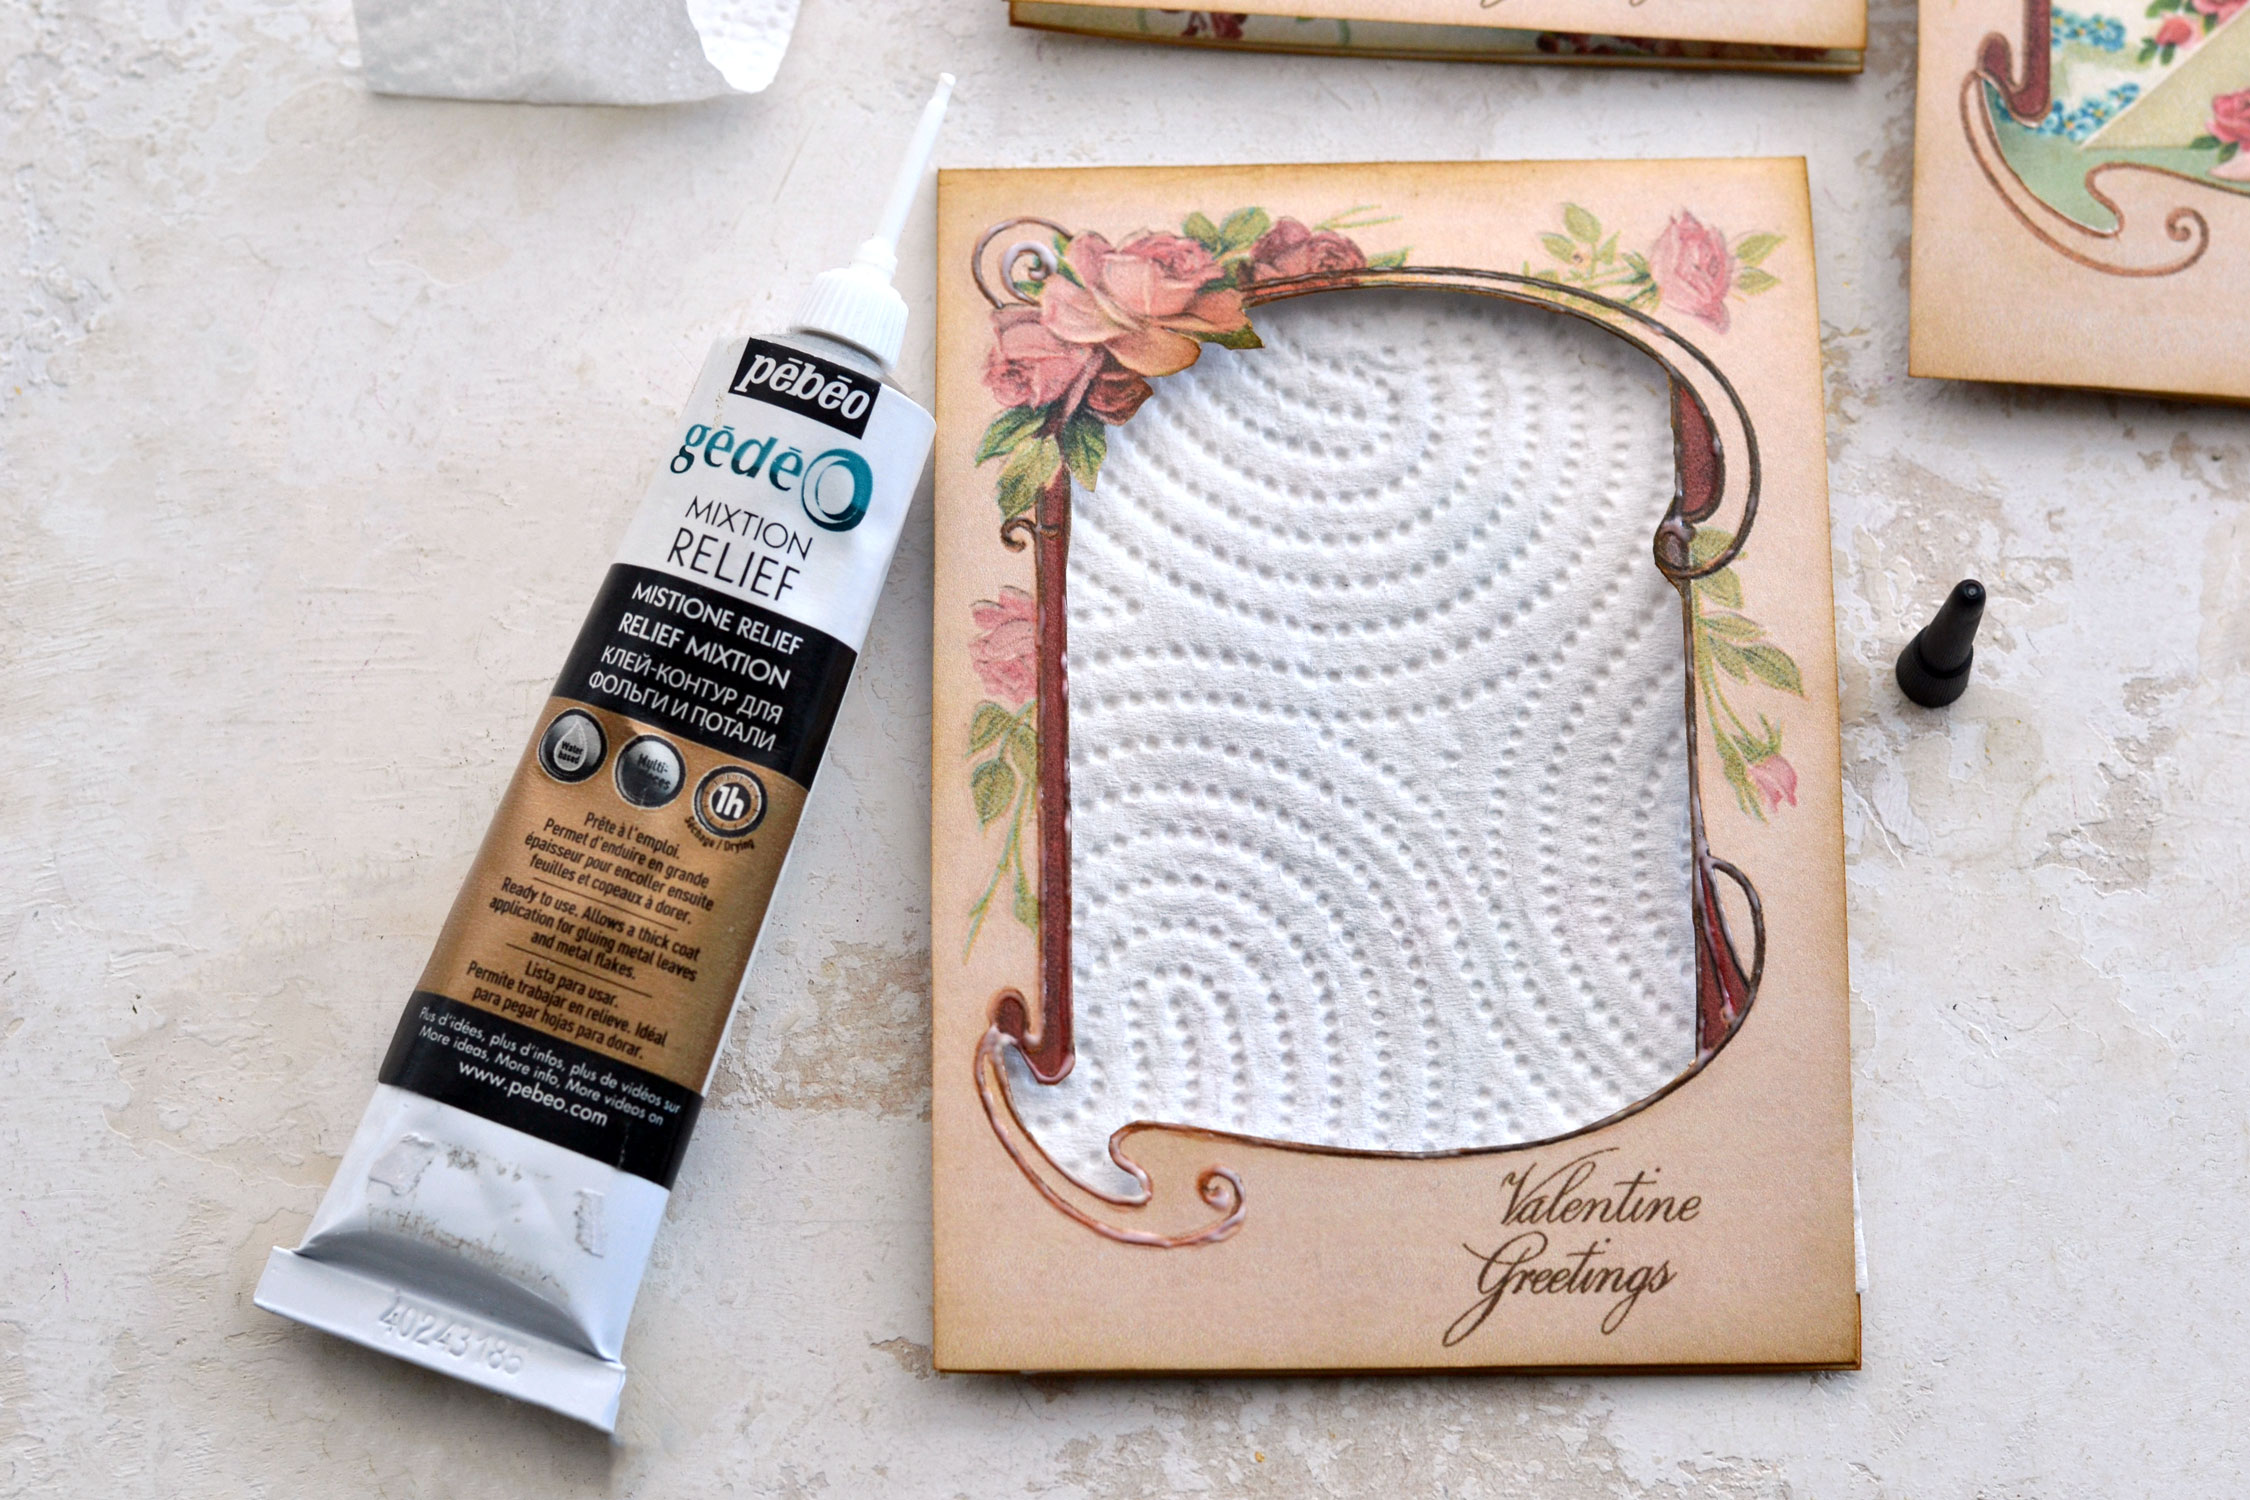
Move on to the card bases. I found it easier to cut a few lines inside the window frame while keeping the printable on my table. I placed a few paper napkins (folded multiple times) on my table so I wouldn’t scratch its surface.
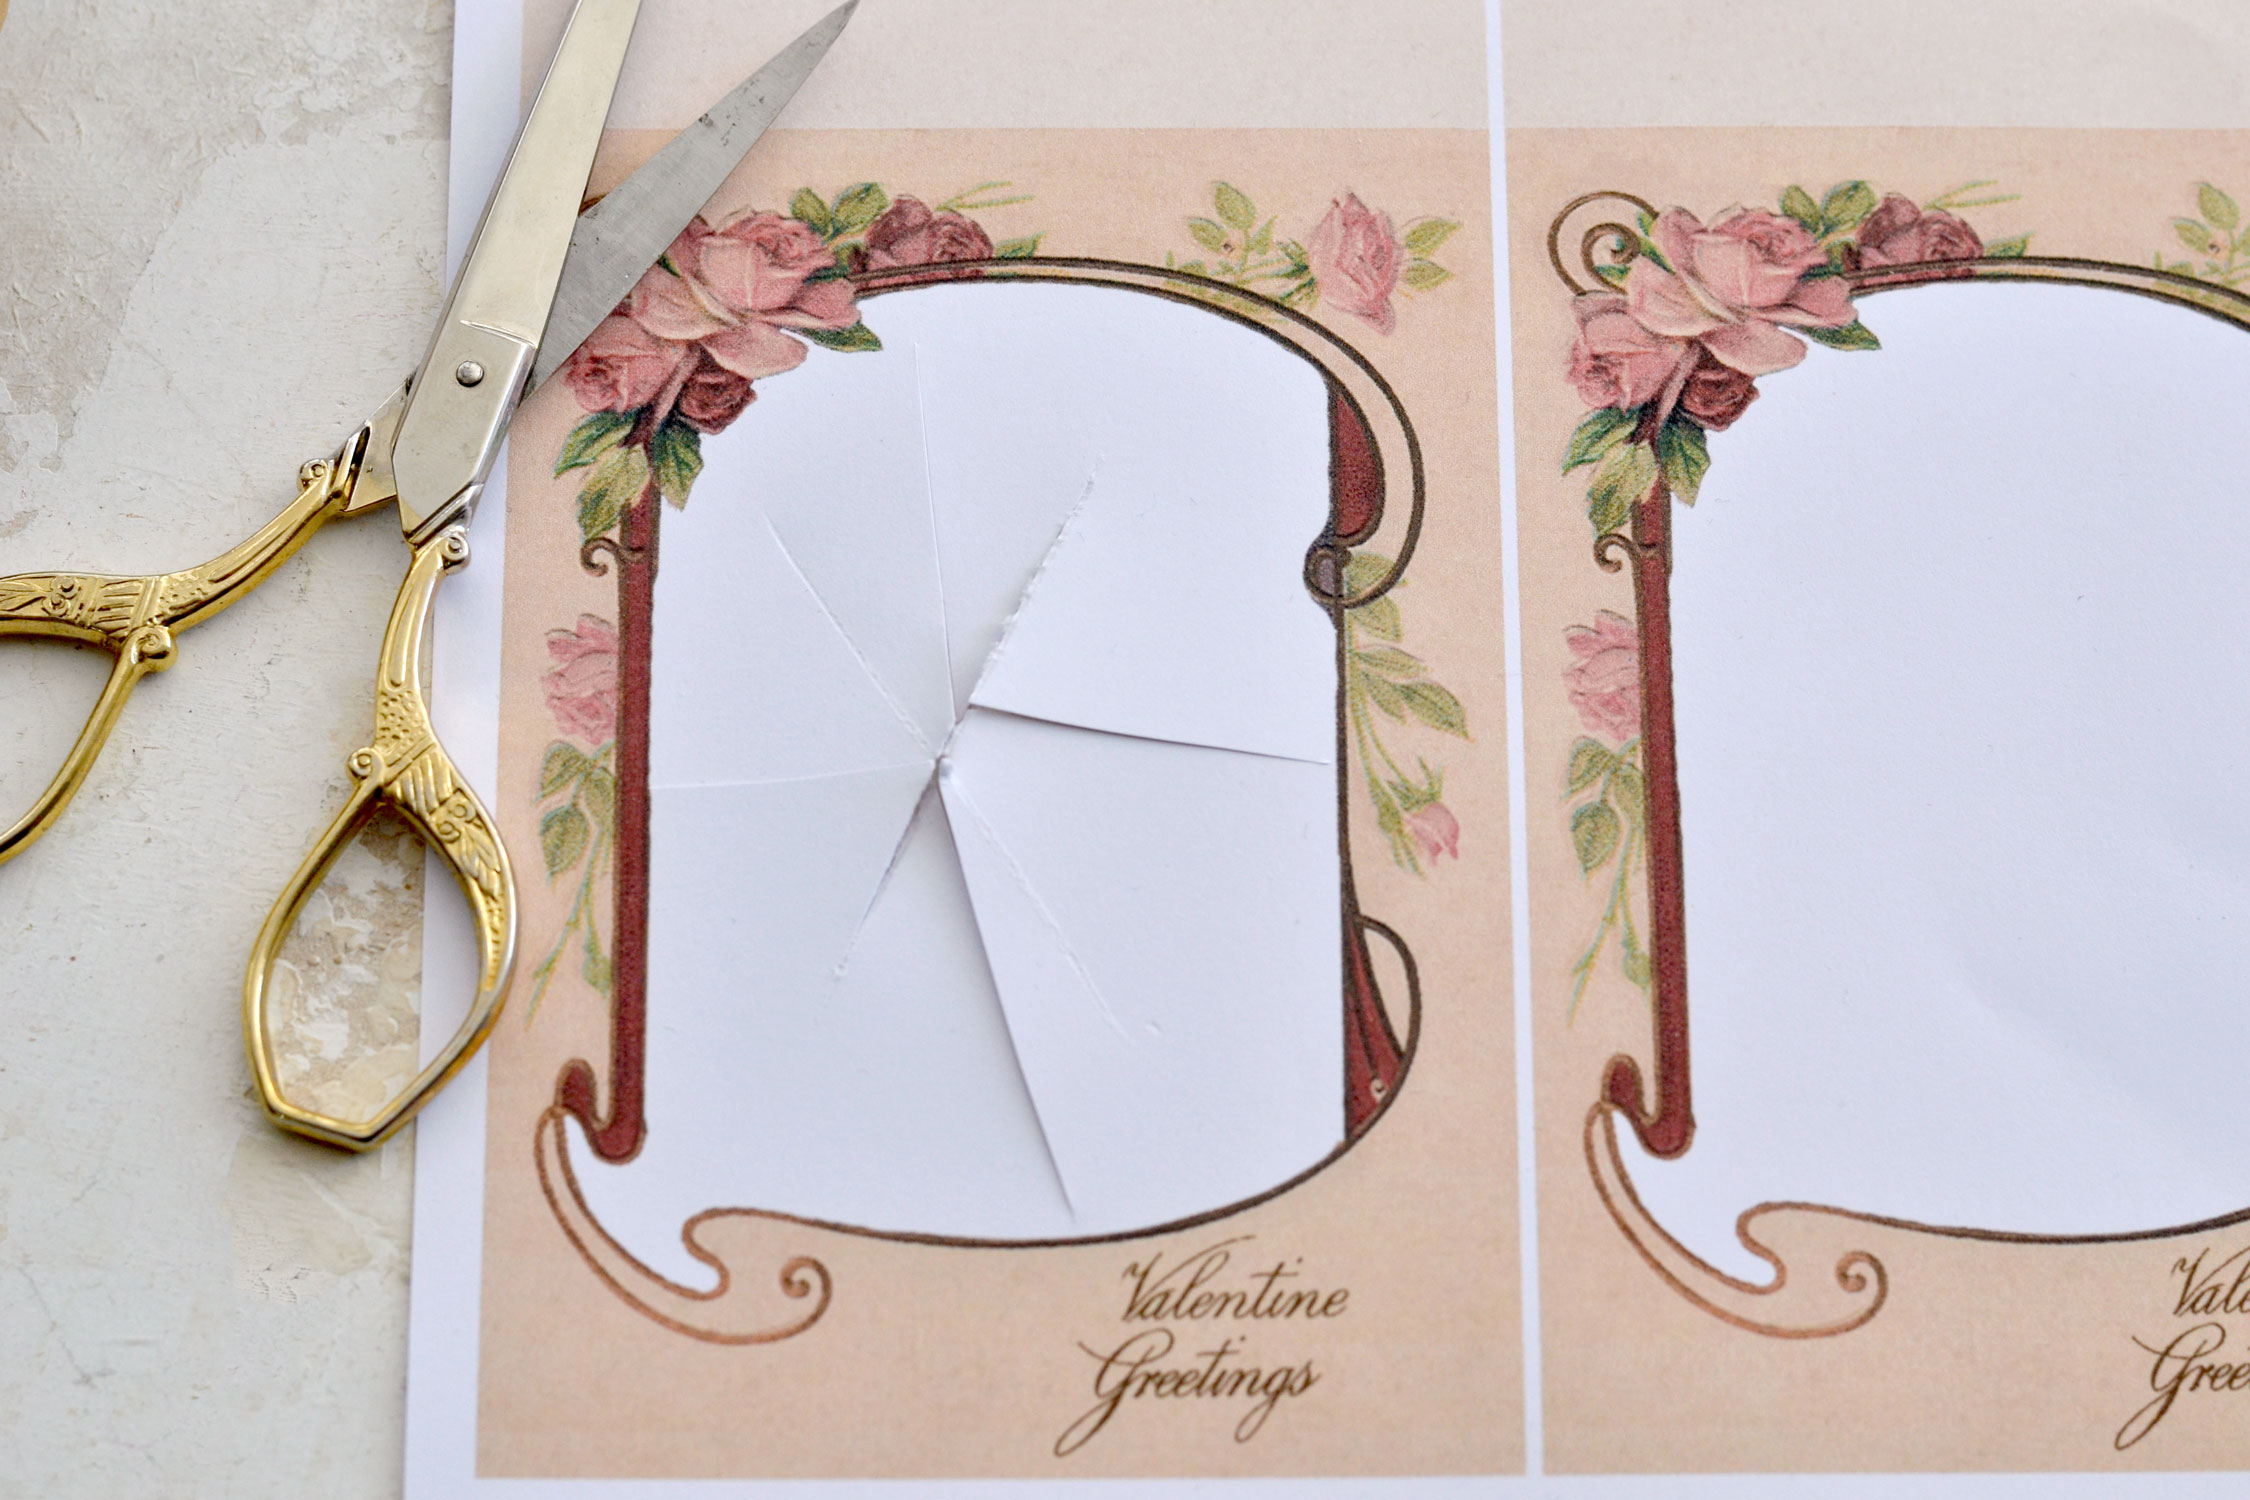
Then I used my scissors again to cut off and remove all the paper inside the frames. I worked in sections and I gradually moved all around the edges, trying to keep the shape of the frame intact. If you want, you can also use smaller scissors, like manicure scissors to make sure you completely remove all the paper inside the frame. Our goal is to keep the beautiful shape of the frame and completely remove the white paper inside it.
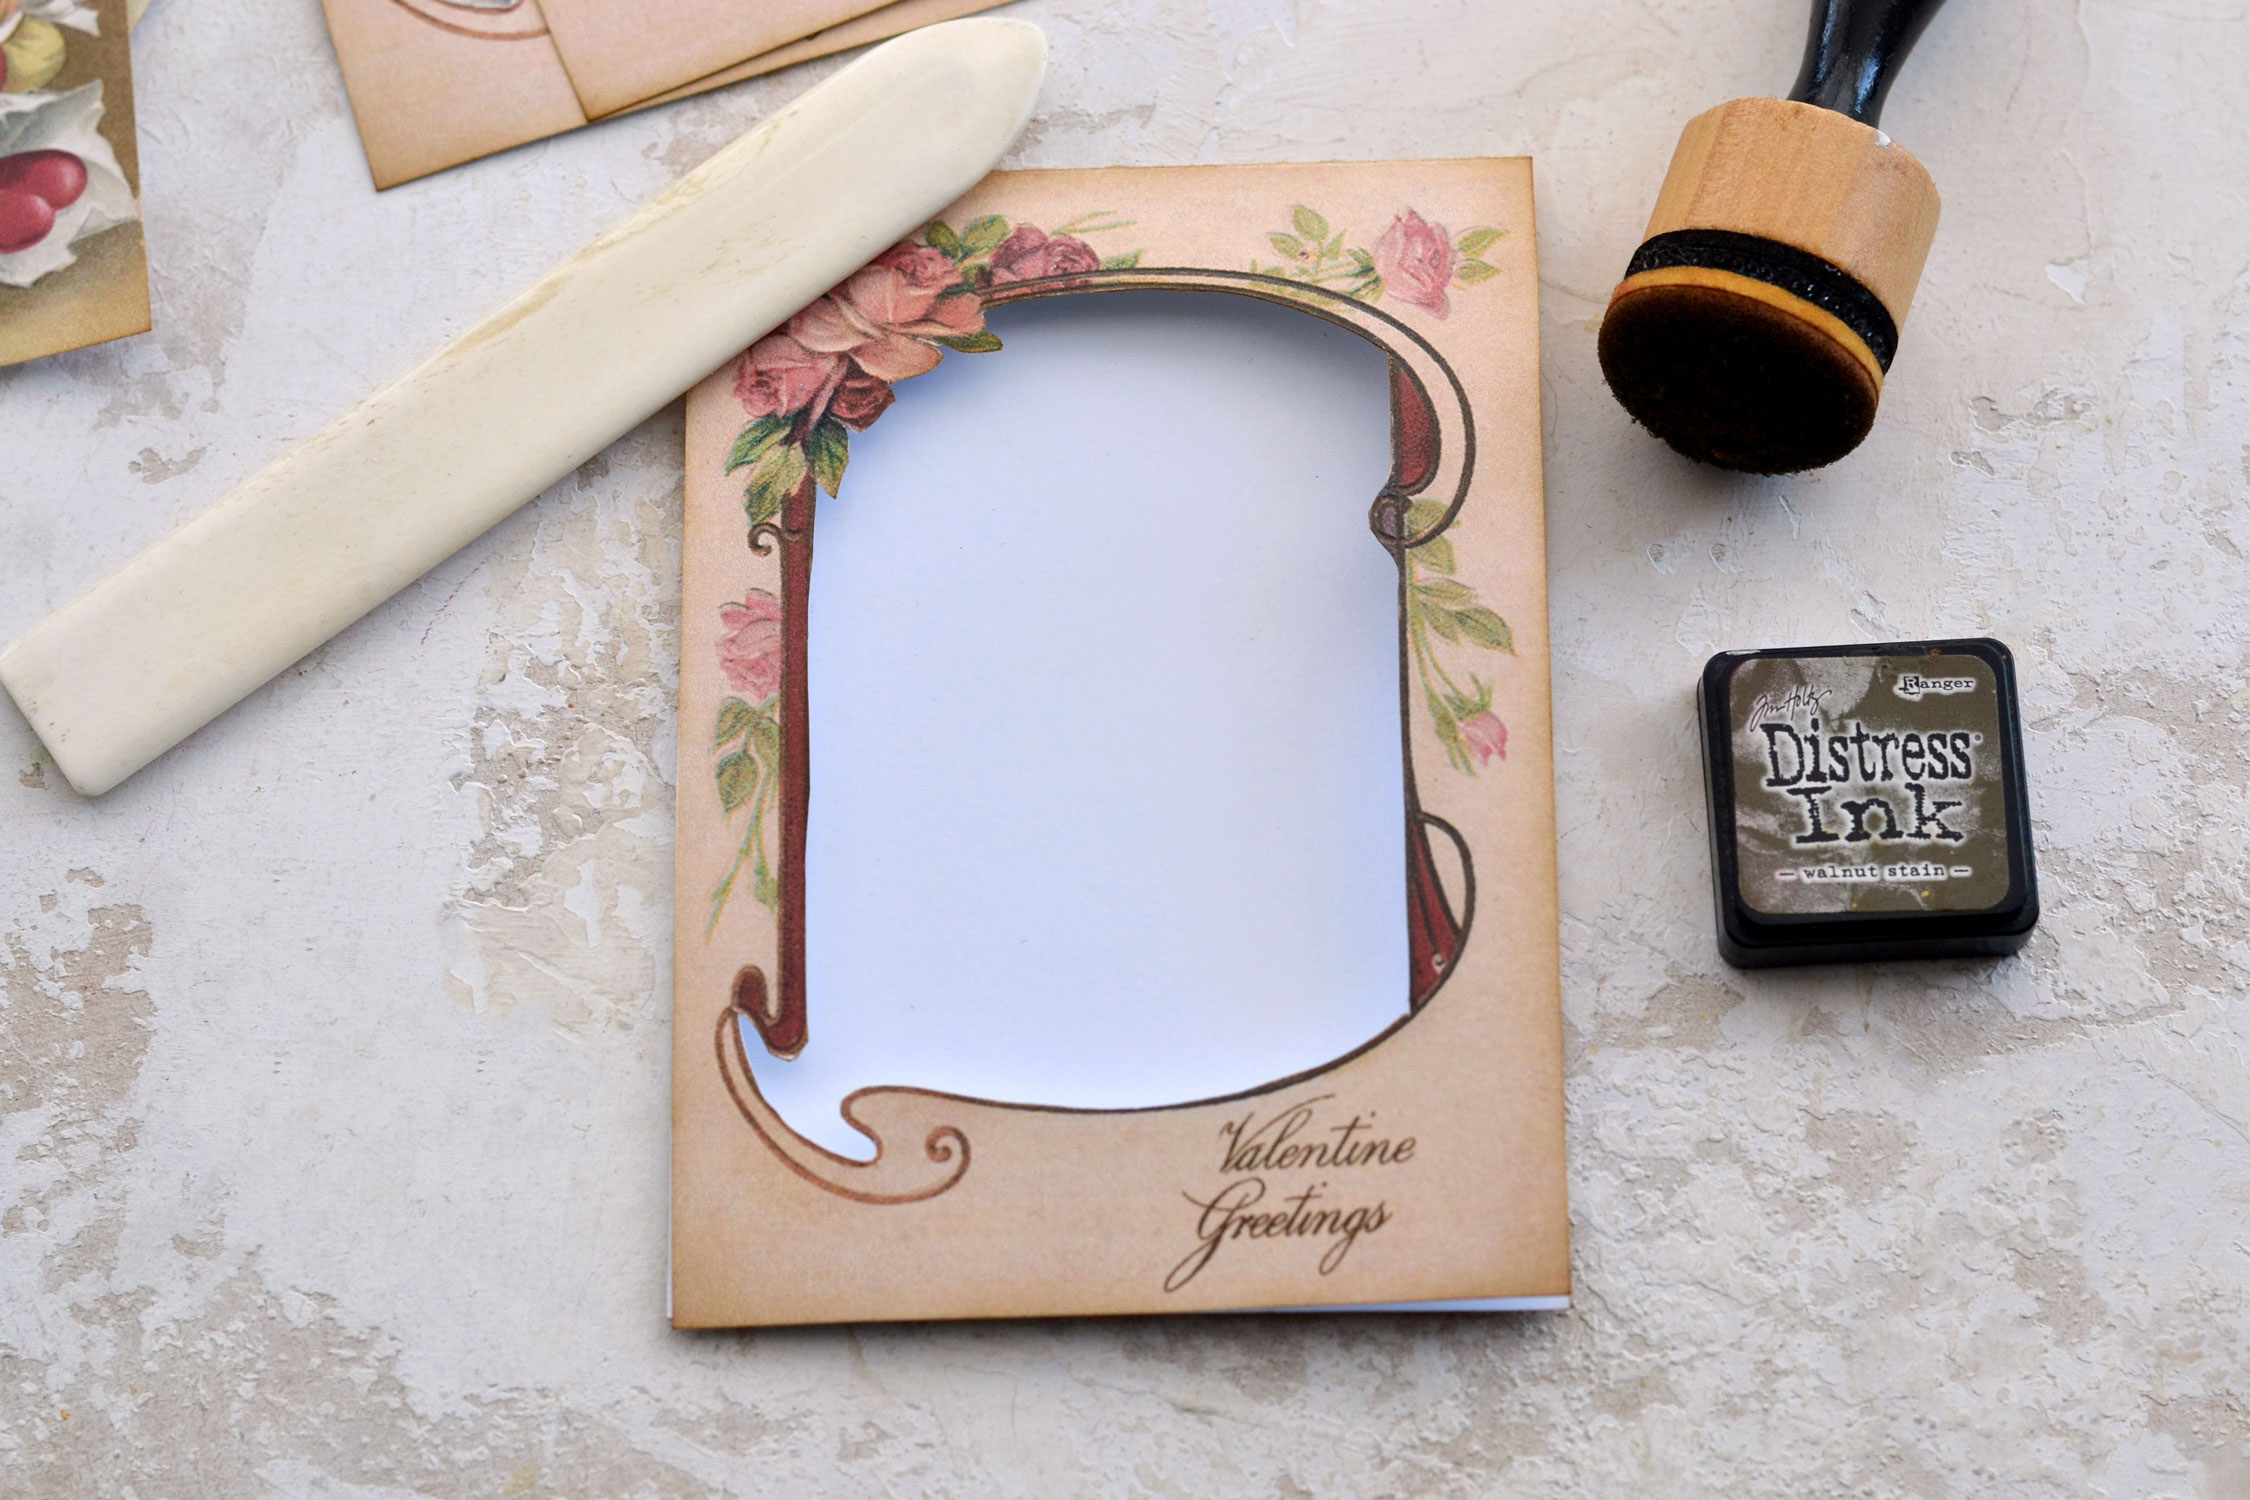
Then I moved on to cutting the outside shape of the cards.
Use distress ink both on the inside frame and on the outside edges when you are done.
Partially fold and then use a bone folder to create a beautiful, sharp folded line on top. I found it easier to fold and then flip the paper to burnish it from the back.
When you are done, add more distress ink to the top folded section.
Open up the card and use paper glue to glue one of the inserts inside. I designed the inserts to be ever so slightly smaller than the card base. I thought it would be easier to match things on the inside, but also make everything look good after closing the card.
I would suggest adding a little bit more distress ink on the edges of the white paper of the card base before gluing the inserts on top. And some more after gluing the inserts.
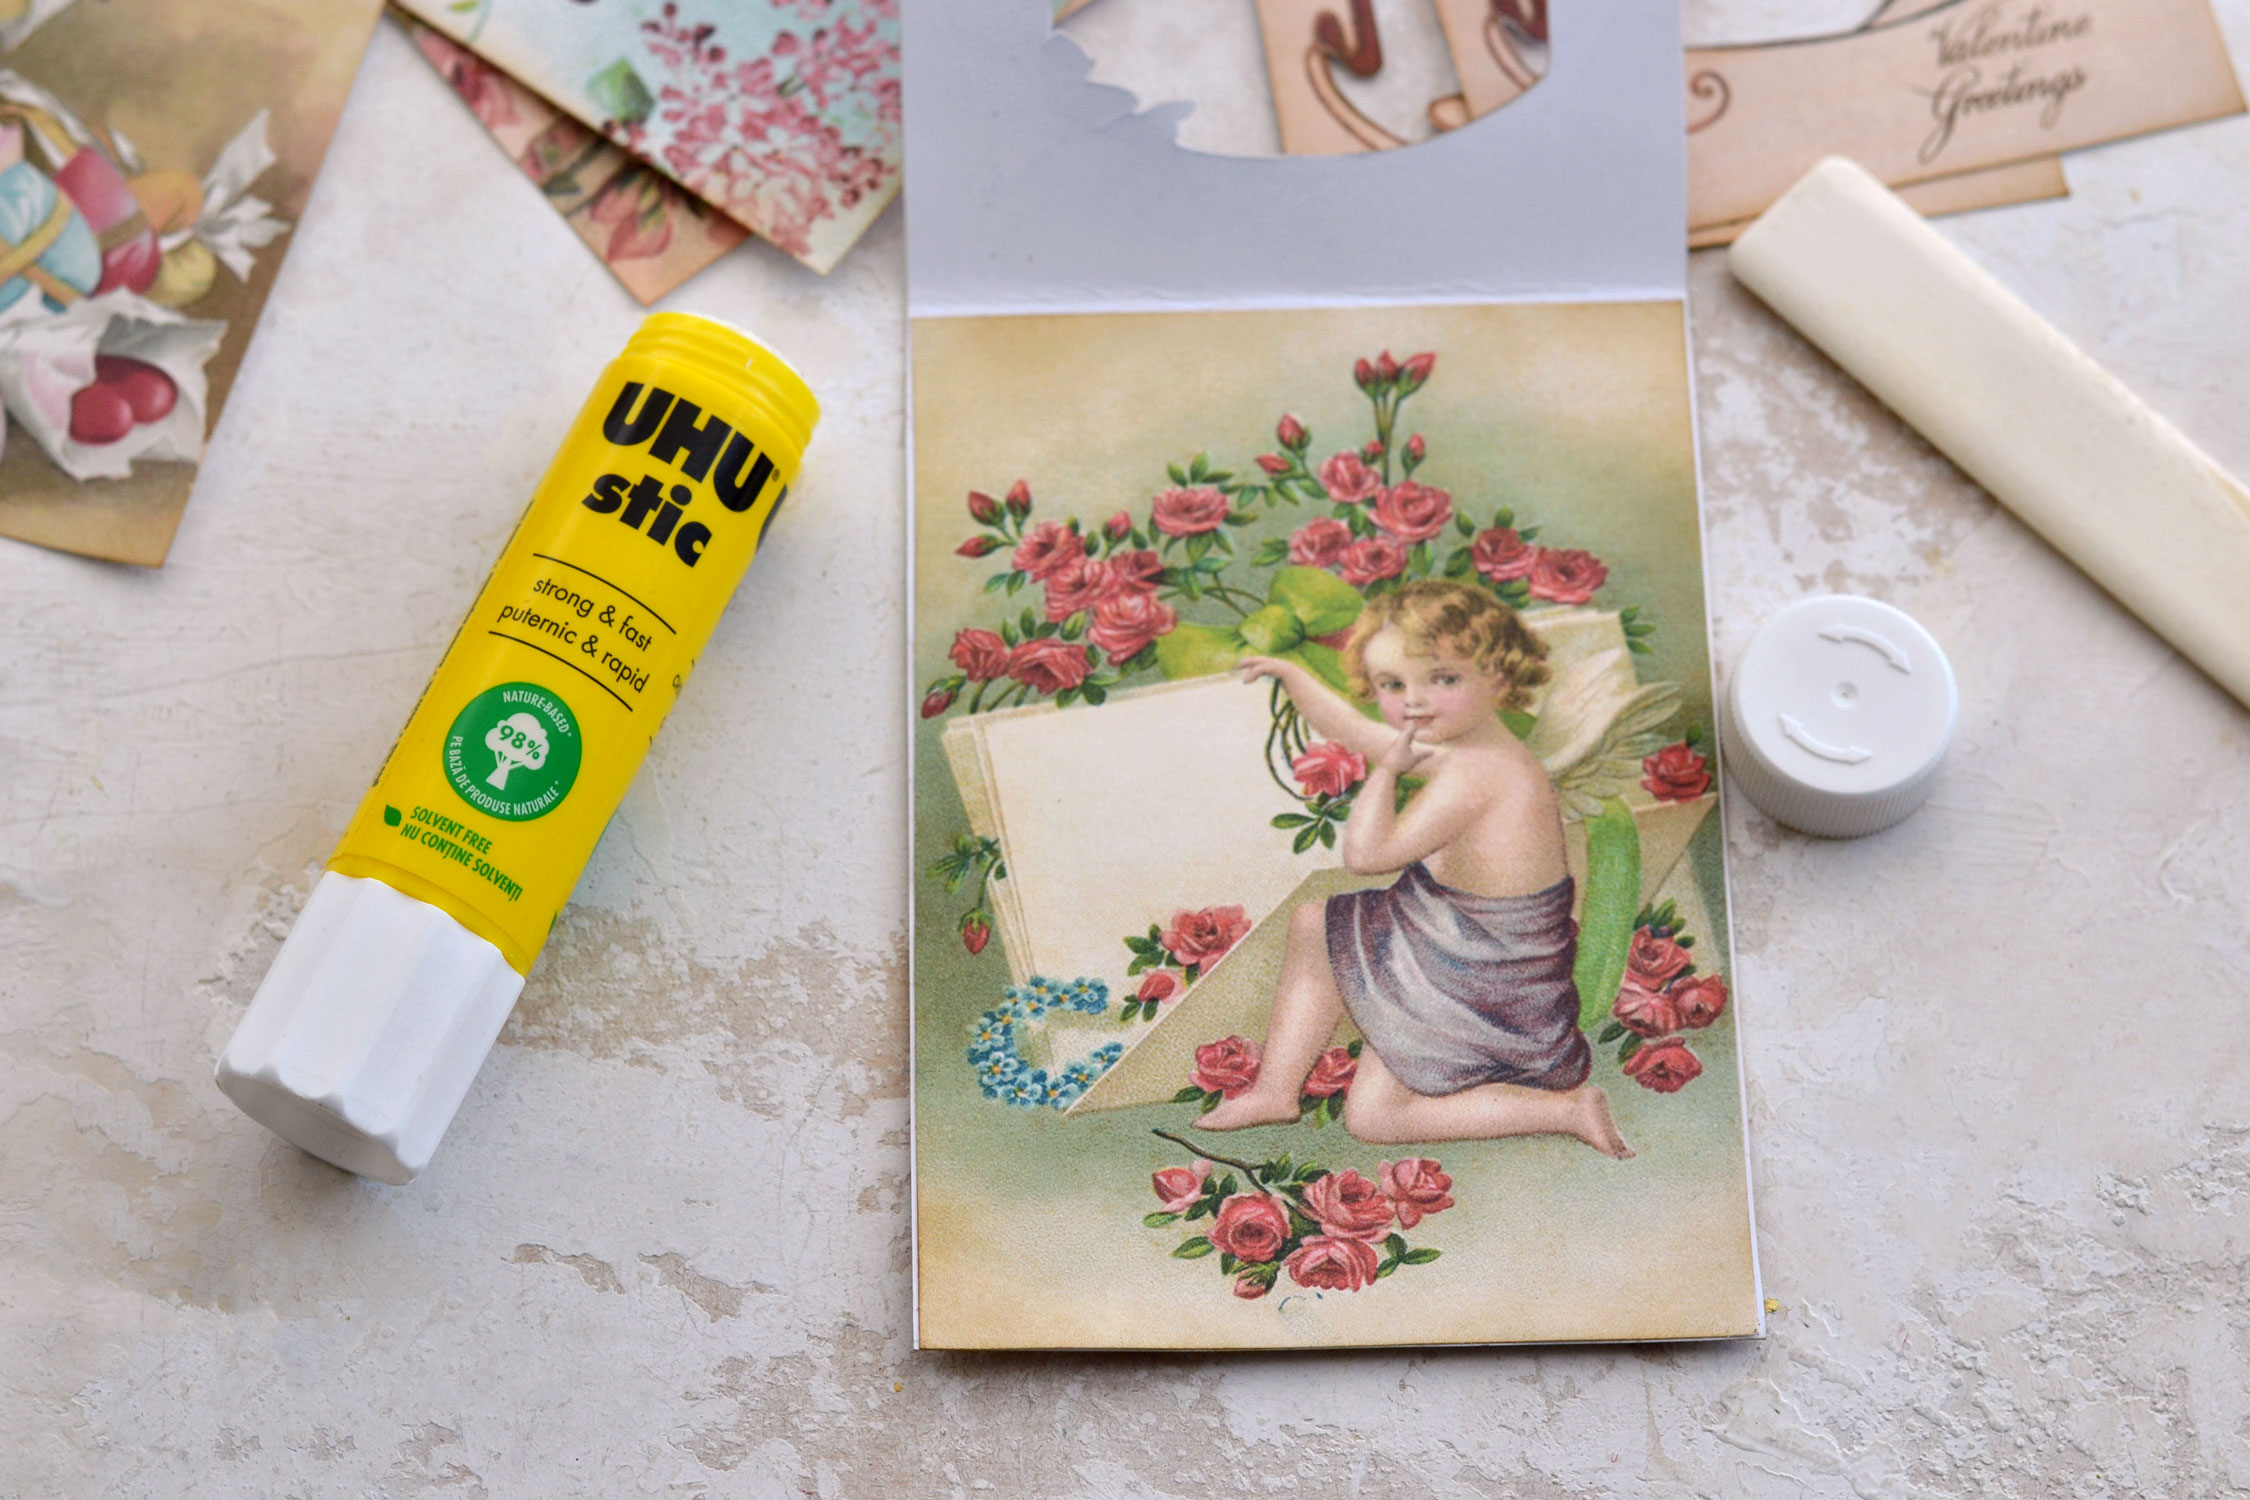
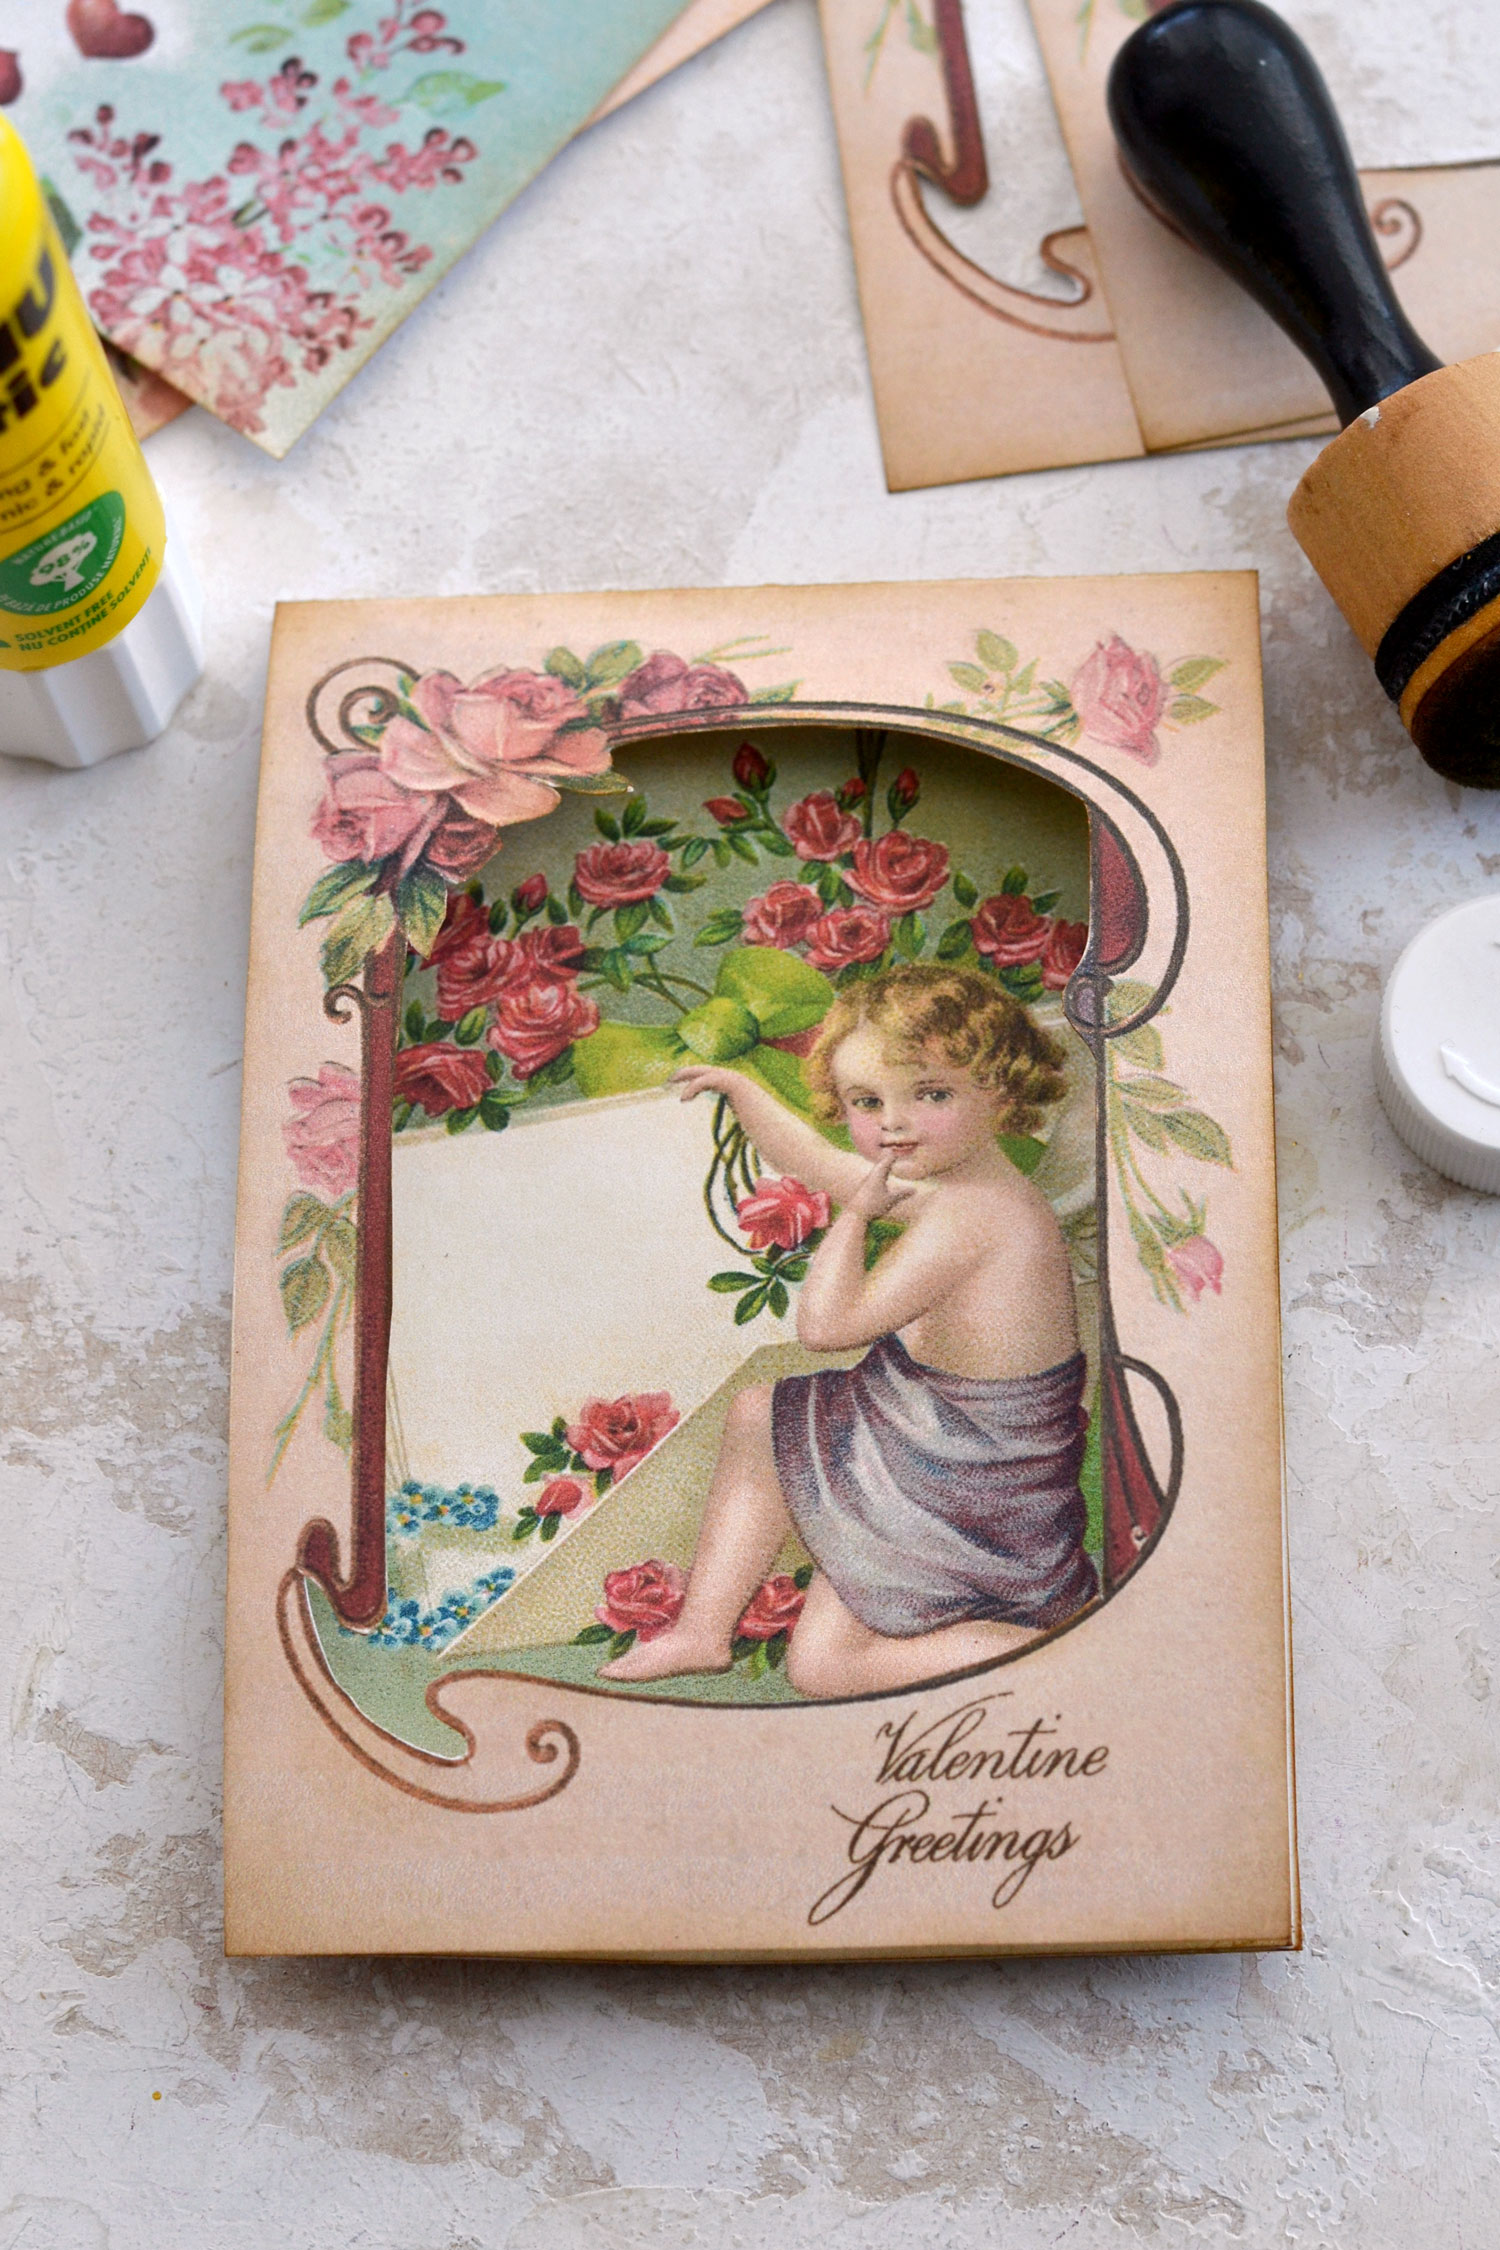
Close the card and watch your first insert smile from the inside!
Assemble all the other cards and let everything dry before moving on.
Now it’s time to add the gold touches! This is one of my favorite things to do, I always get so excited while performing this operation!
Start by cutting to size a piece of paper napkin and place it inside the card, as we need to protect the image underneath. Then use your gold foil glue to paint all over the brown lines of the frame. Start from the top and move your way downward and to the sides to prevent accidental smearing. This special type of gold foil glue is white when you apply it and becomes transparent and tacky after drying.
Try to keep the glue lines as straight as possible, but don’t worry about making them perfect. This is a handmade project, so small imperfections are welcomed here and there. Let the glue dry and become tacky, then apply the gold foil on top. Press with your fingers (not your nails) and then simply peel off the gold foil.
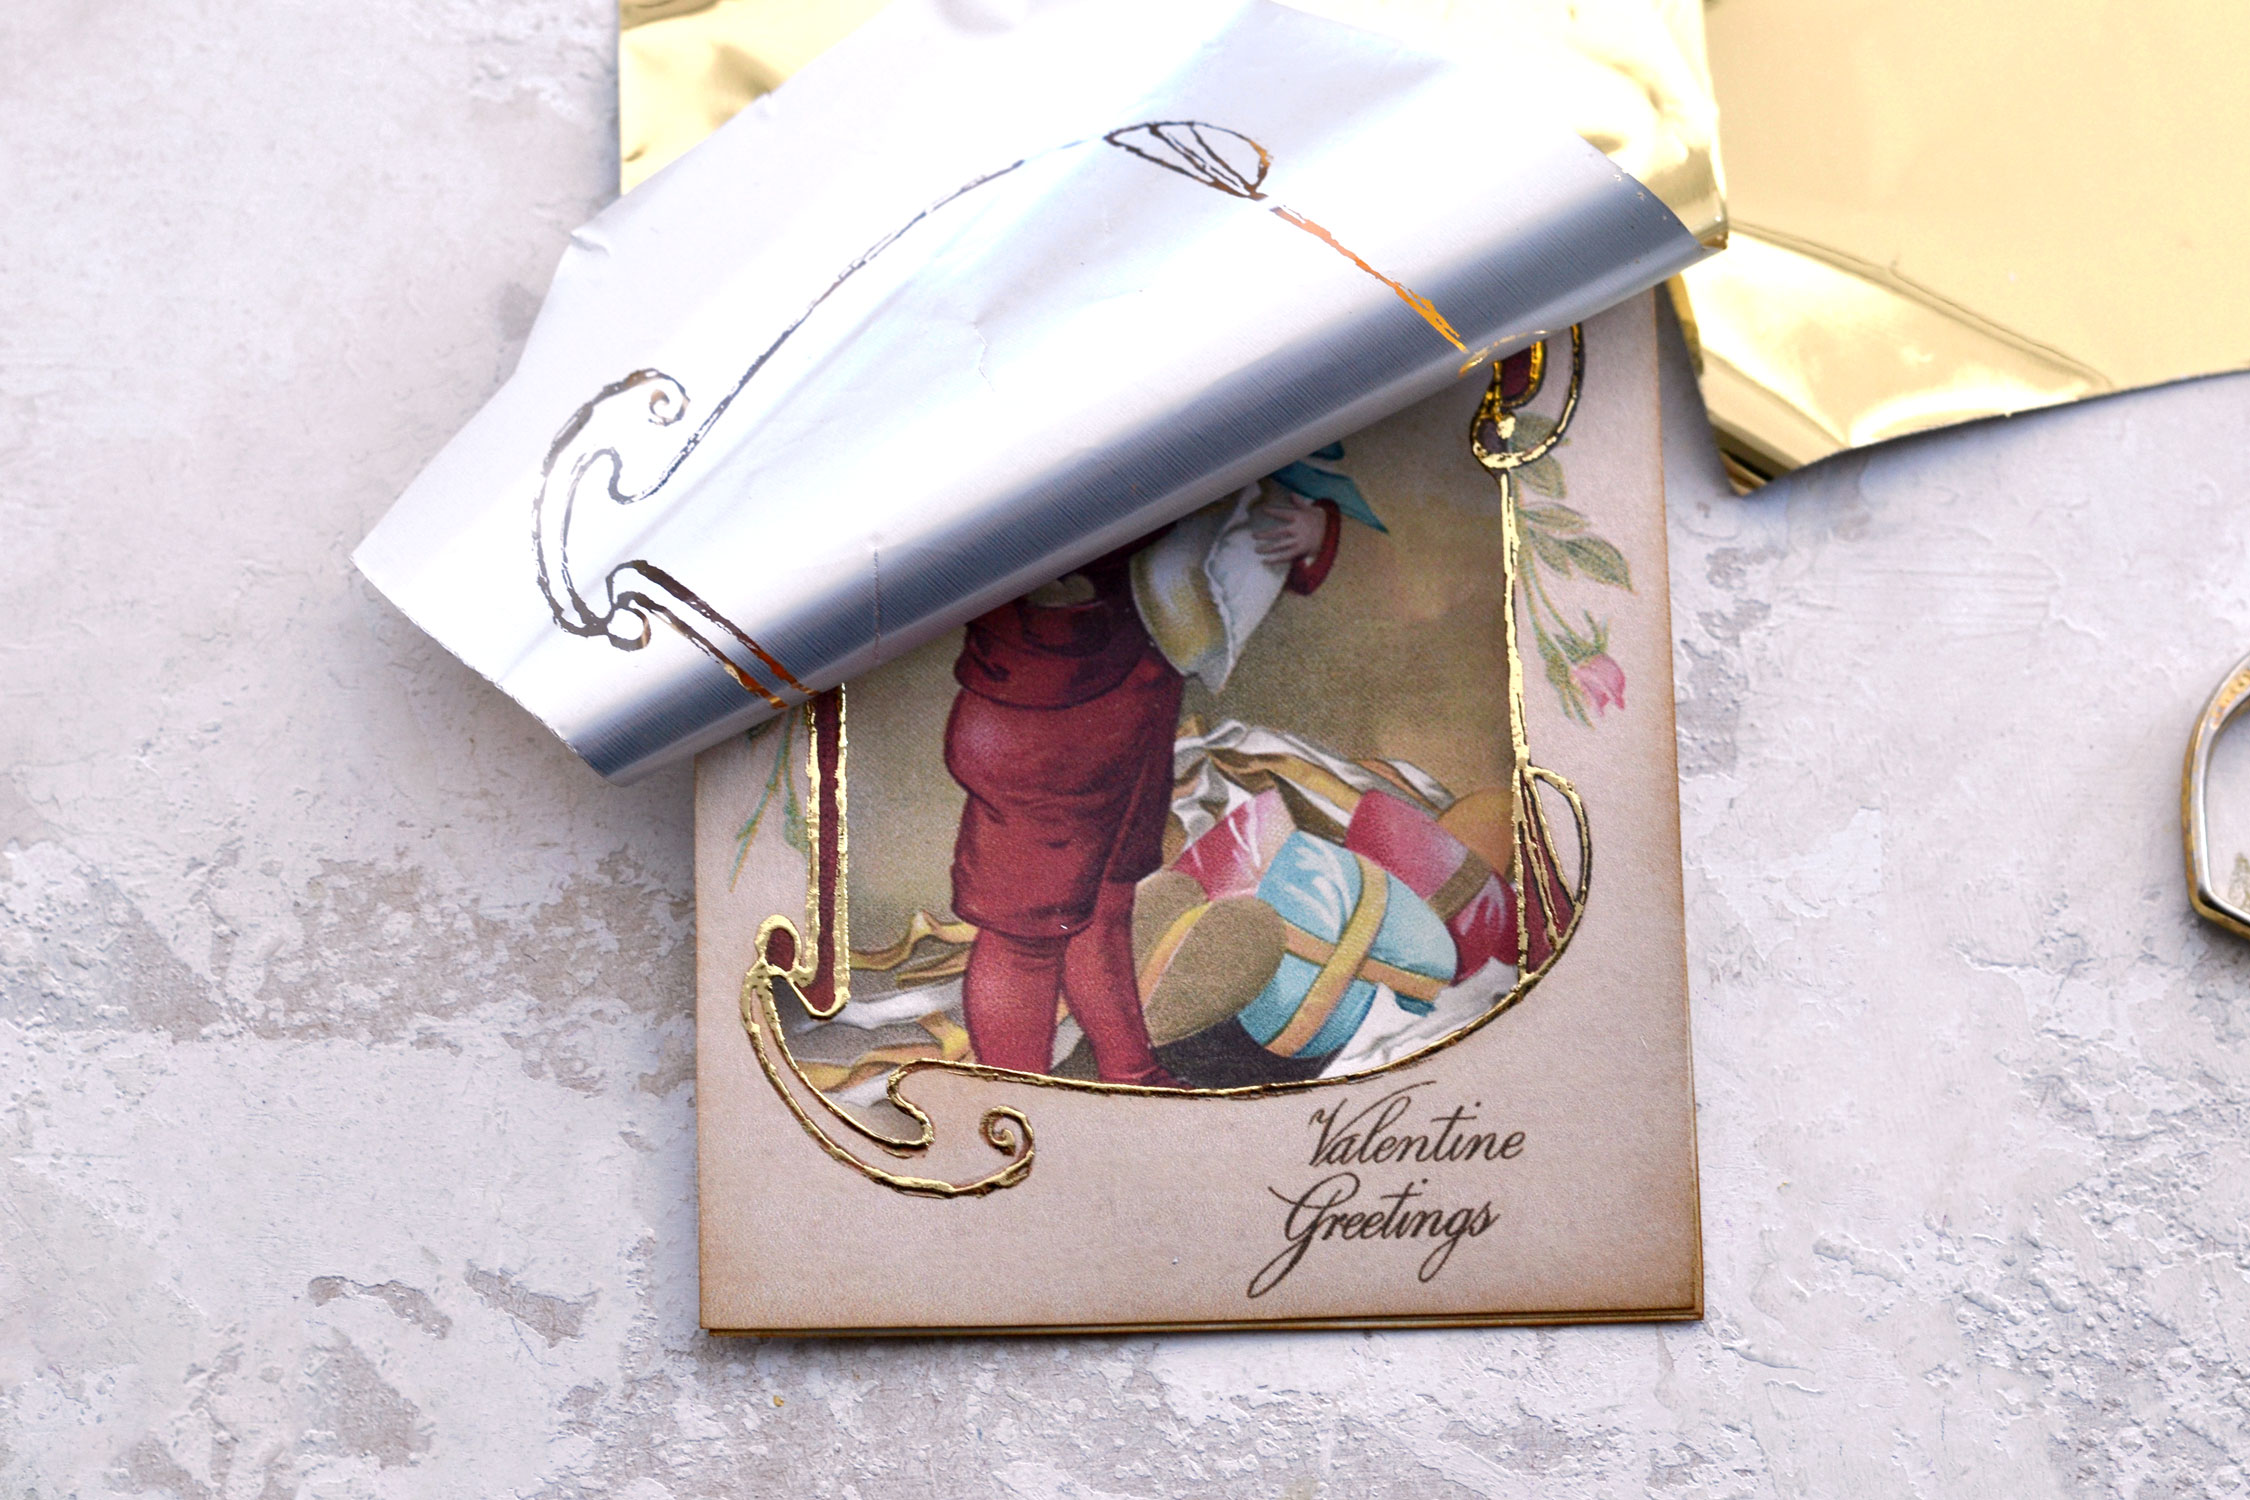
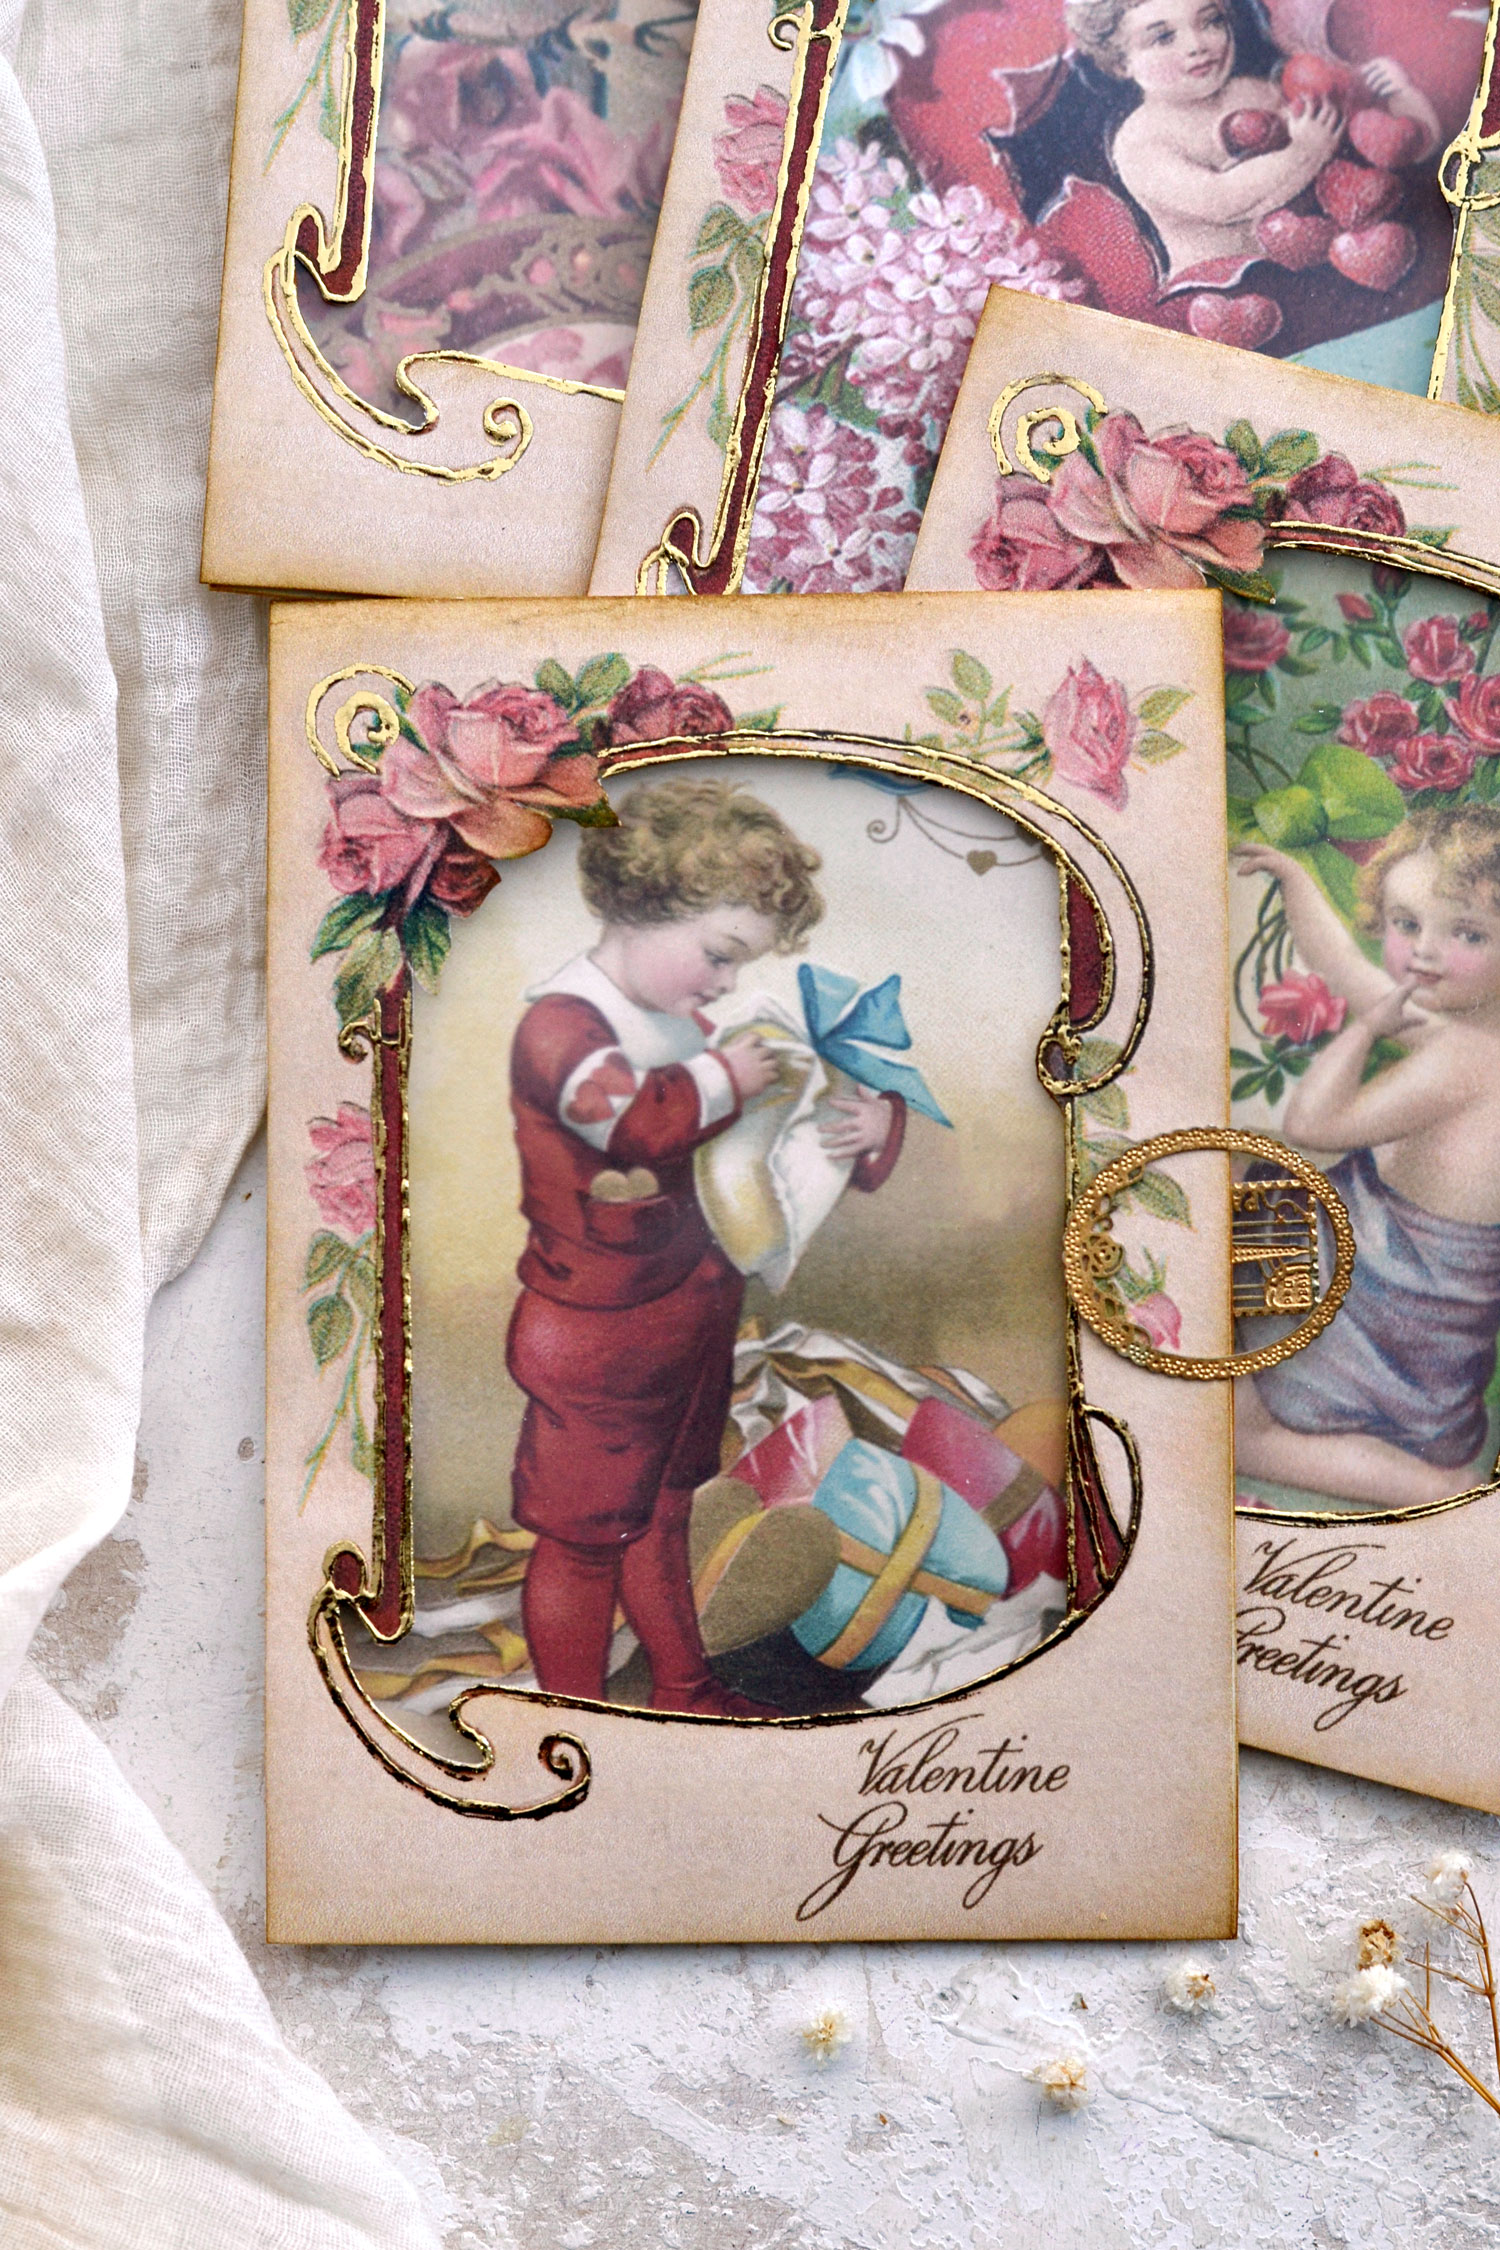
Revealing your beautifully gilded effects is so rewarding!
You can keep the frame openings as they are, or you can choose your preferred material to add a clear window.
Simply cut the clear window a little bit smaller than your card and use small dots of glue to attach it to the back of each frame.
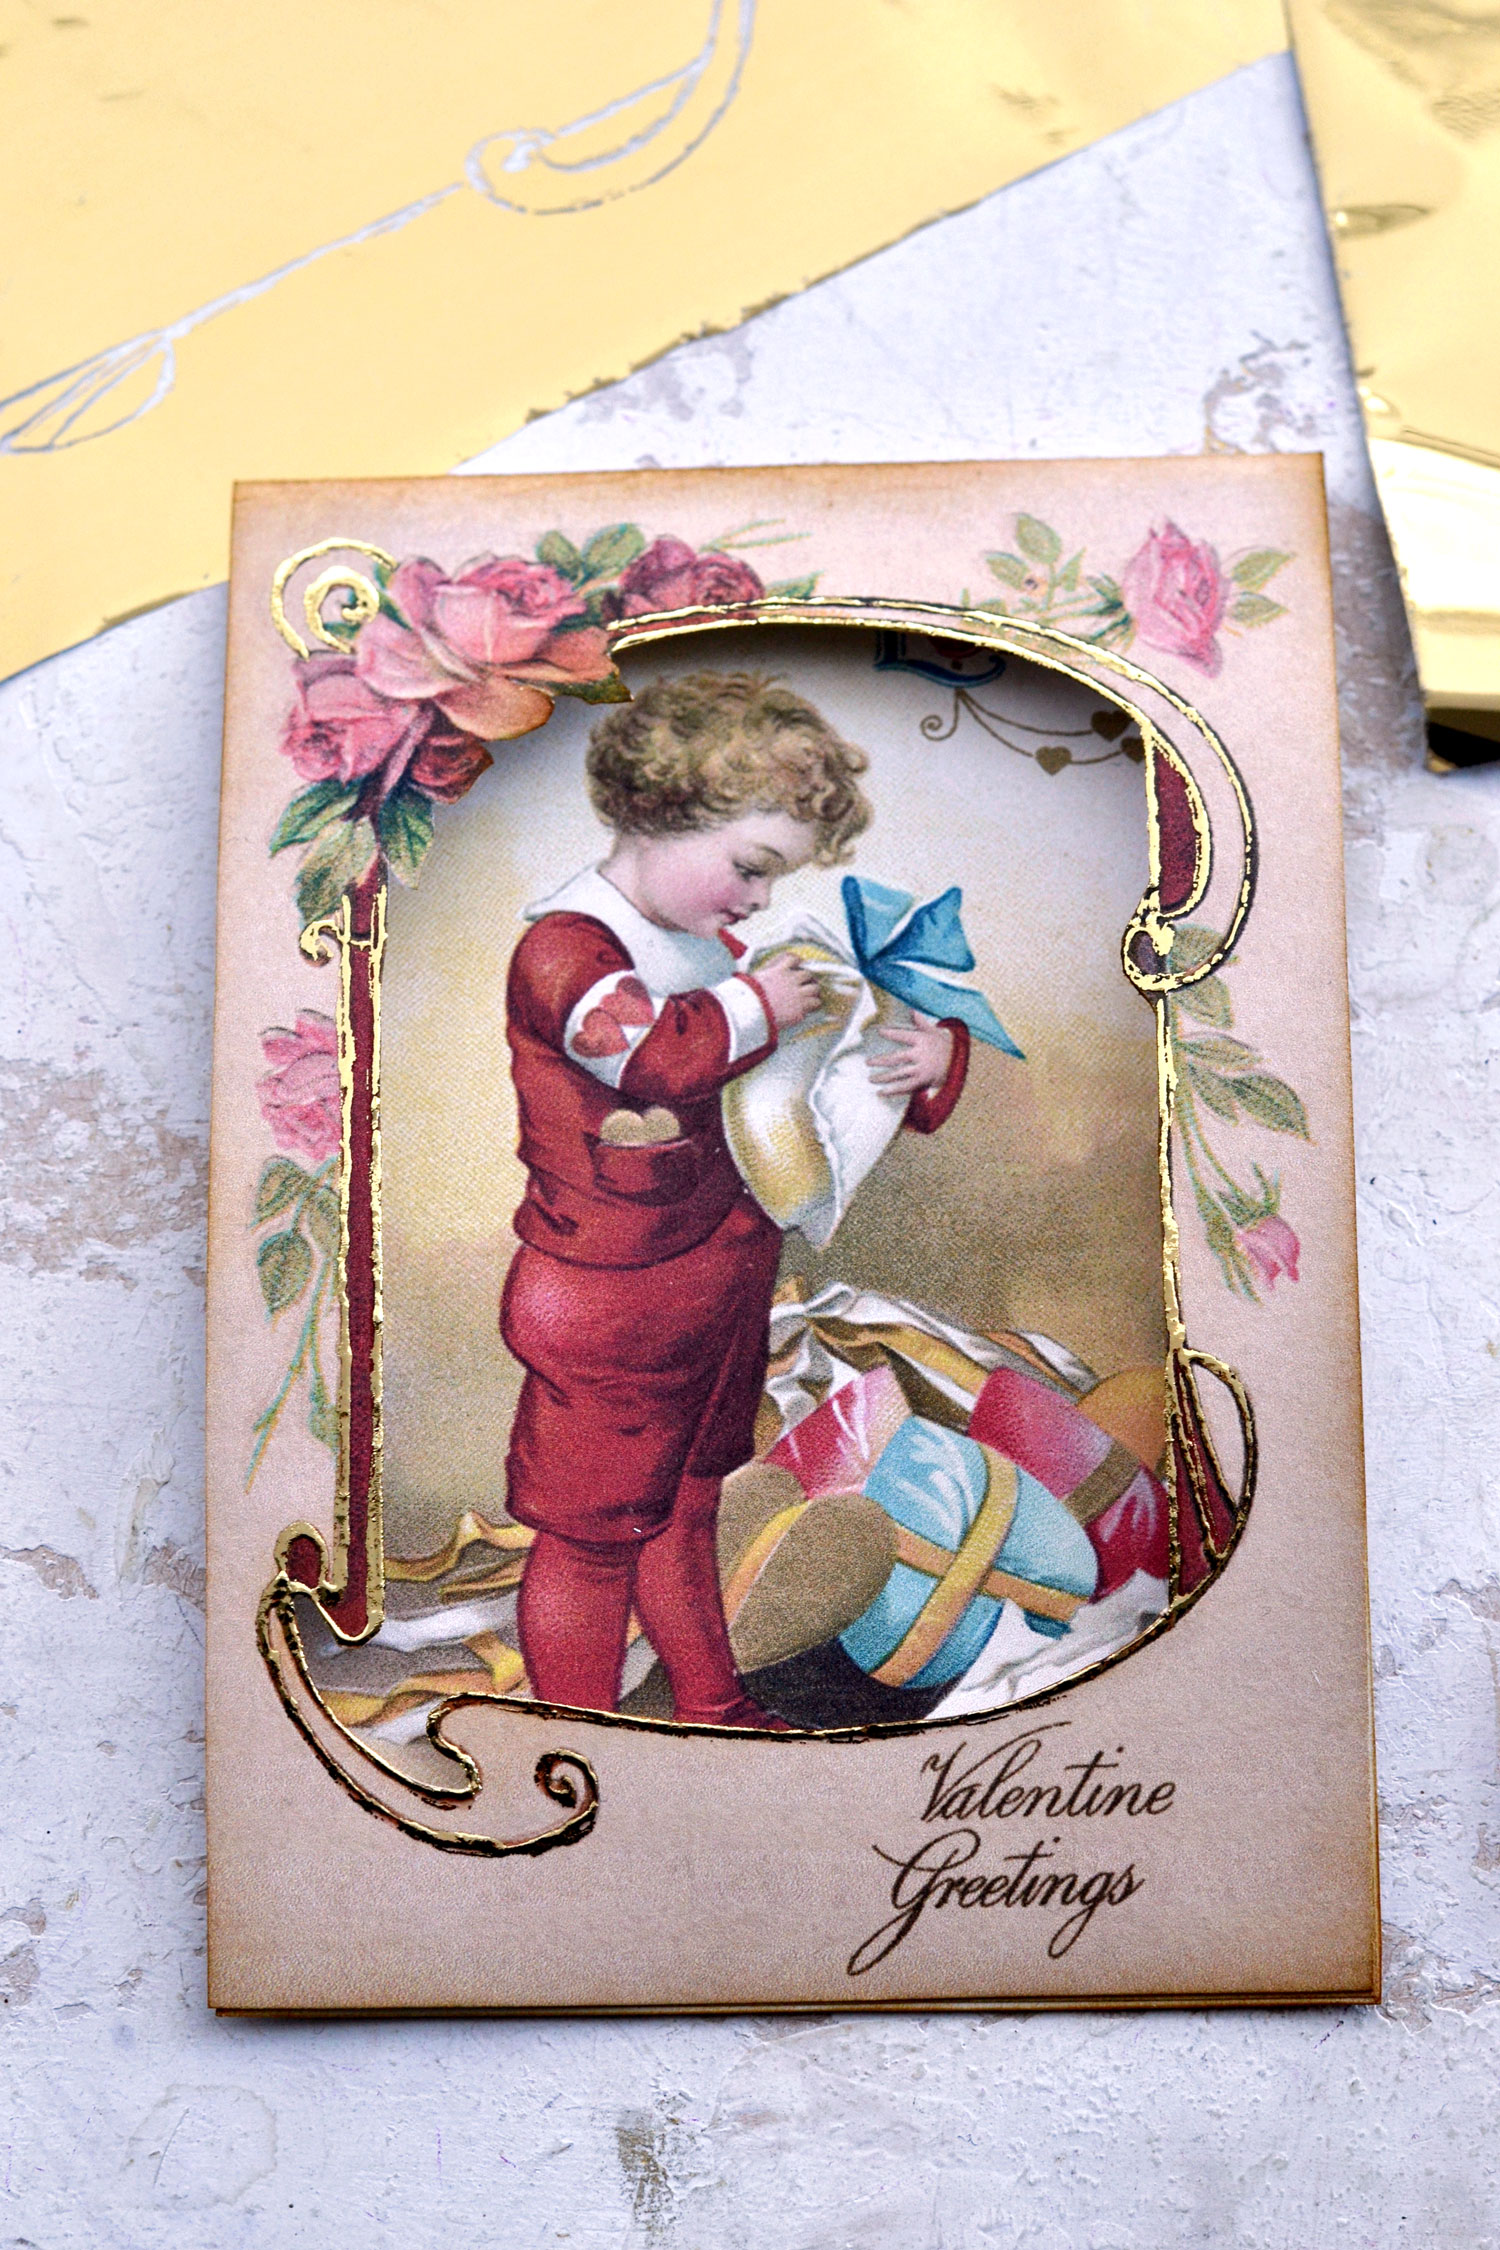
Our gorgeous Valentine’s Day cards with gold touches are now ready to be admired!
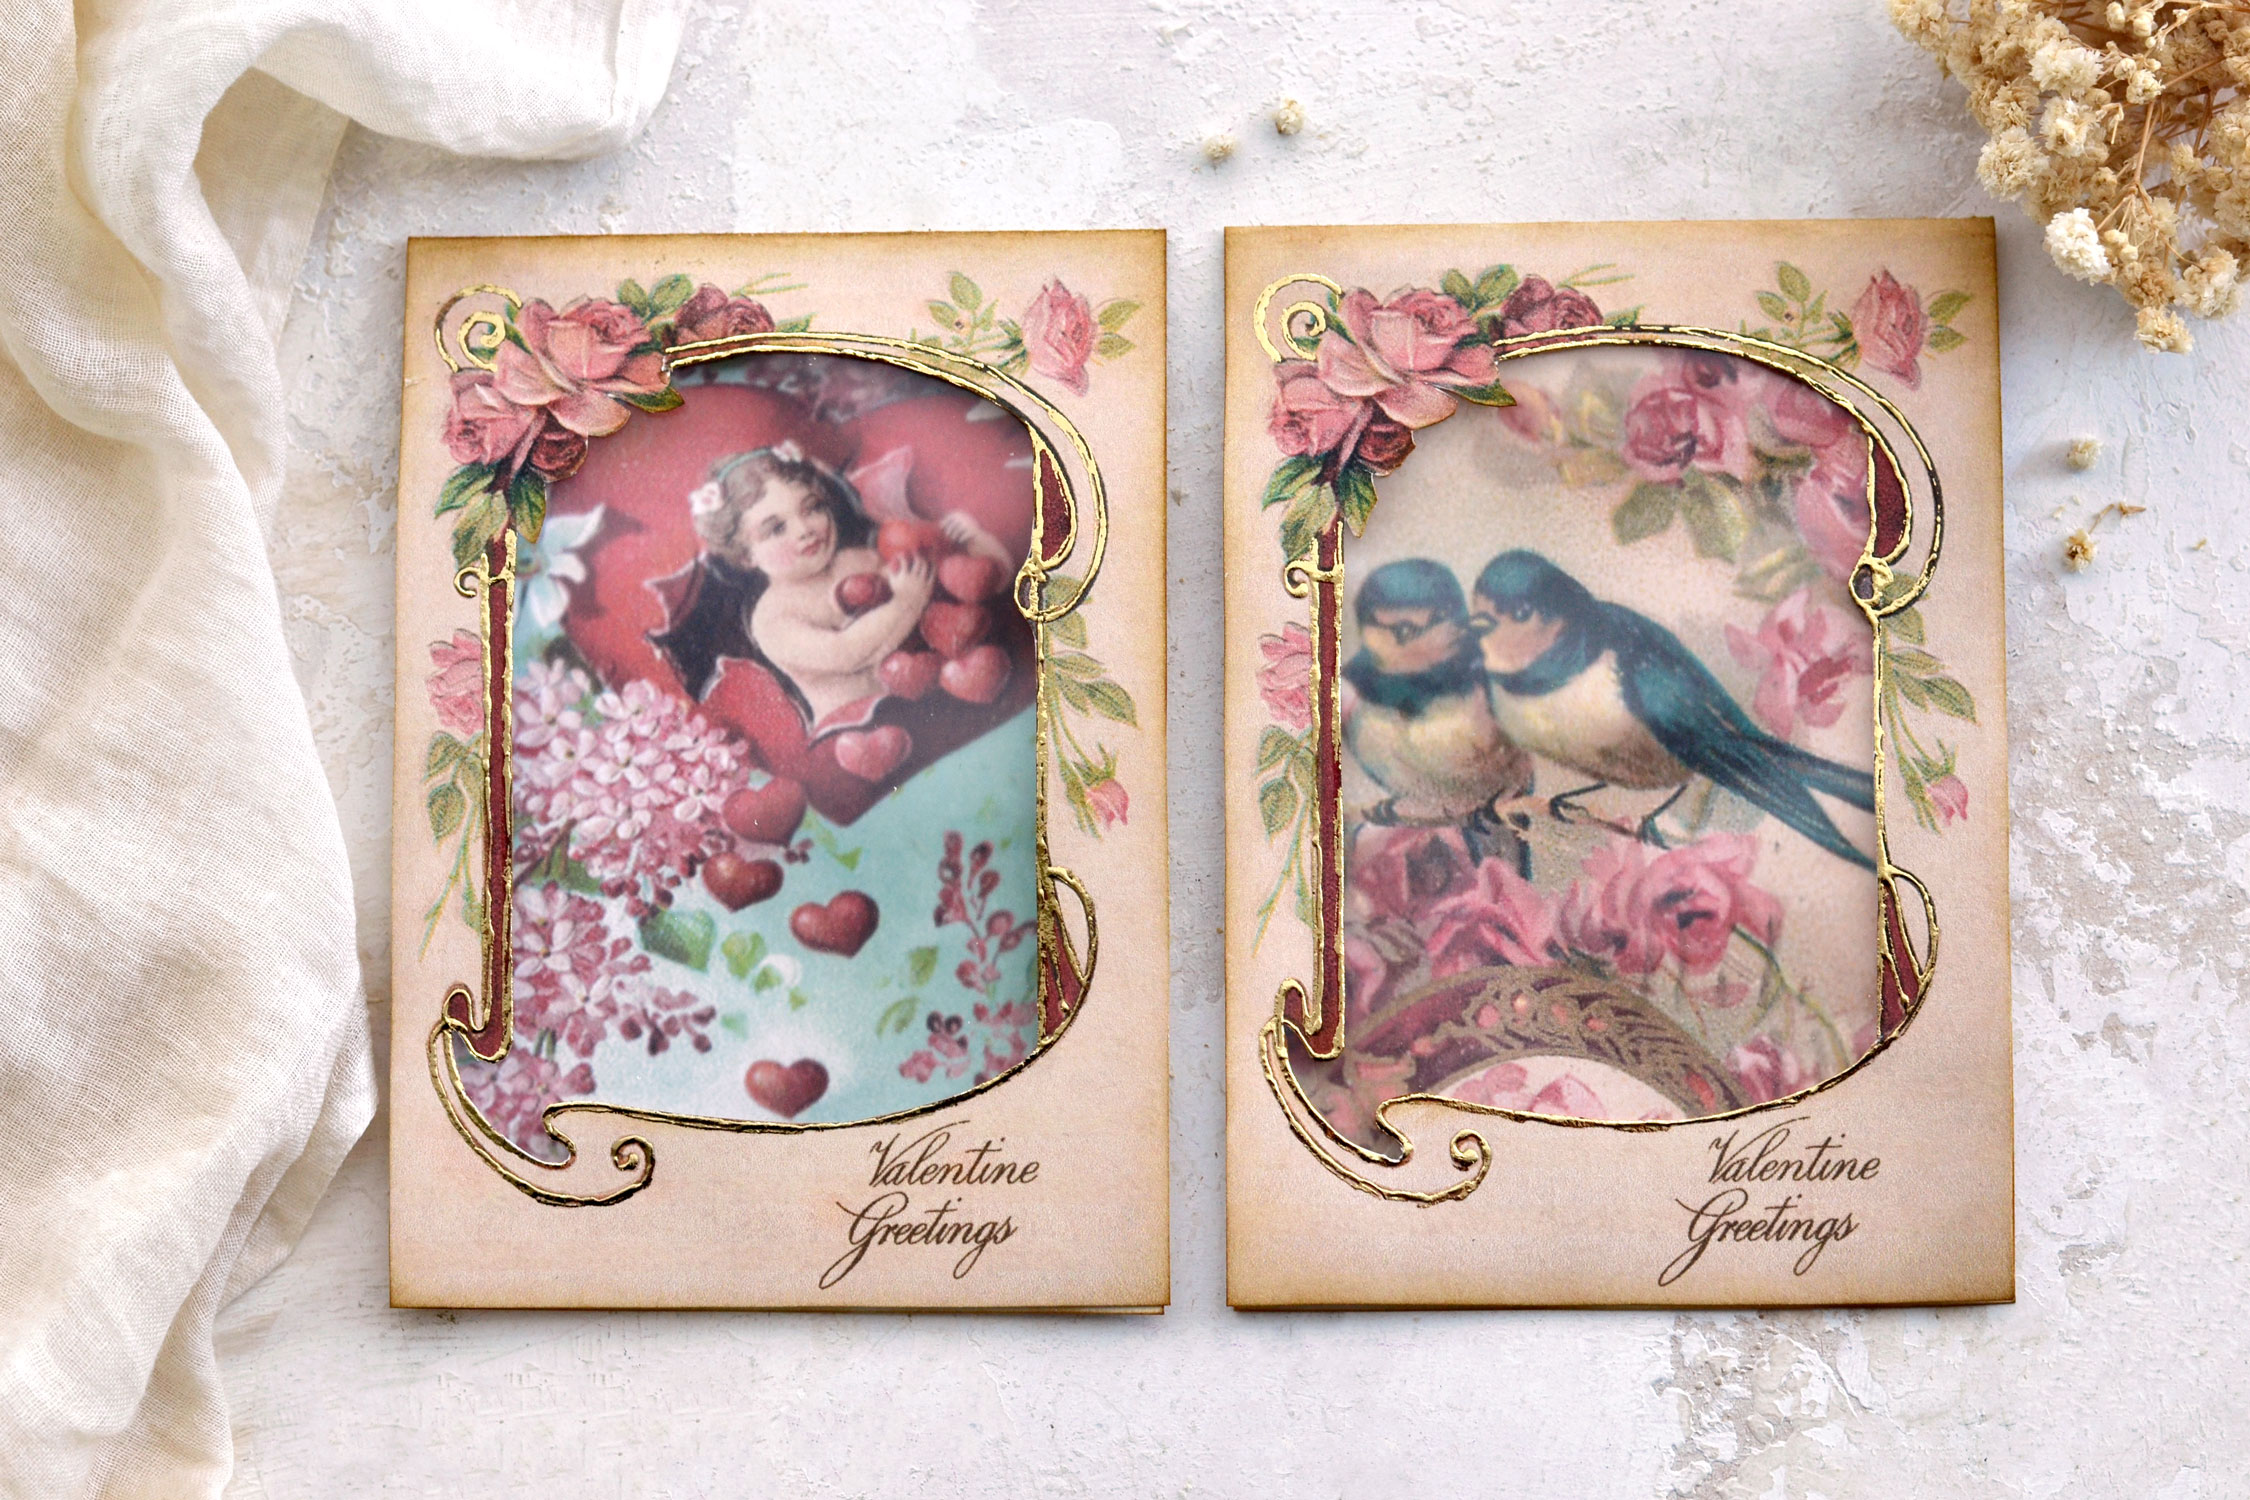
I’m simply in love with how they turned out, all their details are simply amazing! And if you look closely at the window opening, you will notice that the images underneath are not completely visible and have more of a subtle look.
You would normally use acetate for this type of window, but I don’t necessarily like how it looks. I feel that it can give a plastic-y feel that might sometimes ruin that lovely handmade and vintage feel we try to imprint to our projects. So I came up with a replacement – laminator pouches!
If you ever used laminator pouches before, you might have noticed they have more of a matte finish on the inside. So I’ve decided to give them a try here and I have to confess they worked like a charm!
 I used a simple laminator sheet (a pouch opened in half) to create all four windows and I instantly loved the additional shernees it brought to these beauties.
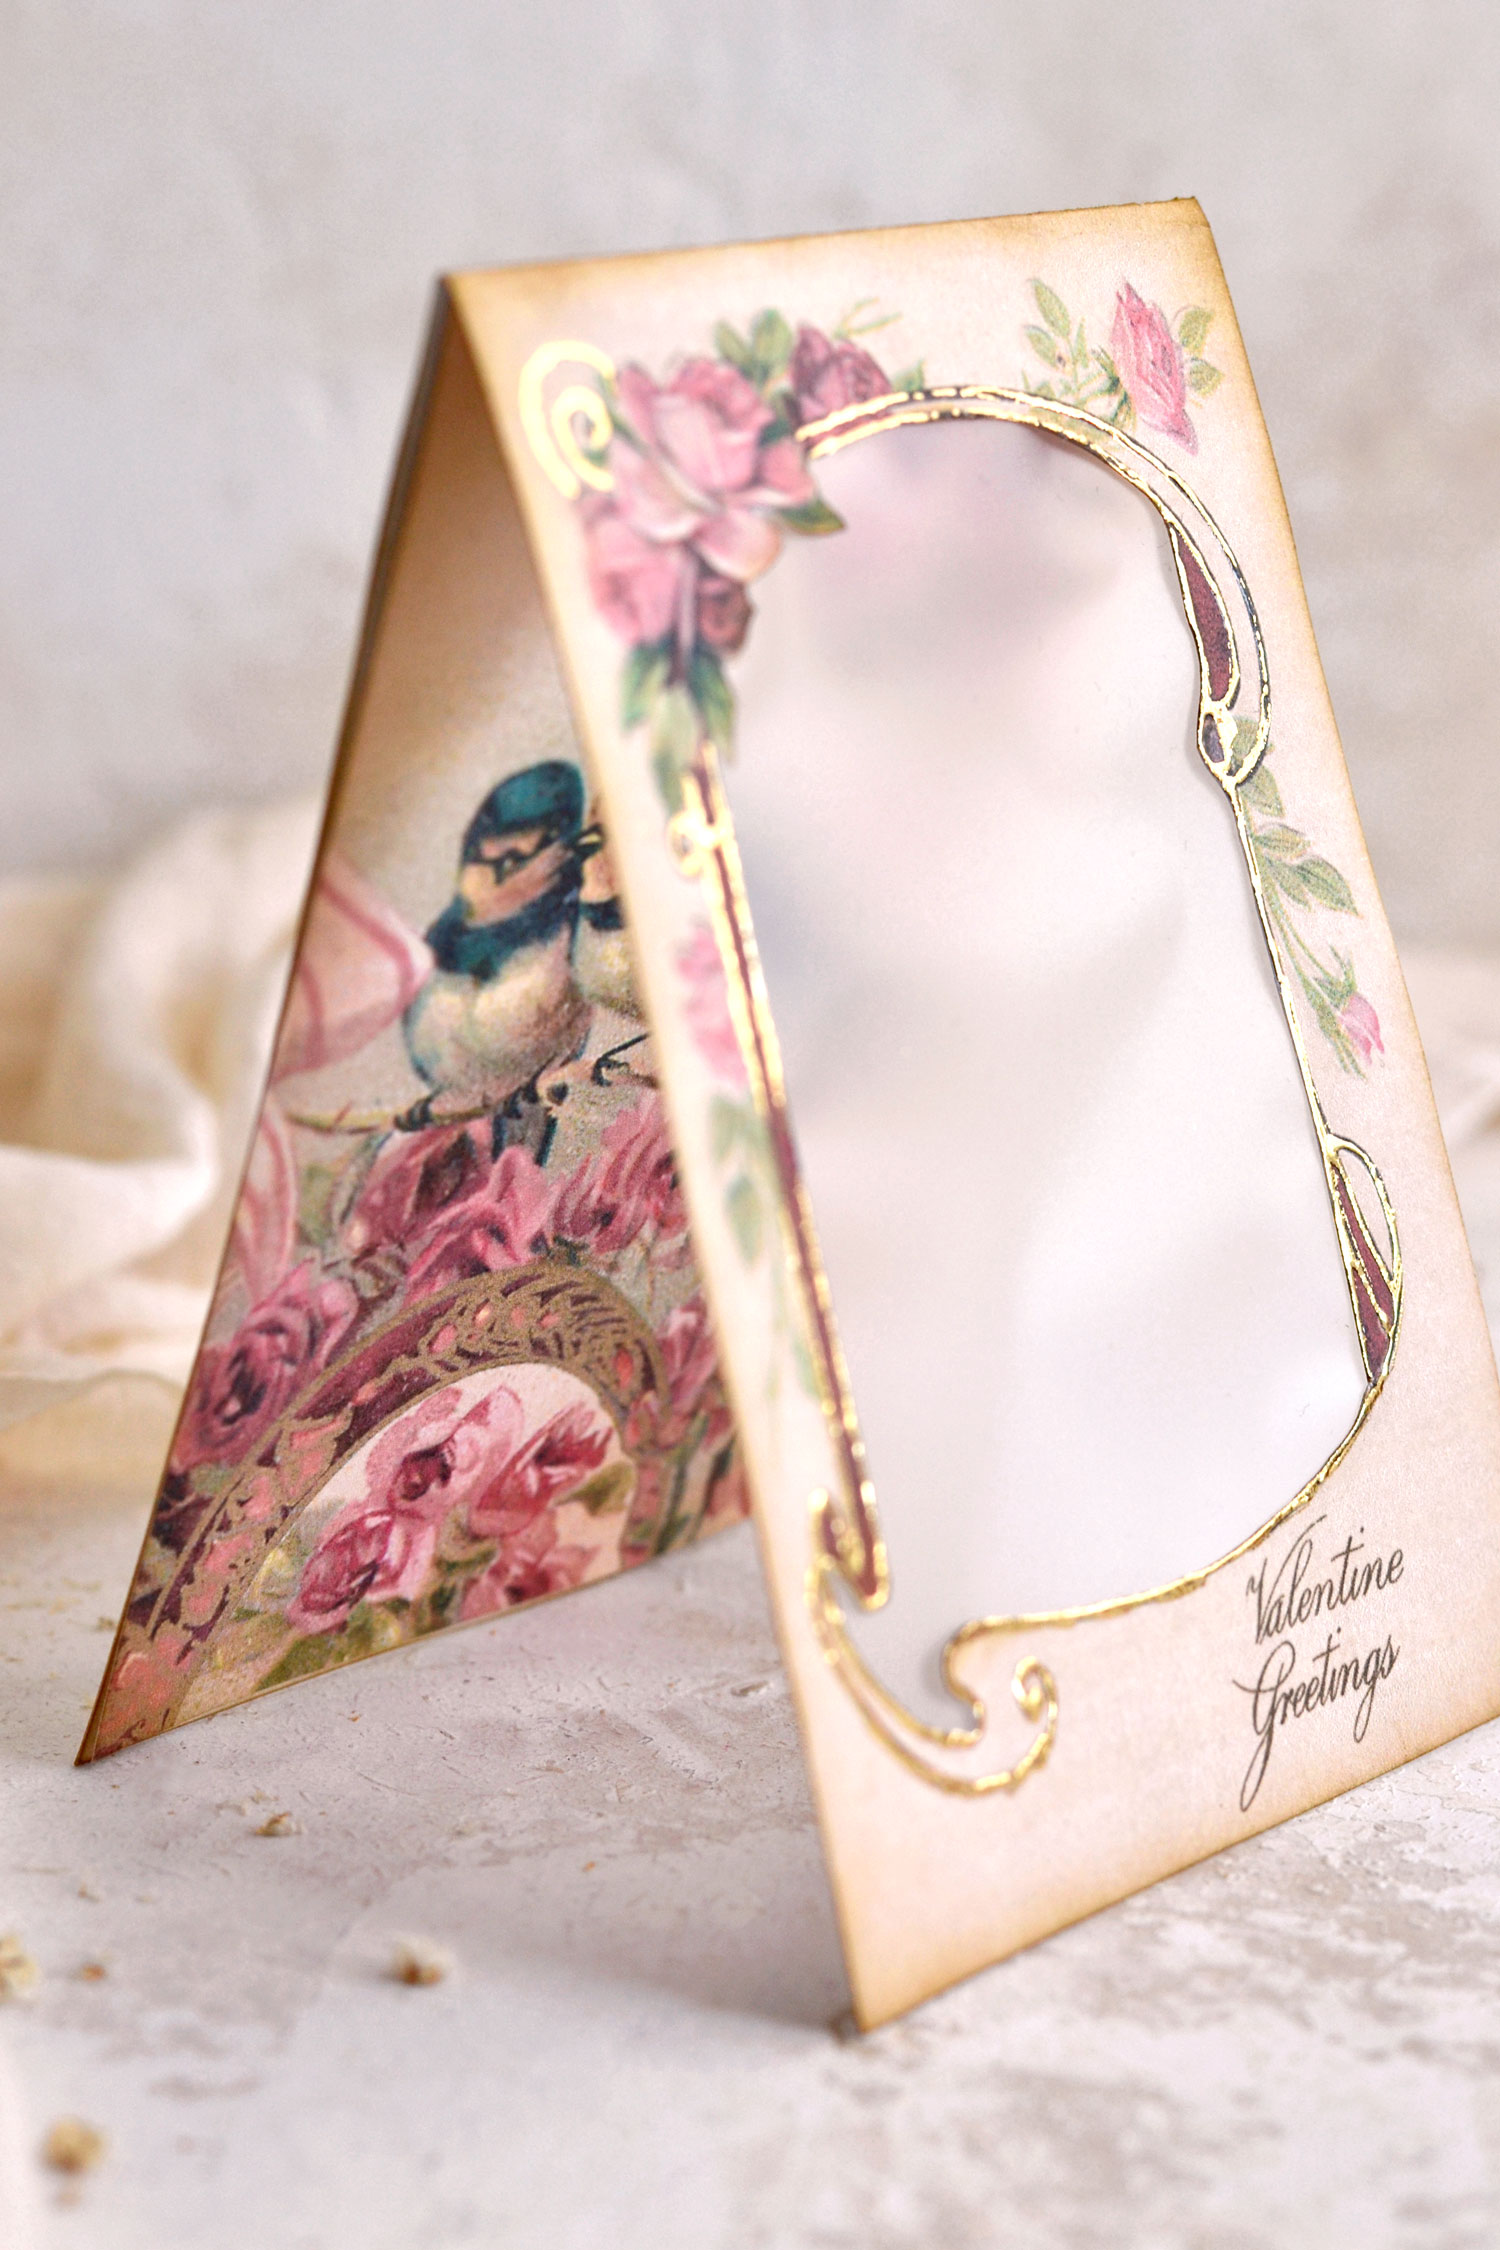
I wanted the cards to have a portrait orientation, so they can stand on their own if placed on a flat surface. As you can see, I had to use a small paper clip to temporarily bring the two sides of the card closer together so I could photograph them. Why? Because the window becomes more opaque as you increase the distance between the two sides.
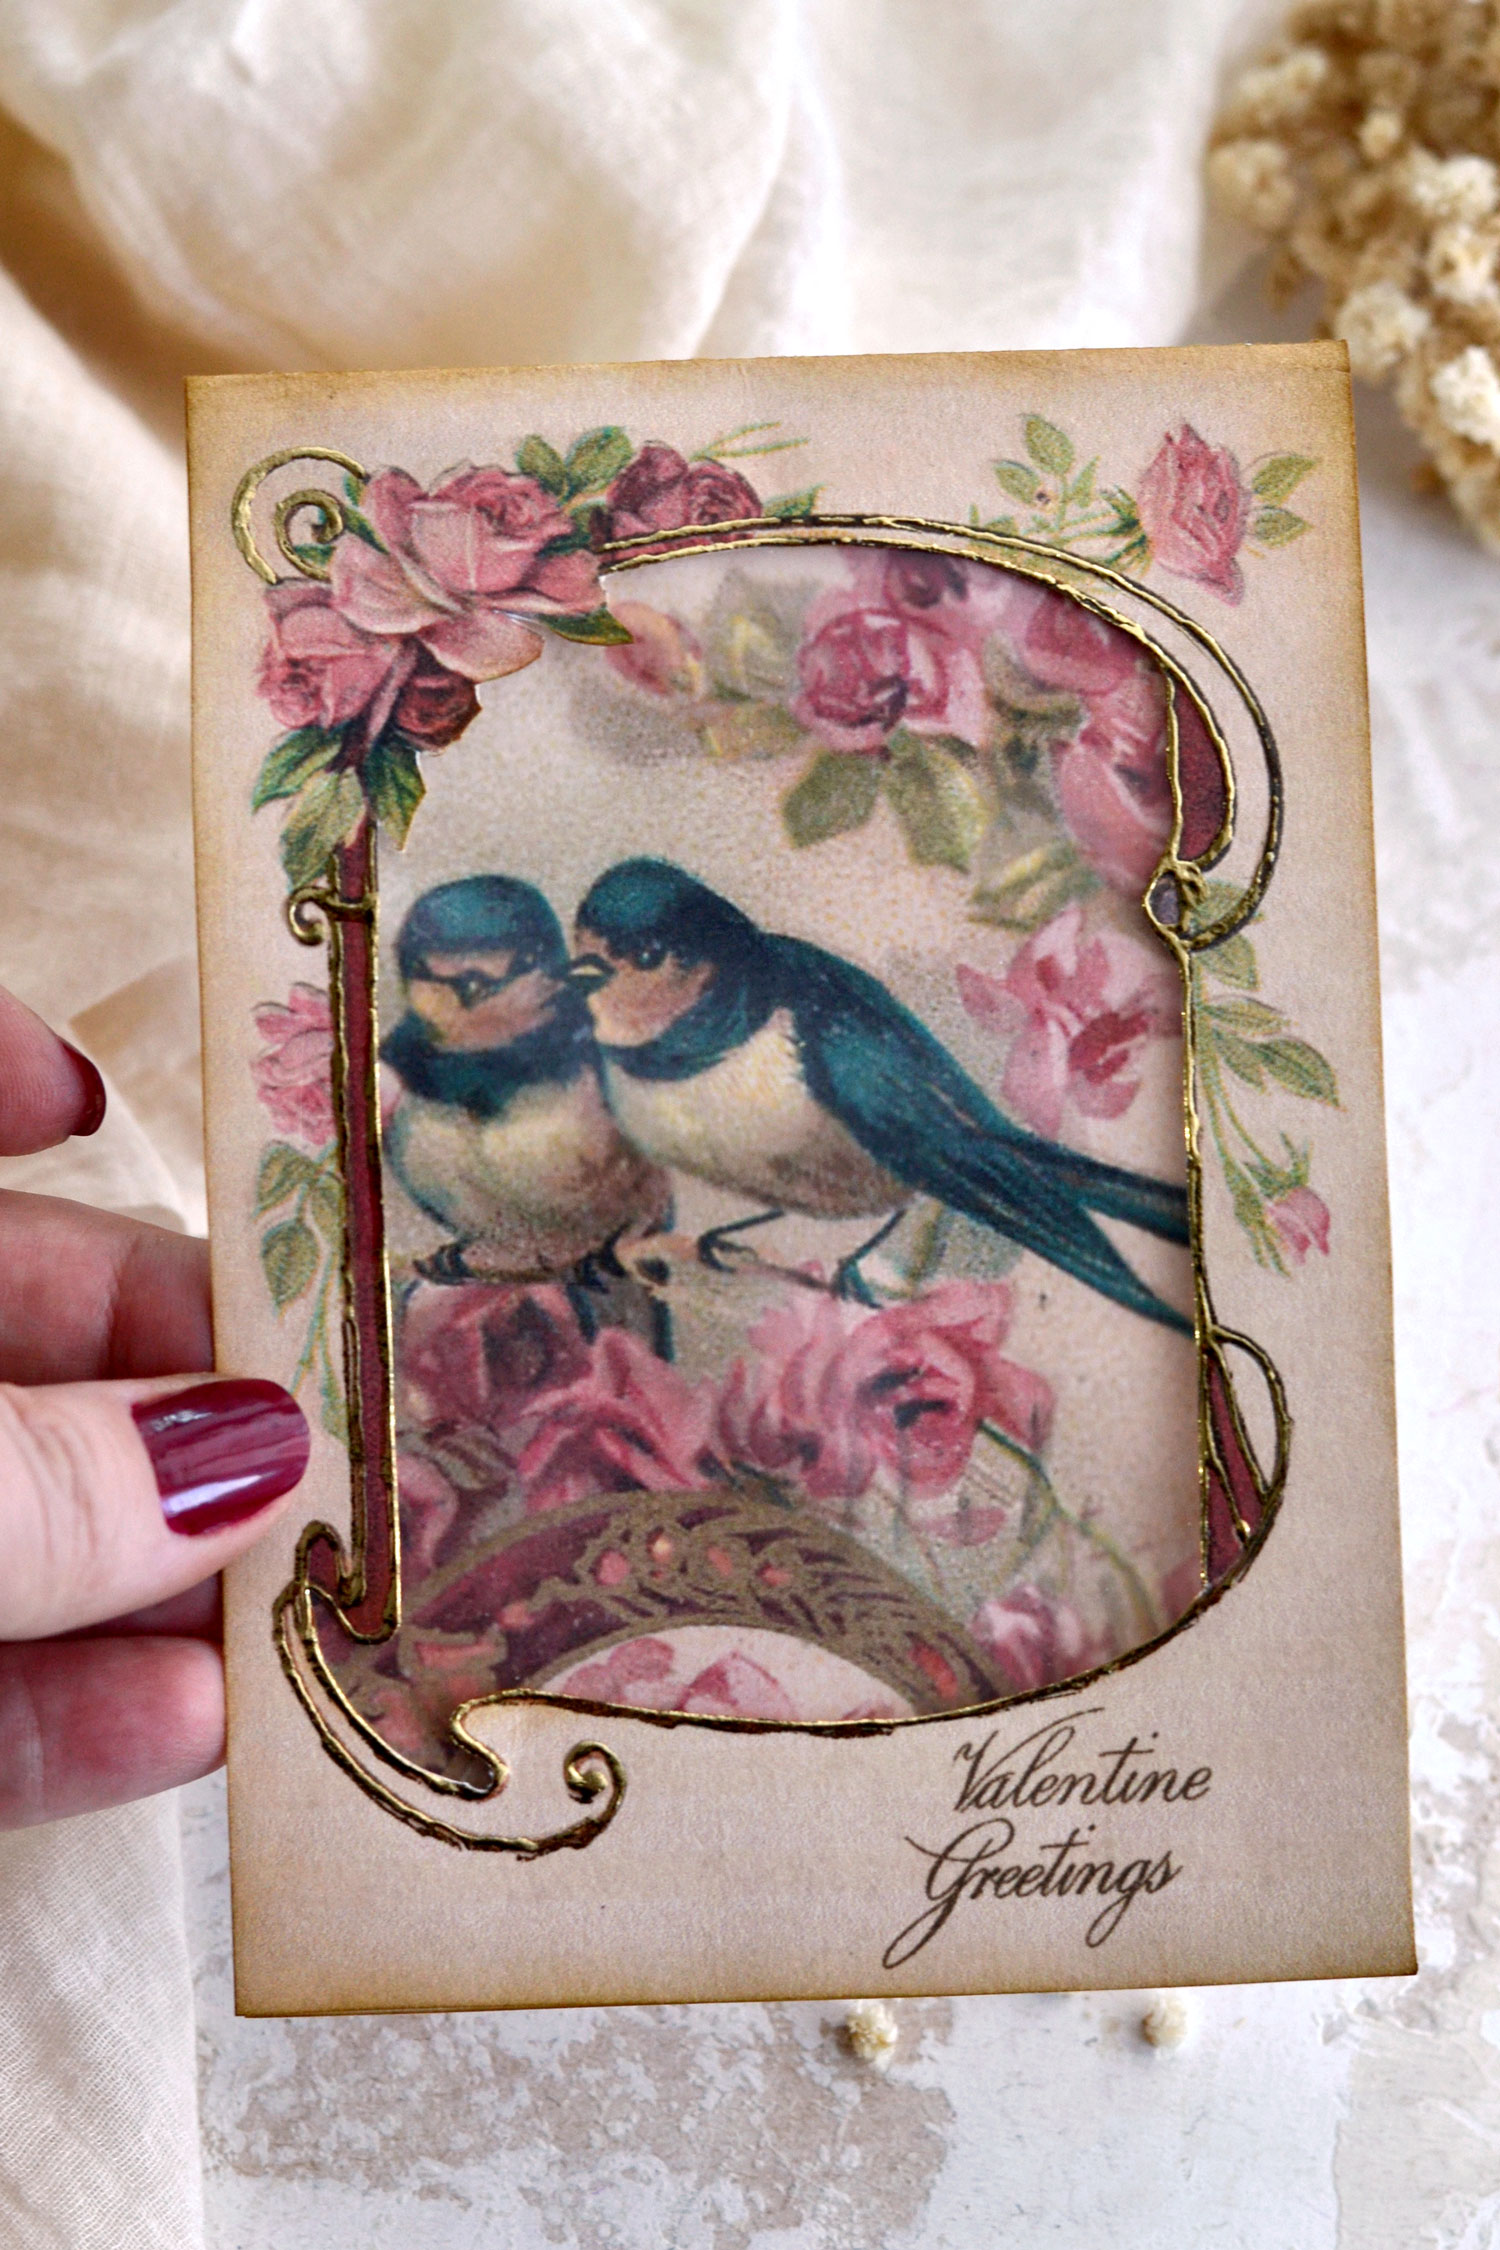
I love that! The window is clear enough to see what’s on the inside, while also adding a lovely, subtle sheerness. I would definitely consider this an option for other projects, too!
Here you can better see the (even more) open window, in all its matte glory.
This would be a fun project to make on your own or why not, even organize a creative session with your friends. Have all the supplies ready and have fun putting these together! You can even write your wishes on the inside of the cards, directly on the images, to further personalize them in a unique way. There is a little bit of room outside the focal point figures that can be filled with tiny love messages or thoughts. The finished pieces can be gifted to your loved ones, they will surely appreciate all the care you put into creating such beauties!
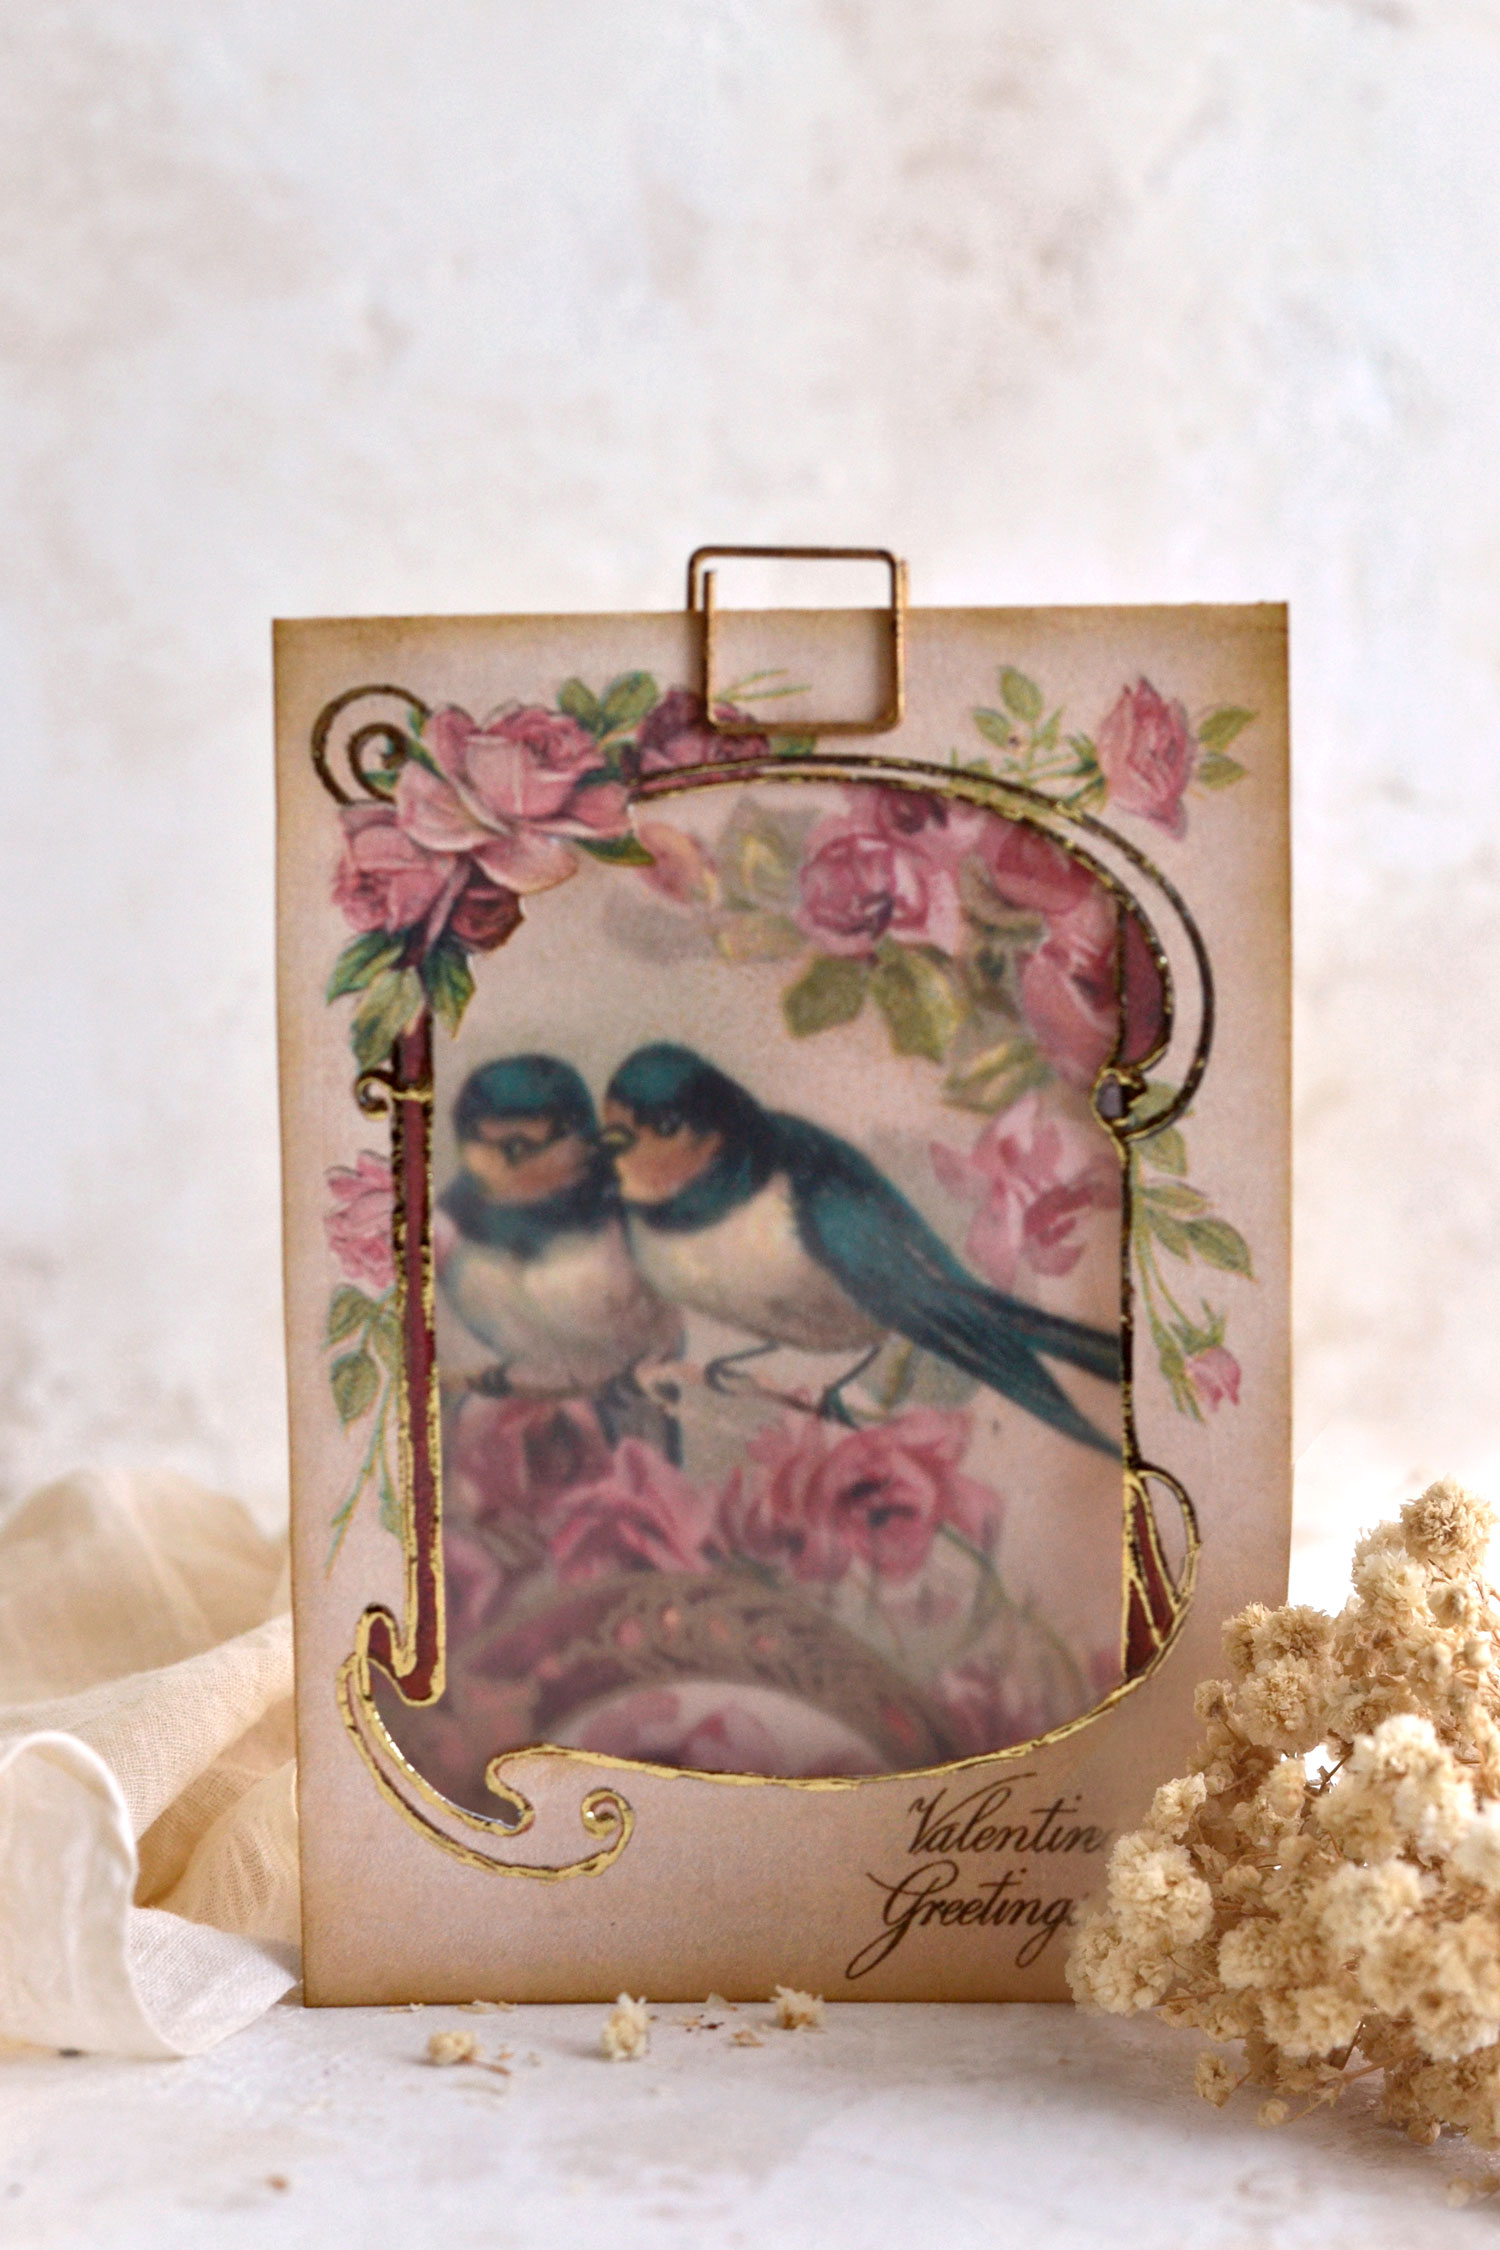
They can also be used in your junk journals, but I’m sure you’ll come up with other creative ideas for using them as well. I’m keeping the one with the birds (my favorite) as a mini sign on my desk for now, so I can easily admire it whenever I’m around! You might also like Another Free Printable Valentine Cardmaking Kit HERE.
Happy crafting,
Diana | Dreams Factory


Leave a Reply