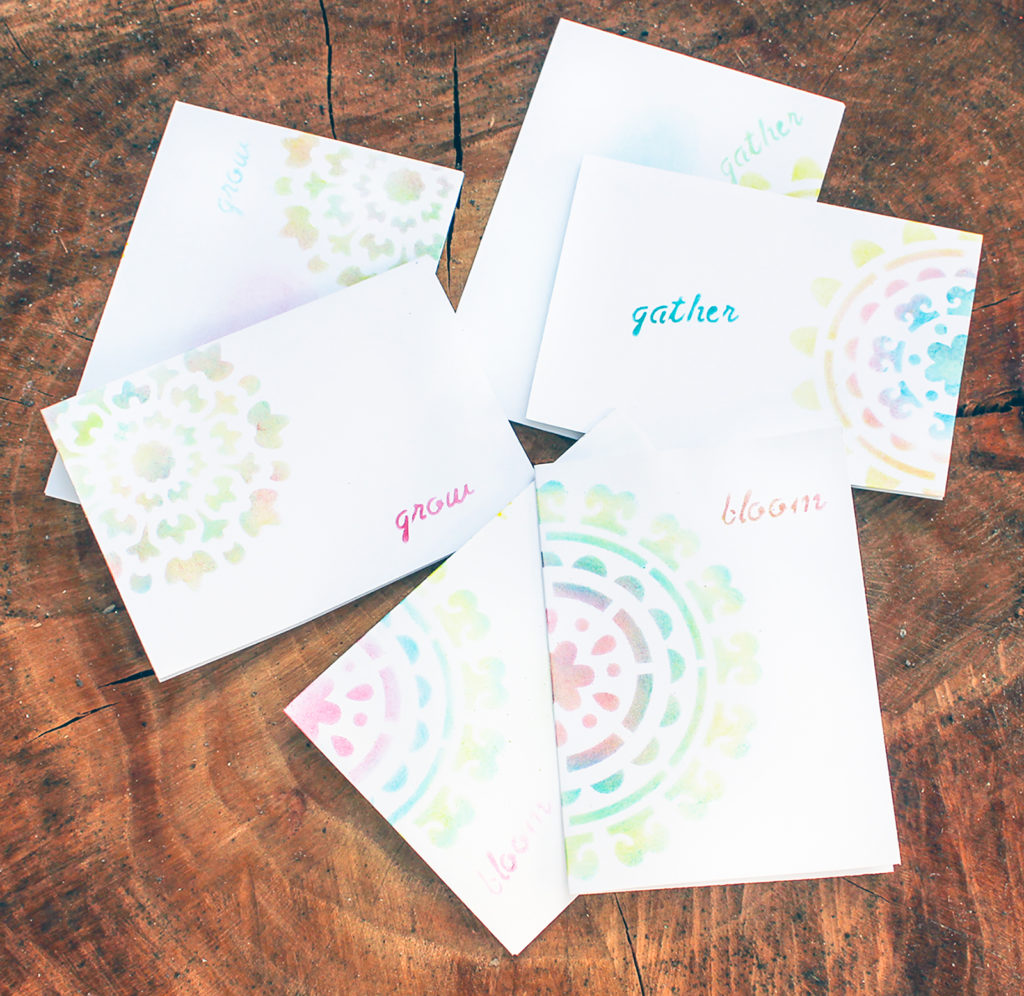
Hello my artful friends. It’s Rebecca AKA Cre8tiva here with a Quick Stenciled Greeting Cards how-to that is a super easy idea for a last minute greeting card. I love to make cards, but sometimes I just don’t have the time nor the inclination to drag out ALL my art supplies. So I often opt to stencil a beautiful faded design on a card from my stash of blank cards I keep on hand. Let’s jump into the creative sandbox and create.
Supplies
*This post contains affiliate links for your convenience
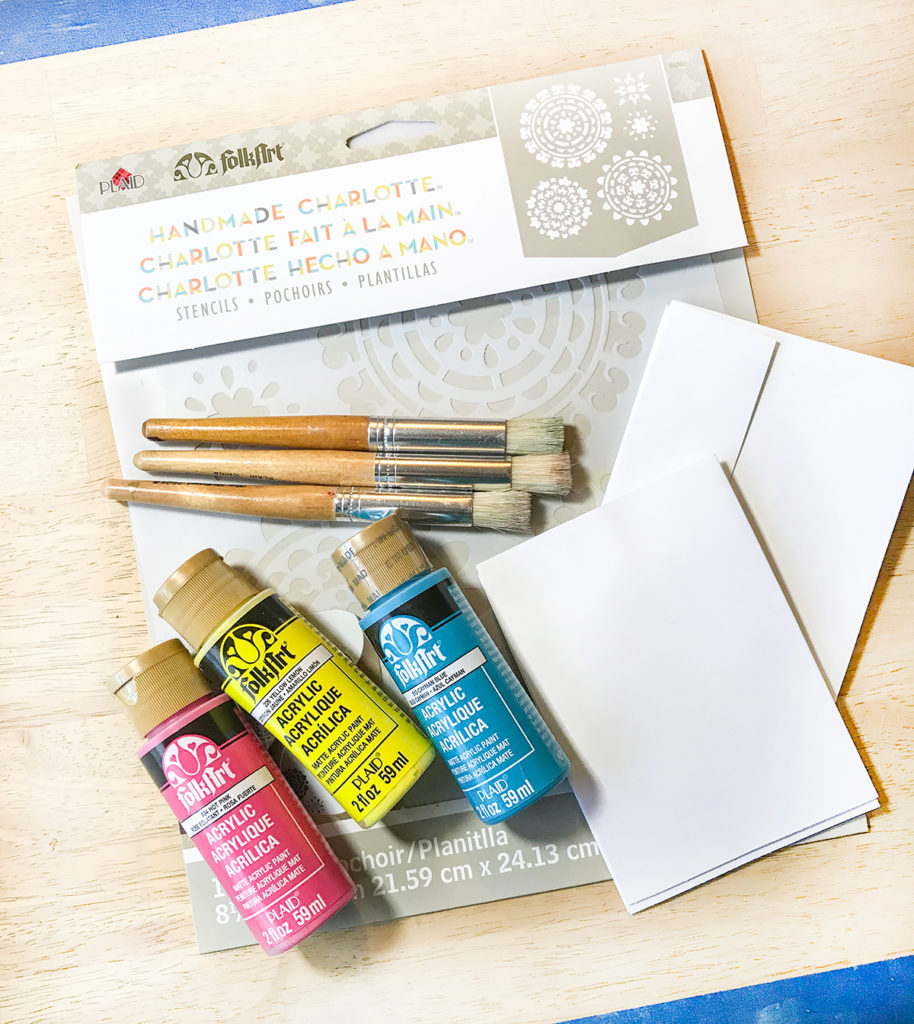
Here’s what you need for this project:
Folk Art Acrylics in Yellow Lemon, Hot Pink, Cayman Blue or Aqua
Stencil Brushes–1 for each color
Handmade Charlotte Suzani Splendor Stencil
Plaid Garden Mini Stencil Pack
Strathmore Watercolor Blank Greeting Cards
Blue Painters Tape
Bounty Paper Towels
Foam Plate
Quick Stenciled Greeting Cards Step-by-Step Directions
Practice Your Design
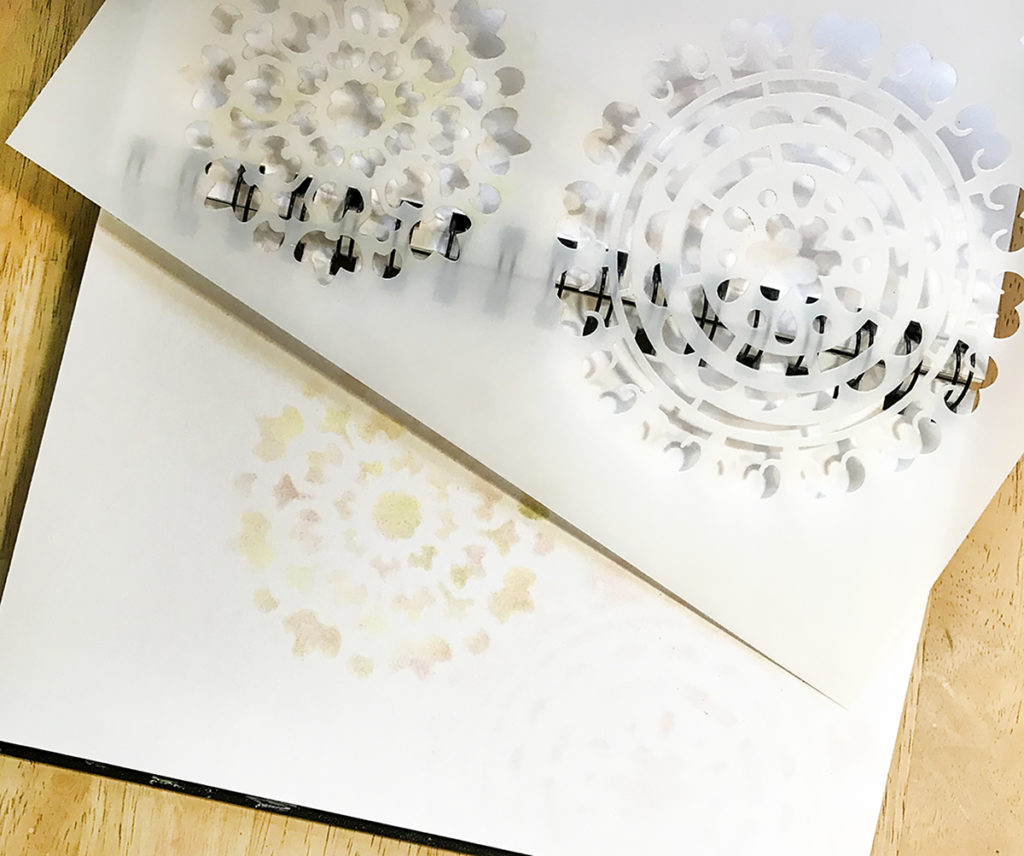
This stenciling technique creates a multi-color faded look. It is delightful to use on paper, fabric, prepared wood, etc. The Handmade Charlotte stencil has three Mandala Circular designs. The first thing you want to do when trying a new stencil and deciding on colors, is to practice on scrap paper or in your sketchbook/journal. I practice on a journal page because it will be incorporated into another artwork…so nothing is wasted. The reason to practice is to work out the kinks and the color flow.
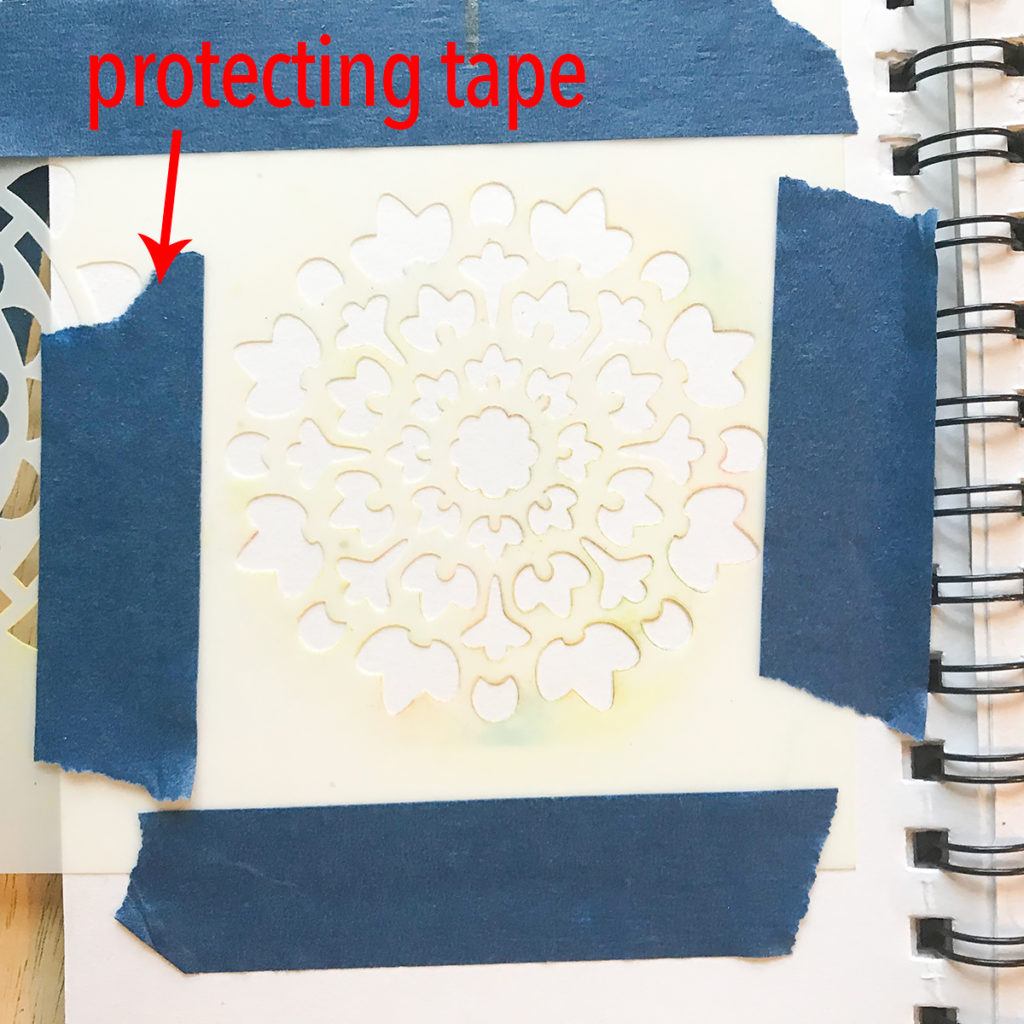
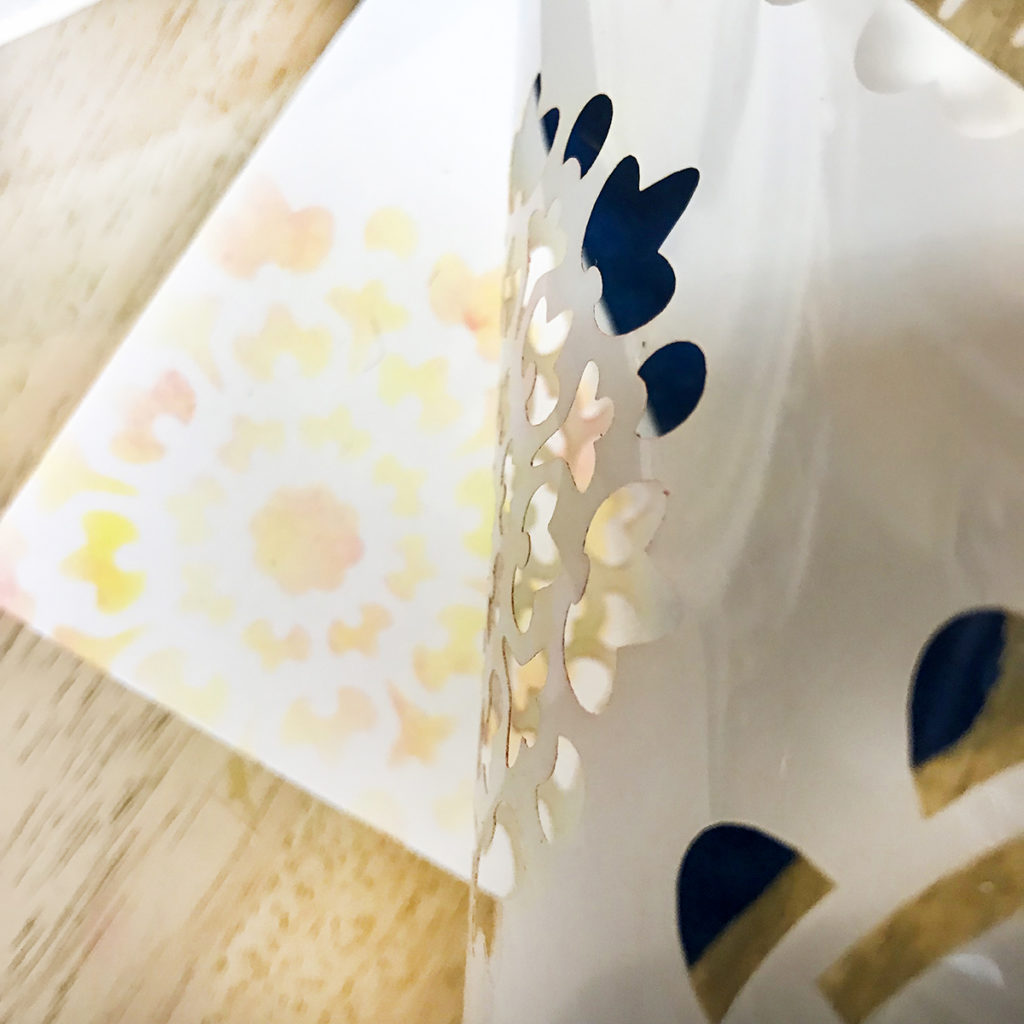
Step 1: Tape the Stencil to the paper with the blue tape. I tape in at least two places to make sure it is secure. I also tape over other designs in the stencil to mask them from my errant brush. You can see this at the top and left of this photo.
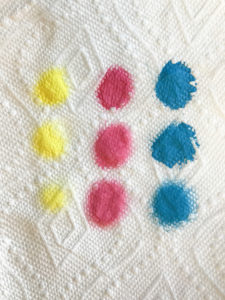
Step 2: Drop three colors of acrylic painton your foam plate. You need very little paint for this. I begin with the lightest color, yellow. I dip my brush straight down into a puddle of paint as in middle photo. Then I swirl the brush on the foam plate with moderate pressure (not enough to bend bristles) to work the paint up into the bristles.
Step 3: Then I offload the paint onto a paper towel. You want a good strong paper towel that will not tear or make paper dust. Swirl your brush for a few seconds at a 90º angle in at least three spots on the paper towel. Use some pressure, but not enough to tear the fabric. This is a dry brush technique, so most of the paint ends up on the towel. The paint dries almost instantly when applied like this.
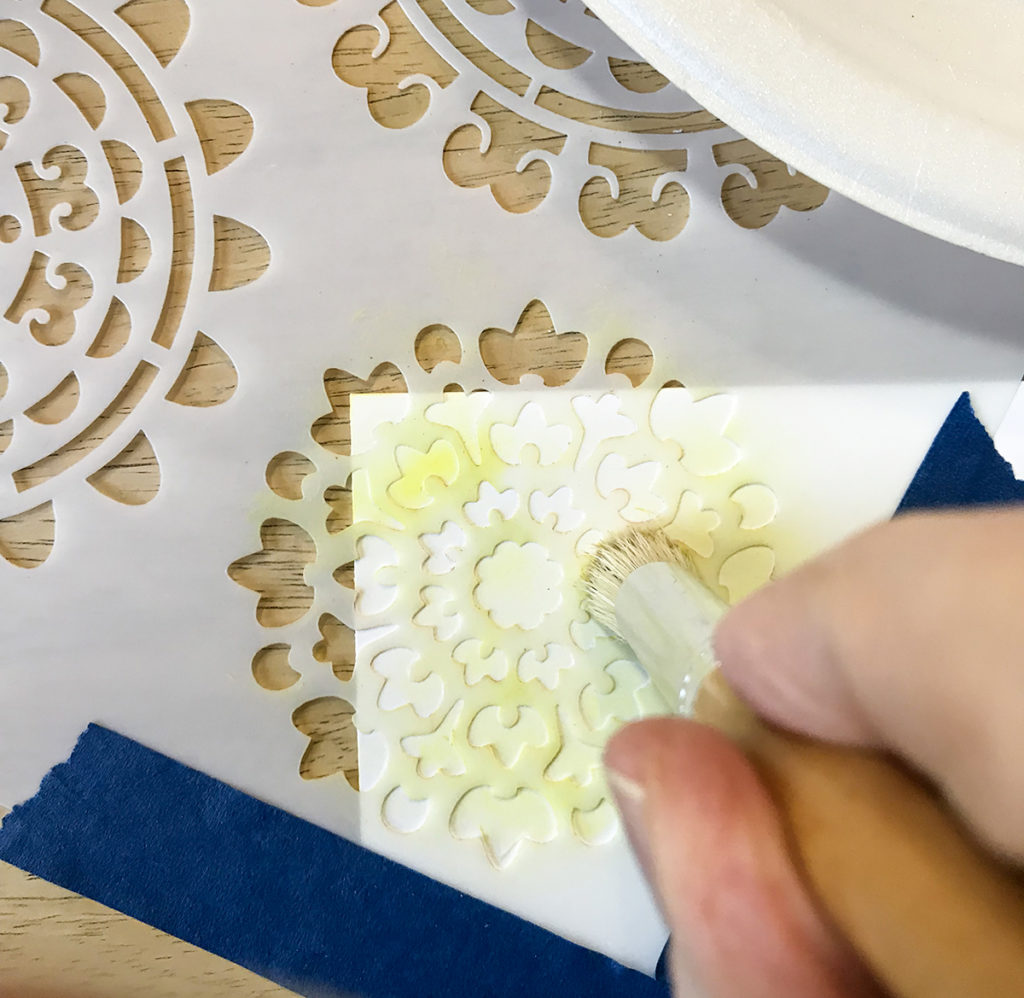
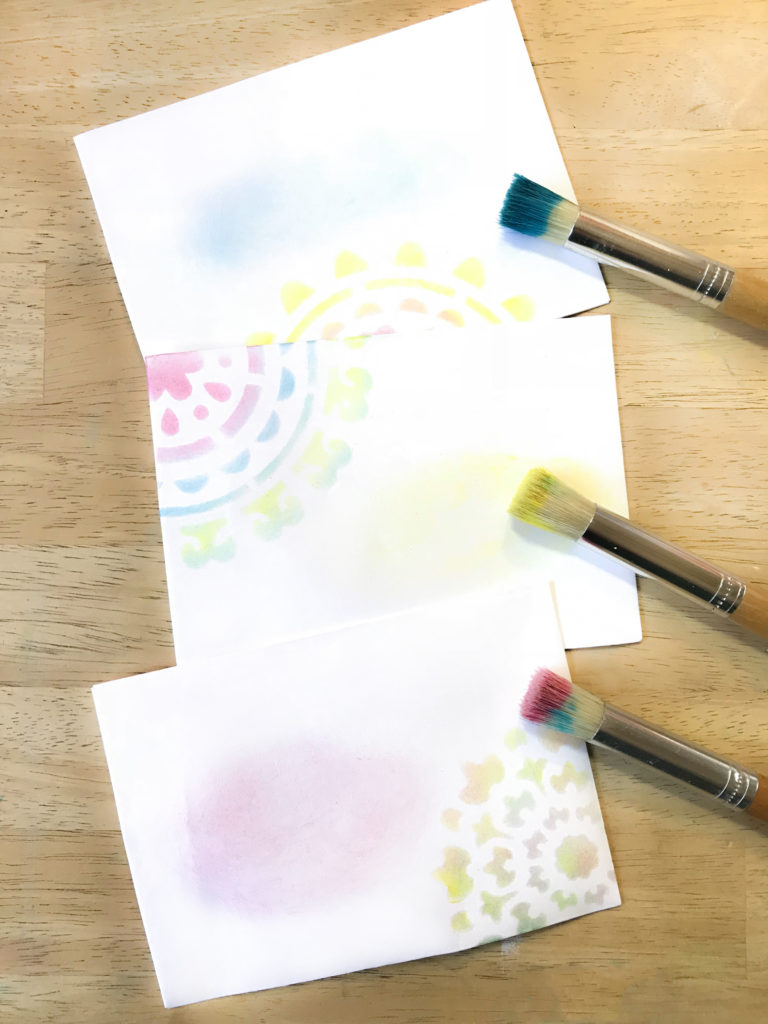
Step 4: With gentle pressure at first, swirl the paint over the openings in the stencil randomly. We are not going for full coverage, but a light pastel look and feel. Continue to make little circles until you have as much yellow as you like. Load a second brush with the pink color and repeat loading, offloading, and stenciling as above. Just swirl in the color in a few places this time. Repeat the stenciling process with the blue paint in just a few areas this time. The darker color can overwhelm the design if you do too many areas.
Step 5: Carefully lift one edge of the stencil to check your design leaving one edge taped so you can reattach it if necessary. When you are happy with your design, you can move on to the cards.
Stenciling the Cards
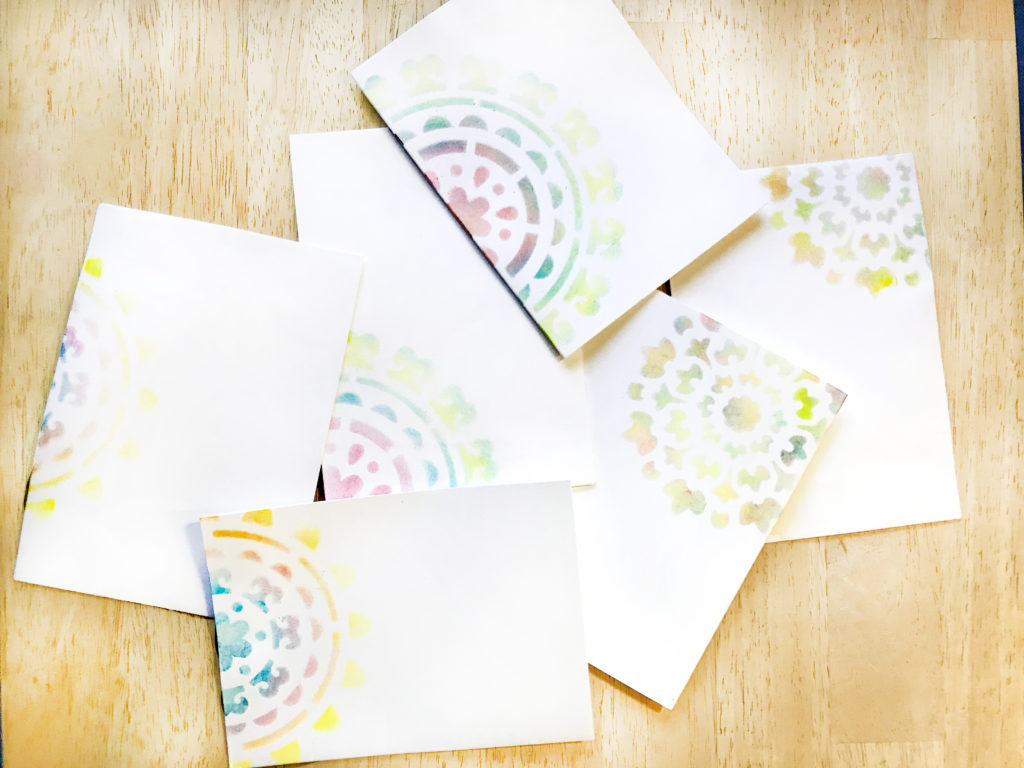
Step 6: Find the best place for the design on the card. Attach the stencil with blue tape and repeat Steps 2 through 5 above for each card and each envelope.
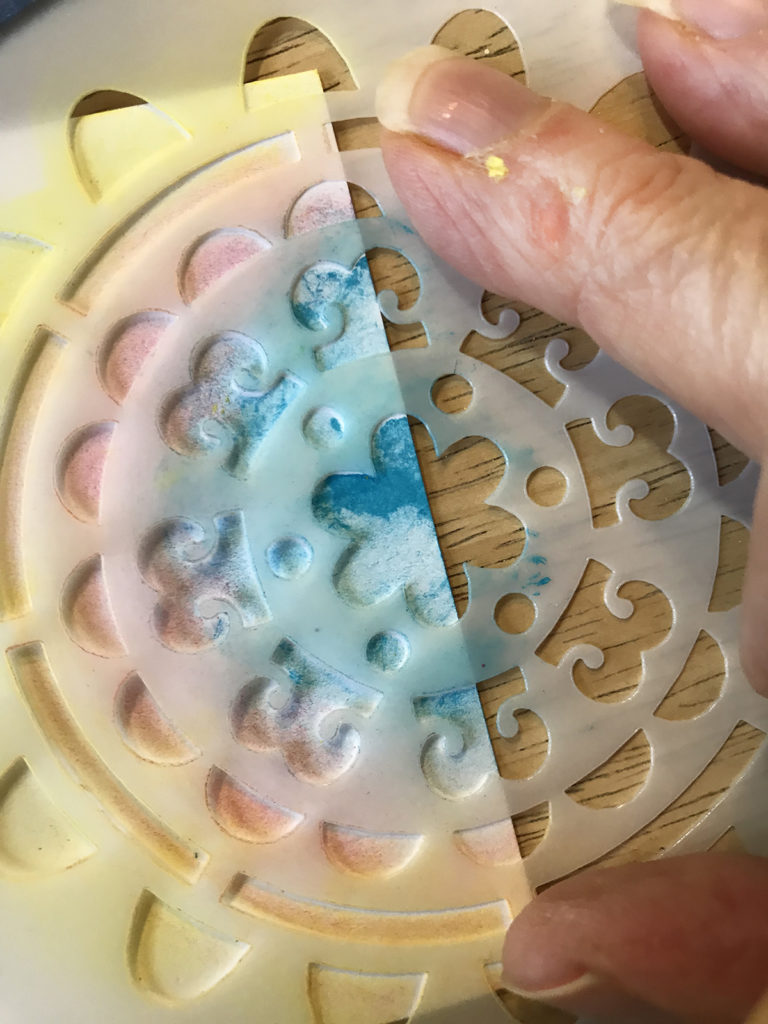
Step 7: OOPS! If you use too much paint, you can correct it as long as it sis not run under the stencil. That ruins the effect but you can use it in future art, so don’t throw it away. I had not offloaded my blue paint well in this image:
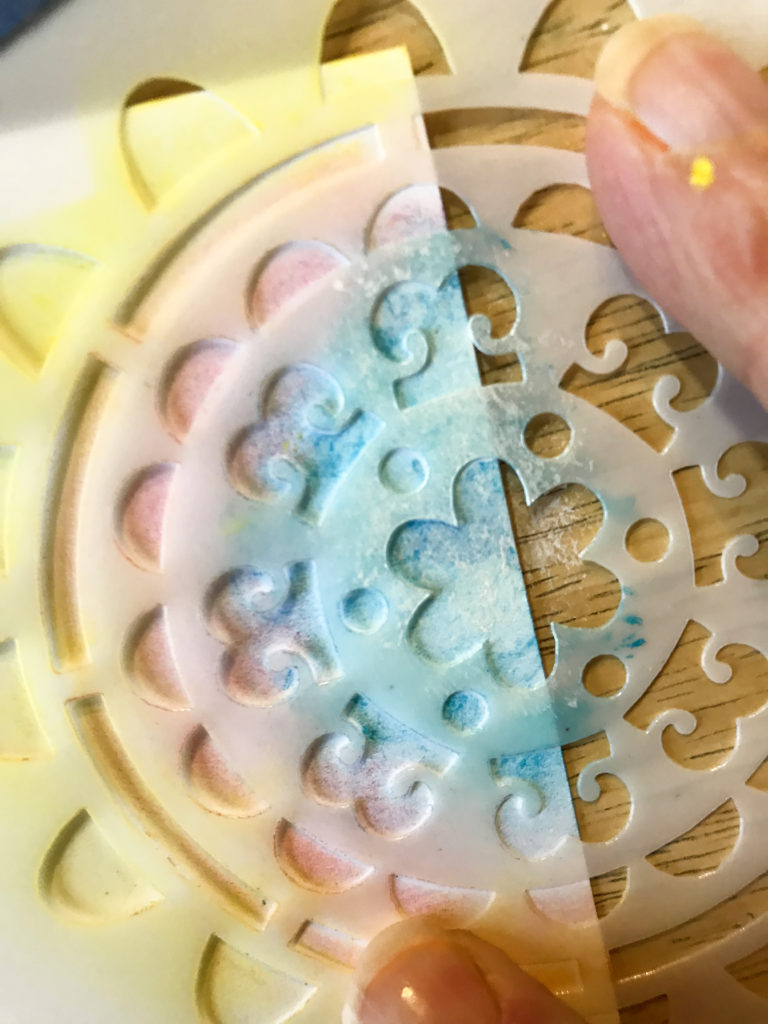
To fix it, I loaded another stencil brush with white paint. I offloaded it as usual and pounced some of the paint over the area to soften it. Since the background of the card is white, this works. If the card had a different color background, I might need to select another color.
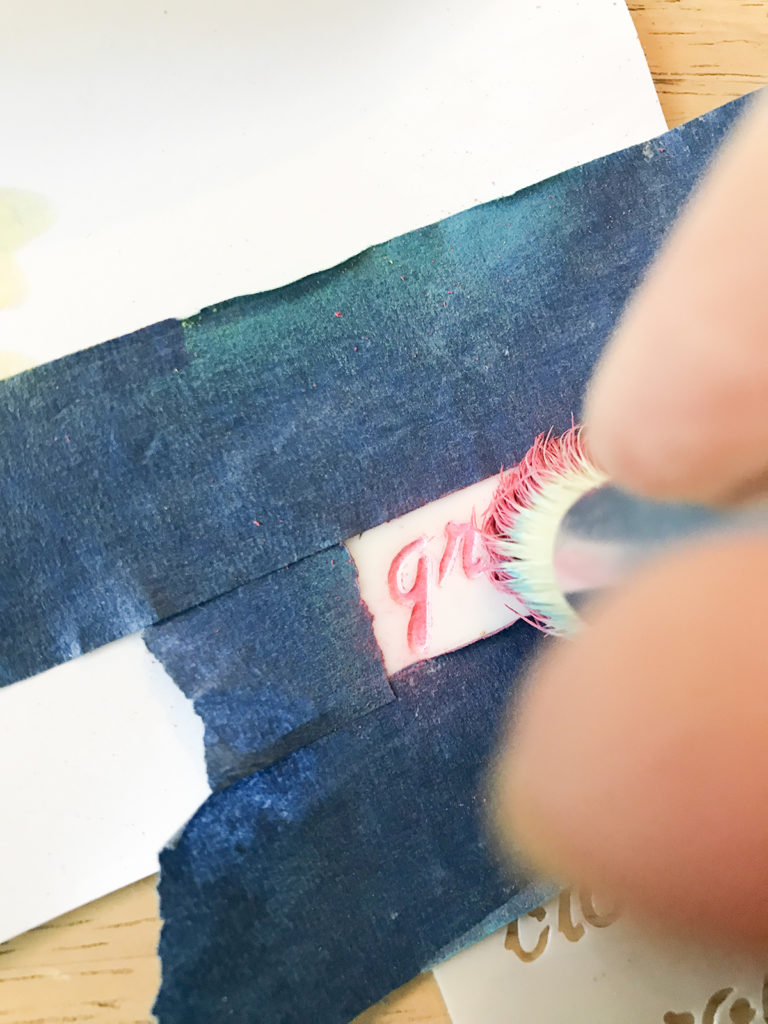
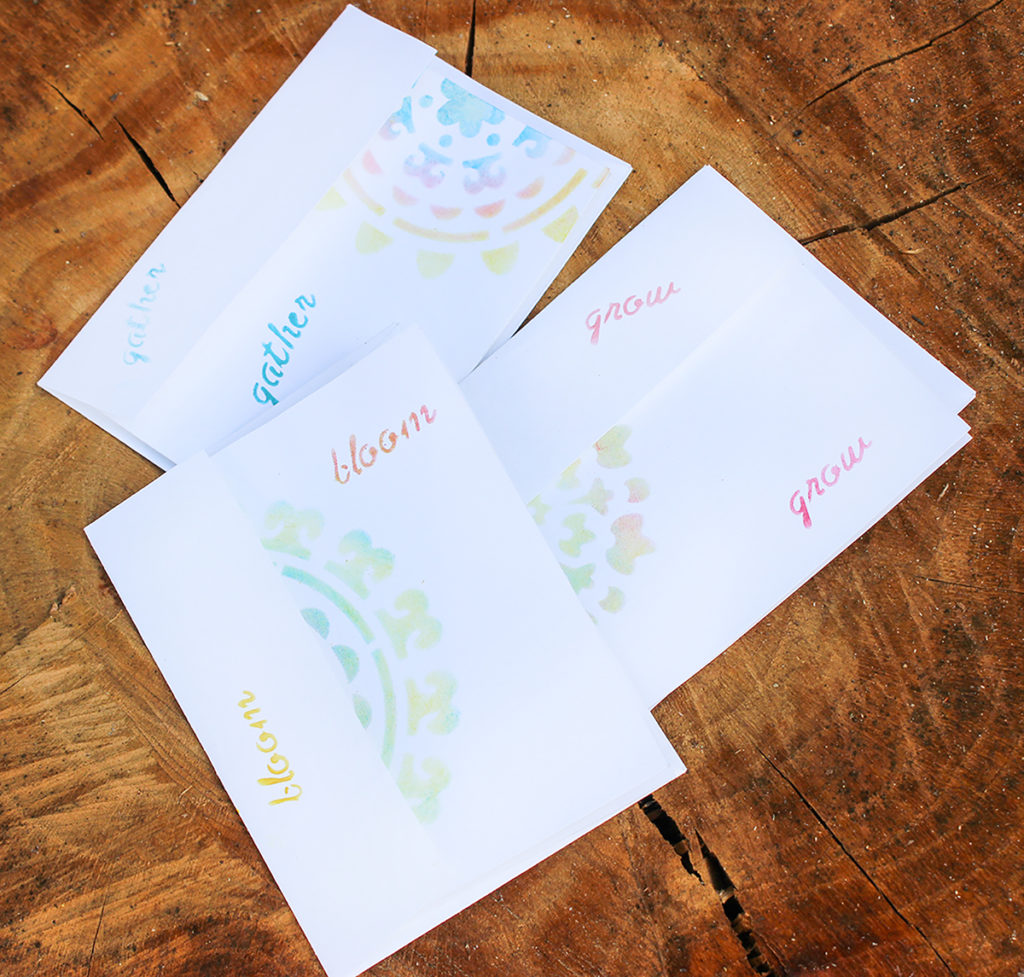
Step 8: Next, I stenciled a word on each card and envelope and even on the back flap. The same swirling technique and loading of the brush is used for the words except I used only one color.
Step 9: To finish I rubbed a little area of color on the envelope with my stencil brush where the address will go. It adds dimension and helps remove the paint from the brushes too. Less cleanup YAY!
This multi-color faded stenciling technique is one of my favorites. I really hope you will enjoy making the Quick Stenciled Greeting Cards! I use it in my artwork frequently. It is great for backgrounds, for softening areas of your design, and so much more. Please play with it and have fun finding new places to use it.
May Joy be with You All!





LisaJane Peachey says
So pretty. Thank you.
Rebecca Parsons says
Thank you LisaJane. I can’t wait to see what you create with the technique!
Pssequimages says
What a great technique. Thank you for showing us how to use acrylic paints to dry stencil.
graphicsfairy says
My pleasure 🙂
Rebecca Parsons says
I am tickled that you like the faded technique Pssequimages! I would love to see what you do with it!!