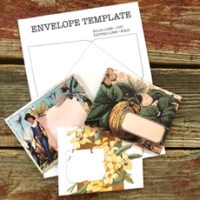
Hi Guys! I’ve got something special for you all today! Amy Anderson, designer, author and blogger, from Mod Podge Rocks blog is here today to kick off our new Designer Series! Amy is sharing a fun way to use one of the fabulous products from her new line of stencils and showing us how they can be used with one of my graphics! I’m so thrilled to have her as our first designer in this series and I know you guys will love this project!!!
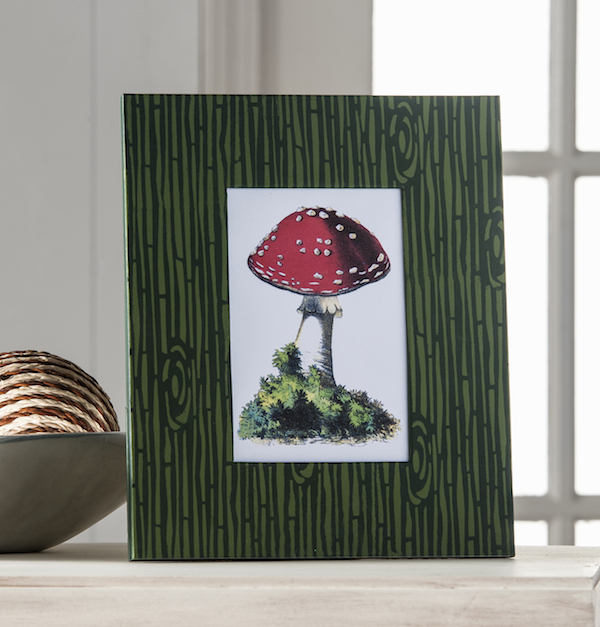 Hello to all of Karen’s fans! This is Amy from Mod Podge Rocks (also DIY Candy and Washi Tape Crafts – I’m kinda busy). I have known Karen for a long time – even met her in person – and she is truly one of the nicest people in blogland. I’m a huge fan! Our sites actually go together quite nicely . . . and by that, I mean Mod Podge and Karen’s graphics are the perfect pairing. I love vintage graphics and illustrations, especially things that are woodland related: gnomes, trees, etc. I spotted this darling red and white mushroom and knew that I needed to use it. So I paired it with my new Mod Podge Rocks stencils – the woodgrain one specifically – and made this fun woodland art. I’m in love! Here’s how I did it.
Gather These Supplies
- Ready to make frame – paper or wood
- Acrylic paint – chose two contrasting colors; I picked a dark and light green to coordinate with my print
- Mod Podge Rocks Peel n’ Stick Stencil – Woodgrain
- Graphics Fairy image – Vintage red and white mushroom
- Computer and printer – to print your image
- Spouncer
- Paintbrushes – one 3/4″, one detail brush
- Scissors
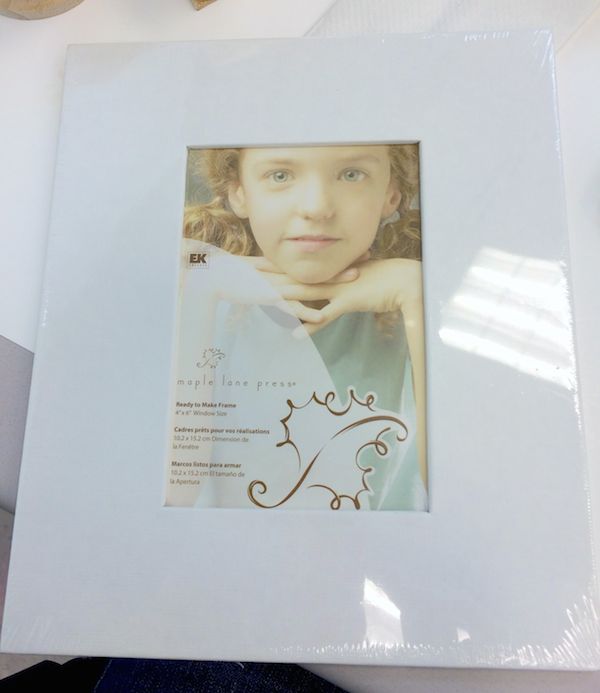 Here’s the frame I used in 5 x 7 – it’s a thick paper, thicker than paper mache. You can also use a wood frame.
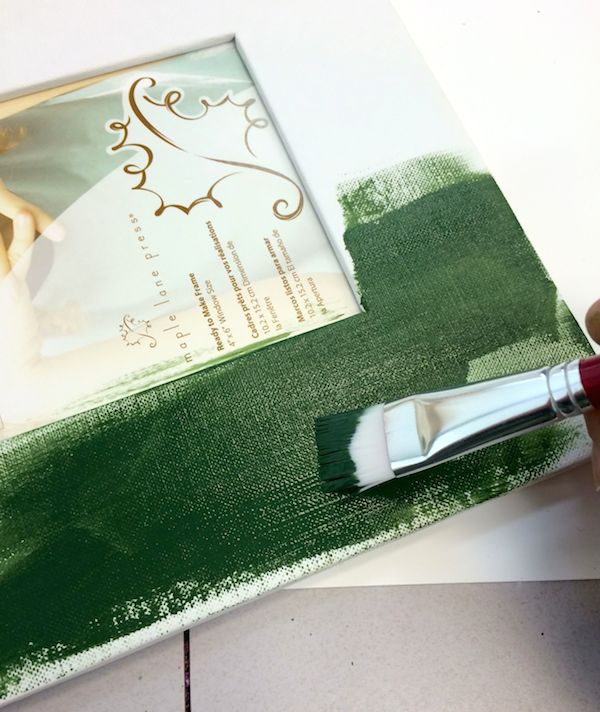 Paint your darker color down as your first layer. Paint both the front and the back with several coats and let dry. Just leave the insert in, as it protects the back of your frame from the paint.
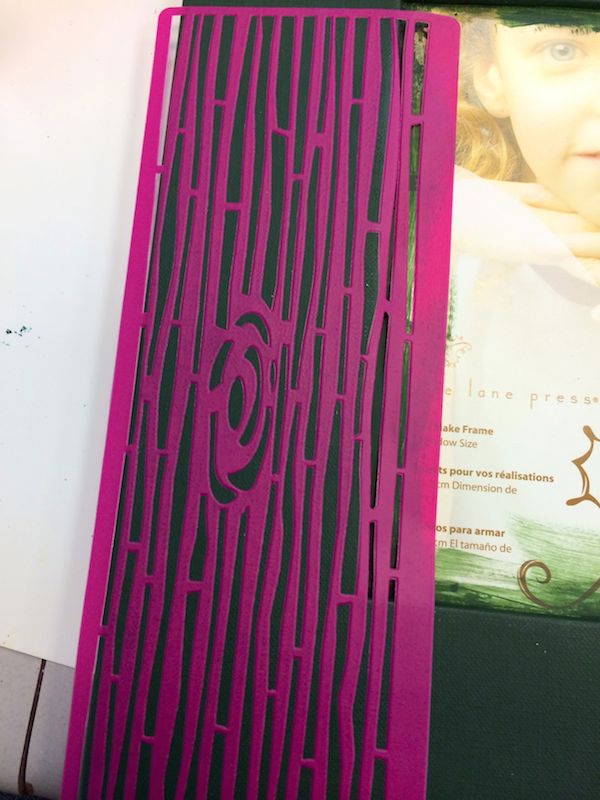 This is where your Mod Podge Rocks stencil comes in! Peel it from the backer sheet and smooth down on the frame, starting on the lower left side. My stencil didn’t fit from top to bottom, so I had to repeat. I’ll say more about that in a minute.
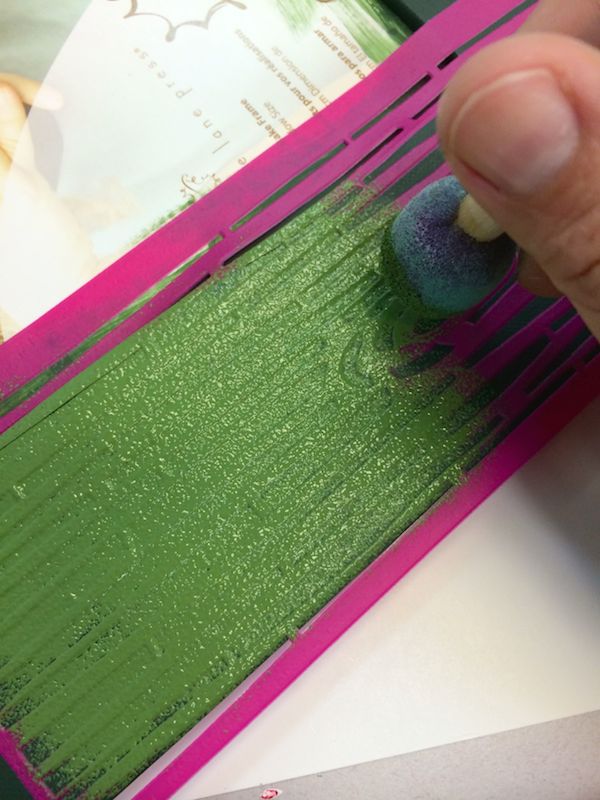 Spounce the lighter color of paint onto the stencil. A few tips: don’t use too much paint, and work in several layers; this is so the paint doesn’t seep under the stencil. Once you have completely covered the area, peel up the stencil immediately and wash it. Then dry it with a few paper towels and return to the backer.
Let the paint and the stencil dry for a few minutes. This project takes some time, but most of it is dry time, so have an episode of your favorite reality show ready on the DVR between stenciling!
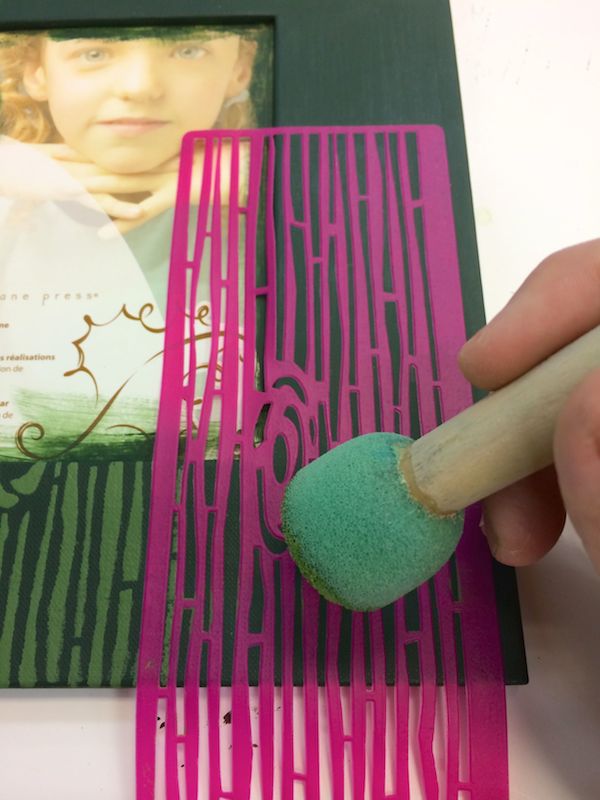 Match up the stencil loosely as I did above. You might have to play with it a little to make sure that your woodgrain is relatively in the same place. What I did is go across the bottom, and then go across the top. Each time I stenciled, I removed the stencil, washed the paint off and let it dry (along with the paint).
After I had the entire thing stenciled, I used the detail brush to fill in areas where the stencils connected and make them look a little bit more natural. The whole process doesn’t take that long, I promise!
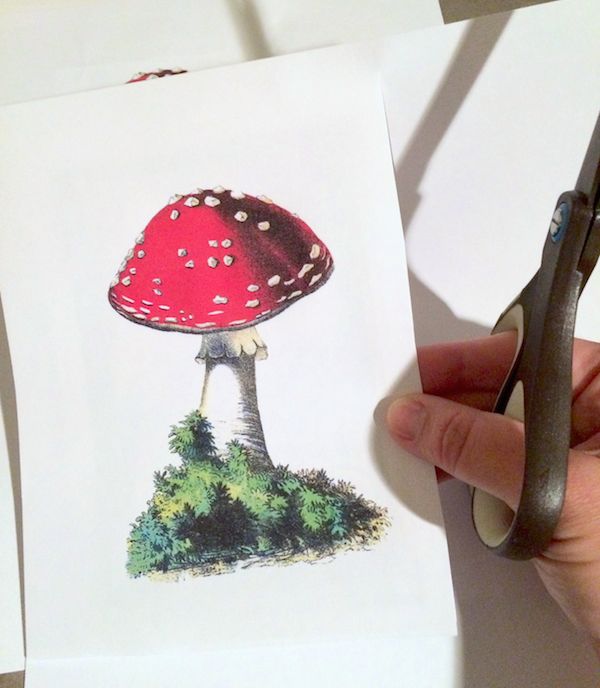 When your frame is ready, print out the mushroom to fit your frame. Trim it down with scissors.
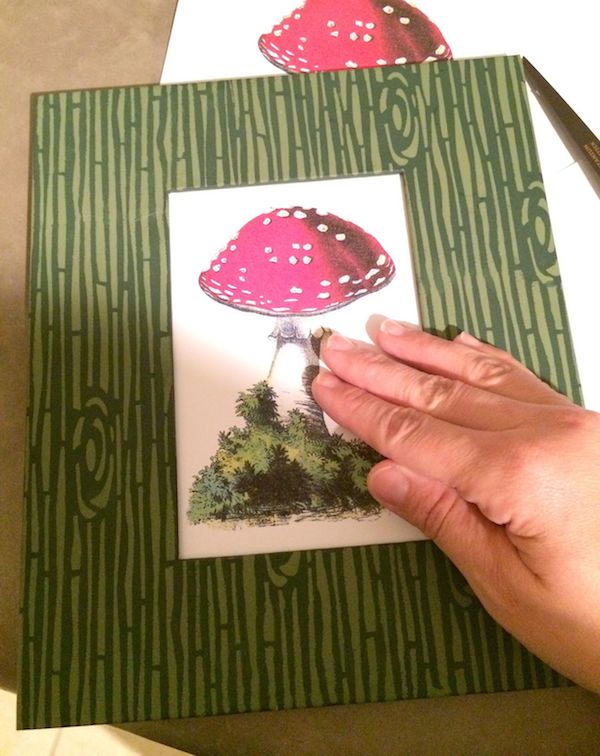 Slide the mushroom graphic into your frame, and adjust as necessary.
 I love my woodland art! I’m giving it a prominent space on my bookshelf. And as you can see, you can use any graphics you like, and just coordinate the paint colors.
What do you think? I’d love to know which Graphics Fairy art you’d like to put in a frame! Thank you to Karen and her fantastic audience for having me. Feel free to visit me at Mod Podge Rocks, or follow me on Pinterest for more inspiration. See you soon!
Amy
