DIY Christmas Tree Skirt
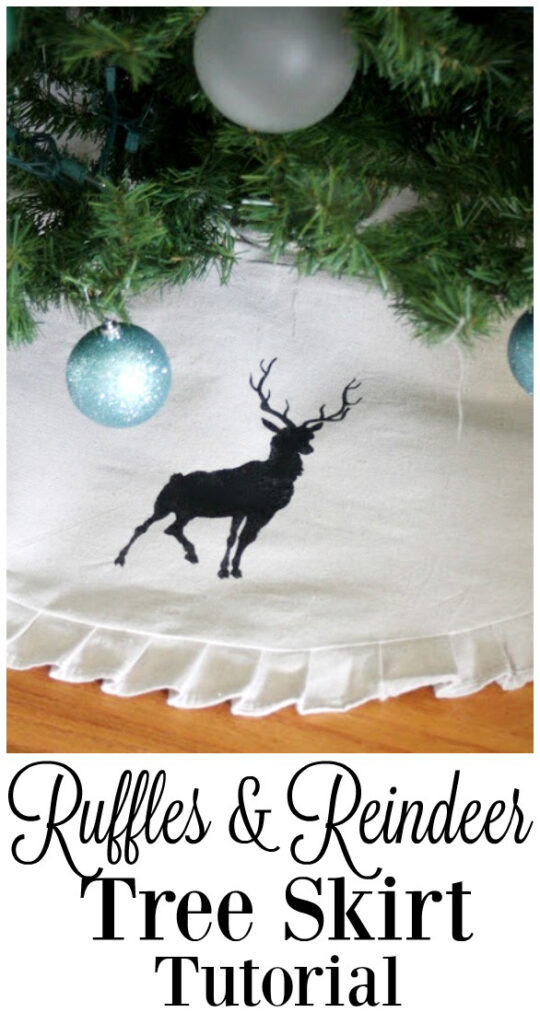
This post will show you how to make a DIY Christmas Tree Skirt with Ruffles! Not all projects are quick and easy ones, but it’s ok because they’re worth the wait. Today’s DIY is a great project. It’s pretty easy, but does take about an hour, so you could easily get it done in plenty of time for Christmas. I think you will love the look of this DIY Ruffle Tree Skirt and hopefully you will get use out of it for many years to come.
Supplies for DIY Ruffled Tree Skirt:
For this project you will need:
- a canvas drop cloth
- scissors
- freezer paper
- fabric paint
- stencil brush
- a paper towel
- sewing machine
- iron
- Silhouette machine
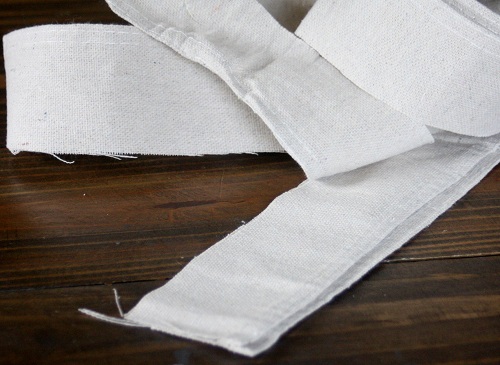
Let’s start with the skirt. First you’ll need to cut 2 1/2 inch strips of your drop cloth, using the hemmed edge as the long side (let those pre-hemmed edges work for you.) I cut about 6 yards worth of strips. Stitch them together on the ends so you have one long strip.
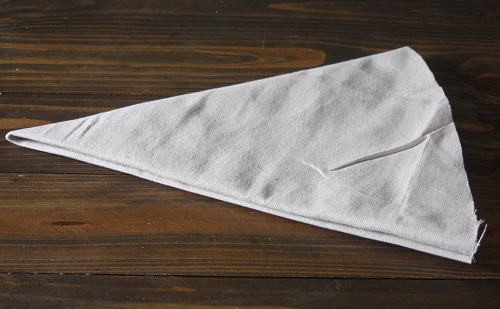
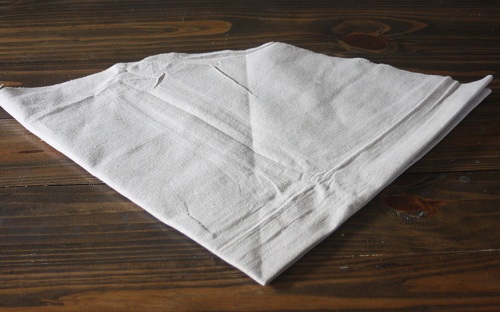
To make the skirt part, take a piece of fabric 36 inches square (or 48 inches, or however large you want it.) Fold it in half, then half again, then in half one more time so you get a 1/8th portion.
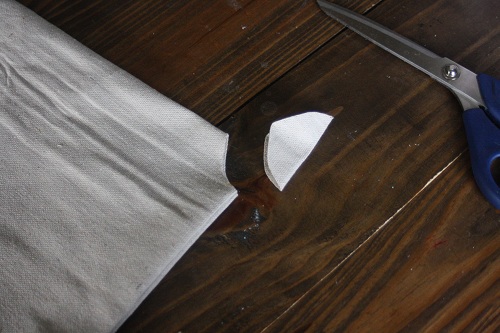
Cut a slight round shape on the large end (kind of like when you make paper snowflakes.) Now you have the round base shape.
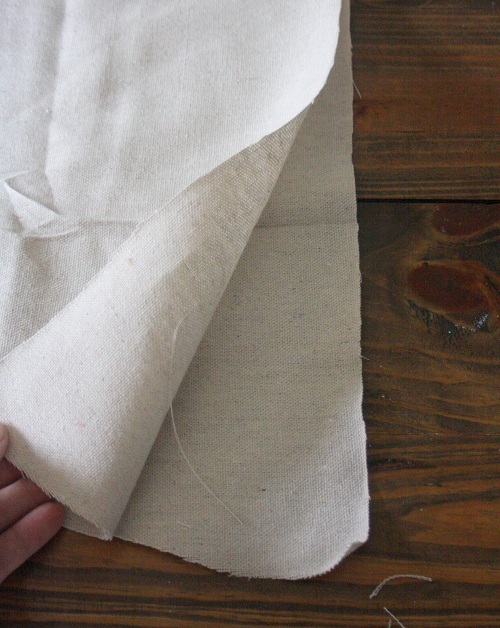
Open up one more fold, so you have a half circle, then cut from the outer edge into the “tree” spot so you can fit it around the tree. Hem a small seam on both sides of the cut to finish it off.
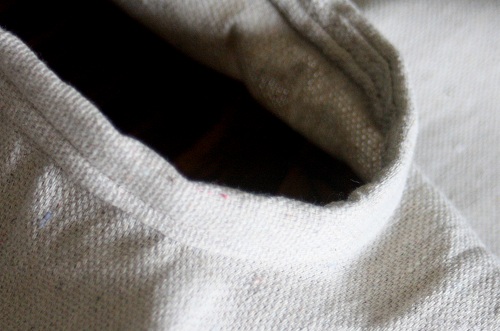
To finish off the part that goes around the trunk of the tree, I made a bit of bias tape to cover it up.
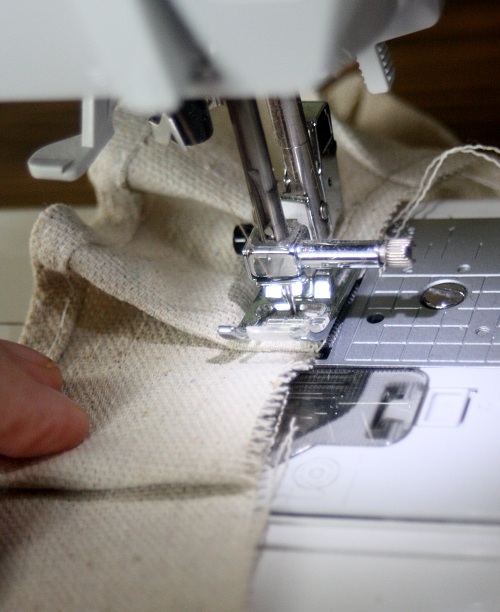
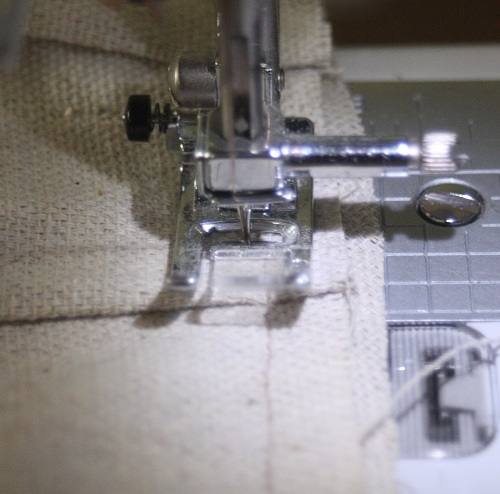
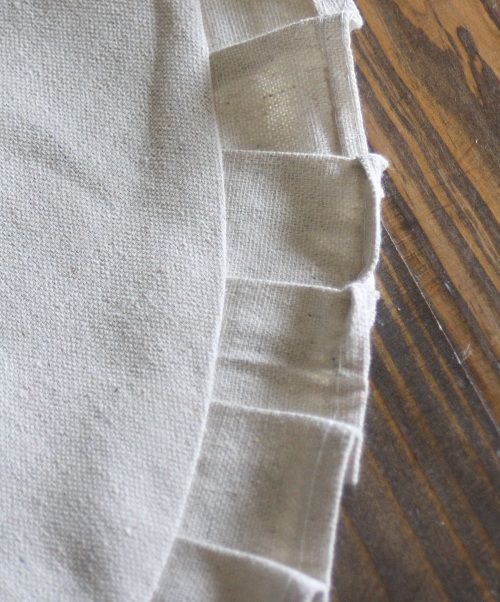
Once your skirt part is done, take your ruffles and put them right sides together, stitching them all the way around the bottom of the skirt.
Turn your ruffles down and iron them flat. Now the skirt is done. Take a bow…. you deserve it 🙂
Instructions for Adding Reindeer Image to DIY Tree Skirt:
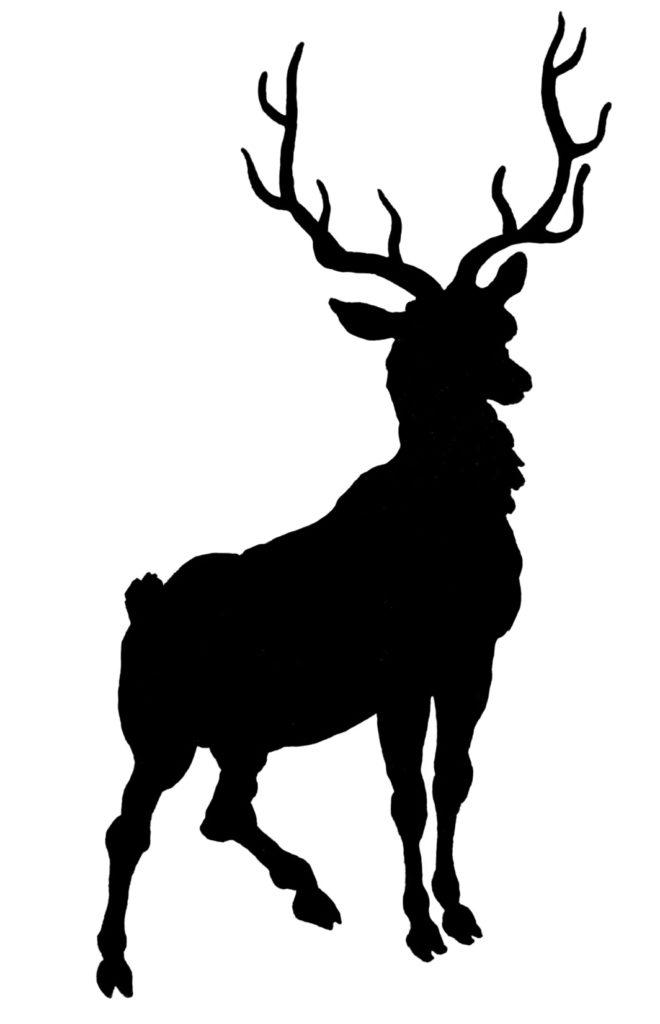
I opened the image up in my Silhouette Cameo. To do this open FILE, then choose IMPORT TO MY LIBRARY. Once the pop up box opens, you want to make sure you go to the folder where your image is – and choose ALL FILES in the FILES OF TYPE field. Click on your image then click OK.
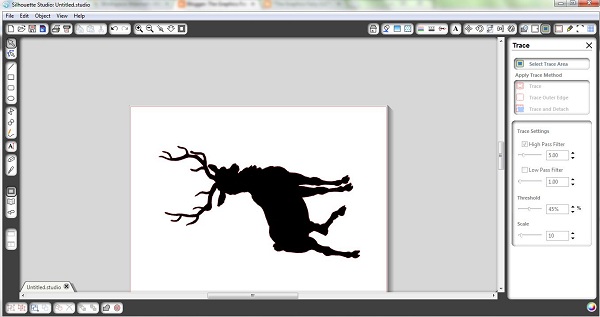
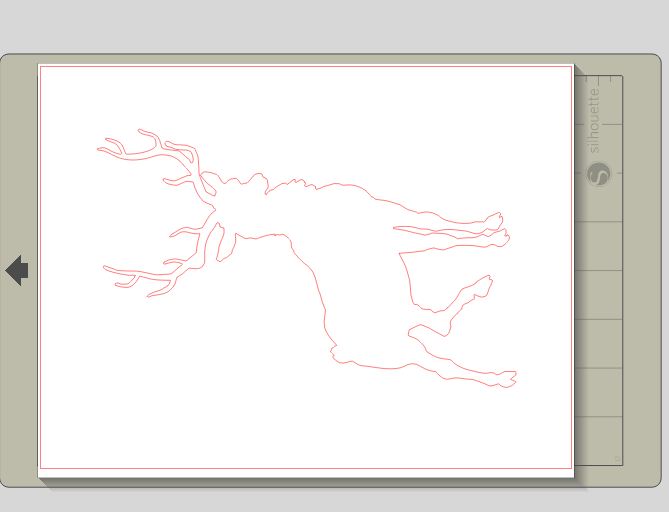
When you have your image in your Silhouette program, open it up, then choose TRACE WINDOW (mine is a blue box with a yellow outline in the upper right corner.) Click TRACE AREA, then run it over the image to select it. Once it’s highlighted, click TRACE OUTER EDGE.
Then you’ll have your silhouette outline. {I deleted the actual image so you could see the outline.}
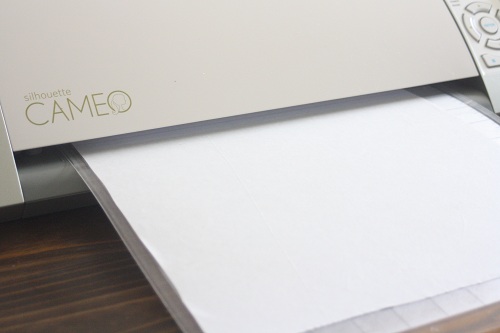
Cut a piece of Freezer Paper, and put it onto your mat SHINY SIDE DOWN. Cut it with the setting on HEAVY CARDSTOCK, so it will cut all the way through the paper.
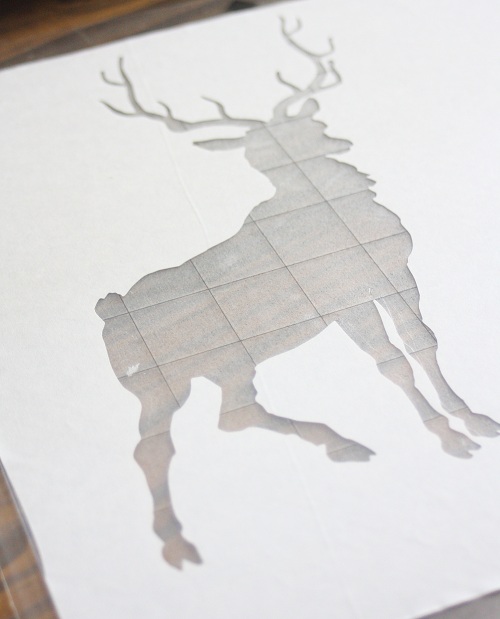
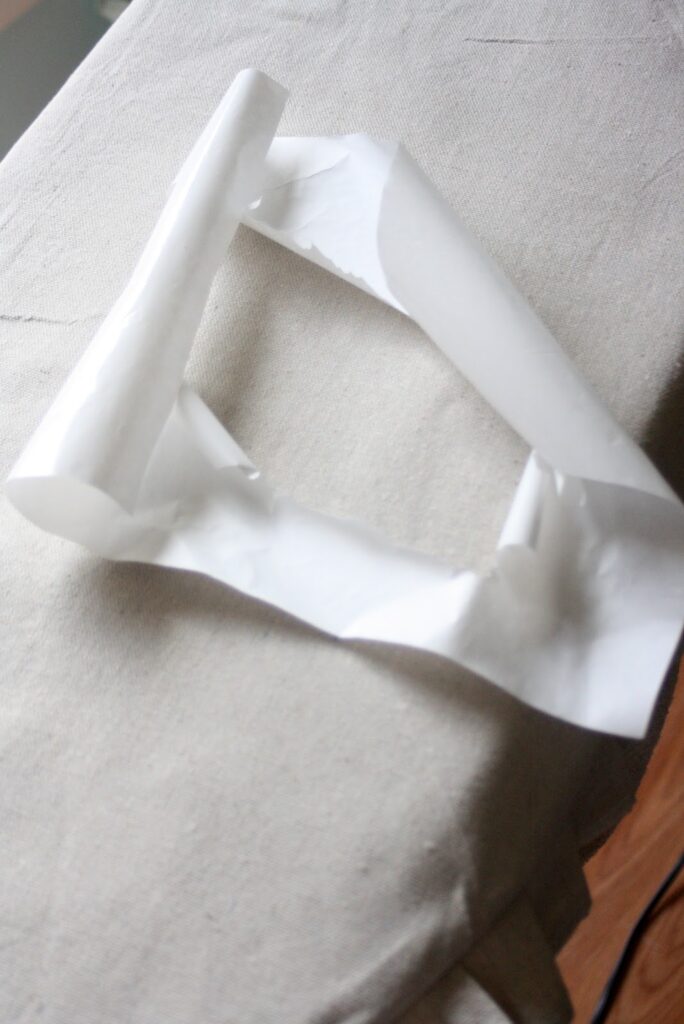
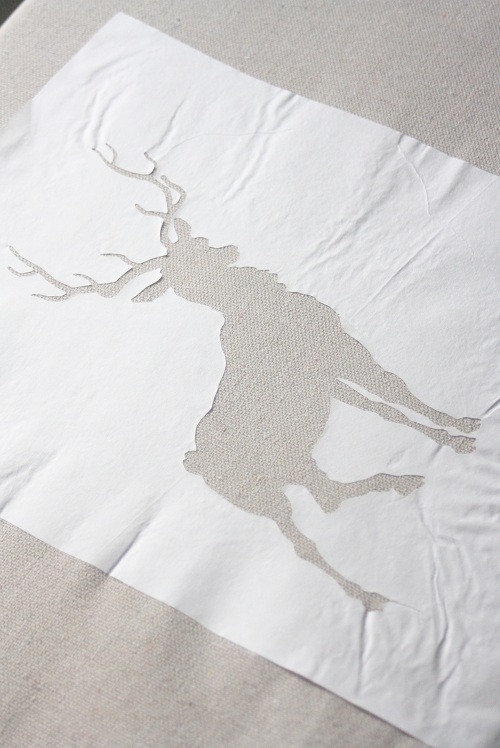
Once cut, pull out the image first, then carefully peel off your stencil. Be patient, it can be a little tricky. Tip: peel towards the center.
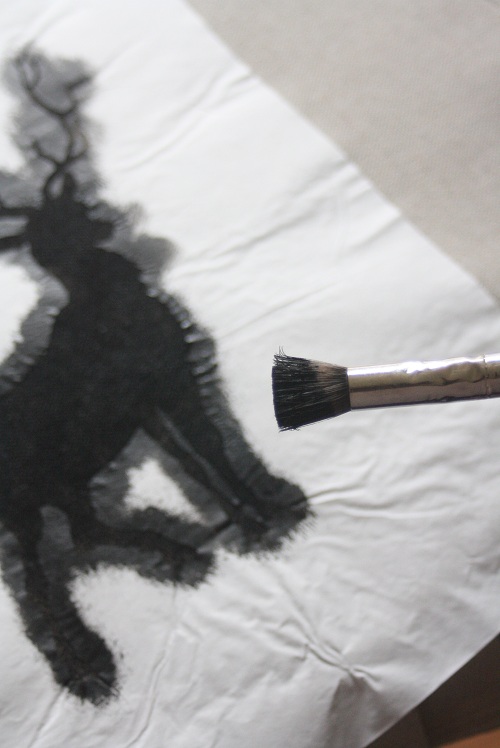
Next, stencil on your image, working with a barely wet brush. Tap, tap, tap, from the outside edges towards the center. The wax paper does not keep the paint from bleeding, so make sure to use the paper towel to dab off some of the fabric paint before going onto your stencil.
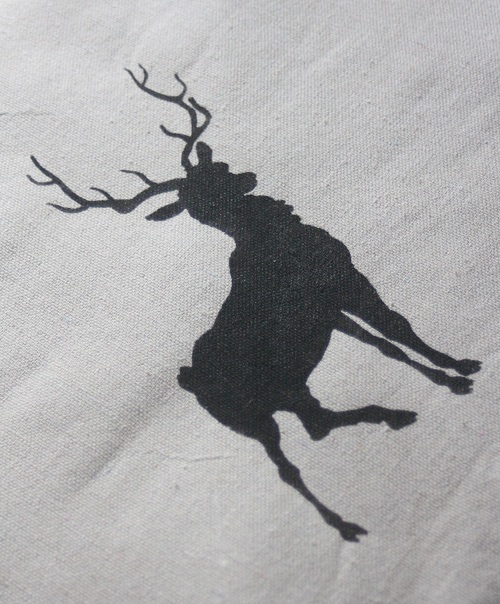
When your arm feels like it’s about to fall off, you’ll be done. Let it dry, then iron the paint to heat set it (according to your instructions on the bottle.)
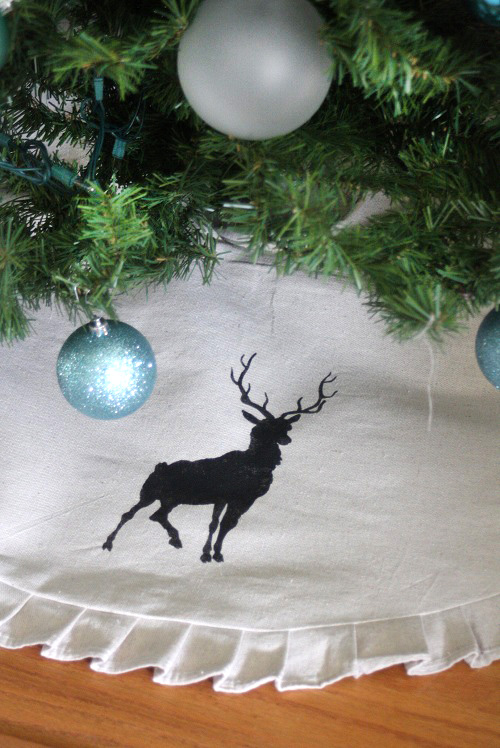
Now stand back and admire your work! You could use any silhouette image for your skirt, but I’m kinda crushin’ on the reindeer.





froebelsternchen Susi says
fantastic!
Karen Watson says
Thanks for all of your kind comments on Gina’s gorgeous project!!
Cristina Garay says
I love it! Great tutorial, thanks!
Ira Morse says
You did a great job to your reindeer here Gina! Love it 🙂
miss flibbertigibbet says
Great job Gina! Love it! Good sewing tutorial too!
Maureen Wyatt says
What a lovely tree skirt! Love that image of the reindeer.