Pop Up Christmas Cards
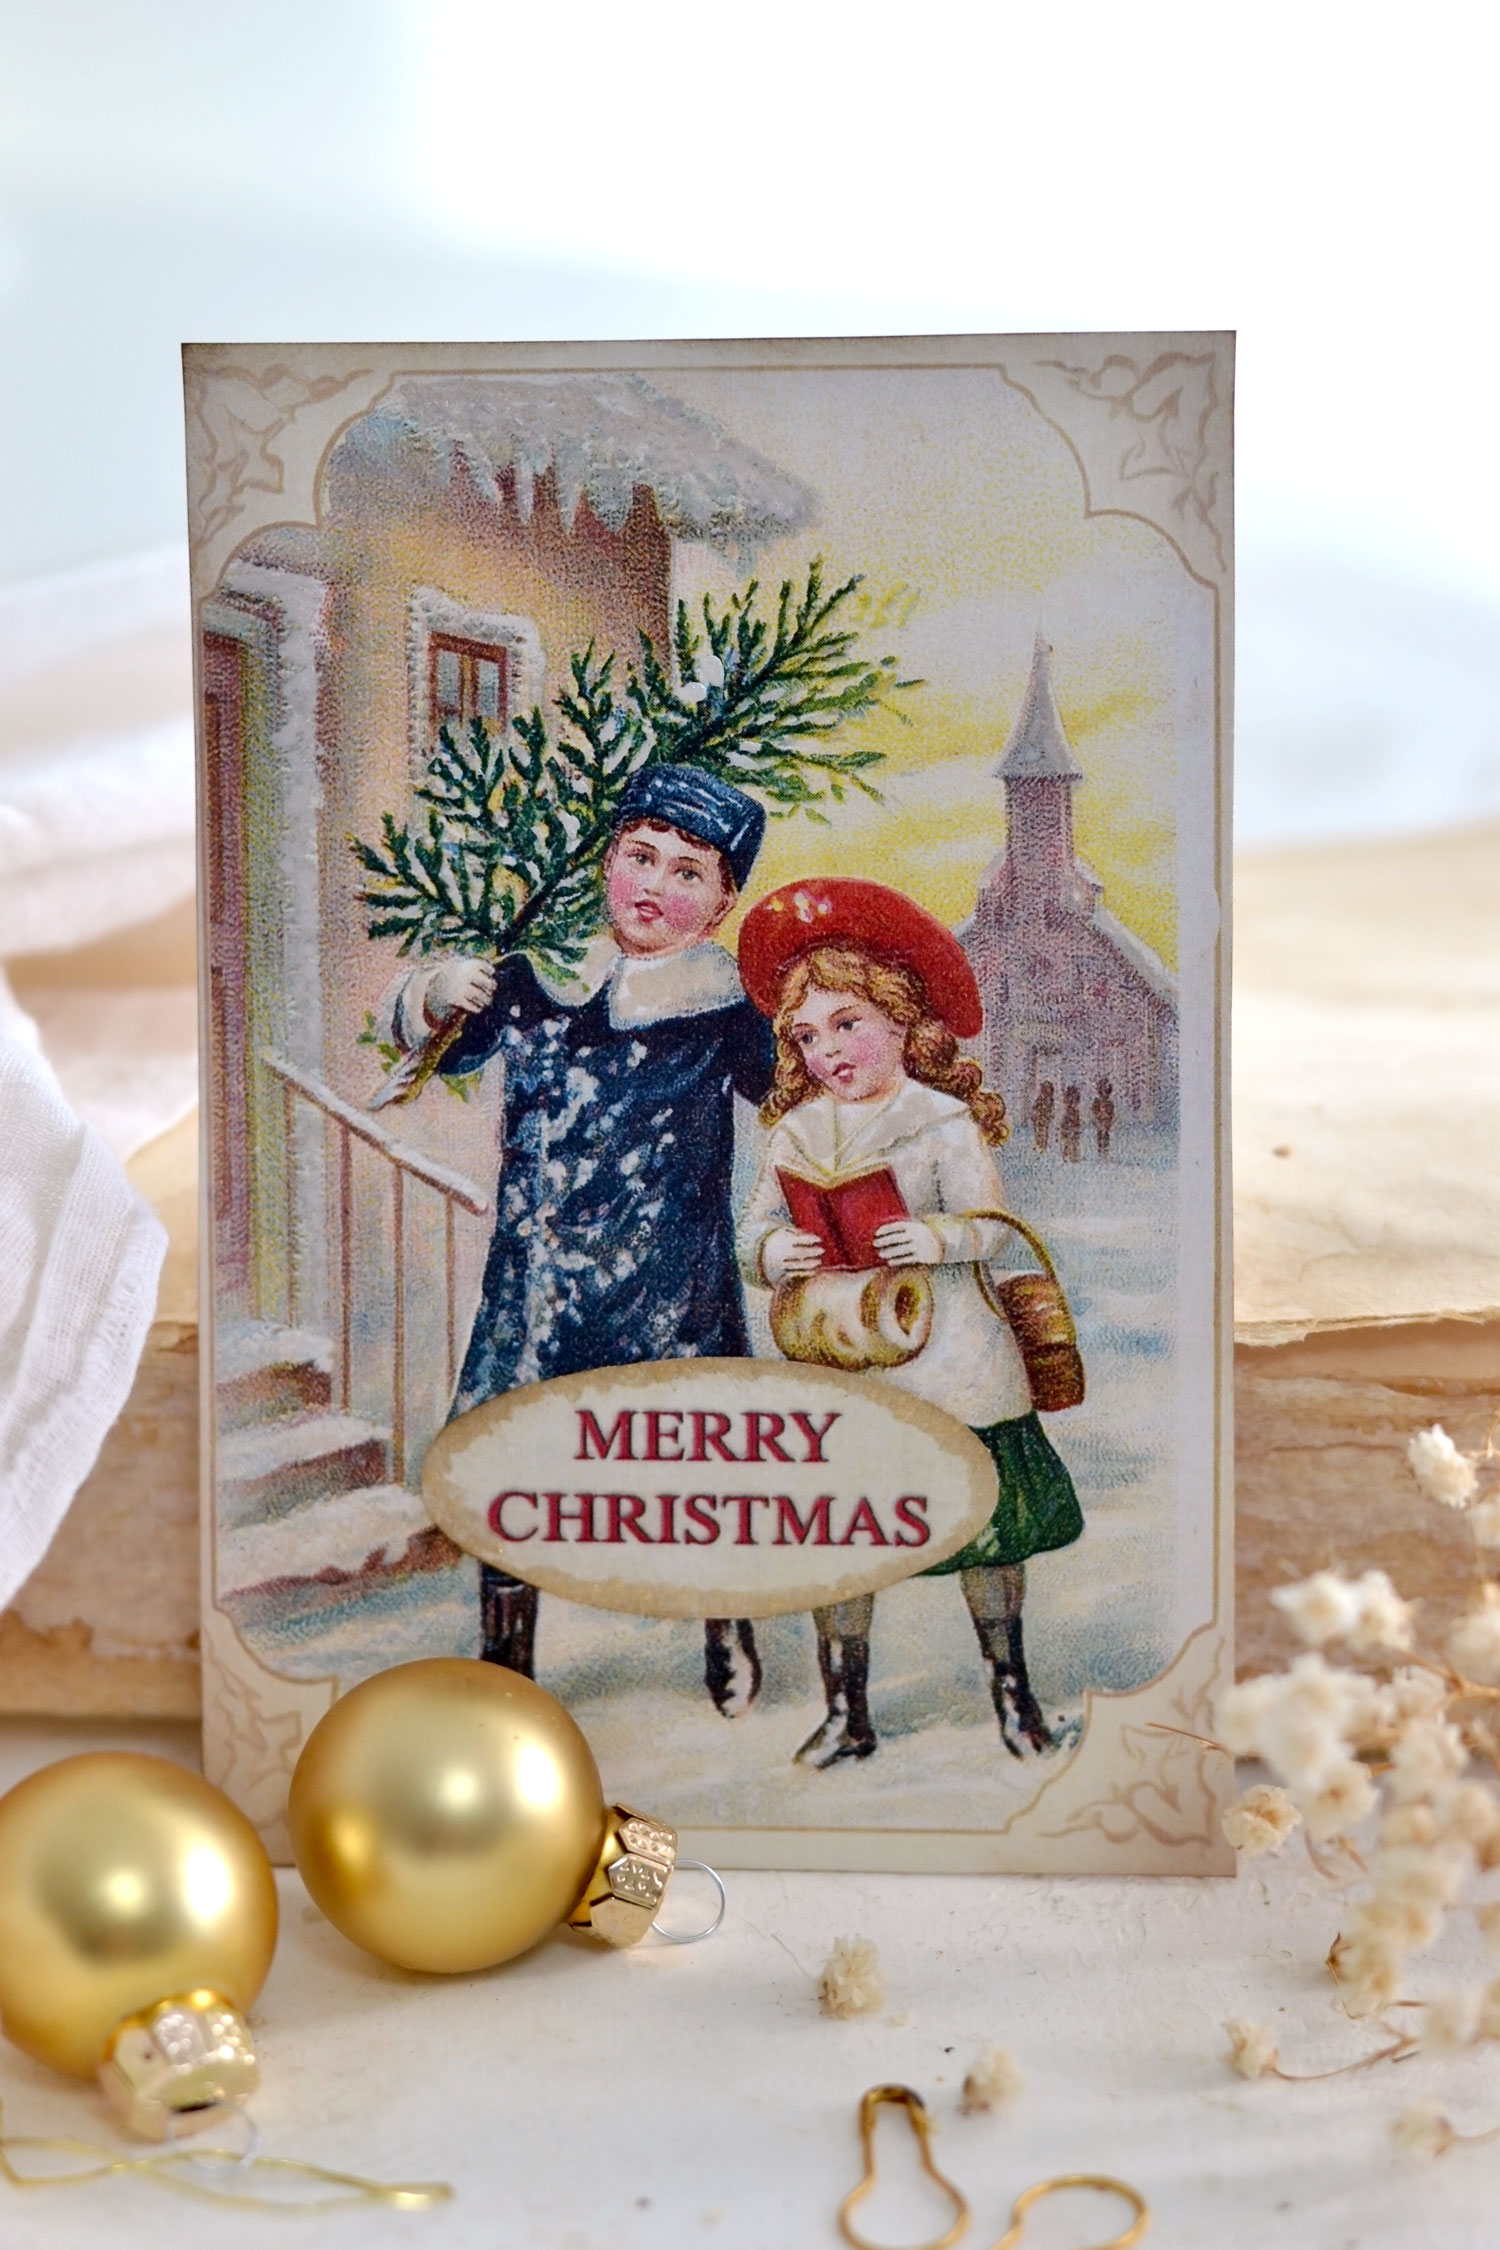
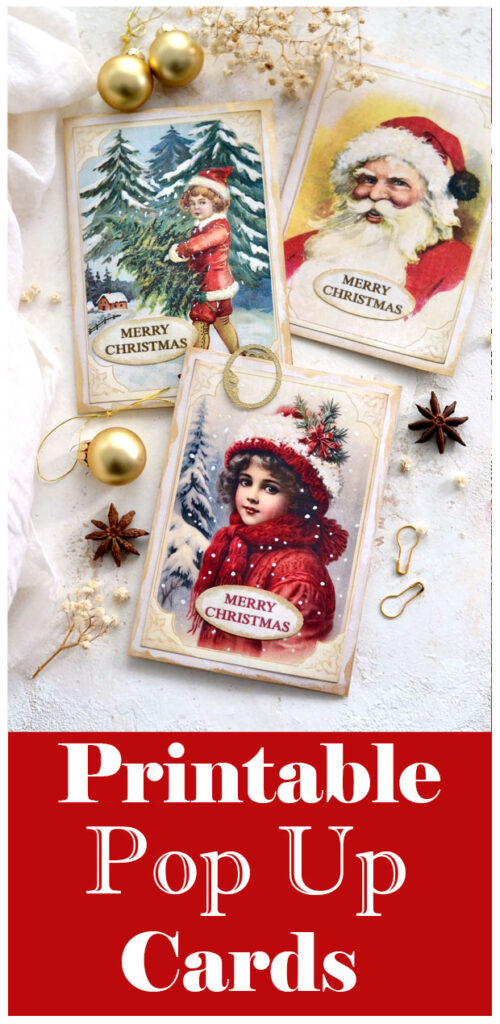
Hello Graphics Fairy friends! I’m Diana from Dreams Factory and I’m happy to be here again to share another DIY Project with you! Today I will show you how to make these beautiful pop up Christmas Cards that will be the perfect accompaniment for all your Christmas gifts this year! I used some adorable vintage children and Santa images to design the top of the cards, all of which will make you think of a dreamy Christmas with lots of snow and magical vibes.
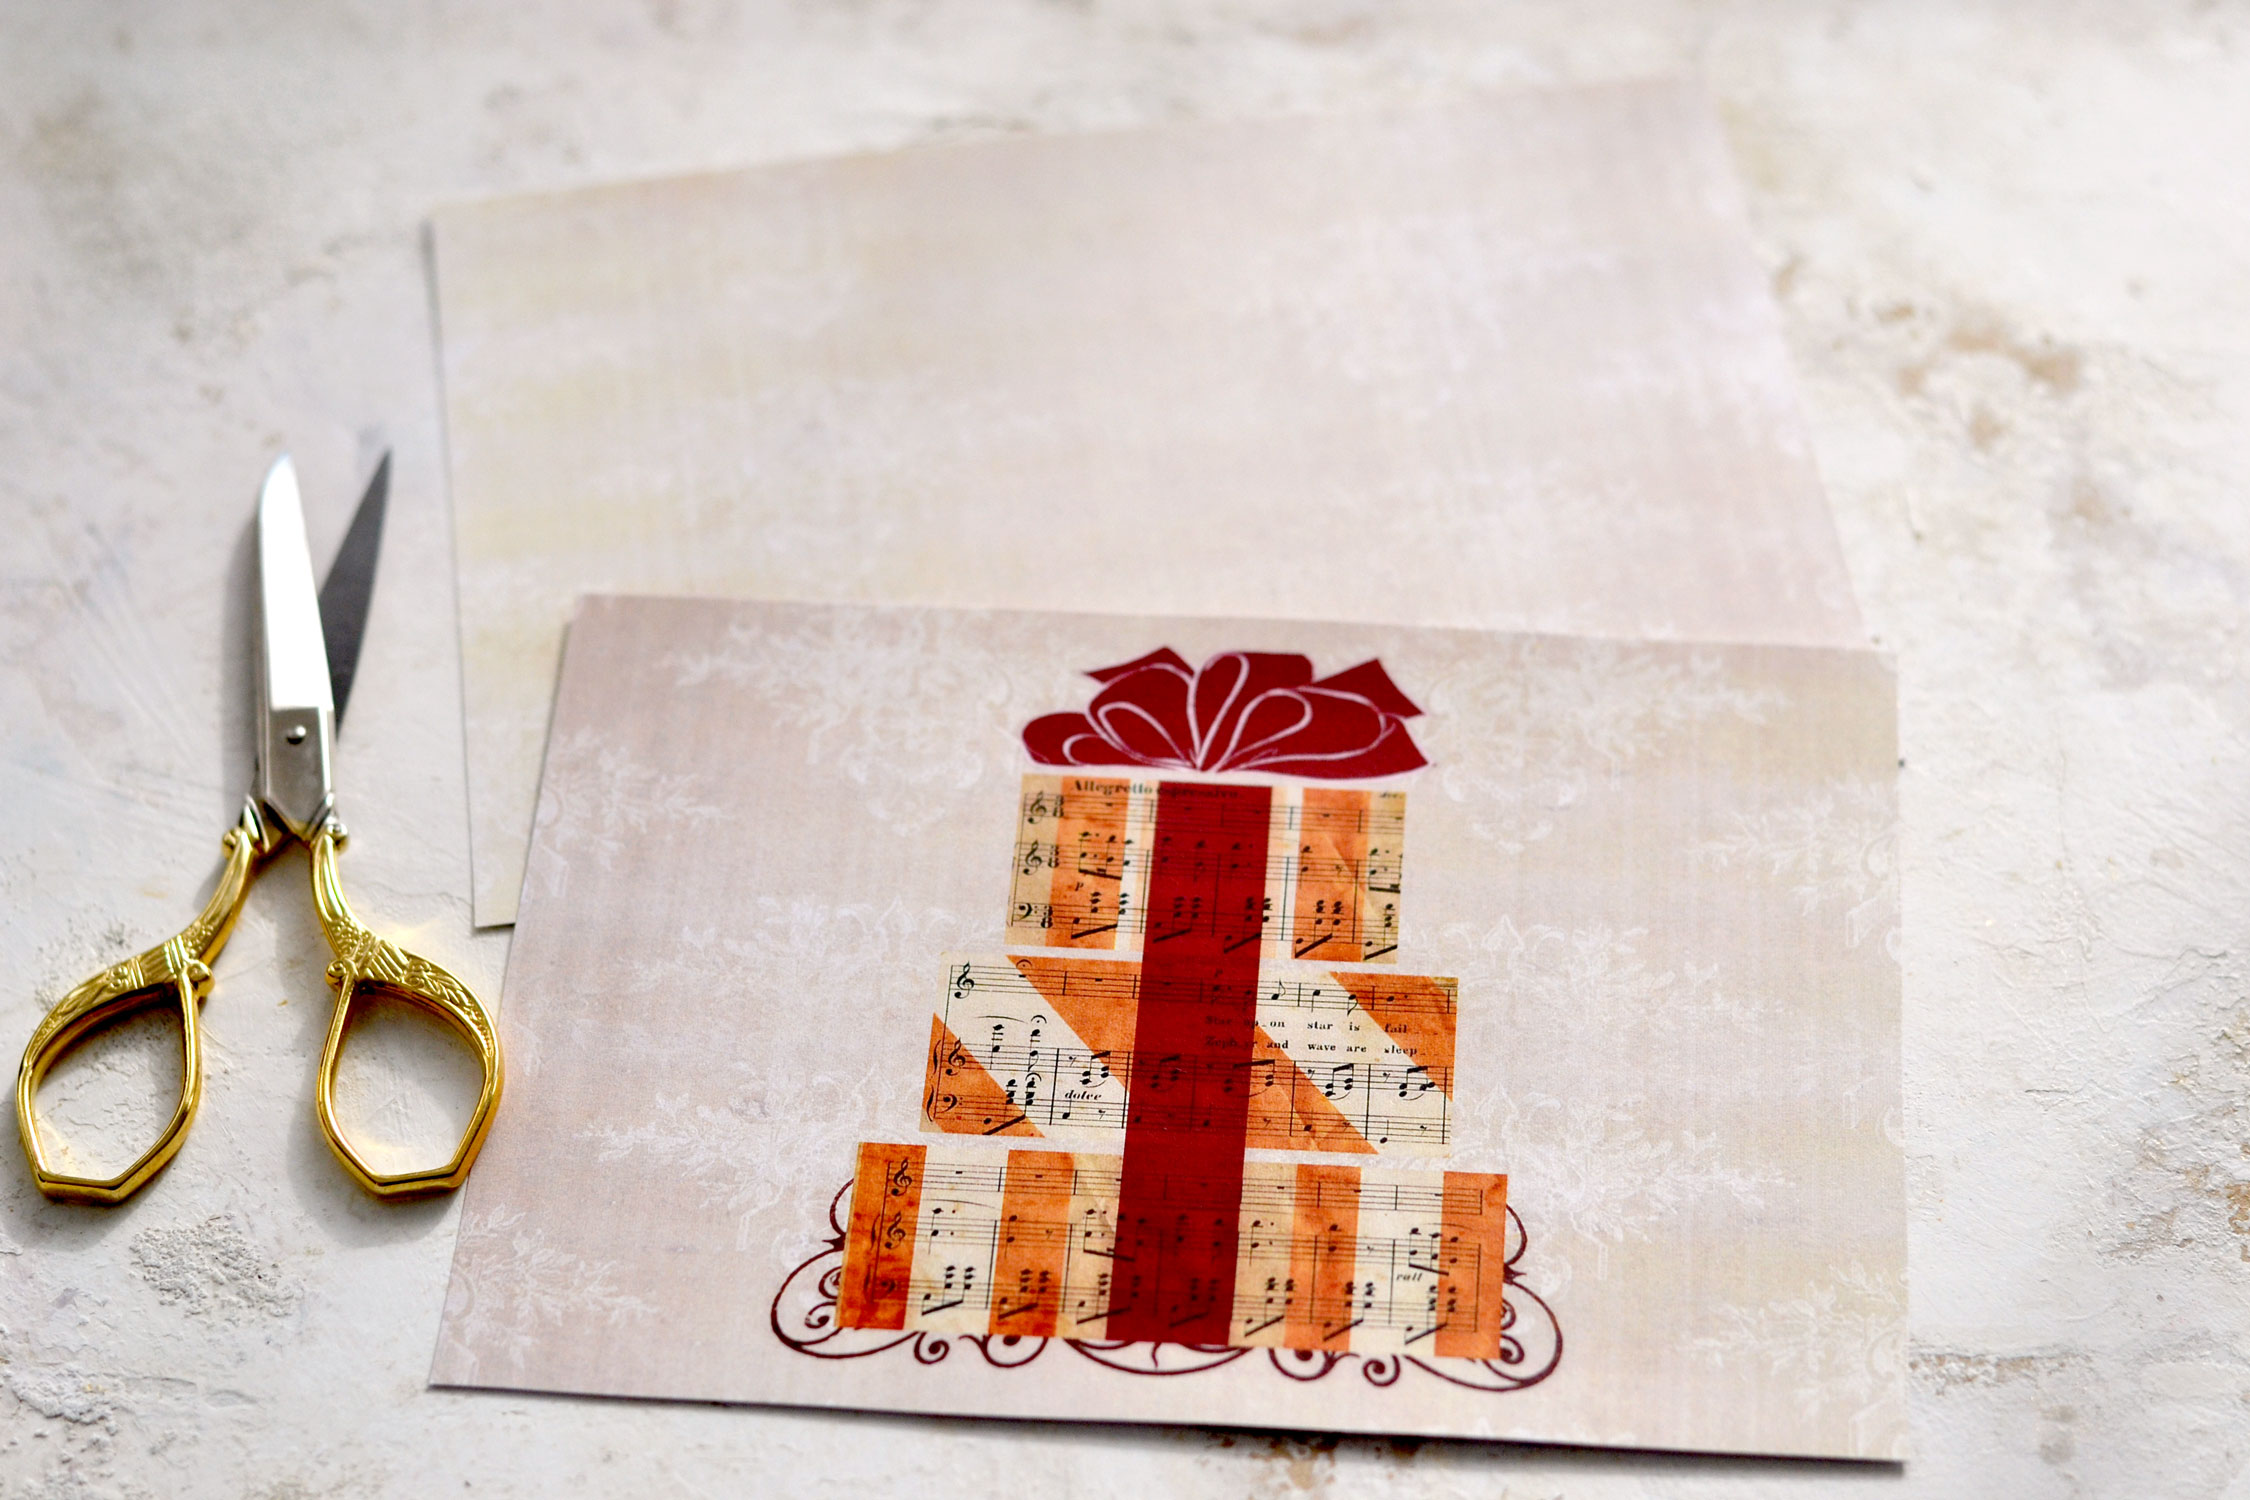
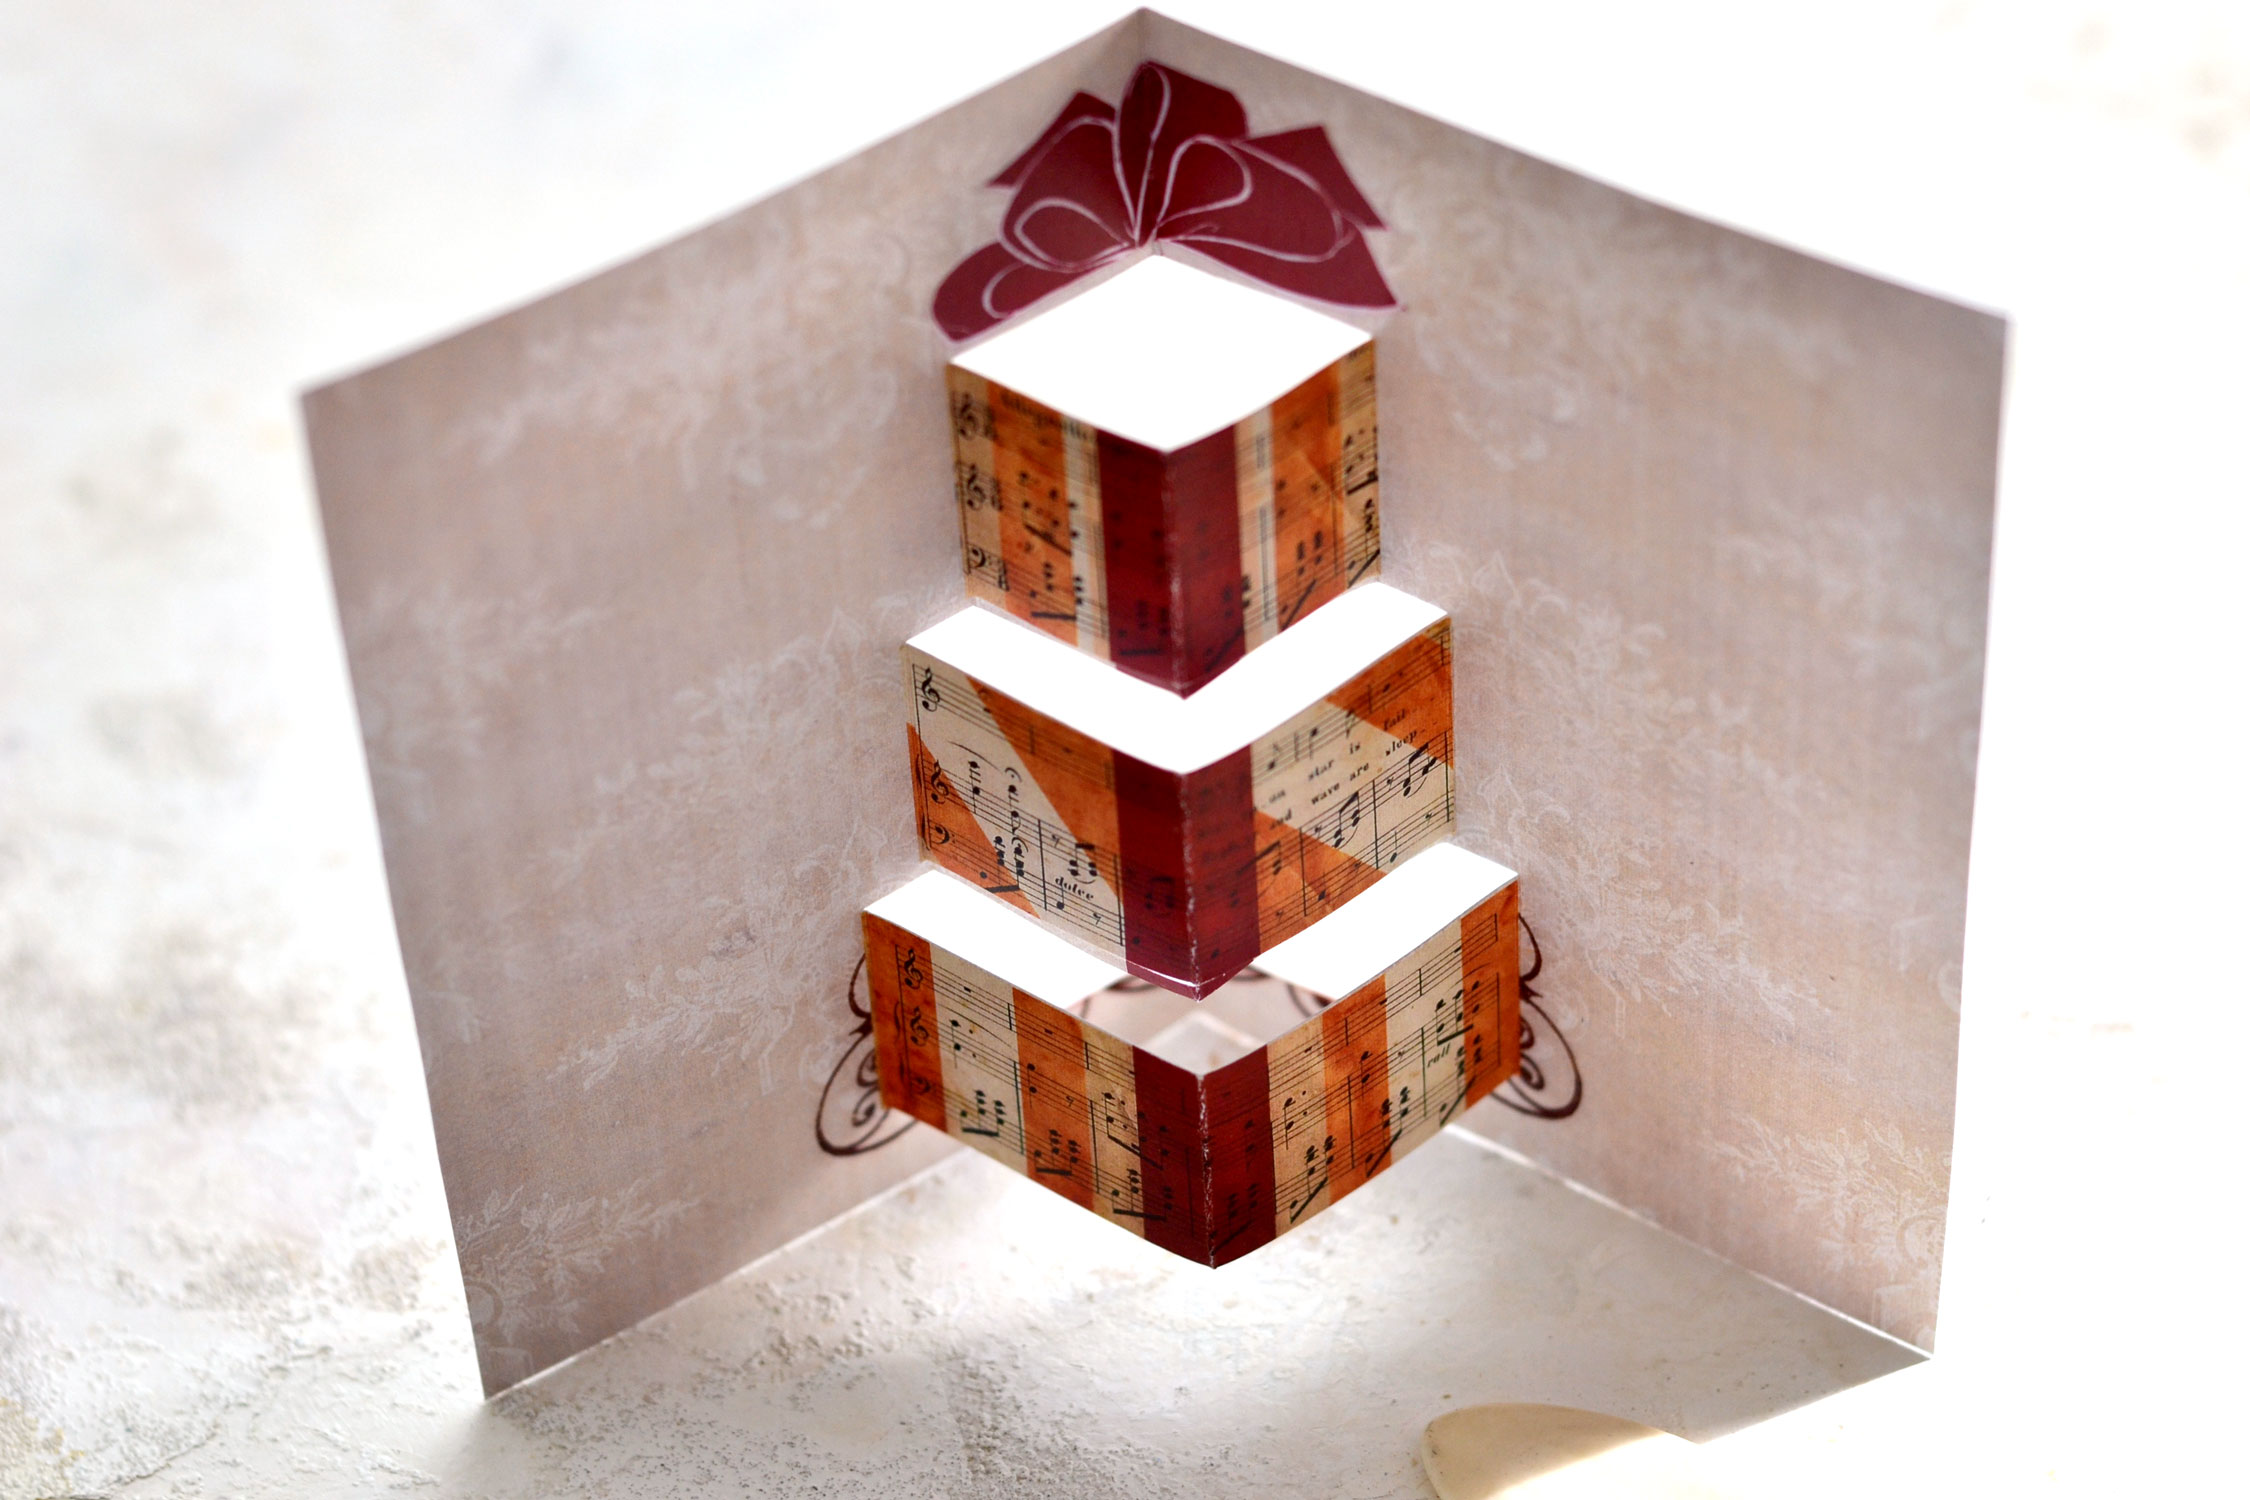
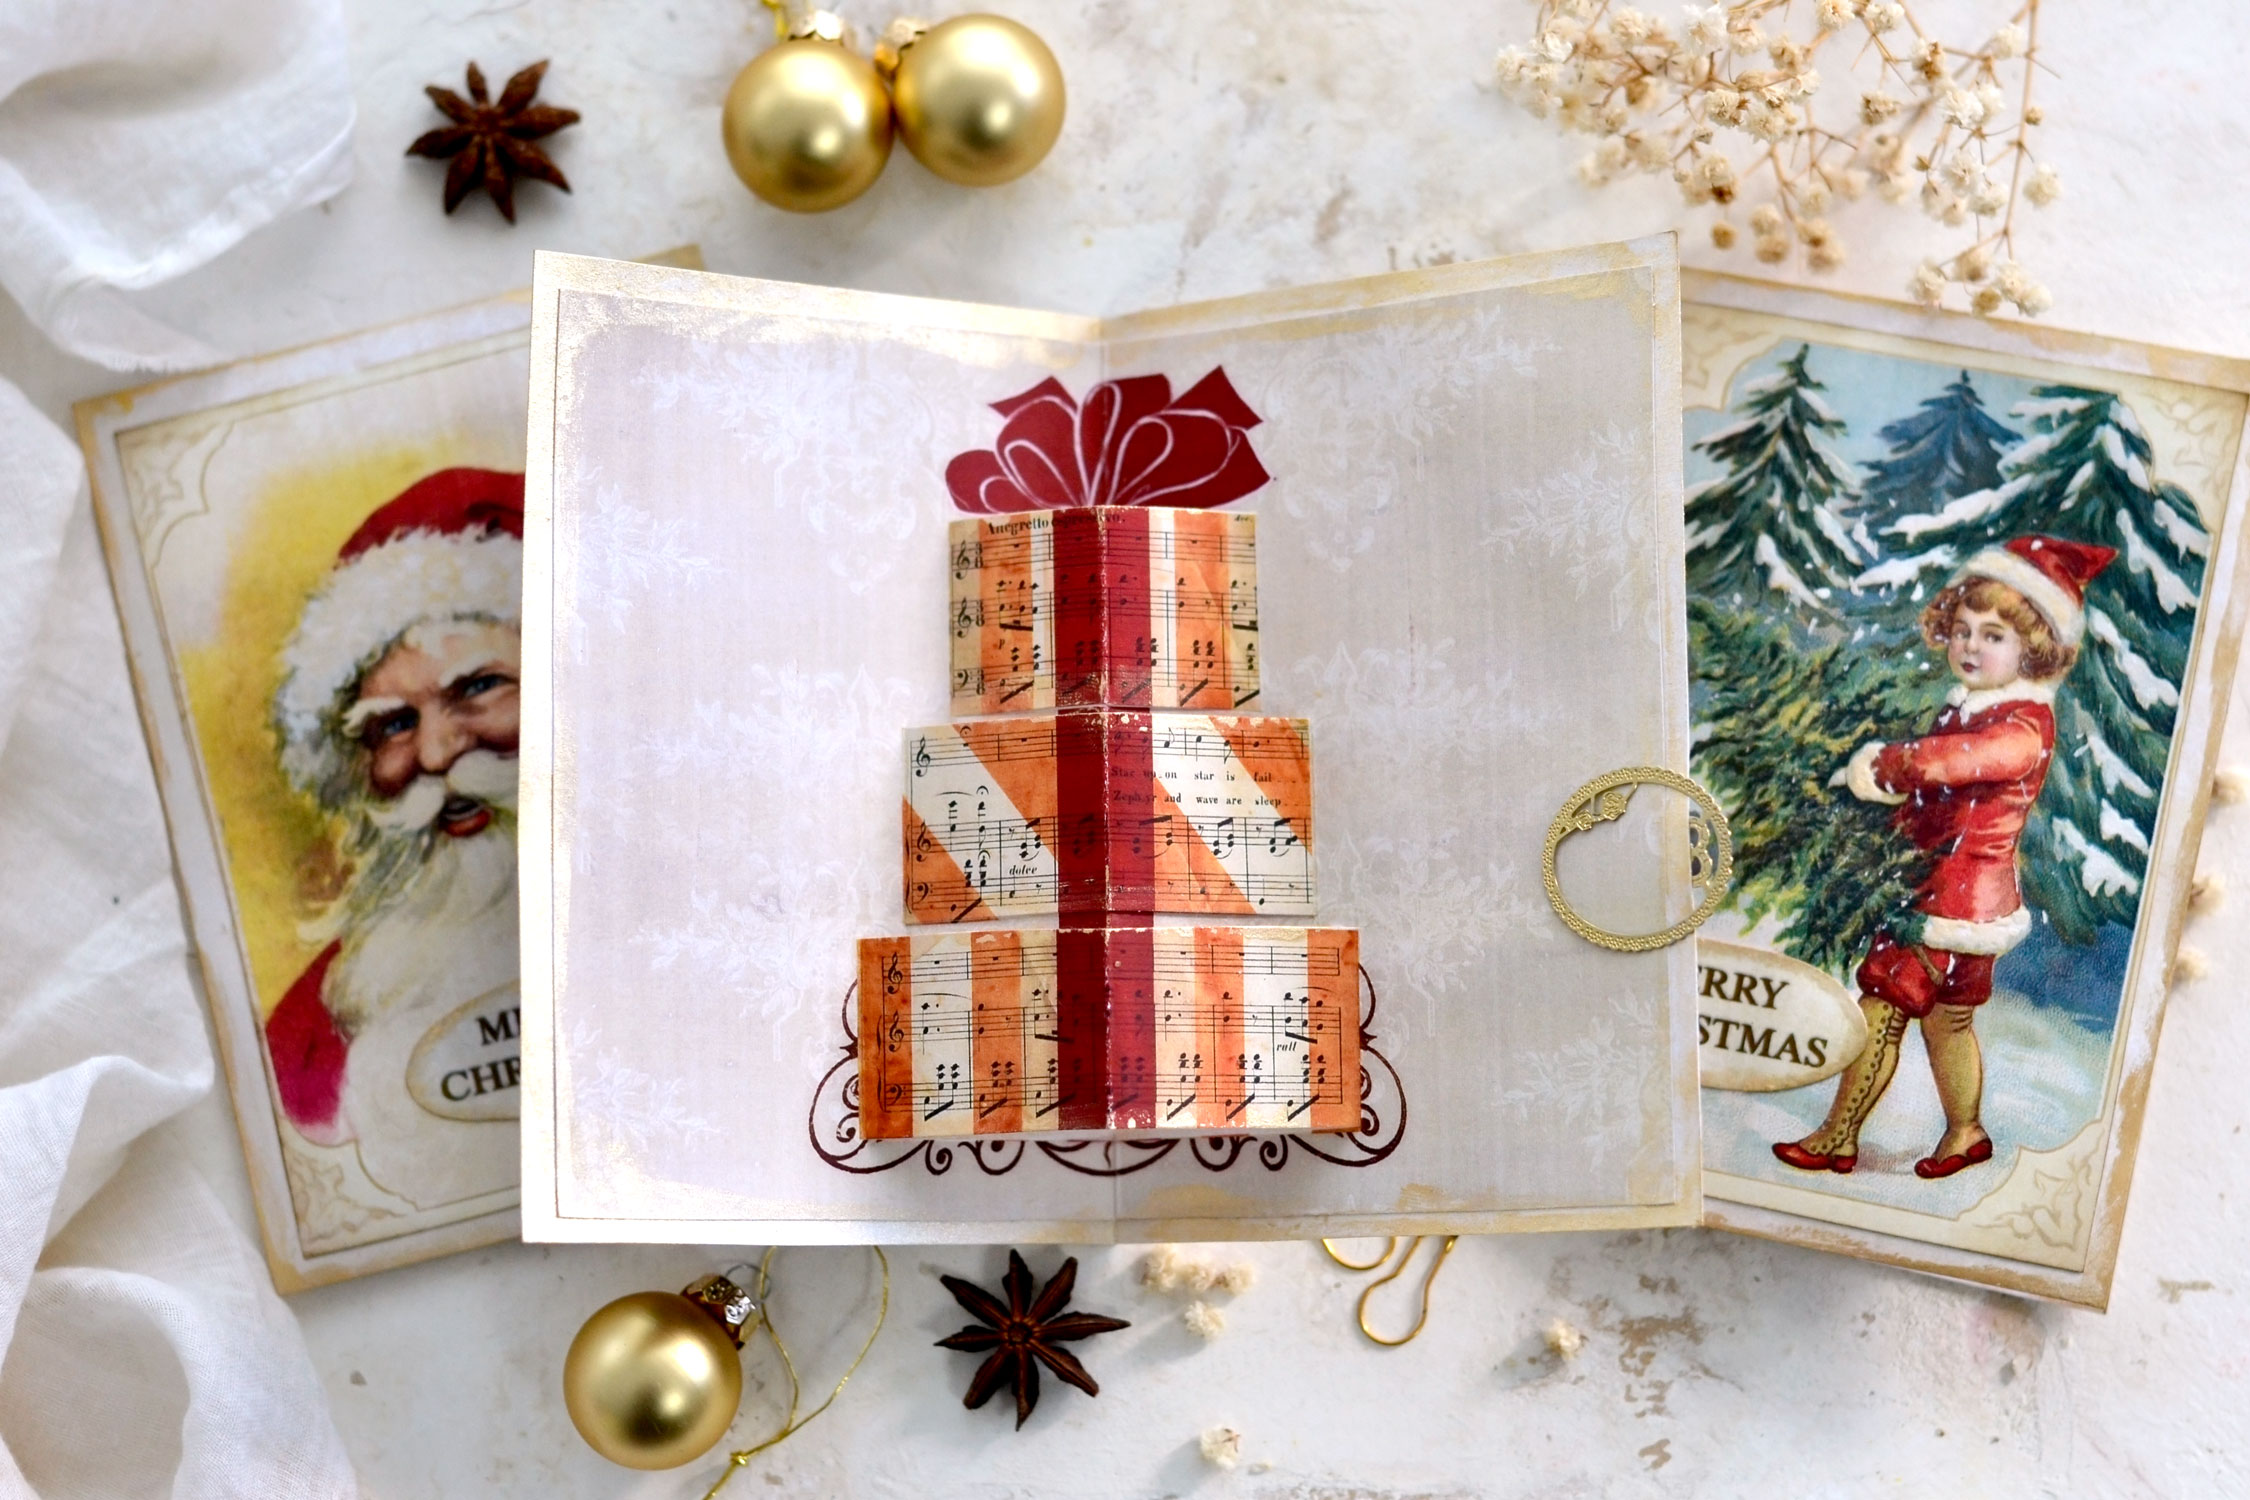
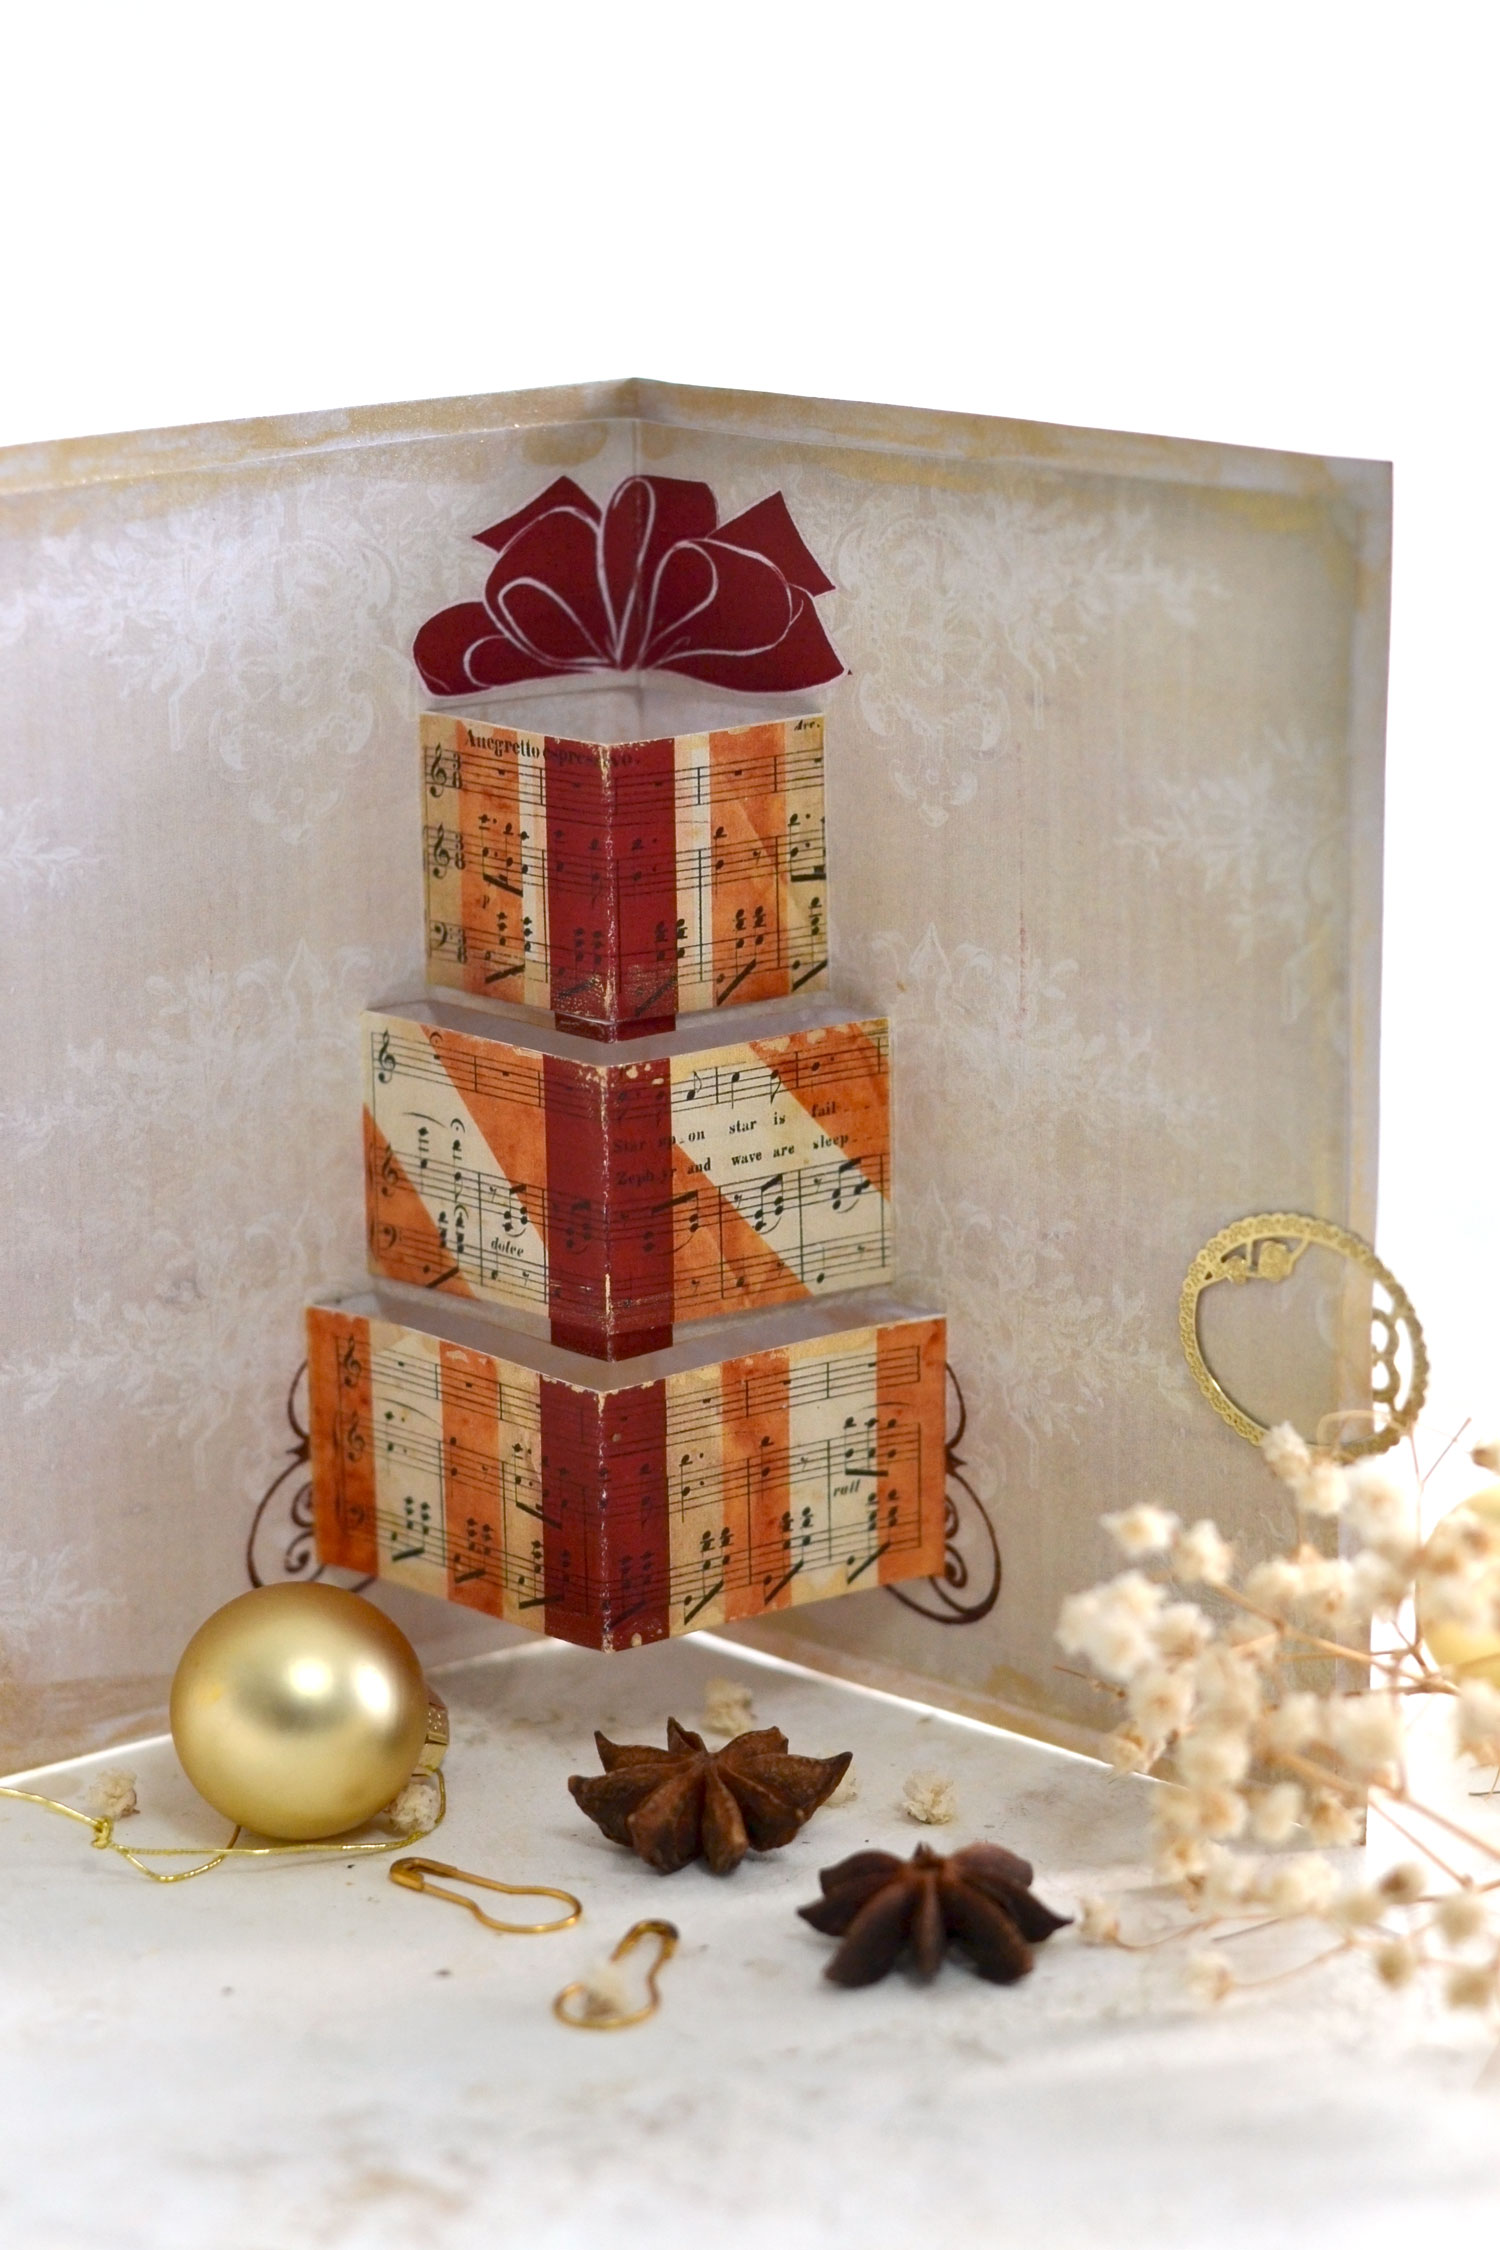
The cards are really beautiful on their own, but once you open them, you’ll find a stack of vintage Christmas gifts that pop up and add so much interest to the overall vibe of our card! It’s like a nice surprise that patiently waits for you inside! I added an adorable large red bow while designing the cards, just to make things even more festive!
Free Printable Cards:
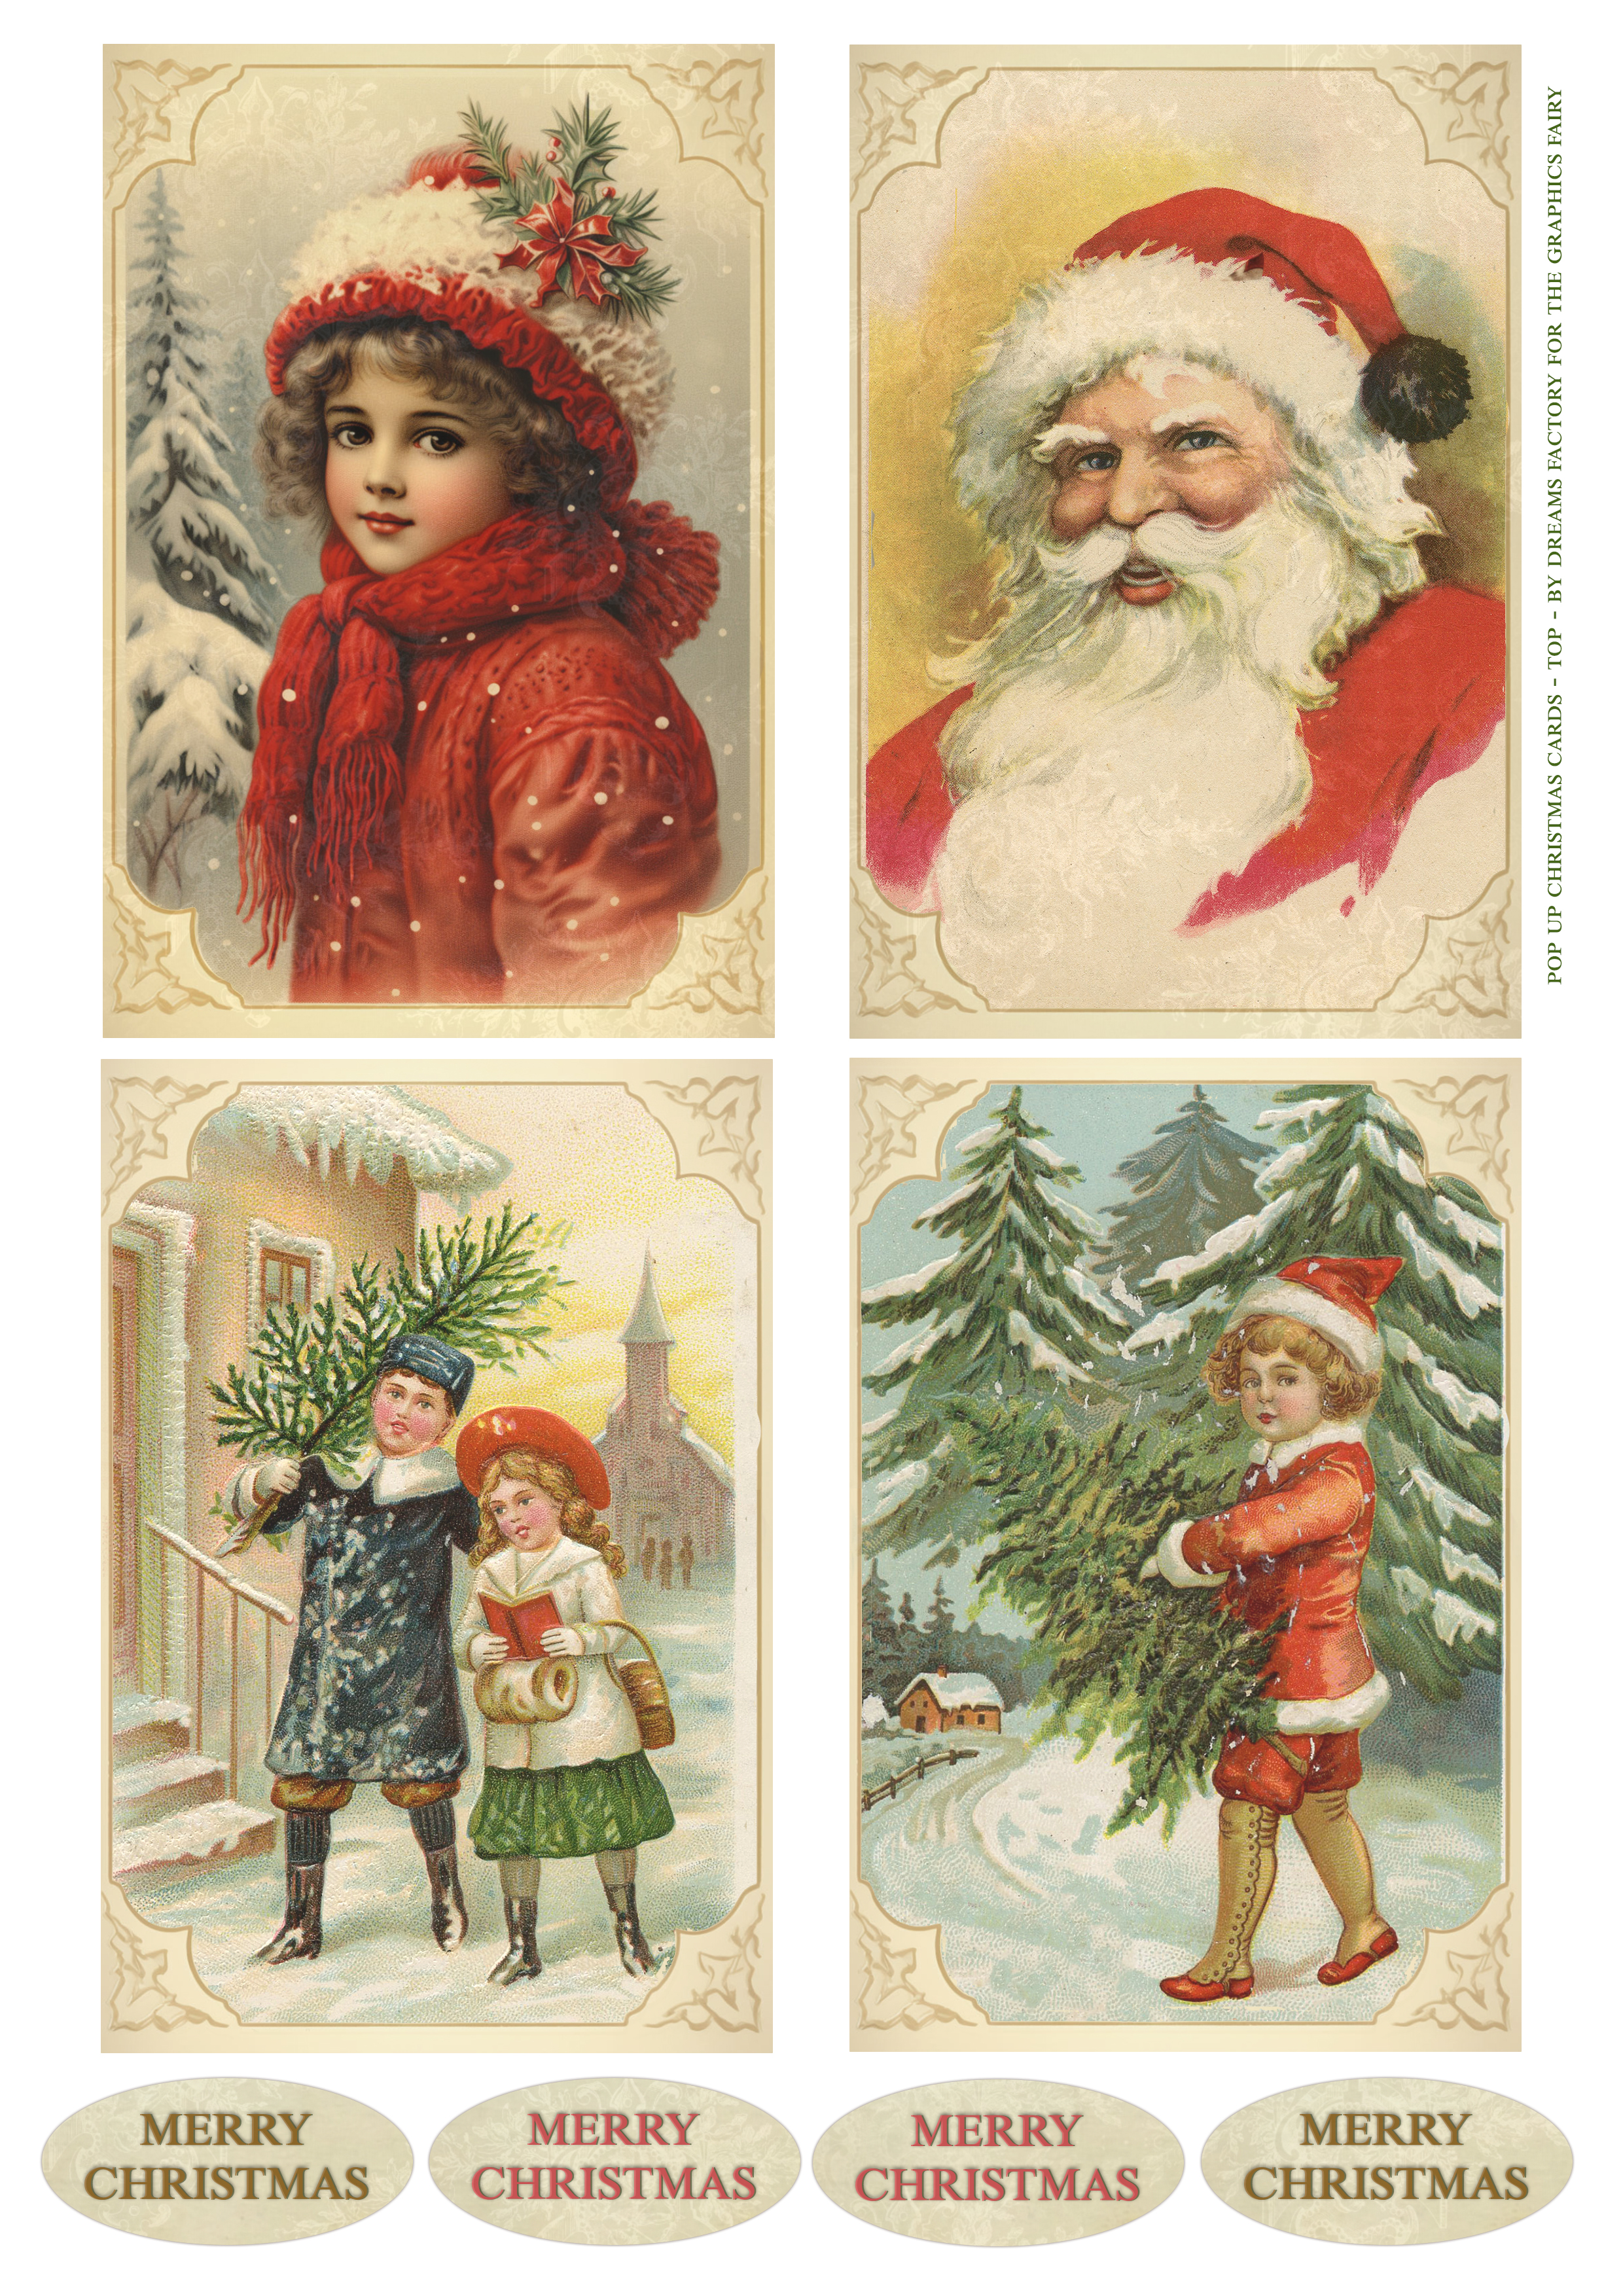
You can find the printable you need to create the top of the cards below, there are 4 different Christmas designs available, one more beautiful than the other! I also included a few Merry Christmas wishes that have an oval shape, you can use these too on the top of the cards.
—-> Click HERE to Download the Full Size Printable PDF (top) <—-
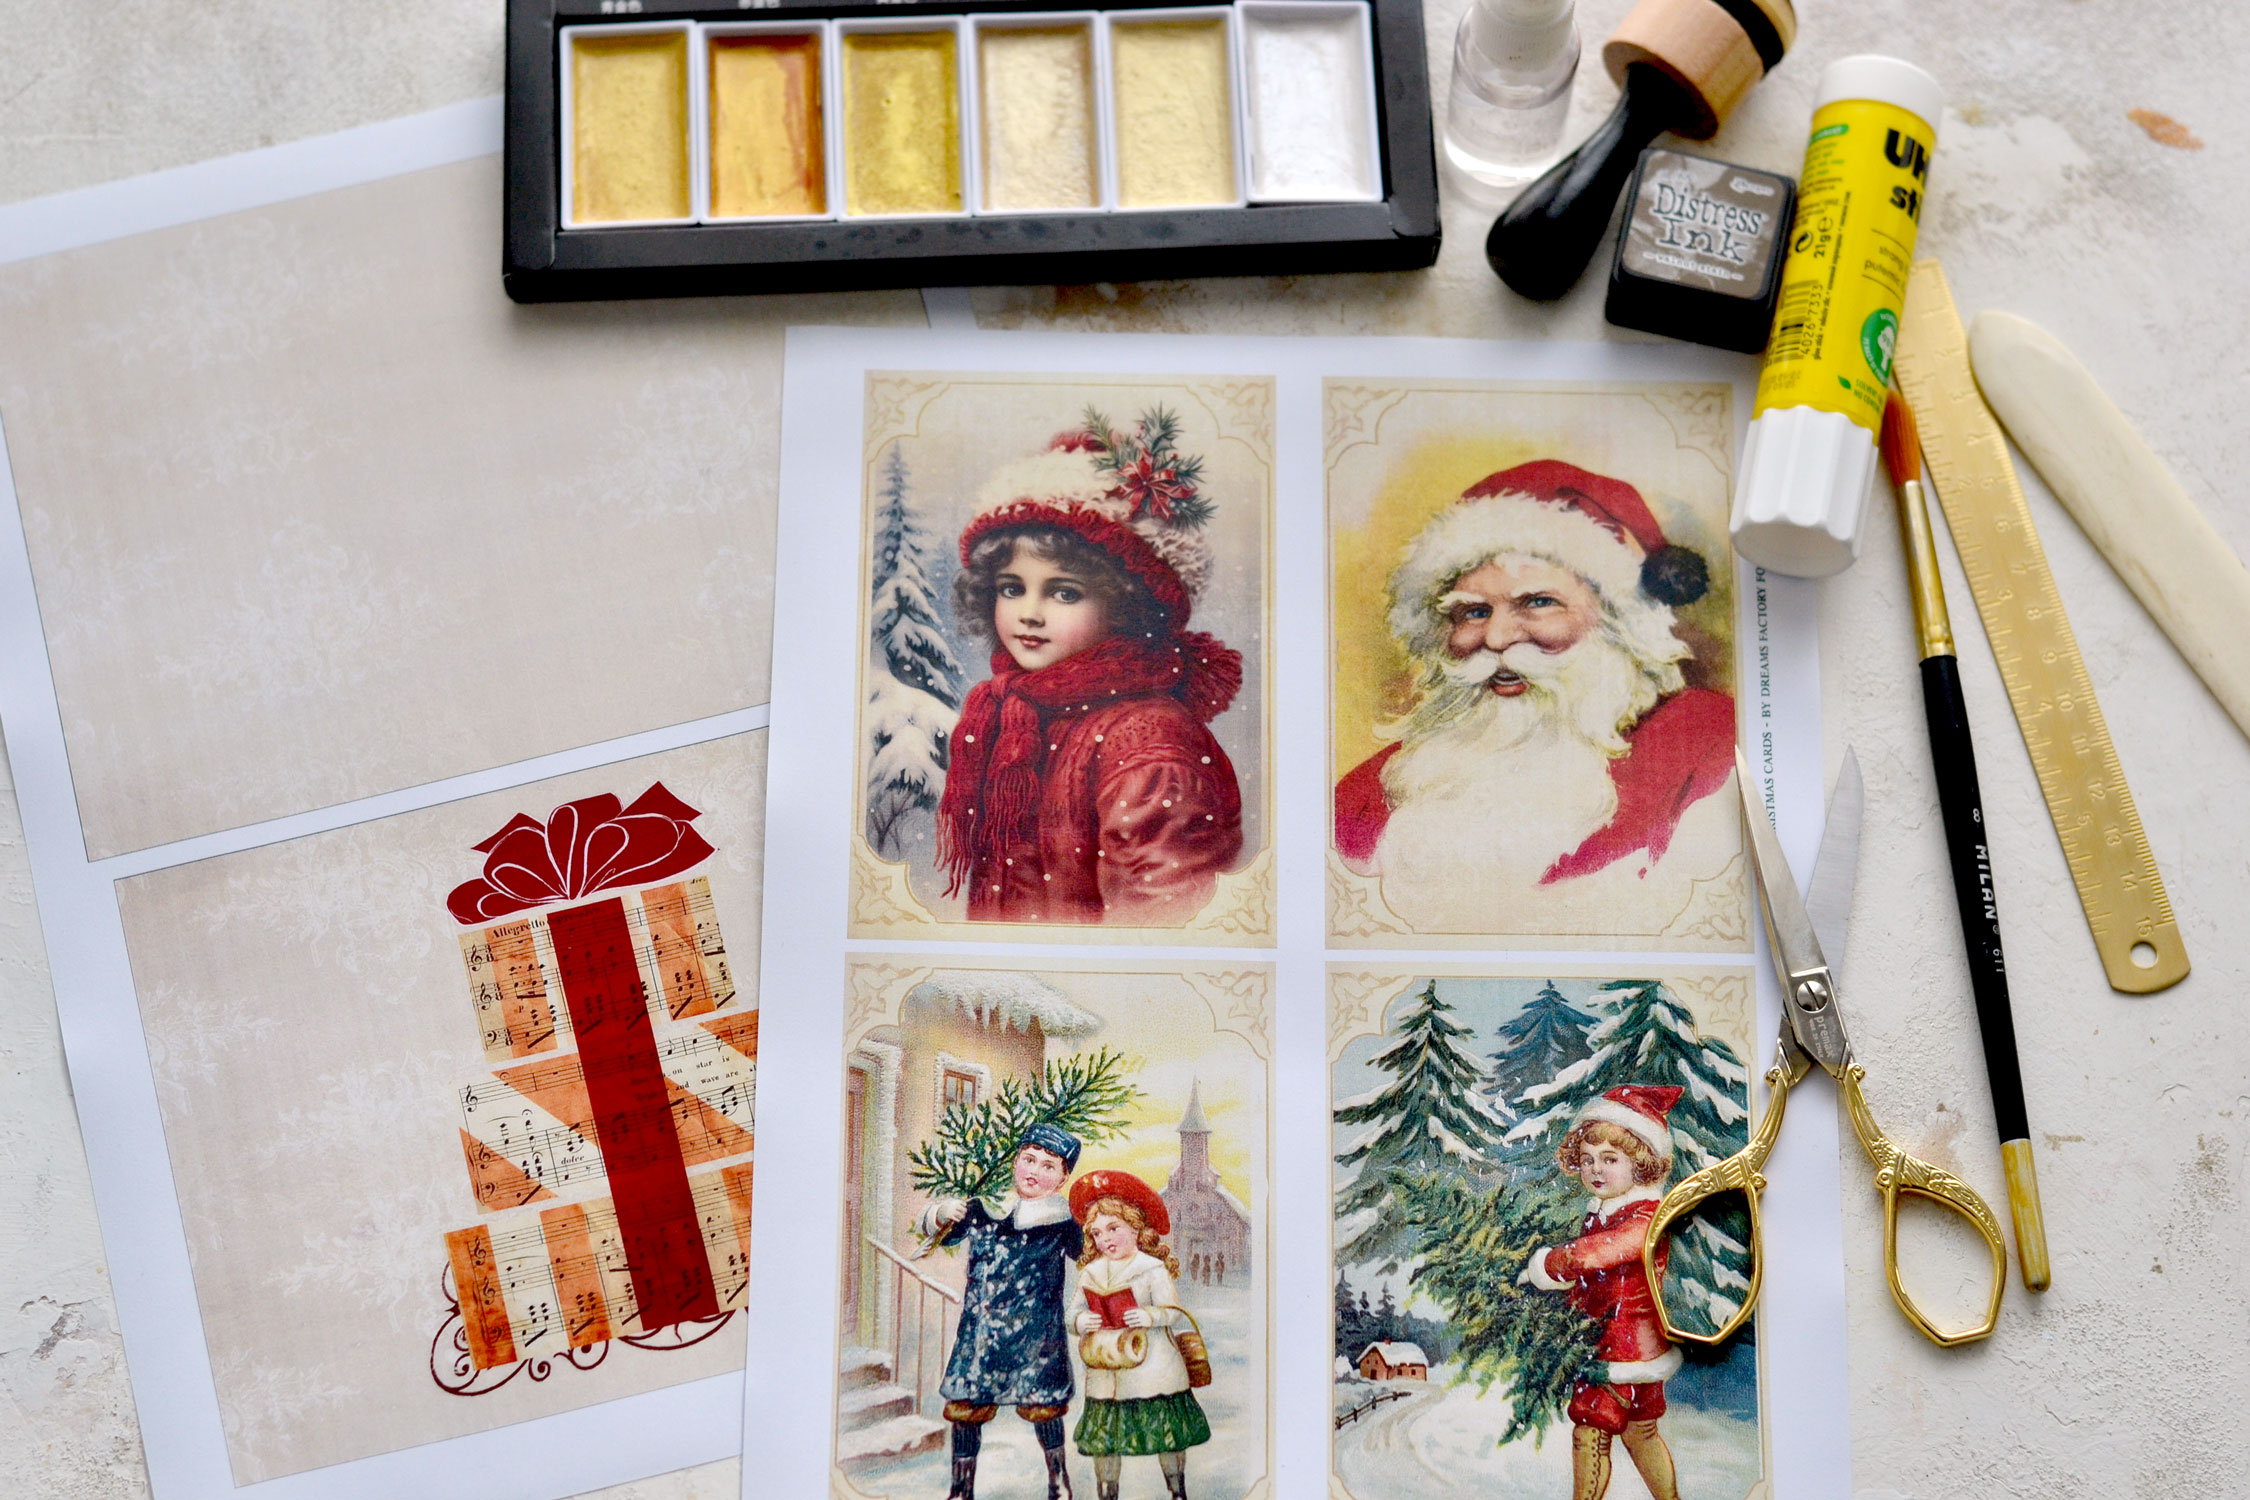
The other printable consists of 2 elements:
– an exterior card base with a lovely design that we will use to create the outside part of our cards
– an interior card base with a stack of gifts that we will cut to create our 3D pop up mechanism which will decorate the inside of our cards
The printable below will allow you to create 1 card, so you’ll need to print it as many times as you want to create all the cards that you need!
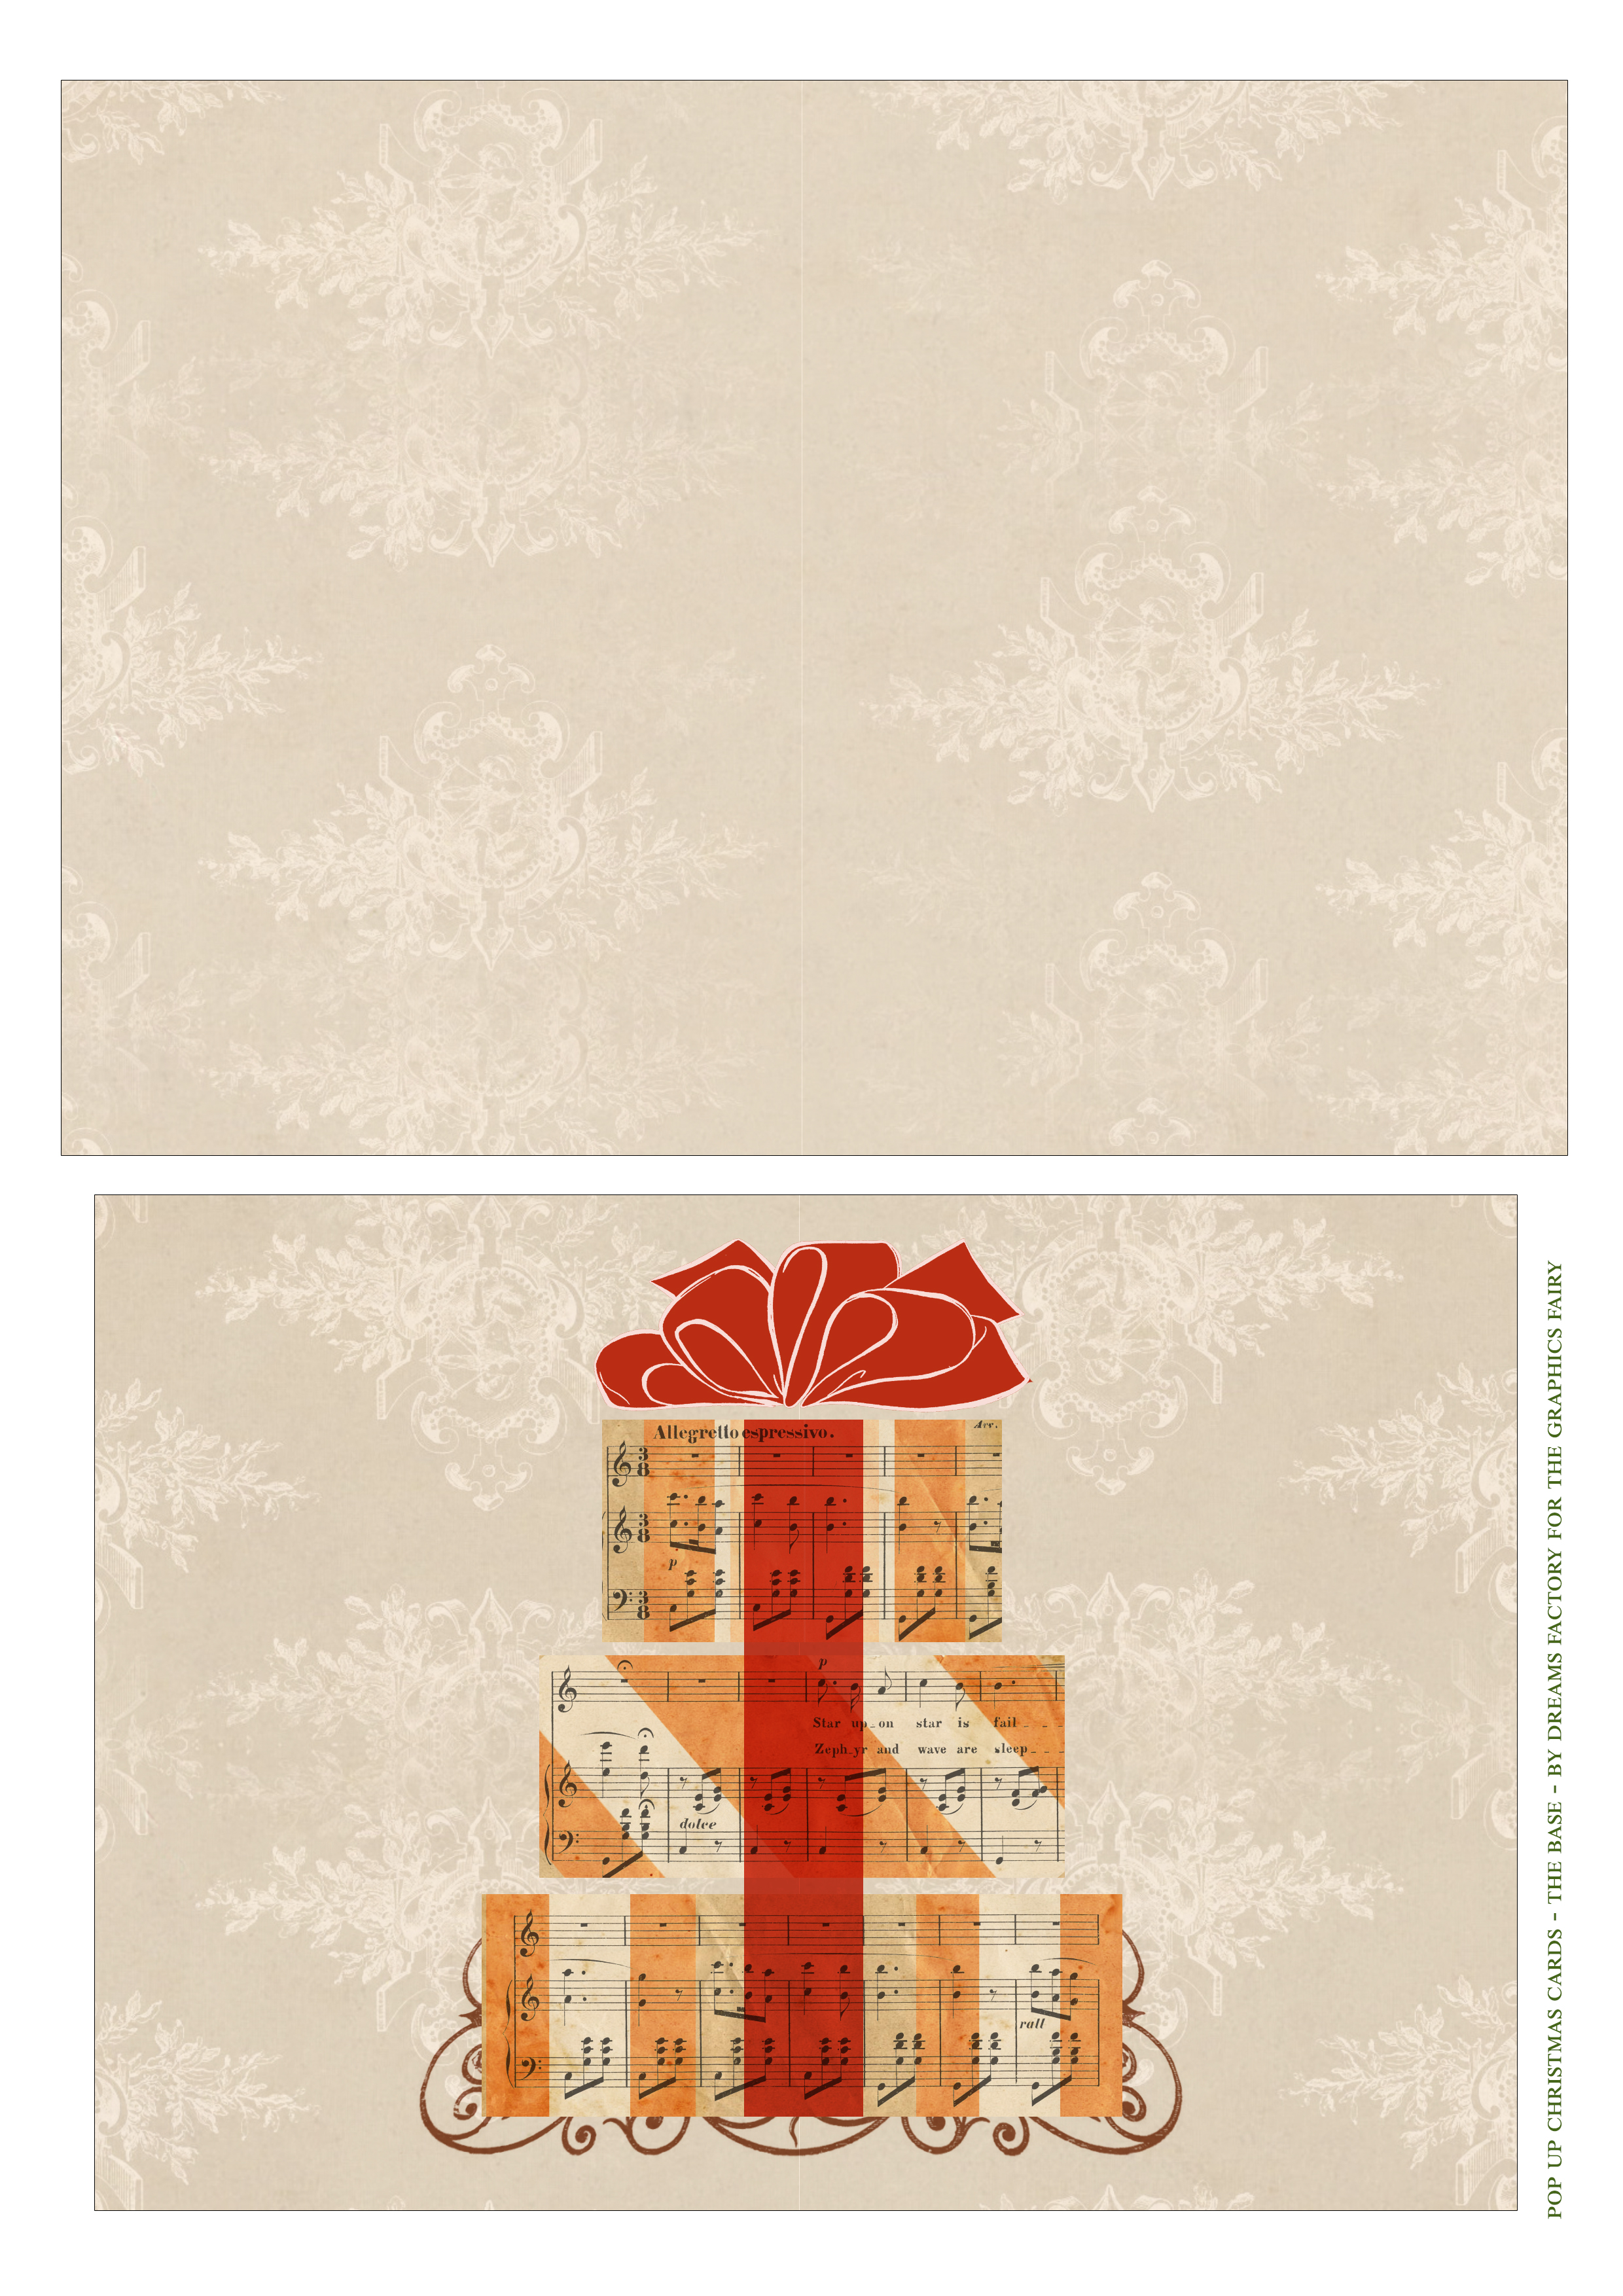
—-> Click HERE to Download the Full Size Printable PDF (base) <—-
Pop Up Christmas Cards Supply List:
- white cardstock paper
- home printer
- scissors
- mini distress inks
- blending tool with foams
- pearlescent watercolors – I used the Kuretake Gansai Tambi Starry Colors
- small brush
- bone folder
- ruler
Step by Step Tutorial:
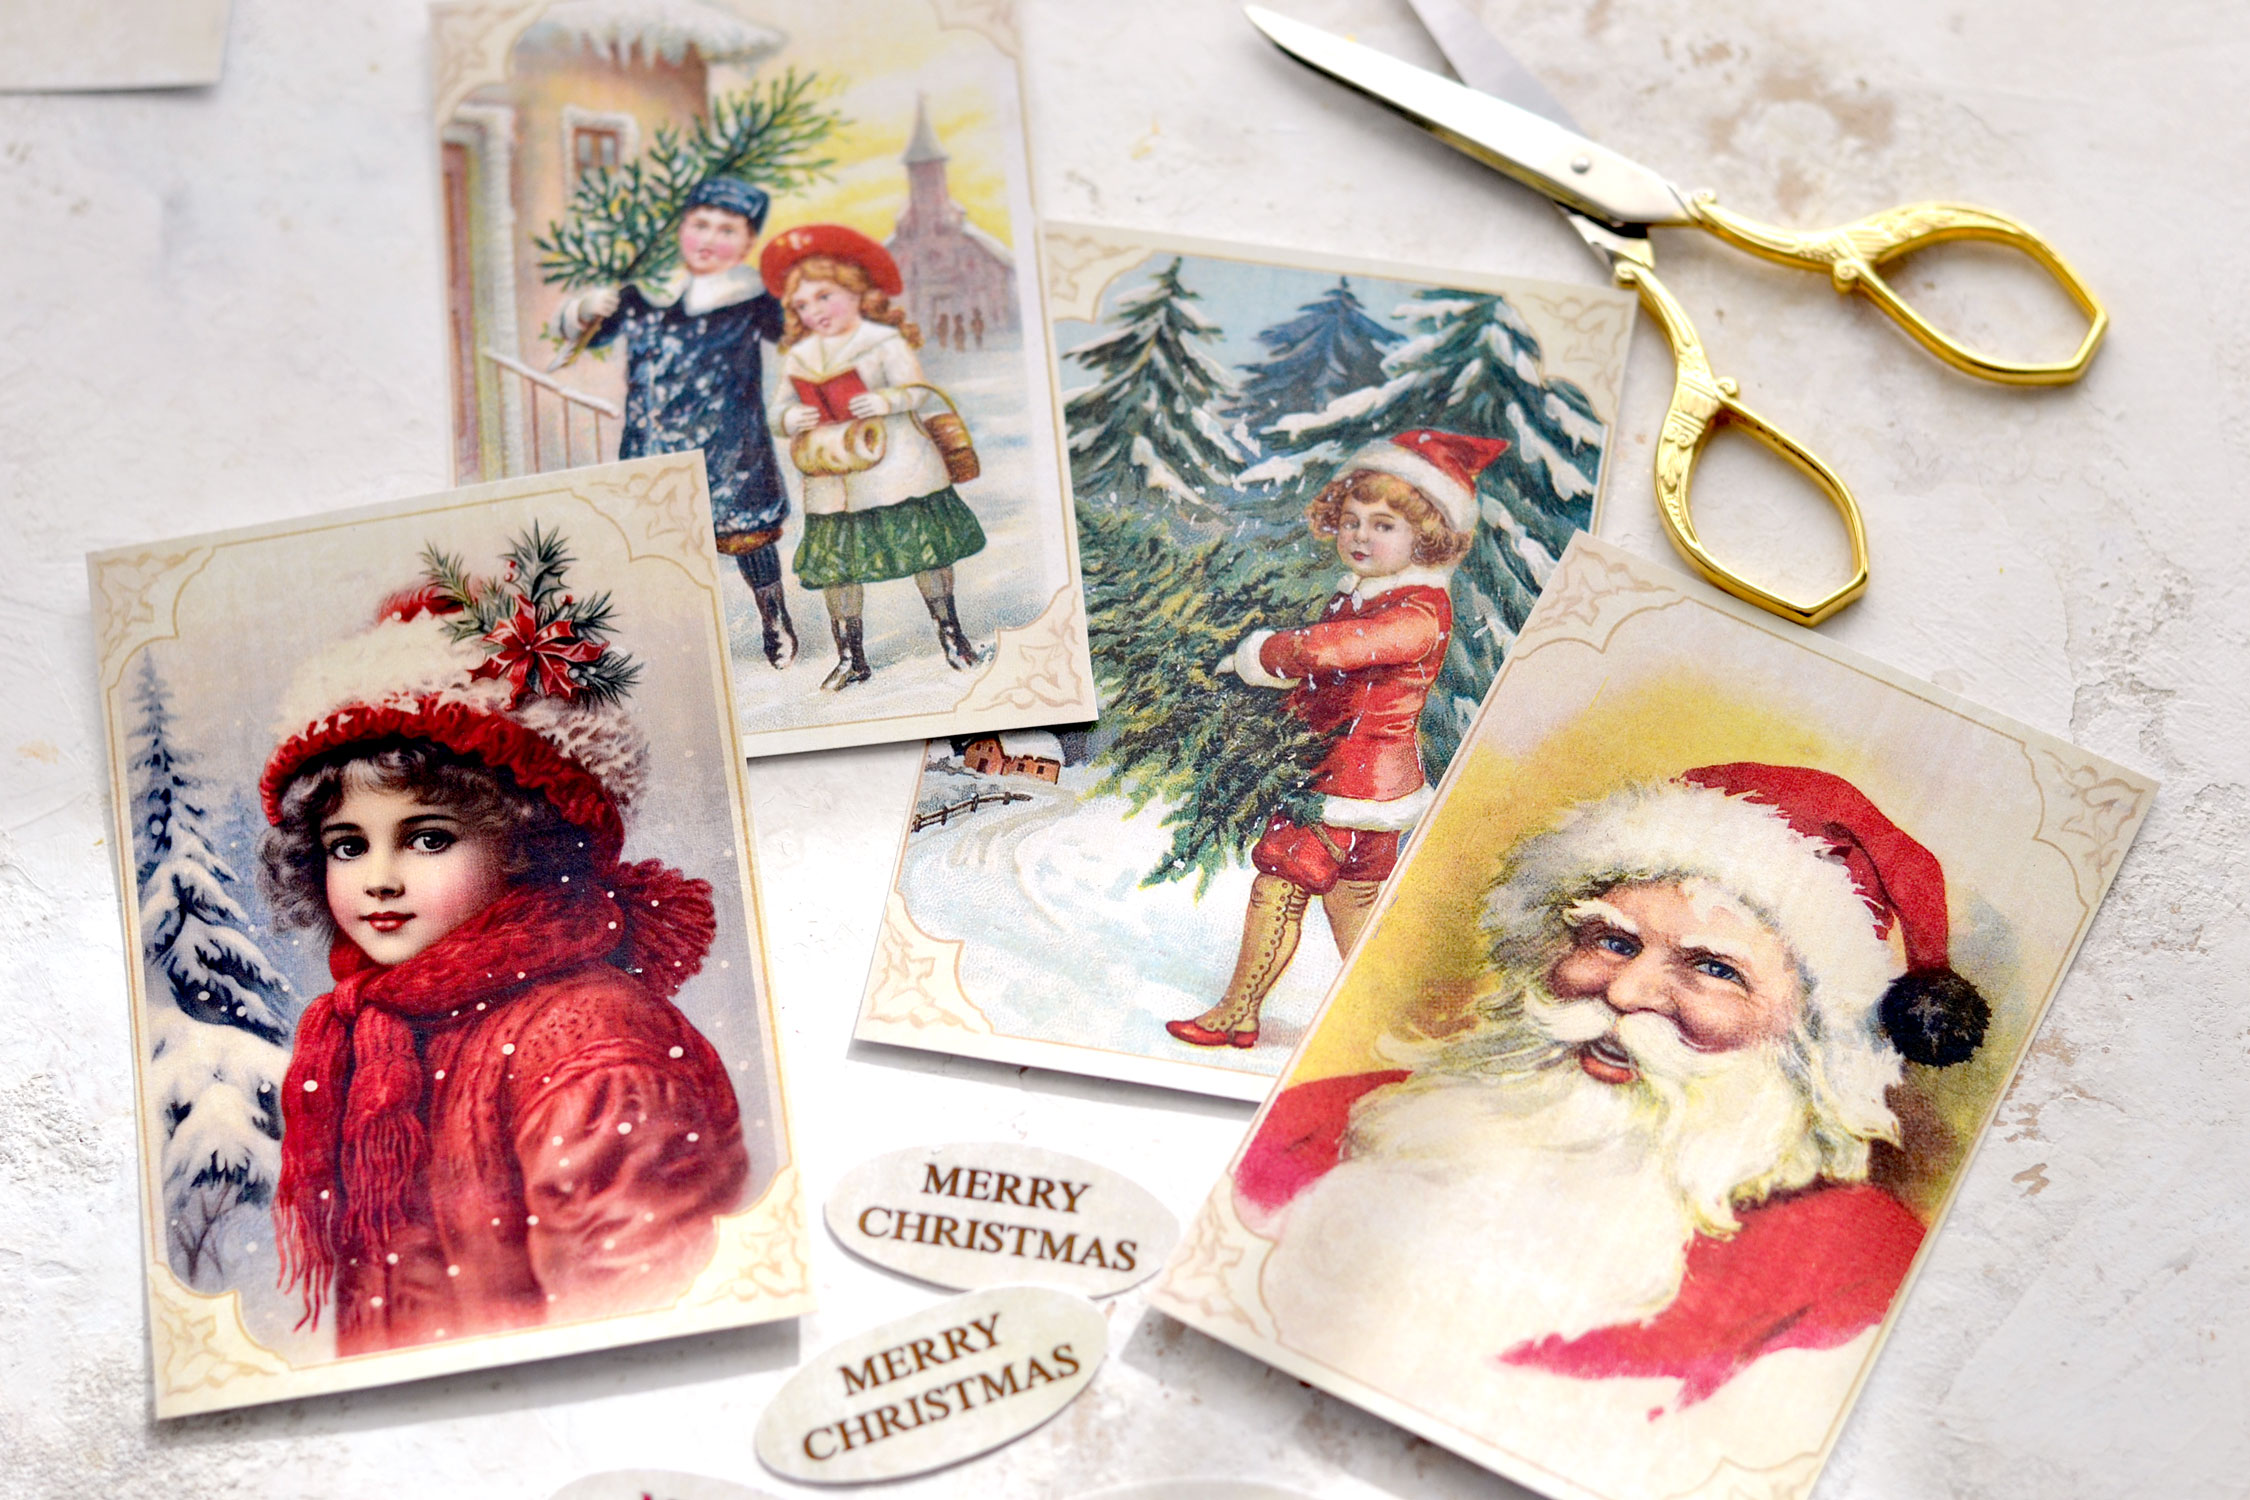
Start by cutting all the elements from the top printable.
Use your scissors to cut the elements from the card base printable. These two elements have a black border around the edges, just use it as guidance while cutting. You’ll need to cut inside that border so you can completely remove it. If you want, you can also use a paper trimmer instead of the scissors, it usually creates more clean lines while cutting.
Don’t forget that you’ll need 1 printable to create 1 card!
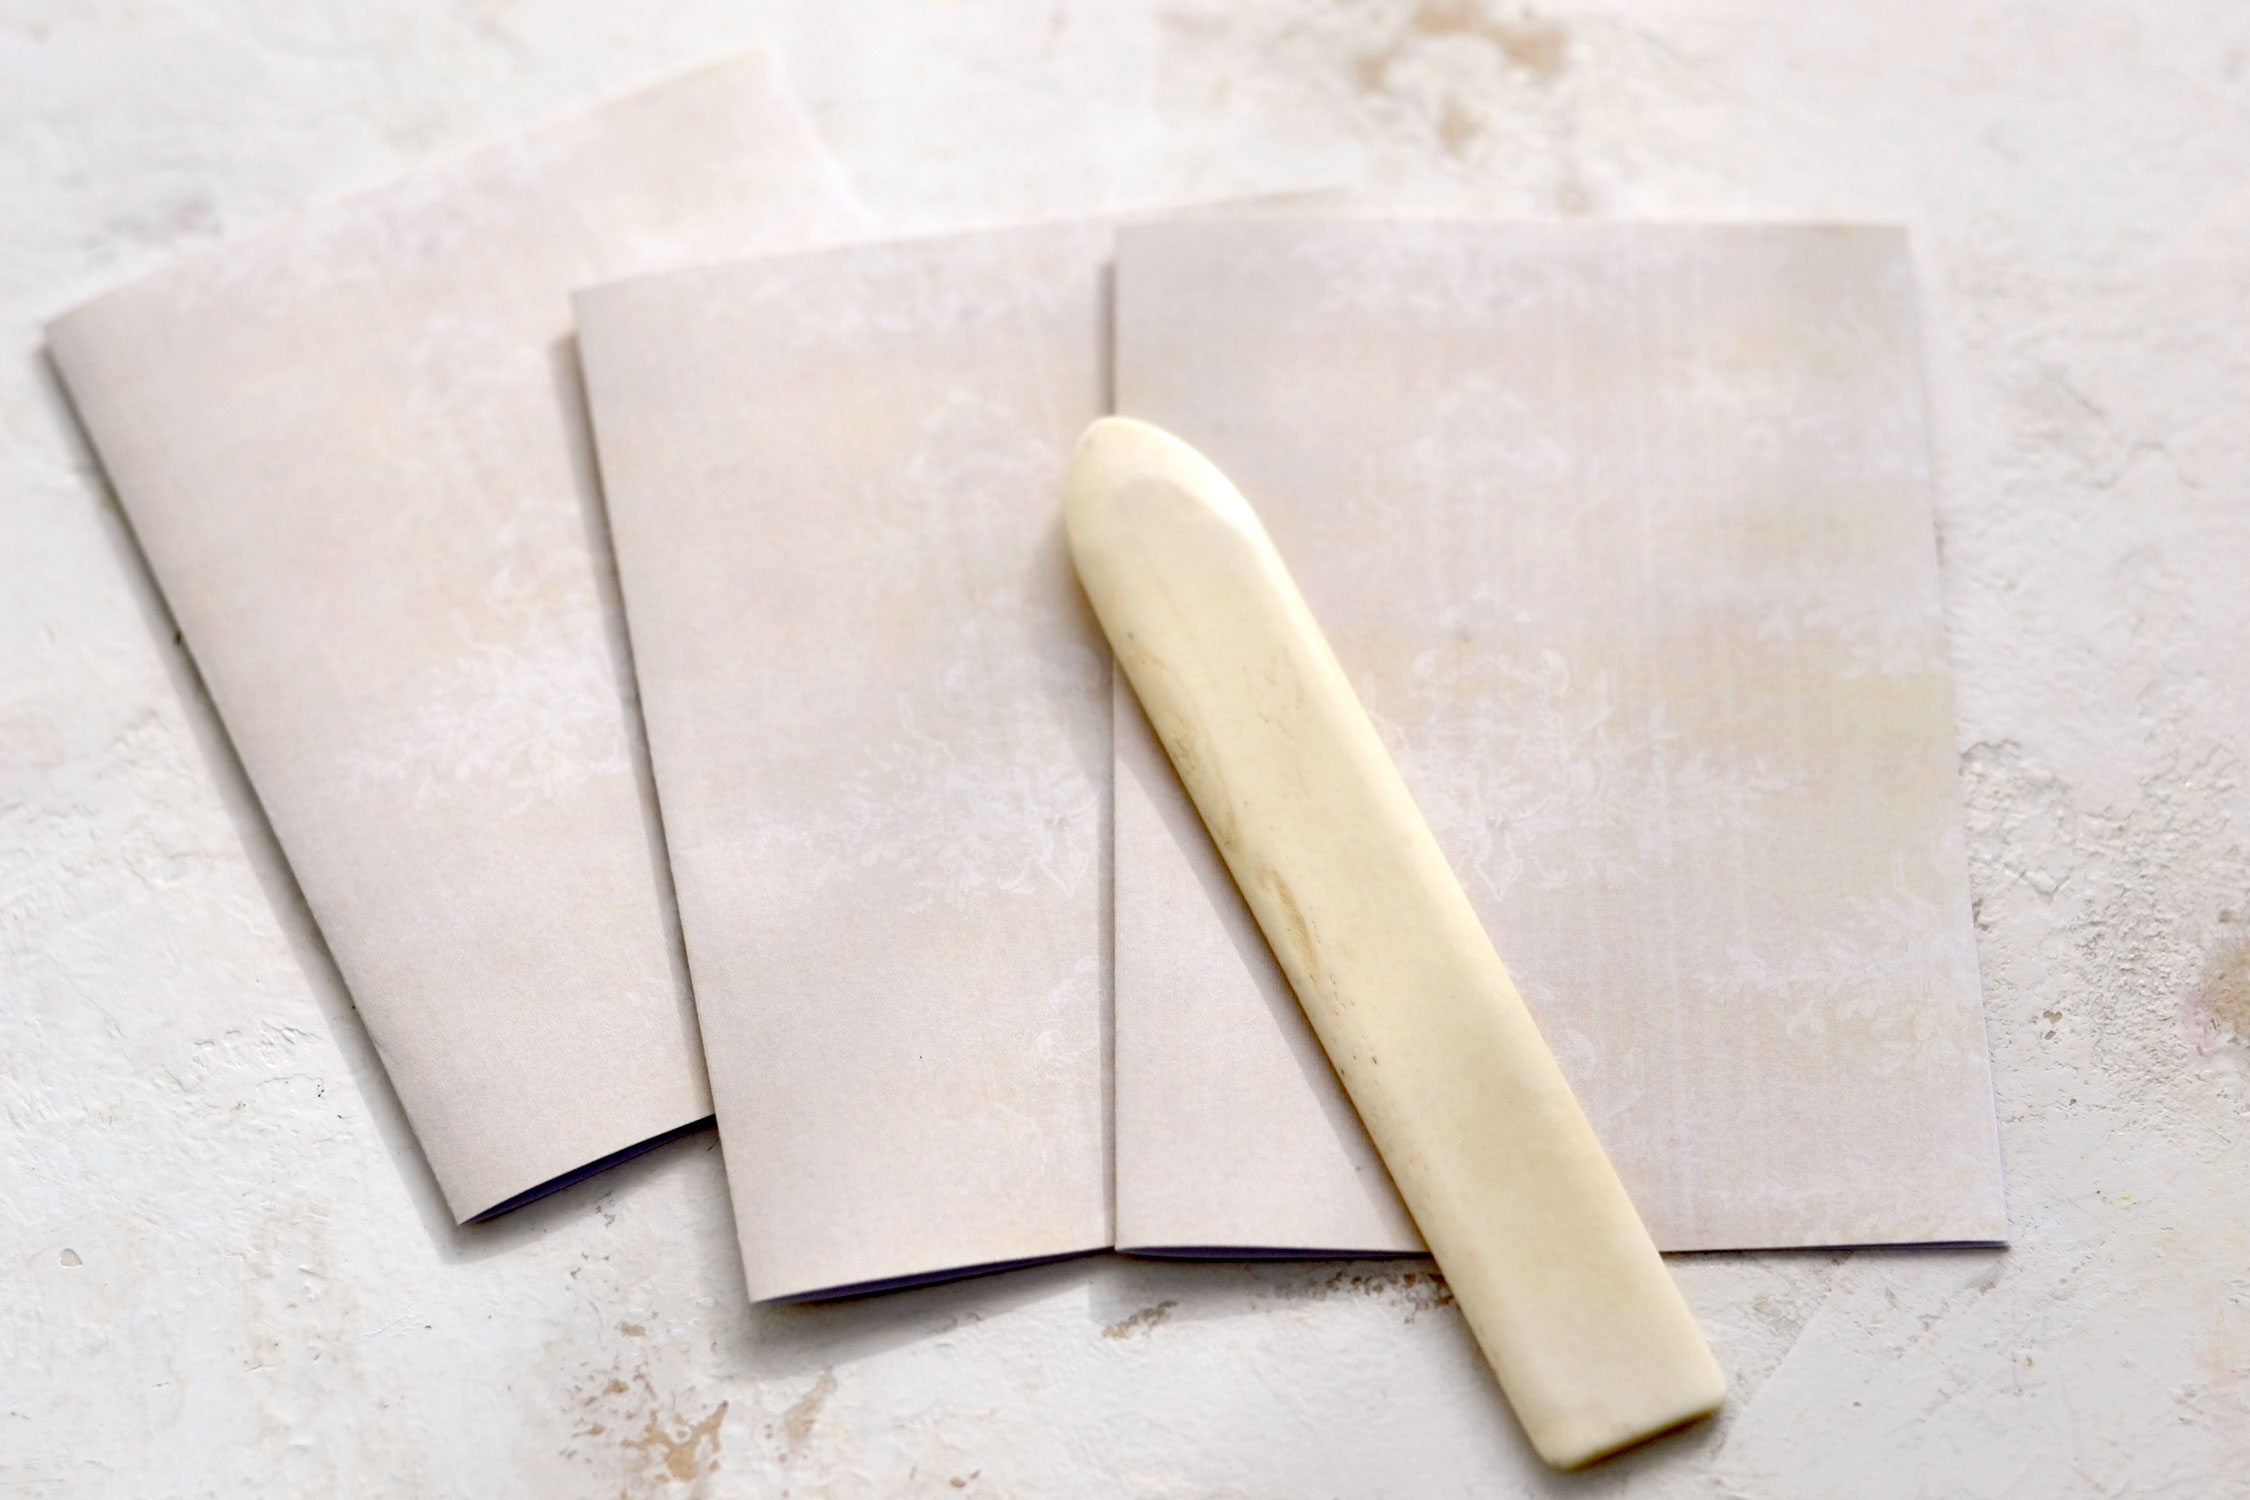
Use a bone folder to score and fold the exterior card base in half, the design should be on the outside.
As you can see, I decided to create 3 cards.
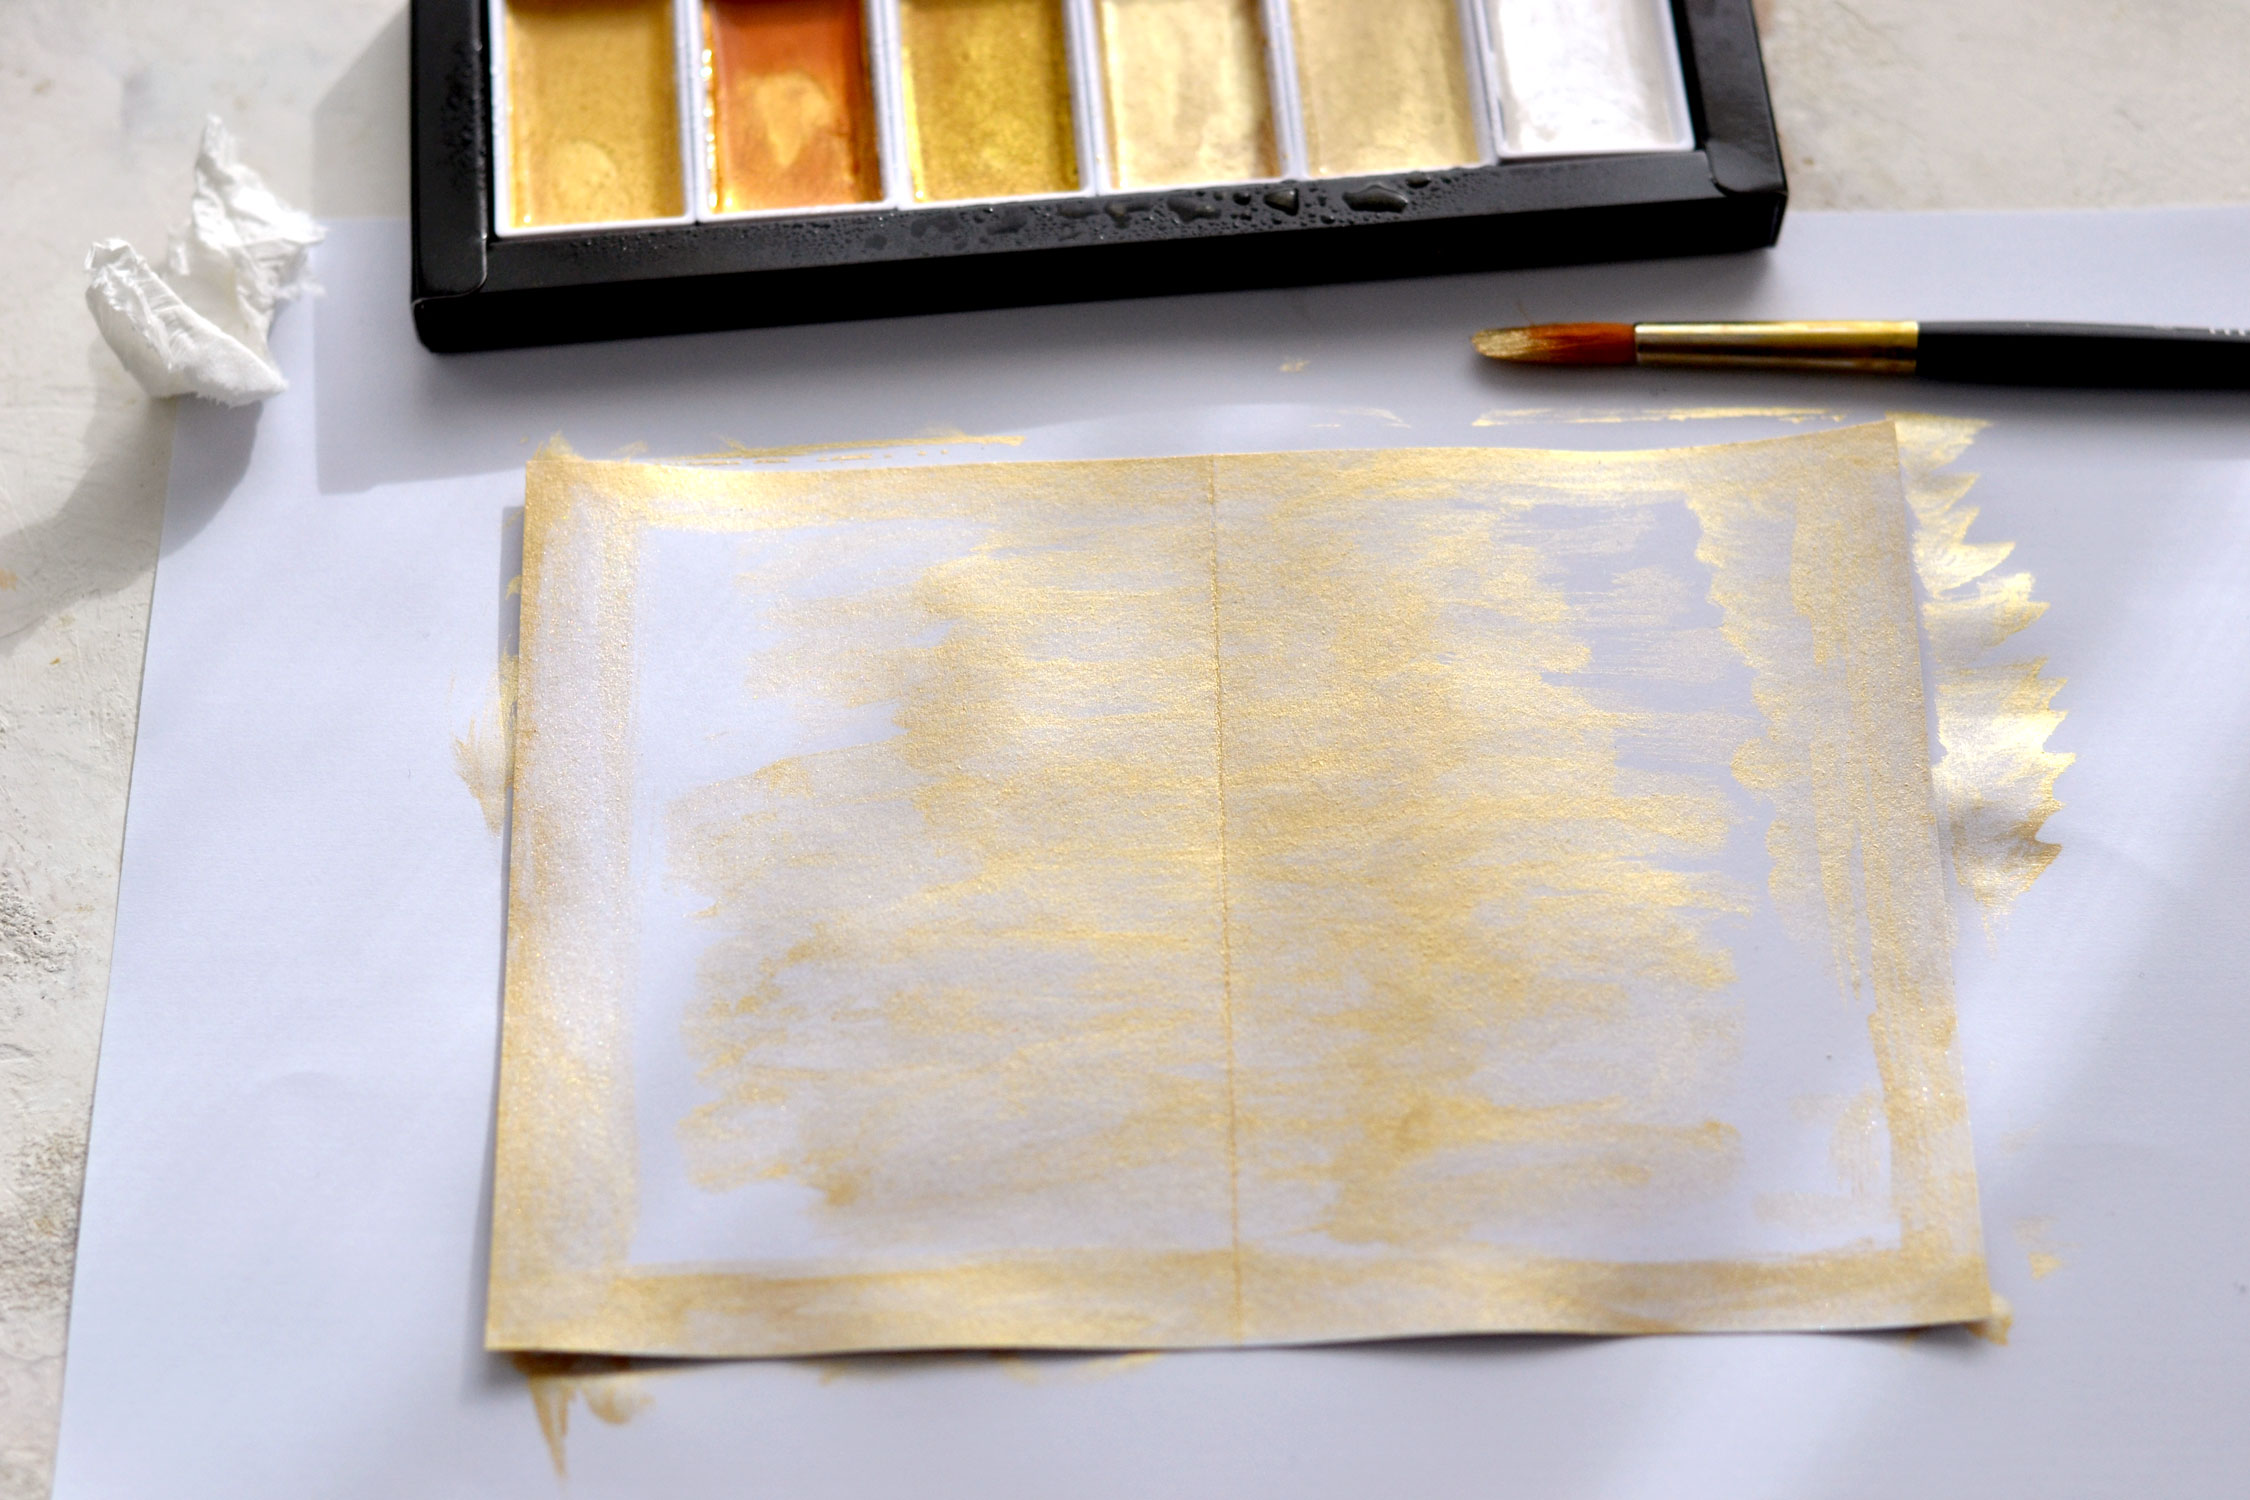
Open the exterior card bases and place them on your table with the design facing down. Use your favorite gold paint – I used gold watercolors – to paint the inside margins and the middle part of your cards. Try not to add too much water while painting, we still need to keep the structure of the paper – mine curled a little bit while painting, so I let them dry completely and then I placed them between the pages of a book to flatten them.
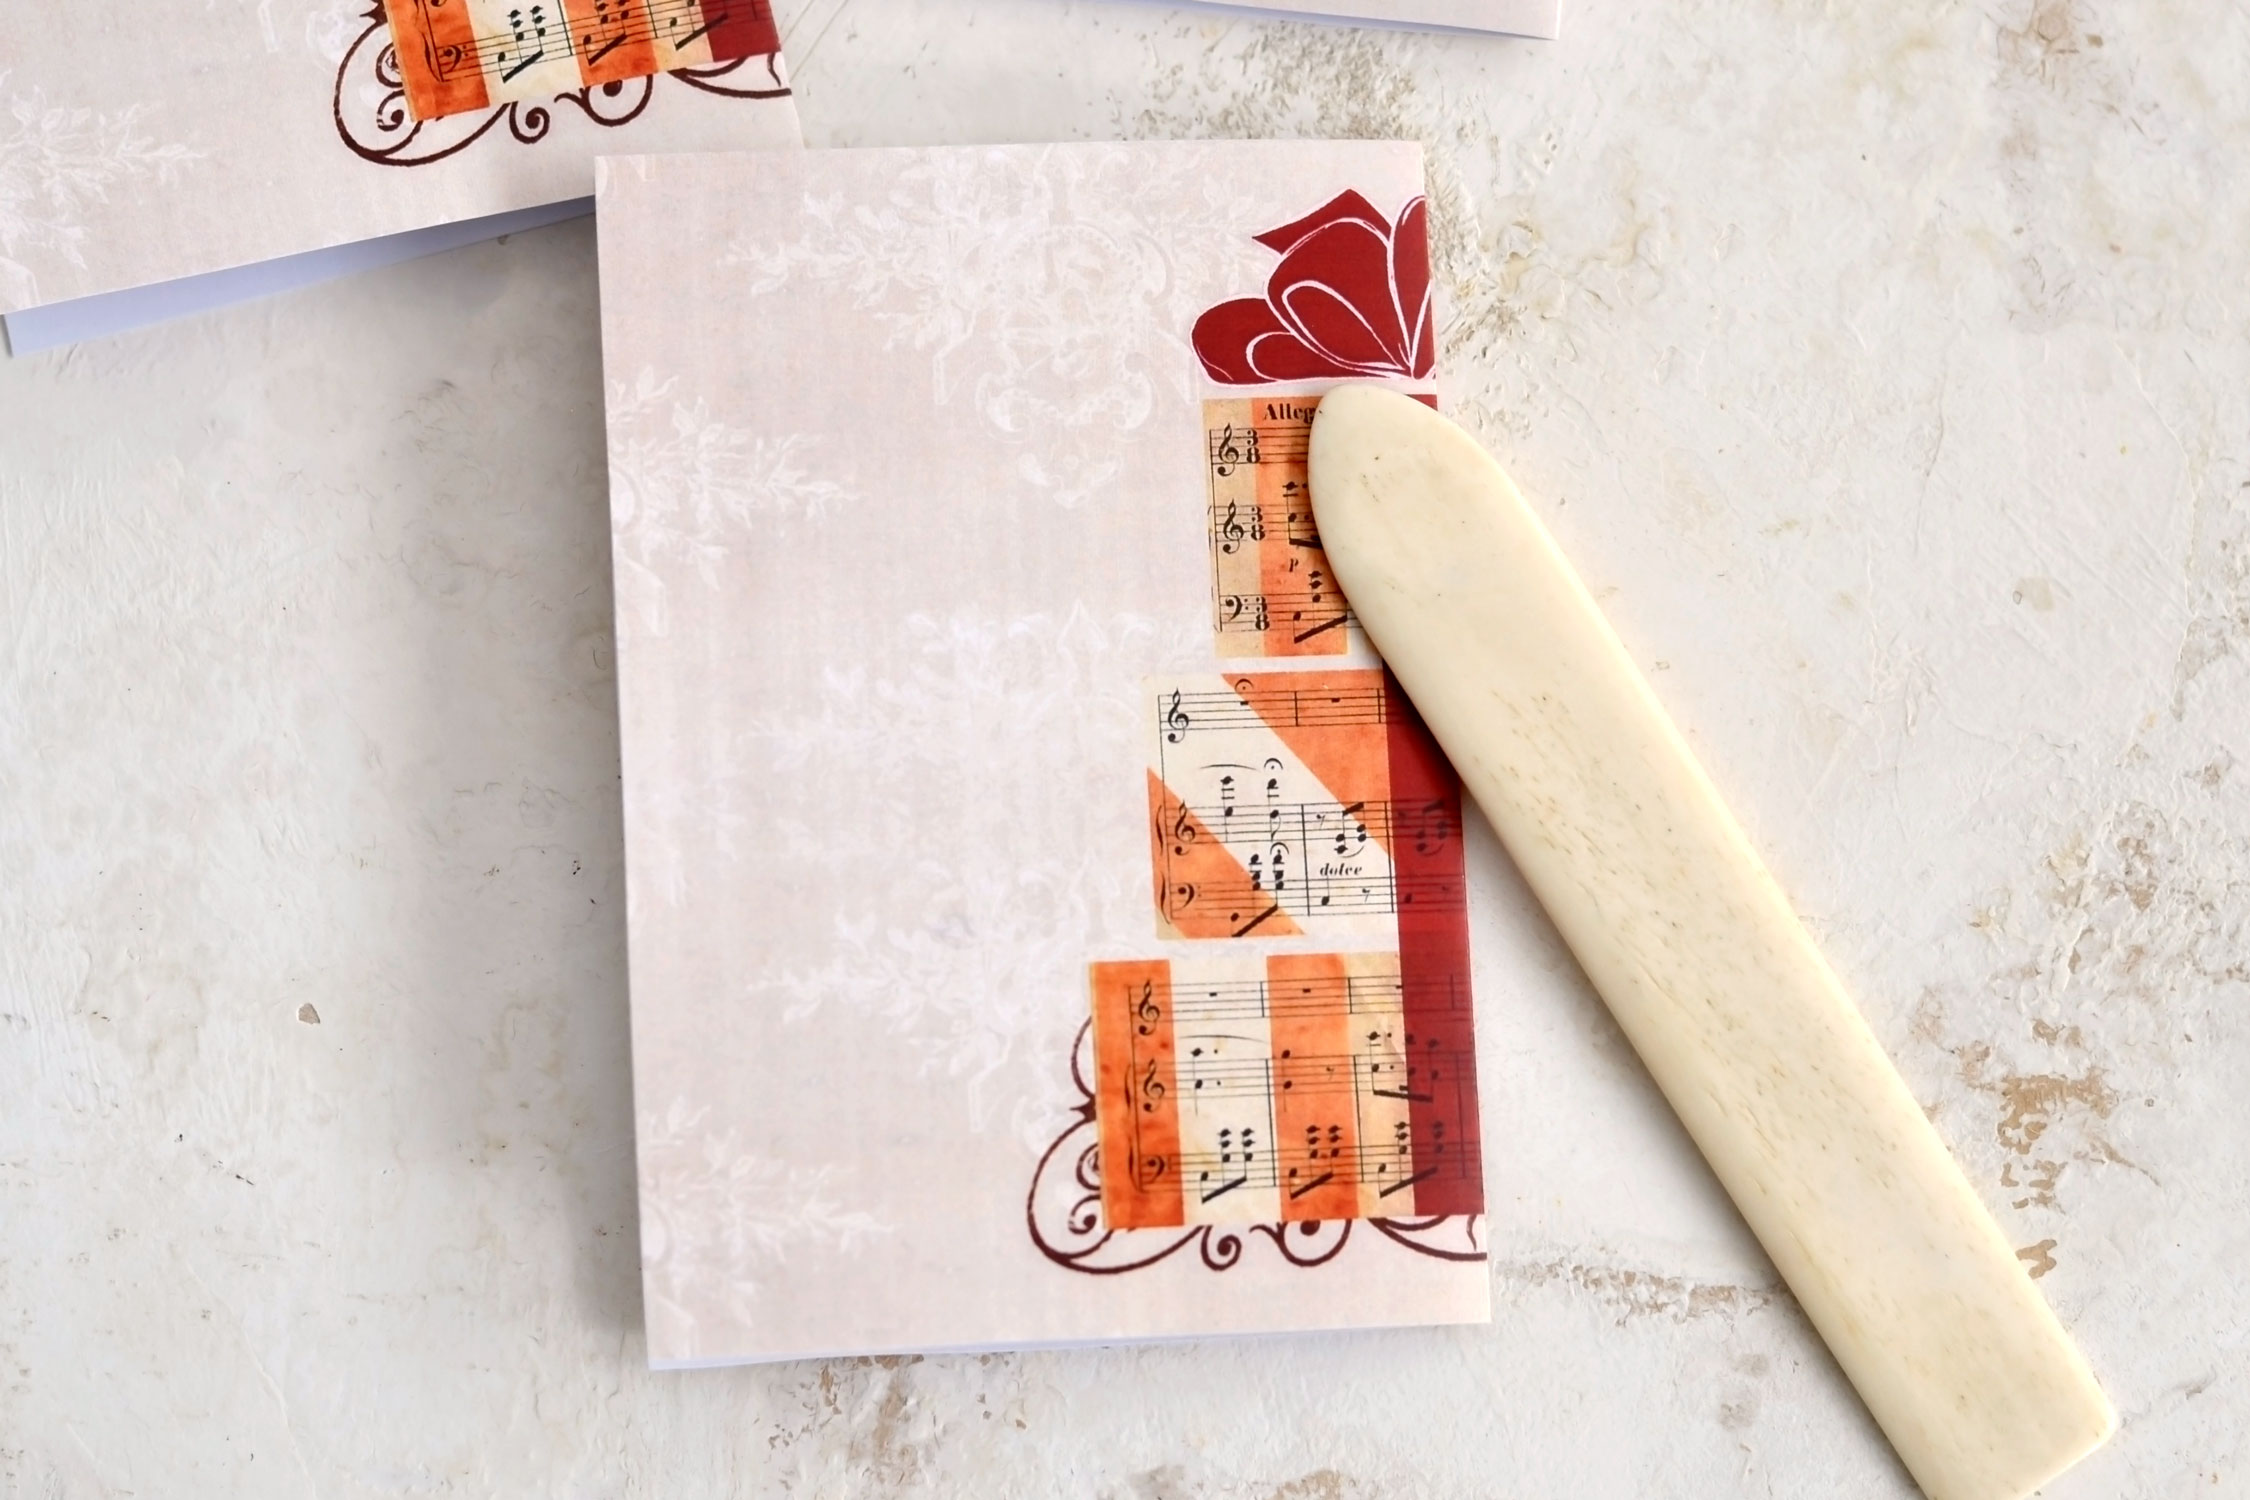
To create the pop up mechanism, start by folding the other card base in half, making sure the design is on the outside at first. Use your fingers to make the initial fold, but then use your bone folder to actually press the paper – this will create a more clean line!
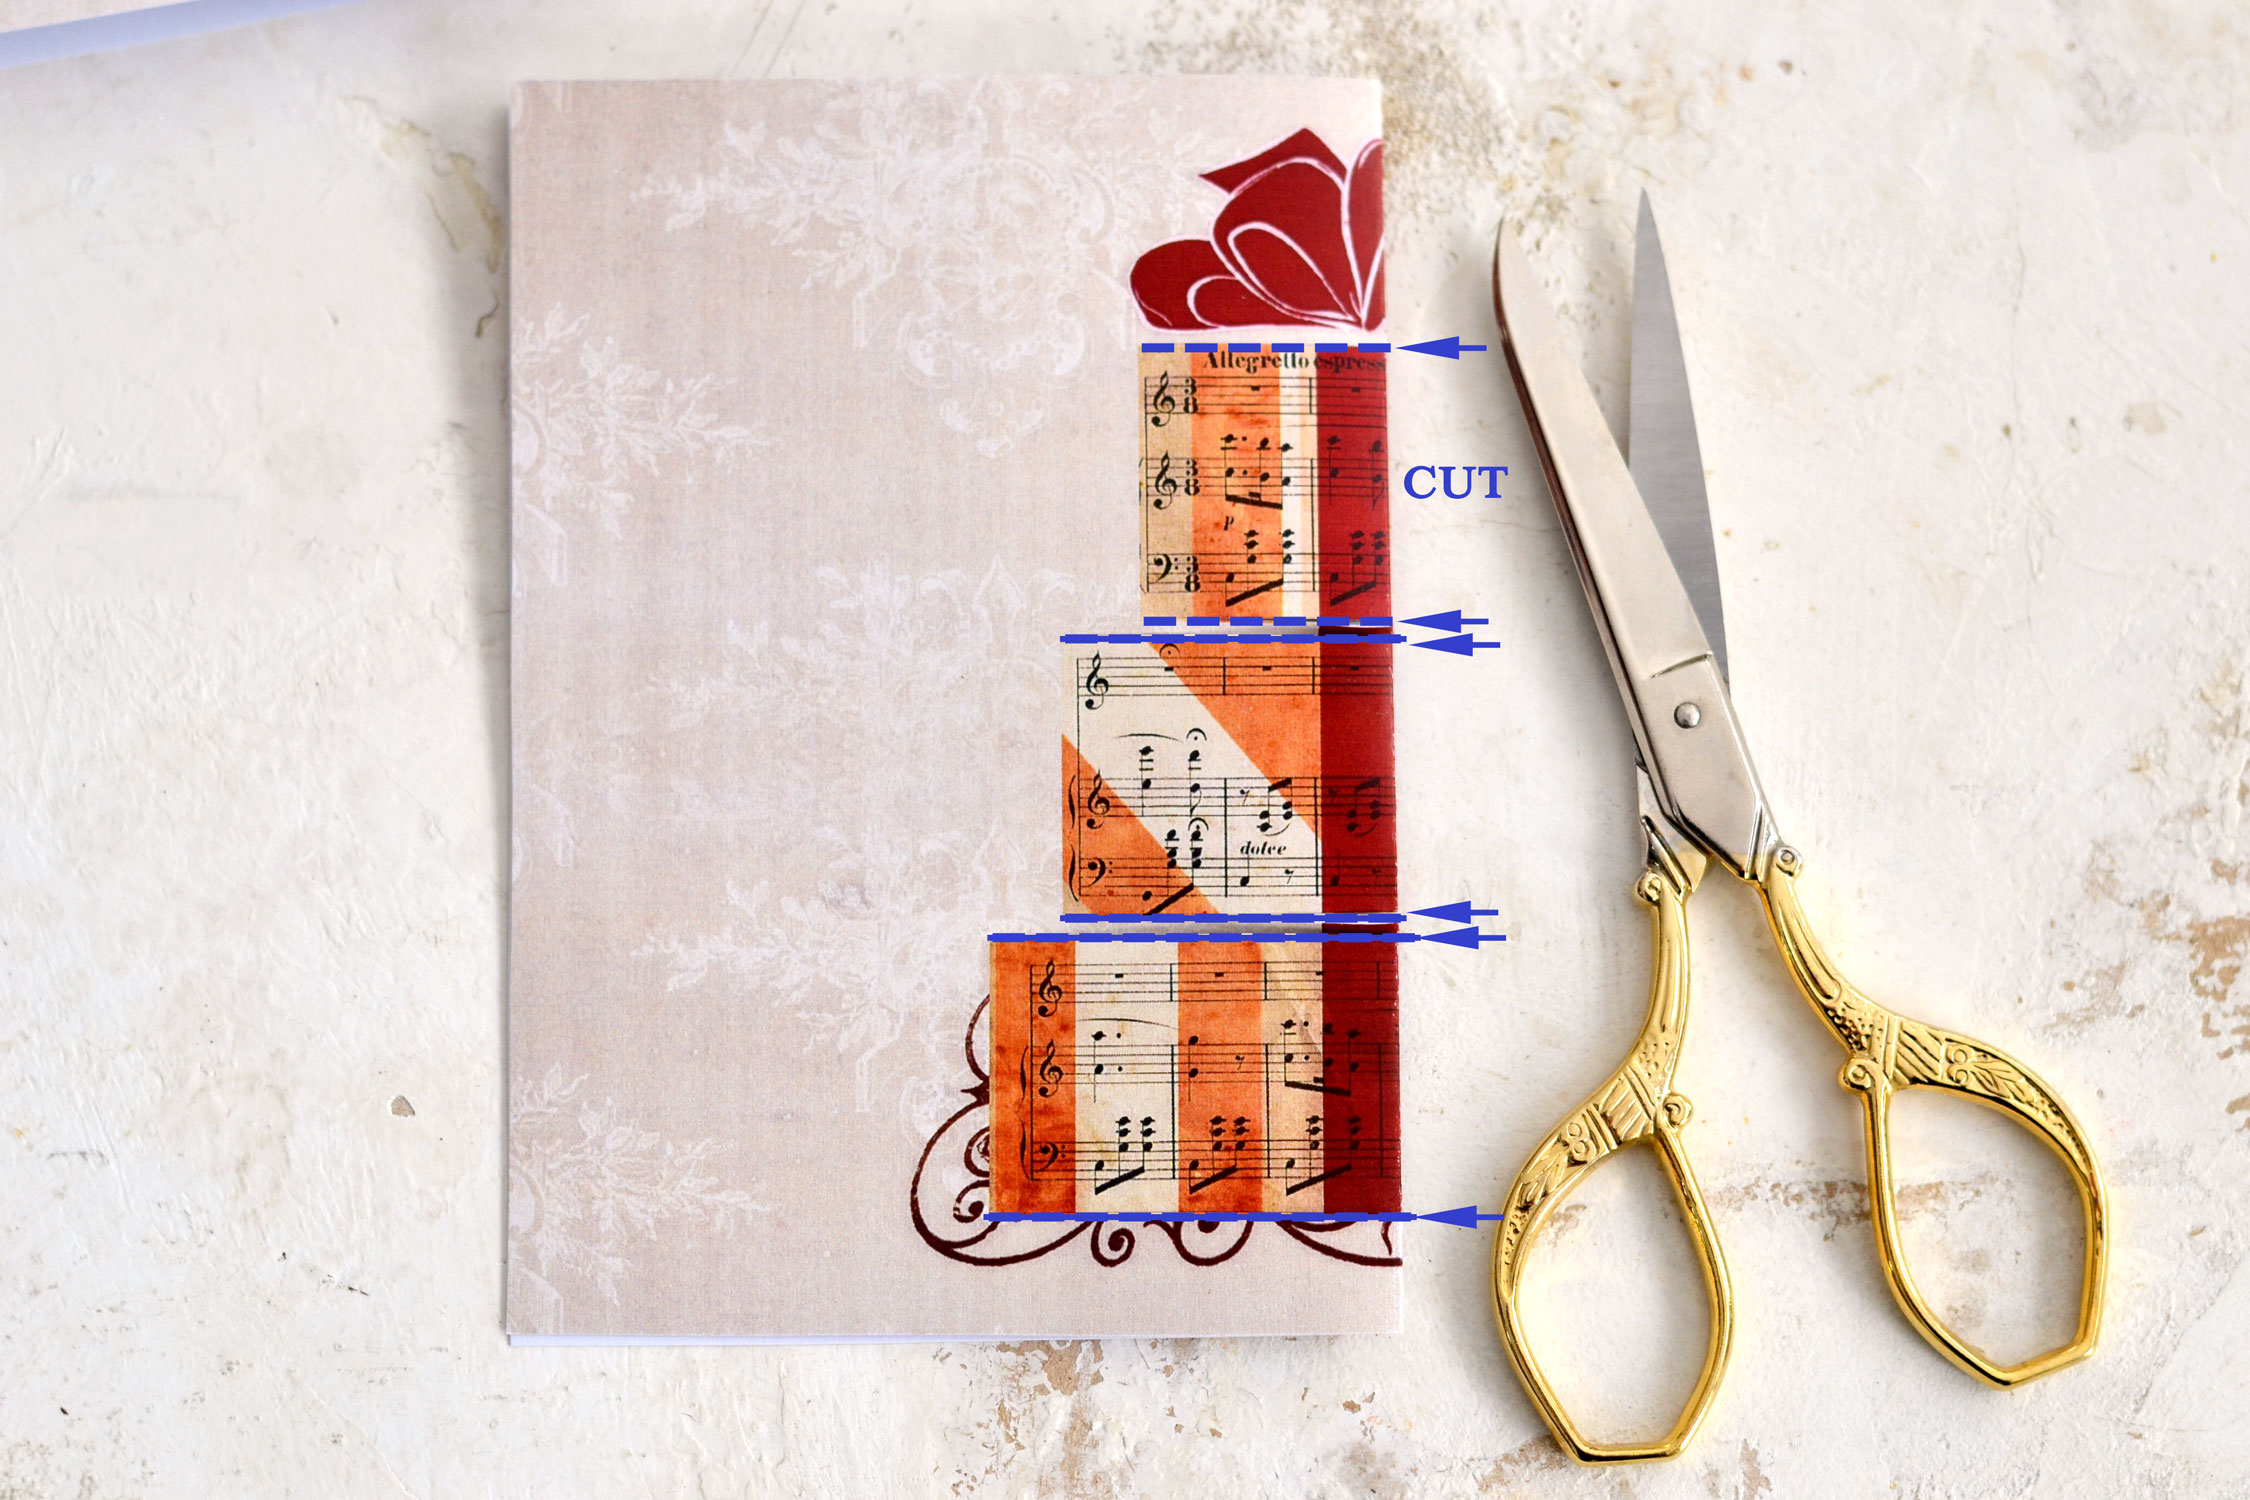
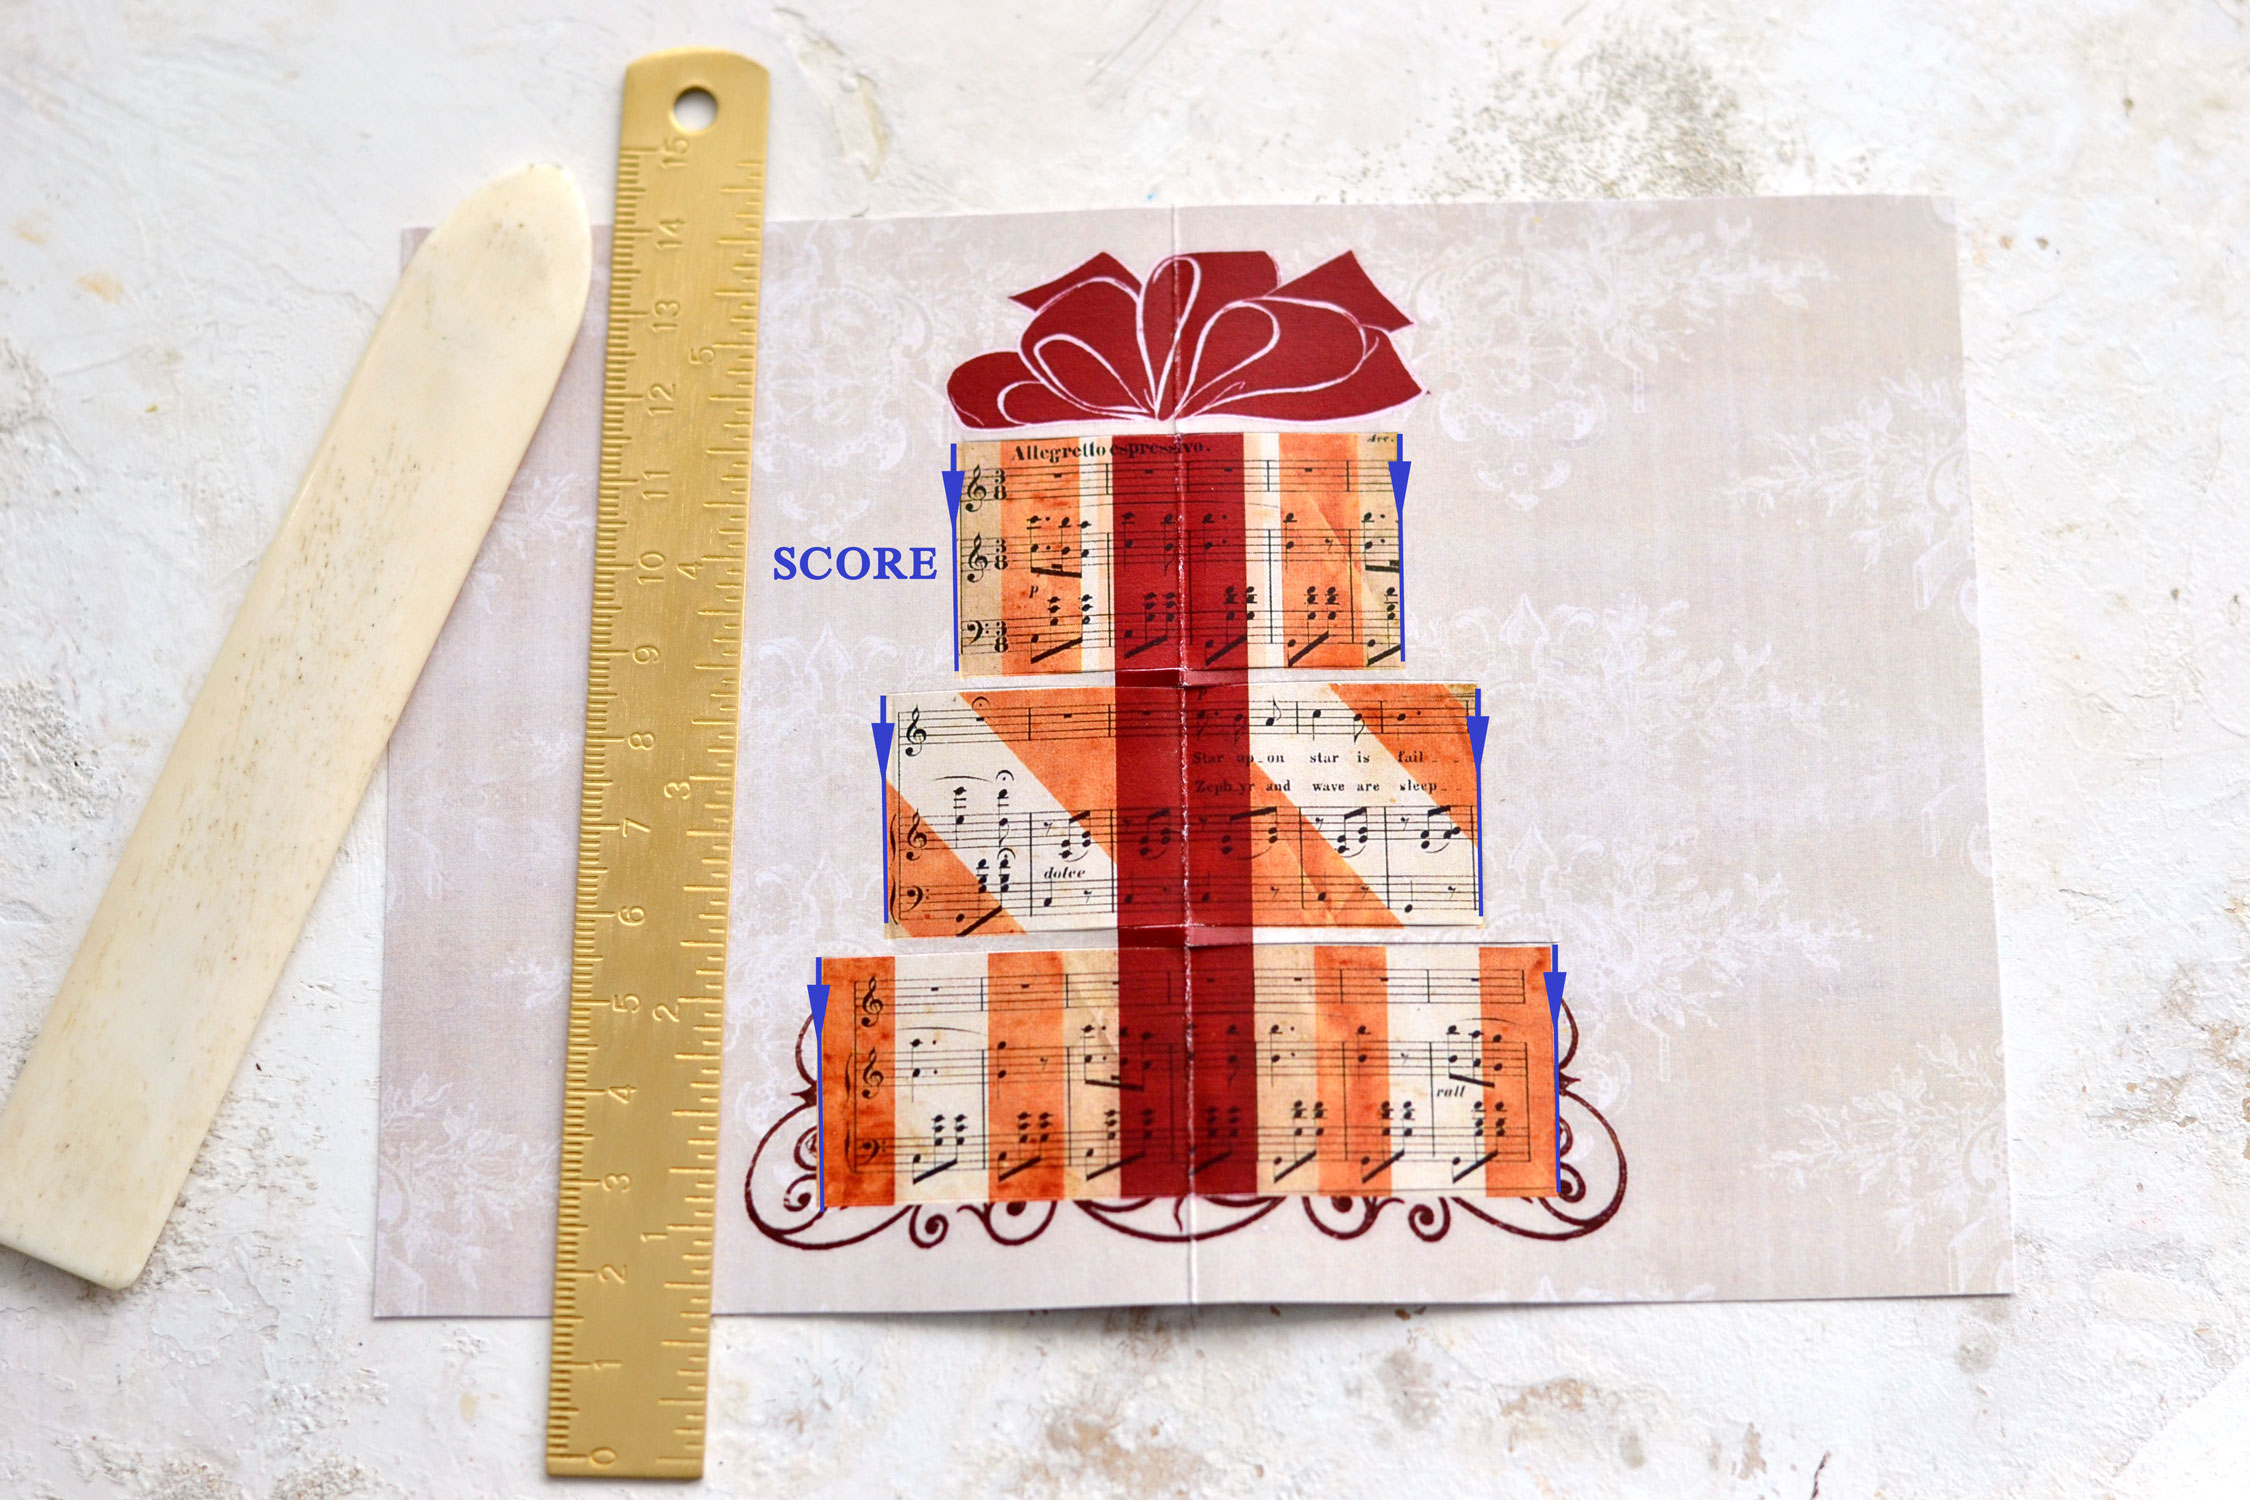
While the paper is still folded, use your scissors to create horizontal cuts on the top and on the bottom of each gift box. You’ll need to make 6 horizontal cuts following the design of the gift boxes – I highlighted them in blue, so you can better see what I mean. There will be some small paper pieces left between each gift, but don’t worry about them, we will be able to fold them with the whole assembly in the end.
Open and place the card on your table, then use a ruler and a bone folder to score vertical lines along each side of each gift. Just place the ruler on each side, then use your bone folder to press the paper and score the lines.
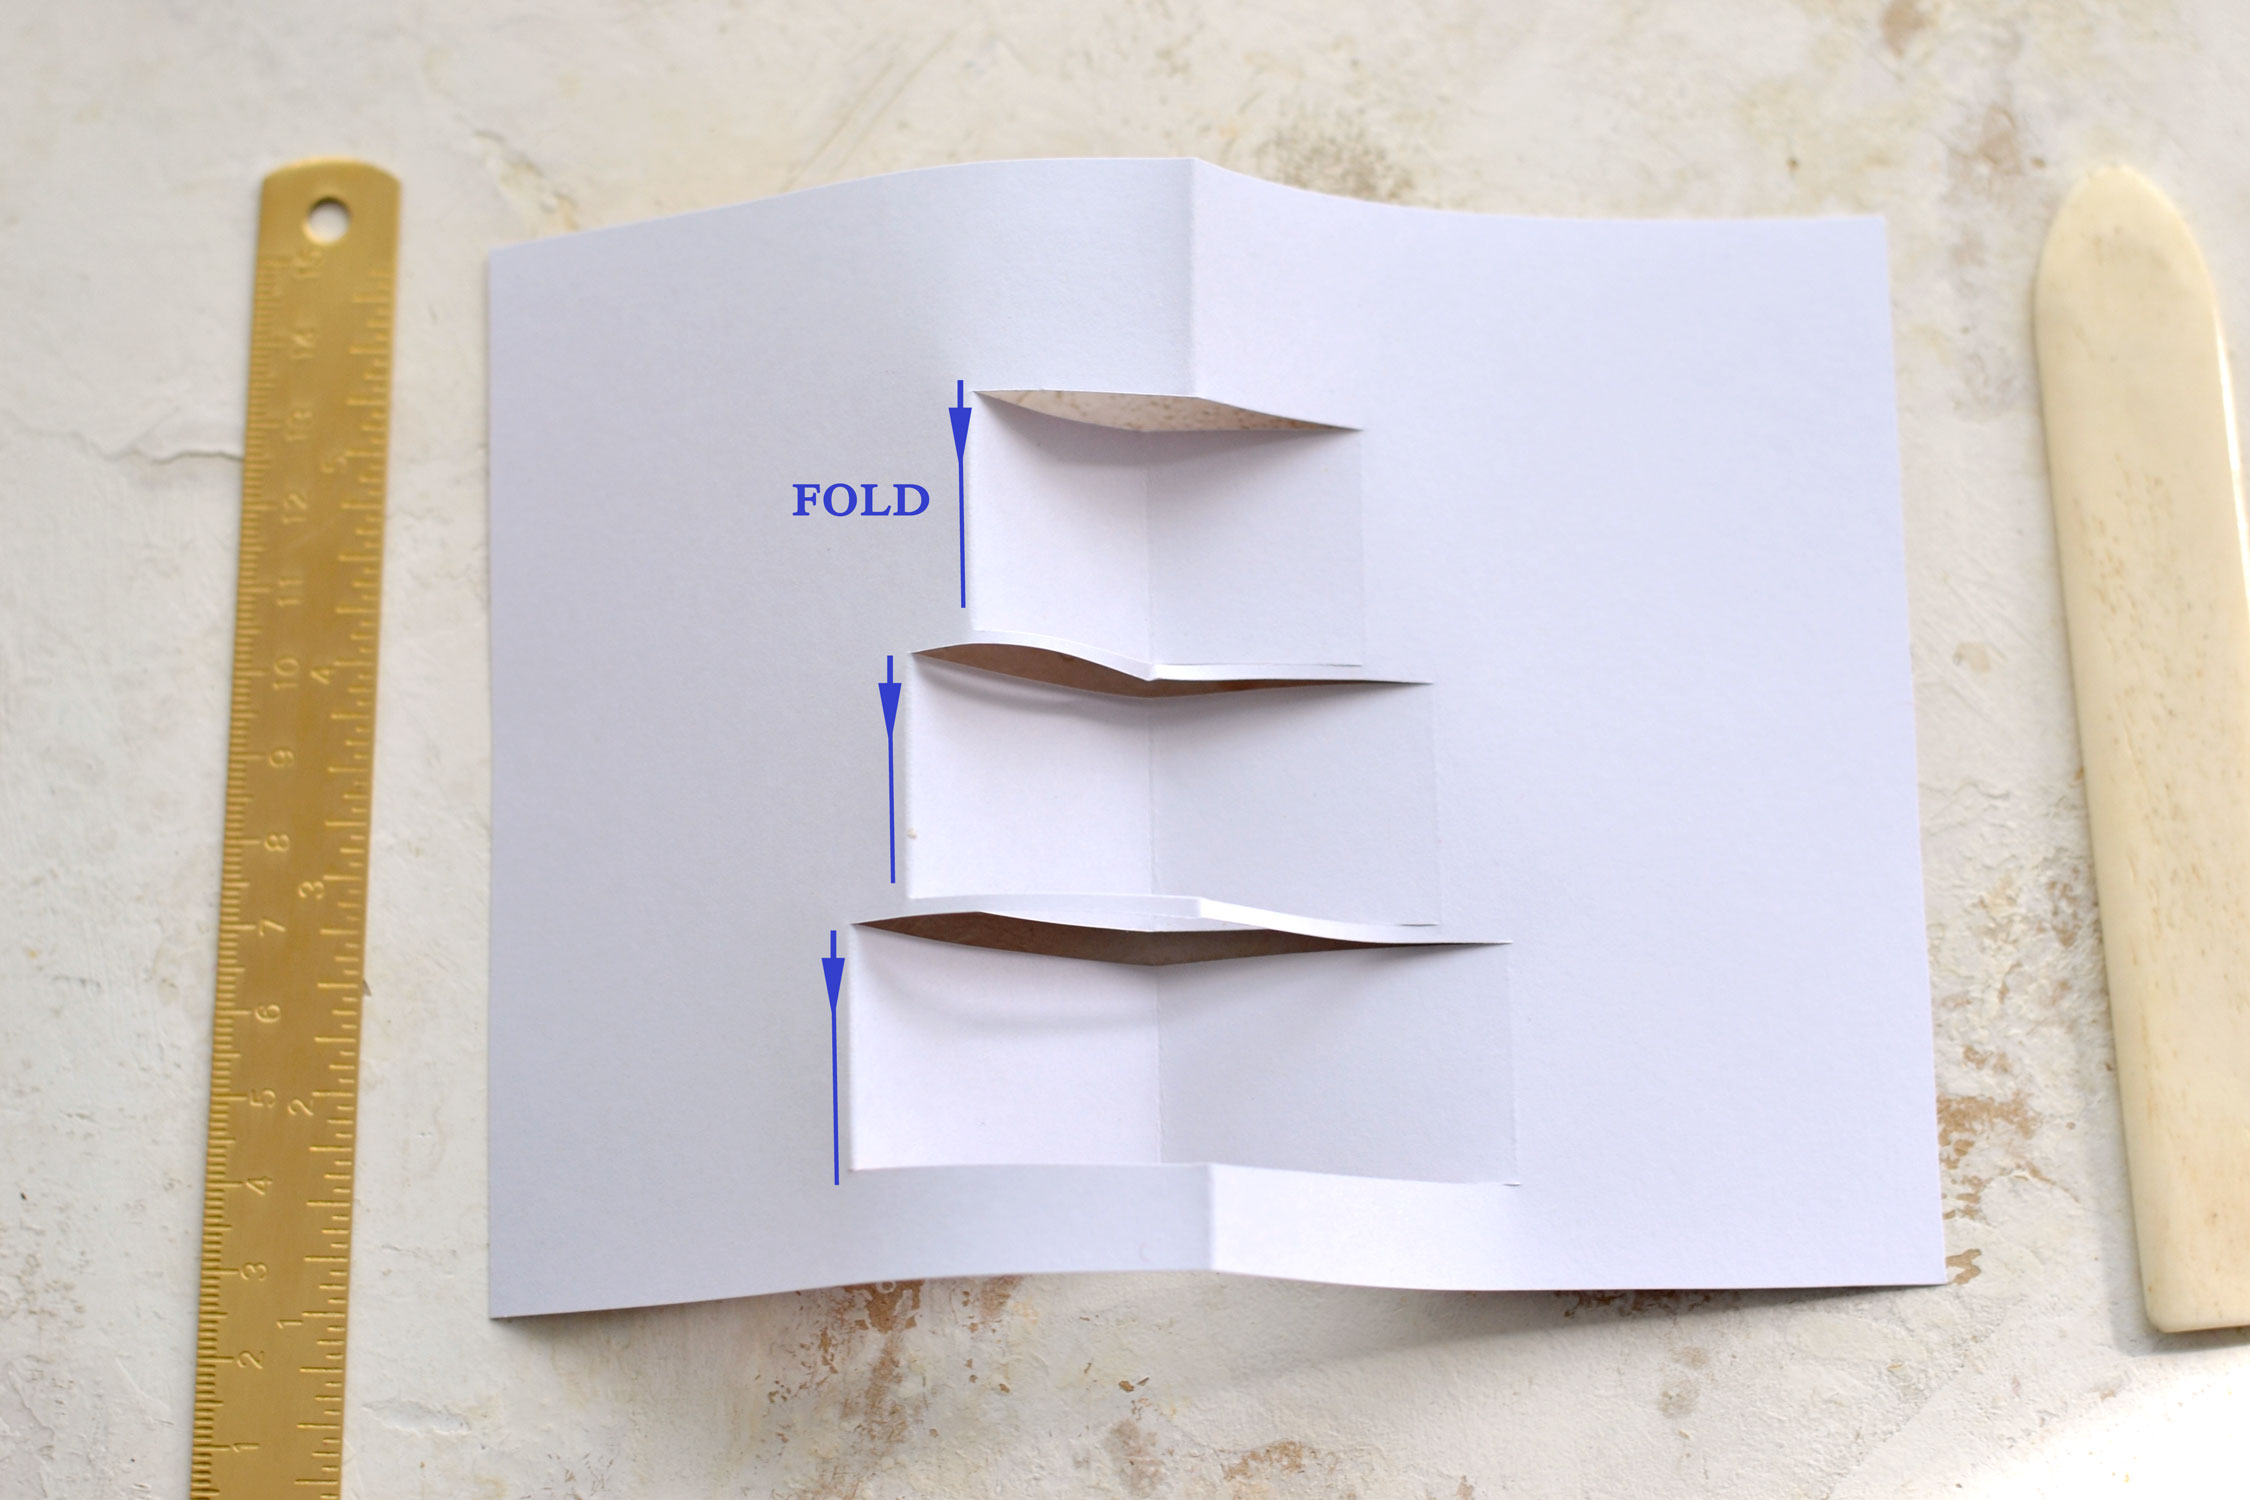
Now partially close the top and the bottom part of the card (the design should be on top) and go all over the middle fold on top and the middle fold on the bottom with your fingers – this will change the initial folding direction of these two.
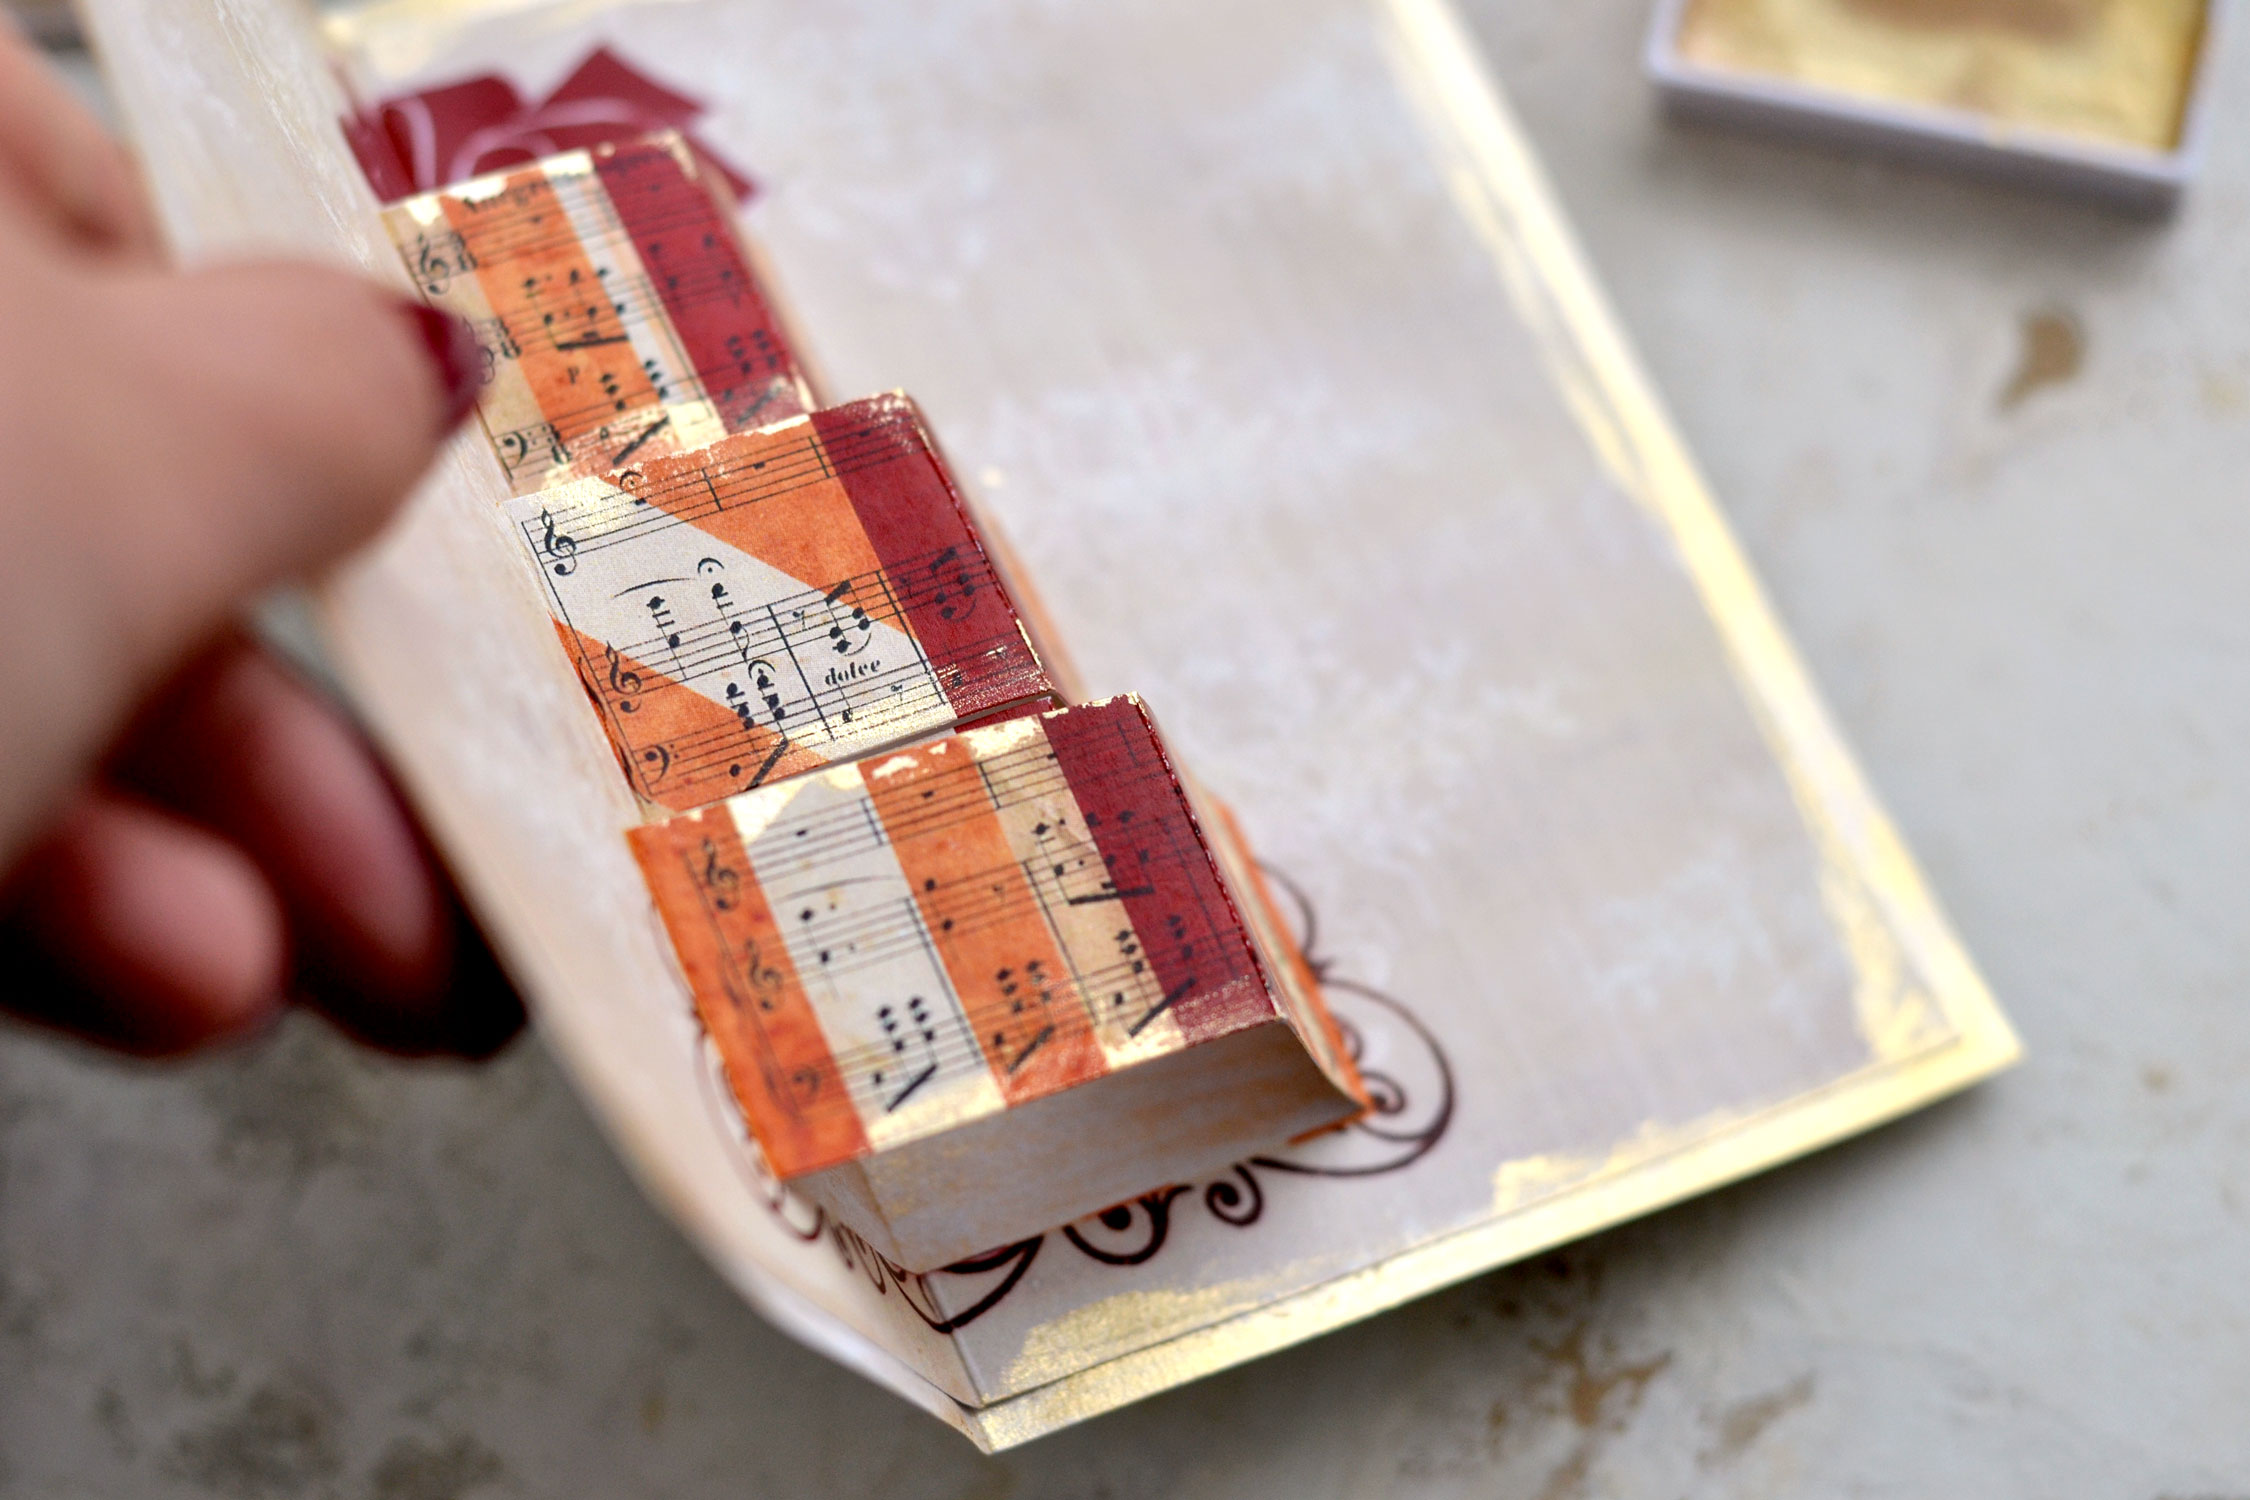
Flip the paper over (the design should be underneath ) then use your fingers to pinch and fold the vertical scored lines that we created on both sides of each gift box. You can see in the image below that I started to fold the left sides first which immediately looked more dimensional than the right sides which were not folded yet.
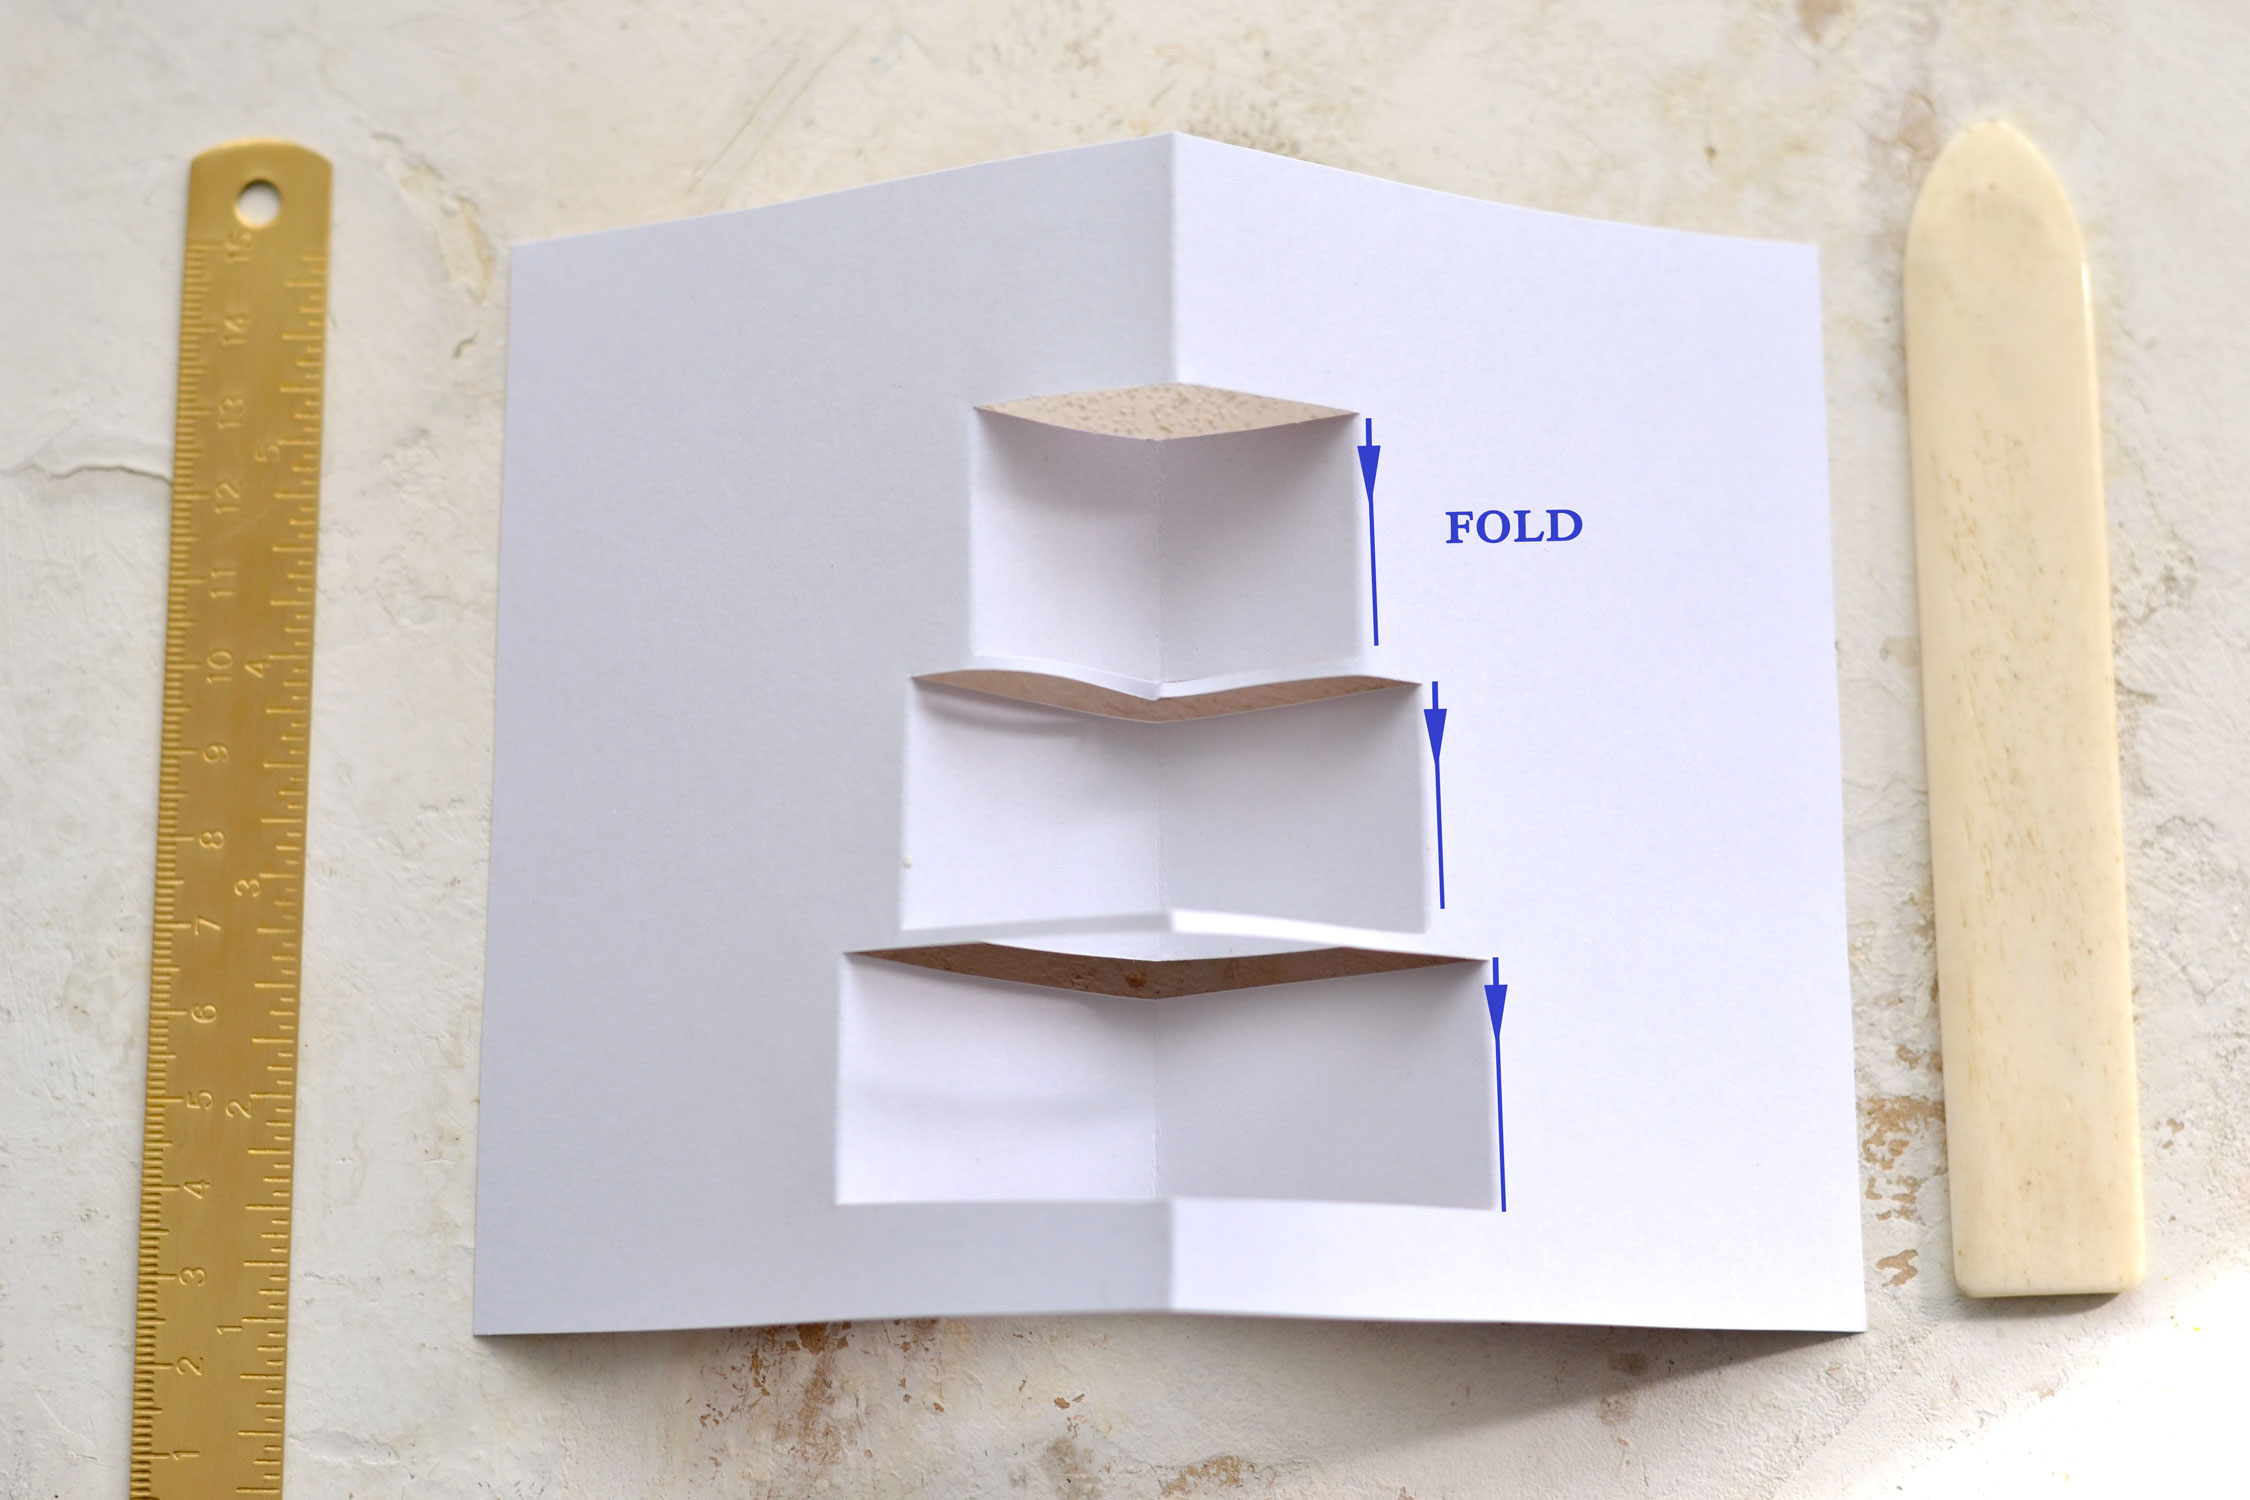
Fold the vertical scored lines from the right, too.
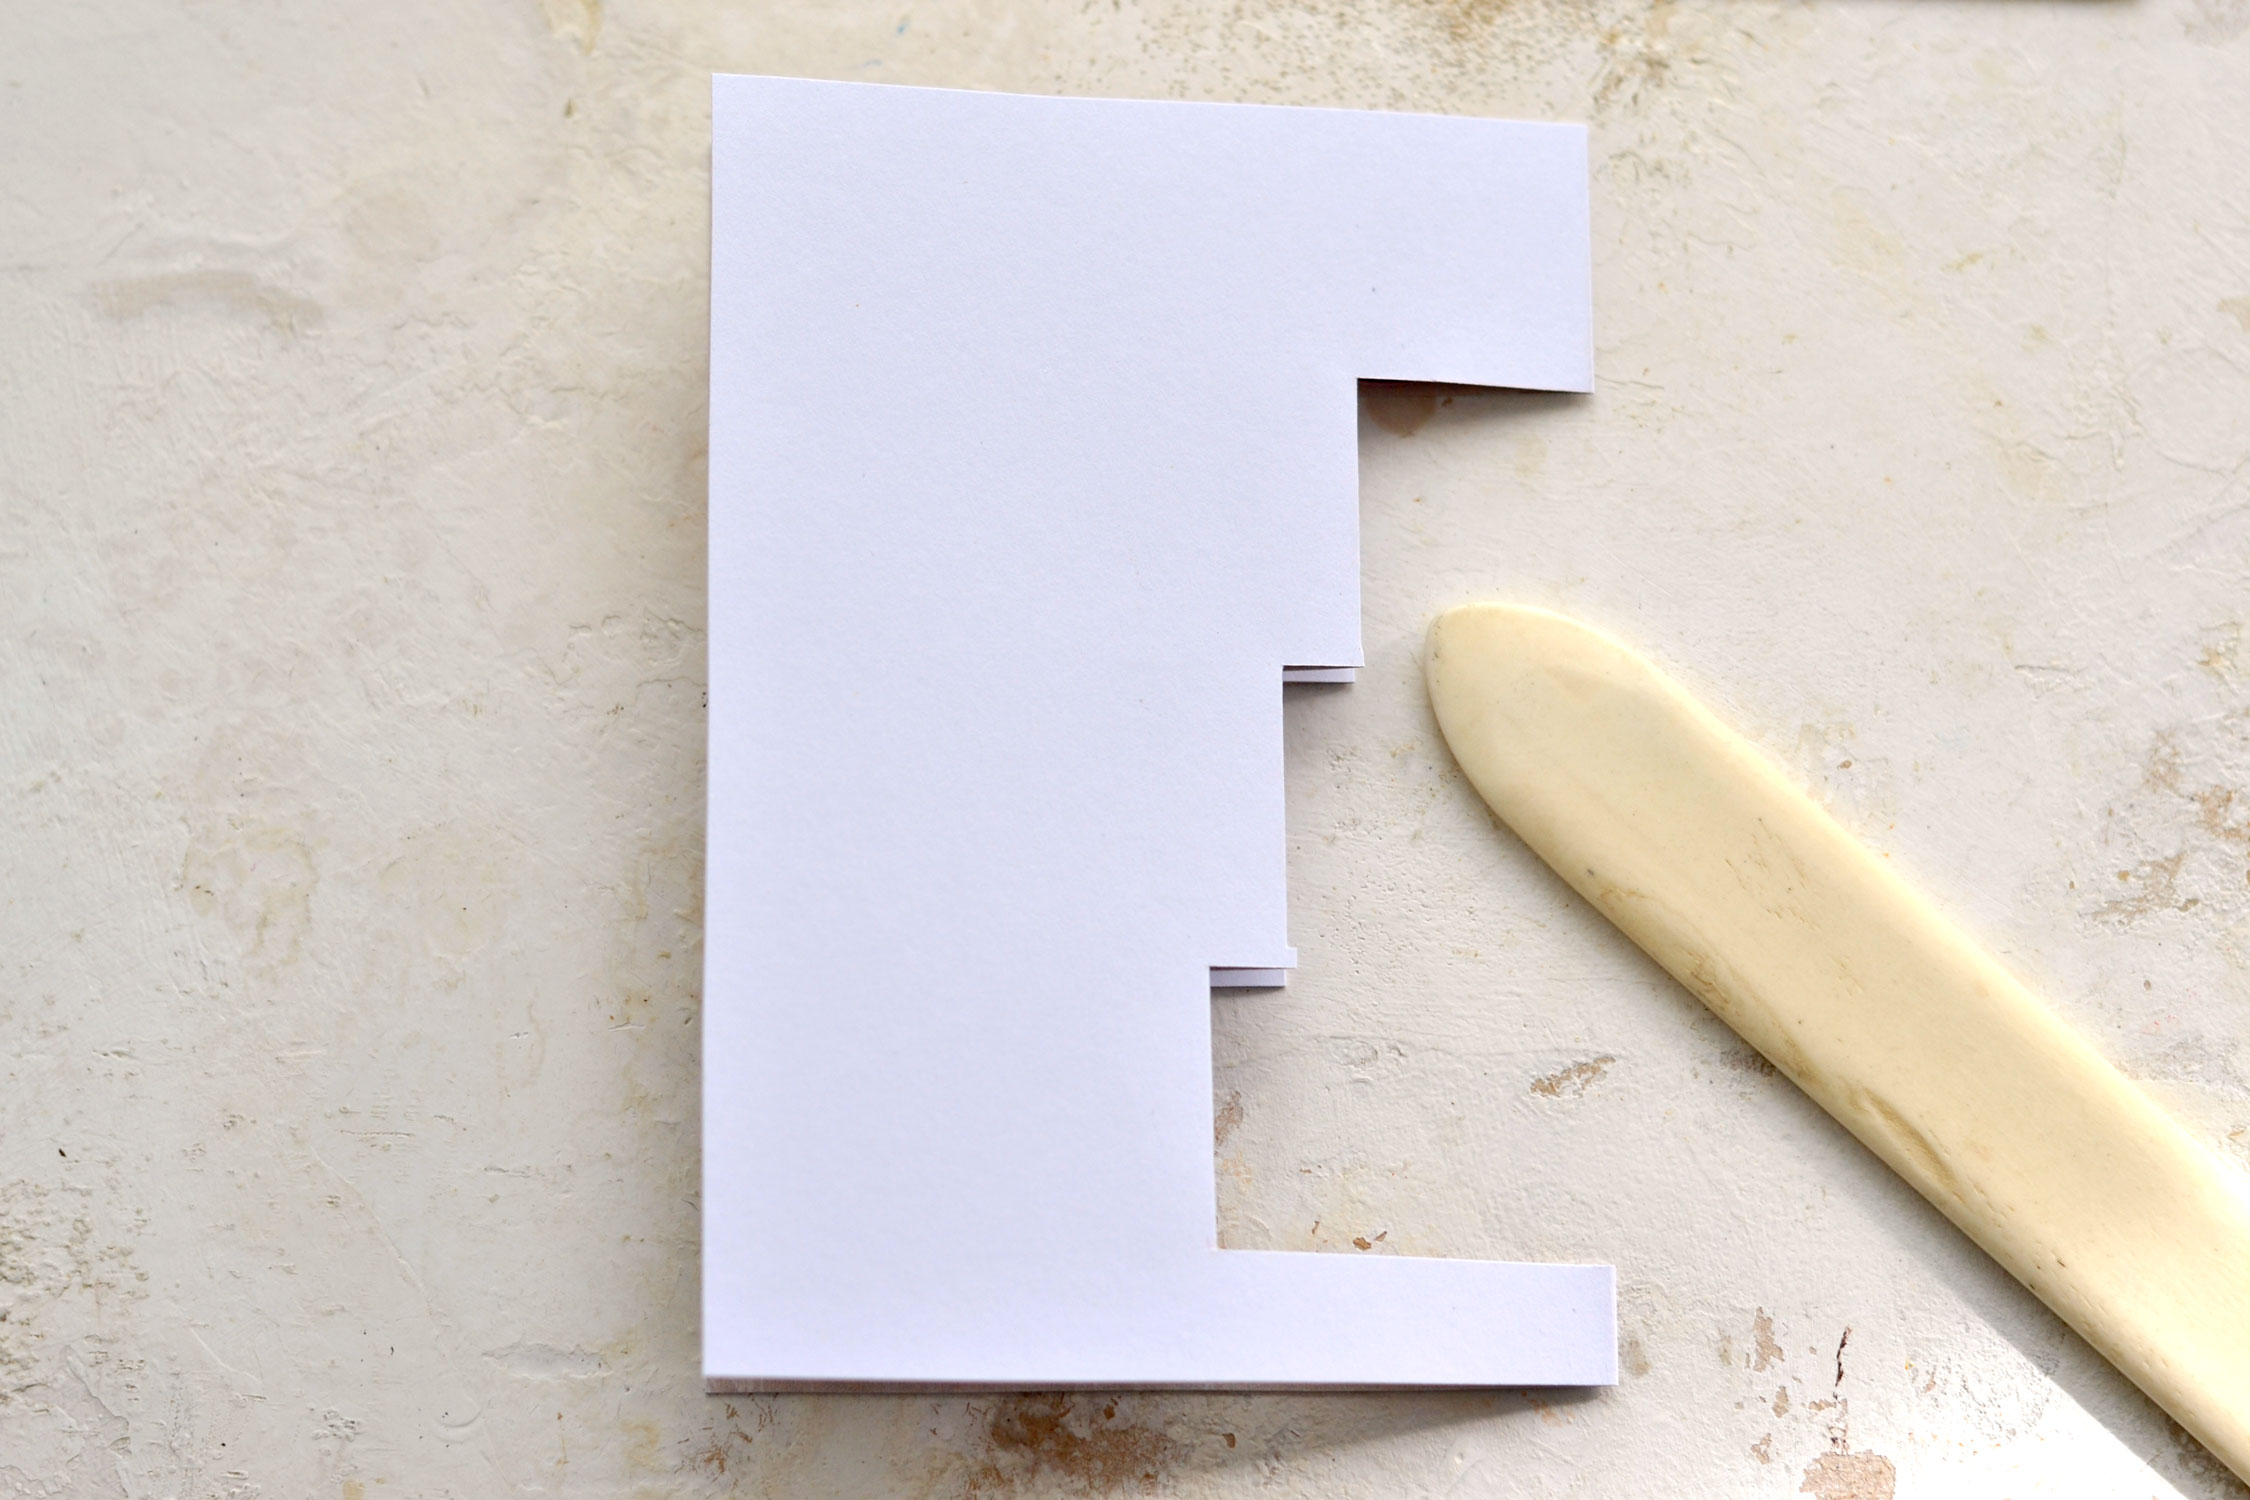
Now you should be able to fold the whole page in half while making sure all the gift boxes are perfectly tucked inside!
Place the folded paper on your table and use your bone folder once again to go all over the folded parts to flatten them even more.
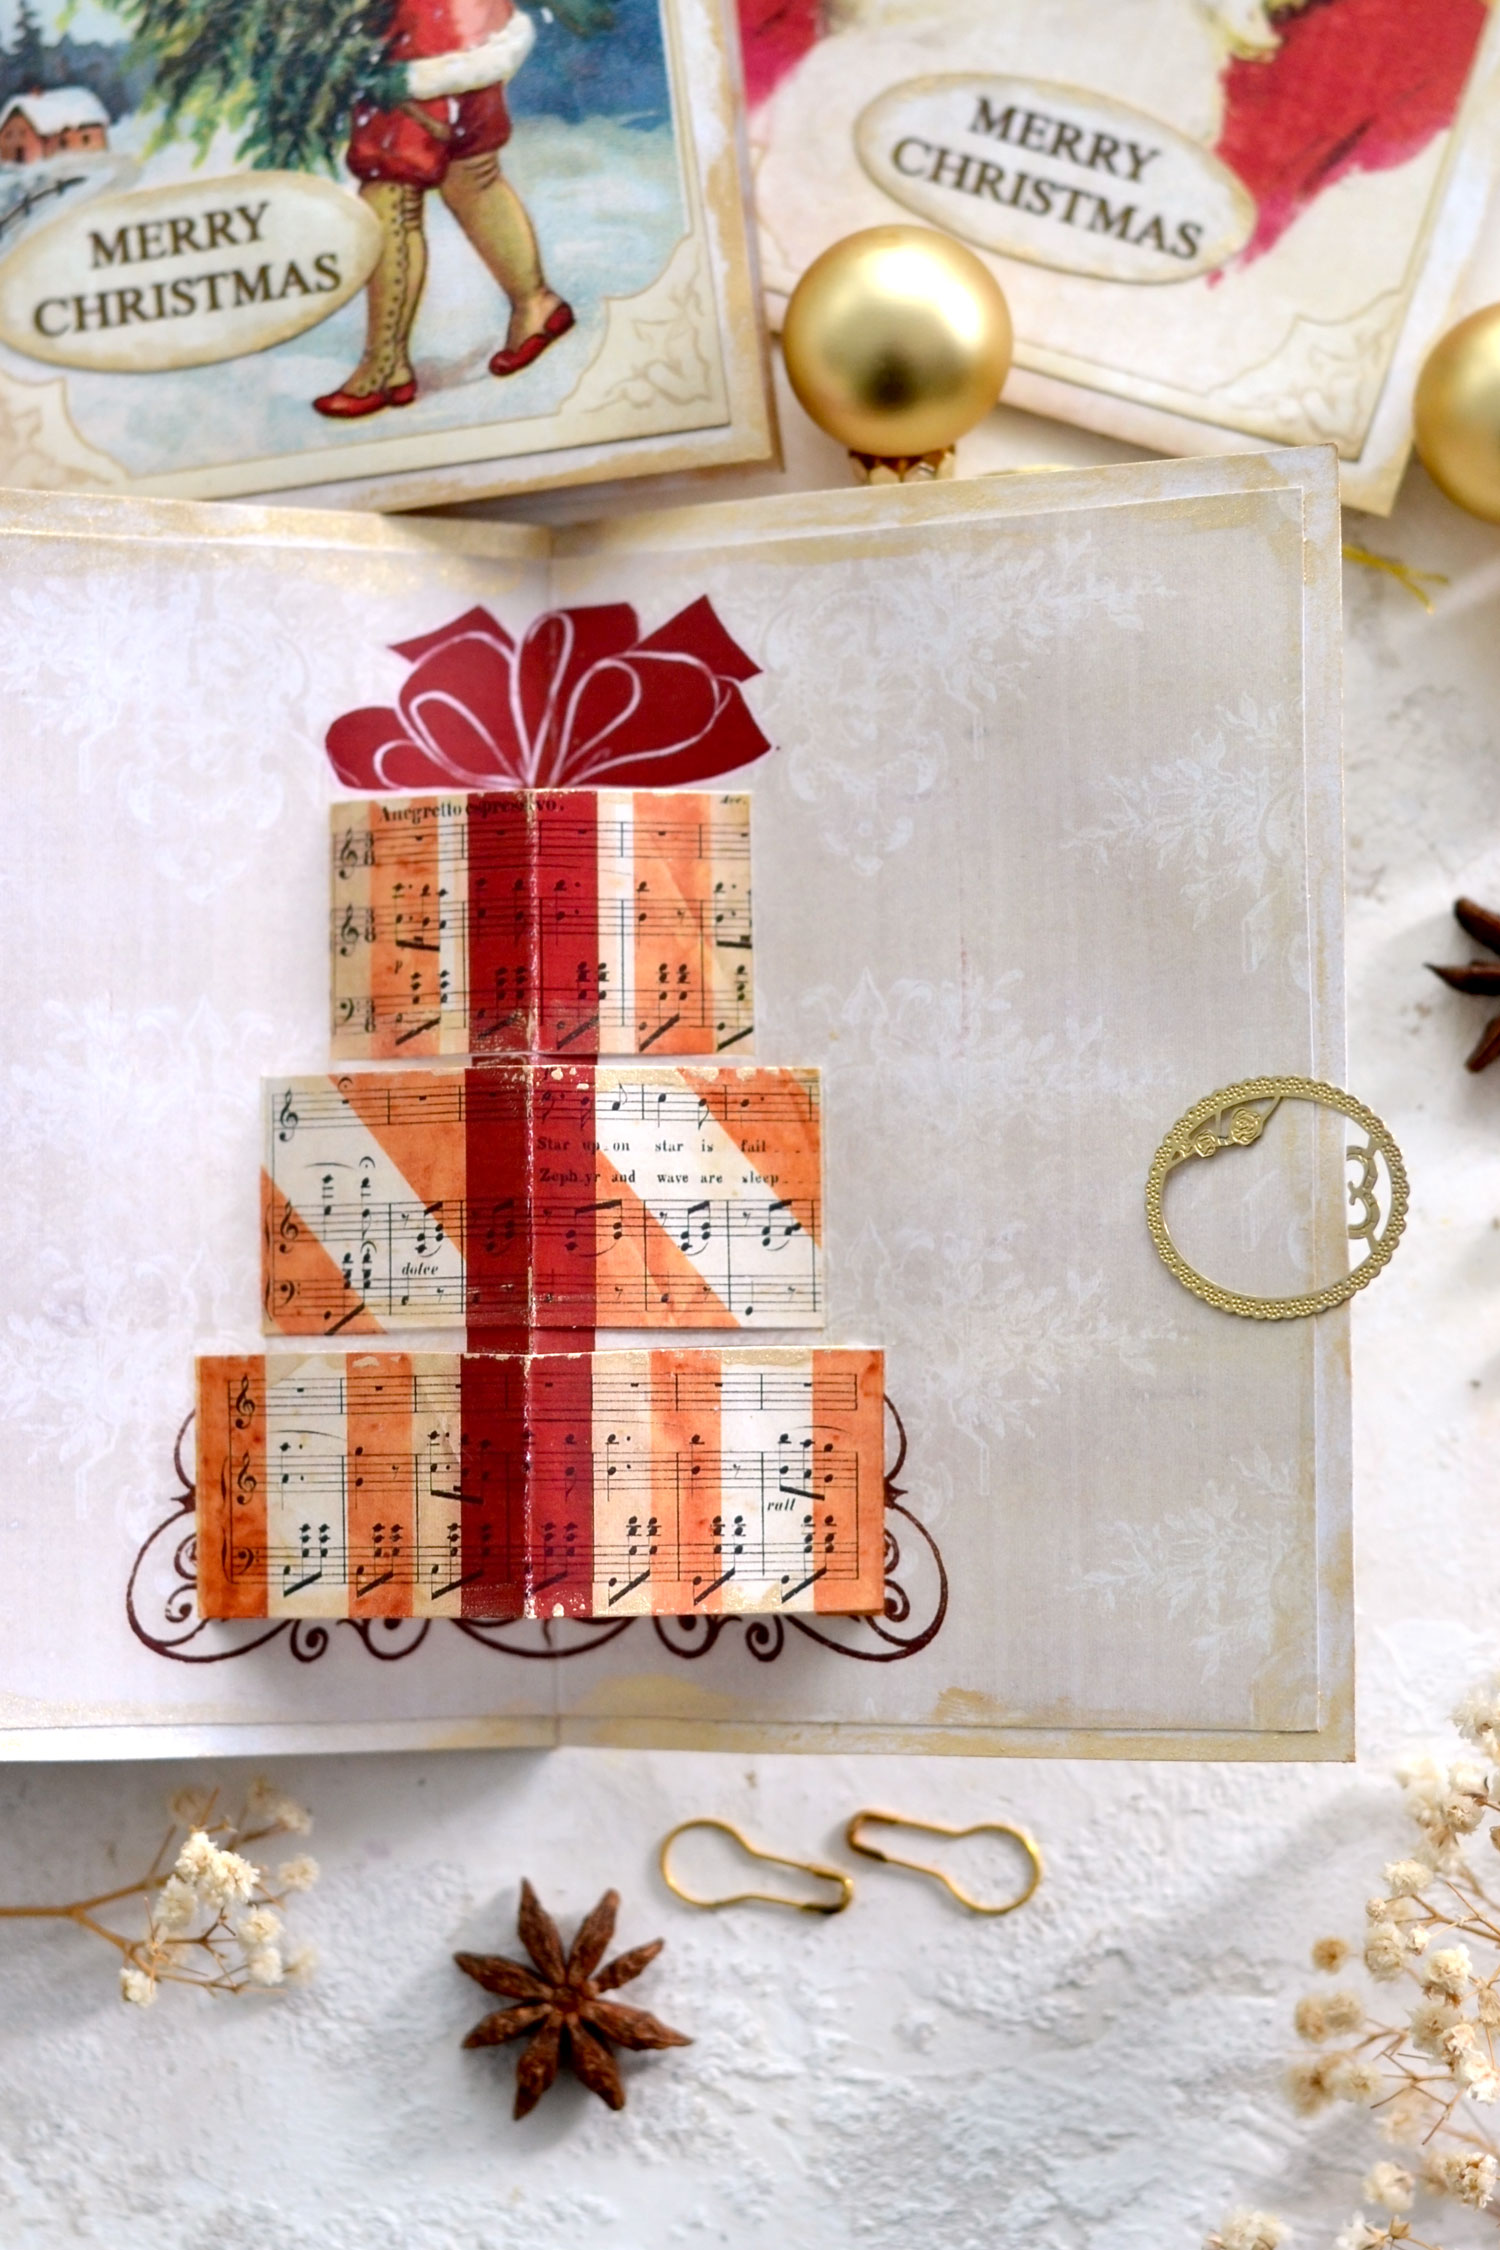
And now, when you open your folded paper, you should be able to admire your new pop up mechanism!
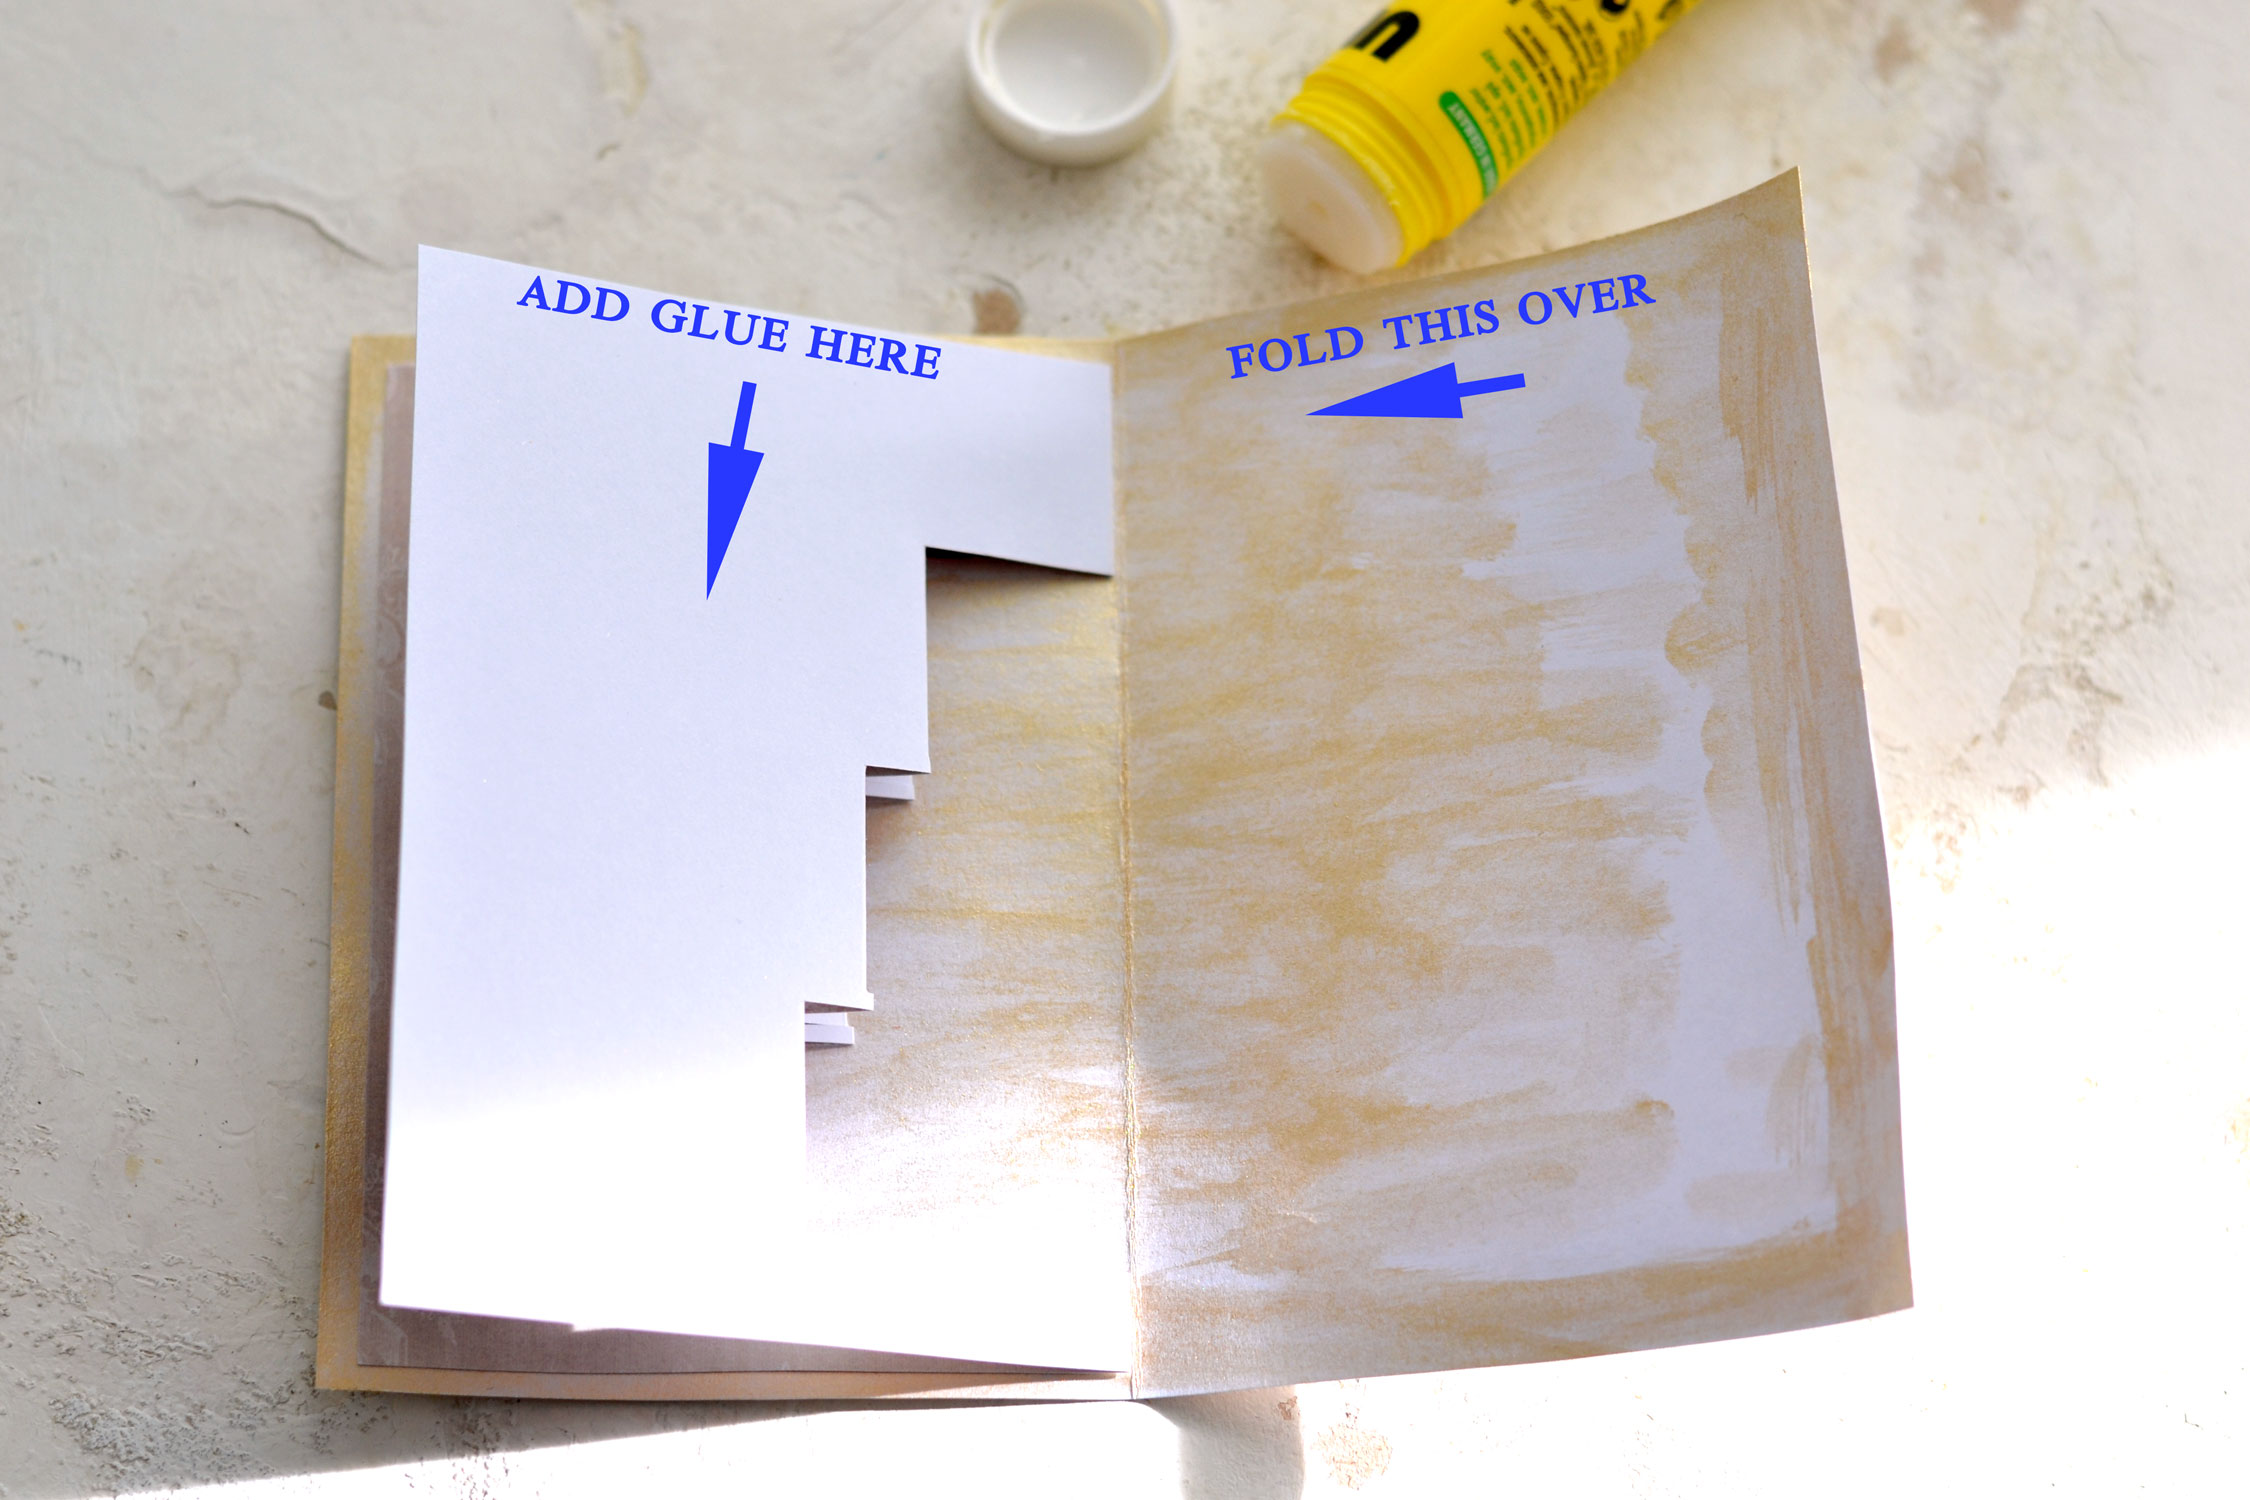
When the card base is completely dry, place the folded pop up mechanism inside and use glue to adhere the two parts together.
I actually found it easier to place and position the folded pop mechanism inside without any glue at first. Then I added the glue on one side of the folded mechanism and just folded the card base over, like closing a book. Press the closed card so that the glue has a chance to dry, then open the other side and follow the same steps to add glue to the mechanism, then fold the card base over.
If you want, you can add a little bit of that lovely gold paint on the edges of the 3D gift boxes, but also on the edges of the inside card as well. I actually used my finger to perform this whole operation, I love the perfectly imperfect gold touches that you can add this way!
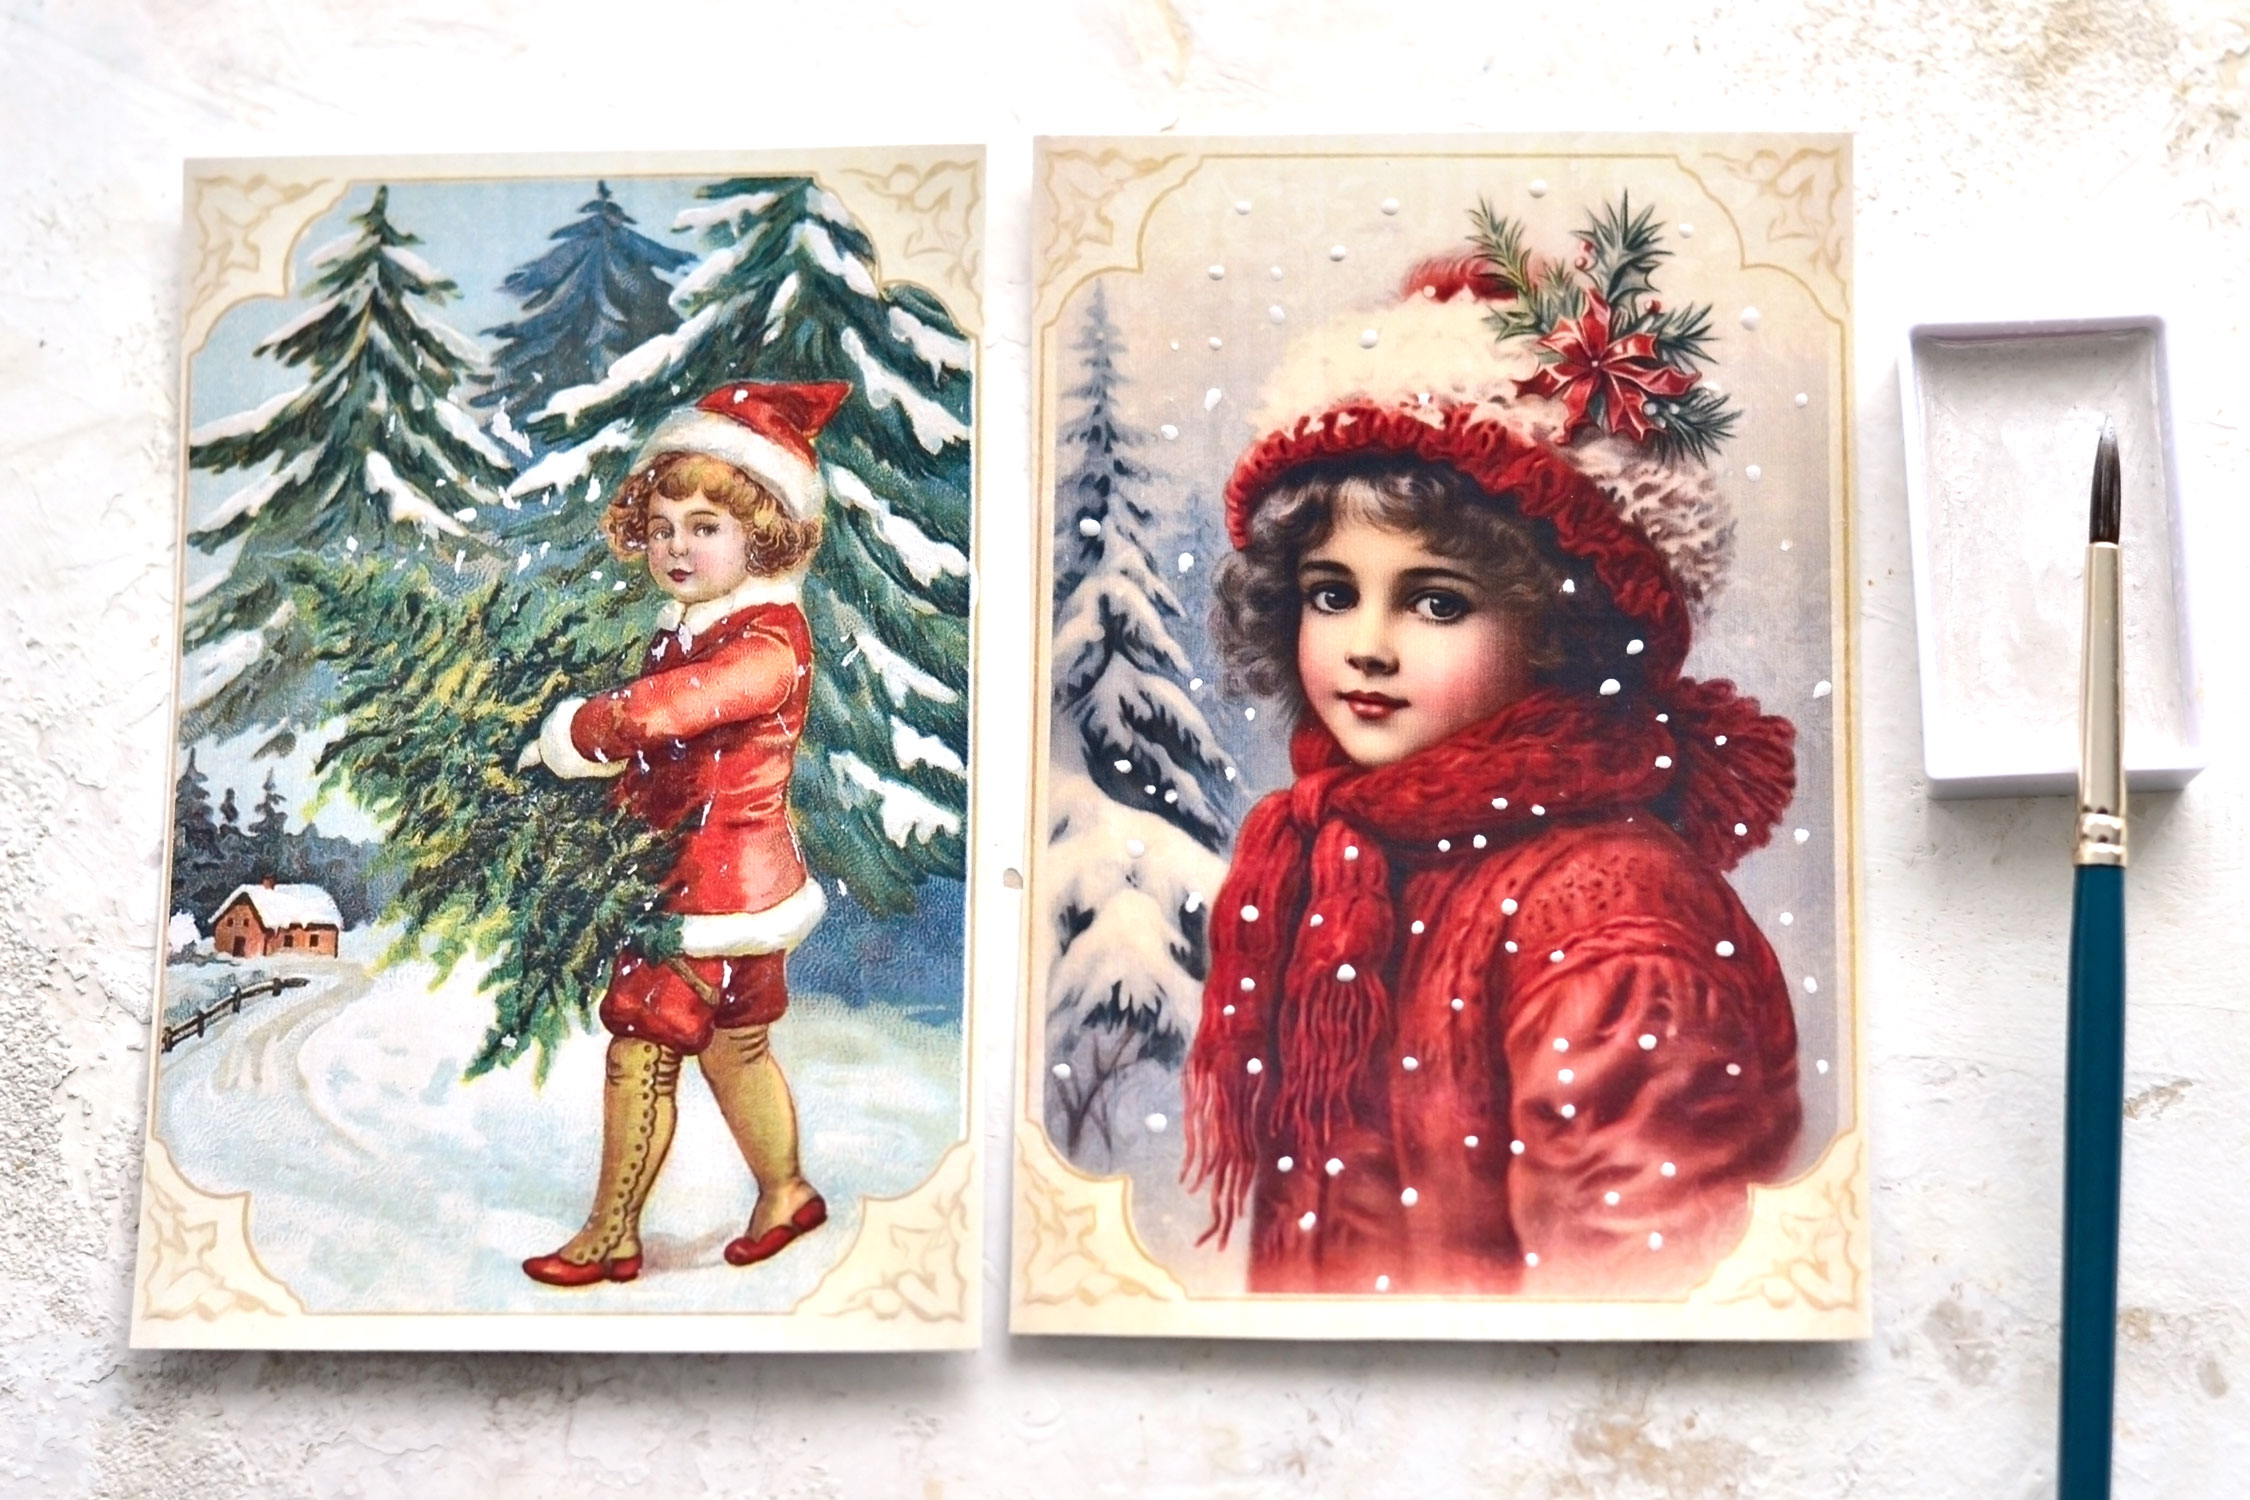
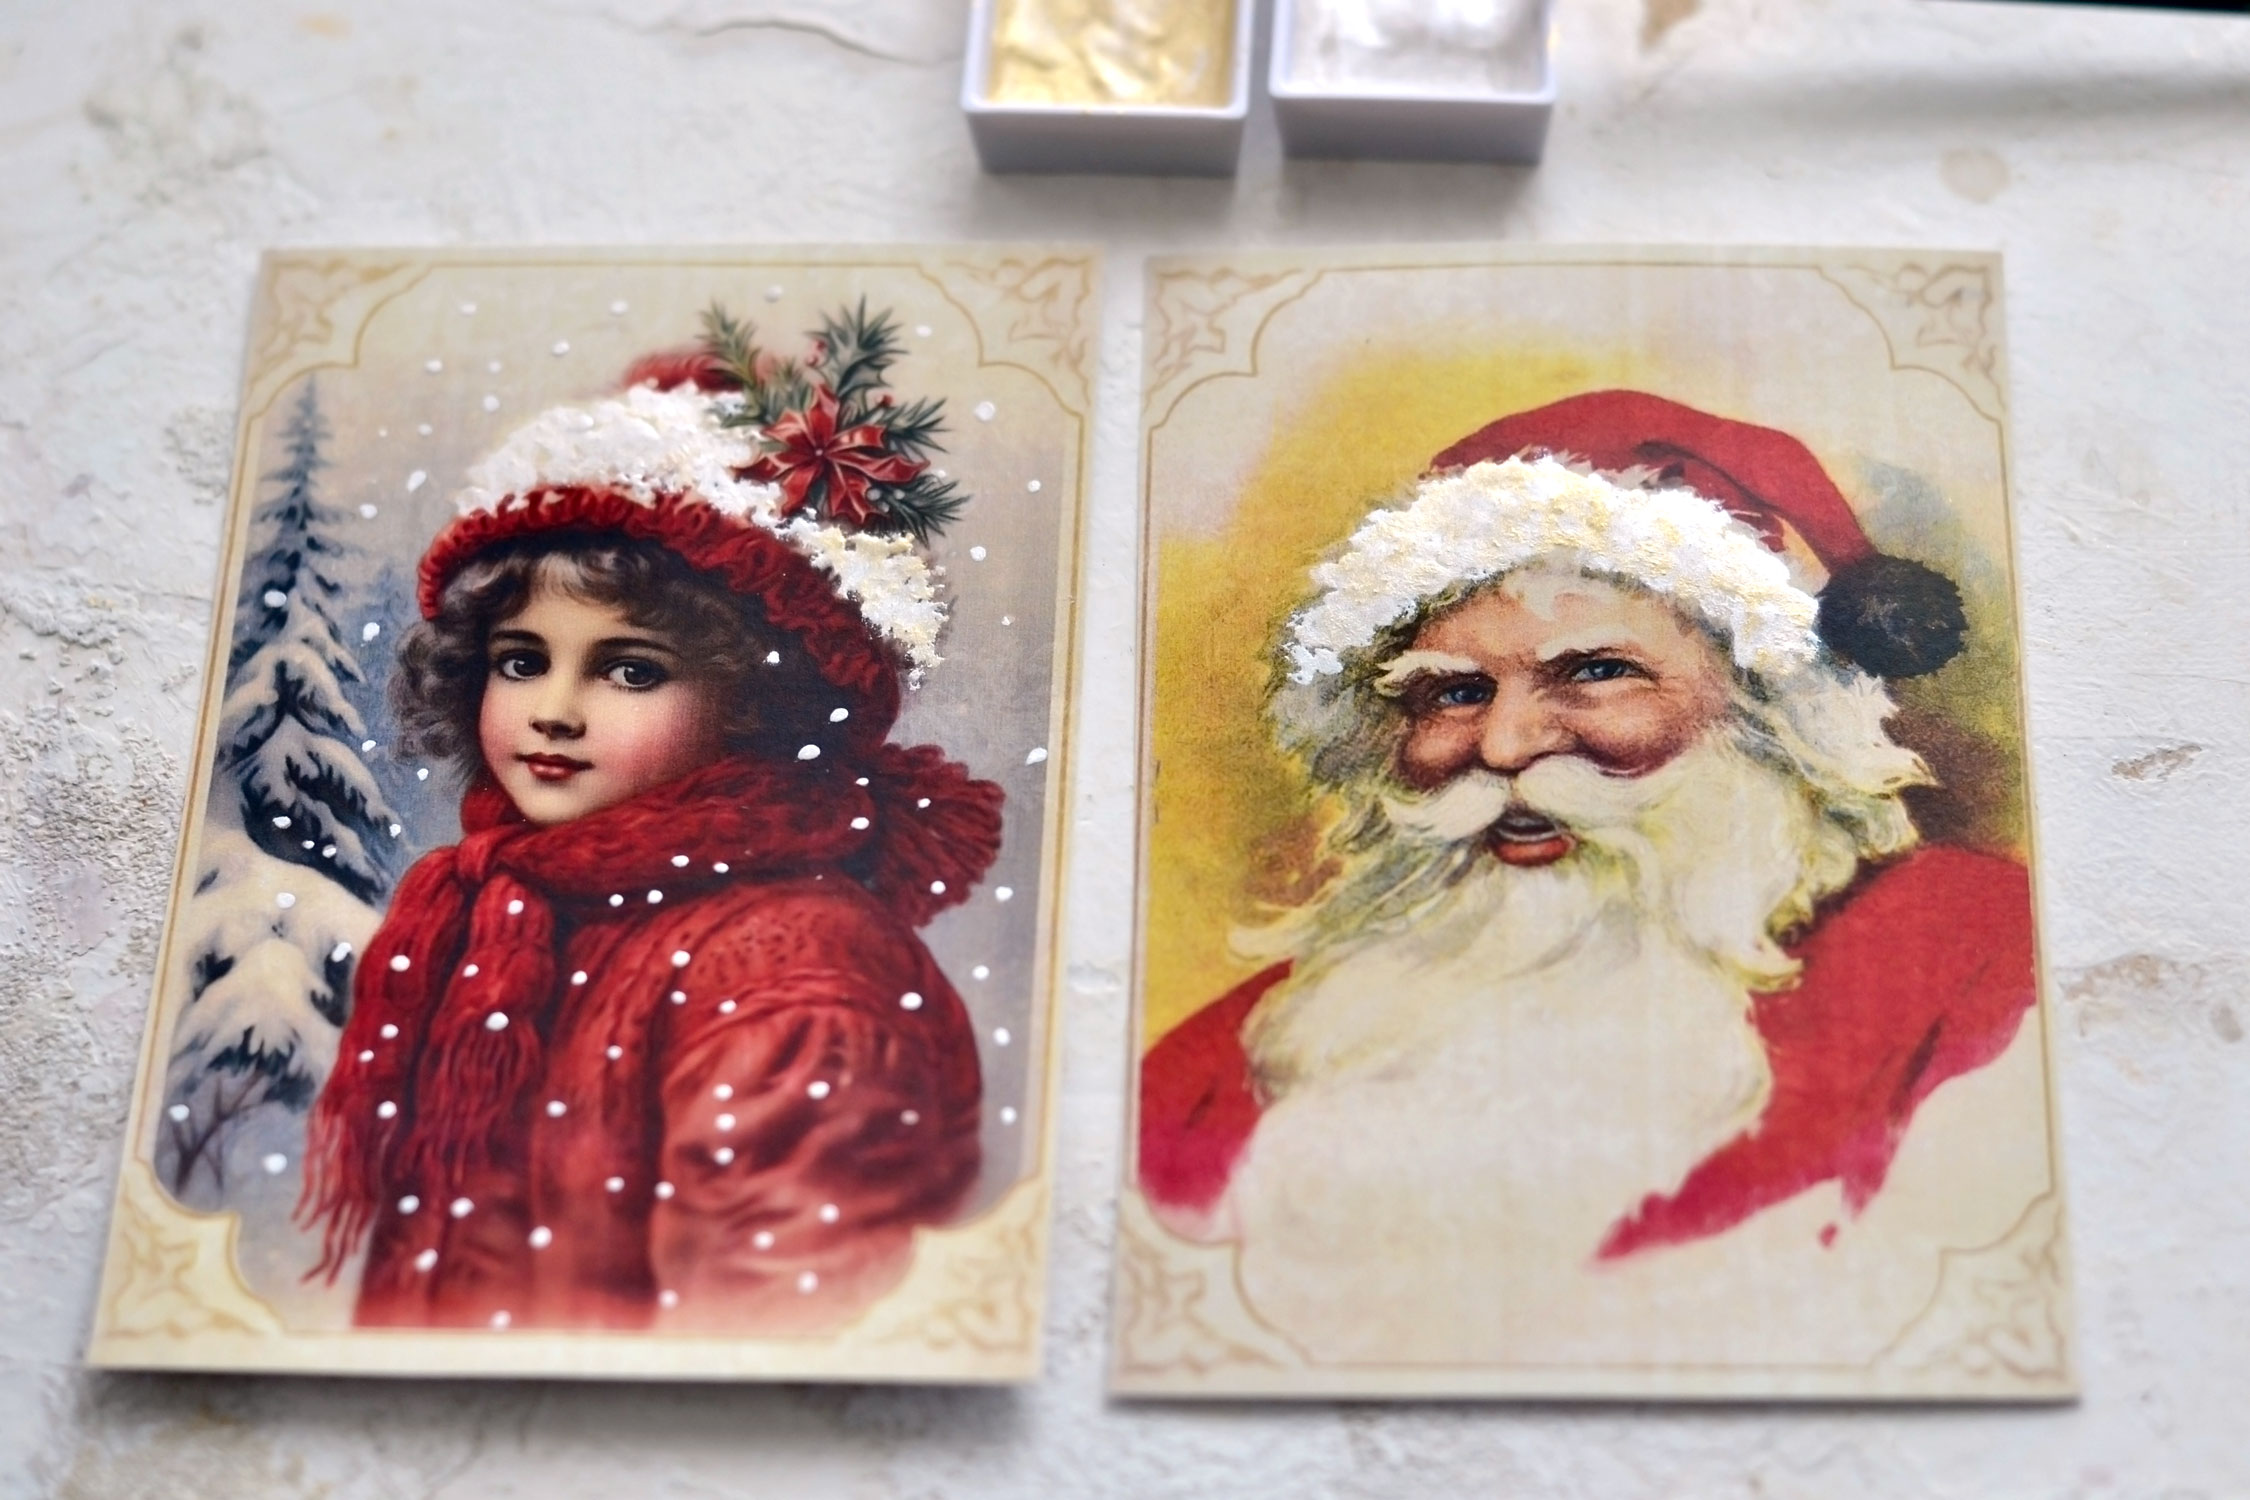
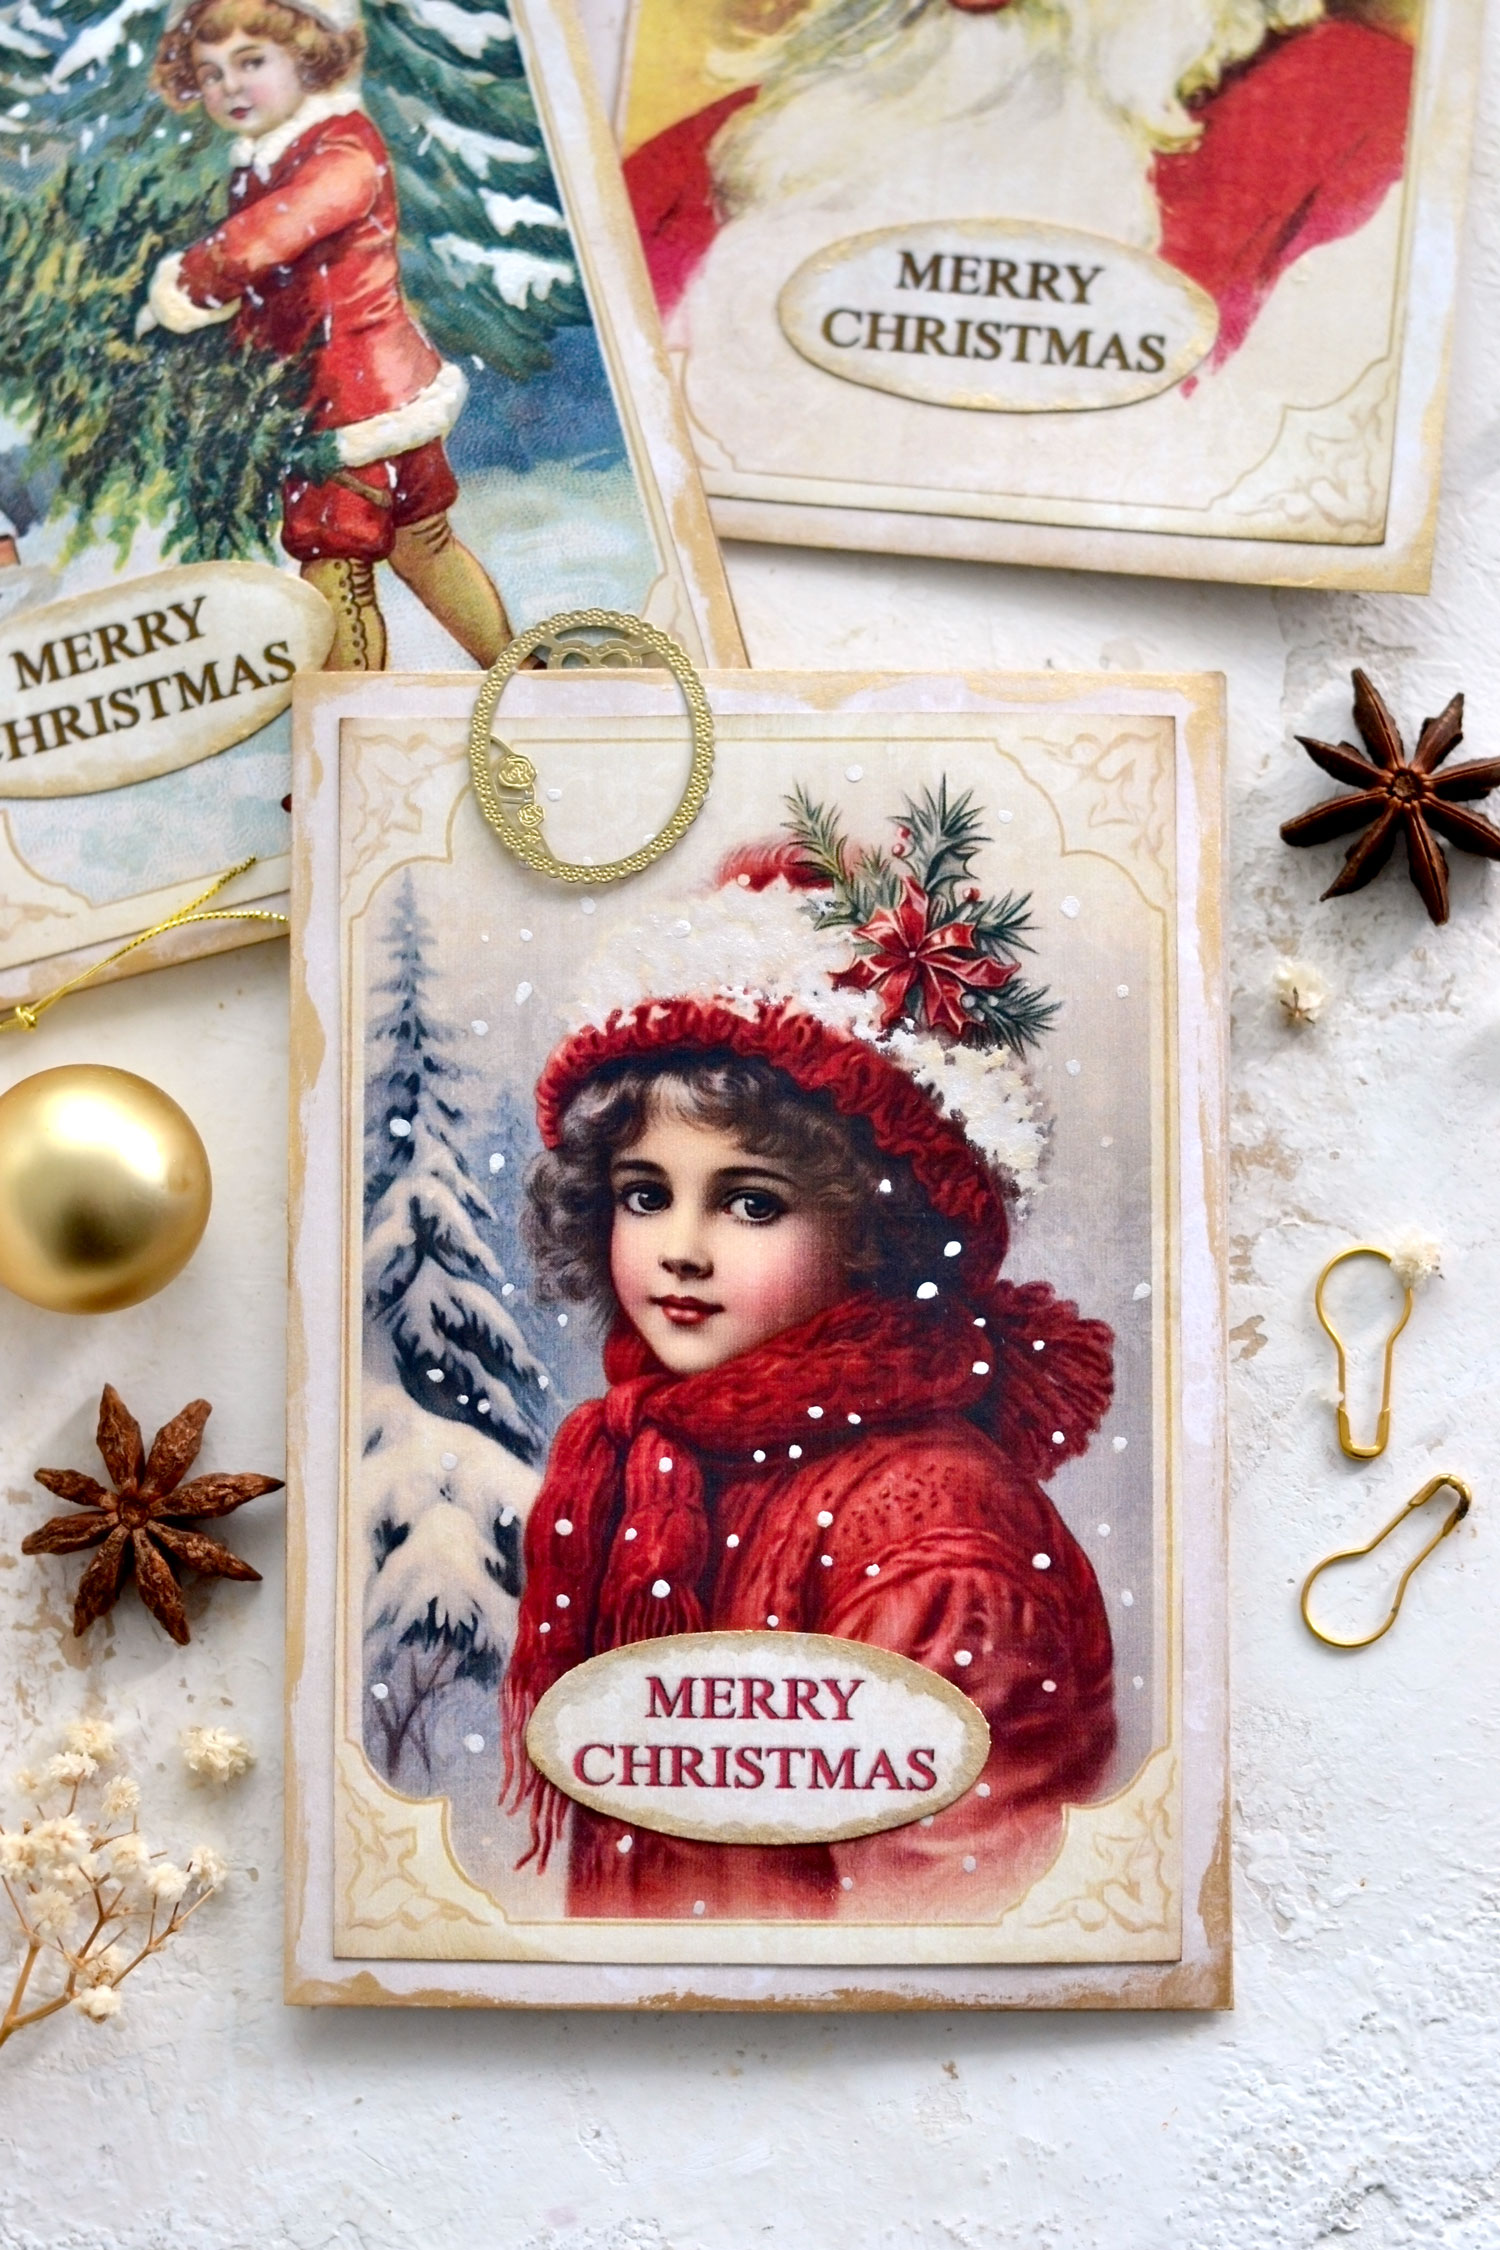
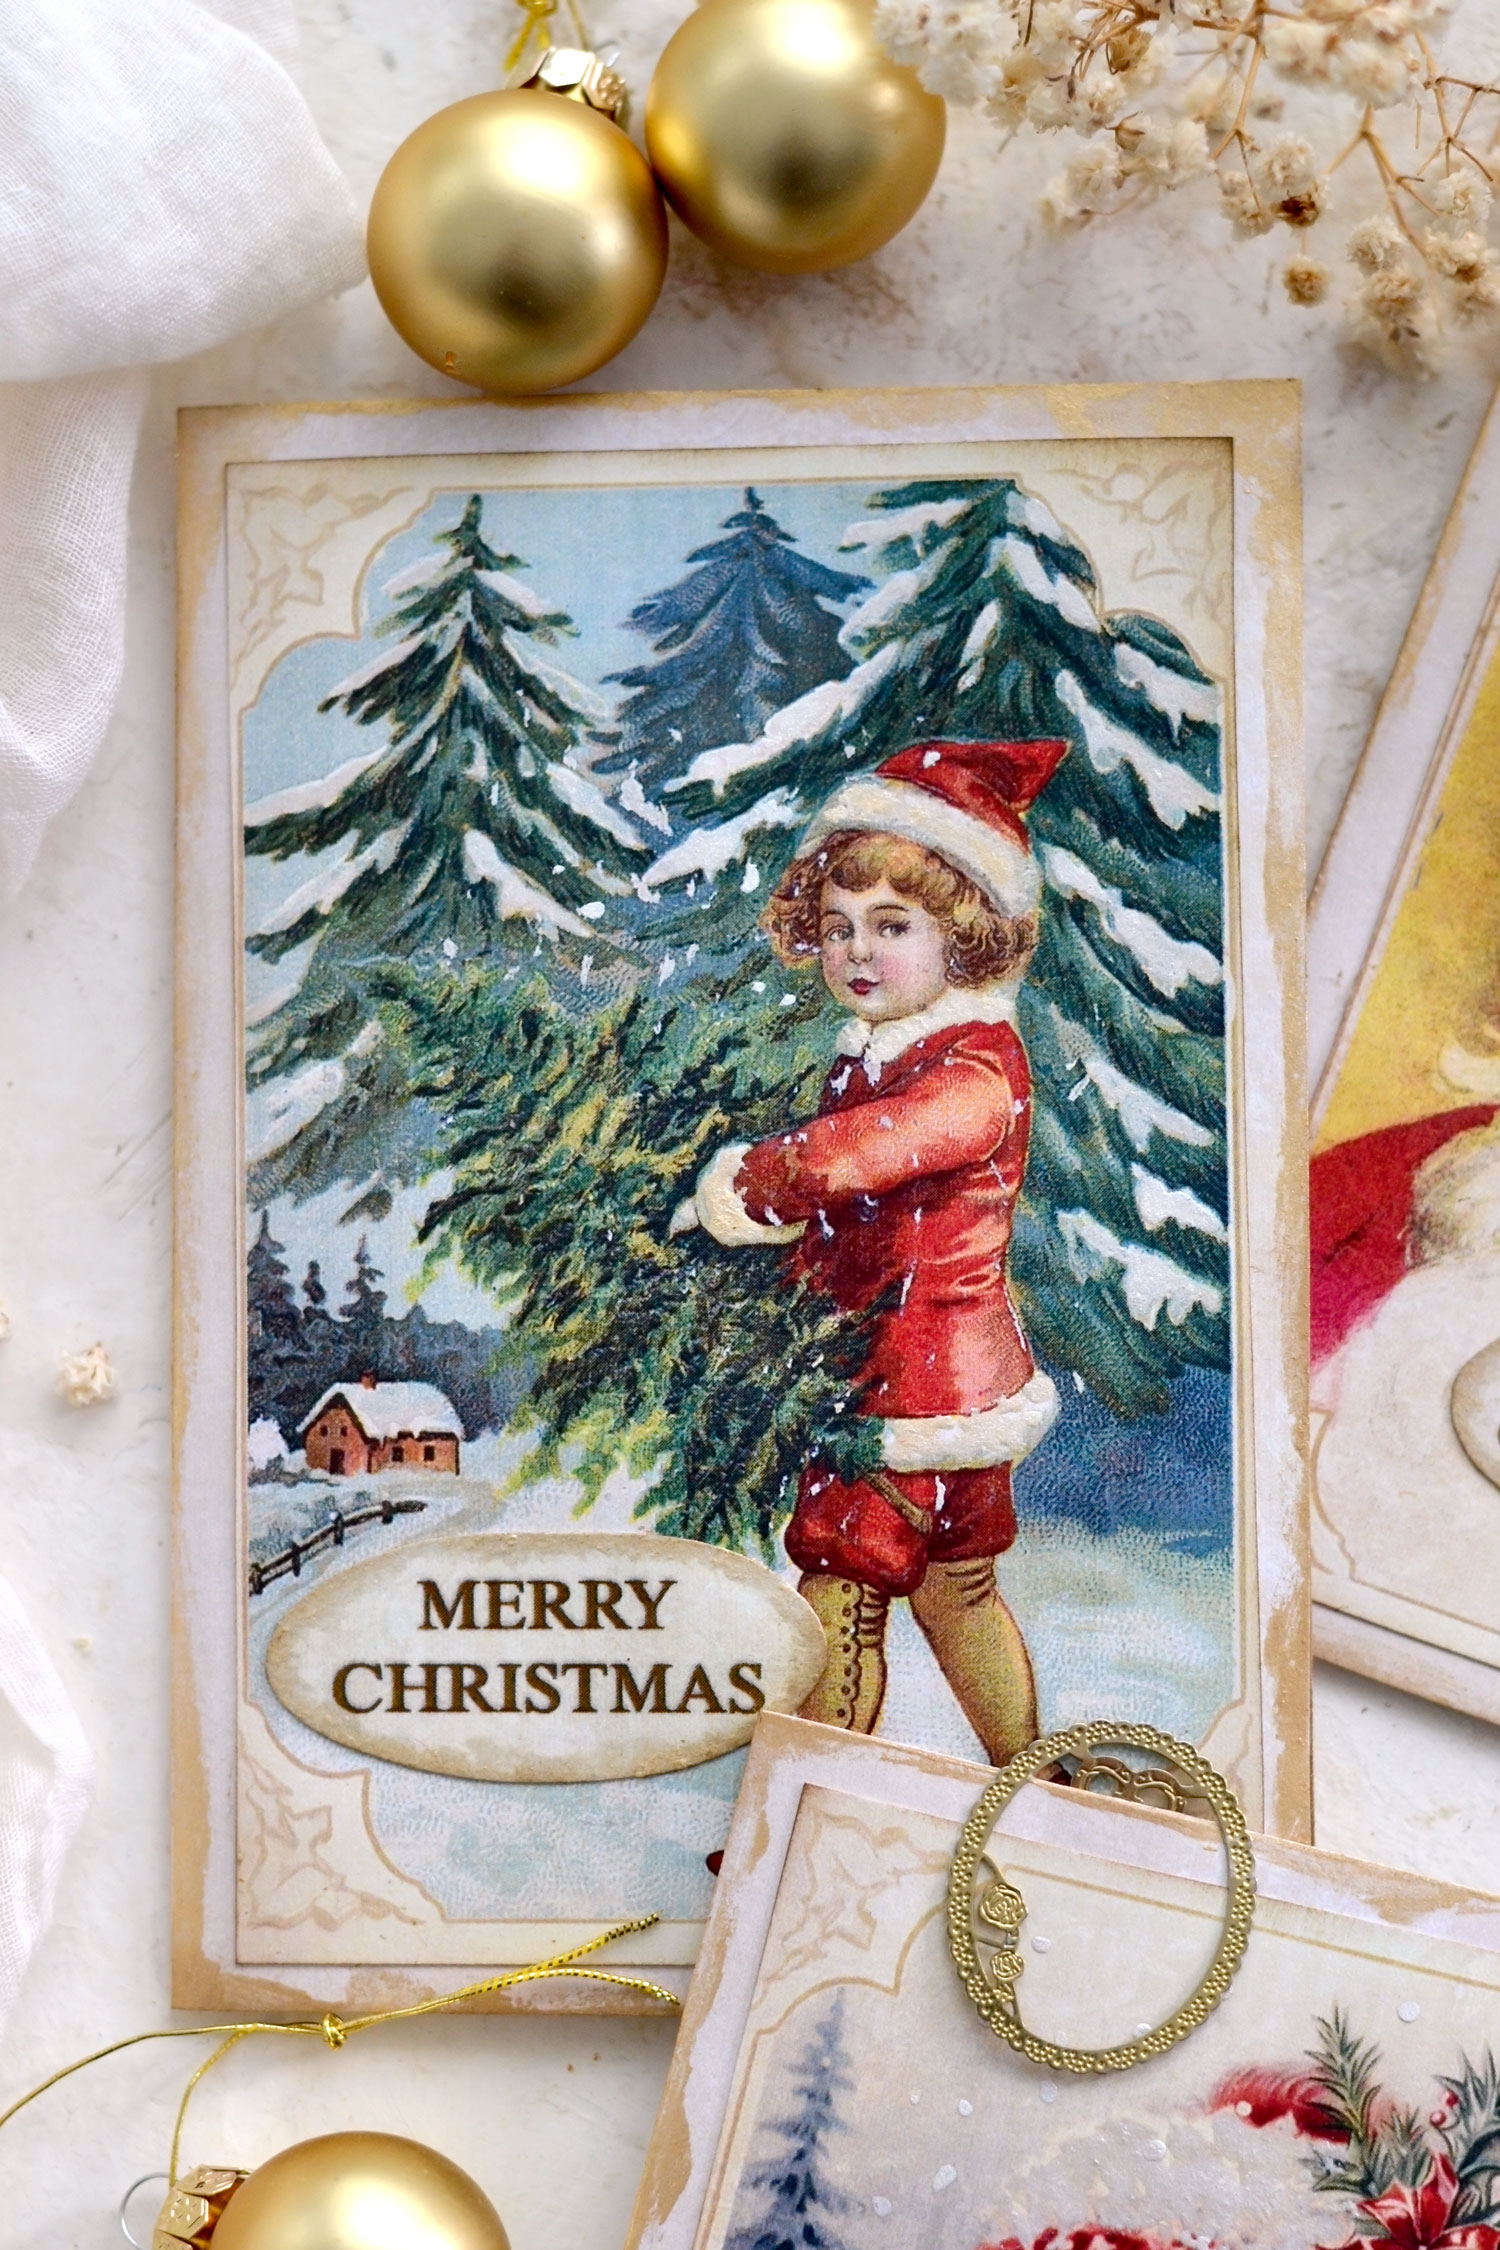
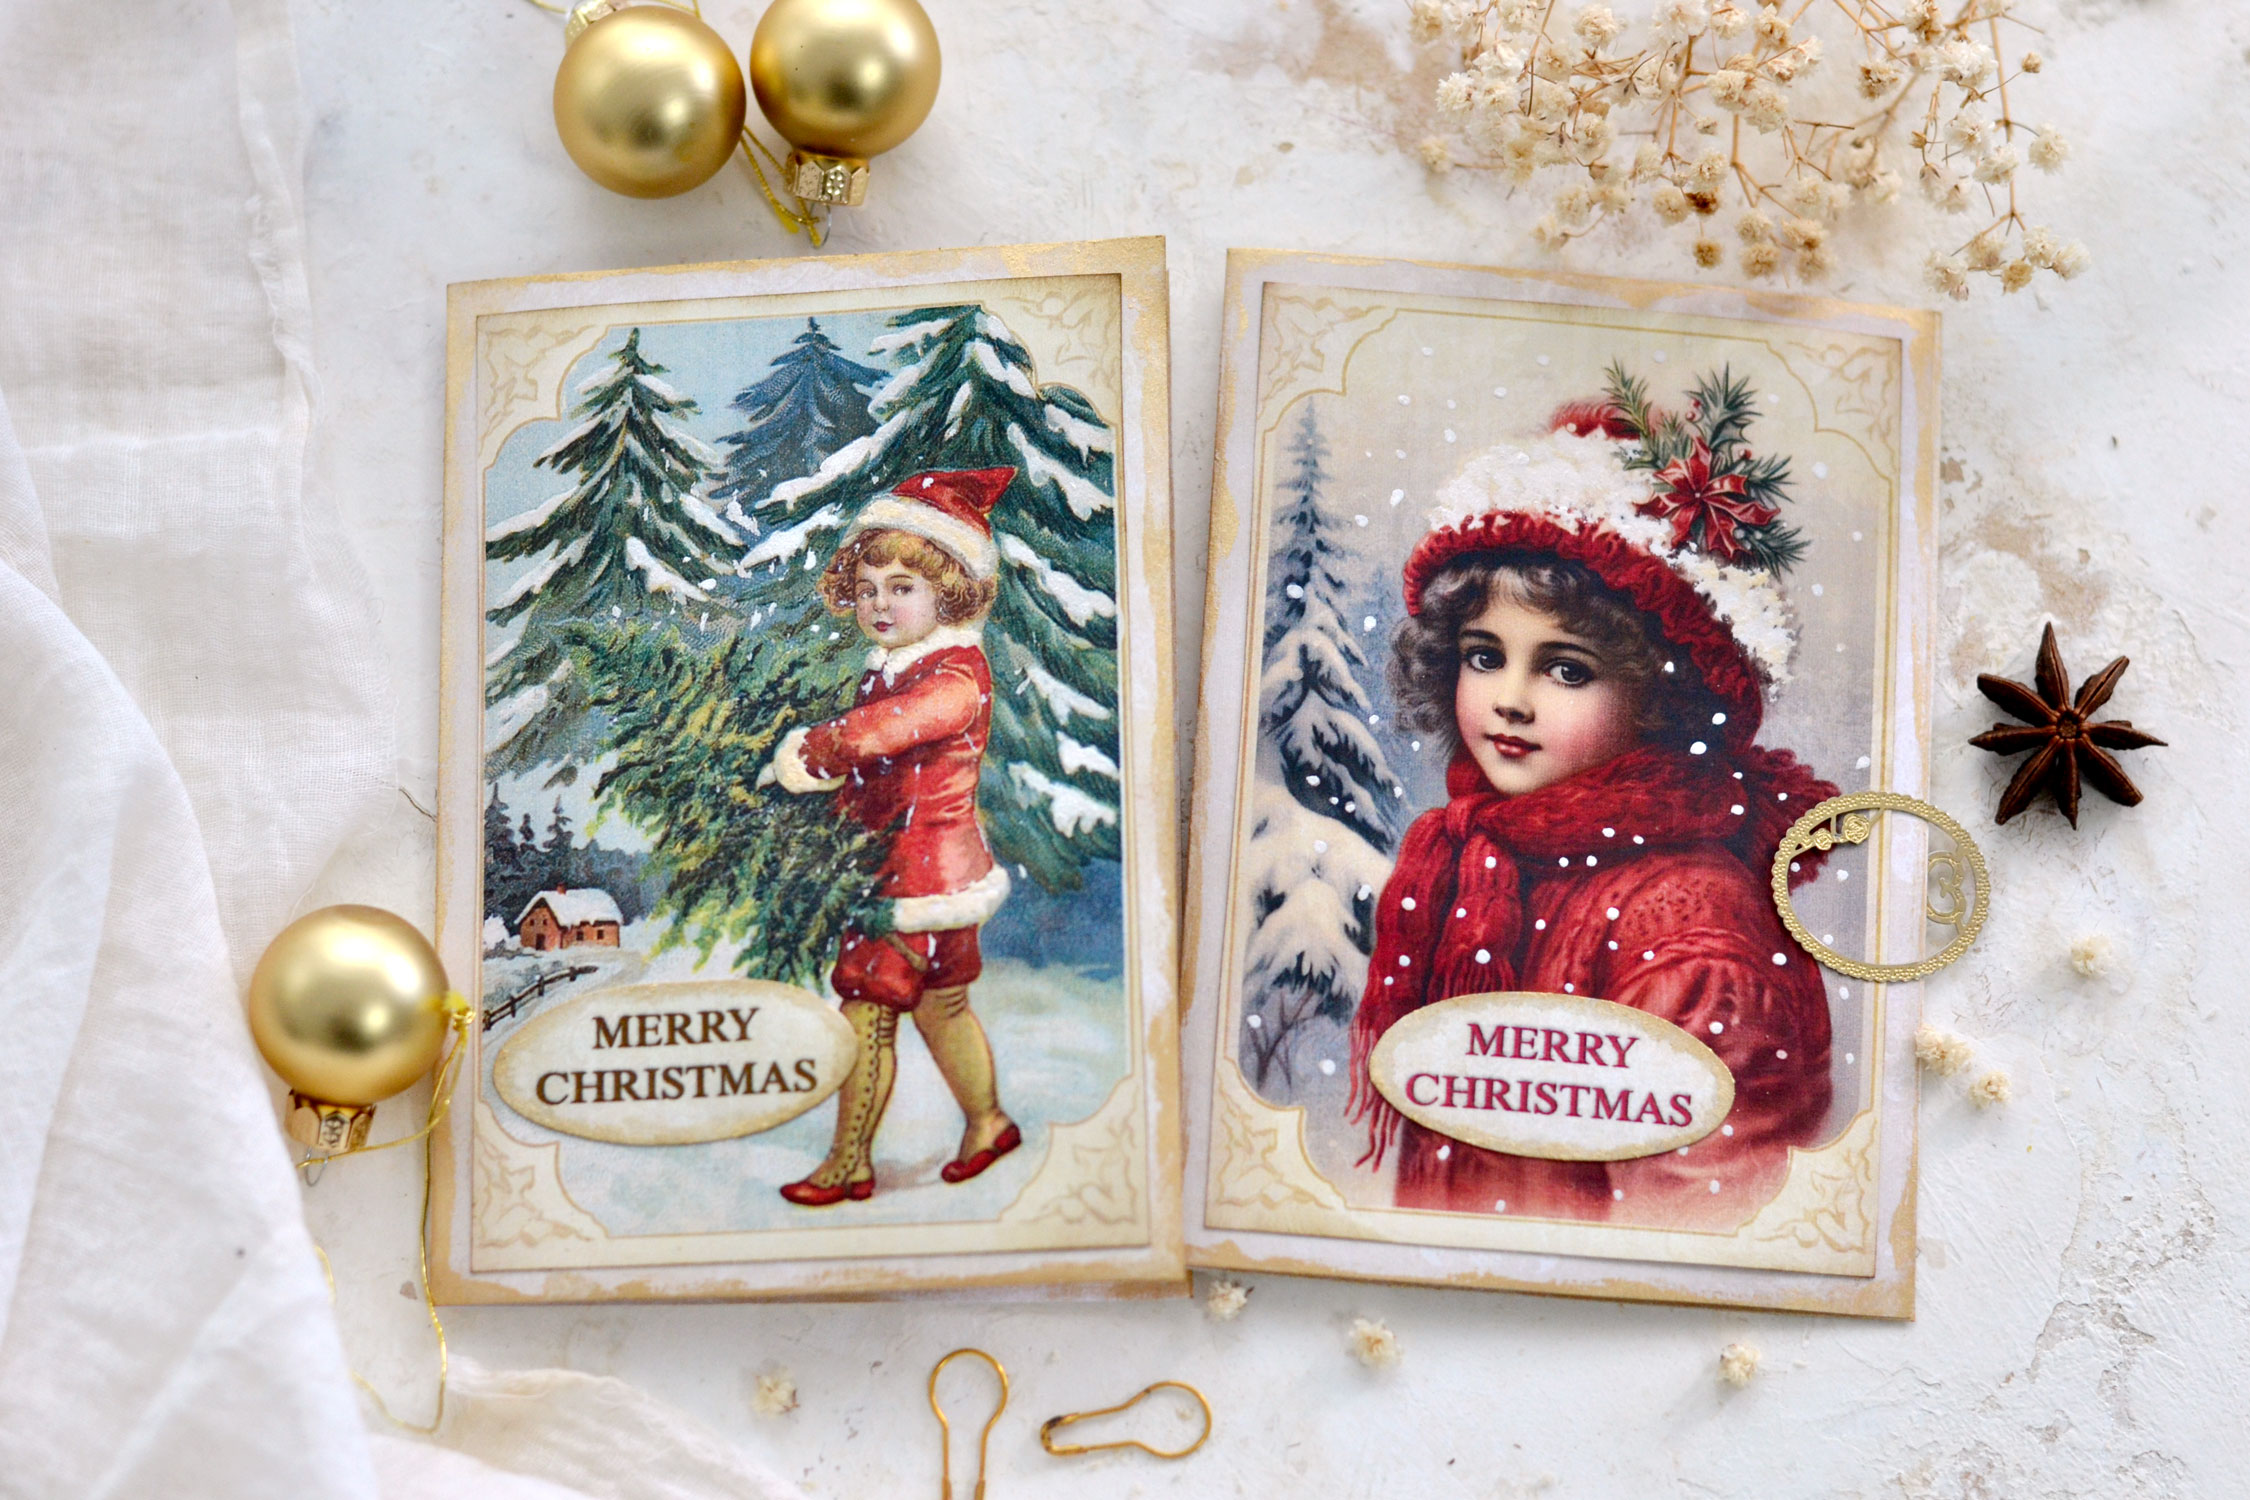
You can further decorate the top of the cards too! I used white pearlescent watercolors and a small rounded brush to paint over some details of all the images because I wanted them to be even more special. You can use some paint to go all over the snow on the trees (the image on the left). You can also use the tip of your brush to dab some more of that lovely paint to highlight the snowflakes (the image on the right).
If you want, you can also paint some other details, just let your inspiration for the moment guide you! I actually used more of that white paint but also a little bit of light gold to highlight the fur on the hats and on the clothes. Again, I used a dabbing motion using the tip of my brush to create more interest, rather than going all over the design with regular brush strokes.
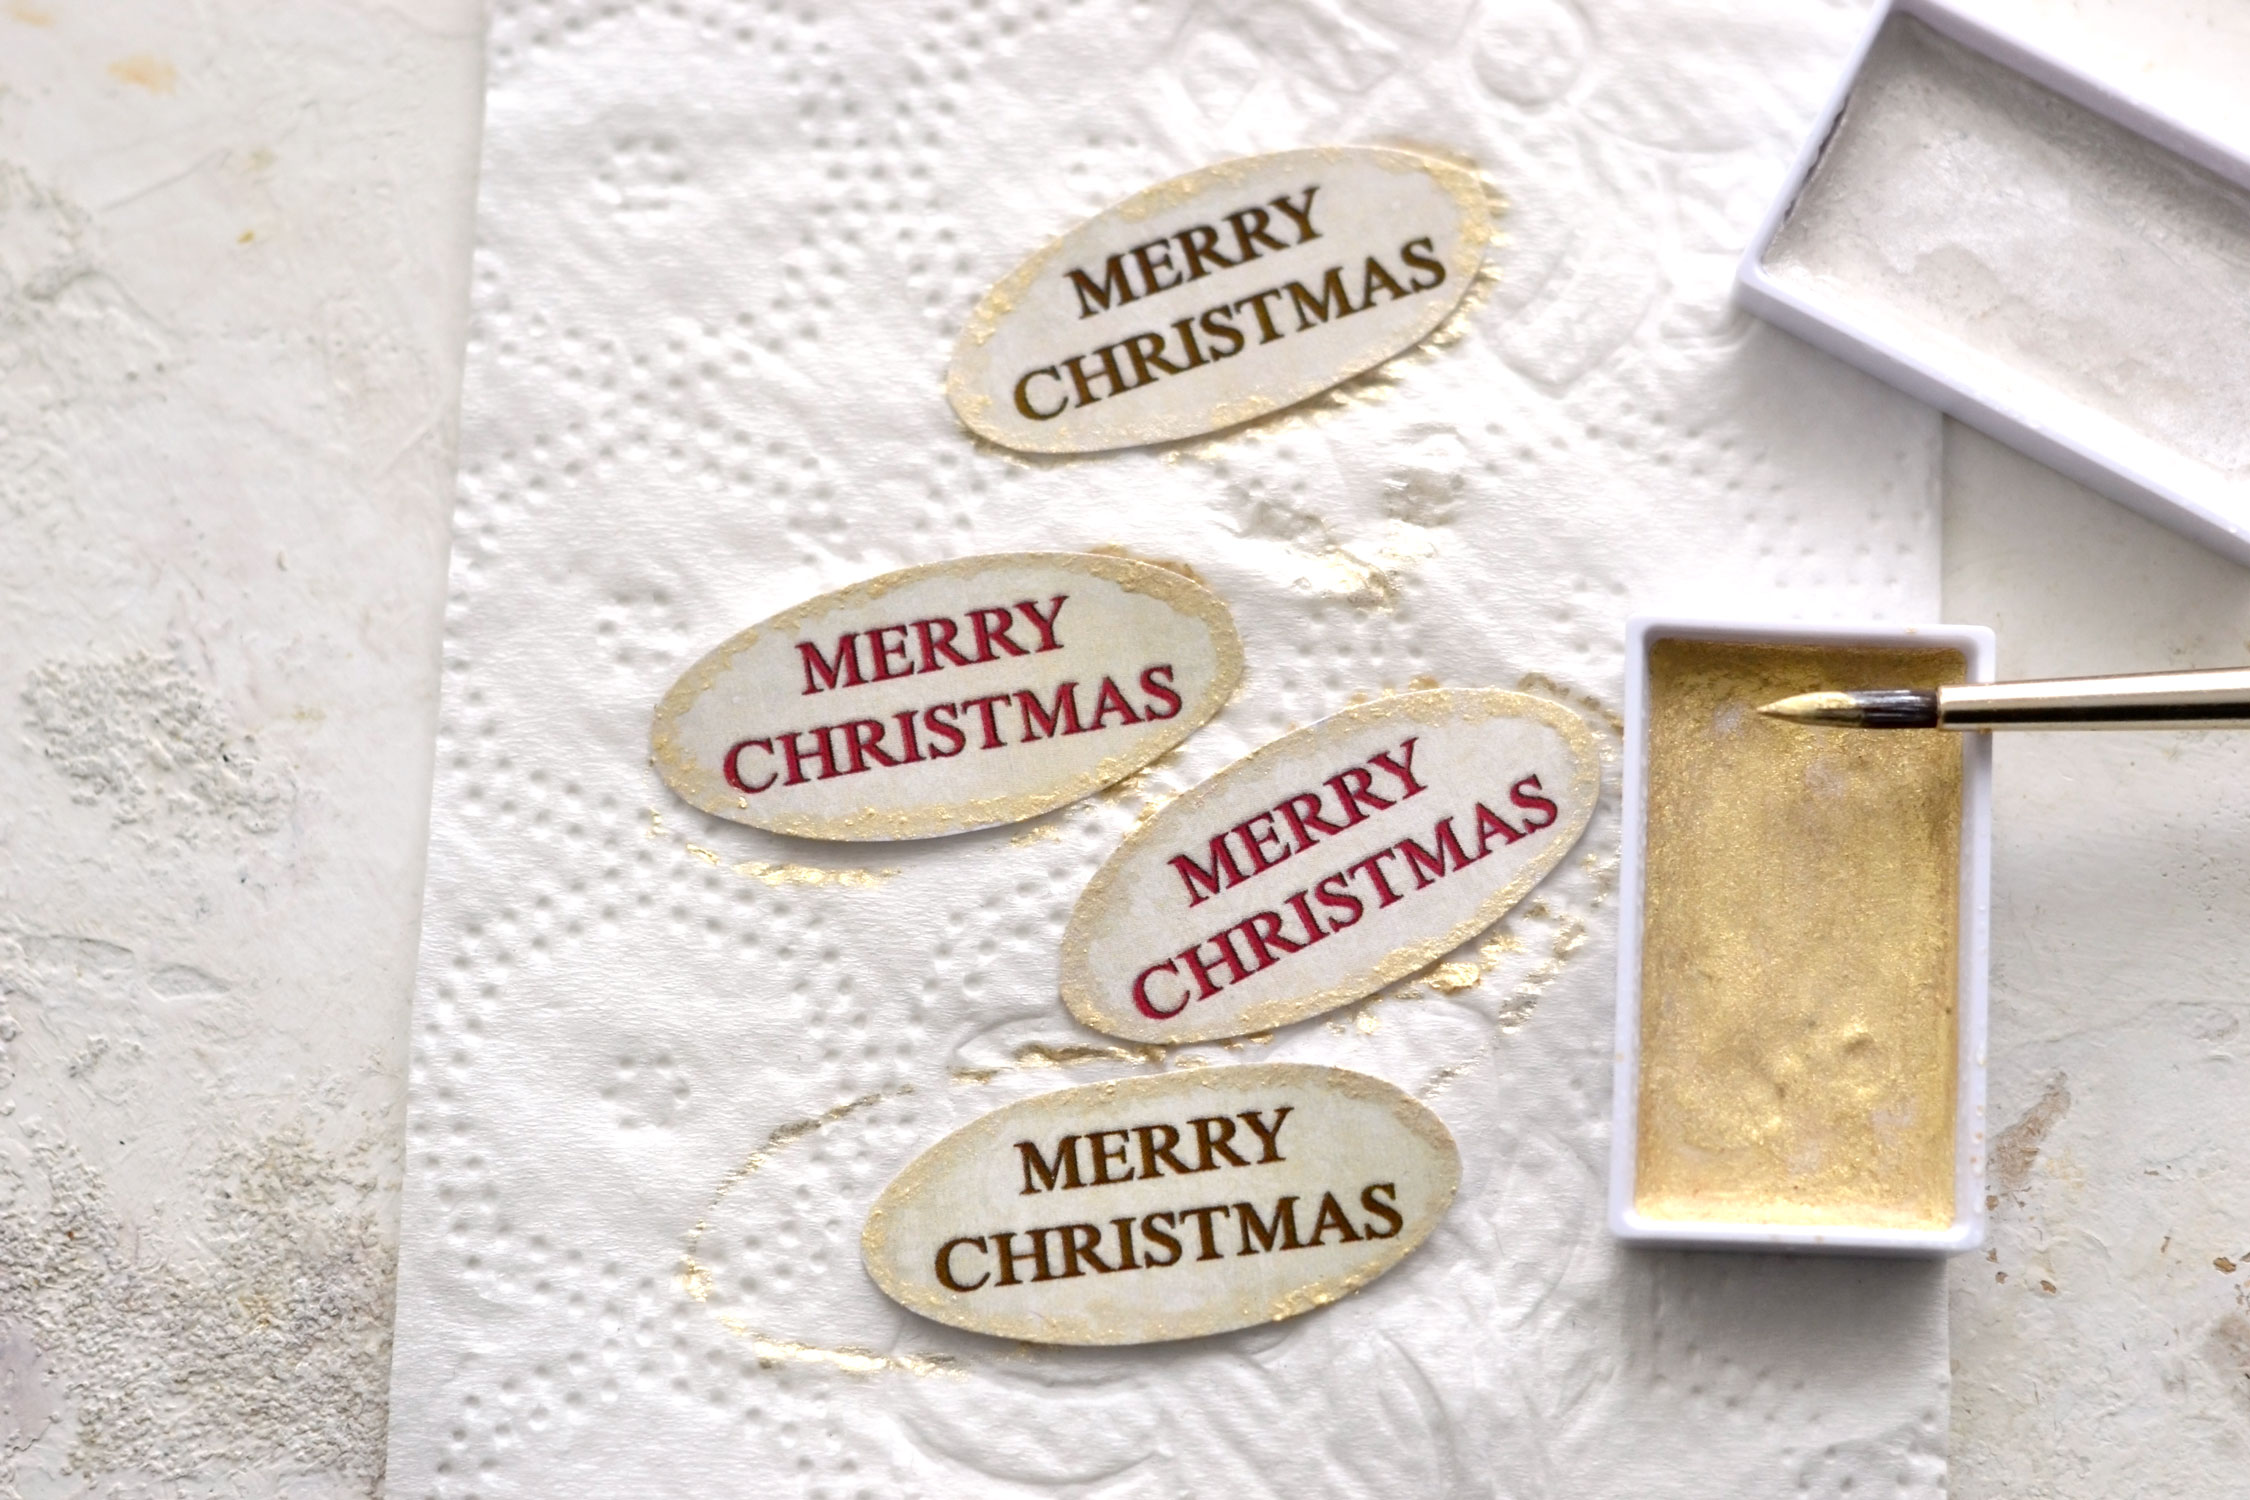
Add some gold touches to the Merry Christmas wishes – just place them on a paper towel or a piece of scrap paper so you can easily create the same dabbing motion on their edges.
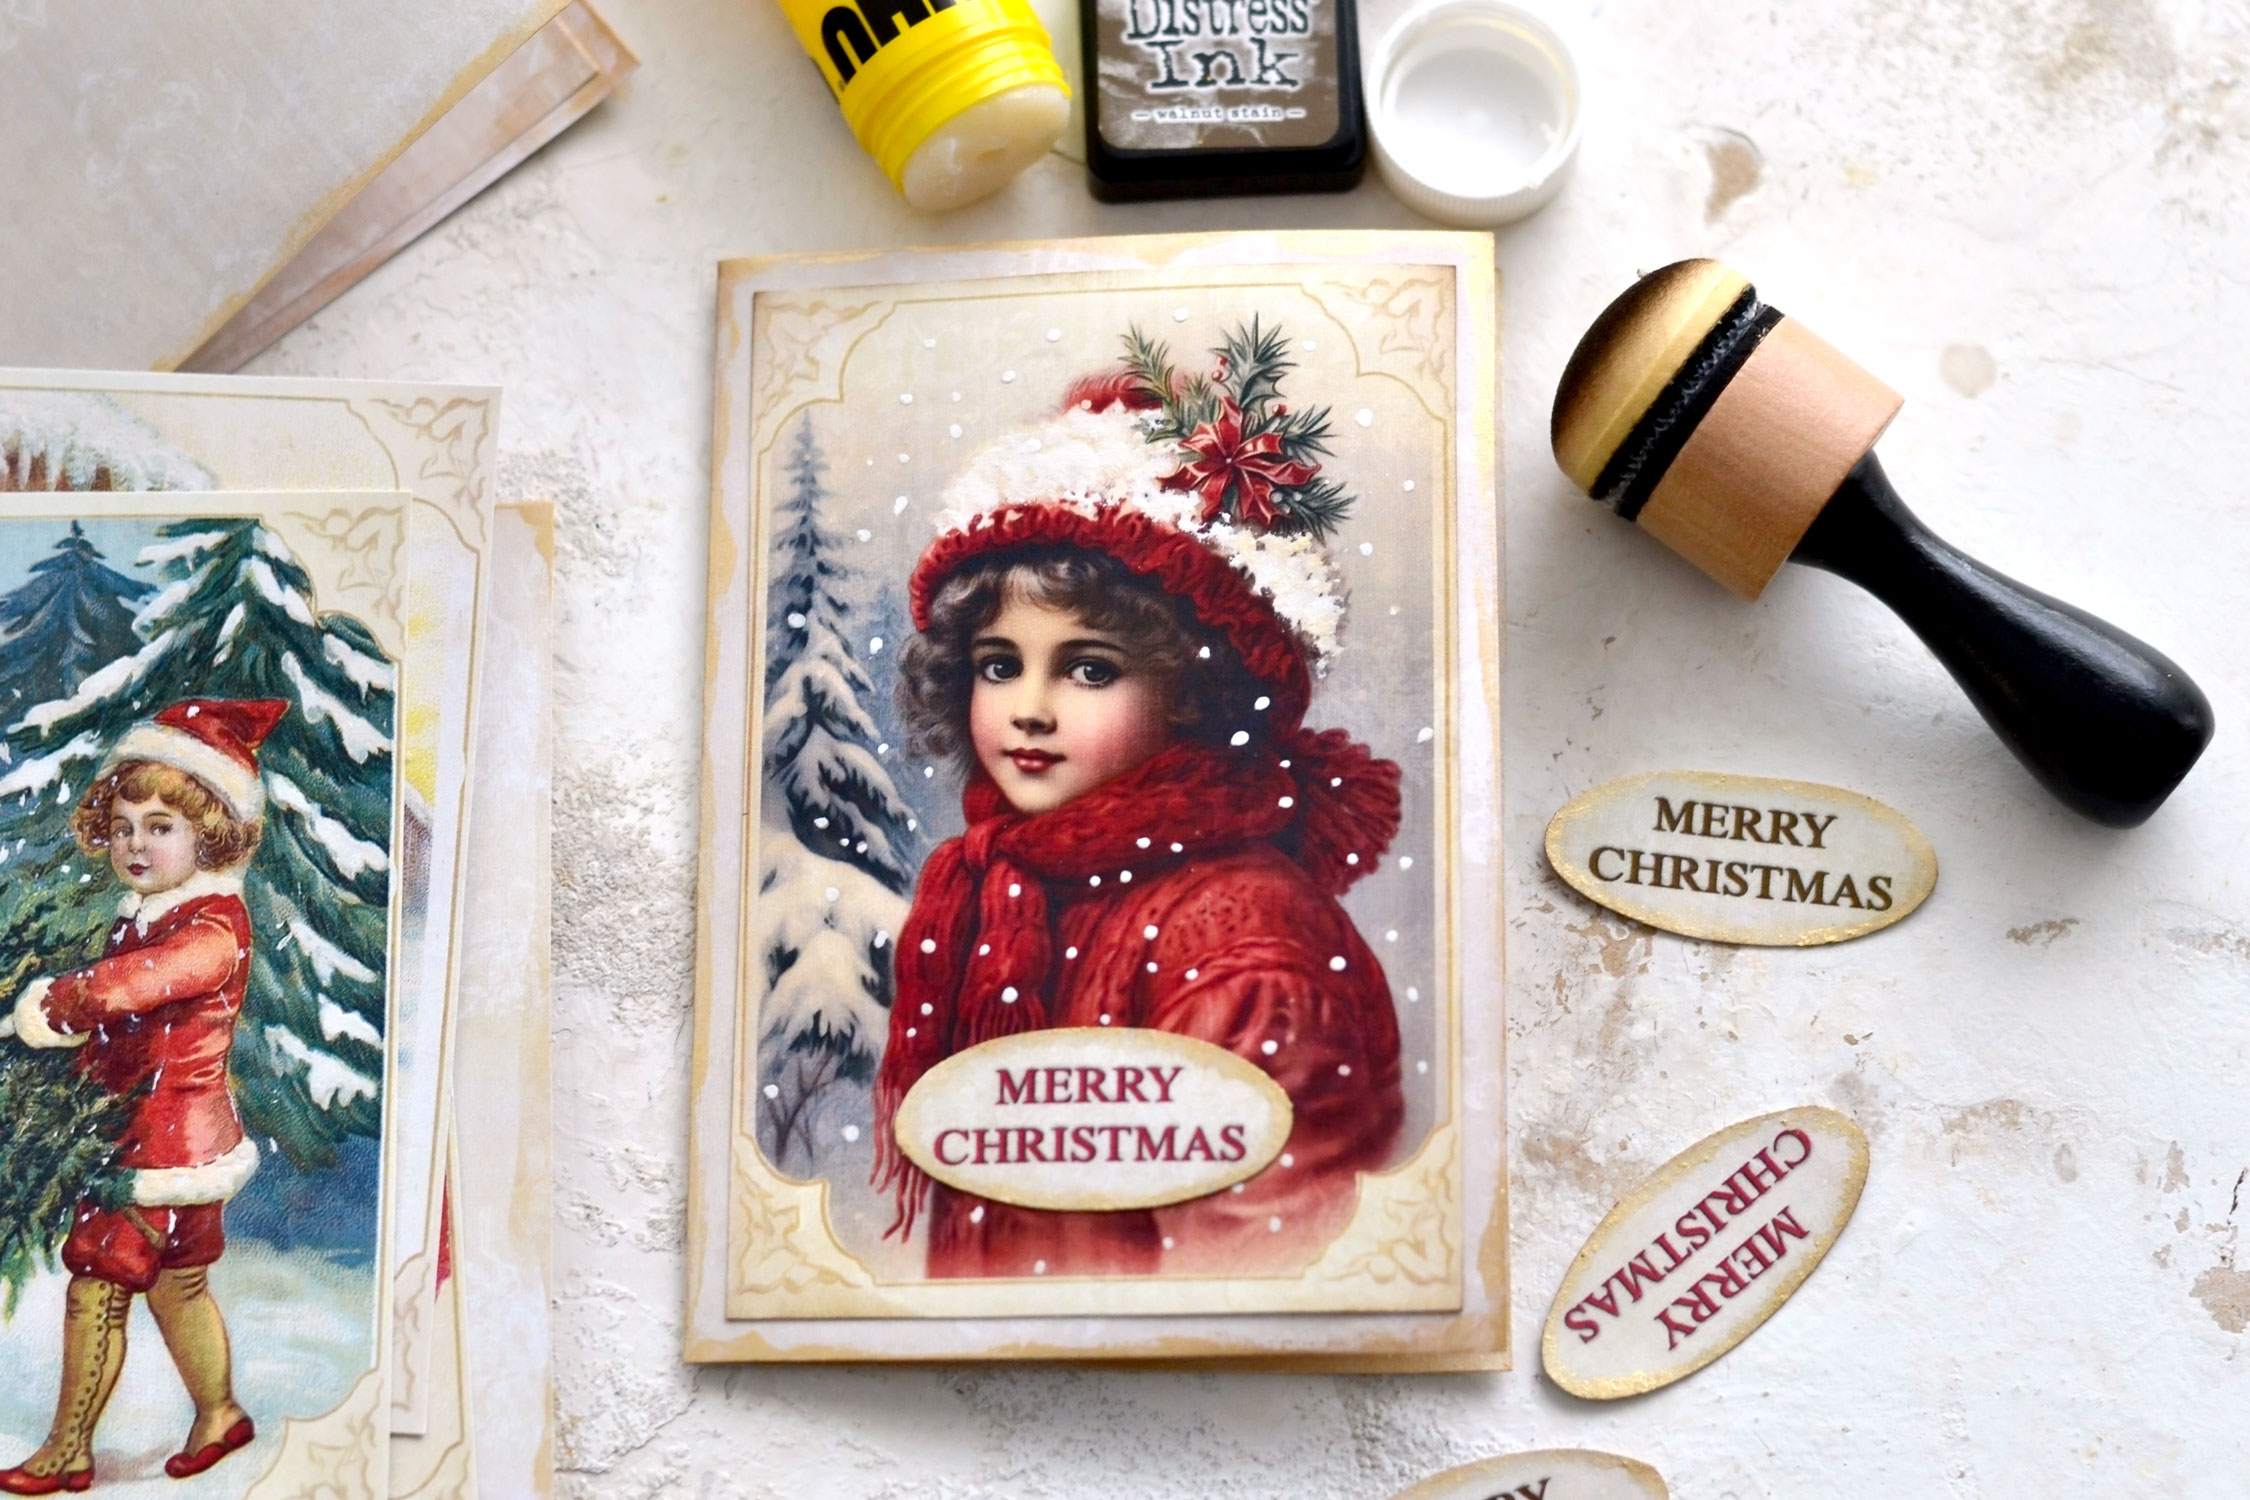
You can use your finger to add some gold paint all over the edges of the outside card base, too. For the card images I decided to use some brown distress ink to lightly distress their edges, and then I used glue to adhere them on top, along with the Merry Christmas wishes.
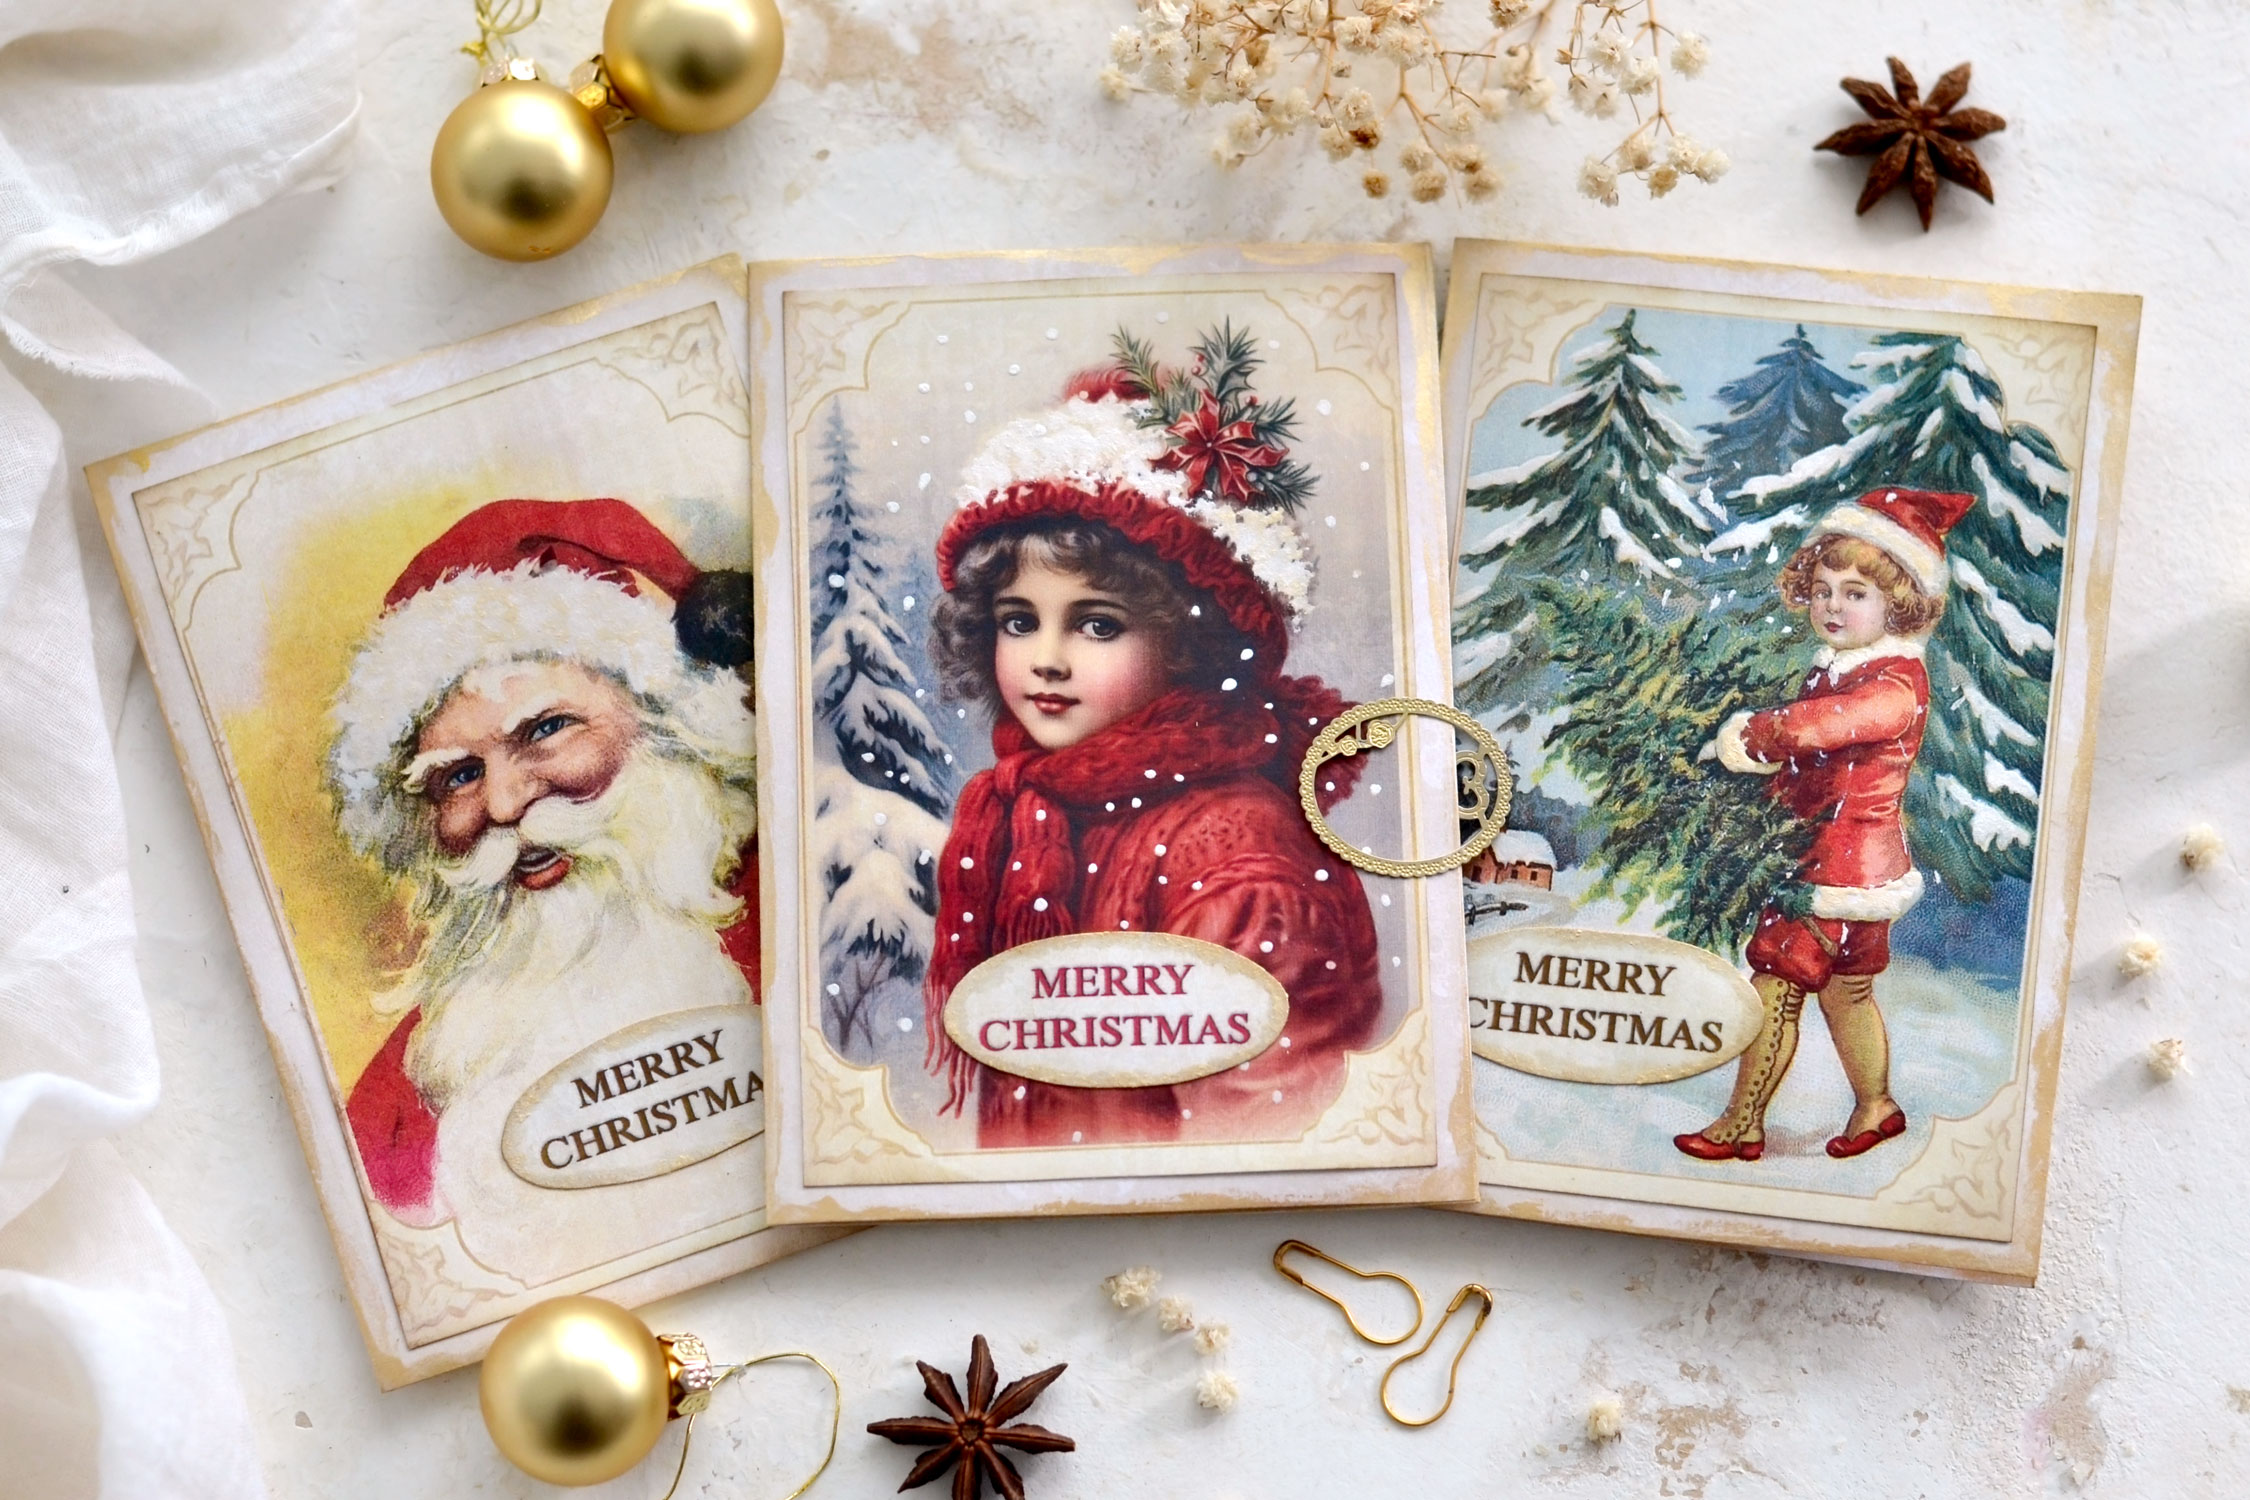
I created three Christmas cards with a pop up mechanism and kept one of the other images to use in other projects.
I’m really loving how my vintage Christmas cards turned out, with all their adorable designs and all the other painted elements that add even more charm!
I like adding small metallic bookmarks to my final pieces as embellishments, but you can also include some as an actual part of the cards while gifting them for the holidays! This way, the small metallic embellishment turns into a beautiful gift that can be used even after Christmas!
And when you open the cards, the pop up mechanism patiently waits for you inside, just like a nice, totally unexpected surprise!
I just love the overall vibe of these stacked pop up gift boxes! I think the vintage sheet music looks really beautiful, now I wish I had some gift-wrapping paper that looks like this to actually wrap real presents this year!
You can also use the Christmas images that I included for this project as single cards or even turn them into tags if you prefer!
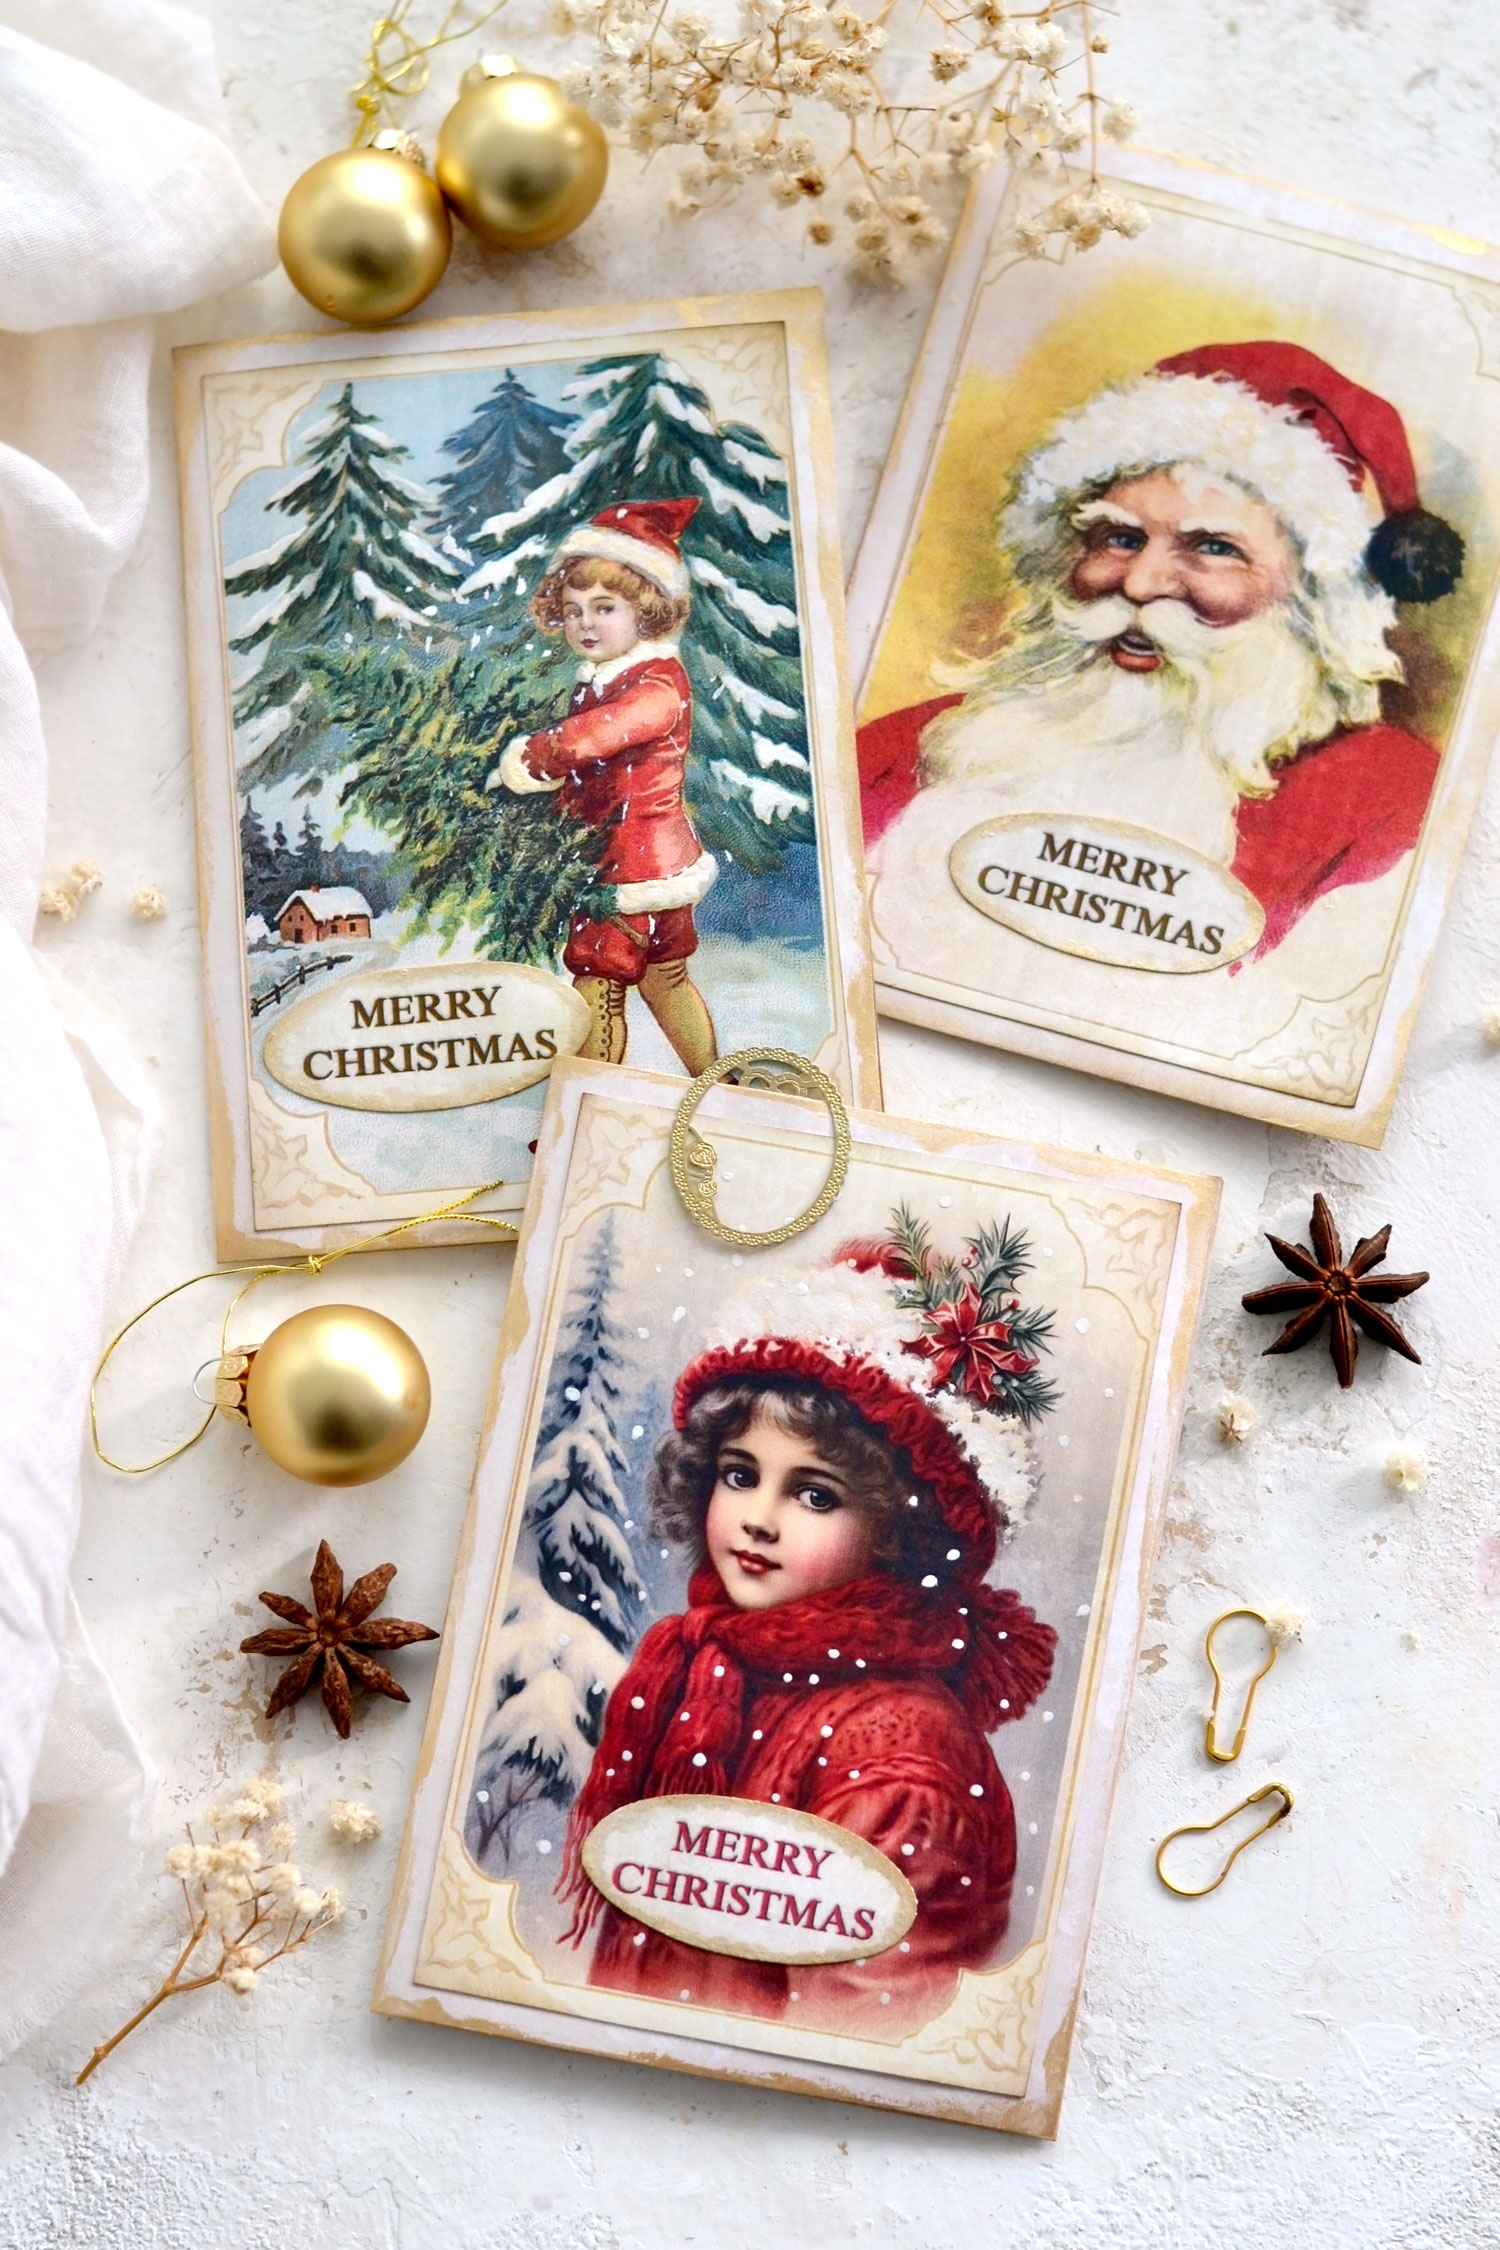
These two beauties below turned out to be my favorites! There is something with the card with the boy holding a tree and the one with the girl with a red scarf that instantly makes me think of happy moments from childhood. I don’t have a brother, I actually have a sister, but it’s more of a sensation or a feeling that these two manage to create. We usually spent the holidays at our grandparents’ house in the countryside where there was always snow and … I don’t know, just a state of pure happiness.
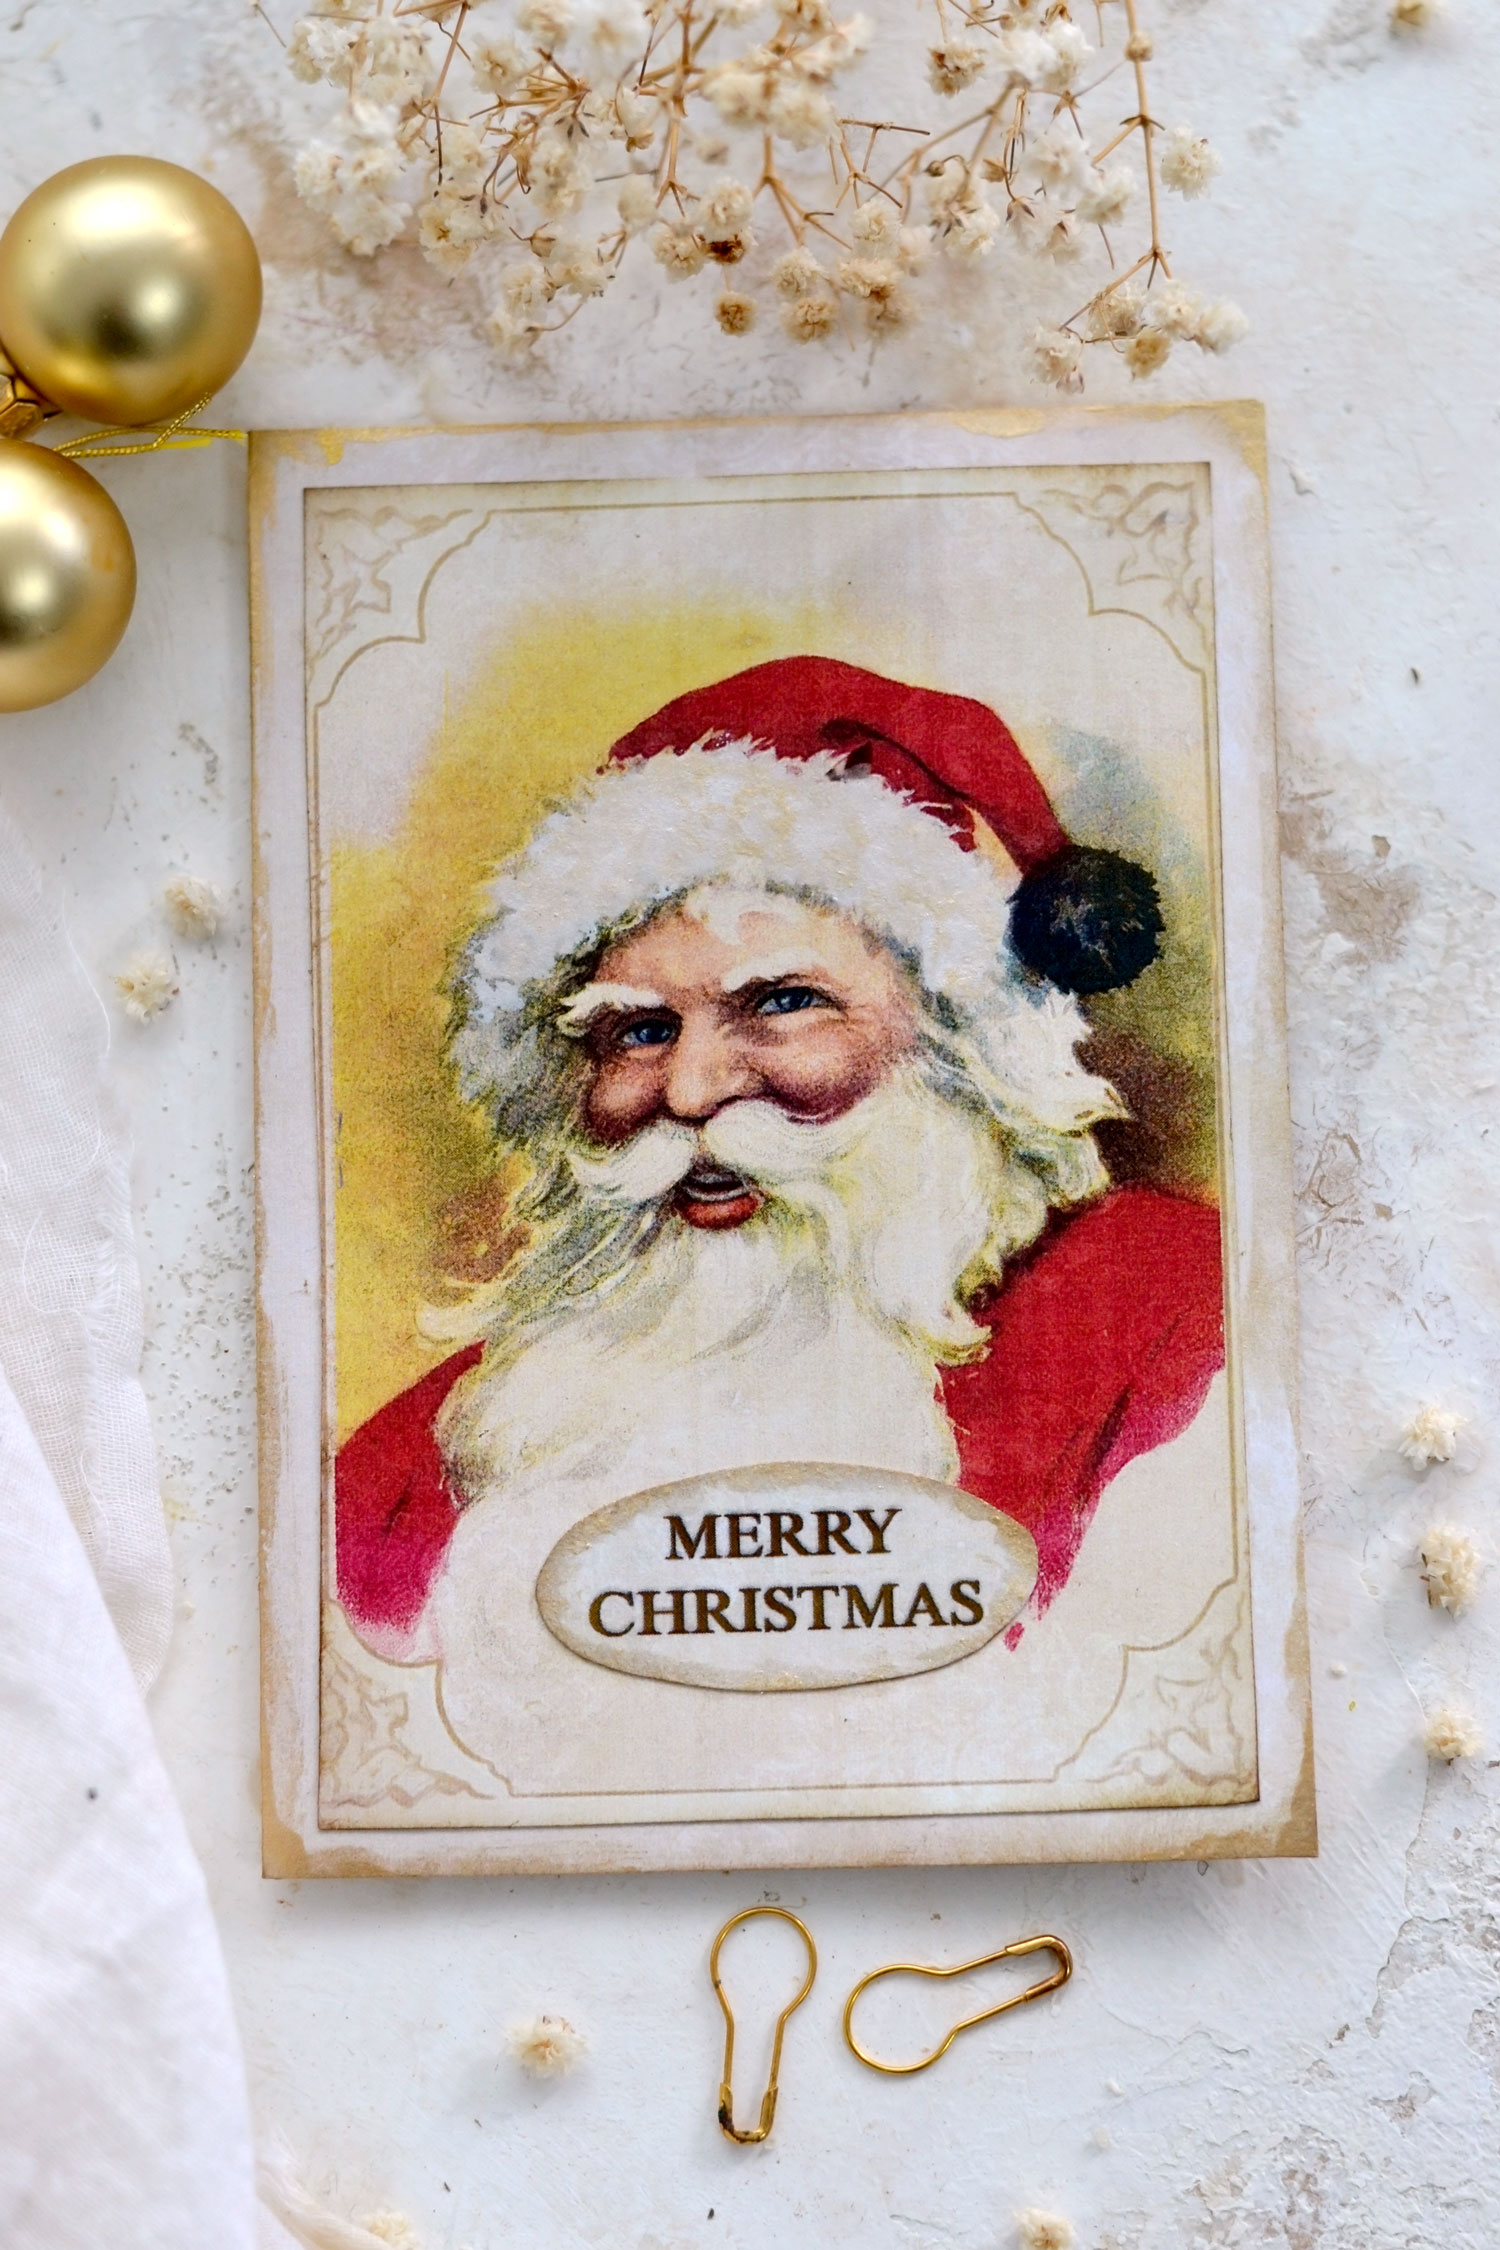
I also love this one, with the vintage Santa, I think this one is a classic beauty that can be used no matter the gift!
I hope you will love this sweet project and decide to give it a try, making your own Pop-Up Christmas Cards with a vintage vibe has never been easier! Don’t forget to write your Christmas wishes on the inside of the card, you can use the empty space around the gift boxes to do that. Your handwritten wishes will make the cards more special and will add even more of that lovely handmade feel that we love imprinting into our projects! This is always a nice touch to add, the receiver will appreciate your thoughtfulness even more! 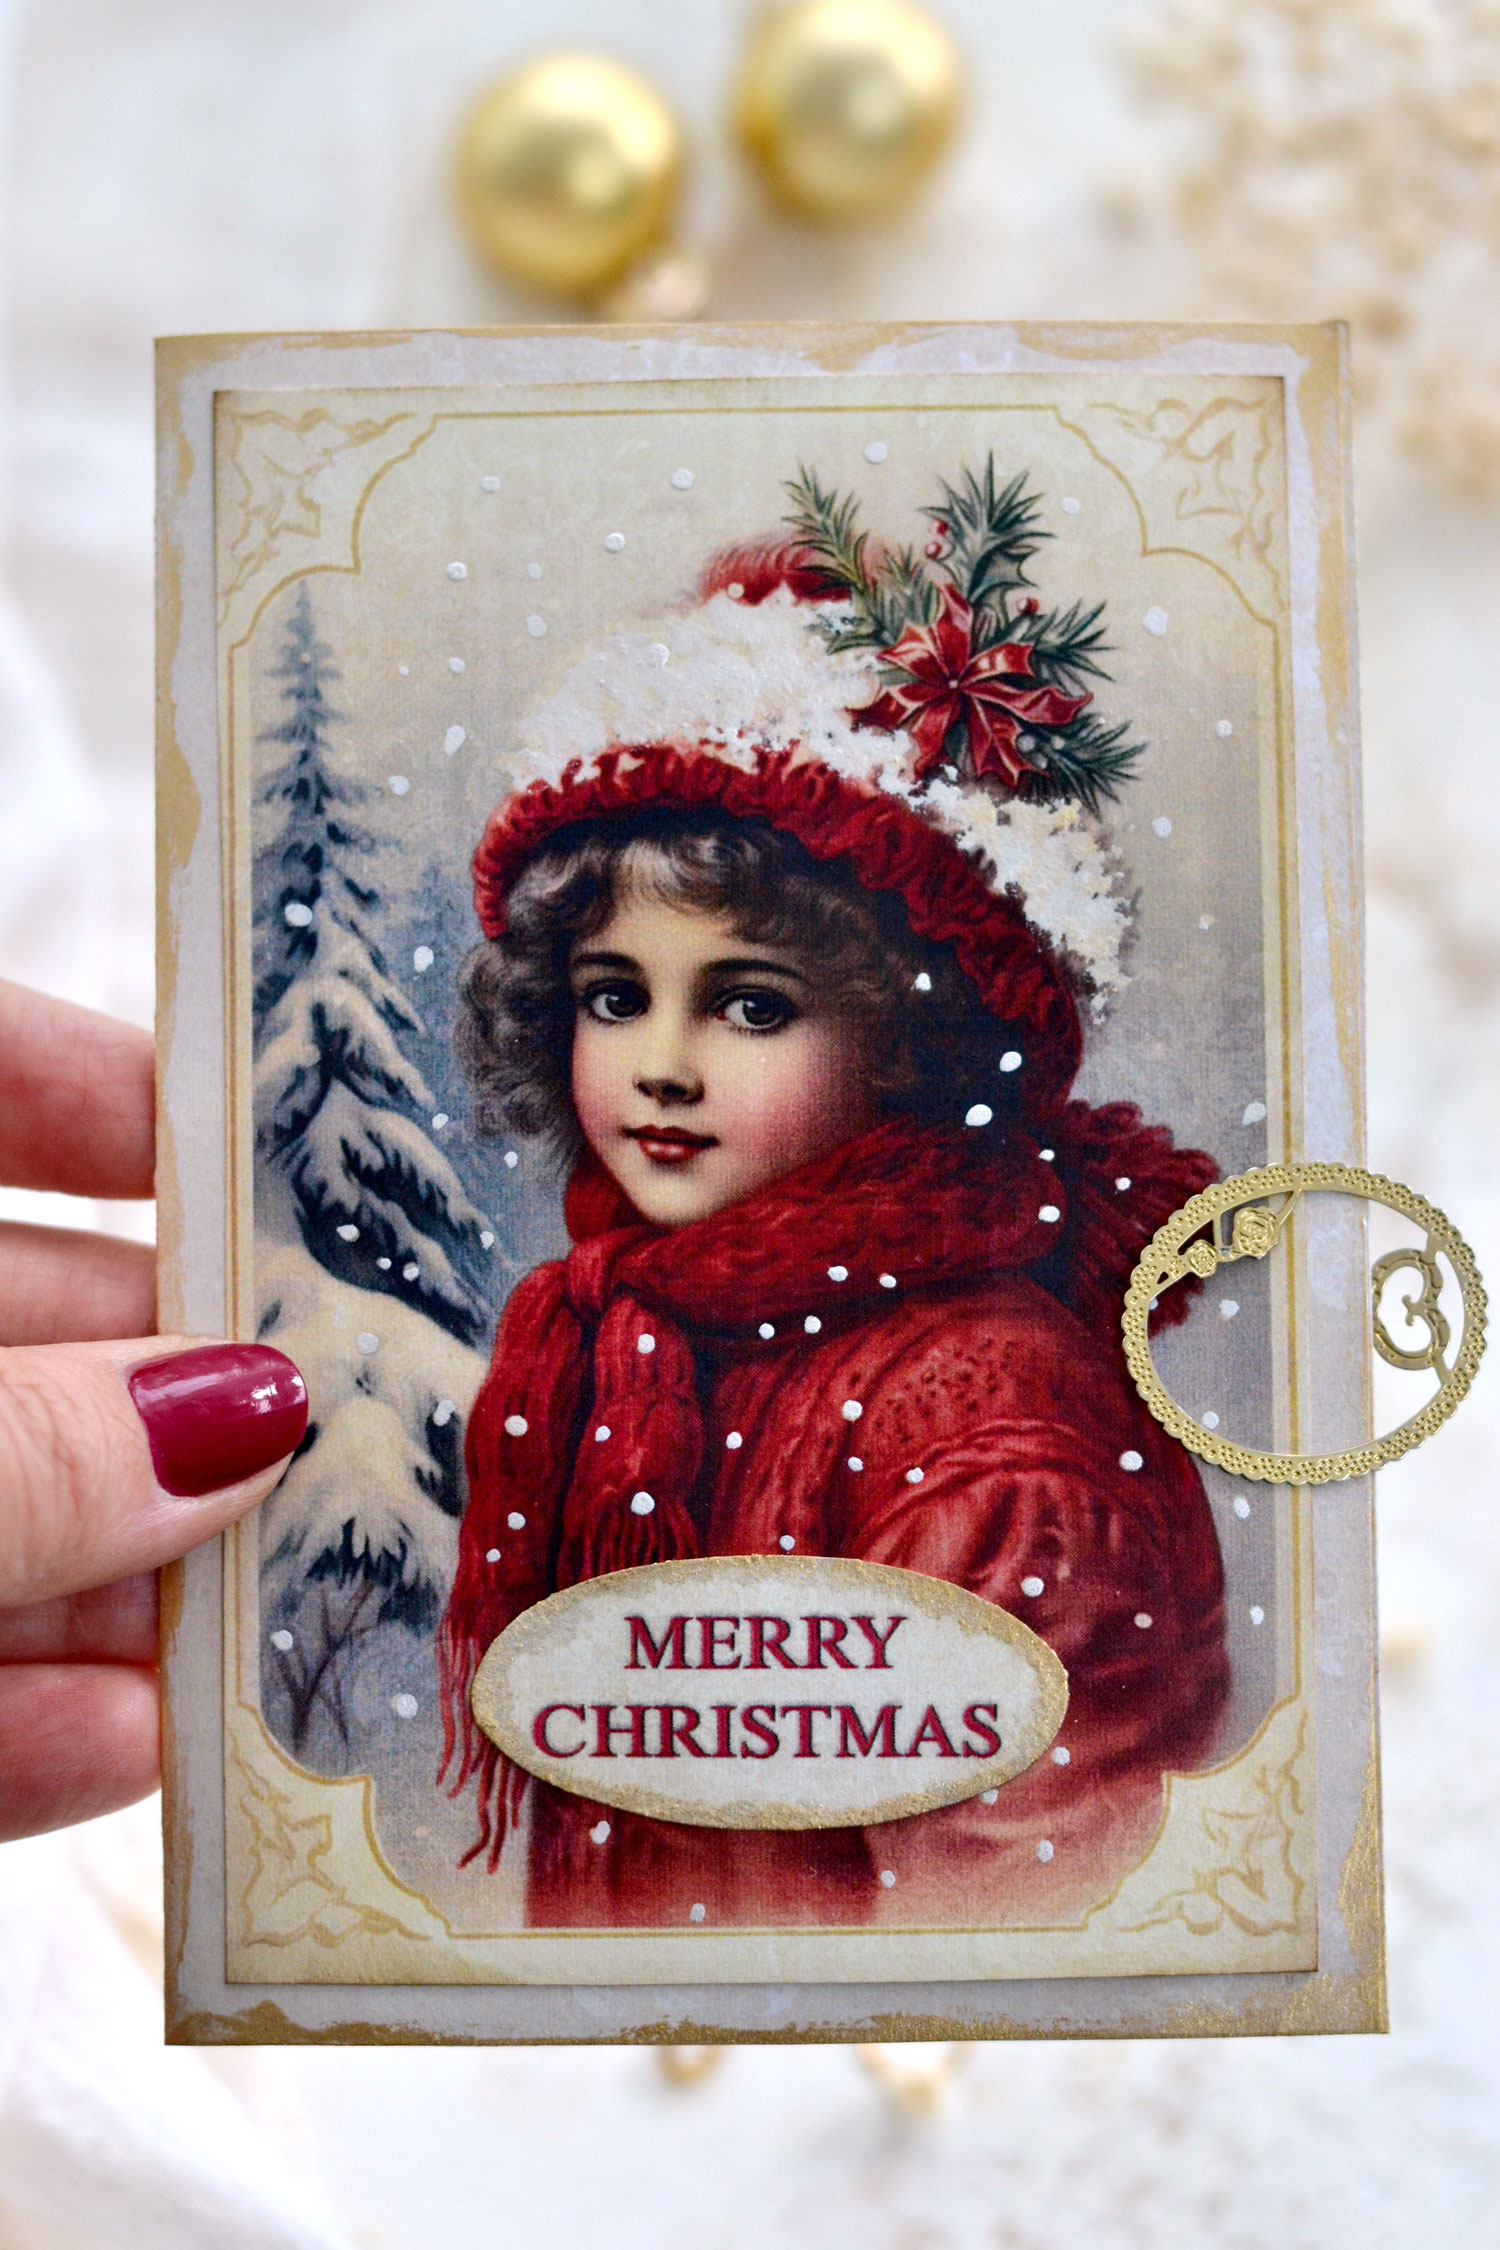 You might also like another Pop Out Card Project Tutorial HERE.
Happy crafting,
Diana / Dreams Factory



Caye Cooper says
Diana, I remember the “good ole days” when pop-up cards were the thing and so much fun to receive. Wish I had saved them. Your cards are beautiful!! Thank you for sharing this lovely craft.
Karen Watson says
Thanks for your sweet comment on Diana’s project Caye!
kathleen says
I can go to library to print out the pop-up cards.
Would that work?
These are beautiful!
Thank you so SO much.
🤞 this works!!!
Karen Watson says
Hi Kathleen, Yes, you can print them wherever you like!
Vera Nona Moore says
Thank you so much for sharing. I appreciate your generosity and I always look forward to receiving the graphics.
Karen Watson says
Thank you Vera! I hope you have time to make some of these cute cards!
Cathy Ray says
I love the Christmas cards! Could they be printed on photo paper and not used as pop-ups?
Karen Watson says
Hi Cathy, Yes, please feel free to change the project up however it suits you!
Gail says
tfs your lovely projects huggzz
Karen Watson says
Thank you Gail! We think Diana’s projects are lovely too!