Art Studio Storage Idea
This is a post that Gina, from the Shabby Creek Cottage did some years ago for an adorable DIY Art Studio Storage Idea! It’s a simple sewing project for some over the door storage, that’s perfect for storing your scissors, paint brushes, rubber stamps, inks, thread, yarn and all those little doodads that we all have in our craft rooms. I wanted to repost this as it’s that time of year for getting organized and many of you may have never see this post. Now I will let Gina take it away in her words for the rest of the post … Crafty types all seem to have a common problem: never enough storage. Well, I’m here to help! With just a few supplies and an afternoon, you can make space for everything, without taking up any floor space.
Craft Supplies for Art Studio Storage Idea
For this fabric organizer project you will need:
Fabric
Thread
Scissors
Dowel Rod
2 Door Hooks
Iron On Transfer
Sewing Machine
Step 1: Let’s get started! First, measure your door to see how wide & long you’d like the organizer to be. I needed mine to be 22 inches wide by about 40 inches long. Add 2 inches to the width and 4 inches to the length. You will need 2 pieces cut the size of the base.
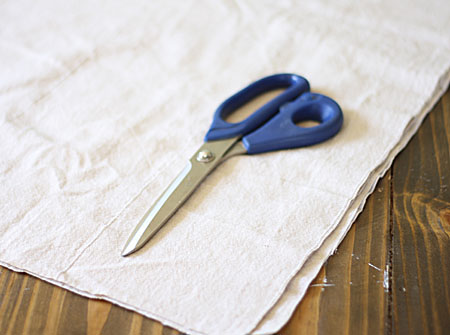
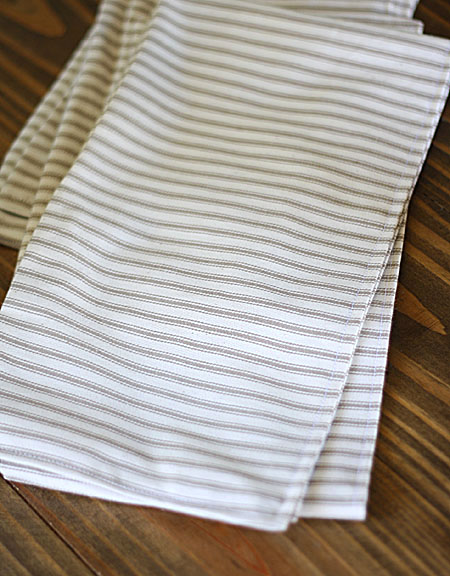
For my base, I chose to use Lenda curtains from Ikea. They’re cheap and sturdy, plus I love the shade of the color. They also have a small pinstripe detail (you can see it beside the scissors) – If you center those pinstripes when cutting, it will help to line up the pockets later.
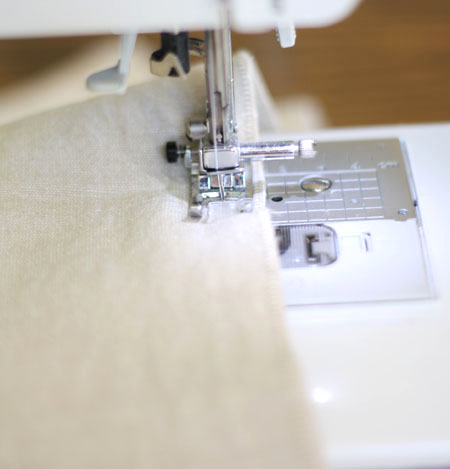
Step 2: Sew together the two pieces around 3 sides, like a big pillow case, with a 1 inch seam allowance.
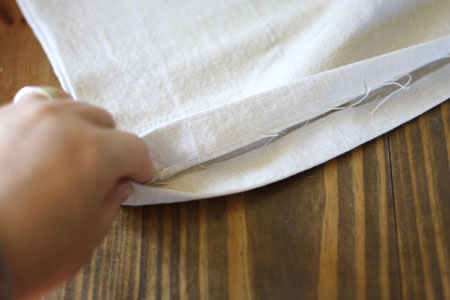
Step 3: Turn out the fabric, then iron it flat. Next, iron a seam into it, then stitch up that seam. Once your base is sewn shut, turn it down 2 inches and sew another seam, creating a rod pocket.
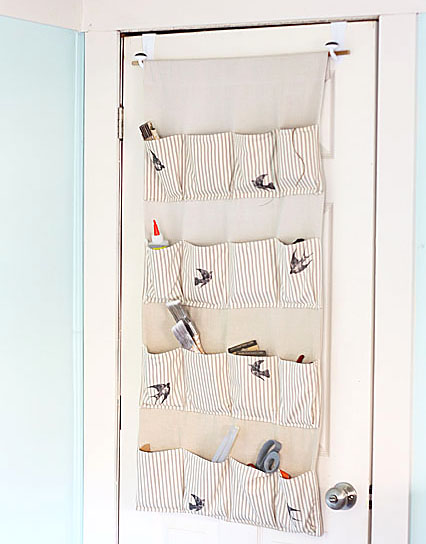
Step 4: To find your pocket measurements, divide the length of your base by 4 (or 5 or 6 or however many rows you’d like), then add a few inches for space between them. I wanted 4 rows of pockets, one every 10 inches, and they go across the width of the base.
Step 5: To create my pocket strips, I cut my fabric 13 inches wide by 30 inches long, I folded the strips long way (like a hot dog bun), and sewed a seam with a 1/2 inch seam allowance down one short end and across the long end. Next, I ironed it flat, then sewed up the open end, just like the base. This gave me a 6 inch wide, 28(ish) inch long strip. The extra inches on the end will help create more room for the pockets.
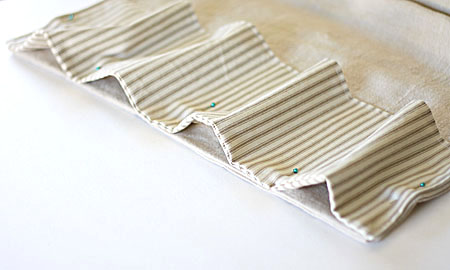
Step 6: To attach the pockets, I started by finding the middle of the strip, and pinning it to the pinstripe detail I mentioned (but you could also just find the middle of your fabric by measuring.) Then I pinned it at the 1/4 mark, and at the ends. I pinned all four of the pockets on, then stitched from top to bottom across all four seams, creating a series of open bottom pockets.
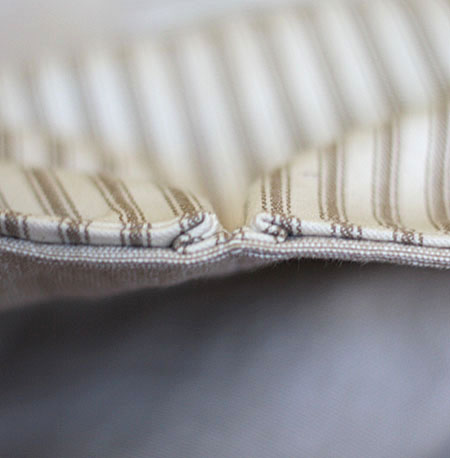
When I stitched across the bottom to complete the pocket, I put a small fold on each side of the side seams. I did have to adjust my tension – so just be aware that you may need to, also. Once all your rows are stitched down, give yourself a hand!
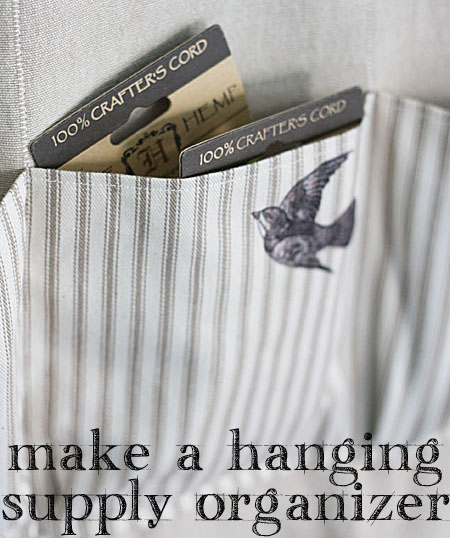
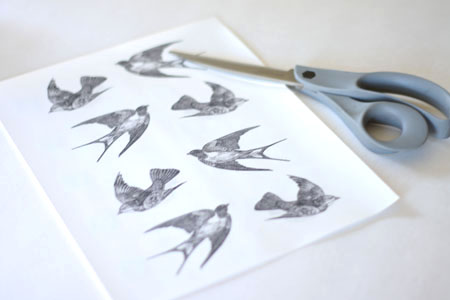
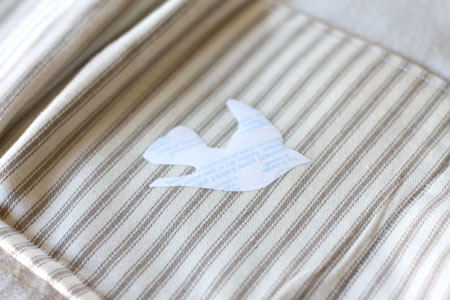
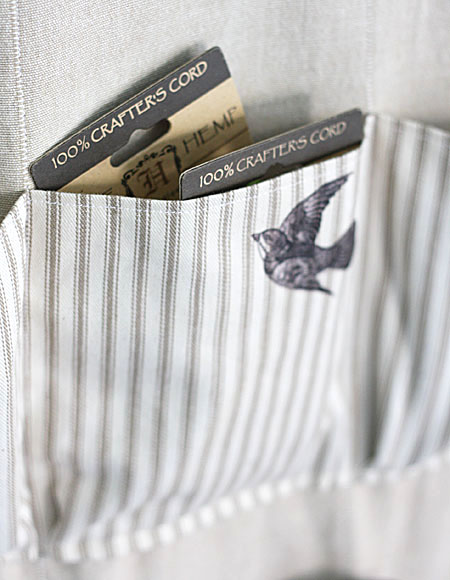
Step 7:I wanted to embellish mine to make it all pretty, so I printed out some free bird images from HERE onto iron on transfer, and trimmed them all out.
Step 8: I placed them kinda scattered over the pockets, not in any particular direction, then ironed them down according to the directions on the package.
Step 9: Last, but not least, thread the dowel rod through the pocket that you created and use the door hooks to hang it over the door. And you’re done!
There you have it: A customized, stylish hanging organizer. I love the birds, but it would also look gorgeous if you found vintage images of the supplies and put them on the intended pockets, too! Besides craft supplies, it would look beautiful in a bathroom for toiletries, or even in a pantry for small items.
I hope you enjoyed this DIY Art Studio Storage Idea … for more organizing solutions, visit my blog today to see how I keep everyday clutter at bay!
Gina


karen Underwood says
I LOVE IT!!! I live in a small apartment so any way that I can find storage is essential. I have the perfect place to put it. Thank you!
Karen Watson says
Yay! I’m so glad you found this one useful Karen. It should work perfectly in your apartment! 😊
Margaret says
Gina, I made one of these using a pillowcase about 35 years ago!!! But YOURS is very stylish and elegant. It has a French flourish with the birds on it too. Good Job!
Meg
Dewdrop Gardens says
I love this! Very pretty and much nicer than the ‘shoe organizers’ that look similar.
Pinning this one!
Debbie 🙂
DeAdesign says
Thanks. like idea!
Céline says
That’s a great idea ! Thanks for this project !
merci et bonne journée
Ellen says
Wowwwww, awesome!!!!!!
Hugs,
Ellen
Jayne says
Thanks for the detailed tutorial 🙂 Love this project!
Susan @ homeroad.net says
Love this Gina! The birds and the fabric are the best!
Susan
Pendra says
Great idea, it’s the one space I haven’t thought to use yet!! And I think that’s a cute idea to find vintage images of whats in the pockets…would be so creative and unique. Love your sewing projects Gina, keep up the great work and thanks for sharing!!
Hugs,
Pendra
Anonymous says
Fabulous idea. So creative.
Many thanks, I love reading all the projects.
Trish
Betsy Speert says
That’s a great idea…..but I’m already using the backs of all my doors!!!
AARRGGGG!!!