Elegant Vintage Thanksgiving Mixed Media Menu and Place Card Tutorial!
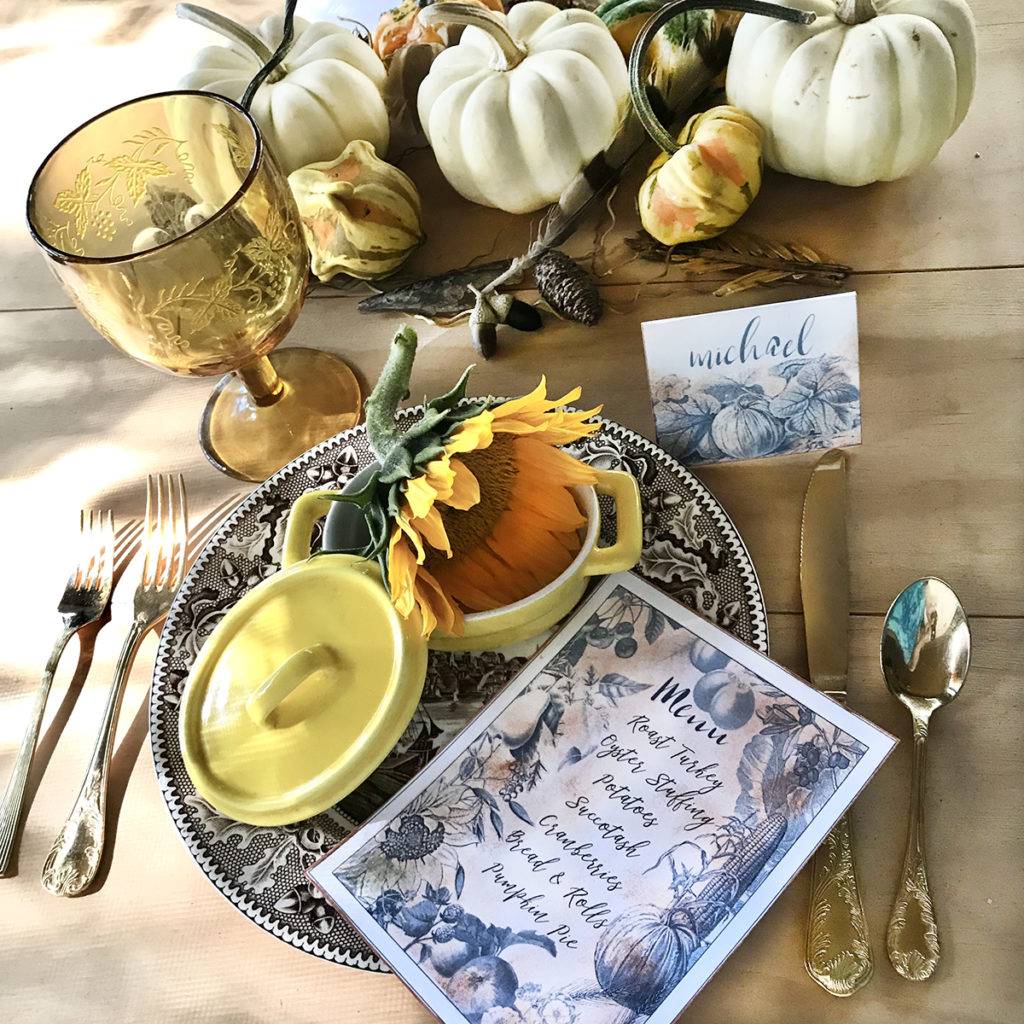
Hello, my artful mixed media friends. It’s Rebecca AKA Cre8tiva here with an elegant Thanksgiving Mixed Media Menu and Place Card Tutorial! My favorite holiday is Thanksgiving. I always set a beautiful table, even if it is just for two. This year I am going elegantly understated with a simple harvest theme. I am including a free printable to save you time. I invite you to jump into my creative sandbox and create a menu and place cards with me.
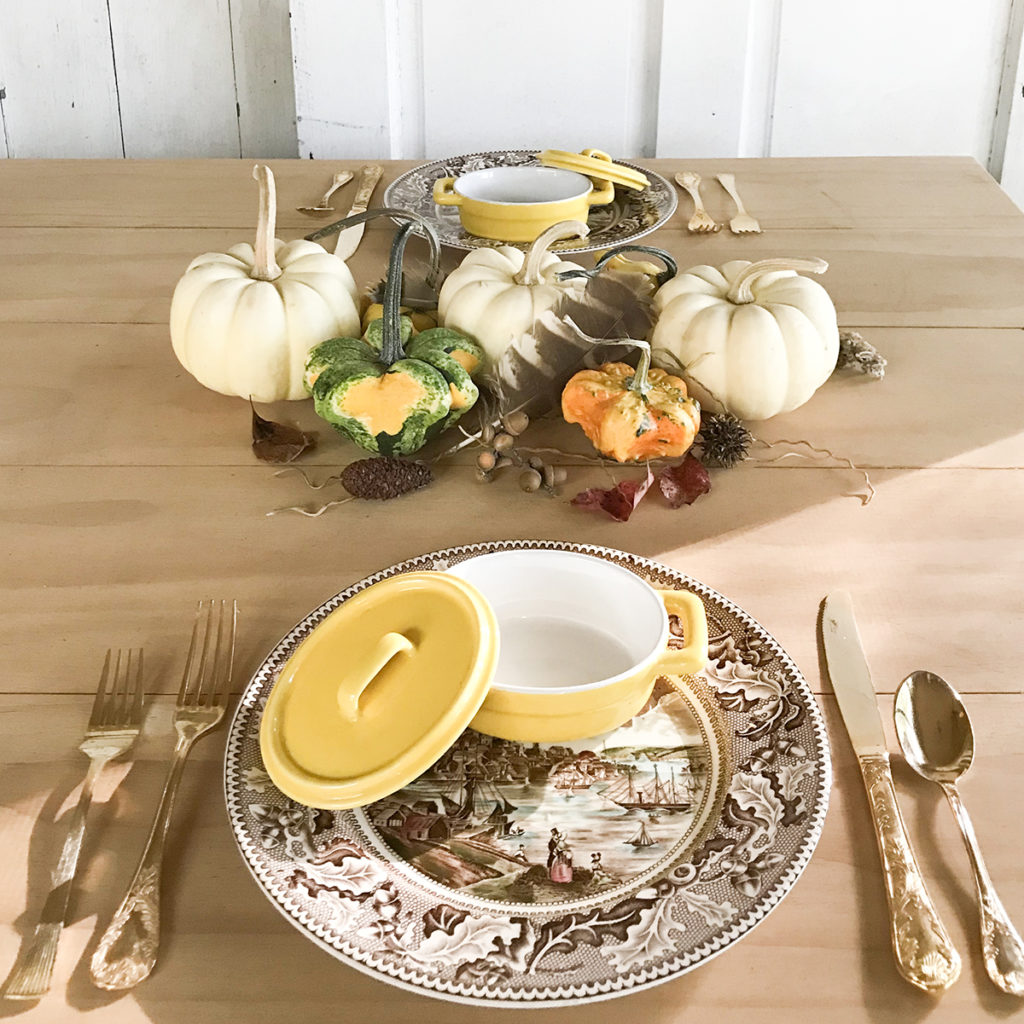
Table setting before adding vintage mixed media paper goods:
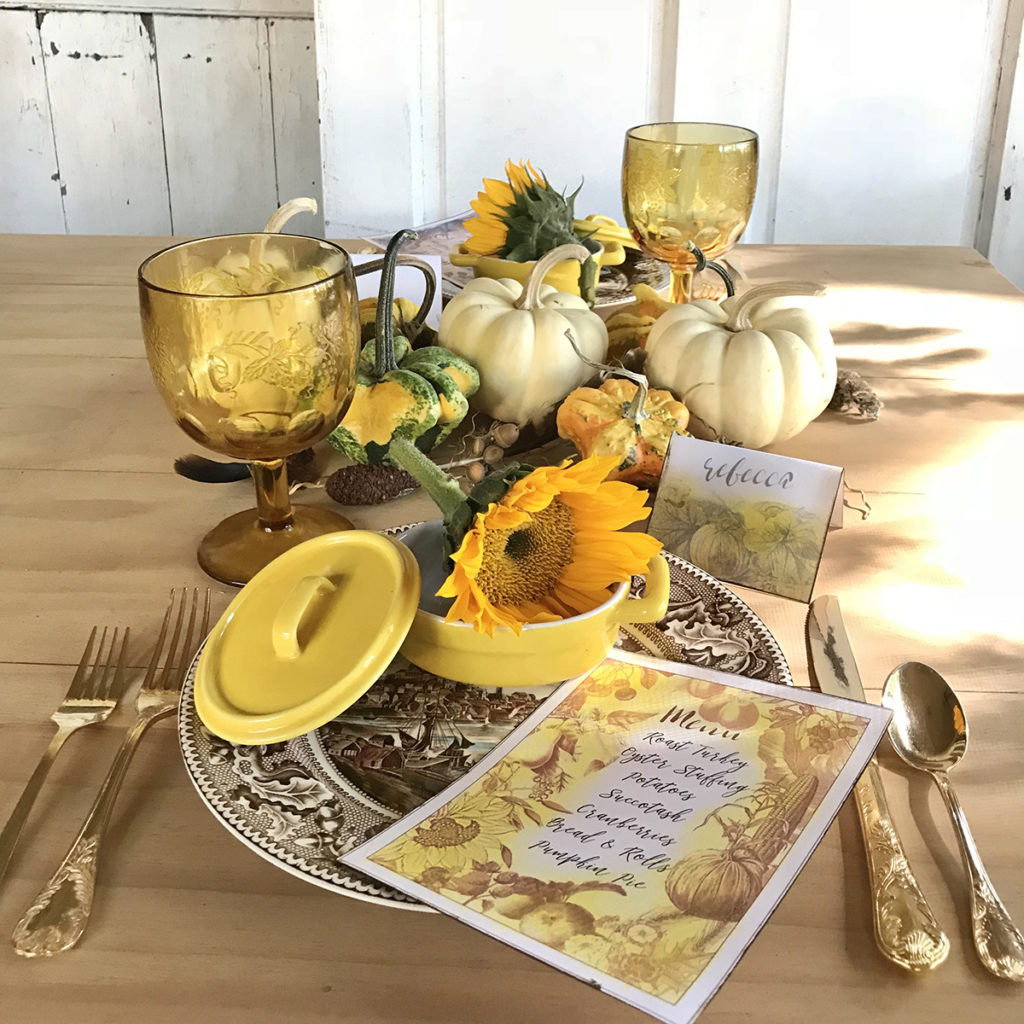
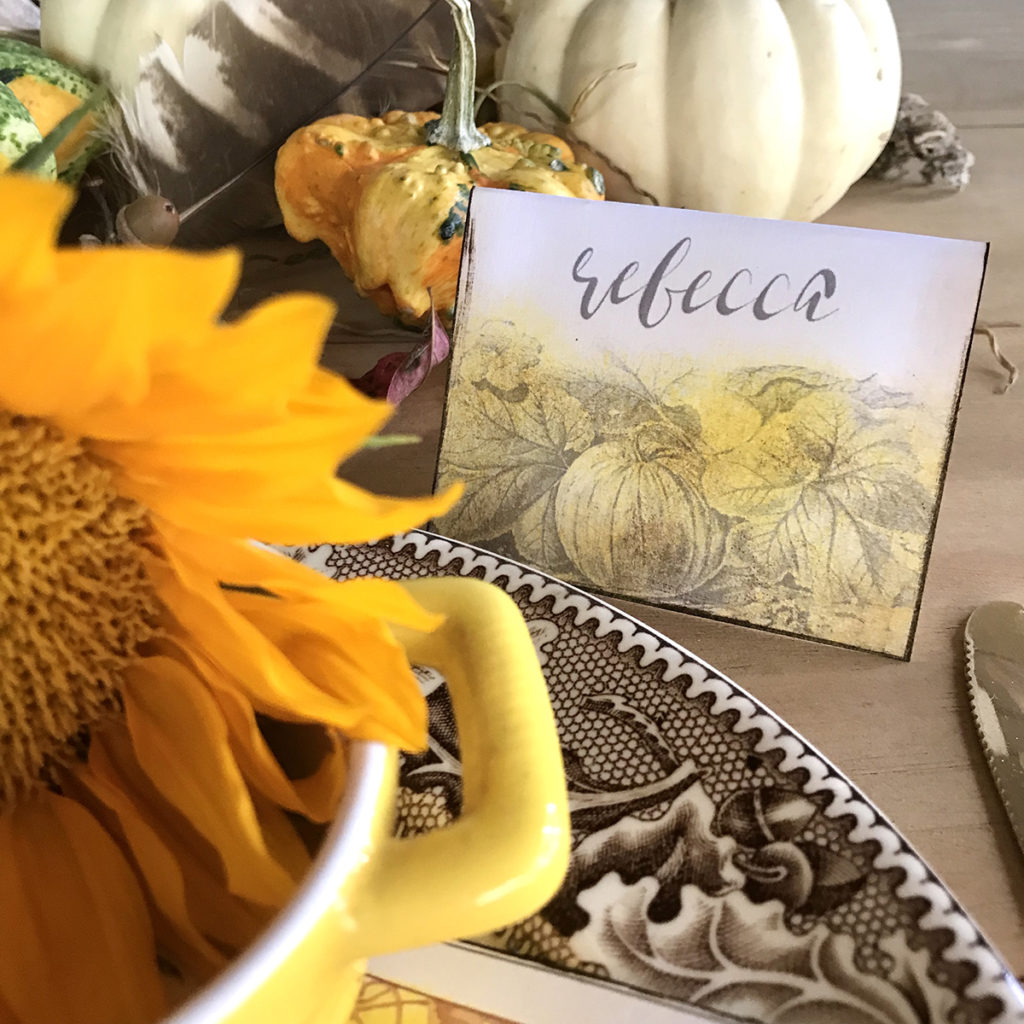
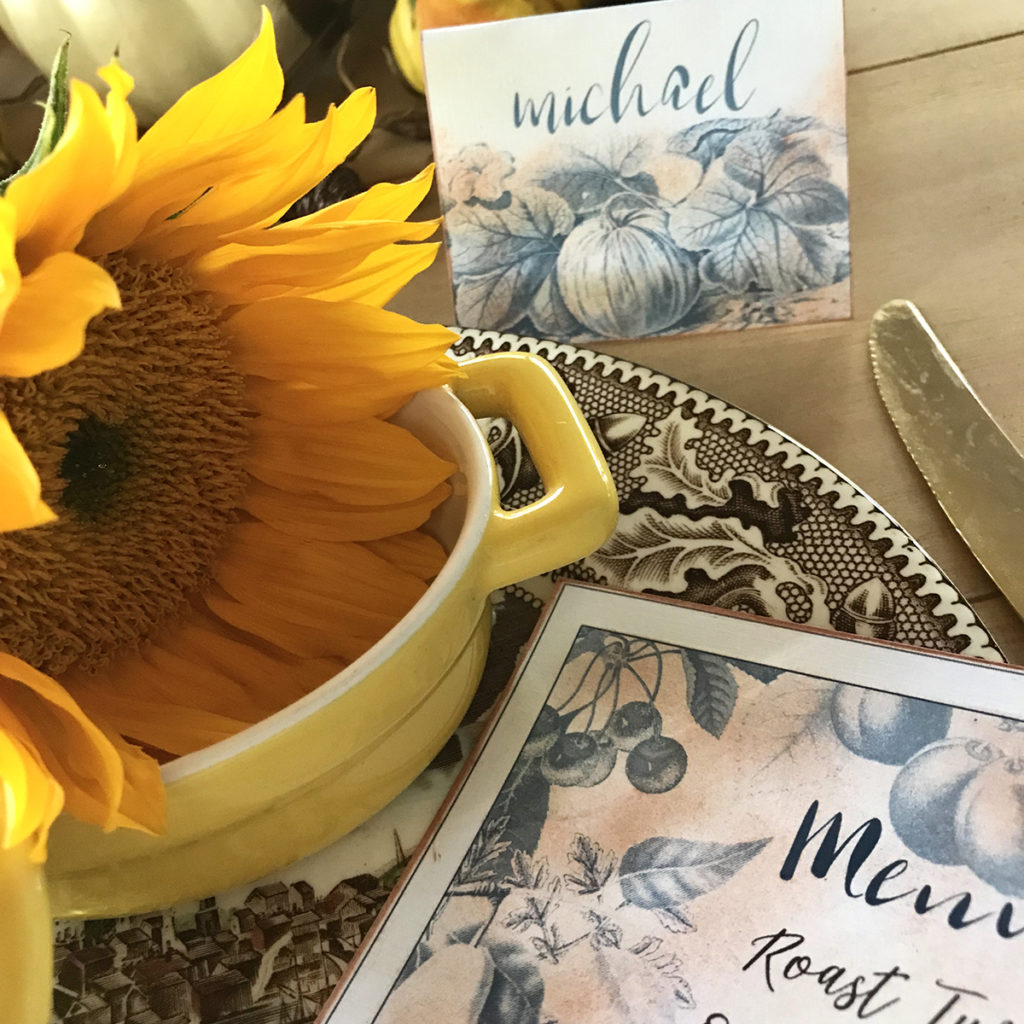
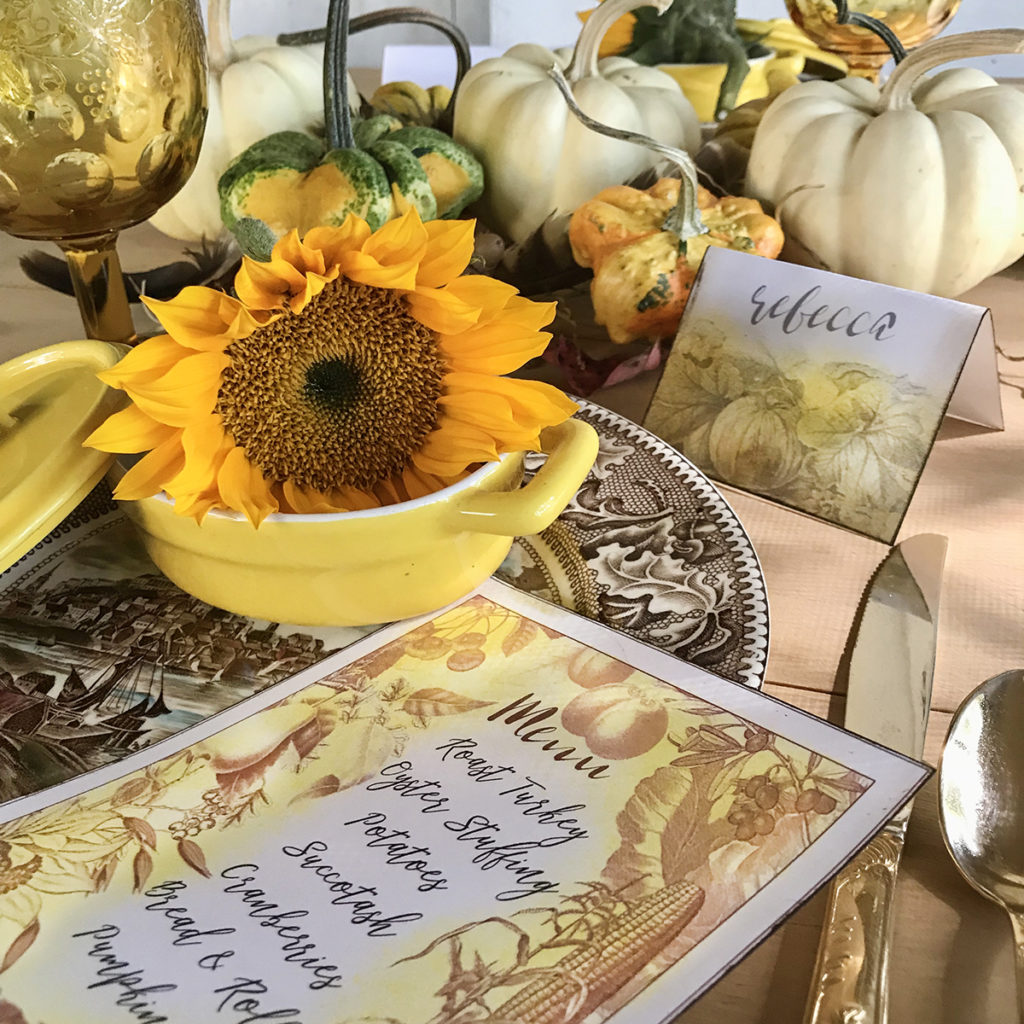
The Table setting after it was dressed with Thanksgiving Mixed Media Menu and Place Card. WOW! You can see what impact the addition of the menu and place card has below.
Mixed Media – Digital and Artsy
I was browsing The Graphics Fairy archives of Thanksgiving, Garden, and Fruits and Veggies images looking for inspiration for my post this month. The fruits and veggies kept leaping off the page at me…so I gave in to their call. I decided to make my Mixed Media even broader than the usual painting, stamping, and gluing to include a digital collage. Be still my heart.
You might know I teach PhotoShop Elements over on the Premium Site. Using both digital and traditional artforms is what my Mixed Media is ‘all’ about. I want to share that love with you and perhaps inspire you to get adventurous with PhotoShop Elements if you haven’t tried it. Maybe you could ask Santa or undertake a New Year’s learning adventure. TEE HEE! I just have so much fun with TGF images in PhotoShop, that I am a self-appointed evangelist of all things digital mixed media.
I gathered my fave TGF veggie, fruit, and flower images and took them into Photoshop. I decided I wanted them to feel like sketches with a vintage woodcut look. After a few tries, I came up with a sweet little system for turning a color image into a woodcut. Here are a few elements of the final composition:
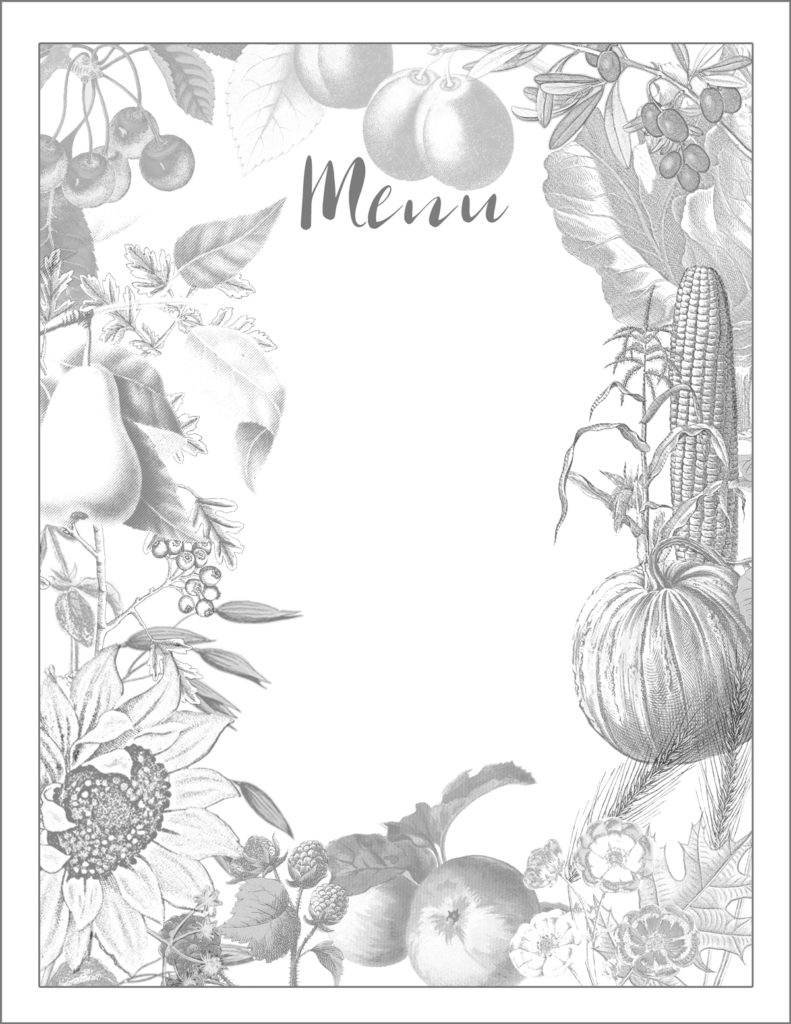
 Once I had each image turned into a grayscale woodcut, I set about arranging a pleasing harvest composition. It took me a few hours one afternoon to create this design. I love the look of the wandering leaves and harvest goodies. Here is the final Thanksgiving Menu.
Thanksgiving Menu Printable
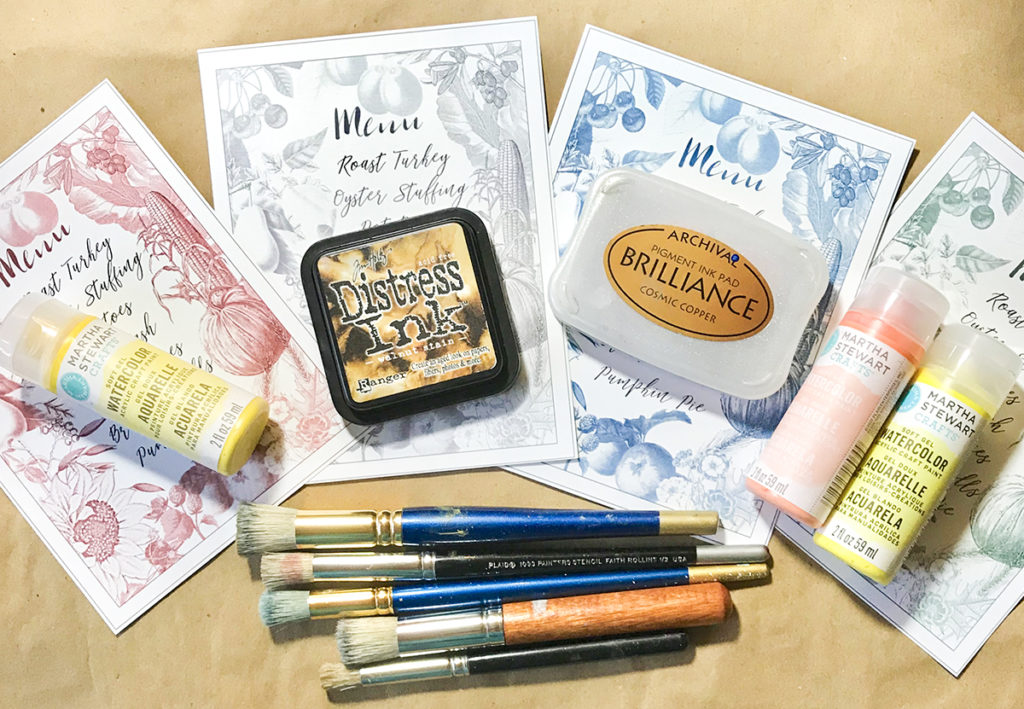
I created a Thanksgiving Menu and Place Card PDF for you in four different vintage colorways – gray, blue, green, and red. I hope you love them and can find a use for them on your harvest or Thanksgiving table.
Thanksgiving Mixed Media Menu Tutorial
Don’t you love all the colors of the menus? But I wanted to add some artsy hand painting elements to the menu. For a while, I have been wanting to share some of my old faux finish techniques with you. I use them often in my mixed media work. Stippling will enhance the lines of the woodcut and add that handmade touch that everyone expects from me.
Materials
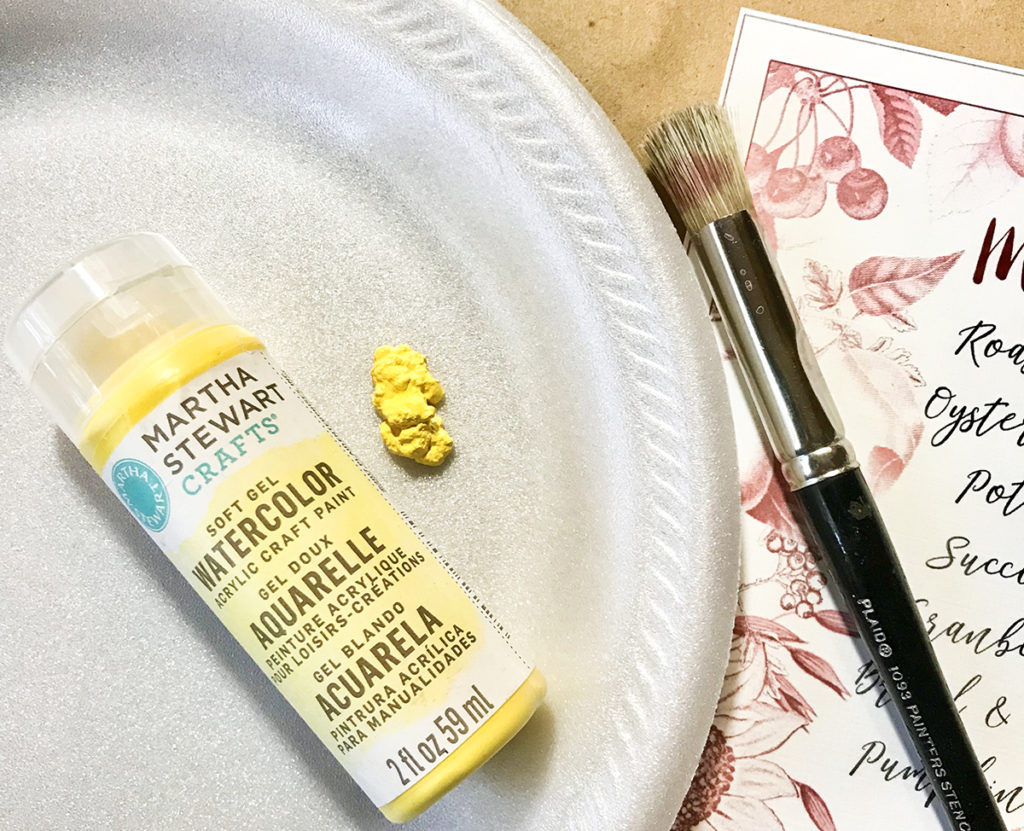
It is super easy to do. I am using Watercolor Gels, Distress Ink and Brilliance stamping inks applied with a 5/8″ flat stenciling brush. I printed the Thanksgiving Menu on textured cardstock. You could also use Mixed Media paper or Watercolor paper cut to size of your printer. I printed these on a laser printer. If you print on inkjet, please seal your image before you paint over it. It might smear. I usually use a few light coats of hairspray, a workable fixative, or Krylon Clear.
Easy Stippling Directions
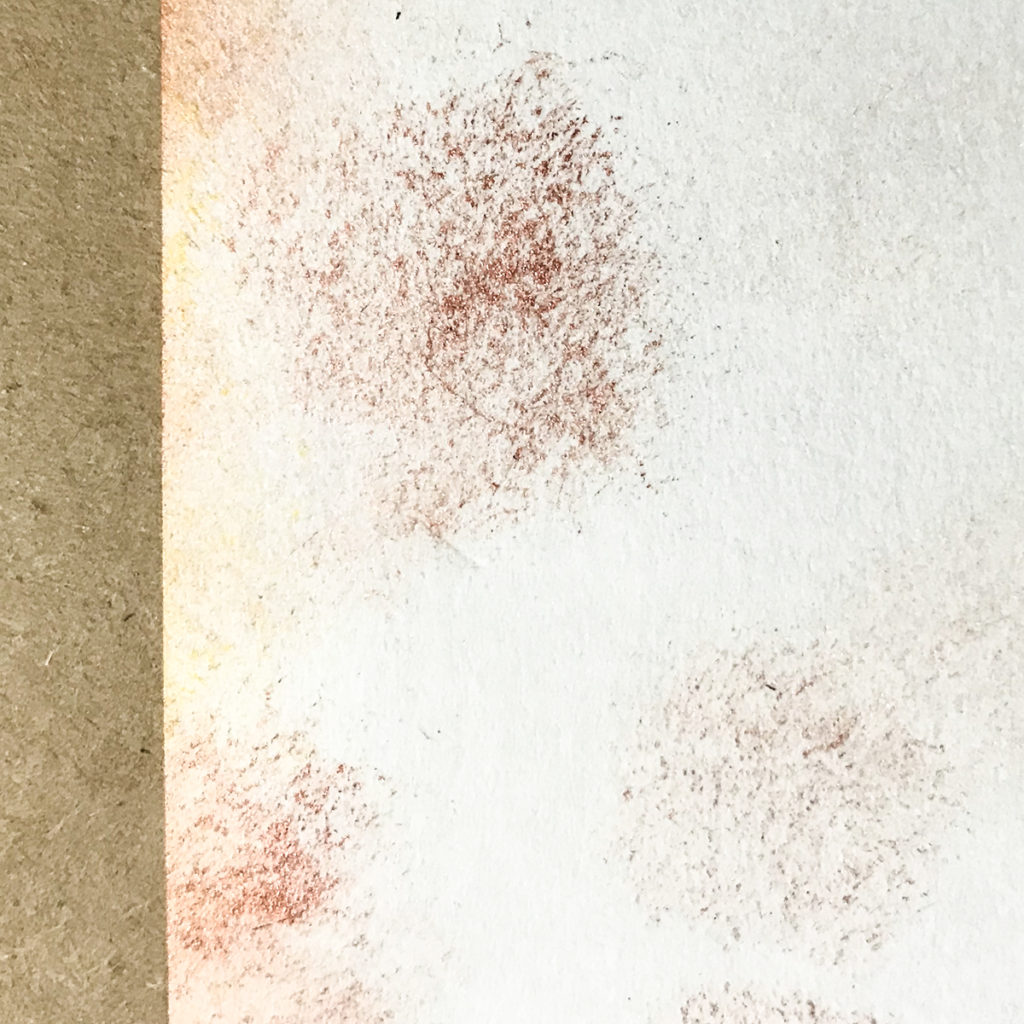
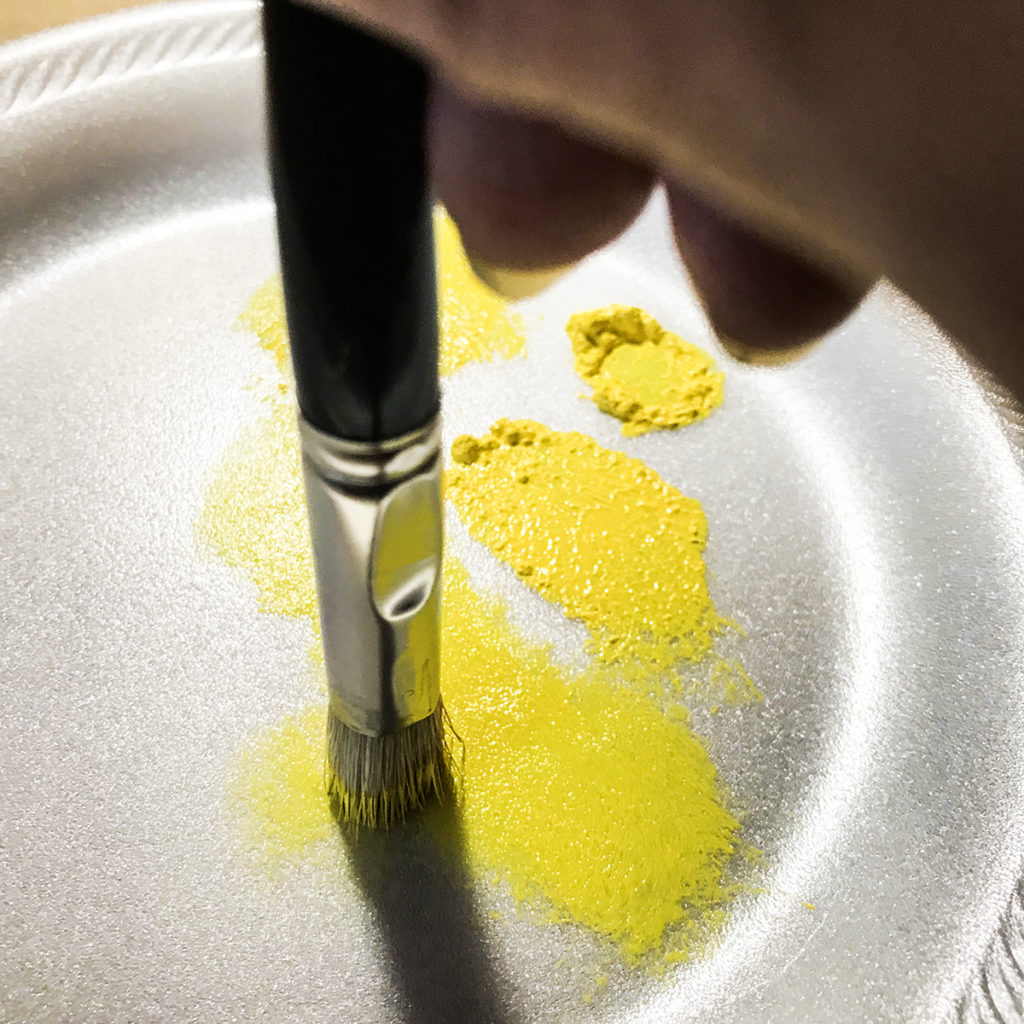
Stippling effects are frequently used by artists for shading and shadowing. For us, it is the creation of a pattern with varying dots of color. The tiny dots are produced by the brush bristles tapping against the paper as shown below. Let’s begin by practicing on a blank piece of paper. PRO TIP: Always practice techniques on a scrap surface before painting.
Stippling with Watercolor Gel
Pour a small amount of the watercolor gel (I used yellow) onto a foam plate palette. You don’t need much.
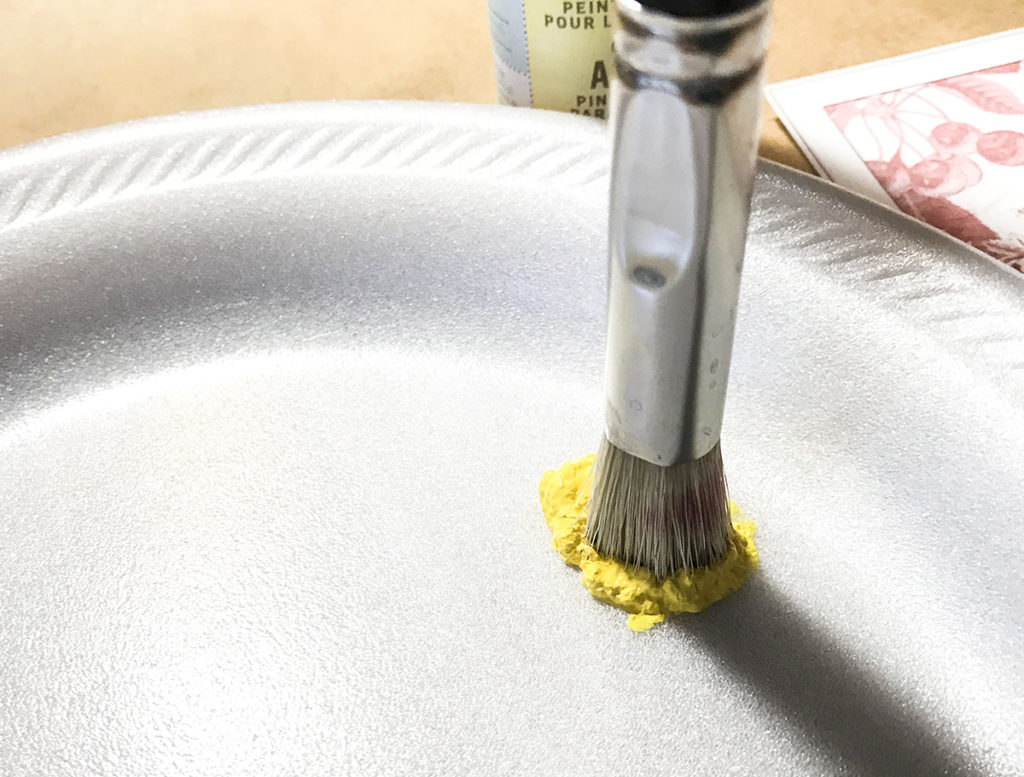
Dip your brush tips into the paint, keeping the bristles flat on the plate as shown below.
Pounce the brush tips up and down several times on the plate to work the paint into the bristles. You DO NOT want too much paint on your brush. This is kind of a dry brush technique.
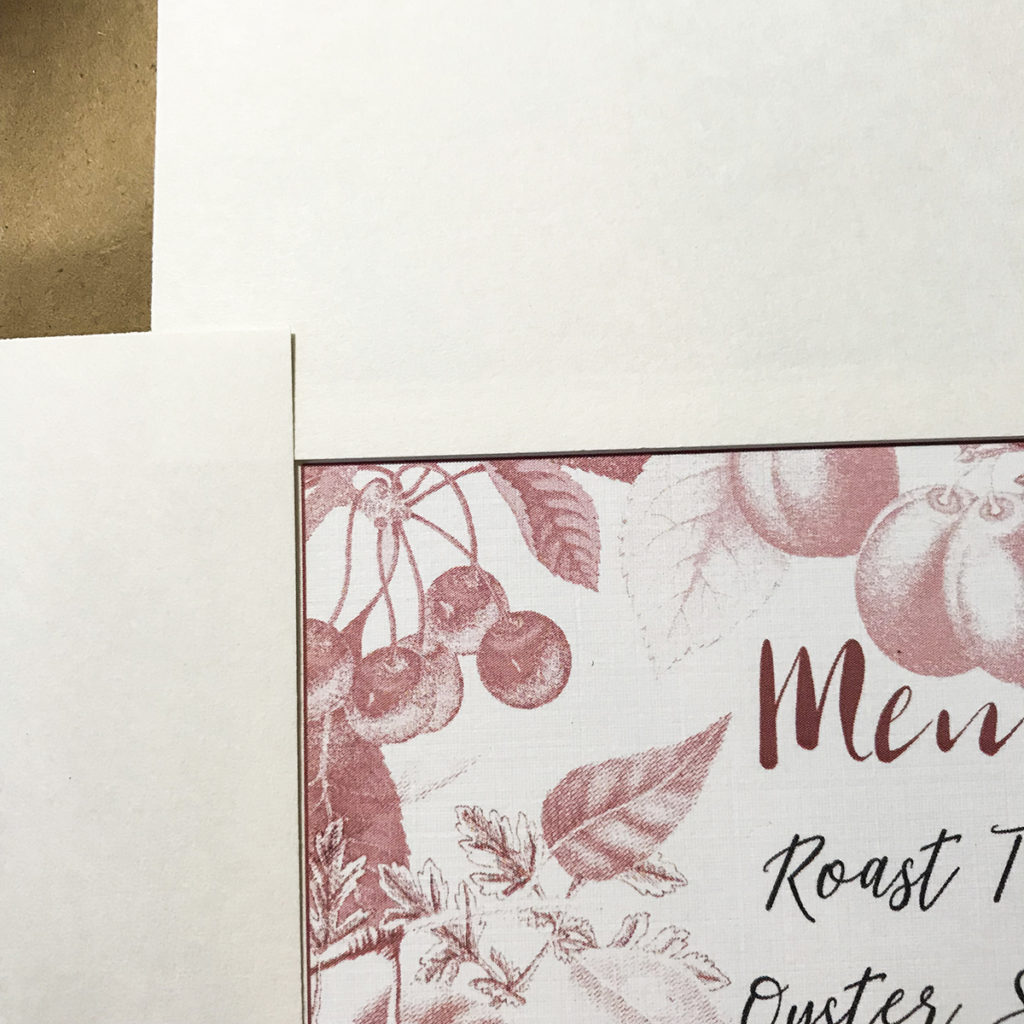
I mask the sides of the Menu Card with Index Cards that I hold in place with my fingers. I wanted to leave the edges white, but you can stipple this frame area as well. Just go with your creativity.
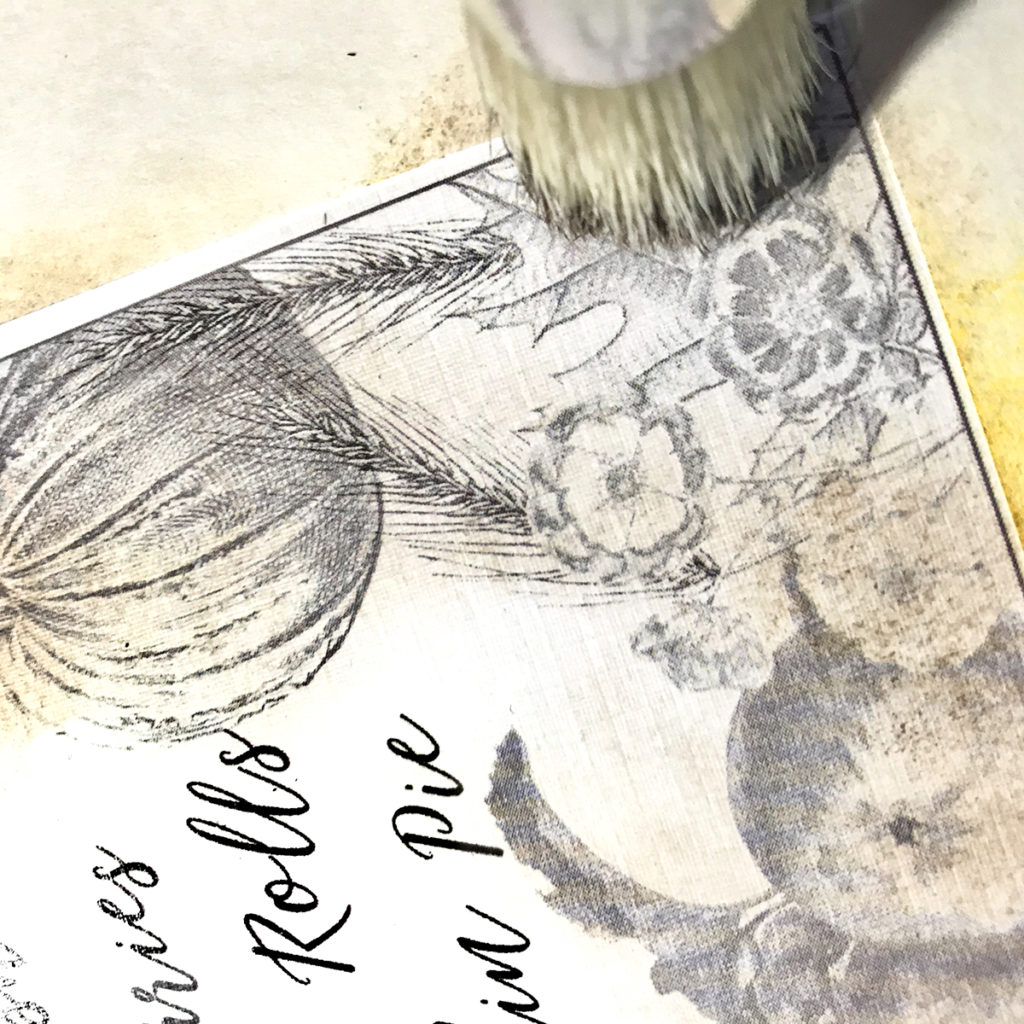
Now, carefully move to your paper. Use a light touch after you load your brush. We want a nice soft hint of color. Luckily, these gels are transparent. The stippling technique is tapping your brush tips flat against the paper. Do not get painterly and swipe your brush left to right. That is a different look. Just tap until you have run out of paint and repeat the process until you have painted over the image. Here is mine. I left the center area where my menu text is unpainted, but you can paint it if you wish. Just have fun! You can see the texture of my cardstock here. Isn’t it just lovely?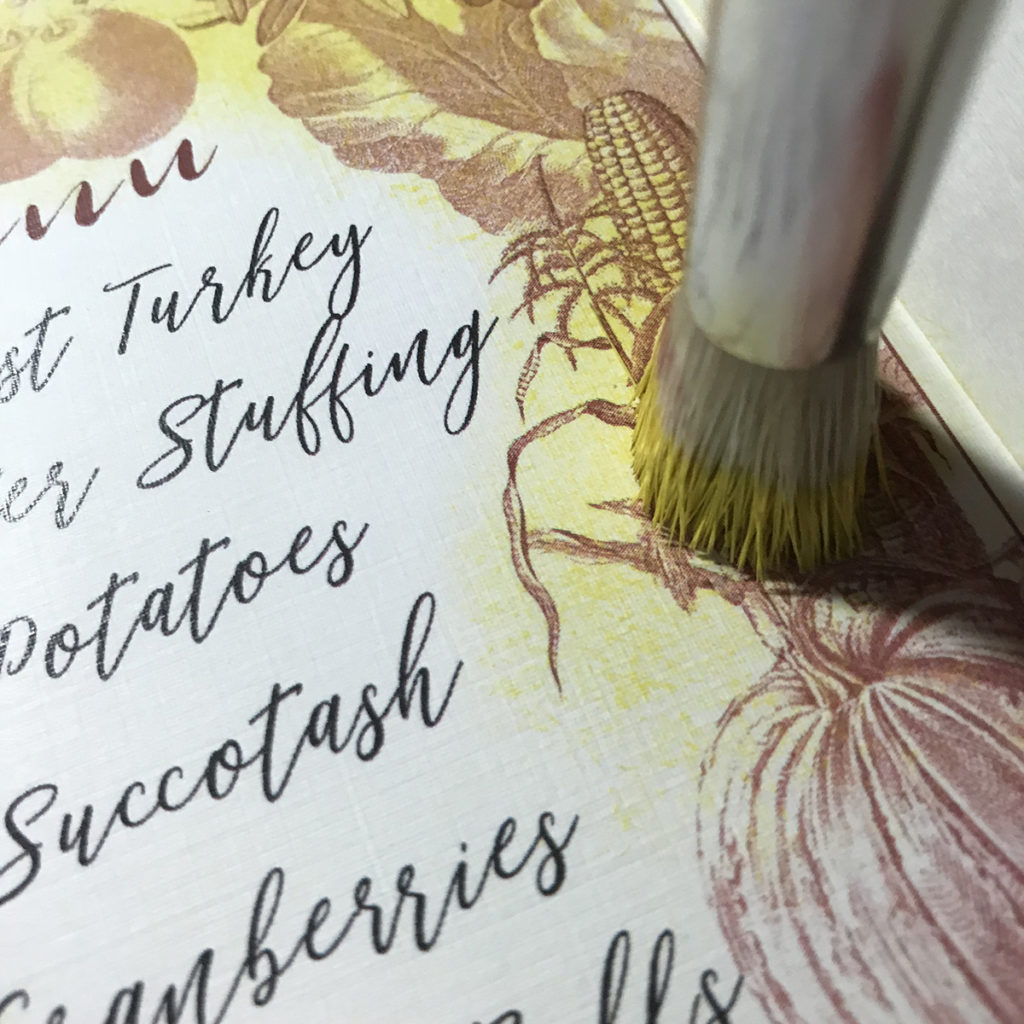
Stipple with Stamping Ink
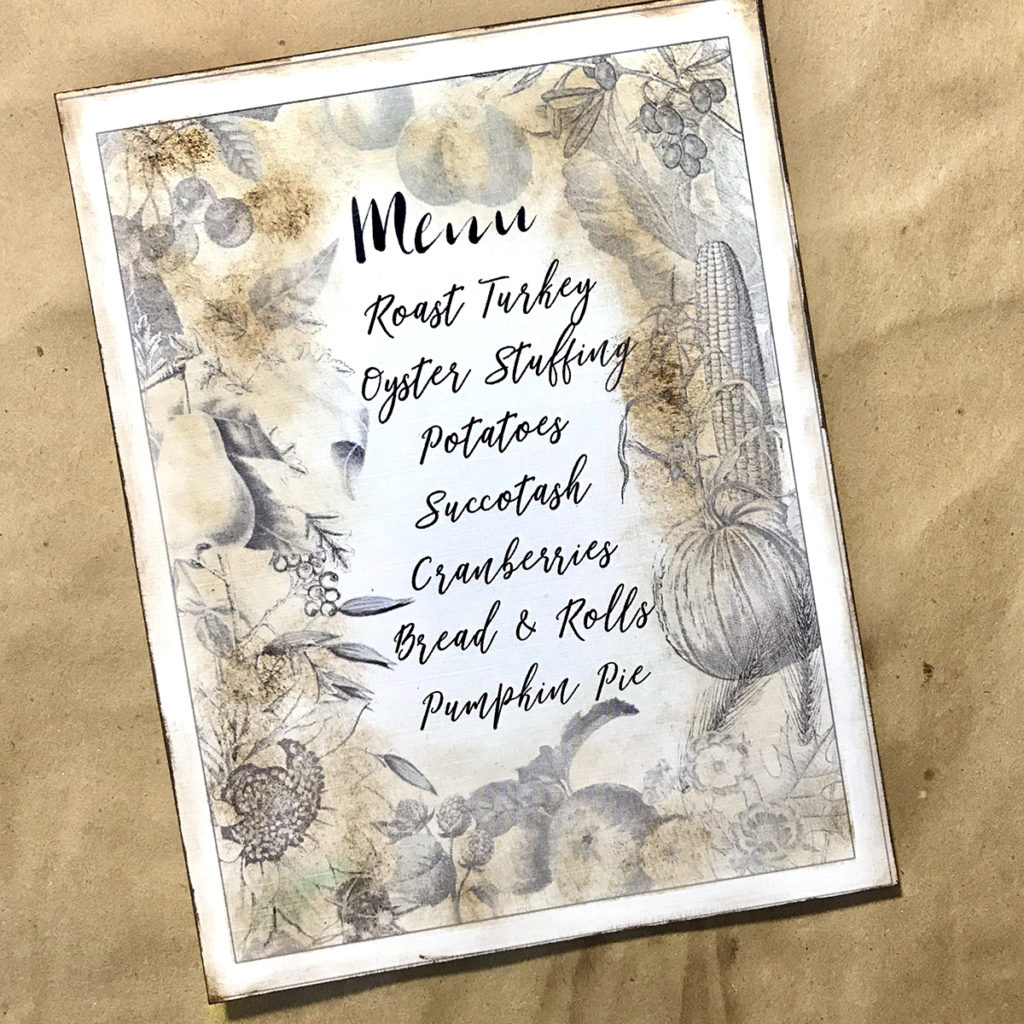
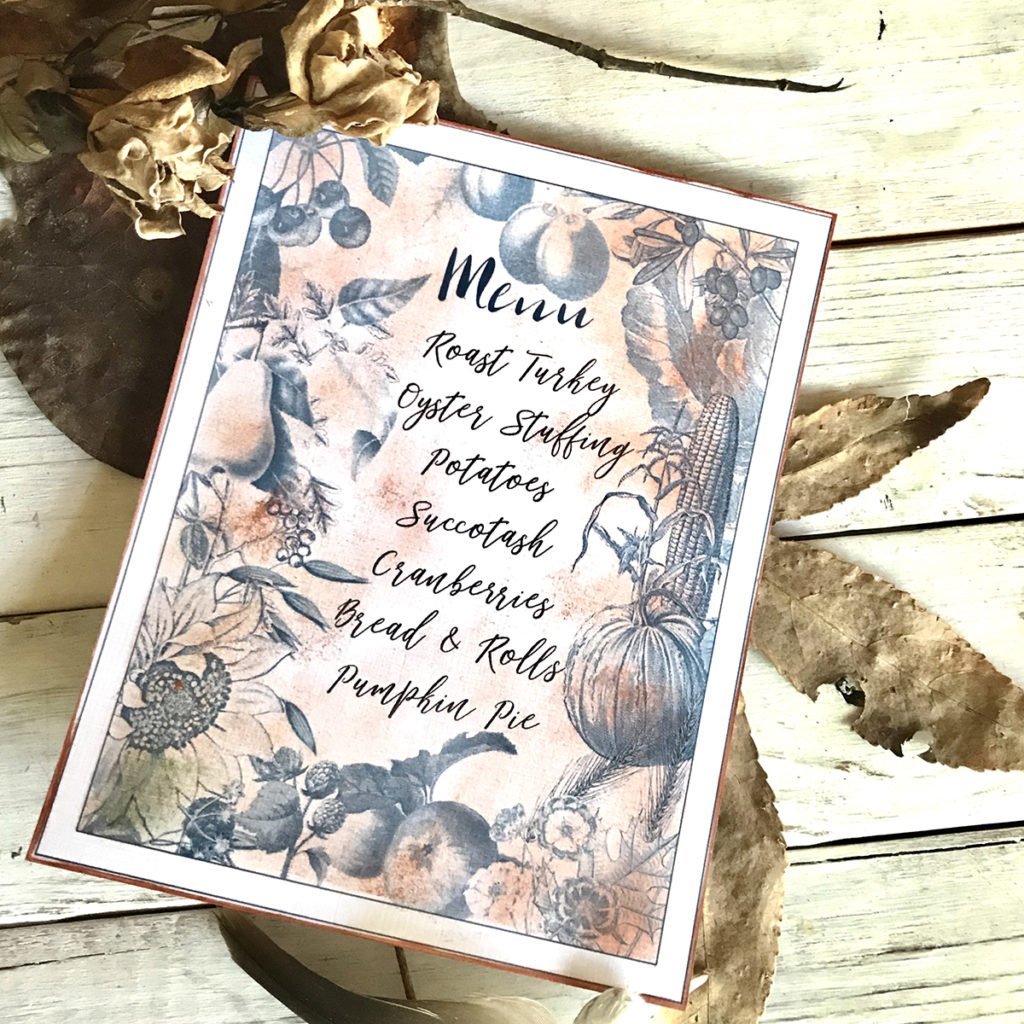
Let’s stipple the gray Thanksgiving Menu using the same technique with Distress Ink. I used Walnut. I did random areas of color, but you can cover 100% of the area if you like.
TIP: Tap the loaded brush against the index card first to make sure the paint or ink is not overwhelming.
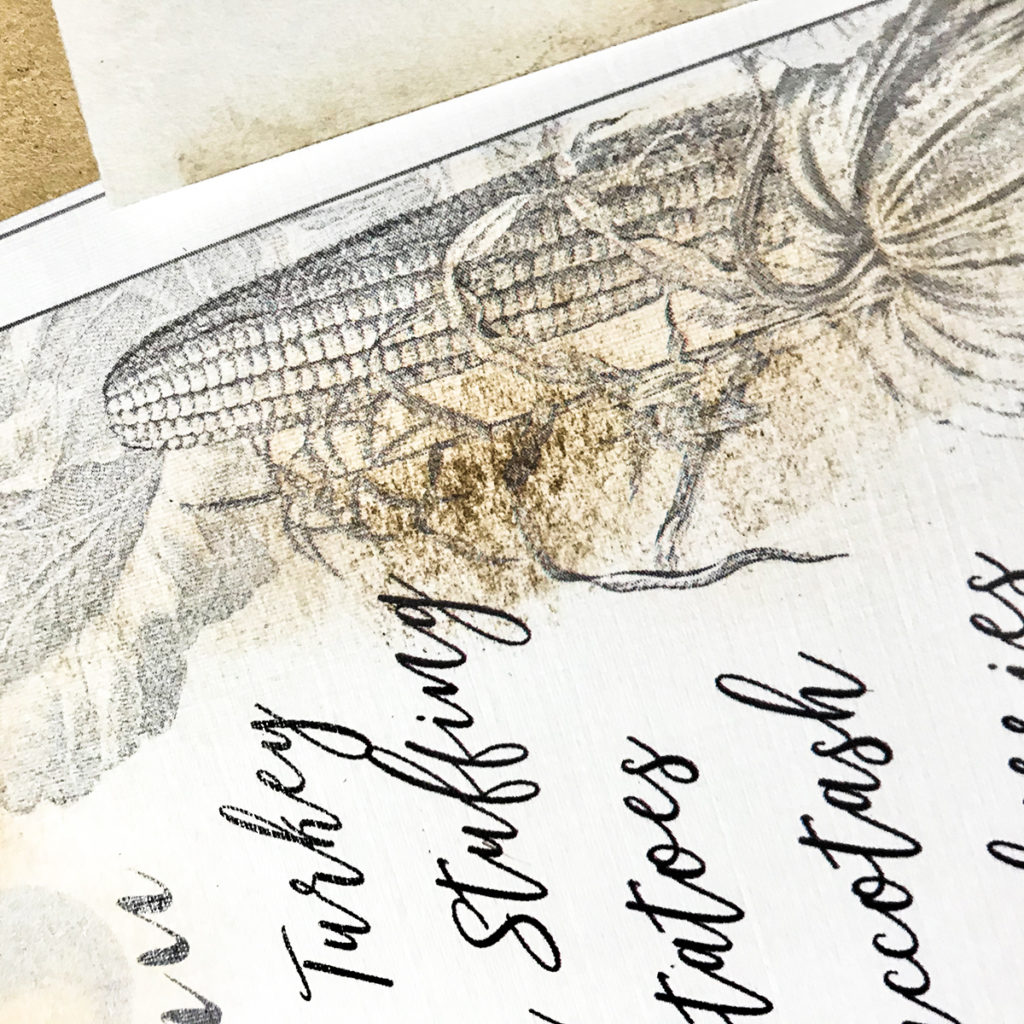
Here’s an OOPS I DID pounce too much ink without testing it first. UGH!! Since I like rustic, I went with it.
Distressing Edges
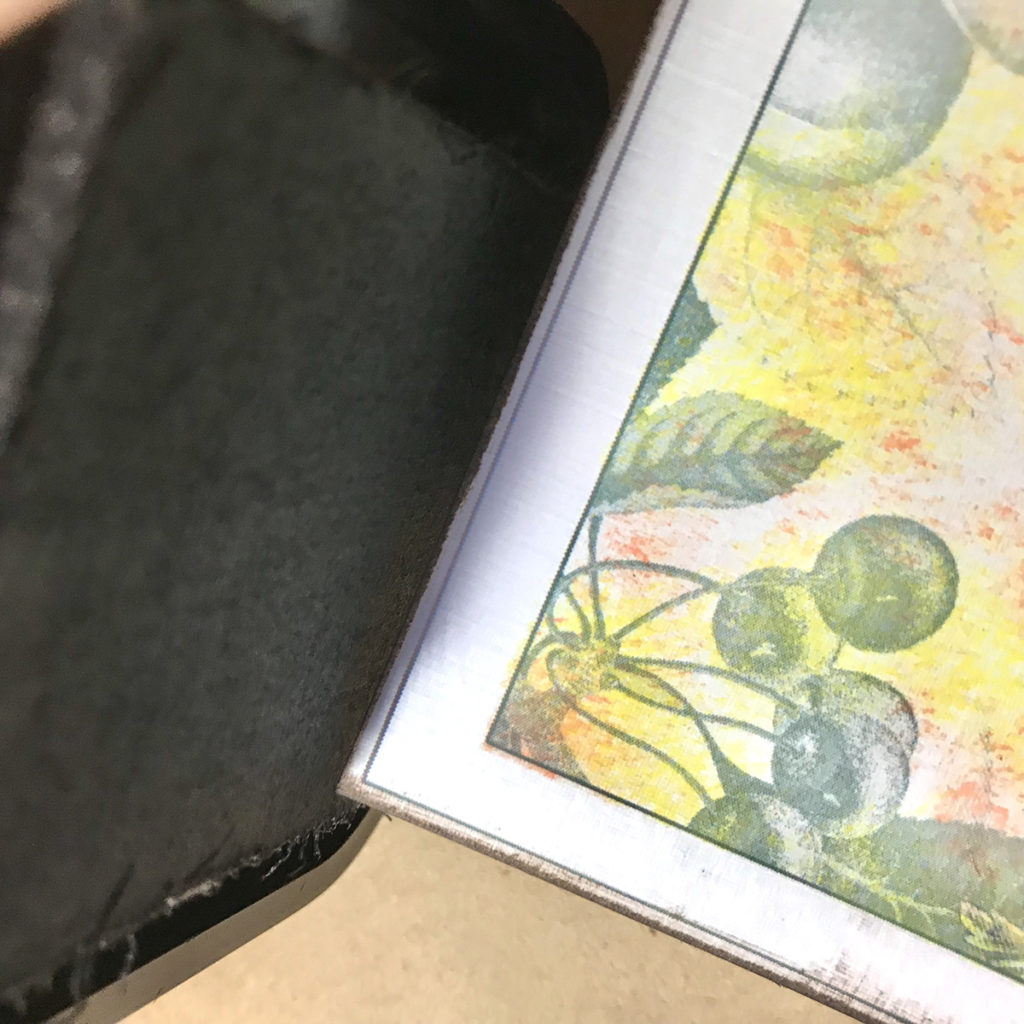
After the Thanksgiving Menus are dry, I distress the edges for a finished, vintage look. First, I rub the ink pad on the edges by holding it flat against the edge and pulling it. It is difficult to photograph, but I trust you get the idea.
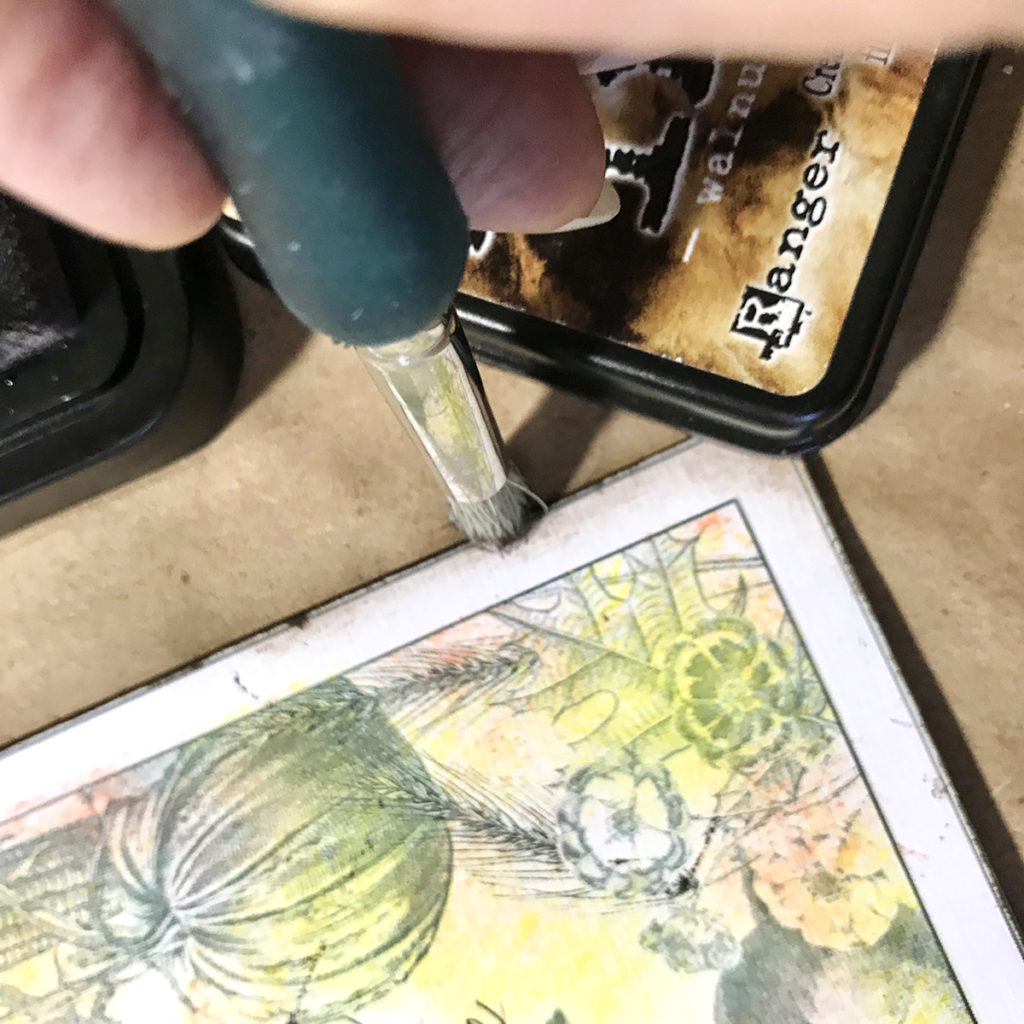
Then I use a small stenciling brush to apply ink to the edges. I just rub it on. You can also use any technique or tool you like for distressing the edges. Have fun making the menu look old.
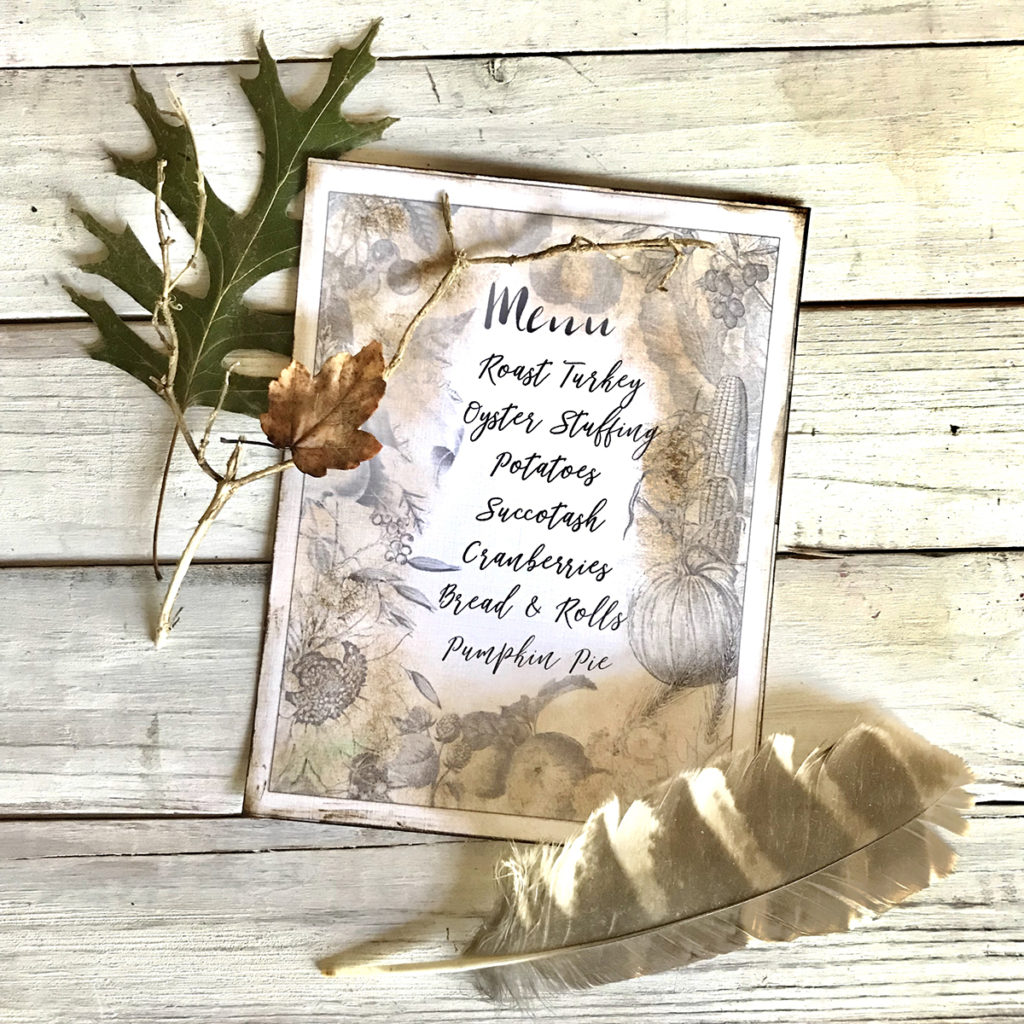
Here is the final look of the aging and distressing on the gray Thanksgiving Mixed Media Menu:
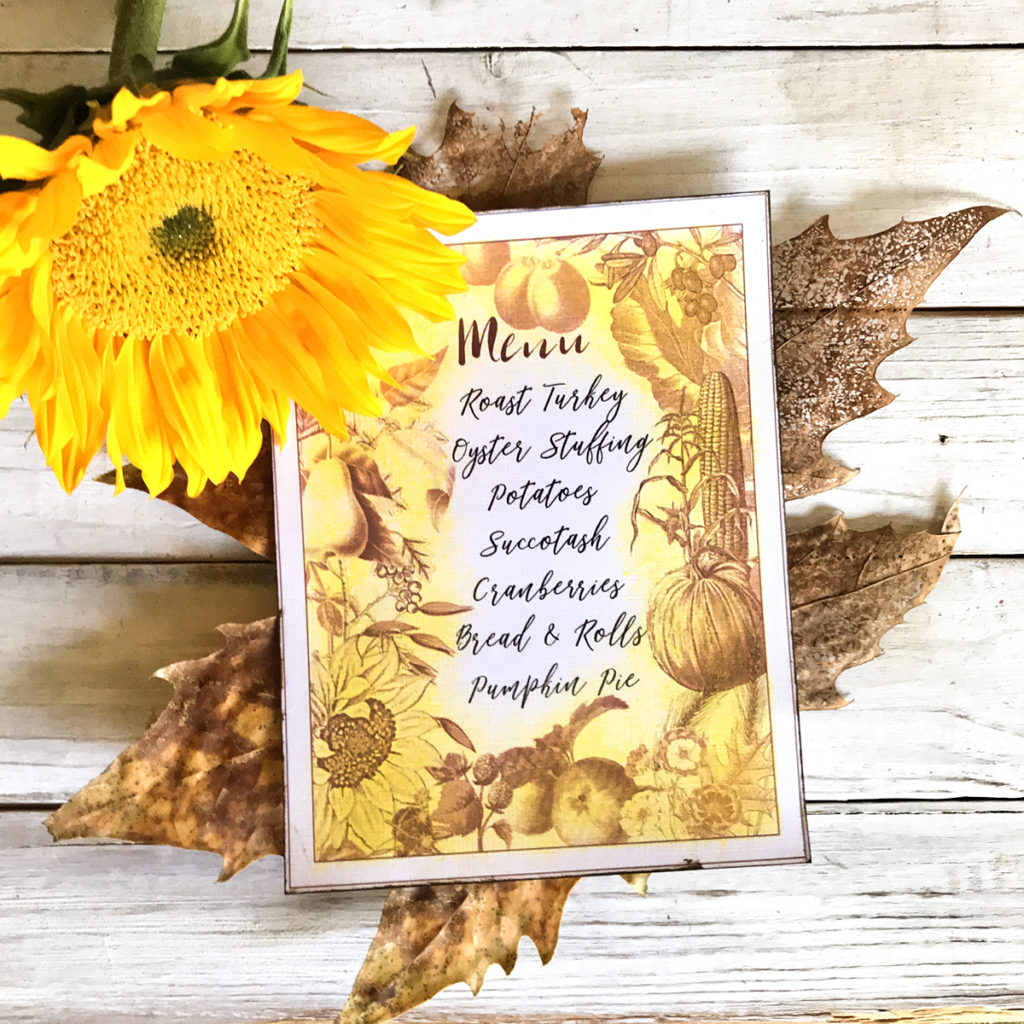
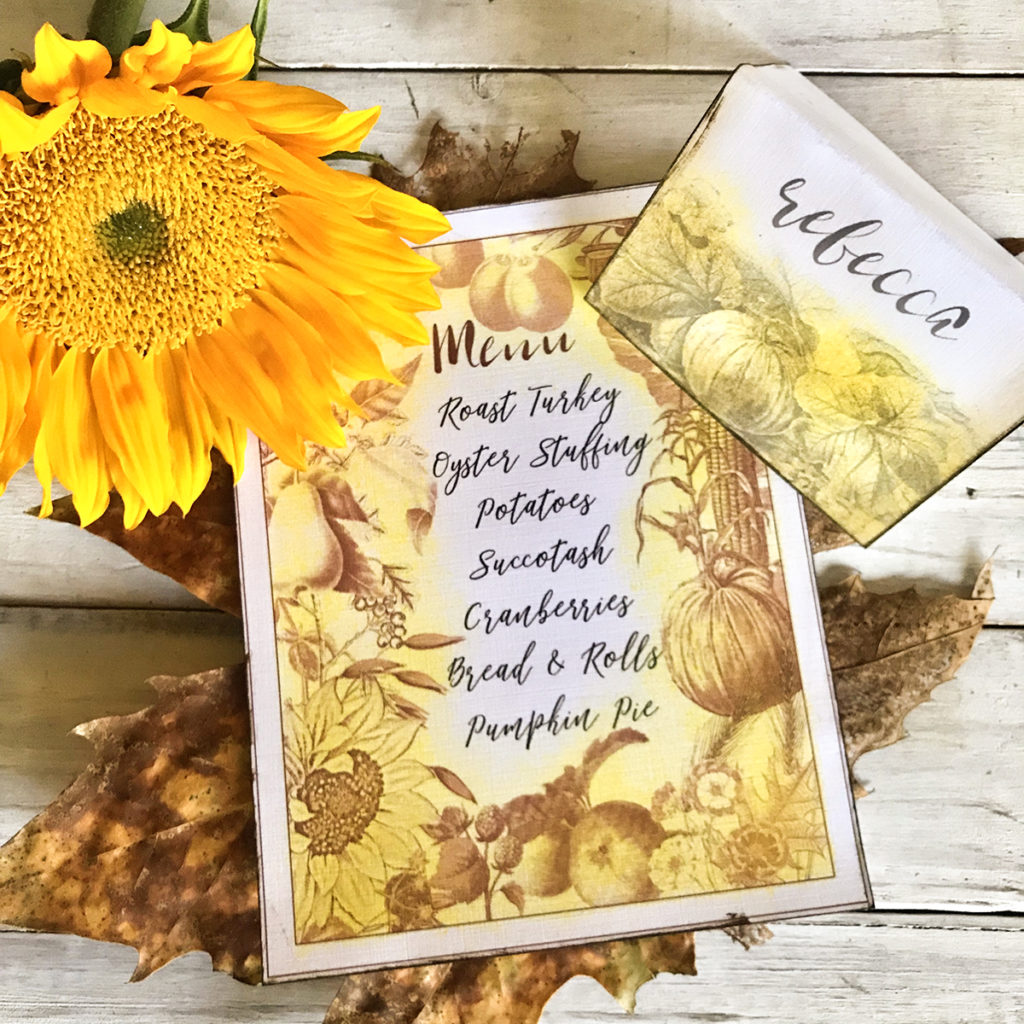
The red Thanksgiving Menu is stippled with yellow gel to cover 100% of the fruit and veggie areas. I left the center unpainted. I lightly distressed the edges of course.
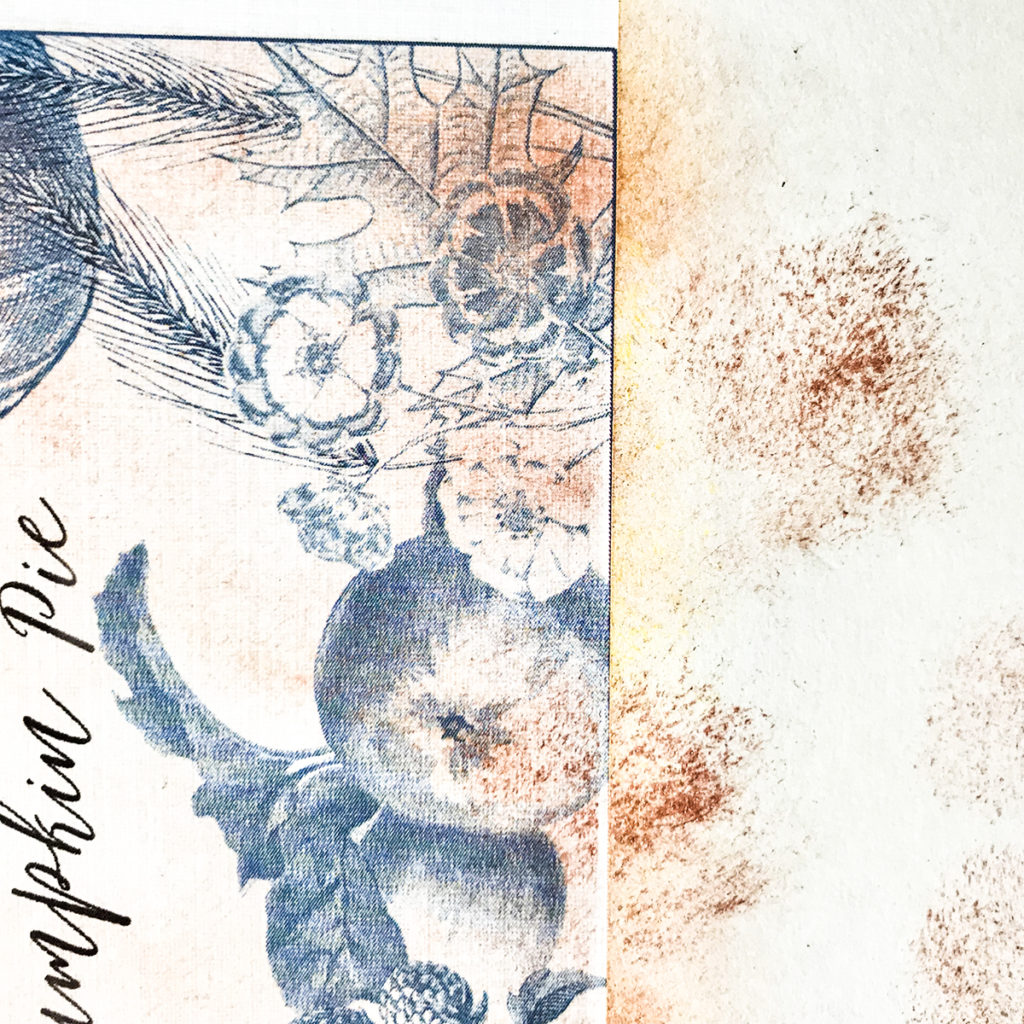
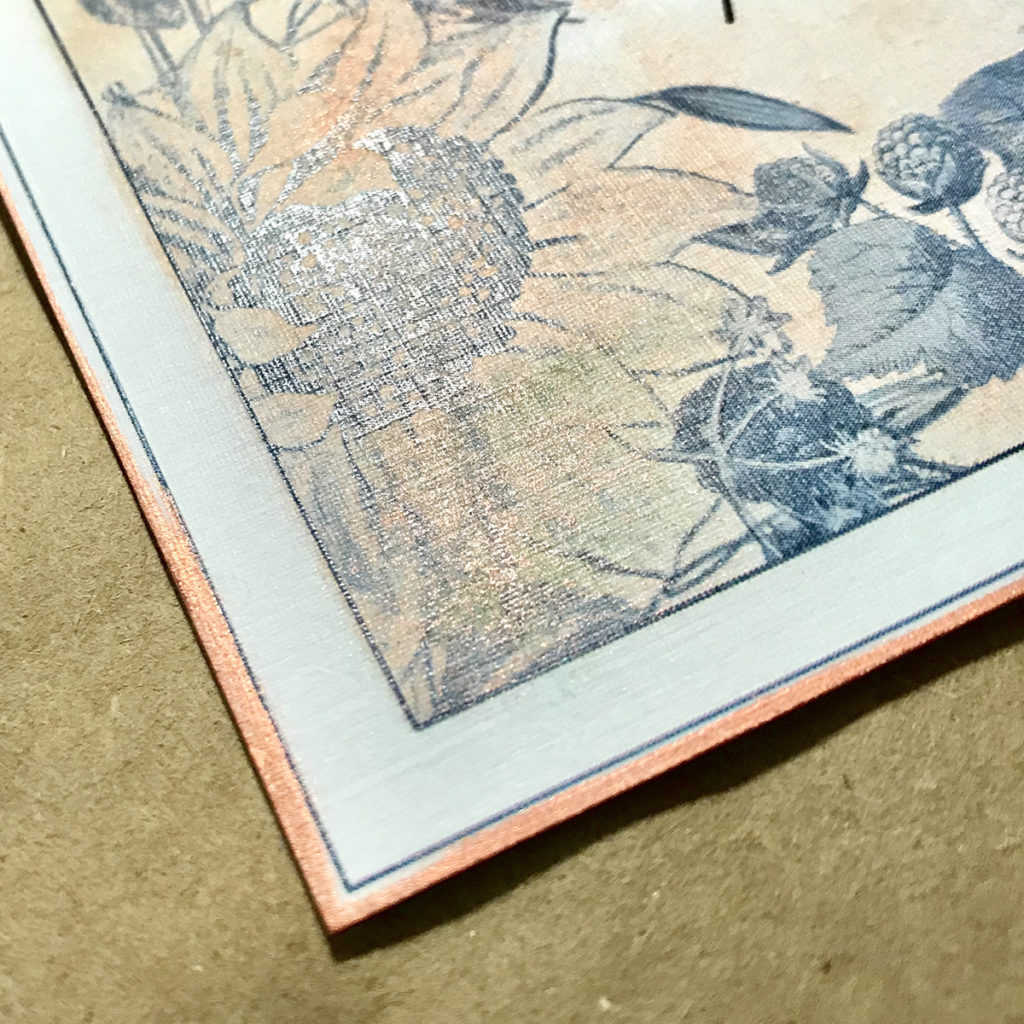
On the blue Thanksgiving Menu, I used copper stamping ink. I added ink randomly across the center on this example.
Here is a close look at the edge. I rubbed the copper ink pad against the edges for a beautiful and rich metallic look. I just love the metallic sparkle.
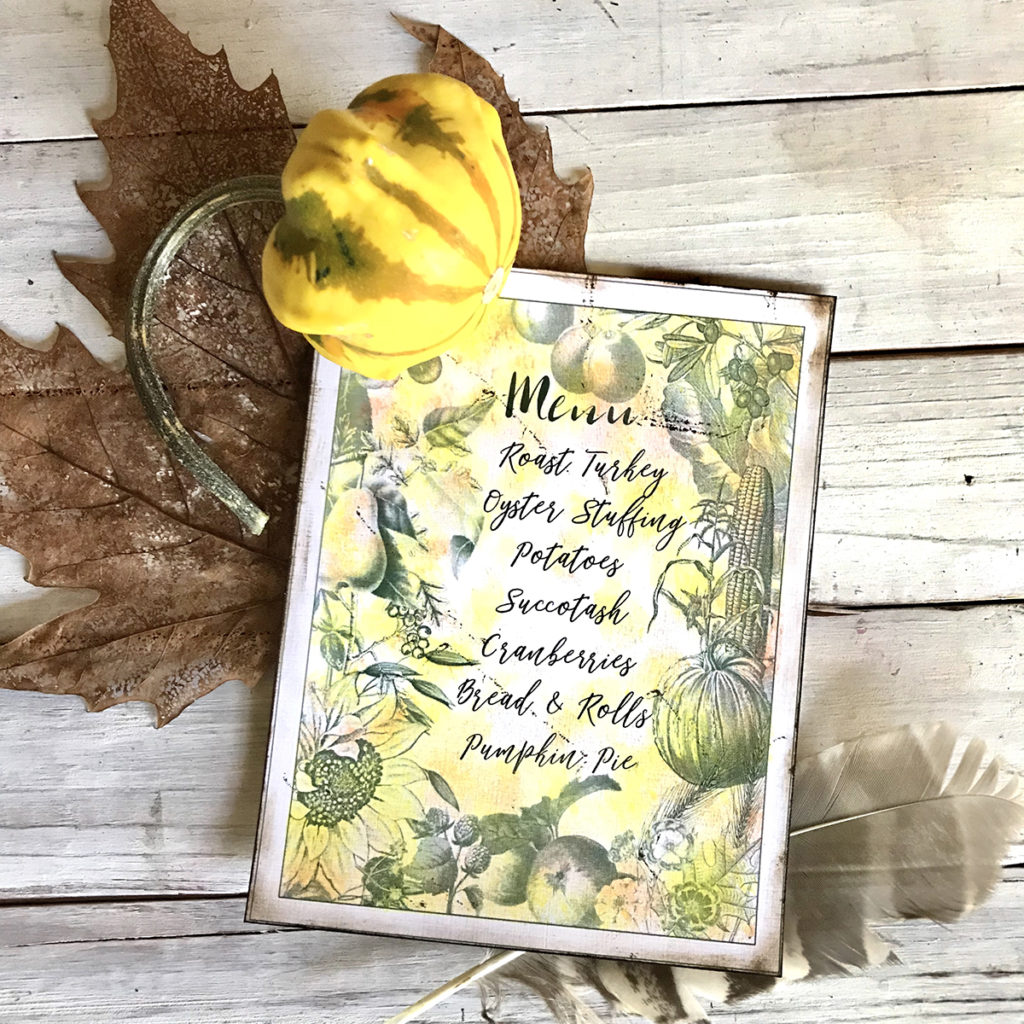
I used two colors (yellow and salmon) on the green Thanksgiving Mixed Media Menu. I heavily distressed these edges. See how many possibilities are available to you with this stippling technique? Please feel free to try other color combinations to match your theme or decor.
Bonus Thanksgiving Place Cards
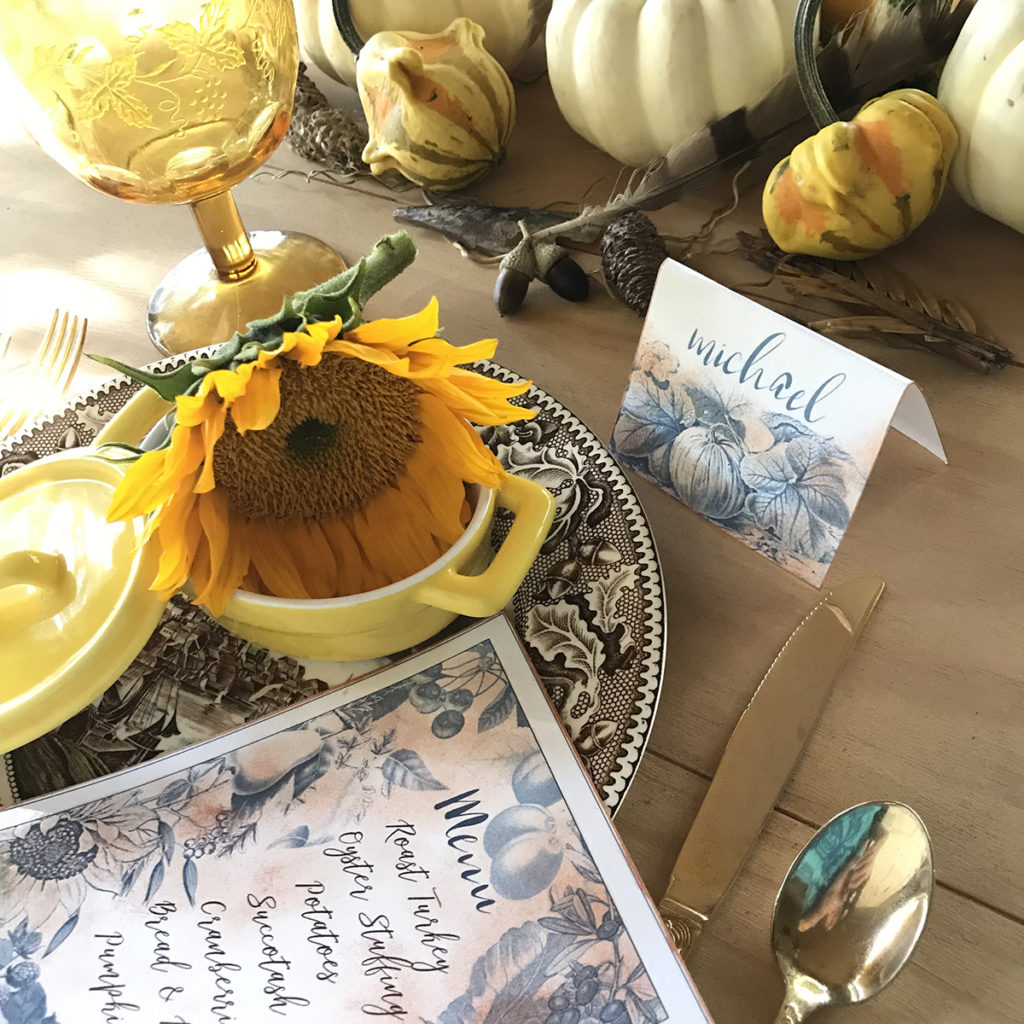
In the PDF, I also gave you place card blanks to print and color. Plus there are individual images you can make any size you like.
Here’s wishing you a blessed and joyous Thanksgiving.
I also teach Photoshop Elements tutorials over on The Graphics Fairy Premium Membership site. I did a few little digital paintings of the images while I was waiting for things to dry. I love using digital and standard art techniques in my work. I am known for these photographic artworks.
You can find even more of my art, DIYs, and whimsical shenanigans on Cre8tive Compass Magazine, Cre8tiva (just launched), and loads of my digital art on Instagram.
May joy be with you all,



Jennifer Scull says
this is so lovely! thank you for taking the time to put together the pdf file for all of us. 🙂
Happy Thanksgiving to you and yours! 🙂
graphicsfairy says
Thank you Jennifer, Happy Thanksgiving to you 🙂
Heather Dreith says
Thank you for this tutorial and the beautiful printables. Your table looks lovely! Happy Thanksgiving to you.
graphicsfairy says
Thanks so much Heather, I wish you a very Happy Thanksgiving as well 🙂
Ardith says
Thank you, Rebecca, for the lovely menu template and great tutorial. Happy Holidays to you. Cheers, Ardith
graphicsfairy says
Thanks so much Ardith, Happy Holidays 🙂