How to Transfer an Image onto Paper
Hey to all my favorite crafting buddies – It’s Rebecca E Parsons here to share a Super Quick Mixed Media Technique – How to Transfer an Image onto Paper. I love, love, love this technique for my Junk Journals and Handmade books. The best part of my technique is that it is FAST…no waiting overnight for things to dry. It is the easiest and most immediate way I know to incorporate The Graphics Fairy images into our Paper Artworks, Collages, Mixed Media pieces, Junk Journals, etc. Please come play with me in my Graphics Fairy sandbox and I will show you how easy this technique is. WINK!
Images Used
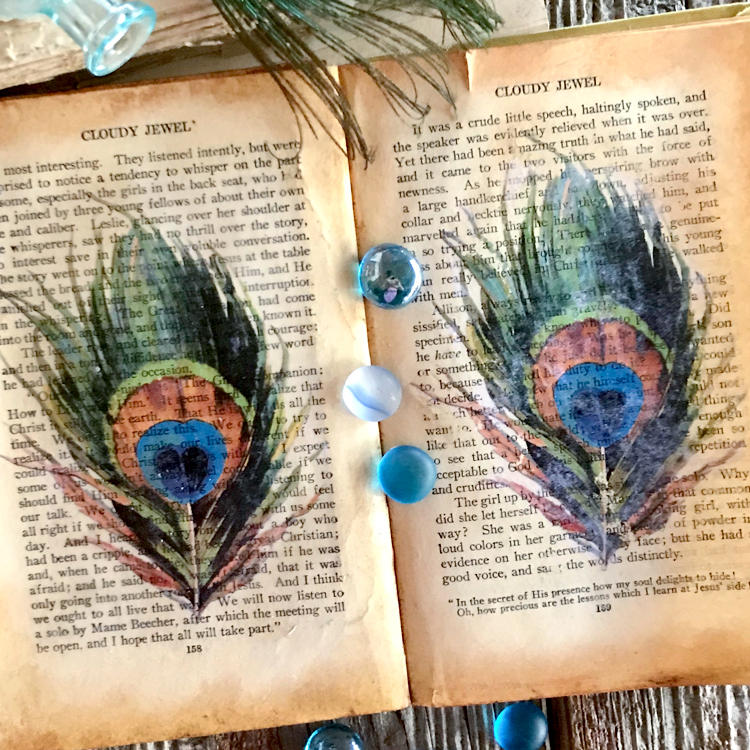
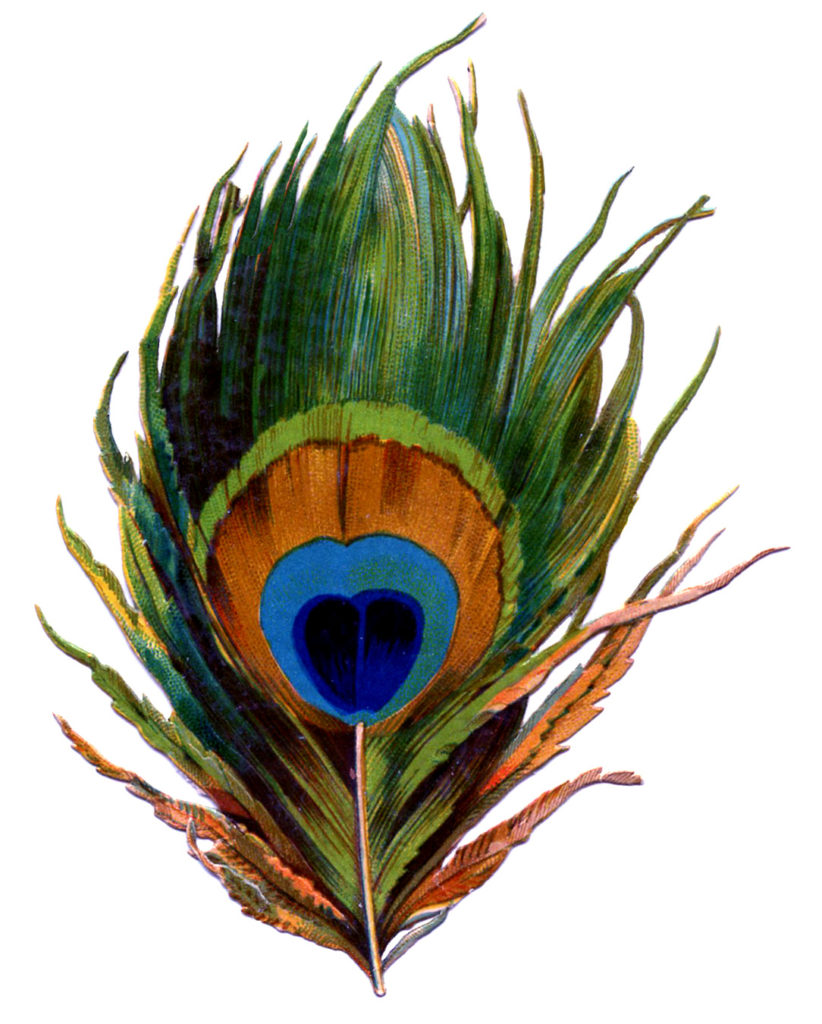
Our project uses the oh so gorgeous Graphics Fairy Antique Peacock Feather image below. It looks absolutely AAA-MAZ-ing in my altered book page…even if I do say so myself!!
Materials for This Project:
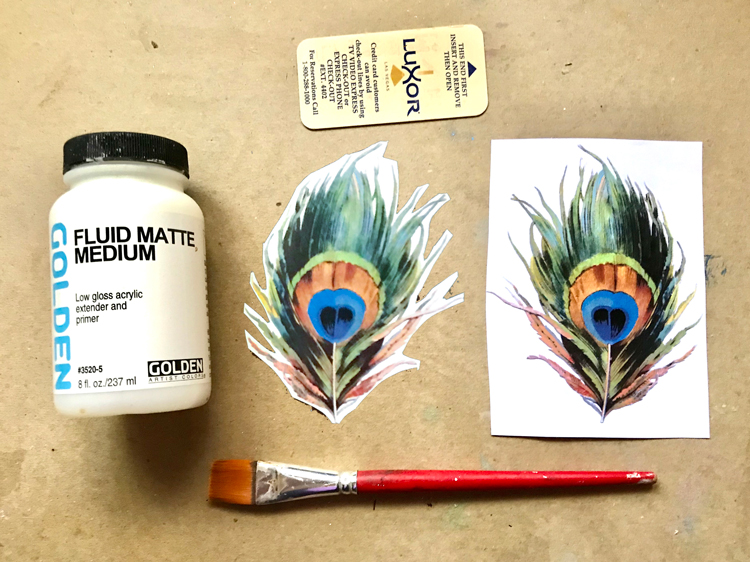
You just need a few things to accomplish this image transfer.
Peacock feather Image – Laser Print (Sorry InkJet Images do not work)
Fluid Matte Medium
Old Artist Brush
Scraper or Old Credit Card to Burnish
Old Book or Page as a Surface
Optional – Gloss Medium
How to Transfer an Image onto Paper Directions
The best thing about this mixed media transfer technique is that you can continue working on your art piece immediately. There is no need to stop and wait for things to dry before adding more paint or layers of deliciousness. You have the flexibility to move right along. That always makes this impatient artisan happy! How about you? I am working in an old book for this demonstration, but you can work on any paper surface.
Step 1 – Trim Image
I did two versions to show you. The first image is trimmed into a rectangle close to the edge of the feather. The second was ‘kind of’ fussy cut. (See the trimmed images in the Materials section above.) I say ‘kind of’ because the process just does not work well if you cut this image out perfectly. There are too many fine tendrils on this feather that can disappear or tear with burnishing and/or rubbing. You can see in the image that I left a little white paper halo around the entire image! You will see that the final results are almost identical.
Step 2 – Apply the Image to the Paper
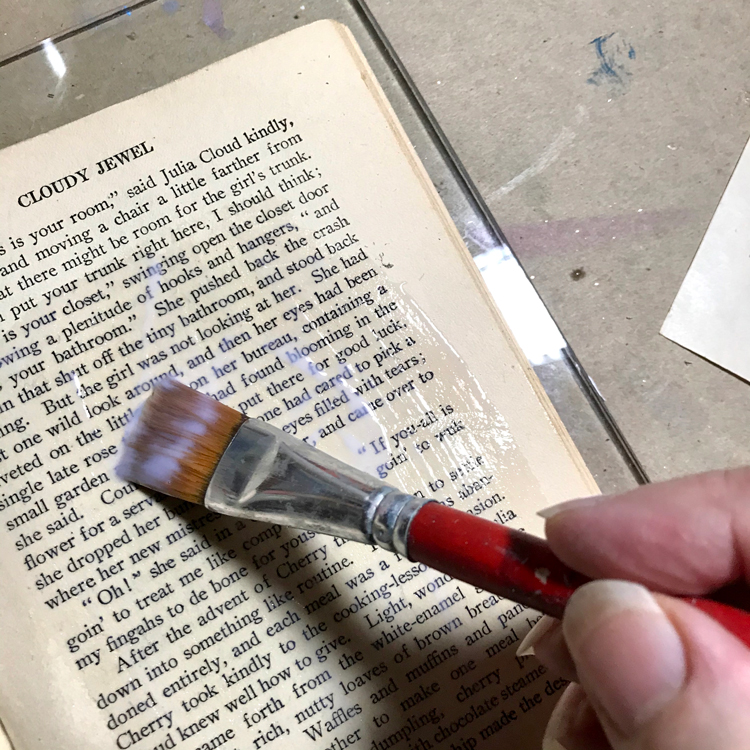
Apply a good amount of Liquid Matte Medium to your page or paper. My image is about 4″ tall and I used about two tablespoons of medium. You need a smooth and even coat on the paper so that all areas of the image will adhere at the same speed. I covered the entire page with medium so the surface looks the same. Move quickly because it can dry pretty fast. TIP: Too much of the medium can buckle some papers, so be a smart crafter and do a test on the paper before you begin. It will be worth it!
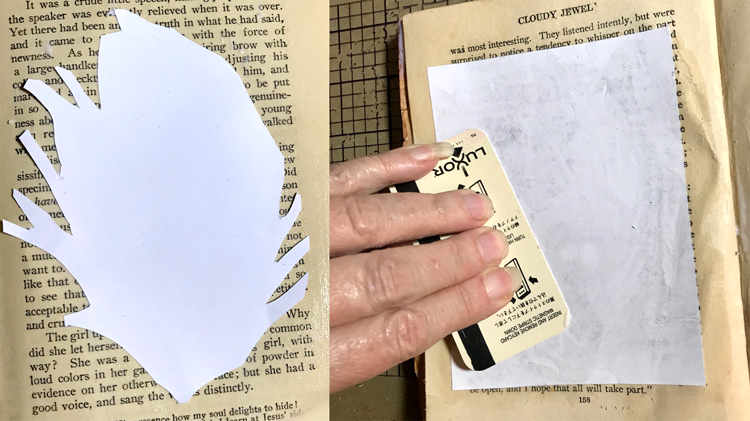
Quickly lay the image face down into the wet medium. (left) Smooth with your fingers and then burnish with a edge of a scraper or old credit card. (right) You are trying to marry the image to the paper, so press firmly from the center to the edges in each direction. Always scrape from the center on each stroke. Wipe any medium off the scraper after each swipe. It is a little more difficult to burnish the fussy cut image. Be careful with the wispy bits.
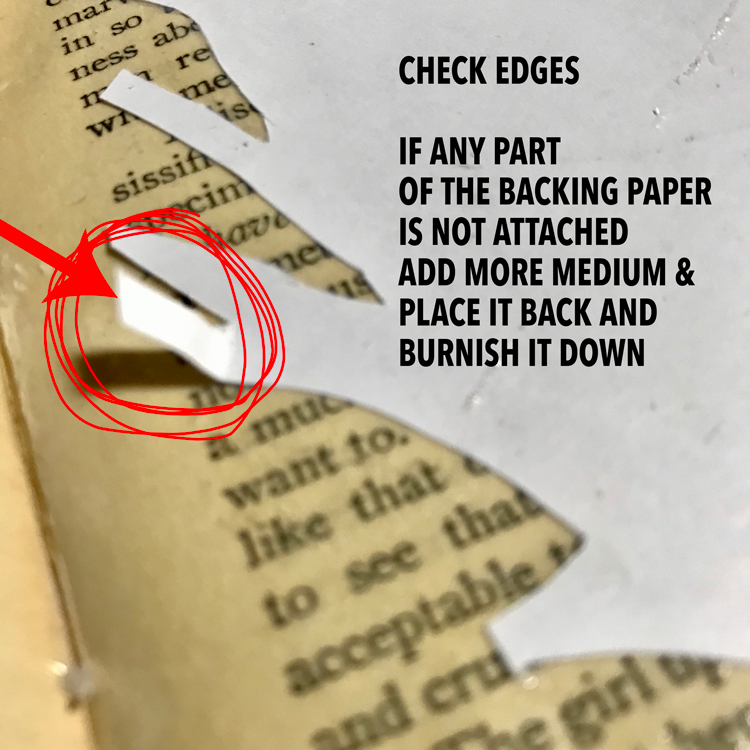
Check your edges, especially on the fussy cut image. If any of the edges are not stuck down, apply more medium and burnish them down.
Step 3 – Remove Image Transfer Backing Paper
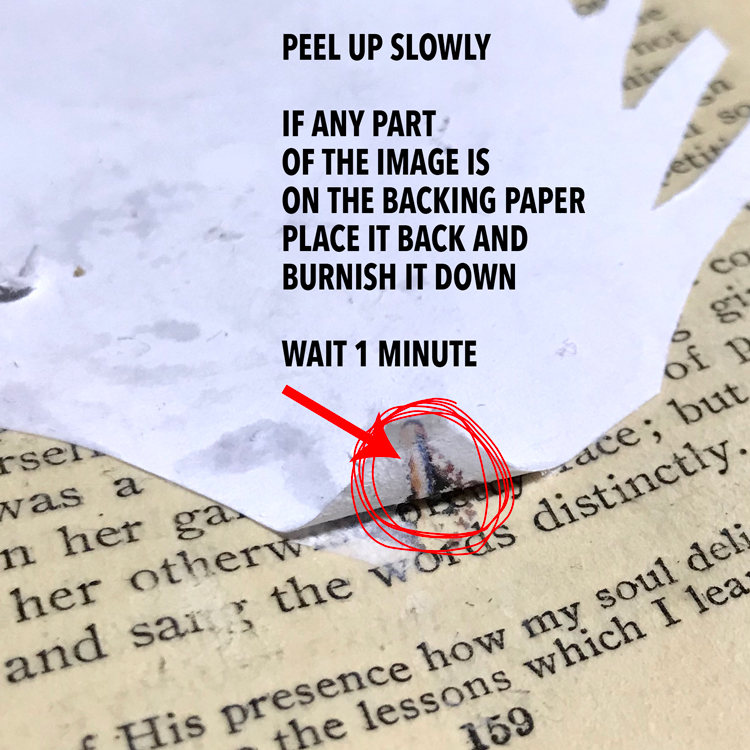
Wait 2 minutes. Please time it! Then slowly lift a corner or an edge. If you see any of the image sticking to the backing paper (below), lay it back down and burnish it. Wait another minute and lift a different area.
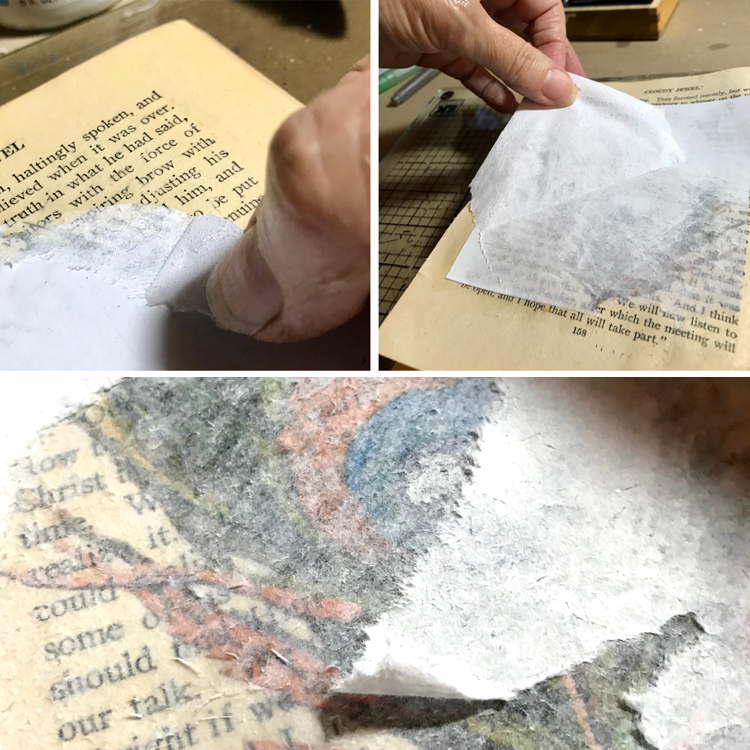
When you see no part of the image sticking to the backing paper, begin to pull on a diagonal across the image. (top left) You want to remove as much backing paper as you can at this stage. Sometimes you get lucky, and a BIG chunk comes off. (see top right) You can probably see why it is easier to use a solid rectangular image now! The fussy cut one is a little more sensitive and challenging to ‘pull’ or ‘peel’ the paper off. The bottom image shows what the removed paper leaves behind.
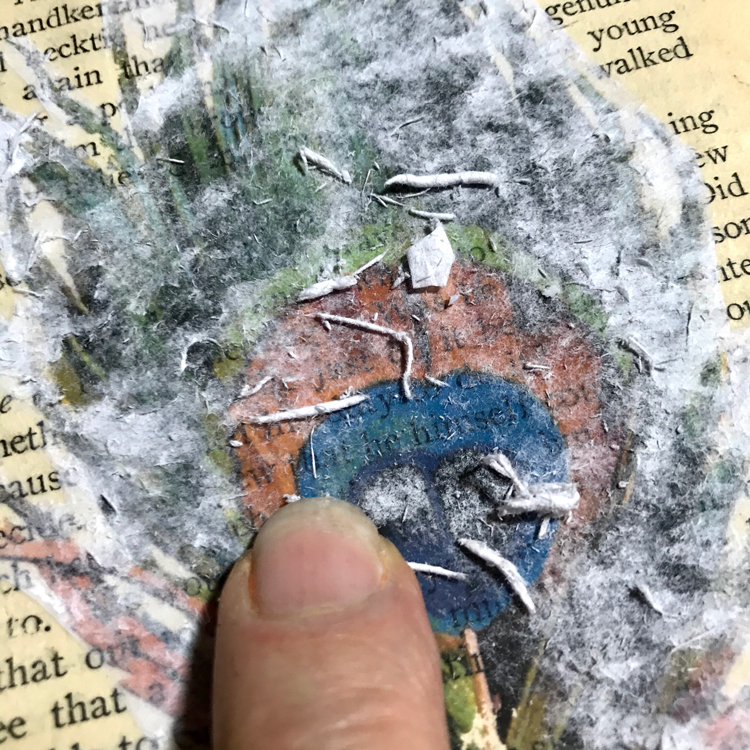
Once all the big pieces of paper are removed, begin to gently rub the surface with your finger. No water please. No need to press hard here either. Take your time and apply even pressure to roll pieces of paper off. If your fingers are sensitive, you can use an old washcloth. Just nothing wet!
Continue until all visible paper is removed. It takes just a few minutes. It may still look hazy or cloudy. A top coat fixes that!
Optional Step 4 – Finish or Keep on Working
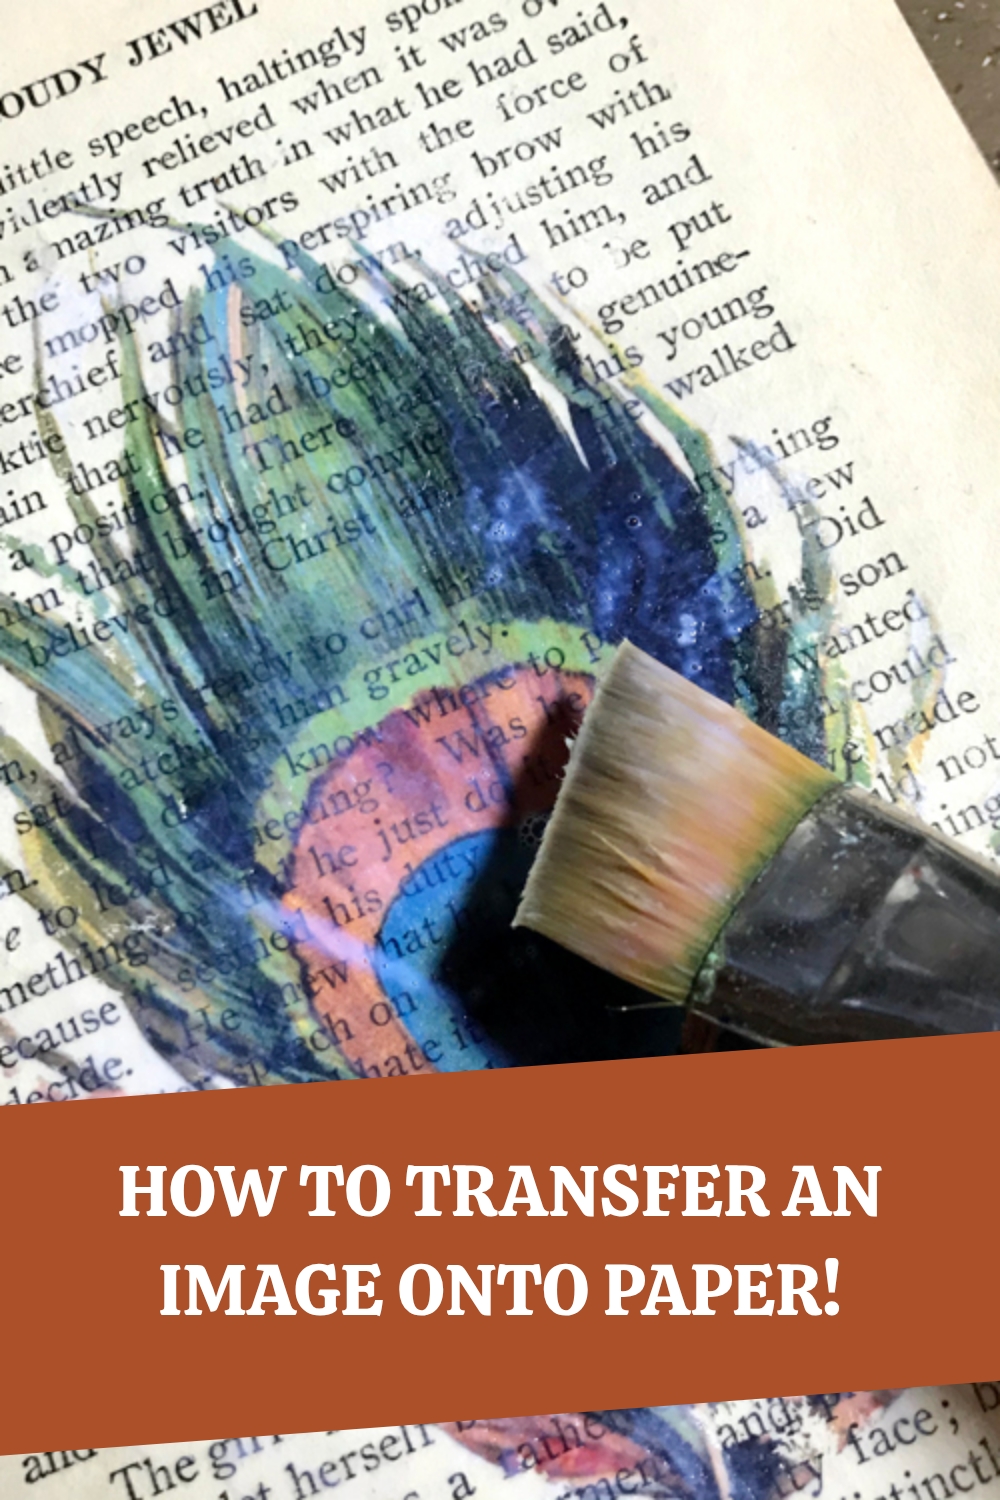
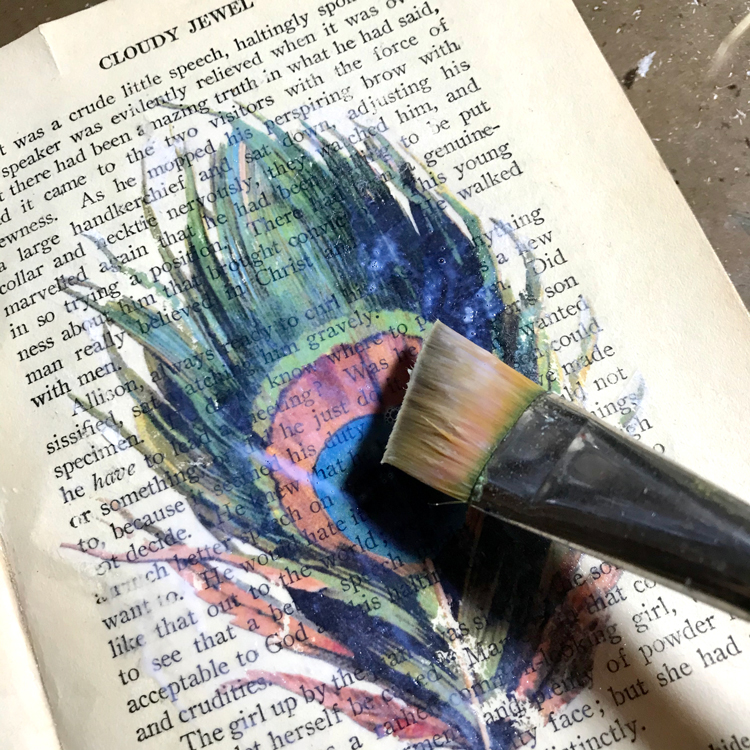
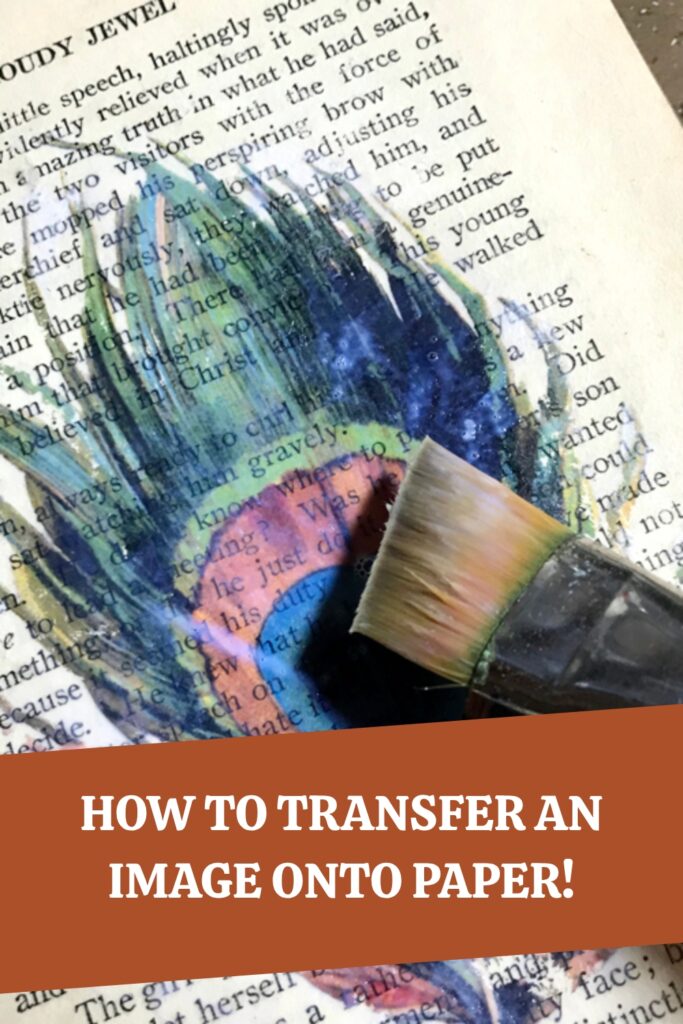
Now that we have learned How to Transfer an Image onto Paper, you can seal or top coat the image transfer if you like. I use Gel Medium for this in either Gloss or Matte. You can see an OOPS below the brush on the image below. I either missed applying the medium to an area of the page or I rubbed too hard. Good thing I am okay with a rustic look! Imperfections are perfectly fine in art. They often lead us down new paths of learning, plus they make our handmade Image Transfers onto Paper so much more interesting!
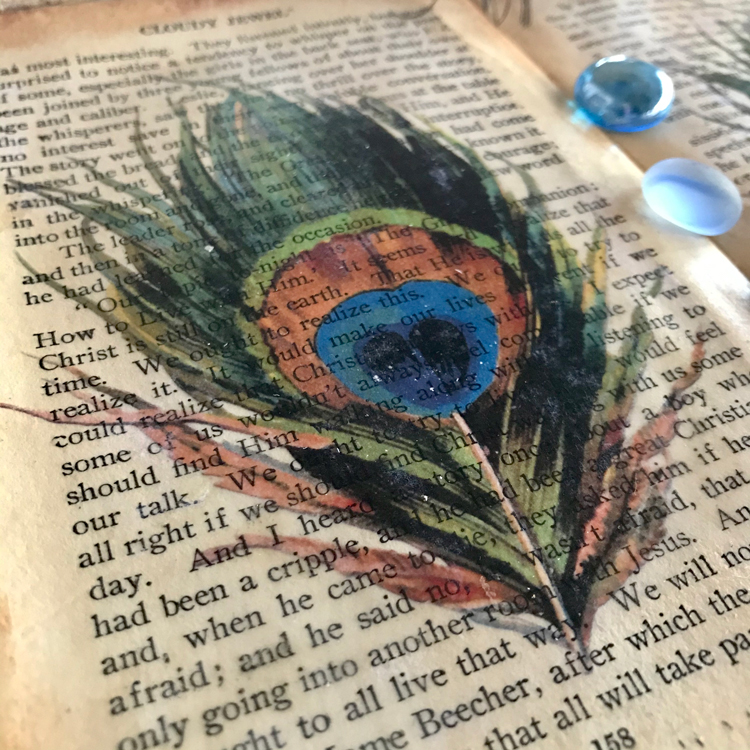
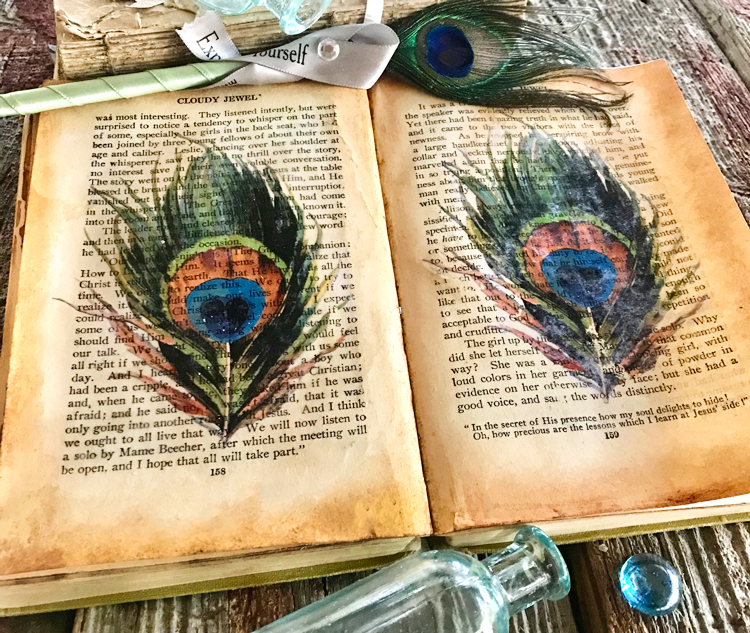
The left book page Image Transfer is coated with a gloss medium. It looks sharper than the one coated with Matte Medium below. Both versions have a place in my art.
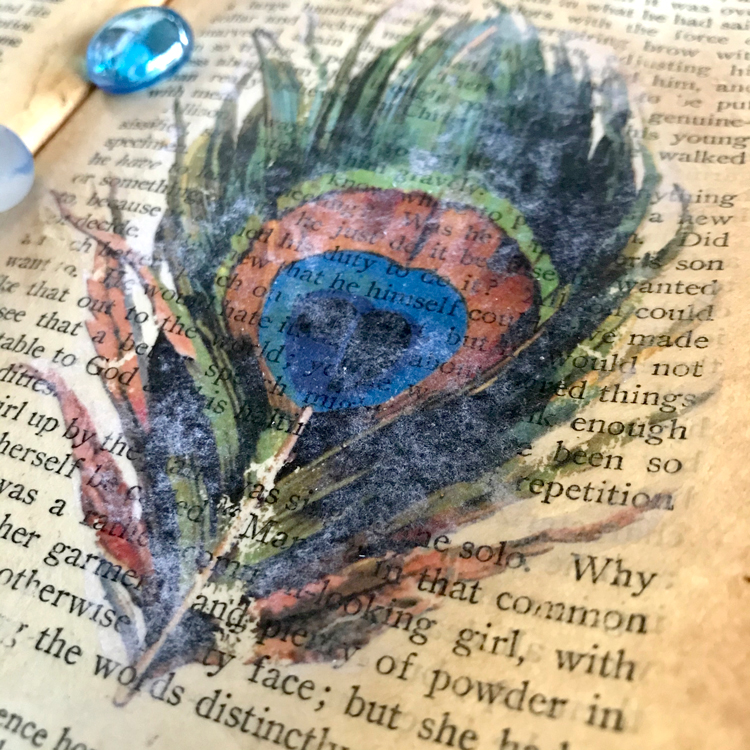
The right book page Image Transfer is coated with matte. It is still a little hazy looking because I did not remove all the paper fibers. However, it still has a quirky, faded charm about it.
I prefer the look of the gloss as it gives a nice definition to any details in the image and it helps disguise any hazy areas. You can continue to work right over the images with paint or build more layers over the top. No waiting is necessary. I added some shoe polish distressing to the edges of my book pages. You can find that technique in my How to Age Paper Easily Tutorial HERE!
Thank you for visiting The Graphics Fairy today! I hope you enjoyed playing with me in my Graphics Fairy sandbox! This Quick Mixed Media Technique – How to Transfer an Image onto Paper is just so much fun to do. I hope you can find dozens of ways to use this process! When I am not working on techniques to share, I also create Photoshop Elements tutorials and craft project videos over on The Graphics Fairy Premium Membership site. You can find even more of my art, DIYs, books, and whimsical shenanigans on The Bookery


Darlene Arcadi says
I don’t have a laser printer. If I make a copy at a print shop, will that copy work in this process?
graphicsfairy says
Yes so long as it is a laser print 🙂
Dee Burton says
I forgot to mention, I have to go to my husbands office to use an ink jet printer, so I don’t even know if it has a tray, or how it works.
graphicsfairy says
Hi Dee, I am sure someone will be happy to help you that is familiar with how their printer works 🙂 Good luck!
Janet says
On what kind of paper did you print your image?
graphicsfairy says
You can use any paper you like Janet, sometimes I use regular printer paper or if I am going to use it as wall art, I’ll use a heavier card stock, it is totally personal preference 🙂
Rebecca E. Parsons says
Hi Janet. It is normal copy paper. Mine was 28 lb, because this is what Staples has in their machines. But 20 or 24 lb works great as well. 20 lb is the easiest paper to remove the backing from. Just remember it must be a laser print or toner copy to work for this technique.
Dee Burton says
I always wanted to do this technique. But, I am such a rookie. Do you glue the image down on paper and THEN run it through the ink jet printer? Or do you place the image on the printer tray and then run it through? Thank you.
graphicsfairy says
Hi Dee you use the laser print of the image to transfer to the book page. Rebecca gives step by step instructions to help you 🙂 Just re-read the tutorial and I am sure it will be super helpful for you 🙂 Good luck and have fun!
Carly says
Thanks for sharing! Does this only work on paper? I’m looking for a good way to transfer onto painted wood and haven’t had a lot of luck with the Citra-Solv method.
graphicsfairy says
Hi Carly,
This should work on wood as well. It works on canvas, so I imagine it would work on painted wood. Let us know if you try it 🙂 Happy New Year!
Wendy Grover says
This is so cool! Thank you for sharing! Is the paper you print the image on a special type of paper?
graphicsfairy says
Hi Wendy, you can use any type of paper or even an old book 🙂
Rebecca E. Parsons says
Thank you, Just plain copy paper Wendy! The print must be a laser print or toner!
Heather Dreith says
Thank you…great technique and very clear instructions! I am getting that image and will try this technique in the peacock journal I want to make. Also, I love that book Cloudy Jewel by Grace Livingston Hill! 🙂
Karen Watson says
I love the idea of a Peacock journal Heather! That sounds beautiful!
Rebecca E. Parsons says
Thank you Heather. Glad to know my instructions are understandable! Have fun creating!
Cynthia R Watson says
I love your designs. I love vintage.
Karen Watson says
Thank you Cynthia!
Rebecca E. Parsons says
Thank you Cynthia!