Valentine’s Day Cards DIY
Hello Graphics Fairy friends! I’m Diana from Dreams Factory, and I’m happy to be here again to share another DIY project with you! Today I will show you how to make this beautiful Vintage style Valentine’s Cards DIY project, with a super chic romantic vibe. We’ll play with some distress ink to give the paper a subtle aged look and a touch of gold to add even more charm to these beauties.
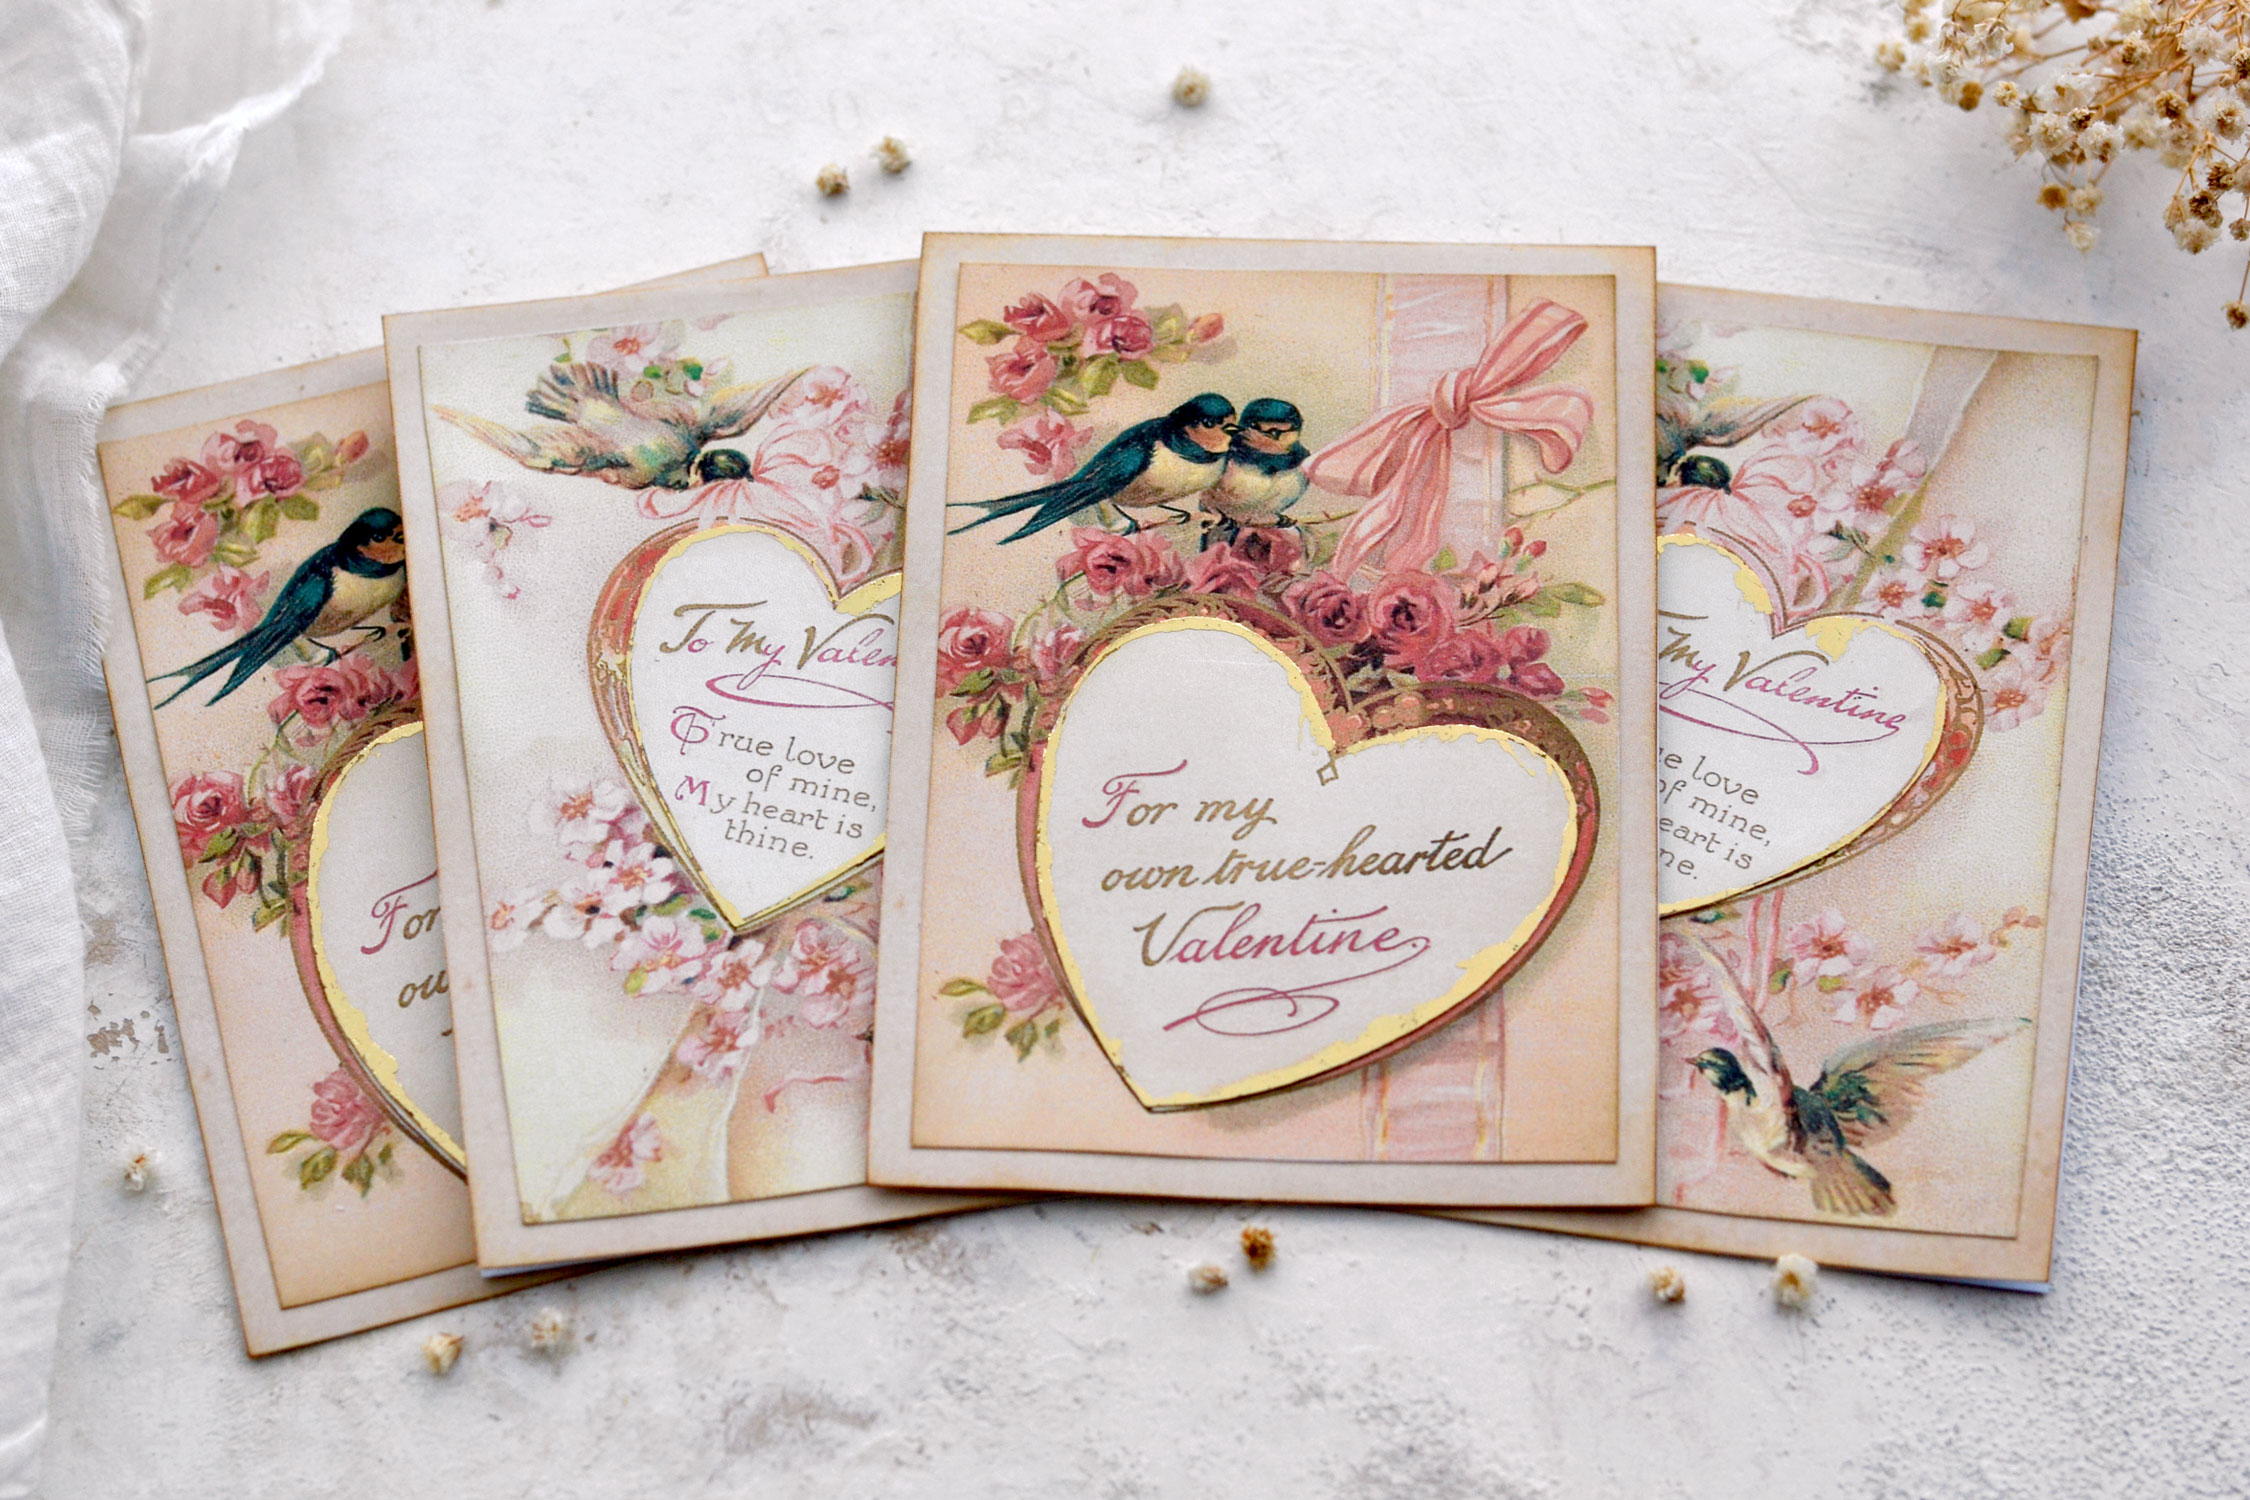
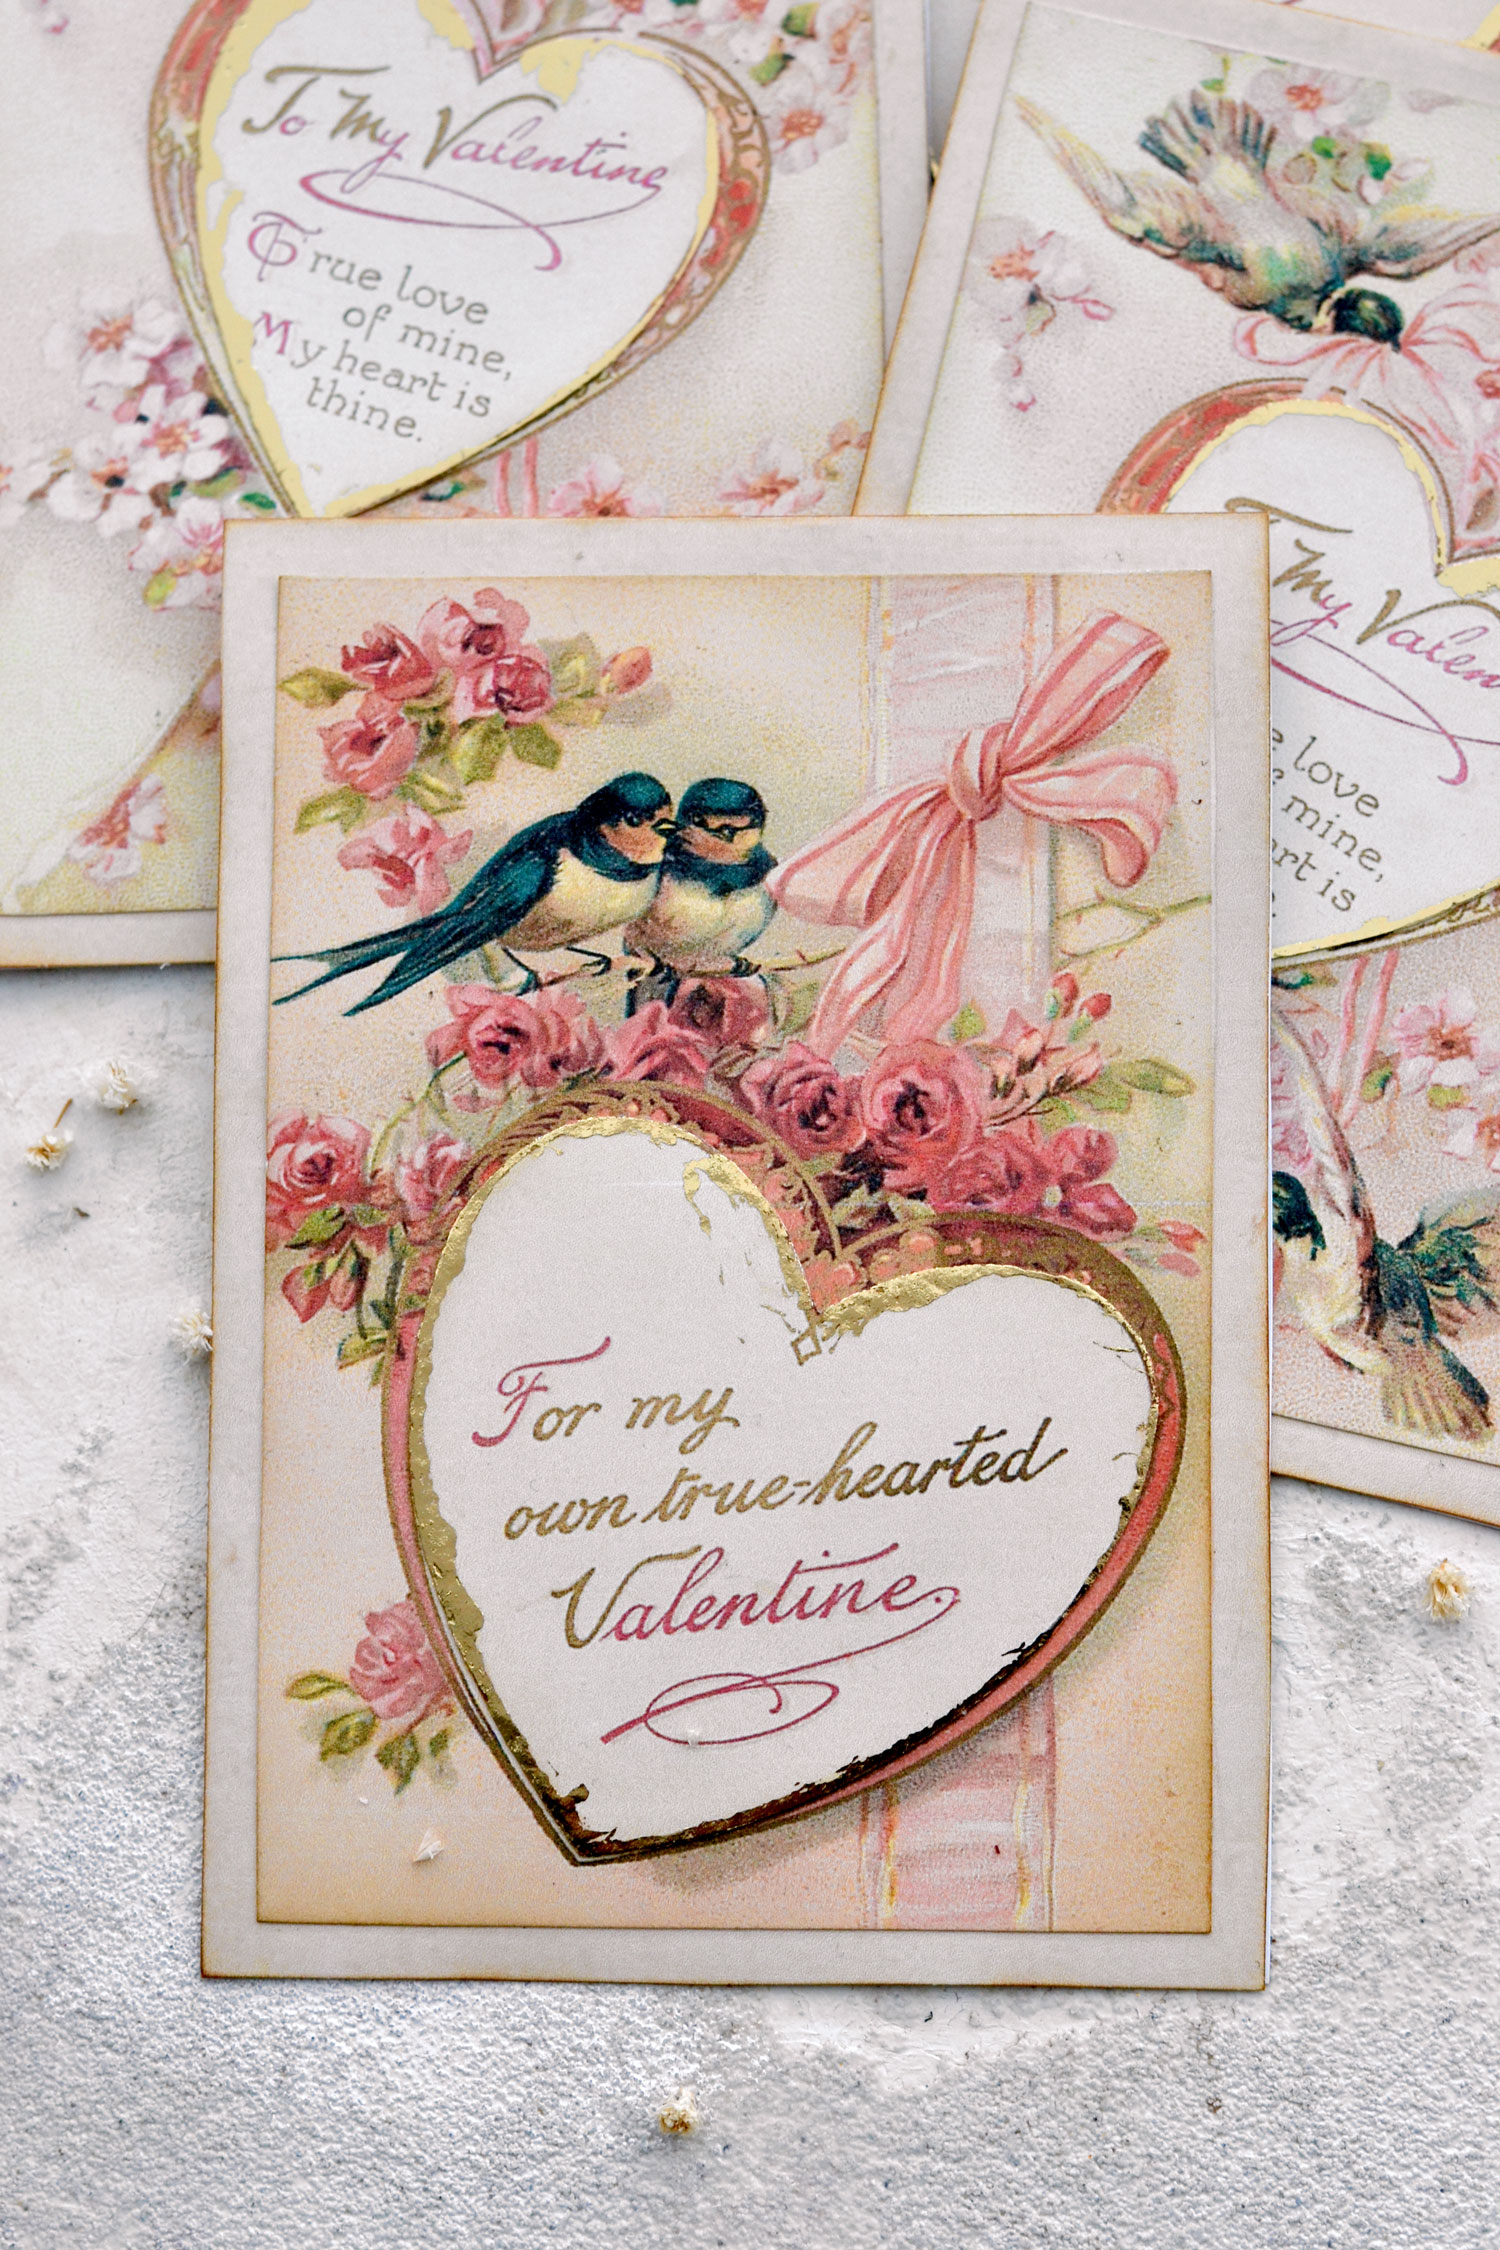
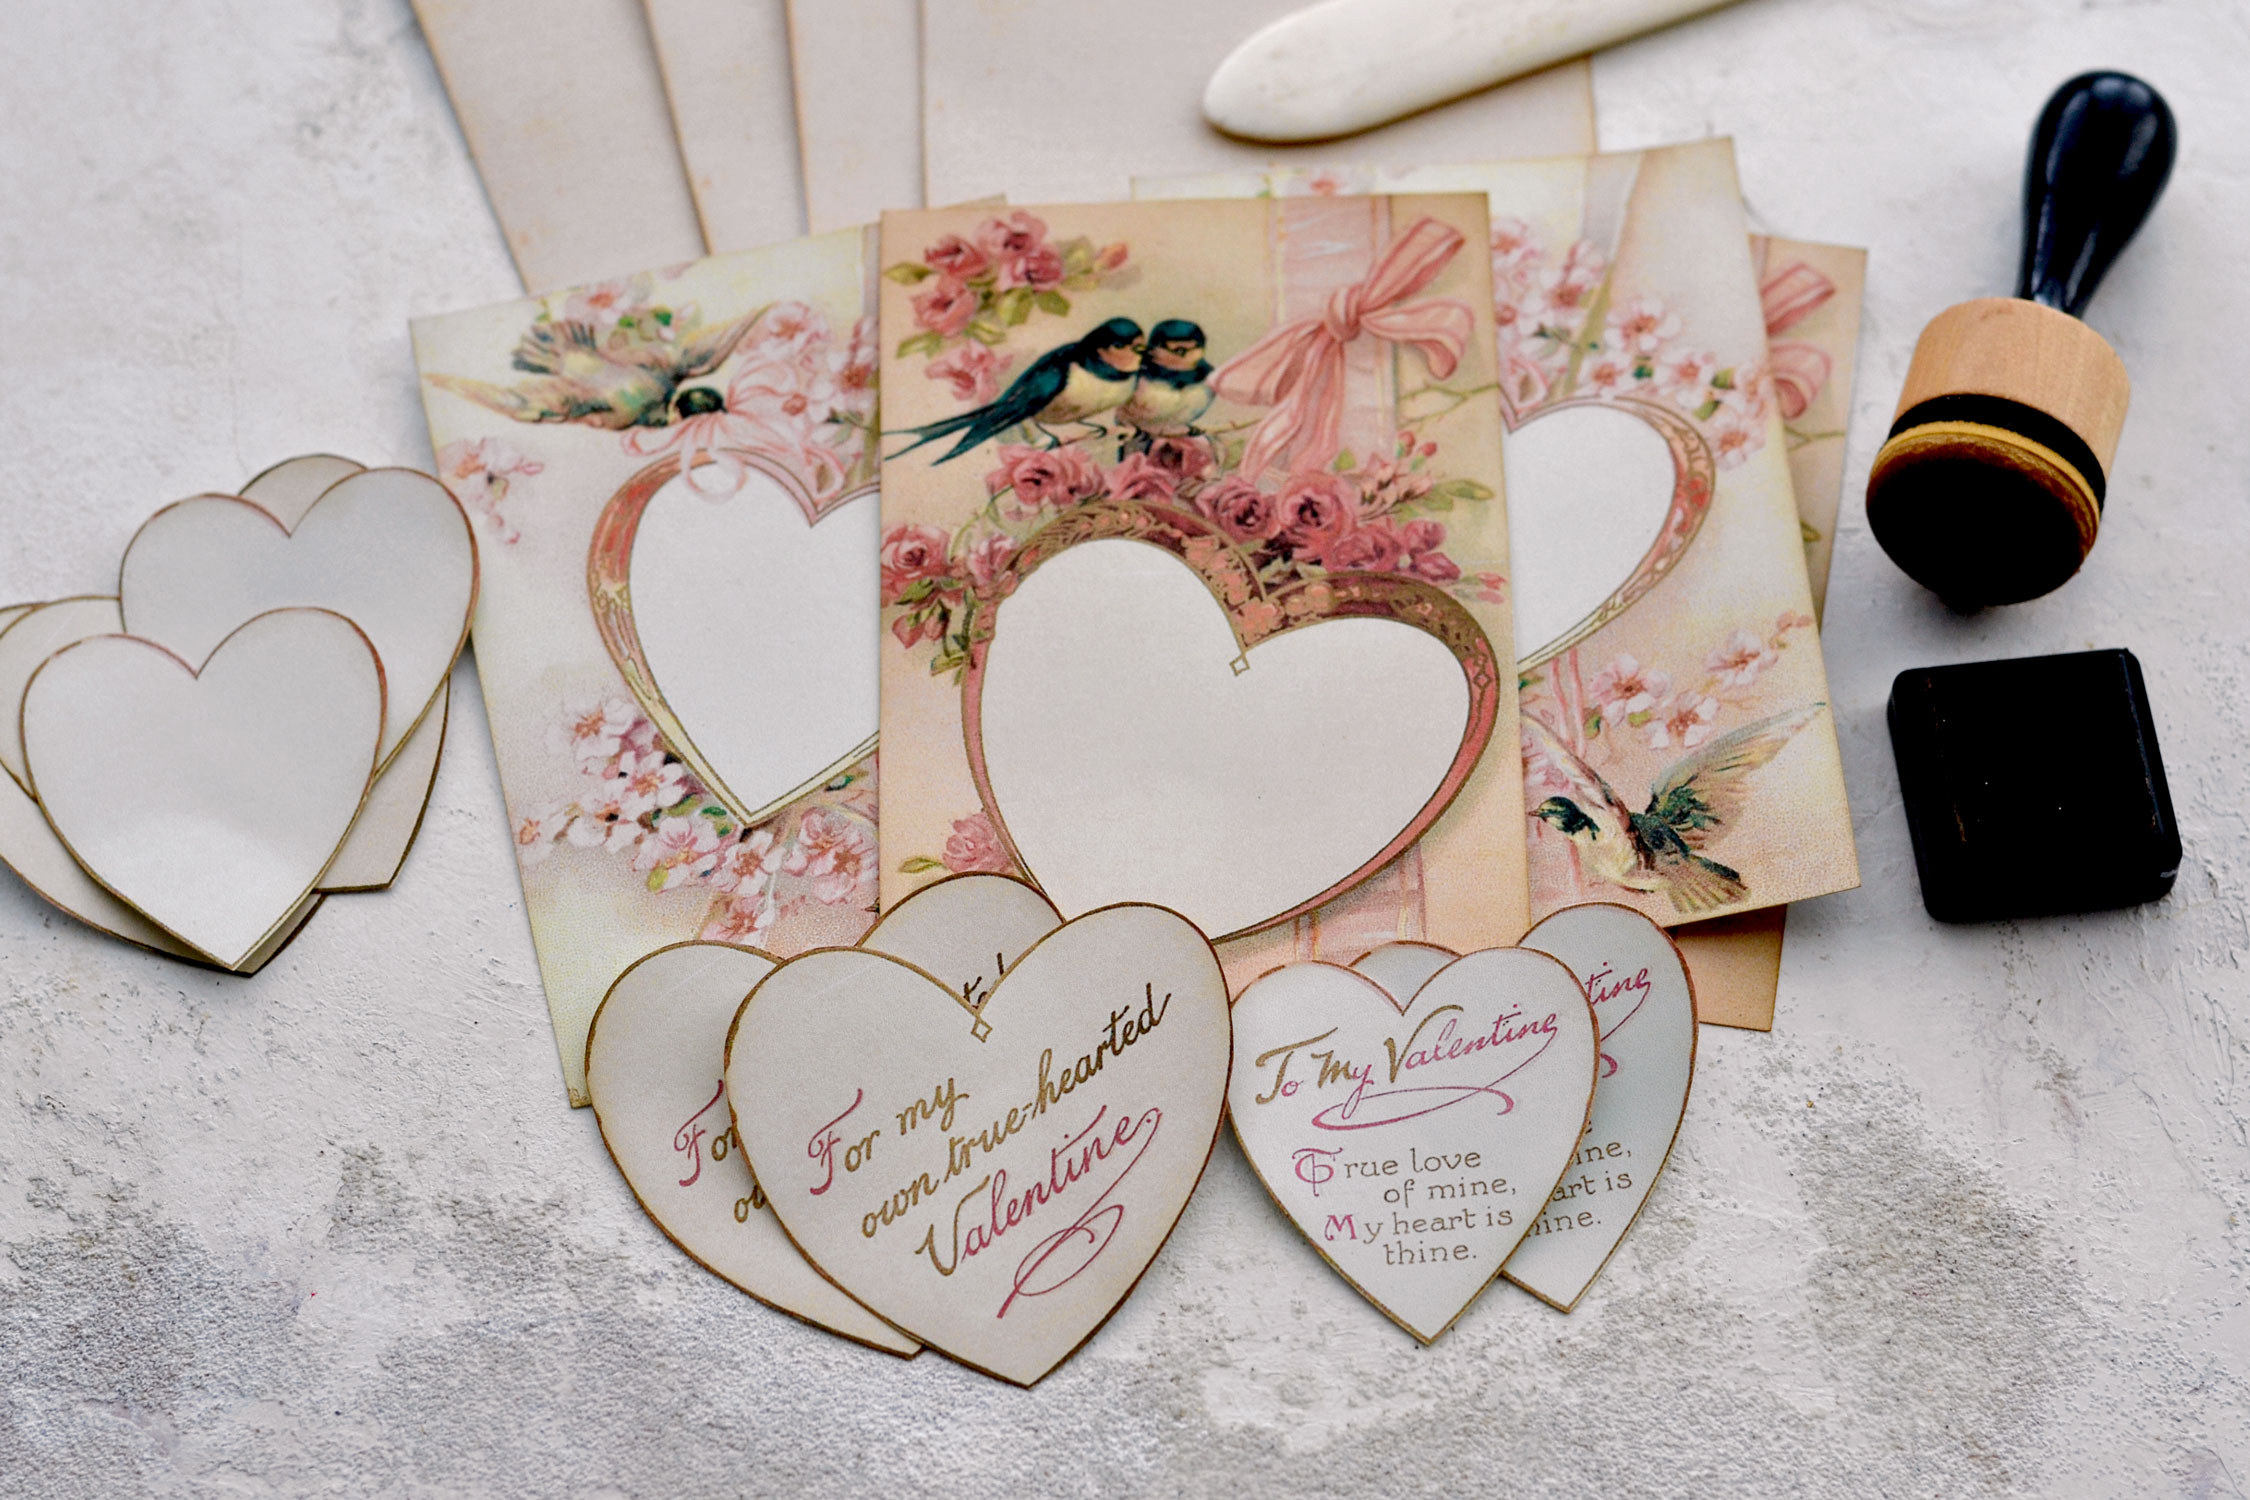
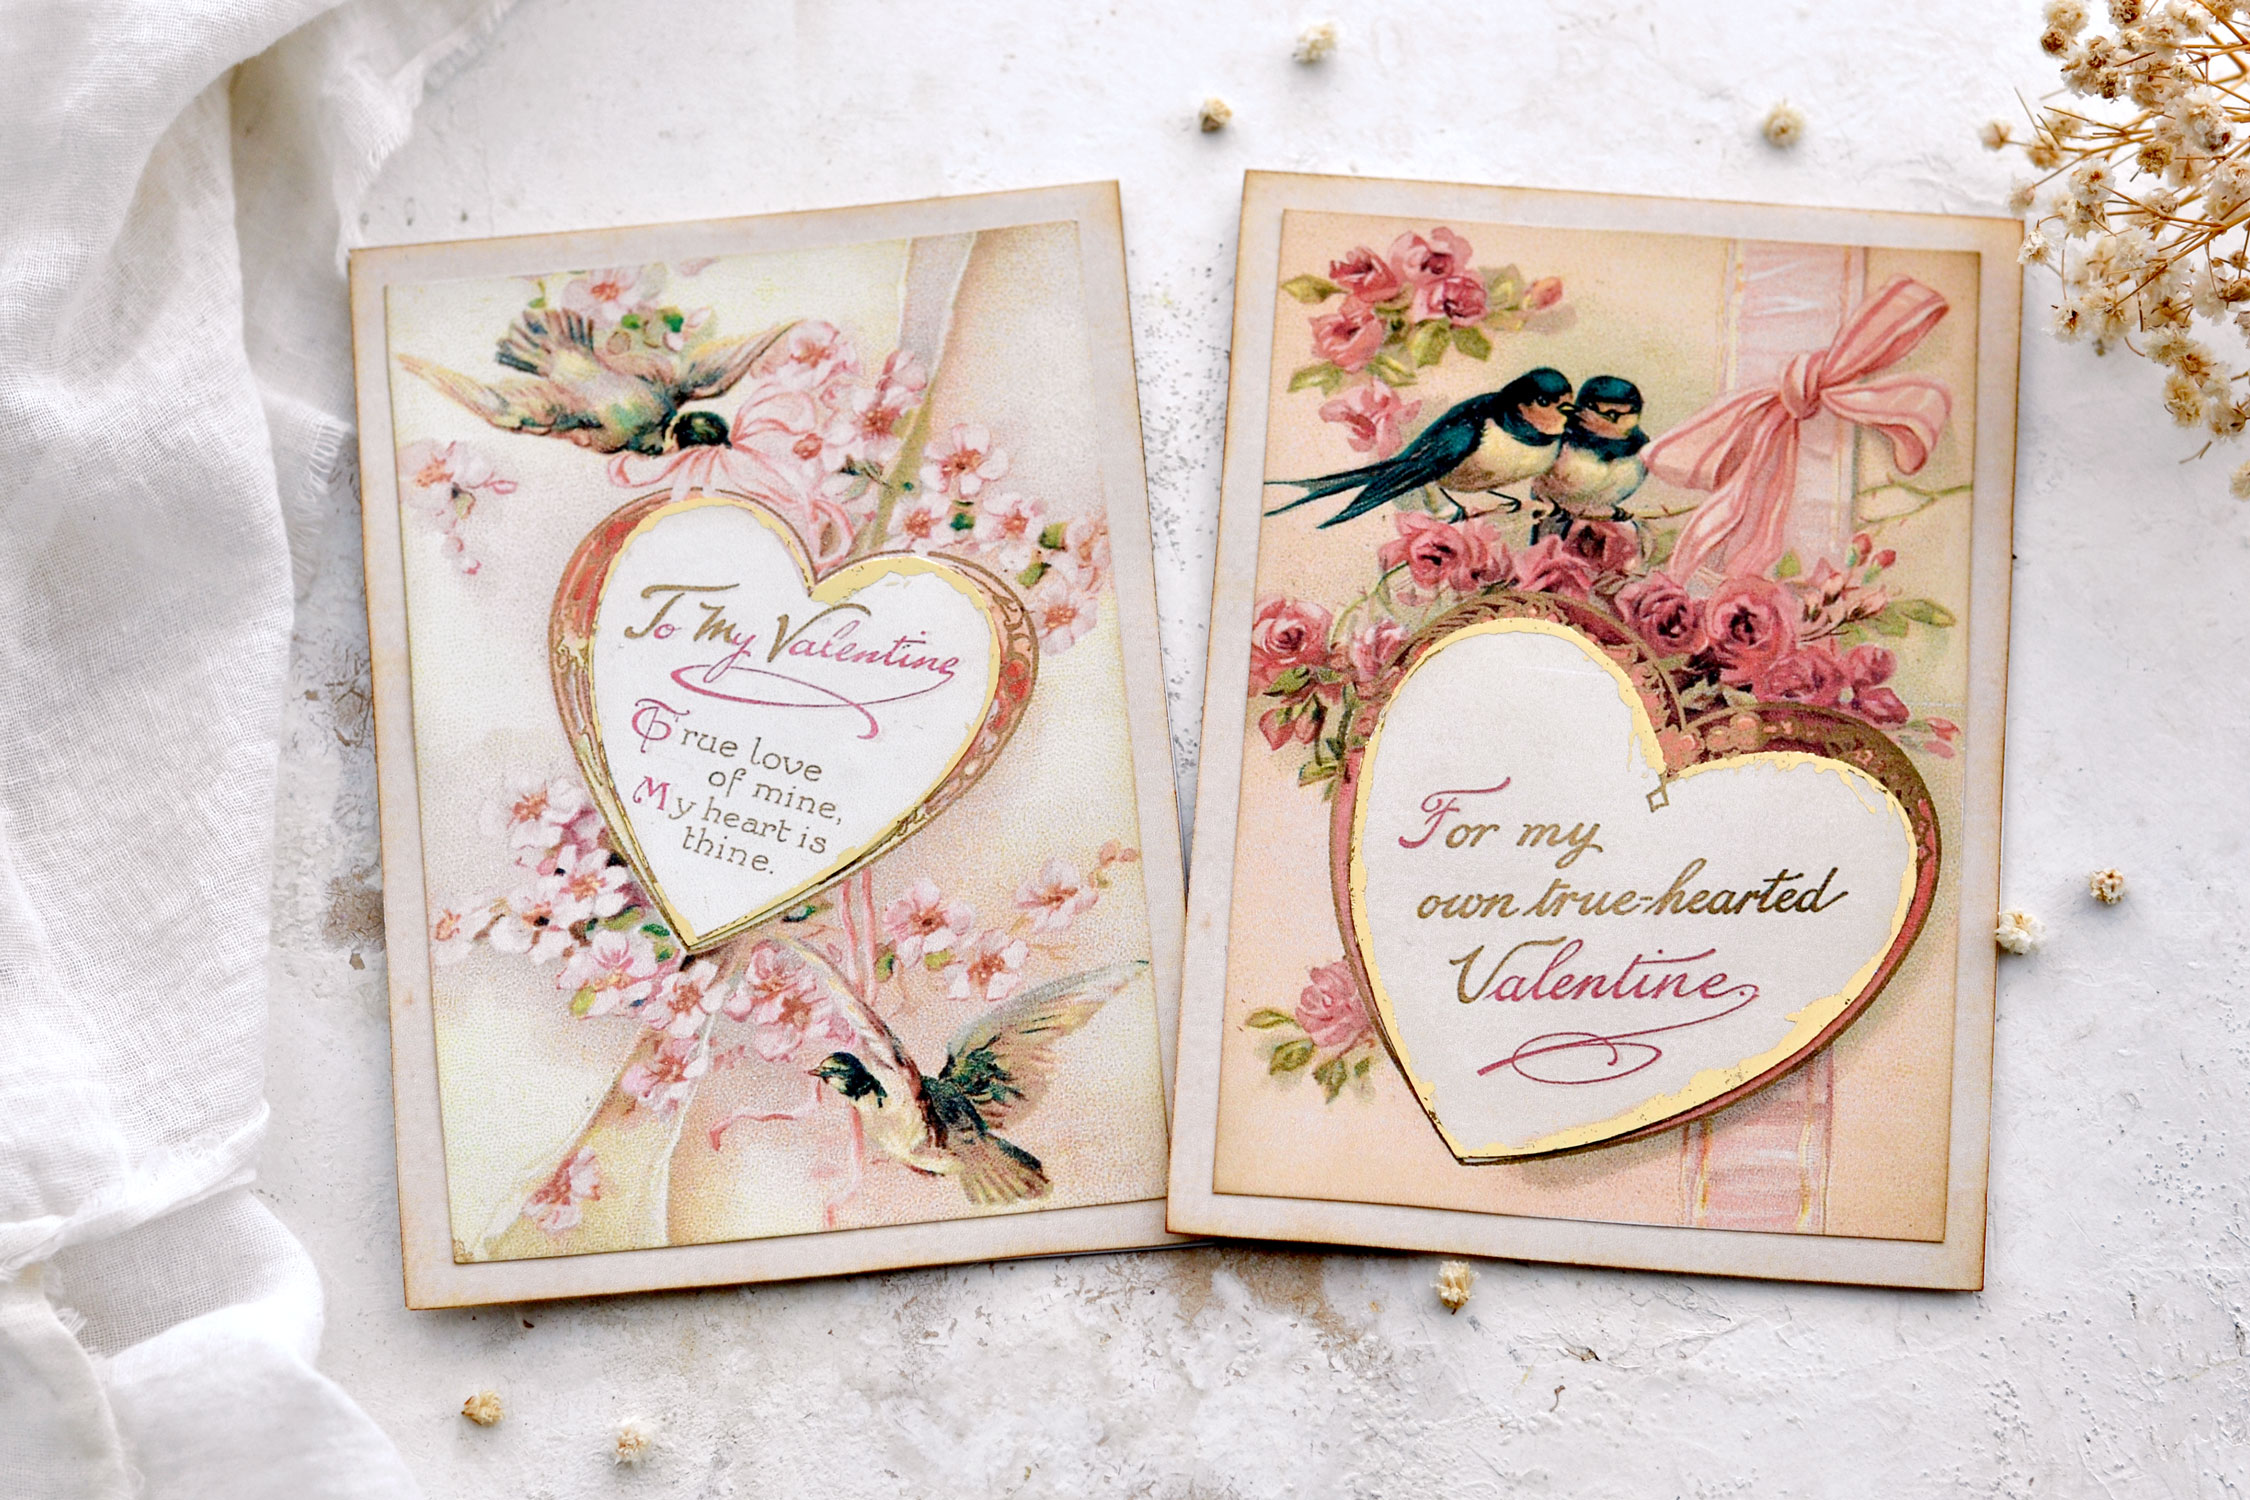
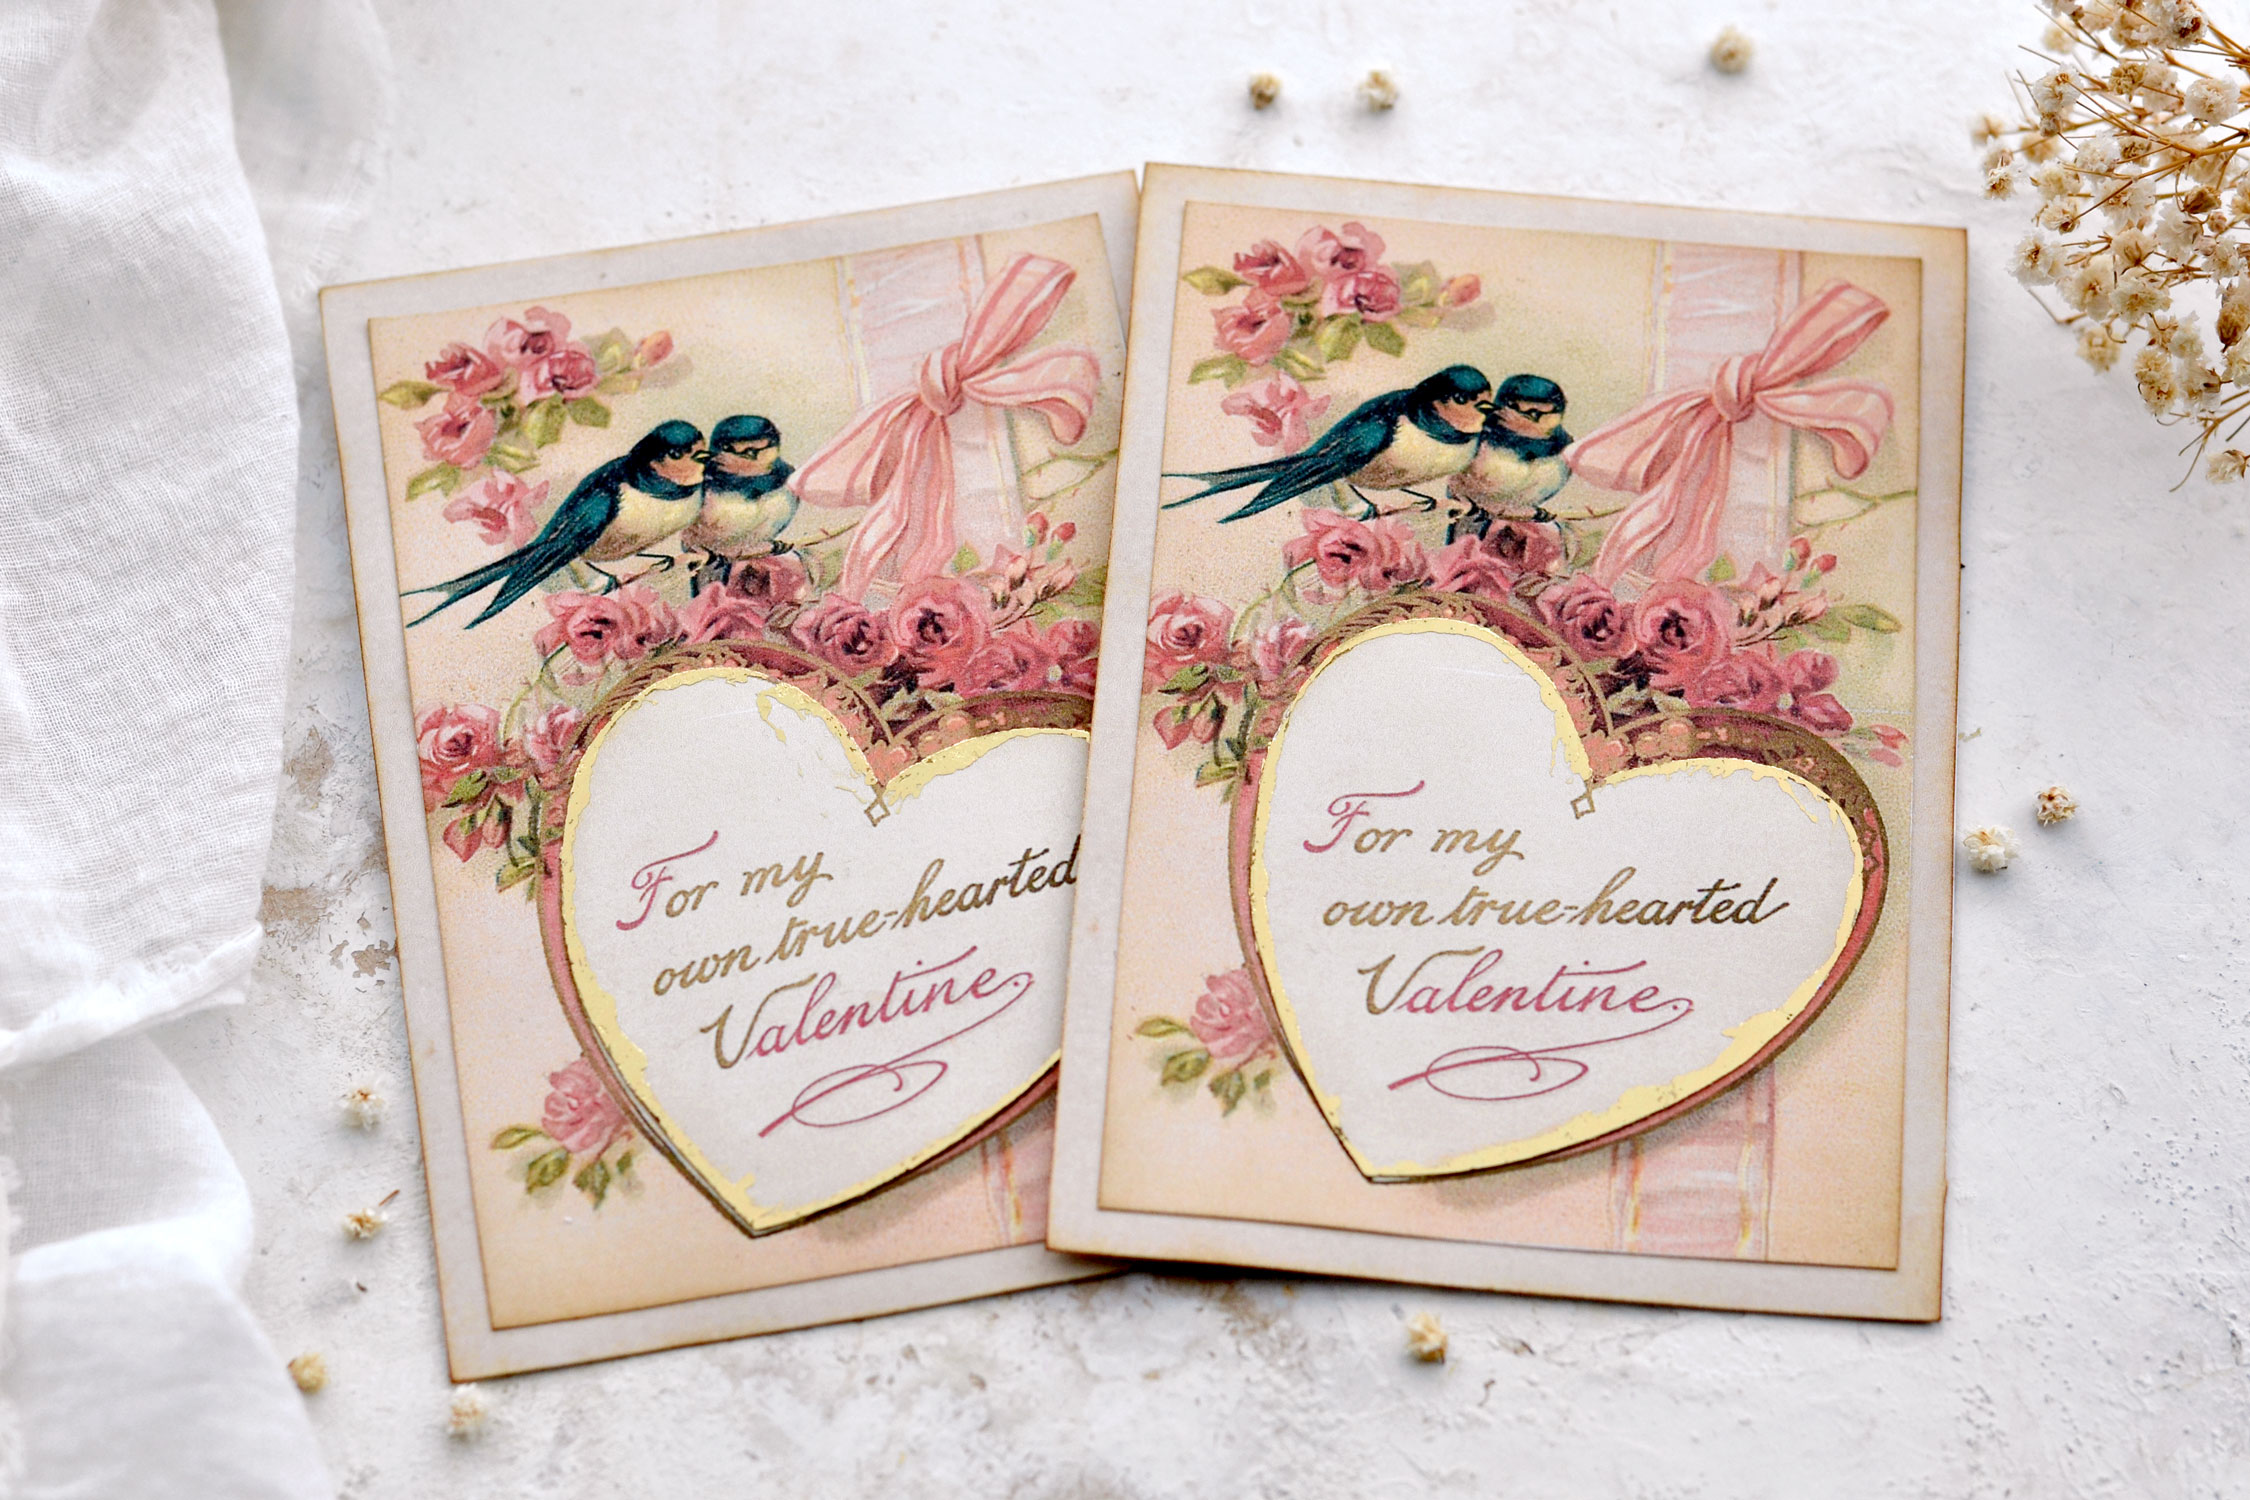
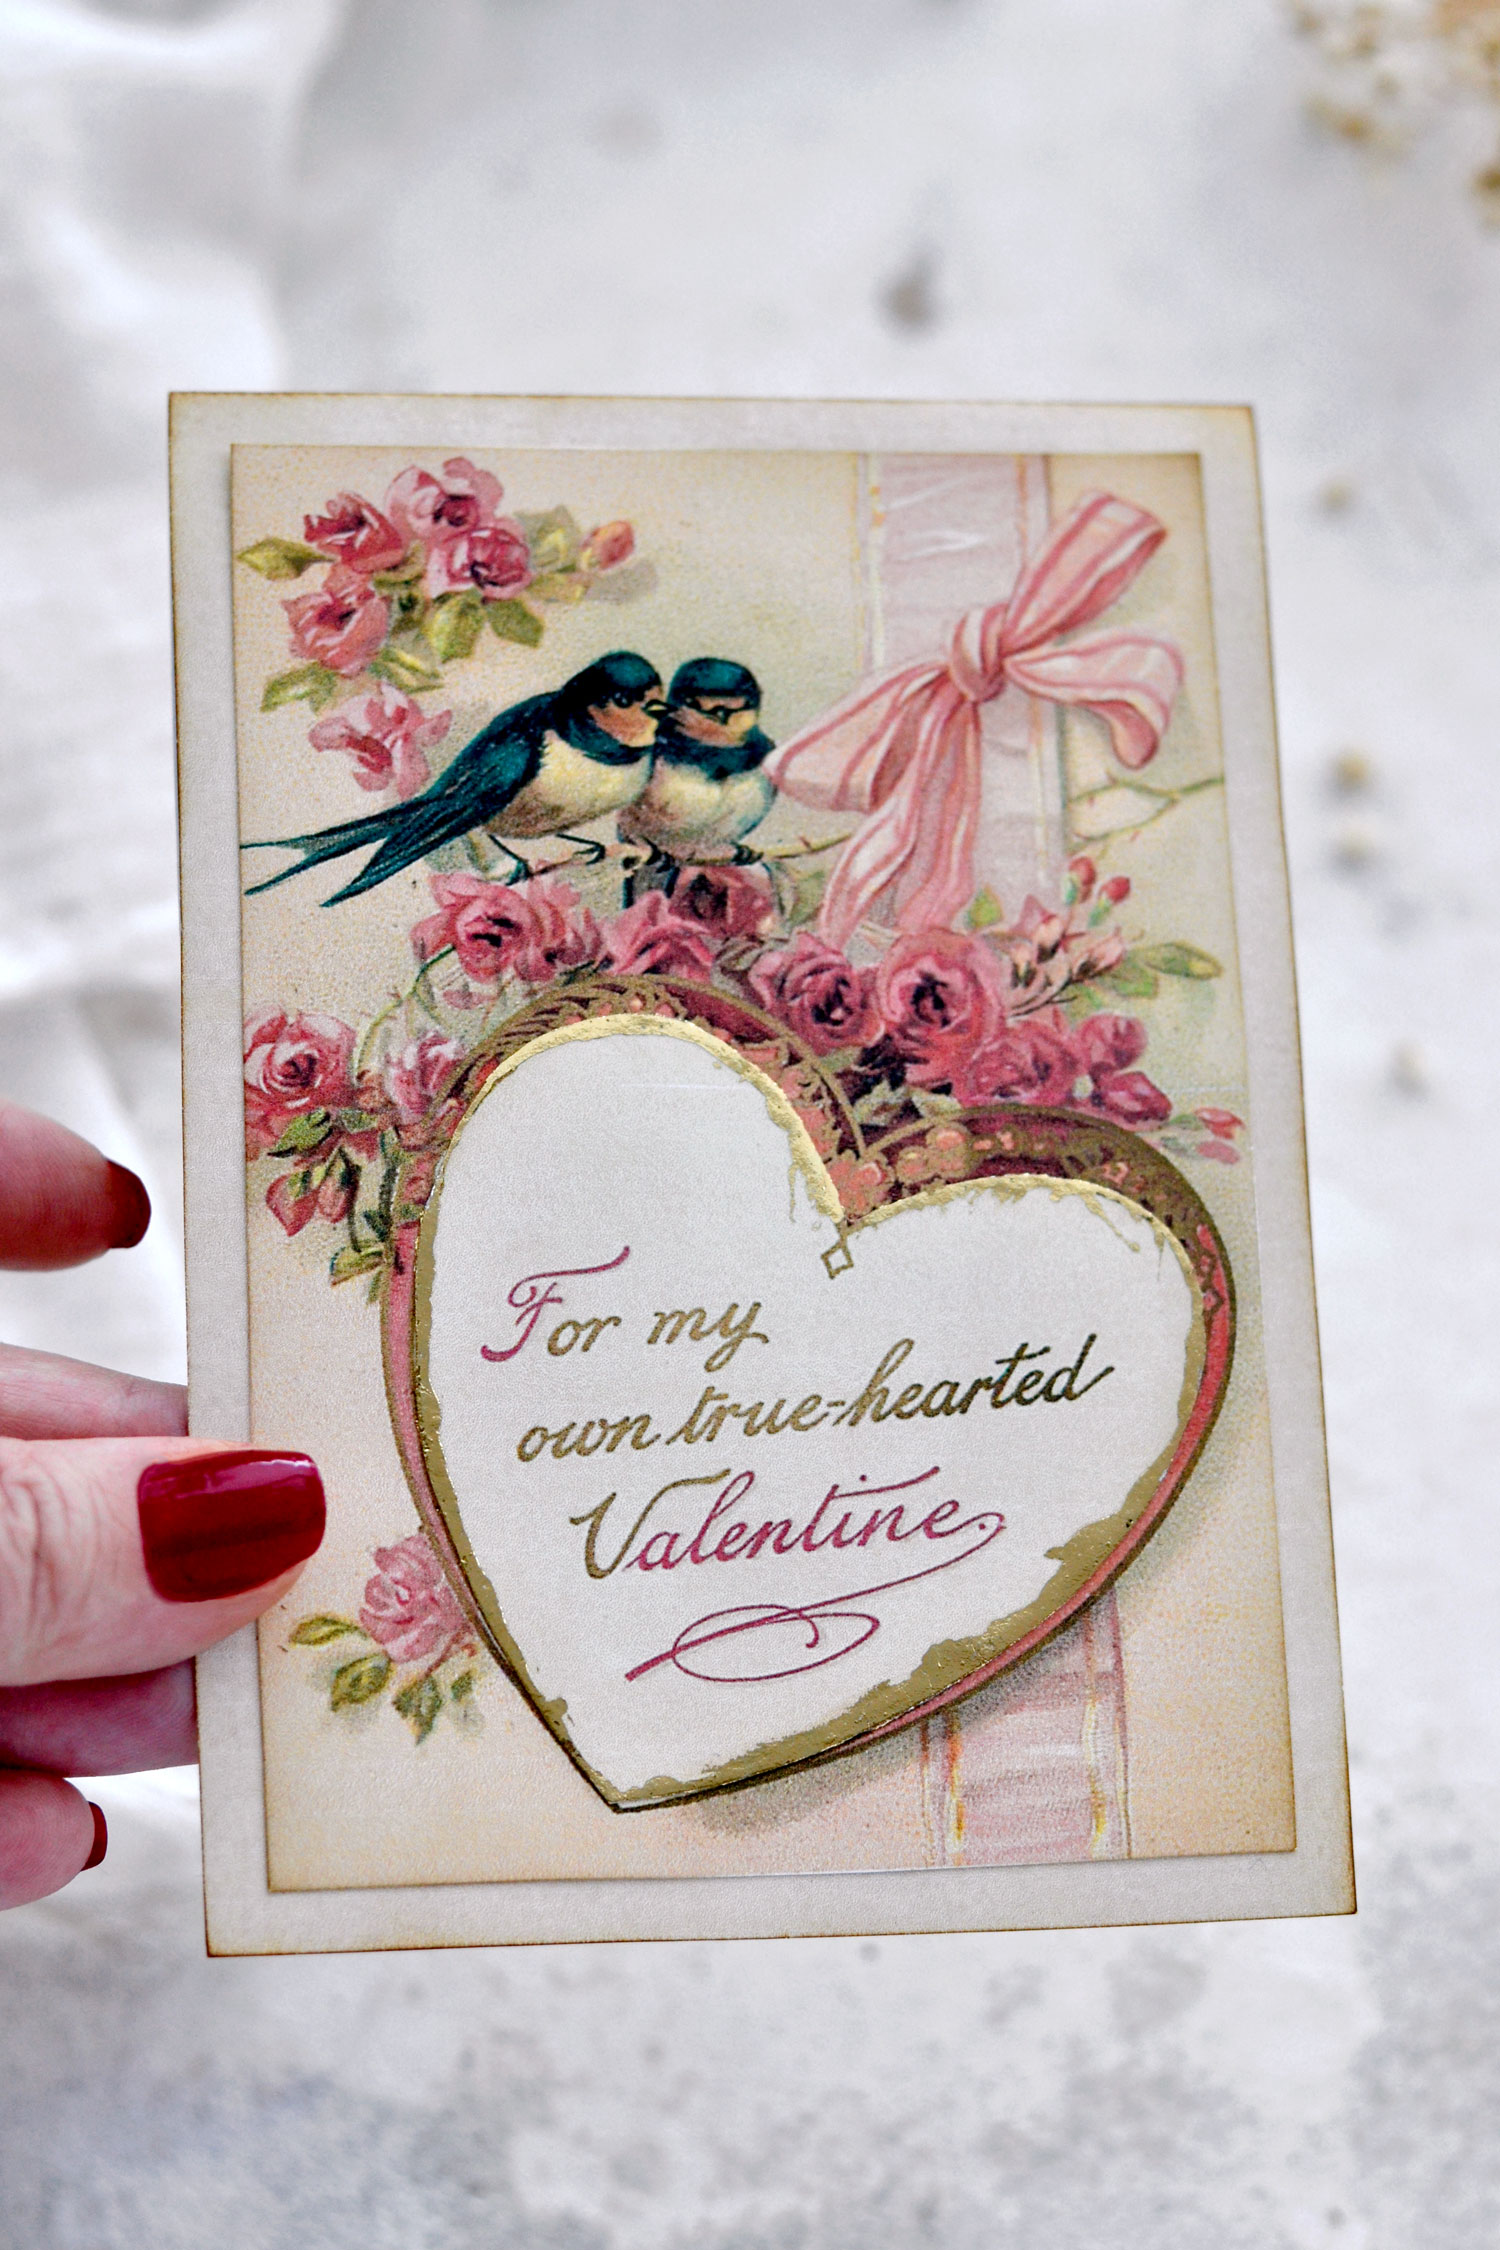
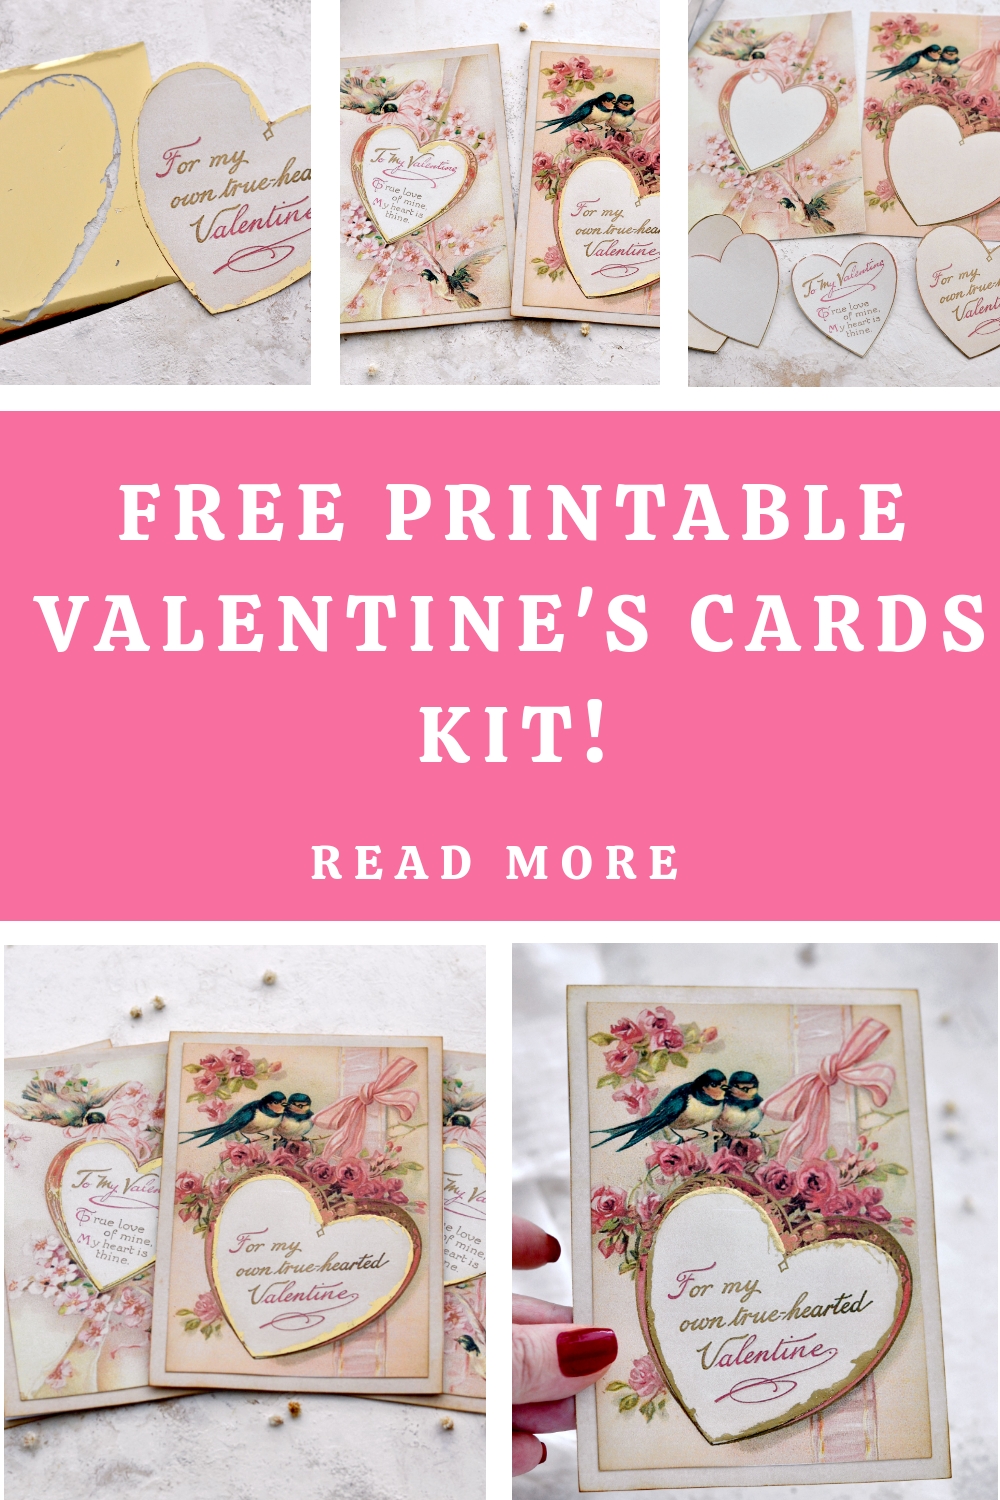
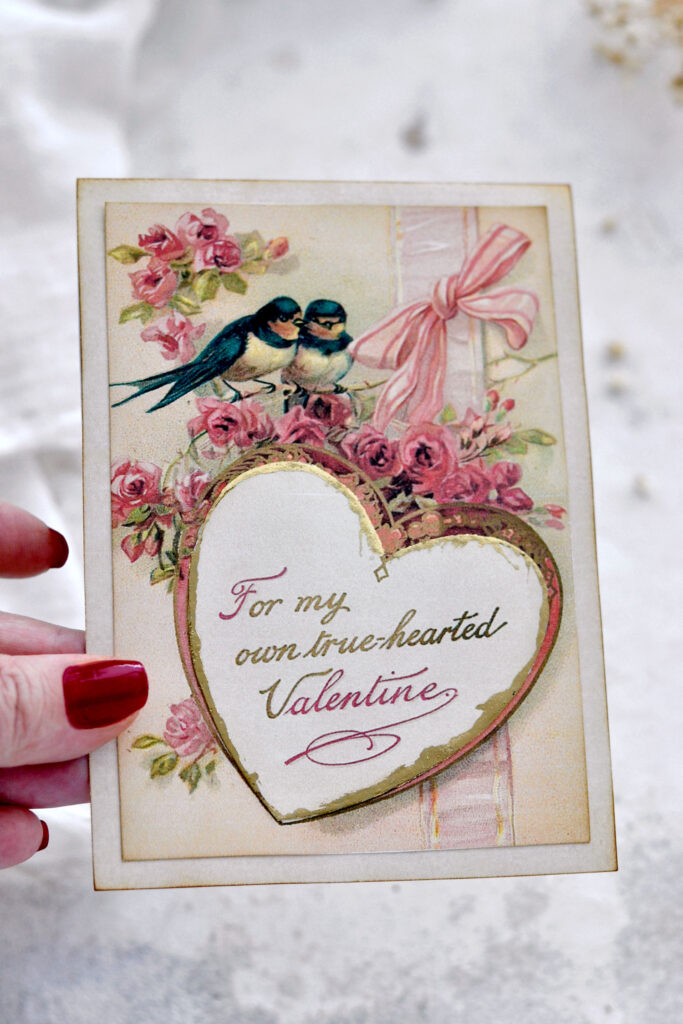
I created two card versions for this project and I used these amazing vintage images with birds, pink flowers and ribbons. Each card has a lovely heart with a Valentine’s Day message on top. The hearts are actually gilded and then glued on top to add some interest and dimension to our beautiful cards.
Free Printable
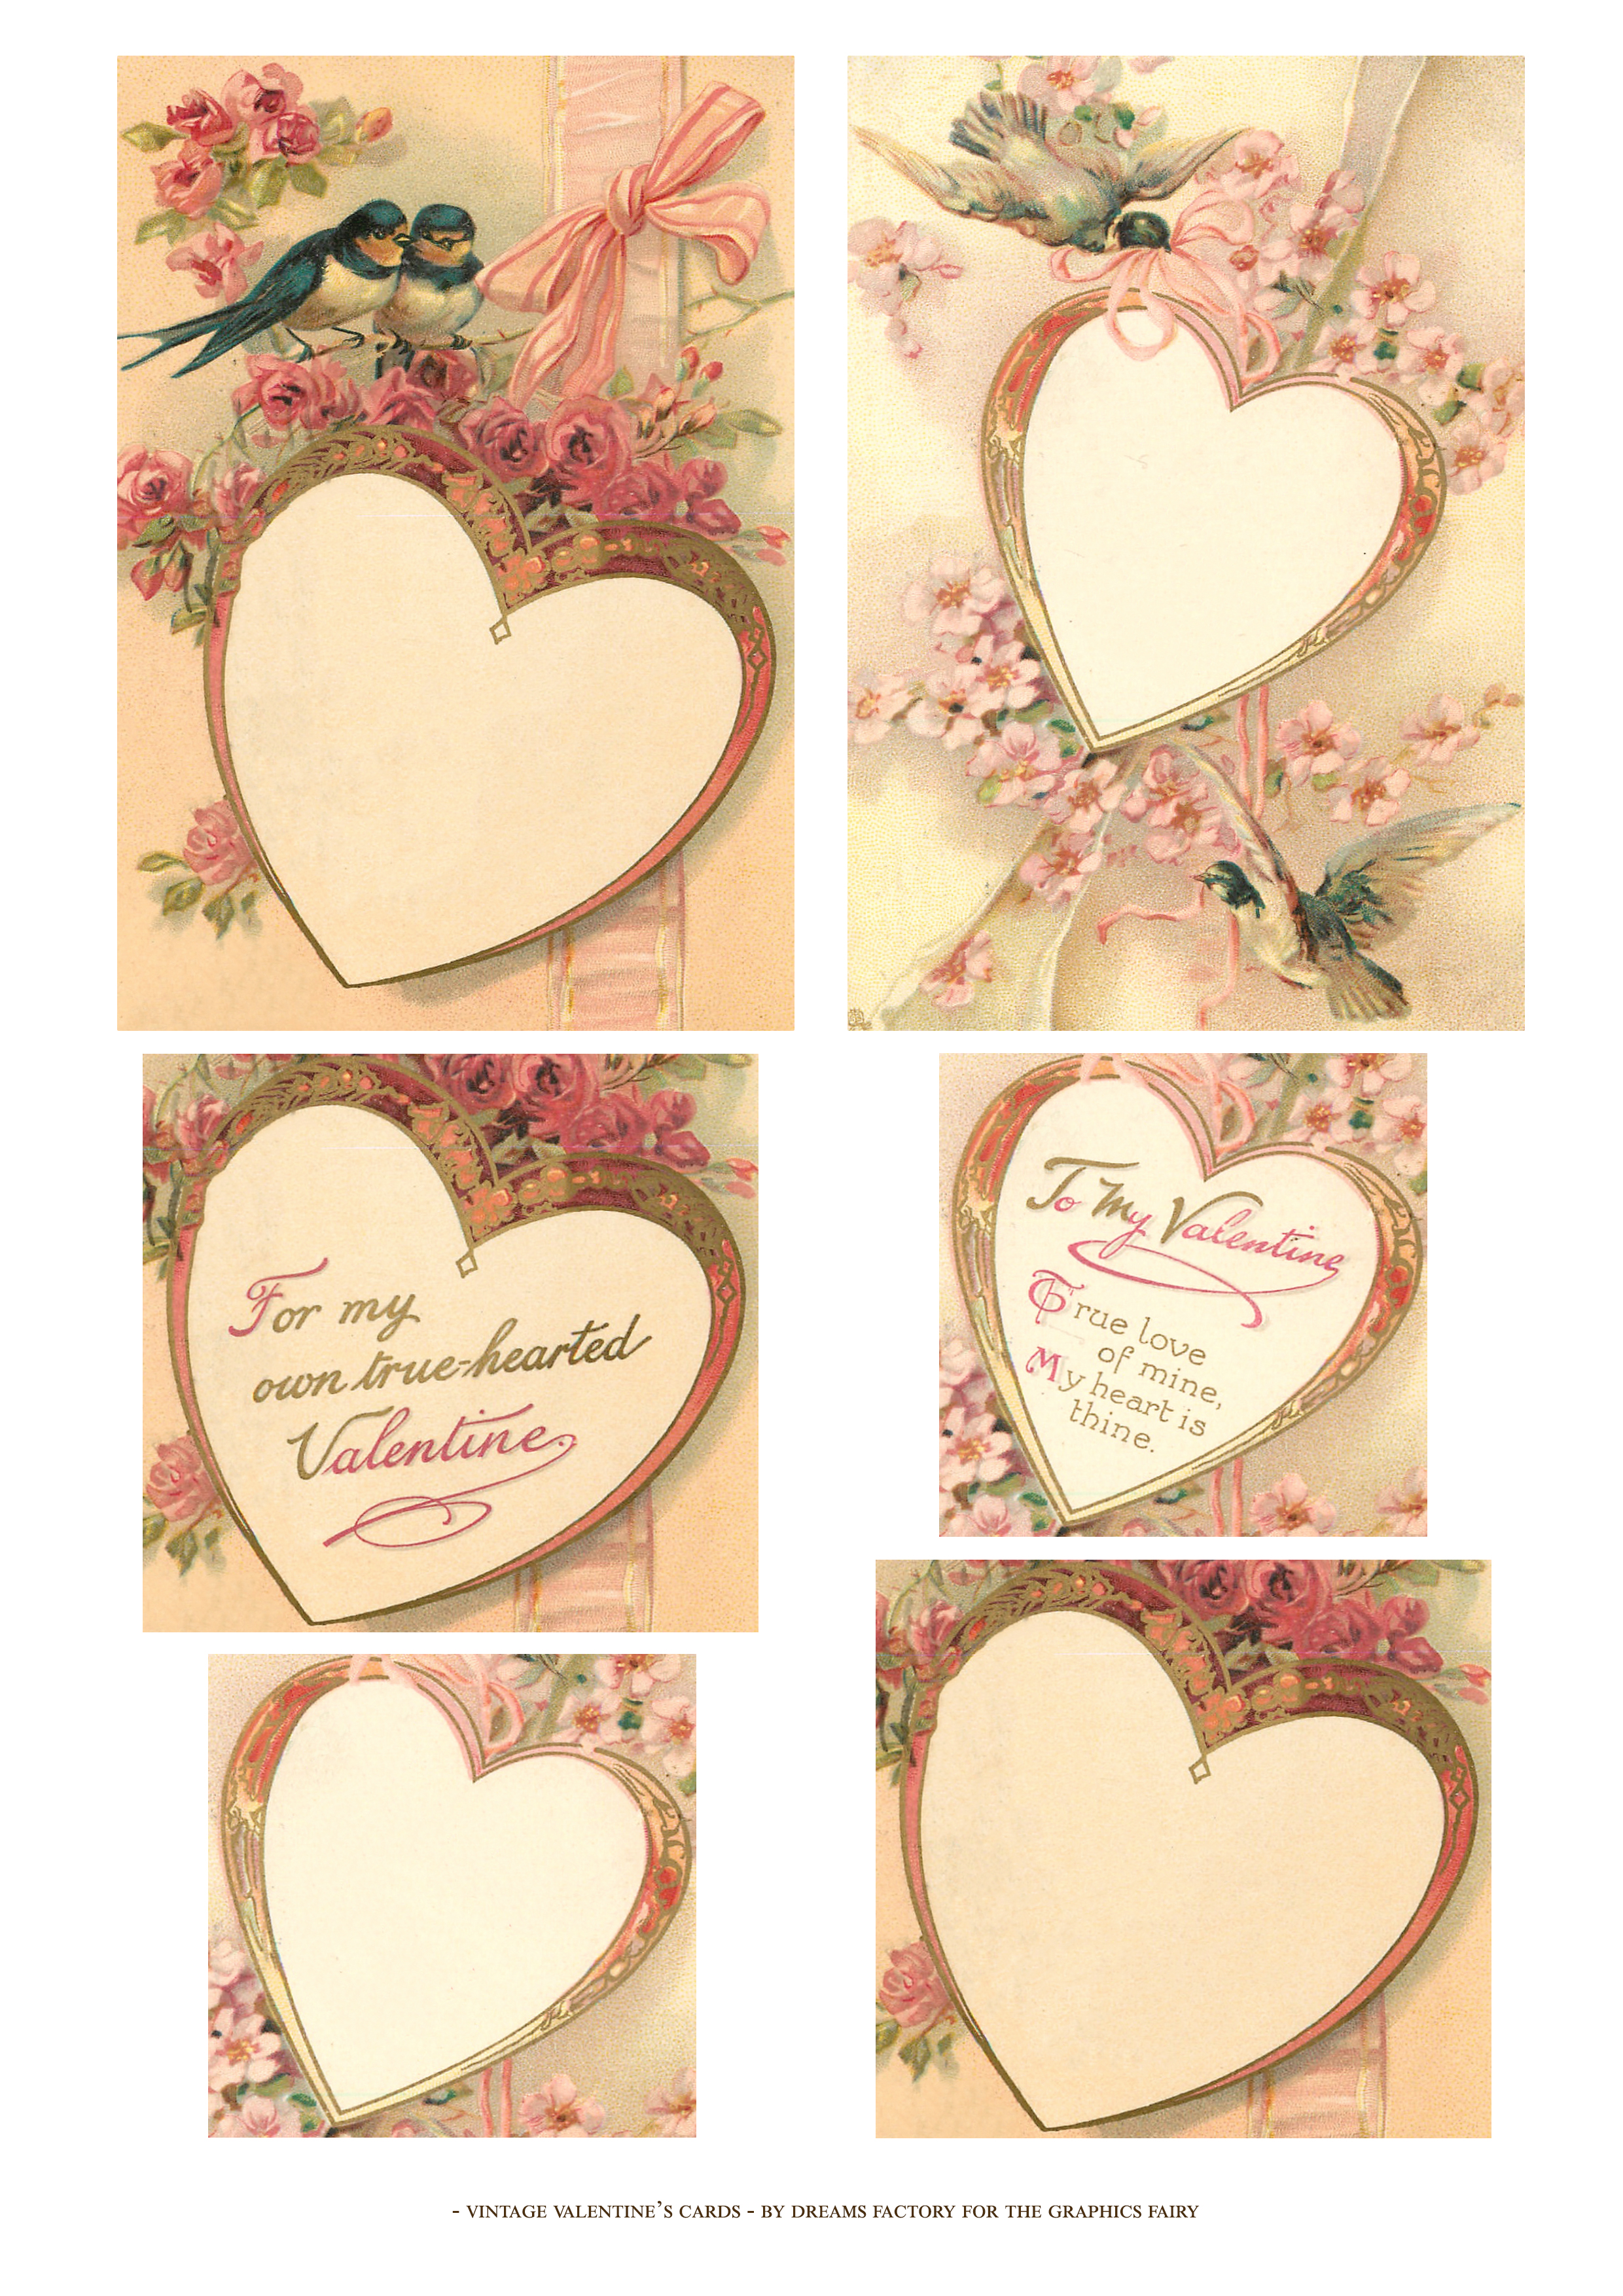
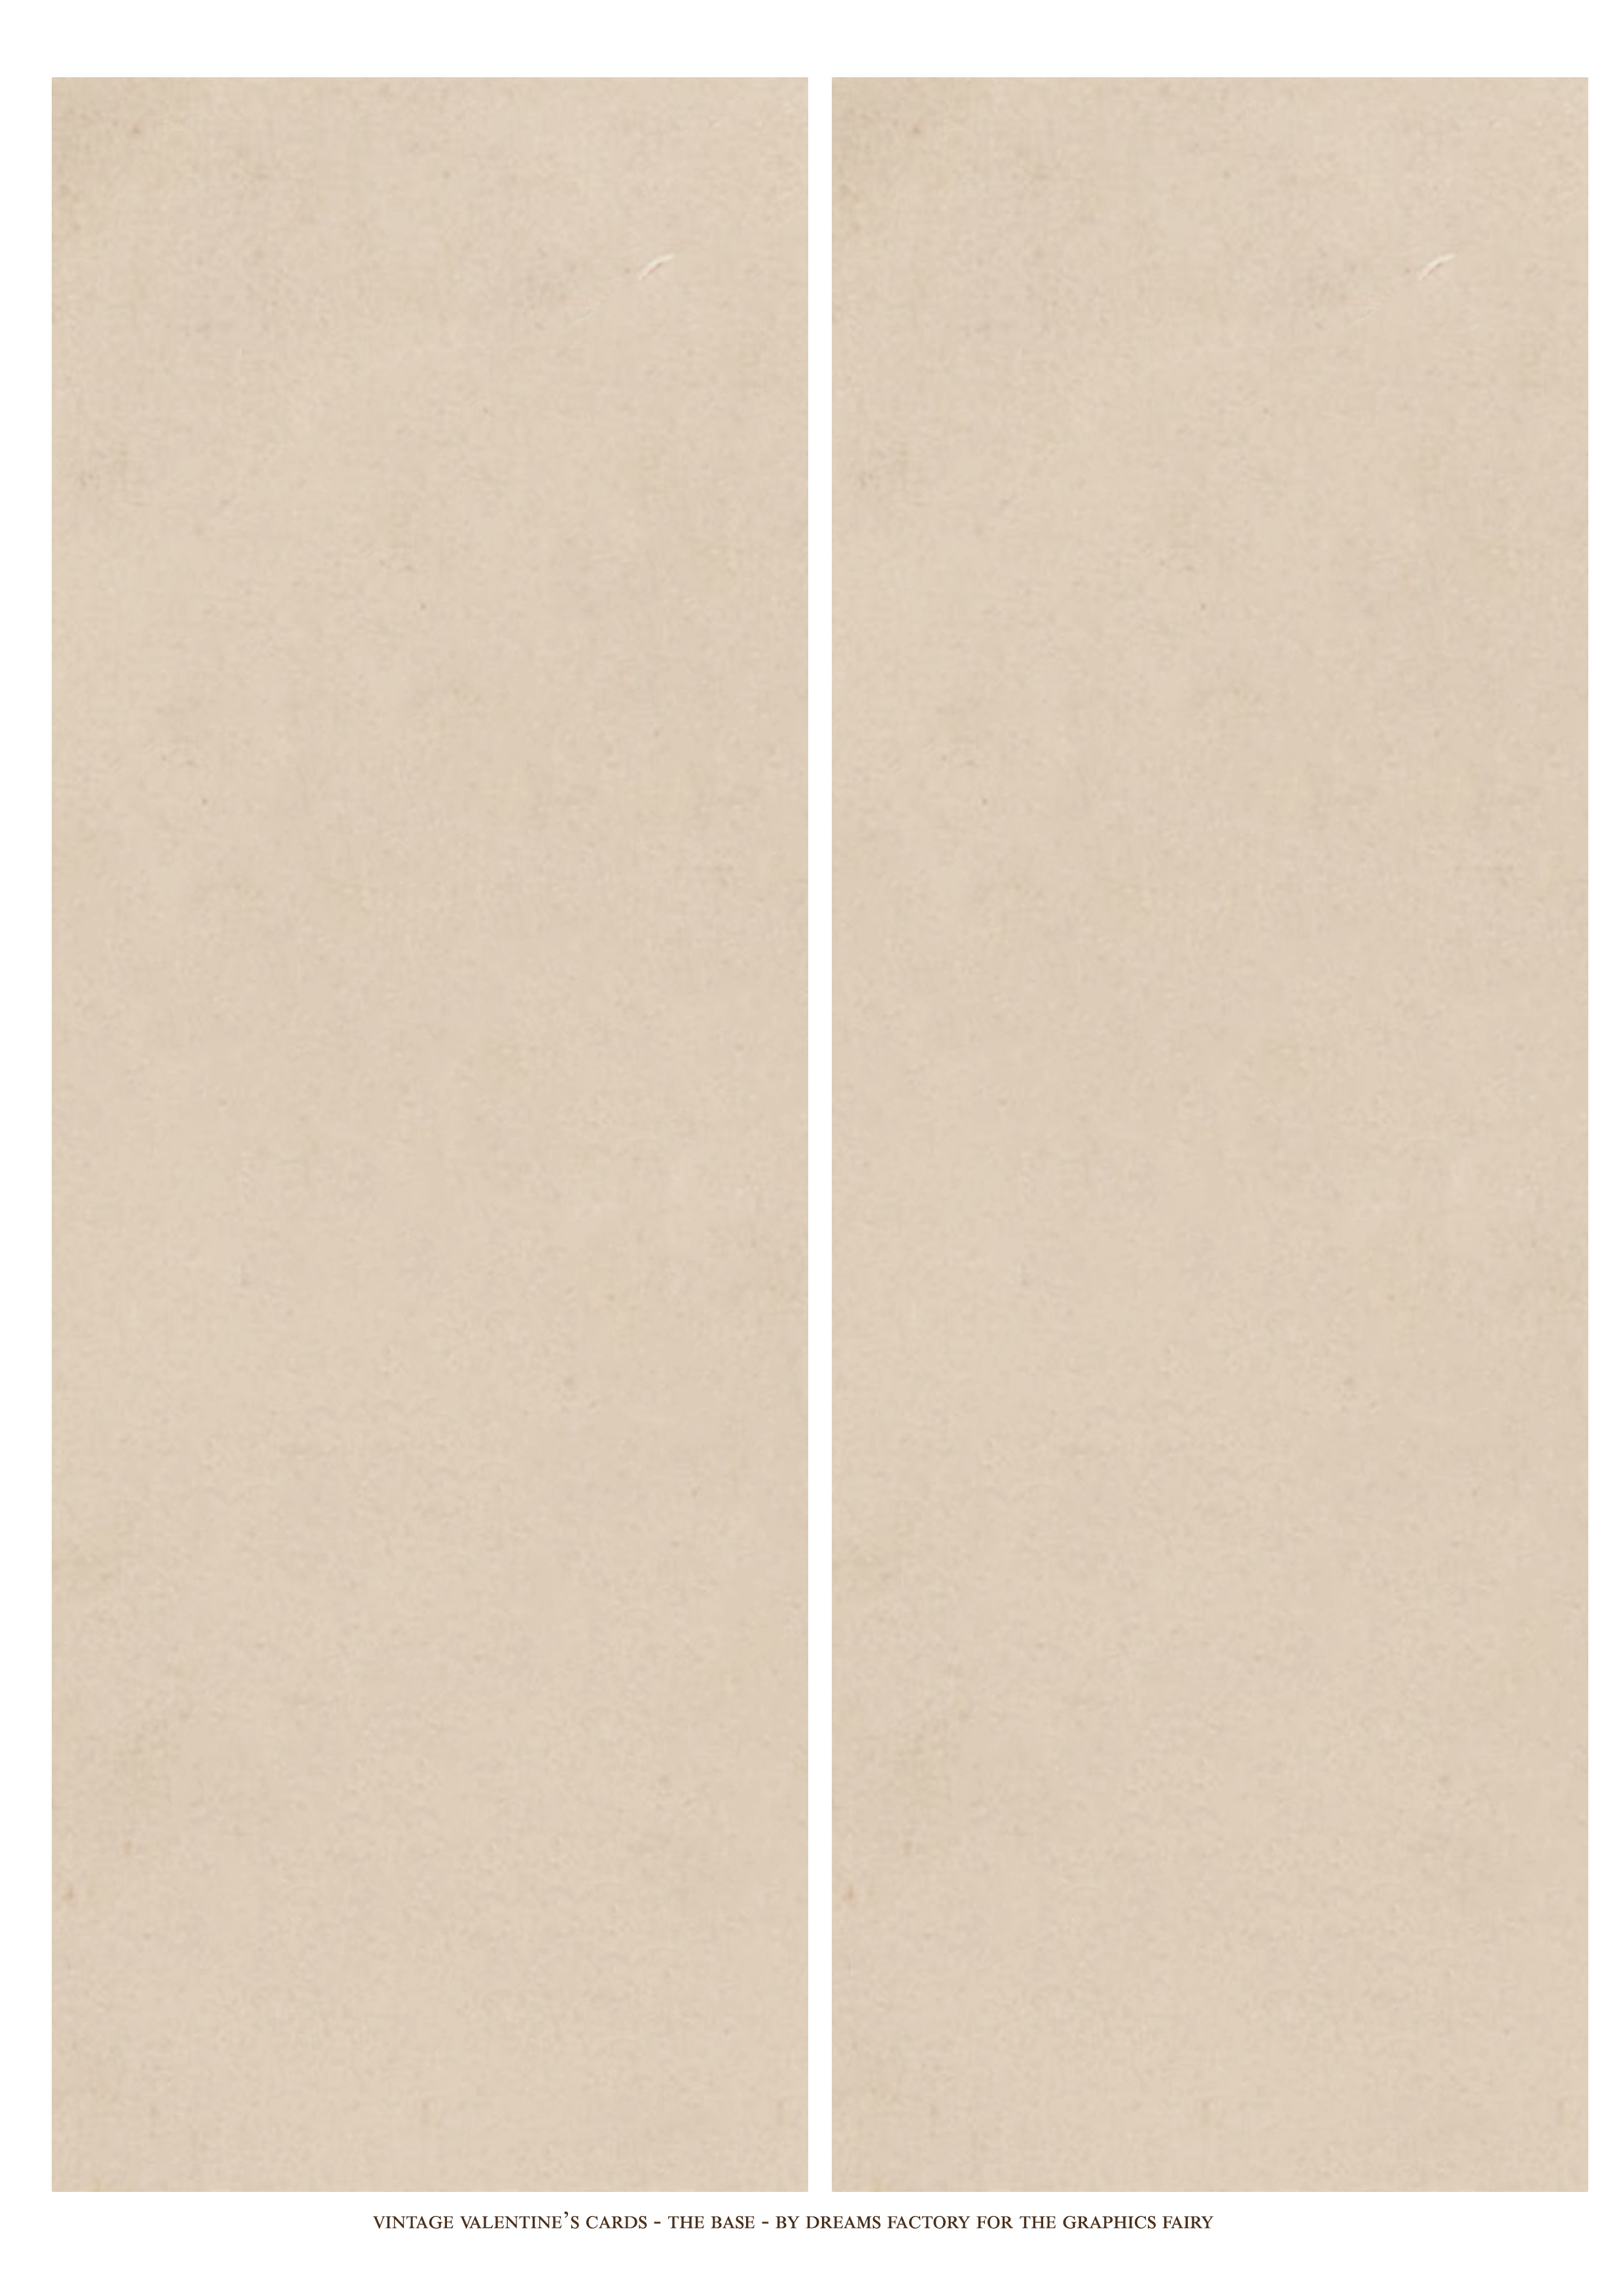
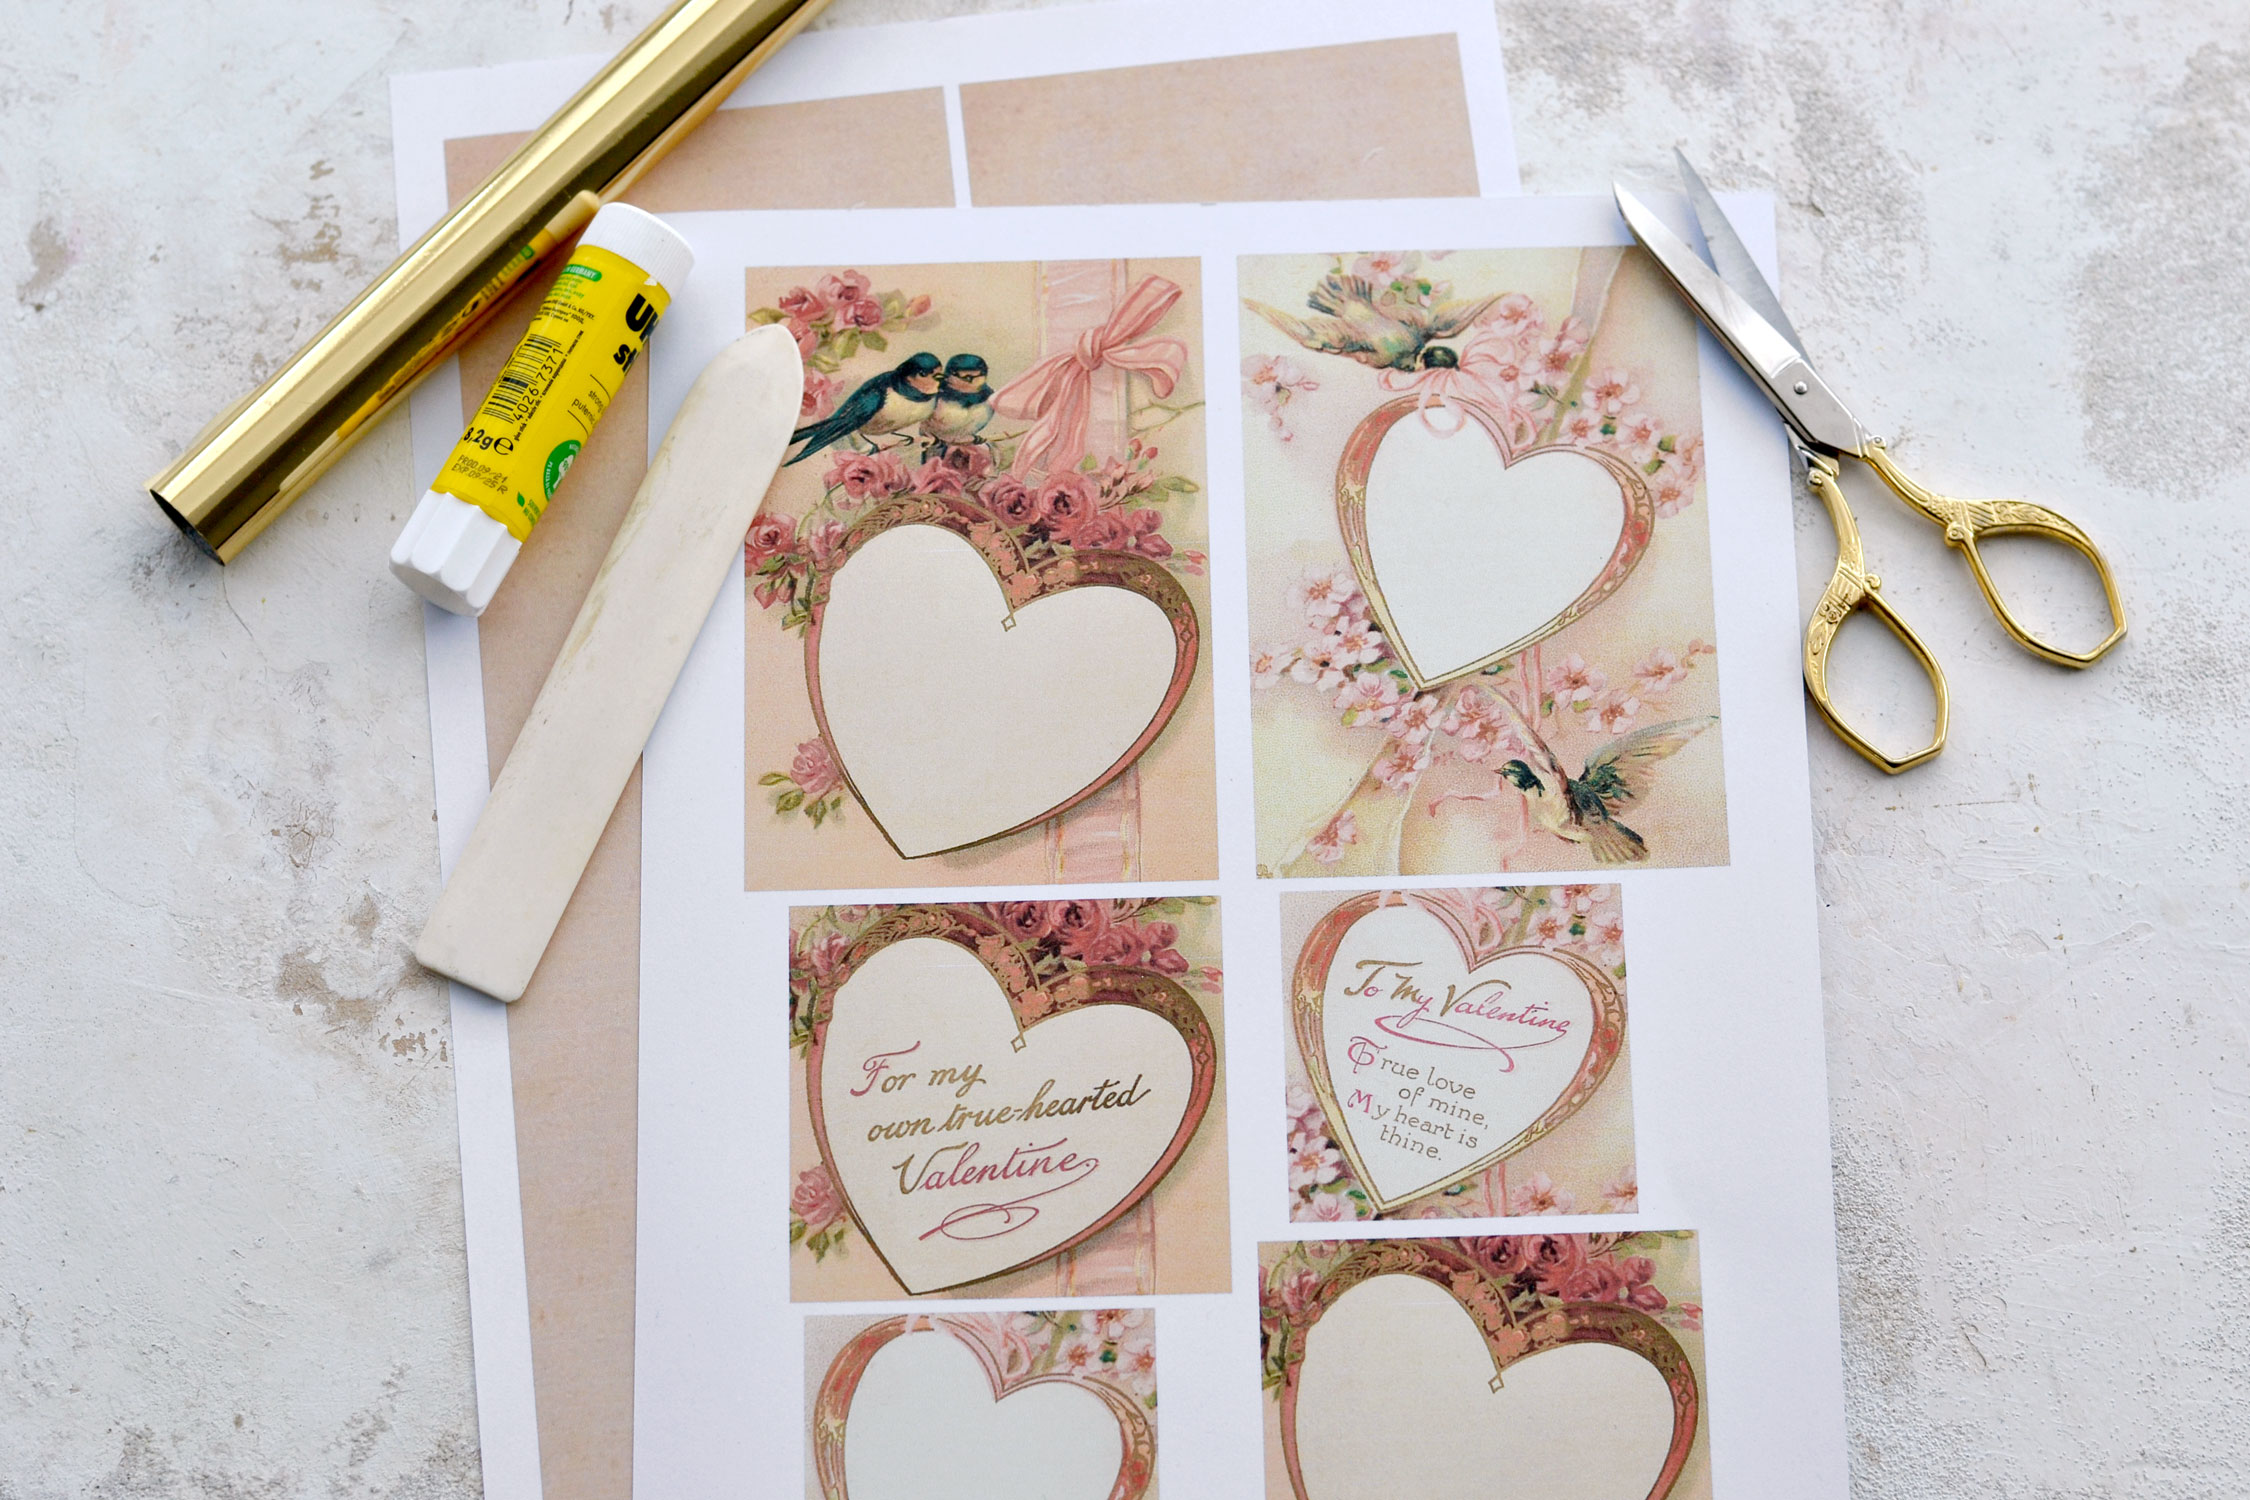
Here are the two printables that I created for this project – you’ll find one with vintage bird images that you will need for the top and one with simple vintage backgrounds that you will need to create the base for our cards. As you can see I included different heart versions in our top printable, some with a lovely Valentine’s Day message and some without any text. Why? Because I wanted to give you the option to write or stamp your own text if you prefer! This way you’ll be able to personalize them to your heart’s content!
—> Click here to download the full size Printable PDF <—
—> Click here to download the full size Printable PDF <—
Valentine’s Day Cards DIY Supplies:
- cardstock paper
- home printer
- scissors
- bone folder
- mini distress inks
- blending tool with foams
- gold foil
- gold foil glue OR UHU glue stick
- a plastic sheet or a non-absorbent surface to protect your working space
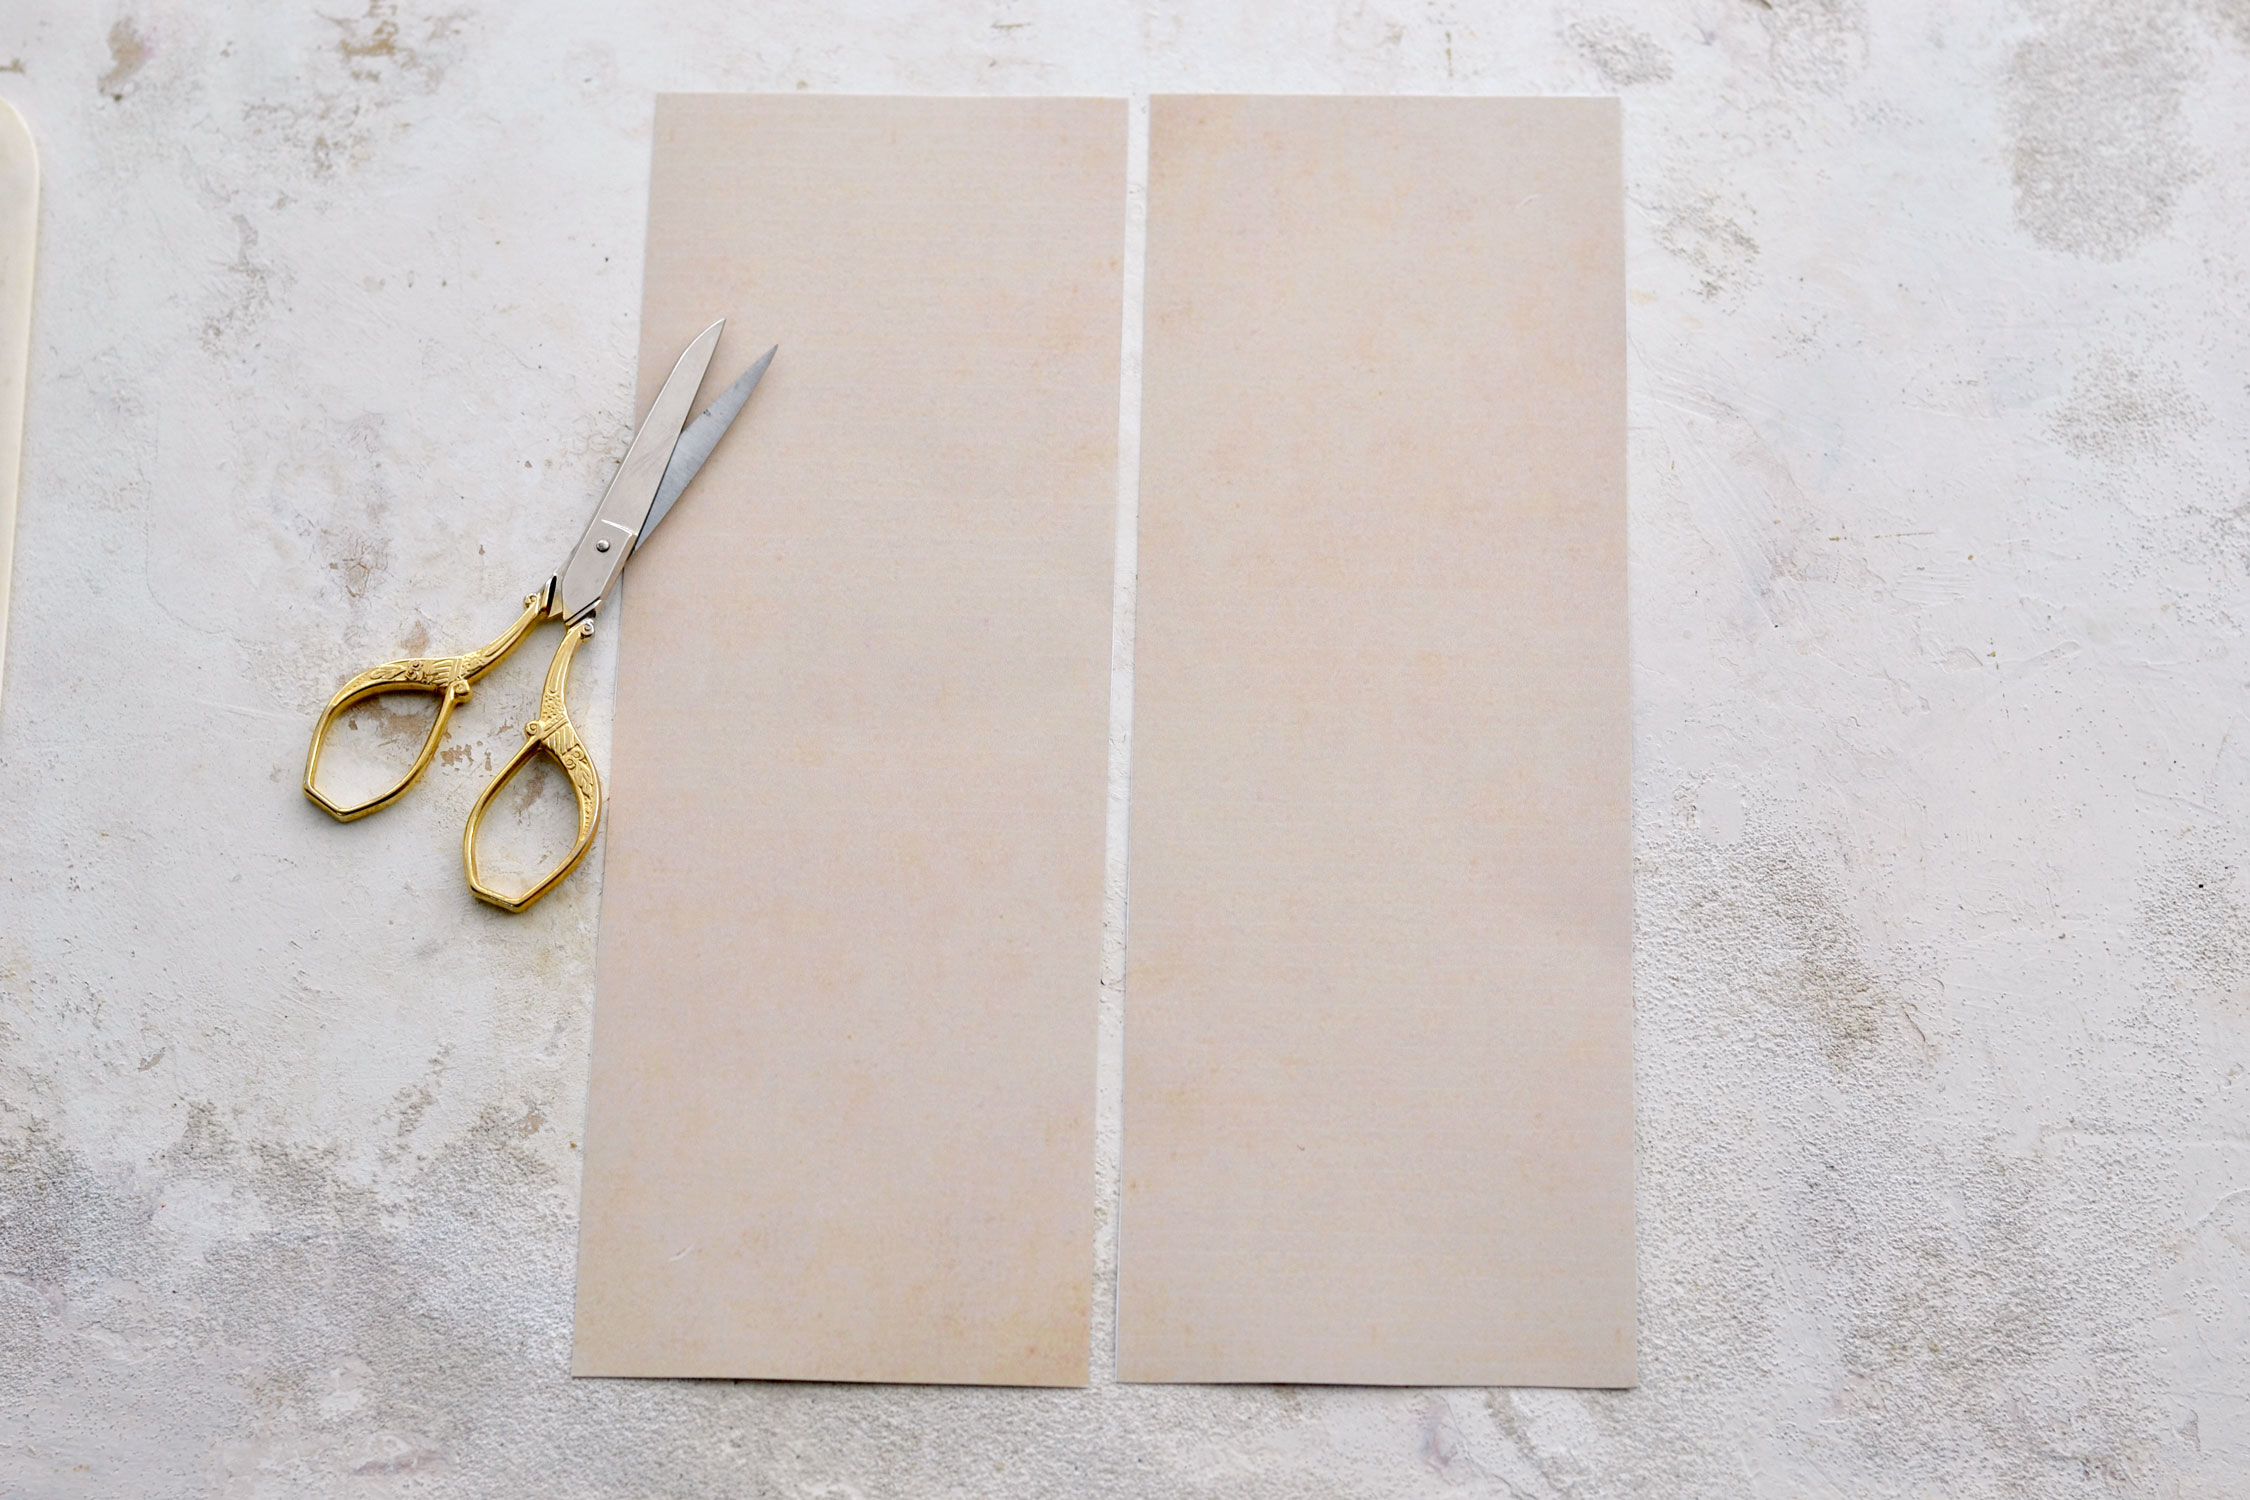
Start by cutting the card bases. You will be able to make two different cards if printing one copy of the base and the top printables. If you want to make more cards, you can print them both several times, depending on your needs.
You can use scissors to cut the bases or if you prefer, you can use a cutting machine.
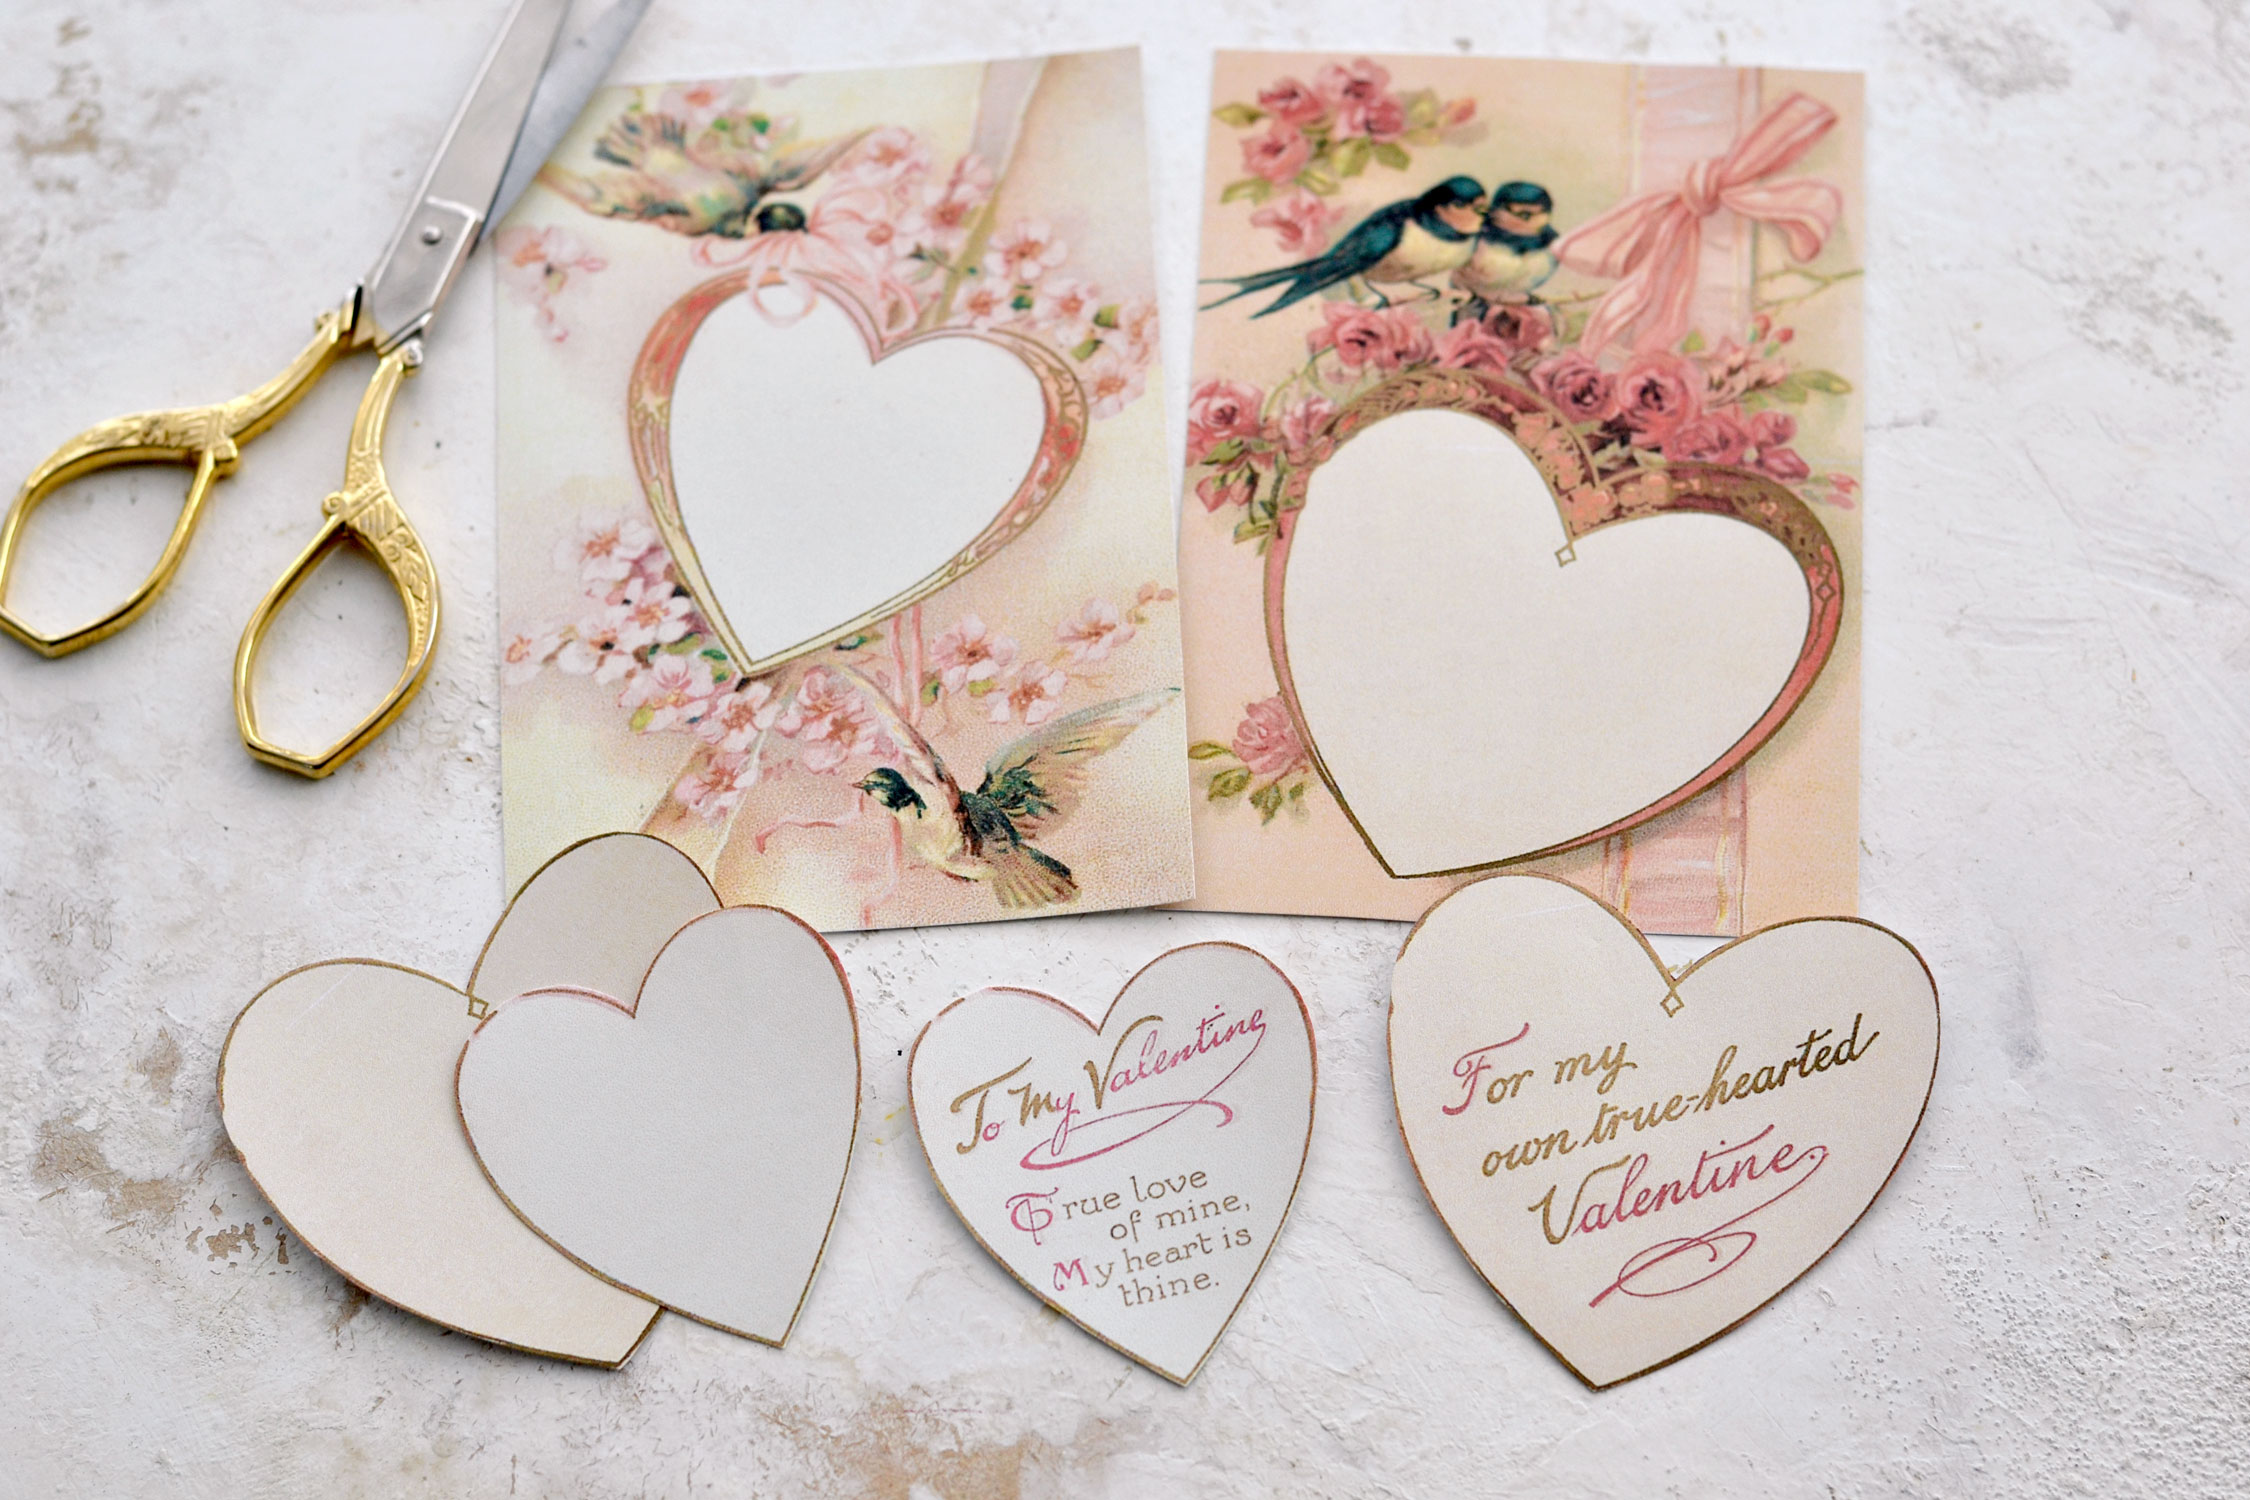
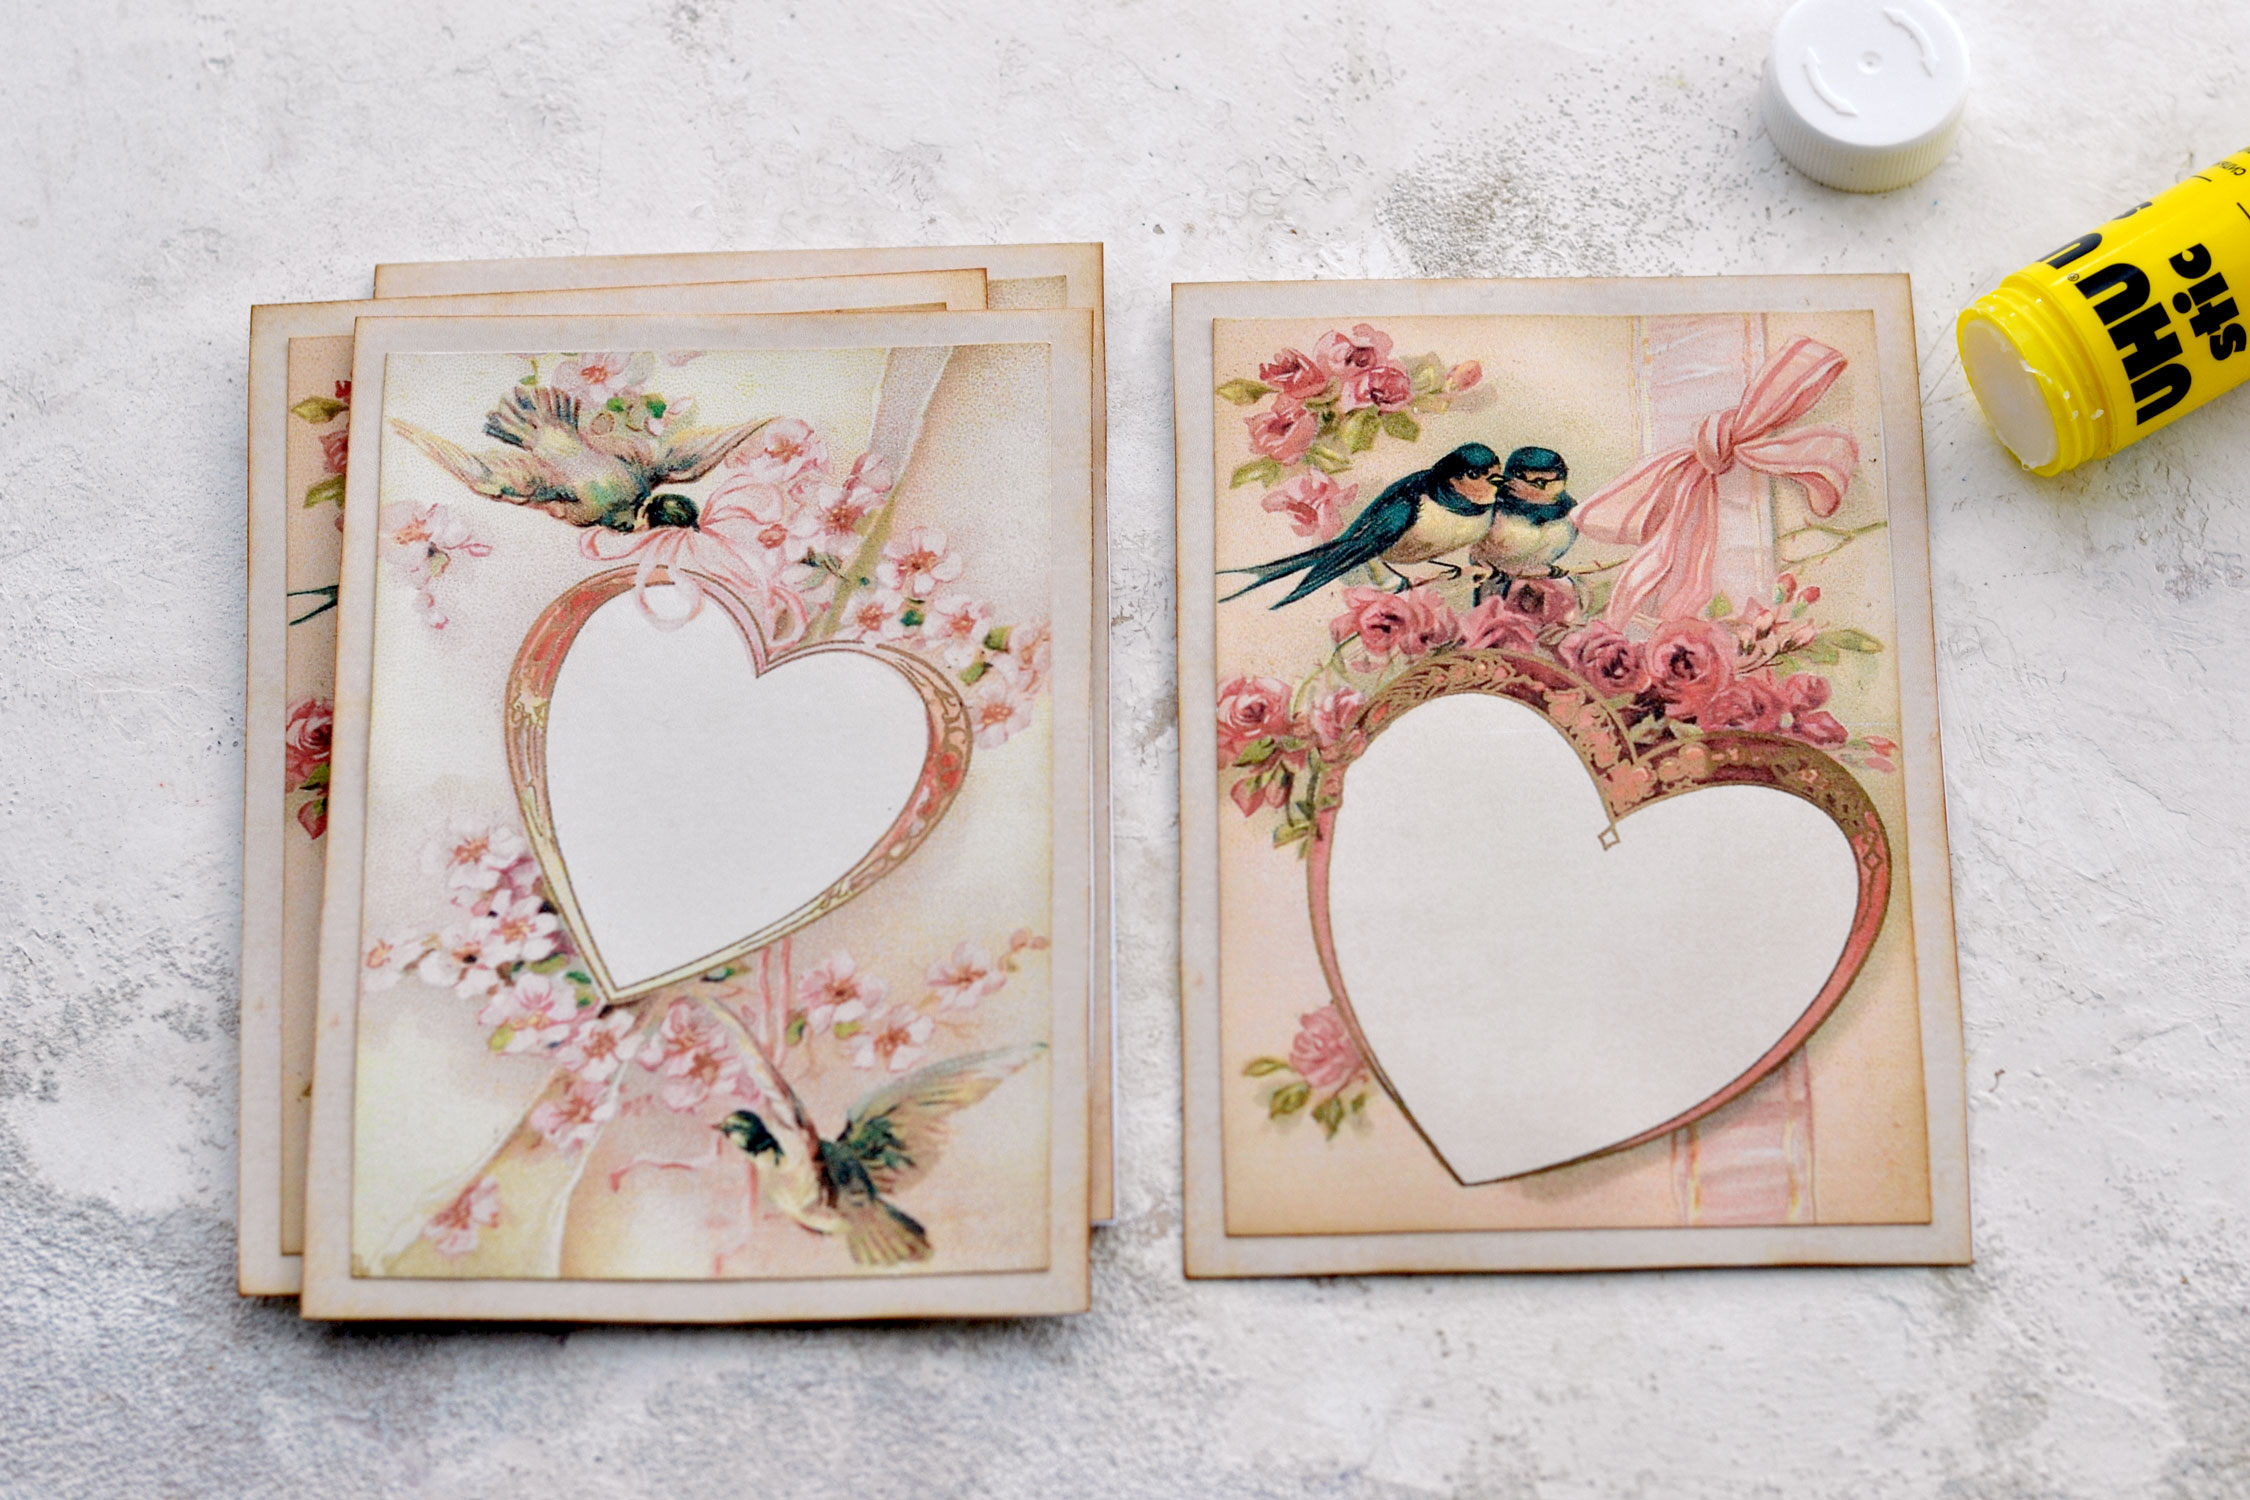
Cut the rectangular images with the birds and keep them as they are.
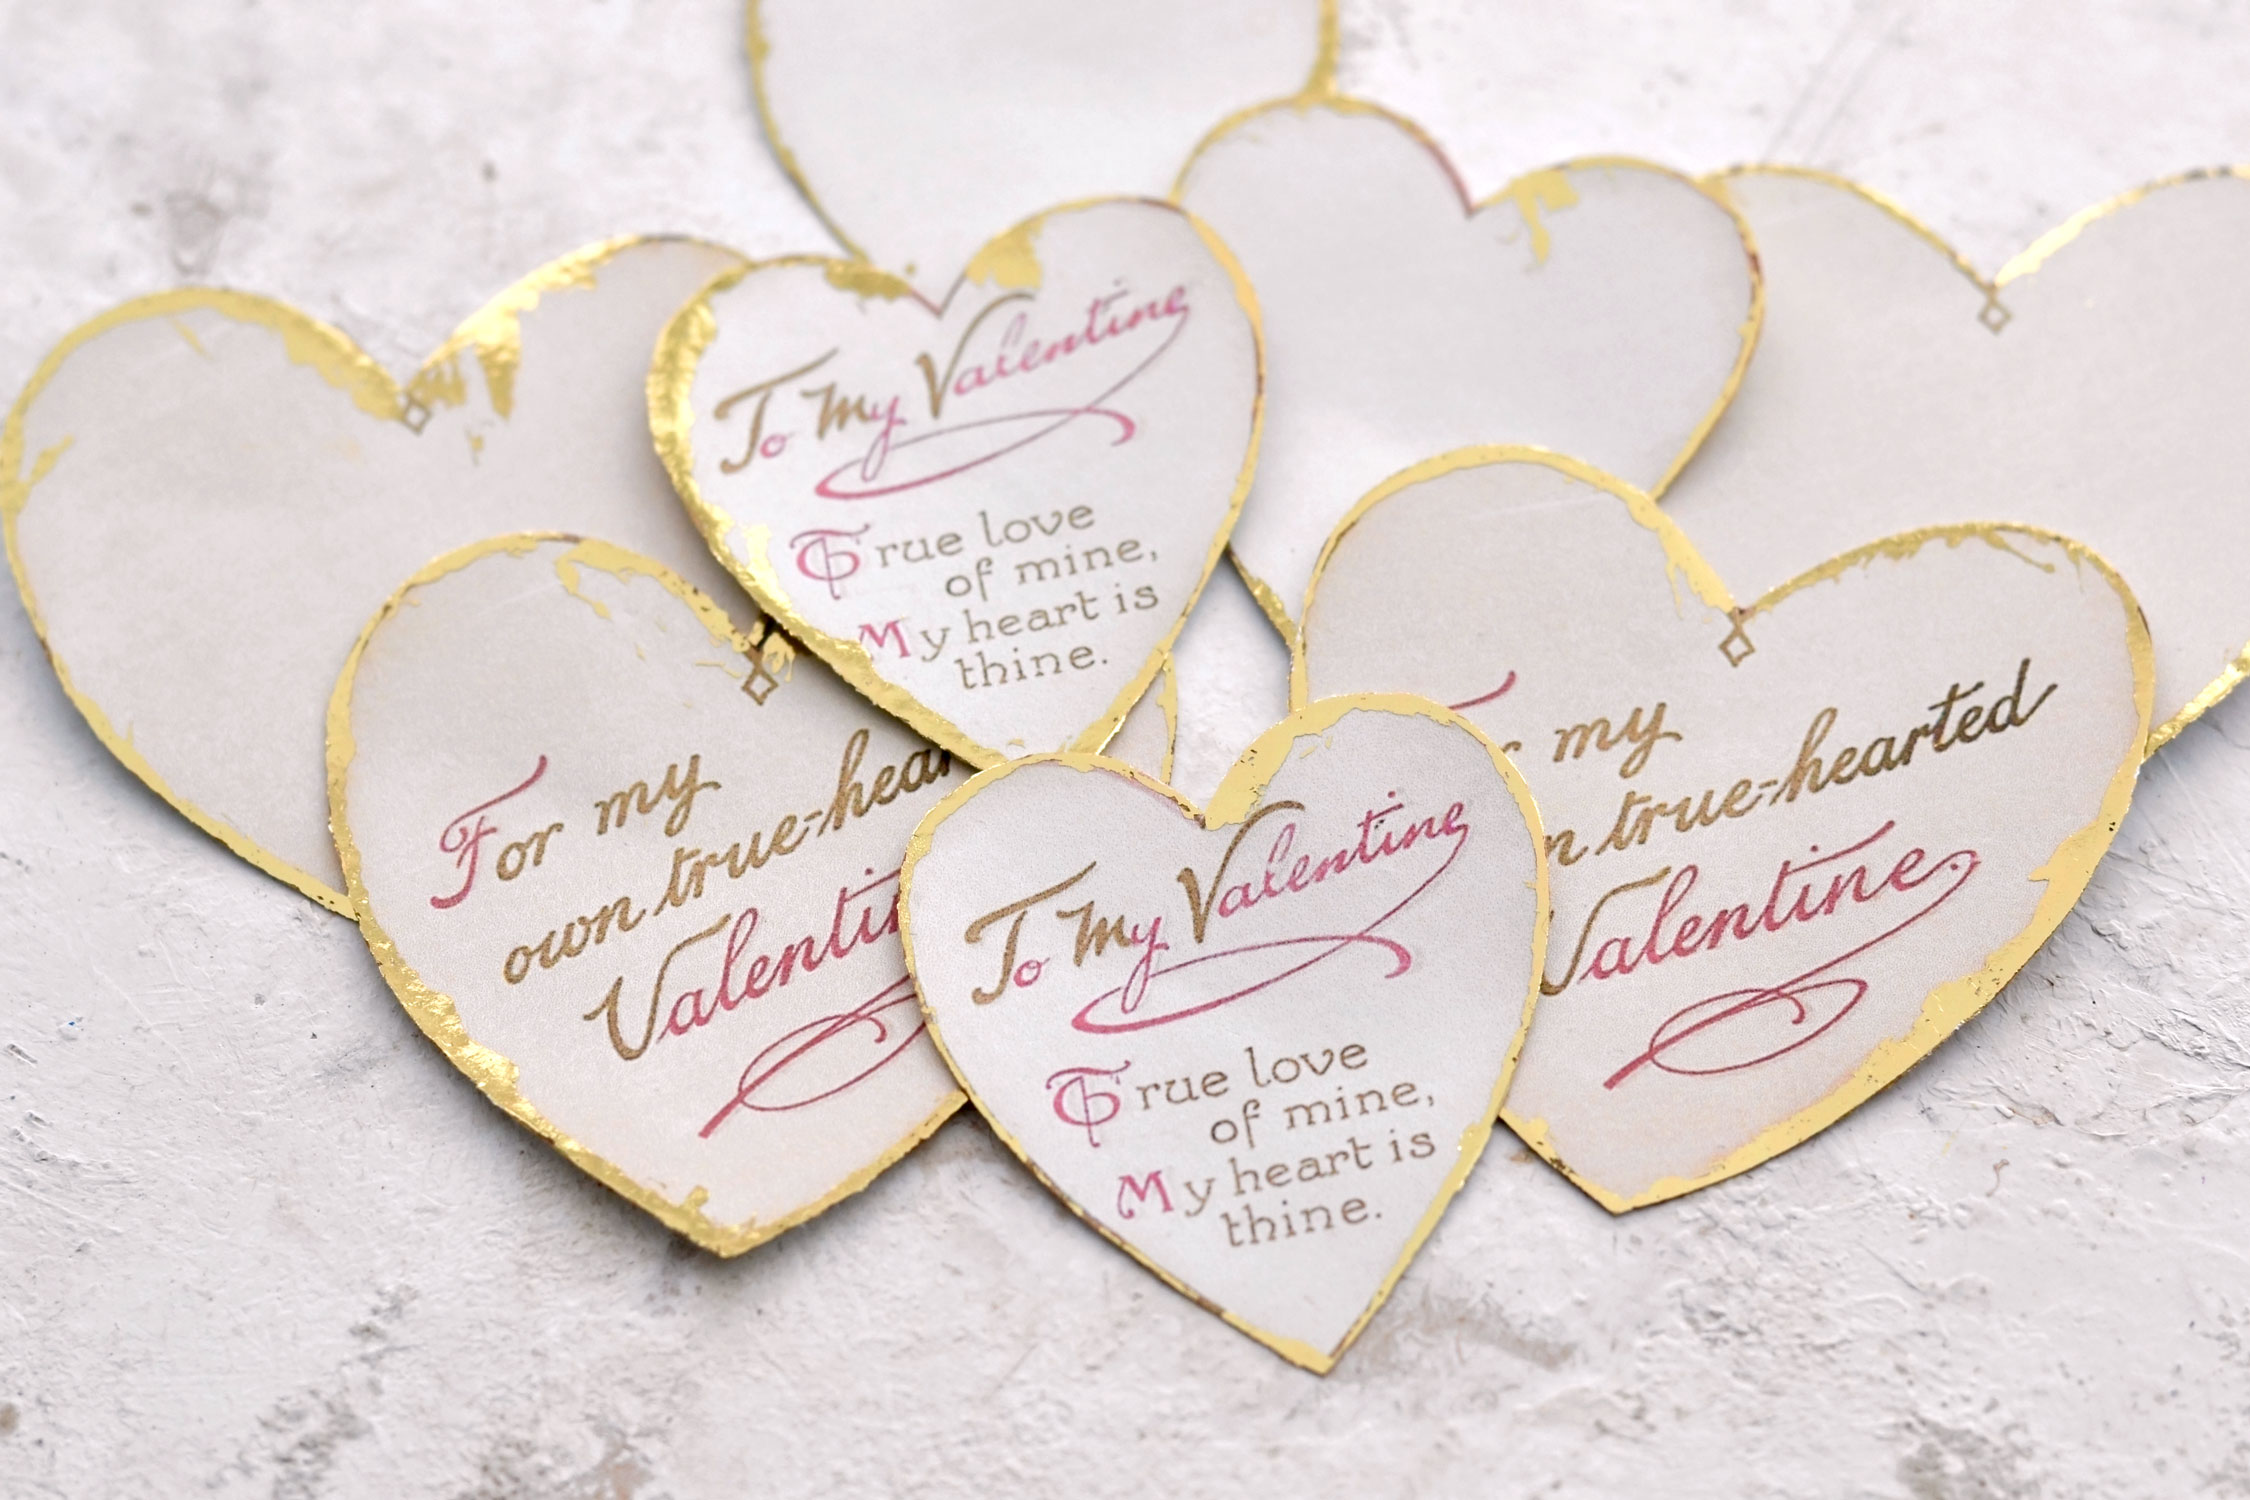
Then cut each of the four additional hearts. When cutting the hearts, we only need to keep the inside of the hearts, the part with that small border around the edges, as you can see in the image below and remove all the rest.
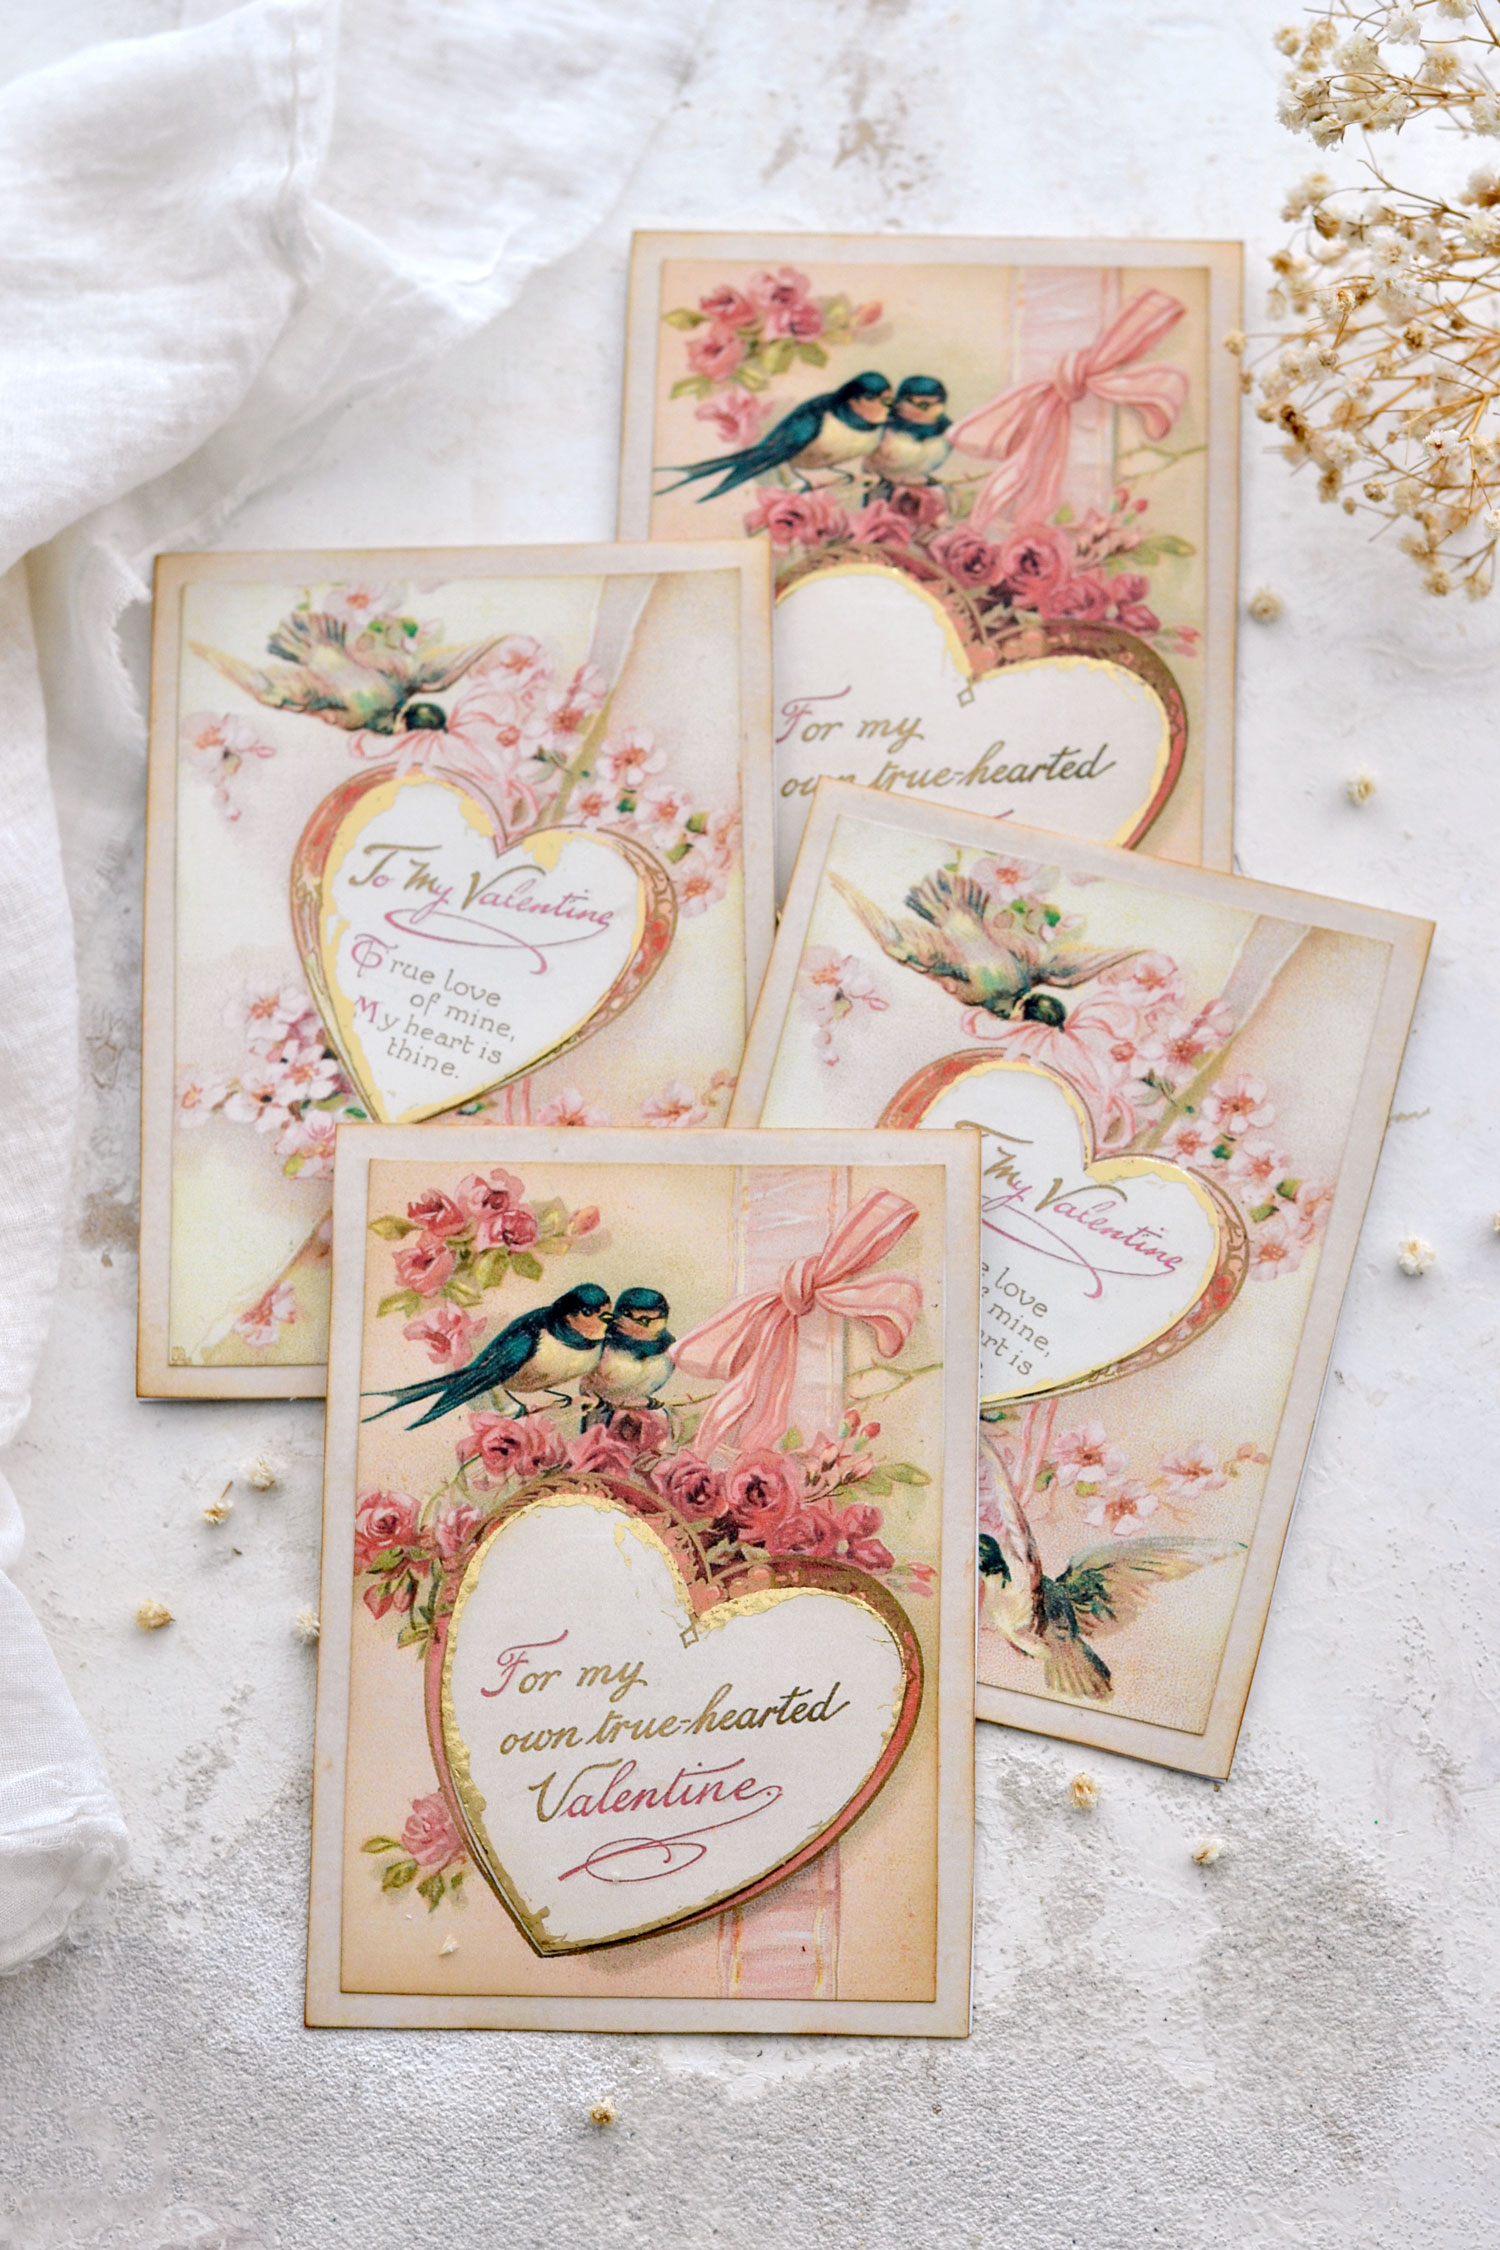
I made a total of four cards and cut all the other elements. We only need to add one additional heart per card, but I’ve decided to cut the extra too, so I can have them ready and include them in other projects.
Use a bone folder to fold the card bases in half, our special card will open on the bottom.
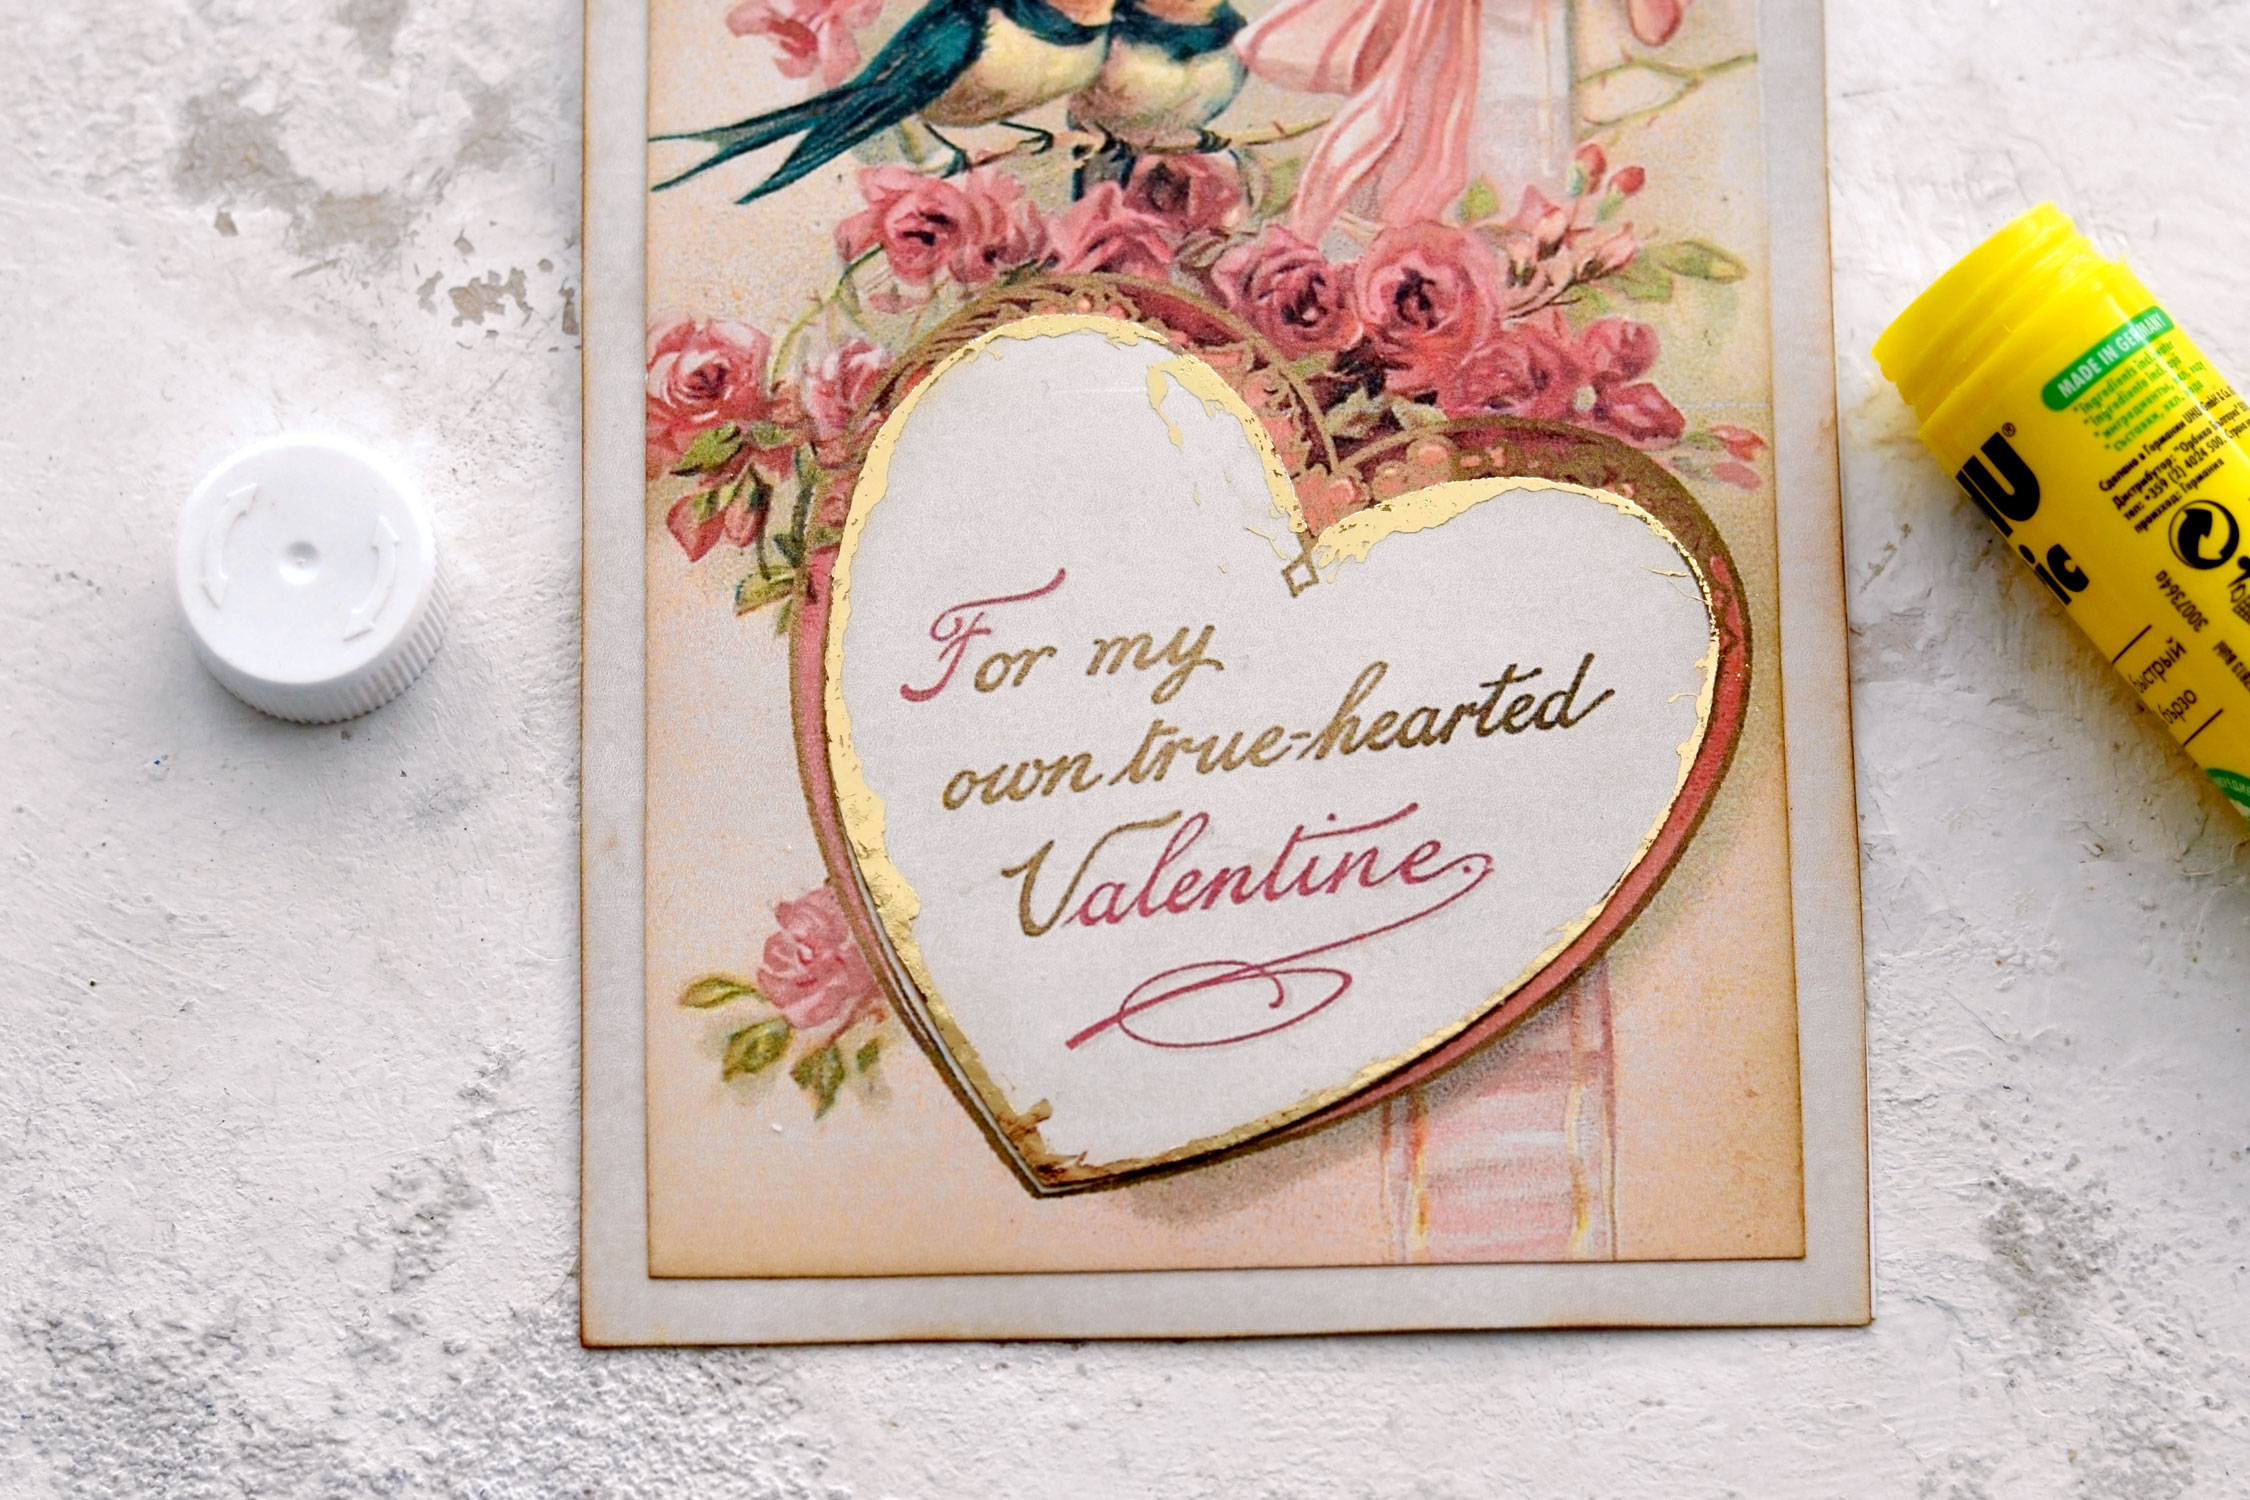
Use paper glue to adhere the top rectangular images on the card bases trying to center them as well as you can.
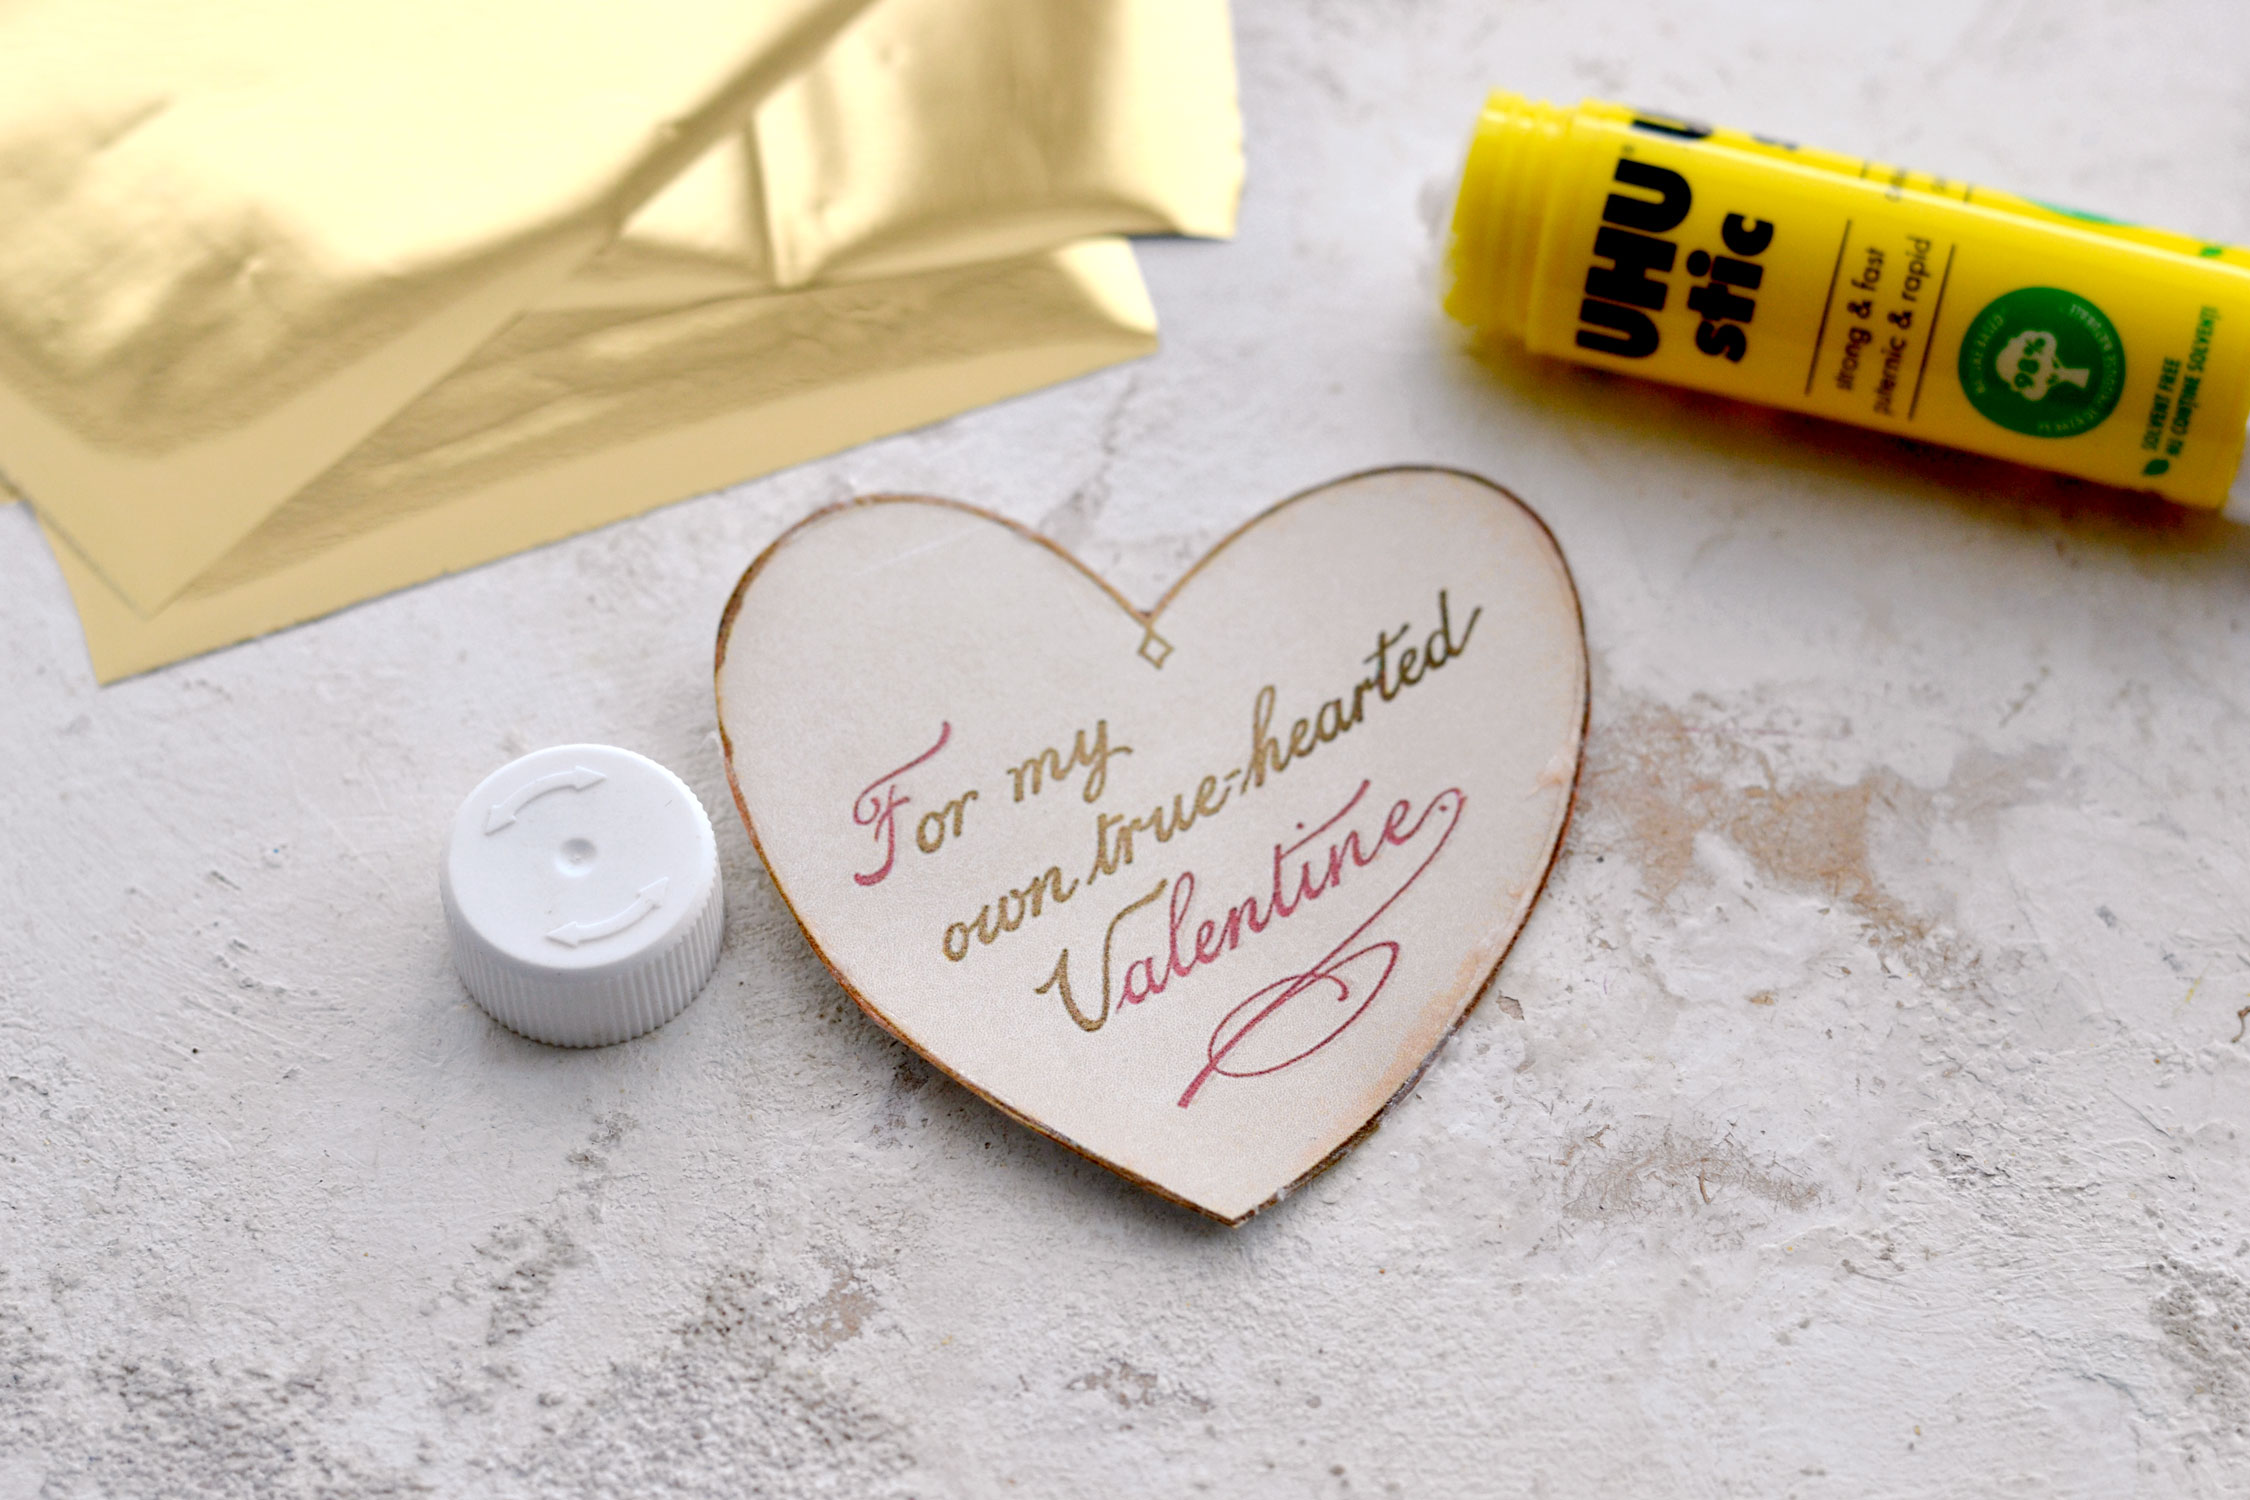
And now, let’s prepare our lovely hearts and add some gold around the edges! I used gold foil today which is usually used with a special adhesive that stays tacky after drying, but I discovered that you can also use it with glue sticks when you need to make a quick and easy foil transfer. Not all glues will work though, from my experience I had great results with UHU and Staedler glue sticks. Mod Podge will also work, but you need to let it dry a little bit before applying the gold foil so I would say it is a little bit trickier.
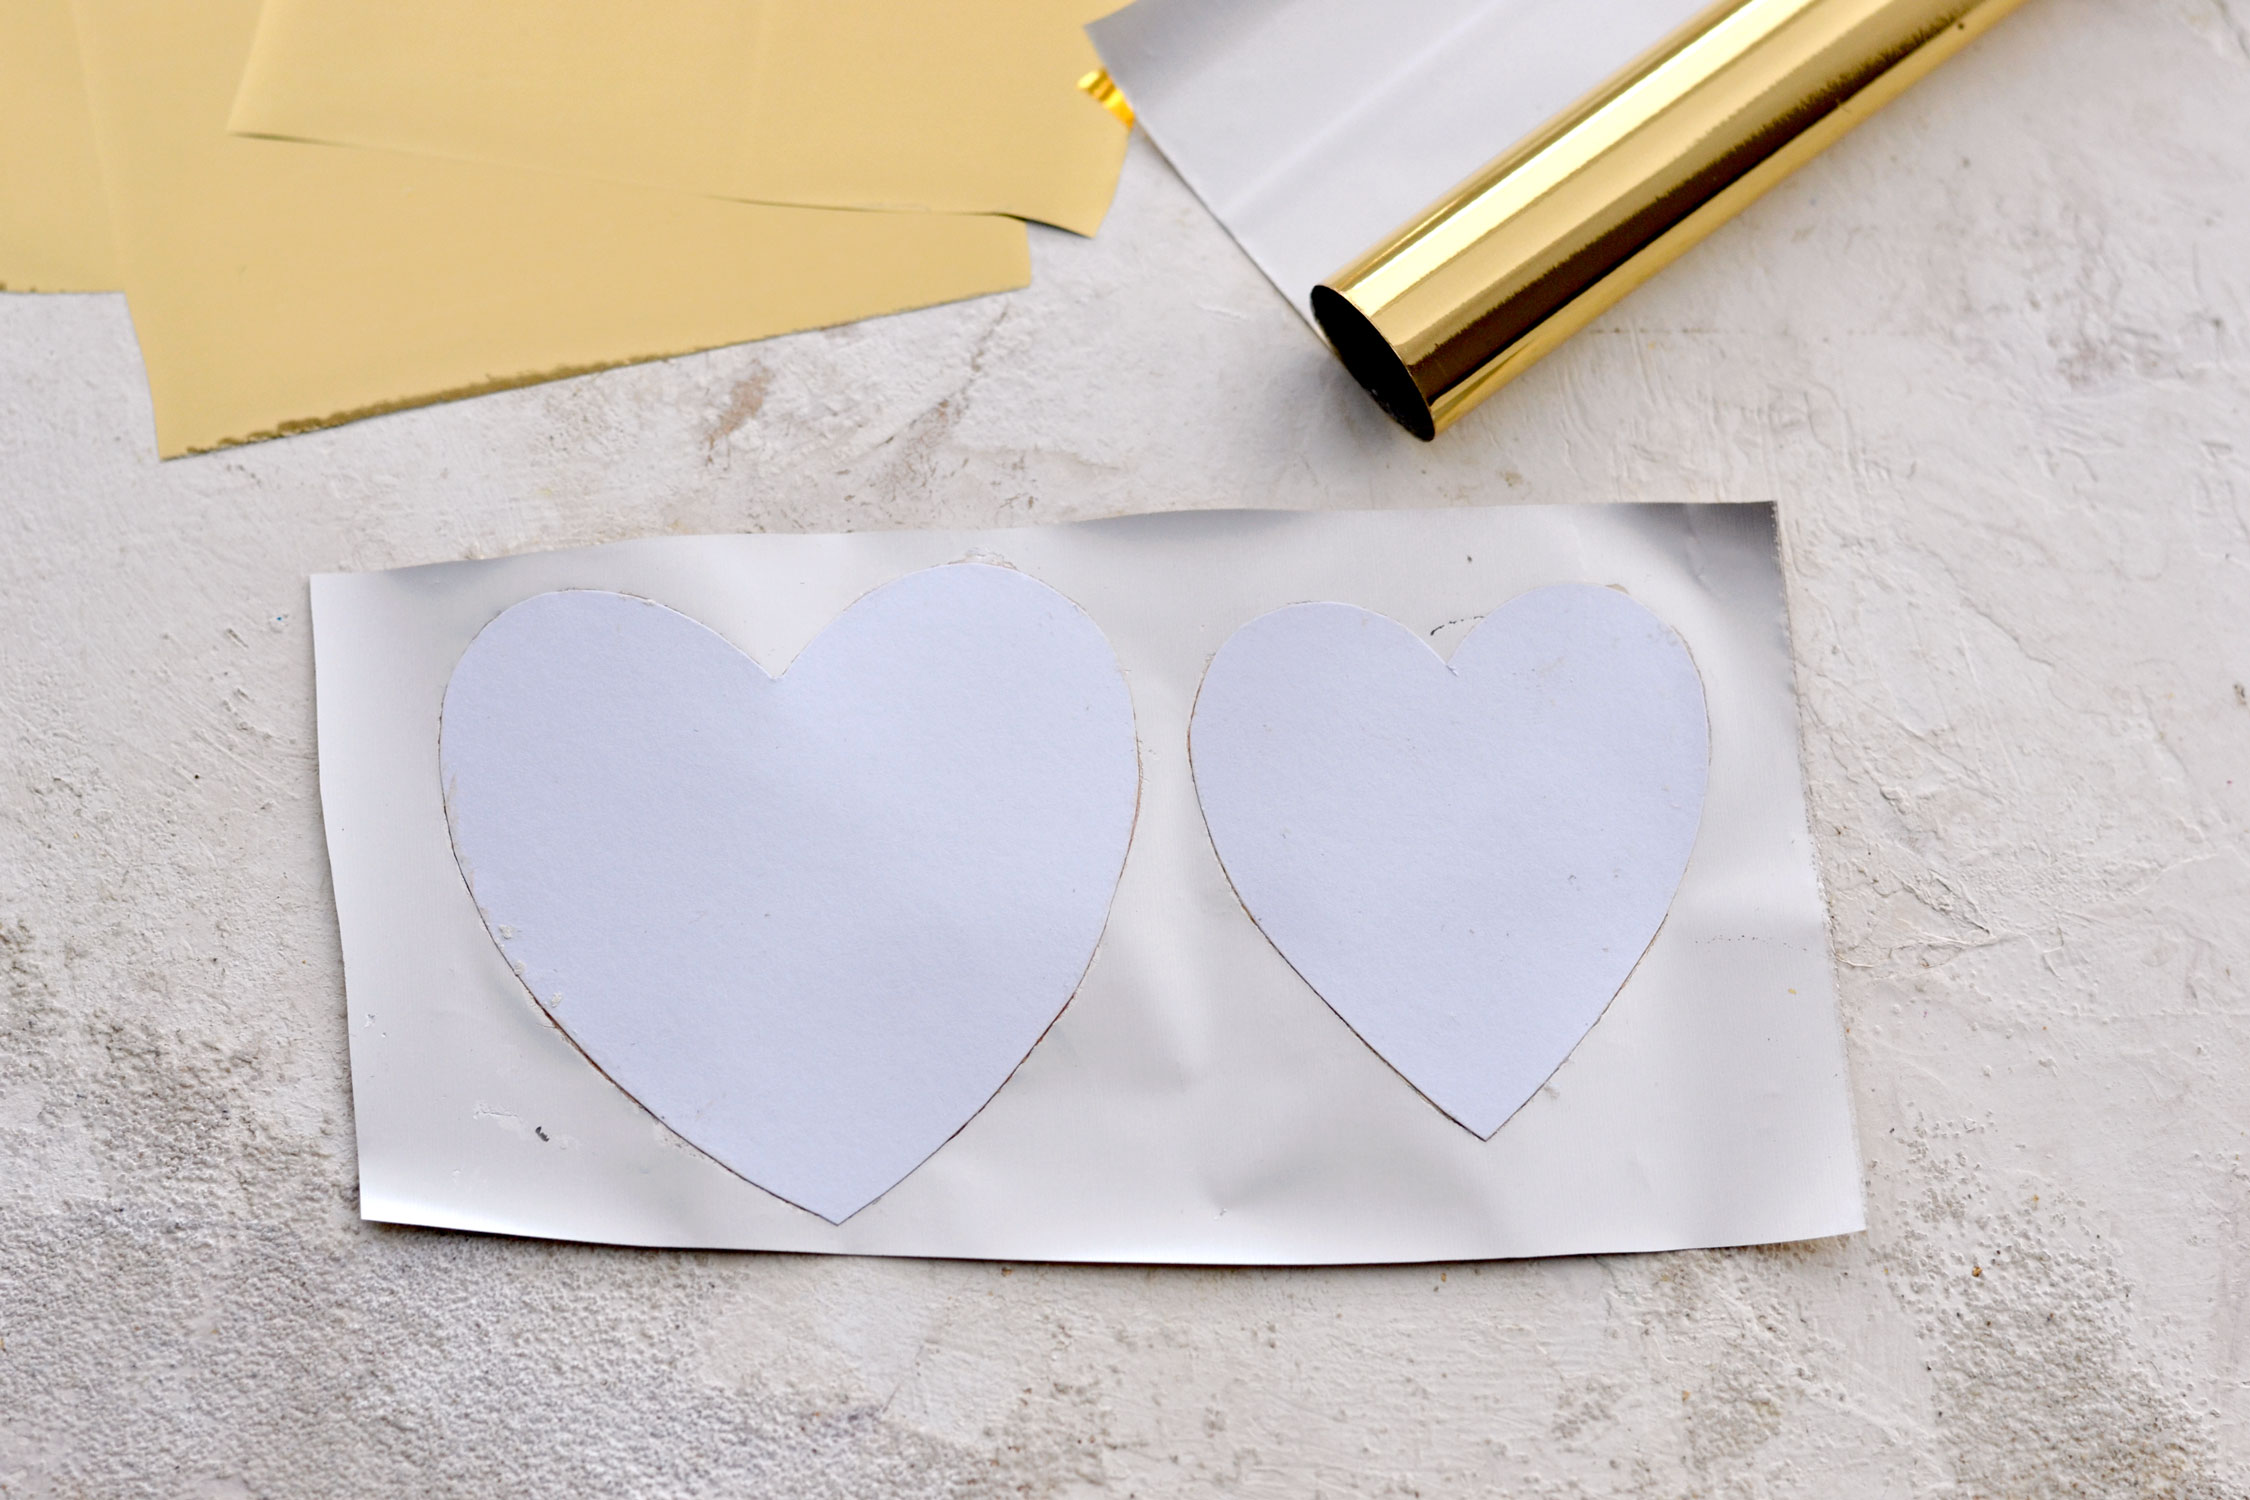
Start by applying some glue all around the edges. Take the first paper heart in your hand and keep the glue stick at an angle while applying it, you only need to add a small amount of glue.
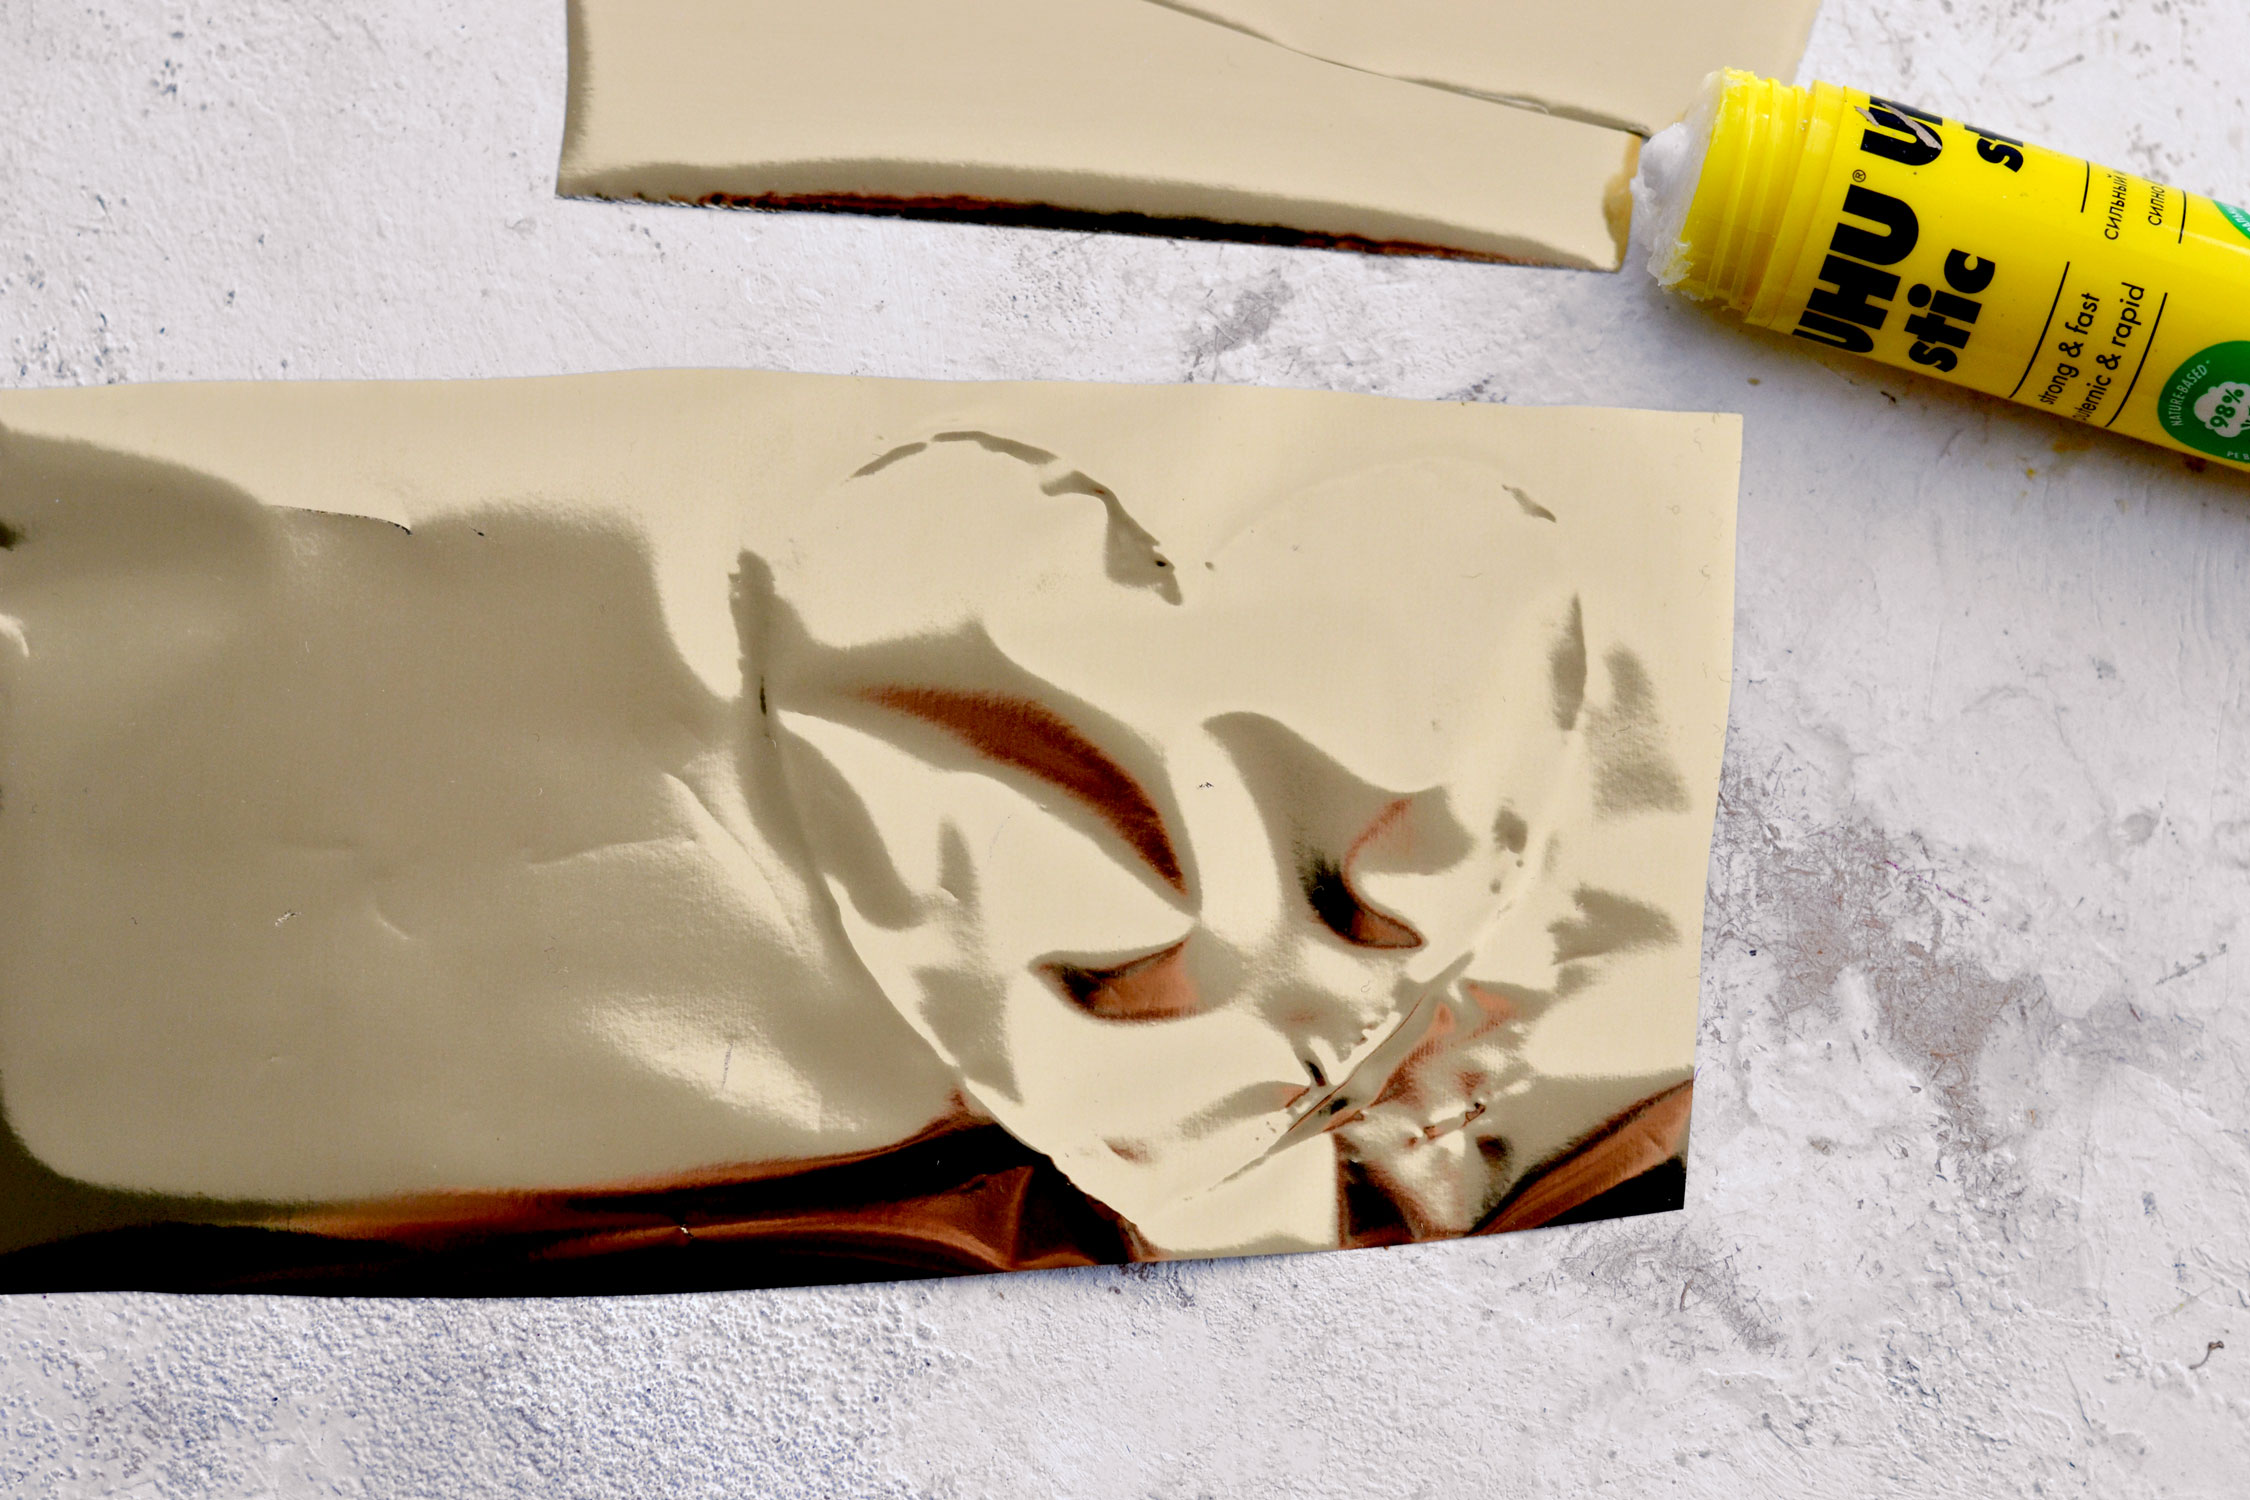
Place the gold foil on top and press with your fingers around the edges to get adherence. You will be able to instantly see the glue underneath adhering to the foil creating a gold border around the heart shape.
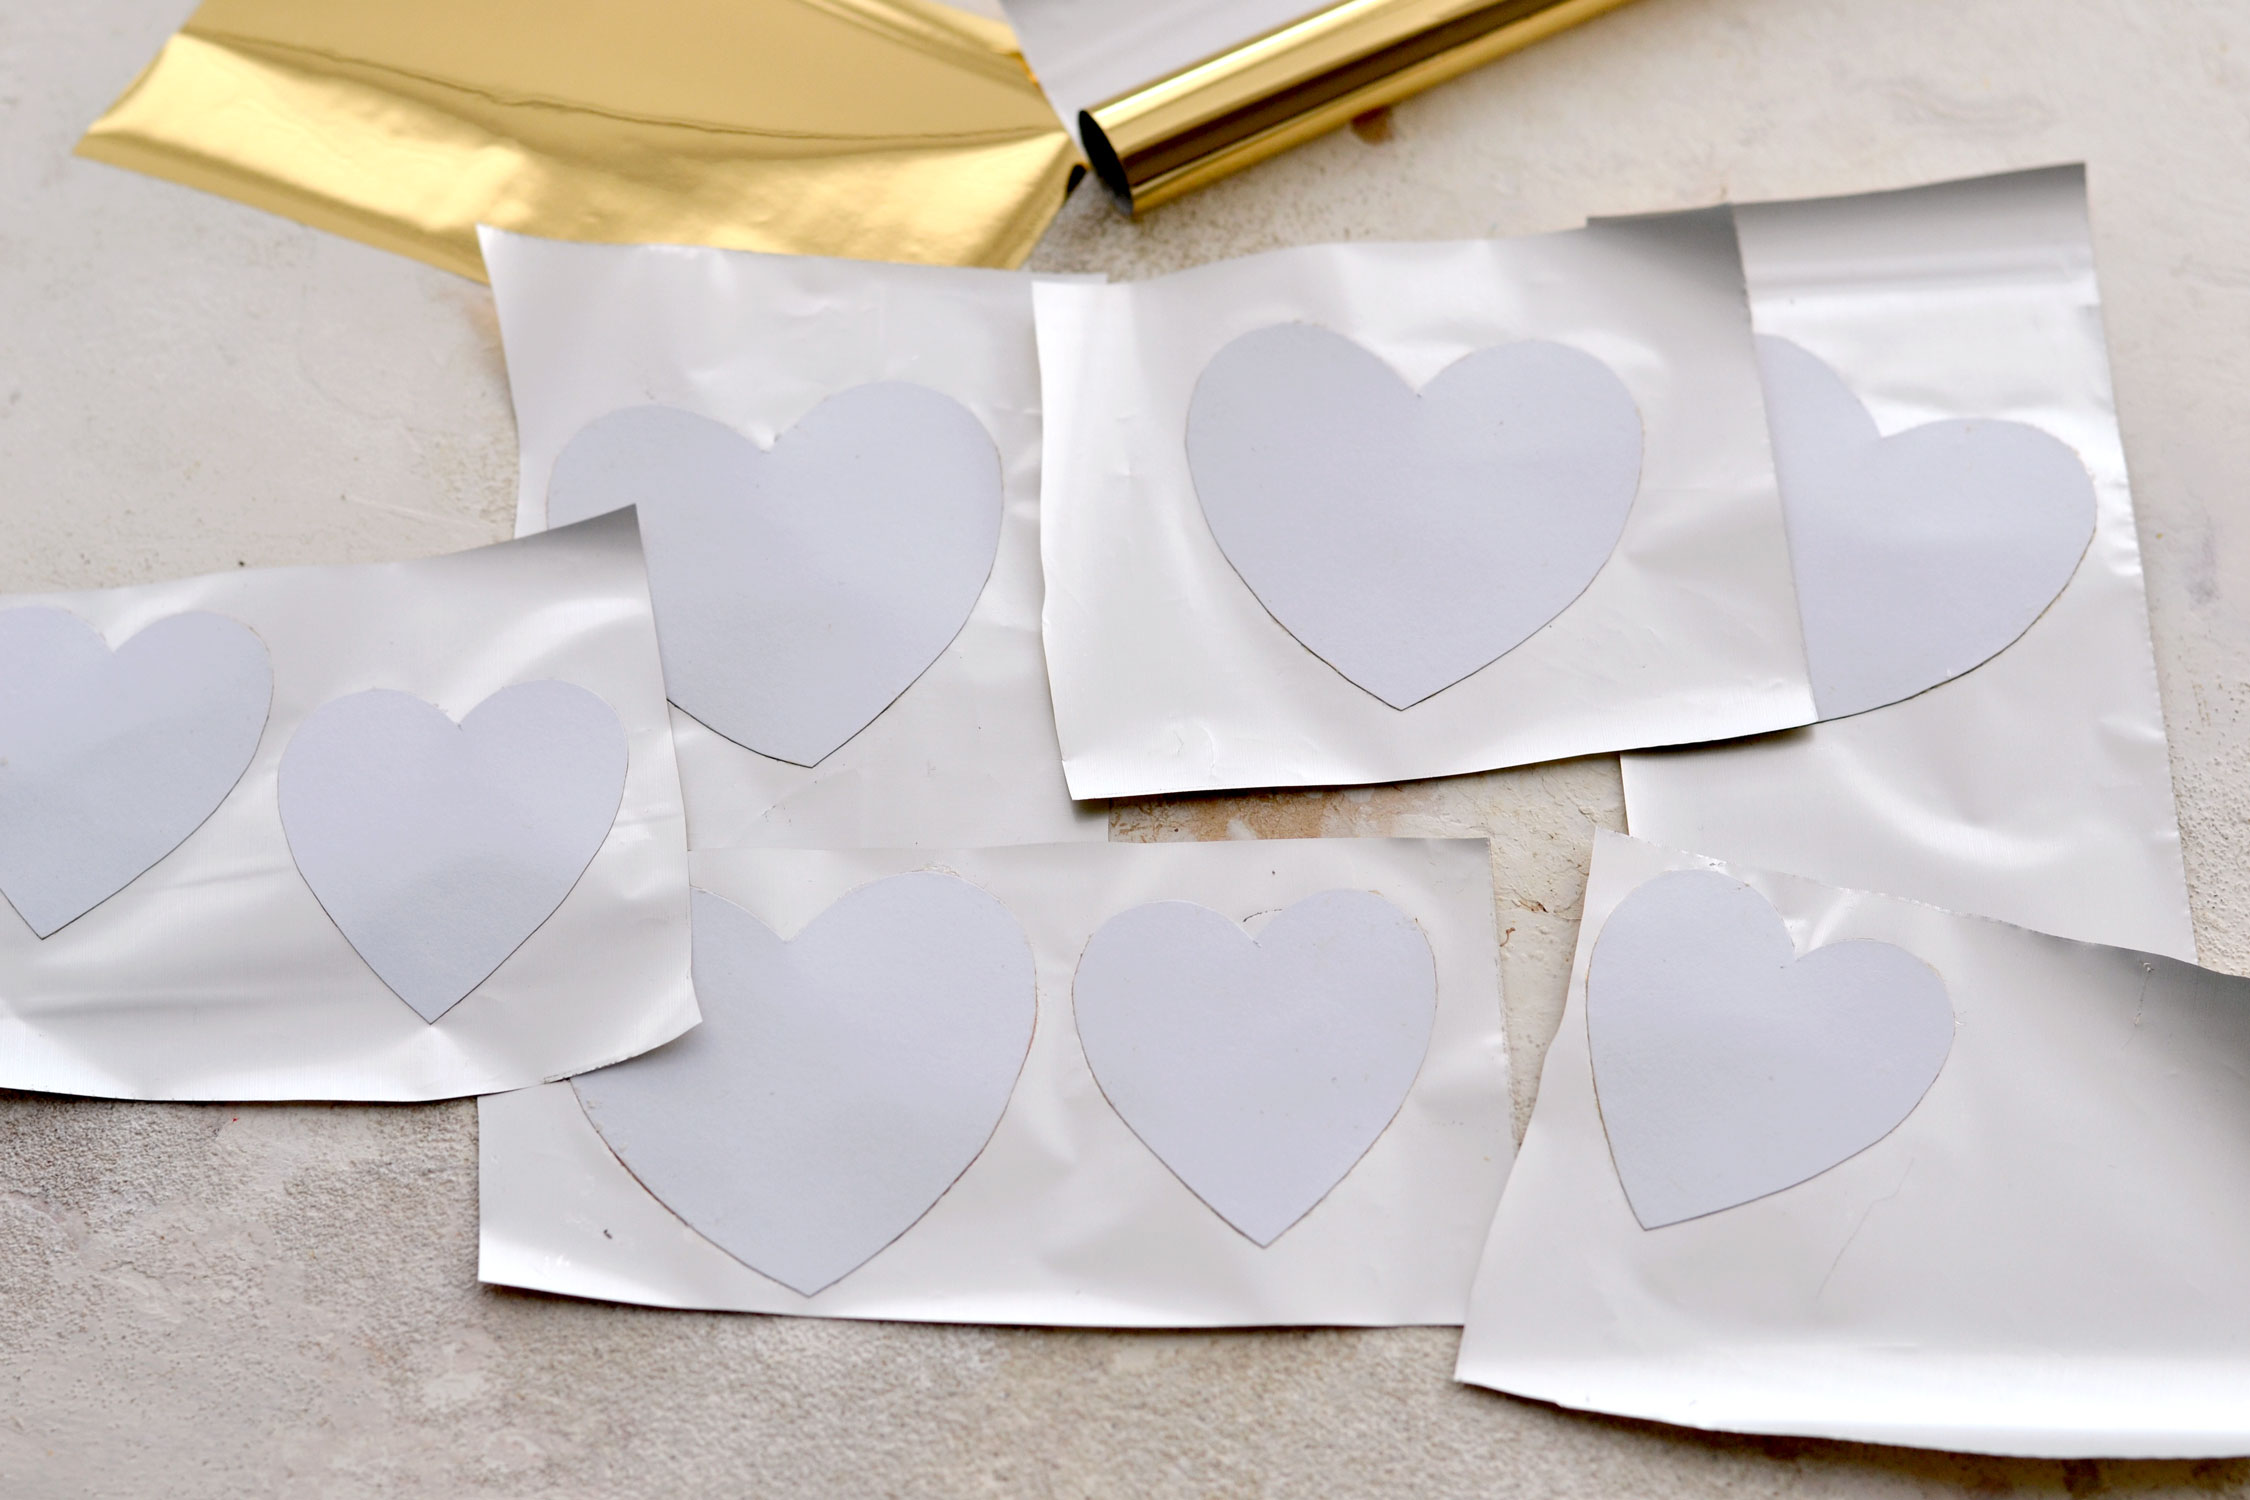
Gold metallic foil always has a shiny golden top and a silver backing. This is how it should look on the back, I sometimes like to flip it over because I find it easier to add the images or the shapes I need on the back.
Make as many gilded hearts as you want and let them dry for a few minutes before removing the gold foil. The drying time will depend on the amount of glue that you added, just keep in mind that if the glue doesn’t get the chance to completely dry, the gold foil won’t stick to that area.
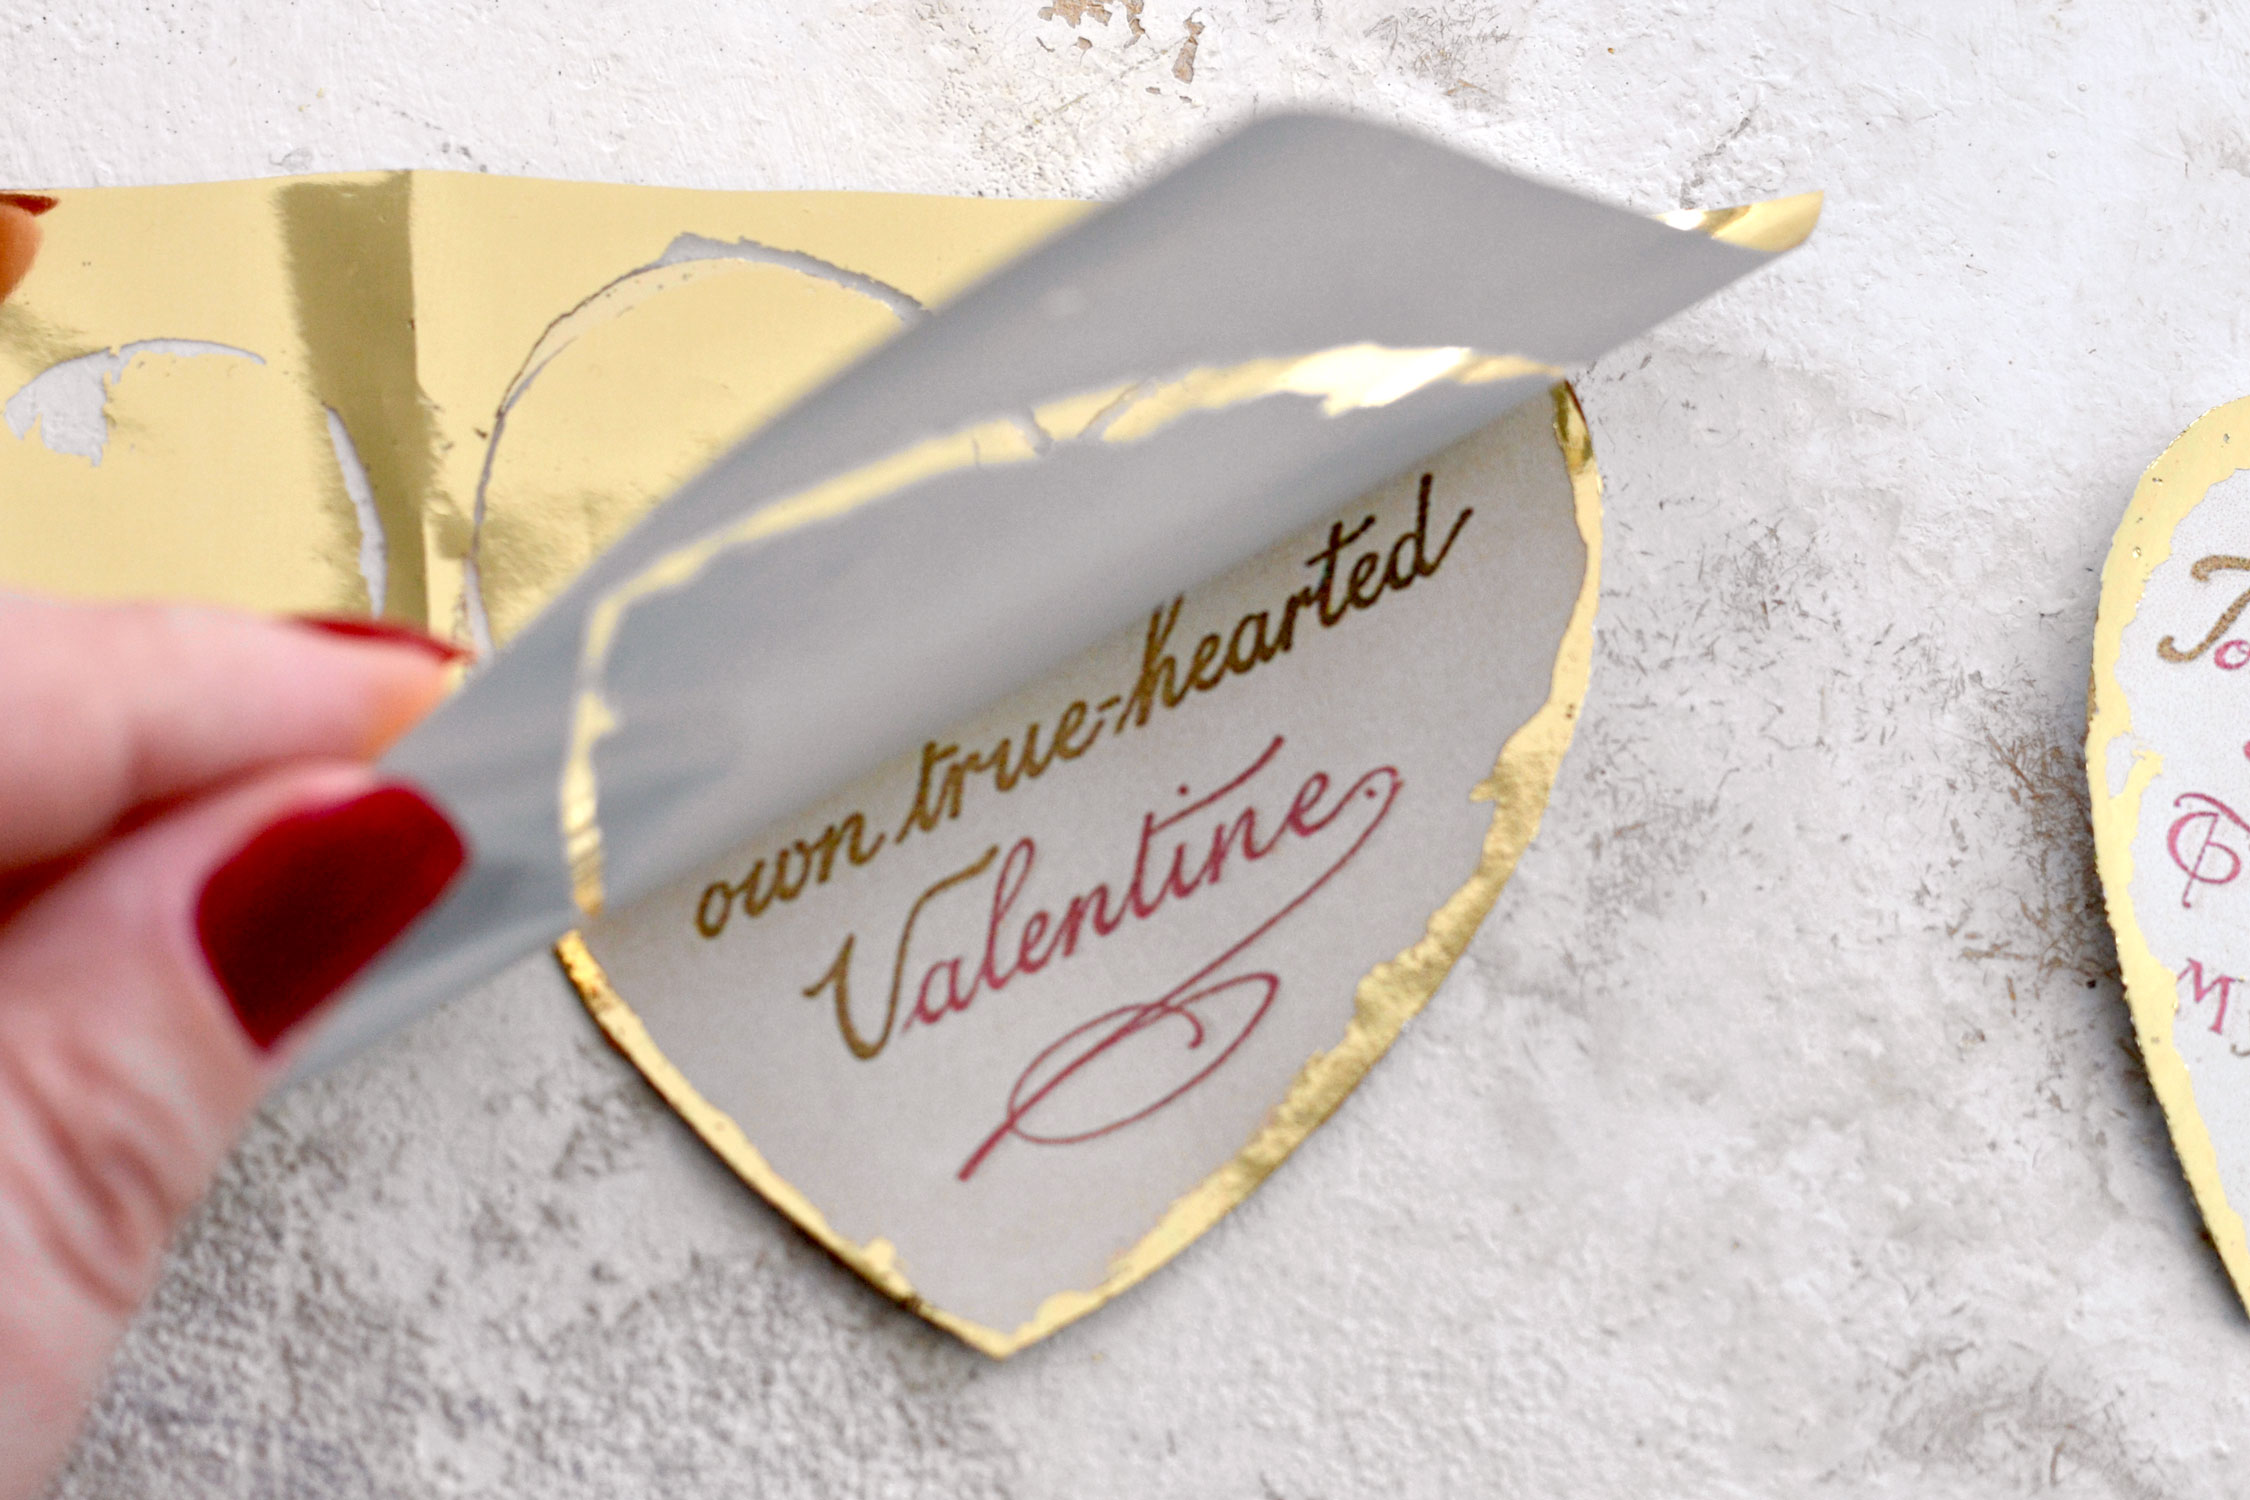
And then, you can start pealing these beauties!
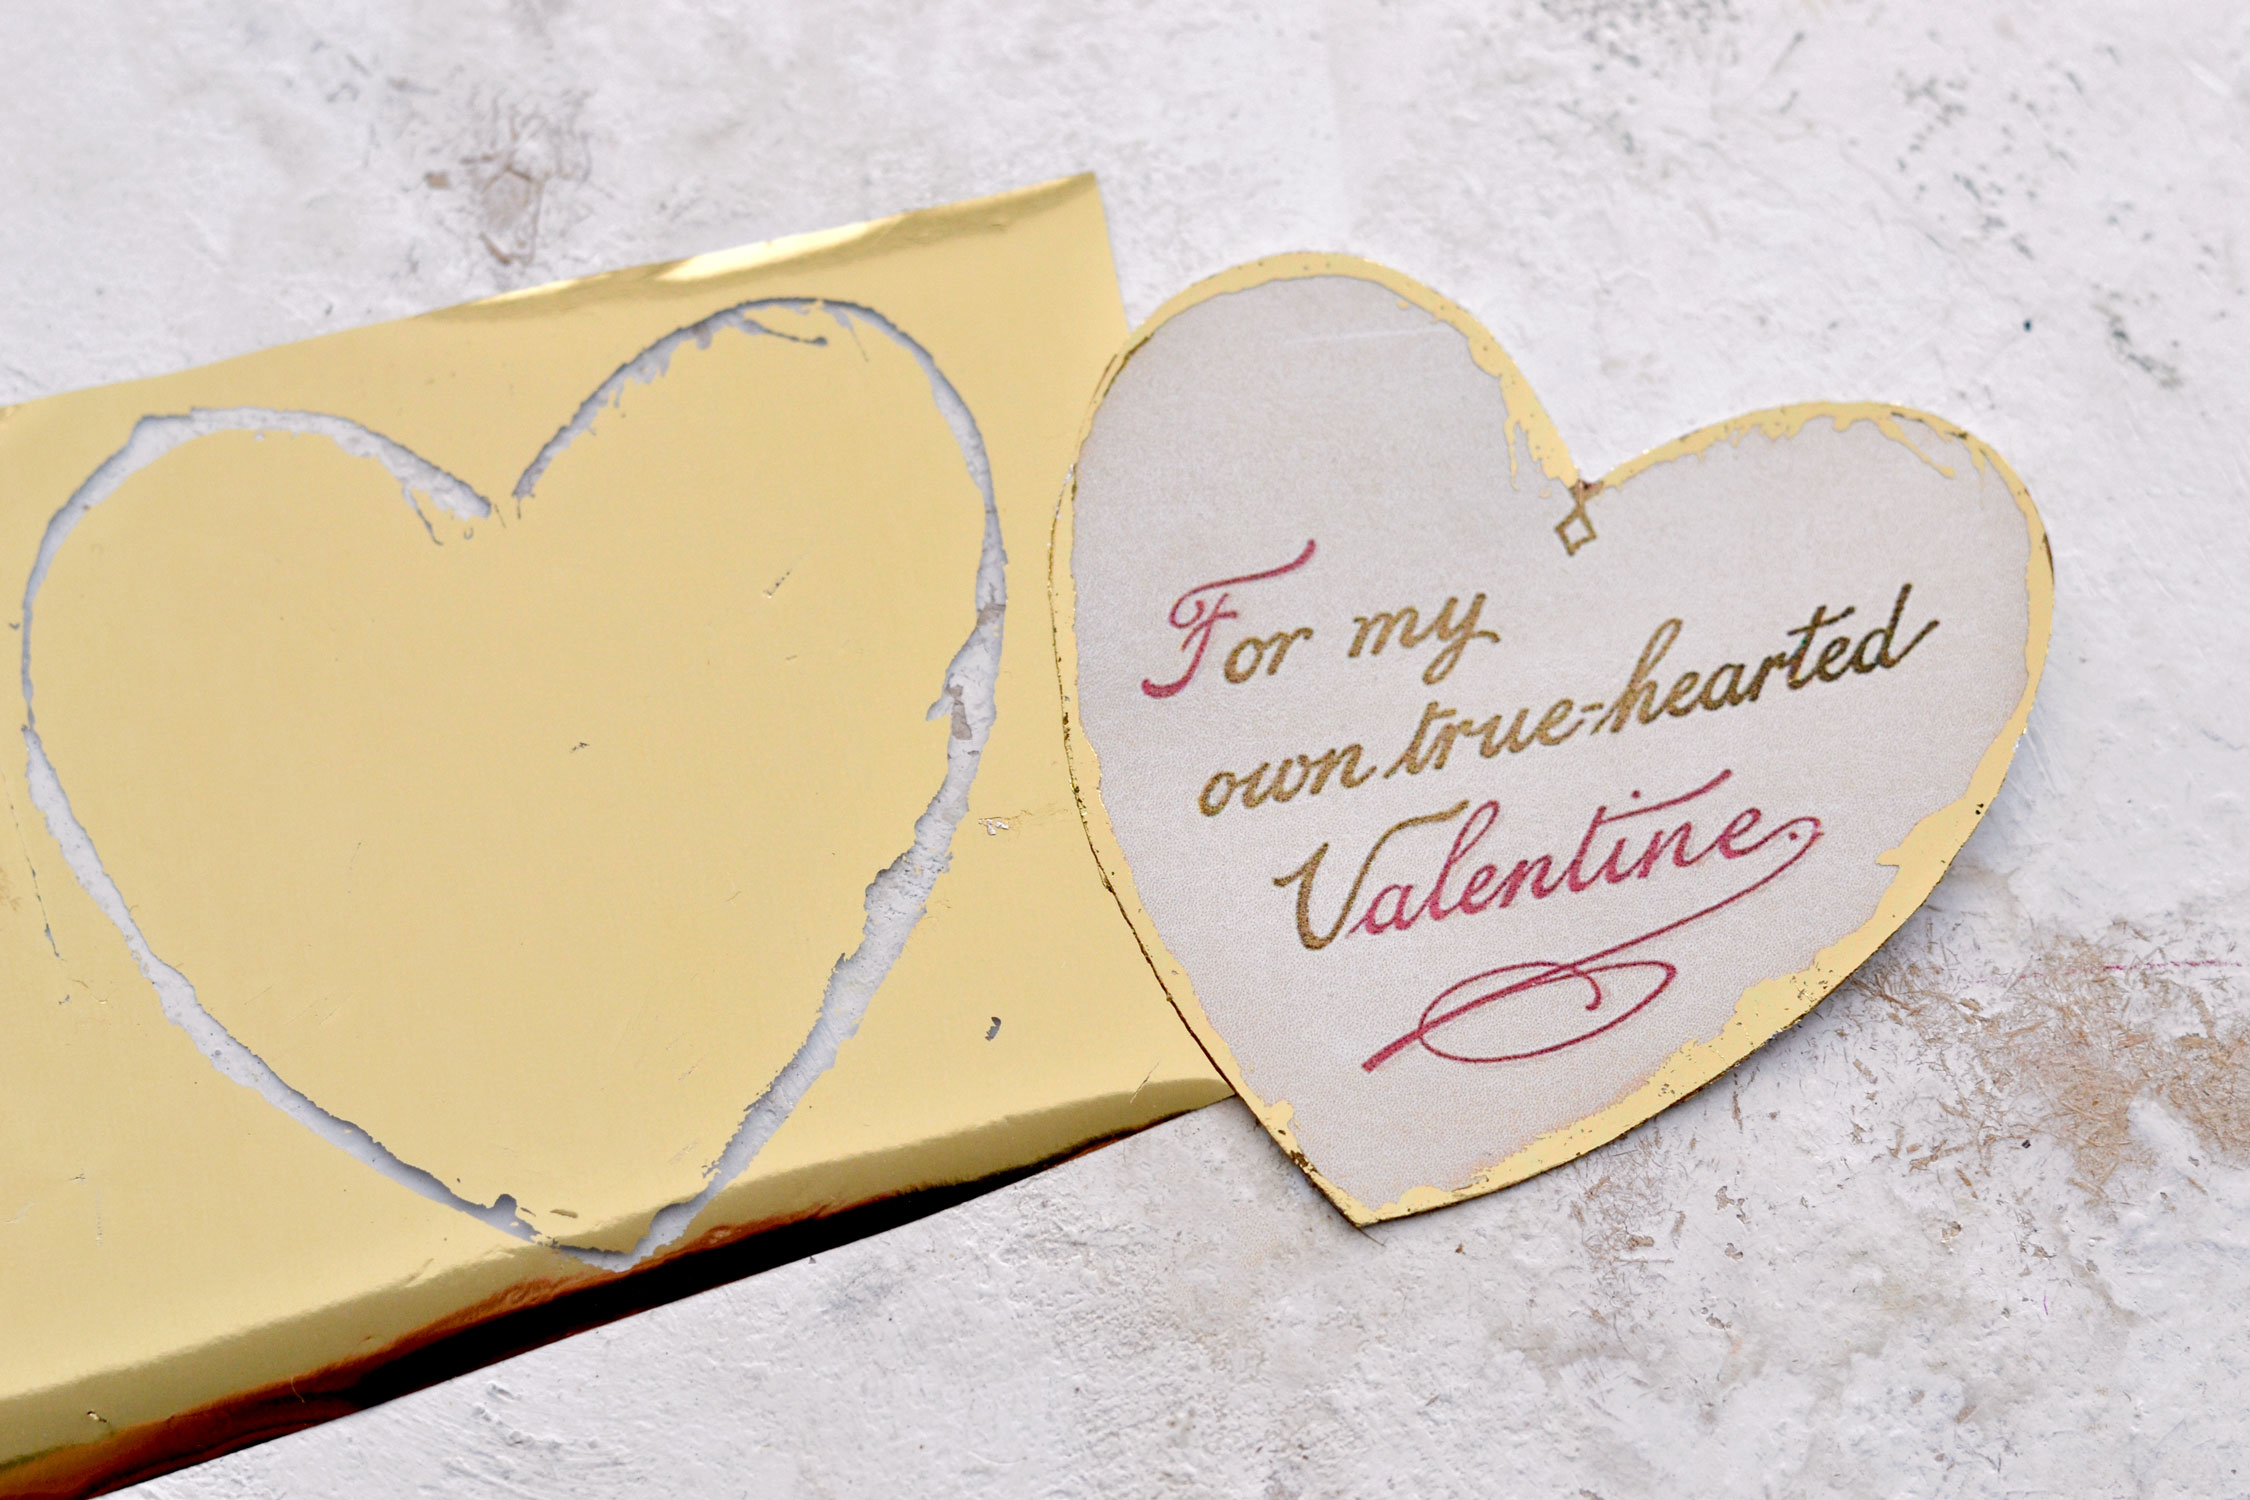
This is always my favorite part, revealing all these perfectly imperfect gilded edges is always such a treat!
And yes, this method of adding the gold foil will give you perfectly imperfect results. Some areas will get better gold coverage but some might not. If that happens, you can repeat the gilding process – just add some more glue, add the foil on top and leave it for a while to dry.
You can now glue the gilded hearts on top of your cards, in the same position as the original heart image underneath.
And then you are ready to admire your beautiful Valentine’s Cards which are truly stunning and quite lovable if I may say so!
I’m really happy with how they turned out, I think they will make the sweetest gift for Valentine’s Day, don’t you think?
Besides gifting them, you can find other ways of including them in all sorts of creative projects, I think they will look amazing if used in your Valentine’s-themed junk journals. And since I included those blank hearts in our printable, you can choose to also use them for non-Valentine’s themed projects, like maybe a spring or a Shabby-styled one.
And because the cards don’t open on the side, as they usually do, but on the bottom, they would make the prettiest displays for your home! Just like some super sweet mini signs that will instantly bring joy when looked at!
I hope you will love this project and decide to give it a try! If you want to further experiment, you can skip the gold foil and use something else instead. Gold watercolors, gold acrylic paint, gold markers, gold glitter glue or even gold nail polish would look great with our card, so have fun finding unique ways of decorating these beauties according to your preferences!
You might also like my Faux Valentine’s Day Postage Stamps HERE.
Happy crafting,
Diana / Dreams Factory



Connie Griffin says
Thank you so much, I was wondering what to do for my hubby this year 🙂
Karen Watson says
I’m glad you can use this tutorial for your husband Connie!
Marie Andersson says
Hi Diana! Oh what lovely projects you share, thank you so much! Get a new email from the graphic fairy always get you in crafting mood. Just need to buy a new printer as the old one said godbuy last month. Thank´s again and soon being a paying fan.
Karen Watson says
I’m glad you enjoyed Diana’s pretty project Marie!
Liege Becker says
So so beautiful
Karen Watson says
Have fun making Diana’s pretty cards Liege!