Valentines Paper Crafts
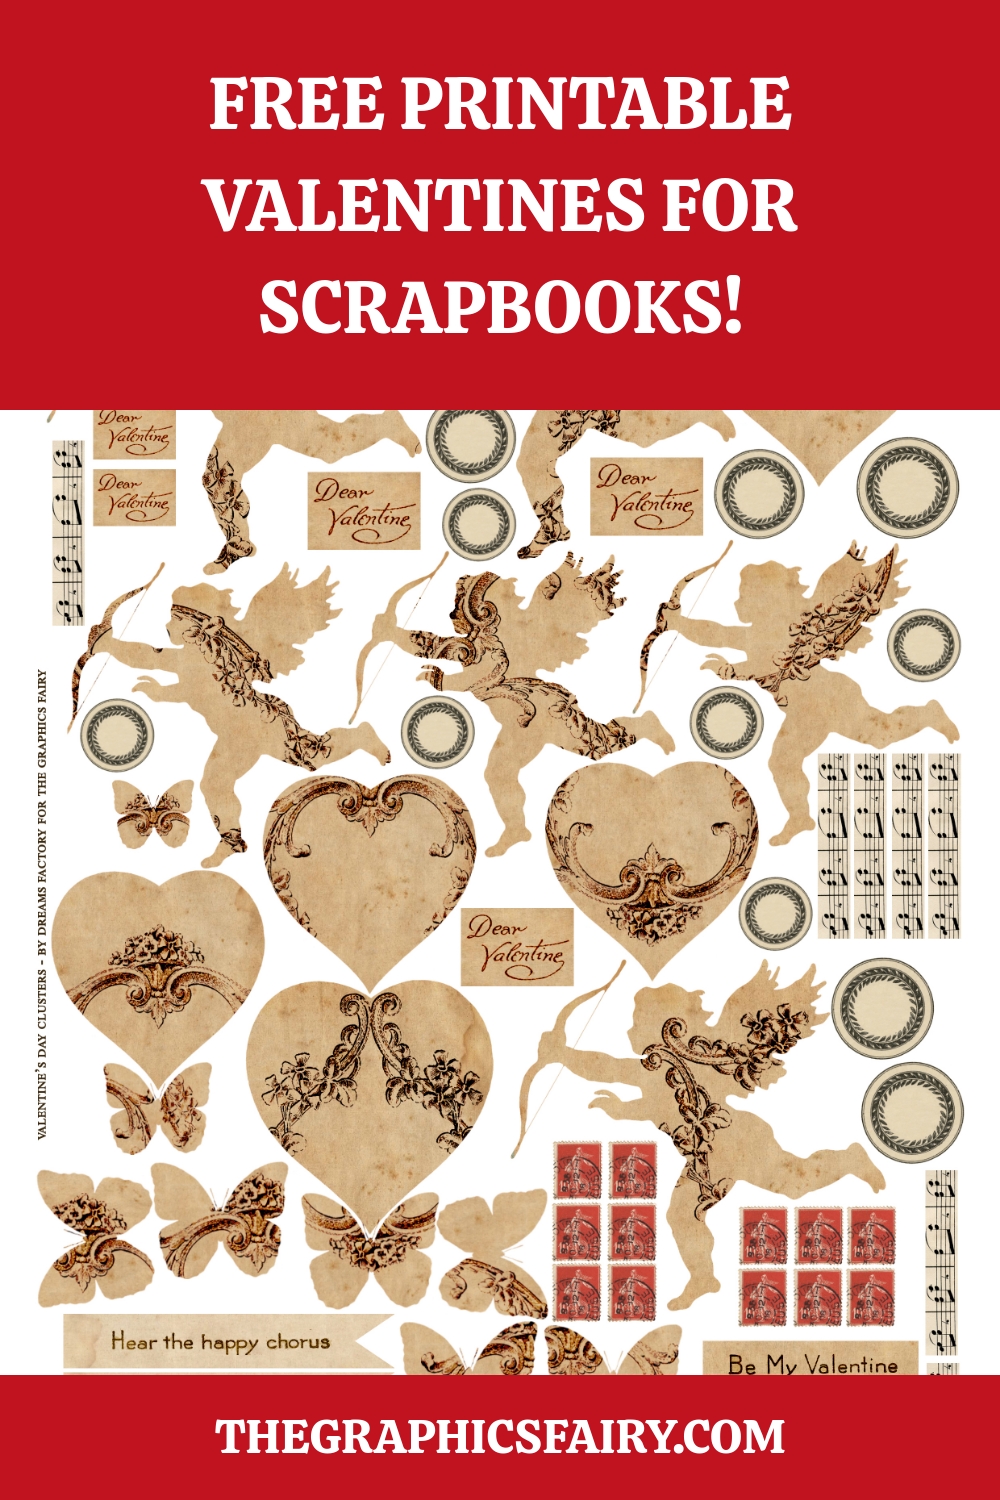
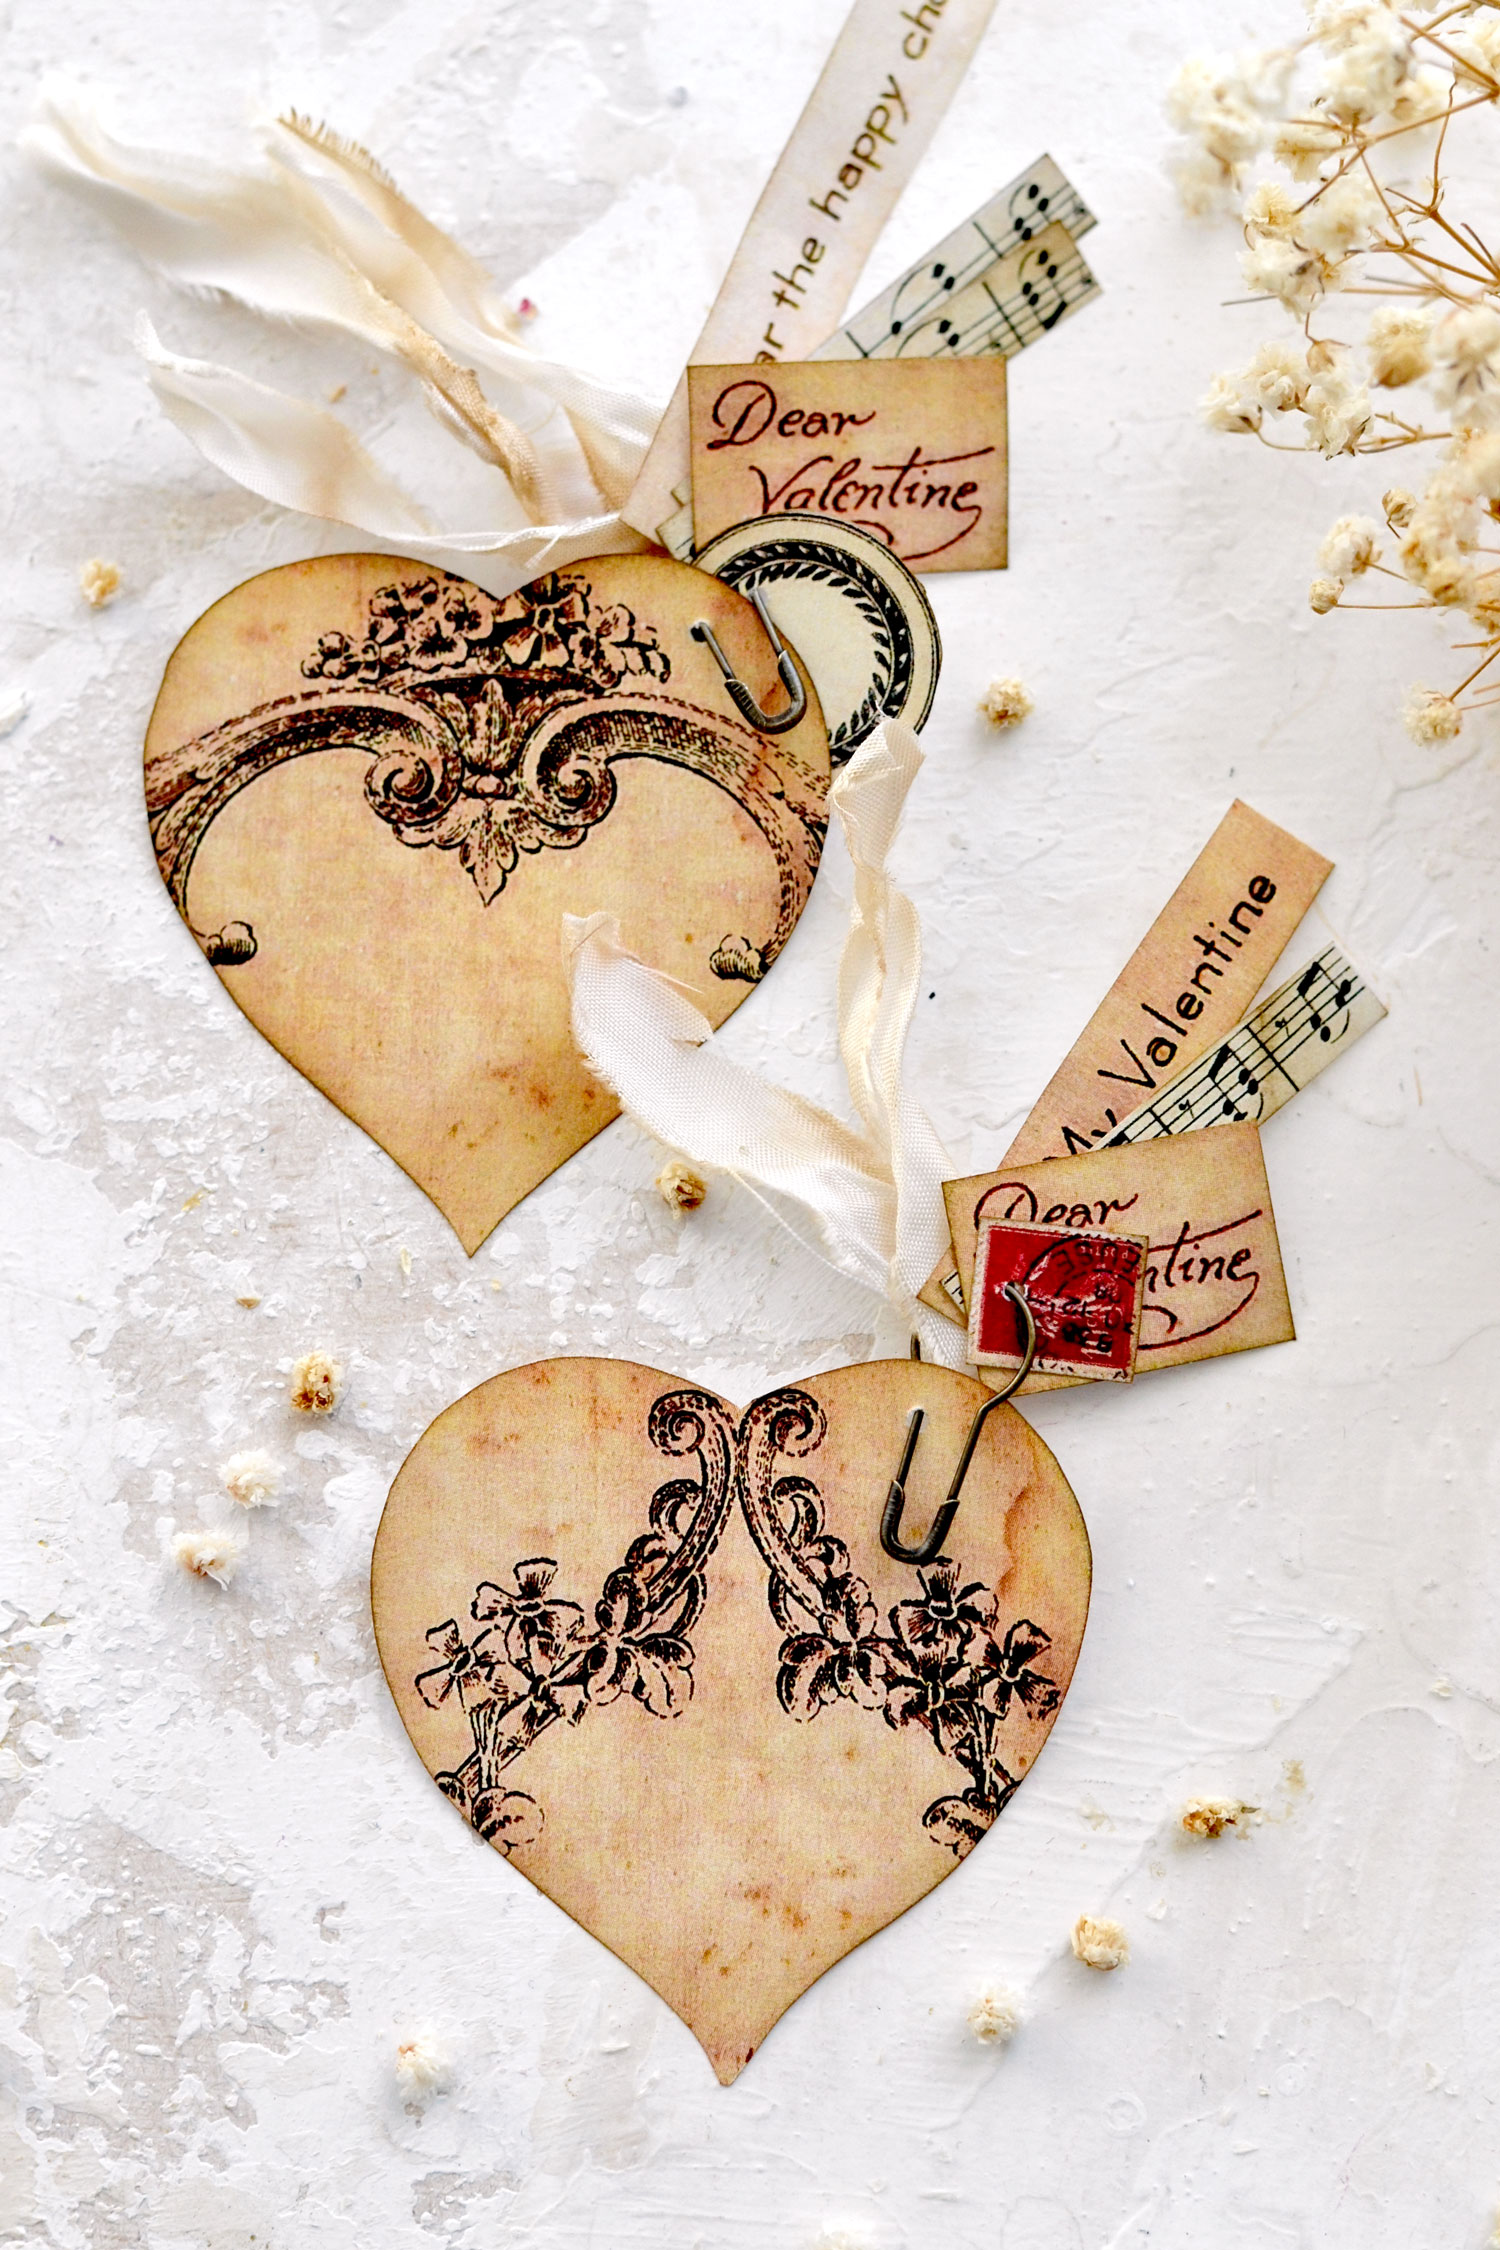
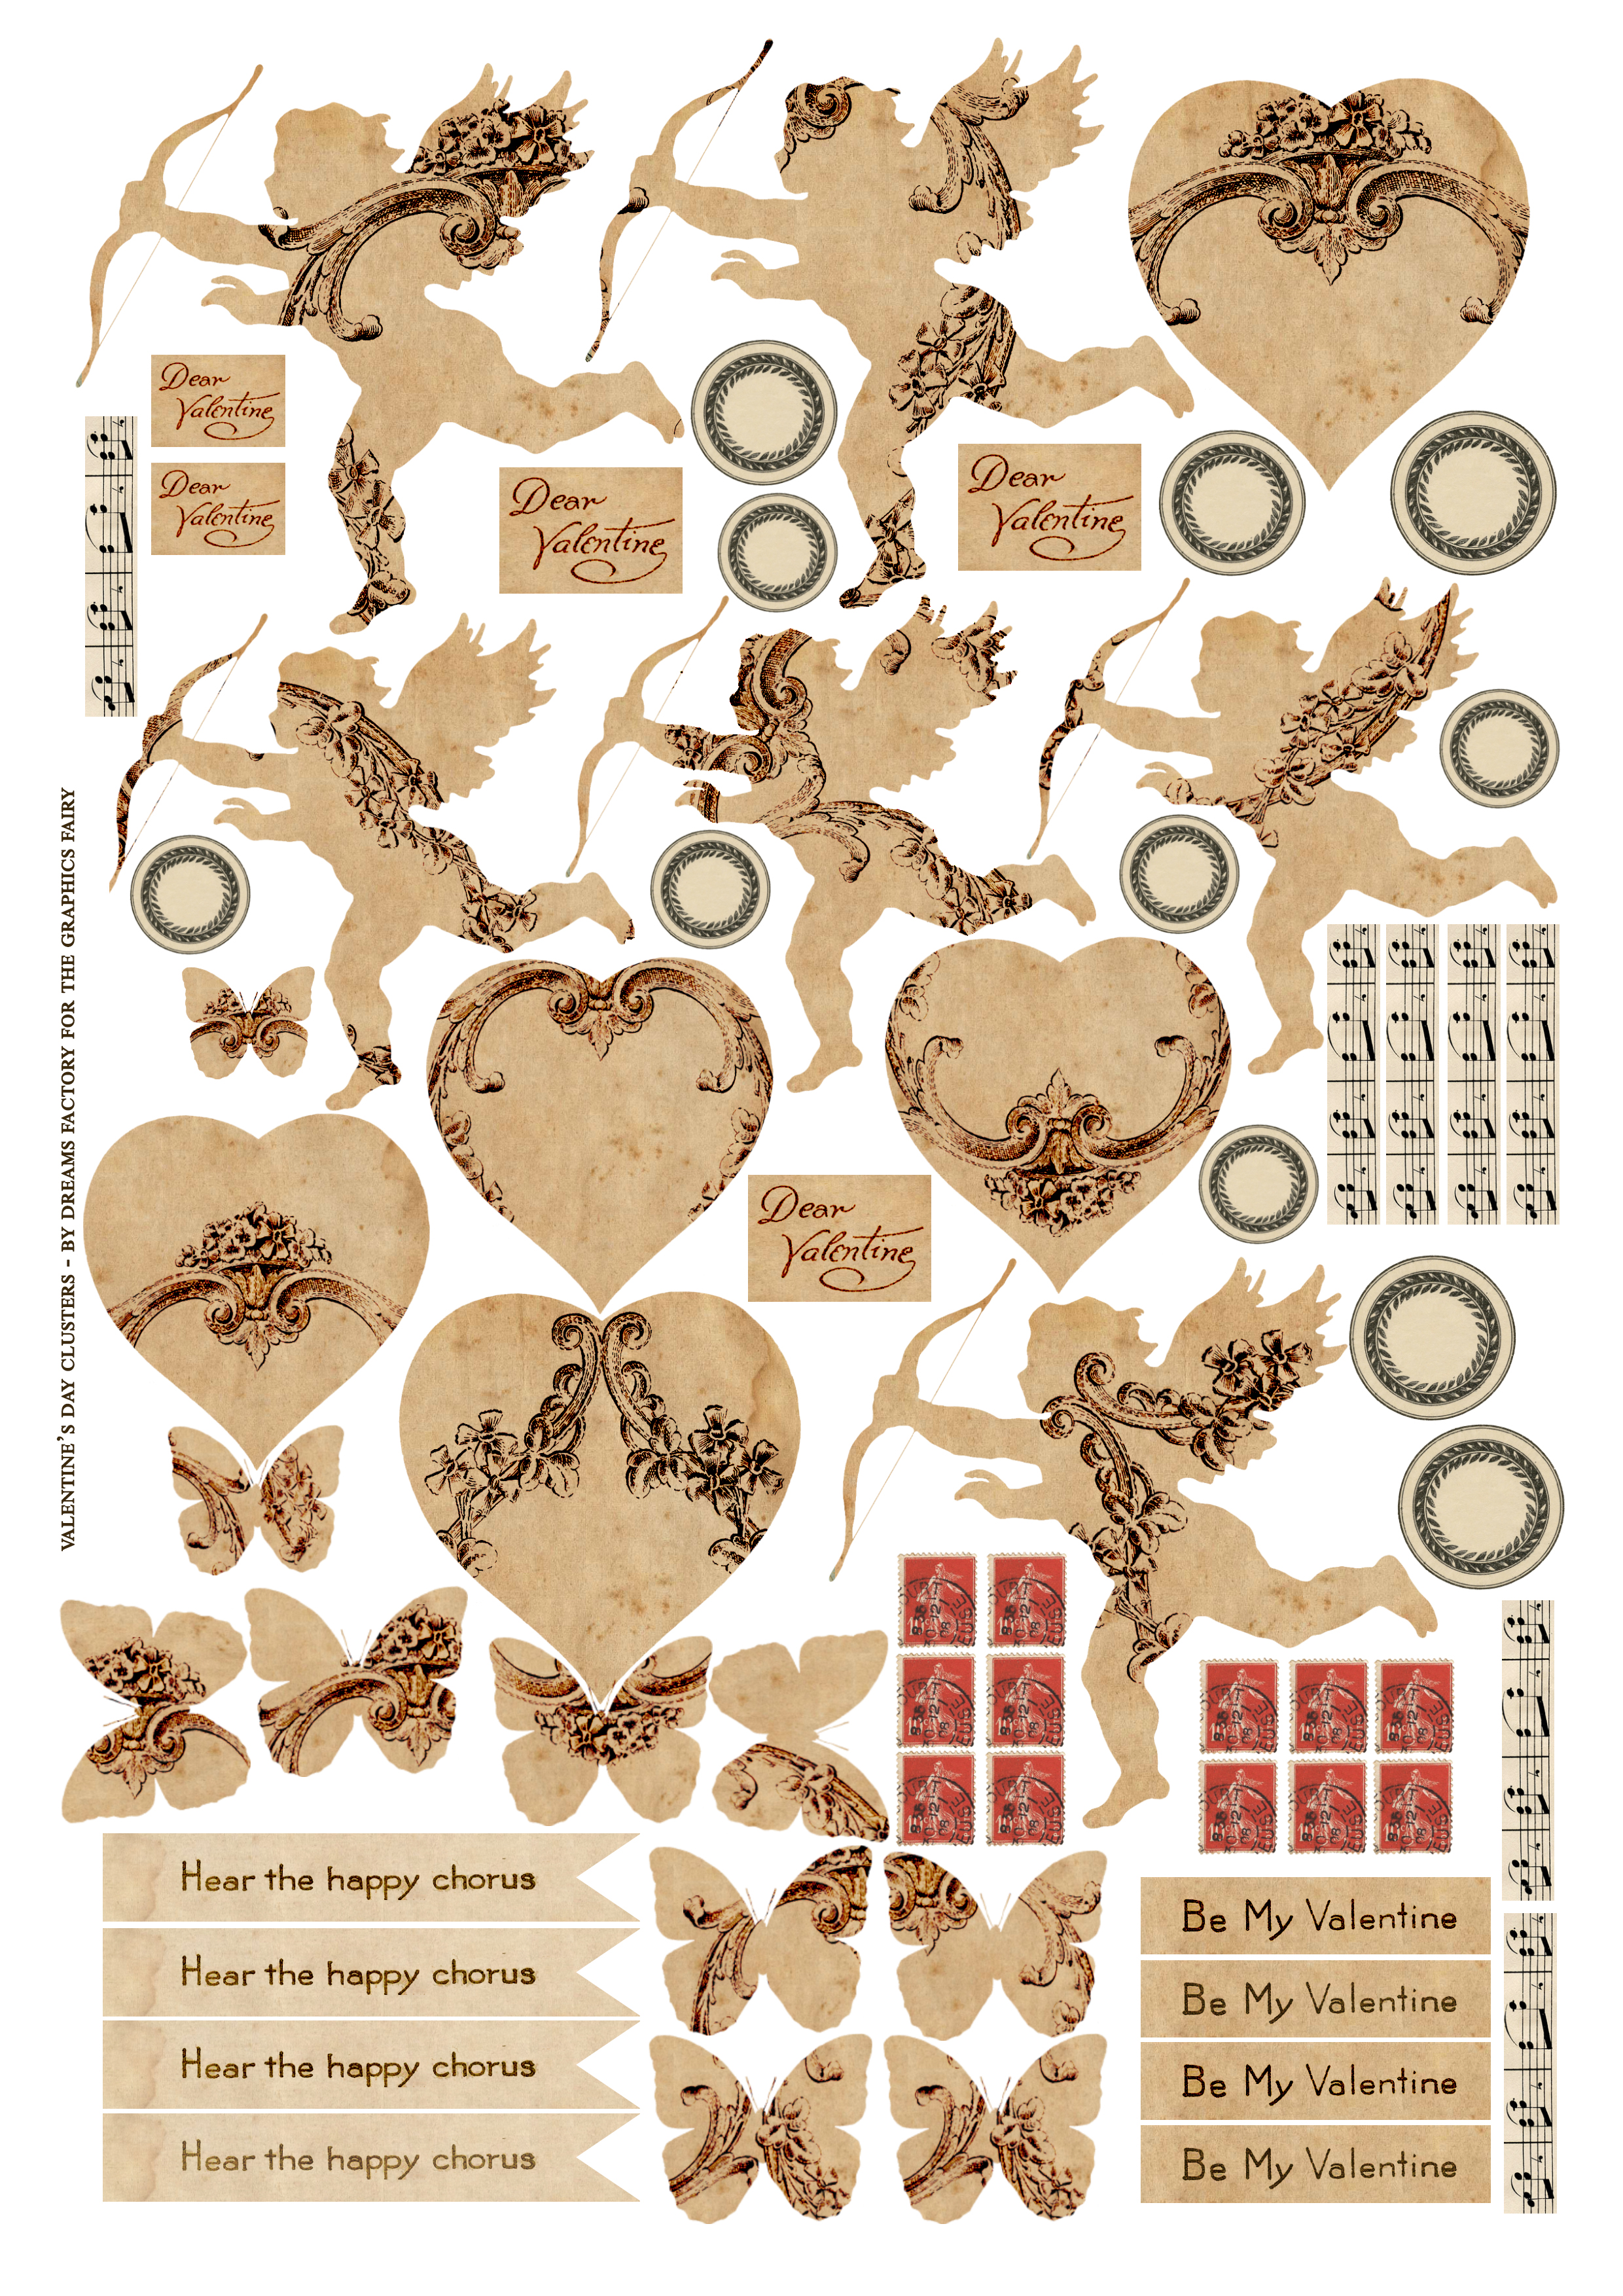
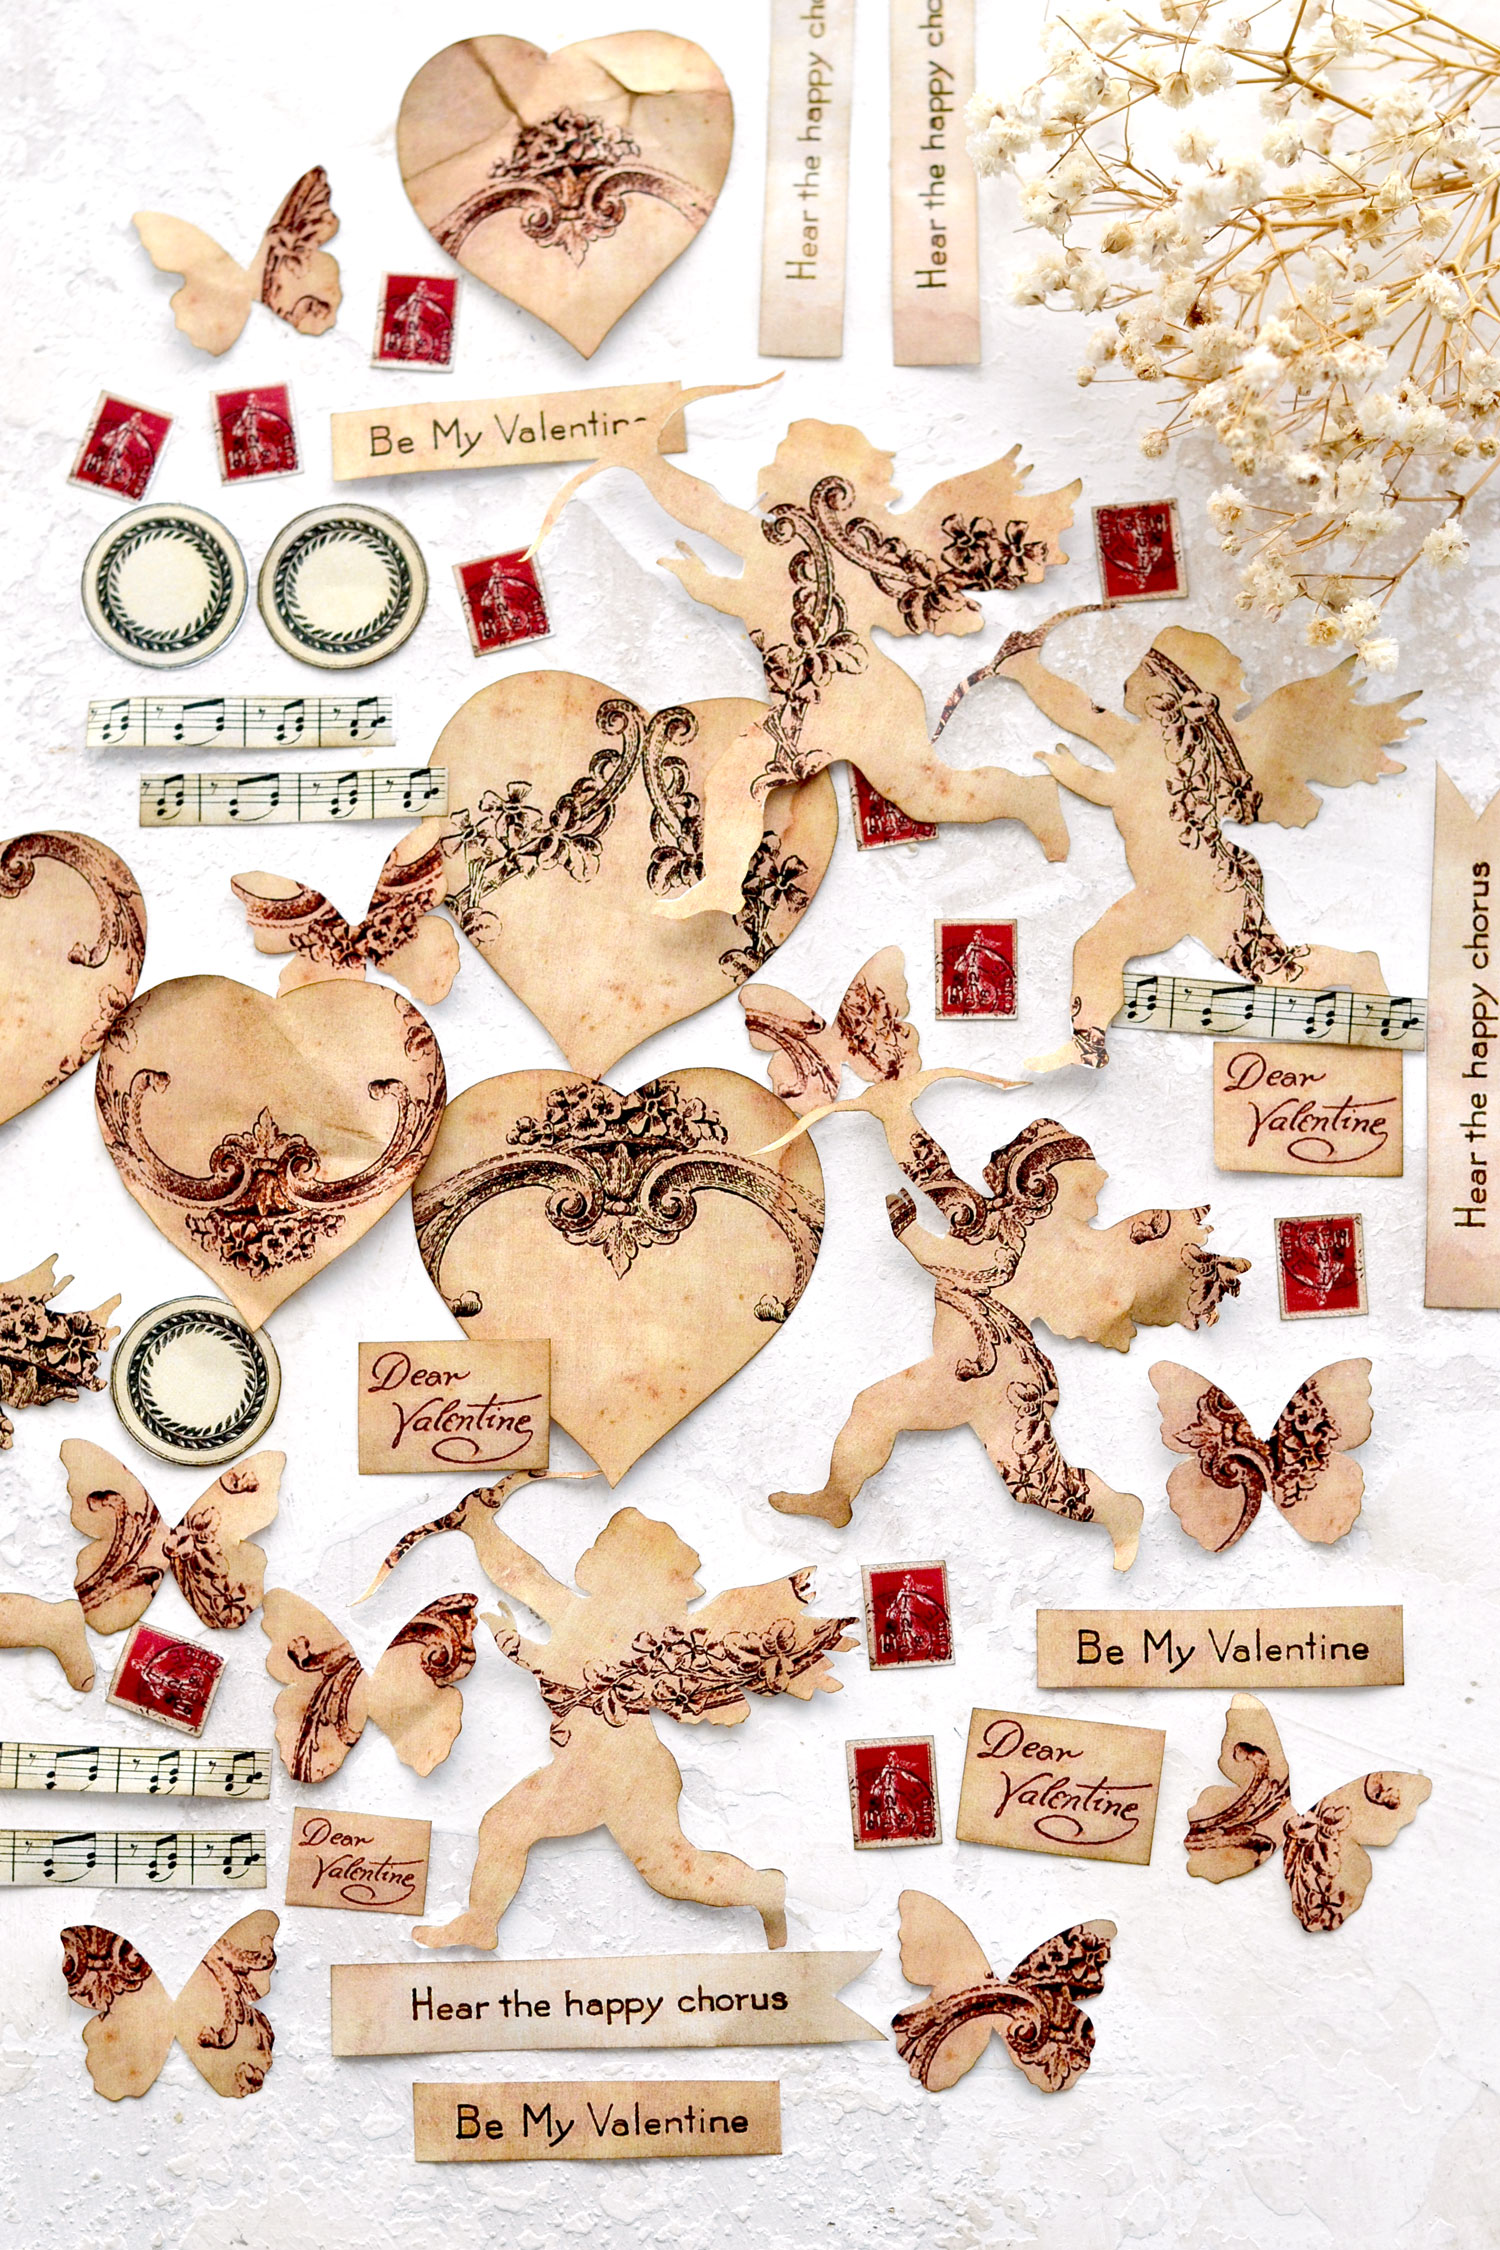
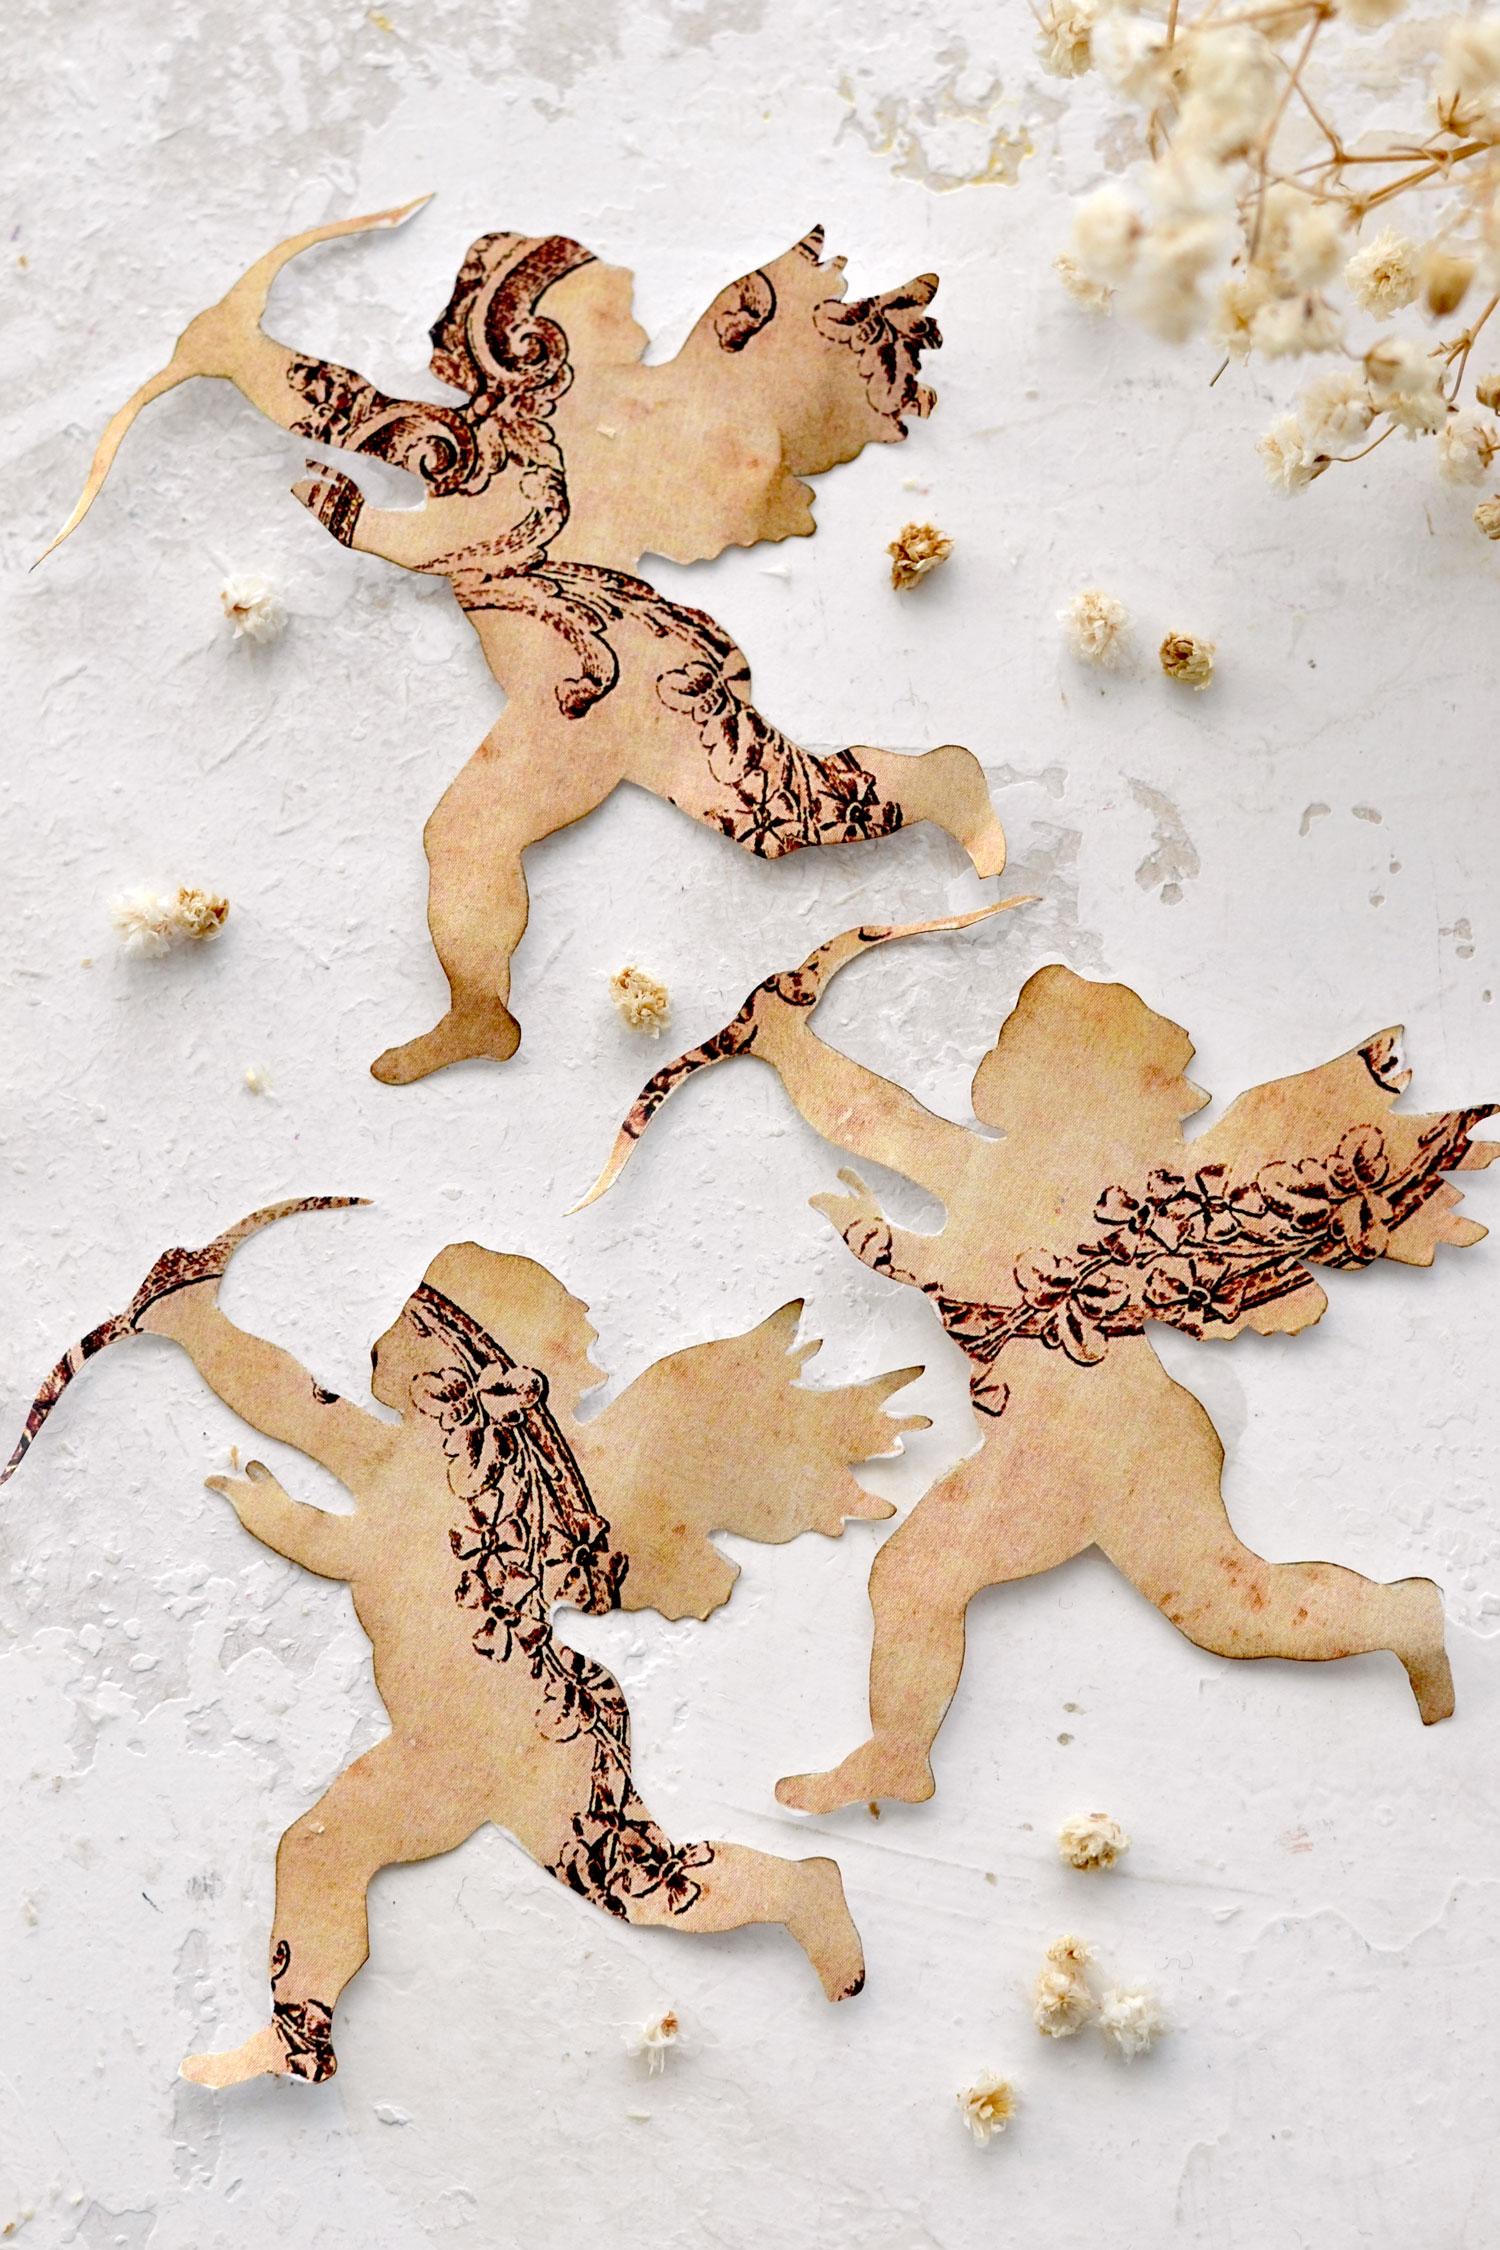
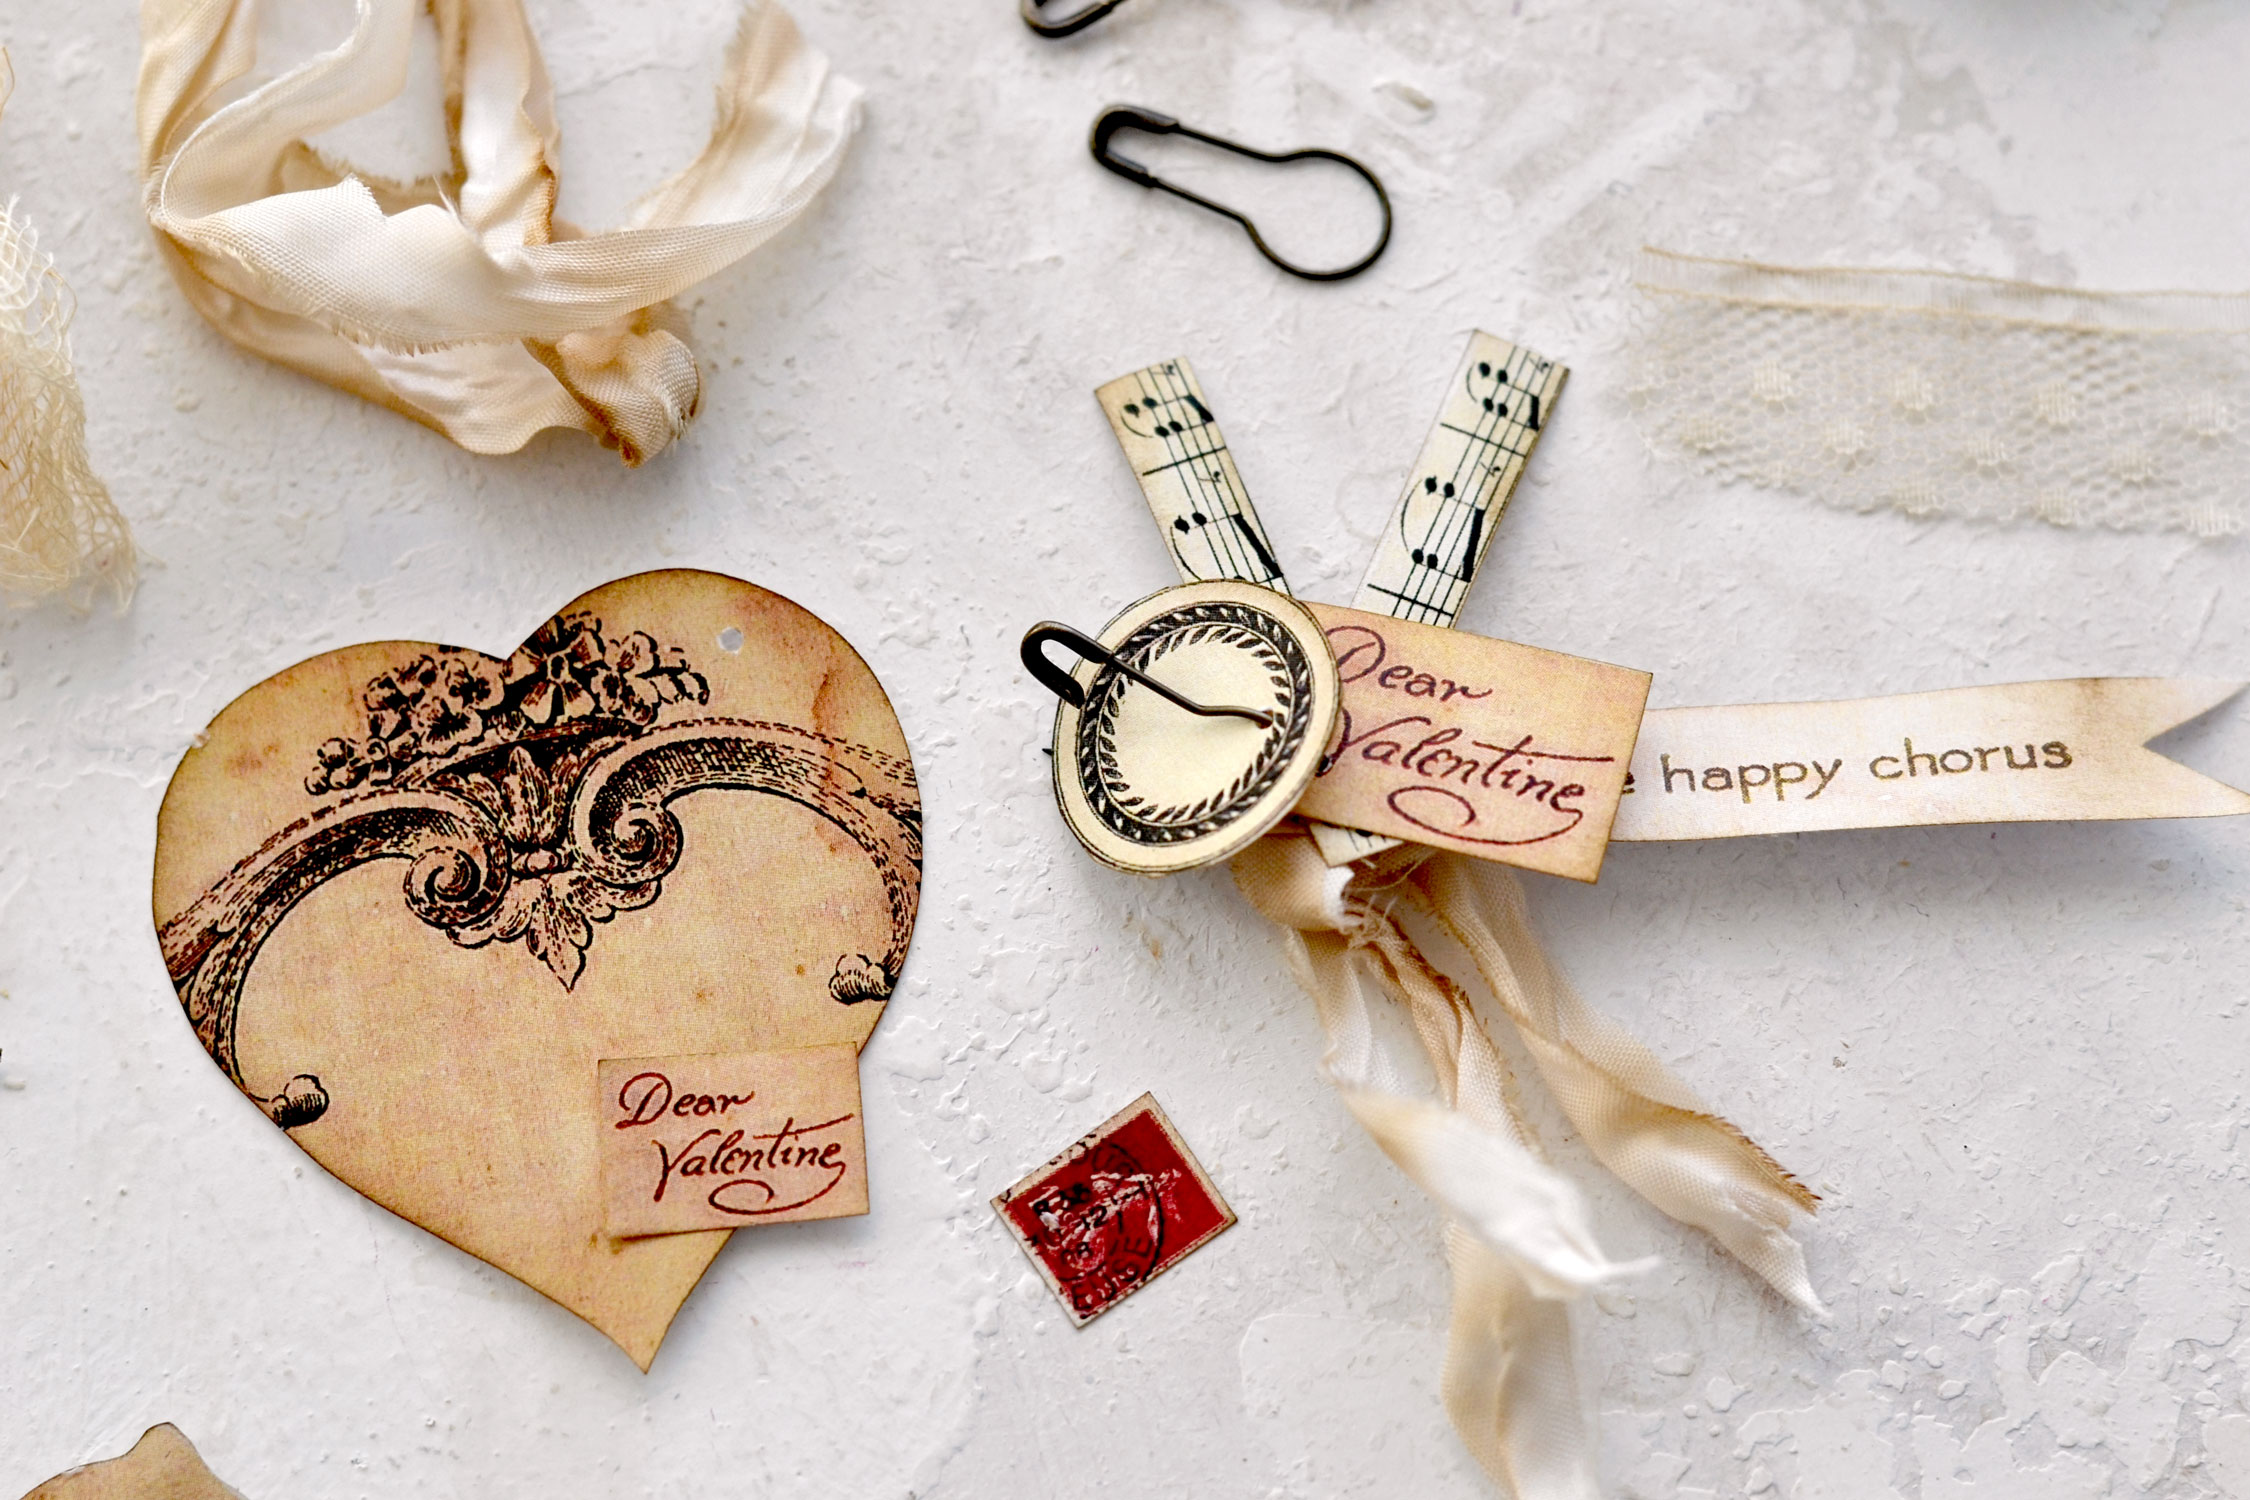
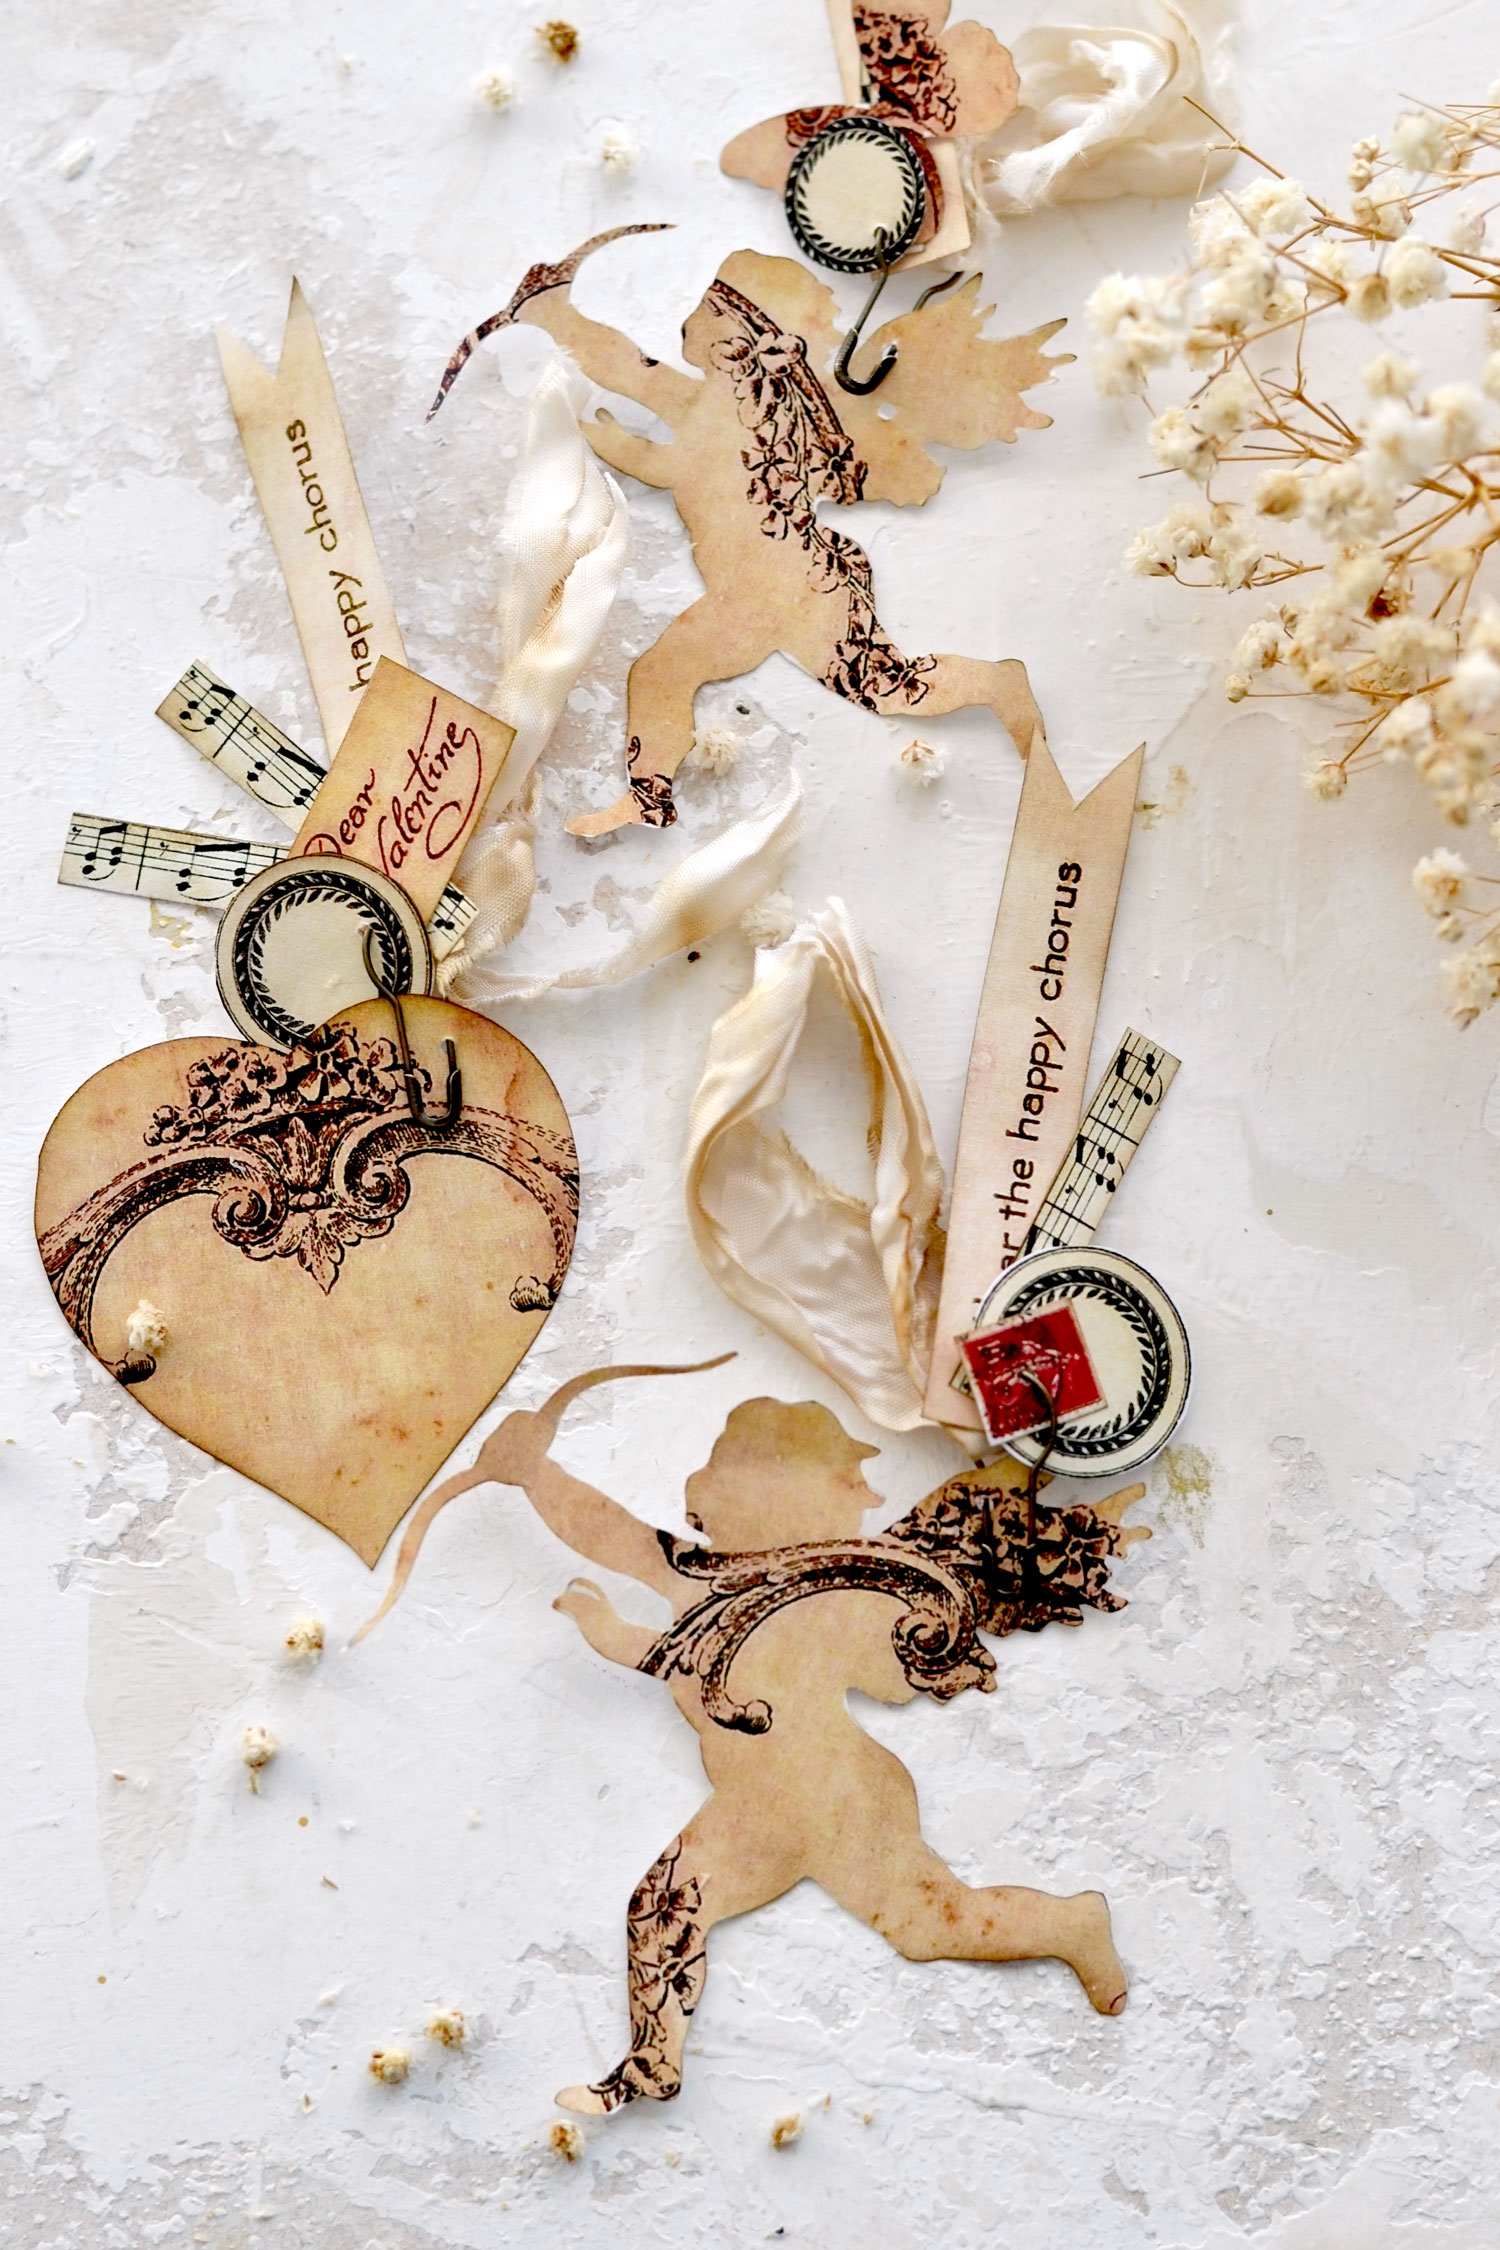
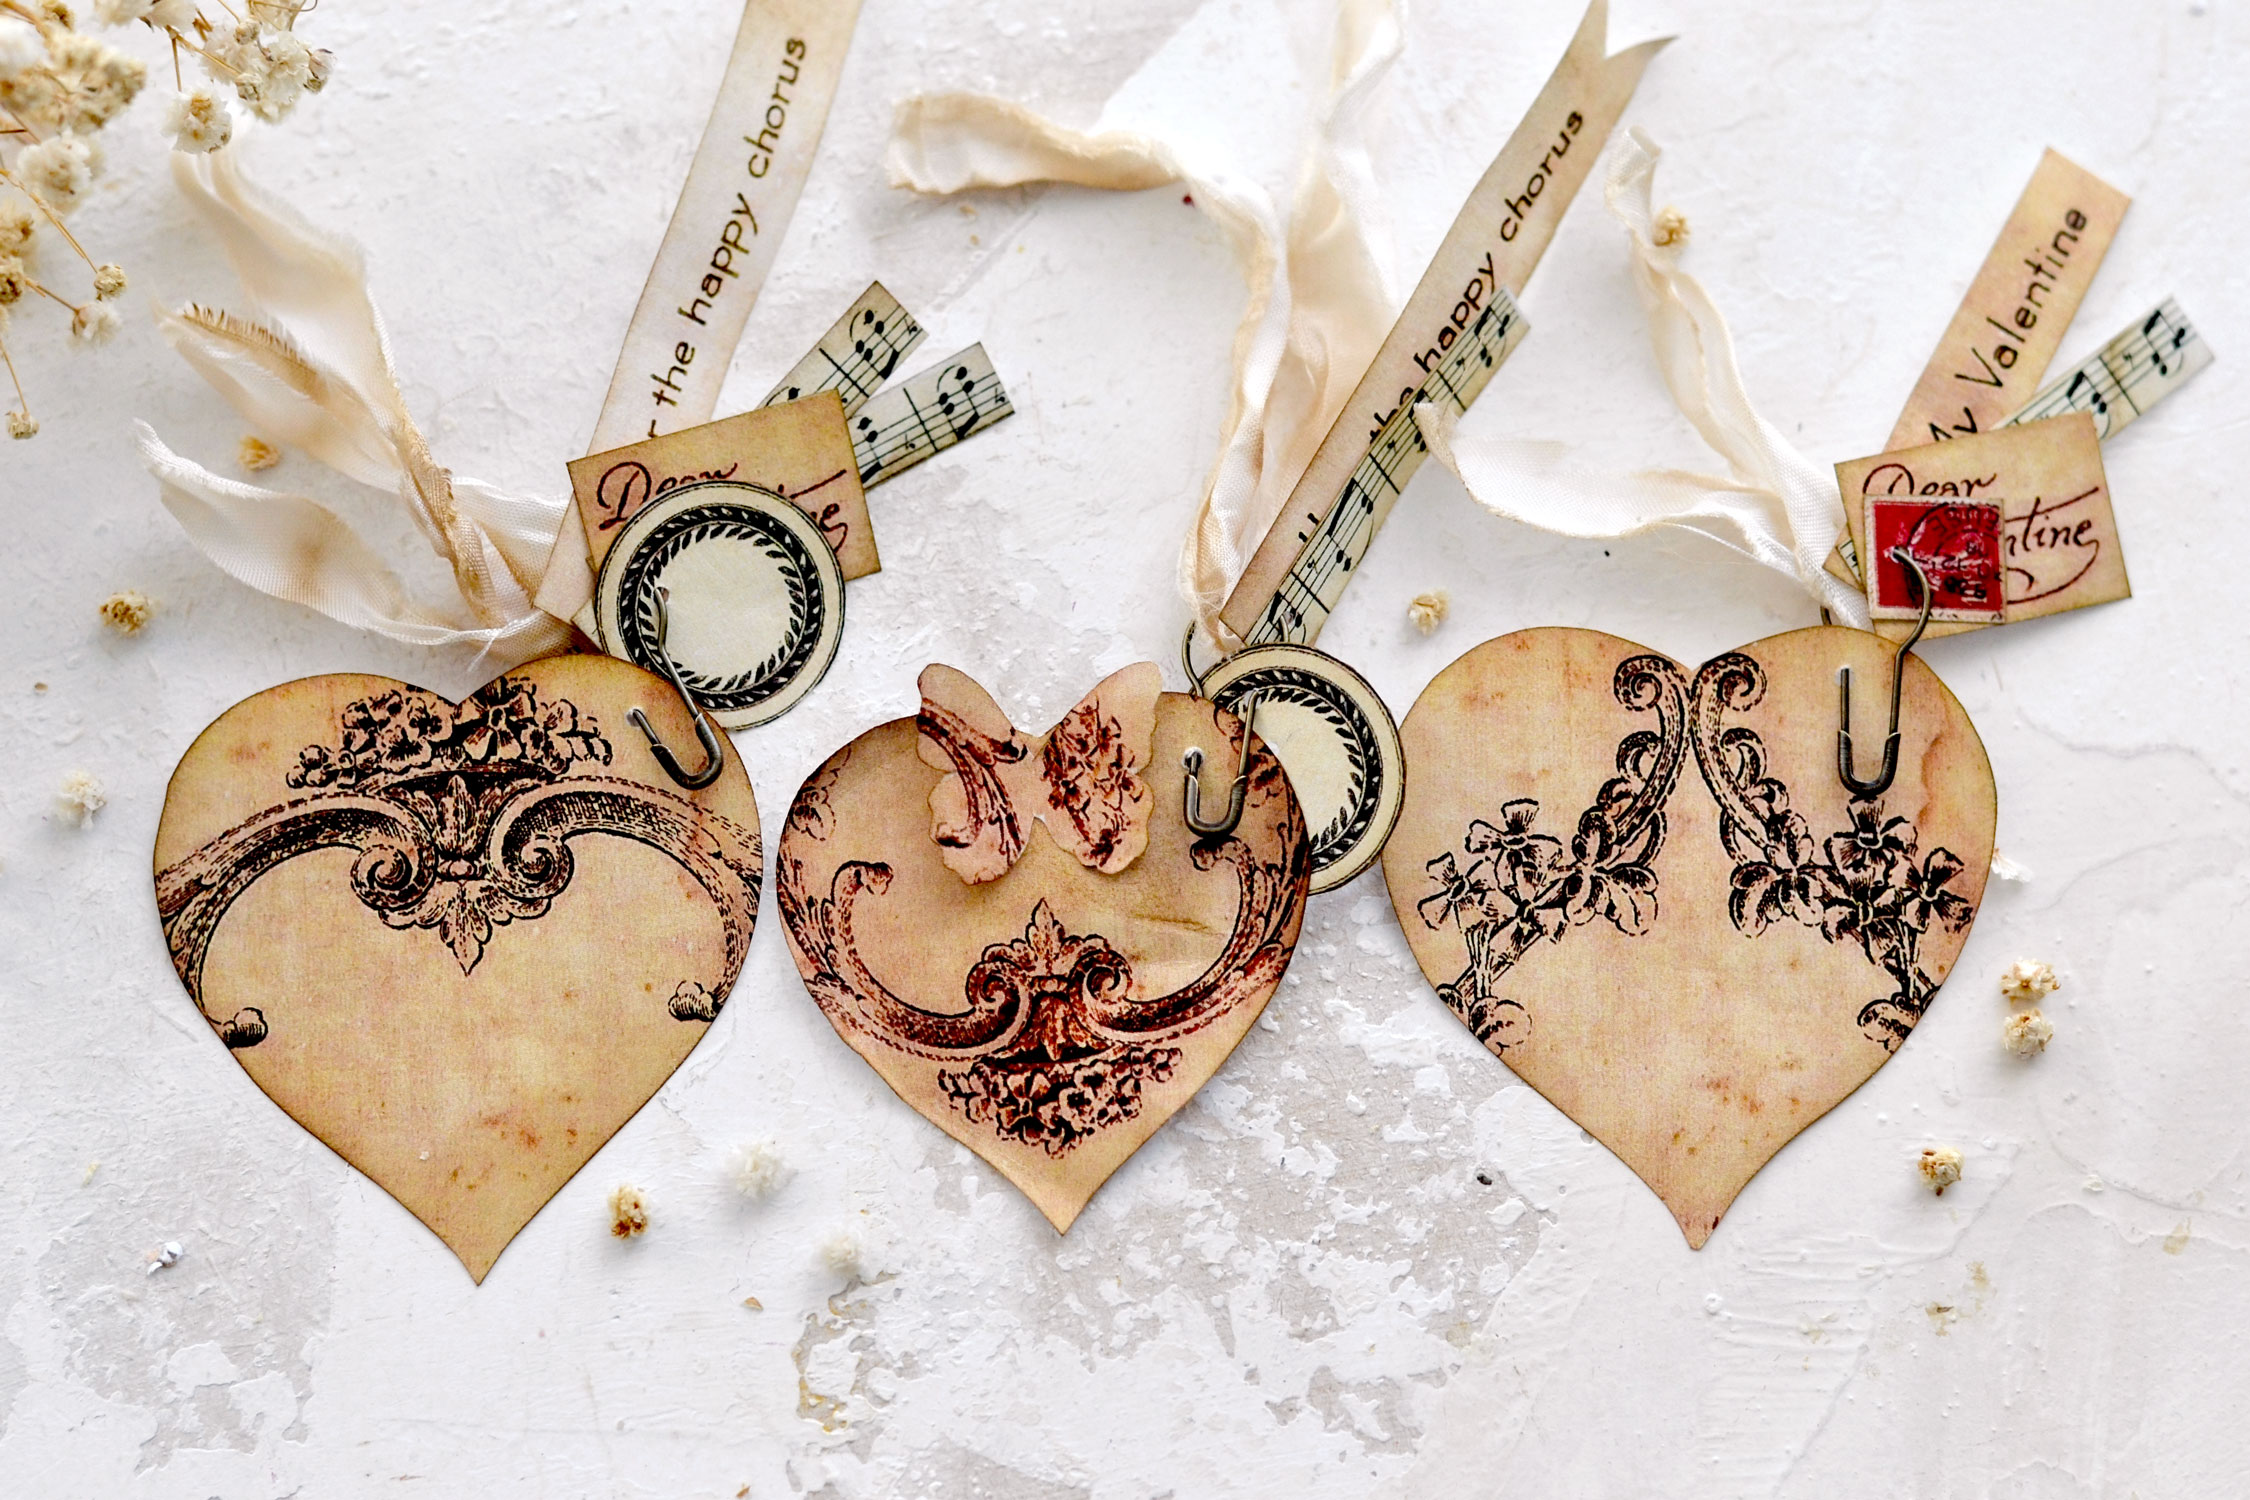
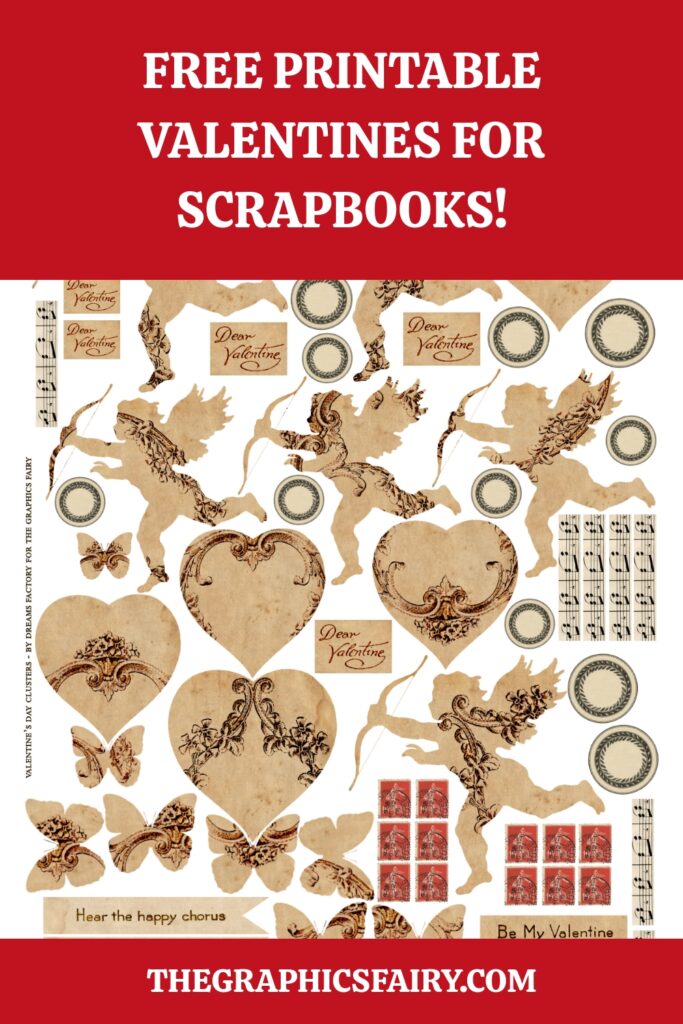
Hello Graphics Fairy friends! I’m Diana from Dreams Factory and I’m happy to be here again to share another DIY project with you! Today I will show how to make these super chic Valentine’s Day Paper Crafts to use in your journals and scrapbooks. They are Clusters with a vintage vibe! I included some beautiful vintage heart and Cupid images that we will use as our base, but also a few other smaller elements that can be used as embellishments.
We will finish everything with scrap pieces of crinkle ribbons and some gourd pins that will not only look pretty but will also hold all the pieces in place. These beauties can be ready in no time and can be easily included in all sorts of creative projects, they would even make cute stickers in your Scrapbooking pages and journals.
I used a lovely vintage background and different sections from a beautiful ornamental frame to create the design for the hearts and the Cupids, but also for some of the other elements. This way you’ll be able to mix and match things as you go and create a more cohesive theme.
You will find several different-sized elements on your printable, one more beautiful than the other that will be perfect for Valentine’s Day, but feel free to use them for other projects too! You’ll have plenty of options to choose from and get creative, all you need to do is decide which type of paper to use and you are ready to go! You can use regular paper, cardstock paper, or even sticker paper if you want.
Free Printable:
—-> Click HERE to Download the Full Size Printable PDF <—-
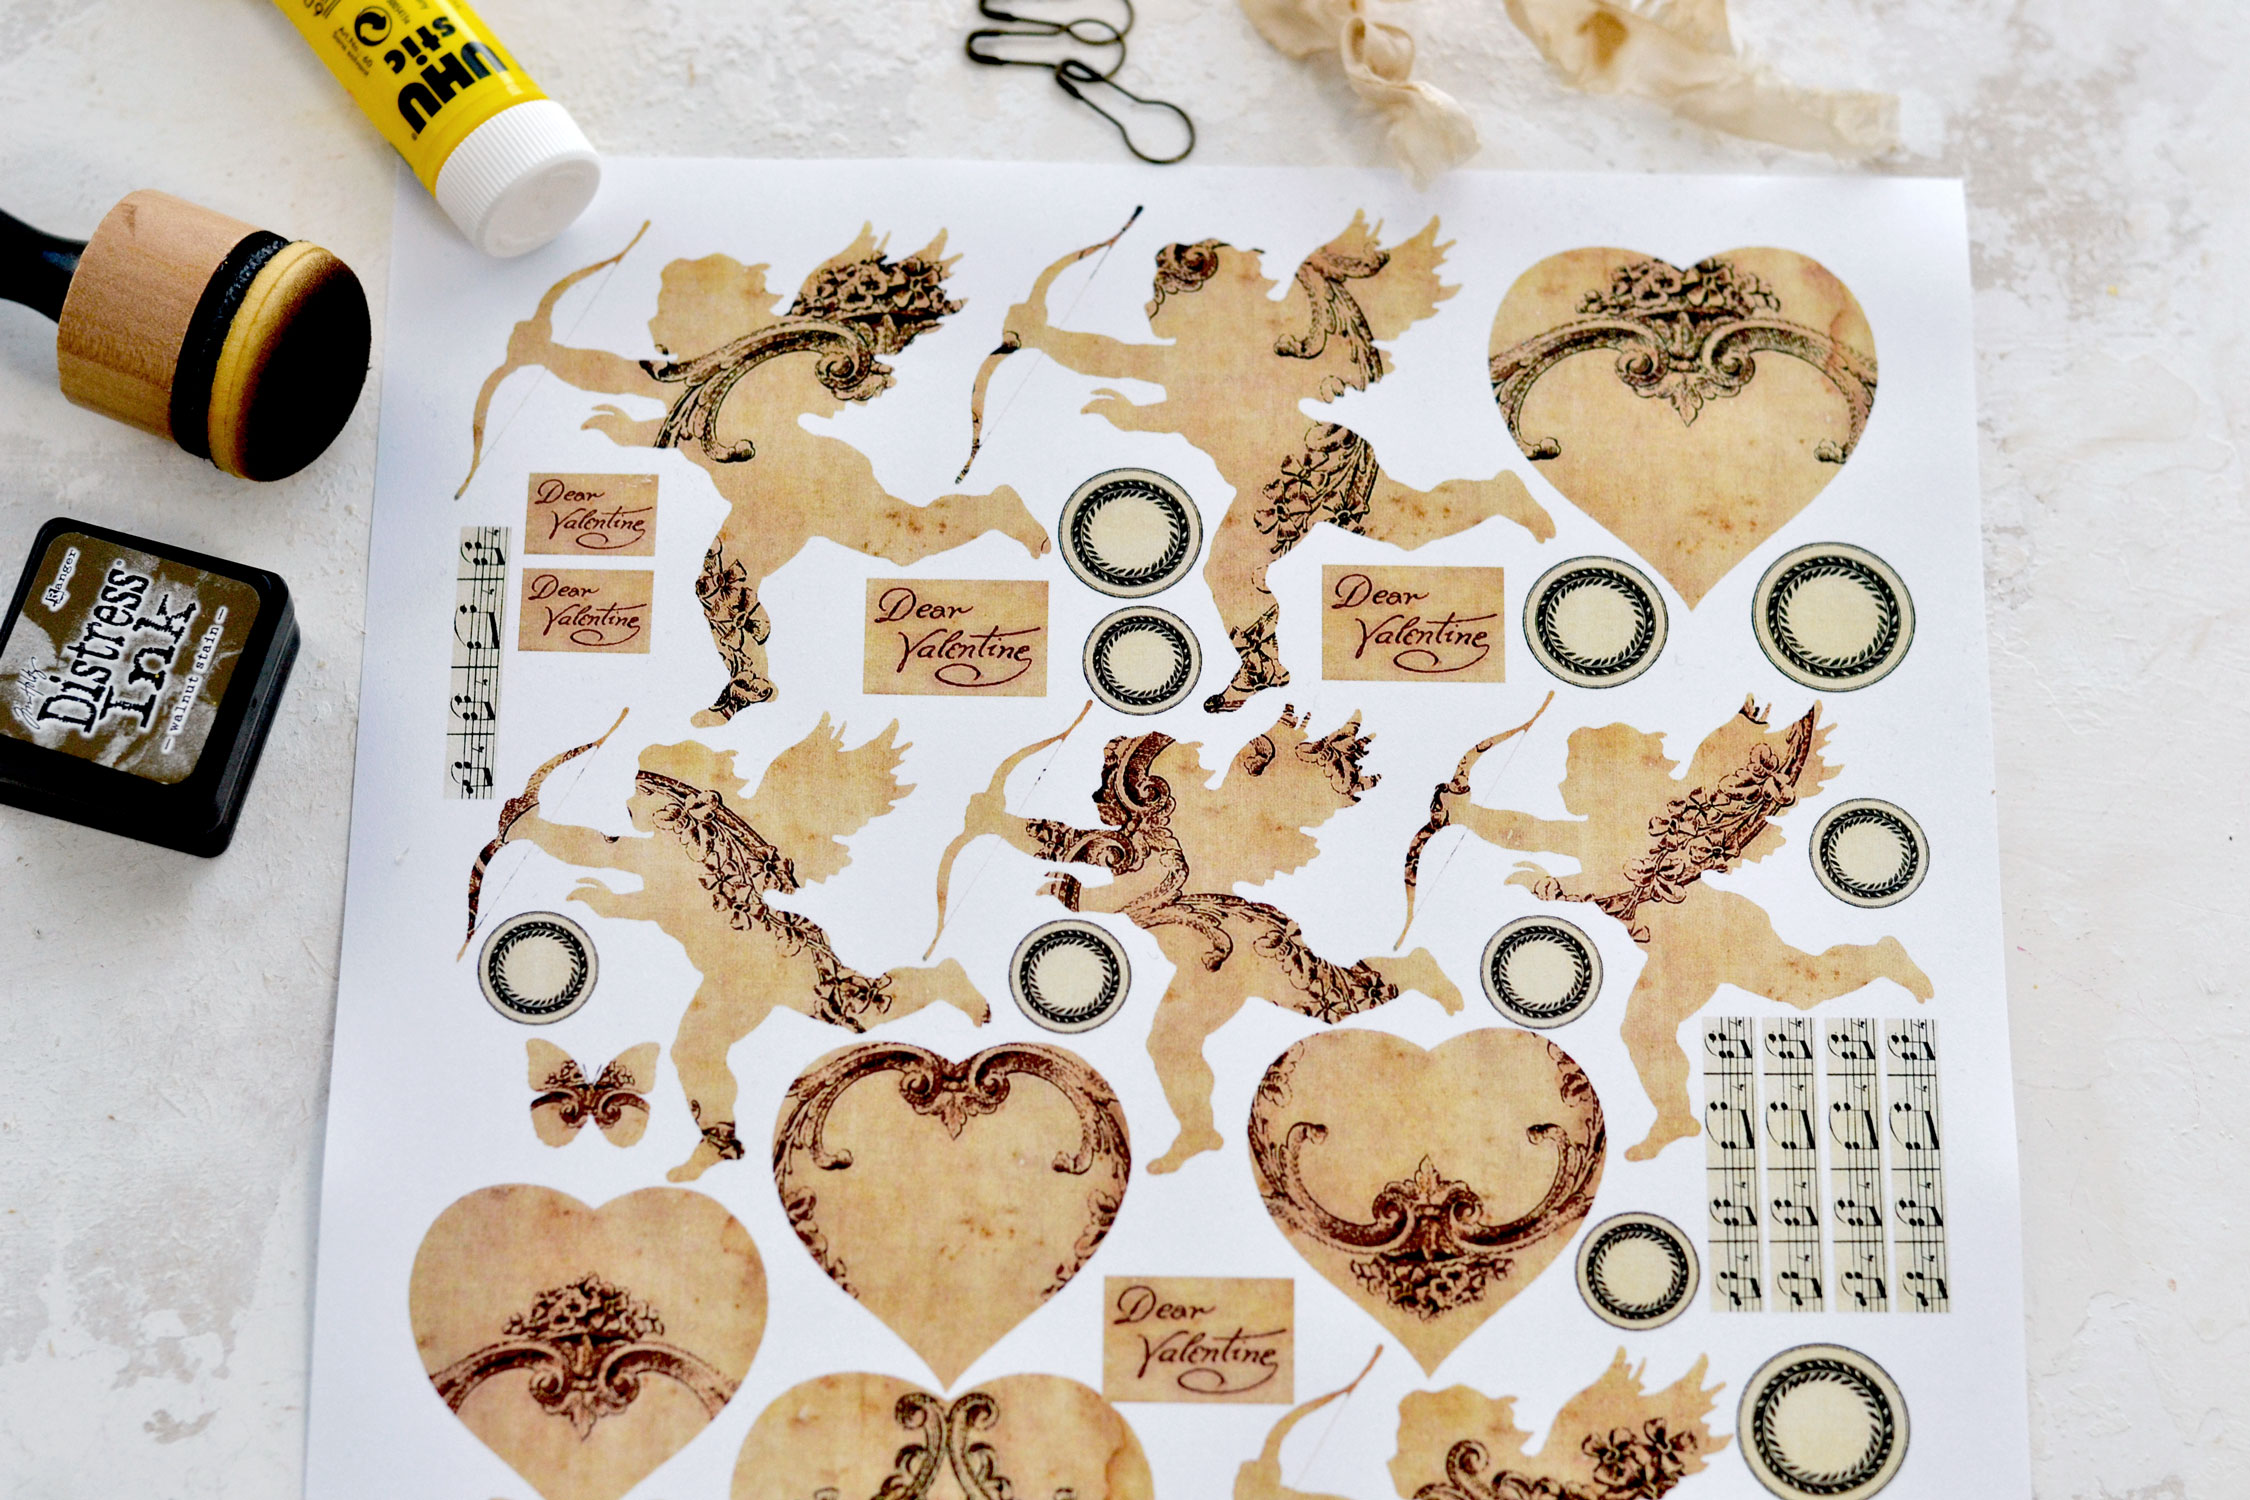
Valentines Paper Crafts Supply List:
- cardstock paper or regular paper
- home printer
- scissors
- mini distress inks
- blending tool with foams
- glue stick, Mod Podge any other craft or paper glue
- single-hole paper punch
- small safety pins (I used gourd safety pins in bronze)
- crinkle ribbon or lace
Step by Step Tutorial:
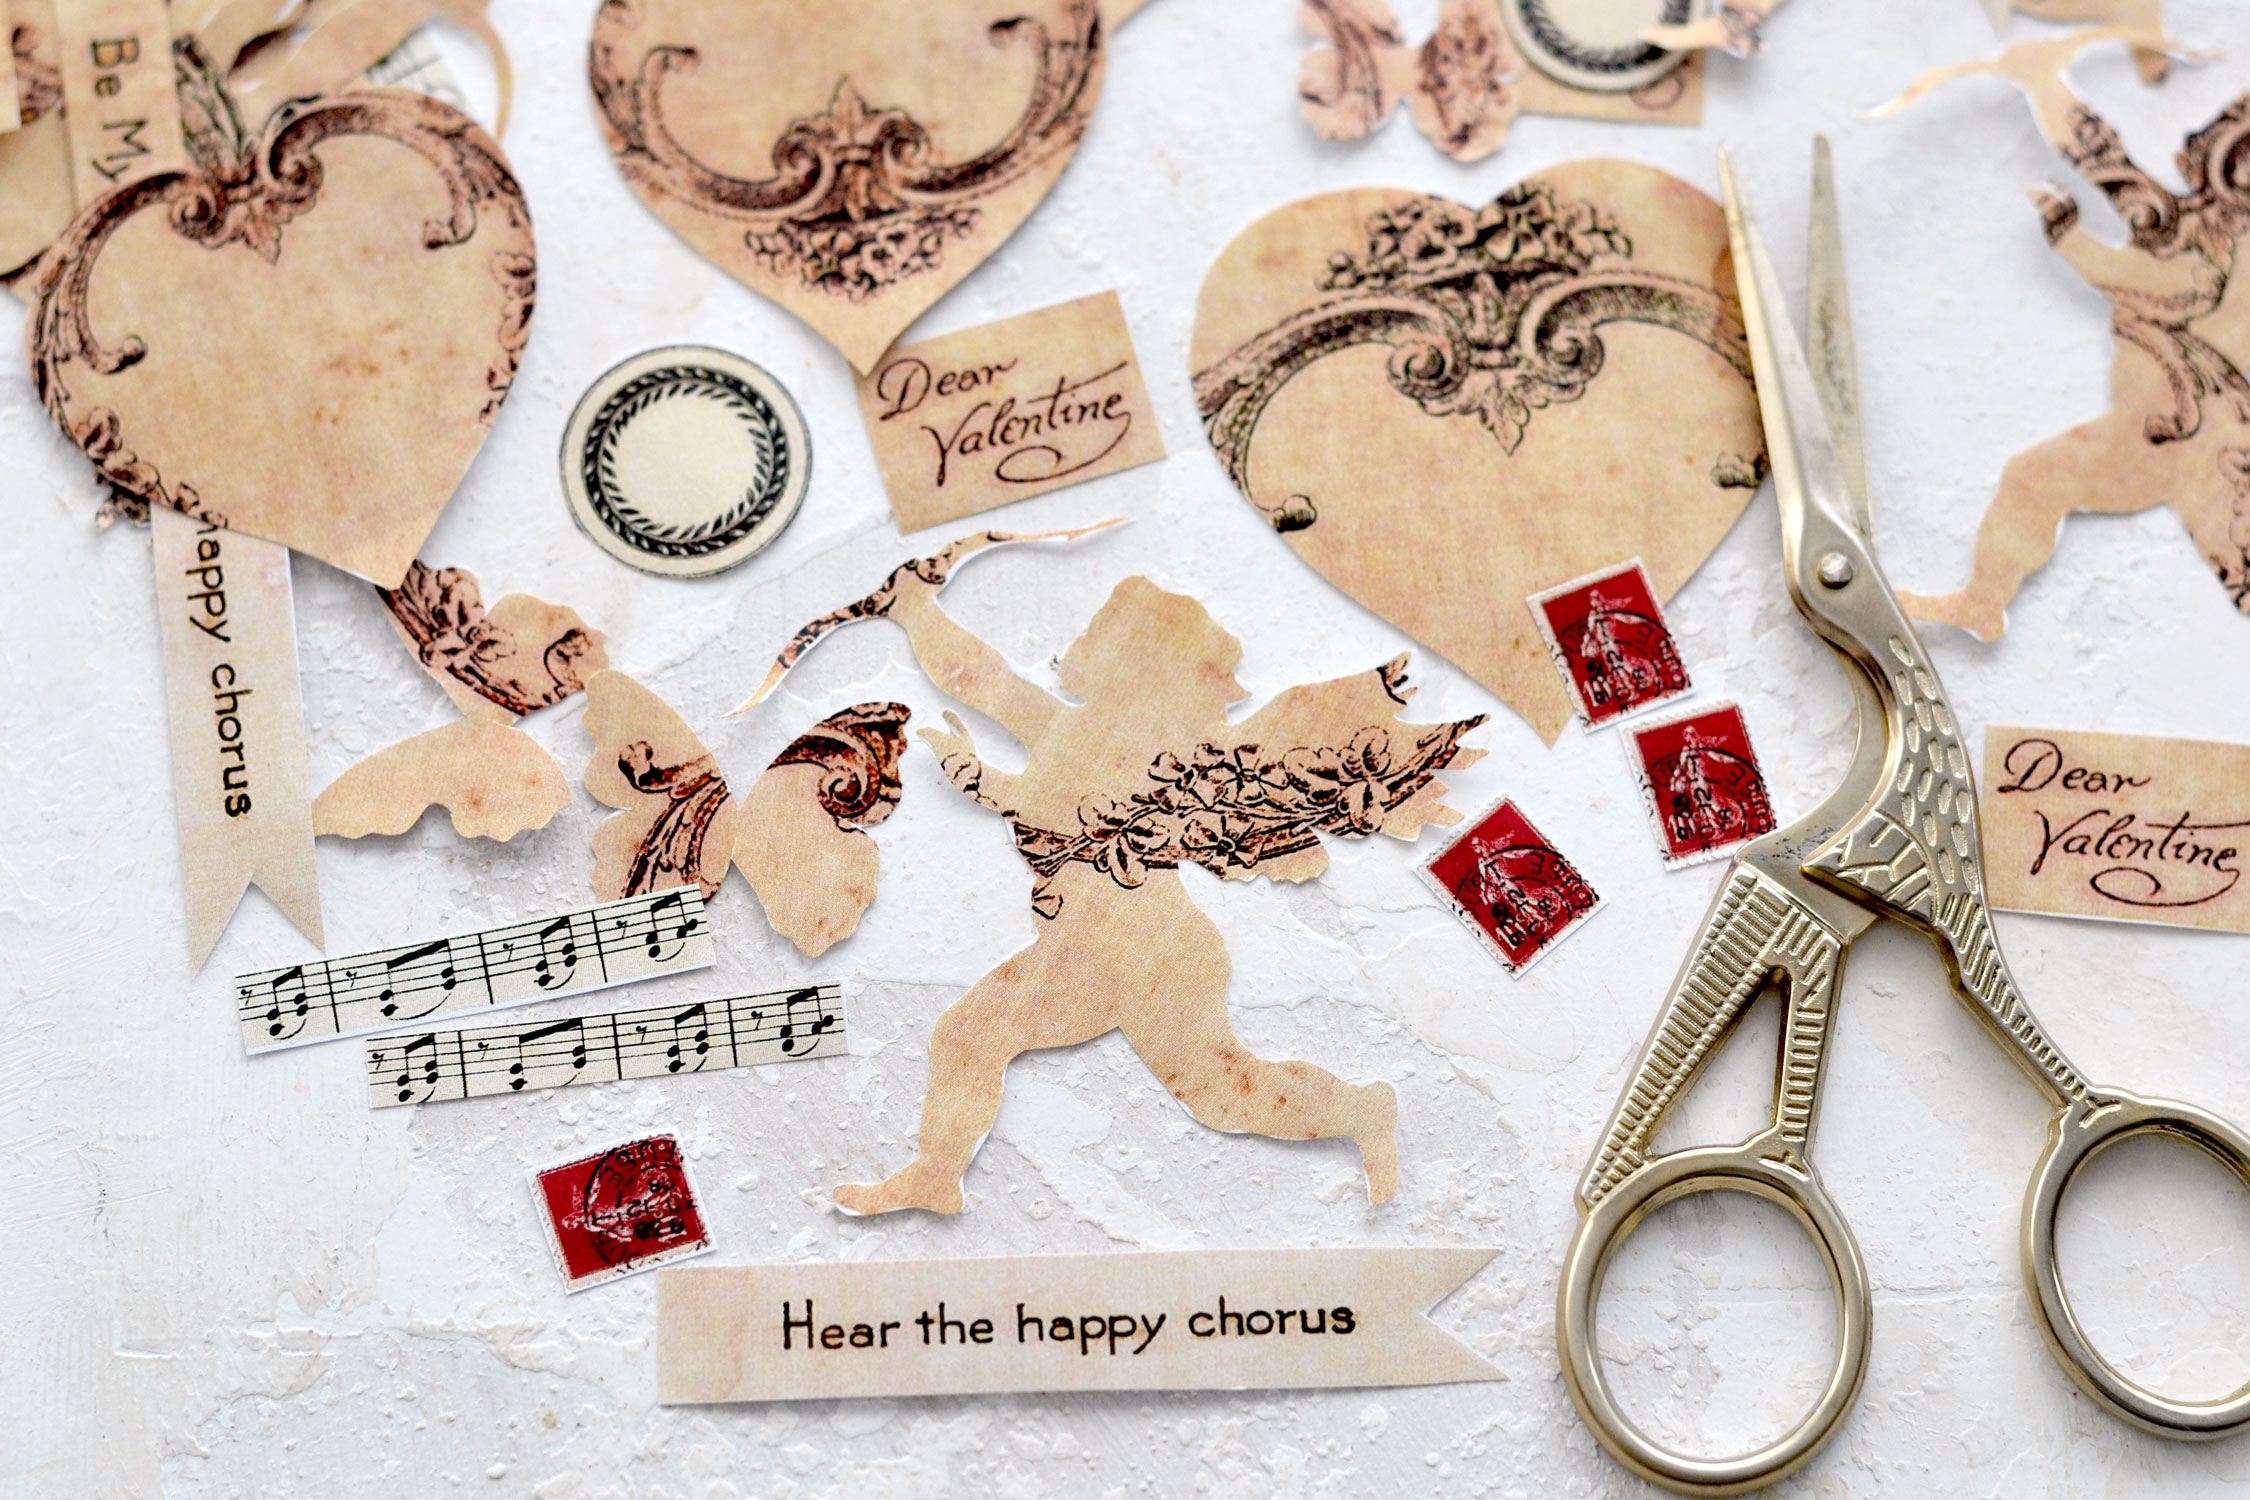
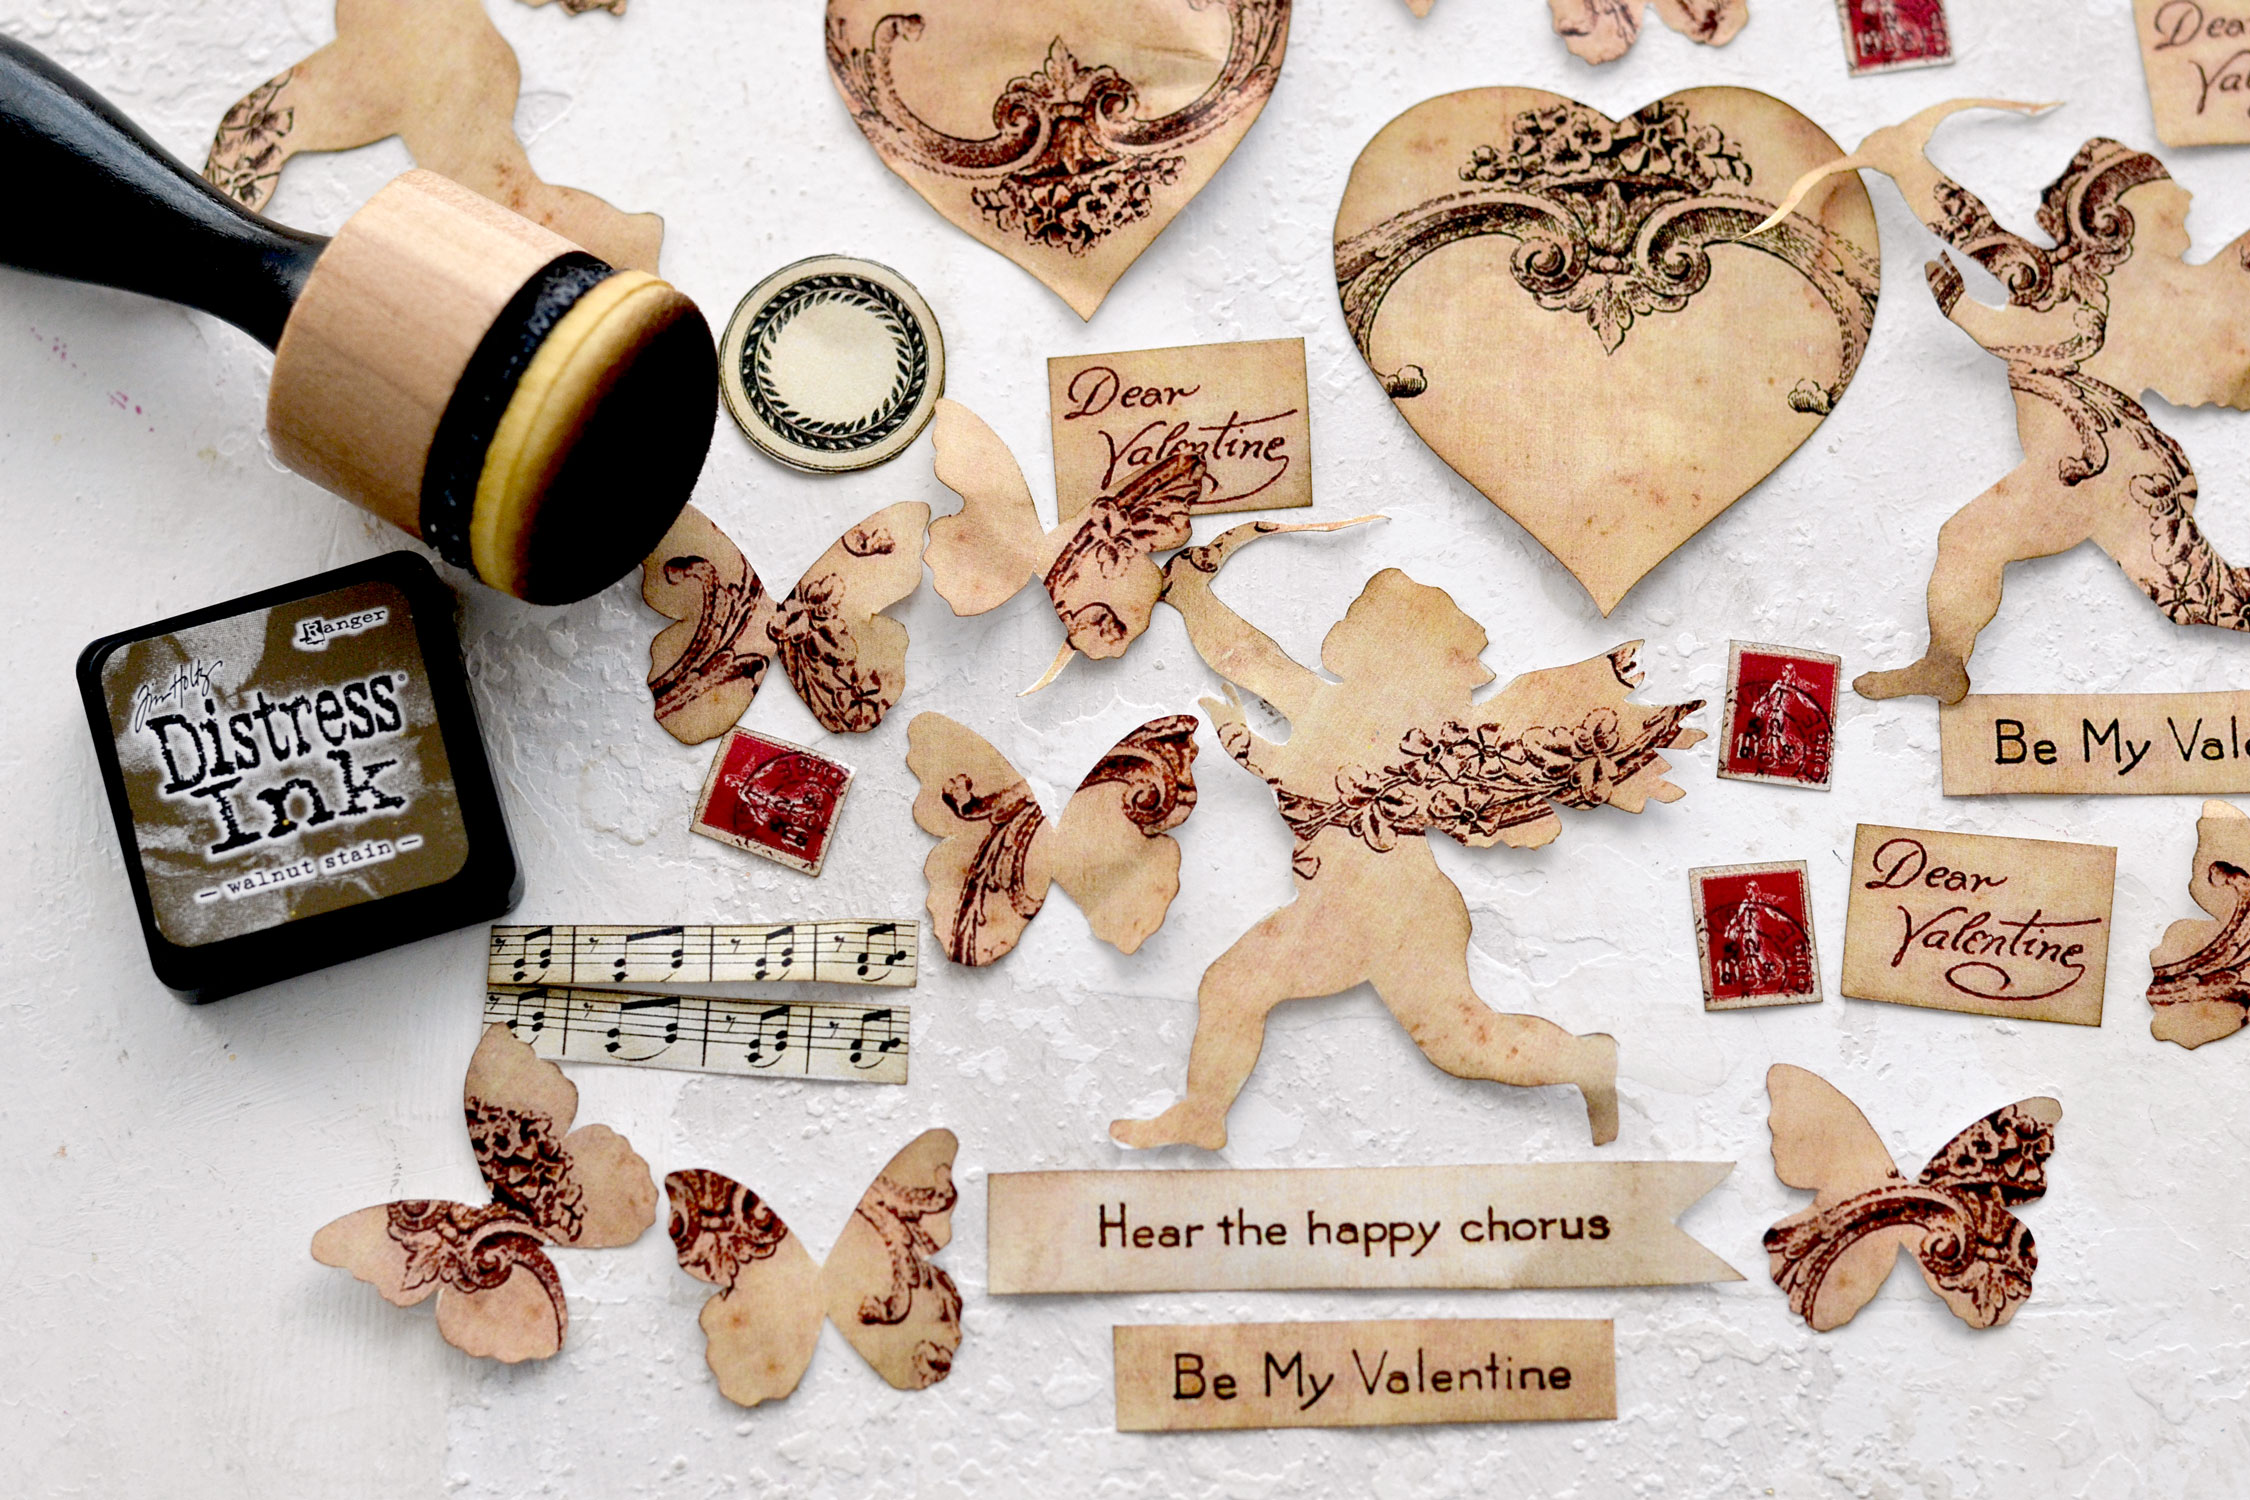
Start by cutting all the paper elements using your scissors. I used regular paper because I thought it would be easier to cut the smaller details around the Cupids and it worked like a charm.
If you have a cutting machine you can use it for this project, it will make cutting these beauties a breeze!
All the images that I chose for this lovely project already have a super chic inbuilt vintage vibe, but if you prefer, you can distress them even more! You can choose to only distress their edges using a little bit of distress ink and a blending tool. I usually love using brown (Walnut Stain), but since these are Valentine’s beauties, a dark red or even pink might work here! You can also use some gold wax or why not, even a gold marker, just adapt them to your preferences to get the final pieces that you truly love!
I only used a little bit of distress ink around the edges and I tried to cover as much as possible any white paper areas that might have remained there after cutting them.
All the elements look really beautiful together, don’t you think? At this stage, you can decide whether you want to keep them like this, as separate elements and use them as stickers as you go, or turn them into premade clusters!
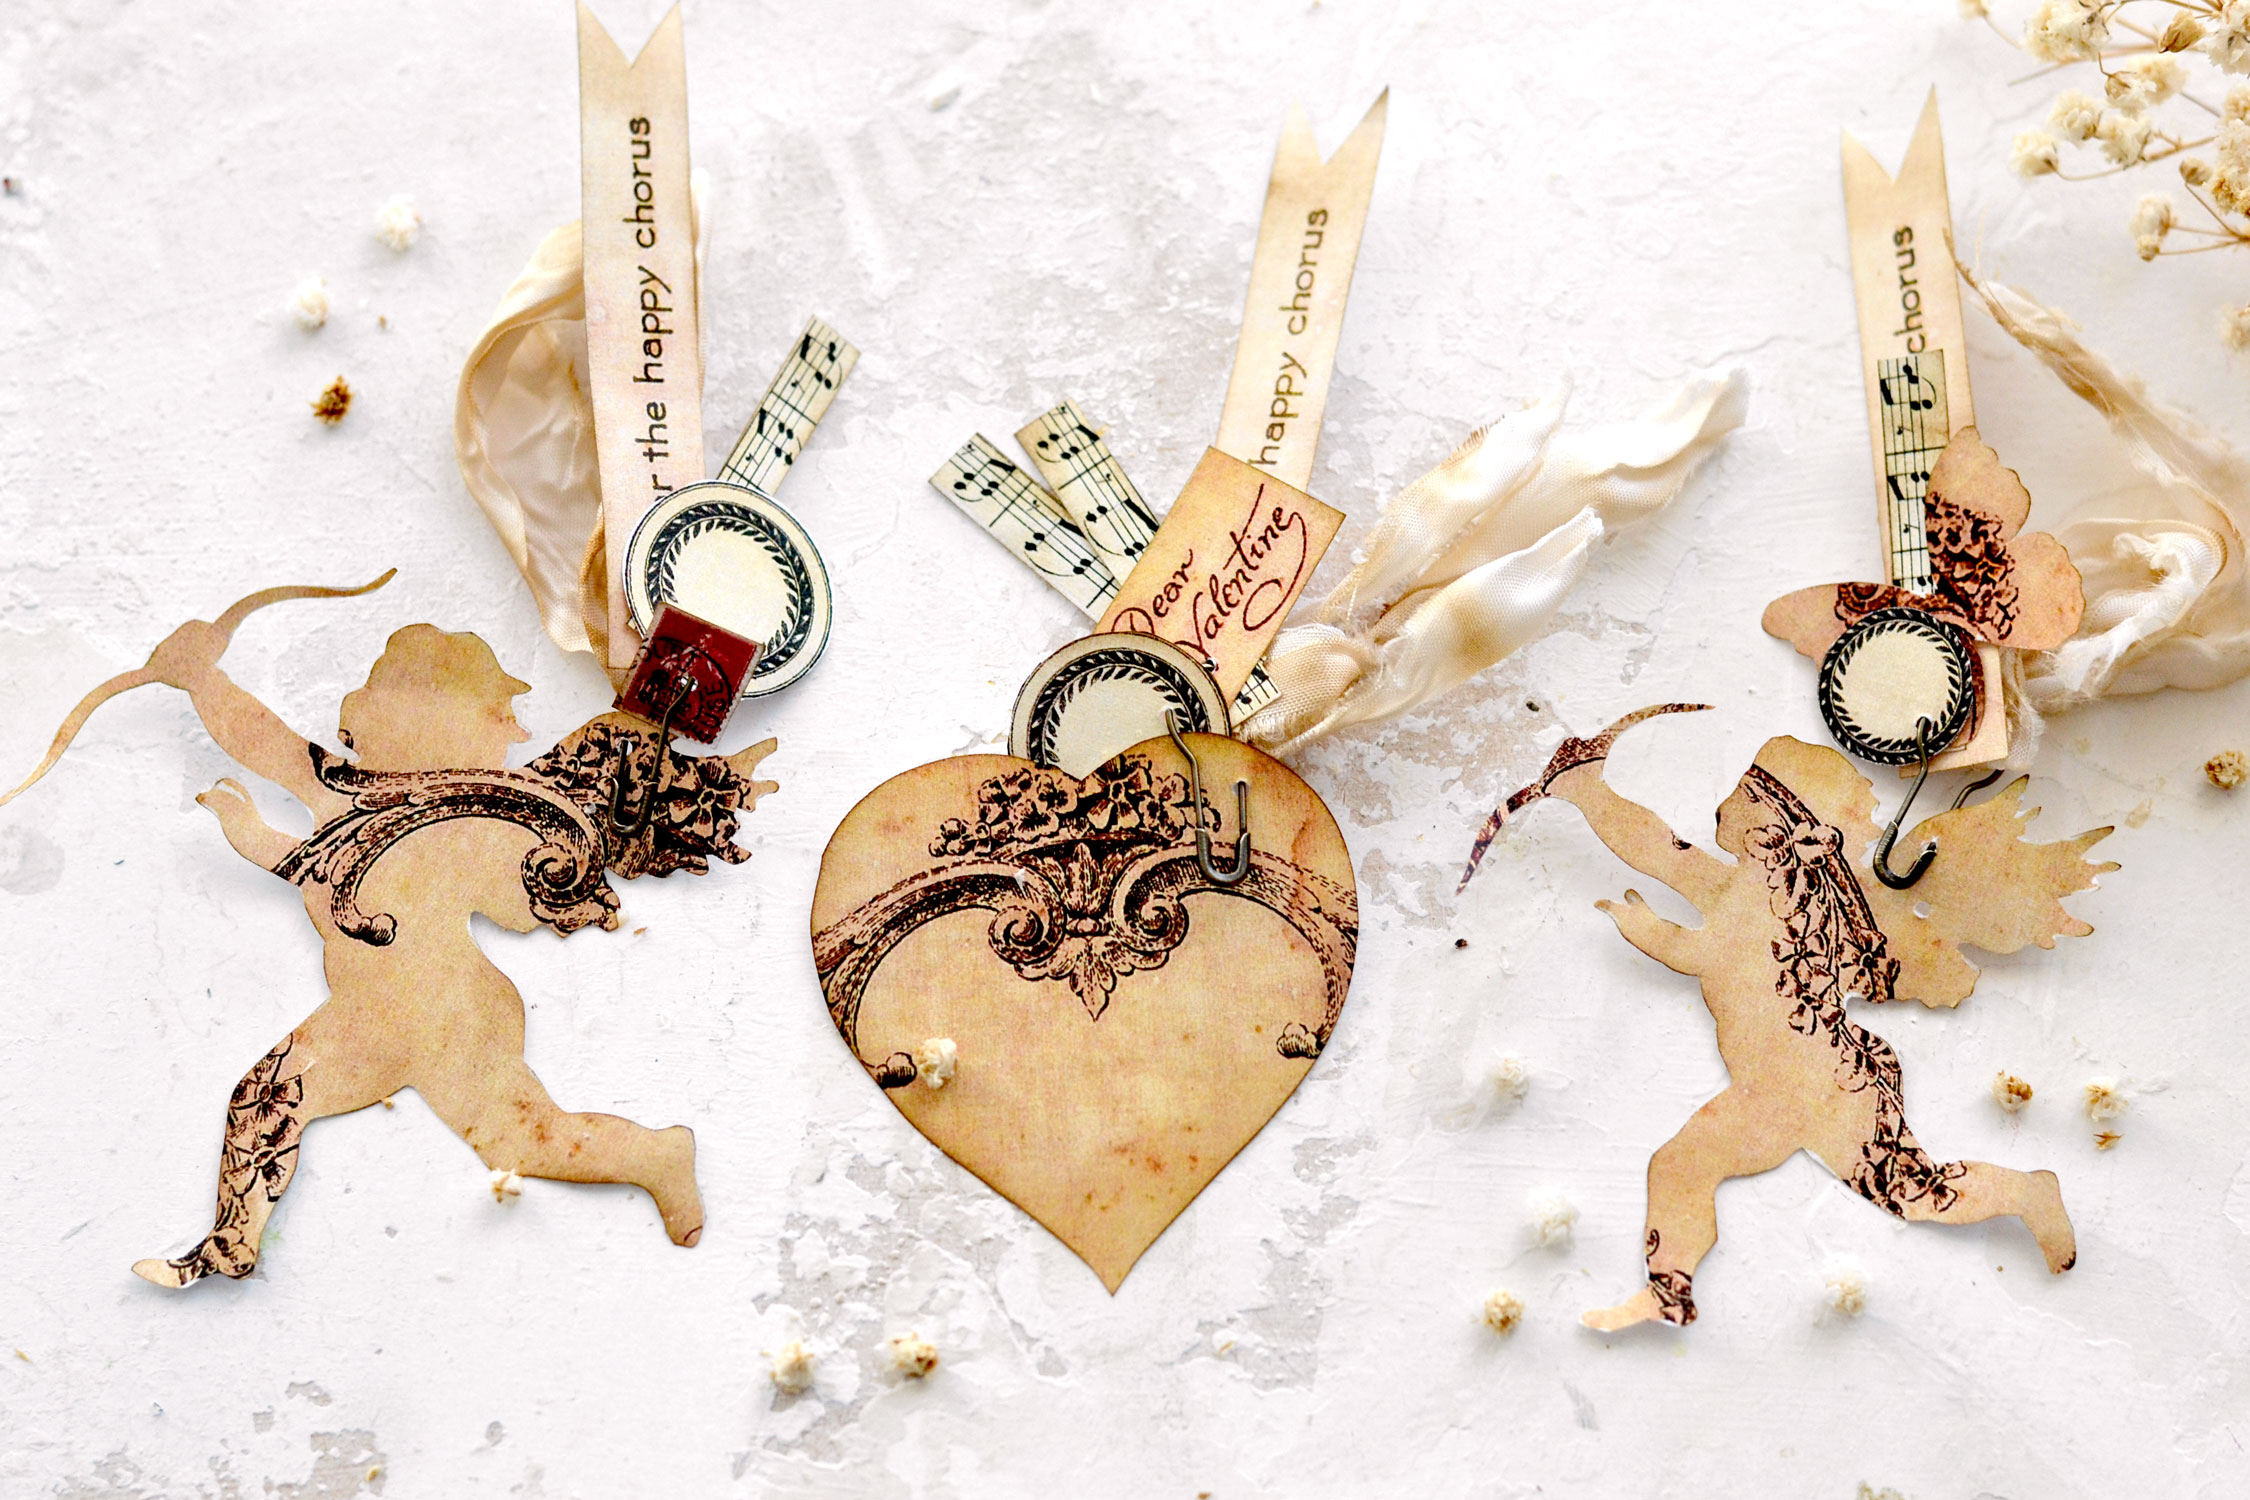
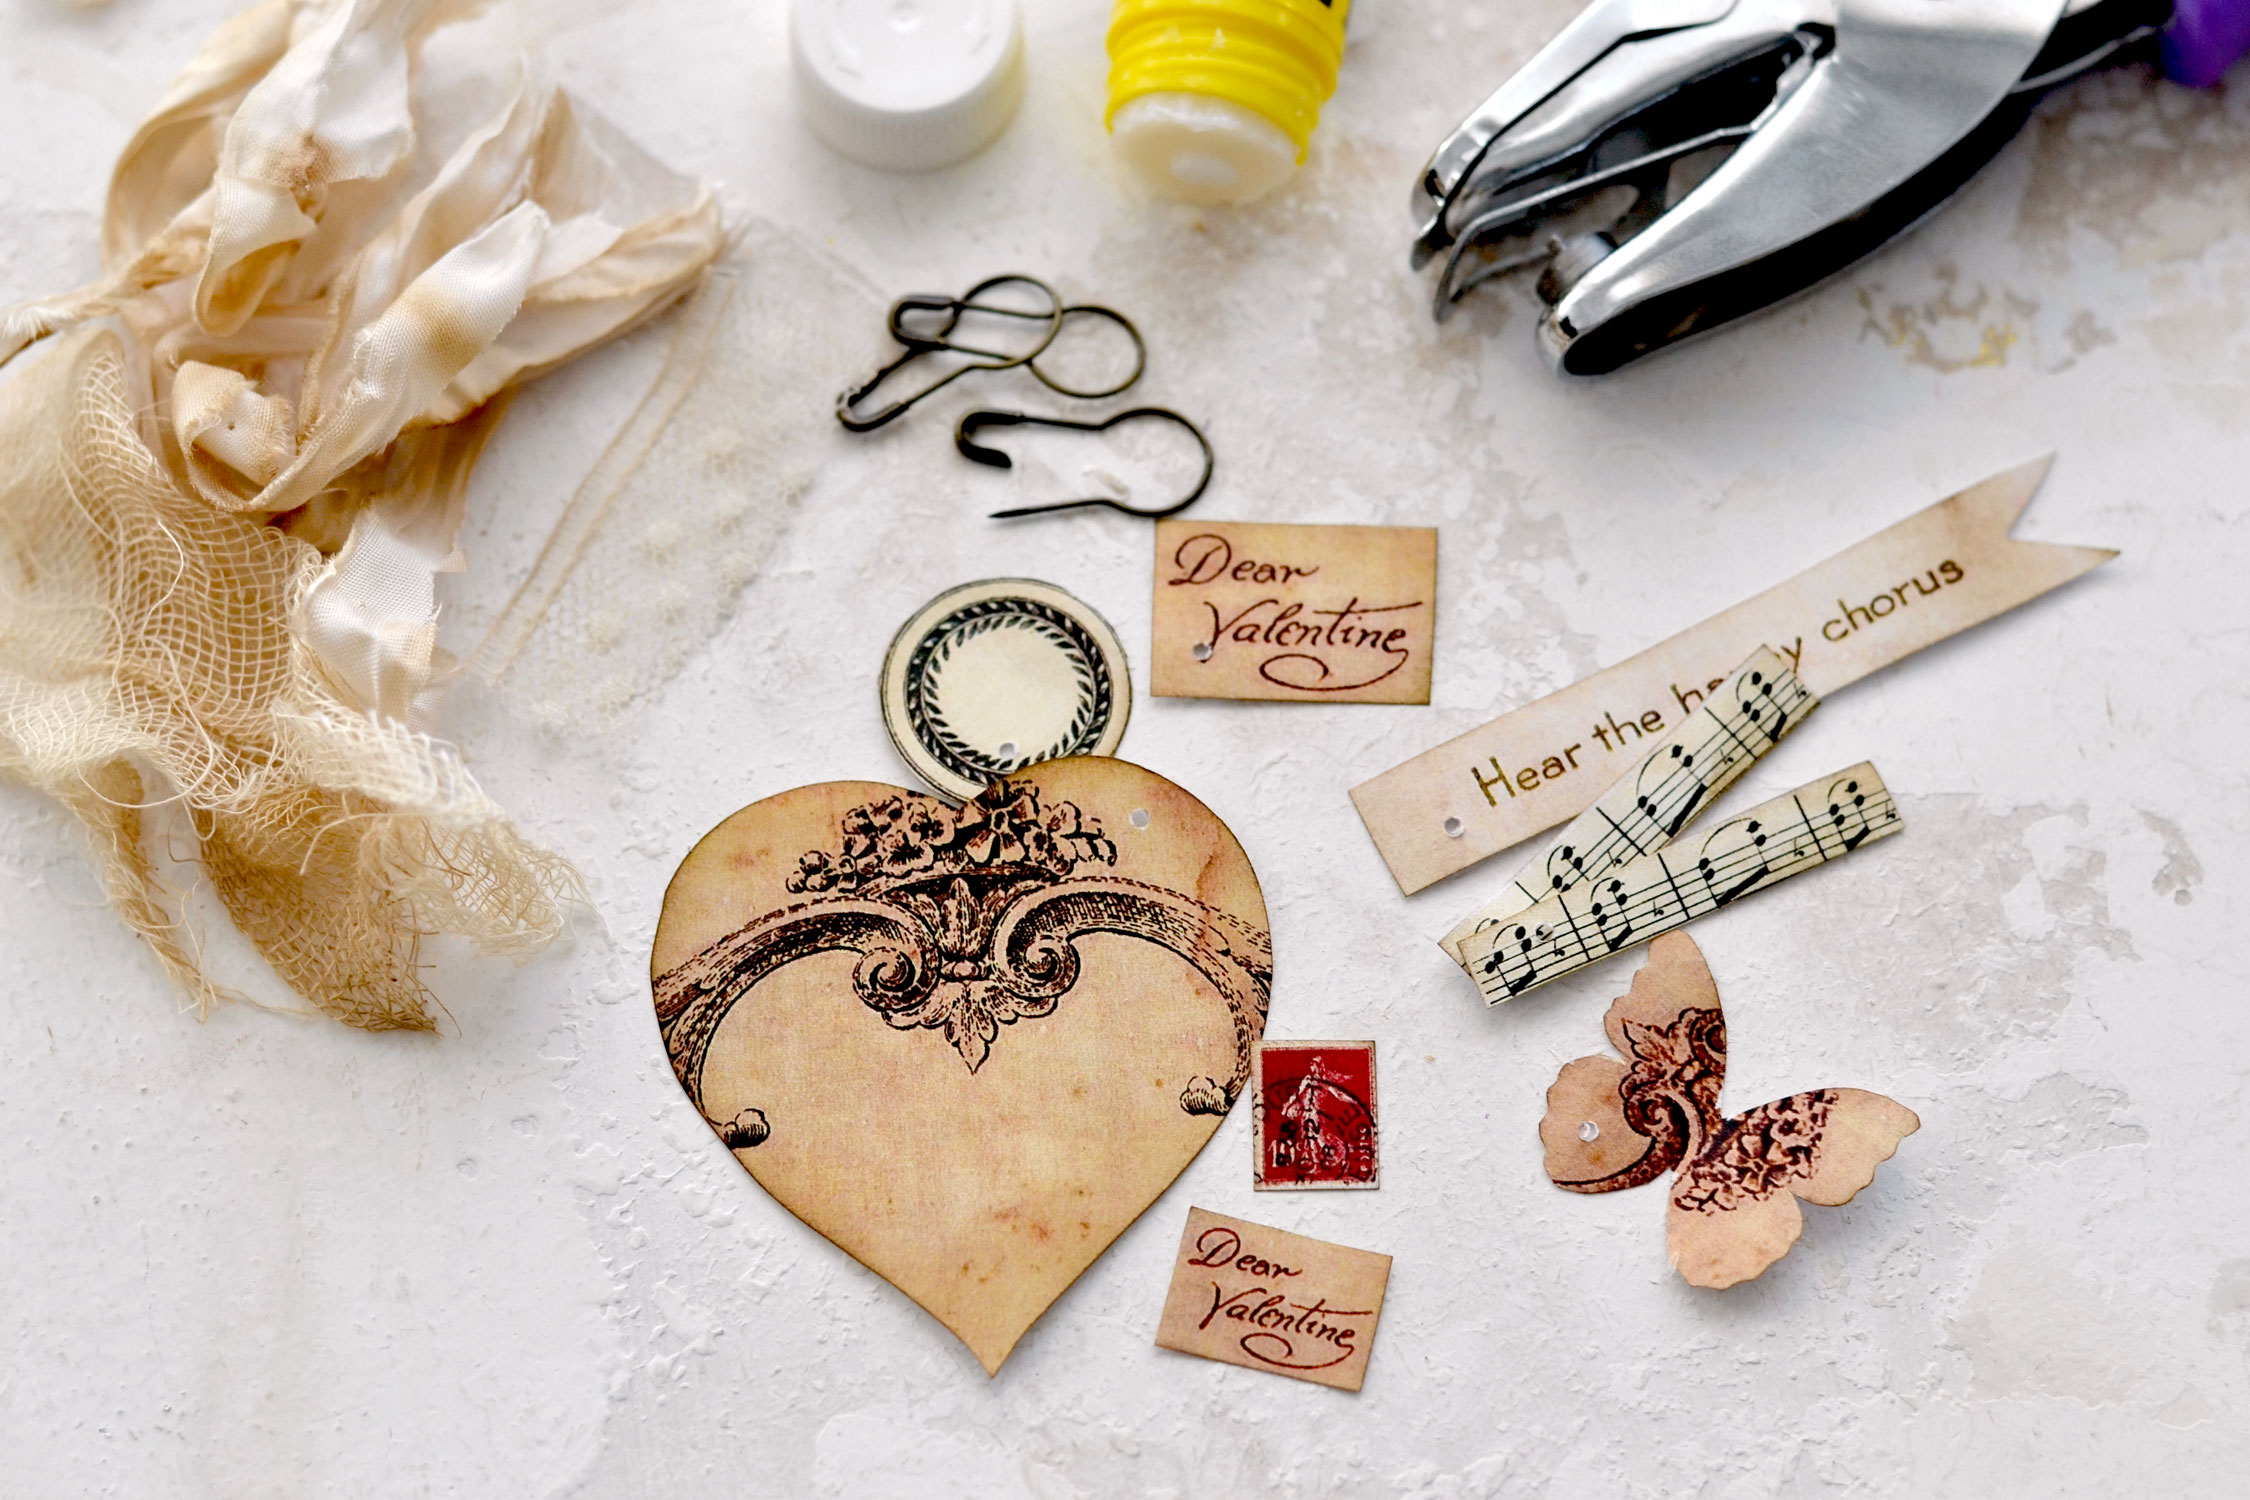
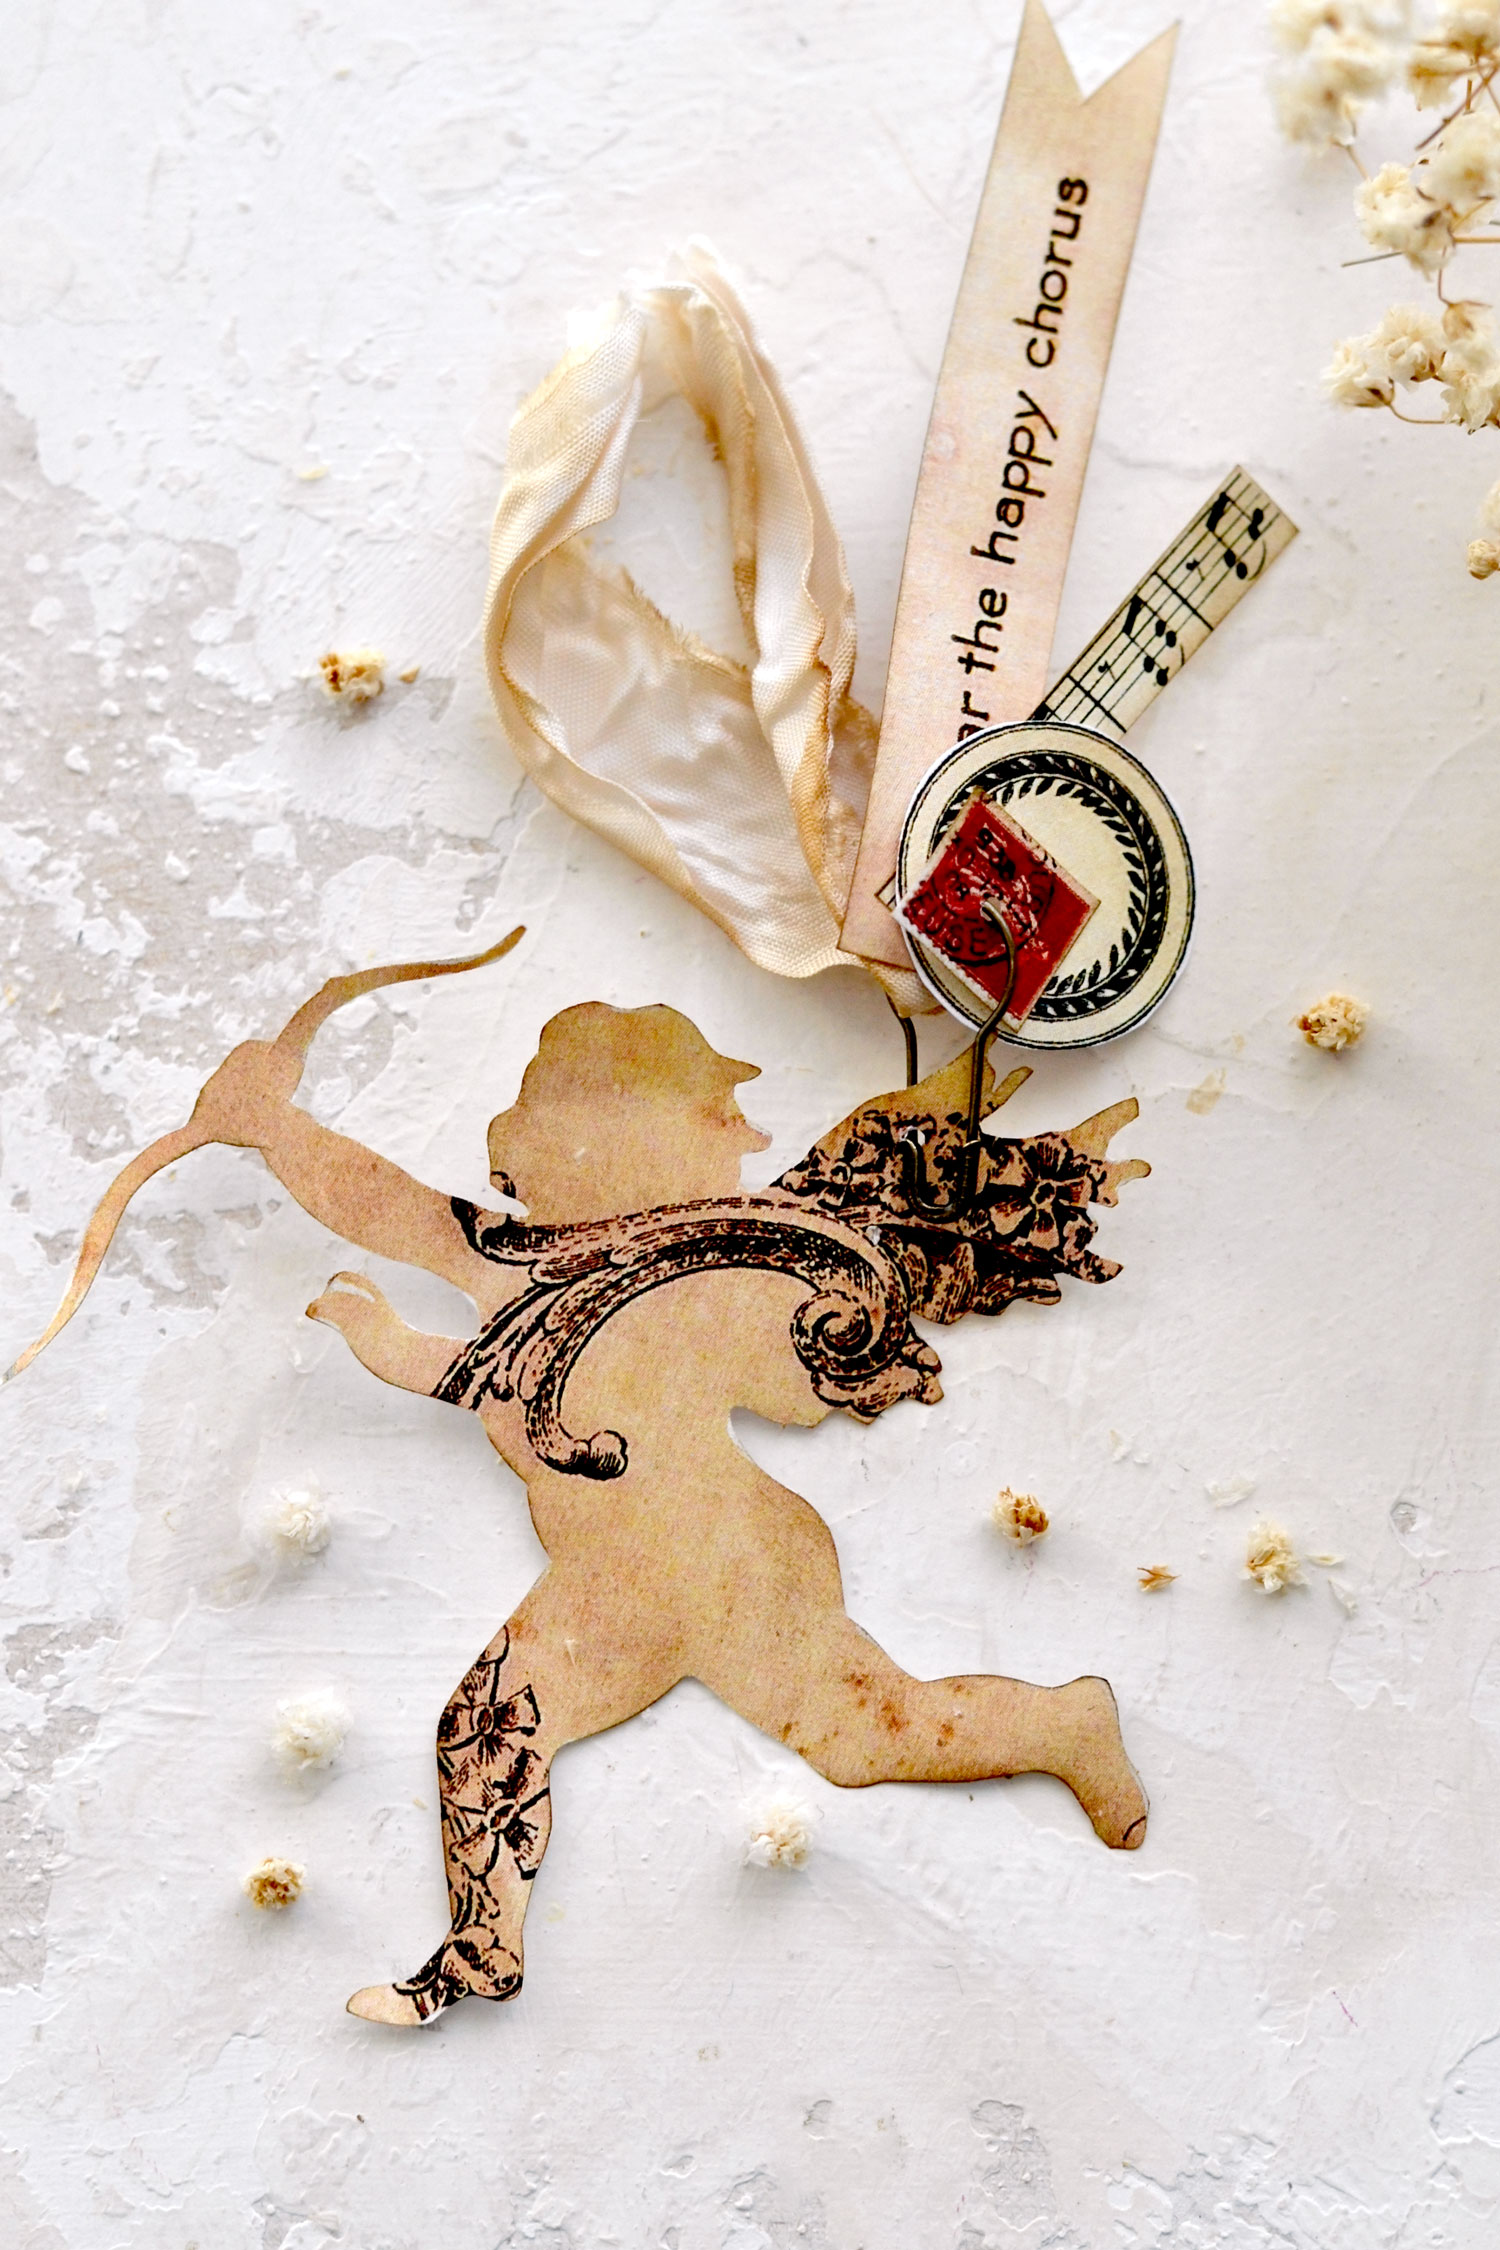
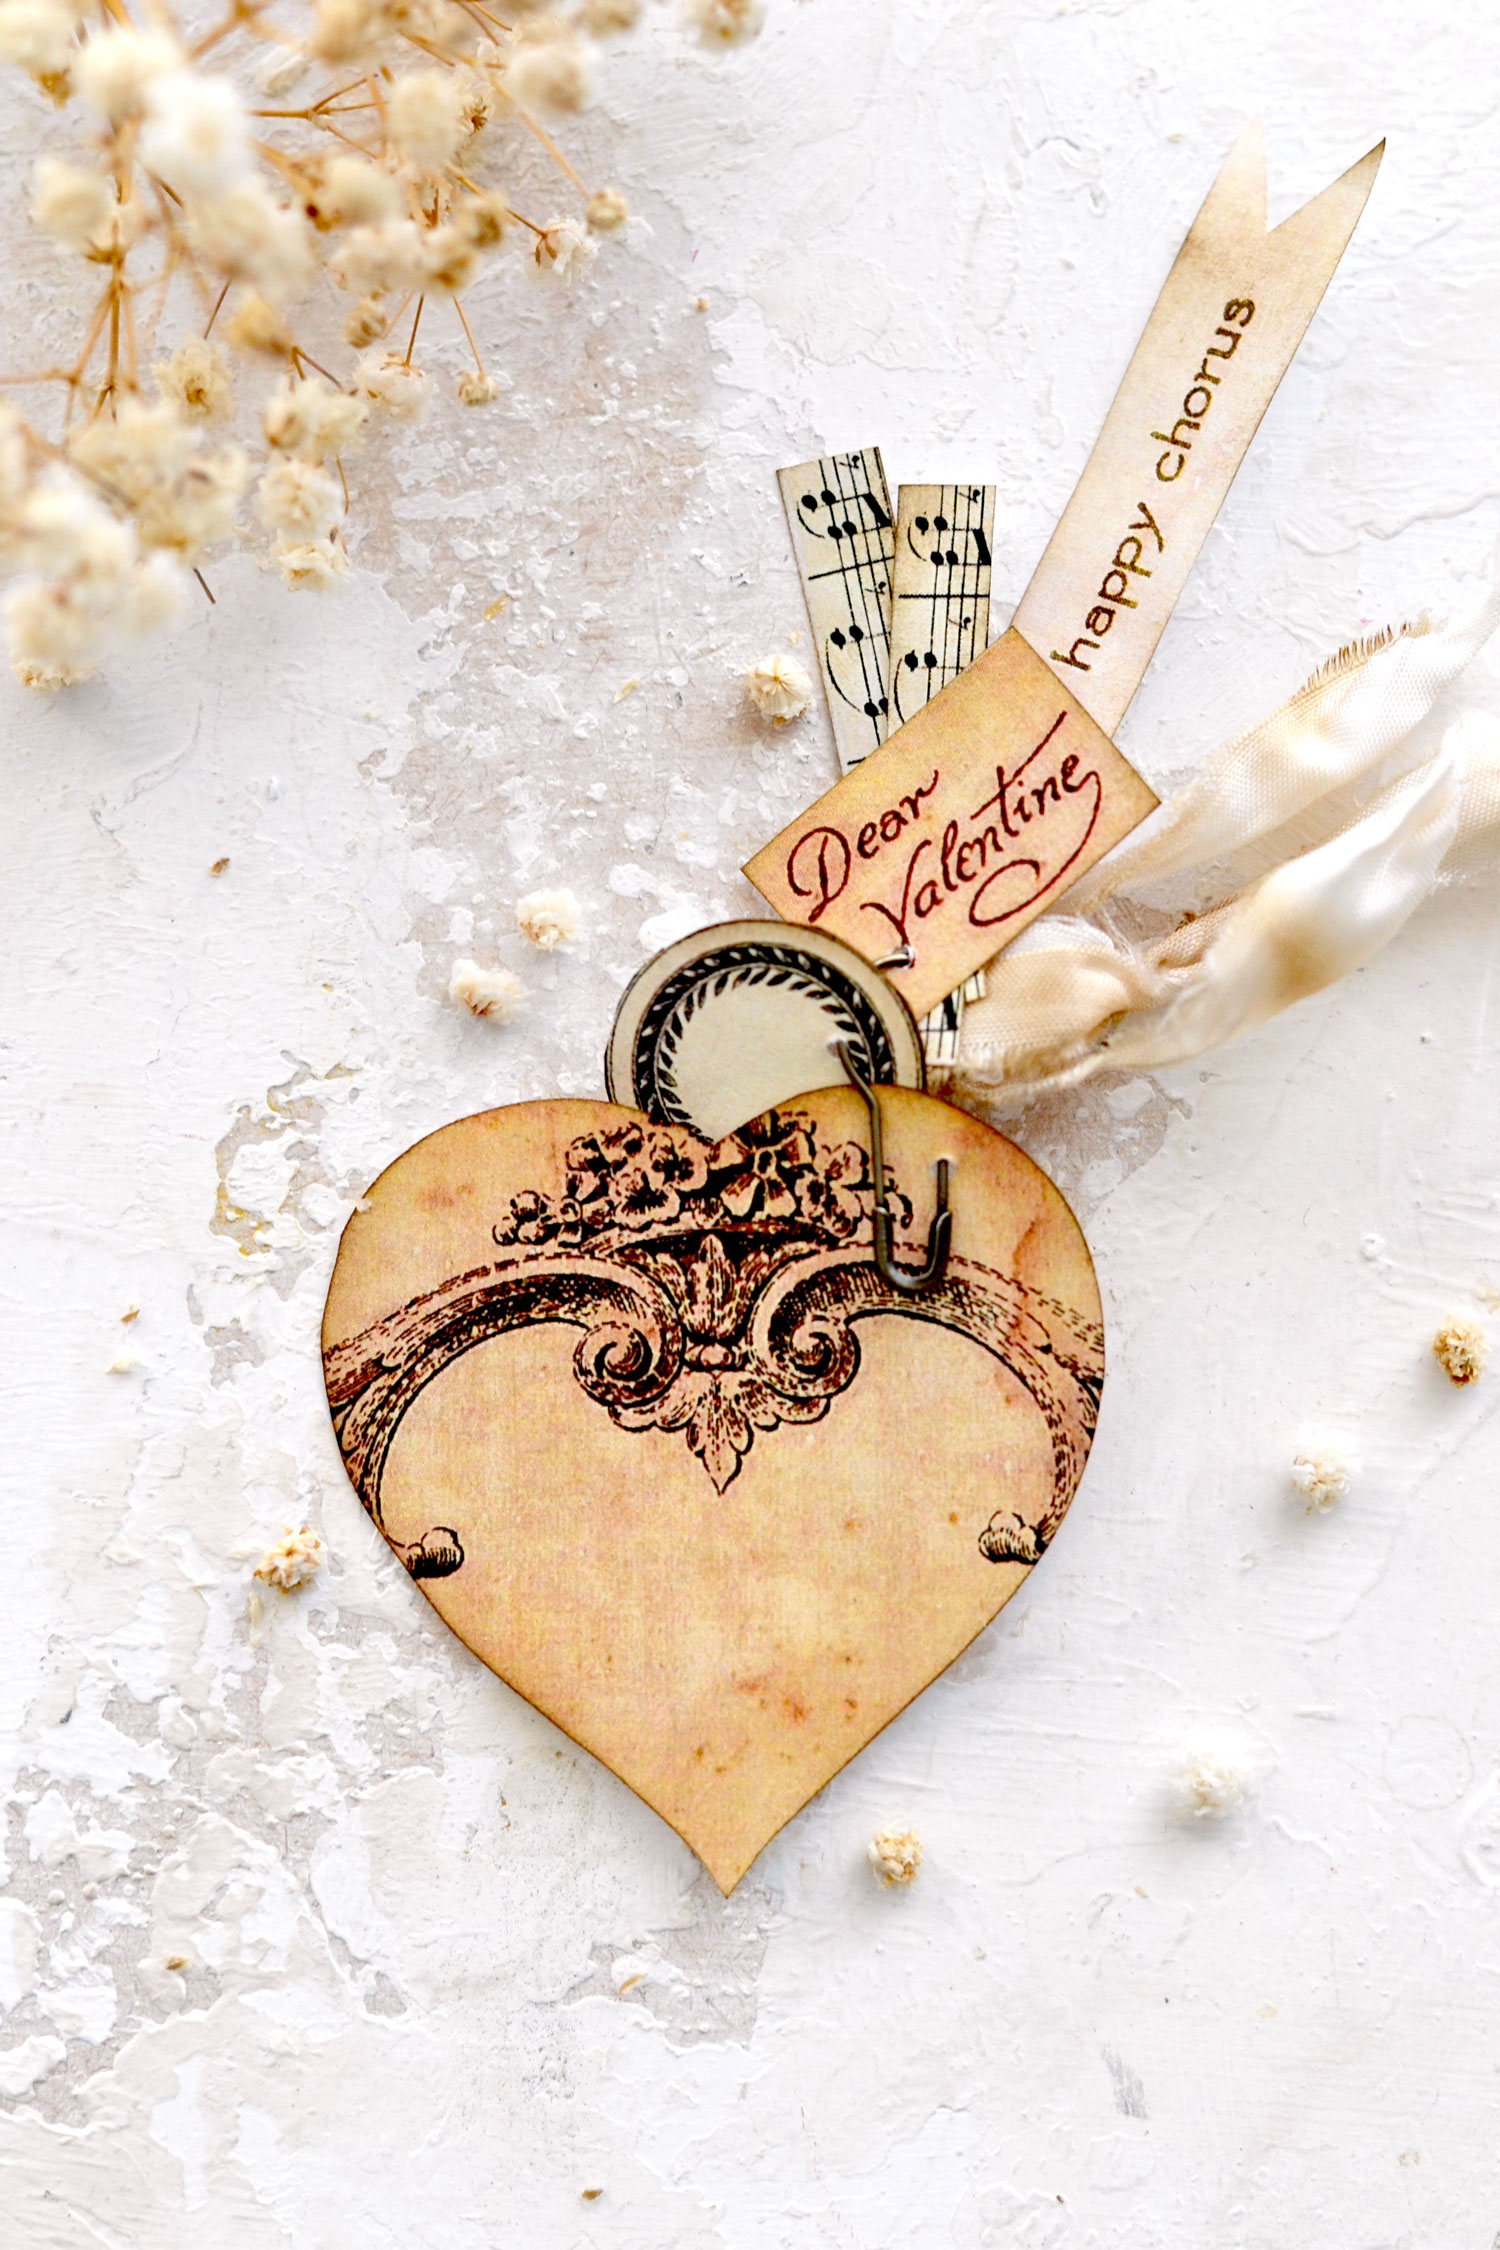
To create the clusters you’ll need to choose your base heart or Cupid elements and a few of the smaller ones first. Punch holes using a small single-hole paper punch, I’ve decided to attach the smaller elements to the right side of the hearts and to the wings of the Cupids.
I found it easier to add these smaller cutouts to the gourd pins first and only then pin them through the hearts or the Cupids bases. You can choose to glue some of the smaller elements on top of the base hearts too, you’ll only need some paper glue to do that.
You can add other embellishments like your favorite ribbon, lace, or even jewelry charms if you have some around. I used some beautiful coffee-dyed crinkle ribbons that I just folded in half.
Using different-sized and different-shaped smaller elements will create more interest around the finished pieces but will also give the whole assembly a little bit of dimension.
I love how these Valentine’s Day Clusters turned out, not to mention the fact that they were so easy and fun to put together!
Because each element has a different design, you will be able to create some truly unique final pieces!
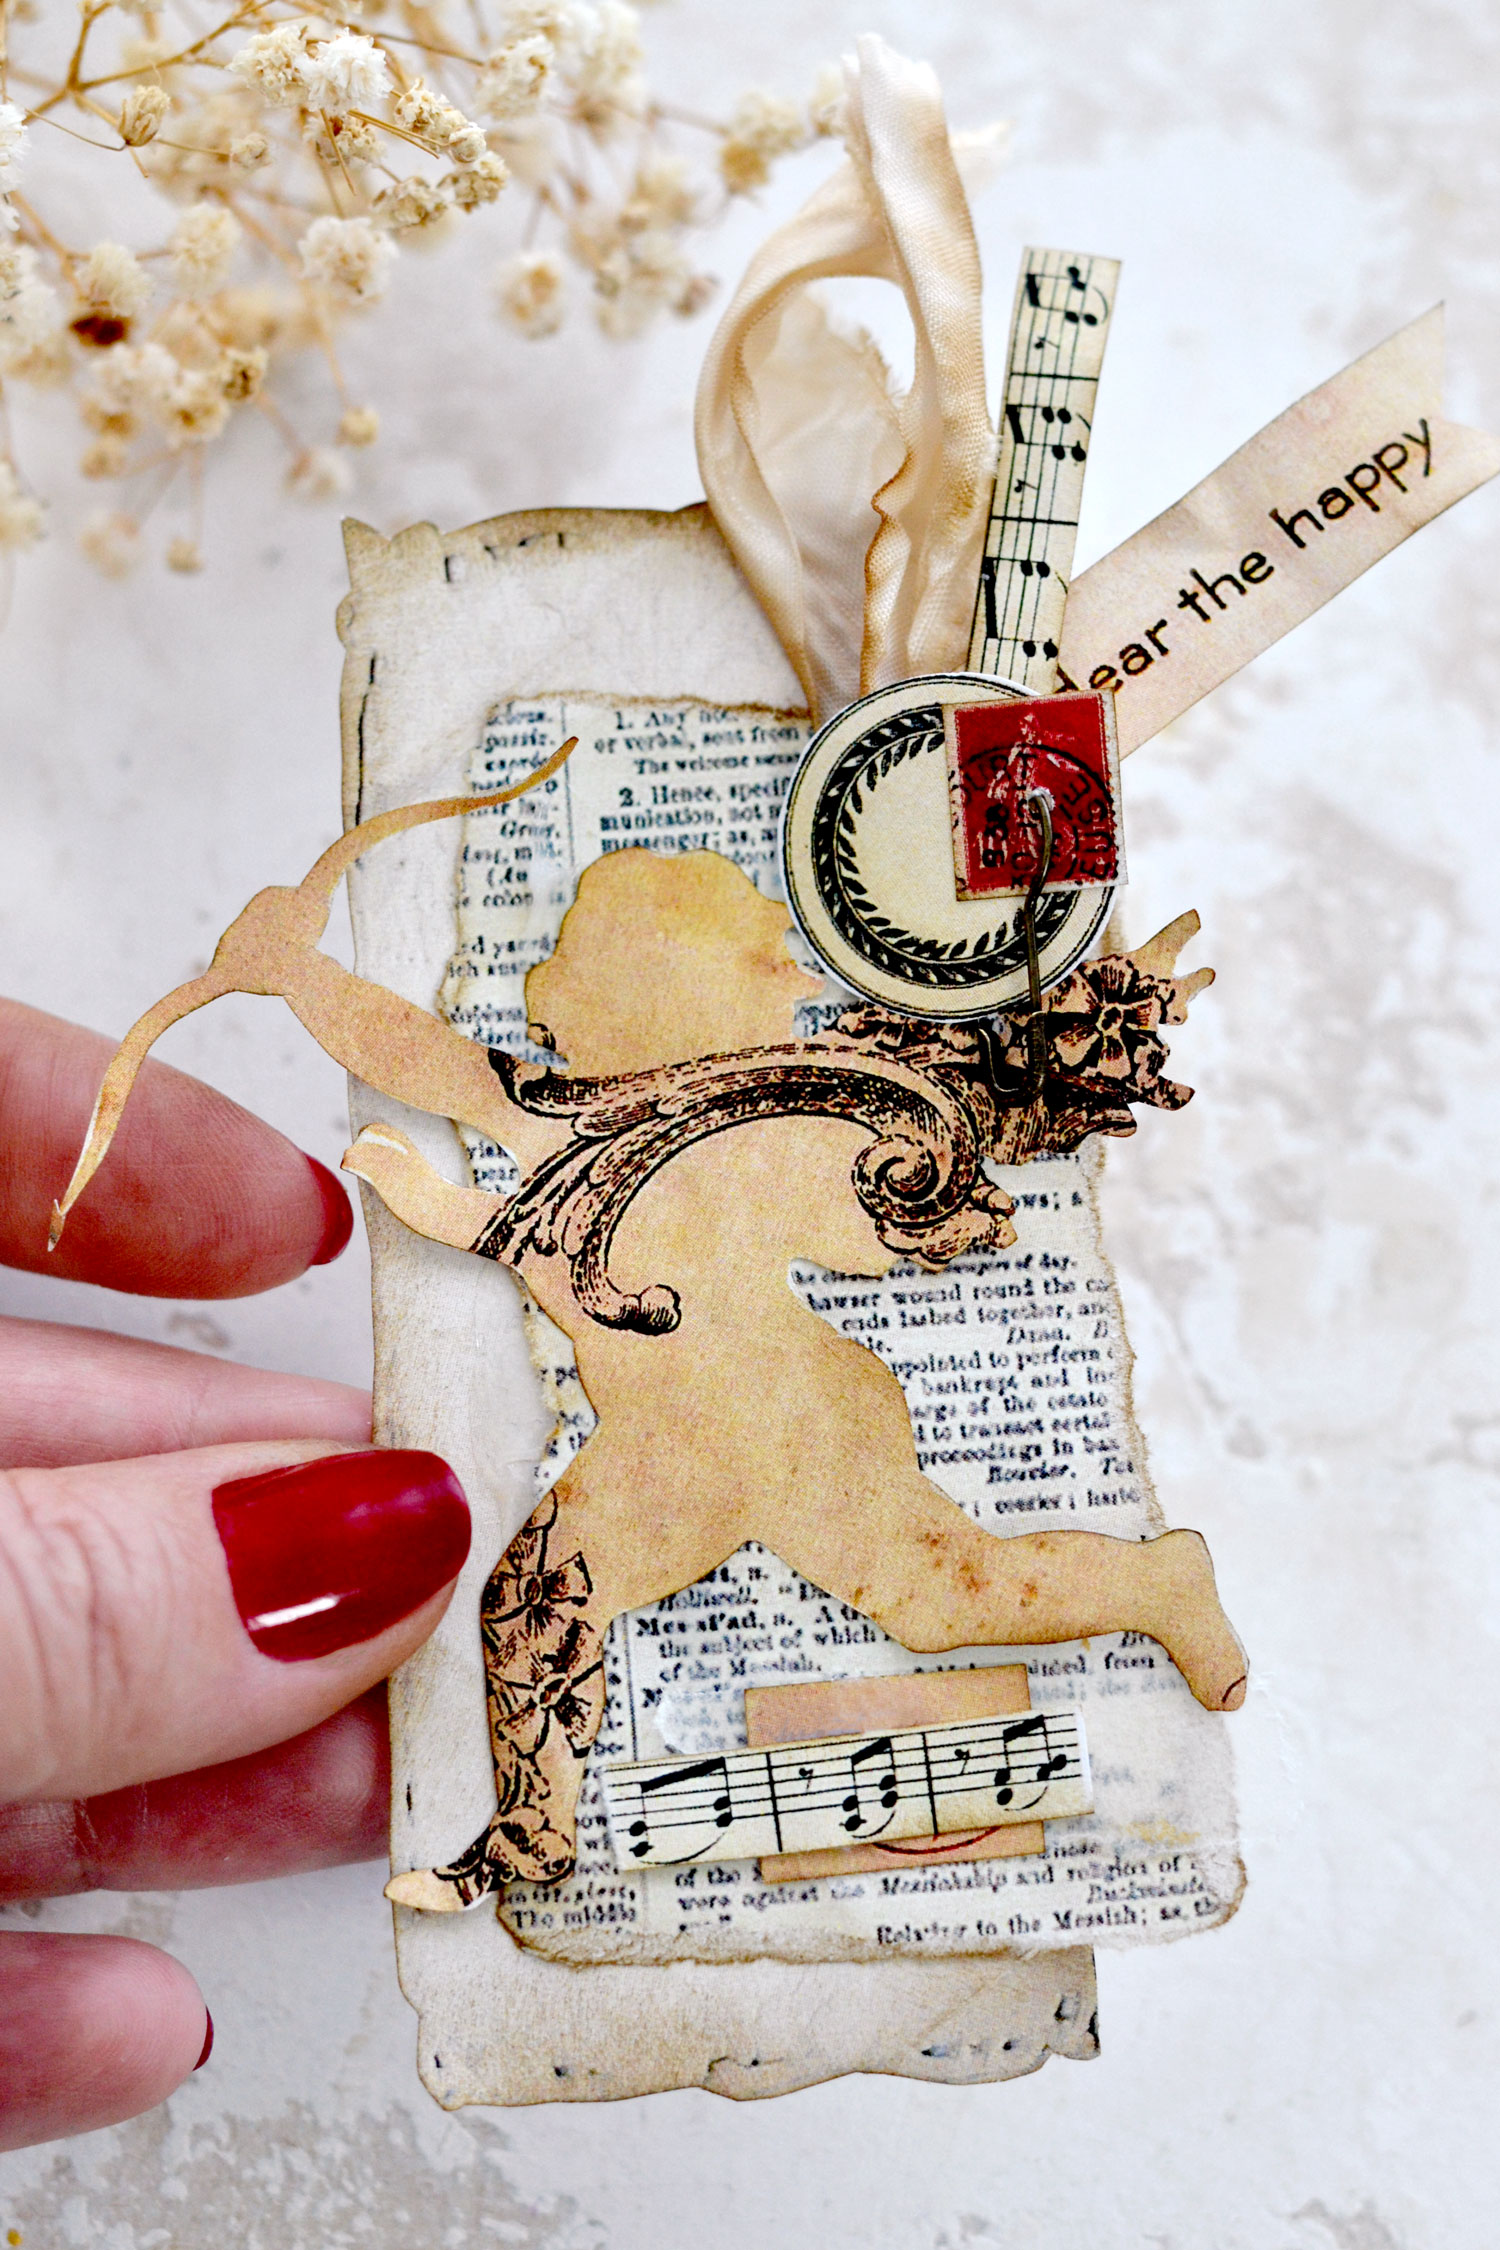
It will be hard to pick a favorite, so you can just start including them in your creative projects to see which you love the most! Just to give you a few ideas, you can easily use one of these adorable Cupid clusters to create a gorgeously vintage tag using other scrap pieces of paper that you have around. I love using ephemera paper, dictionary pages, sheet music and even torn pieces of tracing paper to add a little bit of sheerness. Use some of the smaller paper elements from the printable that I created for you to also decorate the tags, you will be able to create a more cohesive style around these beauties.
You can use a gorgeous vintage heart cluster to decorate one of your junk journal pages, along with some additional scrap pieces of coffee-dyed gauze or even some cheesecloth to create more interest. And of course, if you want to use the clusters for other projects, you can just omit the Valentine’s Day related elements, this will give the whole assembly a more neutral vibe!
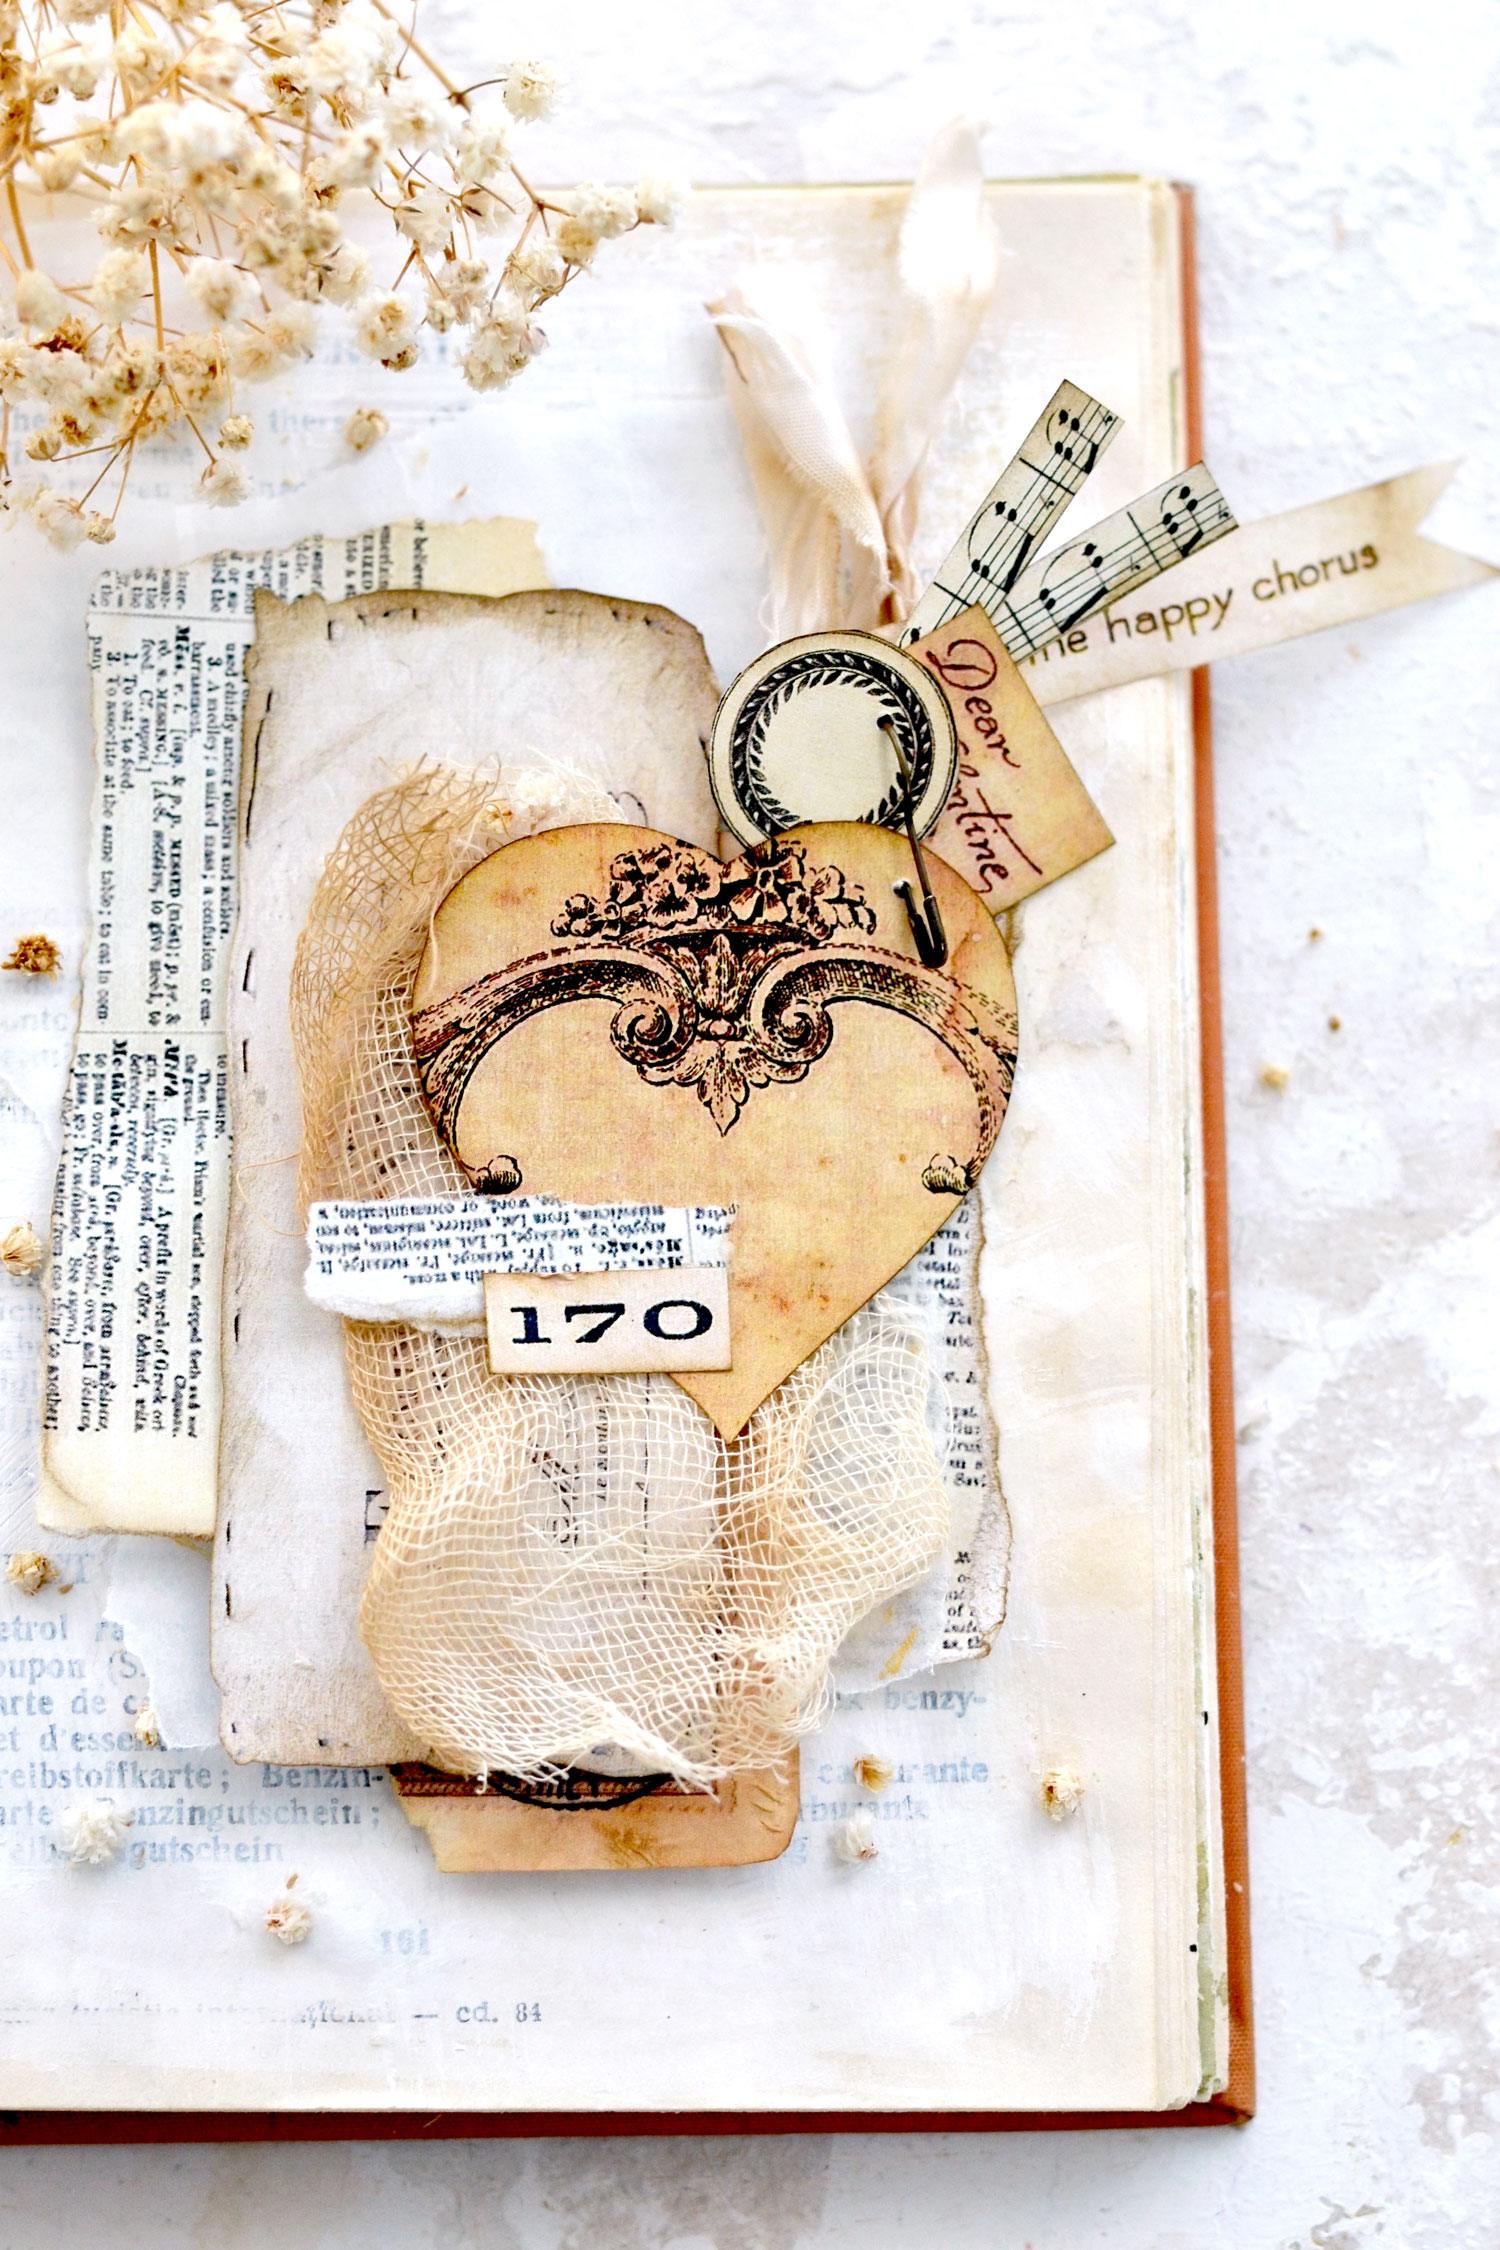 I hope you will love this Valentines Paper Crafts project and decide to give it a try, these beauties will instantly add a touch of charm to any of your DIY creations! You might also like this DIY Valentine Pop Up Card HERE.
Happy crafting,
Diana | Dreams Factory



Michelle says
Dear Graphic Fairy, Thank you so much for the most charming Valentine cluster images. So kind of you to share your very unique talents with the world. Hope your Valentine’s Day is a lovely one, as with this freebie you have made my family and friend’s recipients of a little lovely joy on this day. Take care, Michelle 🙂
Karen Watson says
Thanks so much Michelle! I hope you have a wonderful Valentine’s Day too!
Sharon Madson says
Thank you for the freebie and the inspiration! They are so pretty, and I can’t wait to try them.
Karen Watson says
Have fun trying these Sharon!
penny hodgin says
OH MY GOSH so cute and elegant thanks for sharing
Karen Watson says
I’m happy that liked Diana’s sweet project!
Linda says
This is such a lovely project! thank you!
Karen Watson says
Have fun making these Valentine pretties Linda!
Debi says
These are beautiful. Really different. I love them. Many thanks for the free printable. I can’t wait to make some. Debs. 😊
Karen Watson says
I’m glad you enjoyed Diana’s lovely tutorial Debi!