Hello, all you wonderful Graphics Fairy readers – Heather from Thicketworks here with my Vintage Industrial Finish Technique!
The amazing creative team at Heirloom Traditions Paint provided the products for this project, and has sponsored this post.
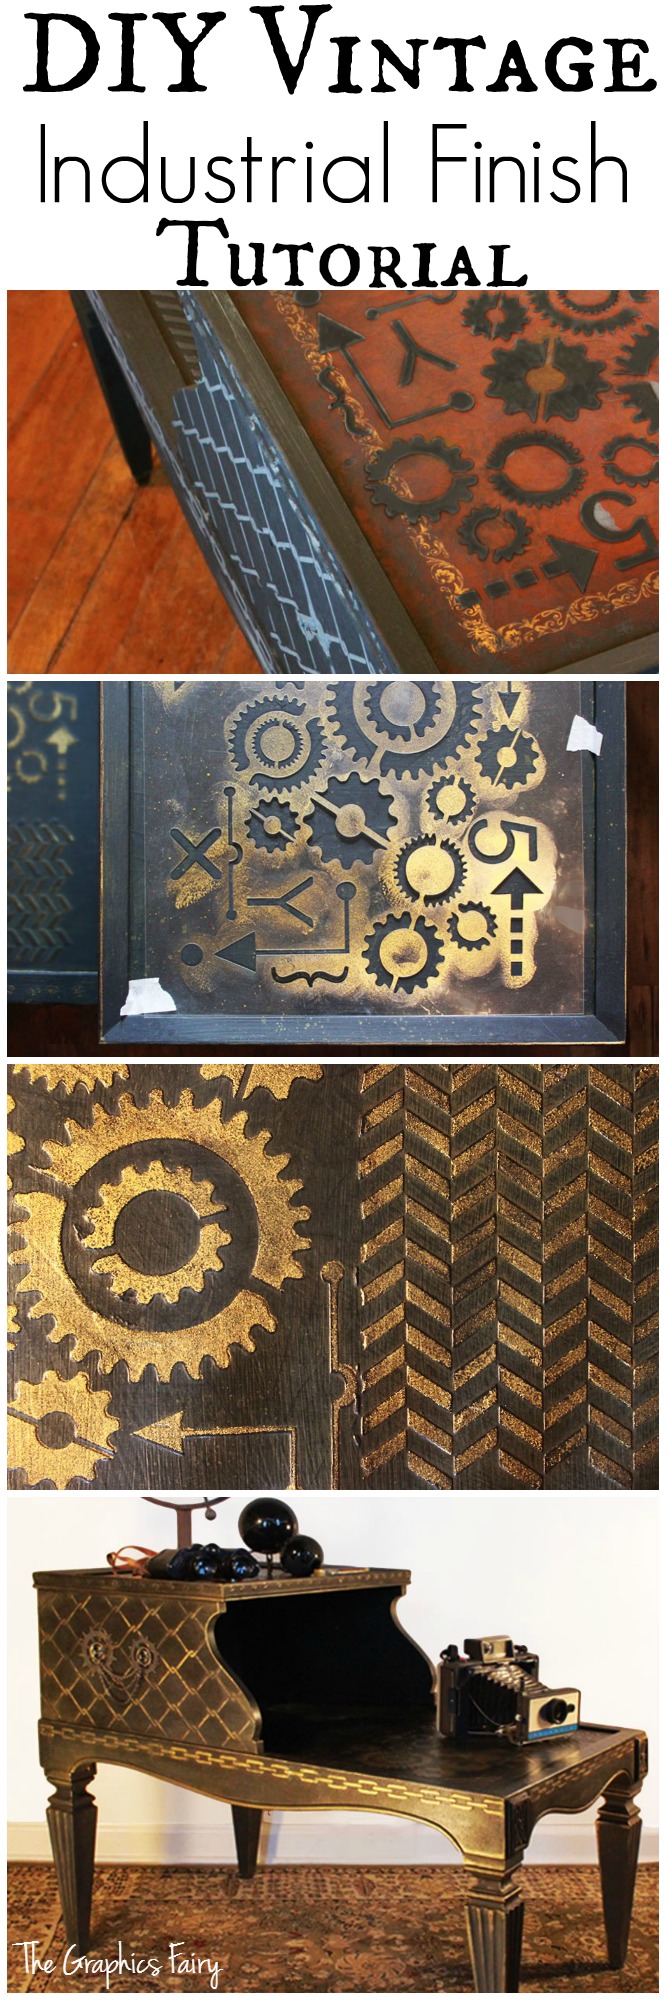
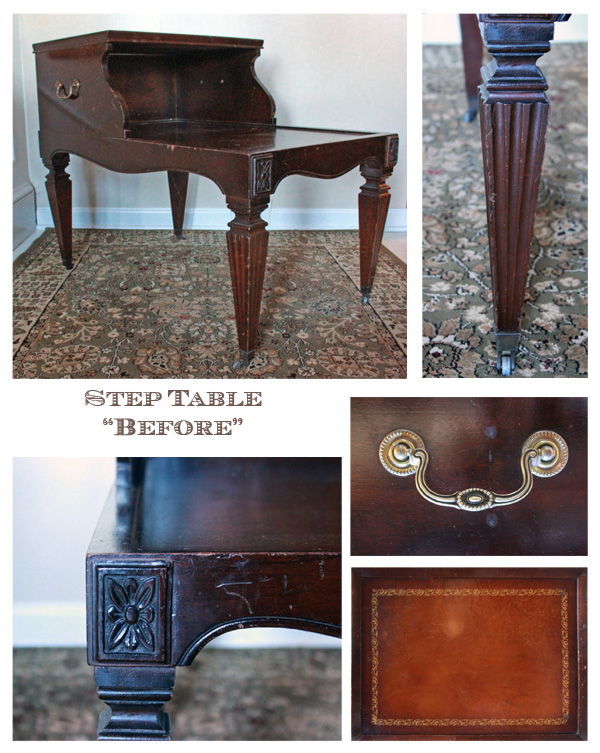
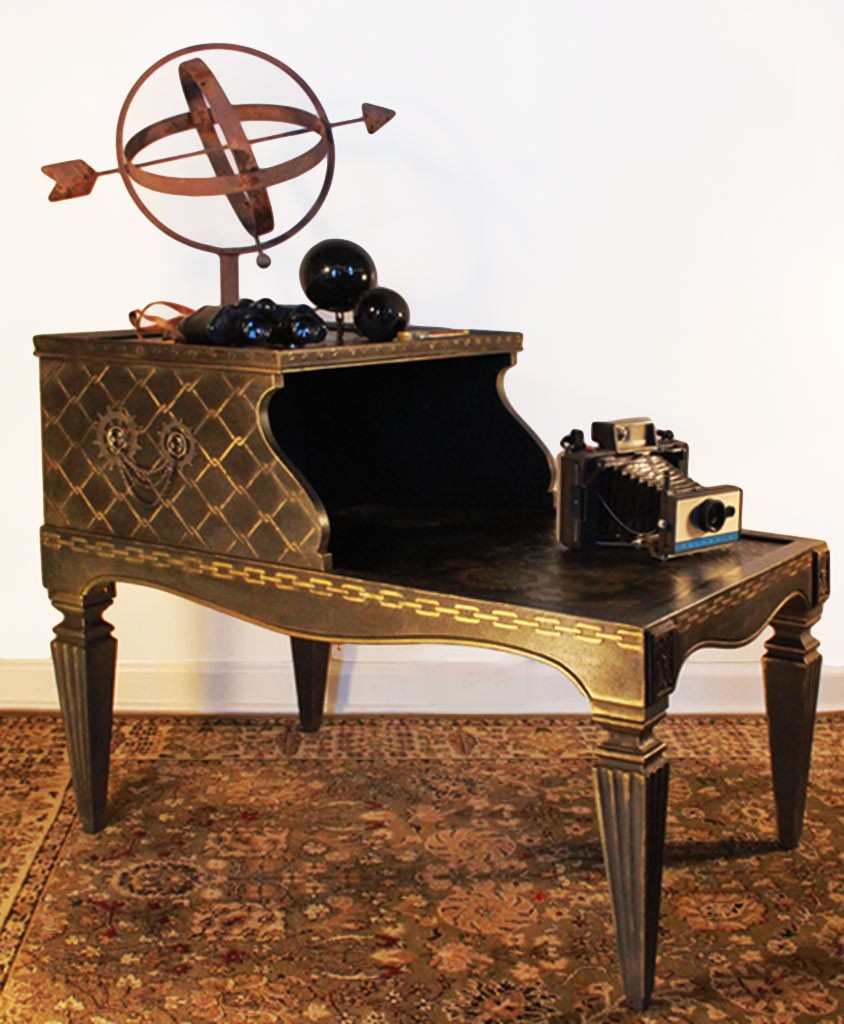
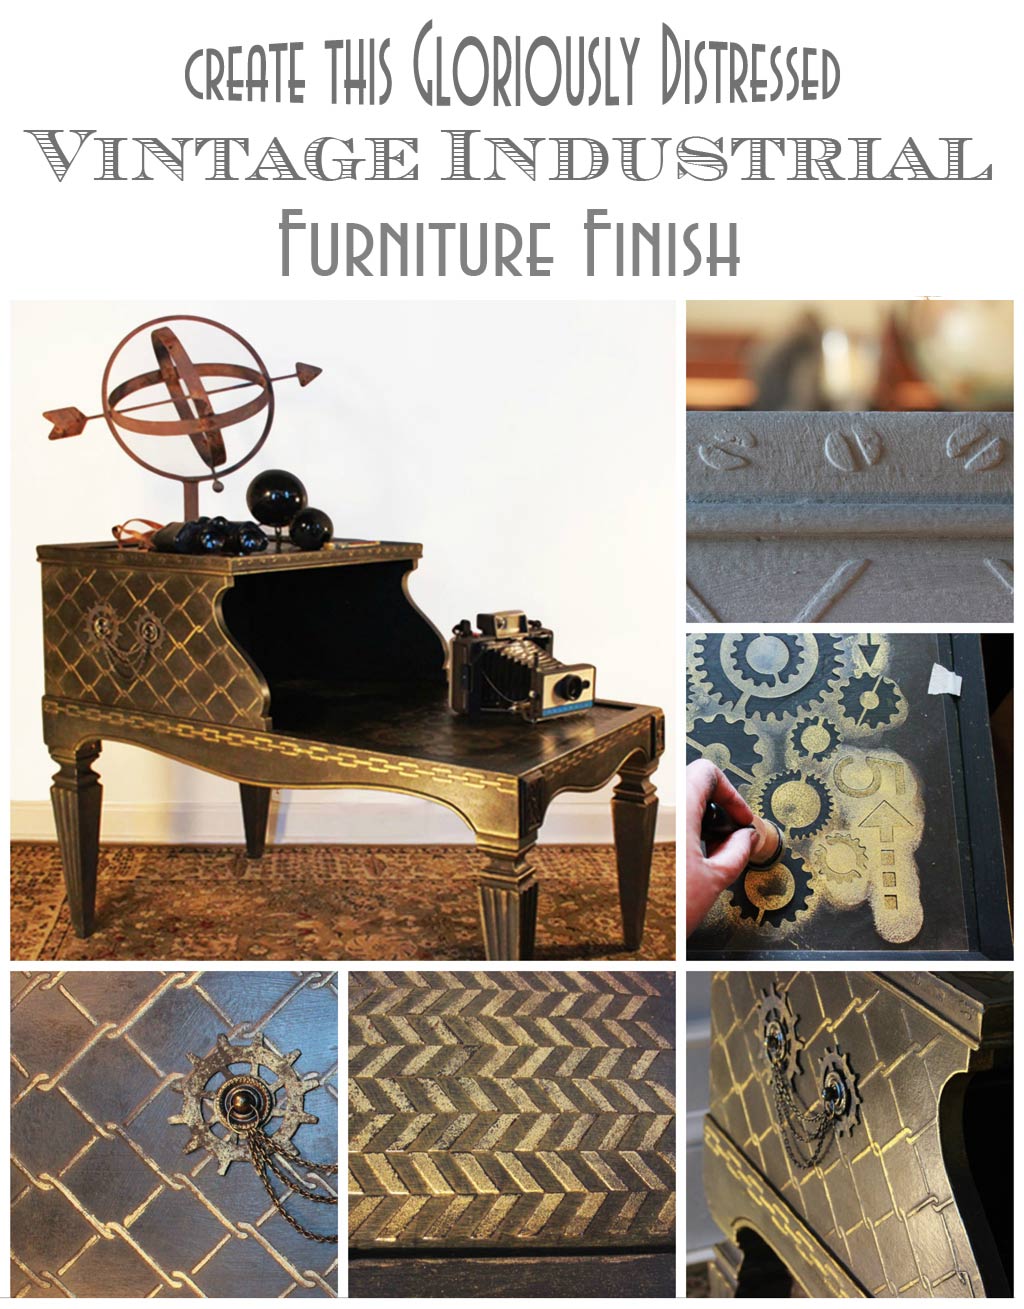
When this little step table made its way into my inventory, I knew something unusual and funky just had to be done with it. There’s a curious mixture of masculine and feminine aspects to this piece – flowing lines and robust rectangles all co-existing in an odd harmony.
I can relate to quirkiness, and knew we could collaborate nicely!
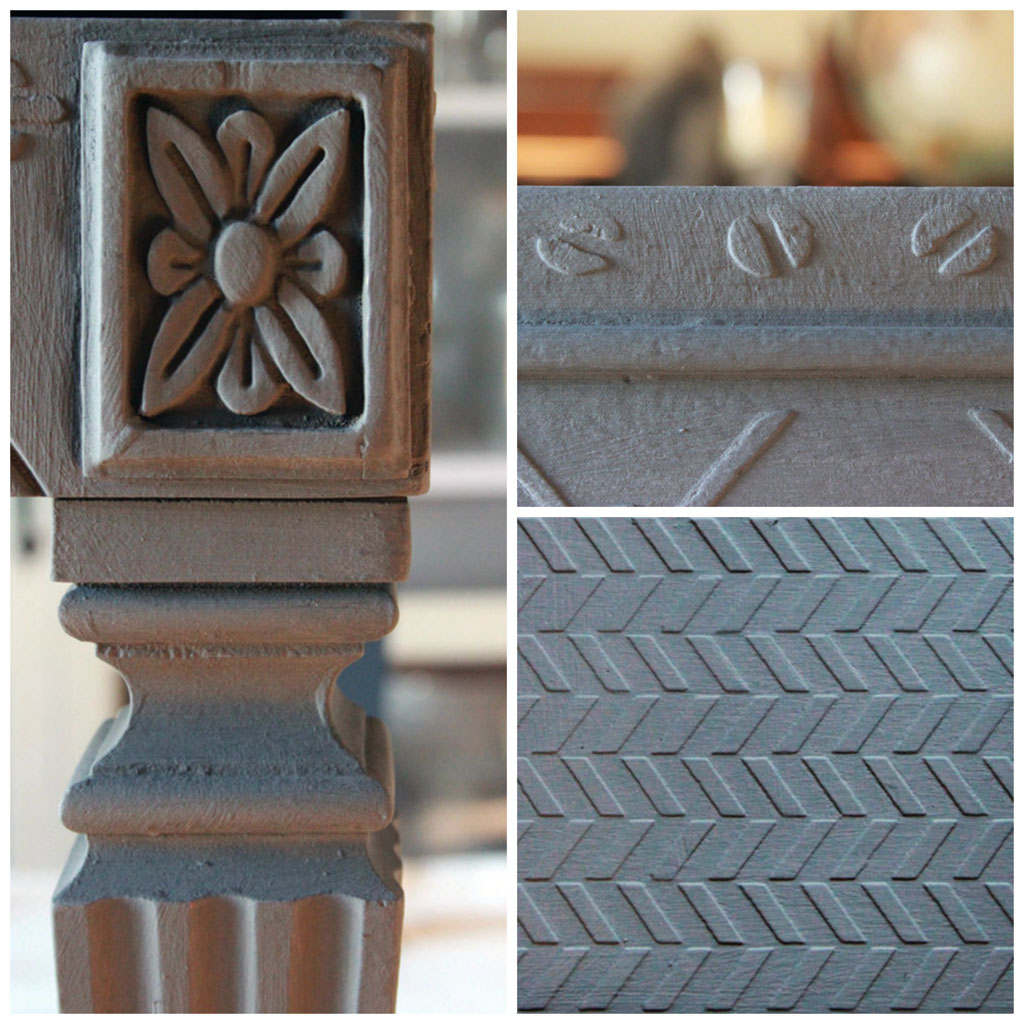
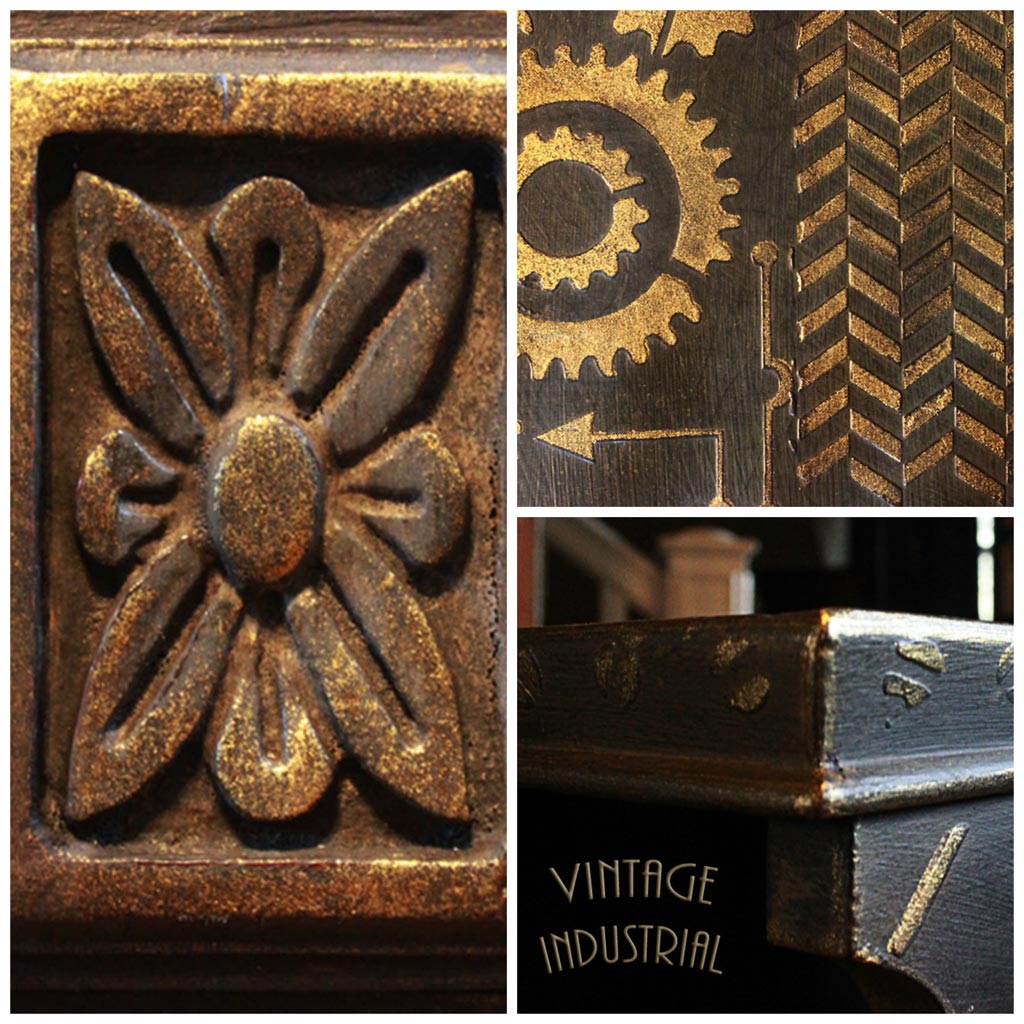
The carved detail was yummy, and begged to be accentuated.
If you would like to create a similar finish, here’s a list of what you’ll need:
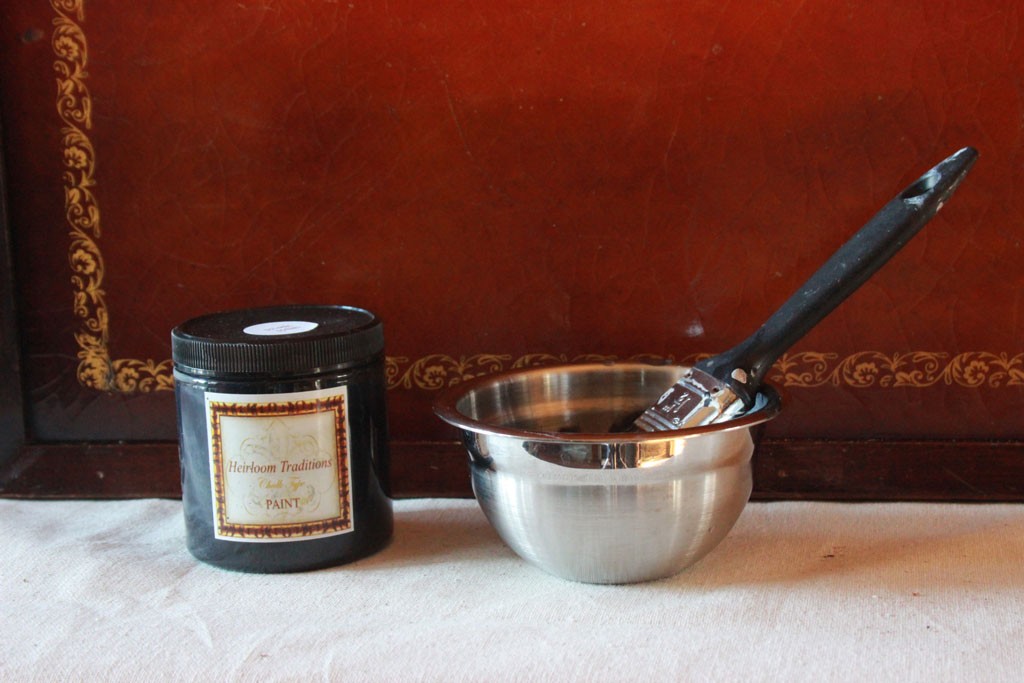
- Heirloom Traditions Chalk Type Paint: Black Bean
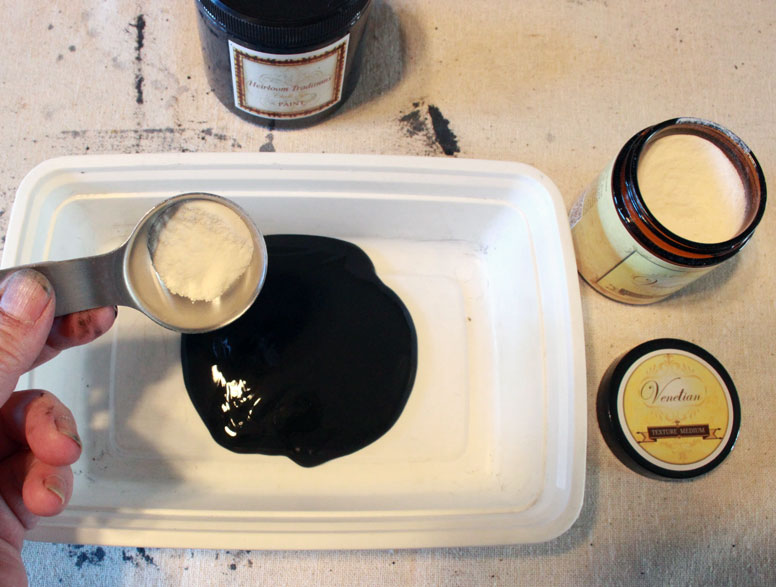
- Heirloom Traditions Venetian Texture Medium
- A container for mixing the Texture Medium & Chalk Type Paint together
- Stencils – (Grab a free SVG file of my Chain Link Fence stencil here)
- Low tack tape for securing the stencils
- Bondo Spreader or similar for applying Texture Medium through the stencils
- A brown paper bag
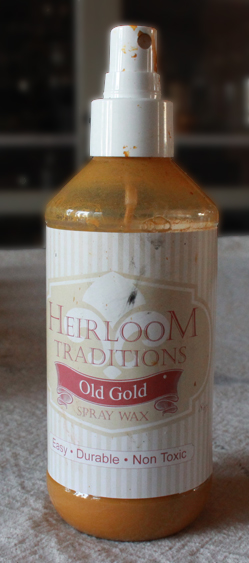
- Heirloom Traditions Old Gold Spray Wax
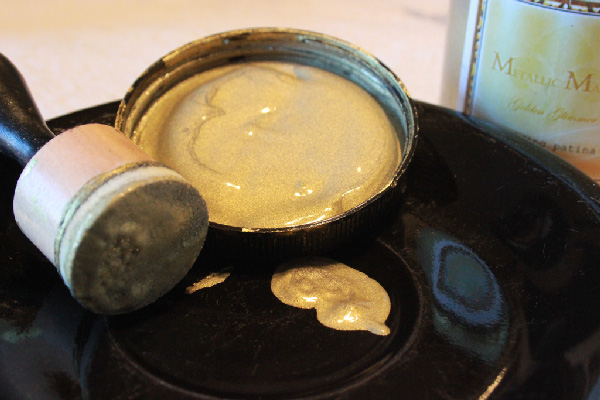
- Metallic Masters Gilding Patina: Golden Glimmer
- A smooth sponge applicator for applying the Gilding Patina
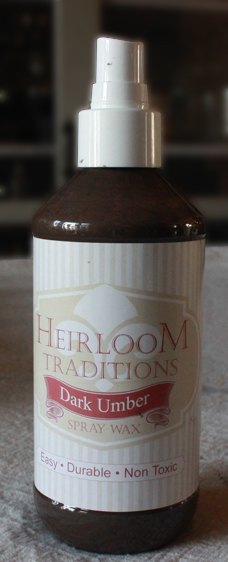
- Heirloom Traditions Dark Umber Spray Wax
- Heirloom Traditions Soft Wax: Clear
- Best Chalk Brush: Medium. (For wax applications)
- Any old paint brush to apply the Chalk Type Paint
- Assorted clean rags for wiping back the Spray Waxes and buffing the Soft Wax –
(I’ve become partial to microfiber rags for this: they help create a soft sheen quickly) - Optional: Rustoleum Spray Paint: Oil Rubbed Bronze for the hardware
How-to:
- Paint your piece with the luscious Black Bean Chalk Type Paint. I applied two coats to the body, but left the Faux-leather panel bare as an experiment. (I was curious how the Venetian Texture would adhere to the unpainted surface. Result: it adheres like epoxy – perfect!).
2. Decide where you wish to stencil patterns onto the surface, and tape them in place.
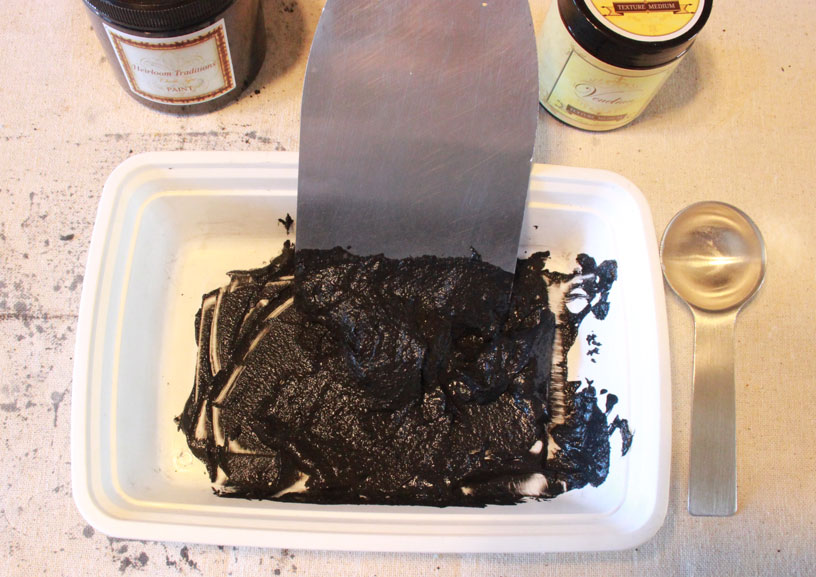
3. Mix up a batch of Venetian Texture Medium. Typically, two tablespoons per 8 ounces of paint is ideal. I added a bit more because I’m afflicted with the ‘more is better’ virus.
4. Mix the medium into the paint thoroughly, using whatever implement you have handy.
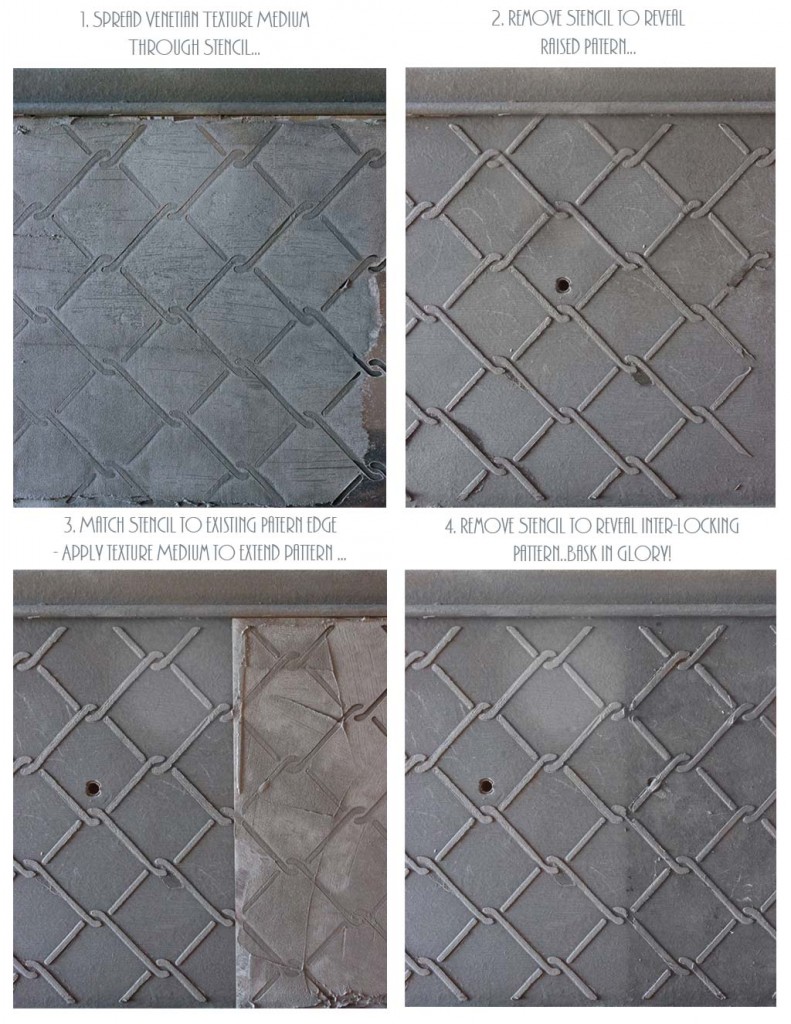
5. Apply the Texture Medium through the stencil to create a raised pattern. Work in batches: the medium hardens relatively quickly.
If you are using the Chain Link Fence stencil provided, here’s how to create a seamlessly repeating motif with it:
6. Once you have created the patterns you like, allow the Texture Medium to dry thoroughly.
Overnight is best, to ensure proper curing.
7. Paint Black Bean over the entire piece, coating the stenciled patterns.
8. Allow the paint to dry completely.
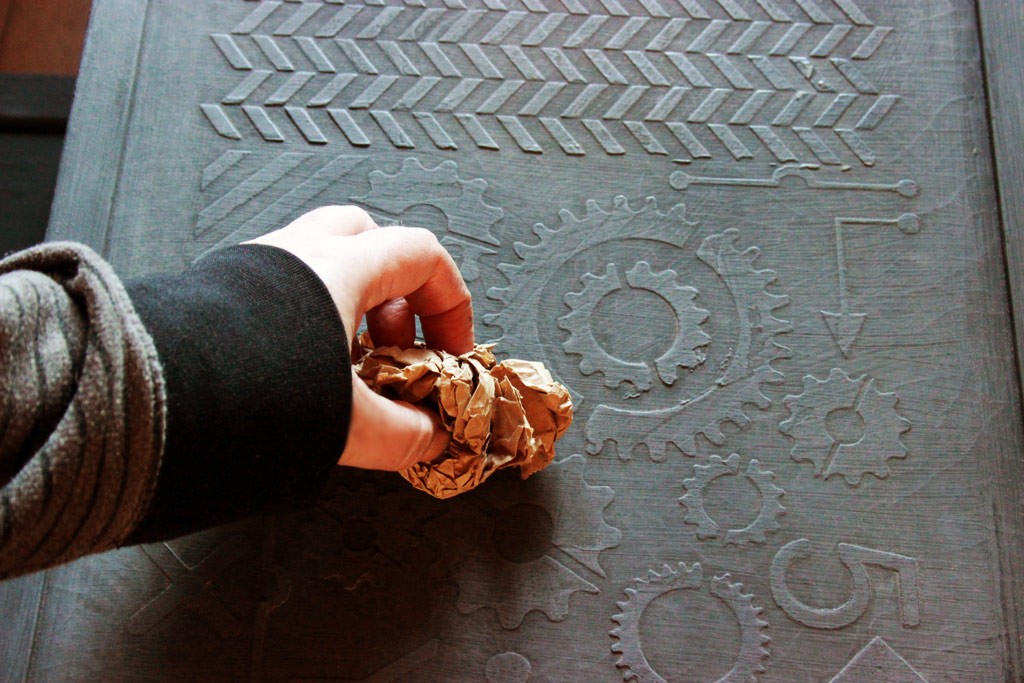
9. Firmly buff the surface with a crumpled brown paper bag, to create a smooth sheen:
Now it’s time for some Spray Wax fun!
10. To add layers of history, apply a coat of Old Gold Spray Wax, then wipe back with a damp rag while the wax is still wet.
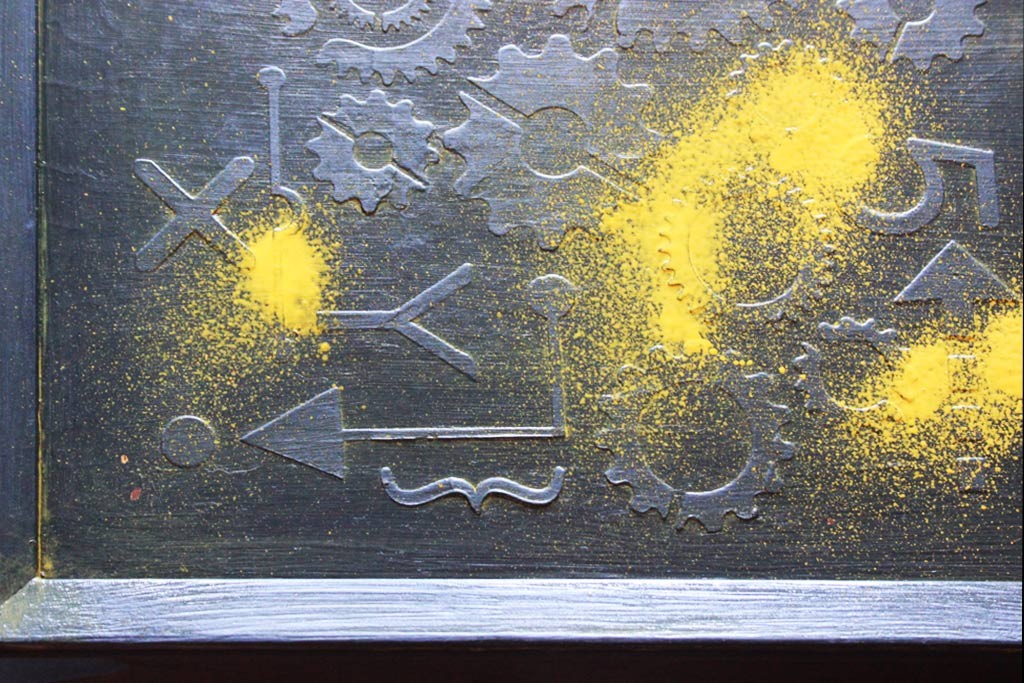
11. I like me some grunge, so I splattered and sprayed wax everywhere! Woo hoo!
(Ok, so I wiped back most of it. Geez…)
Love the resulting patina:
12. Tape the stencil over the raised pattern, matching outlines as closely as possible:
Now for a touch of glamour! Metallic Masters Gilding Patina in Golden Glimmer is luscious…
13. Apply the Gilding Patina to the edges of the piece – use a fingertip or a small brush to highlight anywhere you’d like to see a bit of gleam.
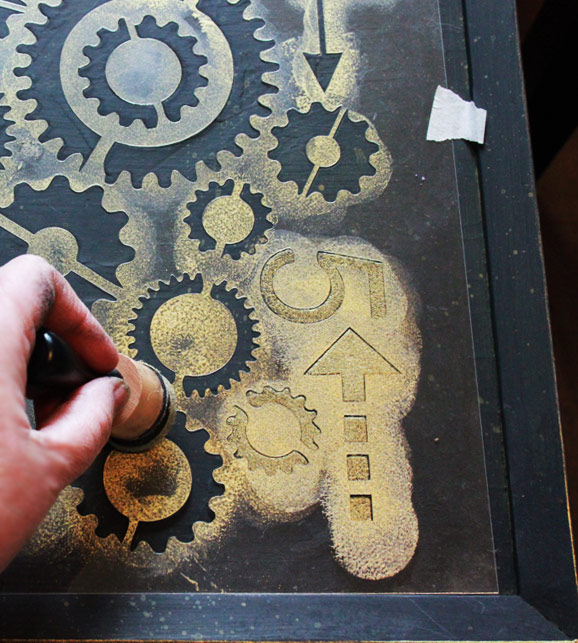
14. Dab a generous layer of Golden Glimmer through the stencils, directly onto the raised surface of the painted Texture Medium:
15. Allow the Gilding Patina to dry – it won’t take long: an hour is sufficient.
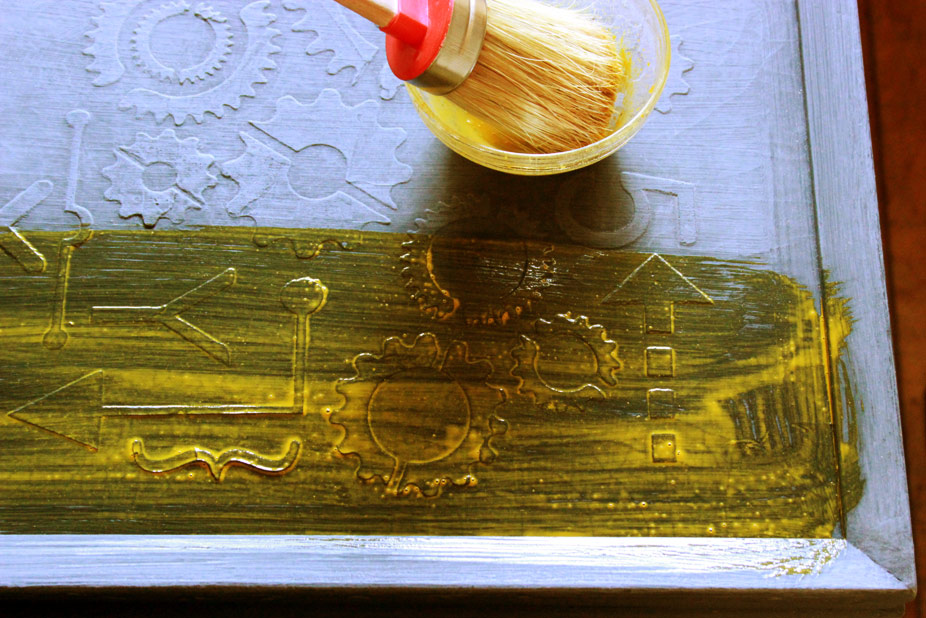
16. Brush a layer of Dark Umber Spray Wax over the entire surface
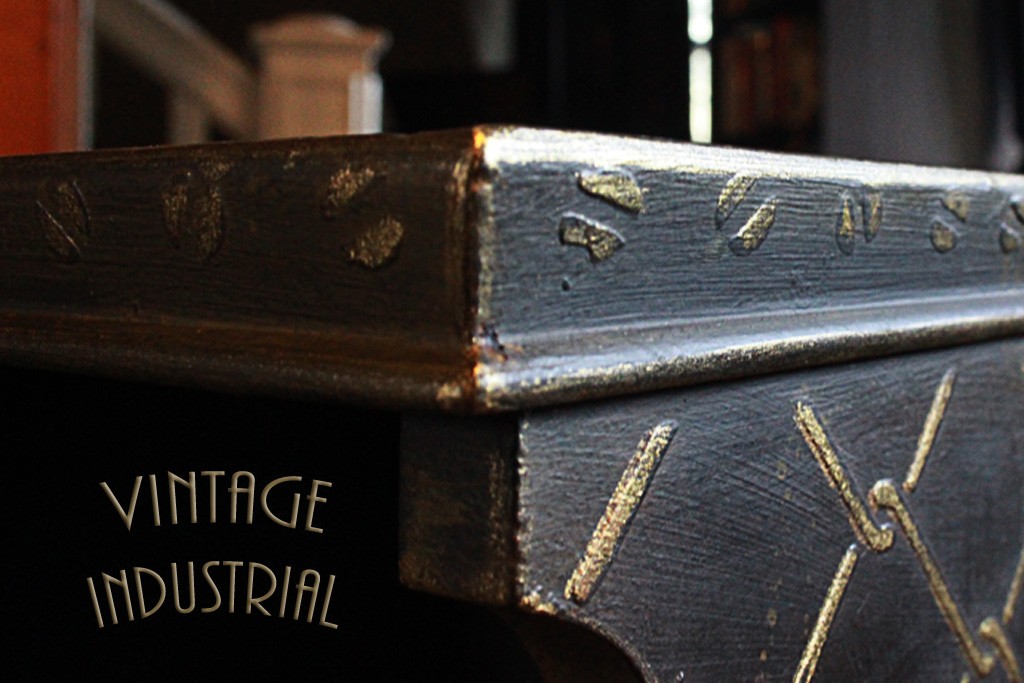
17. Wipe back with a clean, damp rag to add age and mild distressing to the Golden Glimmer:
18. Apply a coat of Clear Soft Wax with your Best Chalk Brush – buff with clean dry rags till it shines!
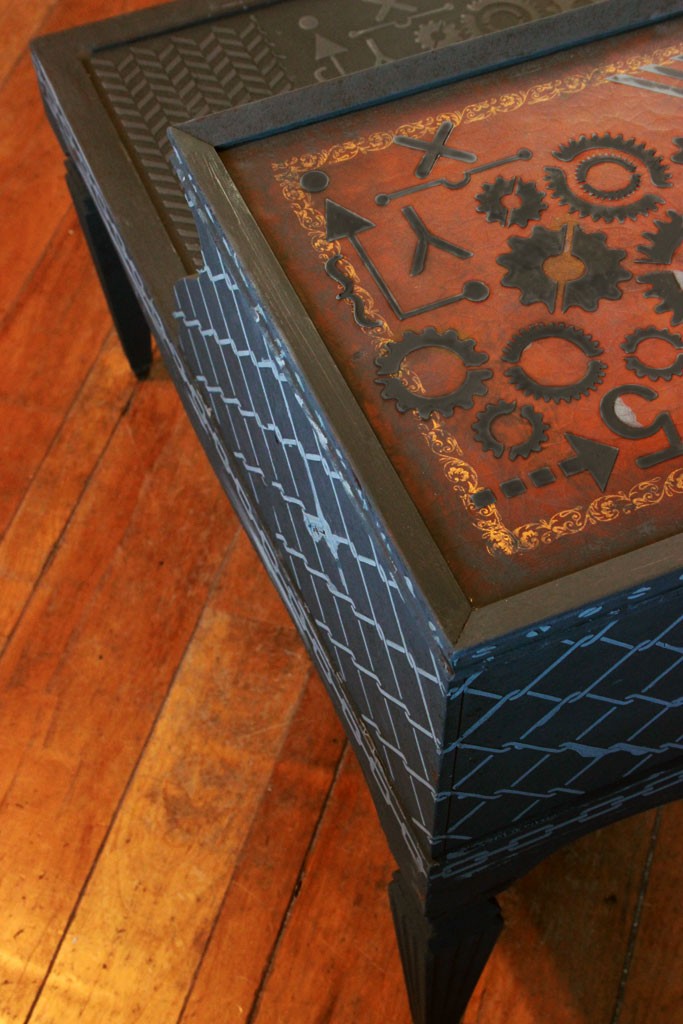
Contain your excitement, (if possible) and admire what you’ve created with your Vintage Industrial Finish Technique!
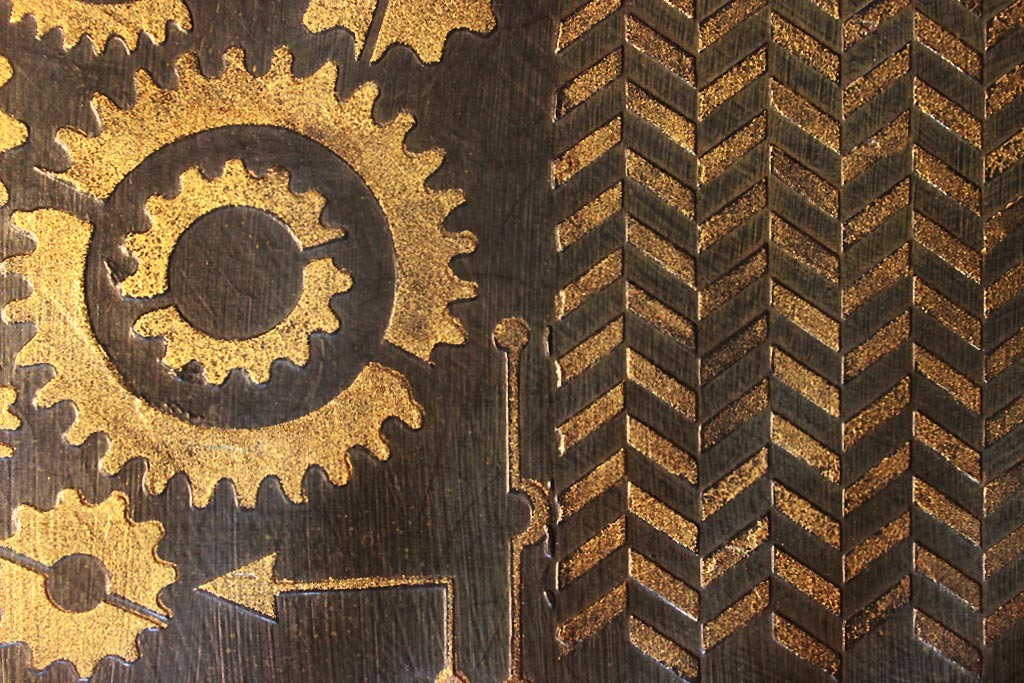
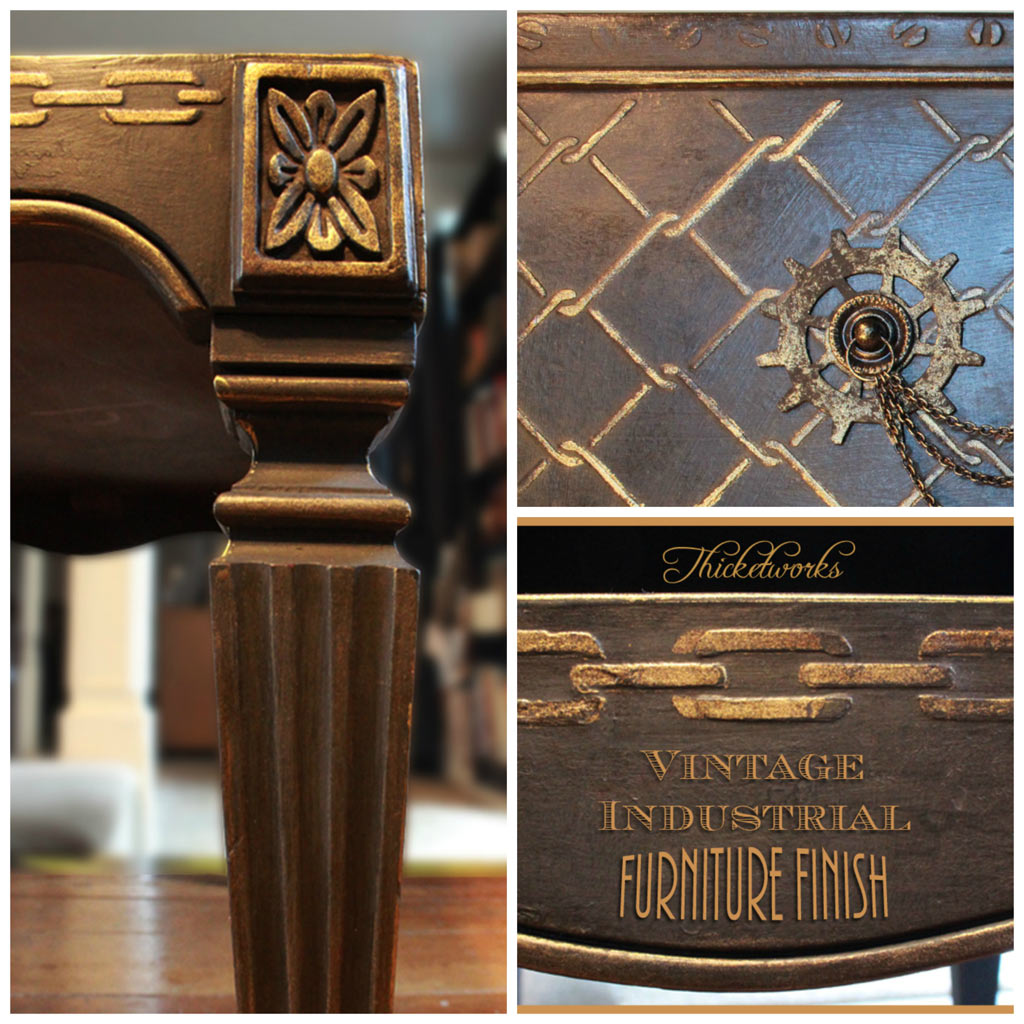
Can’t express how enamored I am of this finish – it reminds me of ancient gold-leafing, weathered and mellowed by time…
I altered the hardware to create a delicate counterpoint to the industrial motifs, and to echo the femininity of the floral medallions:
Adding the Dark Umber Spray Wax, then finishing with Clear Wax creates instant history:
Venetian Texture Medium proved to be a valuable ally in my relentless quest for aged and interesting surface treatments!
For more information on Heirloom Traditions Products, please visit www.heirloomtraditionspaint.com
*Full Disclosure: Heirloom Traditions supplied their products to be used in this project, and they sponsored this post – however, I supplied the elbow grease, rescued furniture, design concept, and opinions! All of which reflect my own point of view, regardless of affiliation…
I’m so happy to have been able to share this process with you – I hope you find it useful!
Thank you for joining me on this little exploration of my Vintage Industrial Finish Technique!
If you enjoy transforming ordinary objects into curious treasures, please visit Thicketworks, for more oddly charming projects and methods…you’re always welcome there.
Take Care,
Heather




Cheryl says
First of all, WOW!!! Second, girl when you going to use your amazing vision and design stencils for us peasants to purchase?
Heather Tracy says
Hi Cheryl! You’re funny! I would love to develop a way to share my stencil designs…creating them is such a thrill. Working on it – stay tuned…Thanks for being so sweet.
Donna says
Great Job!
Where did you locate your steam punk stencil? Been looking and to no avail…
Thank you!
Heather says
Hi Donna – I designed the stencils used in this project, and cut them with an eClips machine. I couldn’t find suitable steampunk stencils, either! 🙂
Donna says
Thank you!
I really dig your steam punk mixed media, absolutely gorgeous!!
Donna
Tracey says
This is amazing!!! I love your vision and then you executed it with crazy precision!!!! Thanks for all the wonderful info!
Heather says
Tracey – coming from you, that makes me VERY happy! I appreciate your kind words and look forward to your next fantastic project @ Traceys Fancy!