Vintage Portrait Tags
Hey guys. One of our talented Mixed Media Design Team Members, Wendy from Wendy’s Journal Adventure, created three beautiful Vintage Portrait Tags for us this month. As you know, we feature one new Mixed Media project each week created by one of our beloved tribe of artisans. Our goal is for you to be totally inspired by this series! Therefore, please make sure you check out the video tour at the bottom of the page. Please scroll all the way down to see it. Are you ready to be inspired? I will step out of the way and let Kelly tell you all about her project…
Vintage Tags
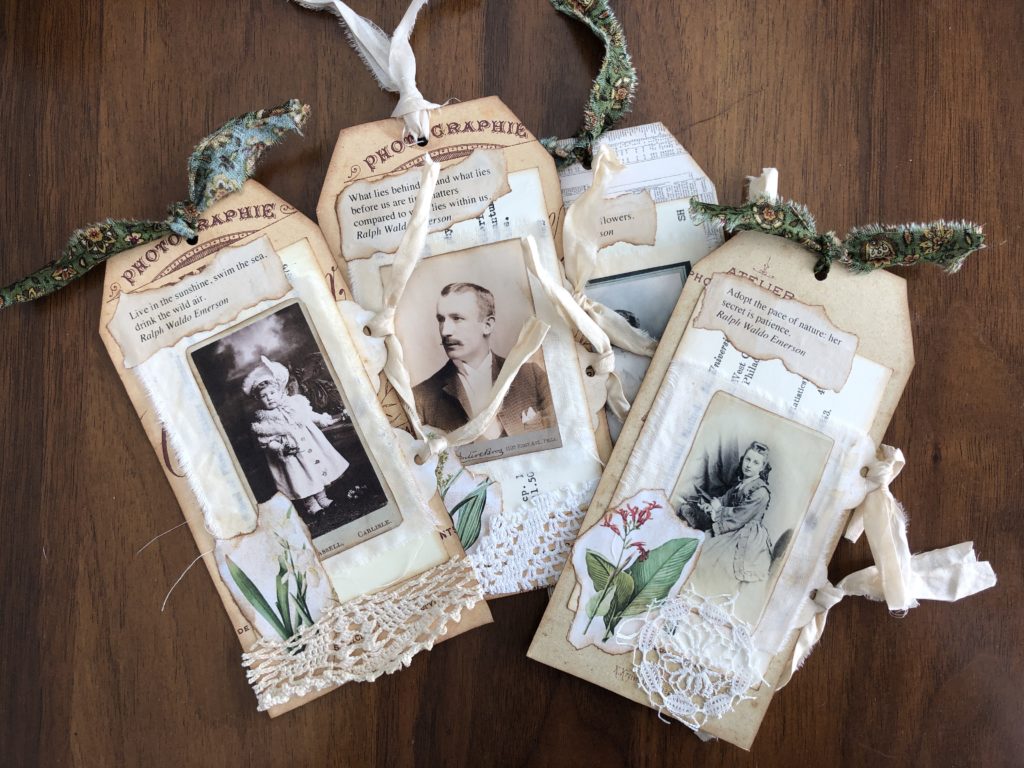
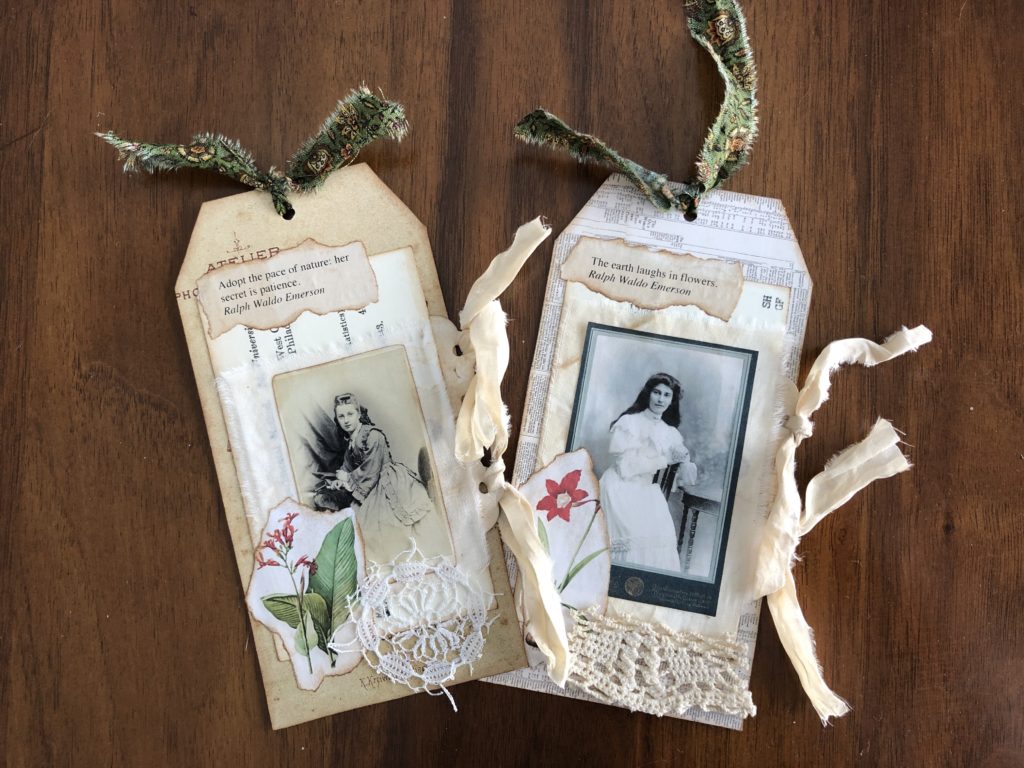
Hi everyone. Leo and I are so happy to share our first design team project for The Graphics Fairy. I’m excited to be part of this new Mixed Media and Collage group and I sure hope my projects will inspire you to give these techniques a try. With that in mind I’m sharing what I refer to as my vintage portrait tags. I’ve used three digital kits on these tags, and the links for each is below as they are mentioned.
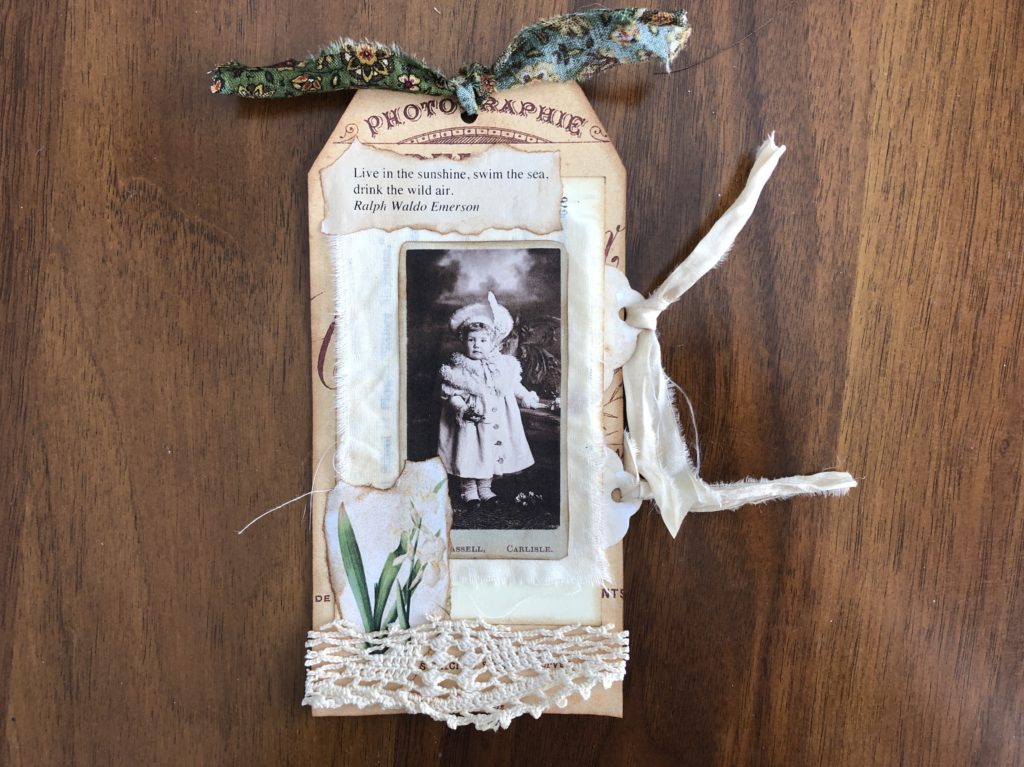
The first step is to create a tag base by cutting a piece of cardstock to 3.5 x 7 inches. I’ve used vintage ledger looking cardstock. The ledger image will become the back of the tag. Snip the tag corners to give that classic tag look.
Ephemera Used
The backgrounds for the front of each tag are sourced from the Fall Colors Ephemera kit. I’ve used the images from the back of cabinet cards as the background in three of my tags and I used the background of the newsprint image in one tag.
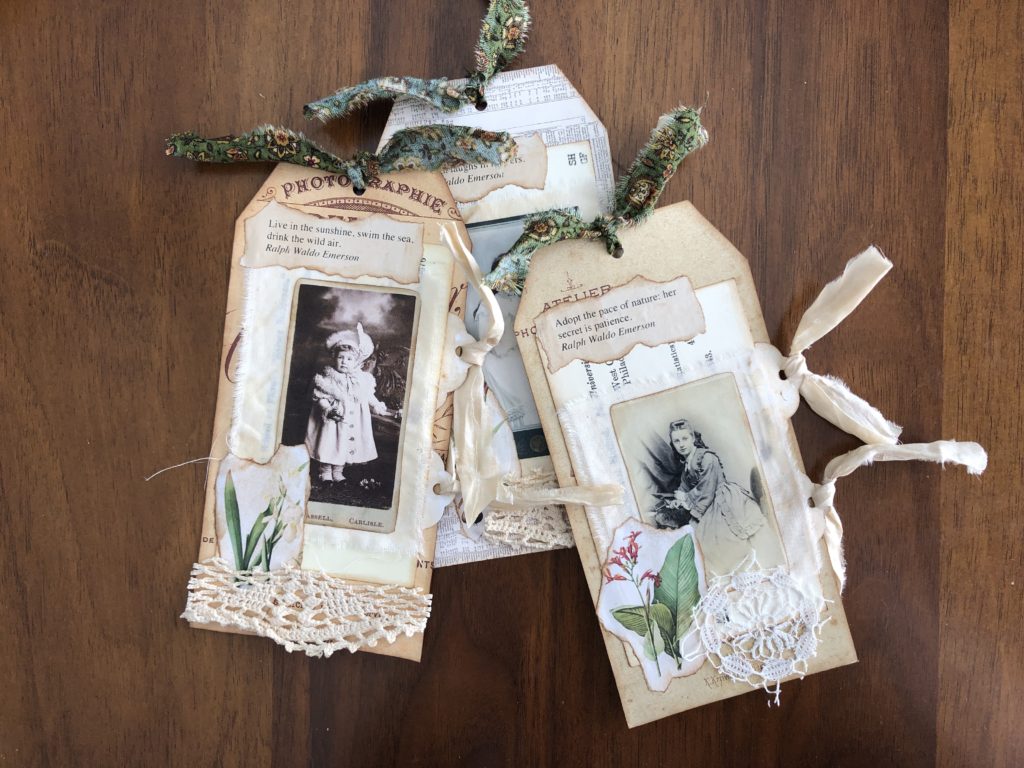
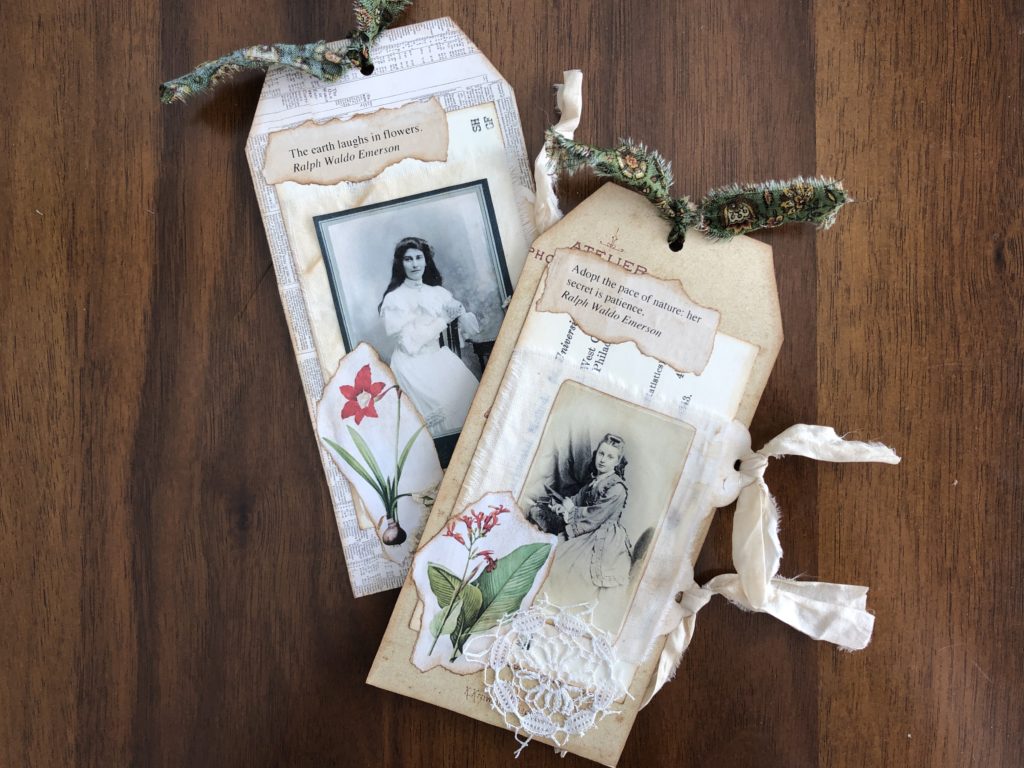
The focal point of each tag is a fabulous vintage portrait. I used the images found in the Antique Portraits 2 digital kit. I mounted the portraits on coffee stained muslin just to give more texture and vintage appeal. These elements were then added to a vintage library catalogue card which doubles as a tuck spot when added to the tag.
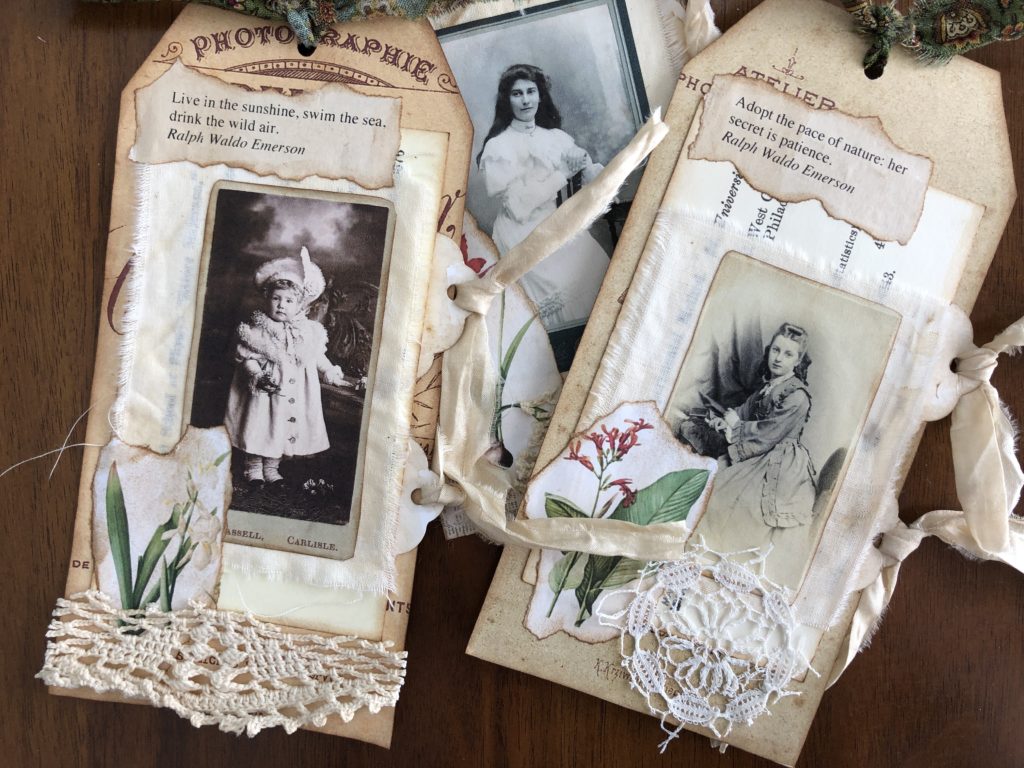 Torn individual flowers taken from the Red, Green, & White Flowers digital kit were then set to the base of the portraits to add the botanical feel I like to include in all my pieces. From there I added a botanical quote to the top of the tag. I then placed a bit of lace at the bottom of the tag to add more texture and to anchor the vintage feel of the tag.
The final step involves punching a hole at the center top of the tag and then adding a torn botanical fabric tie just to finish off the look and the theme. The Graphics Fairy is a perfect fit for me. I strive to stay true to my style and The Graphics Fairy has so many digital images and files that fit beautifully into my vintage botanical design preference. I bet you will find images that suit your style as well.
Video Show & Tell
There is a lot more to see, so please check out the flip-through on The Graphics Fairy YouTube channel:
Thank you all for watching! I hope you enjoyed this quick and easy project and I encourage you to give it a try and add your own personal touches. I am so pleased to be a part of this design team. Please check out my YouTube channel.
Wendy



PI Bar says
These are just lovely tags. Great way to use some fabric scraps too.
graphicsfairy says
Thanks so much 🙂
Rk says
Beautiful tags. Can’t wait to make these. Please share the full video on how to make these. Thanks for the inspiration.
Karen Watson says
Rupa, you can find the Video Tutorial for these over on the Membership site!
rk says
Duh me:) Thanks Karen! I hadn’t looked under Tutorials as I assumed those were only PSE tuts. Thanks for all the fantastic kits/videos/inspiration you ladies serve up every week!!
graphicsfairy says
Thanks so much Rupa 🙂
Kelly says
Truly lovely tags, Wendy!????
graphicsfairy says
Thank you Kelly!