DIY Vintage Watercolor Christmas Tags
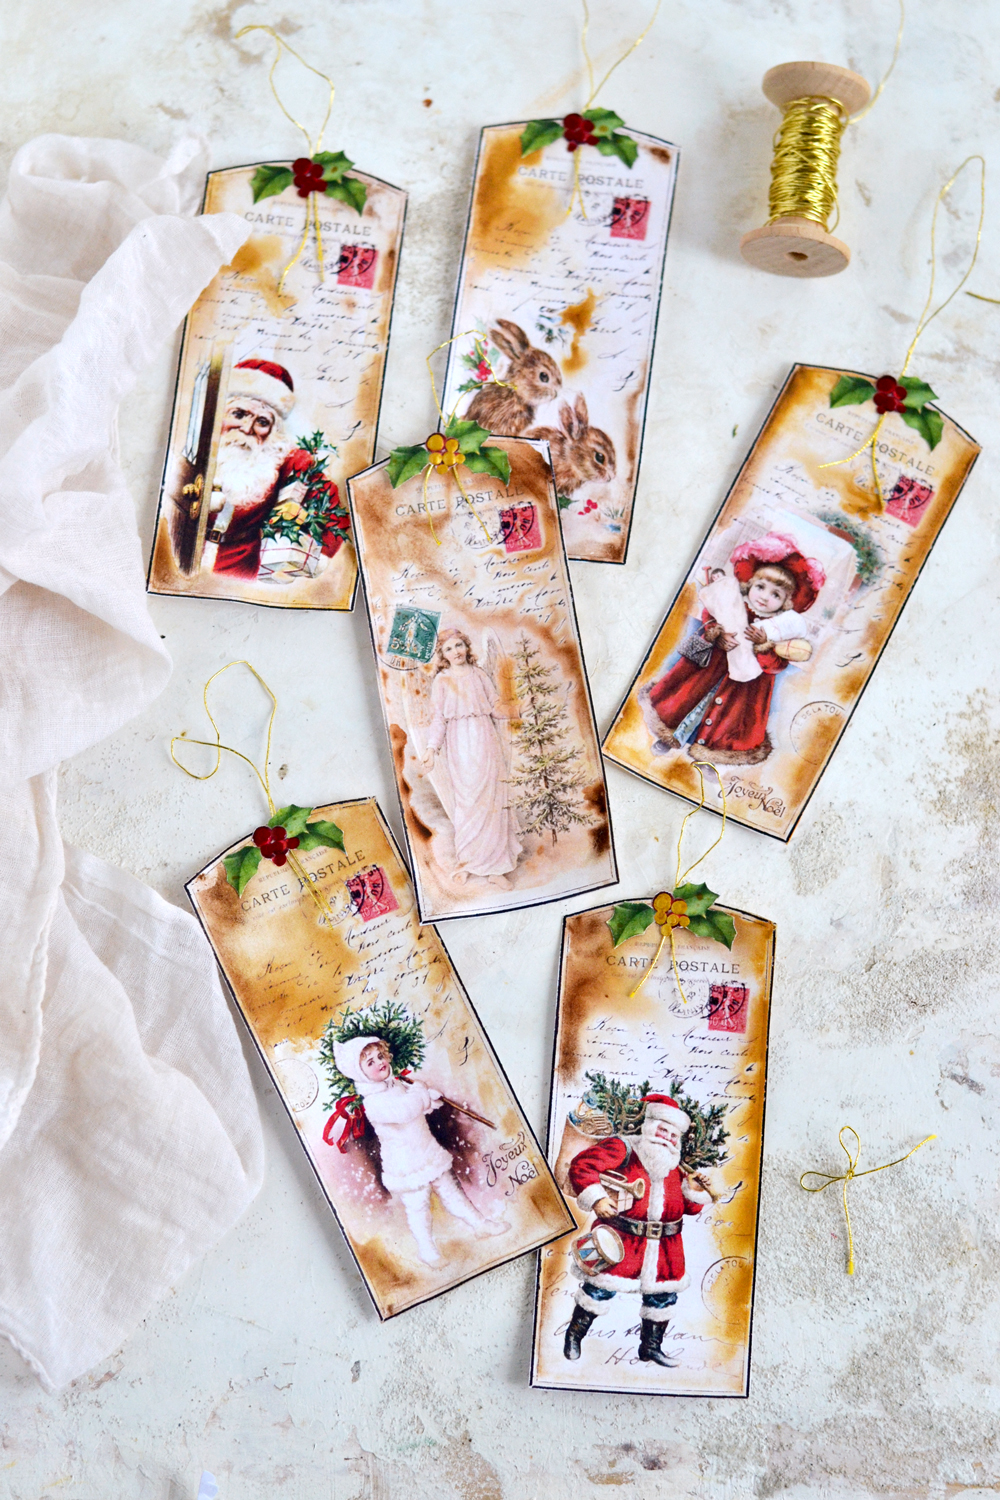
Hello, Graphics Fairy friends! Diana from Dreams Factory here, ready to share another DIY project with you! Today I will be showing you how to make these adorable Vintage Watercolor Christmas Tags using only a handful of supplies. Some of the items that I included in our project today are somehow unexpected (hello, nail polish), but will add that special ‘wow’ factor that will really make our tags shine. And I mean that both figuratively and literally!
You know how I love to keep things as simple as possible when it comes to choosing the colors for my projects and how I usually just go with white or other neutral colors as a starting point. Well, the truth is I actually love doing that throughout the year, when making chic projects for our home, but when it comes to Christmas … that’s another, totally different DIY color story! 🙂 These amazing vintage Christmas images from The Graphics Fairy are totally irresistible and I find myself including them in colored Christmas projects over and over again, year after year!
Don’t believe me? Check these other adorable DIY Christmas projects that I shared so far:
Faux Christmas Postage Stamps | Vintage Gold Christmas Gift Tags | Vintage French Christmas Postcards
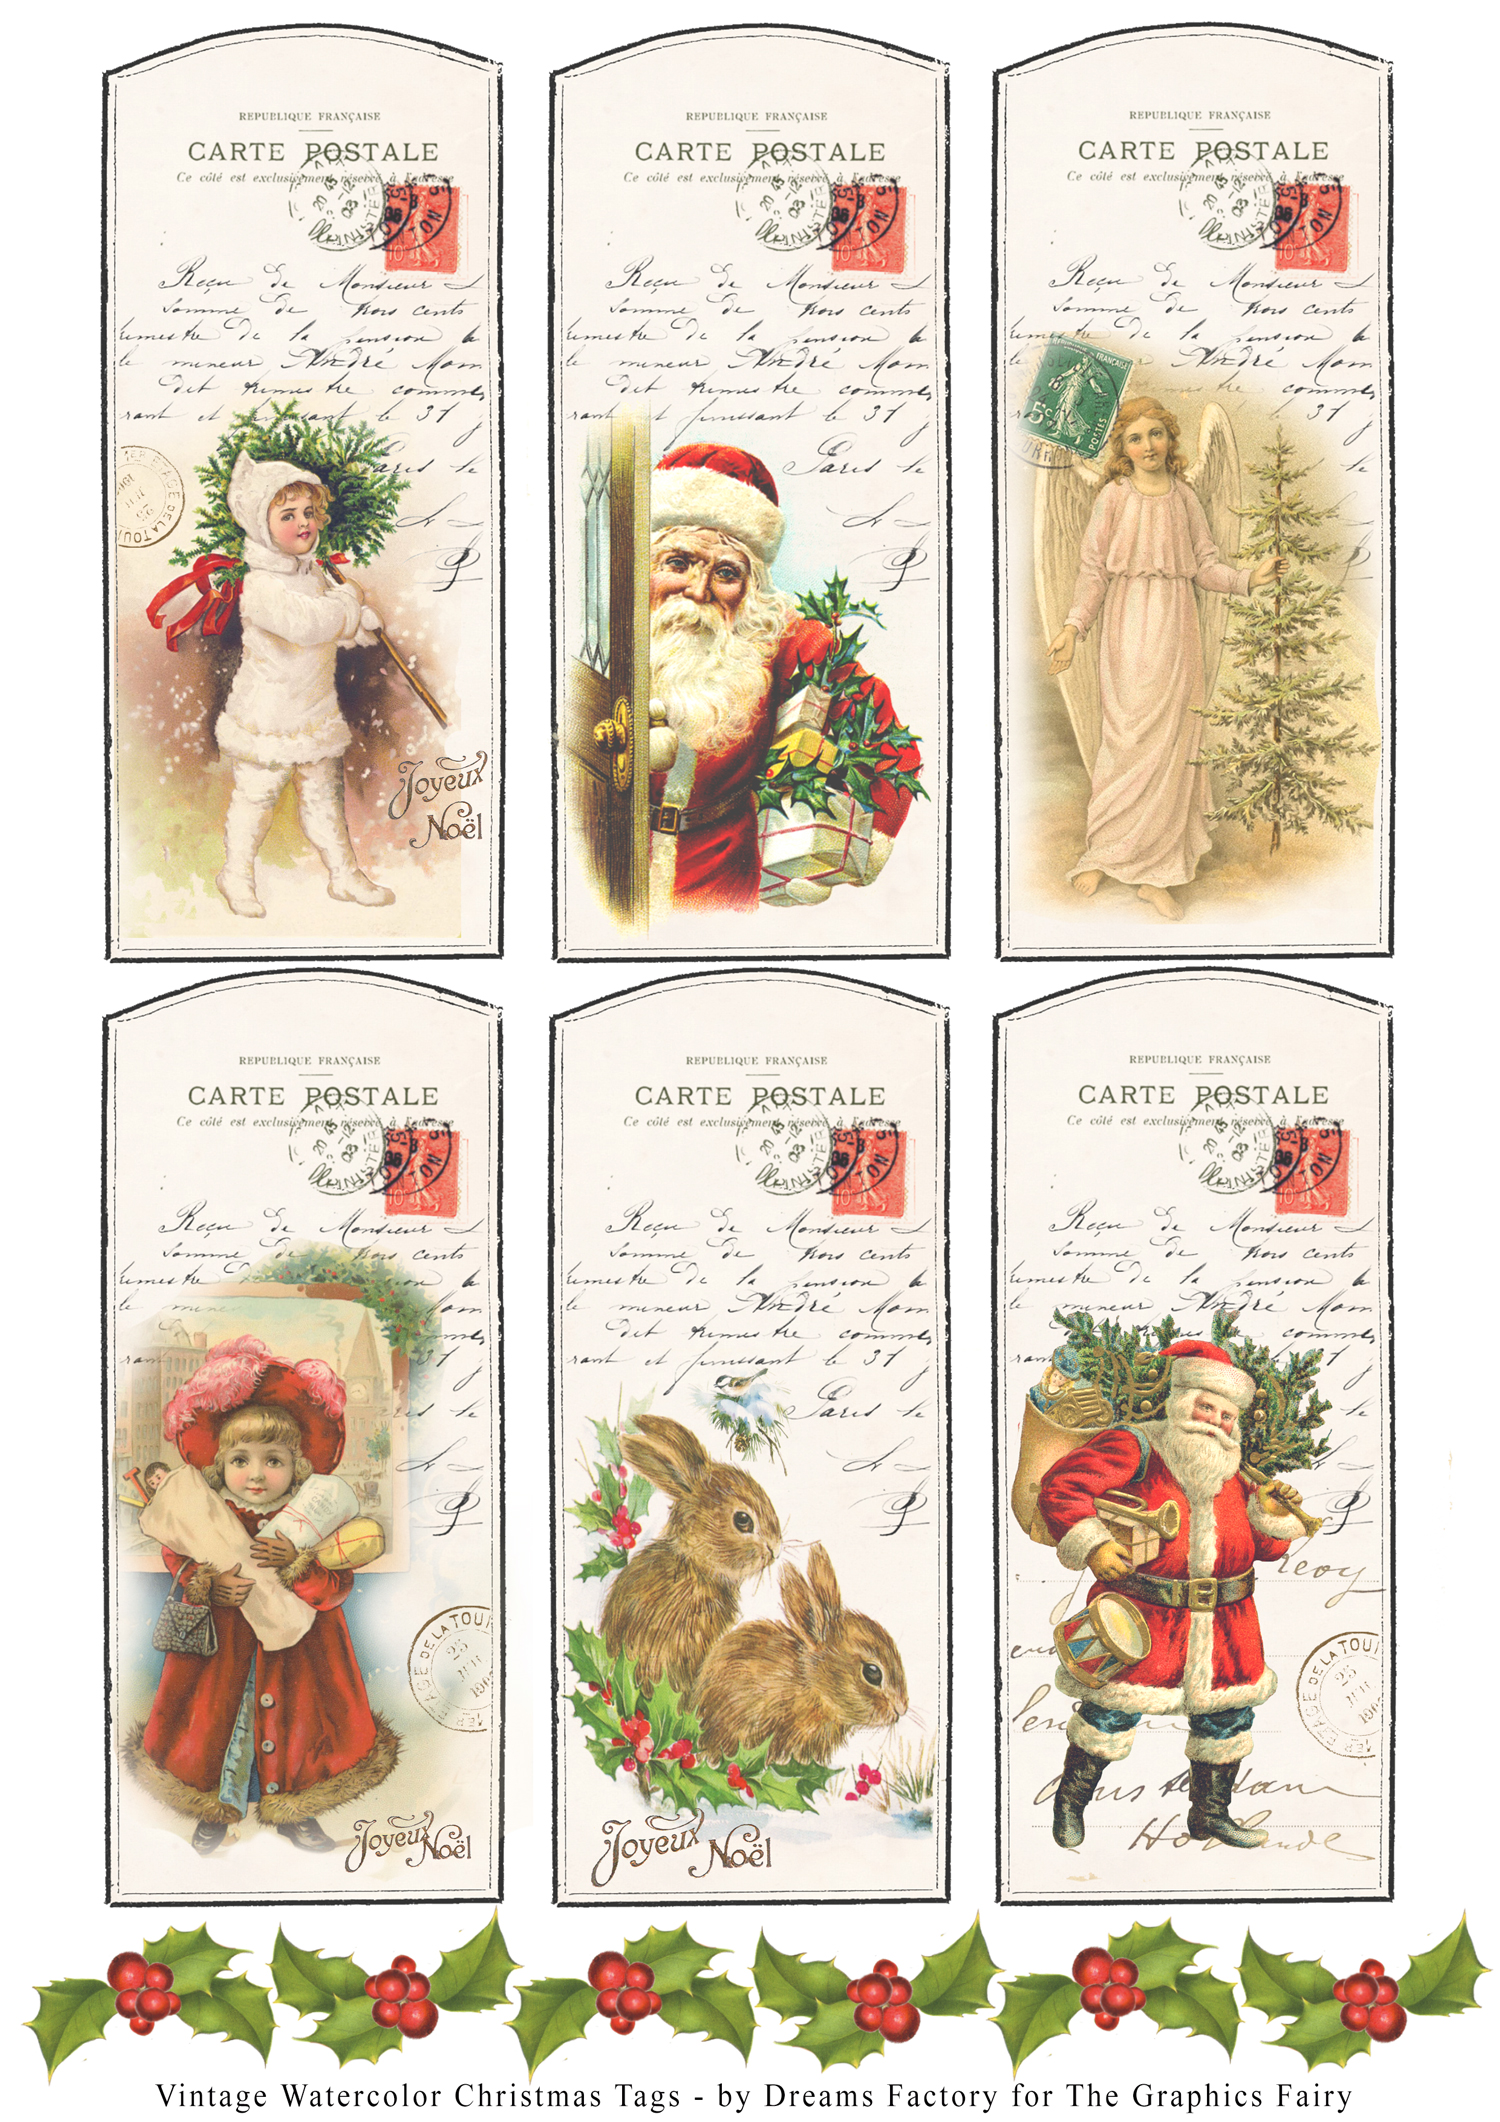
I usually love giving you options when it comes to my DIY projects and for today I included a few holly leaves with berries along with the lovely Christmas tags – let’s call the holly element our 1st option. You can choose to use the Vintage Watercolor Christmas Tags with the holly branches, creating a small 3D element, like I did or you can choose to use the tags without them, the choice is all yours!
—-> CLICK HERE TO DOWNLOAD THE FULL SIZE PRINTABLE PDF <—-
Vintage Watercolor Christmas Tags
SUPPLIES:
- cardstock paper
- laserjet printer
- manicure scissors or other small detail scissors
- watercolors (I used the Winsor & Newton Cotman pocket box watercolors), you can also use highly diluted acrylic paint or coffee
- brushes
- a small plate or a jar for water
- spray water bottle
- pocket binders (or a silicon mat, a plastic sheets or a non absorbent material) to protect your working surface
- paper towels
- nail polish (I used metallic gold and red)
- craft glue, Mod Podge or a glue gun
- gold wire string, gold wire cord, gold twine or what you have
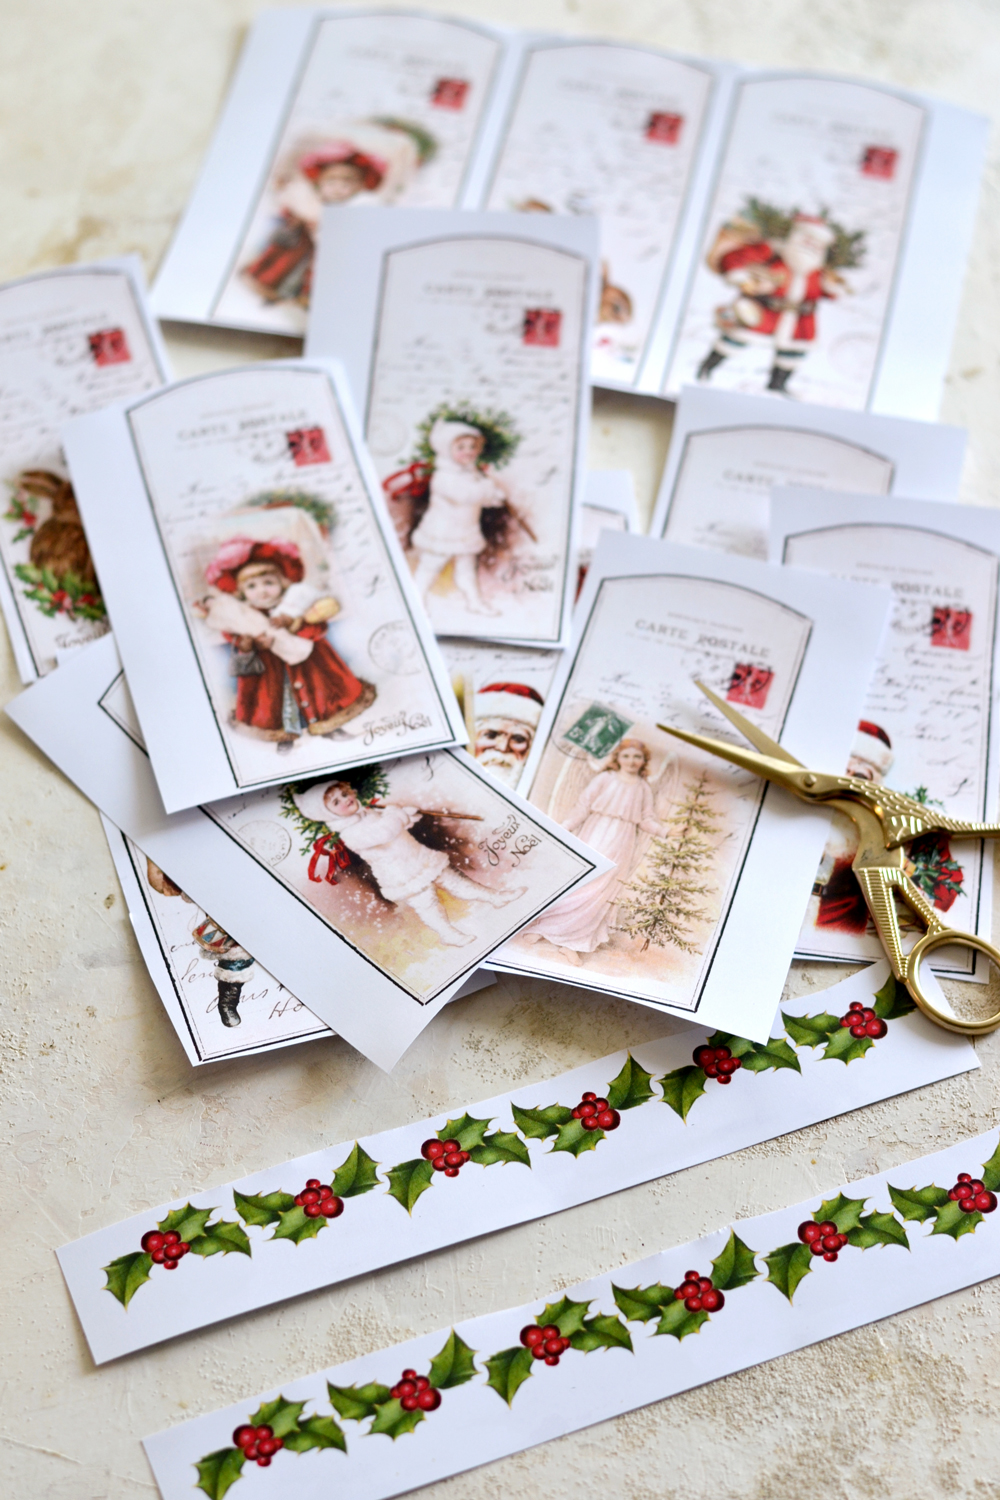
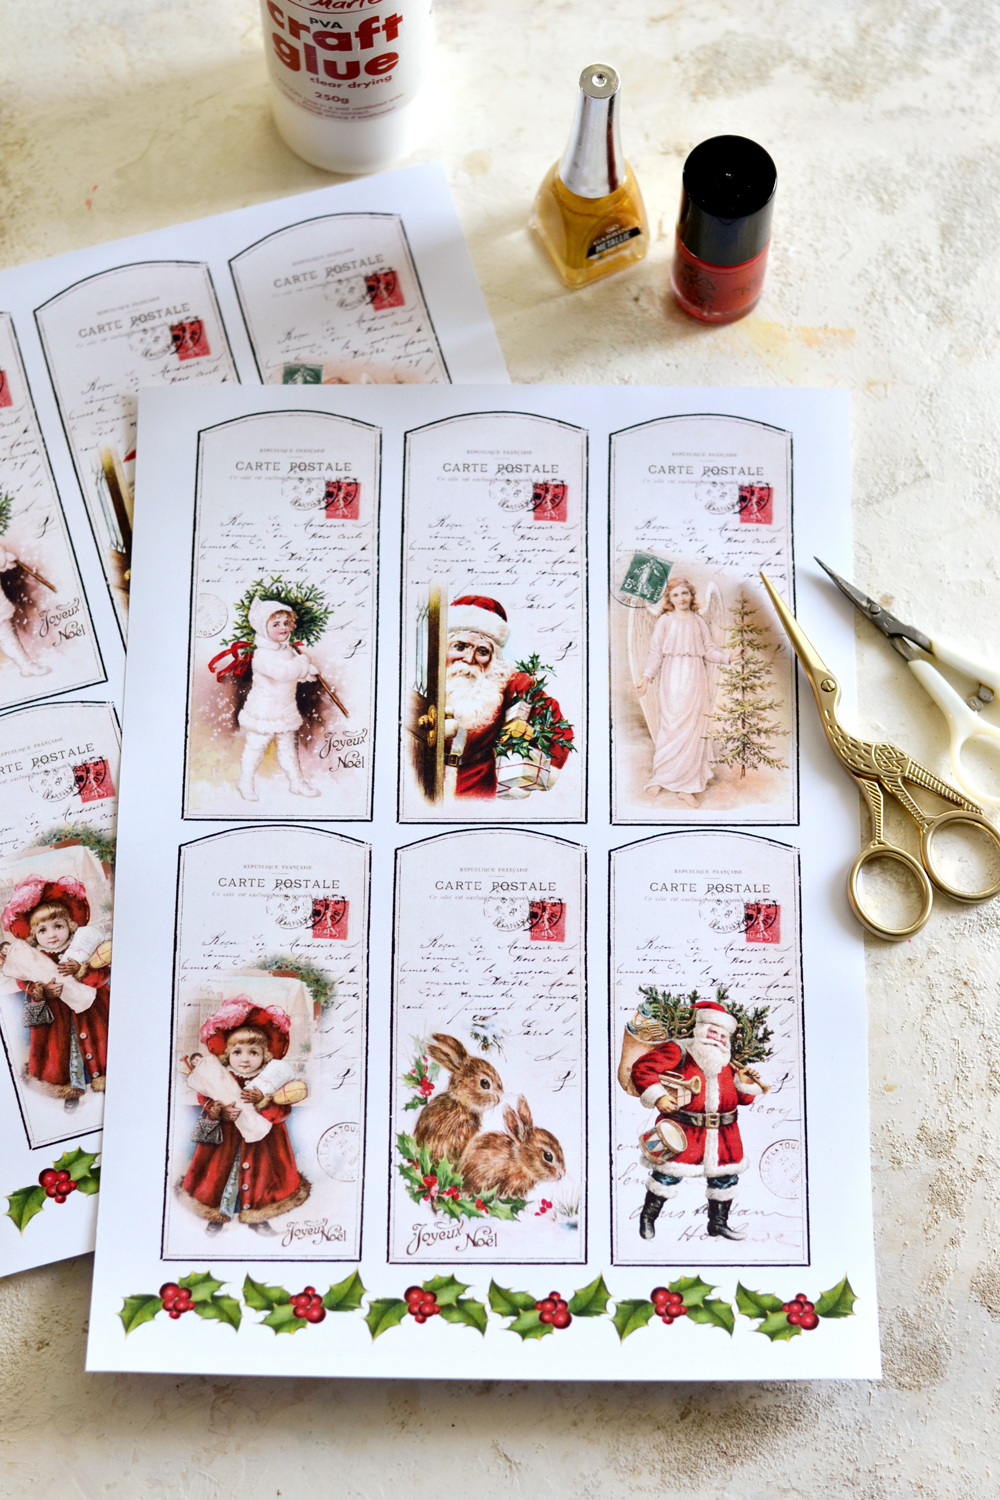
As you can see in the image below, I actually started my project with only a few items from my supply list. I knew I wanted to give the paper a more vintagey look, but at that time I wasn’t sure if I should use watercolors or simply go with a coffee stain. We could say that choosing our distressing agent could be the 2nd option I’m giving you for this project. You can choose watercolors, distress inks, oxides, highly diluted acrylic paint, coffee or tea, just use what inspires you the most!
I printed the free printable twice, it’s always best to work in larger batches – if you ask me! 🙂
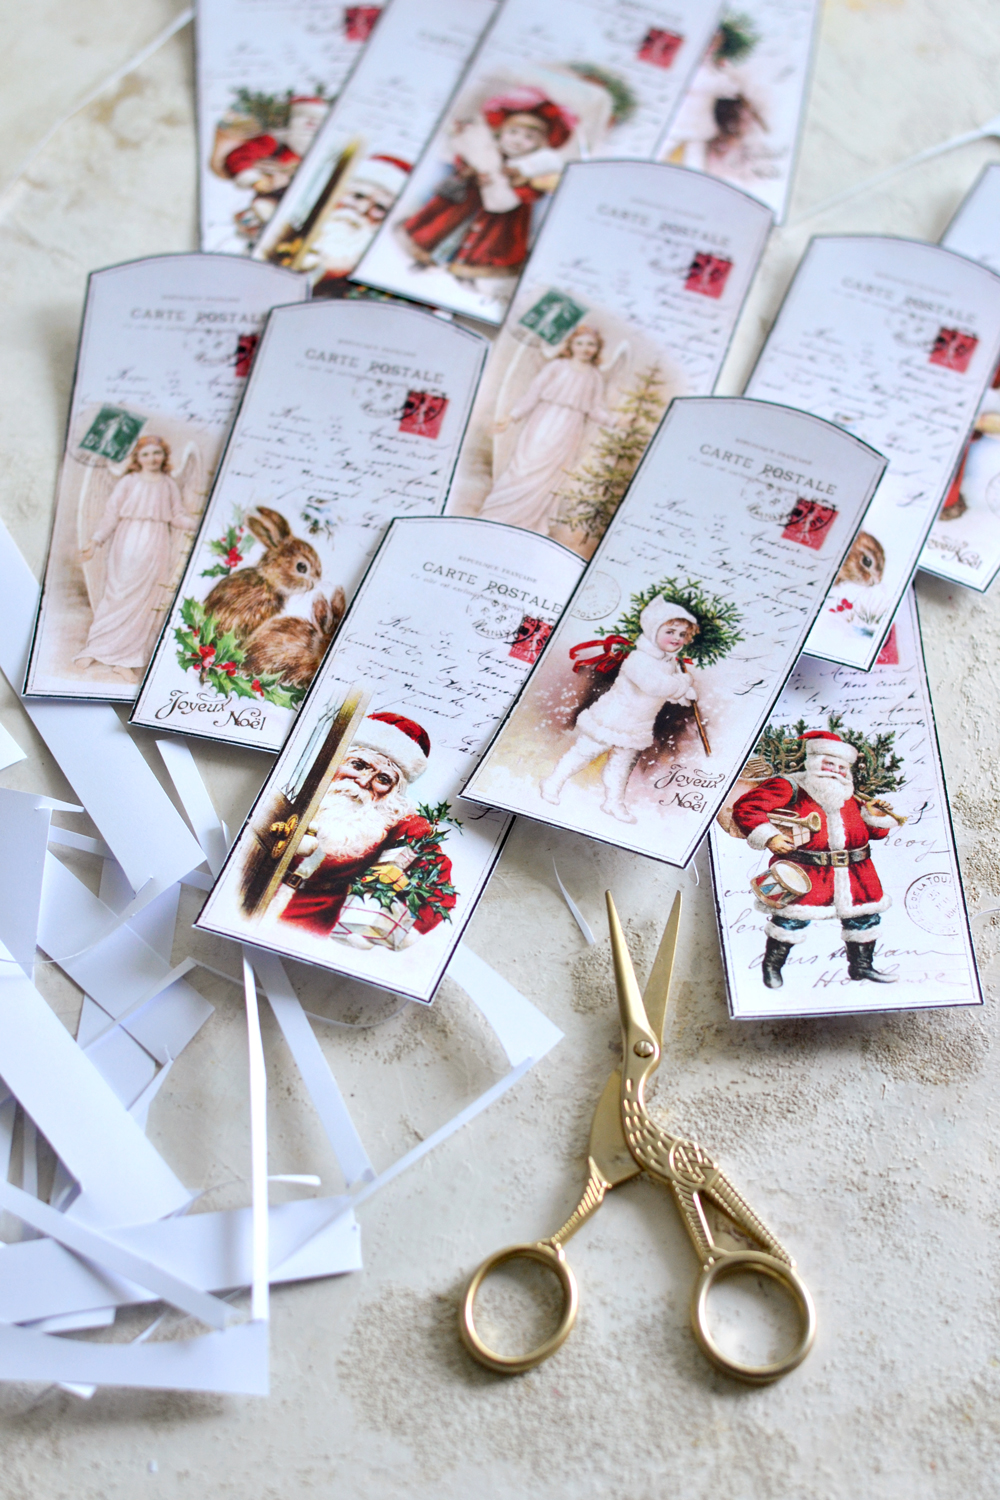
I roughly cut the lovely Christmas tags and the holly branches first.
Vintage Watercolor Christmas Tags – creating the nail polish holly berries
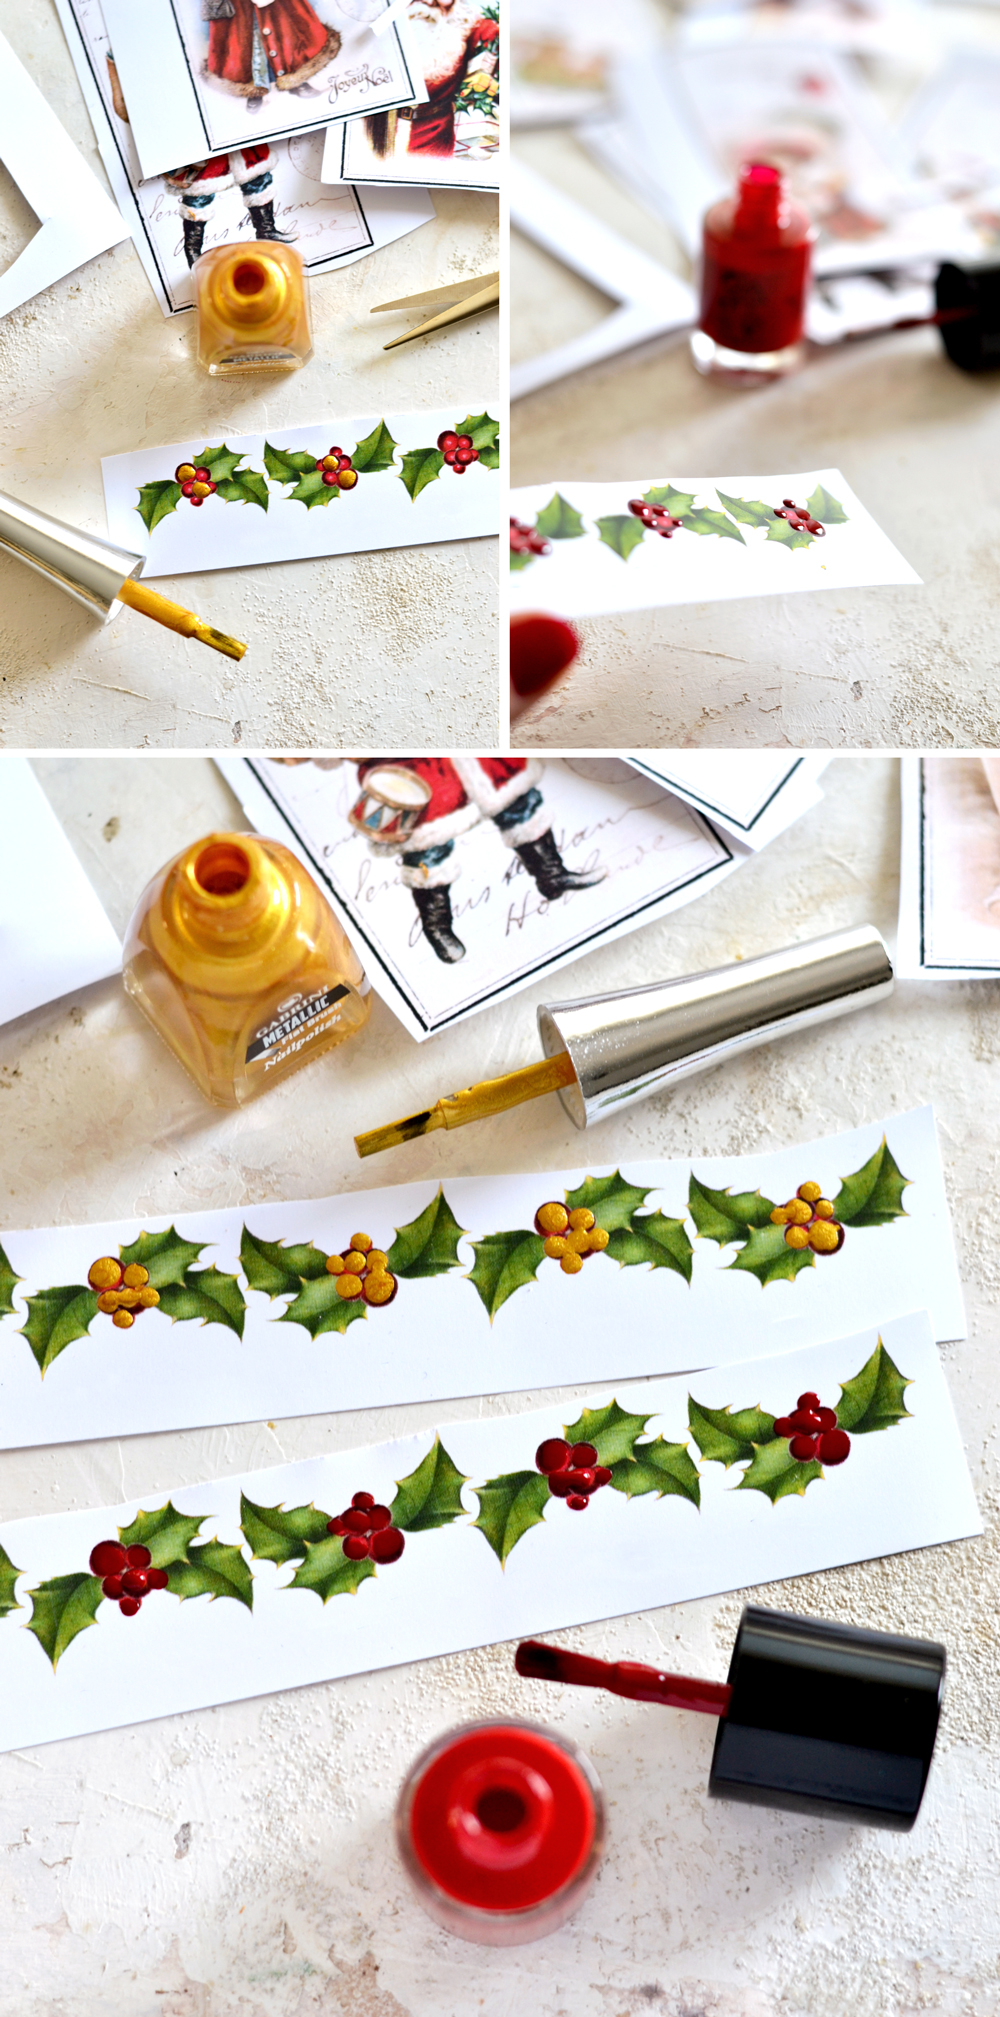
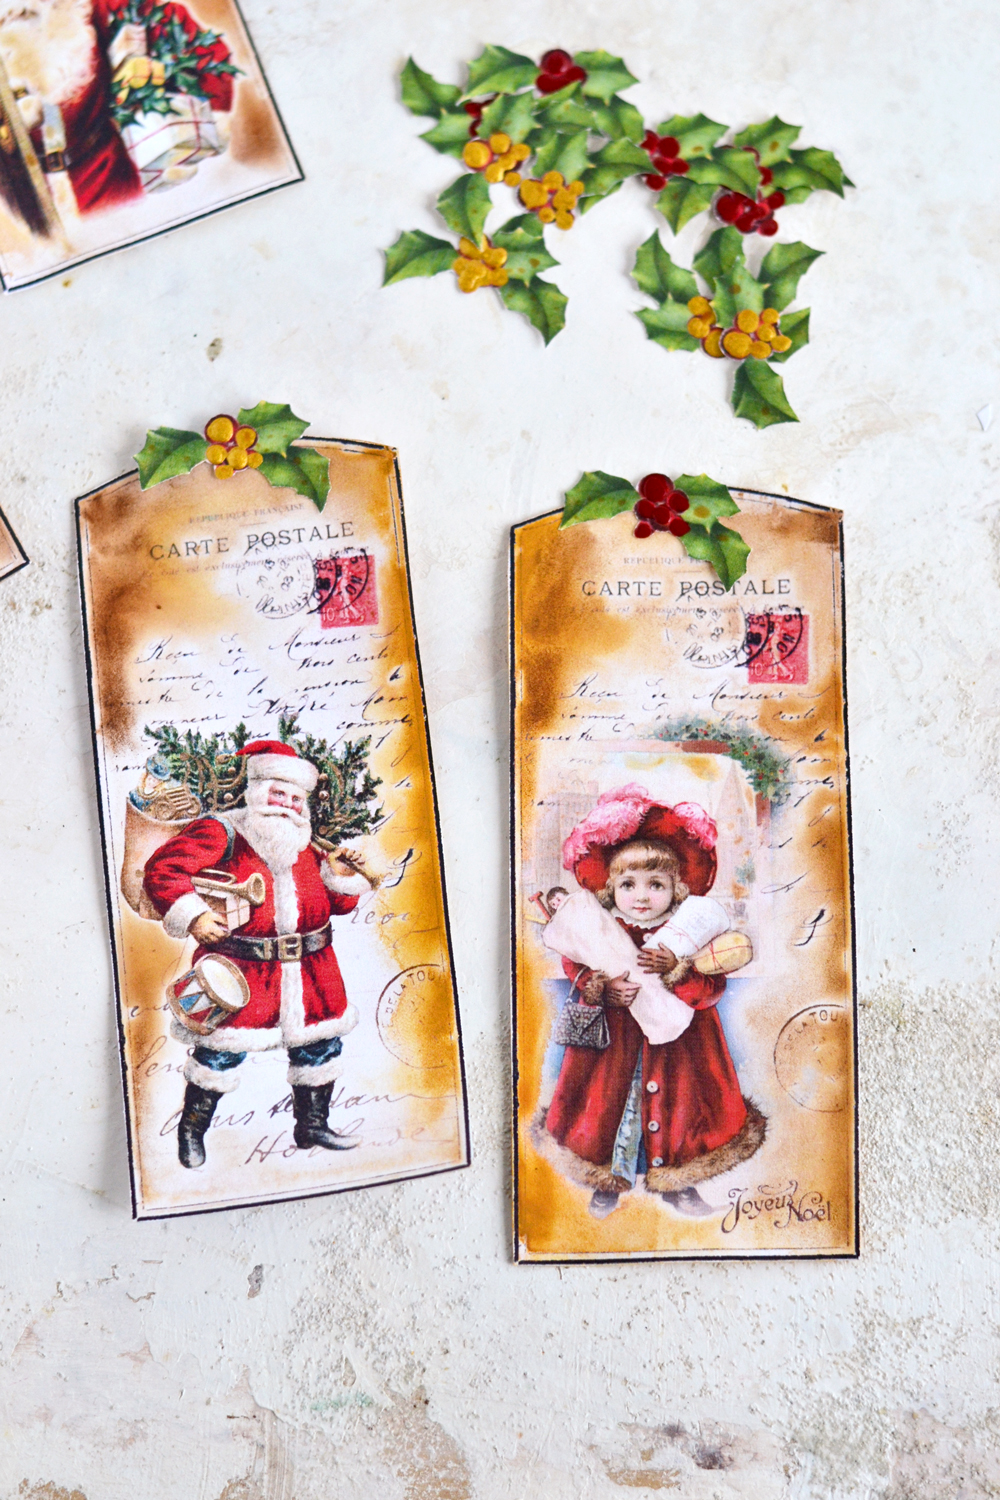
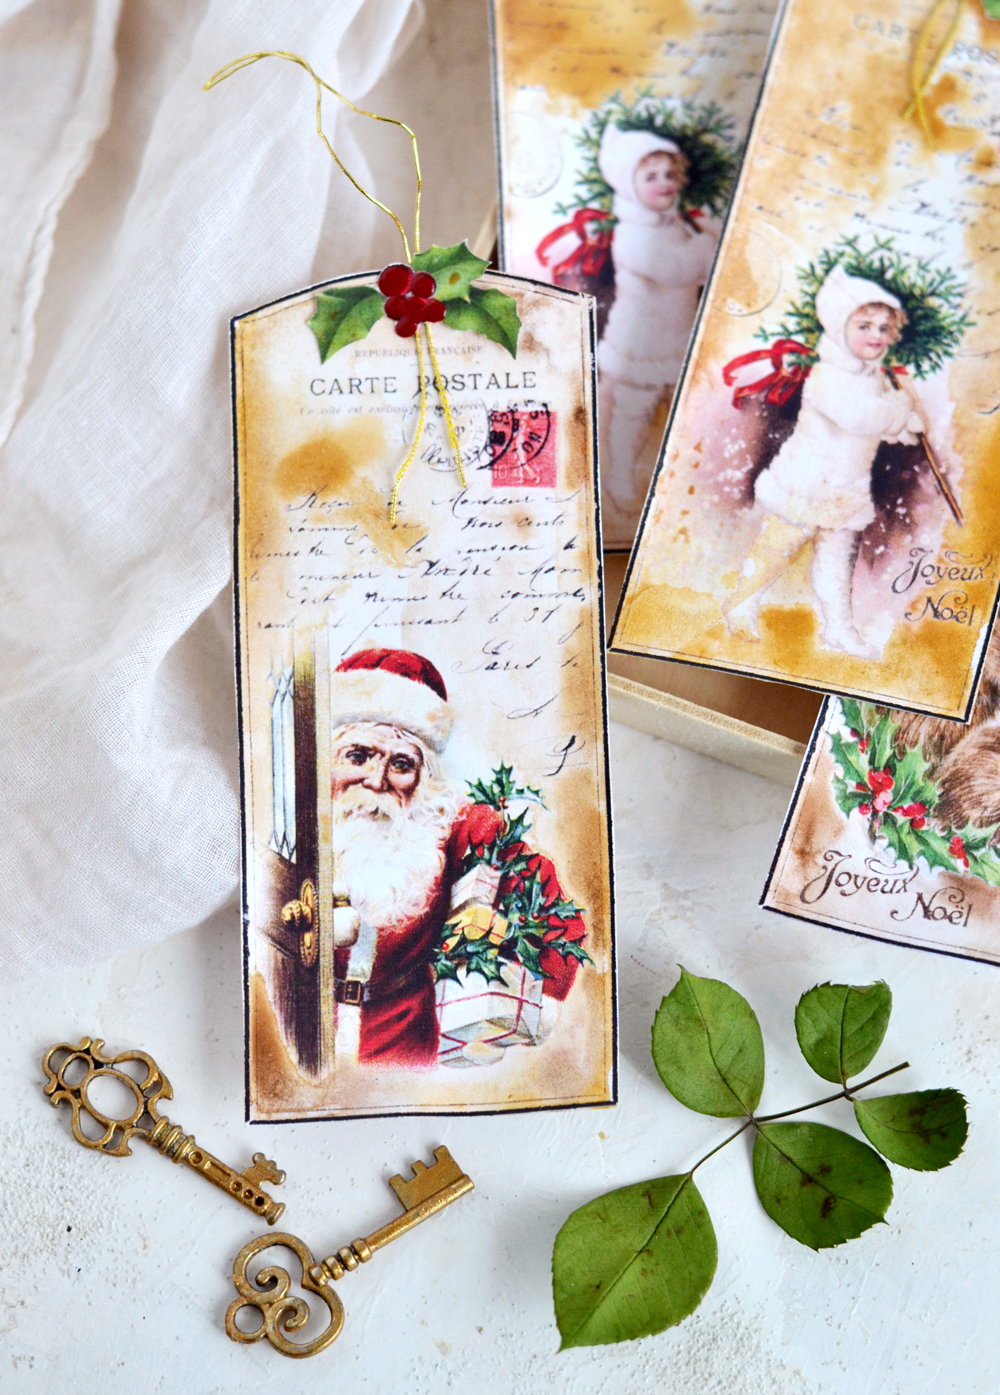
As for our first wow factor element that I mentioned earlier -one that will really make our Vintage Watercolor Christmas Tags shine – I used metallic gold nail polish! I wanted to give the holly berries a little bit of oomph and nail polish was the first to come into my mind! I really love the somehow enamel effect nail polish creates on paper, while also adding so much character and interest! Of course you can also use gold acrylic paint or even some white glue and then sprinkle some glitter, you can get as creative as you want!
I also used regular red nail polish on some of the holly berries and created a red on red beautiful effect! This ‘enamel’ nail polish really made the berries pop and created a gorgeous effect!
If using this nail polish ‘technique’, like I did, try to add nail polish dots over the printed images, creating raised individual small berries, each holding its characteristic shape. They won’t be perfect, but I have a pretty strong feeling you will have so much fun creating all those small gold or red nail polish berry dots! 🙂
While the nail polish berries are drying, you can cut the final shape of the tags, trying to remove all the excess white paper outside of their vintage borders.
Vintage Watercolor Christmas Tags – distressing the paper using watercolors
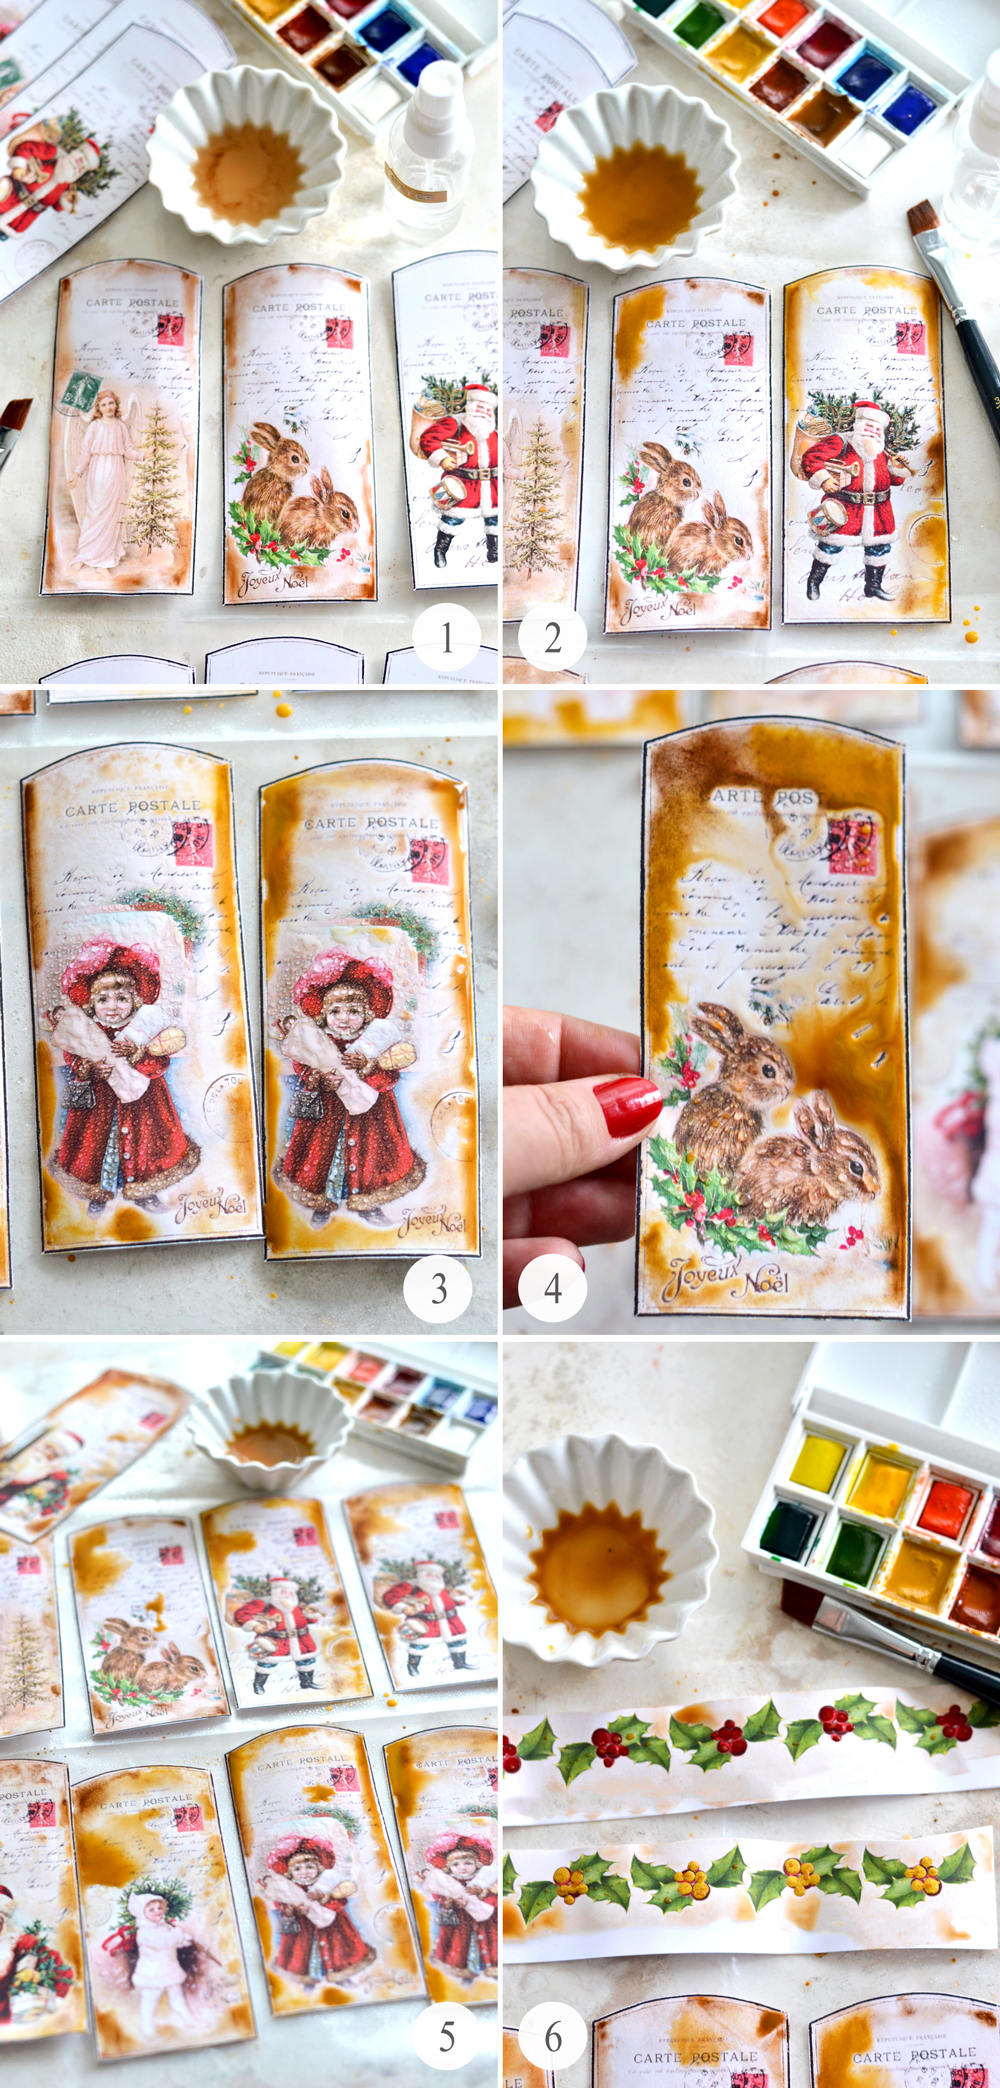
1-2. I usually spritz my watercolors with water using a spray bottle to wake them up first. Then I completely brush a highly diluted color and a lot of water all over the image, to cover all the white of the paper – this time I used Burnt Umber as my base. When the paper is completely soaked, I add small dots or colors here and there, but especially on the edges. Today I played with Burnt Umber, Burnt Sienna and Yellow Ochre accents, these three beautiful colors really created amazing distressed effects. I would say that color wise, you can go as light or as crazy as you want, depending on the distressing effect you are looking for. It’s best to work in layers, add more water, then more color gradually, let everything blend and see what you get, insist on the edges to create a more natural looking vintage vibe. Don’t forget to have fun and allow yourself to be creative, there are no rules or mistakes here!
3. Because we are not using watercolor paper for this project, but we really want to mimic a watercolor effect, you can also try using a small spray bottle and mist everything really well. The paper will warp in the middle and the colors will drip towards the edges, creating that gorgeous watercolor effect that we want.
4. At this point you can add more dots of watercolor paint here and there and more mists, then pick the tag up and let the water do its magic! You can tilt the image, let the paint and the water drip on the other images to create splashes – you know, the usual good old fun time that you can have while using watercolors! 🙂
5. Follow the same fun steps for all the tags.
6. Then apply a little bit of highly diluted watercolor paint on the holly branches too, just enough to give them some of that beautiful vintage vibe.
Let everything dry completely before moving on.
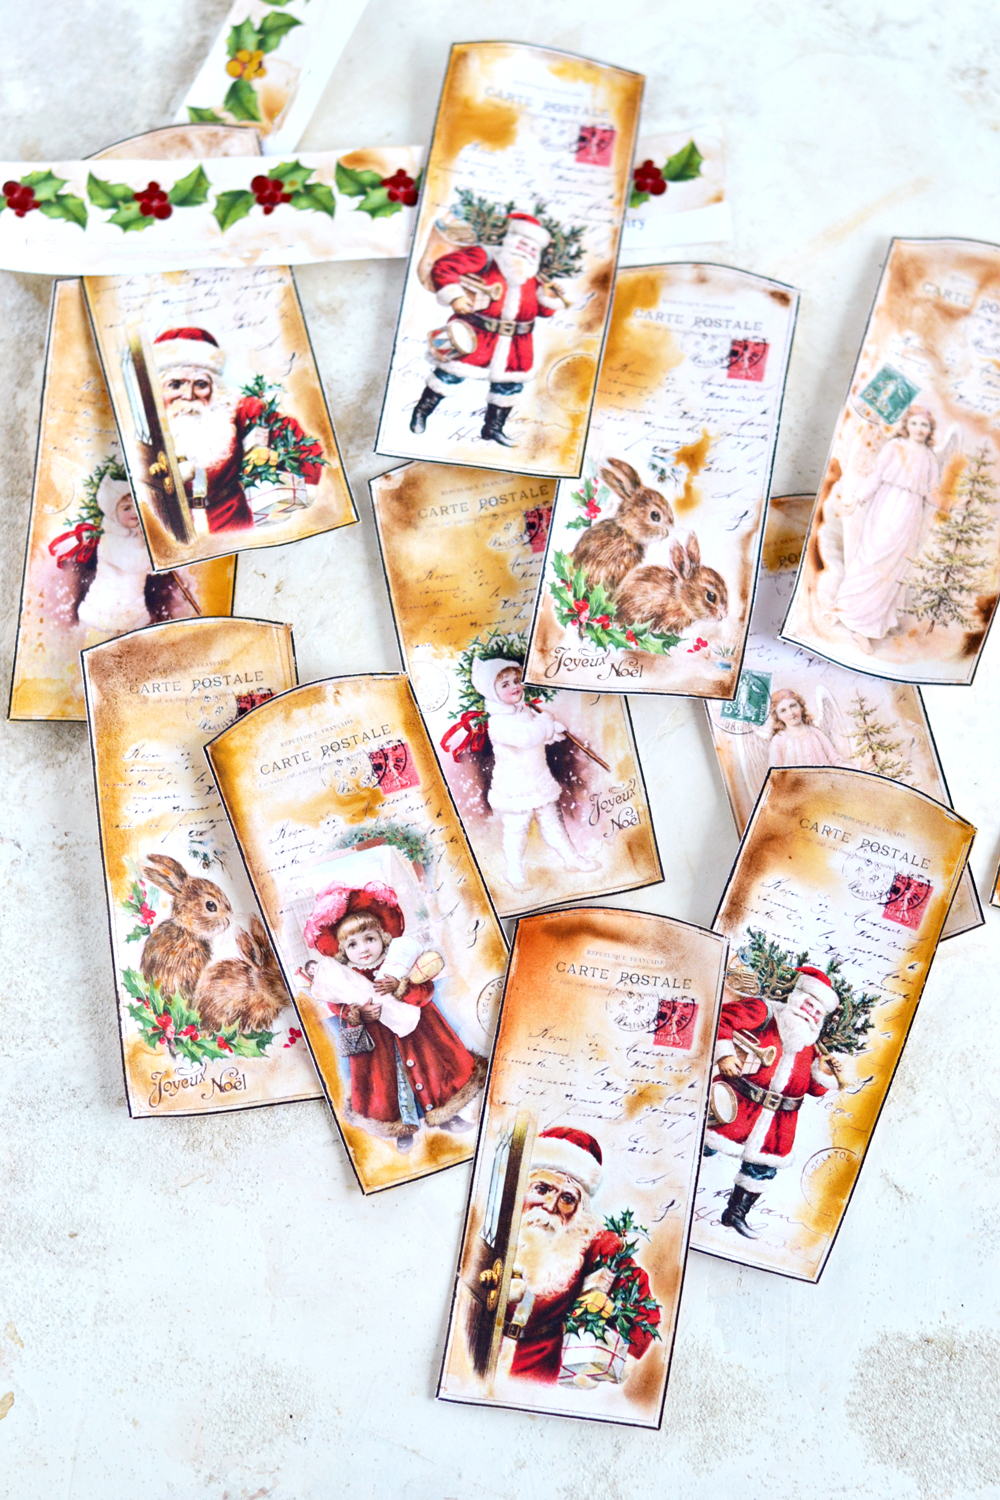
Don’t you just love these gorgeously vintage watercolor effects that we have just created? Who needs watercolor paper when you can do THIS on cardstock paper, right? 🙂
Vintage Watercolor Christmas Tags – adding the final touches
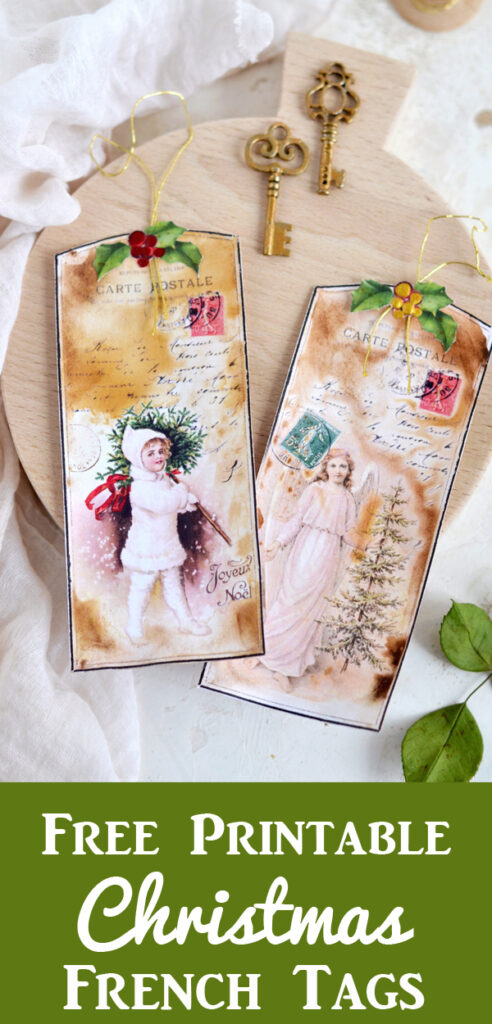
I initially envisioned the tags like in the image below, with the nail polish holly berries and leaves element attached on top. Oh, I forgot to mention that you need to cut each holly branch using small detail scissors (I usually go with thin manicure scissors) following the organic shape of each leaf and berry. Feel free to improvise at this stage if you need to, until you have completely removed the excess white paper and you are left with a beautiful holly branch.
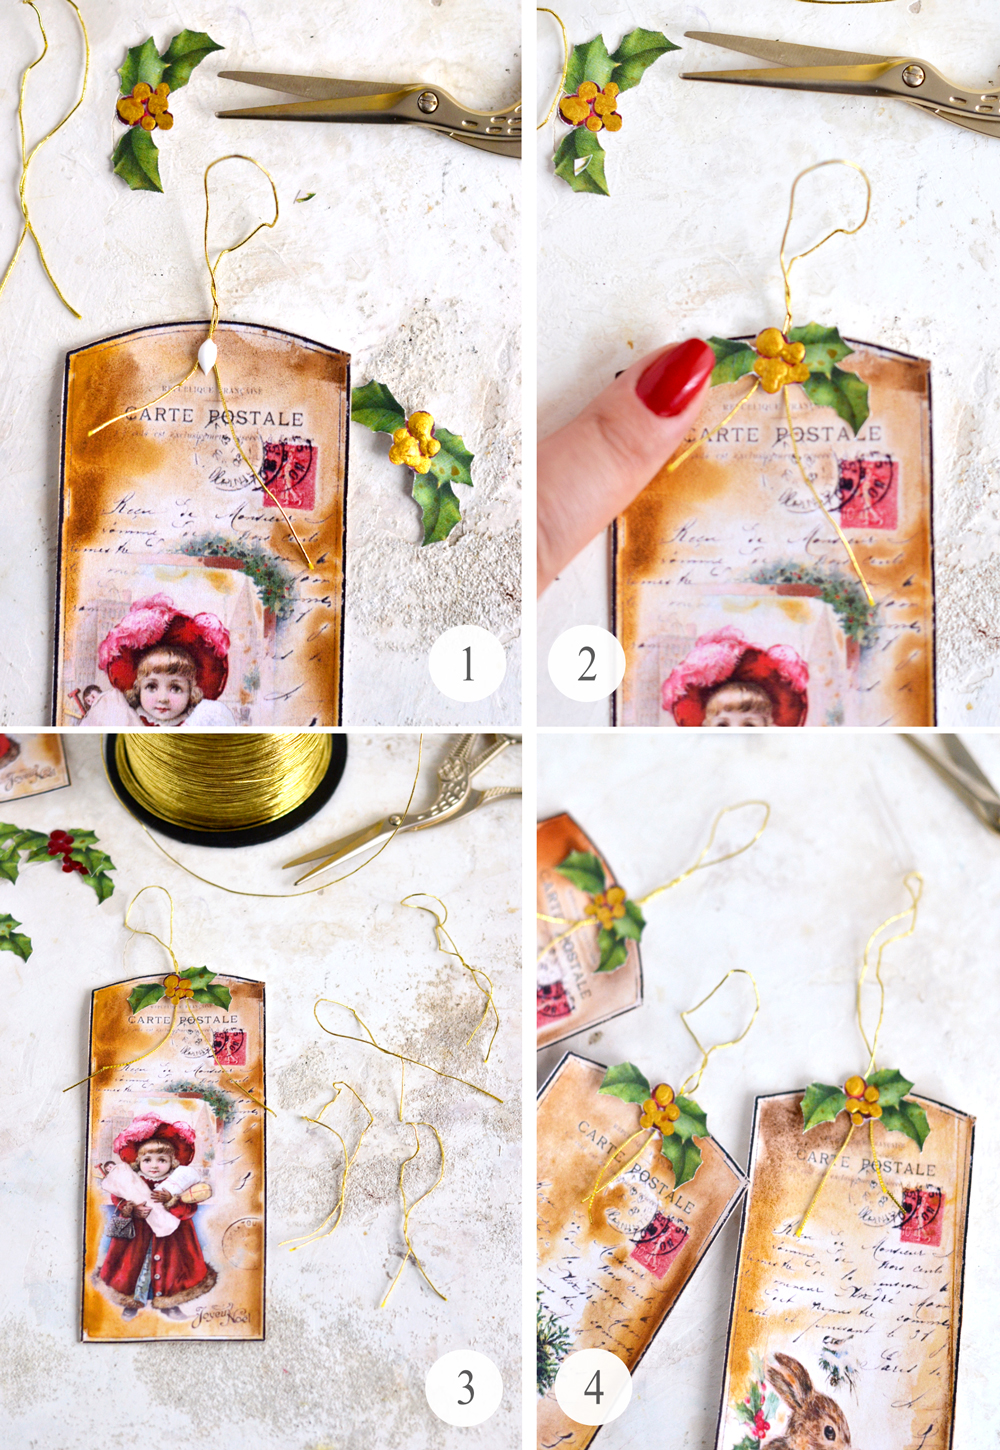
Then I remembered I had some gold wire string laying around, so I decided to add some of that too!
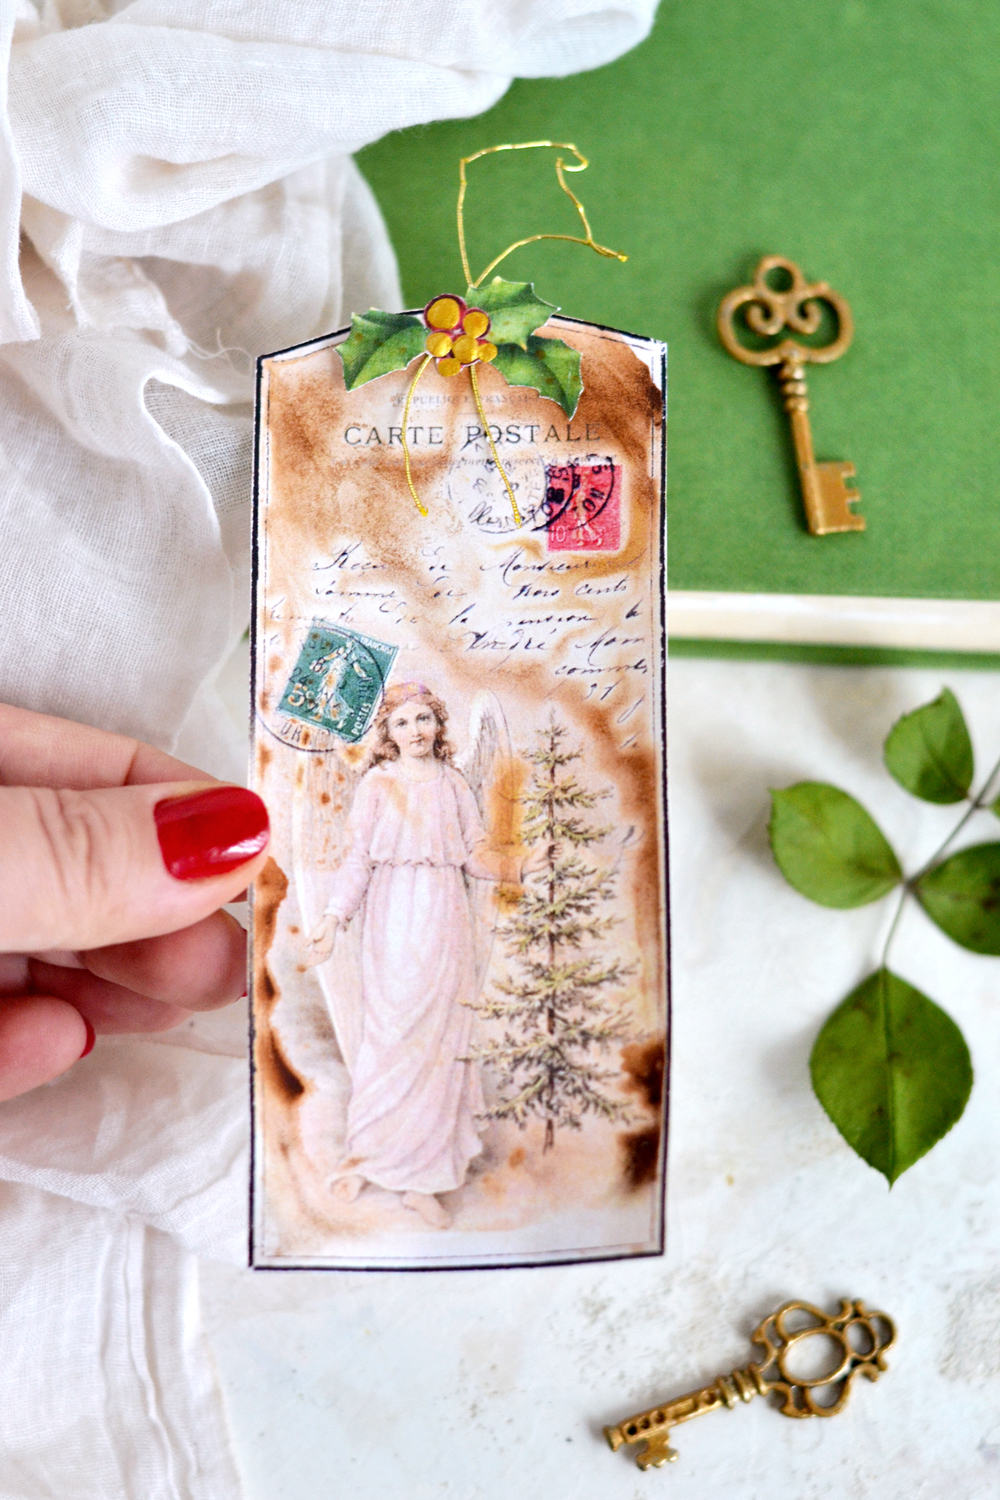
- I crumpled and twisted a piece of string between my fingers to give it a more vintagey look, I placed it in the middle of the tag, then I added a small blob of glue.
- I then placed the holly branch element on top and used my index finger to press everything onto the paper.
- I really loved the final look!
- And I followed the same steps for all the tags.
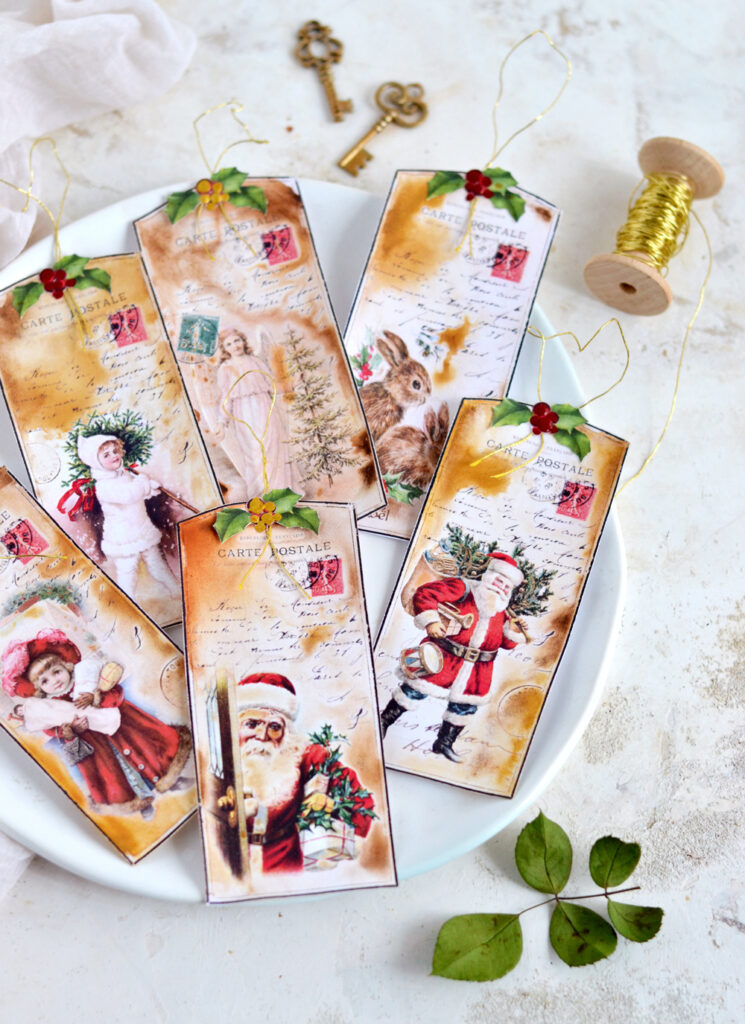
All these small details – the watercolor effect, the gold and red nail polish berries, the gold metallic string – worked wonderfully together and managed to turn my Vintage Watercolor Christmas Tags into truly unique beauties. Of course they can be used as Christmas tags to embellish thoughtful gifts for the holidays, but why stop there when you can get creative while actually using them, right? I’m thinking Christmas bookmarks, Christmas tree ornaments or other decorative elements for your home decor, junk journal inserts … the Christmas sky is the limit! 🙂
And while you are happily decorating nail polish berries, why not give your vintage keys a quick makeover using the same method?! You can check here this article -> DIY Gold Nail Polish Vintage Keys.
I would say that nail polish is definitely a keeper for these stunning Vintage Watercolor Christmas Tags, I really hope you will give them a try! And if you are using them as embellishments for your gifts, don’t forget to add a personal note or a heartful message on their backs. They say love cures everything, so let’s spread tons of love throughout this season!
Happy crafting,
Diana / Dreams Factory


Julia says
Not only are these tags so lovely but I love the ingenuity in the materials you used! It is soooo refreshing to not have a certain craft product you need mentioned but instead, lovely red and gold nail polish you may have and then to be able to see that they look amazing is awesome! Thank you so much Diana! You have really cranked up the inspiration!
graphicsfairy says
Thank you so much Julia, Diana is amazing as always and we are so happy you enjoyed them!
Wenddie says
So creative. Love the look. I need to get some color ink for my printer so I can make these. I was thinking of using them for a Christmas card.
graphicsfairy says
Thanks Wenddie, have fun!
Inés says
Beautiful and so simple! Thanks from Argentina!
Karen Watson says
Thanks for your sweet comment about Diana’s project! 😃
Cheryl says
These are gorgeous, thanks!
graphicsfairy says
Thanks so much Cheryl 🙂
Sharon Fraser says
This is a wonderful tutorial! The tags are lovely to start with but your use of watercolor and nail polish of all things really puts them over the top! Thanks so much for the inspiration.
graphicsfairy says
Thanks so much Sharon, I am so lad you enjoyed it!