Wedding Thank You Card Ideas
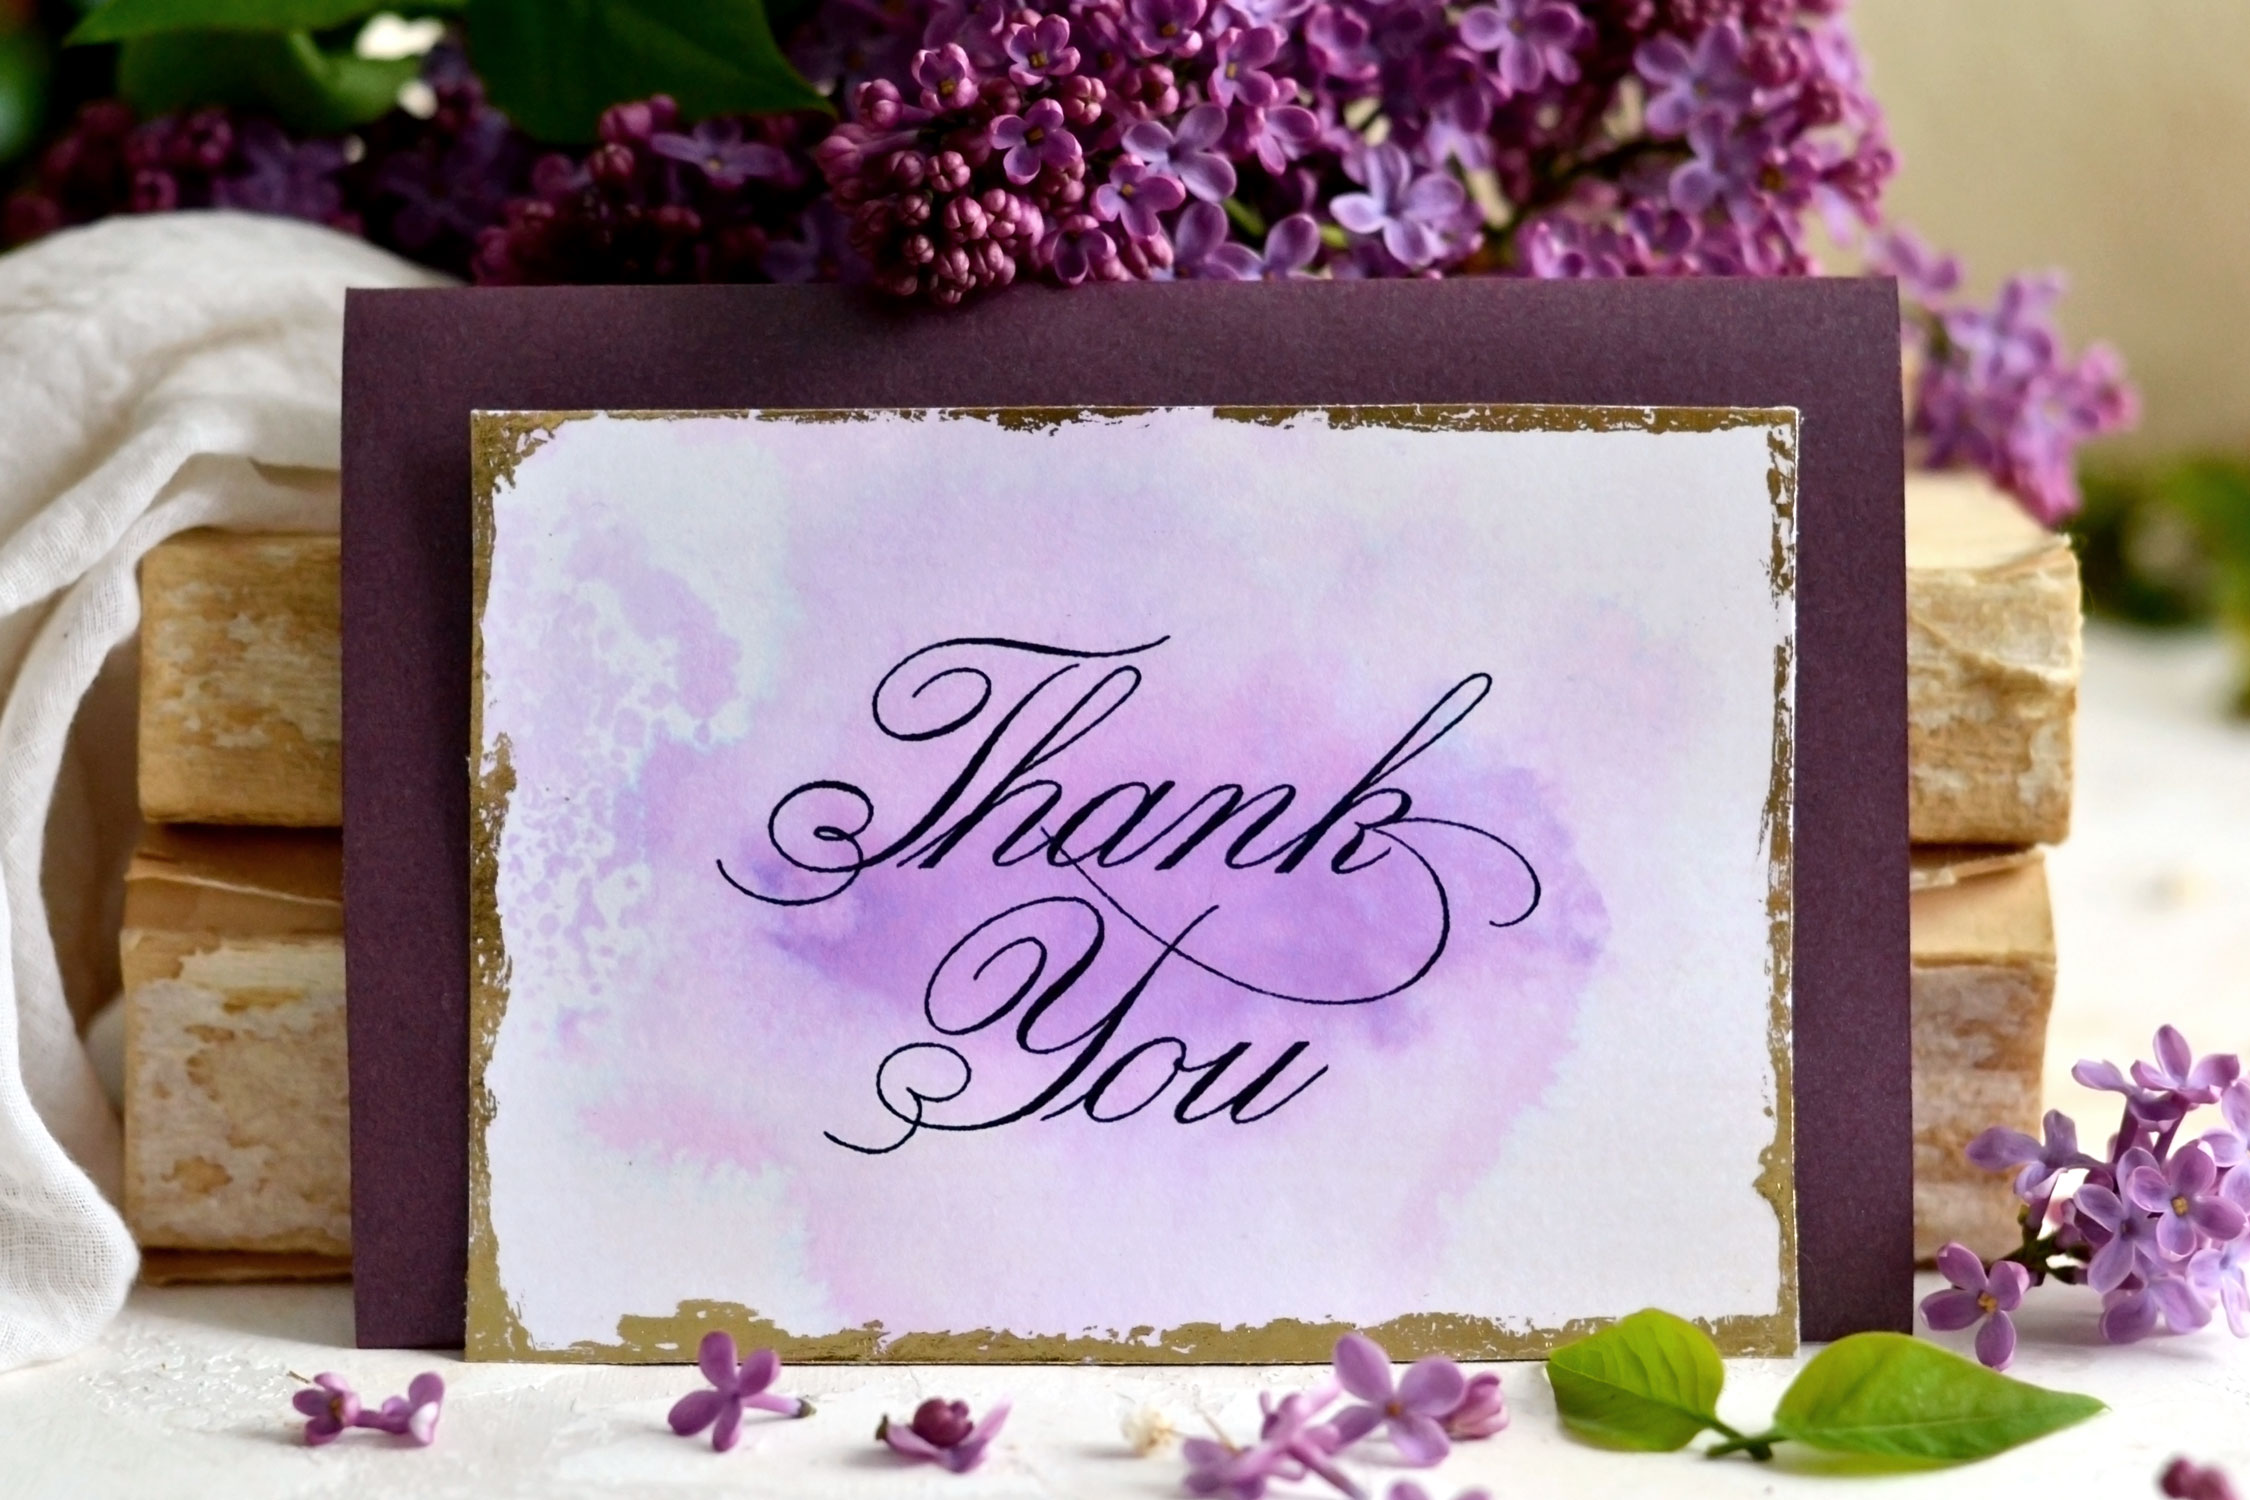
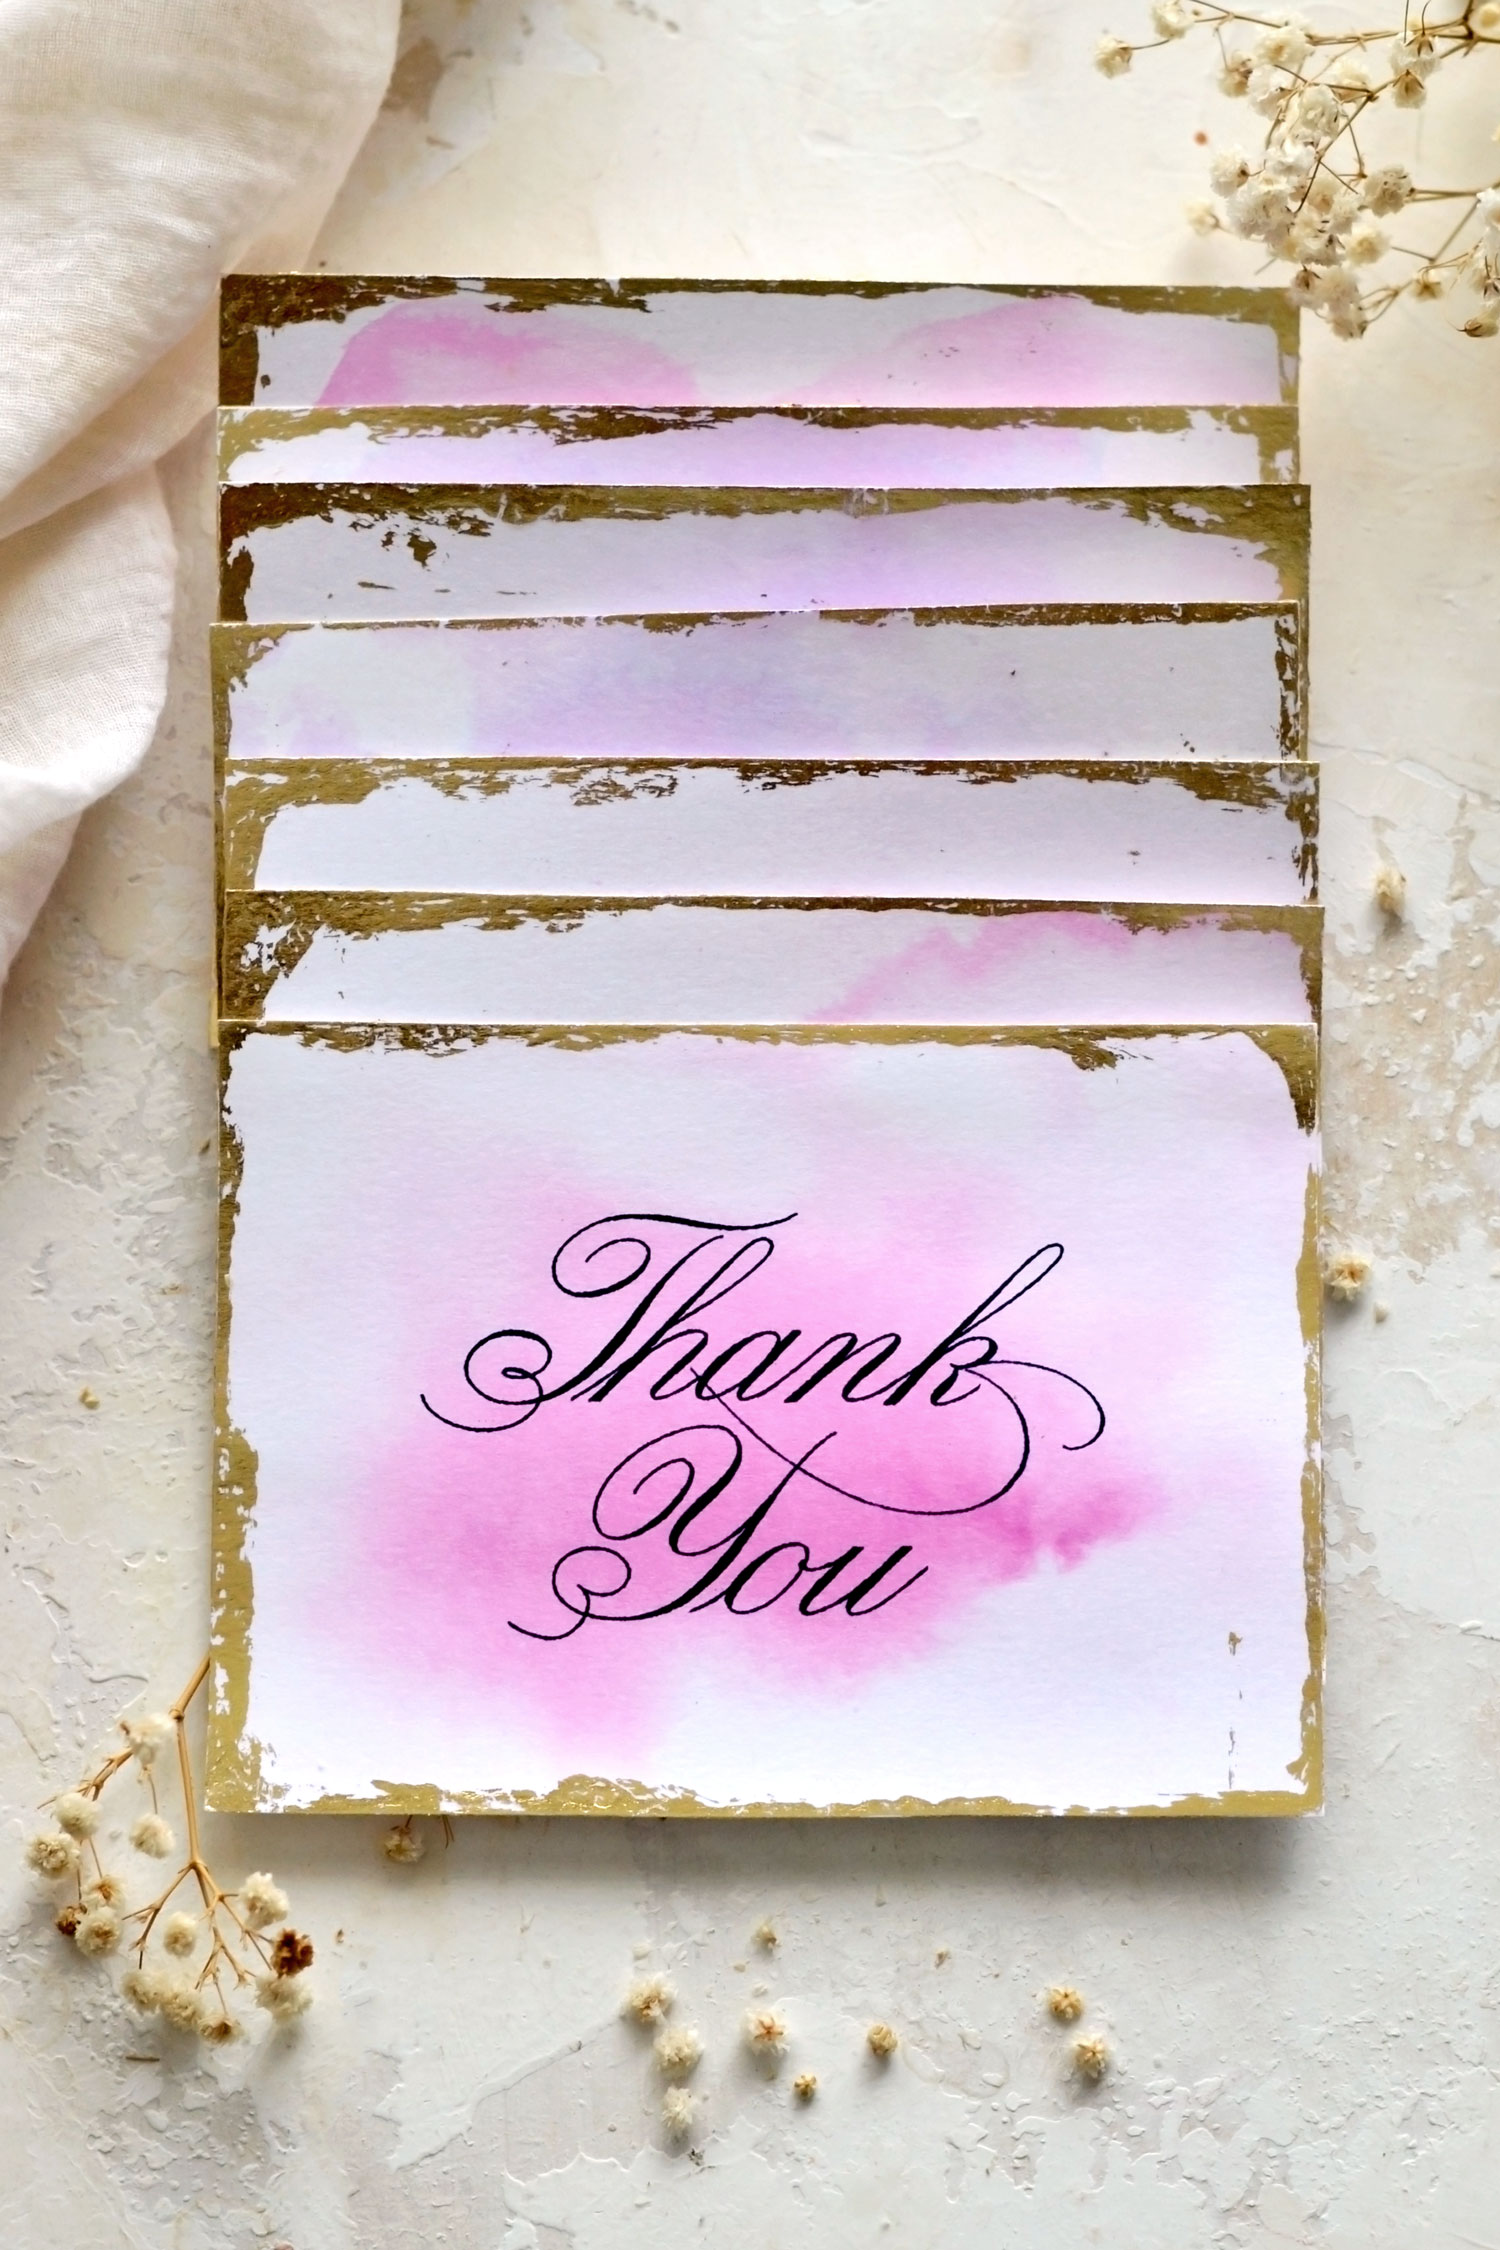
Hello Graphics Fairy friends! I’m Diana from Dreams Factory and I’m happy to be here again to share another DIY project with you! Today I will be showing you how to make these absolutely gorgeous Wedding Thank You Cards! We will be using colored markers to give the cards a beautiful watercolor-y effect and a touch of gold just to make them even more charming. You will love these cards because they are really easy to make, you will see that the process itself is quite uncomplicated. Because they won’t take too much time to finish, you will be able to make these in smaller or larger batches, depending on your needs!
I’m naming these Wedding Thank You Cards but the truth is these beauties can be used for any other occasion! I love making universal, easy-to-adapt projects, so feel free to use them as small tokens of gratitude when you need to!
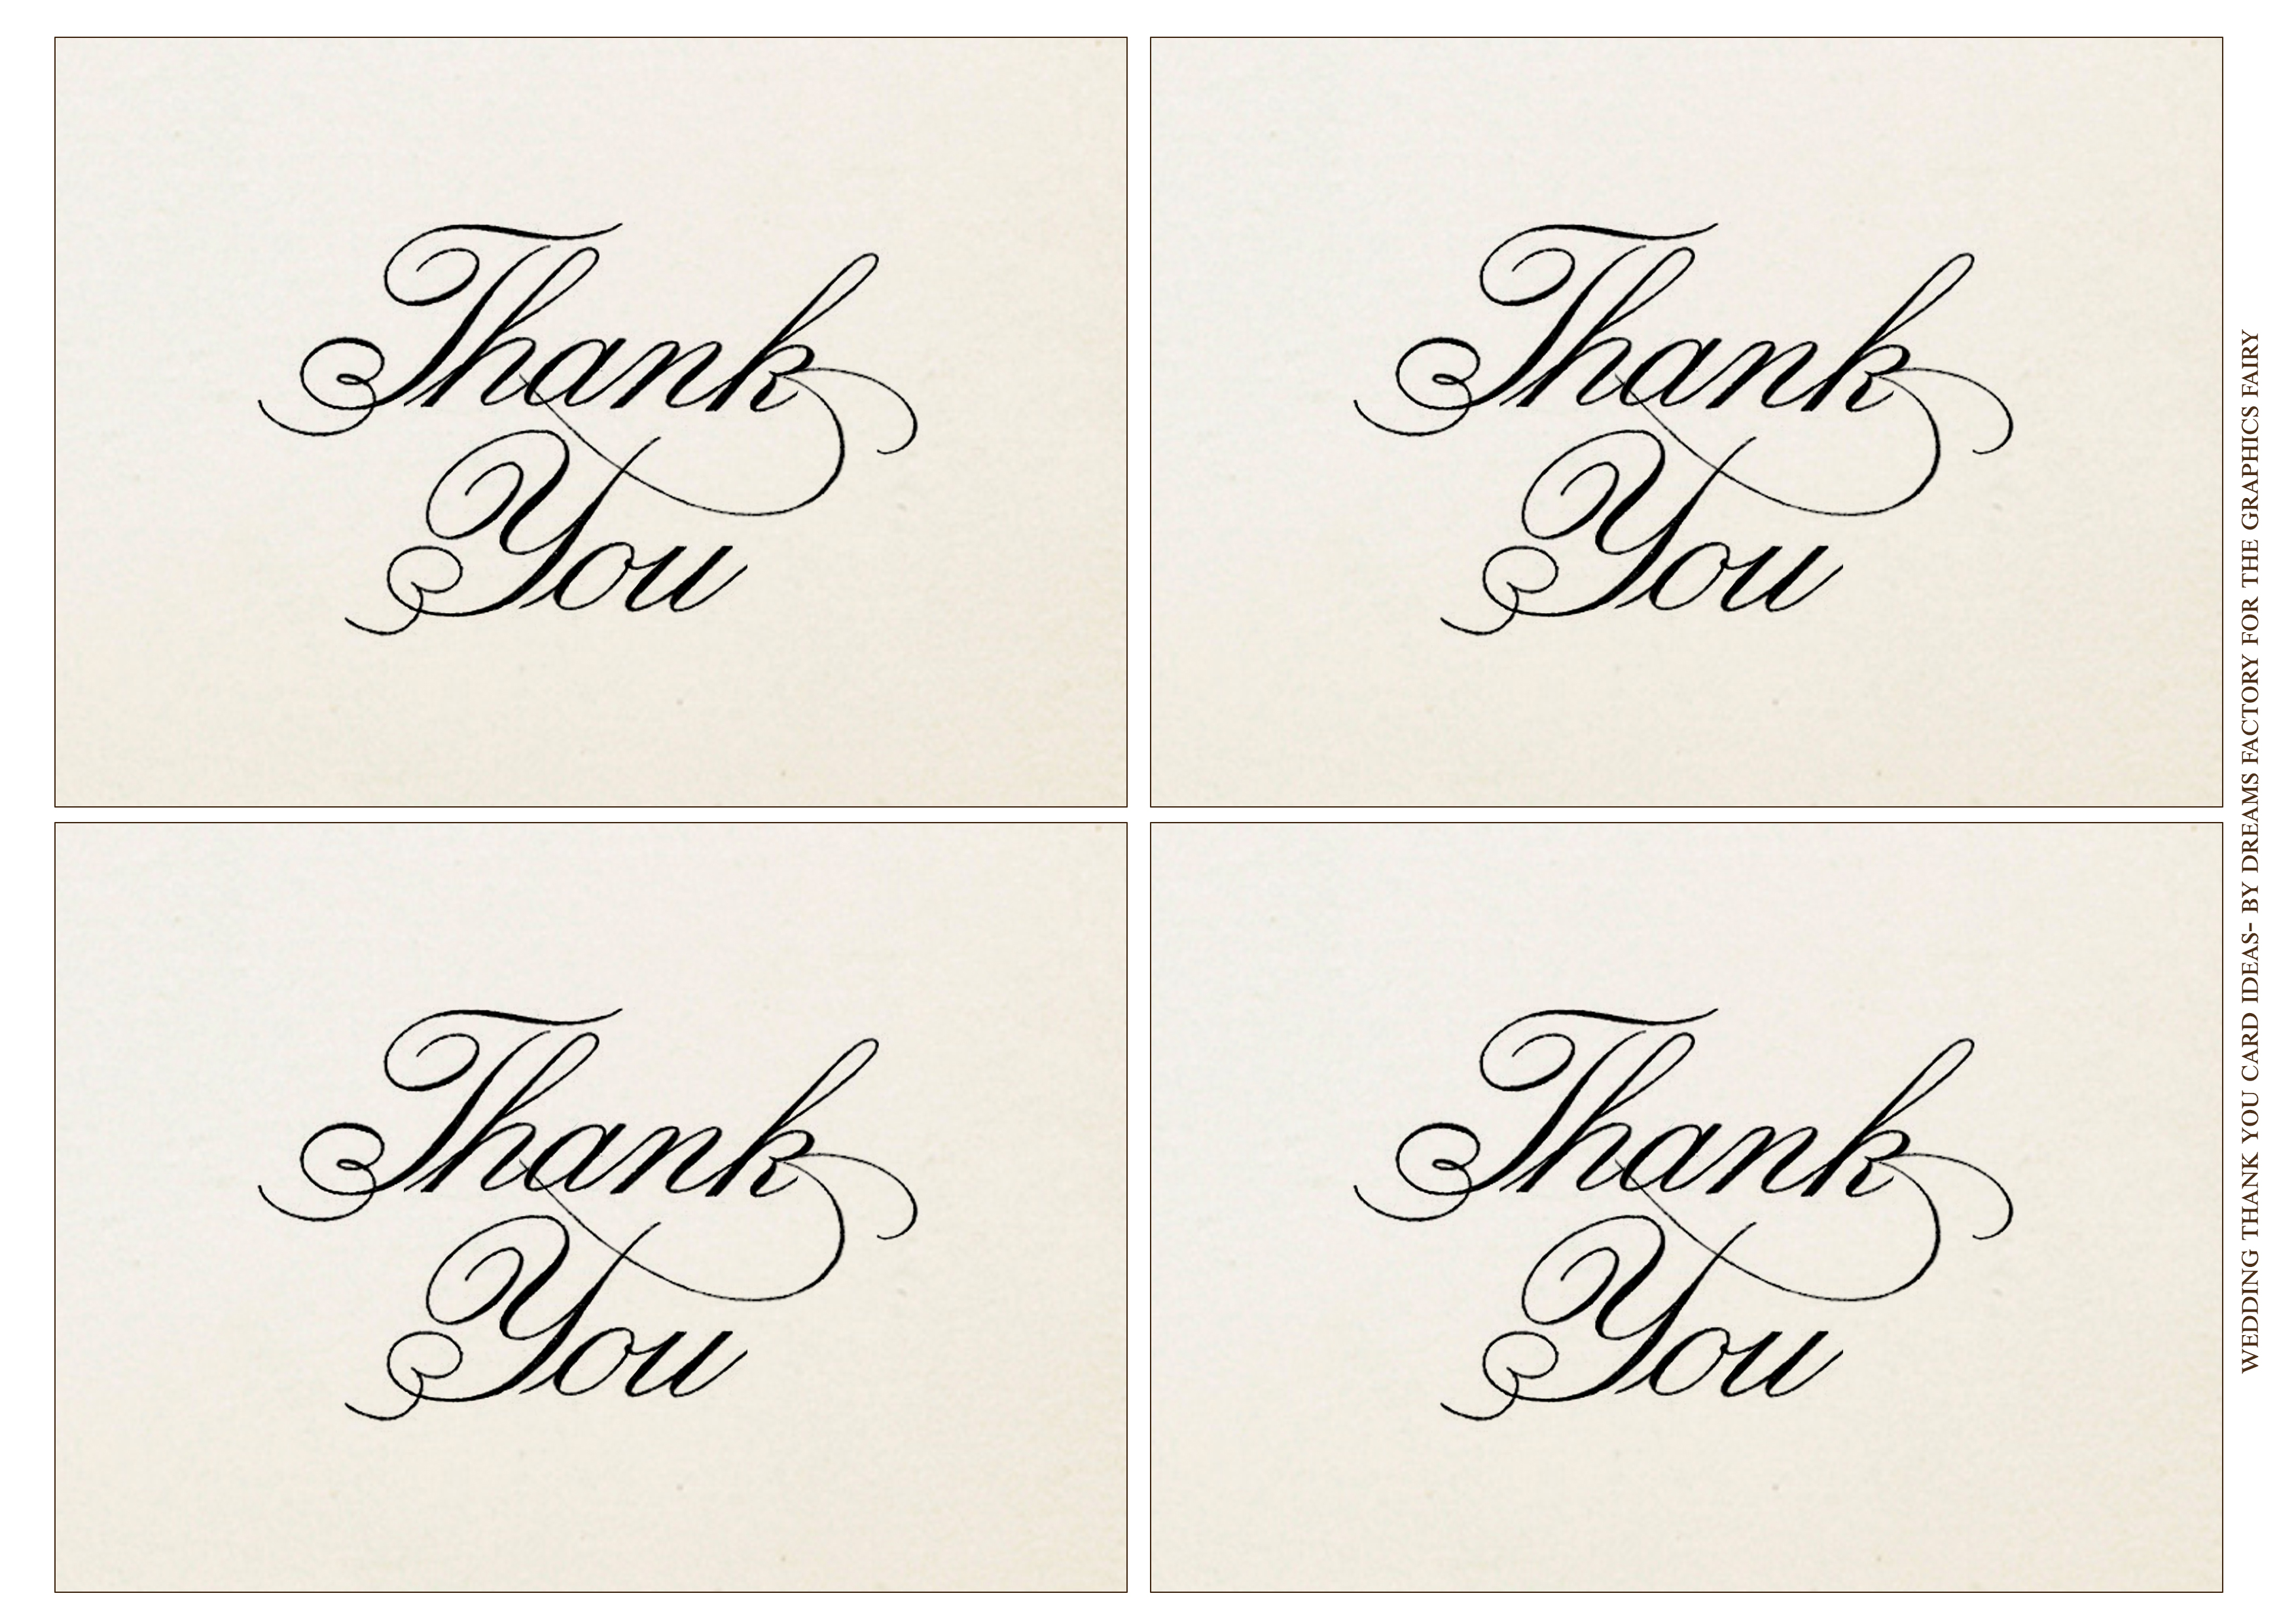
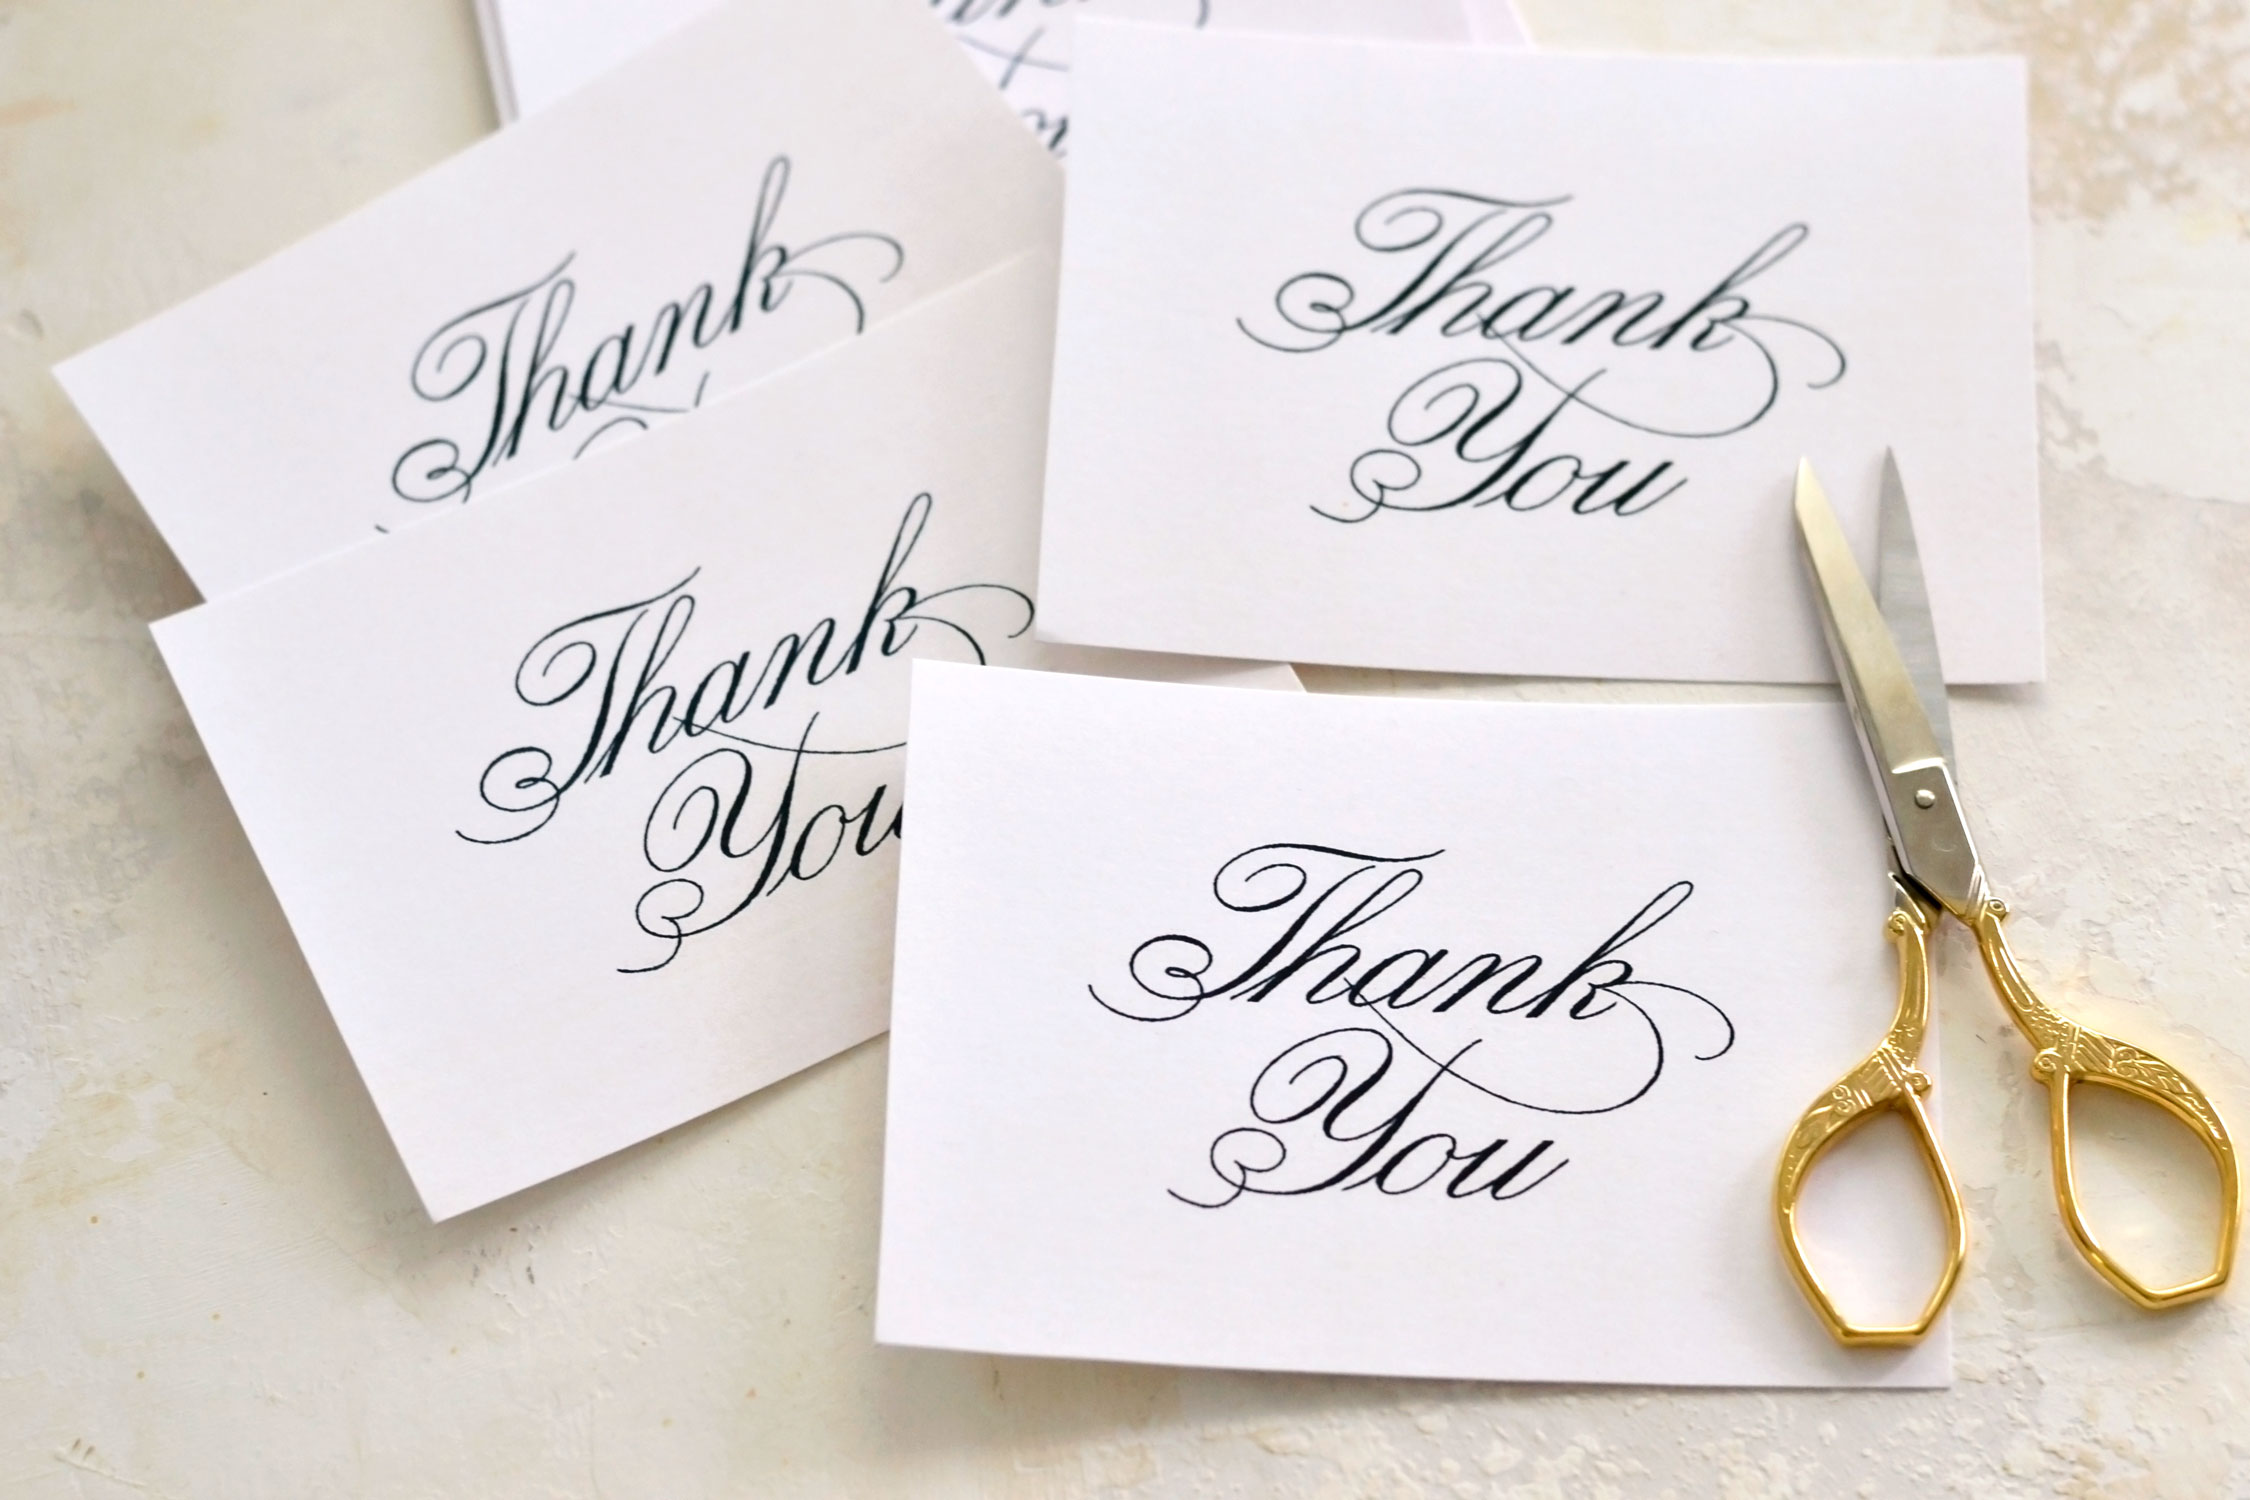
Here is the printable that I created for this project, I actually used a vintage alphabet image and extracted all the letters to create this lovely swirly calligraphy ‘Thank You’ writing. I added a lovely creamy background to the cards which is not too visible, but it will help you get rid of the whiteness of the paper and will give the finished cards a little bit more oomph.
—-> Click HERE to Download the Full Size Printable PDF <—-
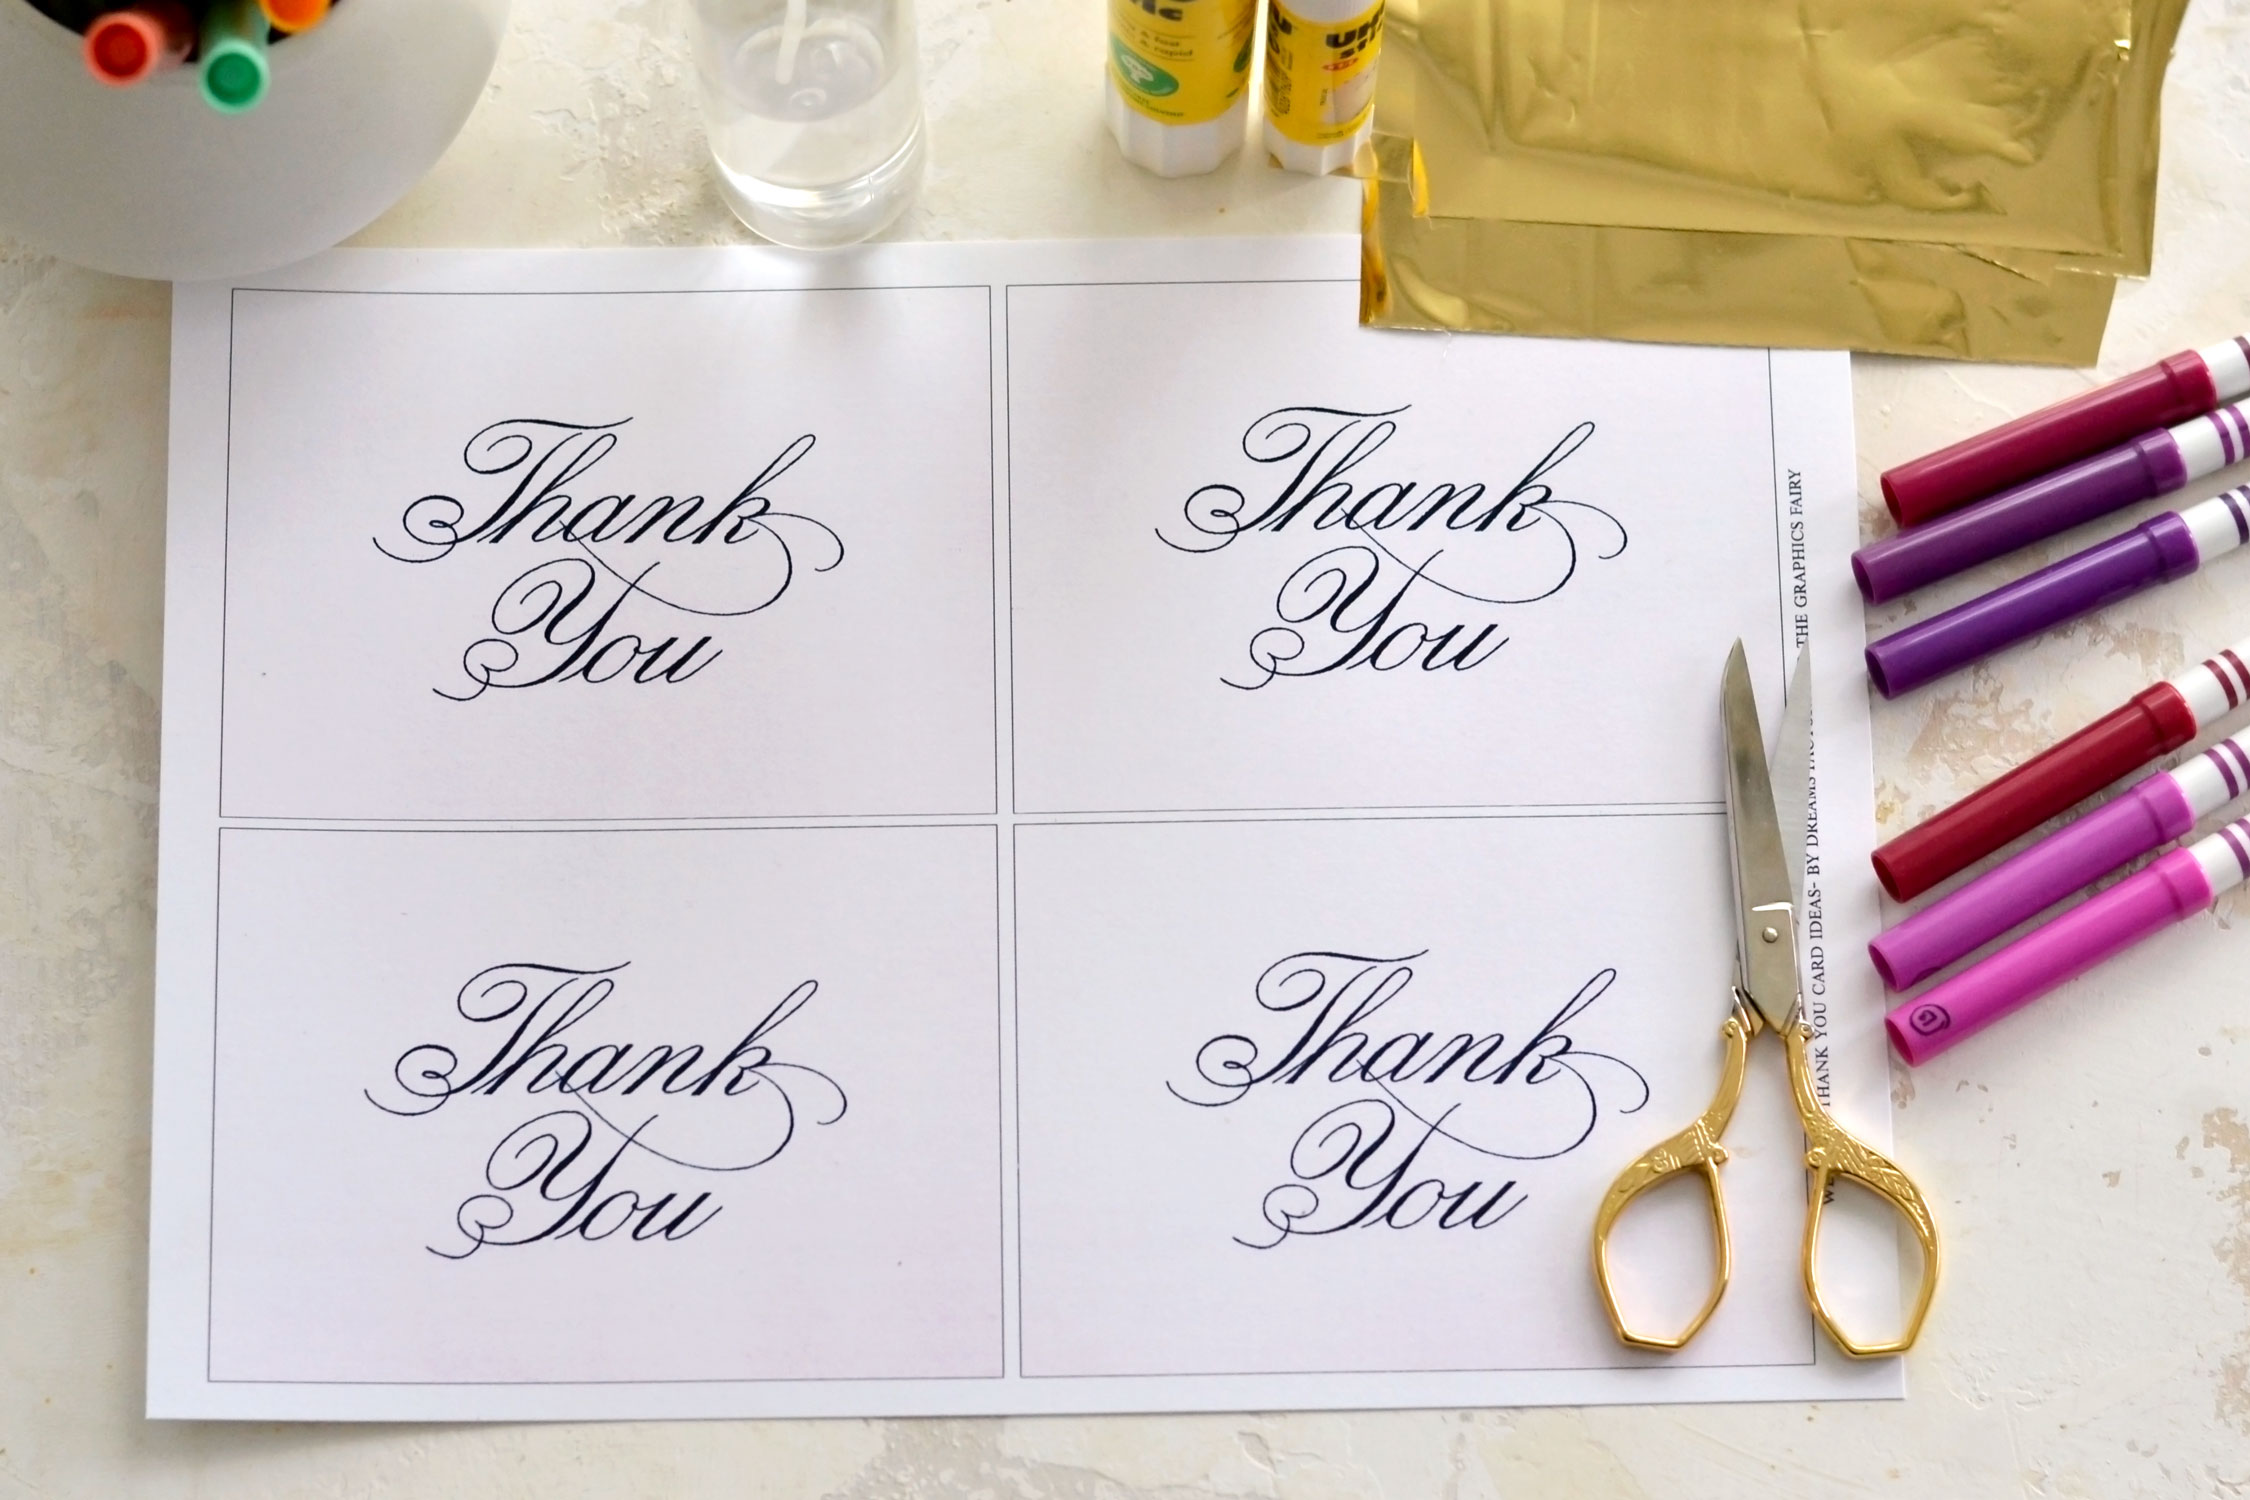
Wedding Thank You Card Ideas Supplies:
- cardstock paper
- home printer
- scissors
- gold foil
- gold foil glue OR UHU glue stick OR Mod Podge
- colored markers – I used these from Sargent Art
- spray water bottle
- plastic sheet or a non-absorbent surface
Start by printing your printable using a laserjet printer. If you don’t have a laserjet printer, you can try printing the cards at a printing center or you can ask your friends that have one to print them for you.
You can print the printable as many times as you want, depending on how many cards you need – 1 printable will make 4 cards.
Use a trimmer or your scissors to cut each card making sure you completely remove the black borders around the edges.
Now it’s time to create our beautiful faux watercolor effect!
We will need:
– colored markers – I’m using the inexpensive colored markers from Sargent Art which are washable and non-toxic, I love that they come in so many different colors, you’ll have plenty of options to choose from; you can use other colored markers that you have around, just make sure you don’t use permanent markers, they won’t work for this
– a spray bottle – check the way your bottle spritz the water
– a non-absorbant surface – you can use a plastic sheet, a plastic bag, a Teflon mat, etc. – I’m using a desk pad from Ikea
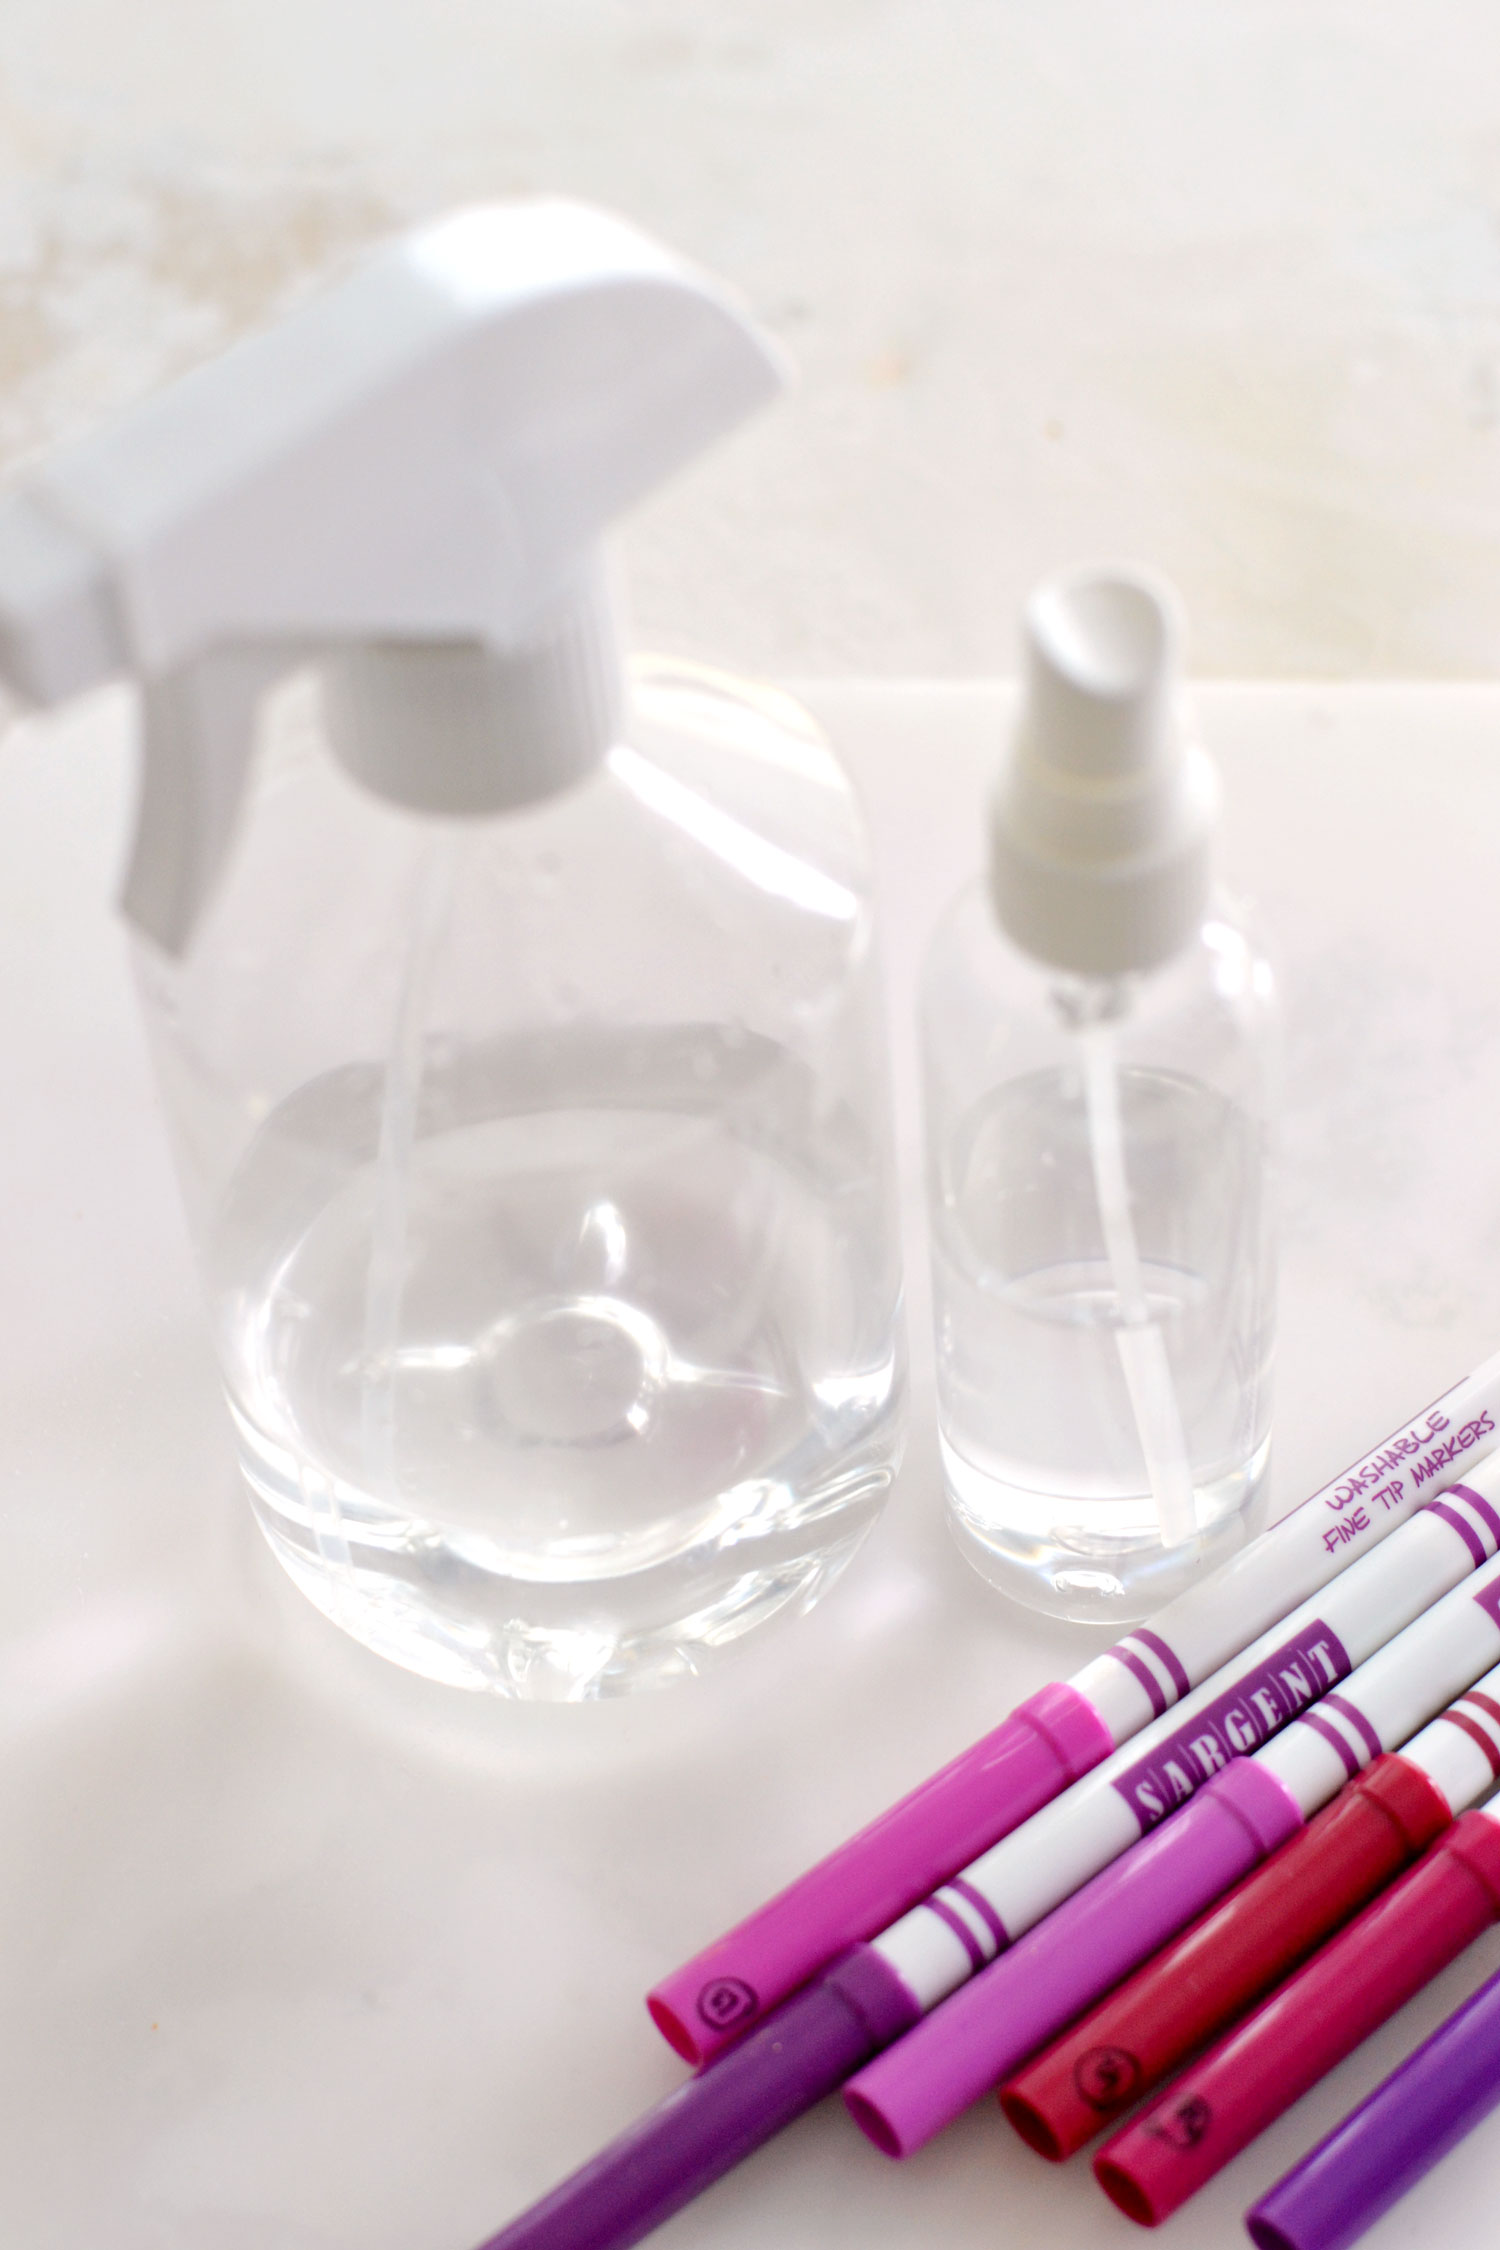
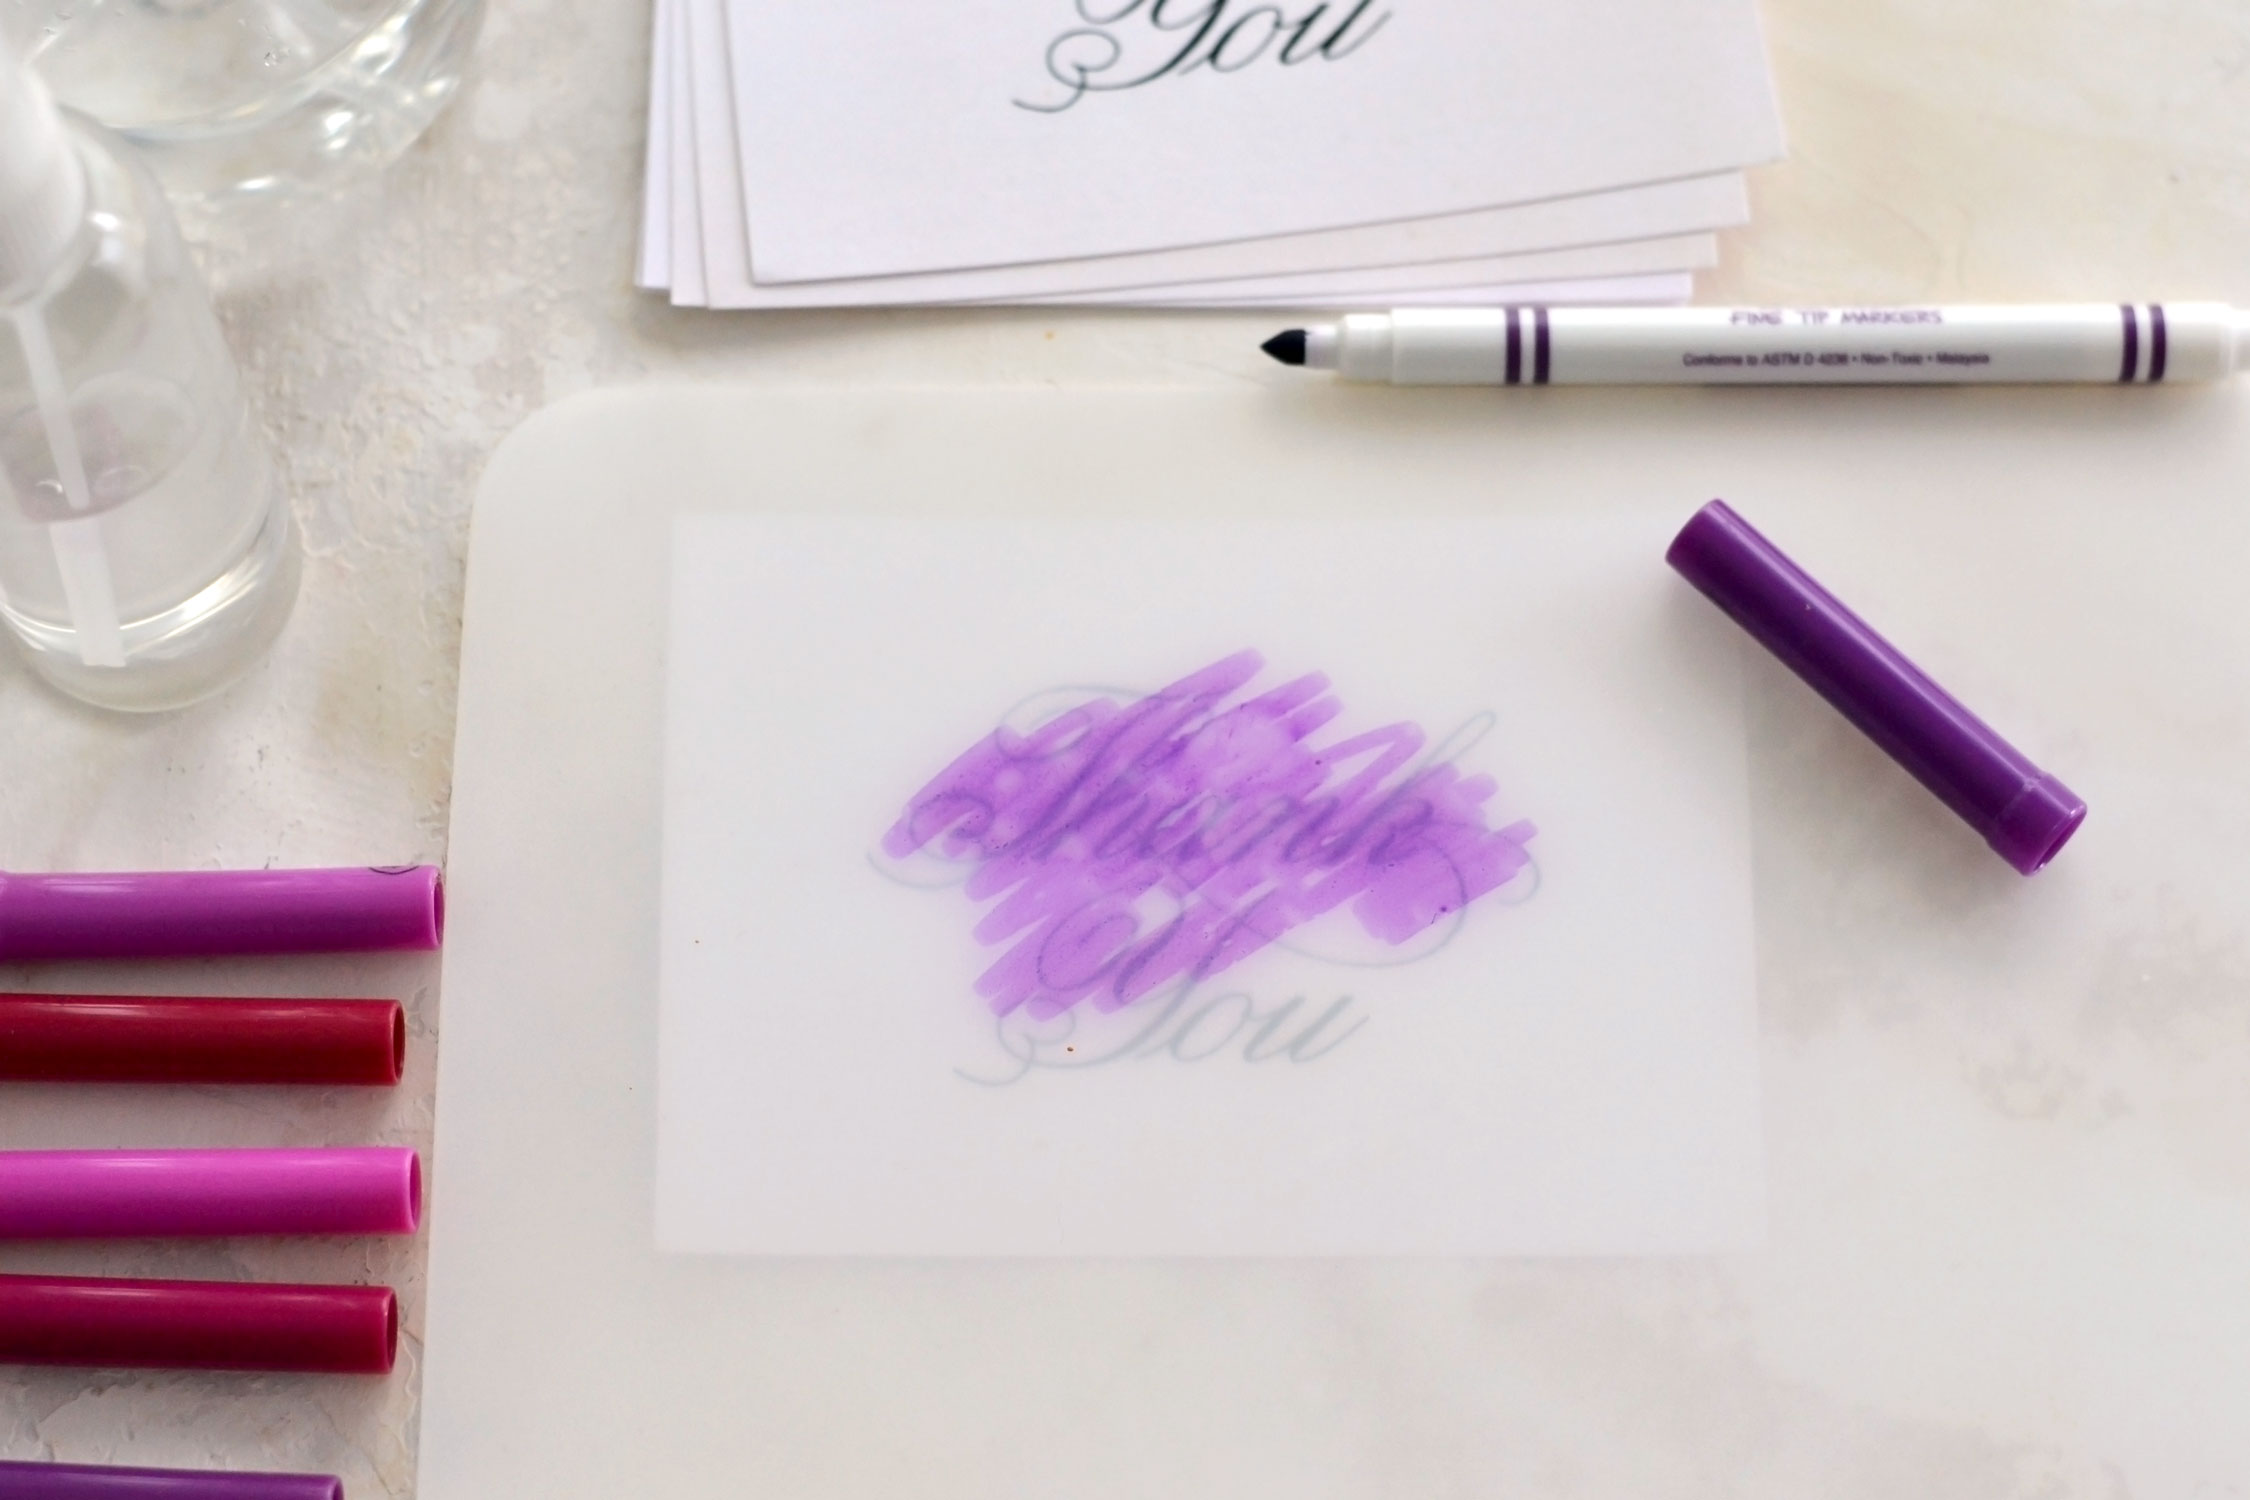
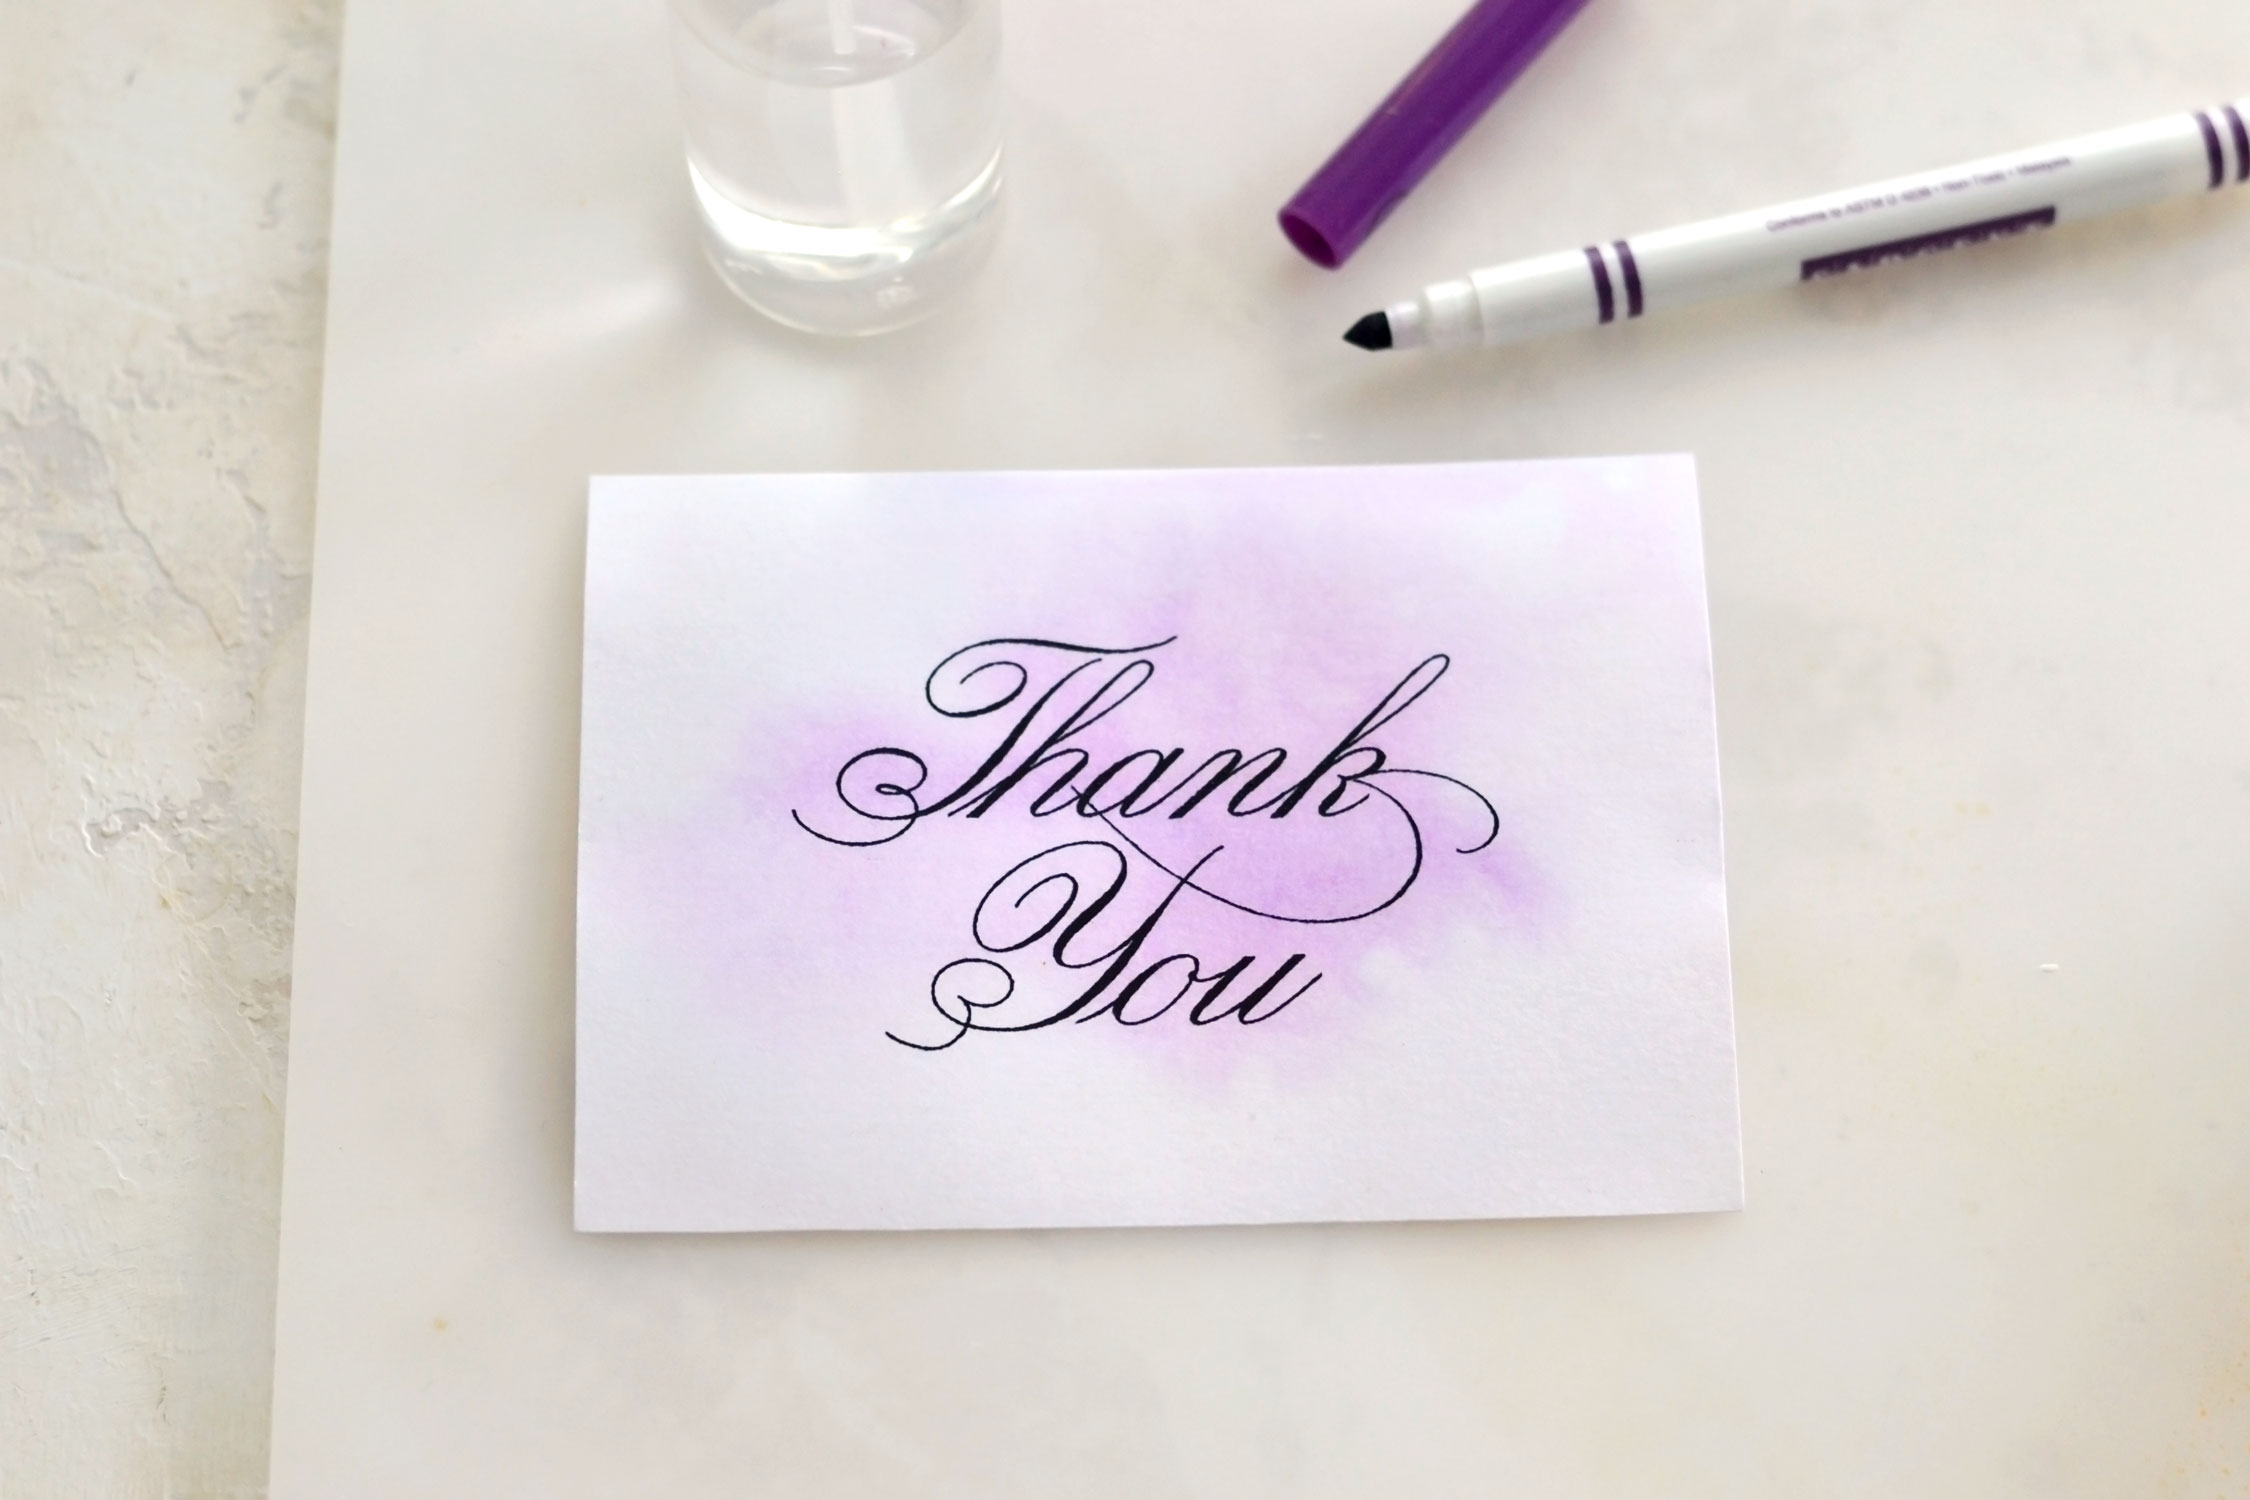
Place one of the cards underneath your non-absorbant surface and use your preferred colored marker to scribble all over the writing. We will use the card underneath as some sort of a guide just to get things started and to get an idea of how large we should make our scribble.
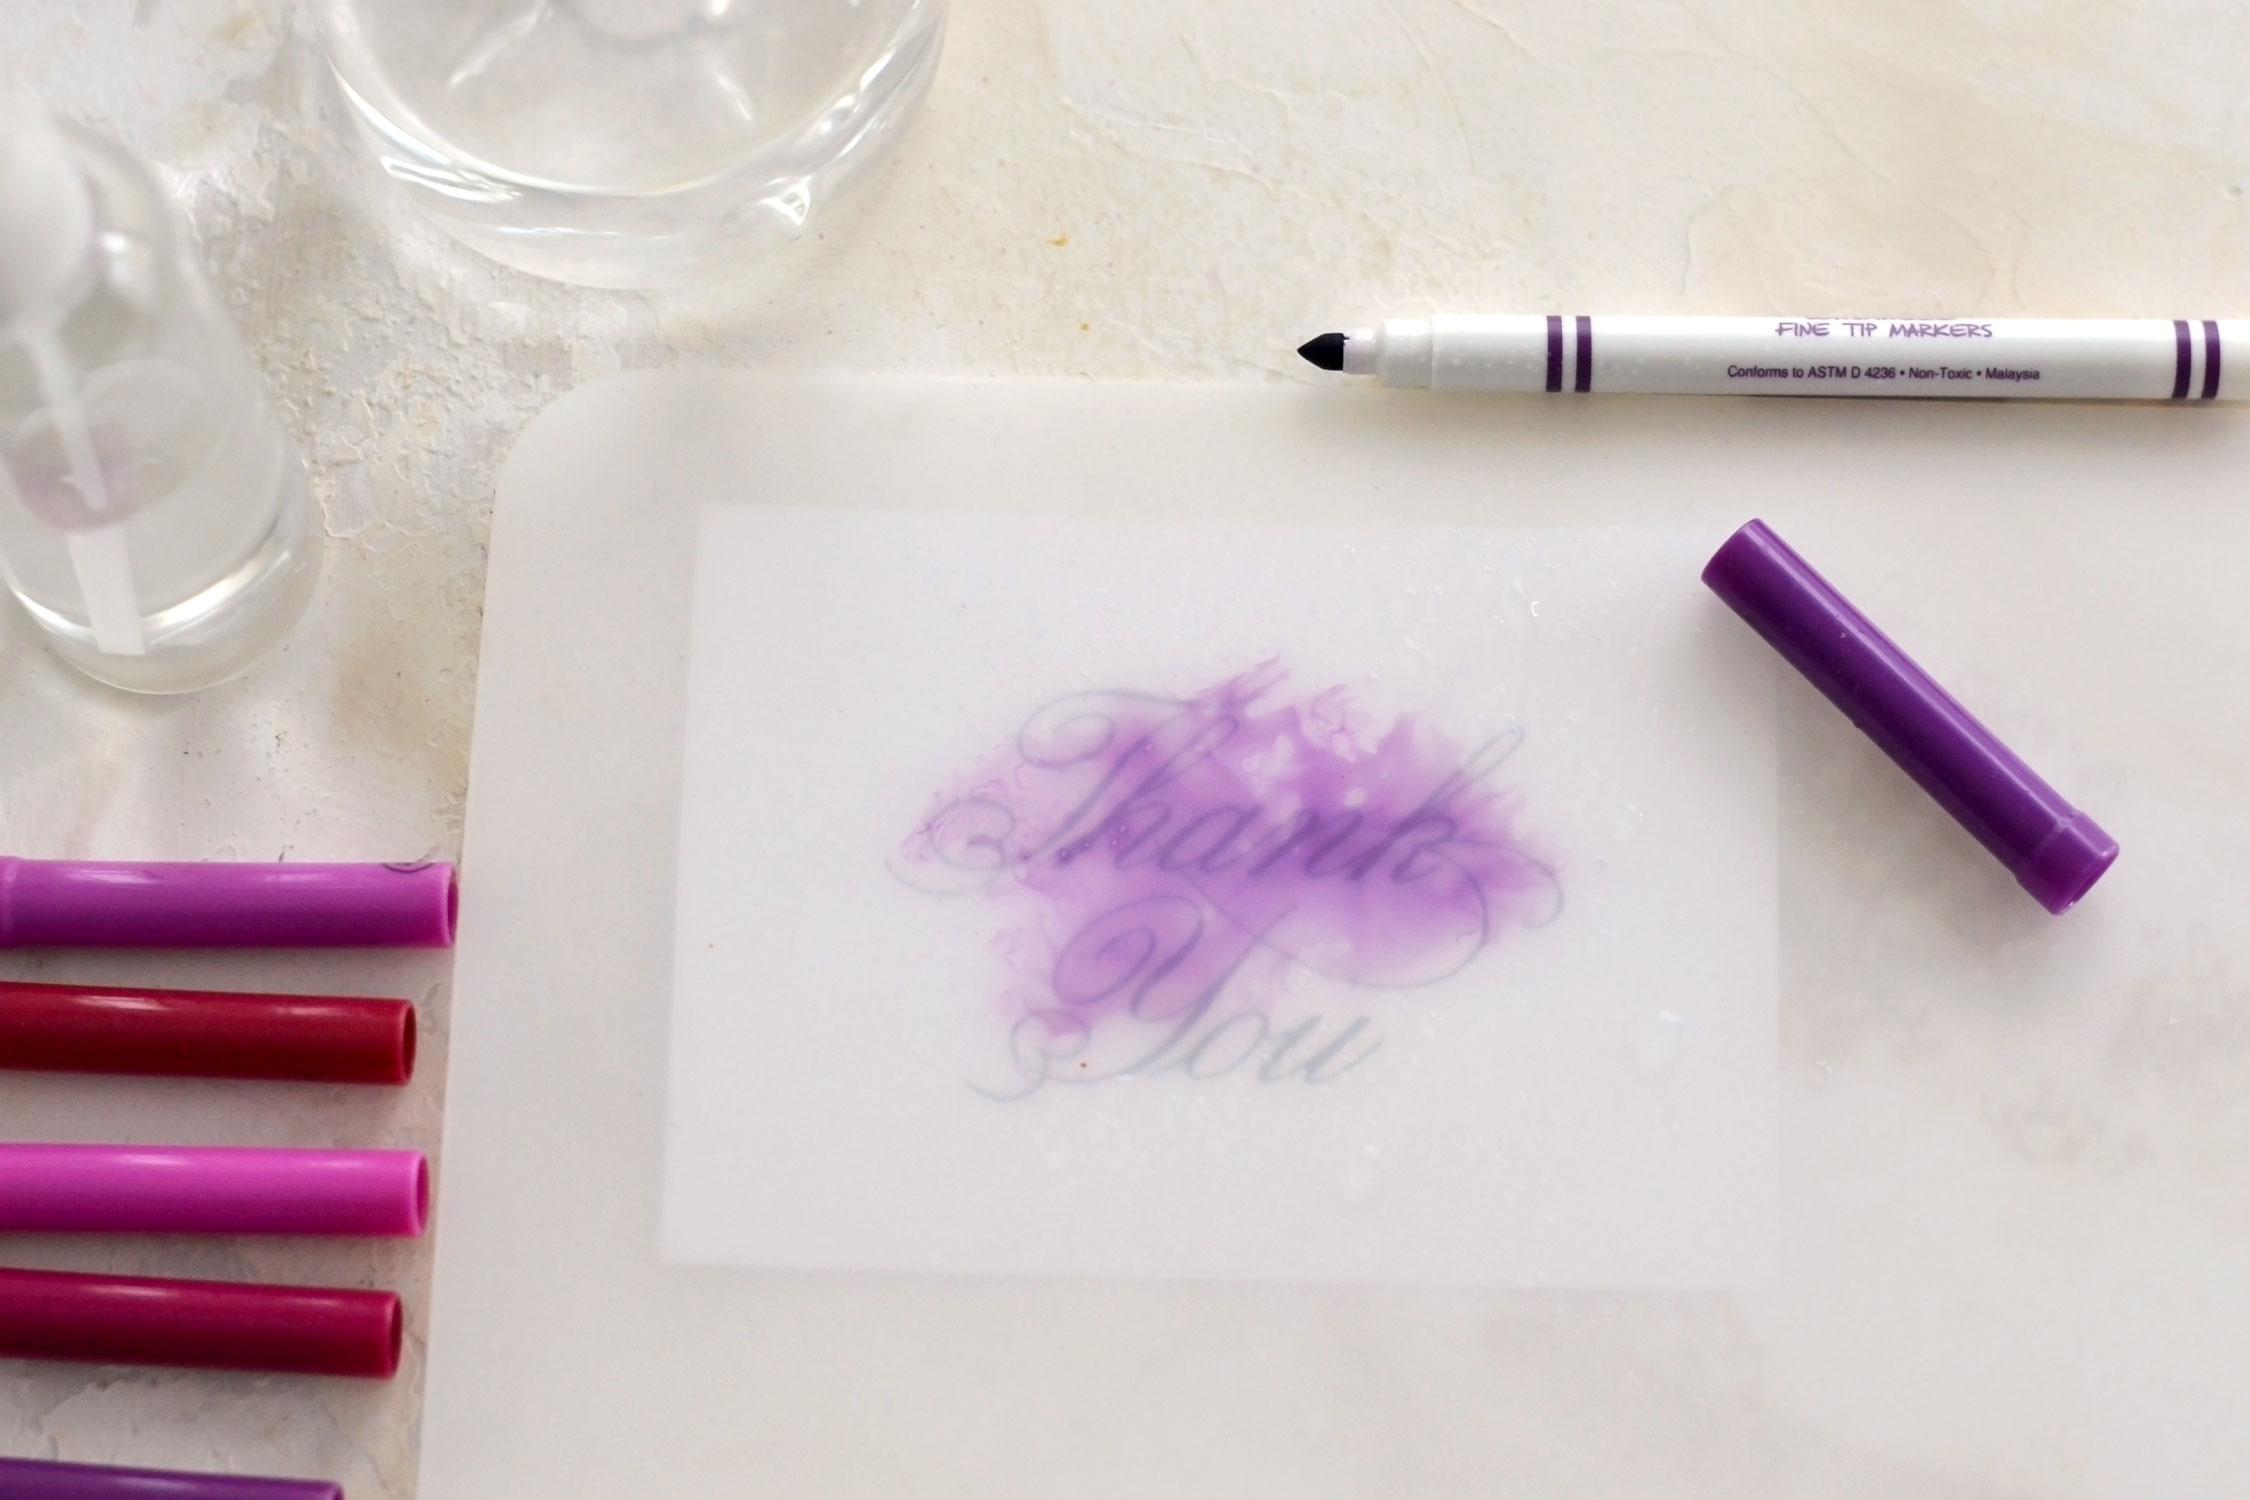
Spray a small amount of water on top of your scribble. We need to add enough water to make the scribbled lines turn into watercolors, depending on the bottle you are using you might need one or several spritzes.
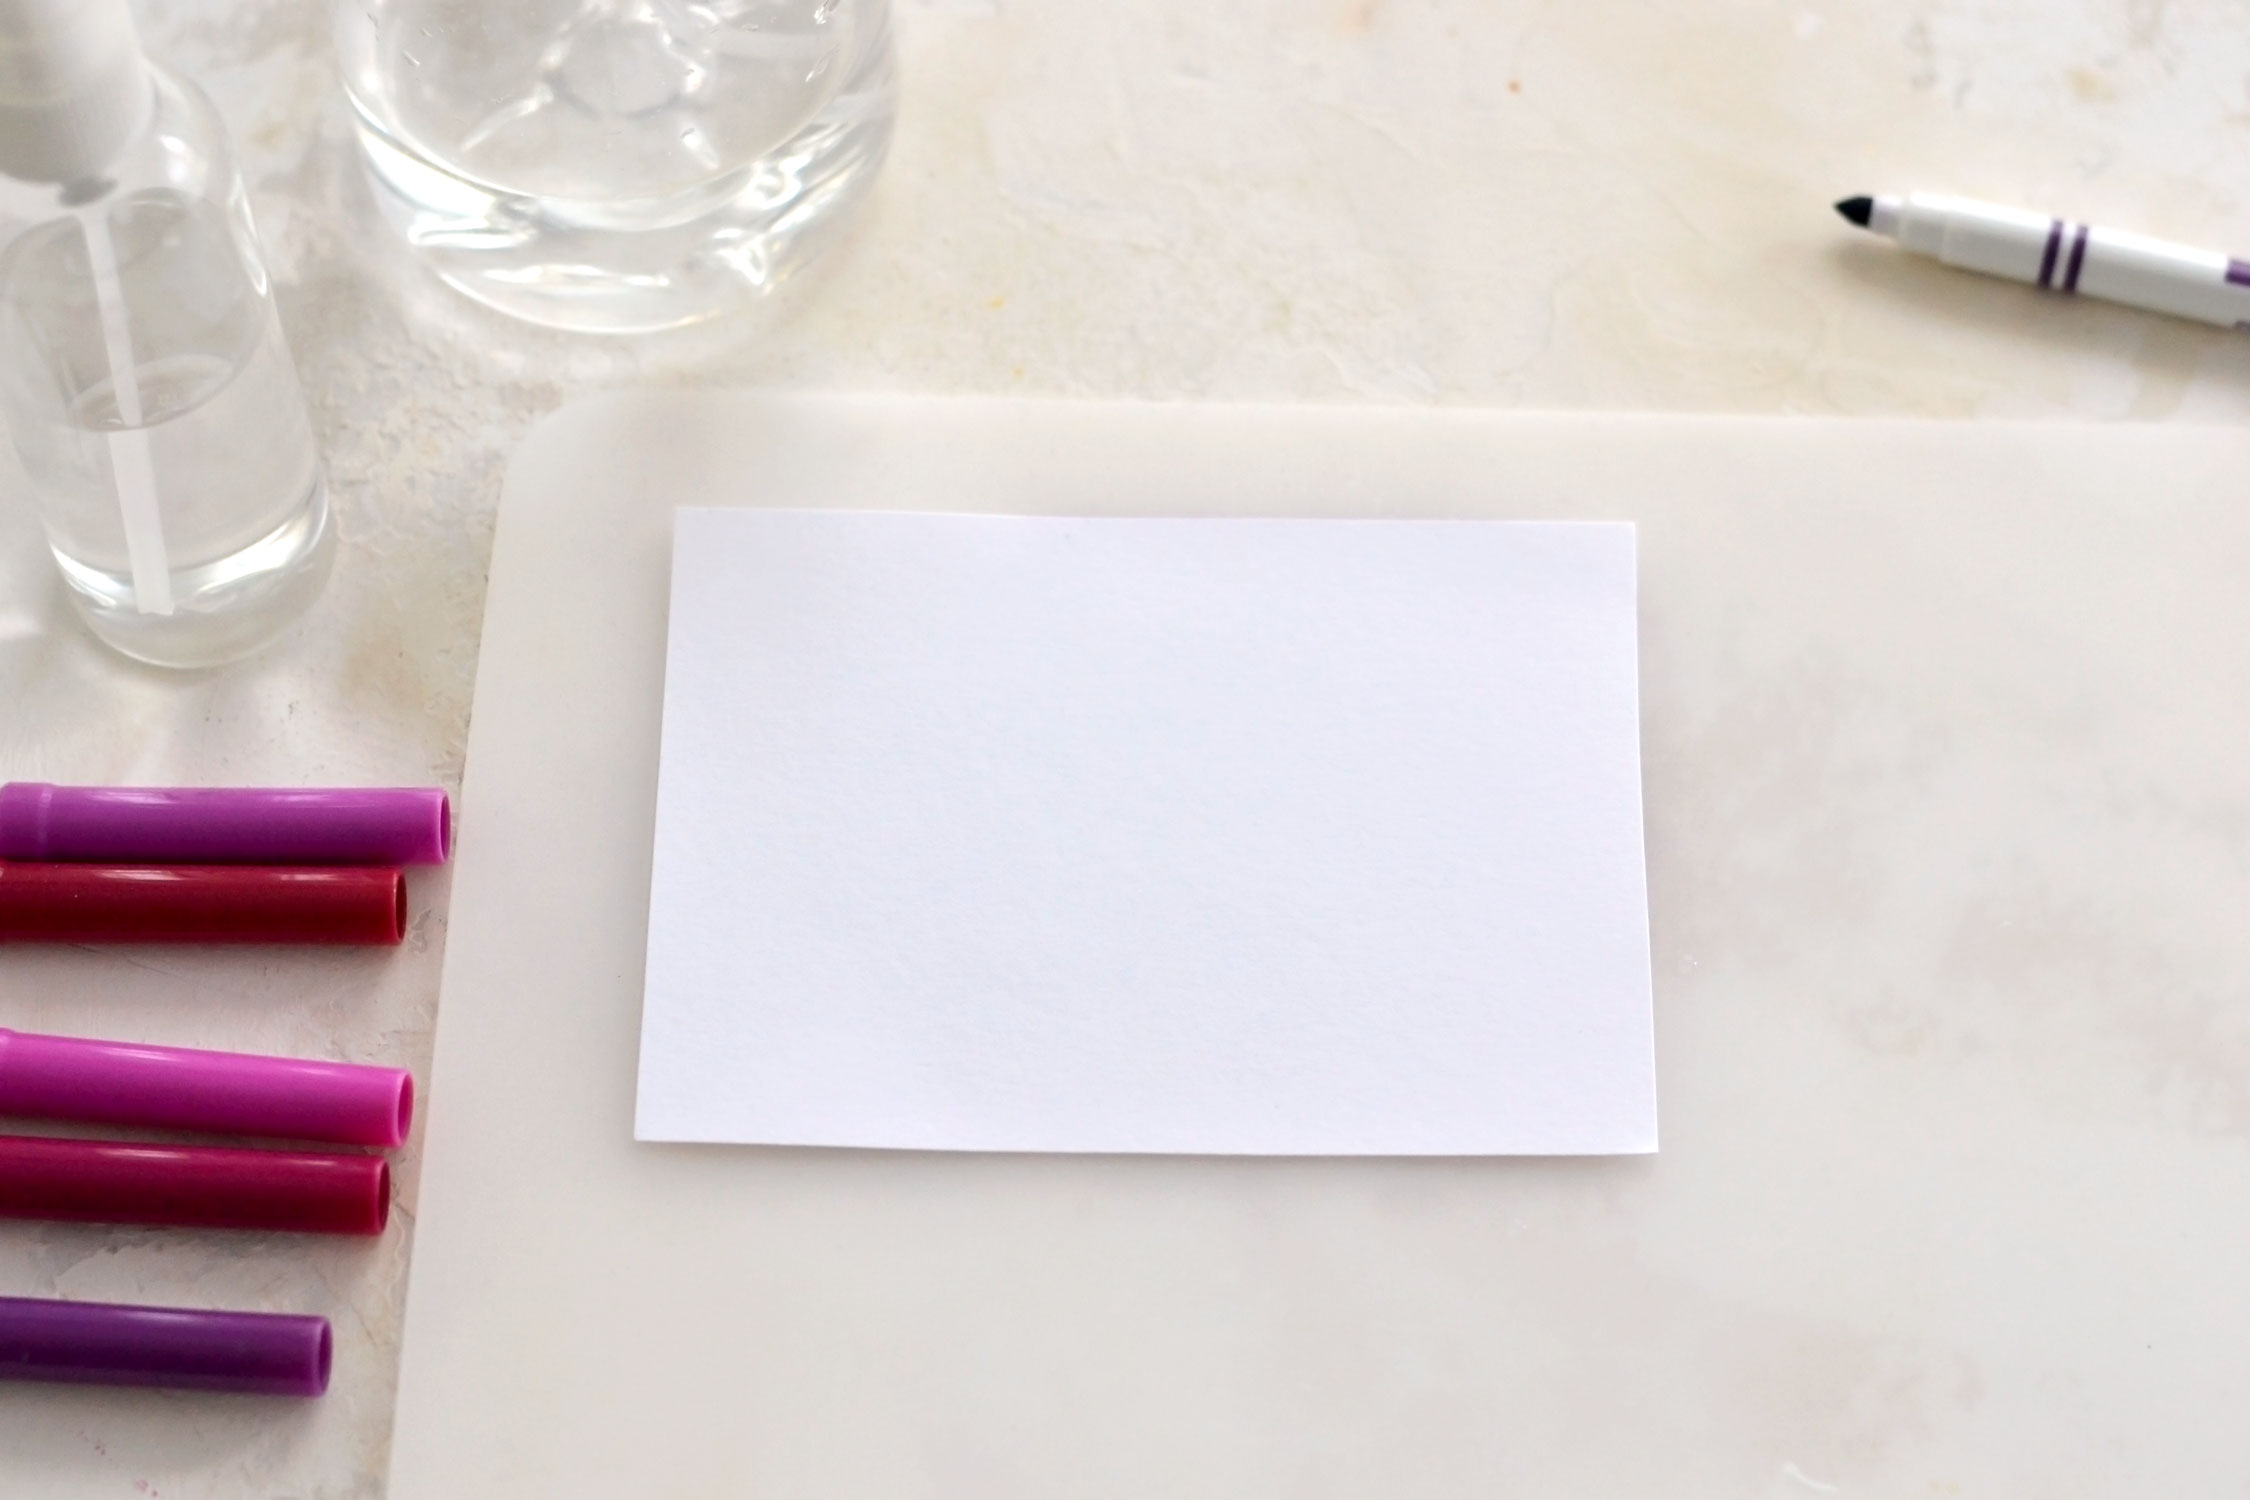
Take a card and place it facing down, into our ‘watercolor’. Gently press it with your fingers, then quickly lift it from one of its corners.
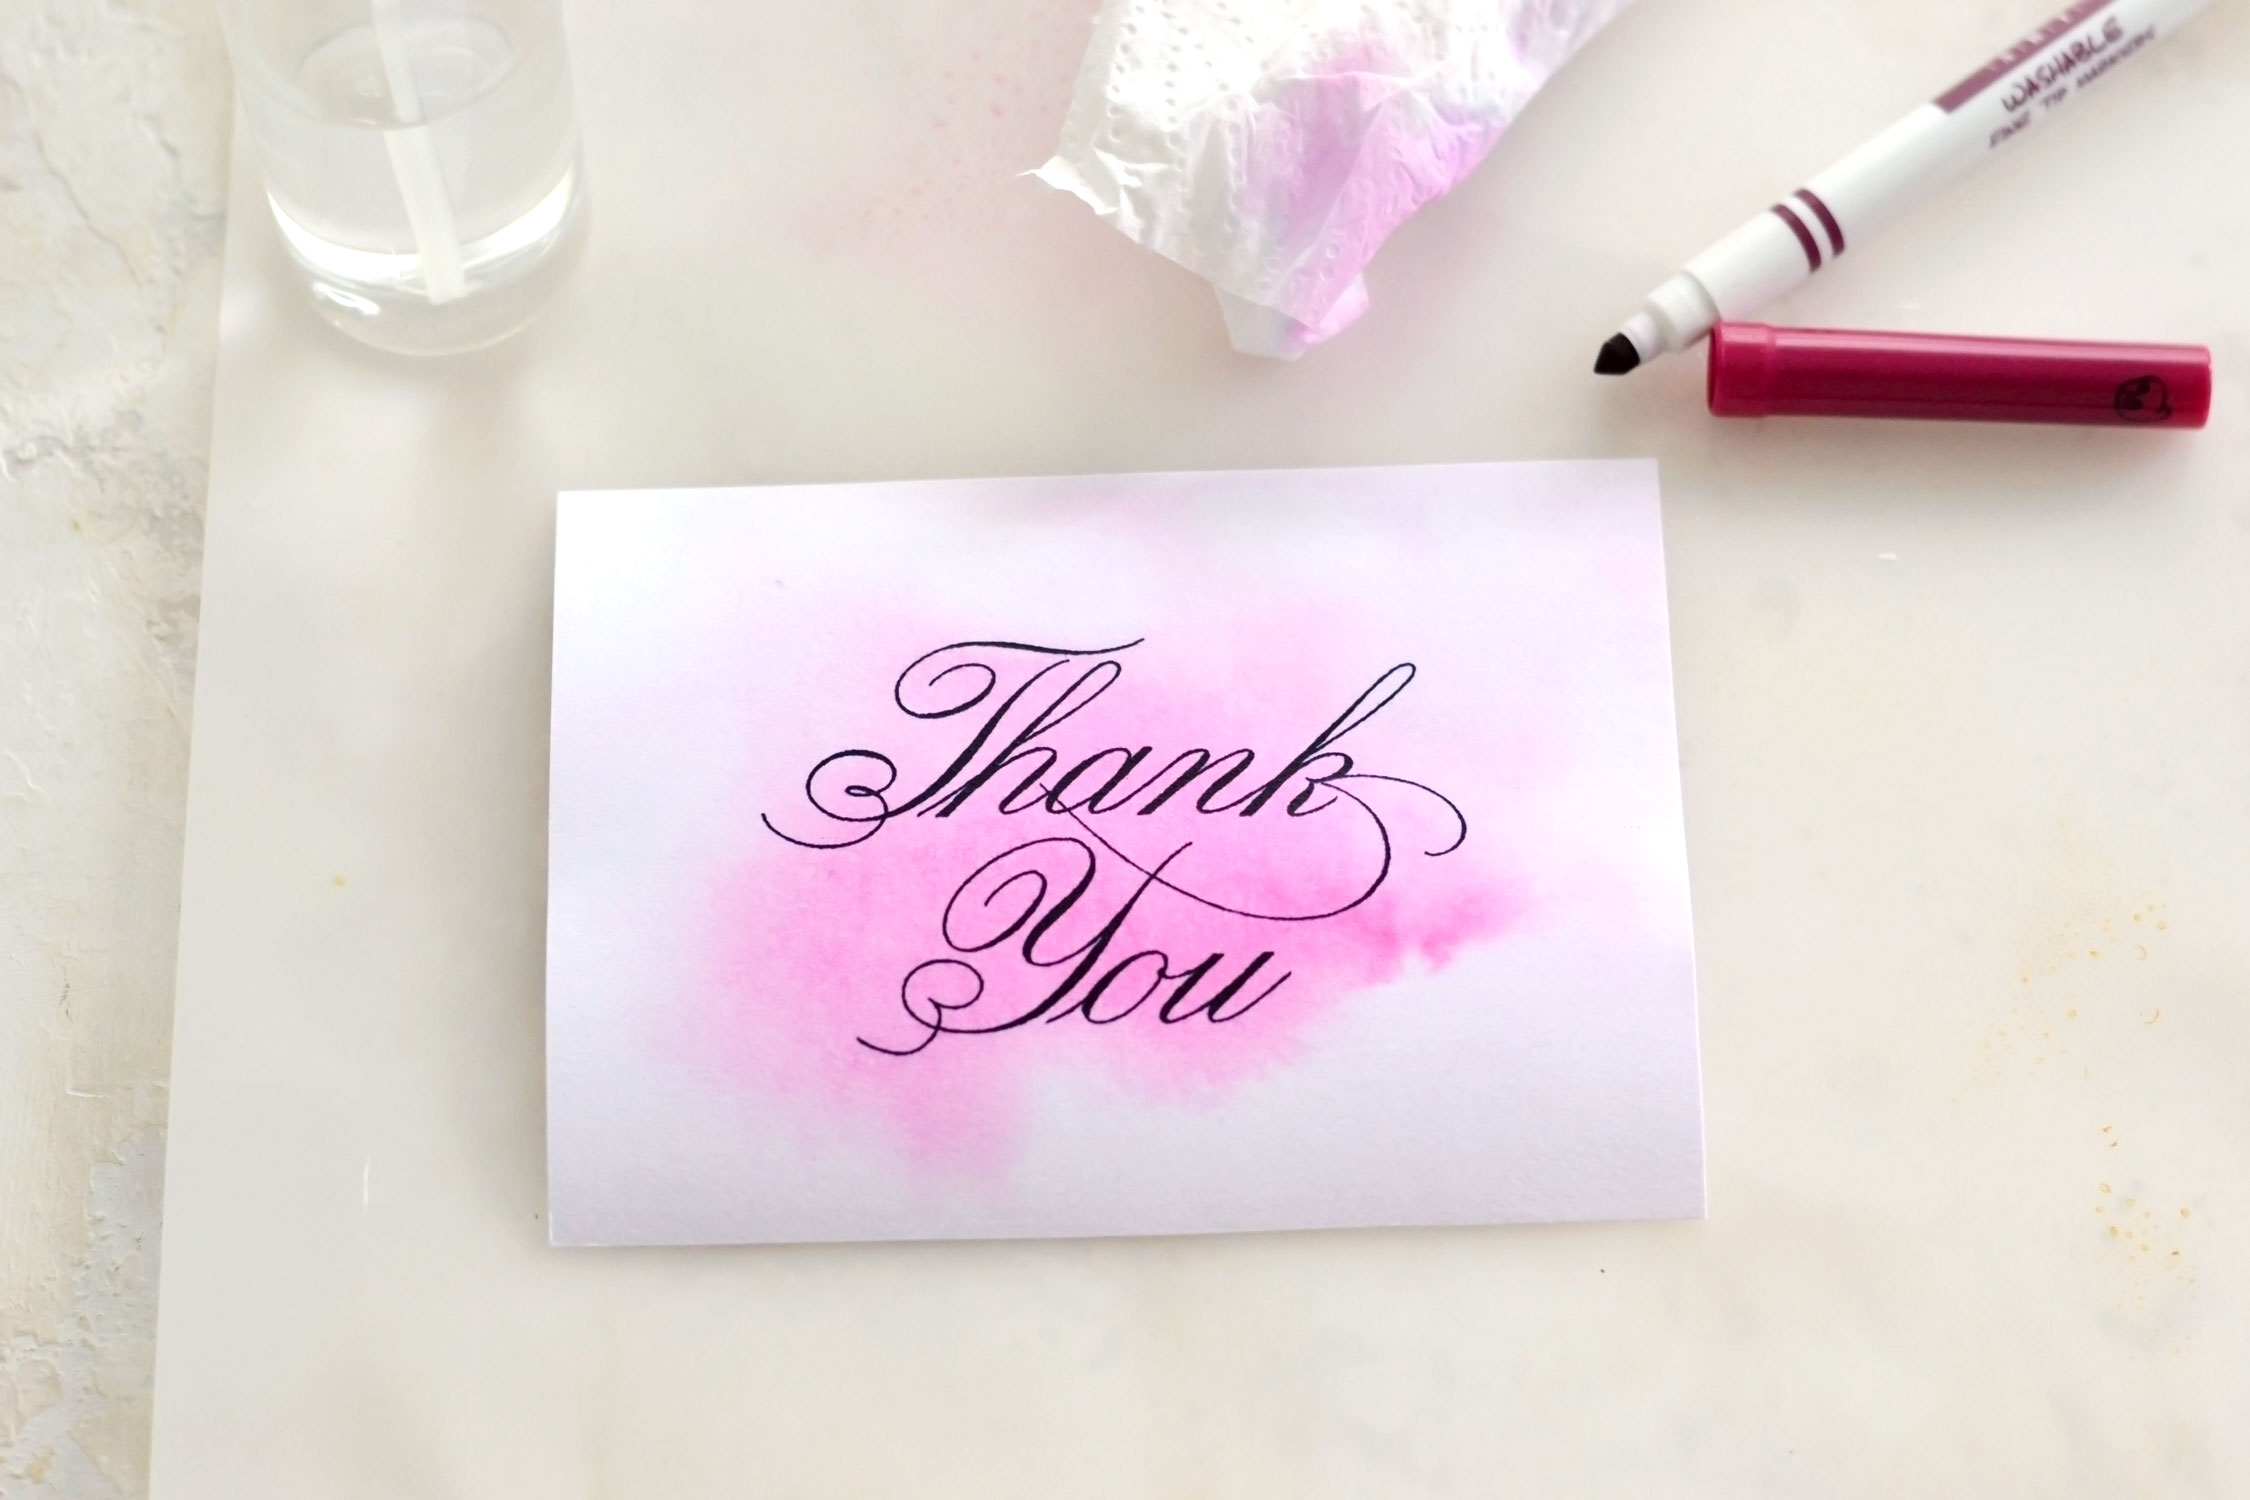
Turn it over and admire your beautiful watercolor-y effect. Depending on how many scribbled lines you created and how much water you added, you will get a more or less saturated effect. If you feel your color is not vivid enough, you can repeat this step once again to add more color.
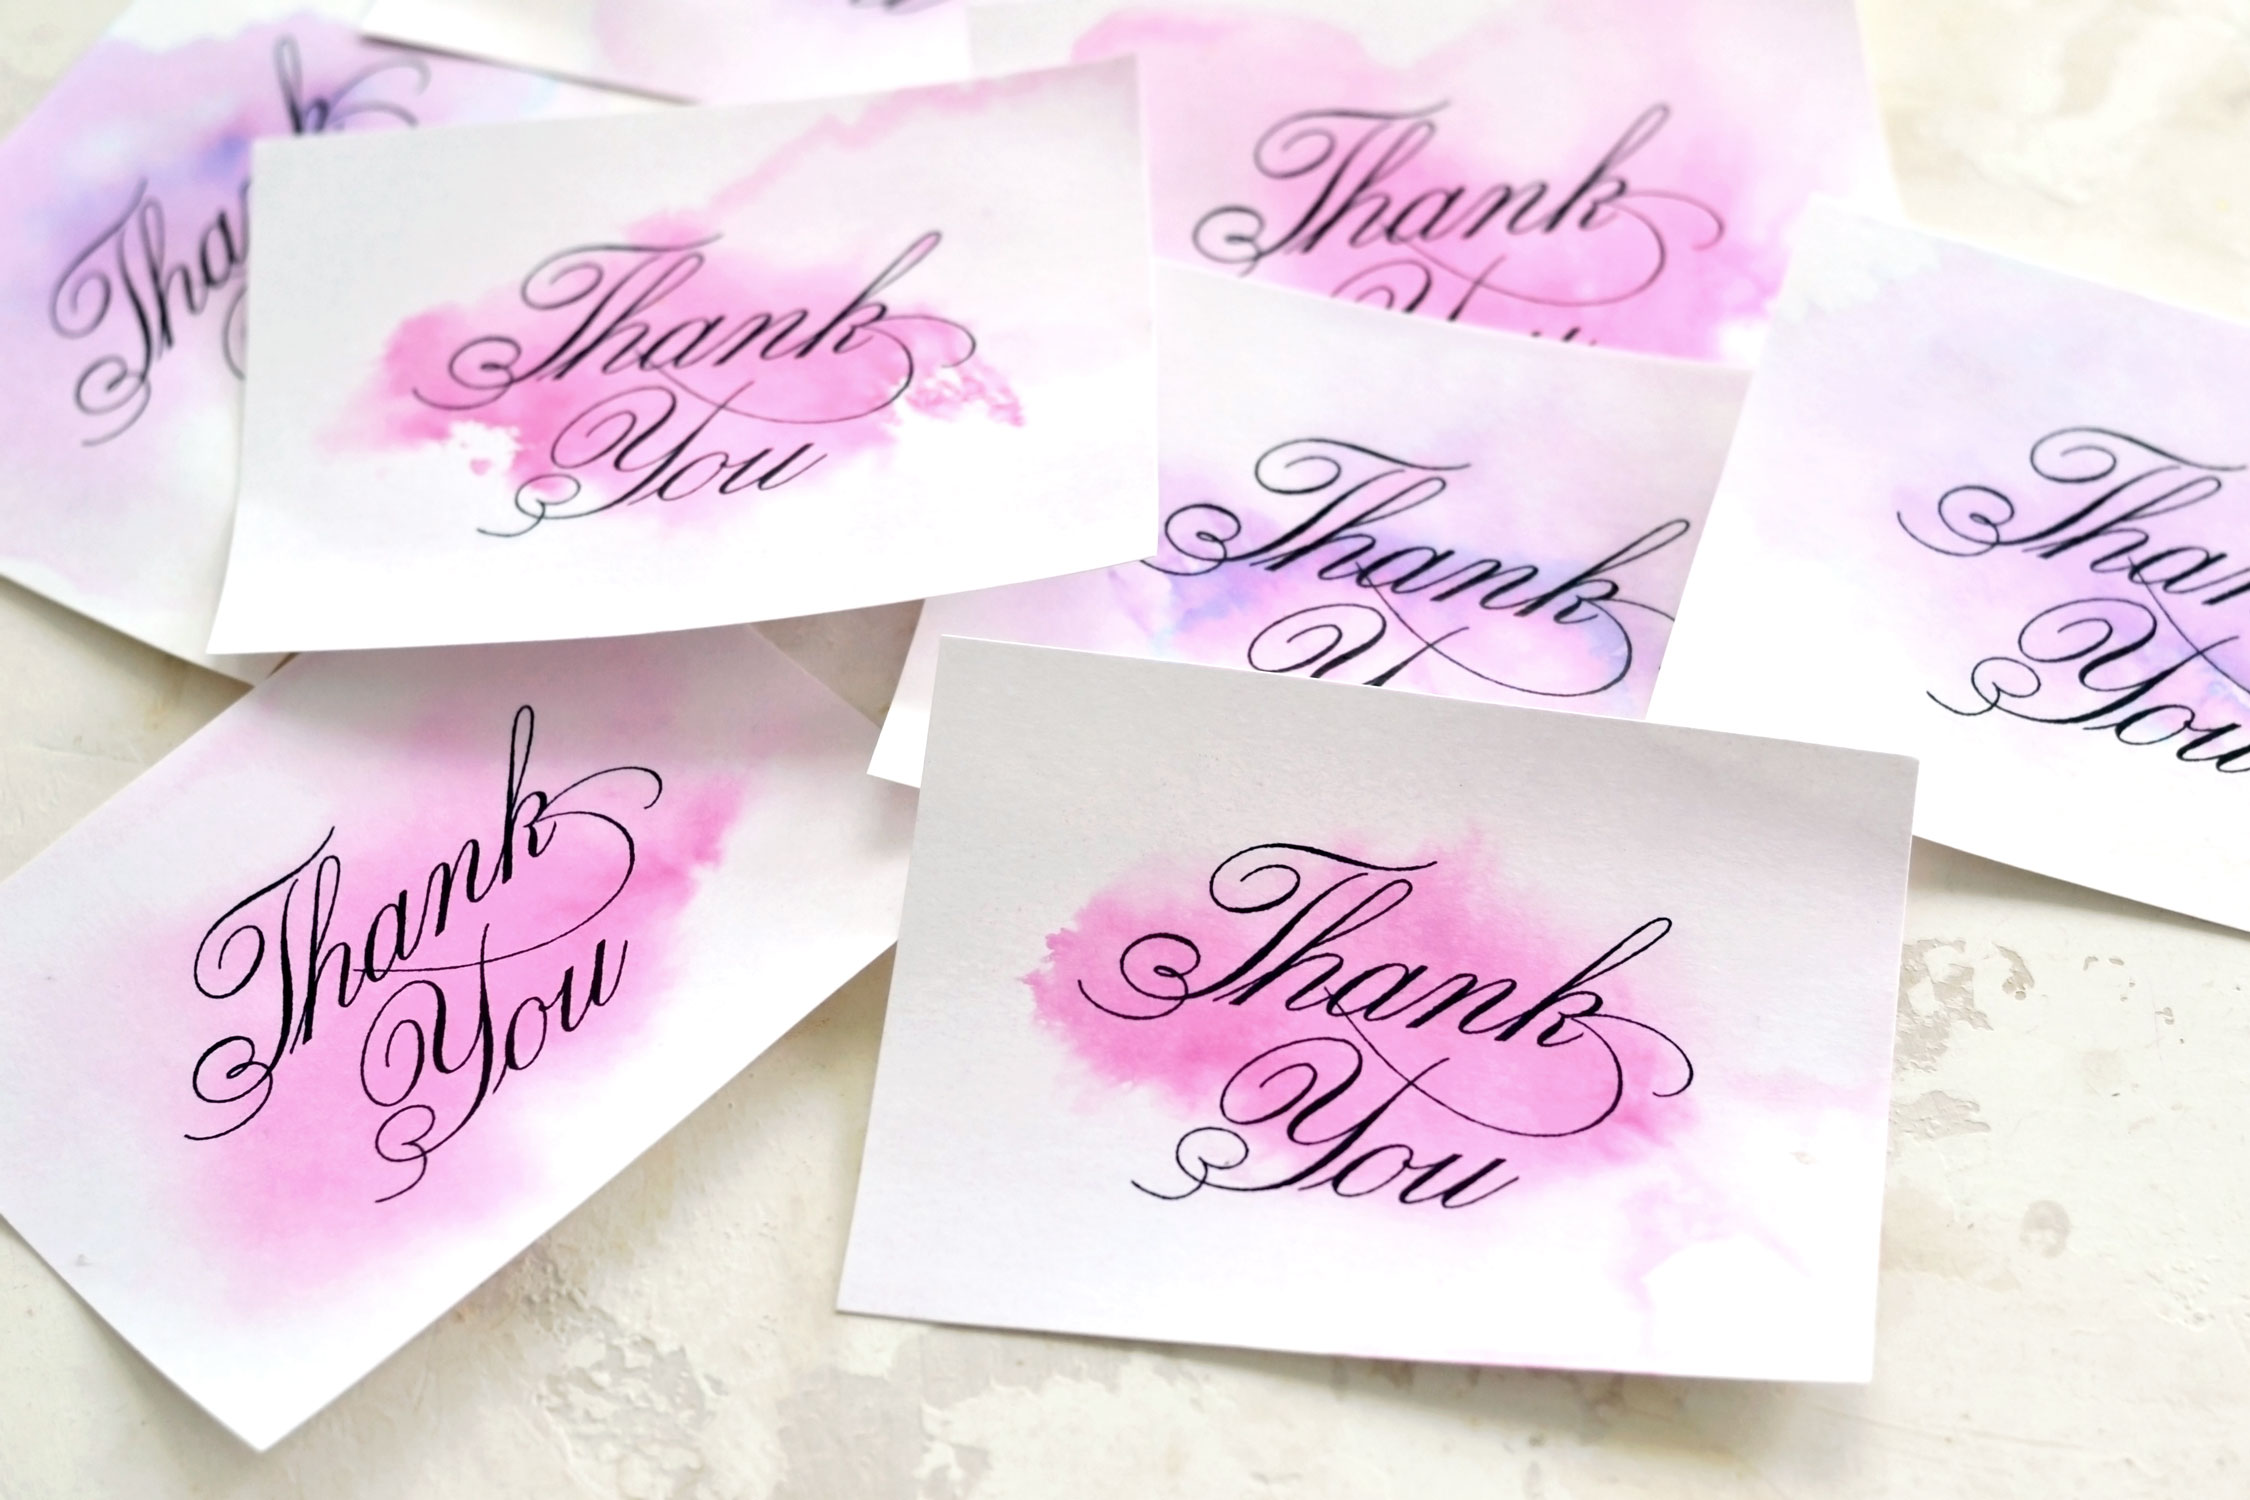
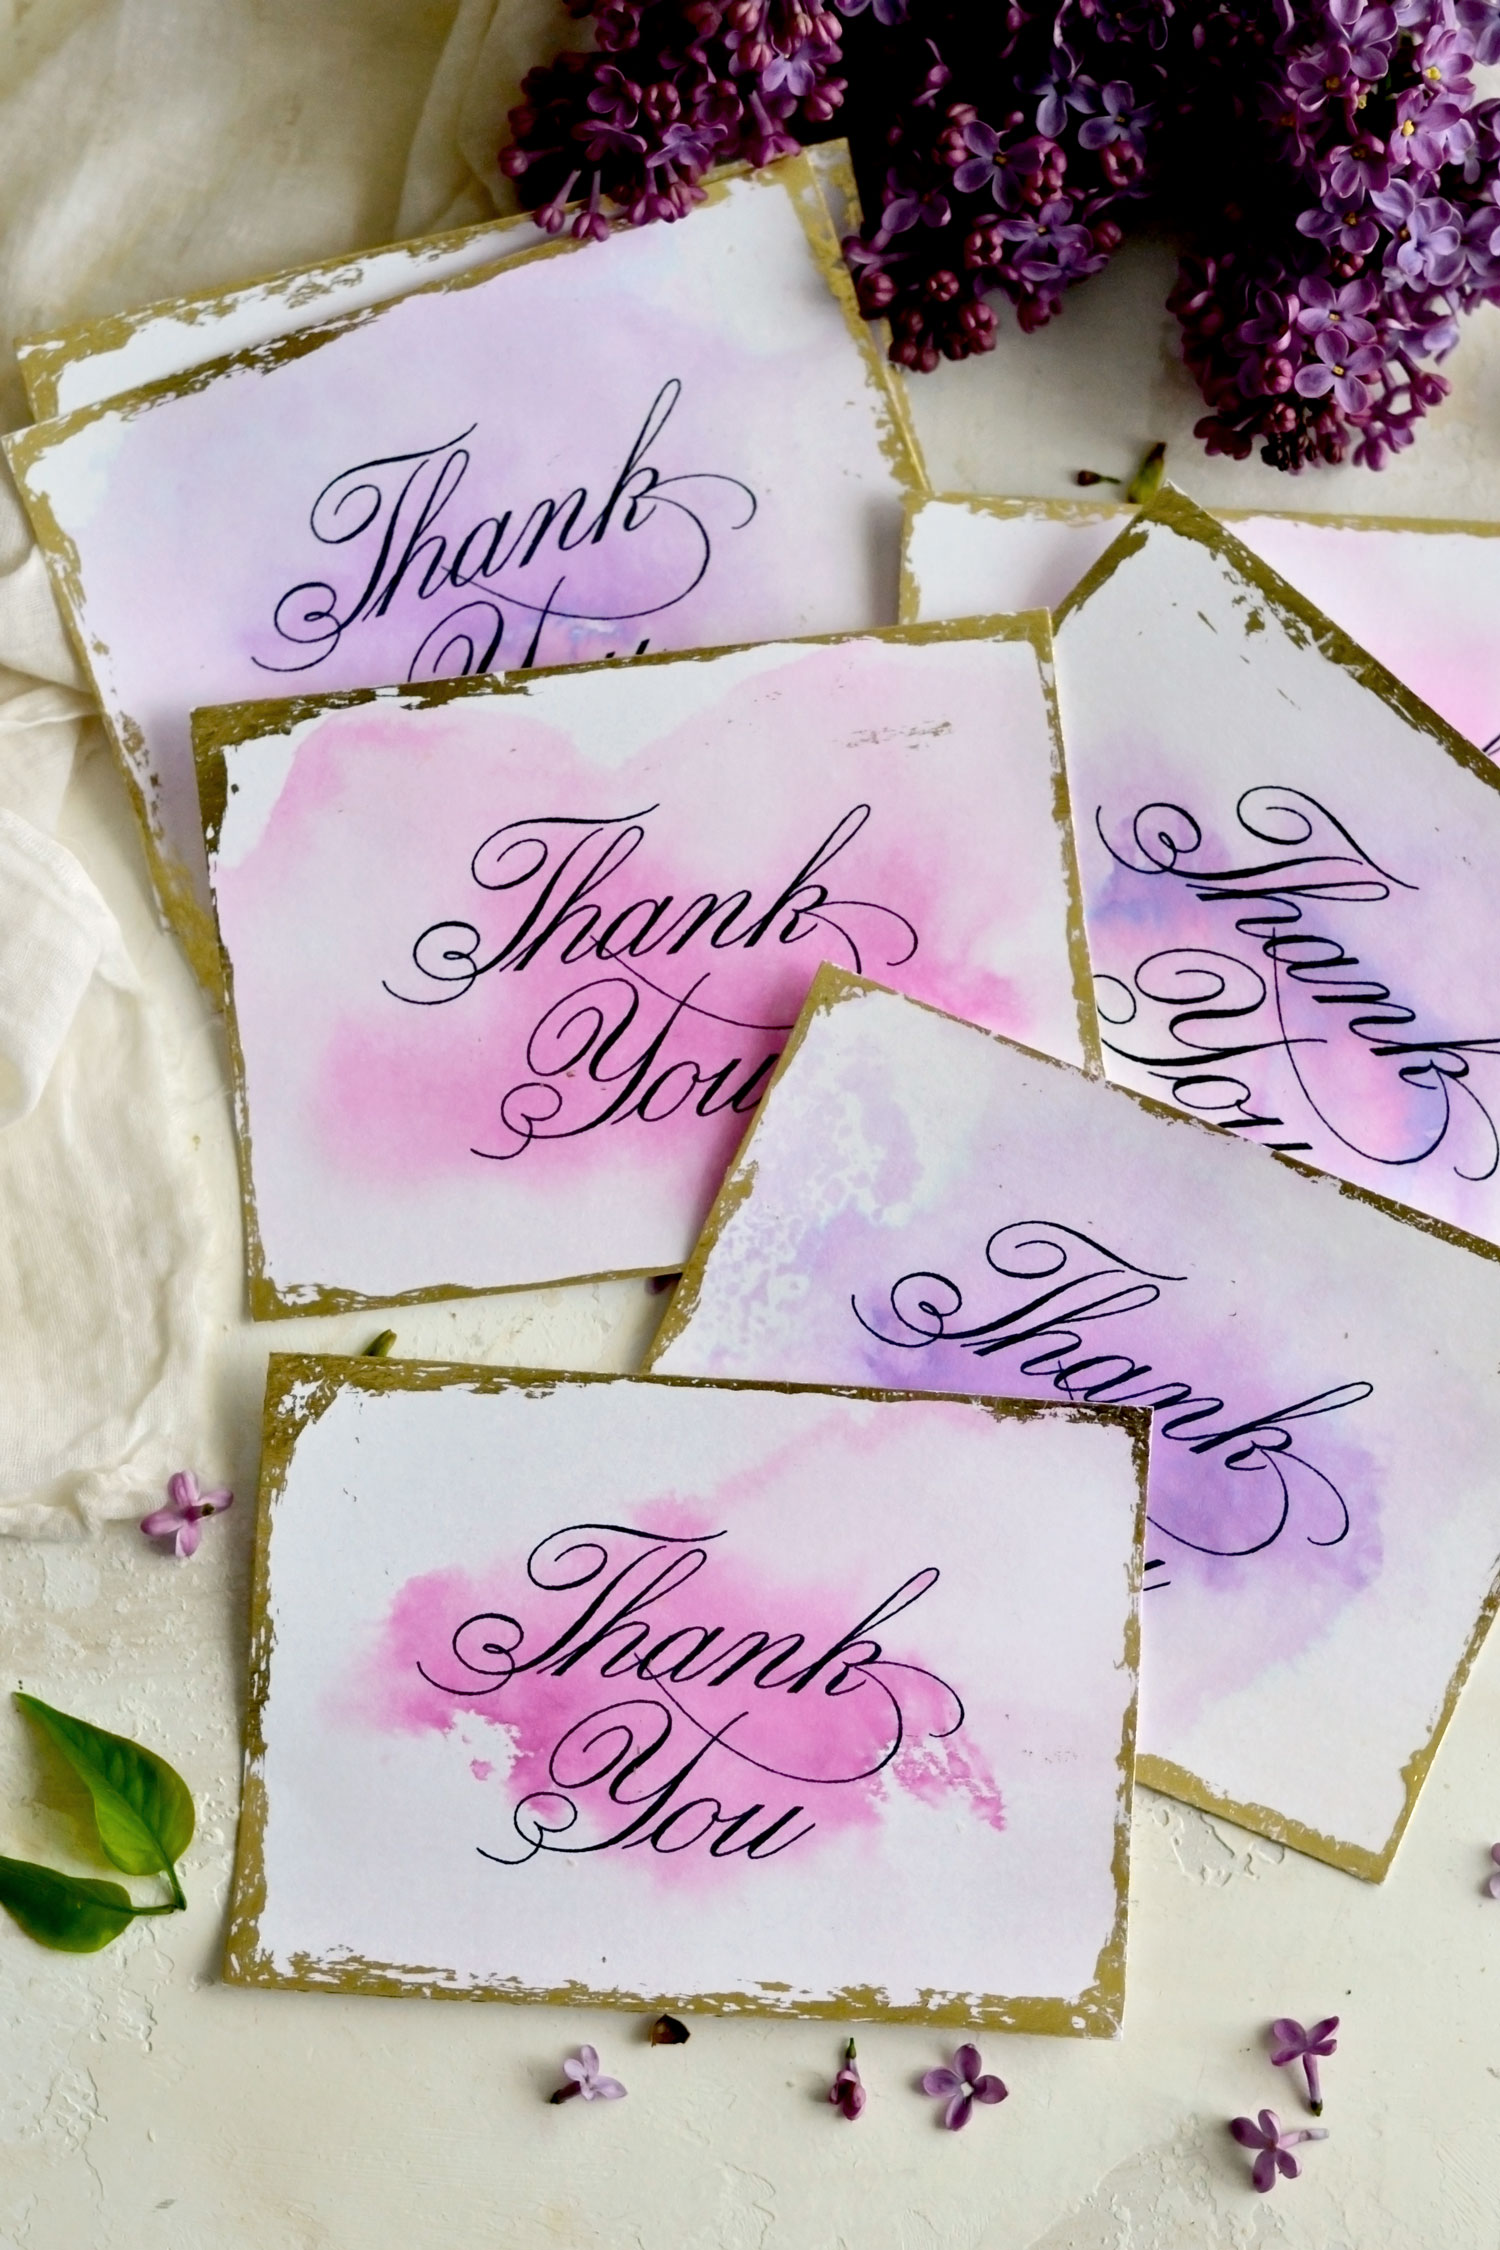
You can choose to make all the cards using the same color or you can use any other colors that you love!
I used paper towels and some water to completely wipe the leftover ‘watercolor’ on my mat after each card, just to make sure I don’t mess up and accidentally stain the back too.
You can even add several colors on the same card – just apply one, let it dry a little bit, then follow the same steps to add another!
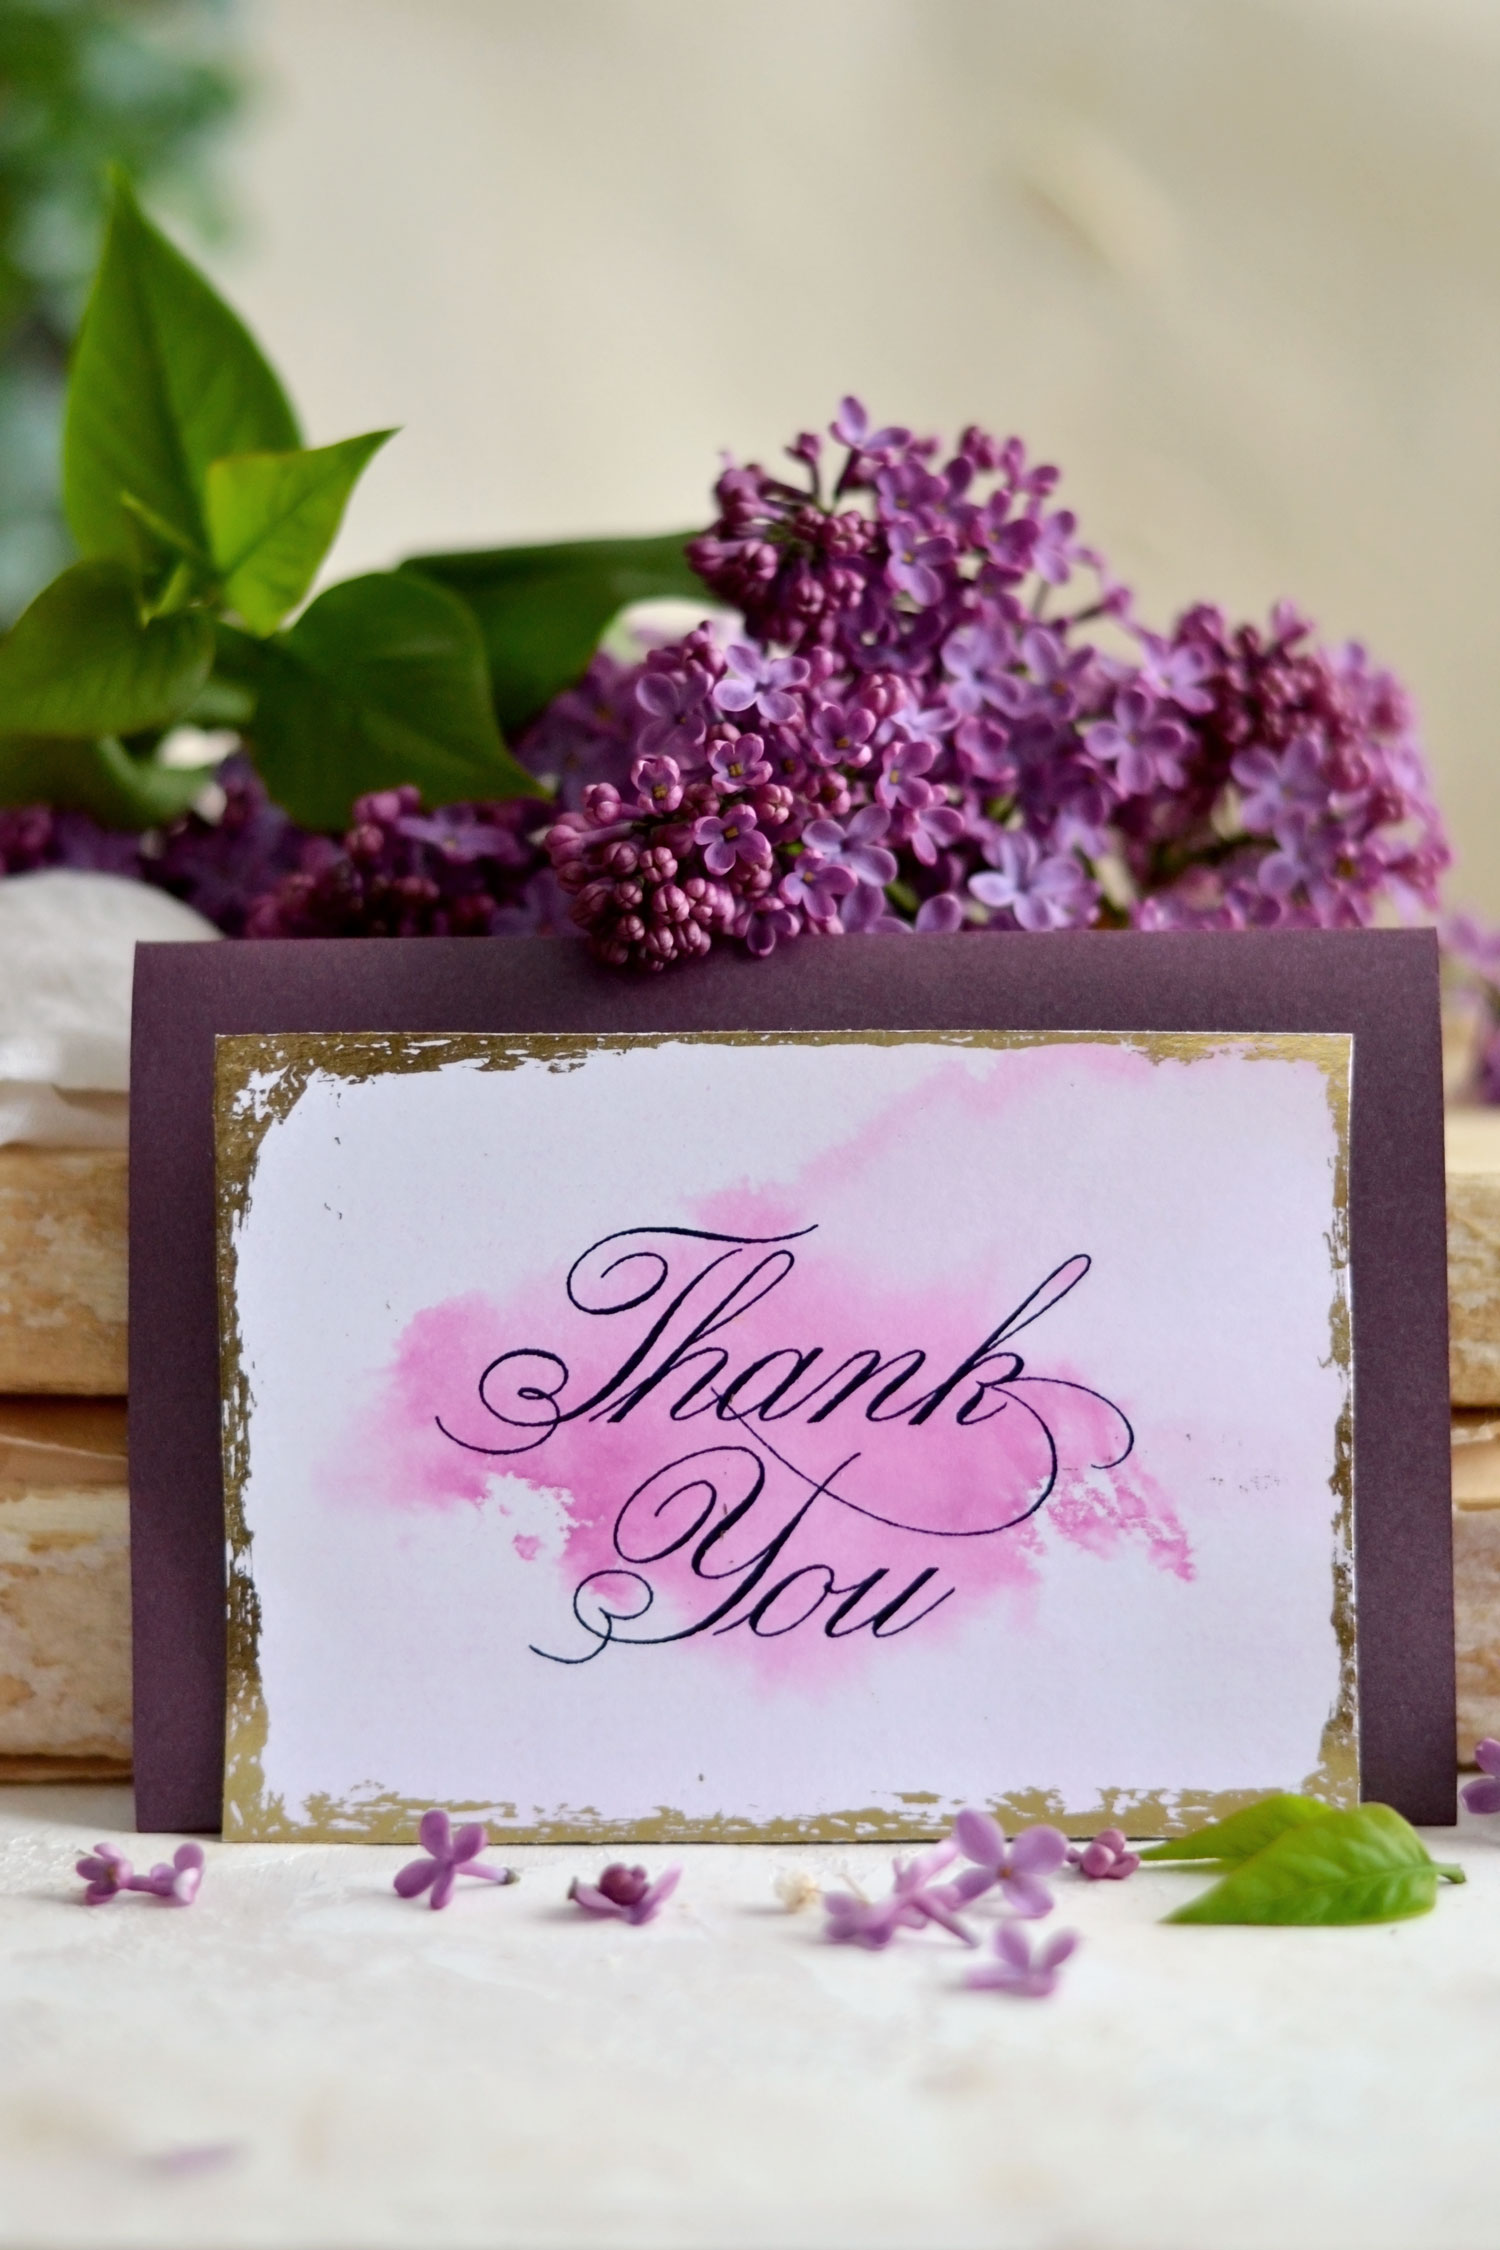
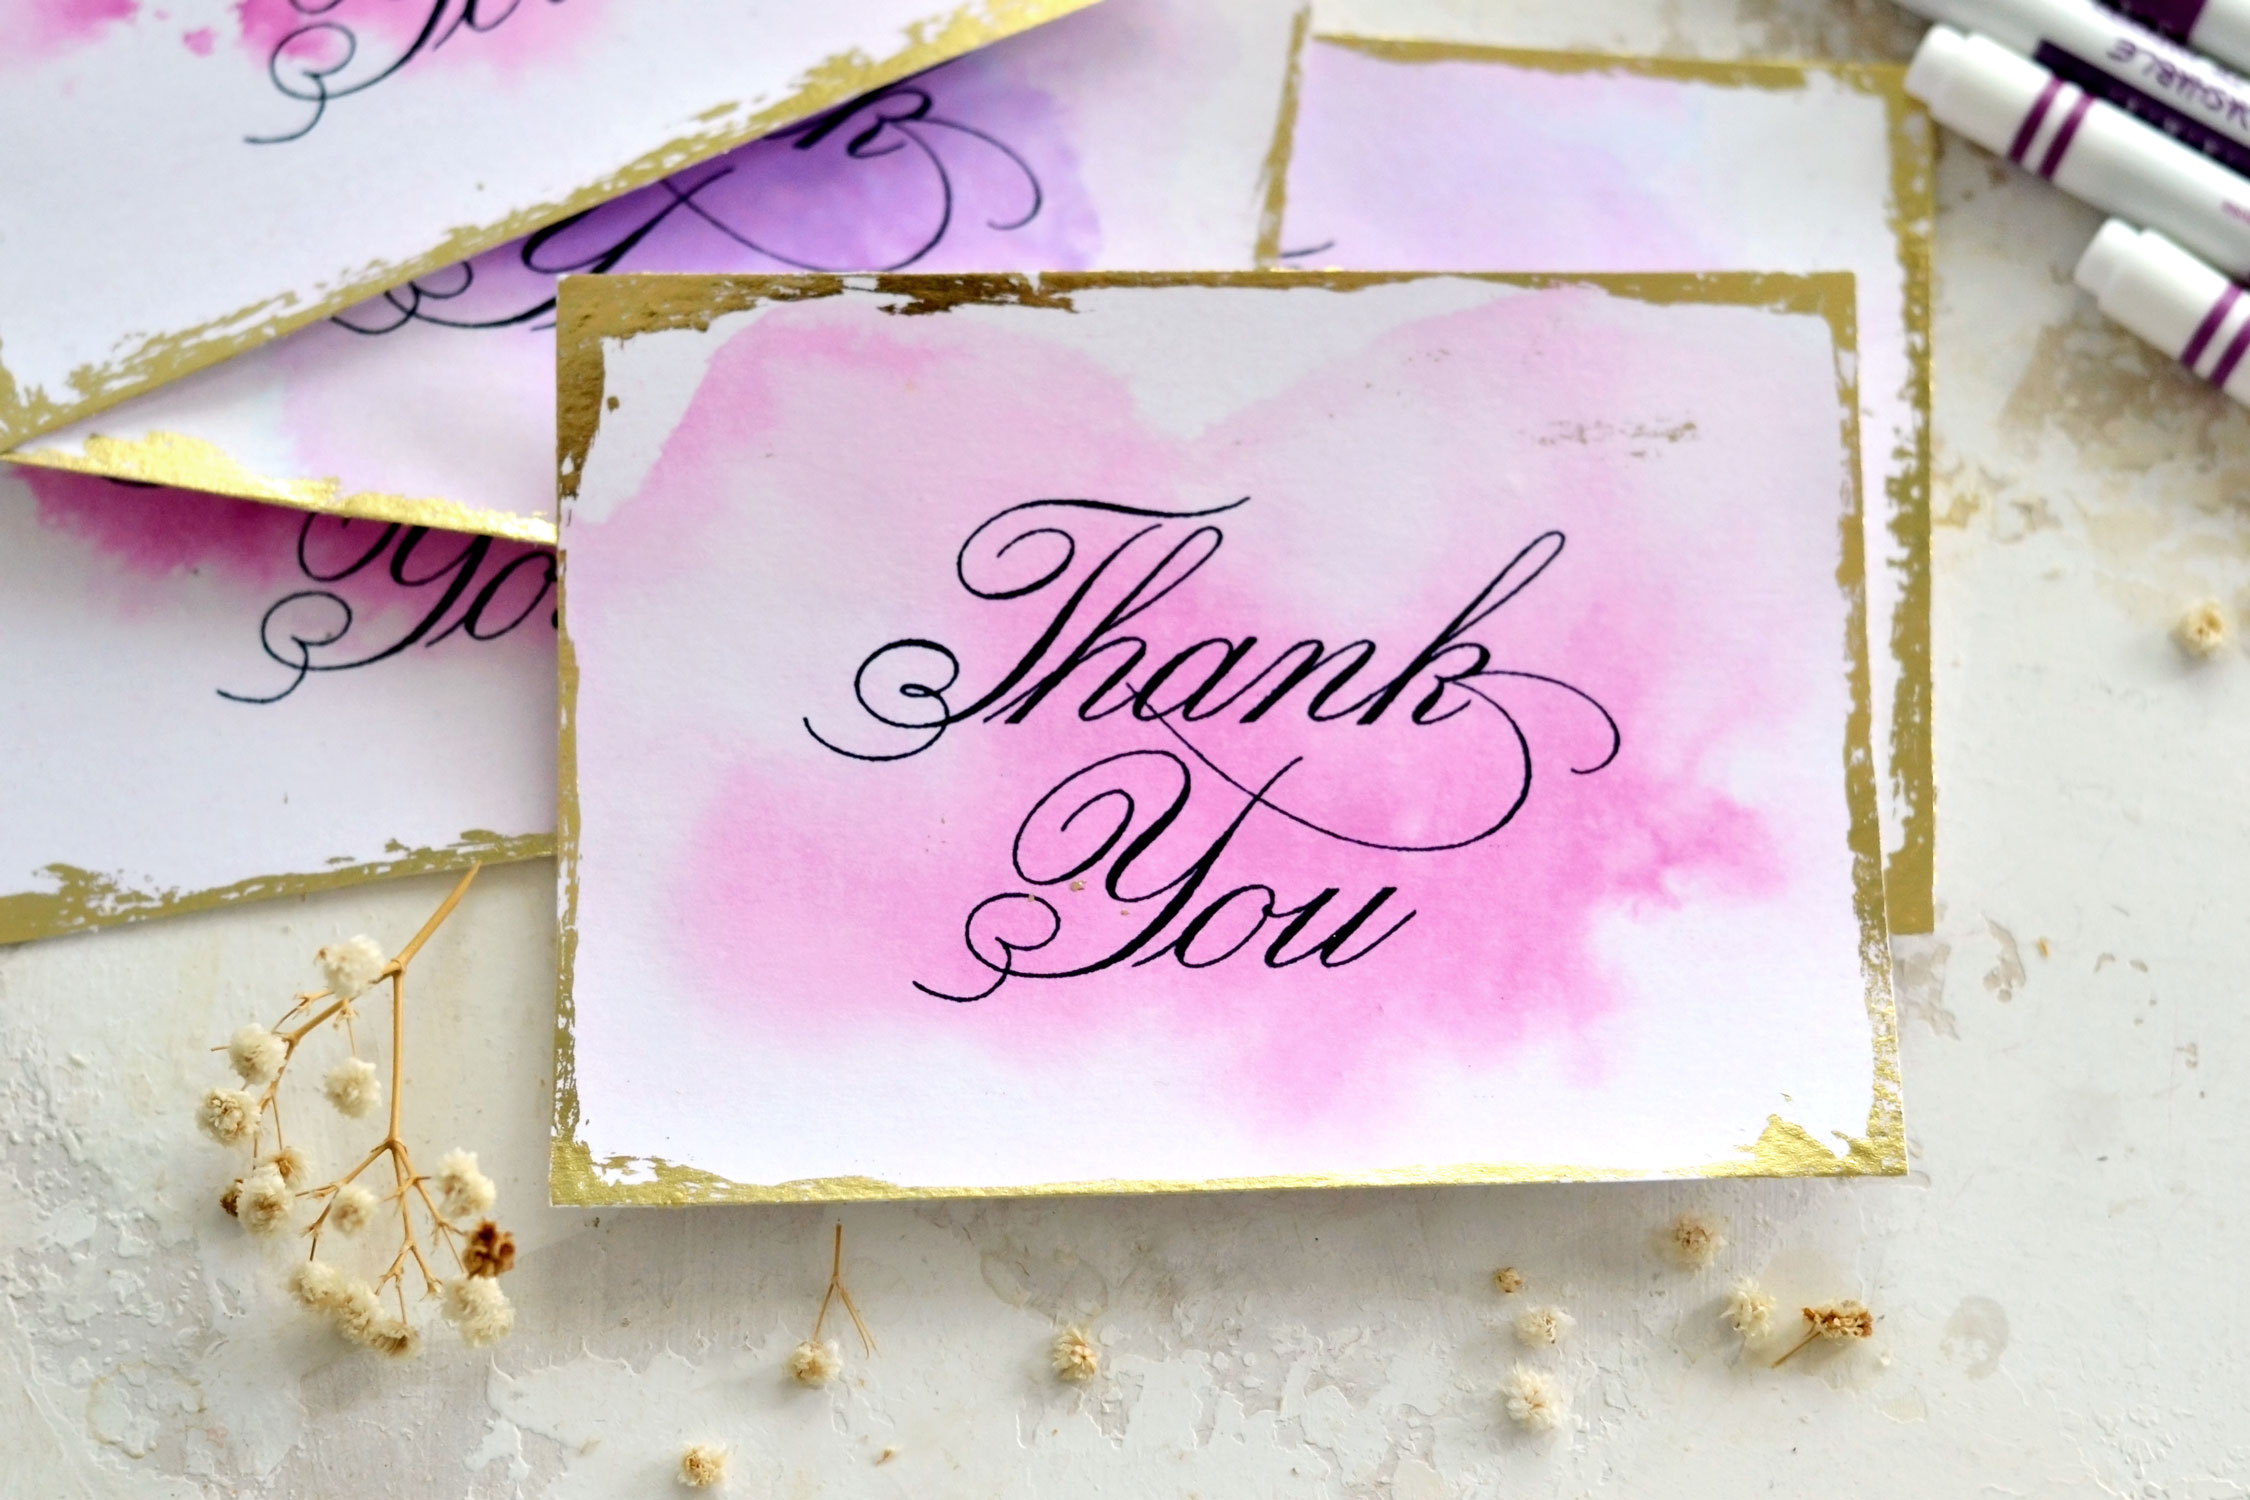
I went with pink and purple for my cards and I loved how unique each and every one of these beauties turned out!
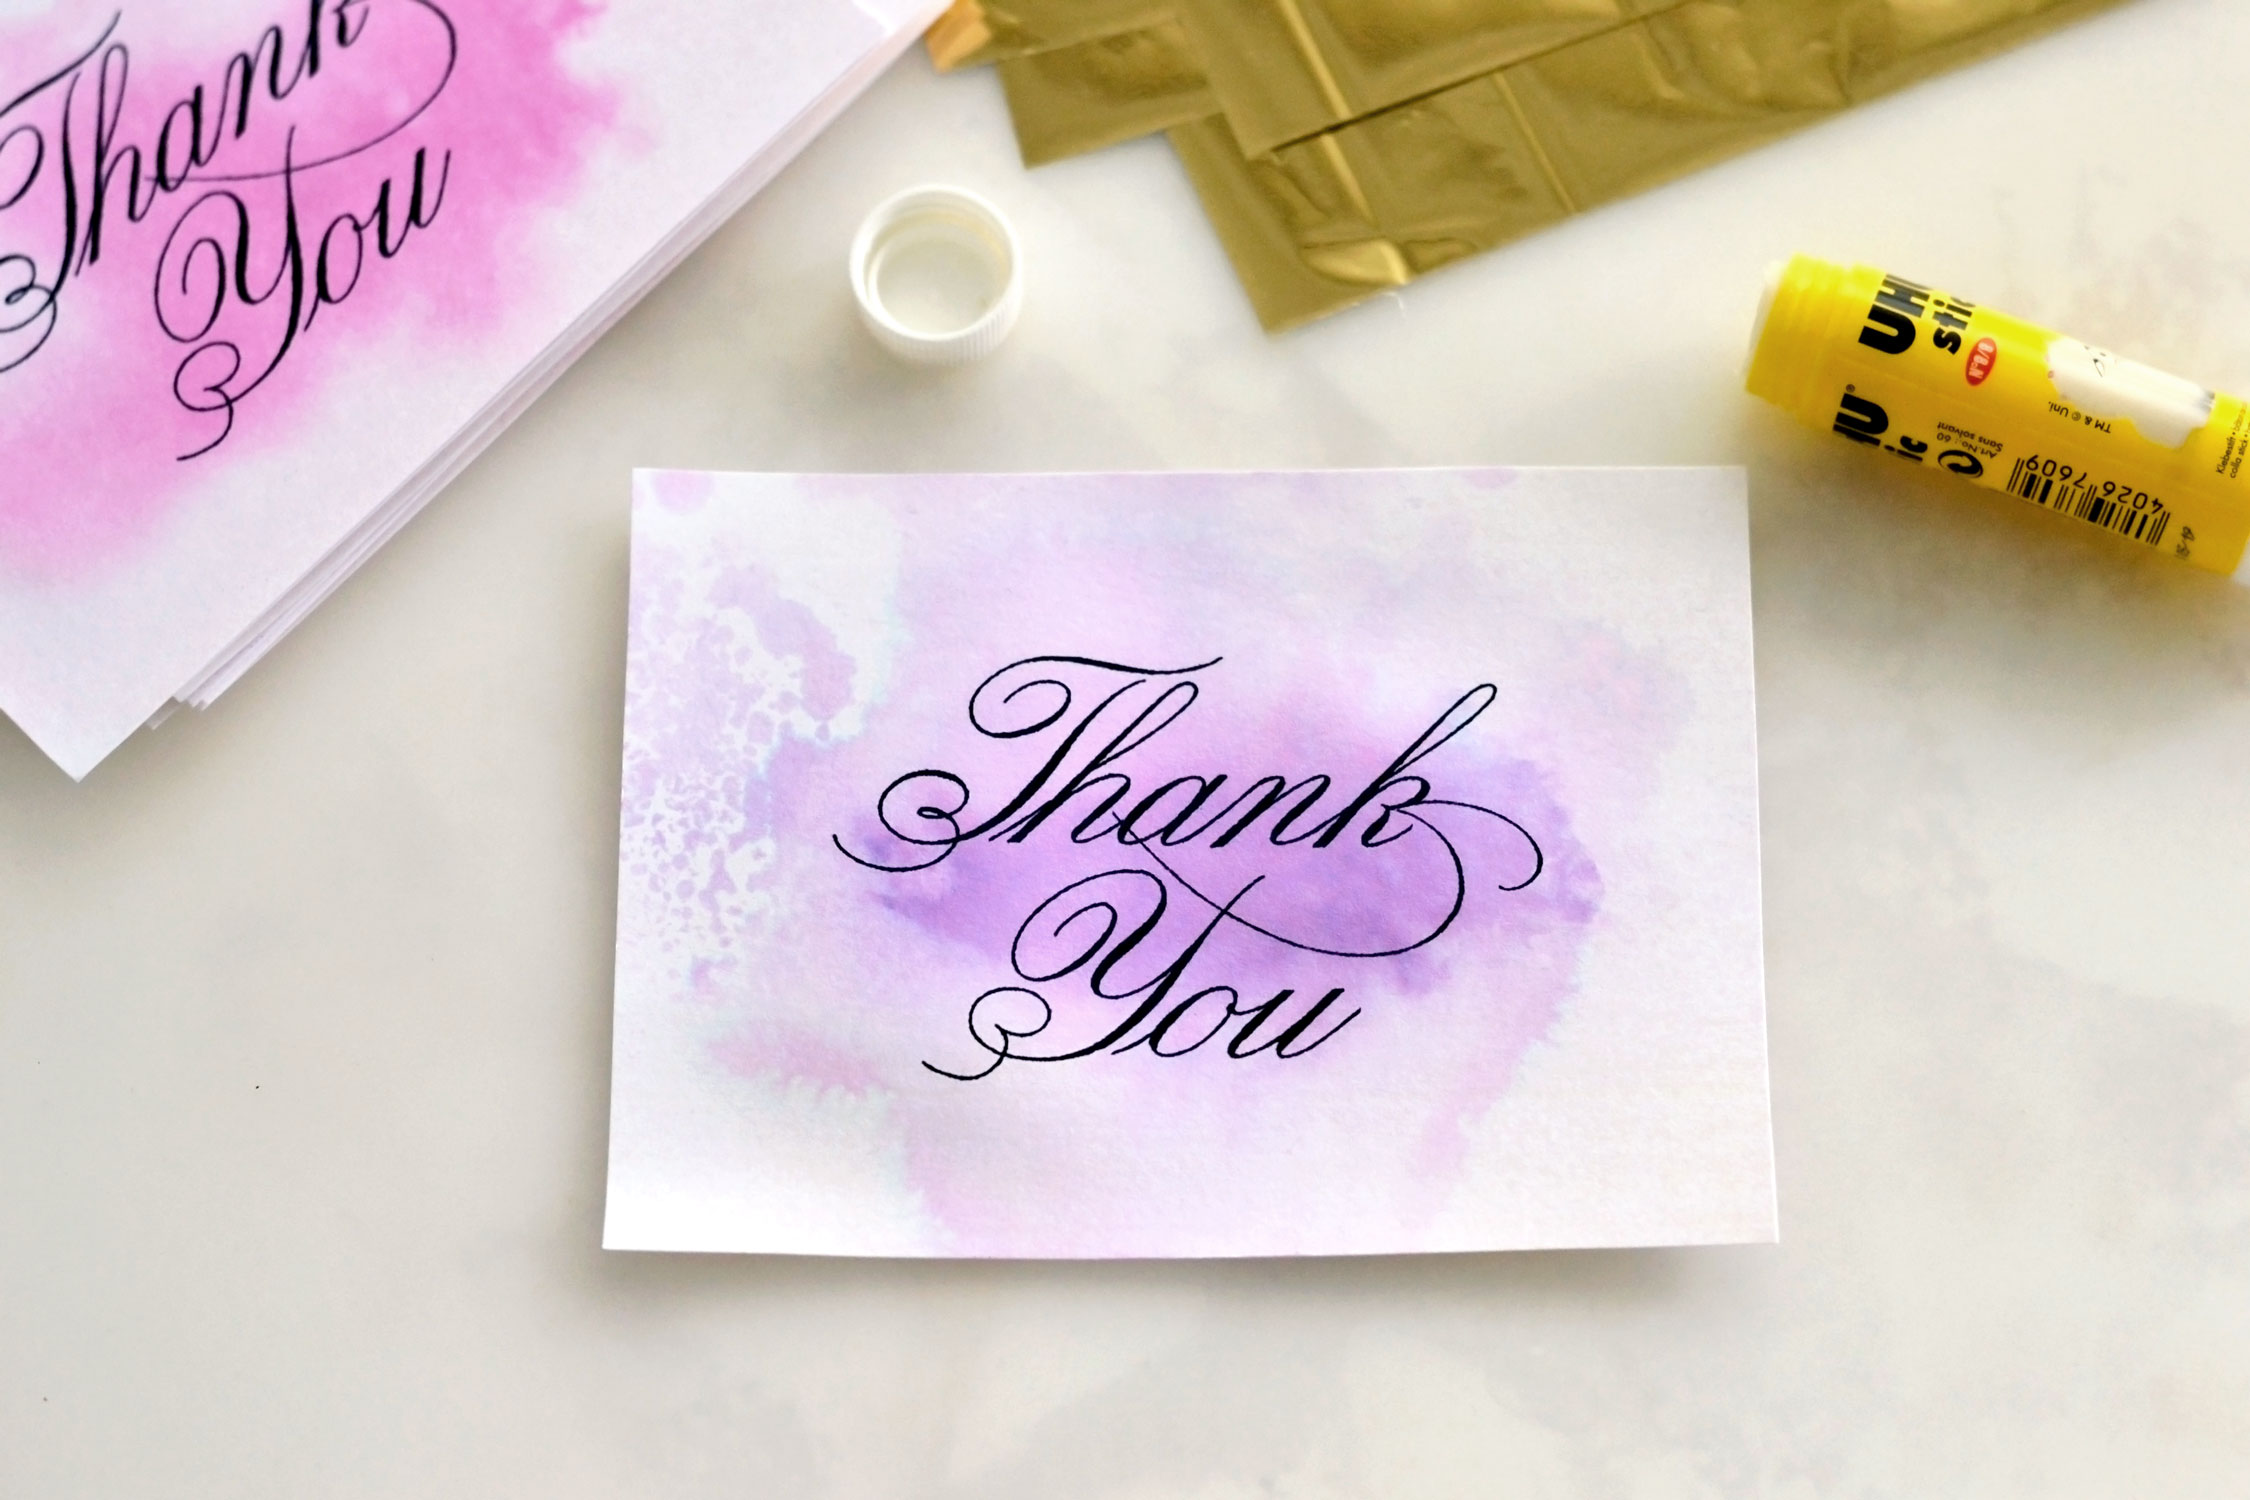
The cards will dry pretty quickly, so you can proceed to add the gold foil on the edges. I’m using the UHU stick glue today, but you can also use Mod Podge or gold foil glue (which is a special glue that dries tacky).
I like to keep the card in my hand and gradually rotate it while applying a thin line of glue on the edges. Then I place it on my table, put the gold foil on top and press it with my fingers (not my nails).
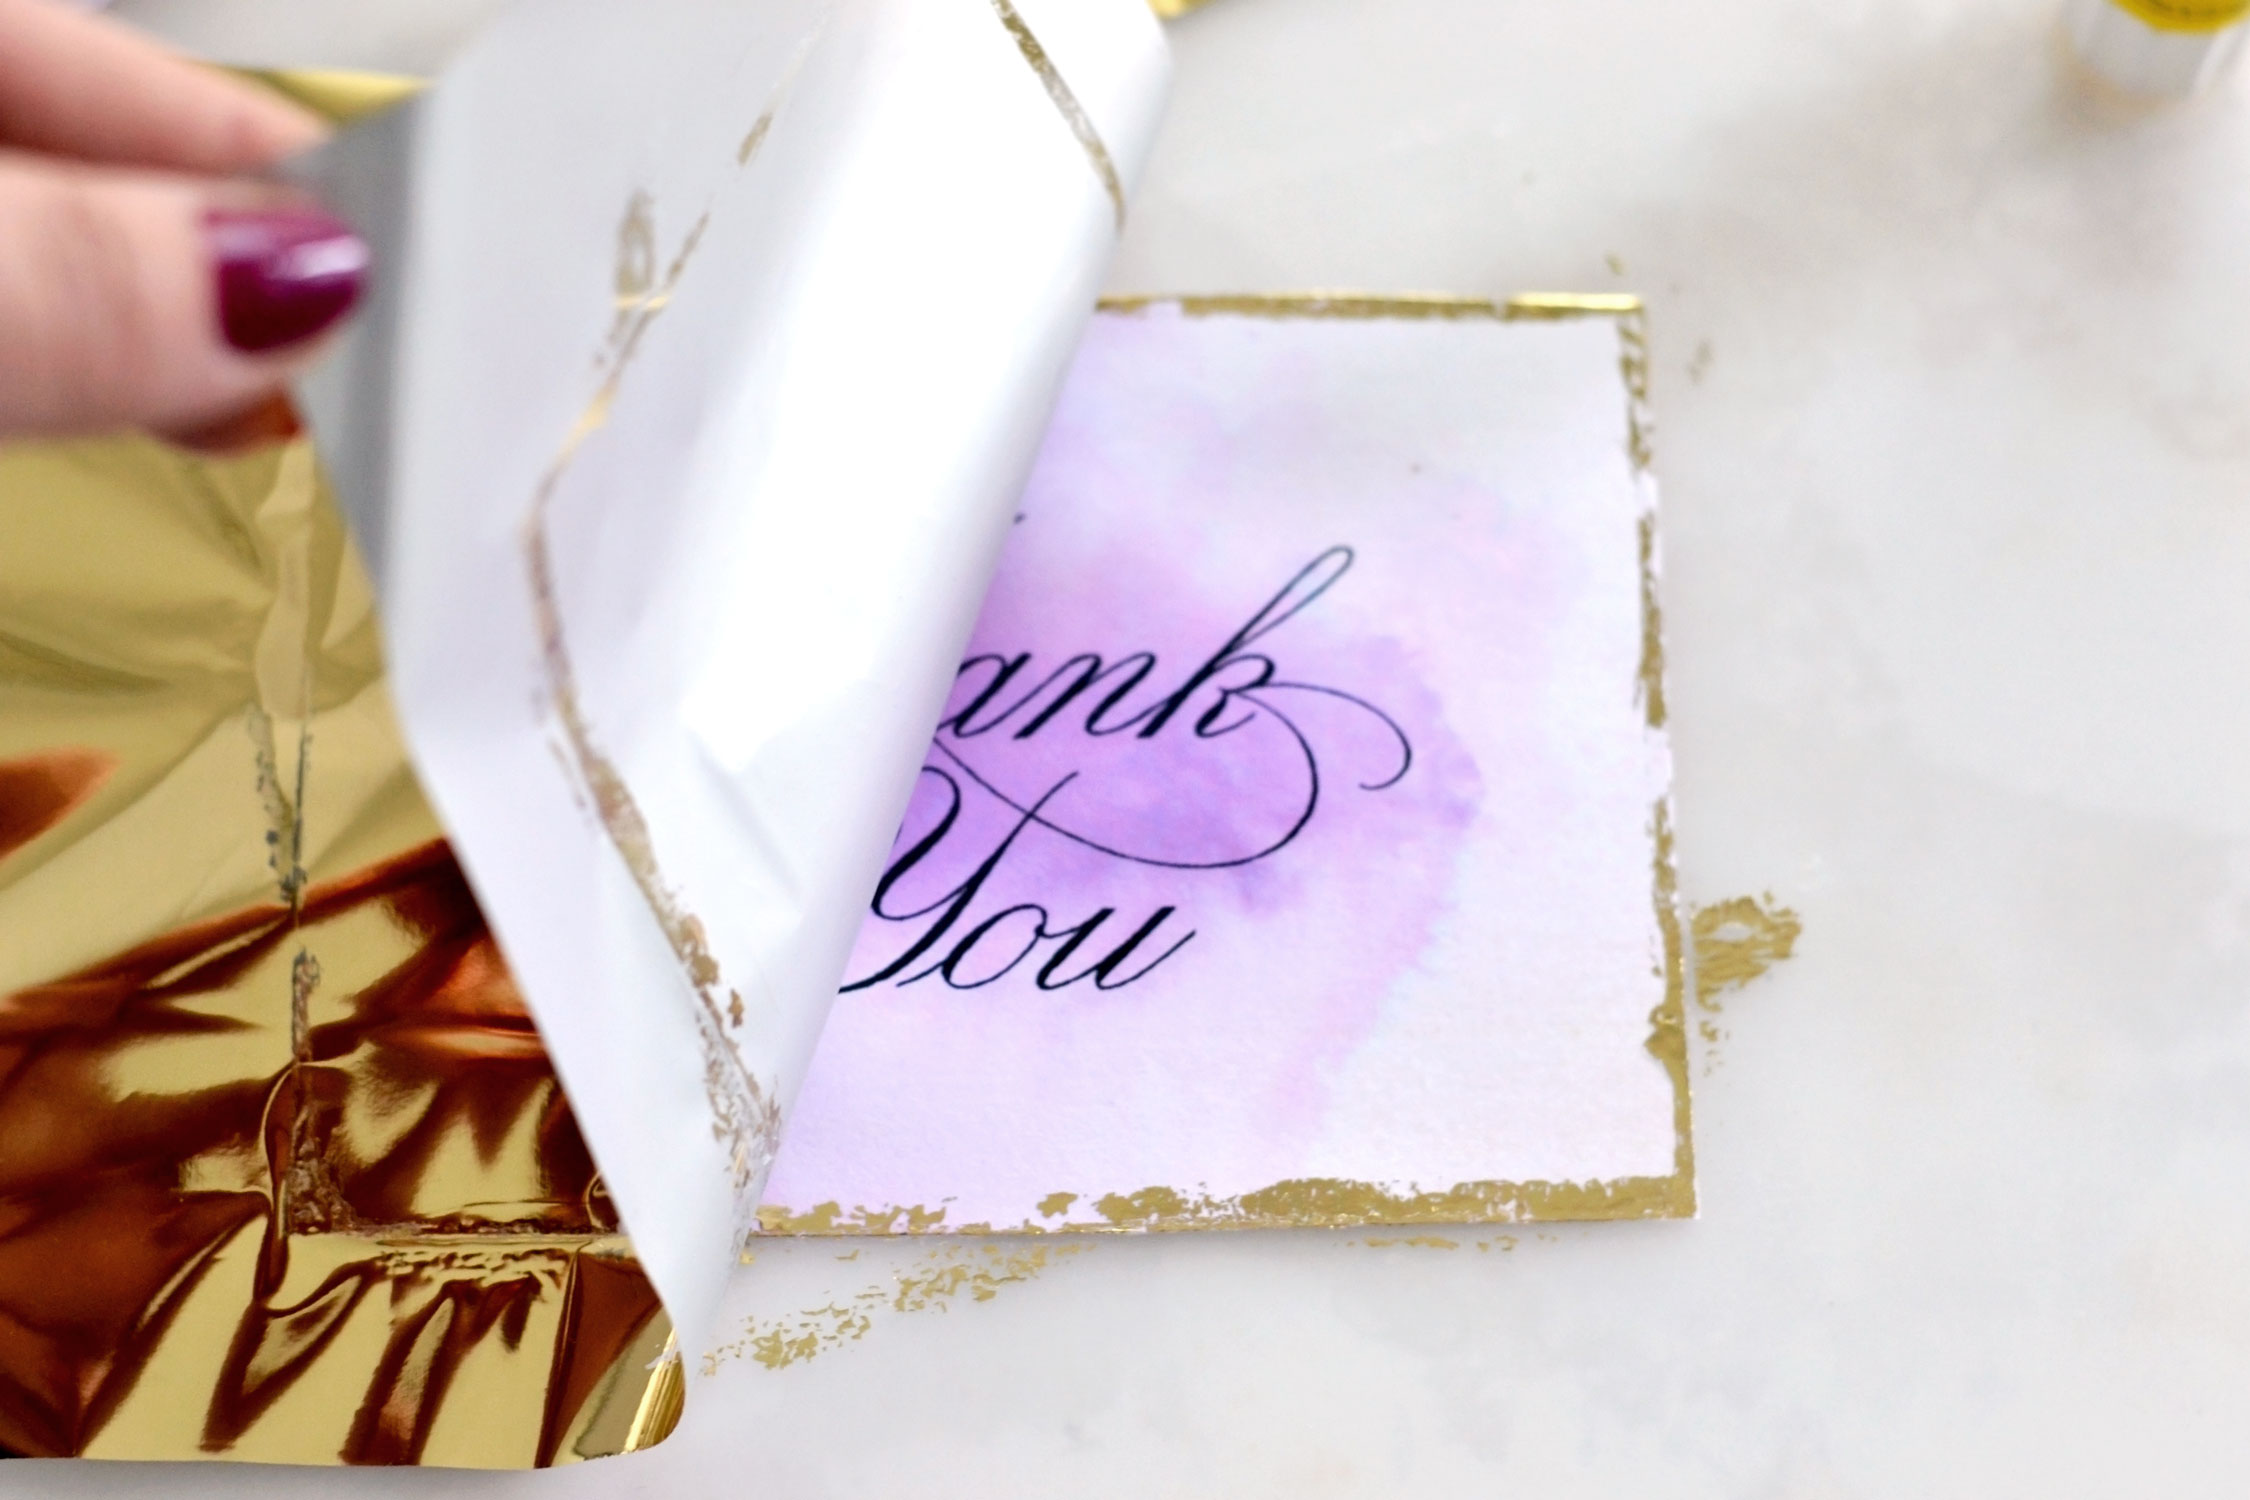
You can leave the foil on top of each card until you finish applying it on all of them, this will give the glue the chance to completely dry.
When you are done, you can finally peel off your gold foil and admire your amazingly gilded cards!
Using a UHU glue with gold foil will create a perfectly-imperfect gilded effect on the edges! I like it this way because I feel it adds so much character to each piece!
If there are some areas where you feel you need to add a little bit more gold, you can easily apply more glue and add some more of that stunning gold foil on top once again.
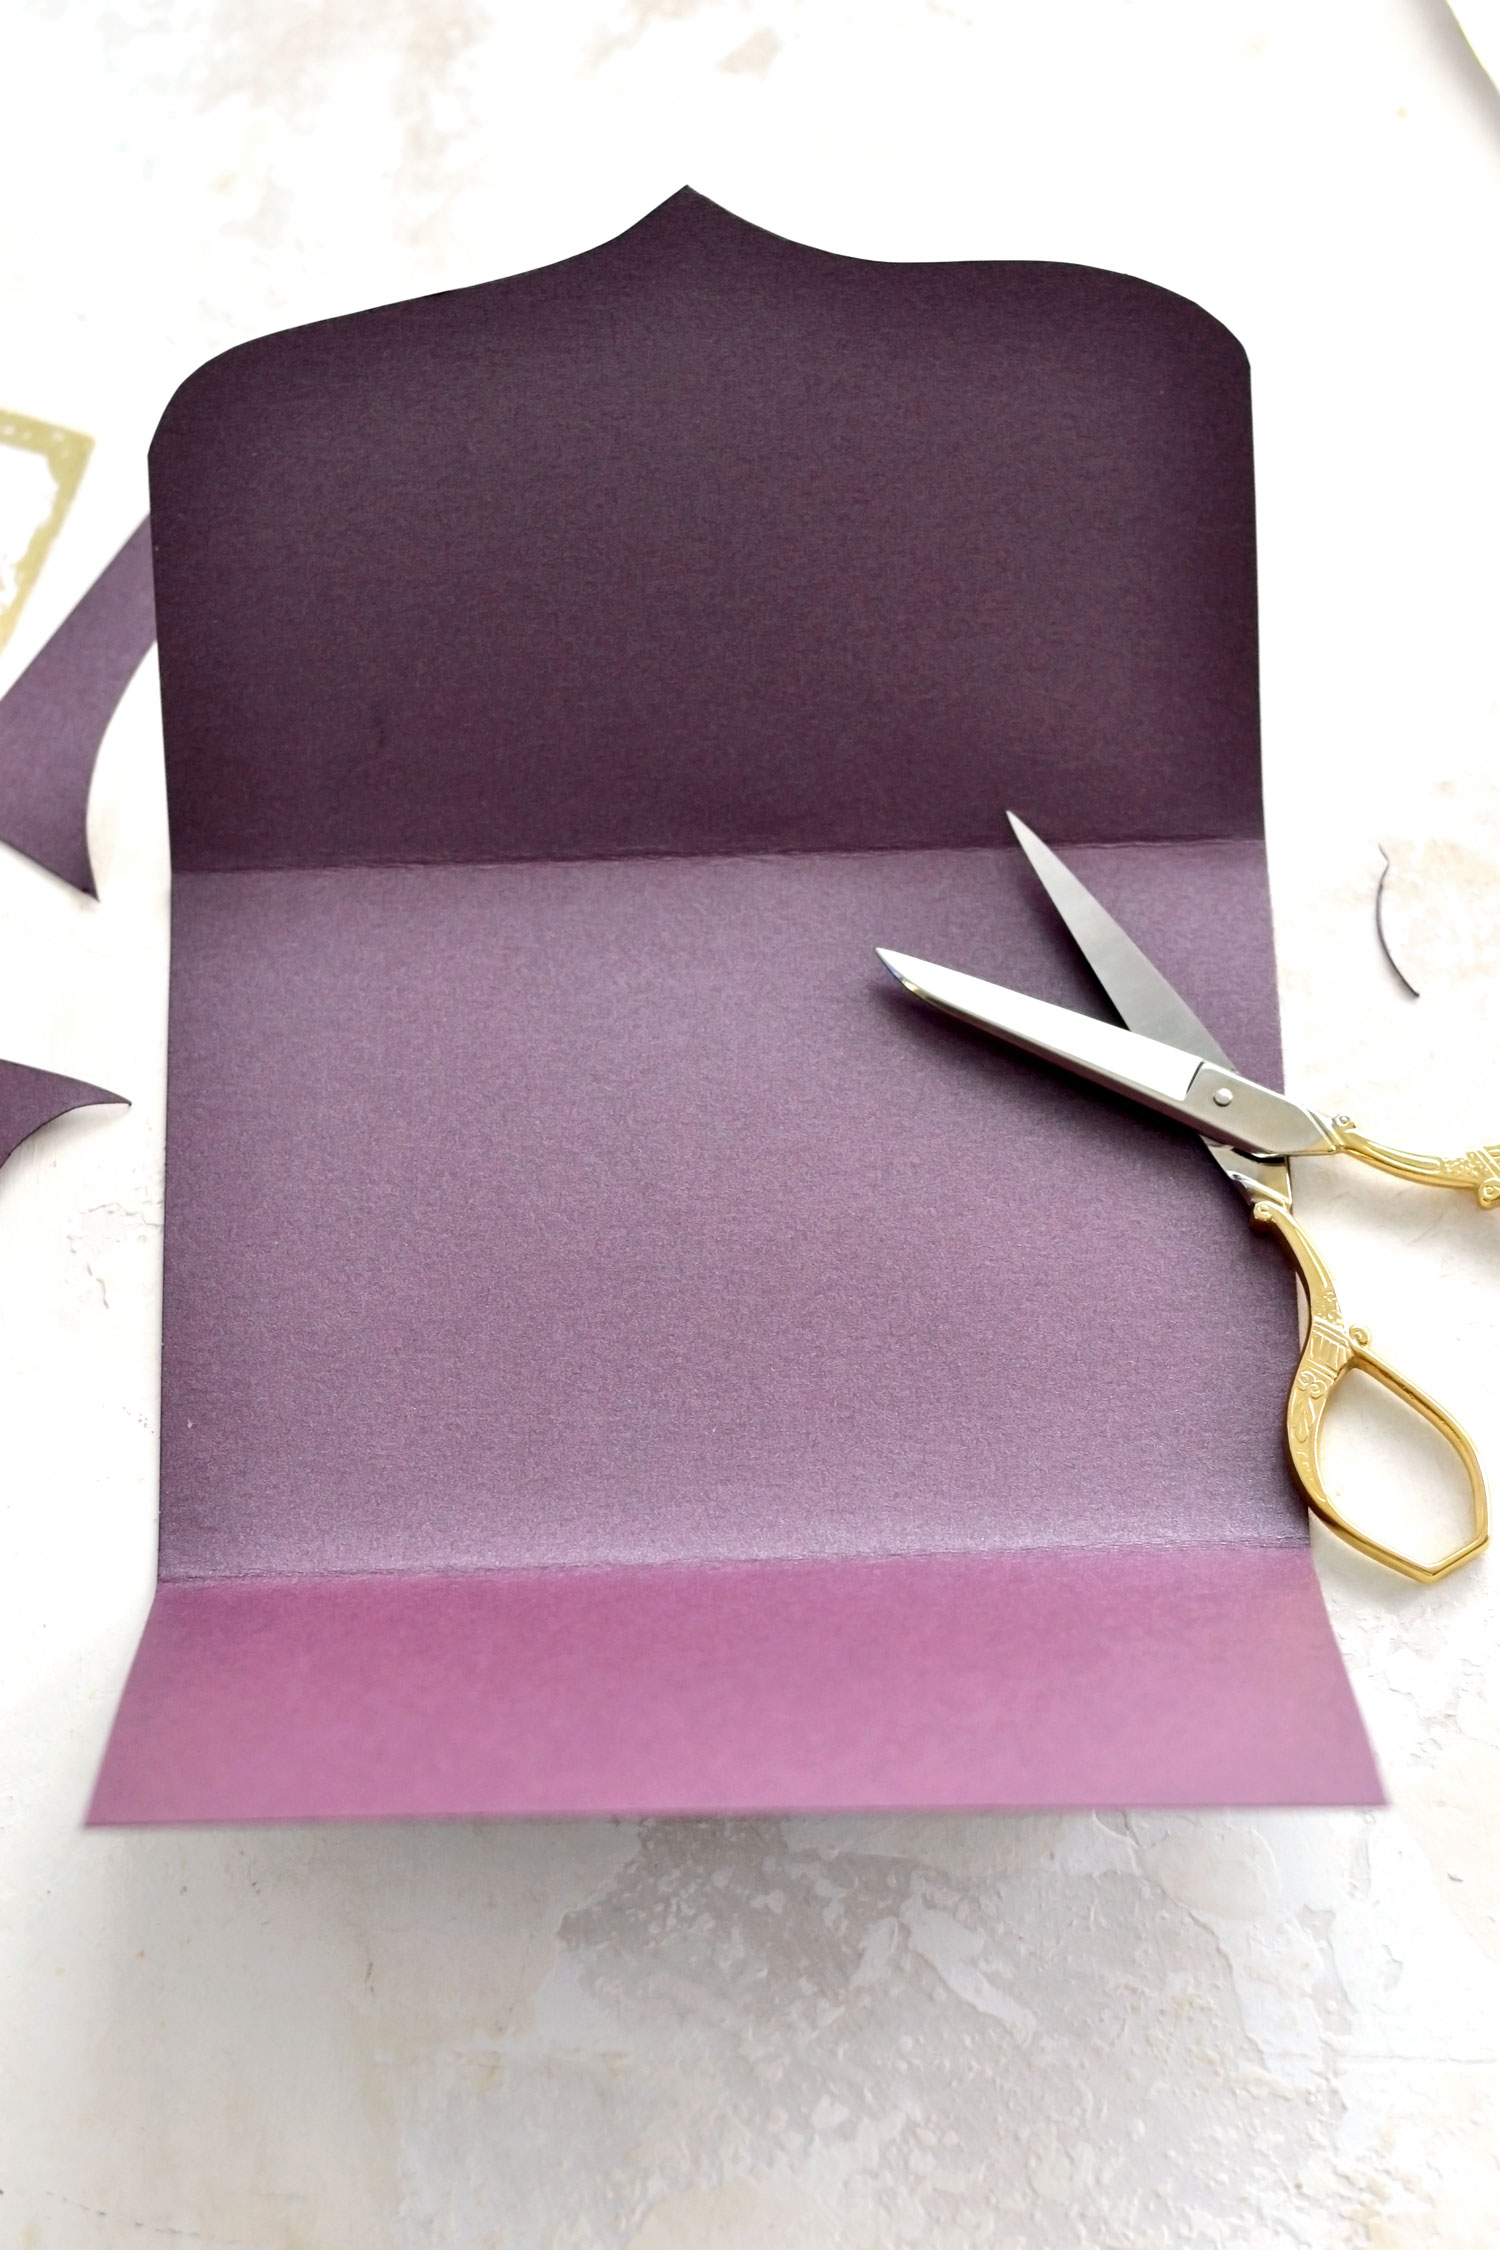
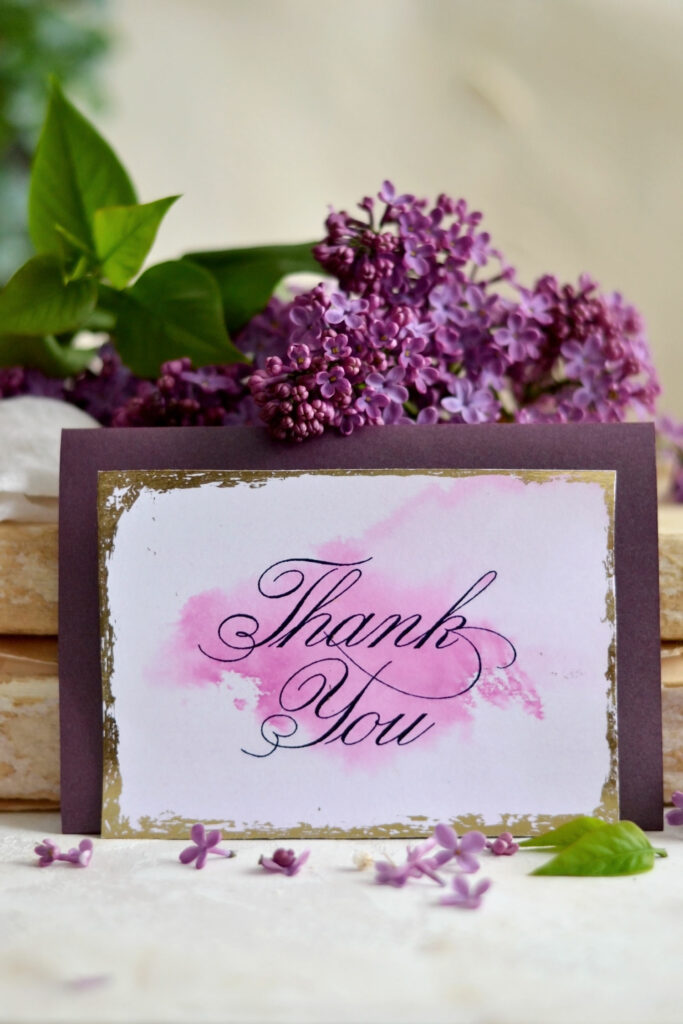
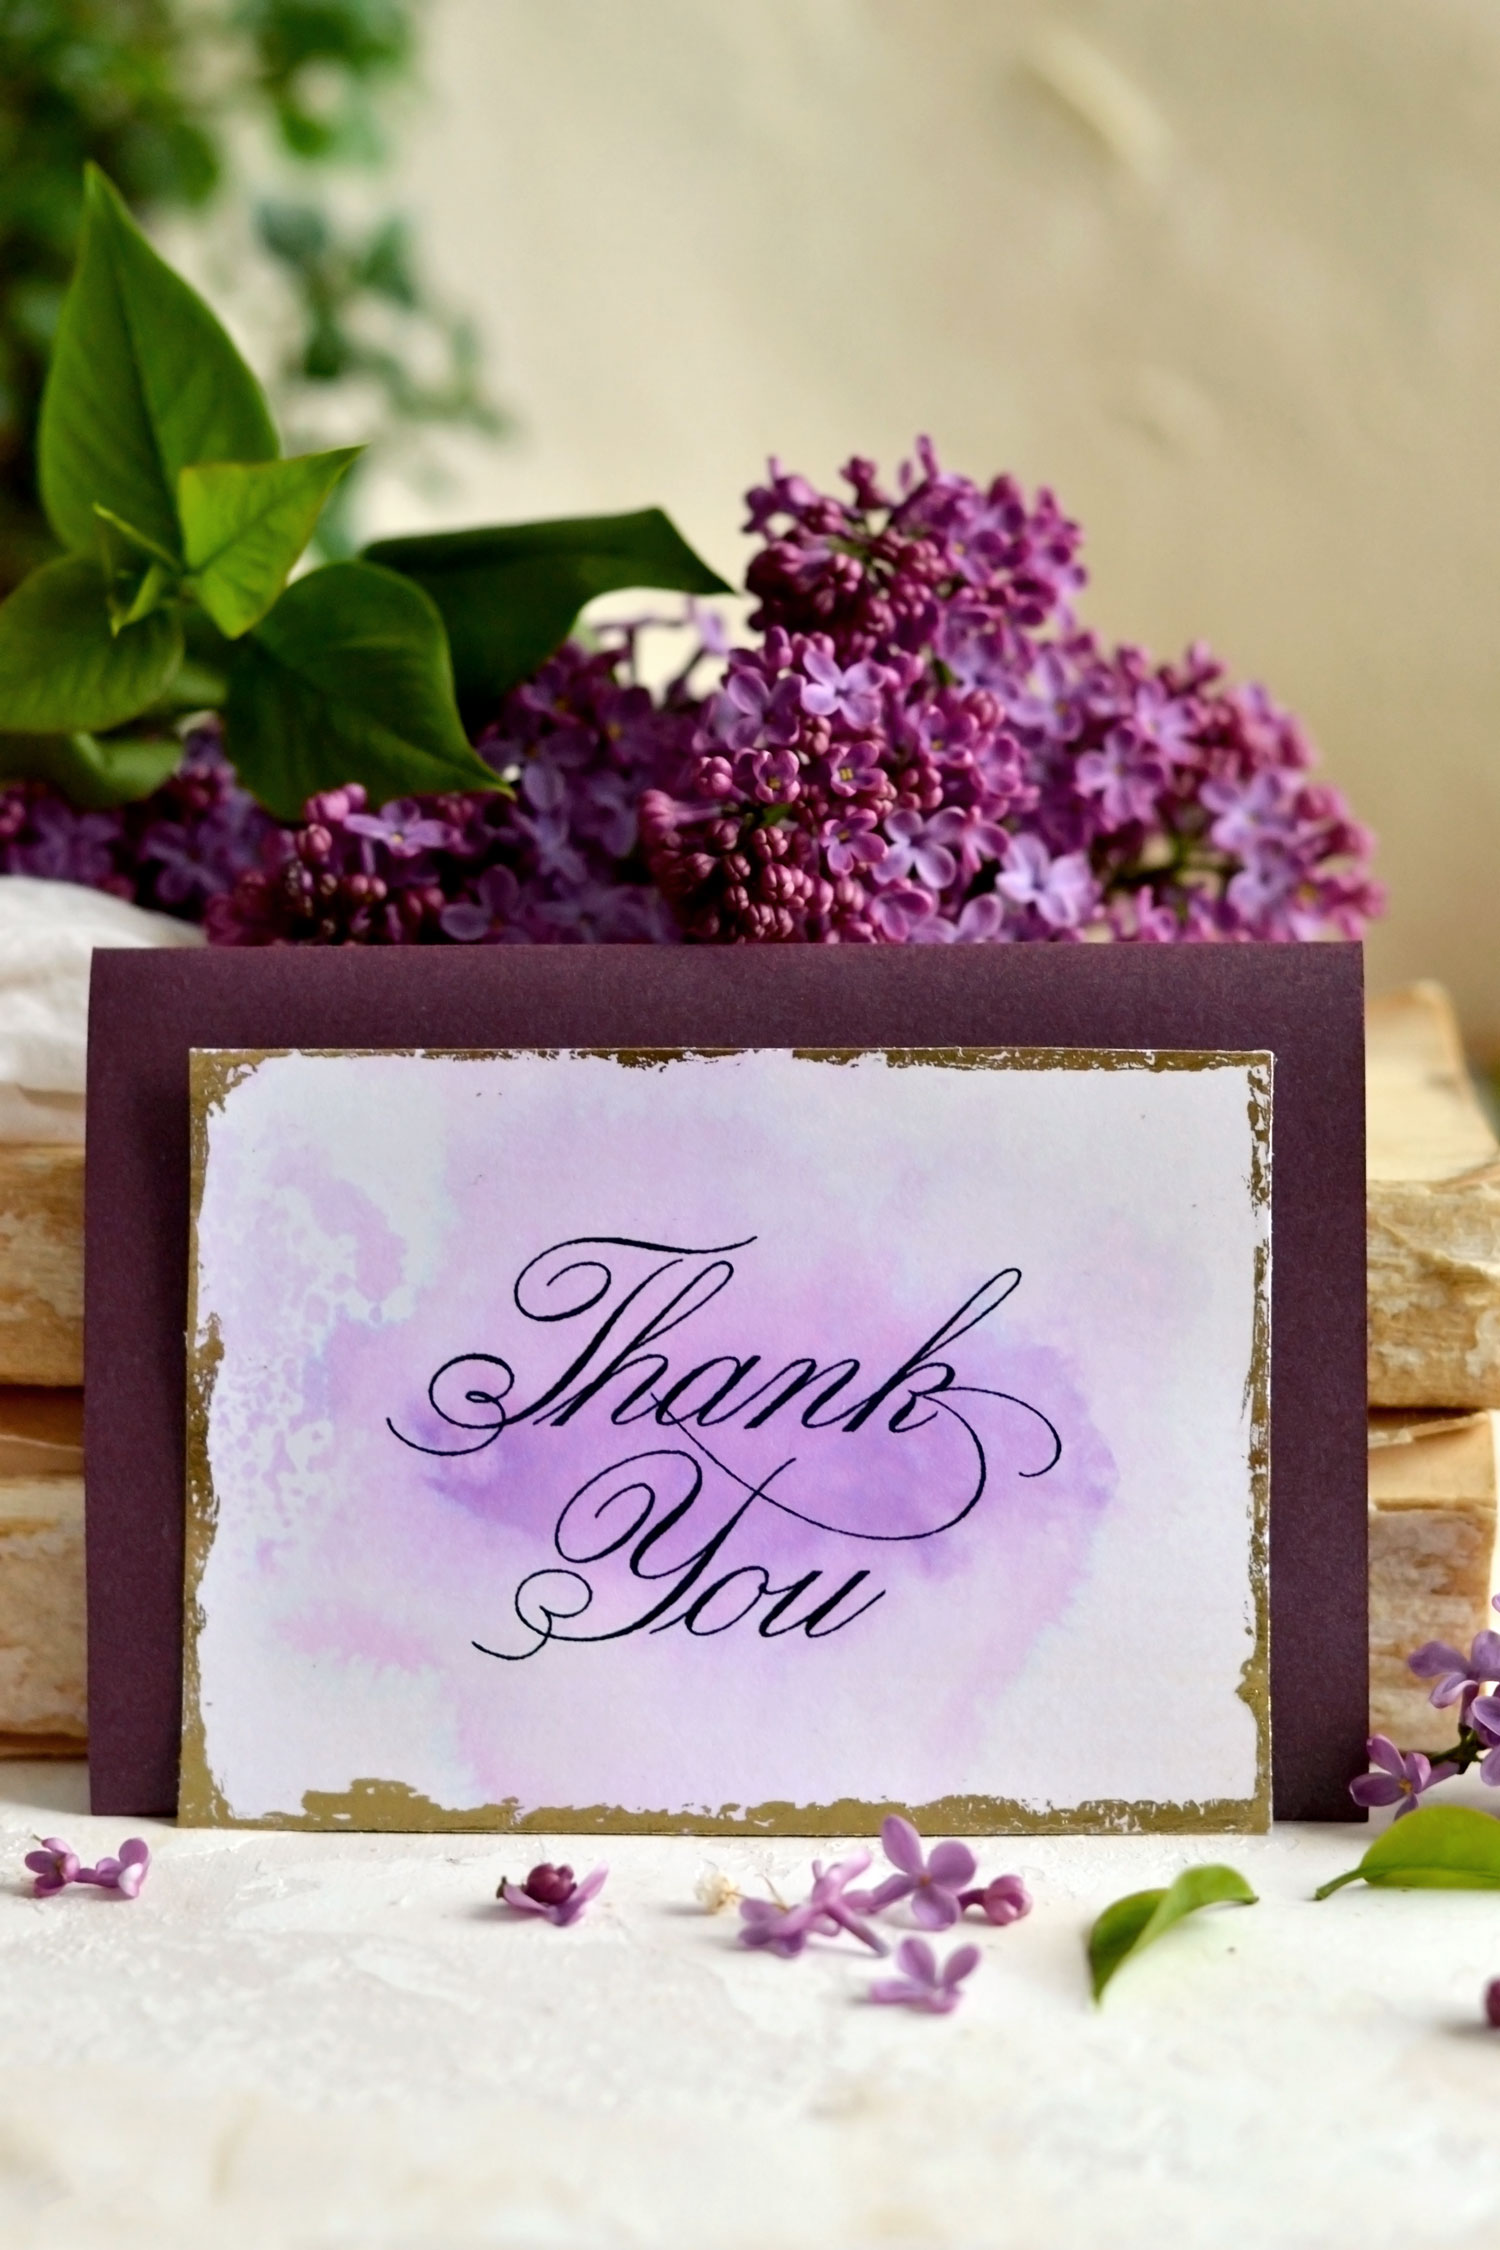
Depending on how you are envisioning your final thank you cards and how you are planning on sending them, you can even create some custom-made envelopes! I had some pearlescent purple cardstock laying around that I thought would work so well with these beauties, but you can use whatever you want, depending on your preferences. I used a card as a guide and I just folded the cardstock three times around it. I used a bone folder to score and I folded the envelope using a little bit of glue on the edges. I cut an improvised bracket shape on the top edge to make it even more charming!
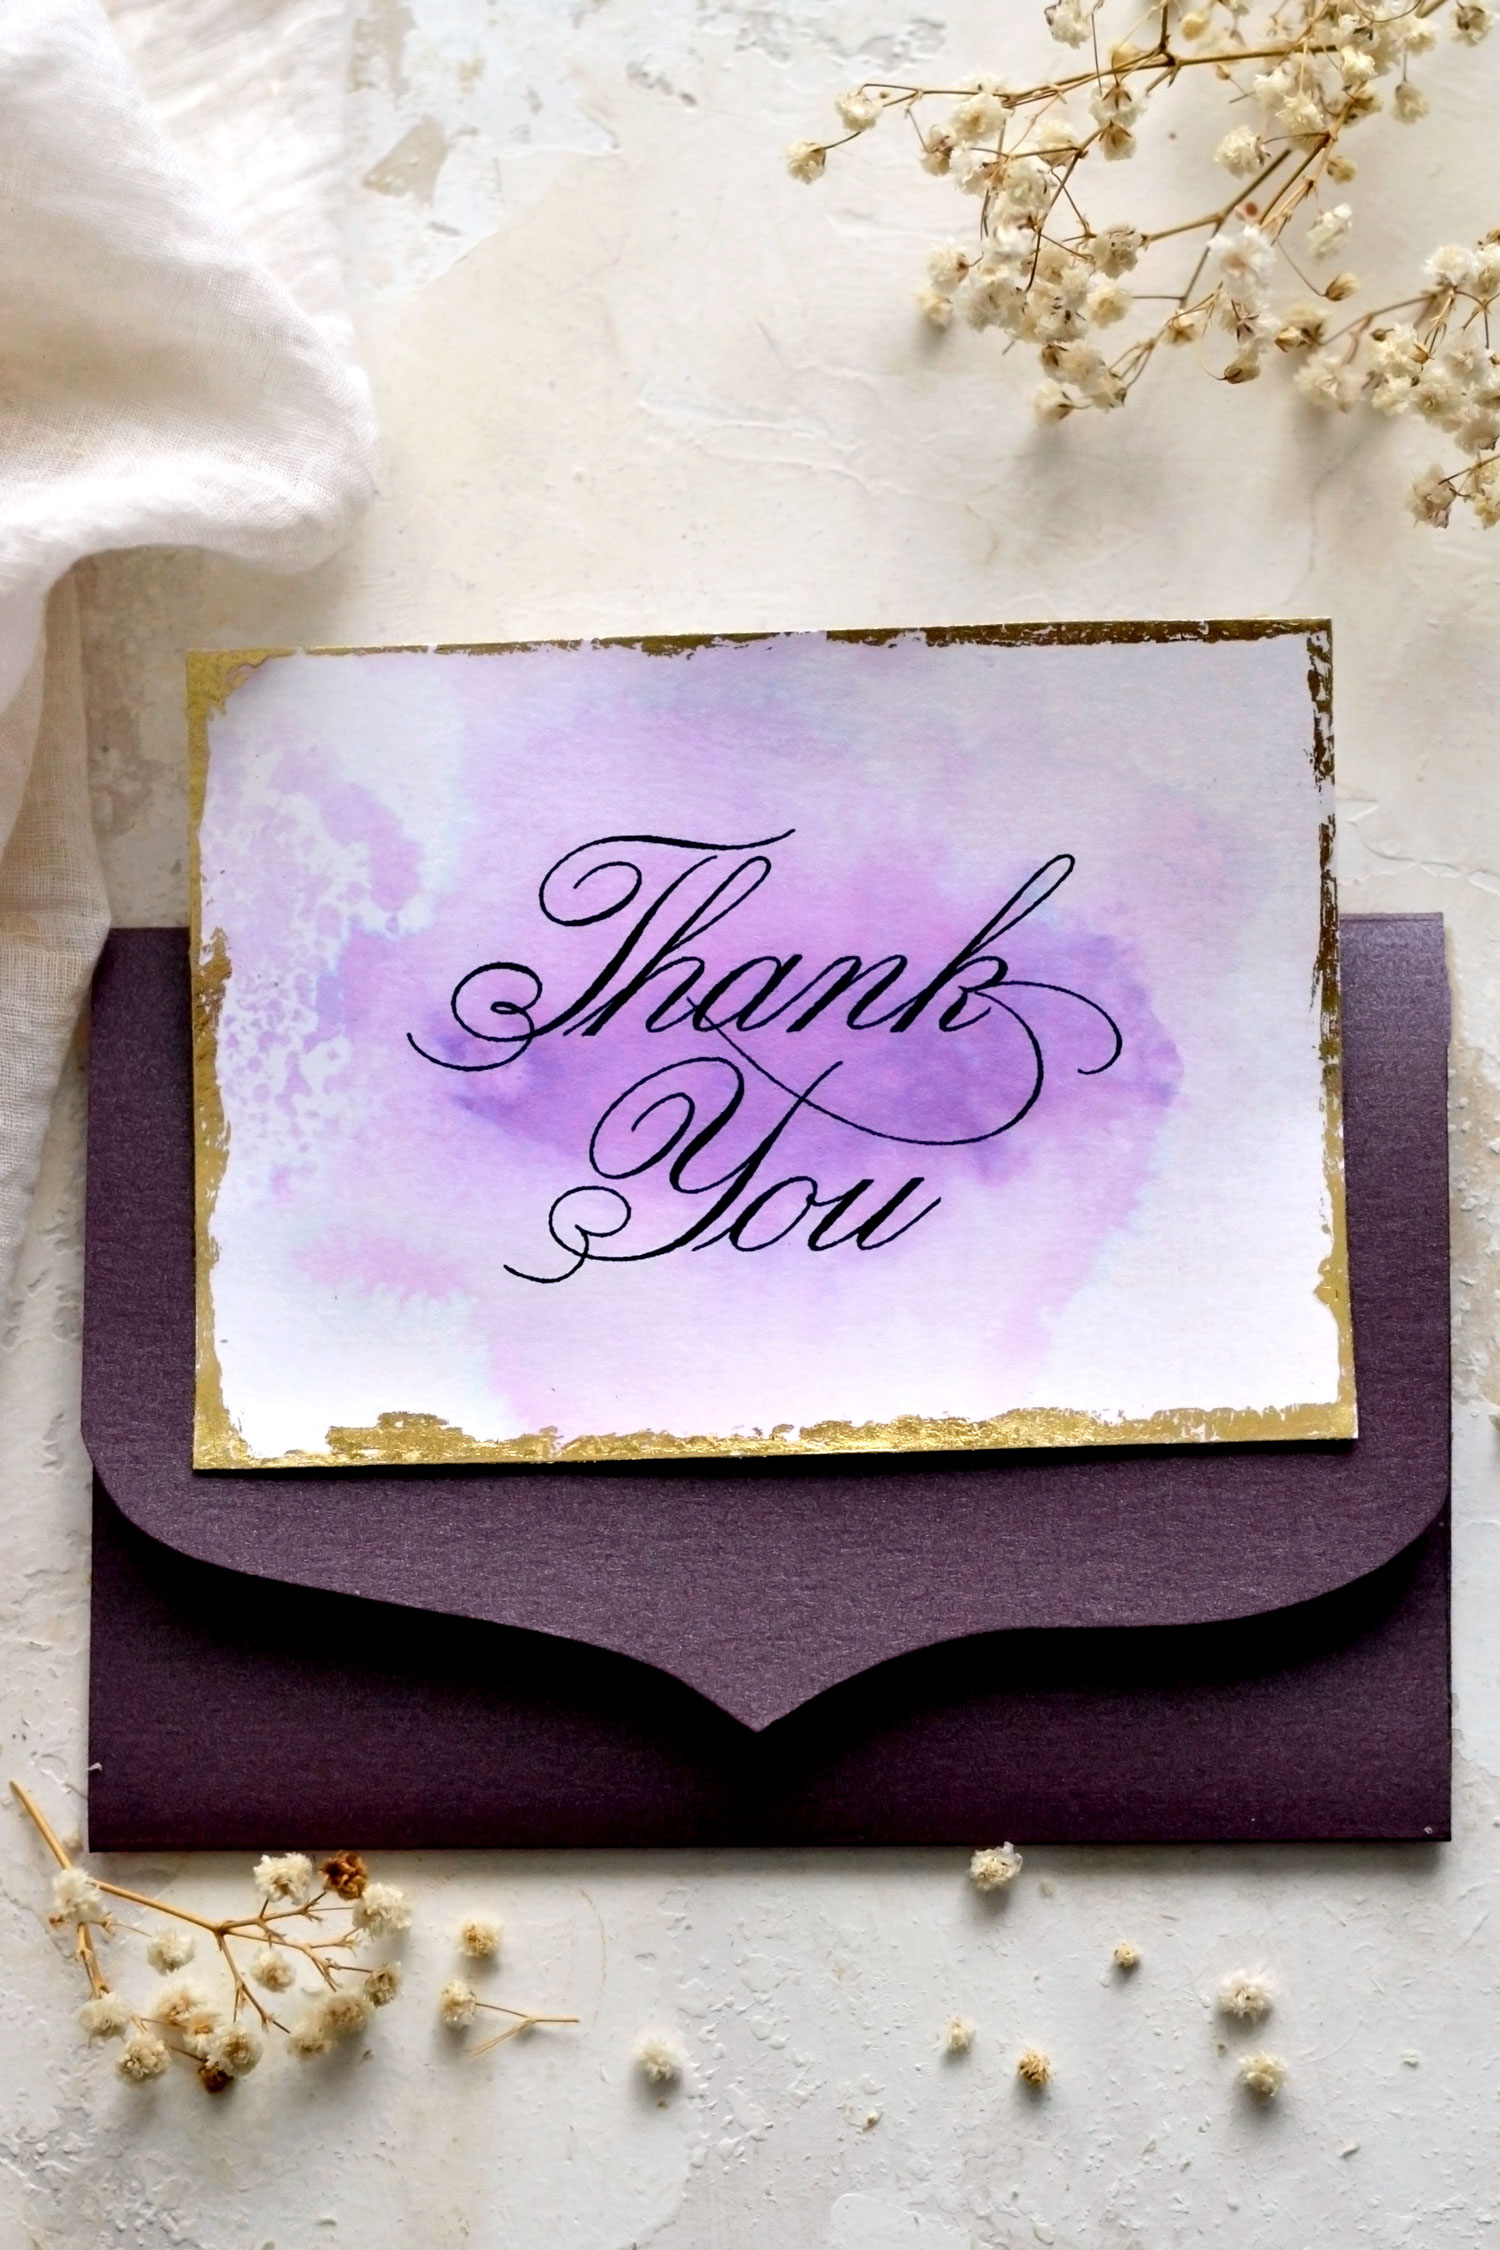
You can see my improvised pearlescent envelope below and one of my purple thank you cards, I feel like they are a match made in Heaven!
These perfectly imperfect gilded edges are charming and oh-so-elegant, don’t you think?
It would be best to place the cards between the pages of a book to make them flat again.
I’m really excited with how they all turned out, who knew you can create such gorgeous finishes while having so much fun?
I feel that we managed to aesthetically combine all the elements – the calligraphy ‘thank you’ writing, the faux watercolor effect and the gilded edges – making our cards truly special and unique!
If you are planning on making these as Wedding Thank You Cards, you can further personalize the front simply by adding a small cardstock strip with your names! You can even add the date of your wedding or other specific details that you find fit.
But no matter the occasion, don’t forget to write your personal thank you note on the back to show your gratitude, this handwritten element is the final touch these gorgeous cards need!
 You might also like my Free Printable House Warming Card Making Kit HERE.
Happy crafting,
Diana | by Dreams Factory
