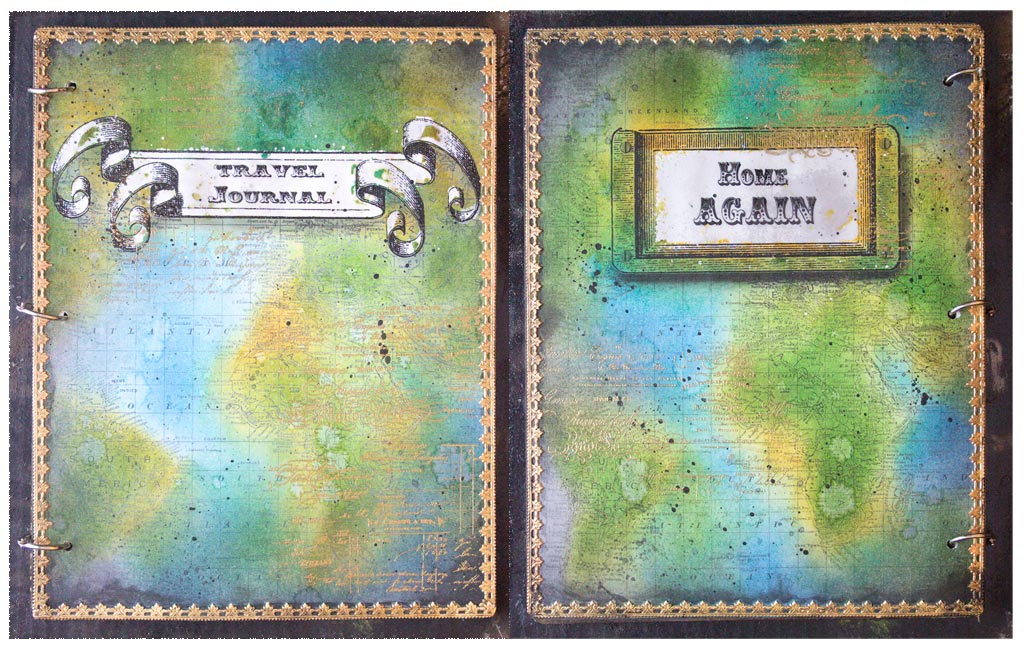
A Travel Journal…everybody needs one!
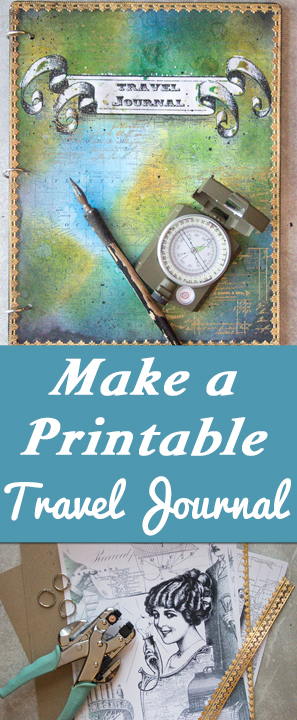
Hello my Graphics Fairy Friends! Heather from Thicketworks here with a fun and easy Printable Travel Journal Cover.
After all, even if we can’t fly to Paris or Istanbul tomorrow, we need a place to dream about the day we set sail!
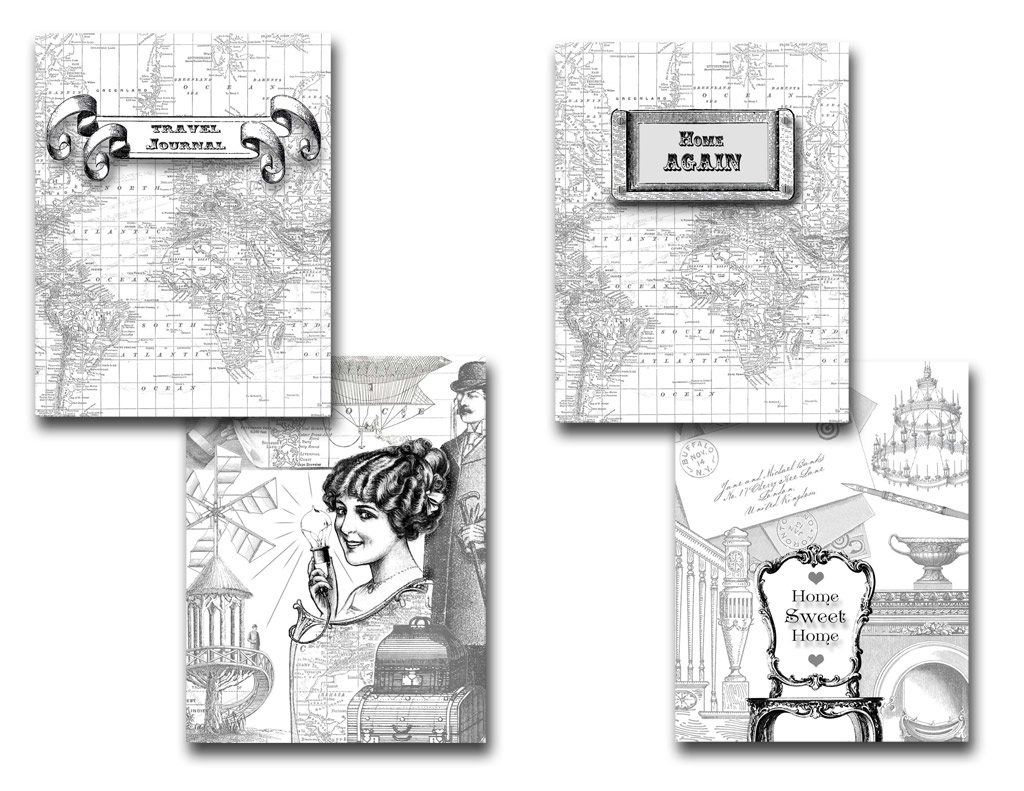
I’ve prepared a set of Four Printables for you.
Each image is sized to print on an 8.5″ x 11″ sheet of plain white cardstock.
Note: Laserjet prints were used in this demonstration. If you choose to use Inkjet prints, be aware that they may smear when Distress Inks are applied.
To get your copy of the image files, click HERE, or on the image below:
{this post contains affiliate links}
Graphics Fairy Source Images used for this project:
- Antique Pen
- Dandy with Moustache
- Fancy French Chair
- Fancy Wooden Staircase
- Fireplace Mantel
- Fancy Banner
- French Garden Structure
- Hair Stylist
- Steampunk Receipt
- Old Fashioned Light Bulb
- Vintage World Map
- Windmill Propellers
- Stock Envelopes
- Classic Garden Urn
- Vintage Dirigible
- Vintage Gothic Chandelier
- Vintage Luggage
- Vintage Metal Frame
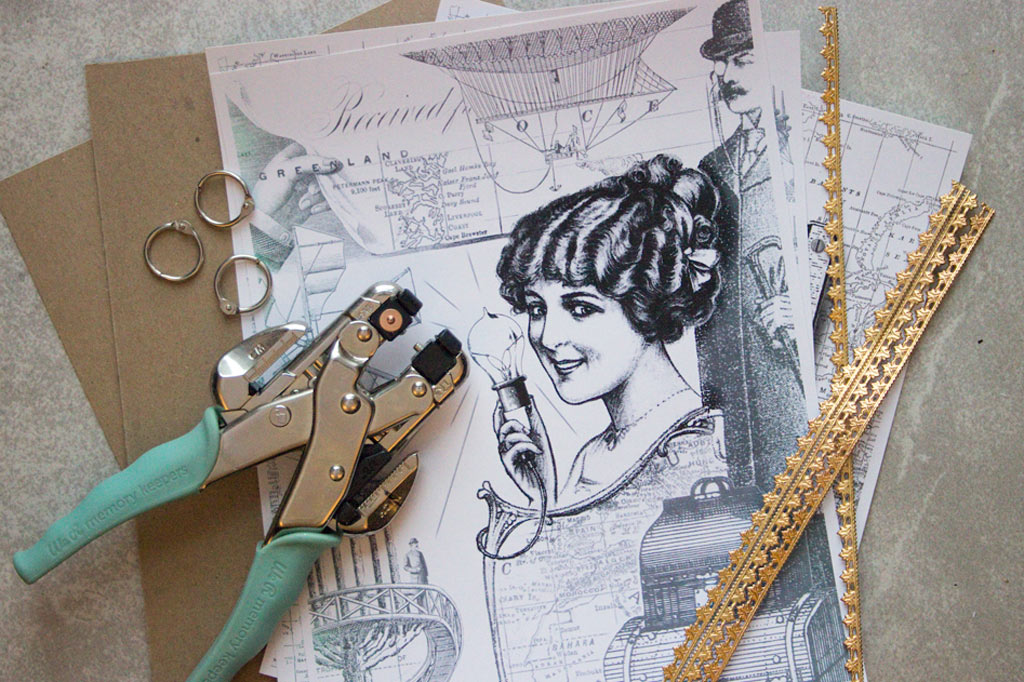
Here’s a list of the items used to create this Travel Journal…
Supplies:
- 4 Sheets of midweight white cardstock, printed with the provided image files
- 2 sheets of midweight chipboard
- 3 One Inch Book Rings
- A Hole Punch
- A Corner Rounder
- Dresden Trim
- Spray Mount
- A Metal Ruler
- A Craft Blade + cutting surface
- A Sanding Sponge
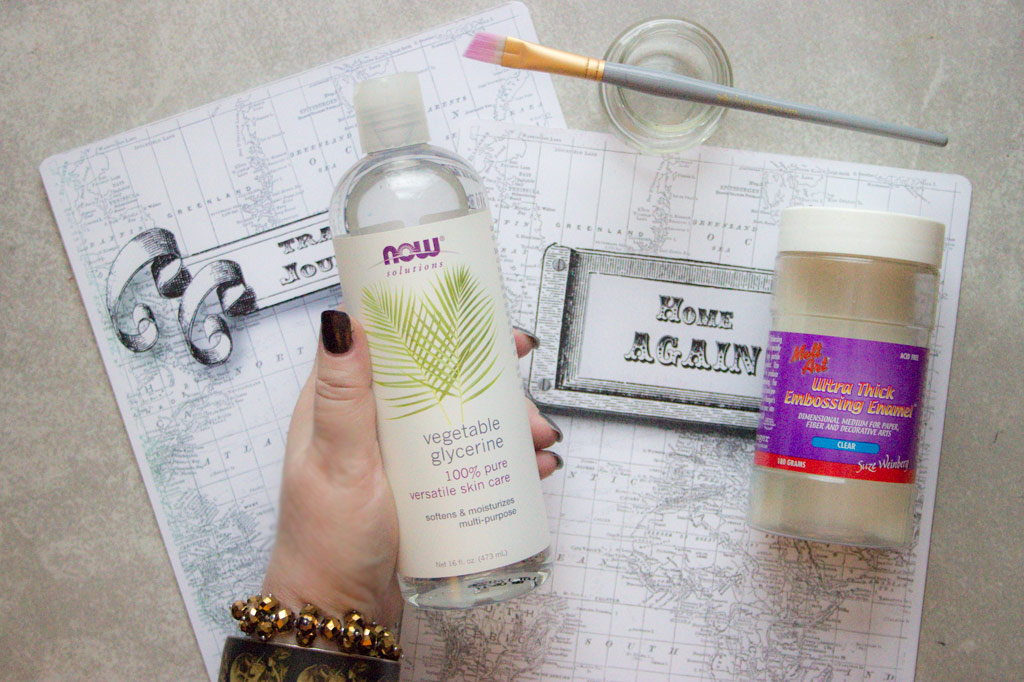
- Glycerin
- A small container
- A paint brush
- Ultra Thick Embossing Enamel
- A Heat Tool
- Distress Inks: Black Soot, Salty Ocean, Mowed Lawn, Wild Honey, Ripe Persimmon
- Ink Blending Tool
- A Spray Bottle of Water
- Black Acrylic Craft Paint
- Aleene’s Quick Dry Tacky Glue
- A pencil or pen
- Standard 3-Ring Notebook Paper
- VersaMark Pigment Inkpad
- Your favorite Script Stamp
- Gold Embossing Powder
How to create this Travel Journal:
Begin by printing each of the Free Printable Travel Collage Sheets – one each on an 8.5″ x 11″ sheet of white cardstock.
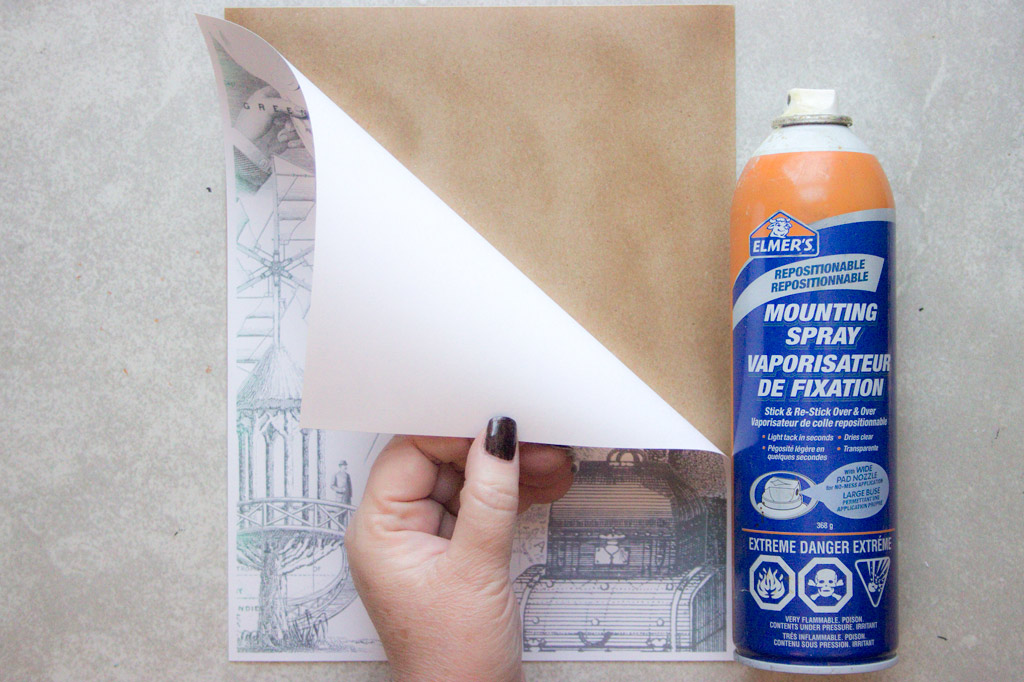
Use a good quality Spray Mount to carefully adhere each sheet of printed cardstock to either side of a midweight chipboard sheet, aligning the edges as accurately as possible.
When finished, you should have two sturdy covers with printed images on each side – one for the front, one for the back.
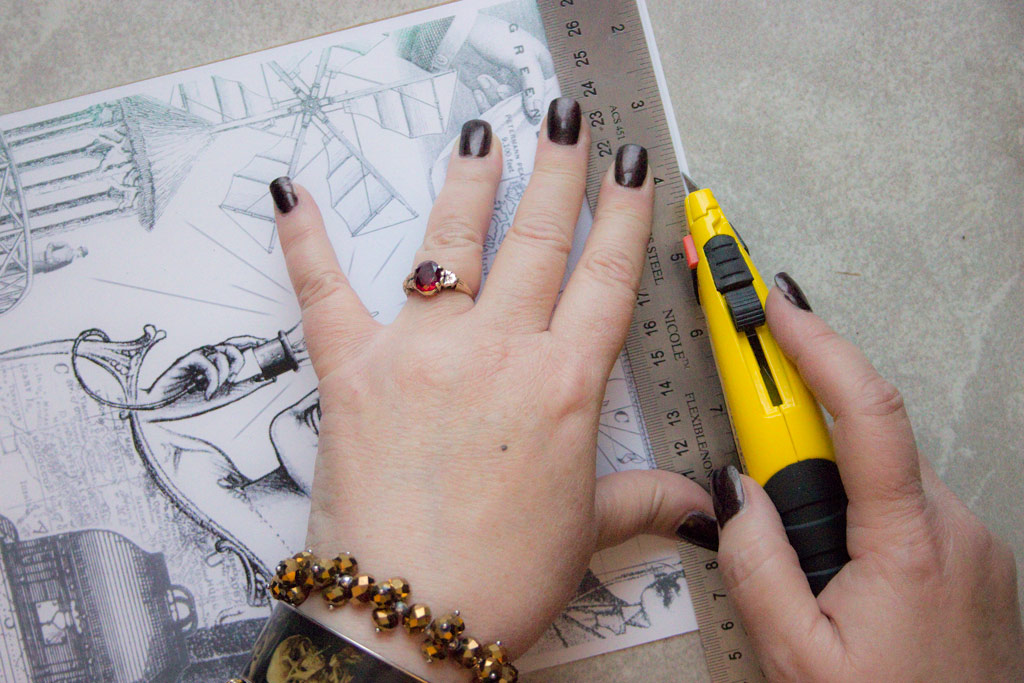
If necessary, trim the cardstock to fit the chipboard:
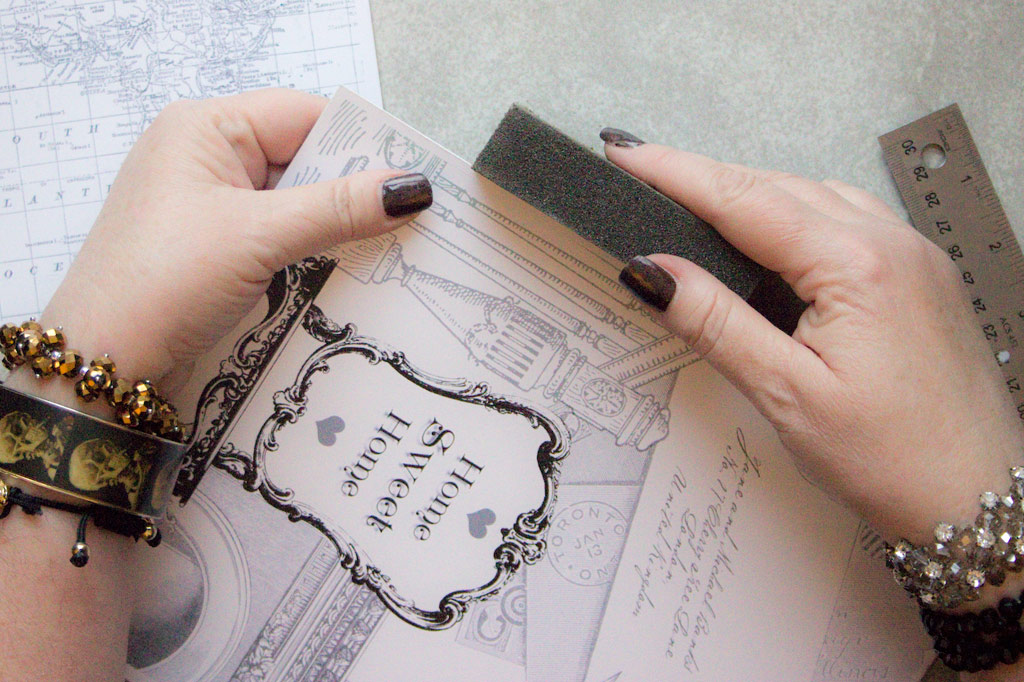
Use a sanding sponge to neaten the edges:
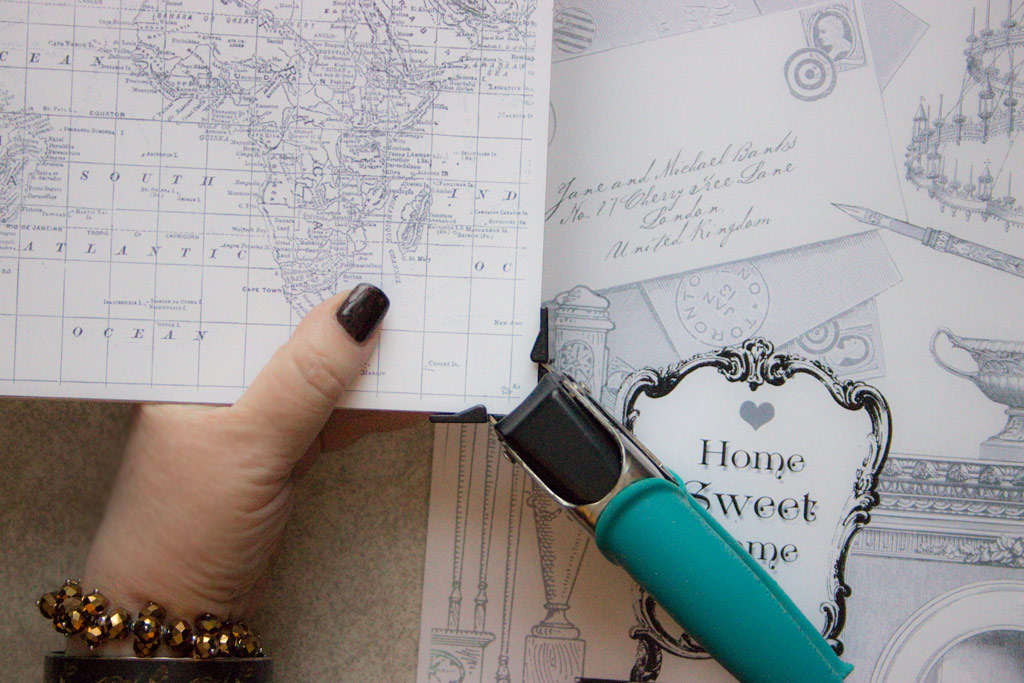
If you like, round the corners:
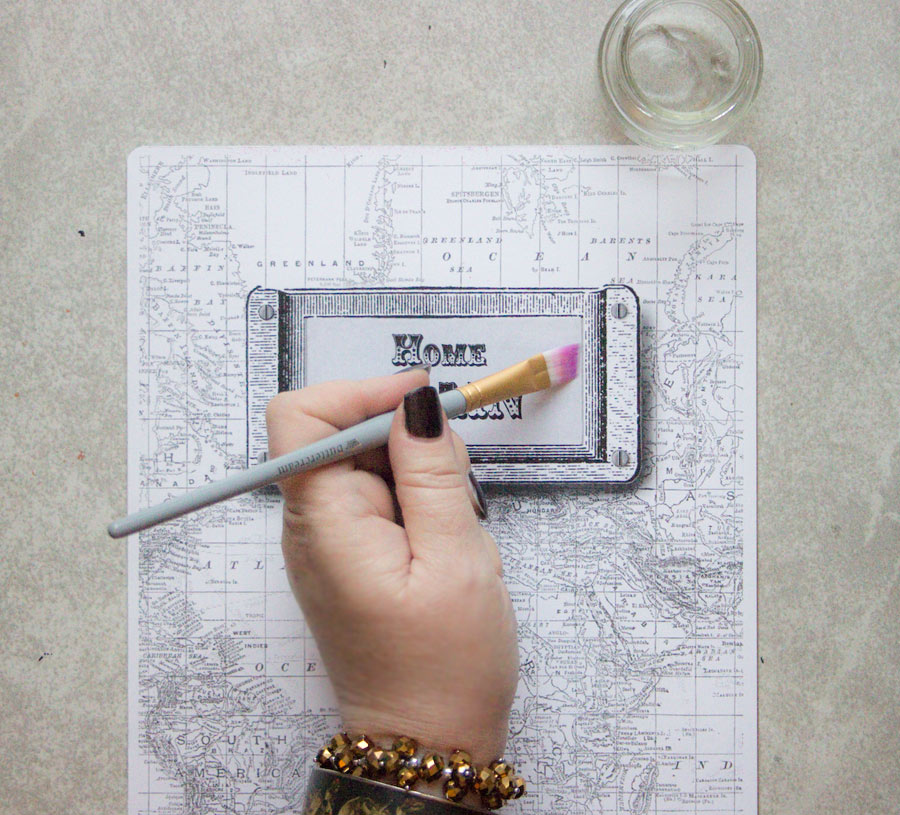
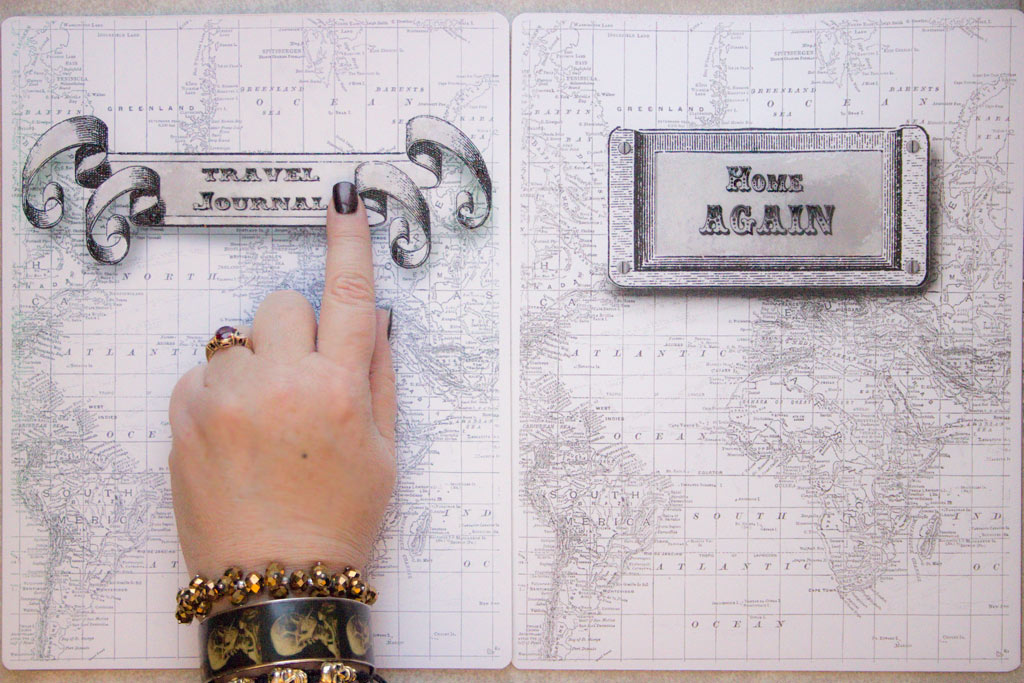
For a slightly distressed glossy finish on the “Travel Journal” & “Home Again” labels, try embossing with Glycerin!
Pour a small amount into a container, and paint it onto the surface of the label area:
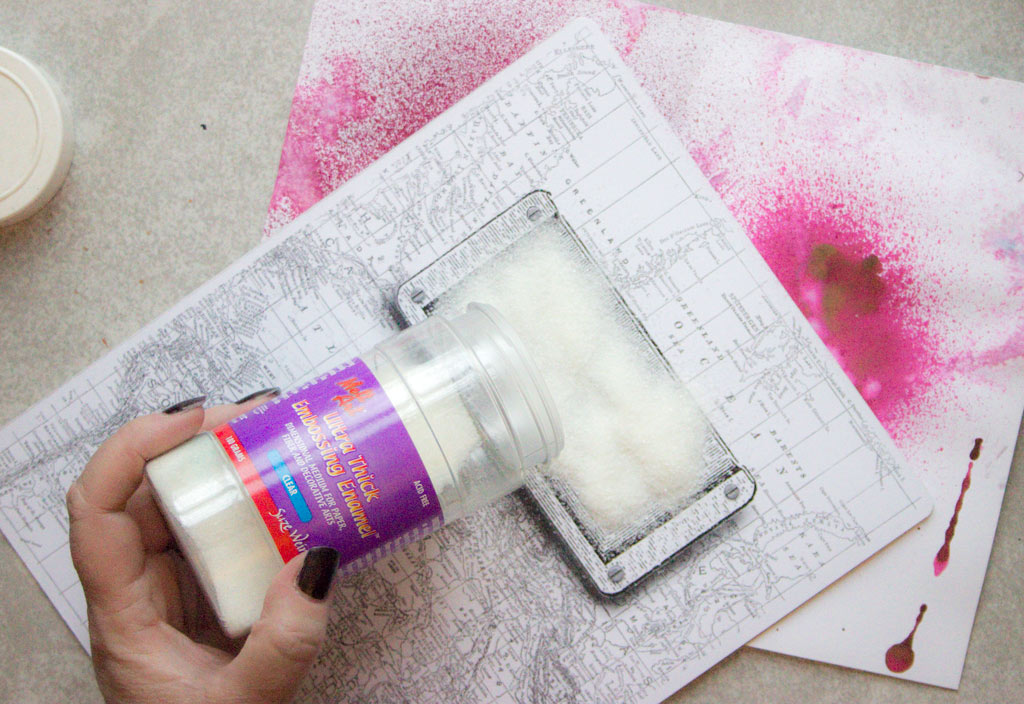
Moving quickly (to prevent the Glycerin from drying) – cover the area with Ultra Thick Embossing Enamel:
Tap off the excess, and use your Heat Tool to melt the UTEE, creating a glossy, yet slightly distressed protective surface over the text:
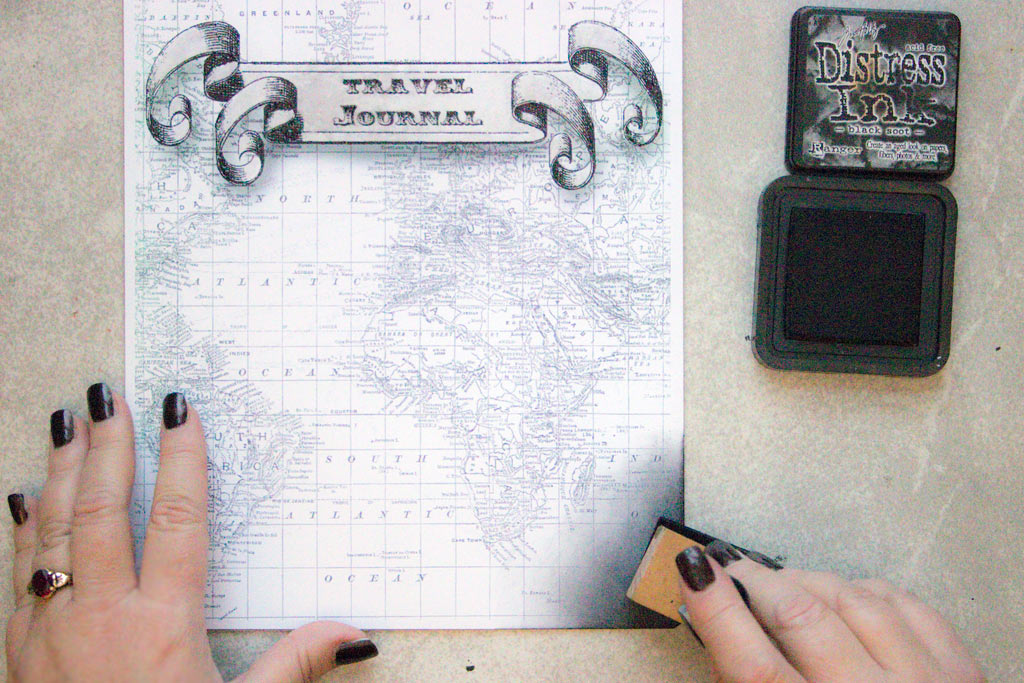
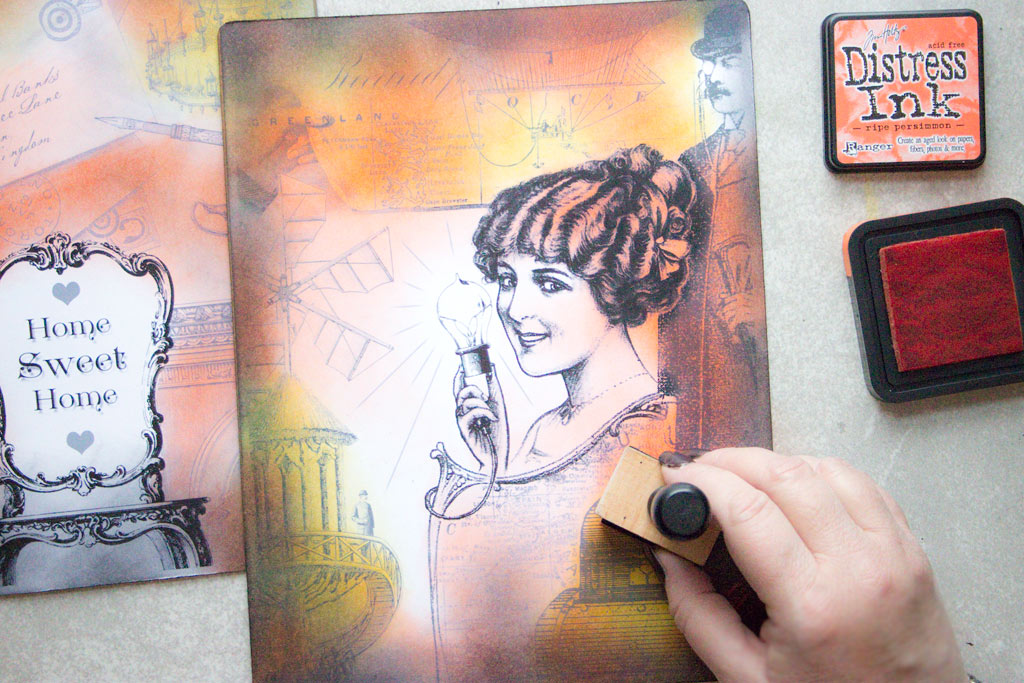
Next, apply Black Soot Distress Ink to the edges of all four pages using a Blending Tool.
Be sure to work in a swirling motion:
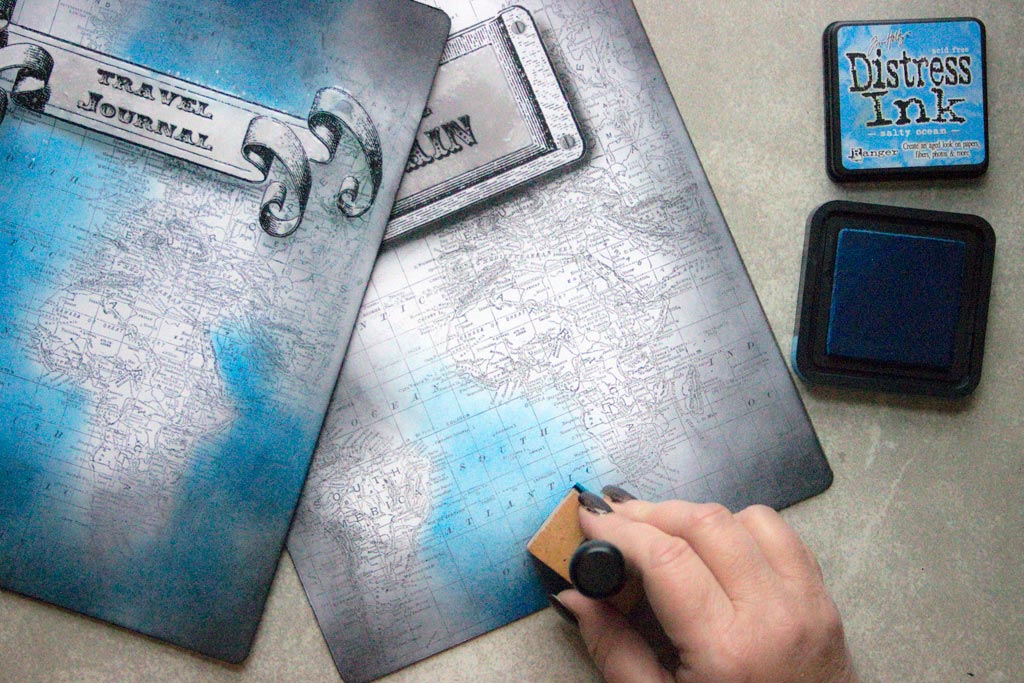
Now add intense areas of Salty Ocean Distress Ink!
I decided to use this gorgeous blue for the Oceans on the map…
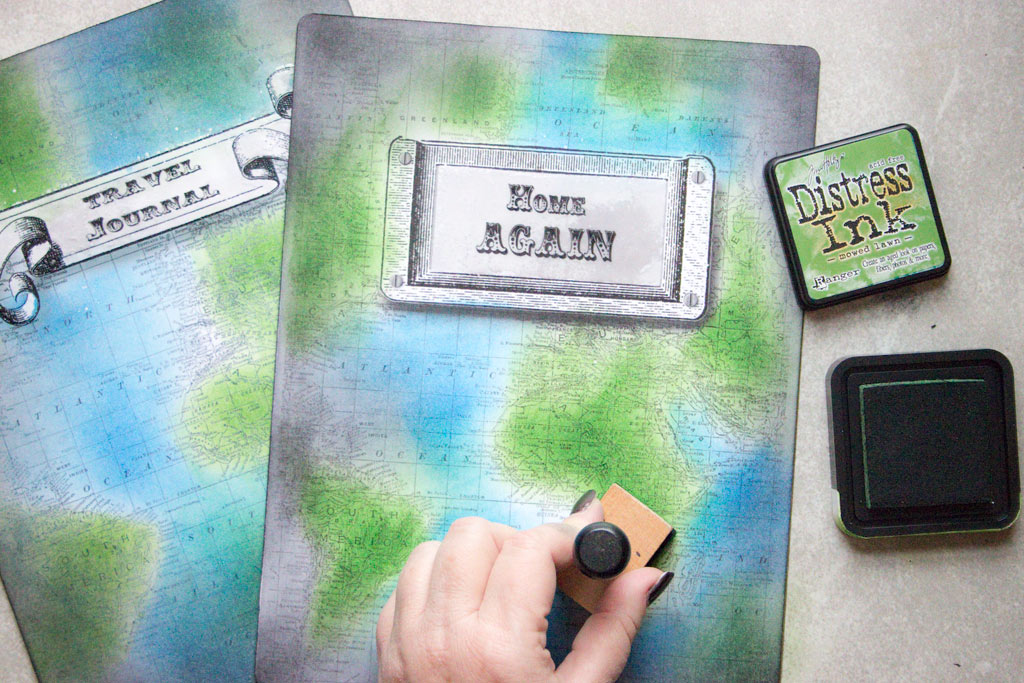
Color in the Land Masses with Mowed Lawn Distress Ink:
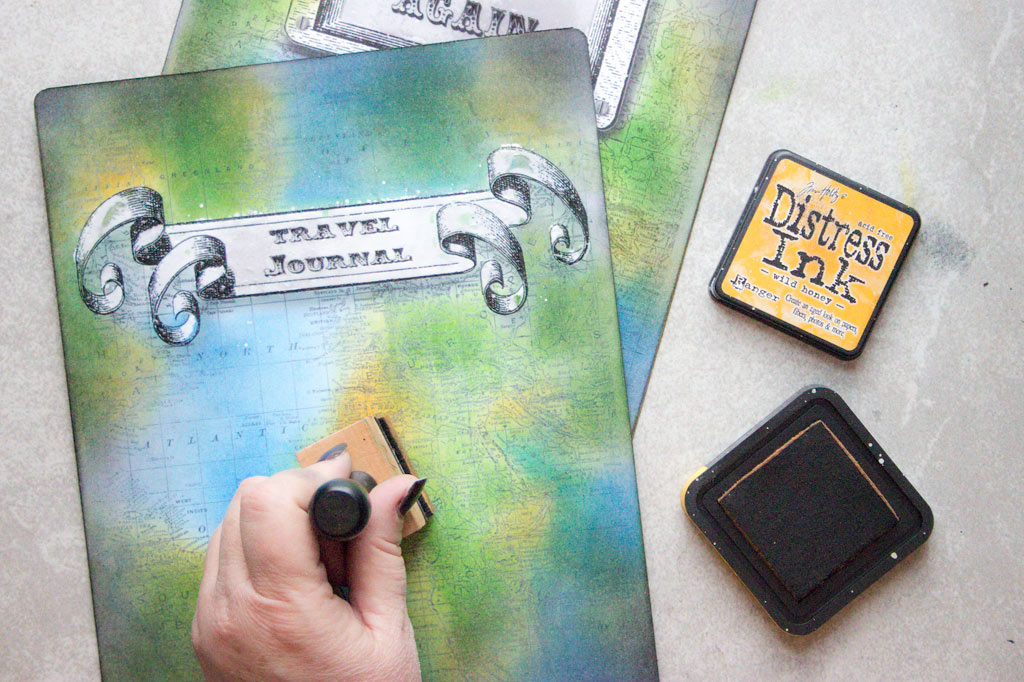
Add touches of variety with Wild Honey Distress Ink:
Continue this process on the other side of the Travel Journal Covers, this time adding Ripe Persimmon Distress Ink to warm up the imagery…
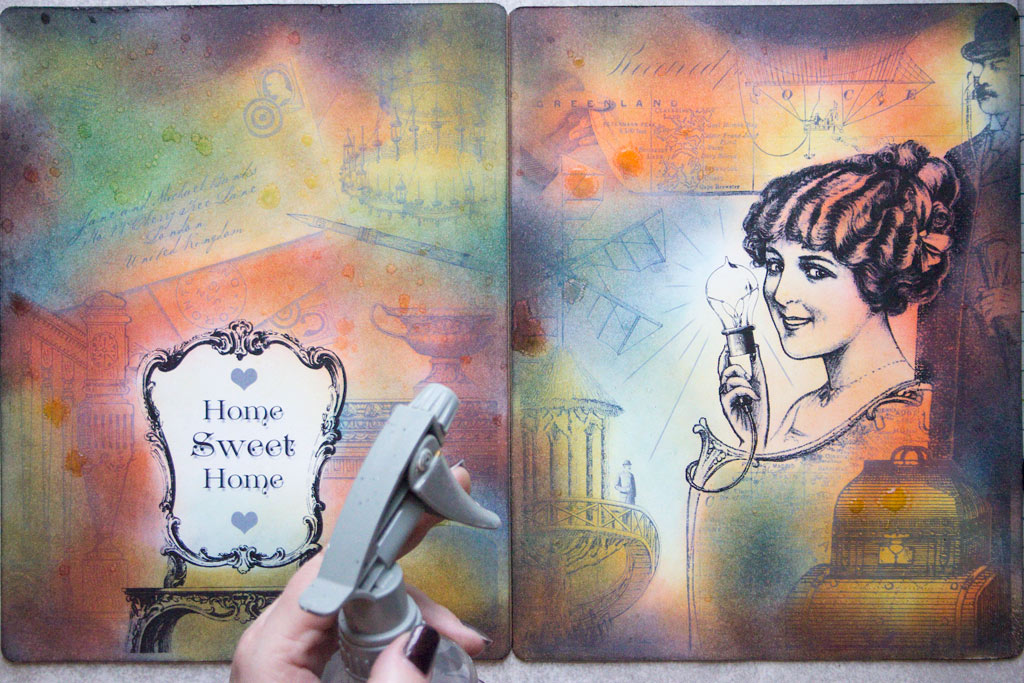
If you like a bit of blotchiness (I do!) – sprinkle or spray large drops of water onto the surface of the blended Distress Inks.
Allow the water to ‘bleach’ the inks for a minute or two, then dry with a Heat Tool.
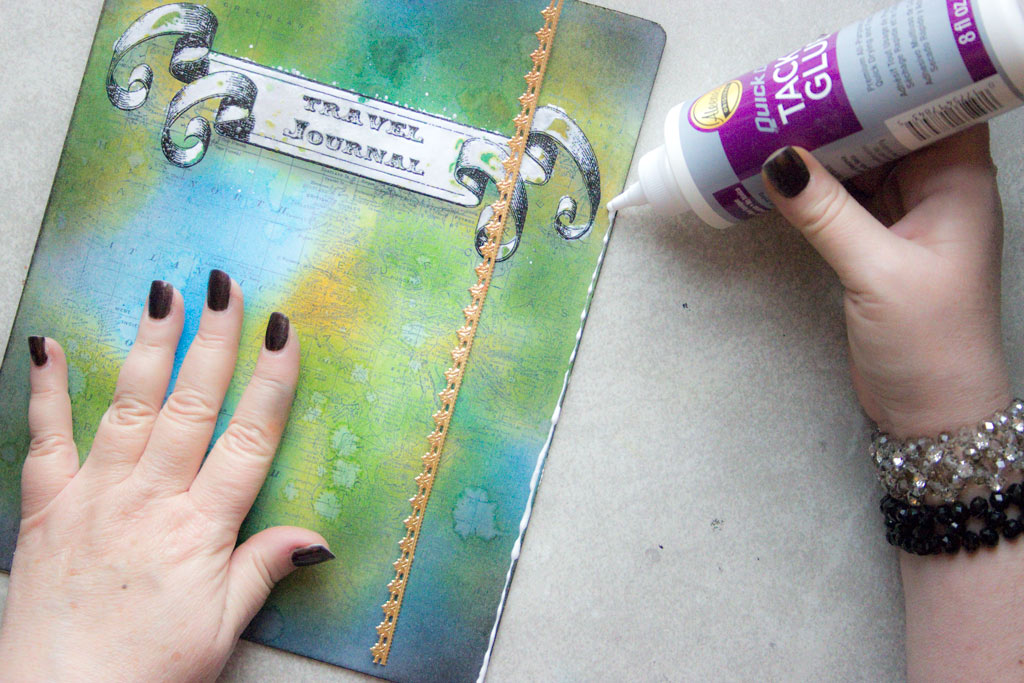
Once the surface has dried completely, draw a bead of adhesive along the outer edges of the Travel Journal, and adhere strips of Dresden Trim:
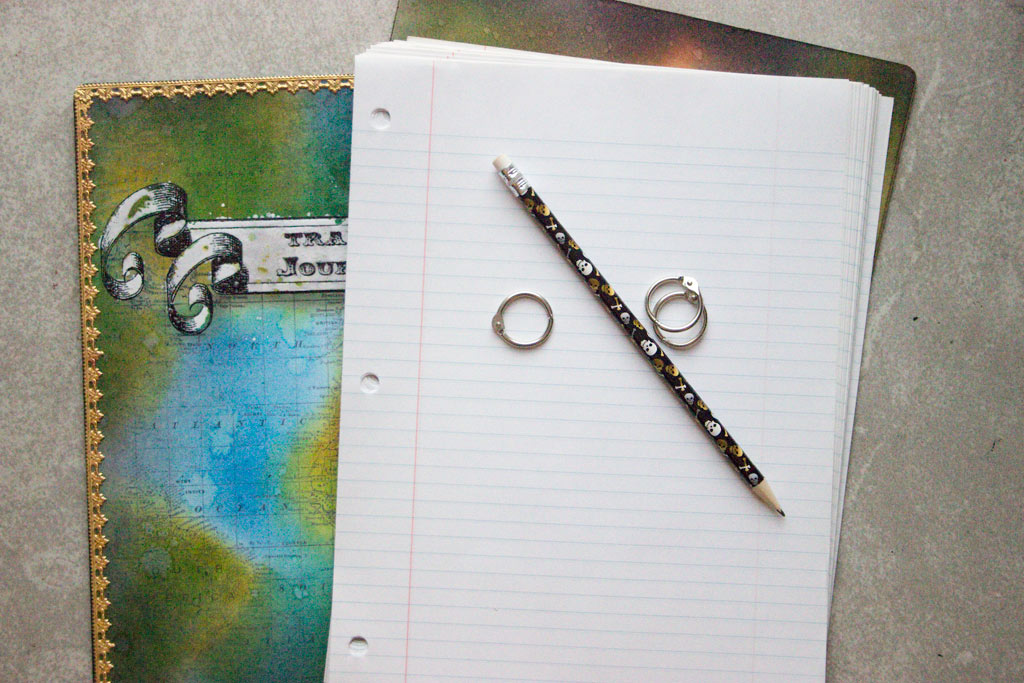
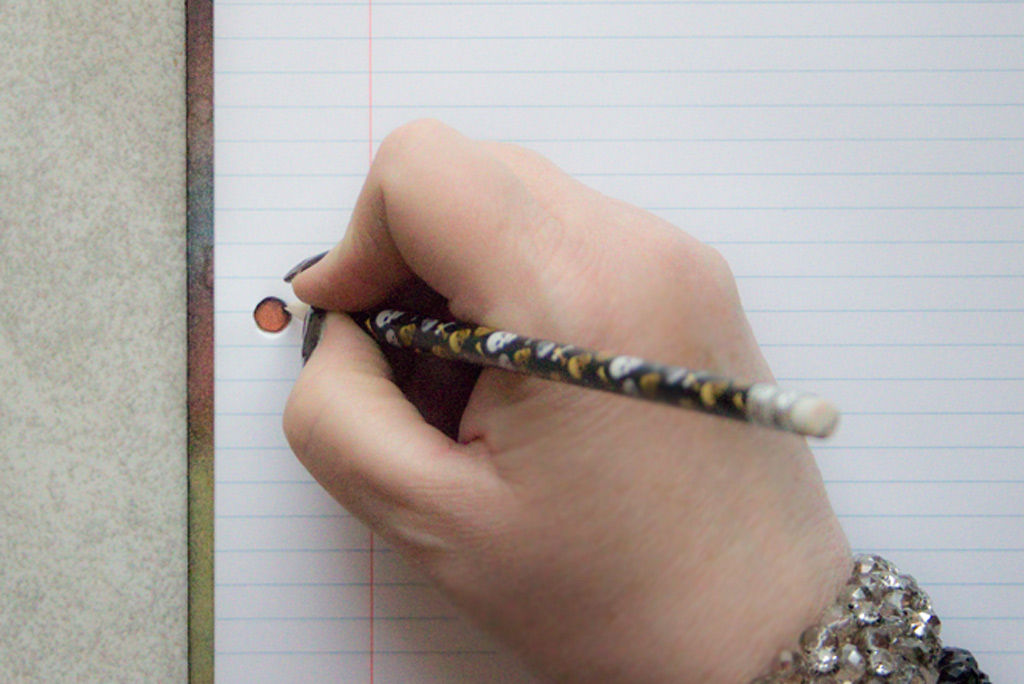
Using the 3-hole notebook paper as a guide, determine where to add holes for the book rings:
Align the paper exactly where you want it to lie in the completed book, then trace the holes:
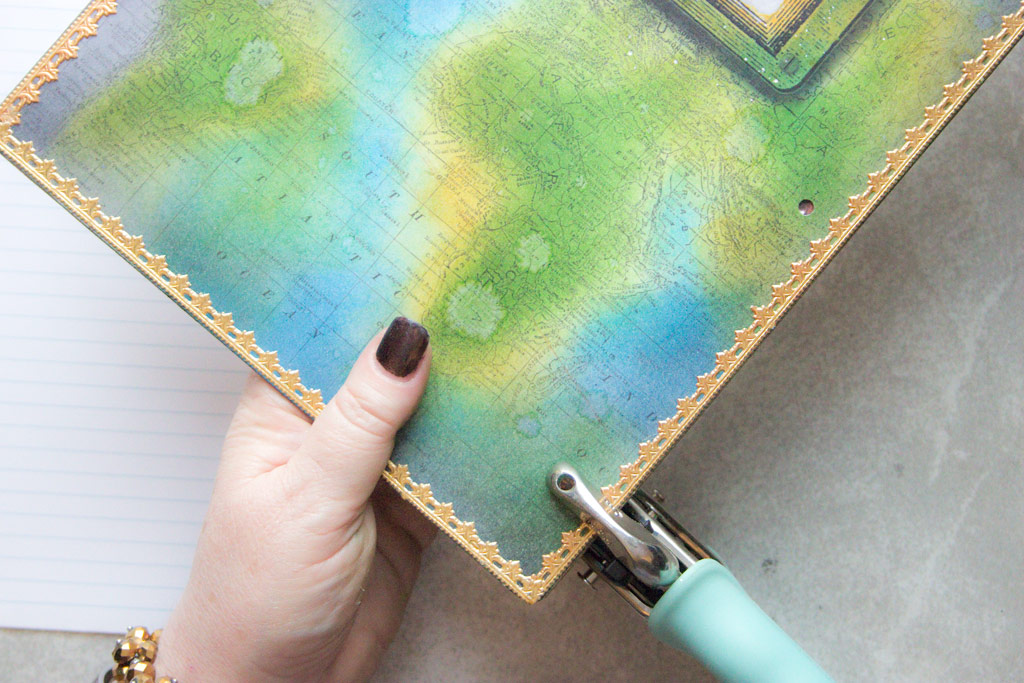
Punch the holes, and then use the first cover to determine the placement of the holes in the other cover:
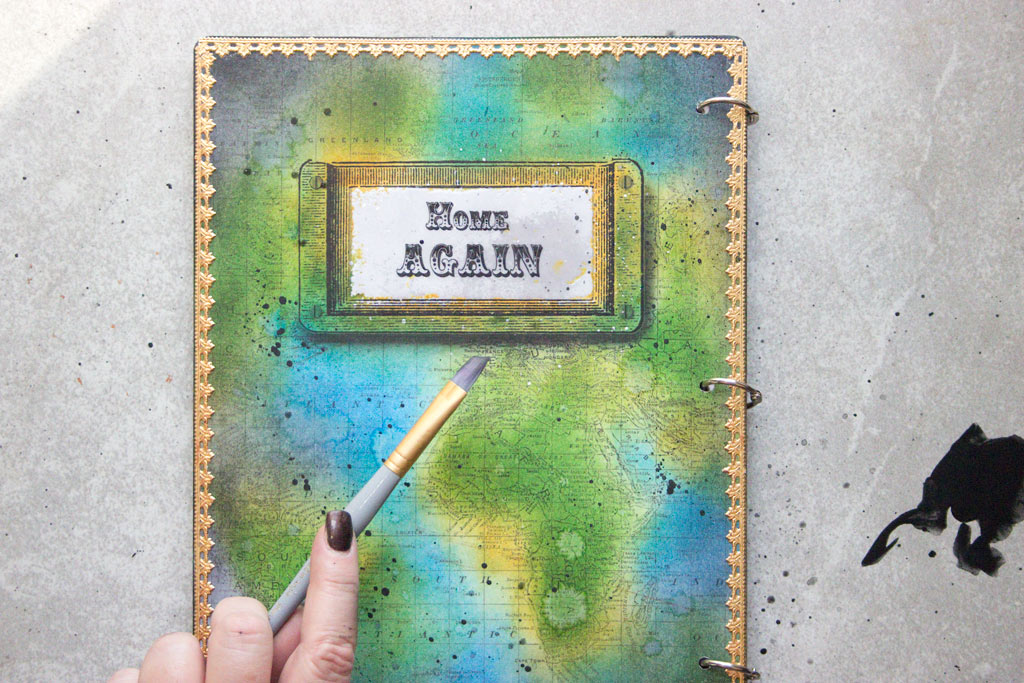
Add splatters of watery Black Acrylic Craft Paint to create more depth:
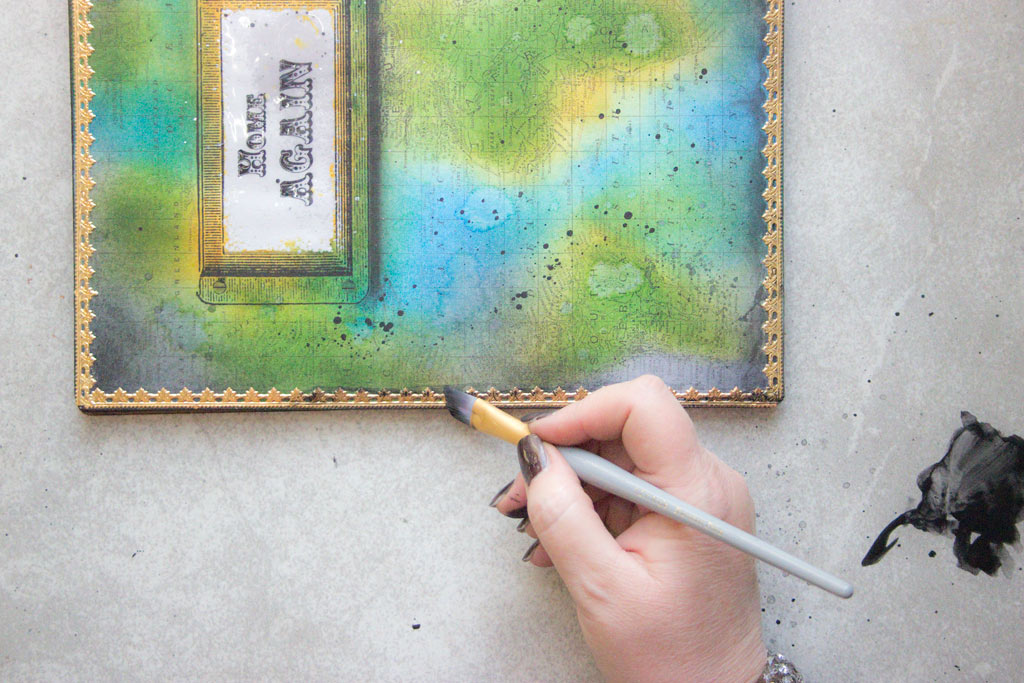
Tone down the Dresden Trim, and reinforce the darkened edges with the same mixture:
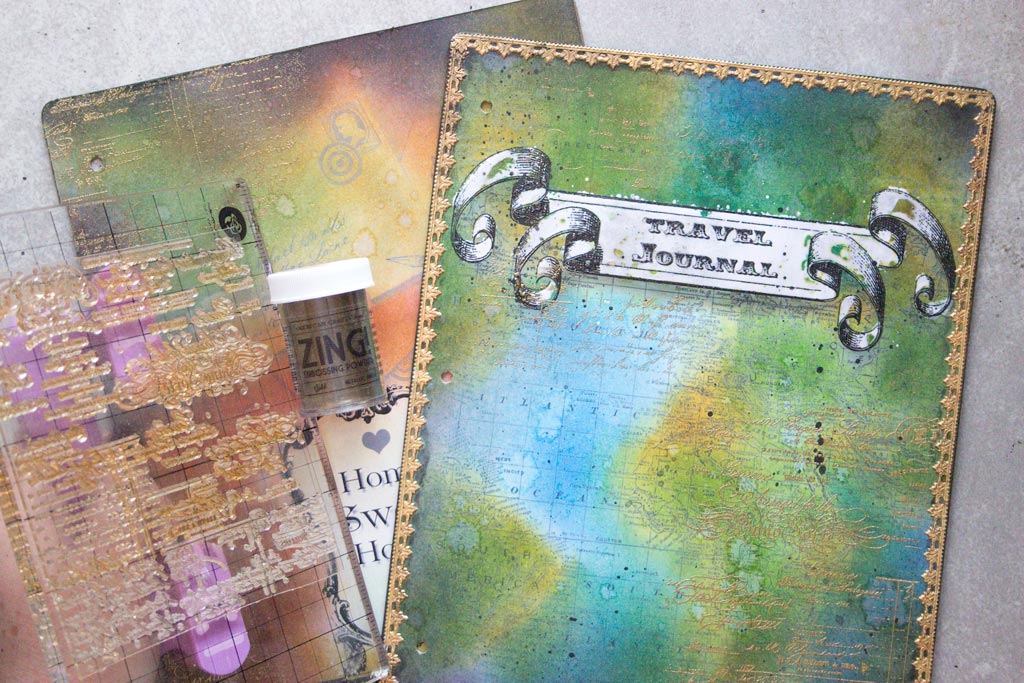
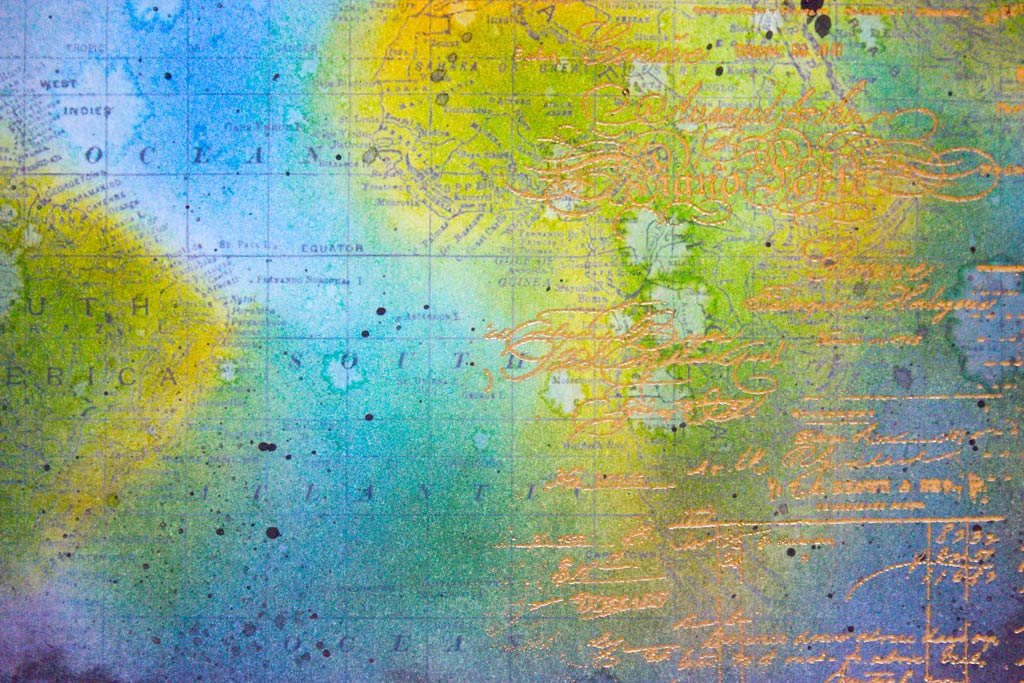
For the final touch, add a layer of wispy gold embossed script in random areas on all four sides:
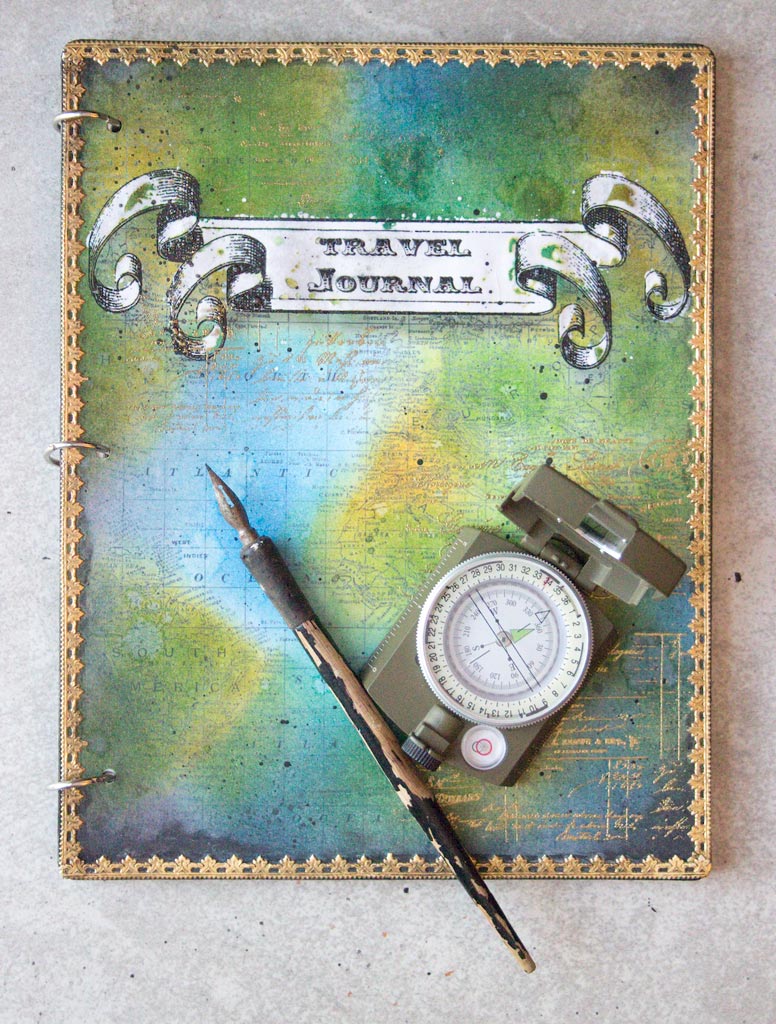
The 3 Book Rings secure a generous amount of notebook paper inside…and this Travel Journal is now ready to use!
Time to start dreaming….
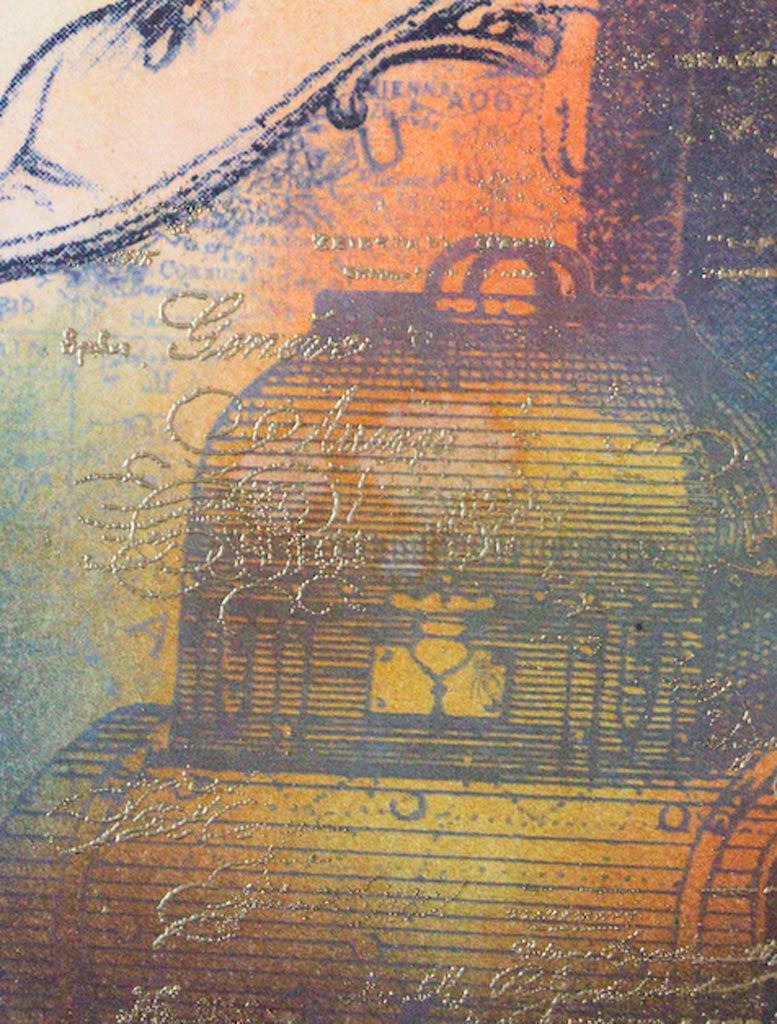
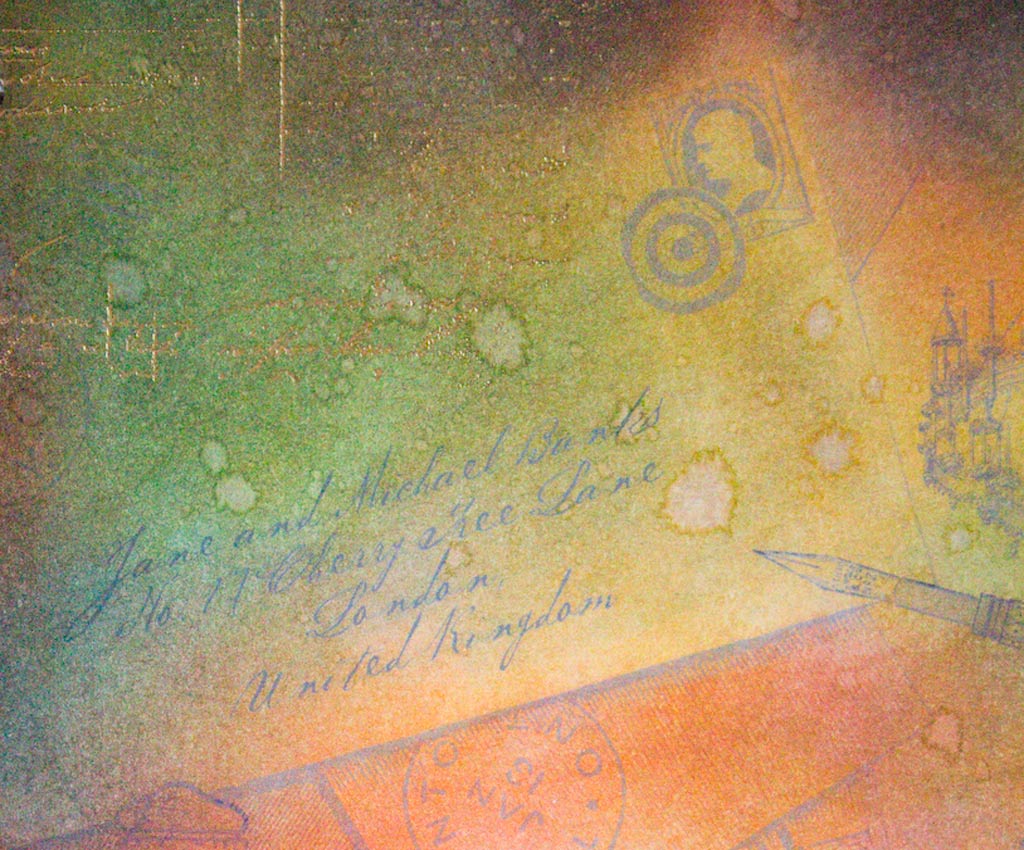
The splattered and blotched Distress Inks create a glowing backdrop for the delicate gold embossing:
I love the way that the water droplets create organically shaped blotches, adding subtle complexity on the surface of the rich pigments:
While we may not be venturing to London or Paris anytime soon, we can now record all of the wonders that we dream of visiting one day…
From the depths of the Oceans to the bright shining shores of Africa, the world awaits your exploration!
Thank you for spending this time at The Graphics Fairy today!
I hope that you feel the sweet tug of wanderlust as you ponder all the places you will visit on your travels…
Please visit Thicketworks as you Tour the World, and drop a line of greeting!
Until next time,
Heather ♥
It’s finally here! Our first online crafting eCourse! If you’ve always wanted to try the art of Mixed Media, be sure and check out this amazing course by Heather Tracy!
Click HERE to learn more about it.





Helen Edwards says
So beautiful,Heather.Thank-you very much for these amazingly clear instructions AND also such fantastic creativity.
I have been making some journals for a couple of years and I never get tired of watching other’s ideas.
Thank-you so much again for your generosity.
Heather Tracy says
Hi Helen! Making journals of all kinds is bit addictive, isn’t it? So glad that you enjoyed this one, my friend. Thank you for your kindness!
eileen says
Fabulous project! Thank you.
Heather Tracy says
I’m so happy you like it, Eileen! It was a joy to create. xox
Sherlene Mats says
Just so fabulous! Clever idea to add the light bulb to the hair-do girl! I’m going to steal it.
graphicsfairy says
Thanks so much Charlene, go for it 🙂
Linda Knox says
Thanks big time for the downloadable cover pages; they are wonderful. I will be making this and using as a technique journal….no samples, just written “how to’s”
graphicsfairy says
You are very welcome Linda, good luck on your journal!
mare williams says
Heather, I LOVE your creativity in all your projects!!! It’s the “artist-wannabe” in me, I guess! LOVE the travel journal cover!!!!! Thanks for sharing!!
graphicsfairy says
Thanks so much Mare!!!
Paula Mullins says
You must have read my mind? We are taking a trip to Alaska his summer for our 50th wedding anniversary and my daughter, son-in-law and three grandchildren will join us. I have been mulling over in my mind how I was going to make a travel journal for each of the three grandchildren so they will remember the trip. Thanks to you I have the tools to get the job done! Thank you Heather!!
Heather Tracy says
Yay! I’m so glad this will be useful to your family, Paula! I hope you have the most wonderful trip EVER! xox
Rupa says
Oh Heather!! My heart is beating really fast again and it’s all because of your GORGEOUS journal! I have a real weakness for pretty journals. I love, love, love traveling but since I have to earn a living too, I travel in my imagination all the time. This journal embodies all that I dream of. I have seen people create such beauties but given my very limited PS skills, I could only drool. I even bought a printable journal set on etsy last year to satiate my journal obsession. Now, thanks to you, I can create multiple ones with different stamps/color schemes etc. I have scored some pretty paper packs in letter size that could be the insides of my journal. I think….I could even use the designs you shared in your Printable mini-book project without folding them…..wheels are churning fast and smoke is coming out of my ears:) As usual, you just know what your readers love and you know that we love EVERYTHING you create! Thank you from the bottom of my heart for this and everything you share!! PS: If I may suggest….if one doesn’t have the 3 rings, you could take the whole journal (incl. inside papers) to a local office supplies store and they will do ring binding for under $3 in most cases. You can also substitute sketch paper/water color paper etc. inside this journal if you wanna doodle during travels.
Heather Tracy says
Yay! I’m so happy that this will be of use to you, Rupa! It’s SO exciting to witness your creative excitement! I have such a wonderful time designing with Graphics Fairy Images…it’s as though the entire creative Universe is available to work with…
I love all the suggestions that you have made, from binding, to using WHATEVER papers you choose! I selected Notebook Paper only as a way to make this super-accessible for all. Bless you for your enthusiasm, your support and your Creativity! xoxo
Rupa says
The three ring binding though makes it easier to add papers when needed. You are inspiring all of us to try new things, techniques and push our creativity. Most of all, it is giving us confidence and joy everyday. What a journey you are taking us along!
Heather Tracy says
What a lovely message, Rupa! I like the versatility and simplicity of the Book Rings, but I love your suggestions, too. If you feel inspiration and are growing in creative confidence, then I’m THRILLED! So blessed to be taking this journey with you. xox
Rupa says
Heather, I have decided I need a Crop-A-Dile…yes I do! There are several diff hole size punches that come in Crop-A-Dile. Which is the most common size or most versatile if you are able to make a recommendation please? I wish I could get multiple Crop-A-Dile punches but it ain’t happenin’ 🙂 Thank you in advance.
Heather Tracy says
Hi Rupa! I’m thrilled you will be giving yourself this gift…I waited for years before investing in one, and I wish I hadn’t waited…I find that I get the most use from the Standard Crop-A-Dile – 1/8 inch and 3/16 inch holes are a breeze to cut through paper, cardboard, plastic, even thin wood and metal. It can set eyelets in these same sizes as well. For my needs, this is perfect.
Rupa says
Thank you for your recommendation.
graphicsfairy says
My pleasure Rupa 🙂
Rupa says
Heather, I finally finished this journal with some Dresden trim directly from dresden ? My sister in law was visiting there in Feb and I got some trim, it is really pretty. I missed using corner punch and had missed gold stamping too but the latter is now taken care of. It adds a gorgeous touch. I should follow instructions every step of the way instead of looking at finished photos at times and doing my own thing. I once again concluded that you are a genius, even in the placement of stamps that makes all layers so cohesive. My stamp had a border and some of that boundary is showing, not desirable. Anyway. Thanks so much for this simple yet gorgeous, useful project, will be making more. I had previously just covered a note book with pretty travel themed paper but this is now ready for travels,
Heather Tracy says
Wow! Oh, Rupa – I want to see your journal! It sounds divine…and Dresden from DRESDEN?!?! How glorious. I love it that you ‘do your own thing’…that’s always my goal, darling. And yes, the added layers of gold embossed stamping really make it all come together, don’t they? It’s always a joy to hear from you, and I wish you deliriously happy travels – whether Imaginal or REAL! xox