Flower Press Ideas
Hello, Graphics Fairy friends! I’m Diana from Dreams Factory and I’m sooo ready to share another DIY project with you – today I will be showing you Flower Press Ideas! I’m really excited about this project because I feel it can really open up new and unexpected territories for further experimenting and creating something truly unique.
This Flower Press Ideas project was inspired by a stunning magnolia tree I walked by a few times last week. It’s really amazing how your inspiration can come to you when you least expect it, but this tree really caught my eye with its natural, untainted beauty. I remember thinking while I was in awe, admiring the lovely shades of pink and white: ‘I’m wondering if there are any magnolia flower images available on The Graphics Fairy…’ I actually picked up my phone that second and quickly searched for ‘magnolia’ on this site. I can’t even tell you how happy I was when I discovered this breathtaking image! I knew I just HAD to use it in my next project and the rest is history … because here we are!
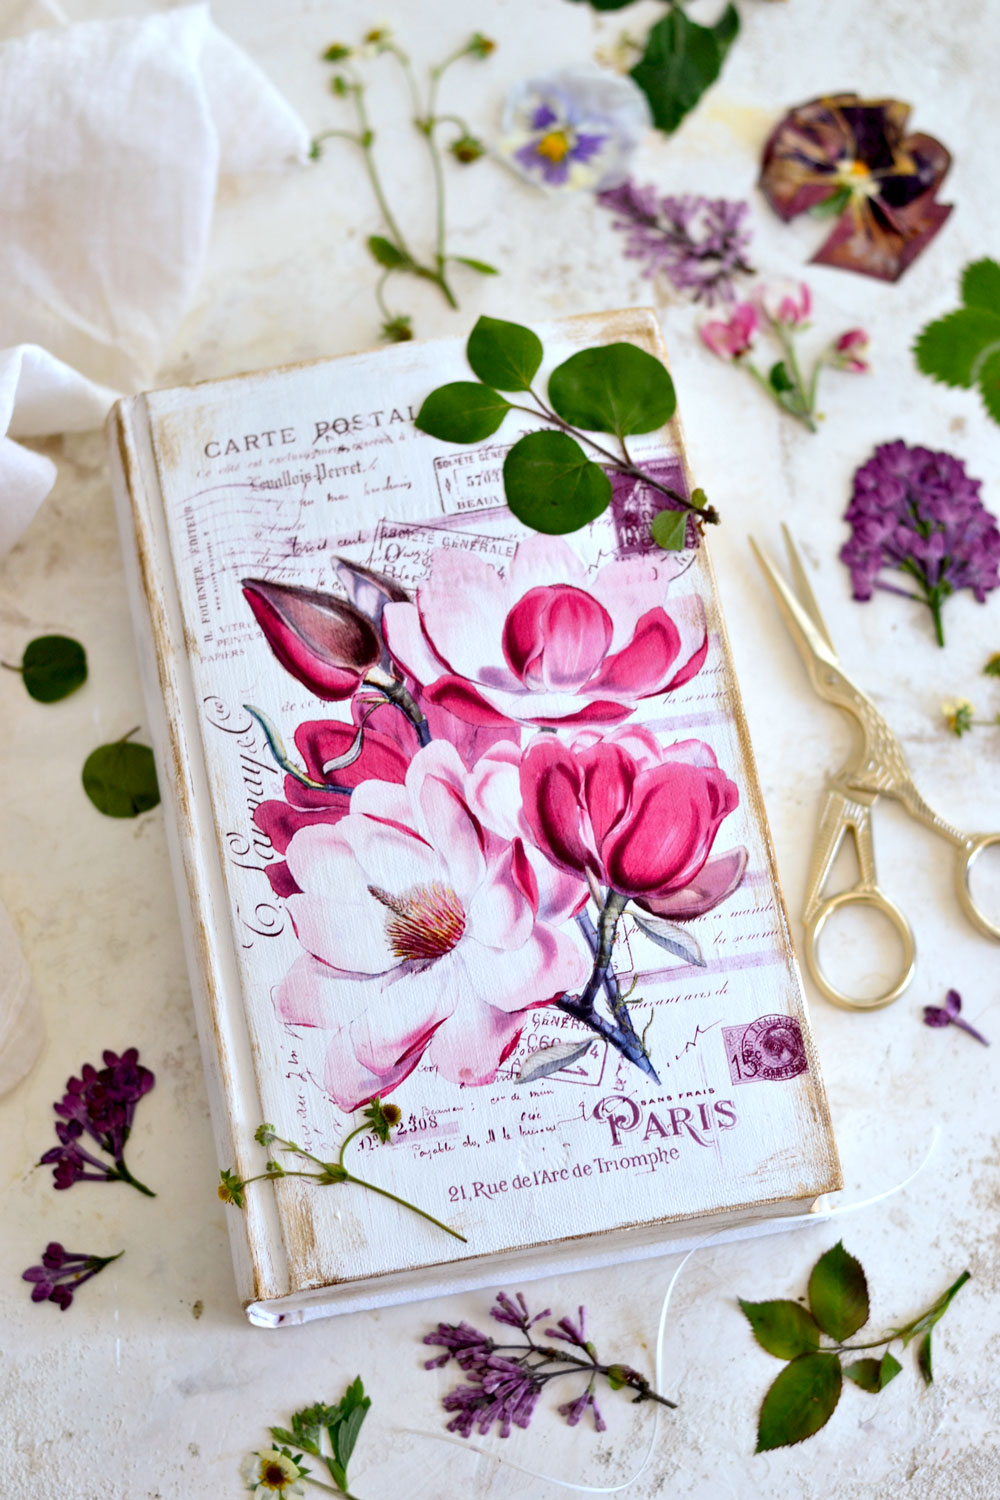
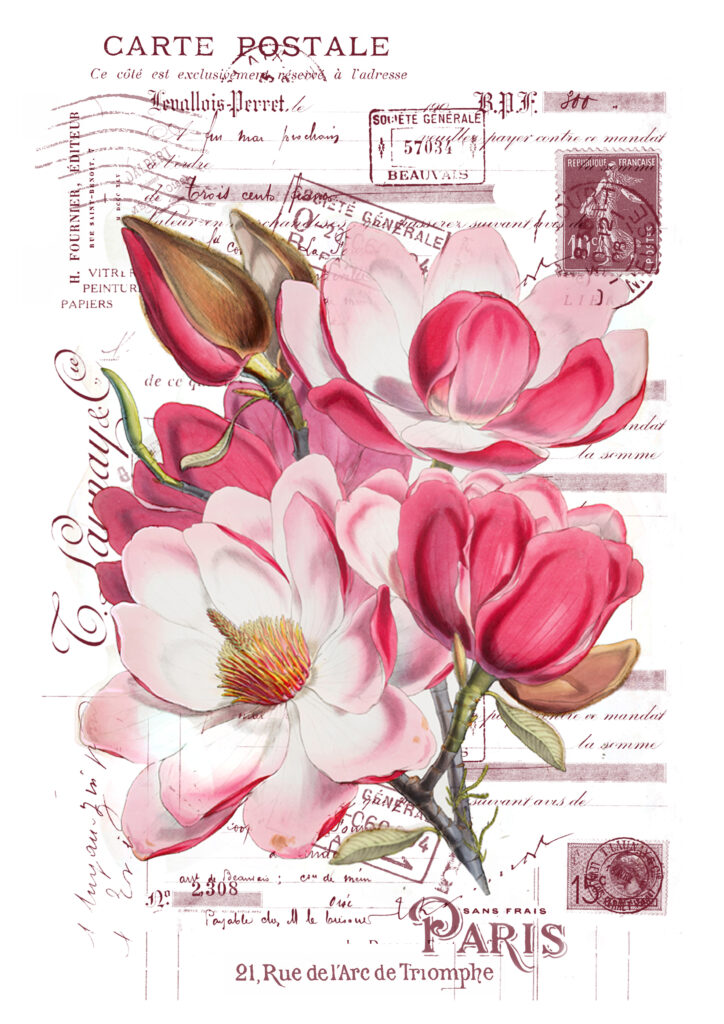
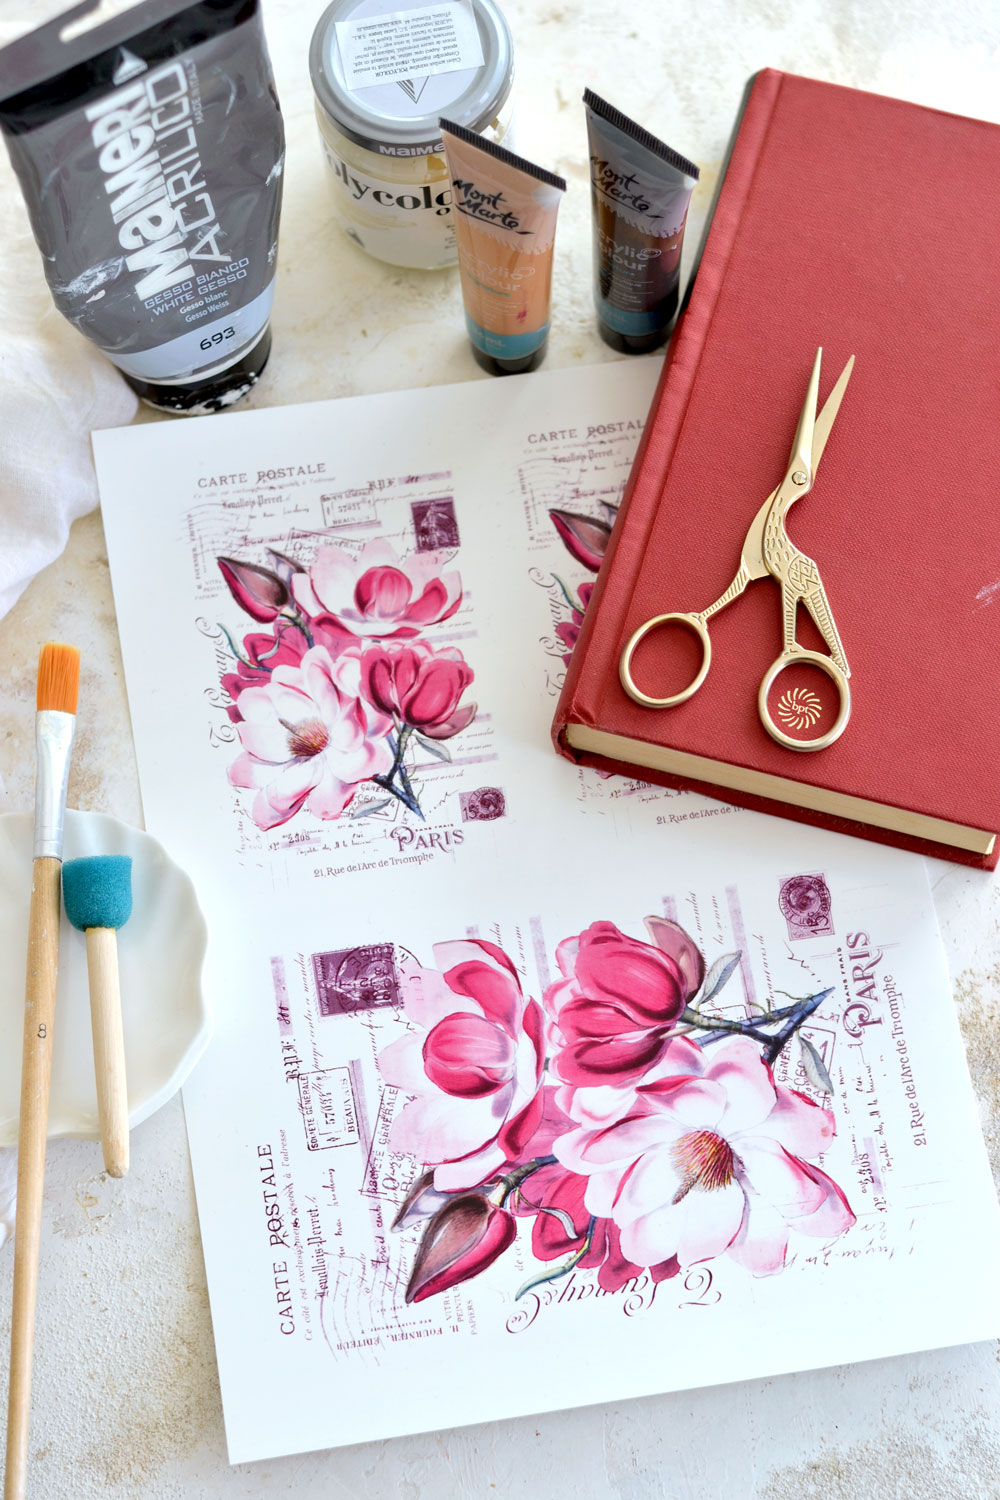
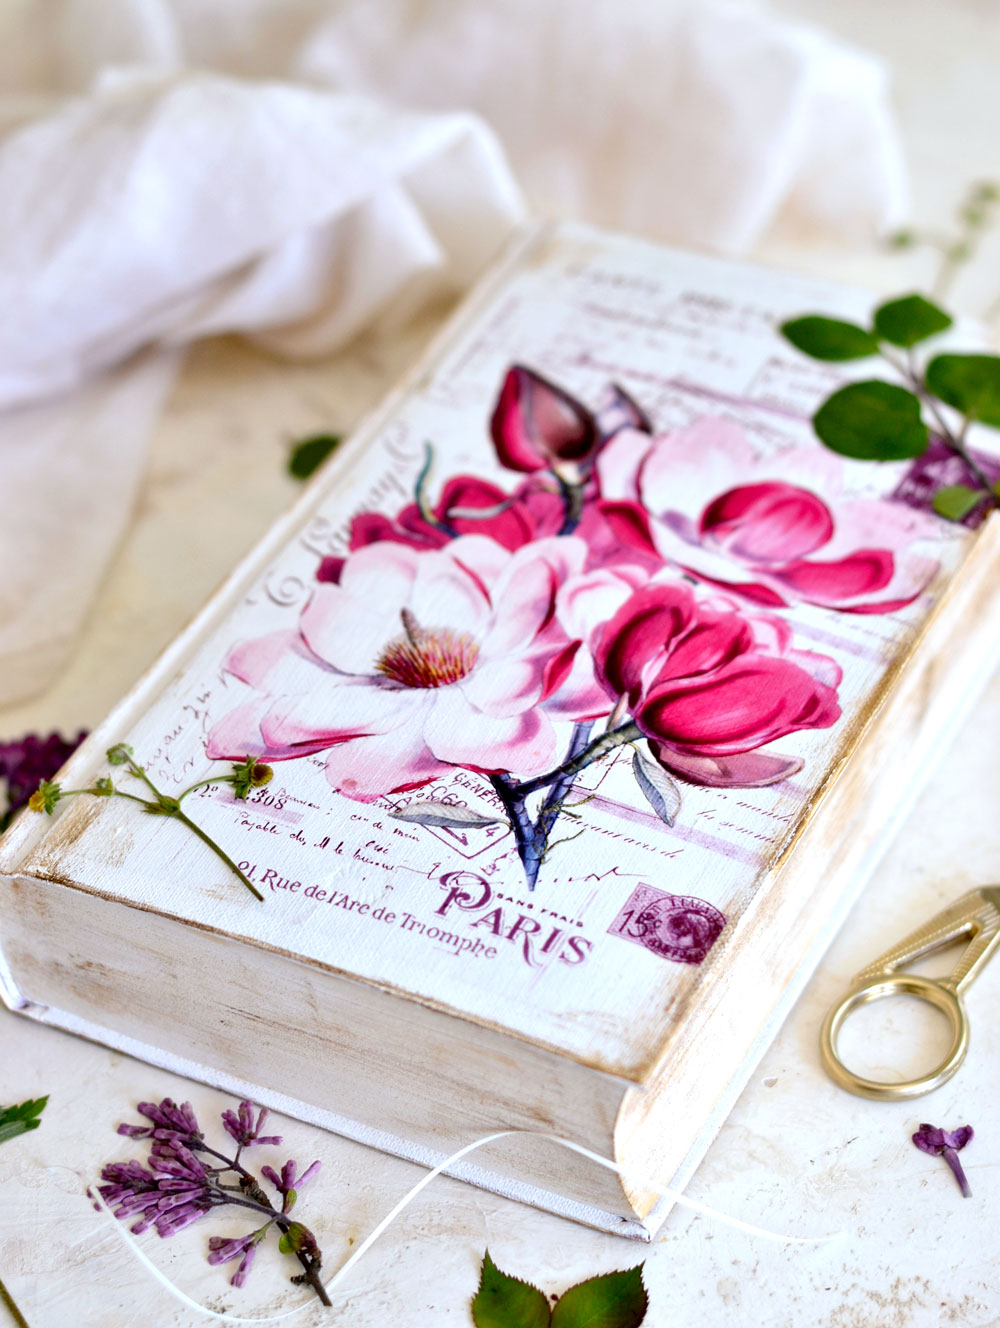
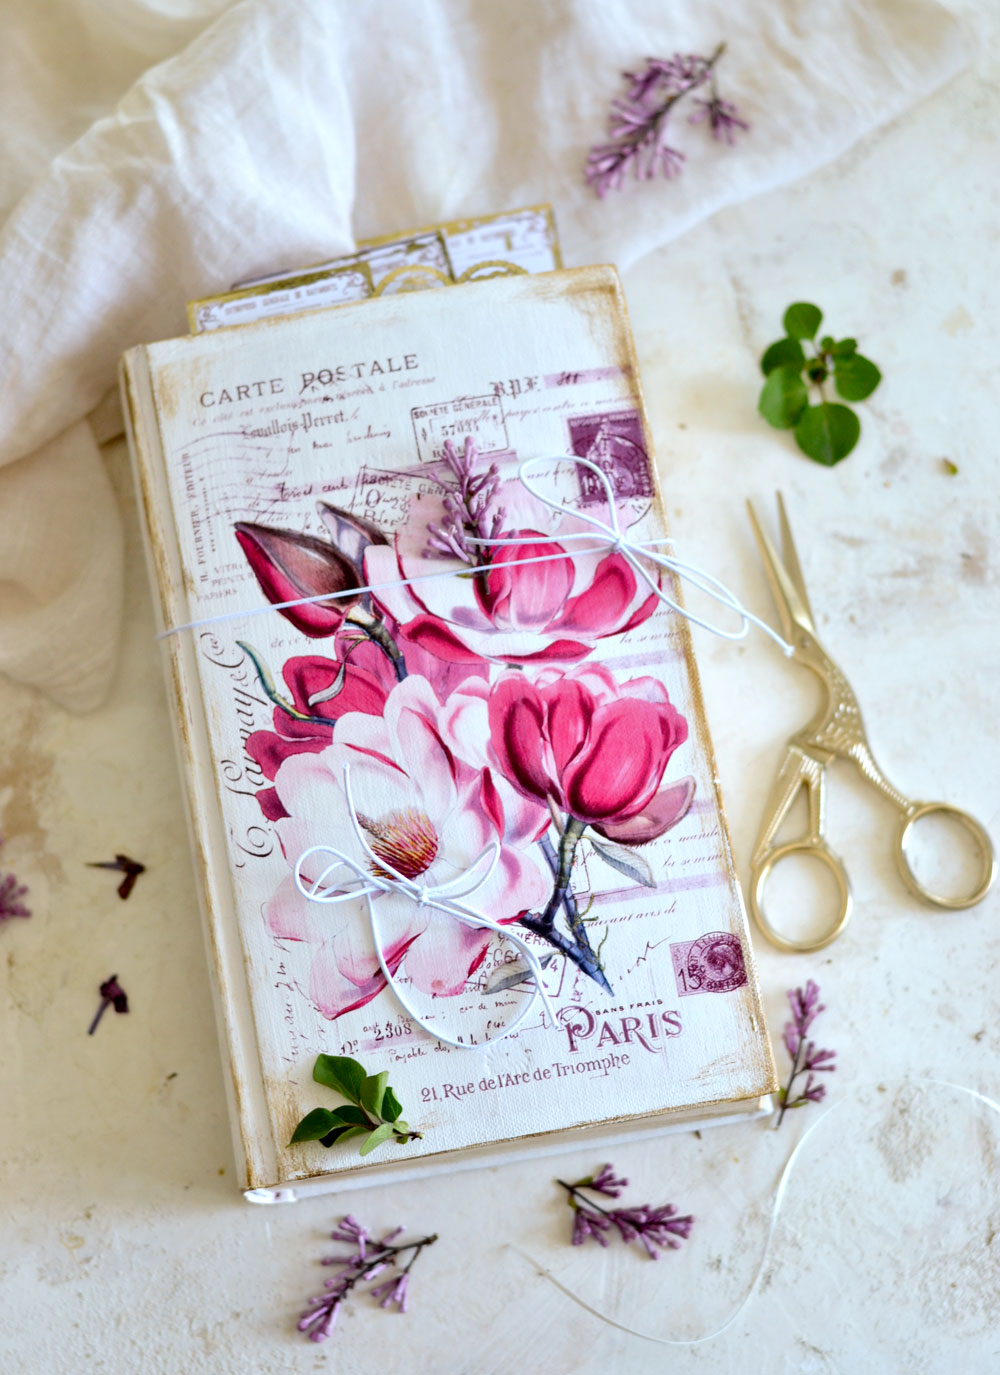
I had the idea of turning a book into a vintage French Flower press for quite some time and I instantly knew – this magnolia image would be simply perfect! I created this beautiful collage by combining several French ephemera images, French writing and different postage stamps. I added a few other small Parisian elements that managed to chicly complete the whole look and I really loved how they all came together!
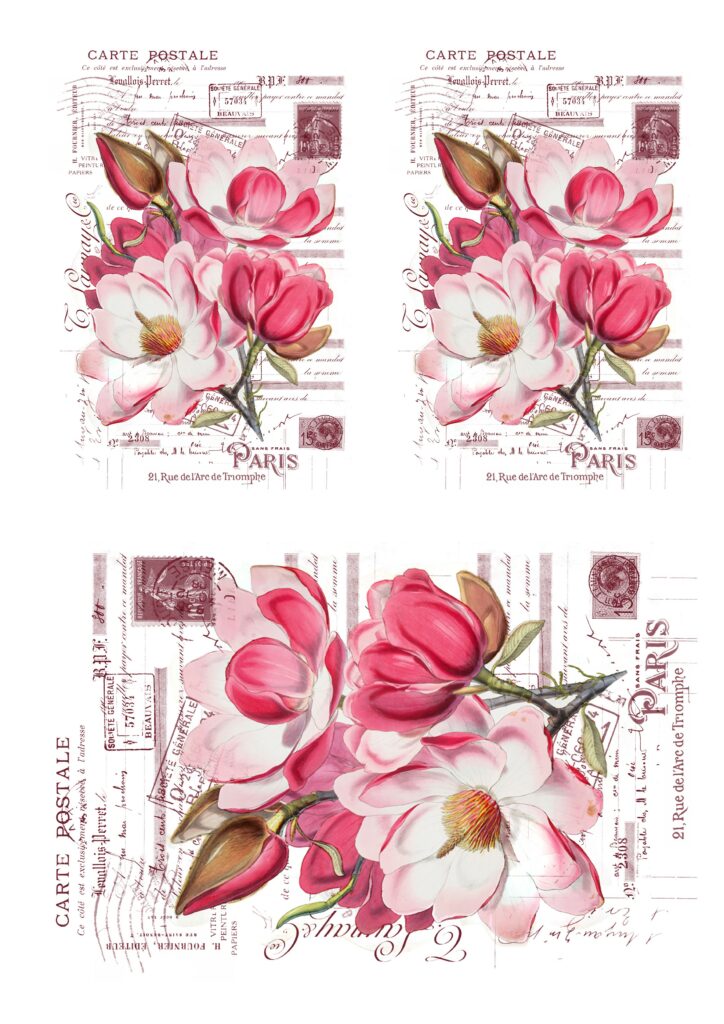
I knew it would be hard for you to find the exact same dimensions of my book when you would want to recreate this project, so I thought about designing 3 different sized printables! This way you will be able to adapt everything to all the spare books that you have around. These beauties can be easily turned into amazing gifts for all your friends and family!
Free Printable Flower Press Ideas
—-> Click HERE to Download the Full Size Printable PDF (large) <—-
—-> Click HERE to Download the Full Size Printable PDF (medium & small) <—-
Flower Press Ideas Supplies
- vintage French magnolia collage printable
- waterslide decal paper (or transparent sticker paper)
- laserjet printer (I have this laserjet printer)
- scissors
- a book with hard covers
- gesso
- acrylic paint (I used titanium white mixed with a little bit of ivory as my main color)
- acrylic paint (I used burnt umber and gold as my distressing colors)
- a small mixing palette (I used a small plate)
- a small brush
- a small craft sponge
- a plastic sheet or a non absorbent surface (to protect your working area)
- a heat gun tool or a hair dryer (optional, to speed up the drying times)
If you already made my DIY French Upcycled Chocolate Boxes or my Easy Gold Foil Jar Makeover you will see that the steps involving the painting, distressing of the book and the image transfer are basically the same. You already know I adore all things white when it comes to decorating so I kept things somehow simple on this department. Of course you can try painting or distressing with other colors if you want to, I bet some pretty pastels would work so well with this pink magnolia collage.
How to turn a book into a vintage French flower press – painting the covers
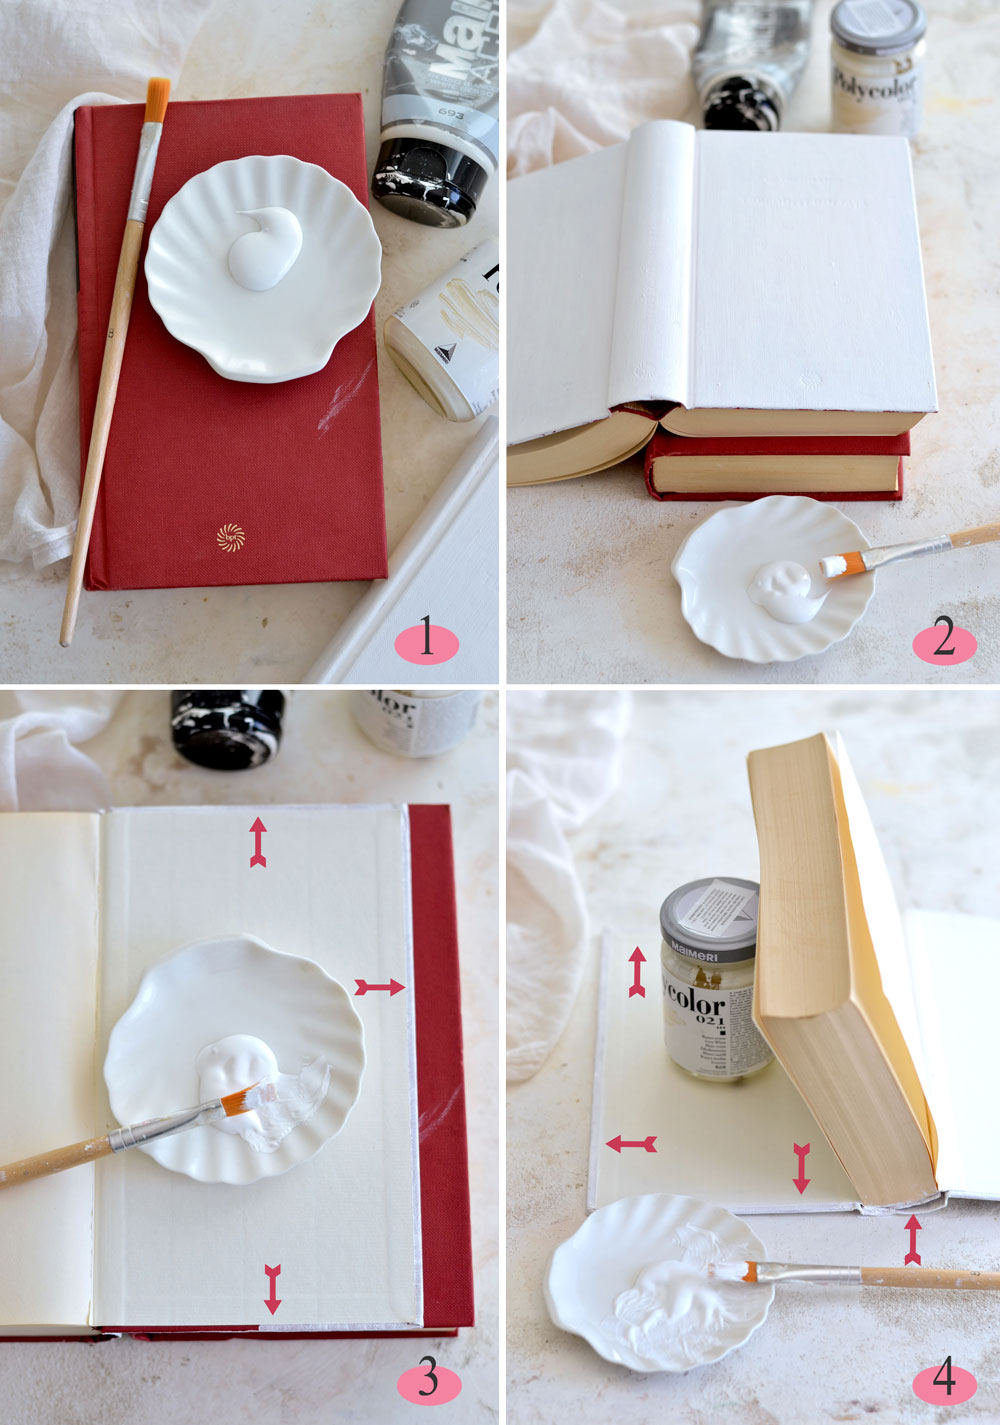
1. Painting the covers of a book is really like painting any other surface. You need a hardcover book for this to properly work and it’s best to start with one or two layers of gesso. The initial gesso layers are important, especially if you have a book with colored covers, like mine. Why? Because gesso will create a barrier and will prevent the color of the book from bleeding through the future layers of paint. That happens sometimes and it’s best to prepare the surface this way.
2. When painting the covers of a book I usually open the book and lay it on top of another book and I first paint the exterior of its covers. It’s important to let each layer of gesso / paint to dry completely before painting another layer or moving to another step.
3. Turn the book over and go over the edges of one of the inside covers (called turn-ins) using your brush and a small amount of paint.
4. Place a small jar inside of the other cover and paint its inside edges, paying attention to the joints too. Let everything dry completely.
Painting the edges
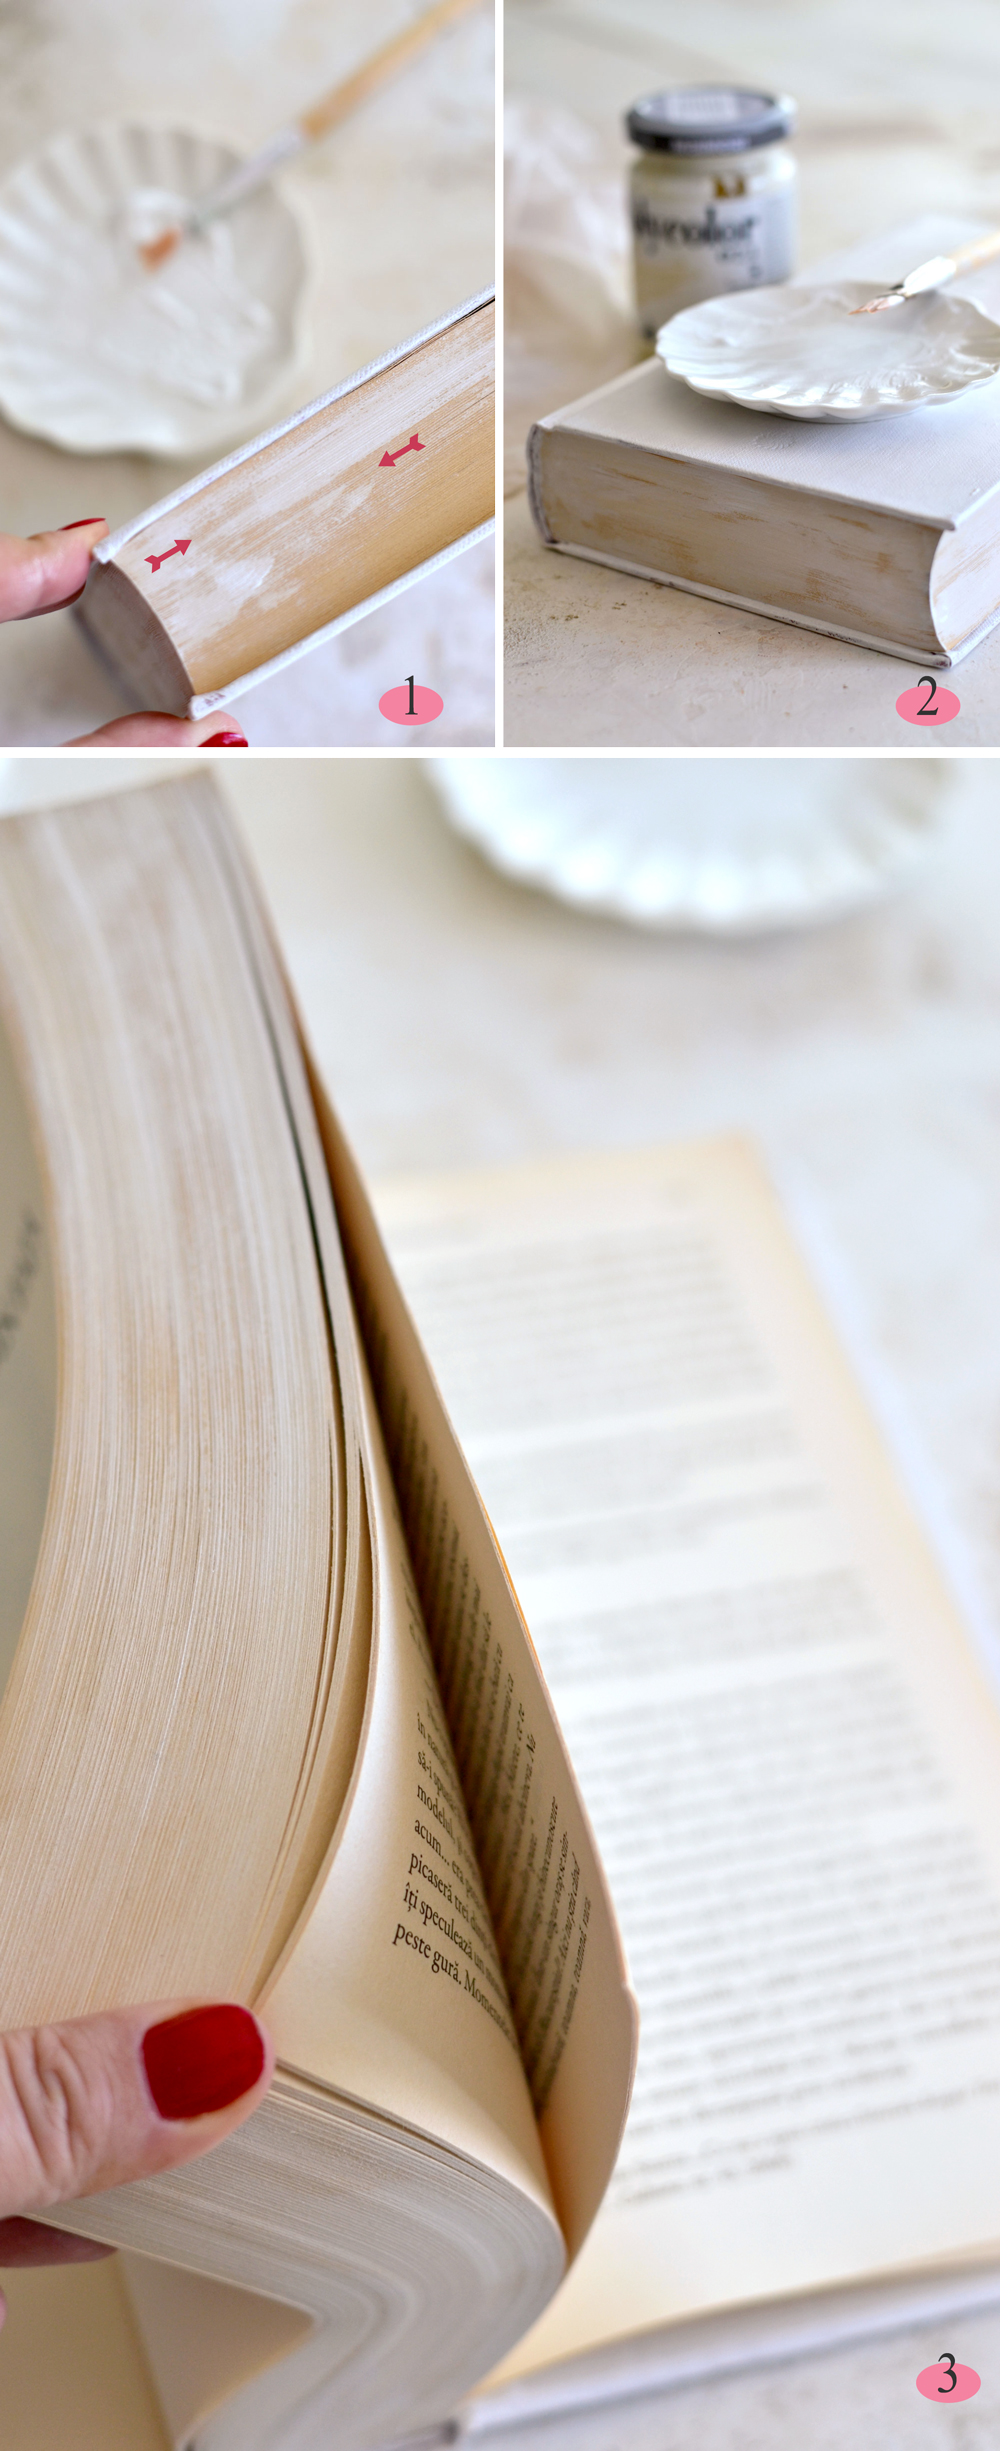
1. To give the whole book a more cohesive final vintage look, I like to also paint the edges of the pages (called fore-edge). To do that you need to press the covers between your fingers really well first – this will help the paint stay on the outside of the fore-edge and not actually infiltrating too much between the pages. Use a really tiny amount of acrylic paint and no water and dry brush following the lines created by the pages. Remember, we don’t want to completely cover those edges with paint, we simply want to give them a more cohesive look.
2. Follow the same steps for the upper and lower page edges and let the paint dry for about 5-10 minutes.
3. Quickly flick through all the pages of the book while pinching the lower corner, then go to the upper corner and do the same. This step is really important, so please don’t skip it, otherwise your paint will become too dry and will make the inside pages stick together.
How to turn a book into a vintage French flower press – distressing
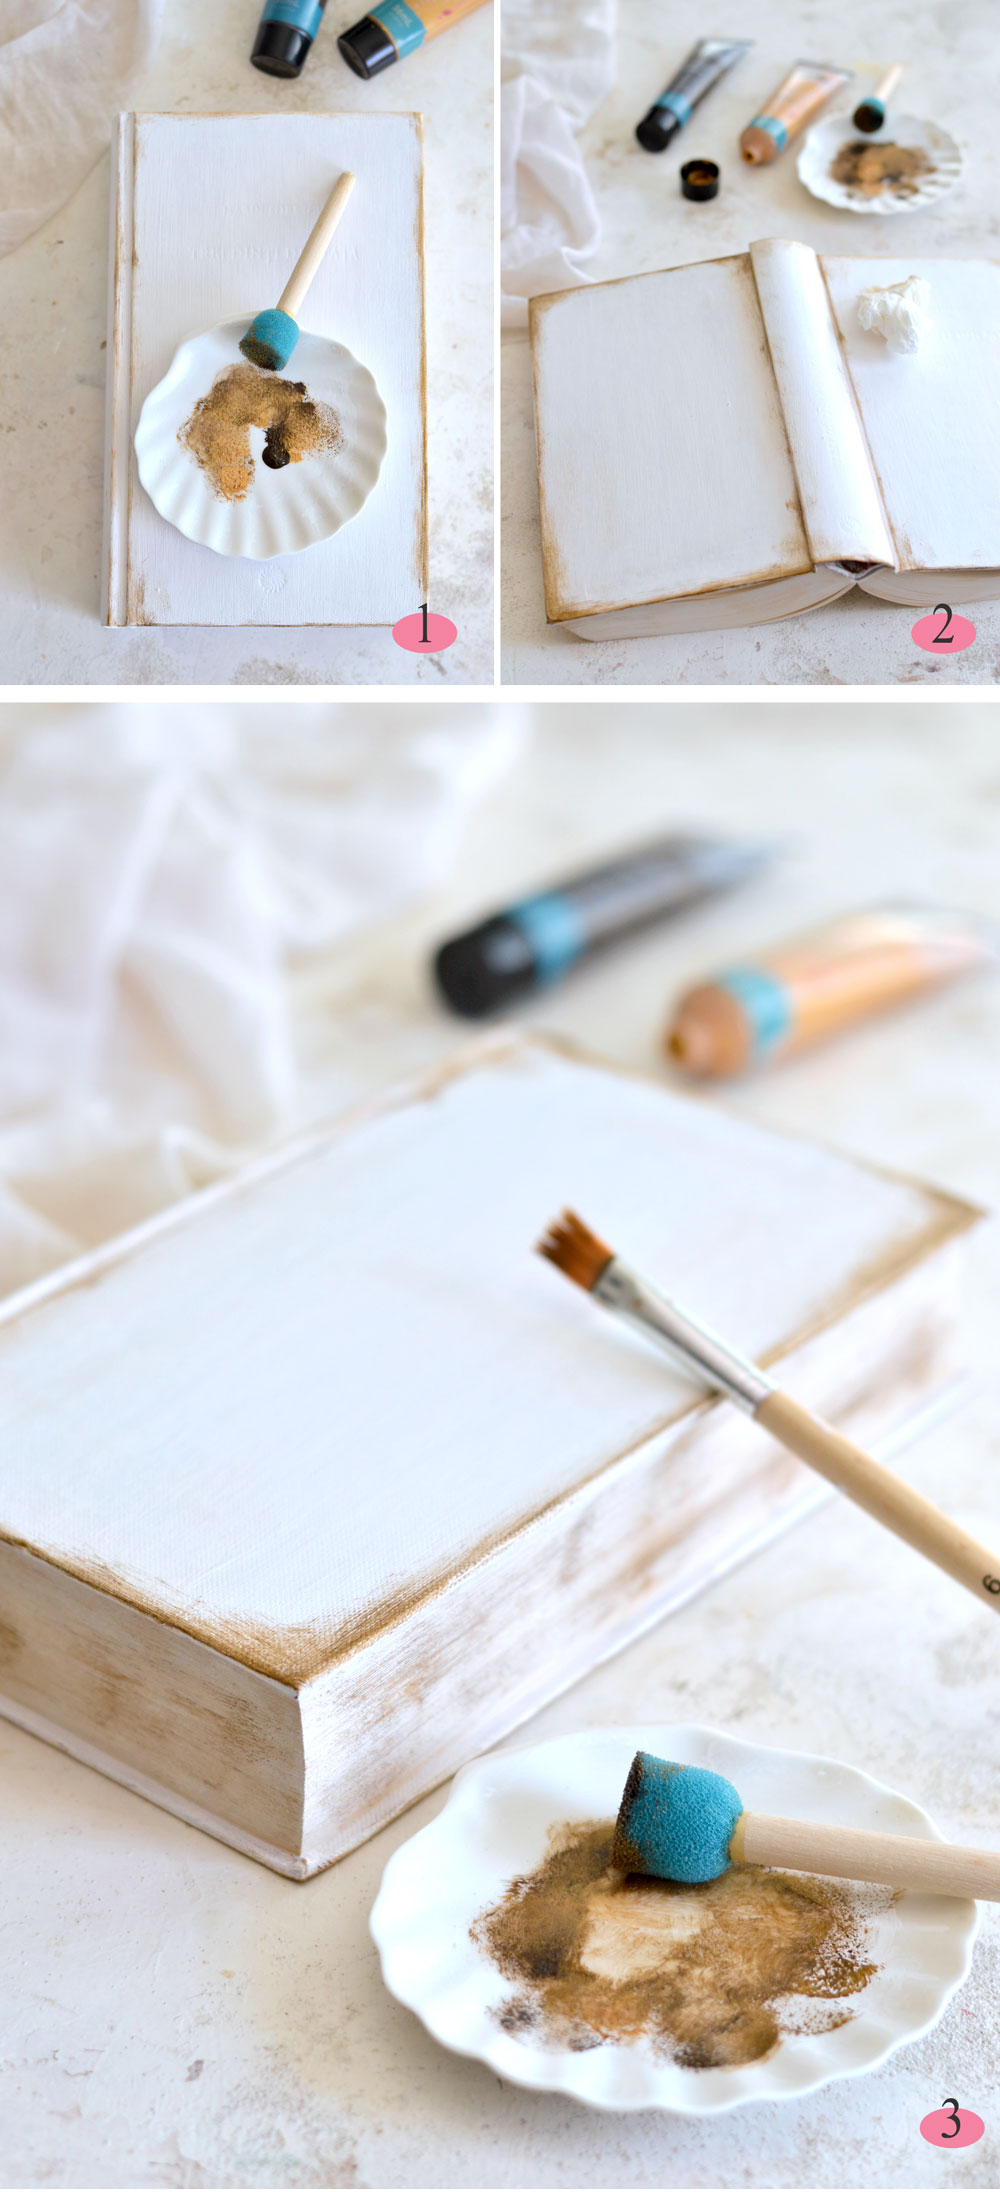
1. The distressing part is one of my favorites, because it really adds depth and completely transforms the white ‘boring’ acrylic paint. Use a small palette (I used a porcelain plate) and place a few small blobs of gold and brown acrylic paint on it (again, no water is needed). Use a small round craft sponge and tap the paint on the plate first – we only need a small amount on our sponge to dry brush the edges. The amount of distressing is definitely a personal choice, just go over the edges until you are completely happy with how everything looks.
2. If you feel like you maybe added a little bit too much ‘distressing’ on the edges or just want to soften some harsh brush strokes, tap a wet paper towel here and there to remove some of the paint.
3. Then use your regular brush with some of this ‘distressing’ gold and brown paint and lightly go over the page edges too. Don’t forget to flick through the pages and let everything dry completely before moving to the next step.
The image transfer
Waterslide decal paper is usually my go to technique for decorating with a beautiful image (learn all about decal paper transfers HERE), but transparent sticker paper could be a great choice too! You could also try printing the image on tissue paper (learn how to do that HERE) and adhere it with Mod Podge on your book. You can use any other image transfer techniques that you prefer, or any that are easily available to you. Just remember to reverse the image before printing, if you are using a gel medium or this acrylic paint technique for your transfer. And if all else fails, just print the printable on regular or cardstock paper and decoupage it on your painted book! It can be THAT easy!
1. Measure and cut to size the lovely vintage French magnolia printable.
2. Use your favorite technique to transfer the image. If using waterslide decal paper, like I did, use a paper towel to remove any air bubbles, let everything dry and use a matte finish sealer to protect both the painted surface and the image.
And that’s pretty much it! Can you believe how gorgeous your painted and distressed masterpiece actually looks? And when you think it all started from a quite boring and ordinary book! All the small details that we took into consideration while getting to this point are really paying off, don’t you think?
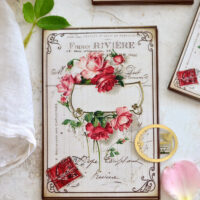
Of course you can use this vintage French painted and distressed book as a unique decor piece in your home. You can also turn it into THE PERFECT junk or art journal for your future creative adventures, there are so many ways of enjoying a beauty like this! And it looks really amazing with some of my DIY Gold Foil French Rose Tags!
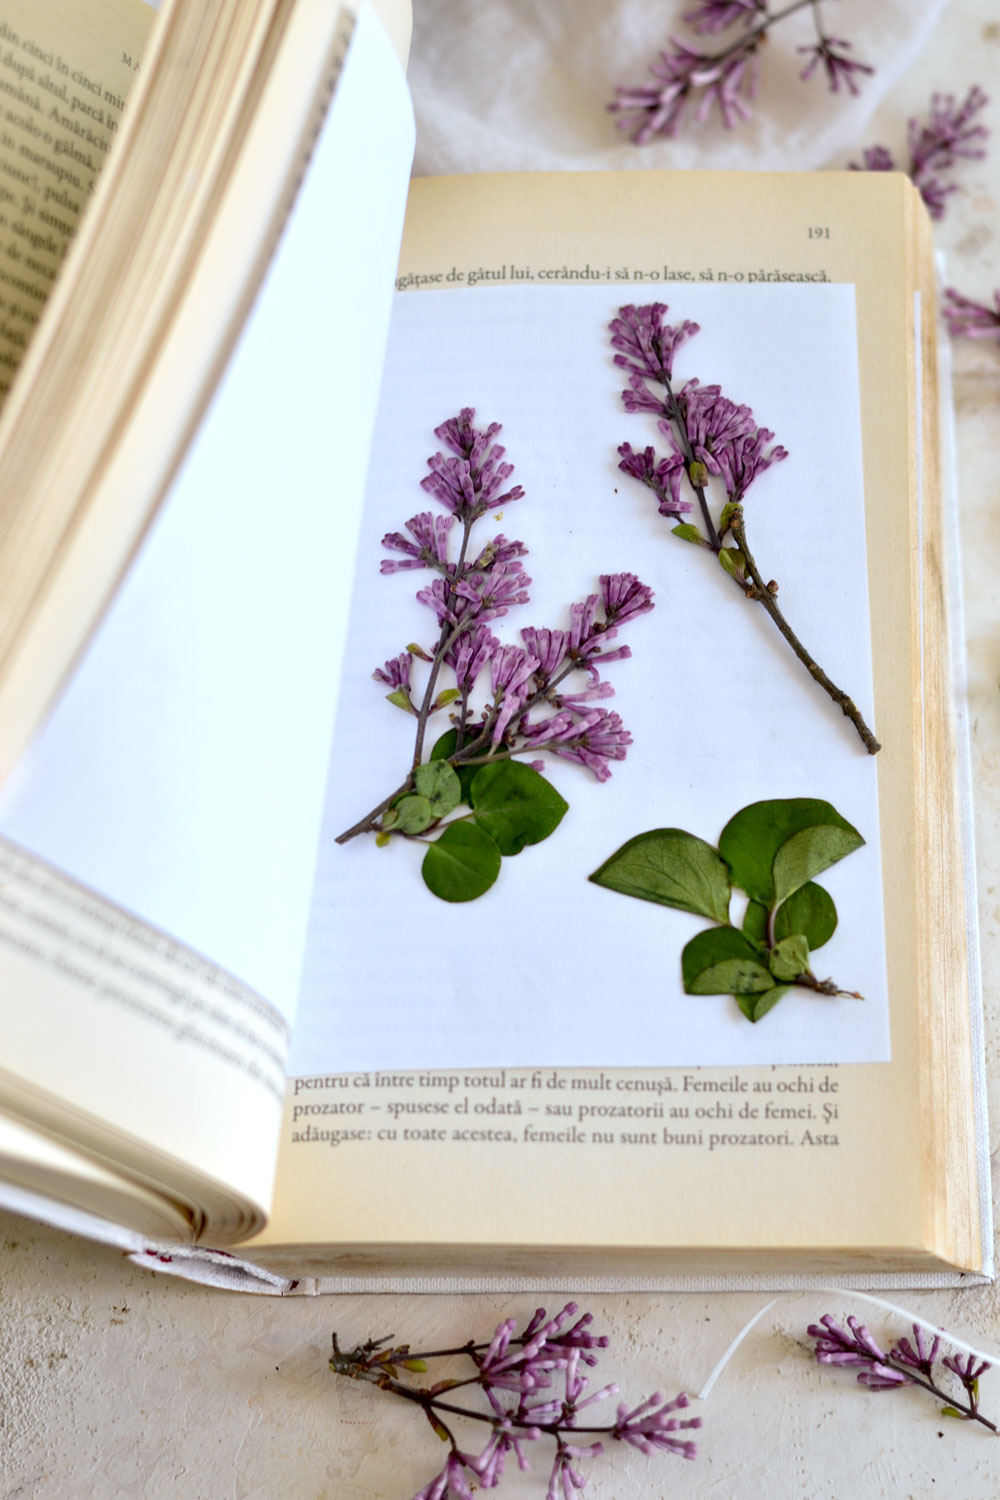
I decided to turn mine into a chic vintage French flower press and I would say that the best part is that you can easily take it with you while taking long walks and foraging for small flowers, leaves or other herbs. It’s the perfect way to appreciate the beauty of nature while enjoying the present moment, but also preserving a small part of it for the future.
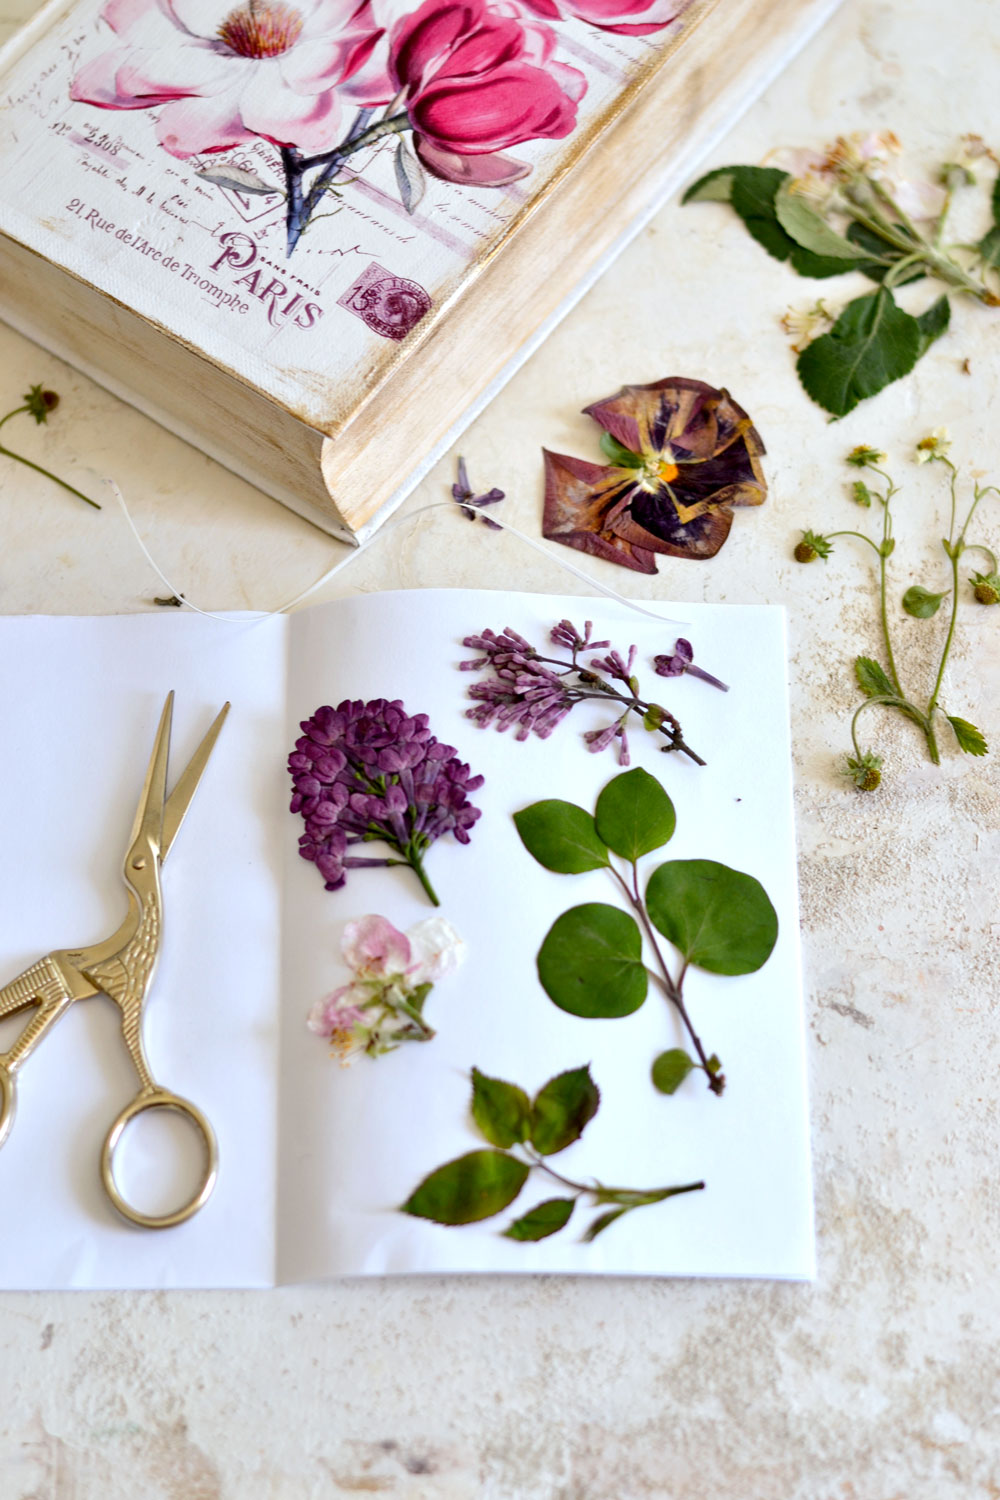
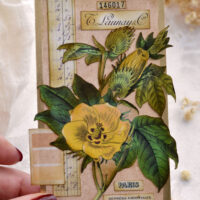
I like to use small regular pieces of paper (cut to size and folded in half) to make ‘portable’ inserts for my vintage French flower press. You could try pressing the flowers directly between the pages of the book, but some flowers might stain the paper, so it’s best to protect them this way.
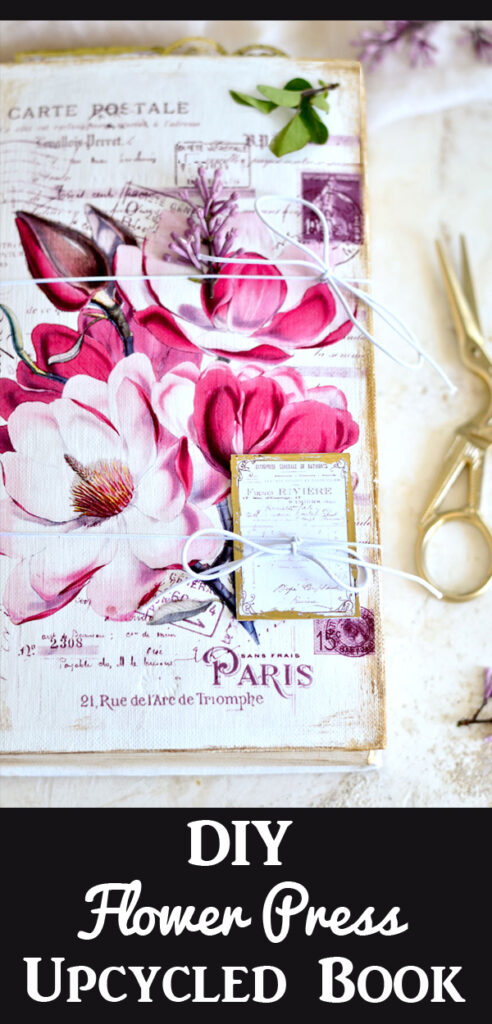
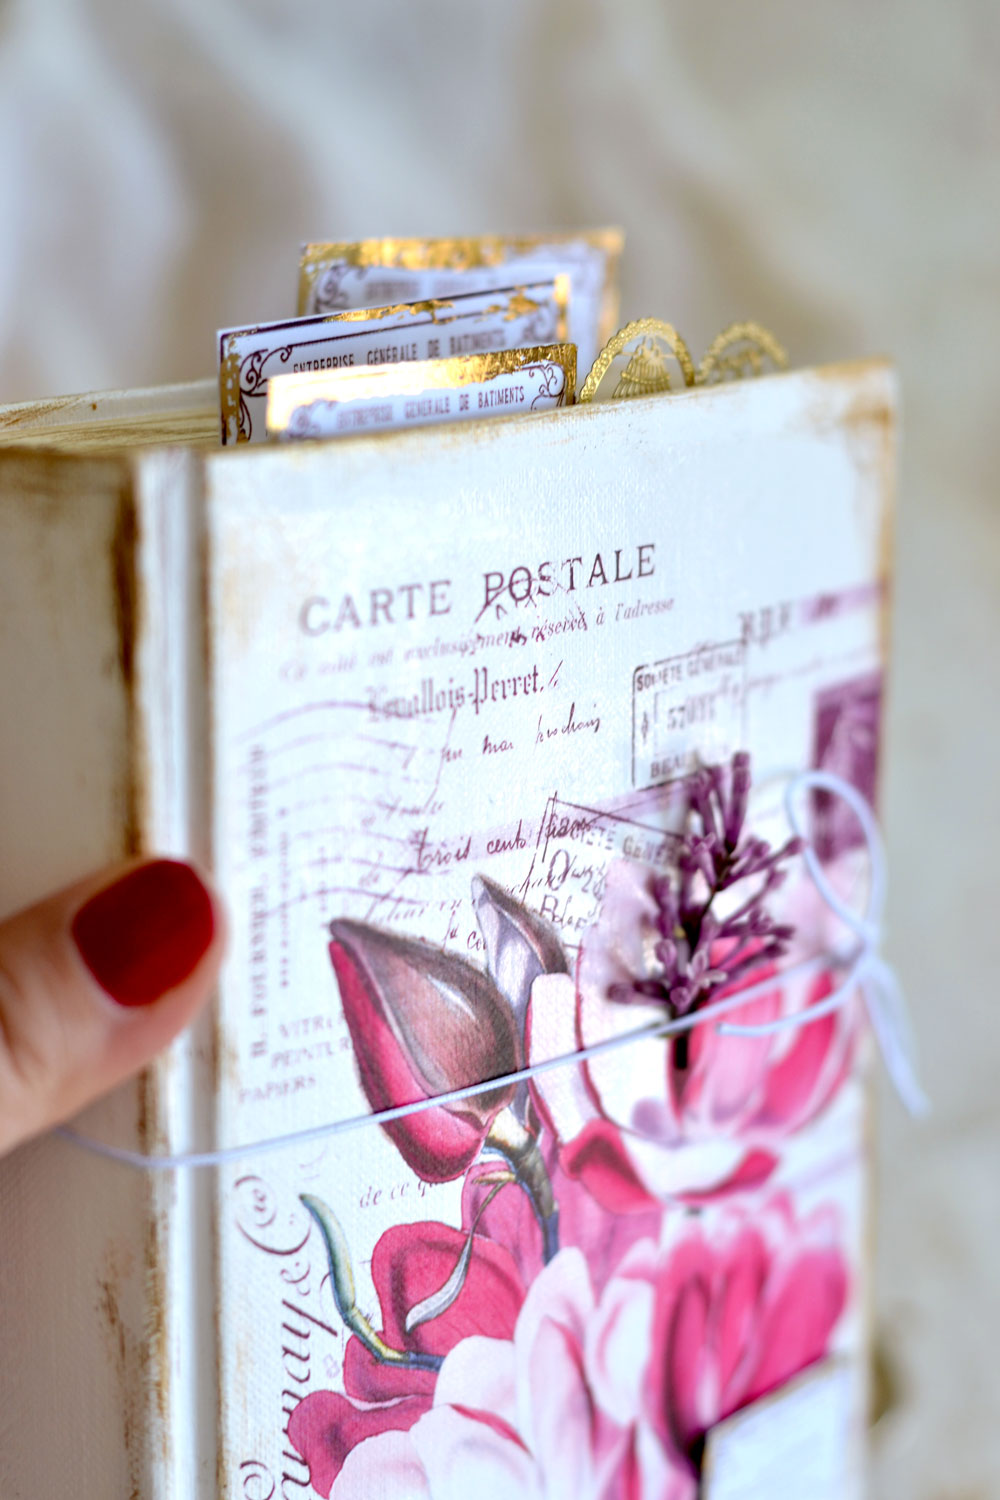
You can use white round elastic cord to secure the covers, but also to better press the flowers and keep them between the pages of your book … I mean your flower press. I used two pieces (one on the top & one on the bottom) and I tightly knotted each one several times, just to make them more sturdy.
When I want to add more flowers, I remove the elastic cords simply by sliding them over the edges, instead of untying them every single time.
My favorite part is obviously the gorgeous vintage French magnolia flower collage, but I really LOVE all the other details! The use of gold metallic acrylic painta on the edges creates really beautiful highlights and effects, depending on the lighting. Also, the texture of the hardcovers – both on a visual and tactile level – make everything resemble a splendidly painted canvas, so I would say this beauty can be the PERFECT friend for so many other creative adventures!
We all loved pressing flowers between the pages of a book growing up as kids, so why not get more intentional about this whole process and actually create our own, simply gorgeous vintage French flower press, right? Hope you’ll love this Flower Press Ideas of mine as much as I do, can’t wait to hear your thoughts on it!
Happy crafting,
Diana/ Dreams Factory




Barbara Alaimo says
Love the free printable. However, when I copied and pasted to word it crashed half the site. Do you have any information that could help me with this issue.
graphicsfairy says
Hi Barbara, I am so sorry but I am not sure why that happened. Maybe refresh your browser and try again? Has this happened to you before?
Barbara says
No. I have never had this problem before. I saved what was left and am in the process of erasing and will try again.
Cris G. says
So gorgeous! Thank you for the tutorial and free printables!
graphicsfairy says
You are so very welcome Cris, I am so glad you like them, have fun!
PJ says
What a beautiful image and such a clear and well thought out tutorial! I can’t wait to get started. Instead of the plain elastic, I think I’ll add some velvet ribbon or lace scrap to the elastic to tie around the front. May need to adjust bow more often but It should work alright.
Thank you so much for sharing this.
graphicsfairy says
Oh that sounds lovely PJ, Have fun with it!!
Mandy Allen says
That’s beautiful, thank you so much for this tutorial! I think the graphic will come in handy for other crafty things too, like decorating small trays, covering tin cans, etc. The sky is the limit! 😄👍👍👍💖
graphicsfairy says
Yes Mandy, the sky is the limit, I like the way you think!!