Book Page Tags
Hello Graphics Fairy friends! I’m Diana from Dreams Factory and I’m happy to be here to share another DIY Project with you. A gorgeous Book Page Double Pocket Tags project! You can choose to use any type of book pages you have around, thrift store books can be put to good use, the more antique the paper, the better! If you don’t have old books, or if you don’t like the idea of tearing them up, you can use the book page printable in this post. I’m using these lovely dictionary pages and I will show you a few tricks on how to make them look and feel like real book pages!
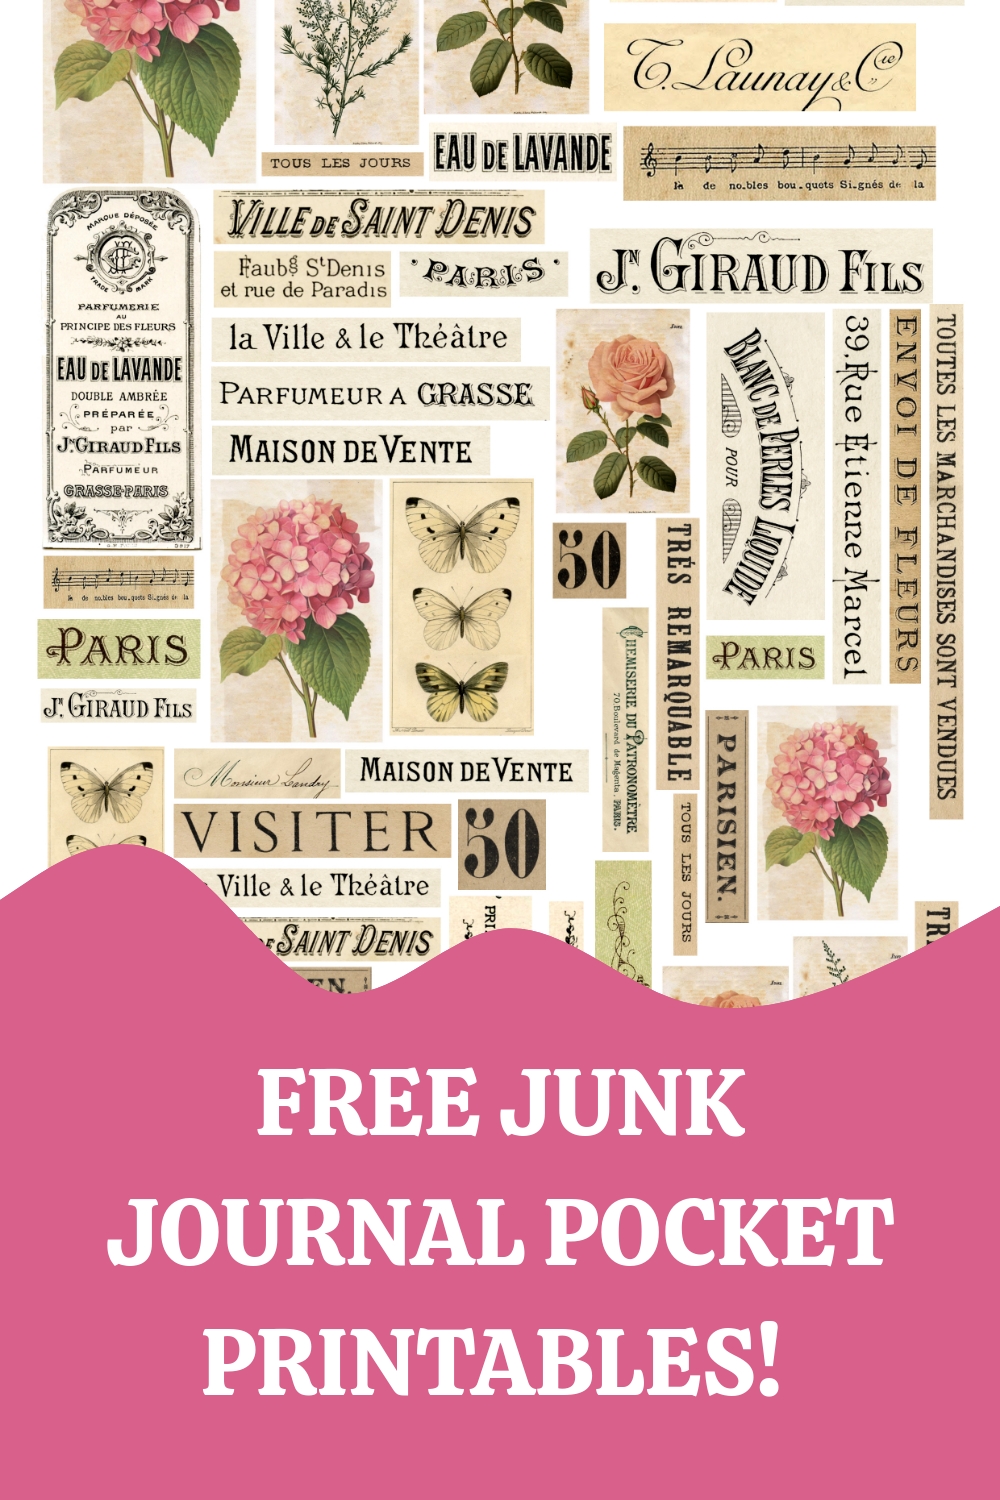
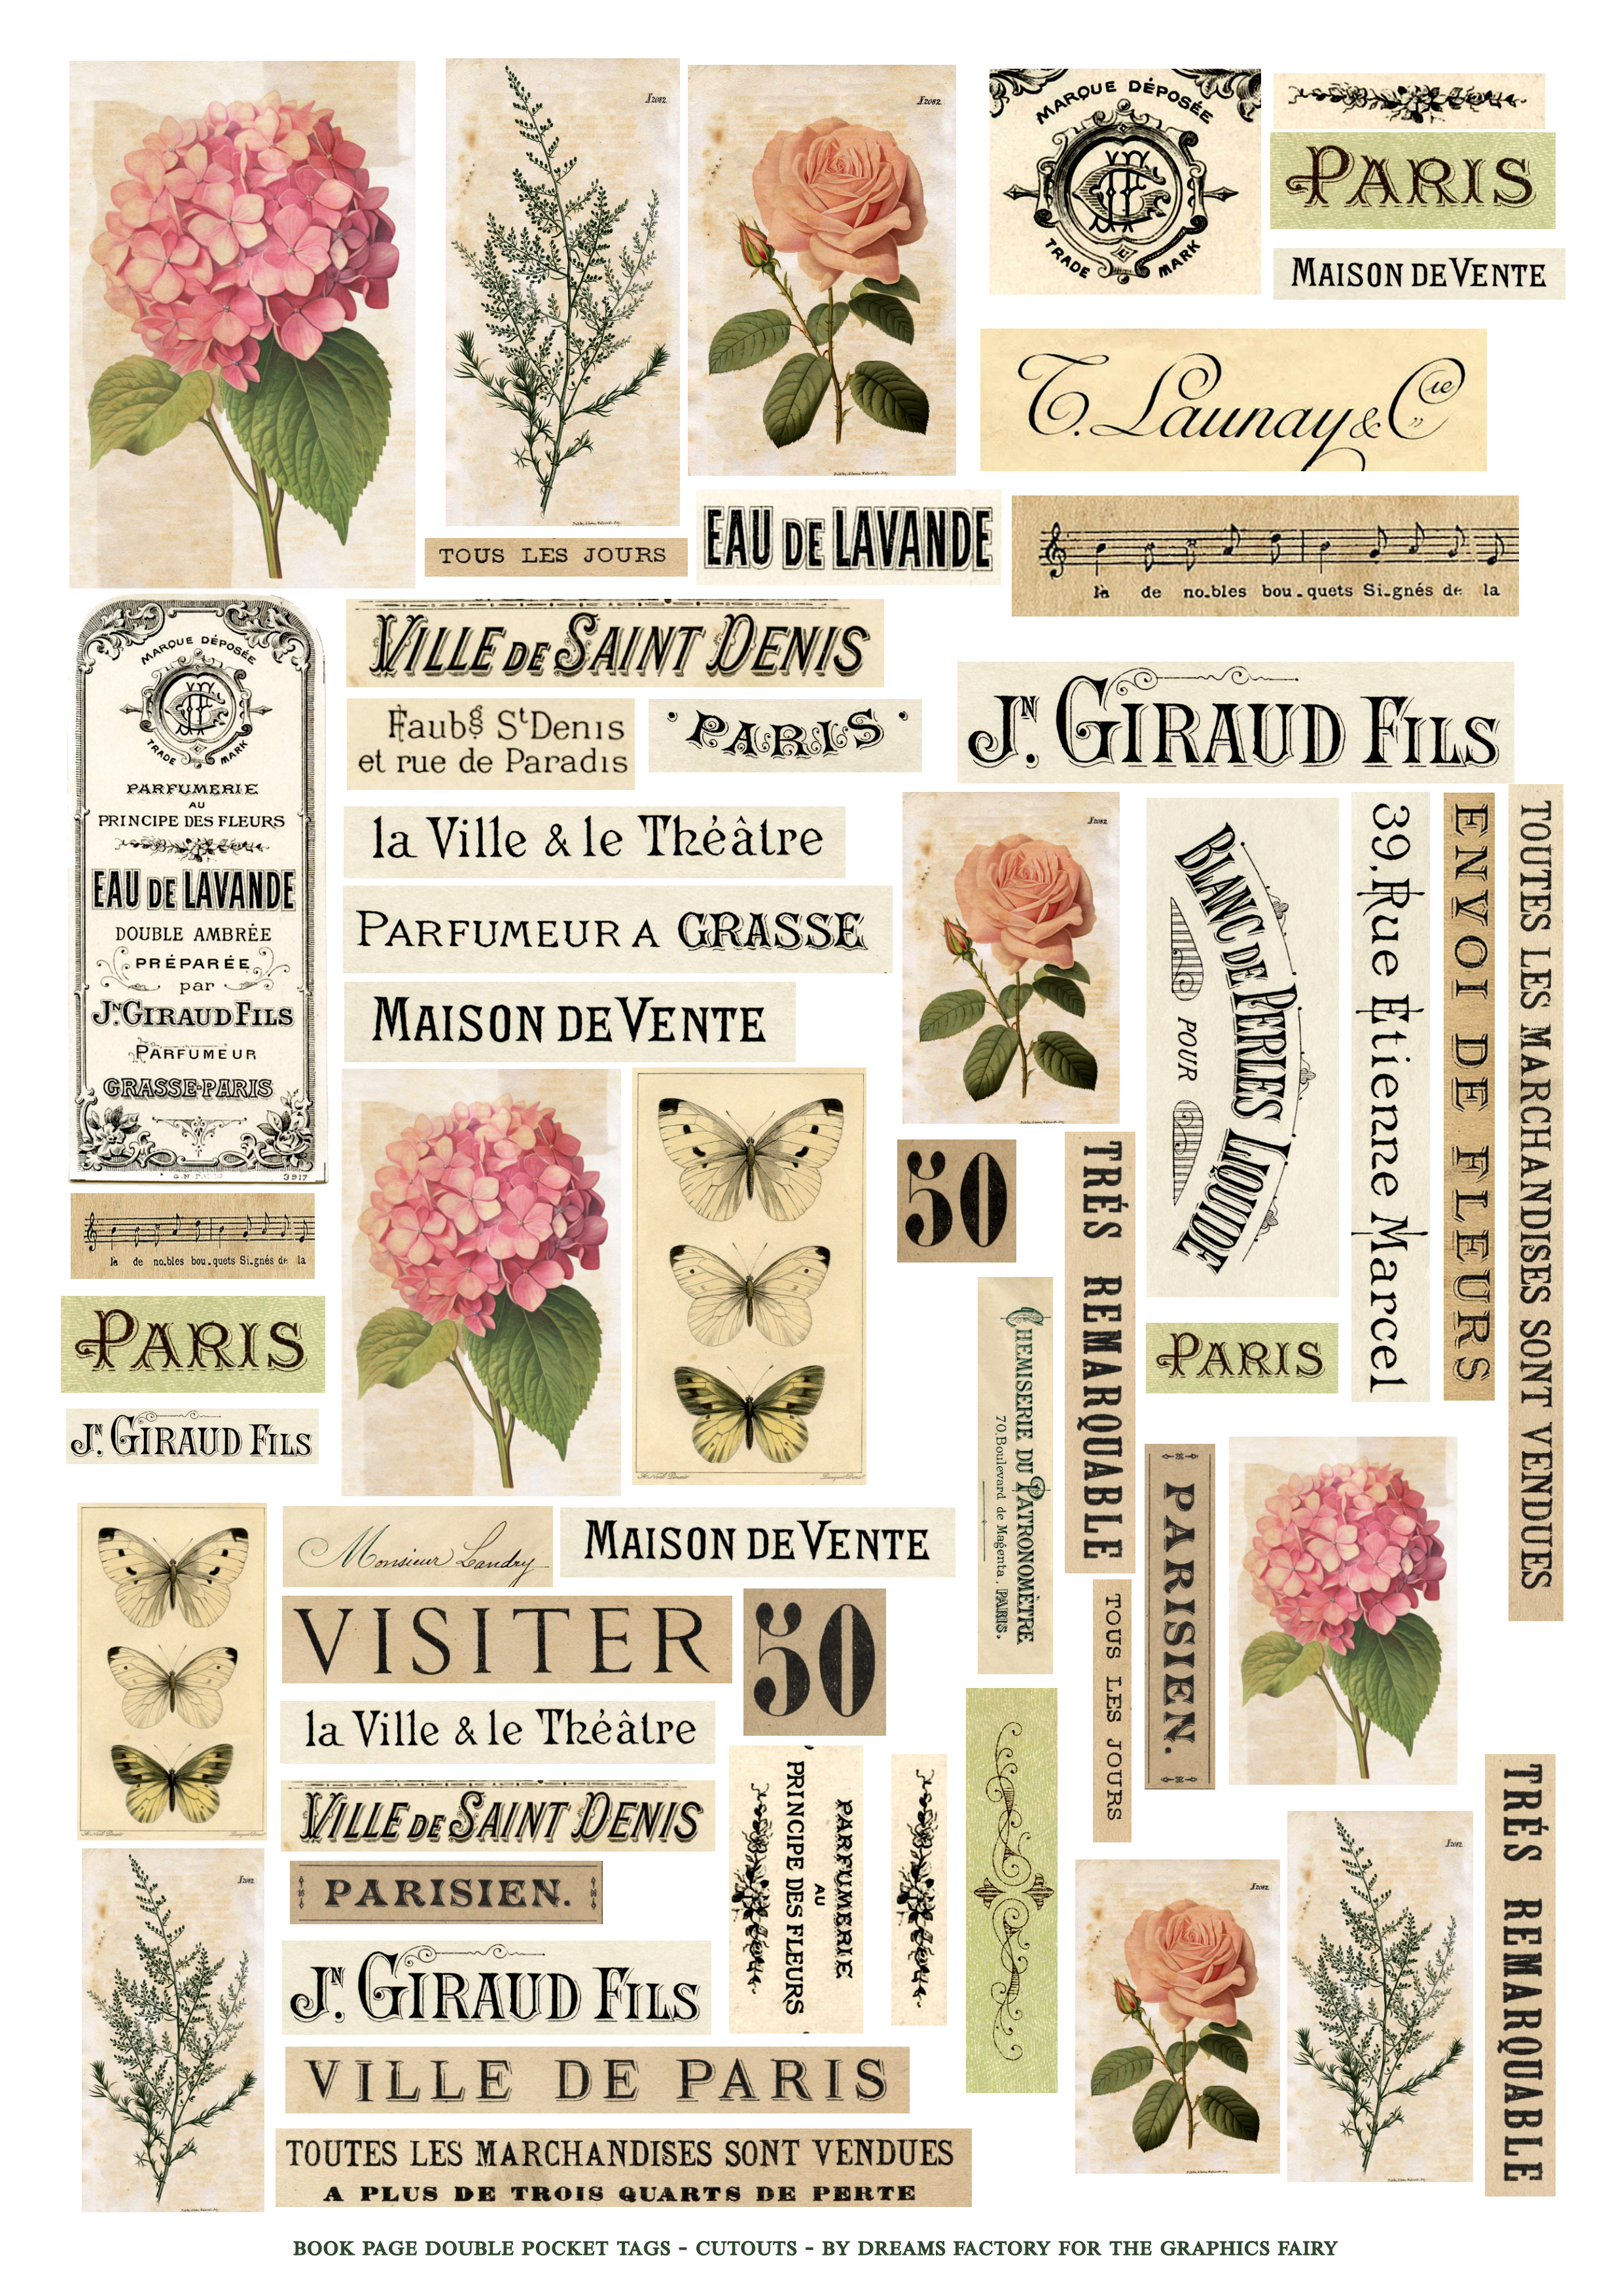
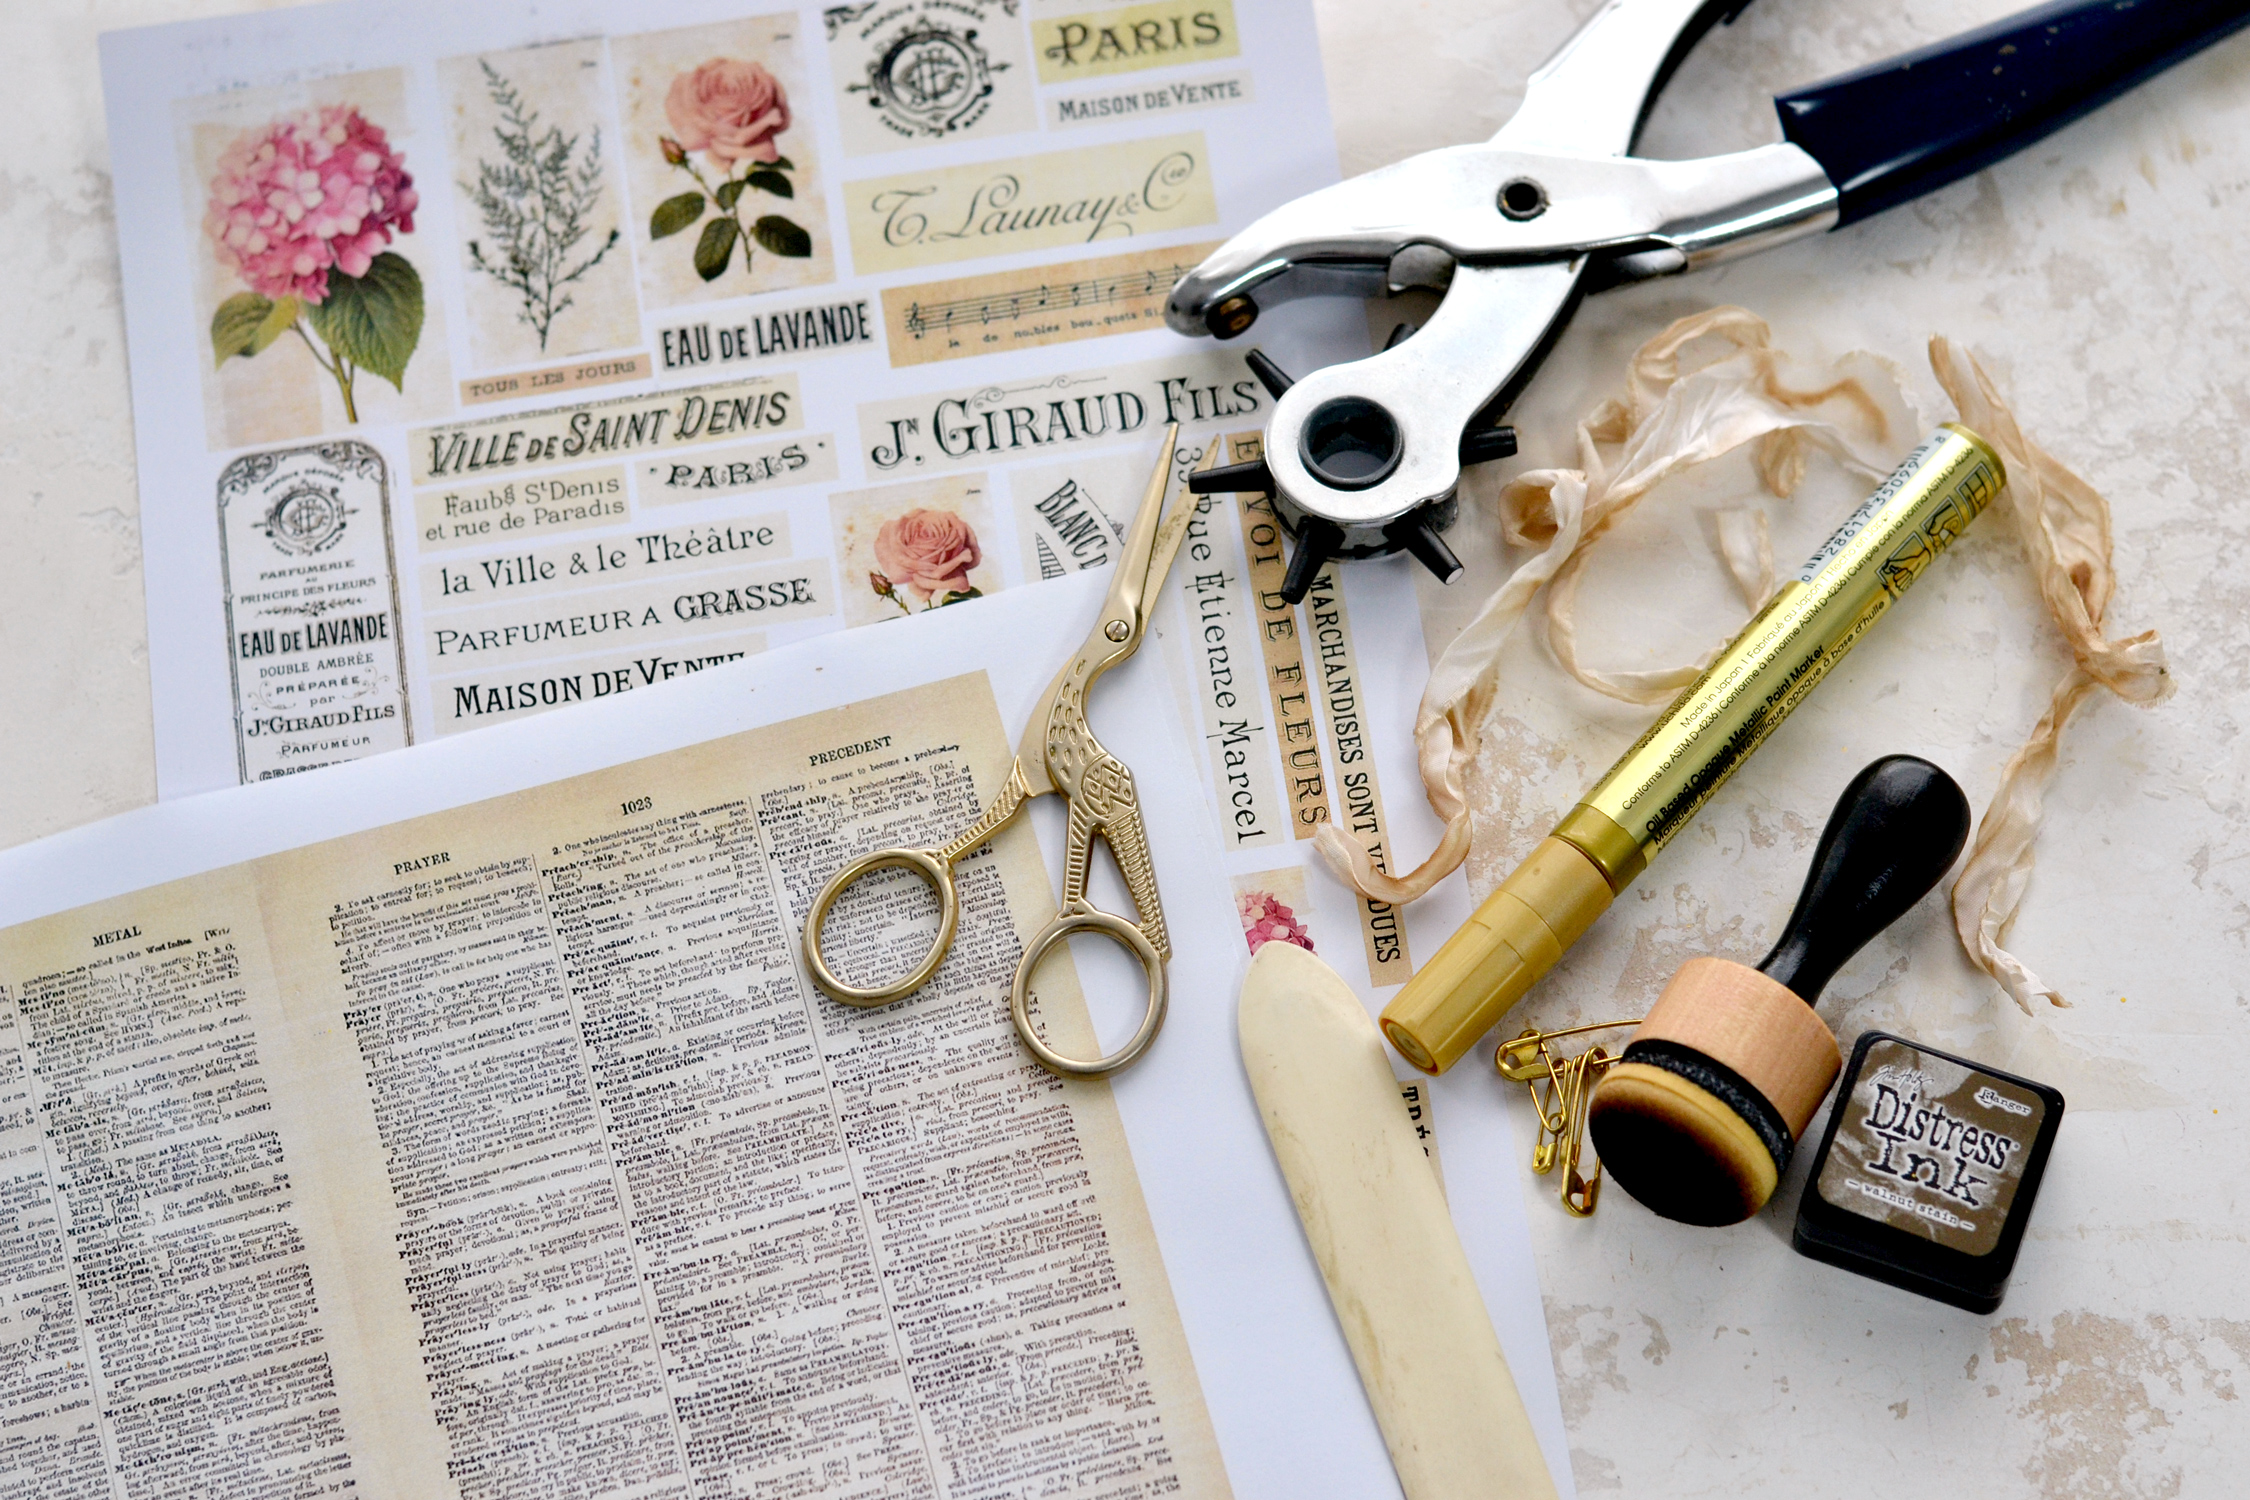
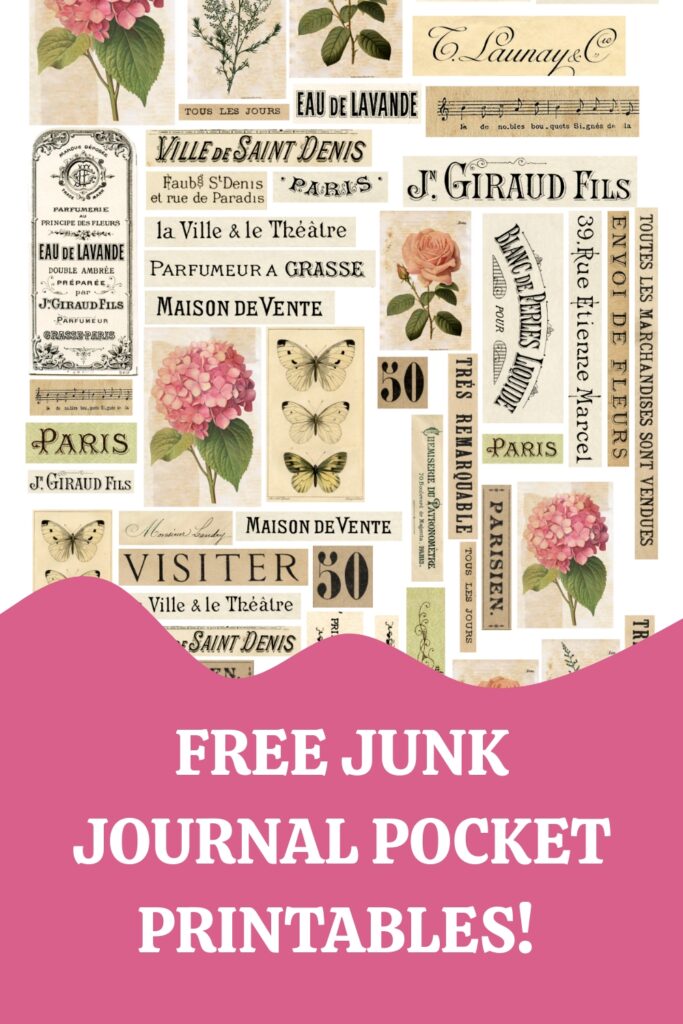
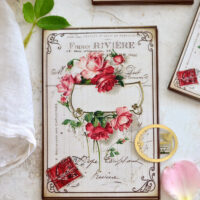
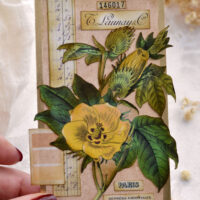
To make things even more exciting, I’m also sharing a few additional elements with a French vibe that you can simply cut and tuck in your lovely double pockets! The French ephemera elements are really beautiful on their own and can be included in so many different projects!
I’ve also added a few butterflies, some gorgeous pink hydrangeas and a few soft pastel roses, so you’ll have plenty of options to mix things up and really get creative with these!
You’ll find 2 dictionary pages on the printable that will allow you to make 2 pocket tags! If you want to make more, simply print it as many times as you want!
Book Page Tags Free Printables:
—-> Click HERE to Download the Full Size Printable PDF <—-
As for these amazing additional cutout elements, I don’t think they need any presentation – I’m sure you will agree with me on this one!
—-> Click HERE to Download the Full Size Printable PDF <—-
SUPPLY LIST:
- white cardstock paper
- home printer
- scissors
- bone folder
- mini distress inks
- blending tool with foams
- DecoColor gold marker or gold watercolors, gold acrylic paint, gold wax, gold nail polish
- mini safety pins – gold or vintage
- glue stick or any other paper glue
- hole punch
- ruler and pencil – optional, for tracing the 3 sections
- crinkle ribbon or any other ribbon that you love
5 TRICKS FOR MAKING PRINTED DICTIONARY PAGES LOOK LIKE REAL BOOK PAGES
- The first trick for making the printed double pocket tags look like real book pages is the size of the design itself! I resized the dictionary pages to make the writing really small, this adds to the realism of the whole concept after printing.
- Use regular printing paper and not cardstock paper.
- Tear the paper rather than using scissors to cut it.
- Use distress ink to give the paper even more of a vintage vibe.
- Lightly fold or crinkle the paper here and there while distressing it.
STEP BY STEP INSTRUCTIONS
Print the dictionary pages on regular printing paper.
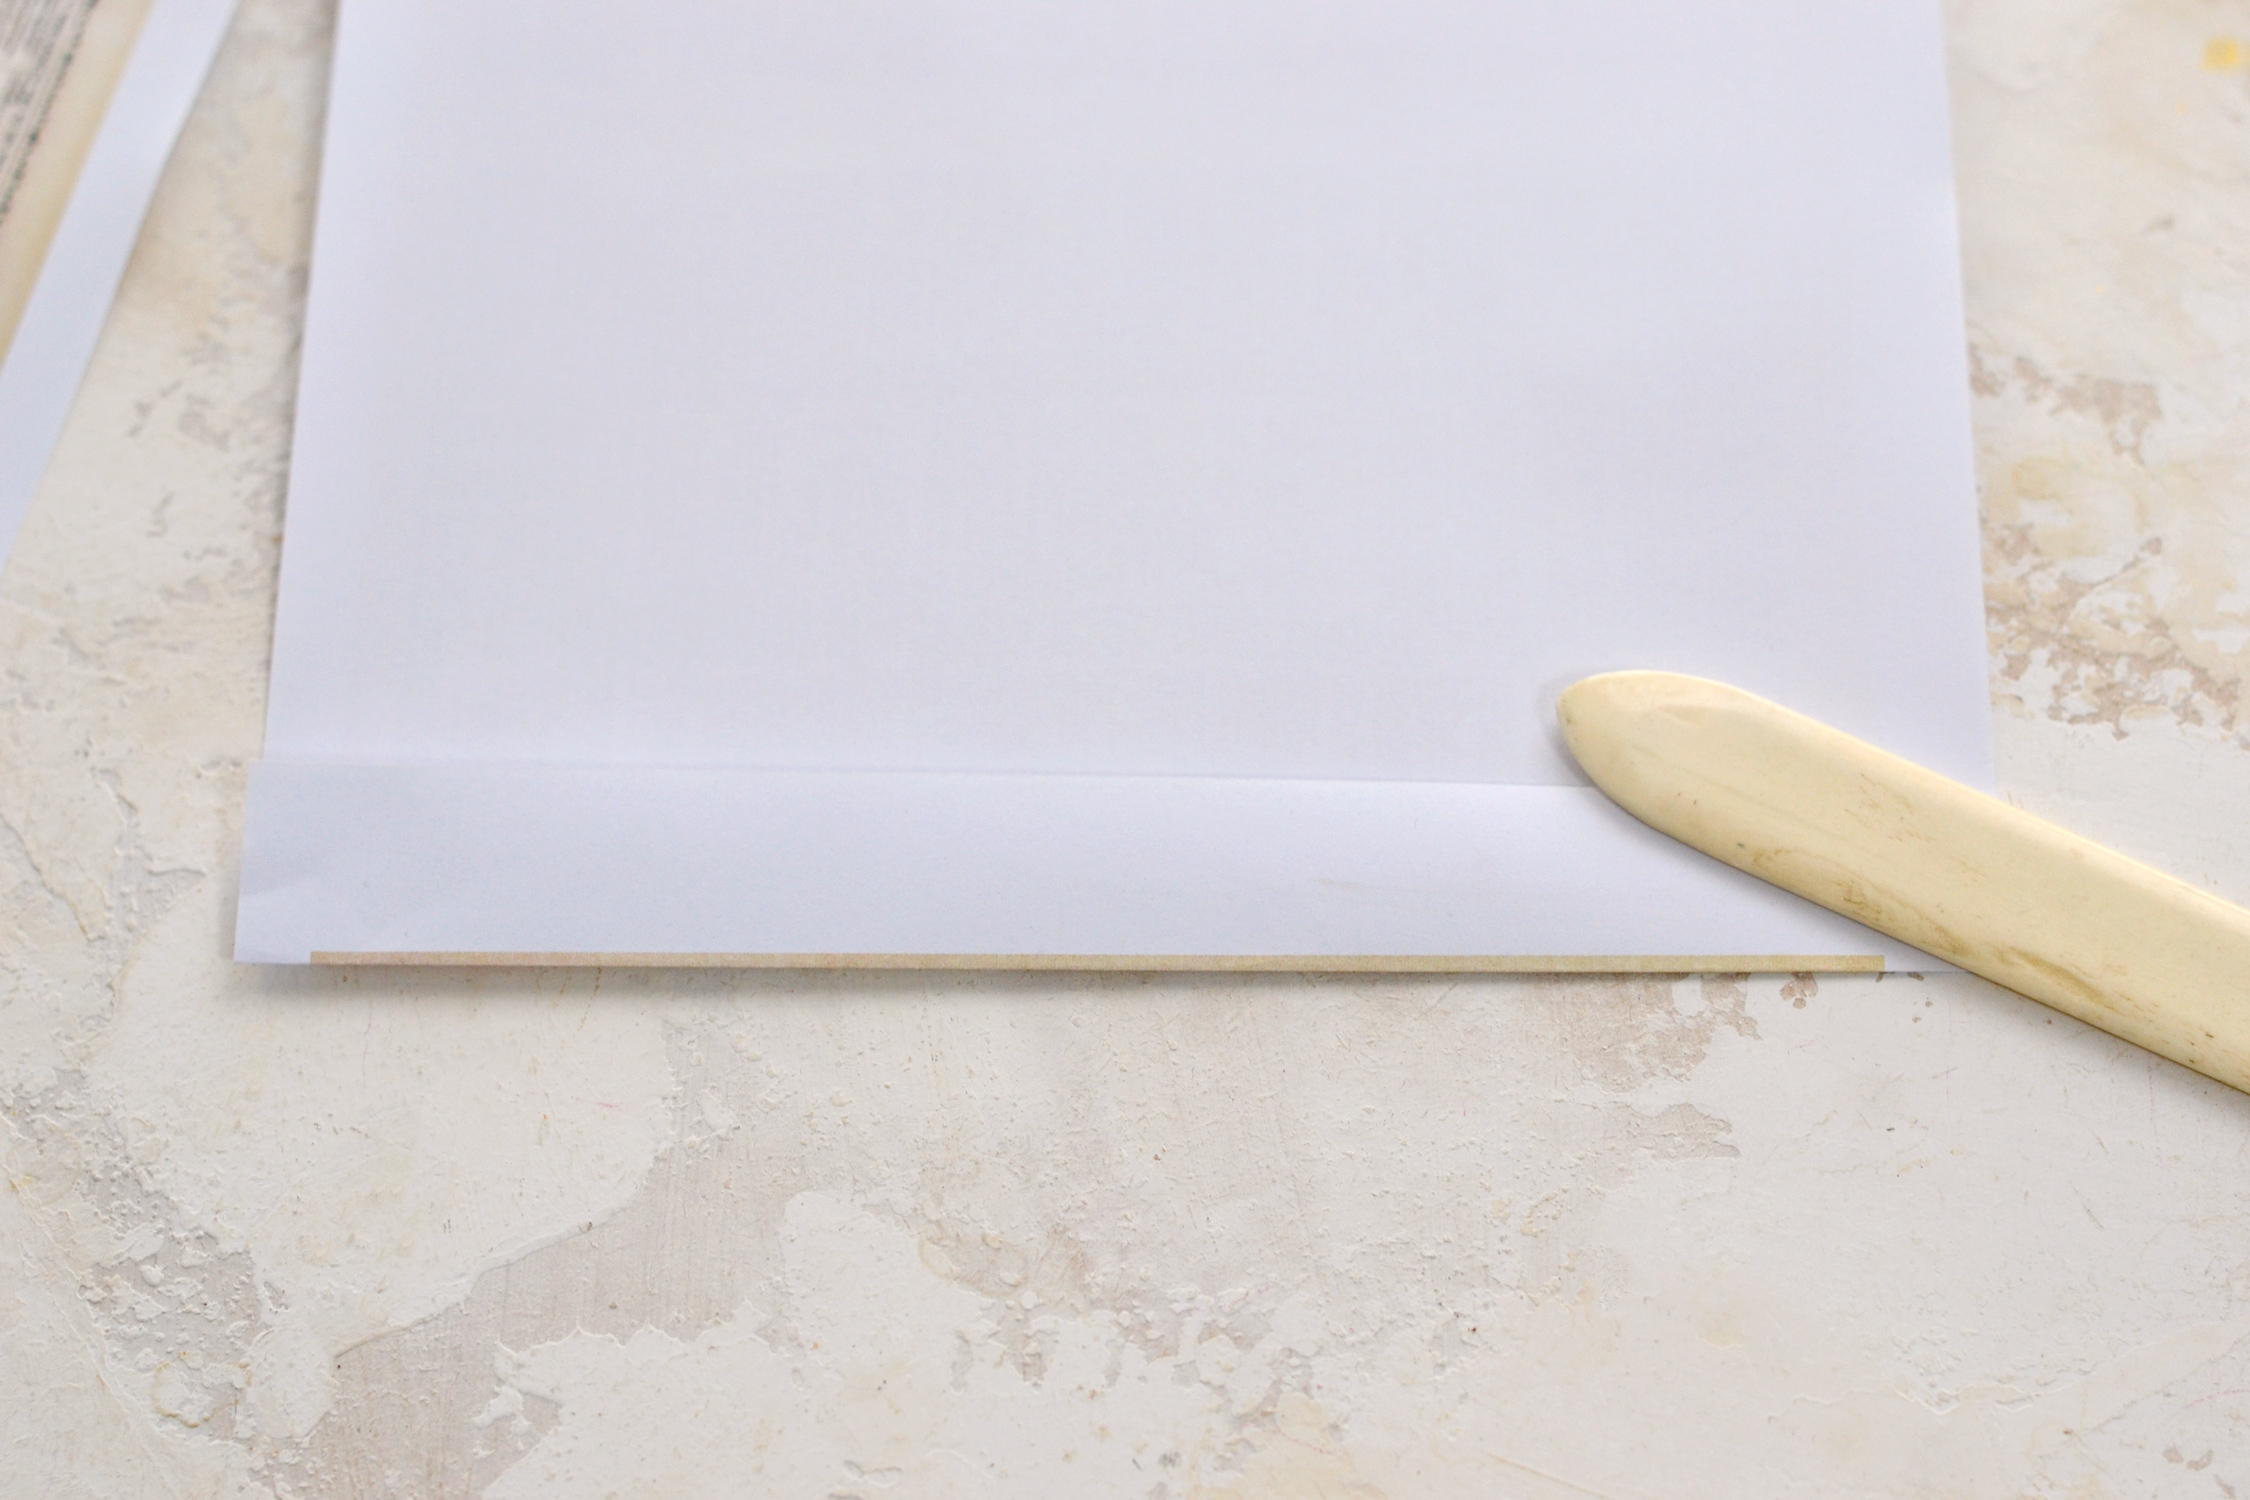
Our first task is to remove the white extra space around the design. I found it easier to flip the printed page over and then fold it using the printed edge as a guiding line. I started by using my fingers and then I used a bone folder to get a more crispier fold.
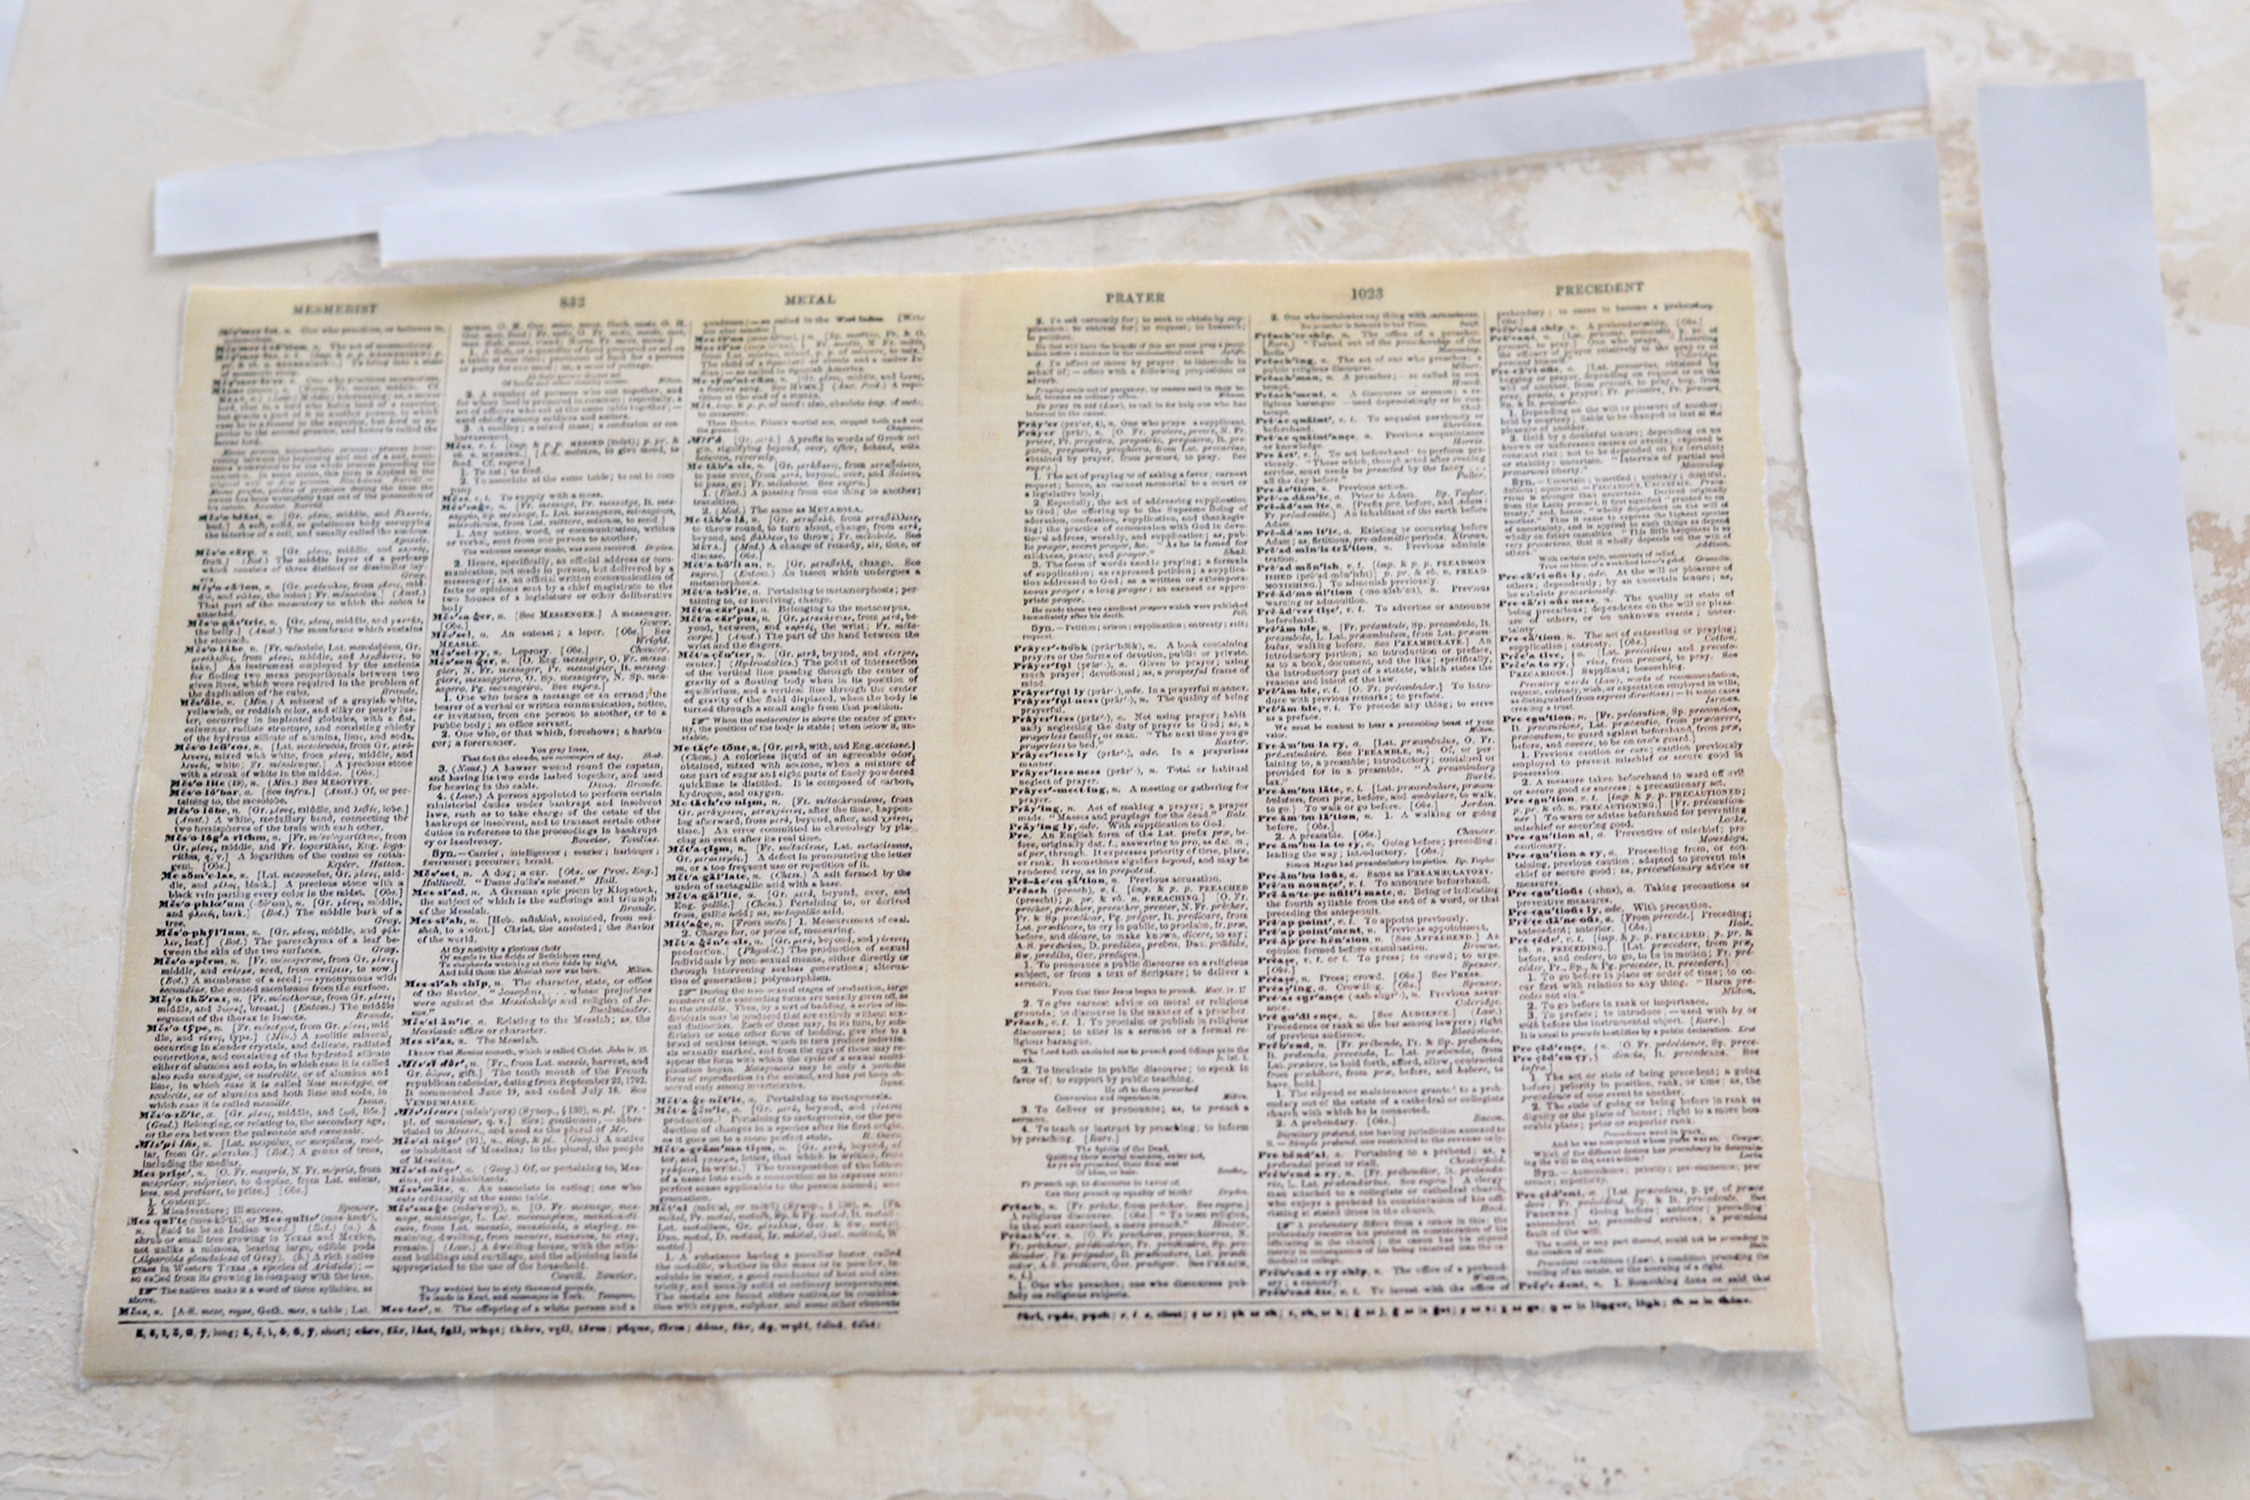
Tear the folded edge, then follow this step to tear all the extra white borders around our design.
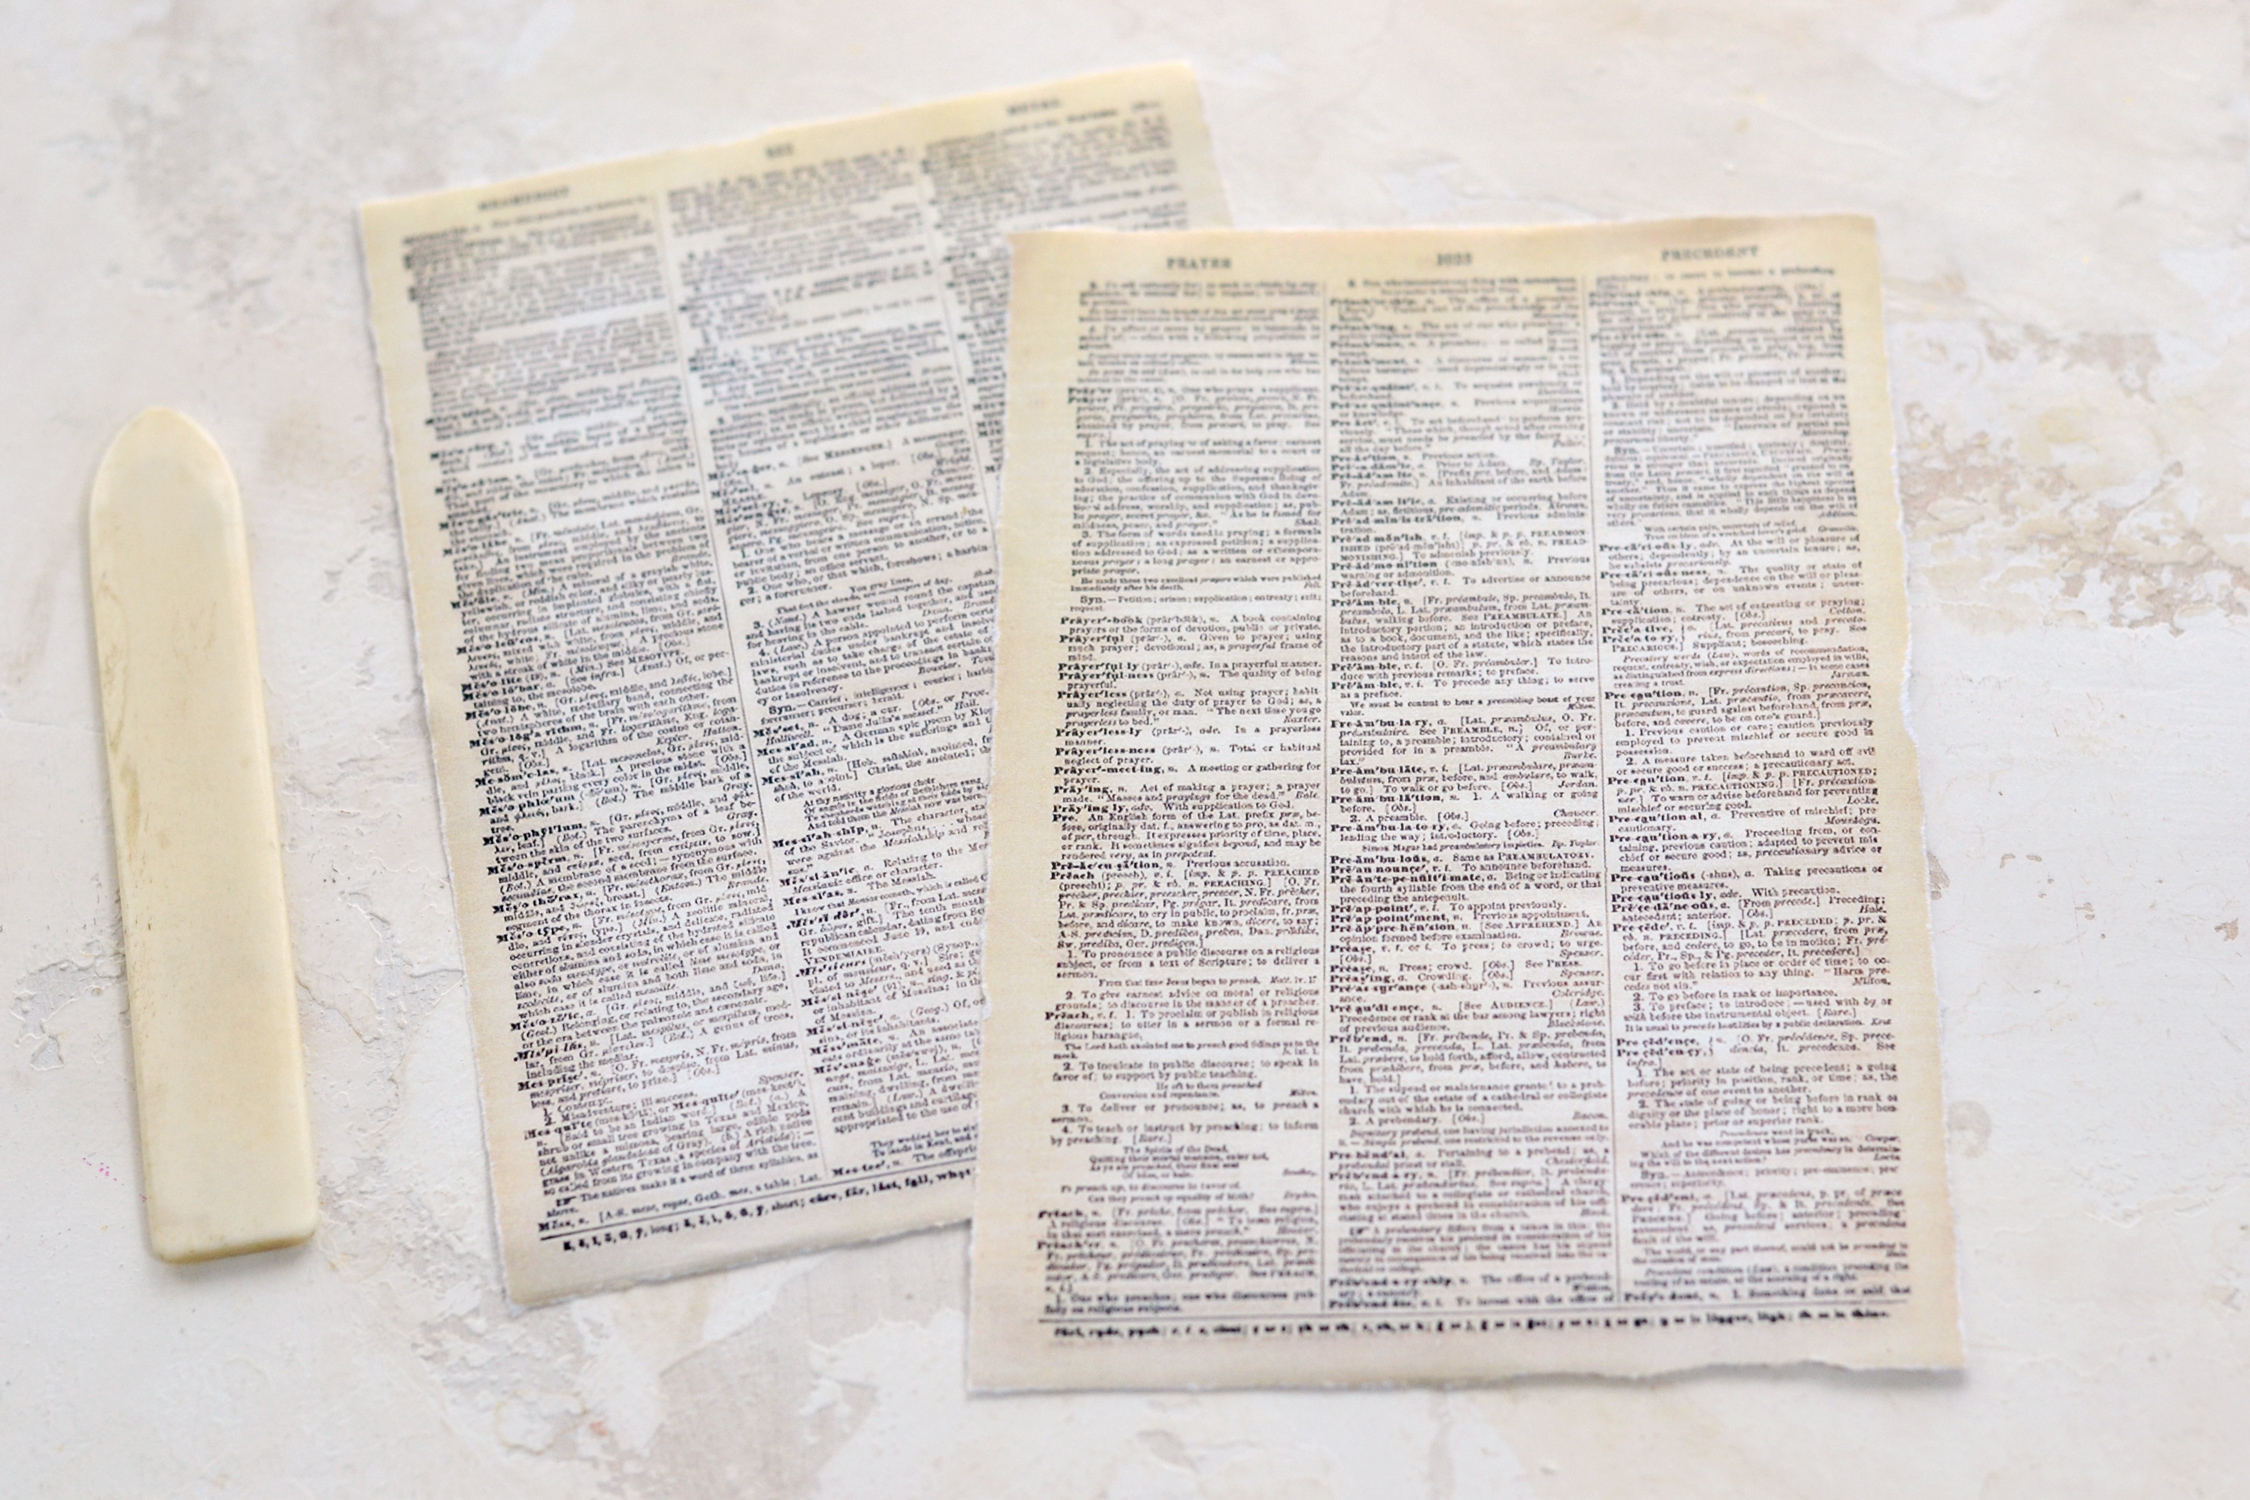
Fold the two-page design in the middle, then simply tear it in half. Try to overlap all the edges as well as you can before tearing the paper, but don’t stress too much to make it perfect.
You should now be left with two separate dictionary pages! You’ll need one of these pages to make a double pocket tag, if you want to make more, simply print the printable as many times as you want!
Now take one of the dictionary pages and vertically fold it in half, making sure the design is placed inside and all the edges are perfectly overlapping.
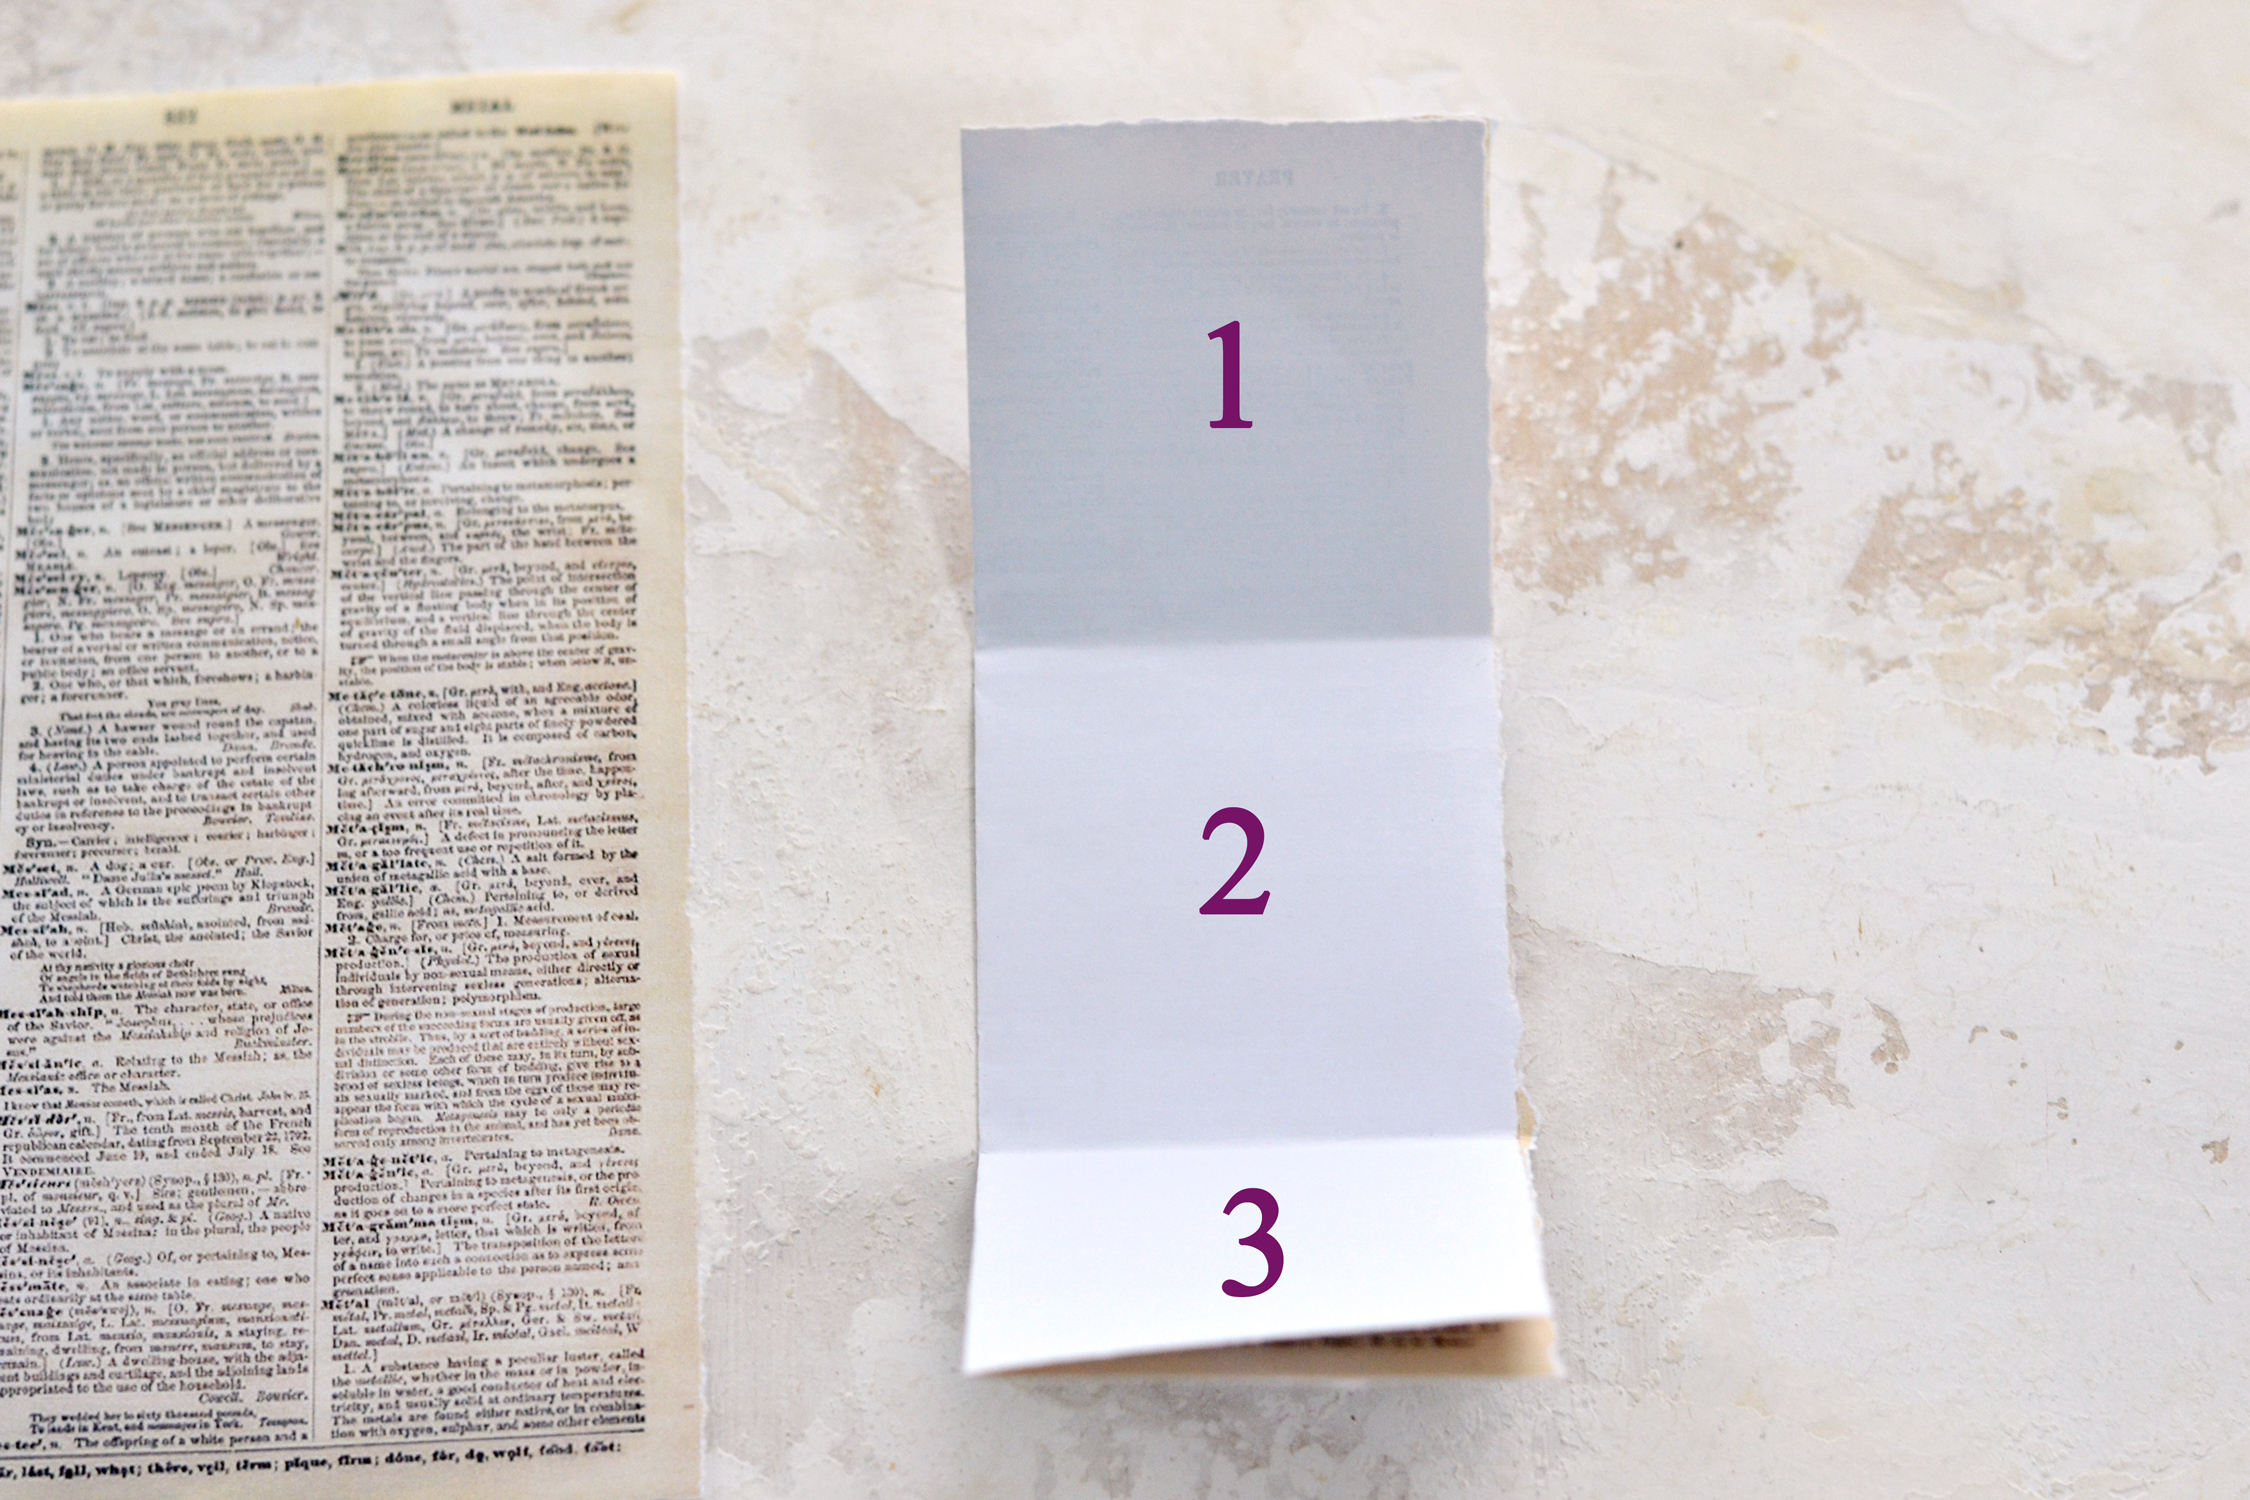
Keep the folded side on your left, then fold again the paper in 3 equal sections, this time horizontally, starting from the top.
You can use a ruler to measure things up before folding the 3 sections, but regular paper is quite pliable so you can just eyeball it and adjust it as you go, as I did.
Unfold the paper and place it on your table.
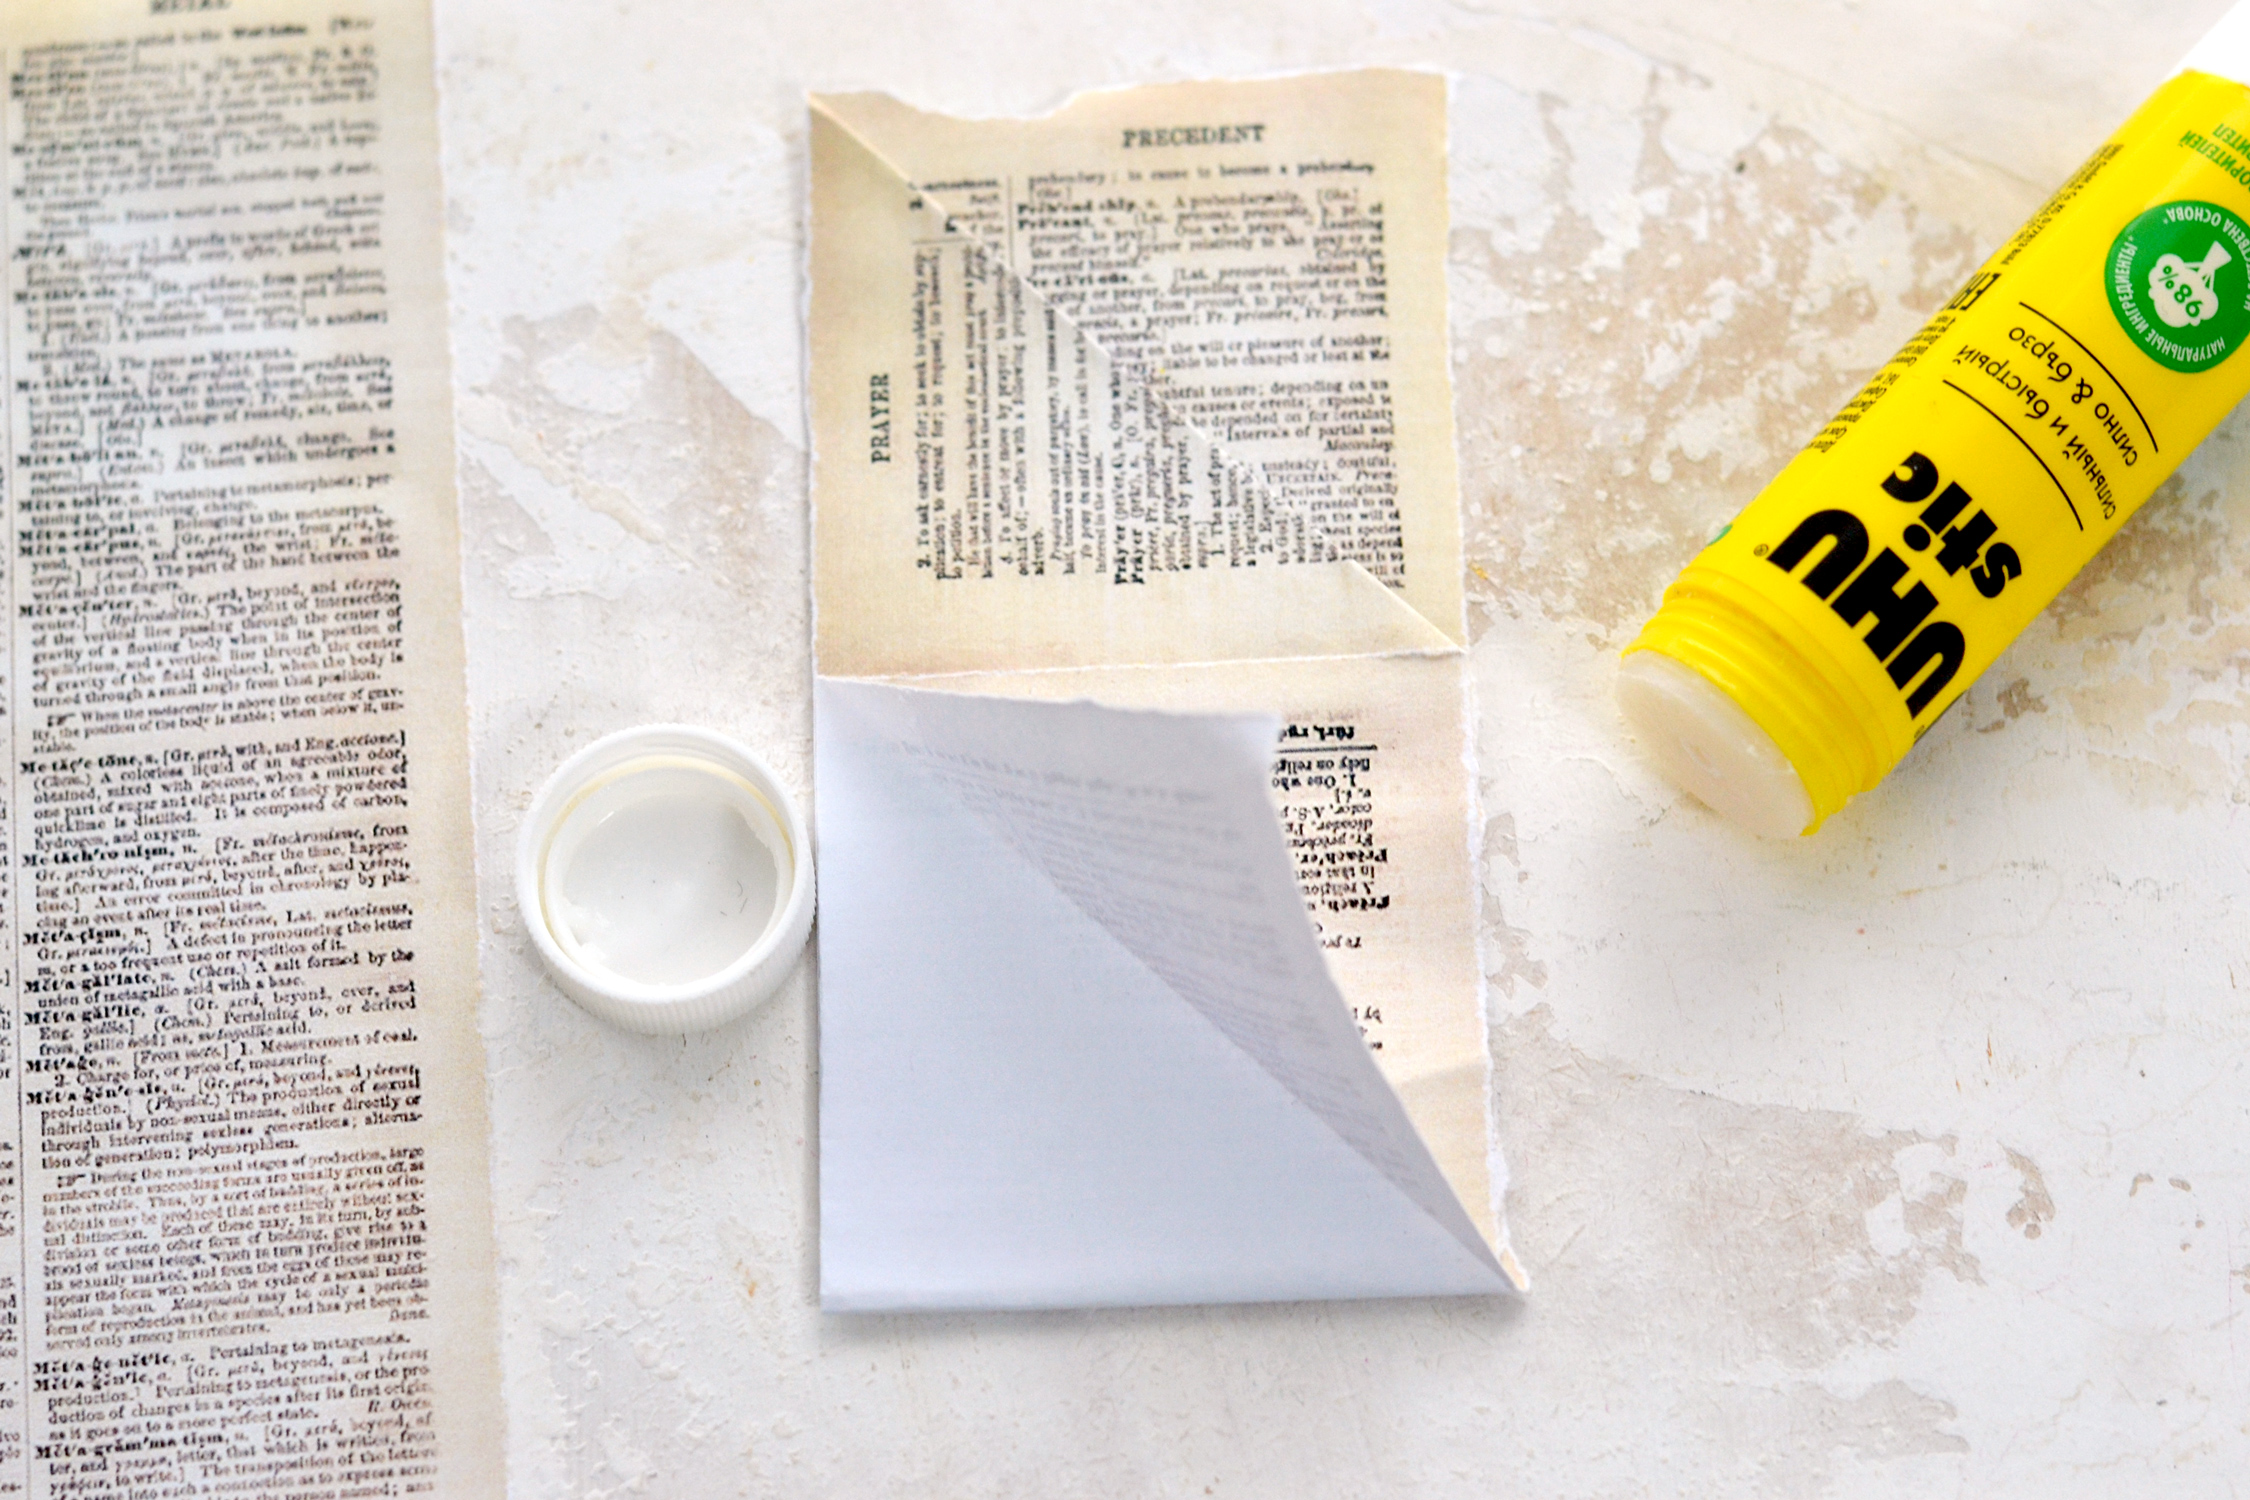
Remember to keep the vertically folded side on your left, then simply take the top right corner and fold it downwards (this will create a triangle), trying to overlap it over the left edge of the 1st section as well as you can.
Use glue under the folded triangle and press it on the paper underneath.
Then use some more glue to completely cover the 2nd middle section with glue.
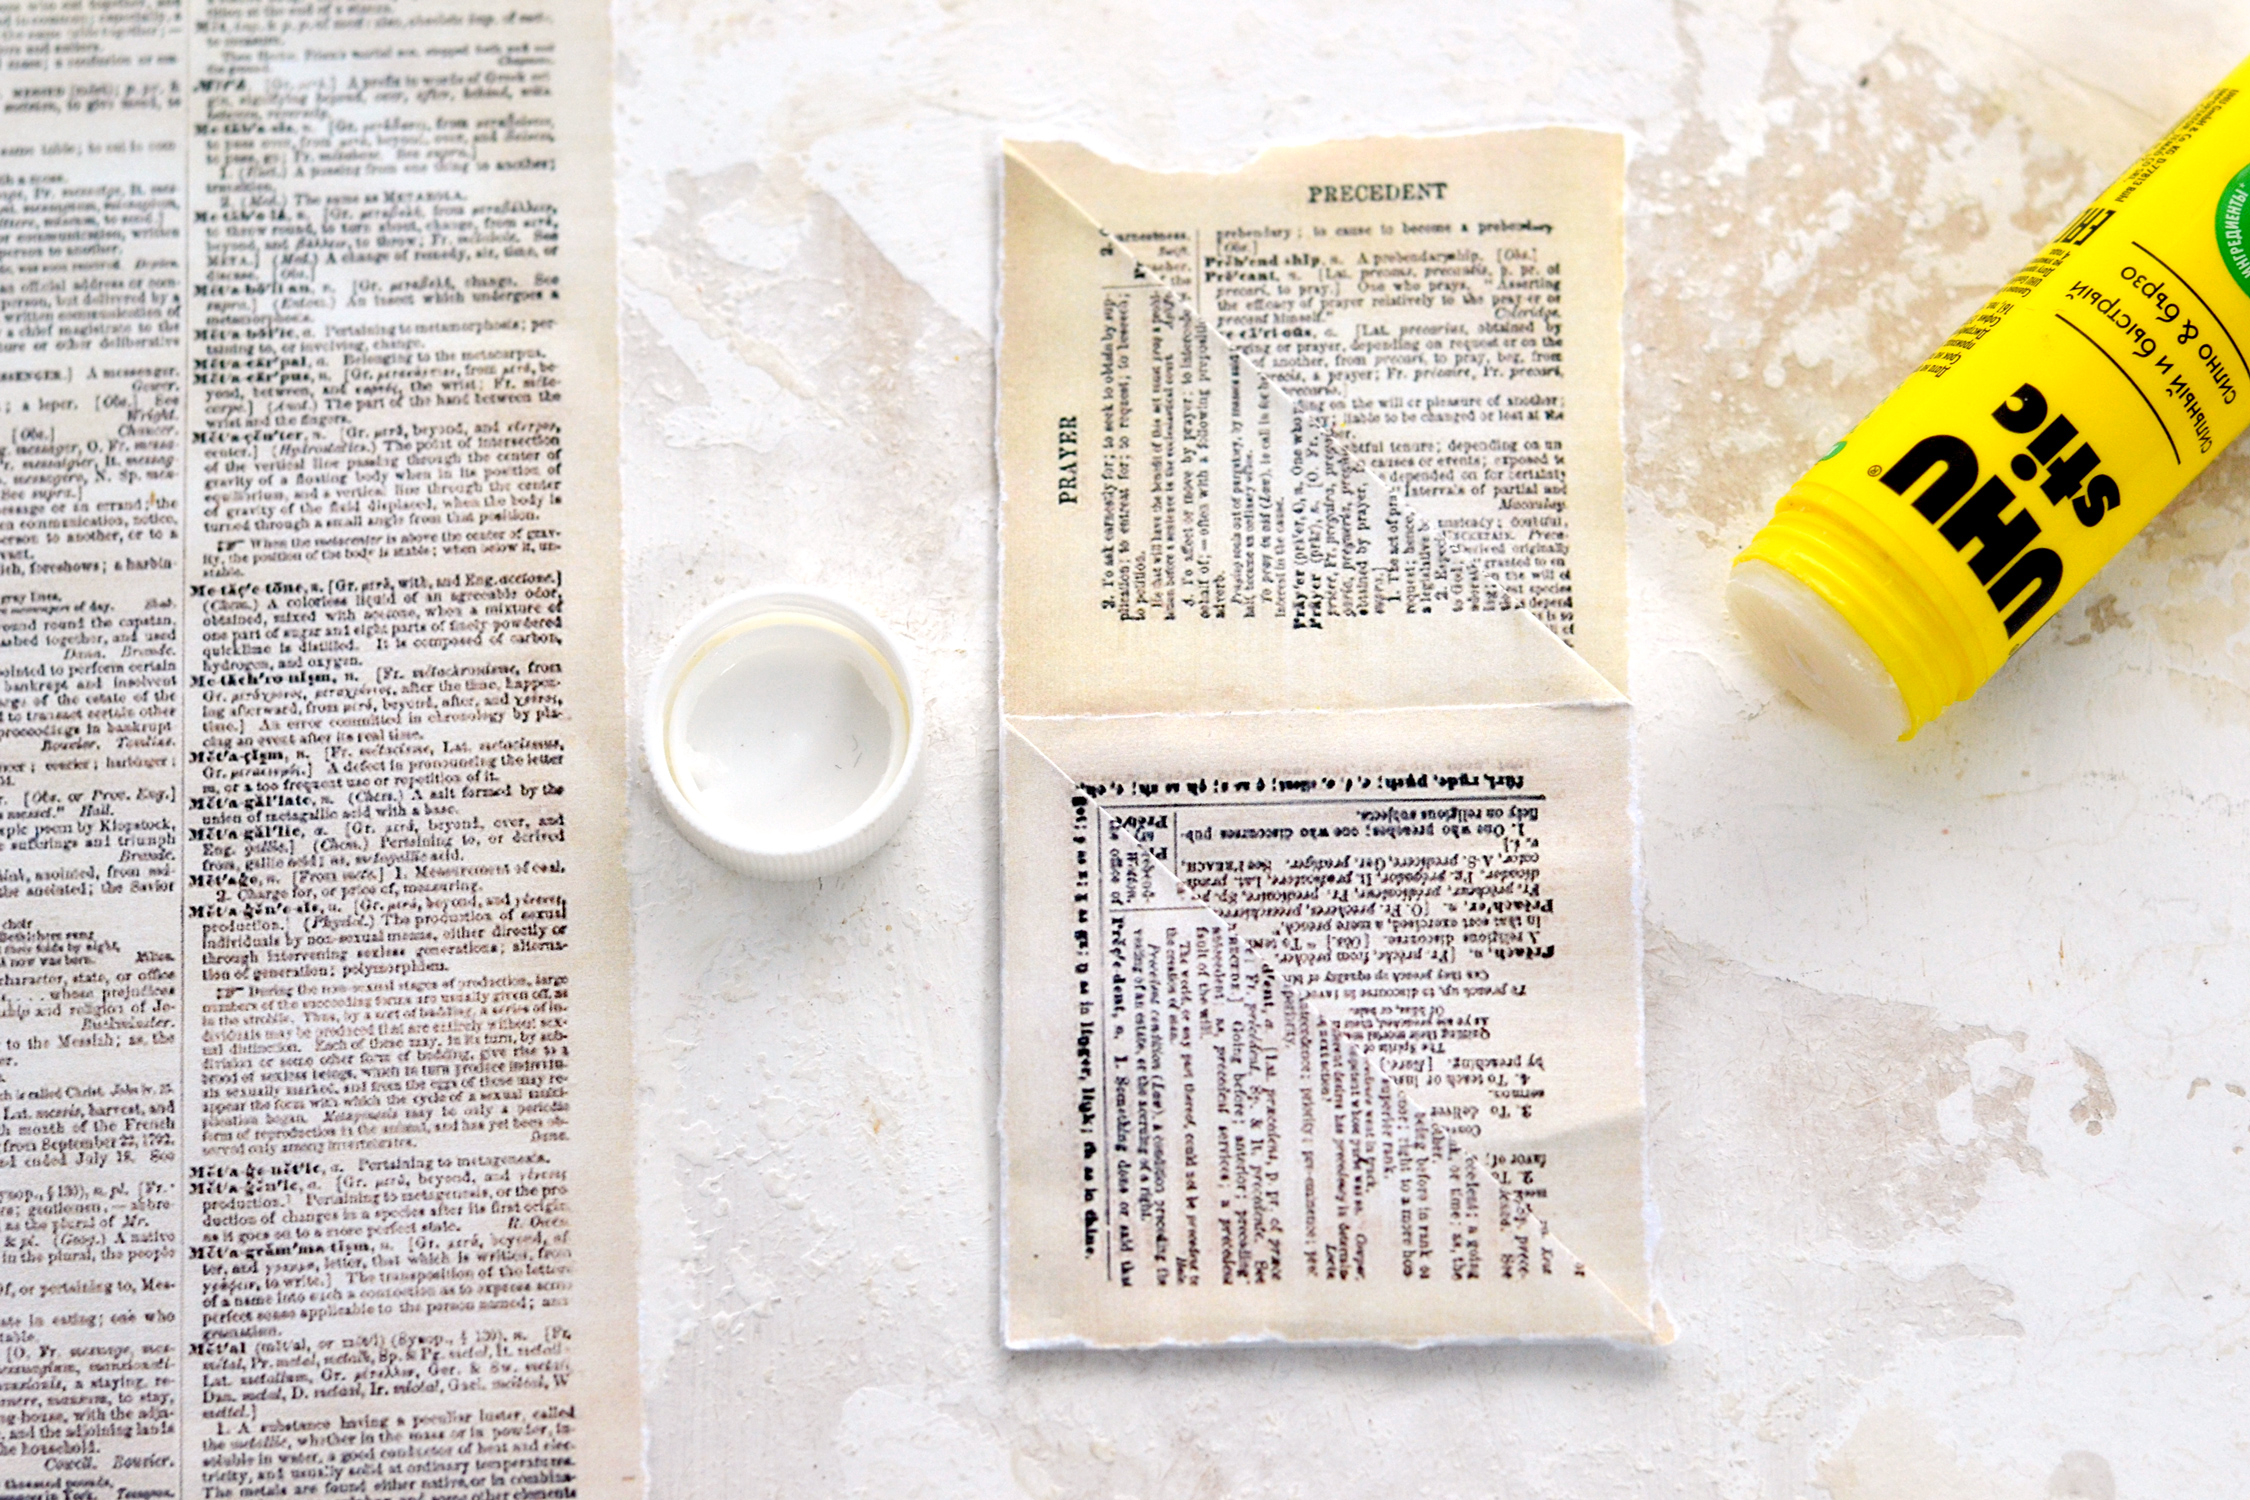
Take the 3rd folded section from the bottom and fold it over the 2nd section, making sure all the edges are perfectly overlapping.
Now take the right corner of our bottom section and fold it downward to create another triangle. Use glue to adhere this folded triangle to the paper underneath, making sure to perfectly overlap it with the left edge.
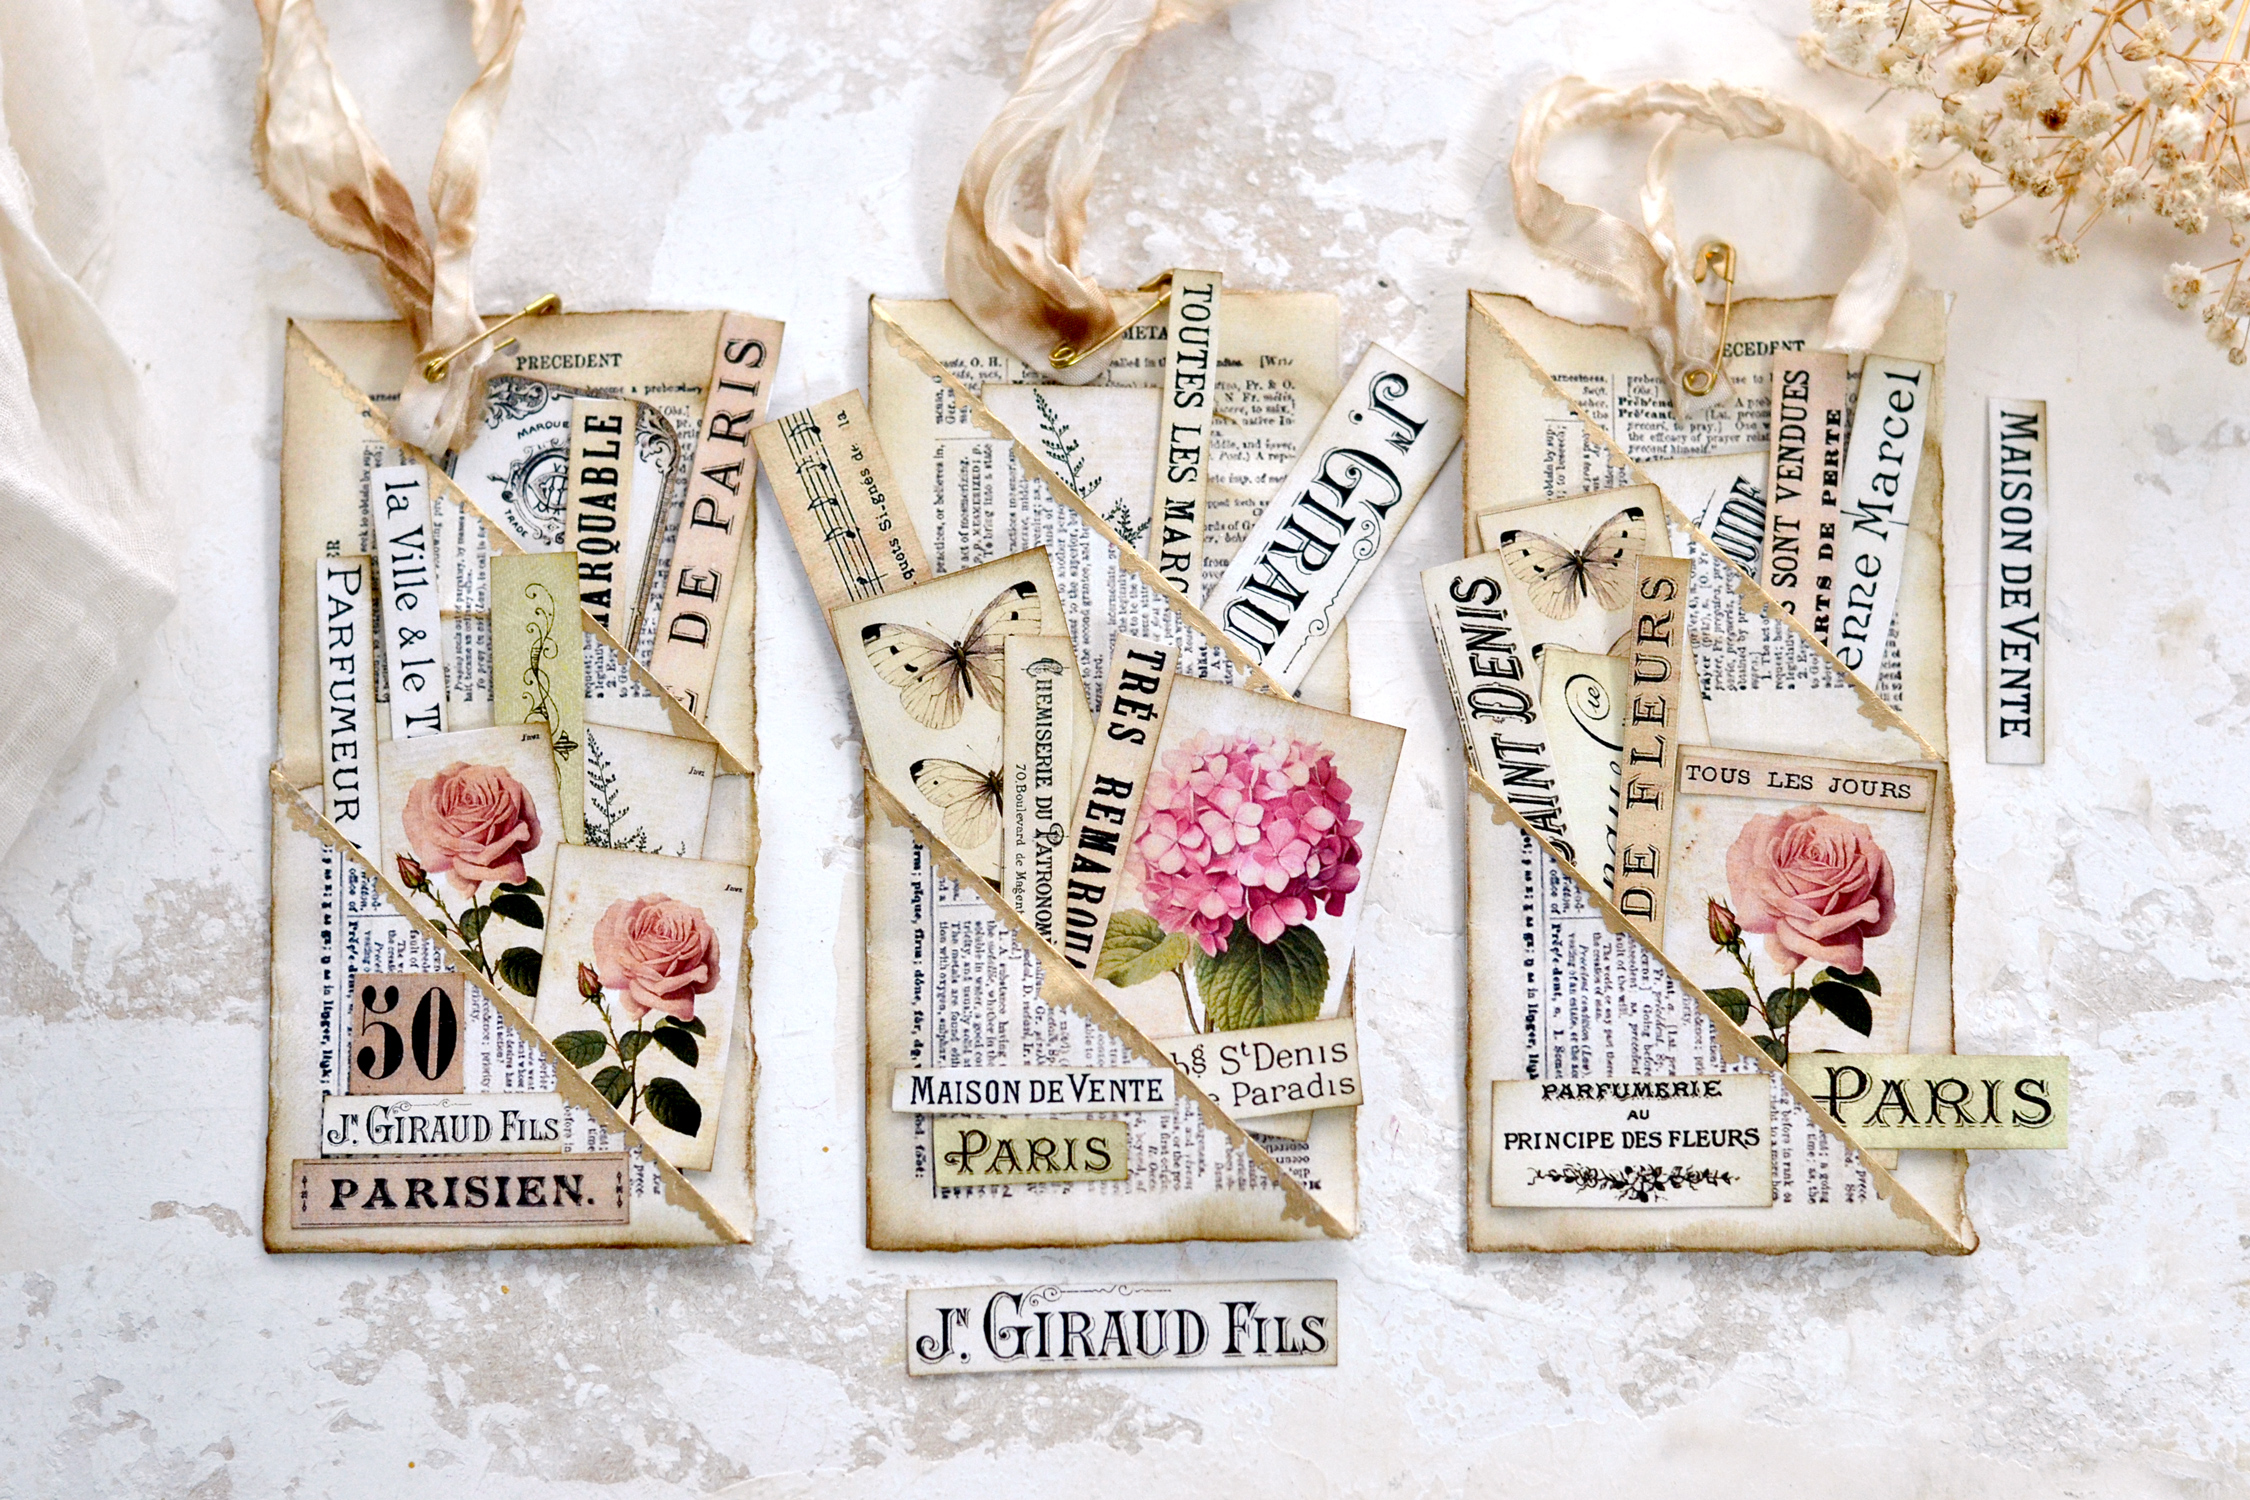
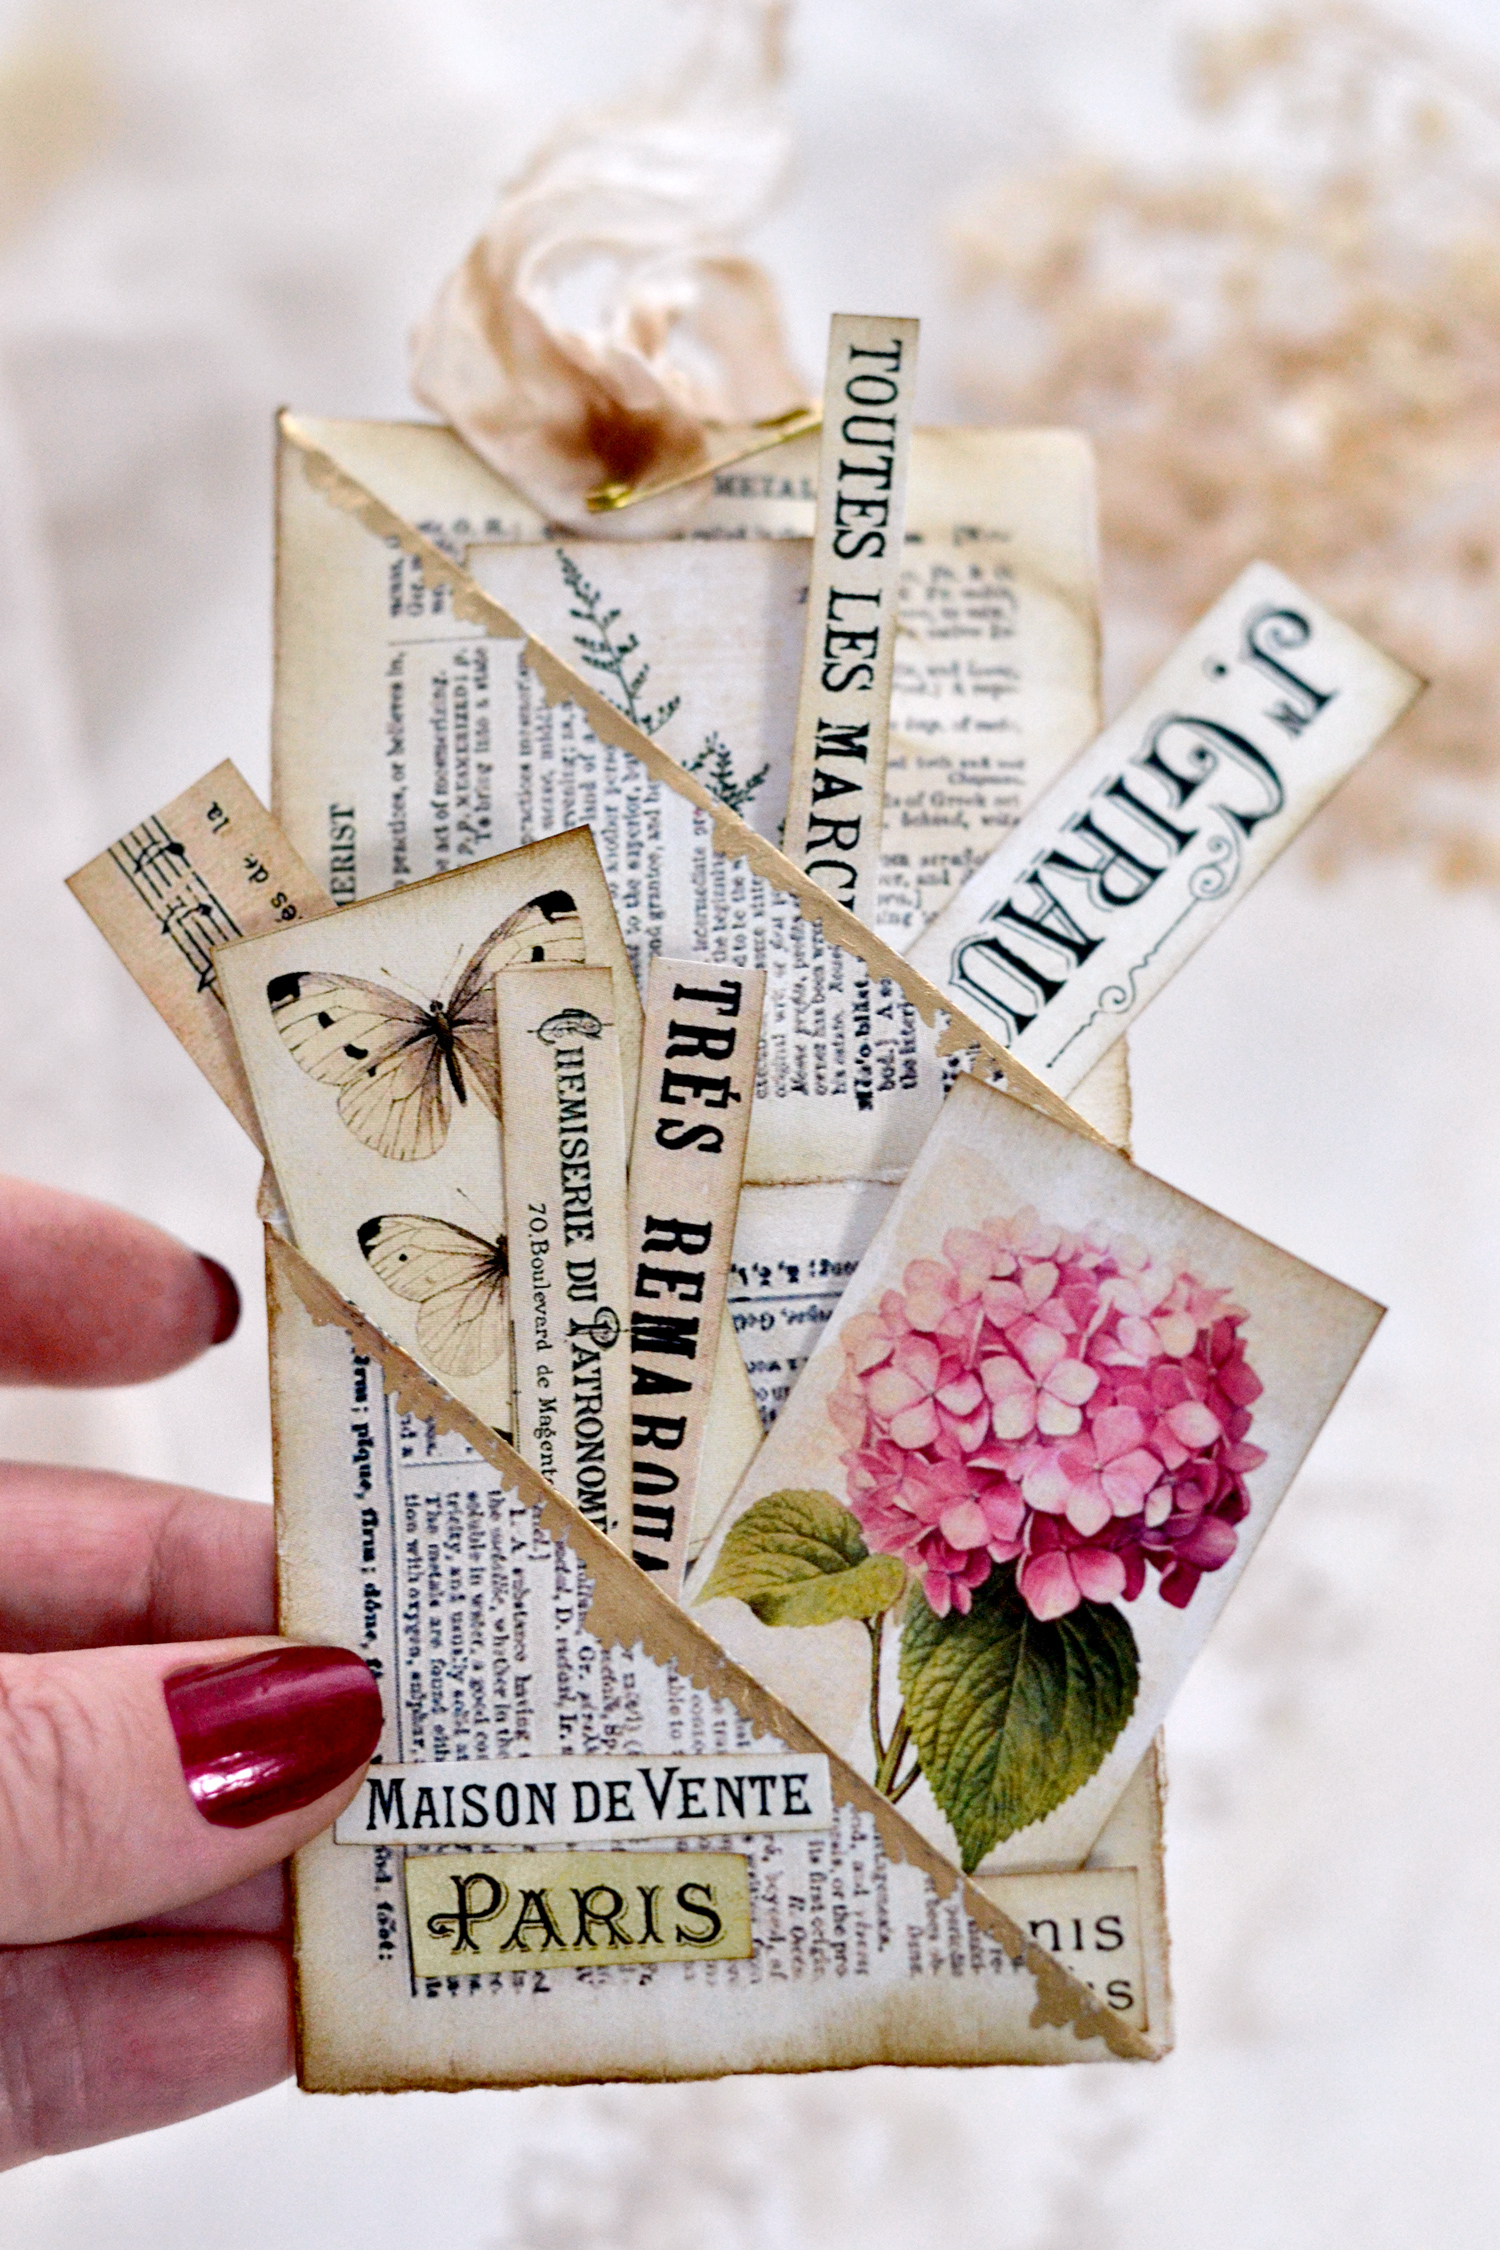
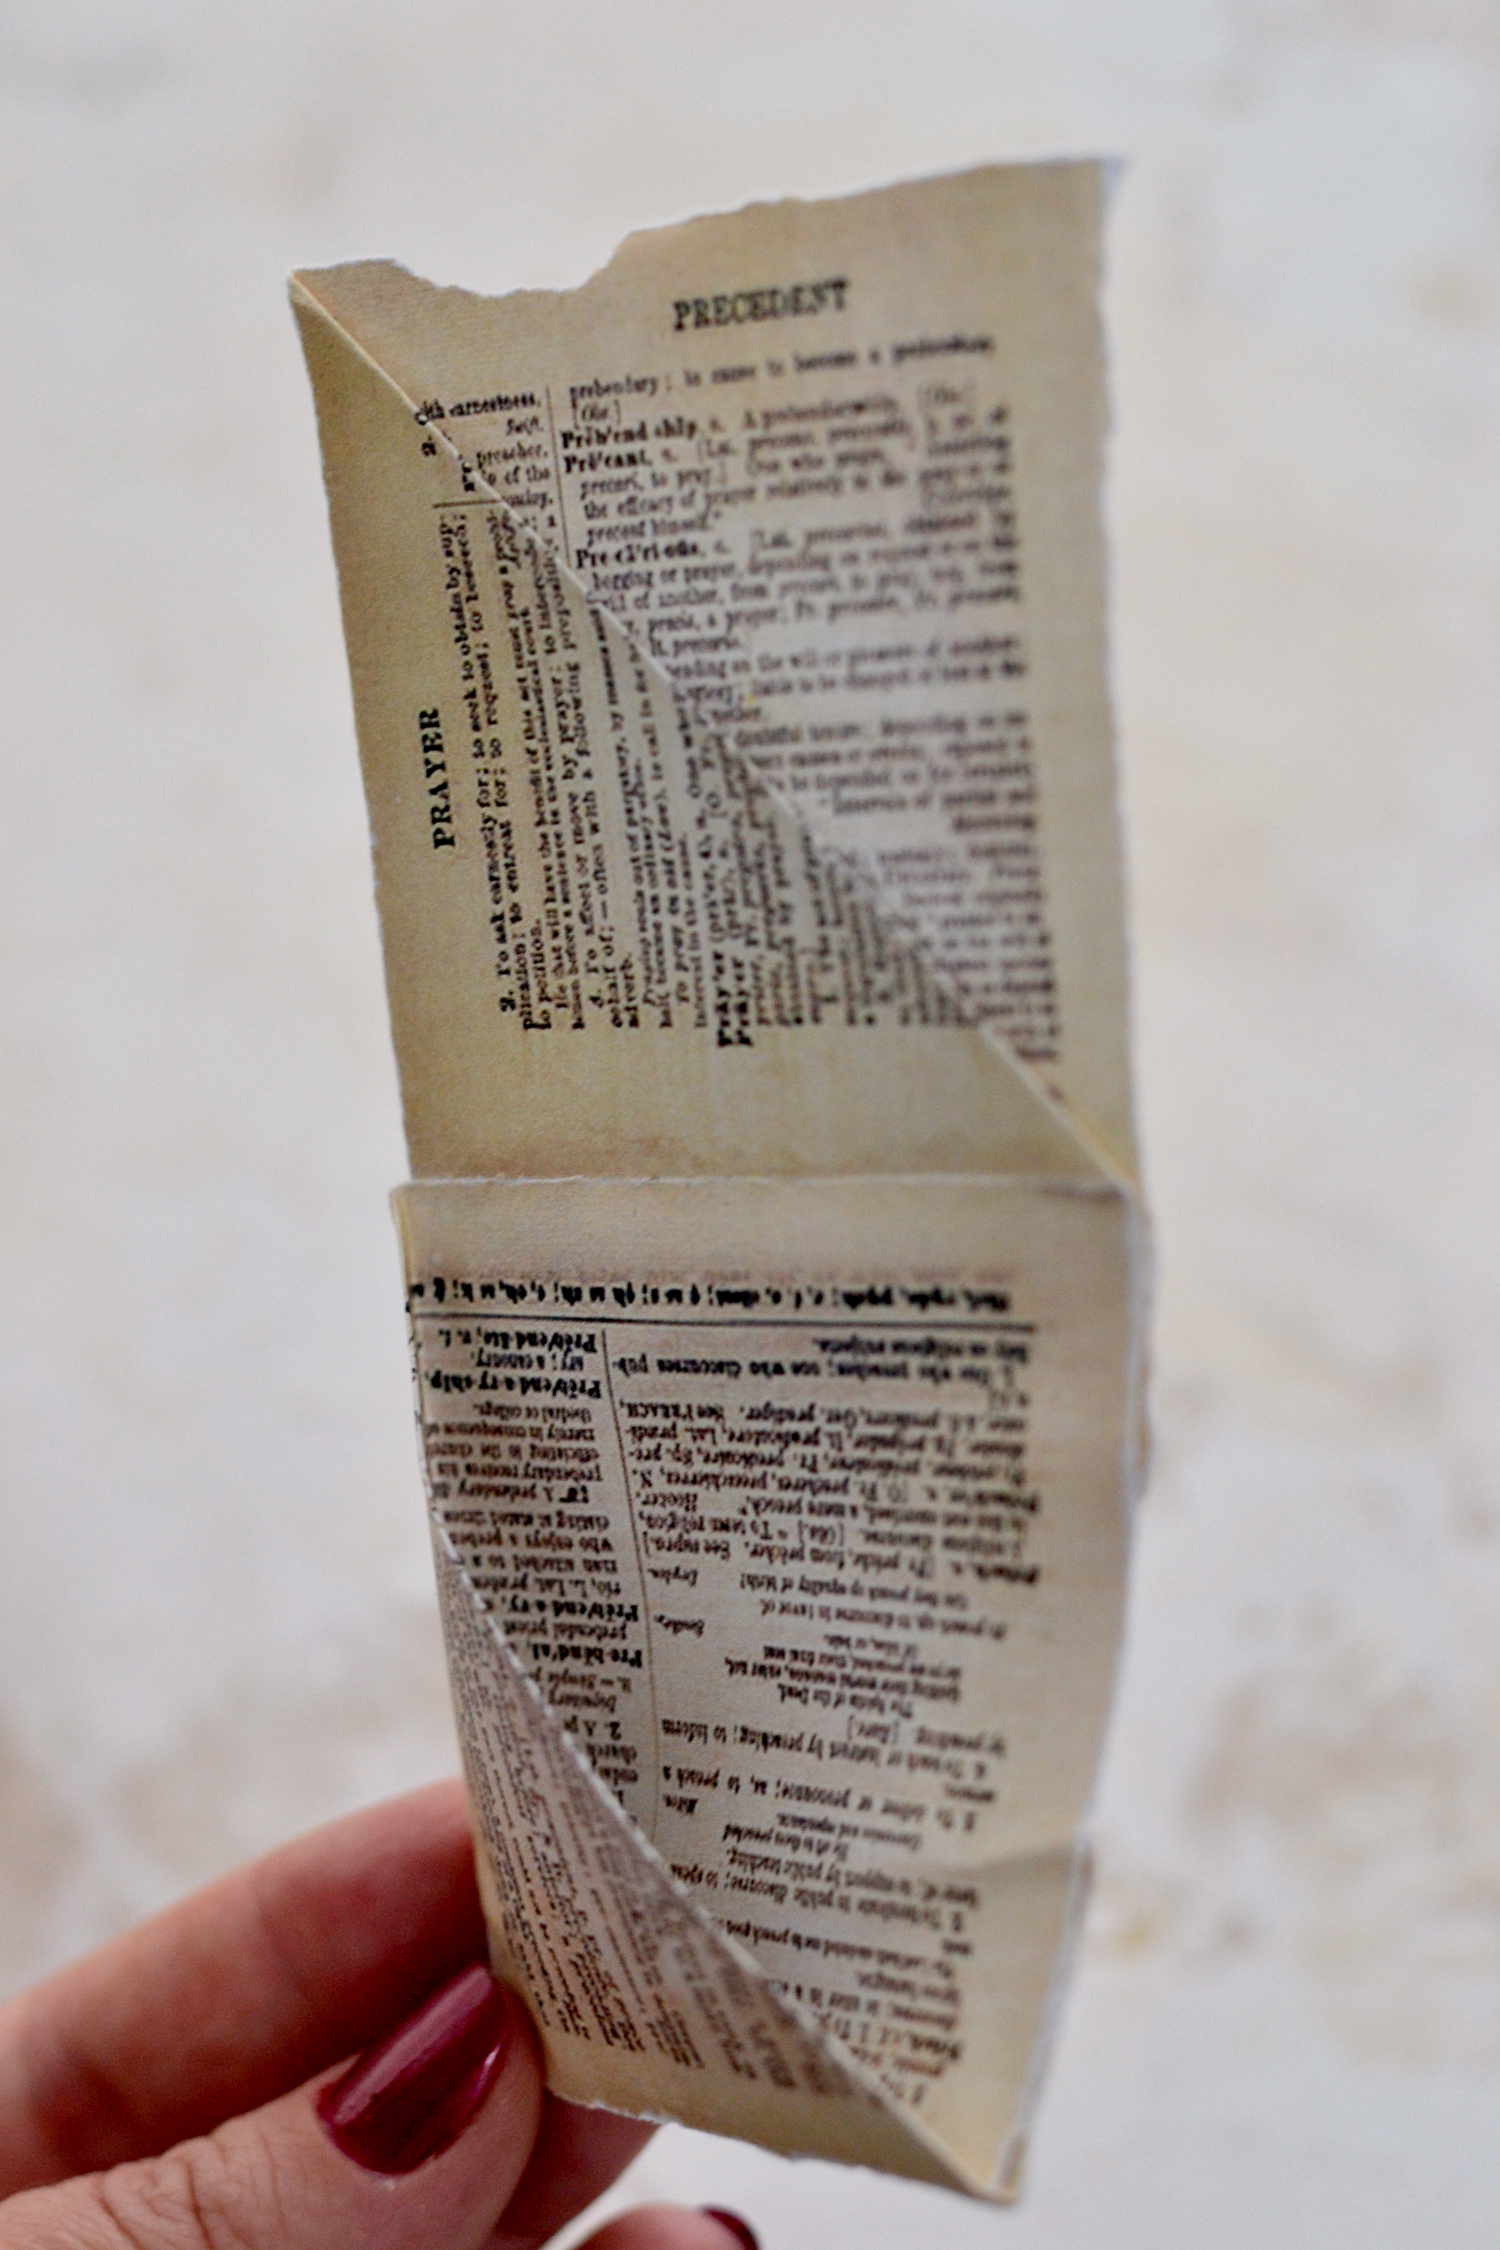
Now you have your first beautiful double pocket tag ready!
And when you open it, it will have a large vertical pocket underneath.
And a smaller one on the front.
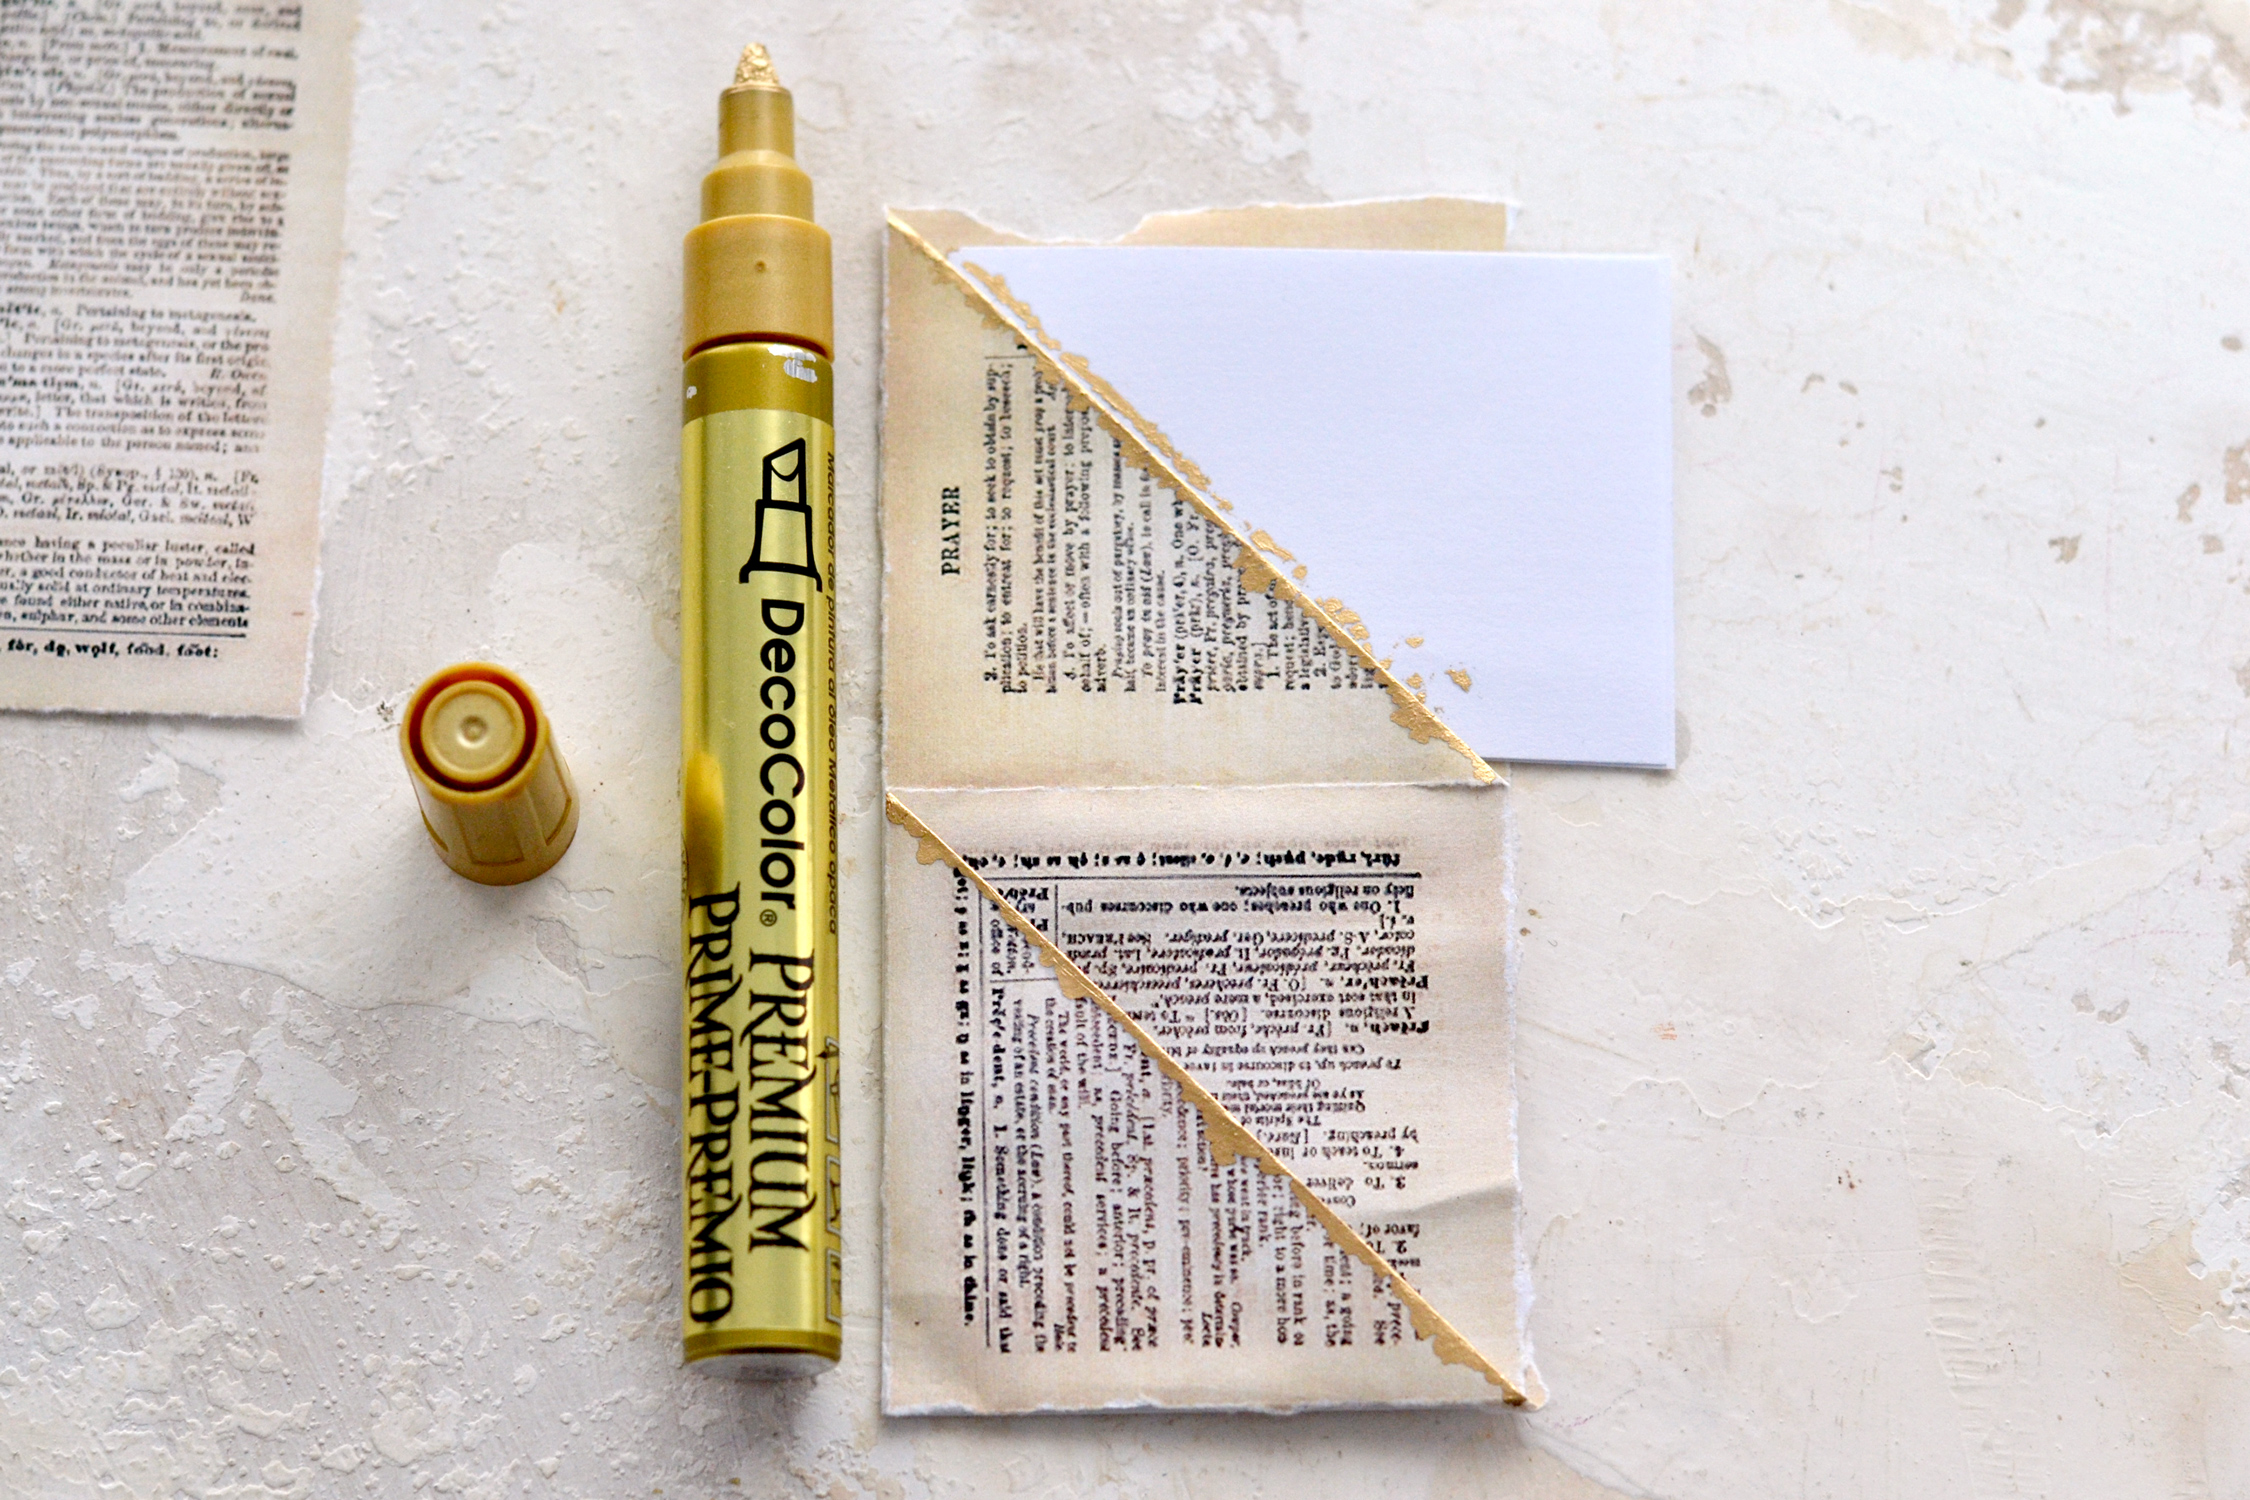
If you want, you can use a little bit of gold on the edges of the pockets to emphasize and make them even more adorable!
I used my favorite Decocolor gold marker for this and I placed a small piece of scrap paper underneath so I could create a dabbing motion instead of just a regular marker line. My idea was to create a gold effect similar to rust – I guess this is how gold rust would look if gold would ever rust!
As for distressing, this is where some more fun comes in! You will see how a little bit of distress ink will completely change the appearance of your paper and will give it even more of a vintage vibe. I used distress ink all around the edges and a little bit on the folded line in the middle, just to make sure there isn’t any white paper showing from underneath. I also crinkled the paper here and there (you can do this on the sides, but also on other random places ) and added more distress ink on those crinkled sections too.
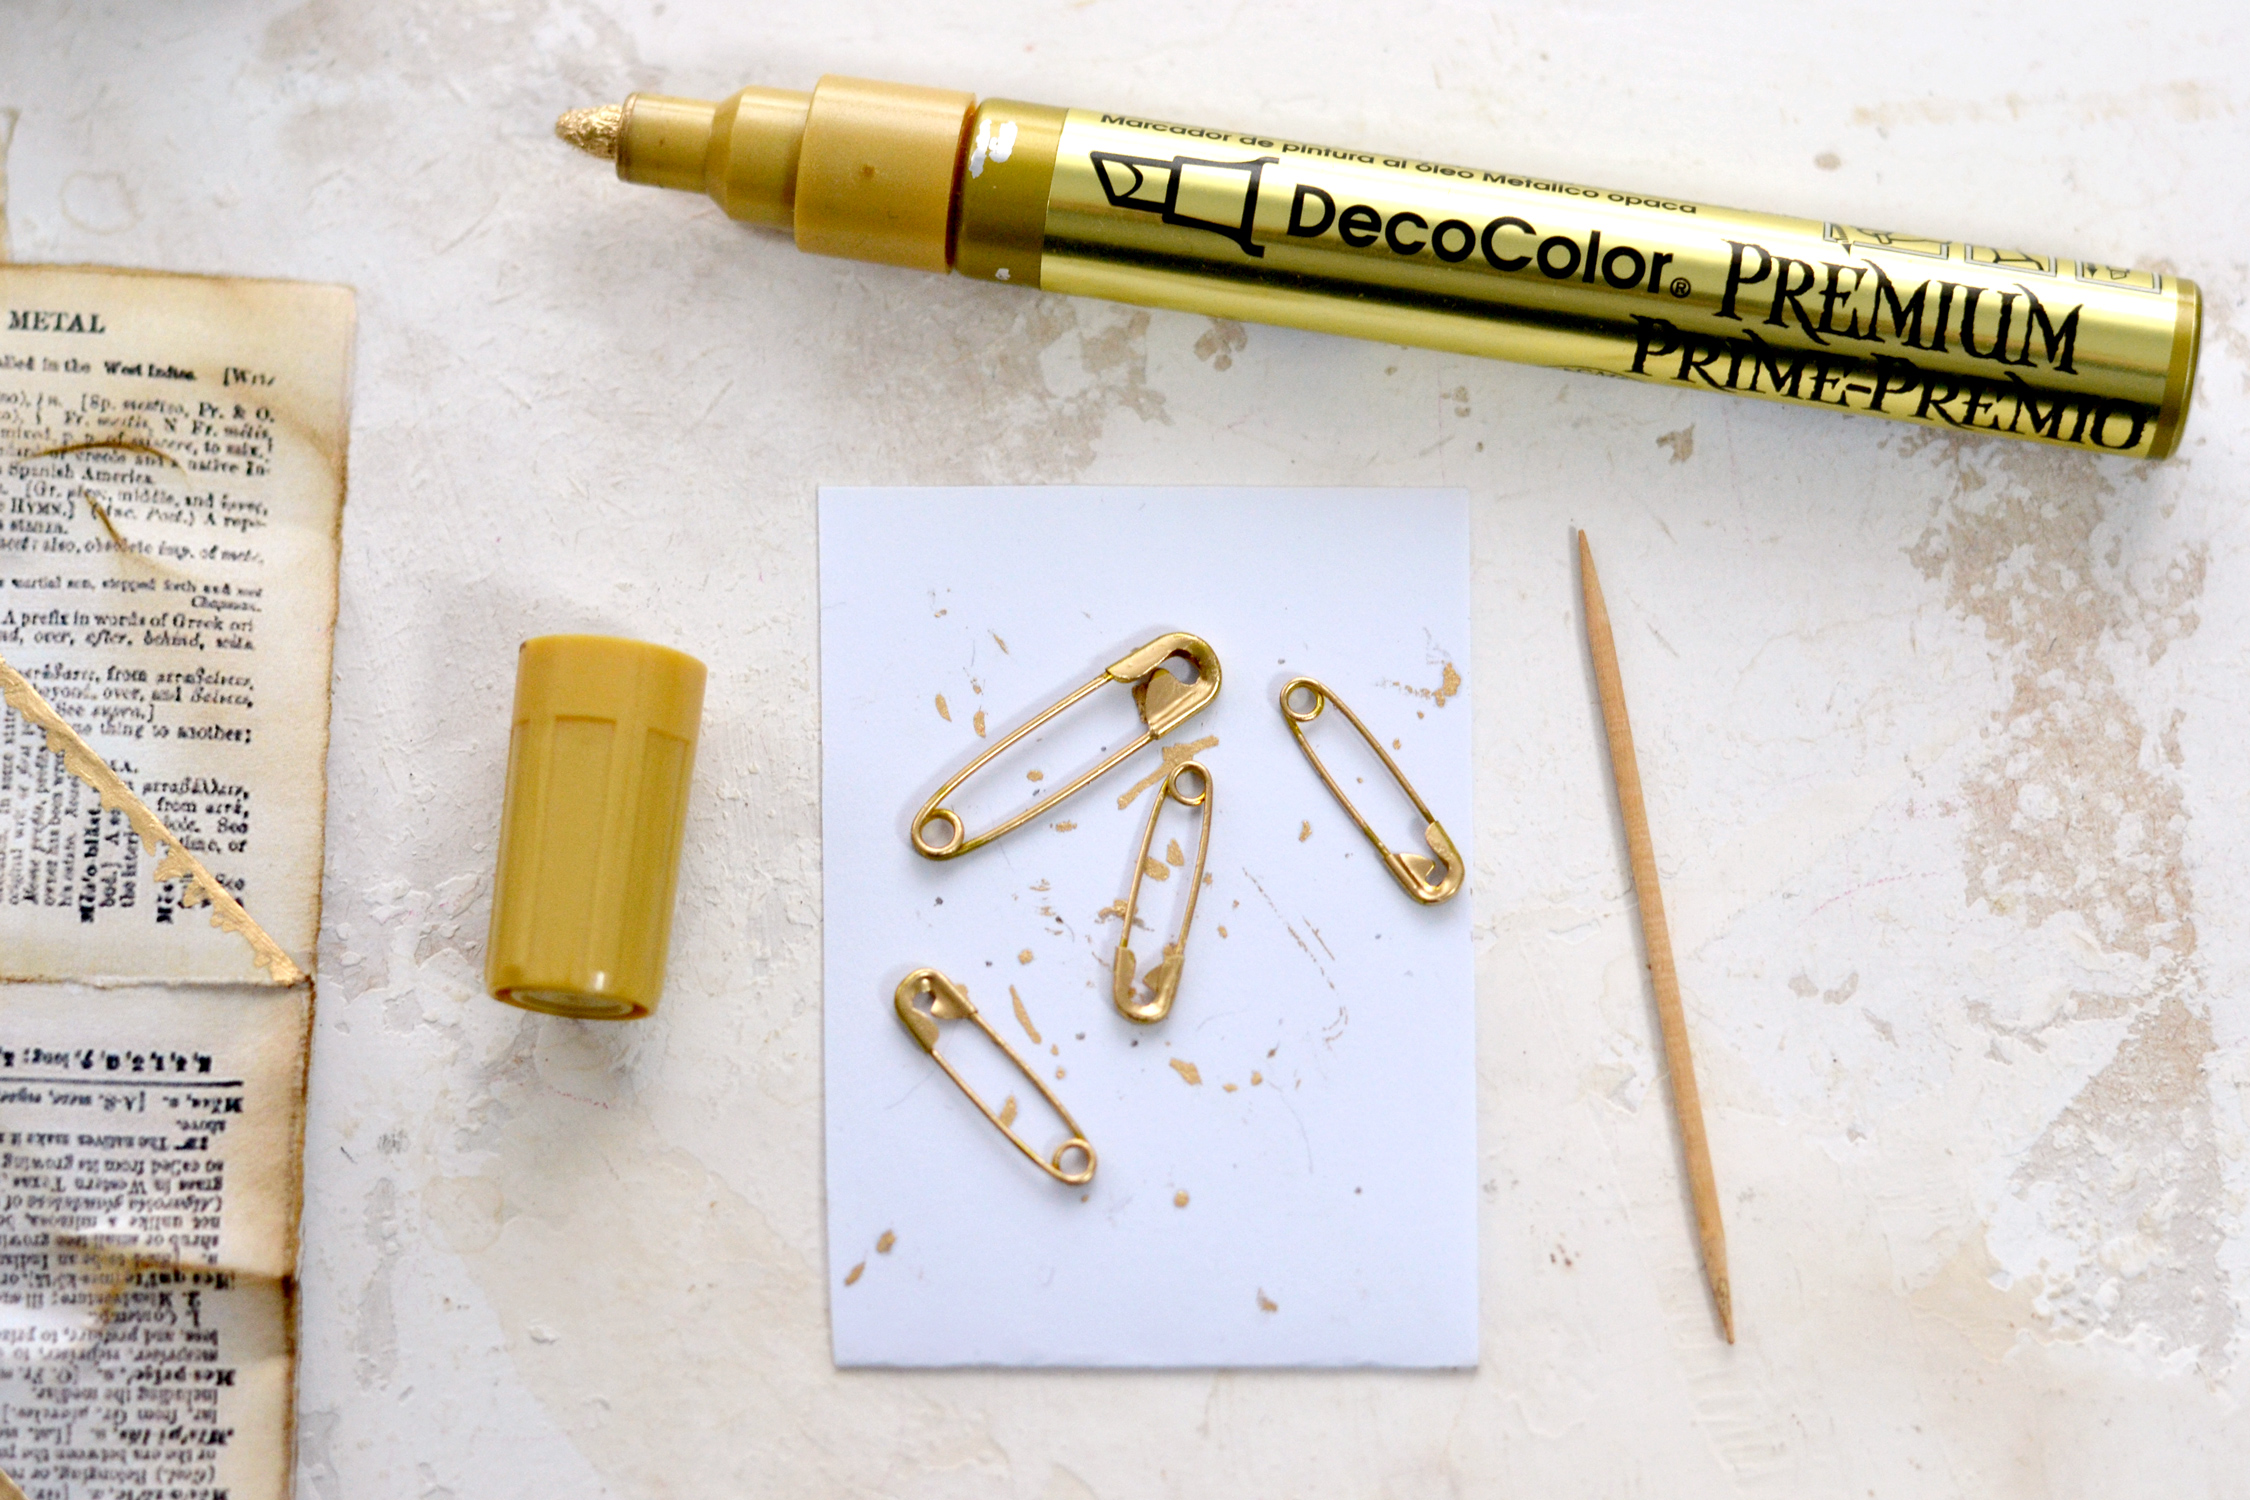
I had a few small gold pins that were a little bit too yellowish for my tastes, so I thought why not use some more of that lovely Decocolor marker to paint over and make them prettier. I used a scrap piece of paper underneath and I held the safety pins in place with a toothpick while painting them on one side. I let them dry for a minute or two and then I flipped them over to paint the other side too. This might also work with regular safety pins!
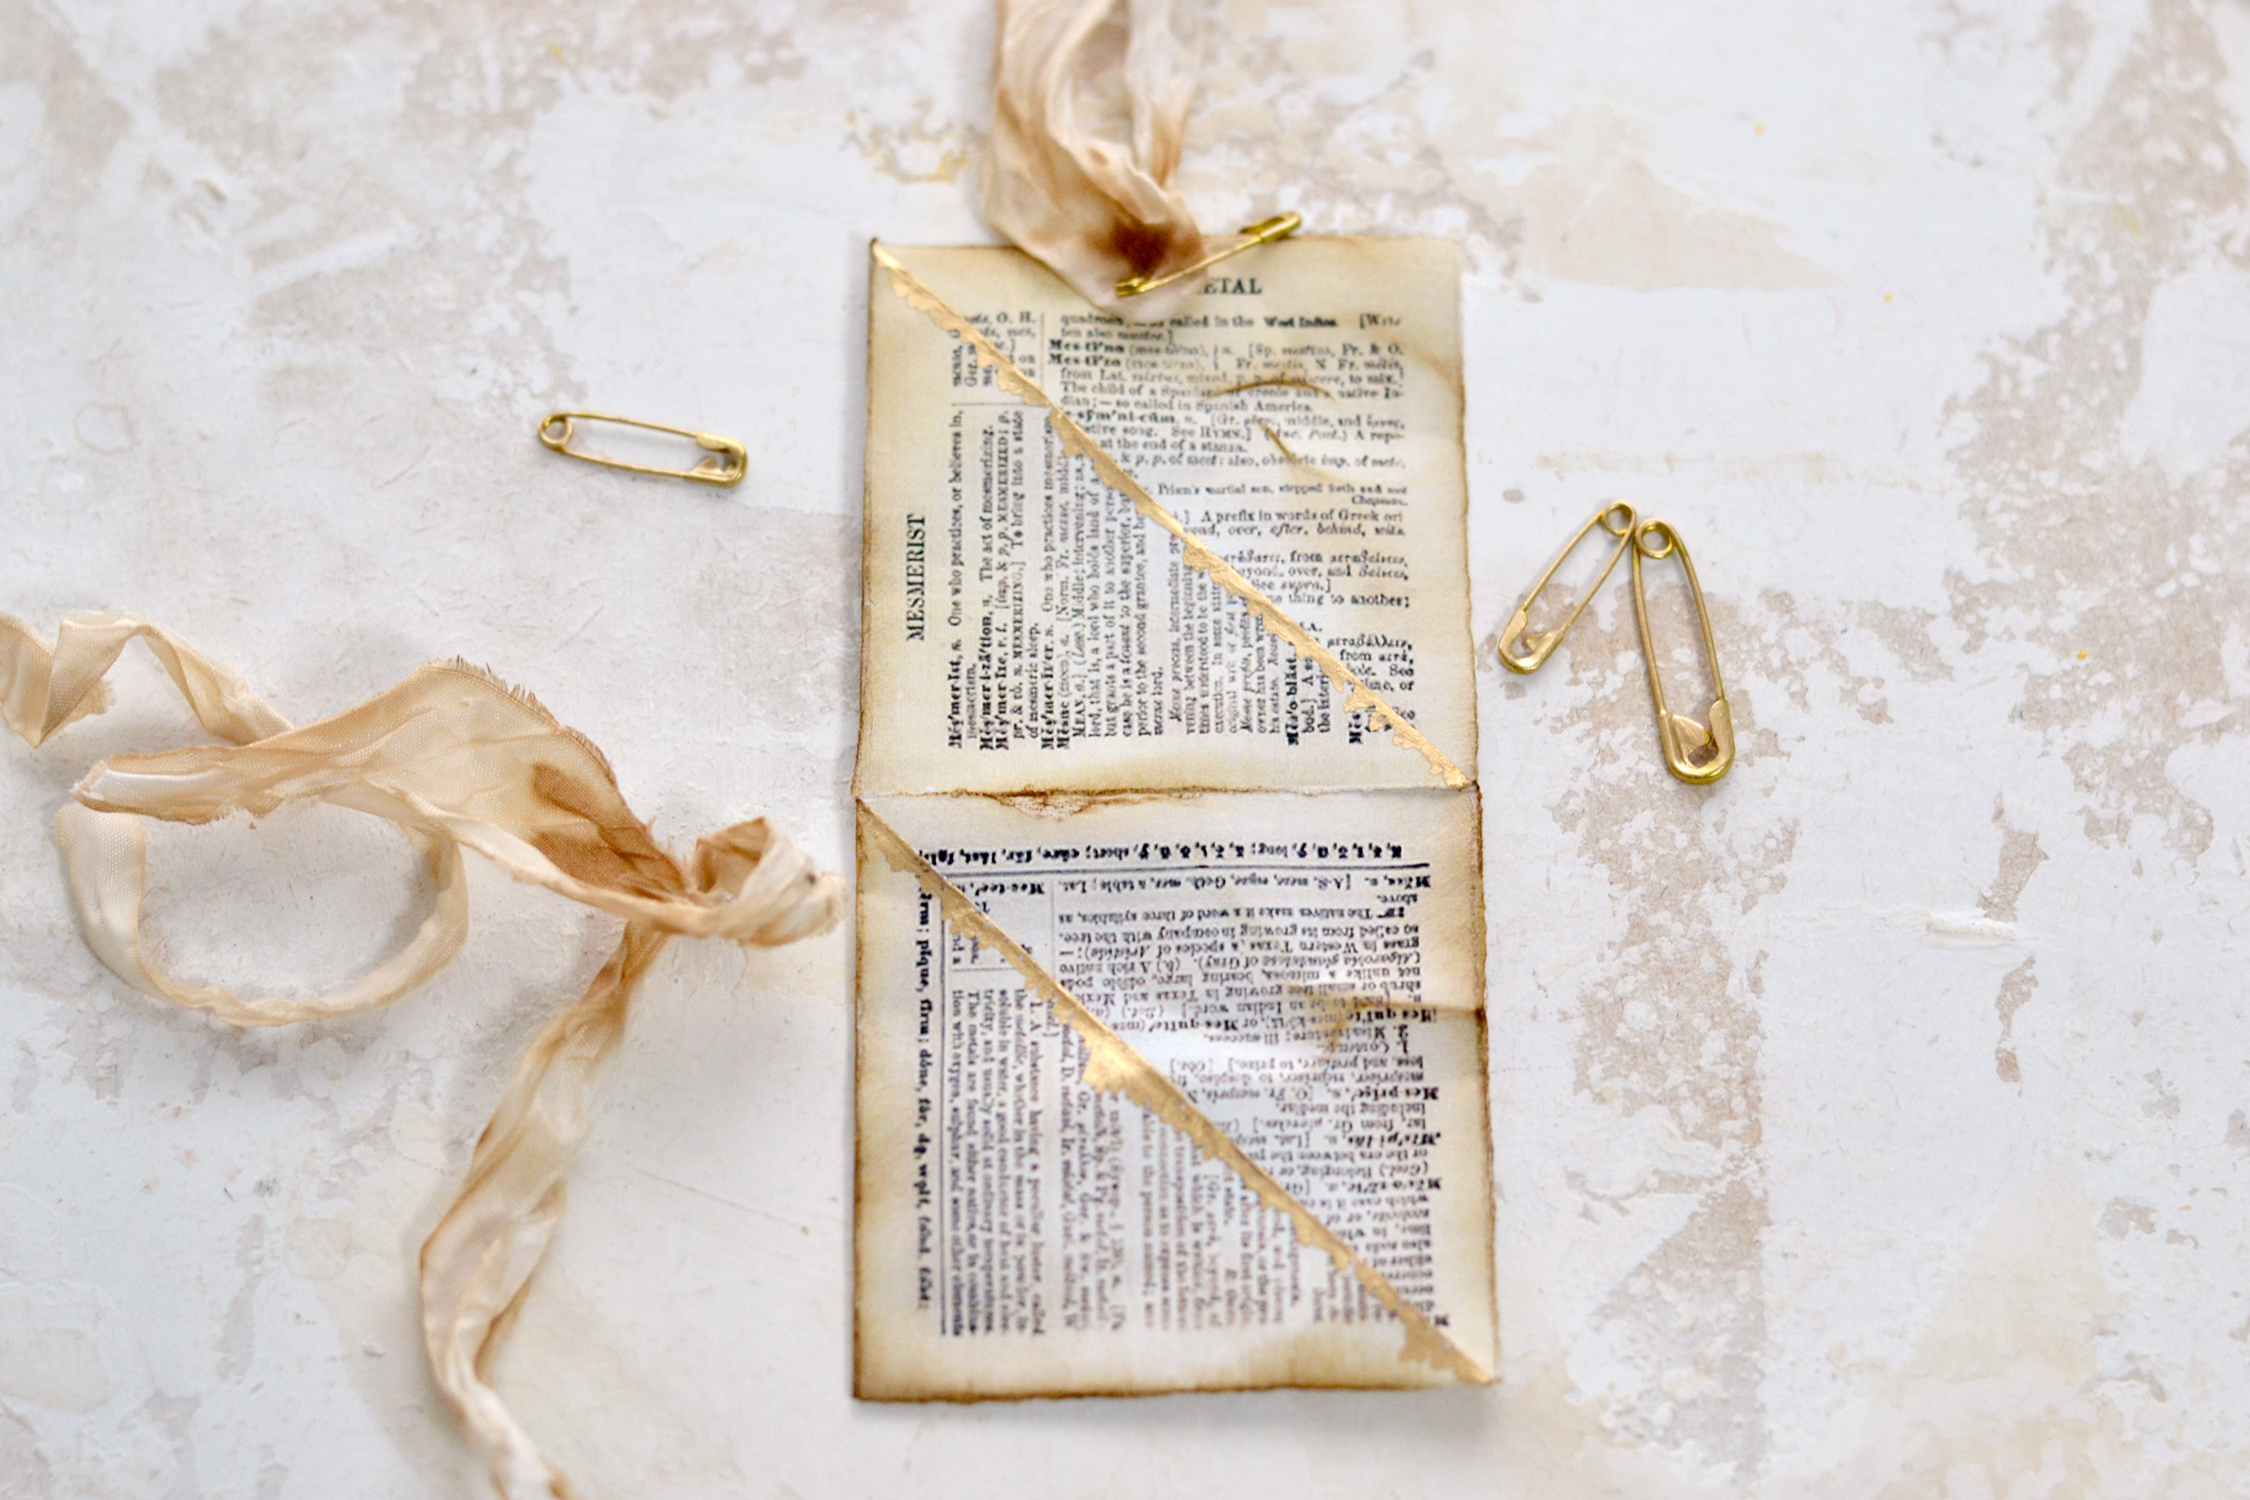
Then you can punch a hole on top and use the gold safety pin with some coffee-dyed crinkle ribbon to further embellish these beauties!
I folded the ribbons in half and pricked the safety pins through before adding everything to the tag. I like to keep the safety pins visible so they can also be admired and considered as small pieces of gold jewelry for your tags!
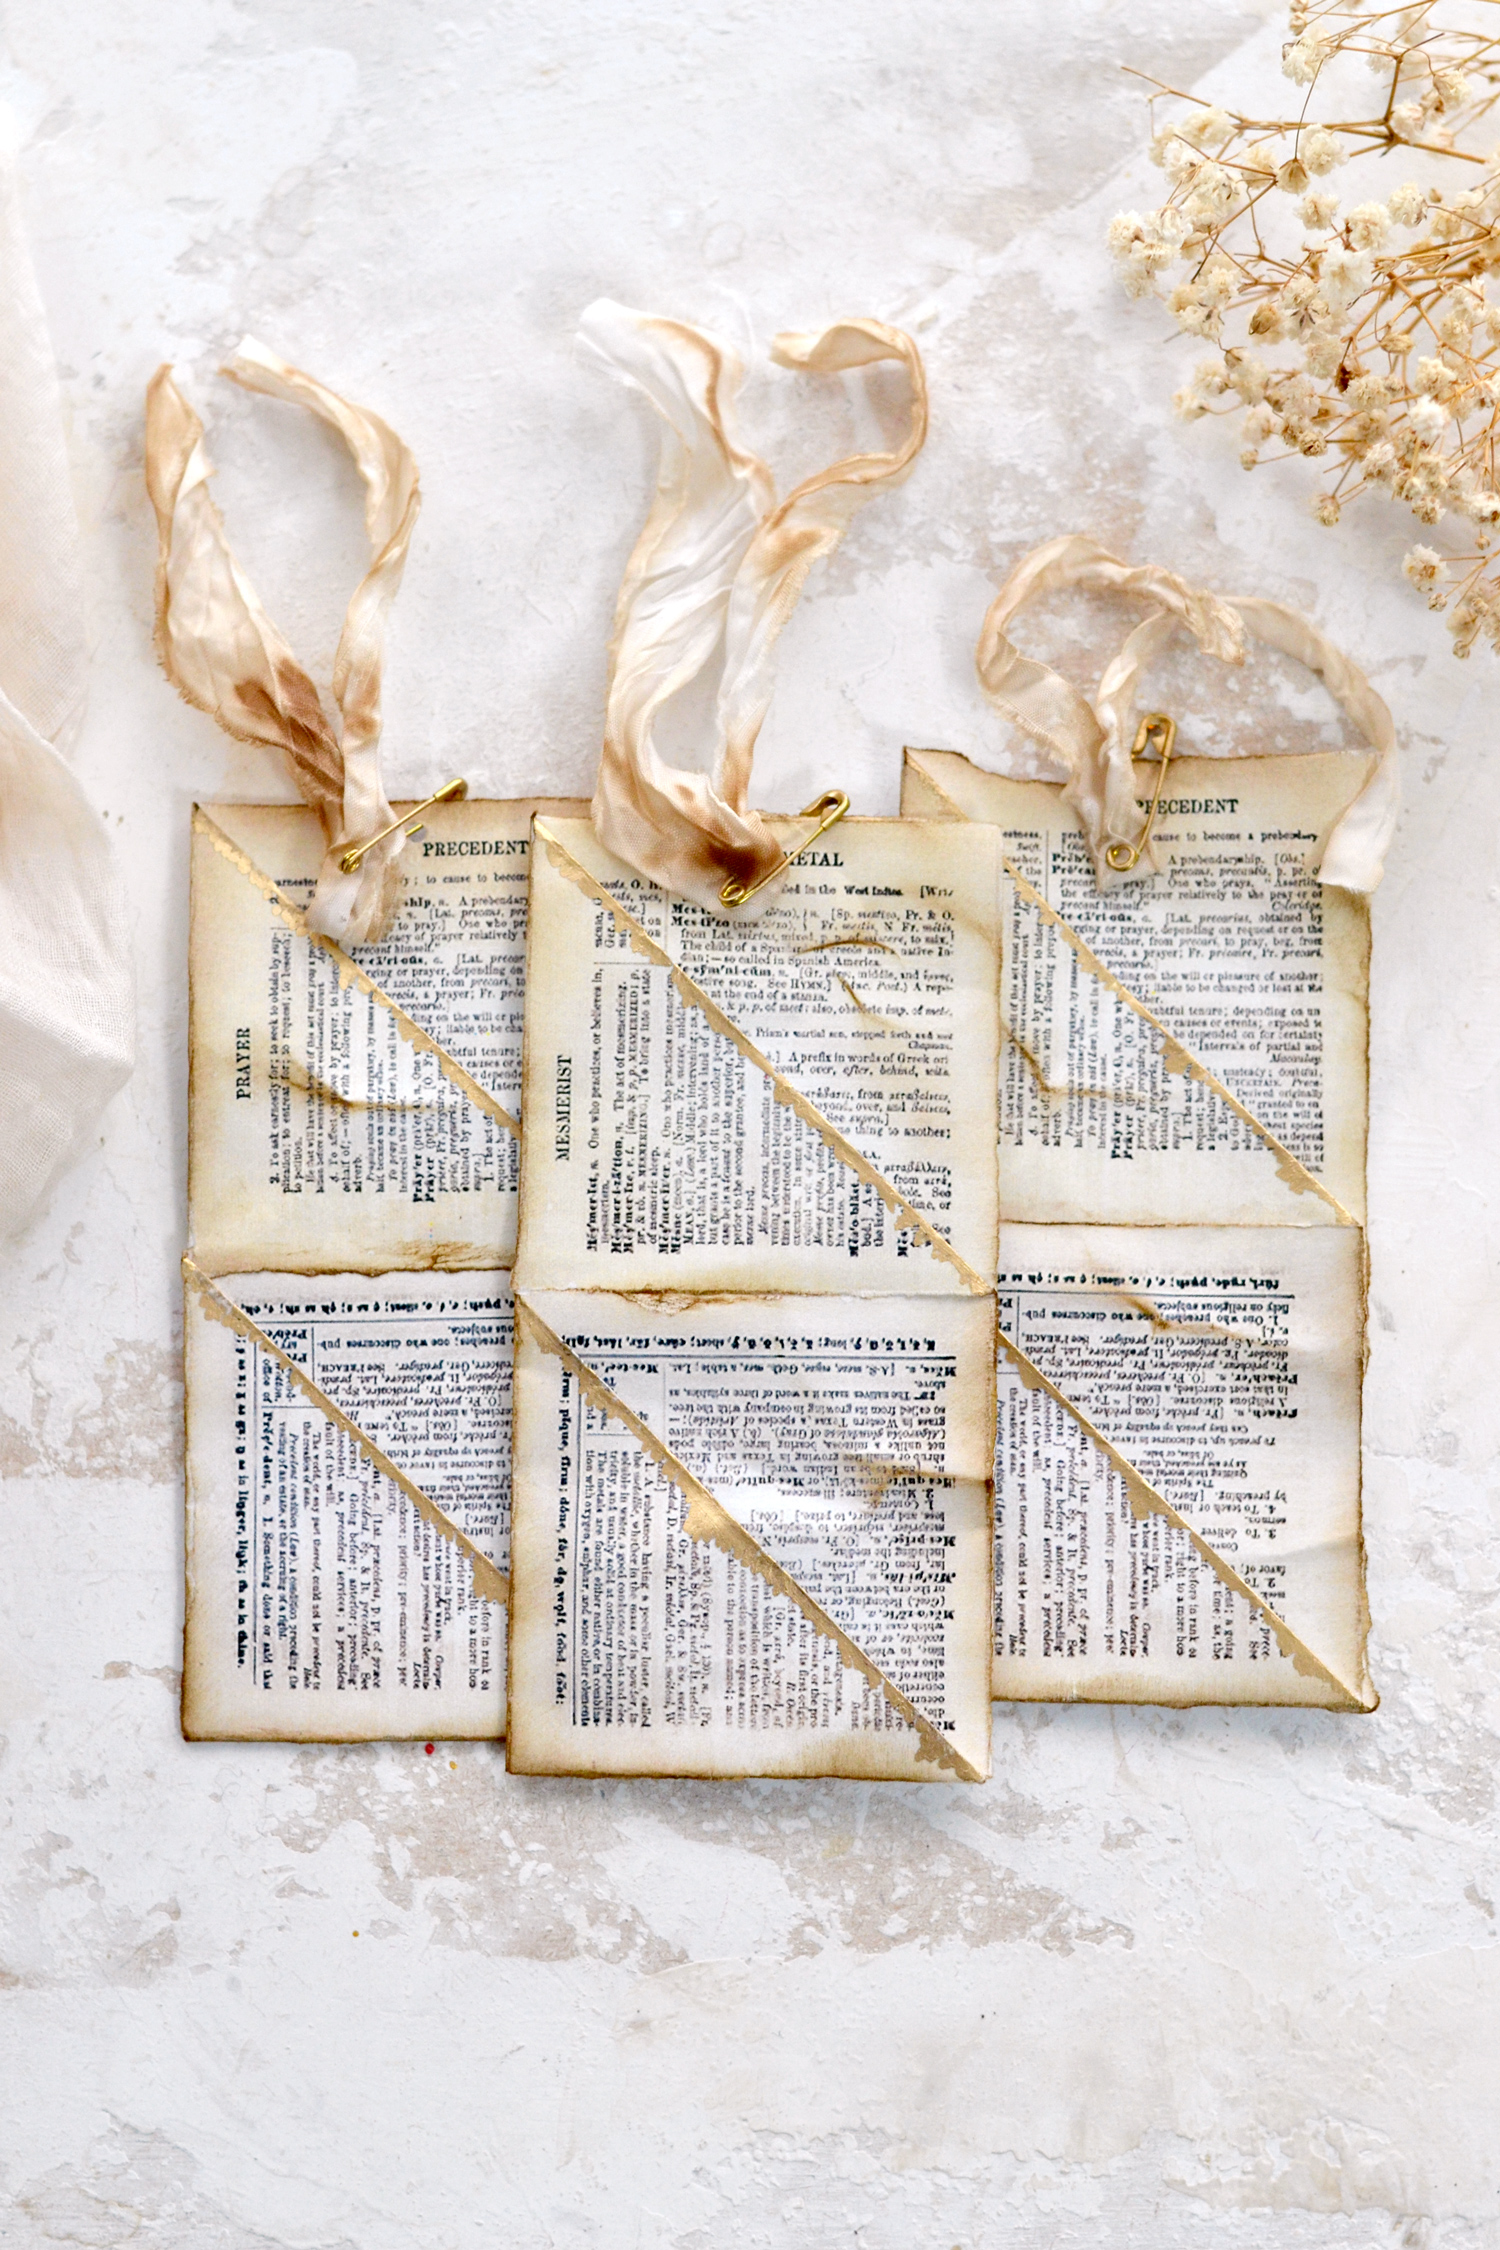
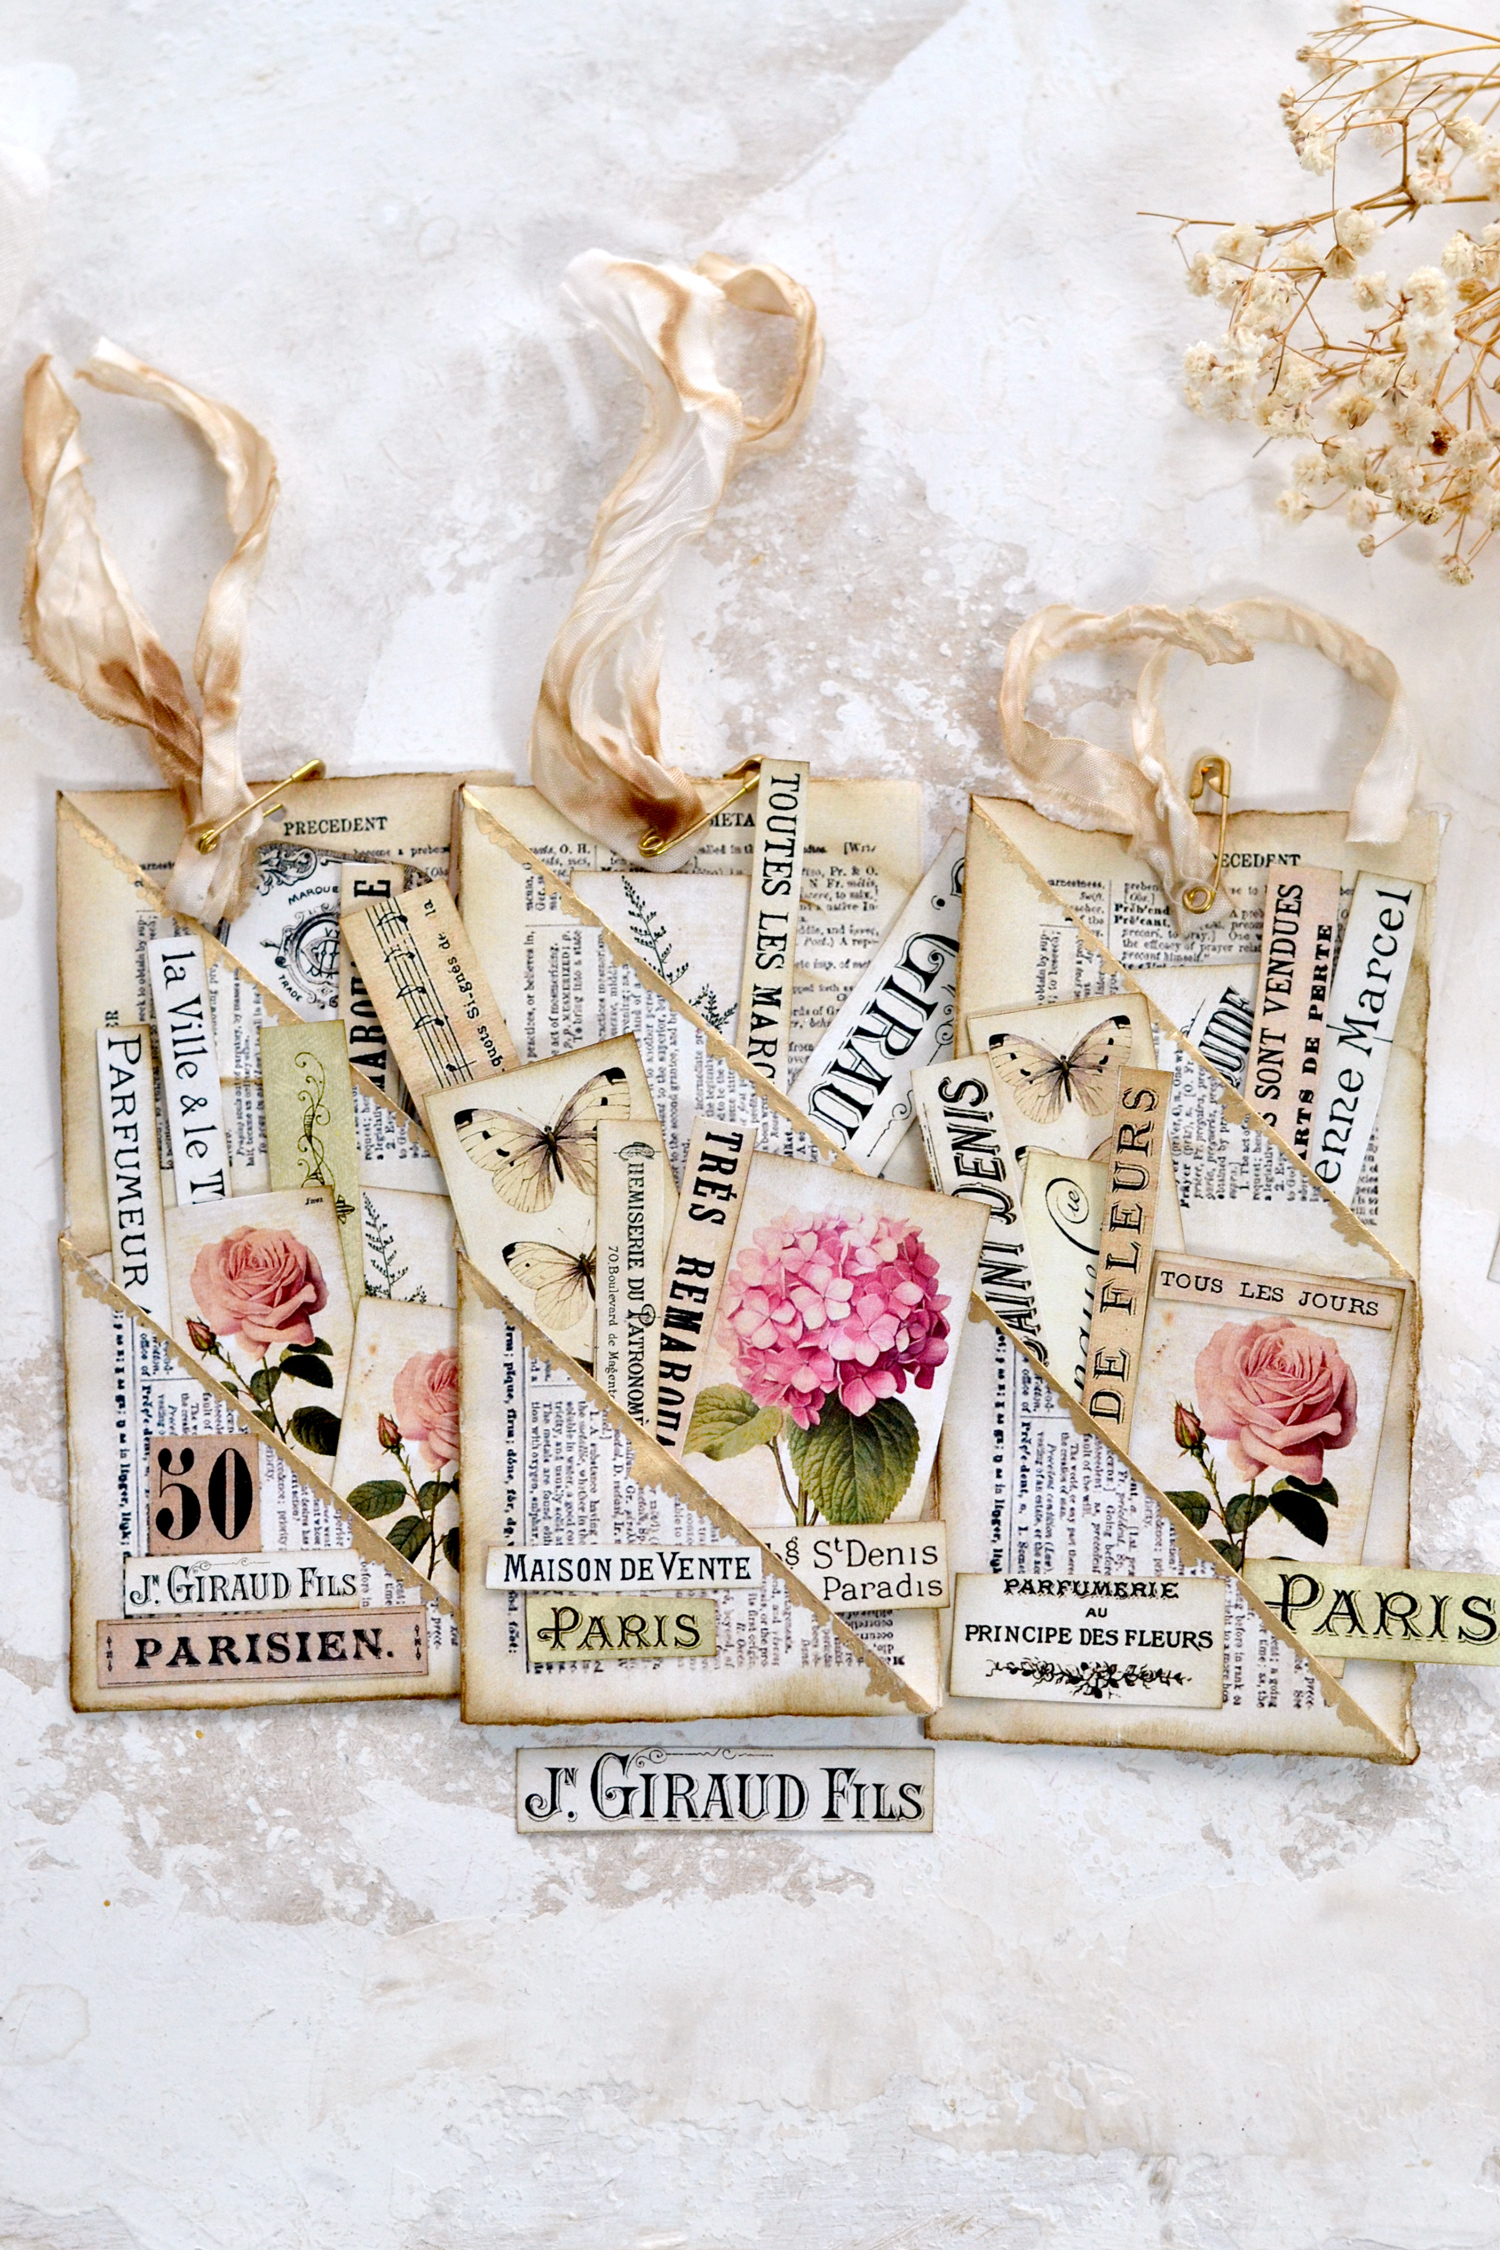
The final double pocket tags look stunning! I think we did such an amazing job with these faux dictionary pages, they look quite realistic, don’t you think?
Moving on to cutting all our gorgeous additional elements from the second printable!
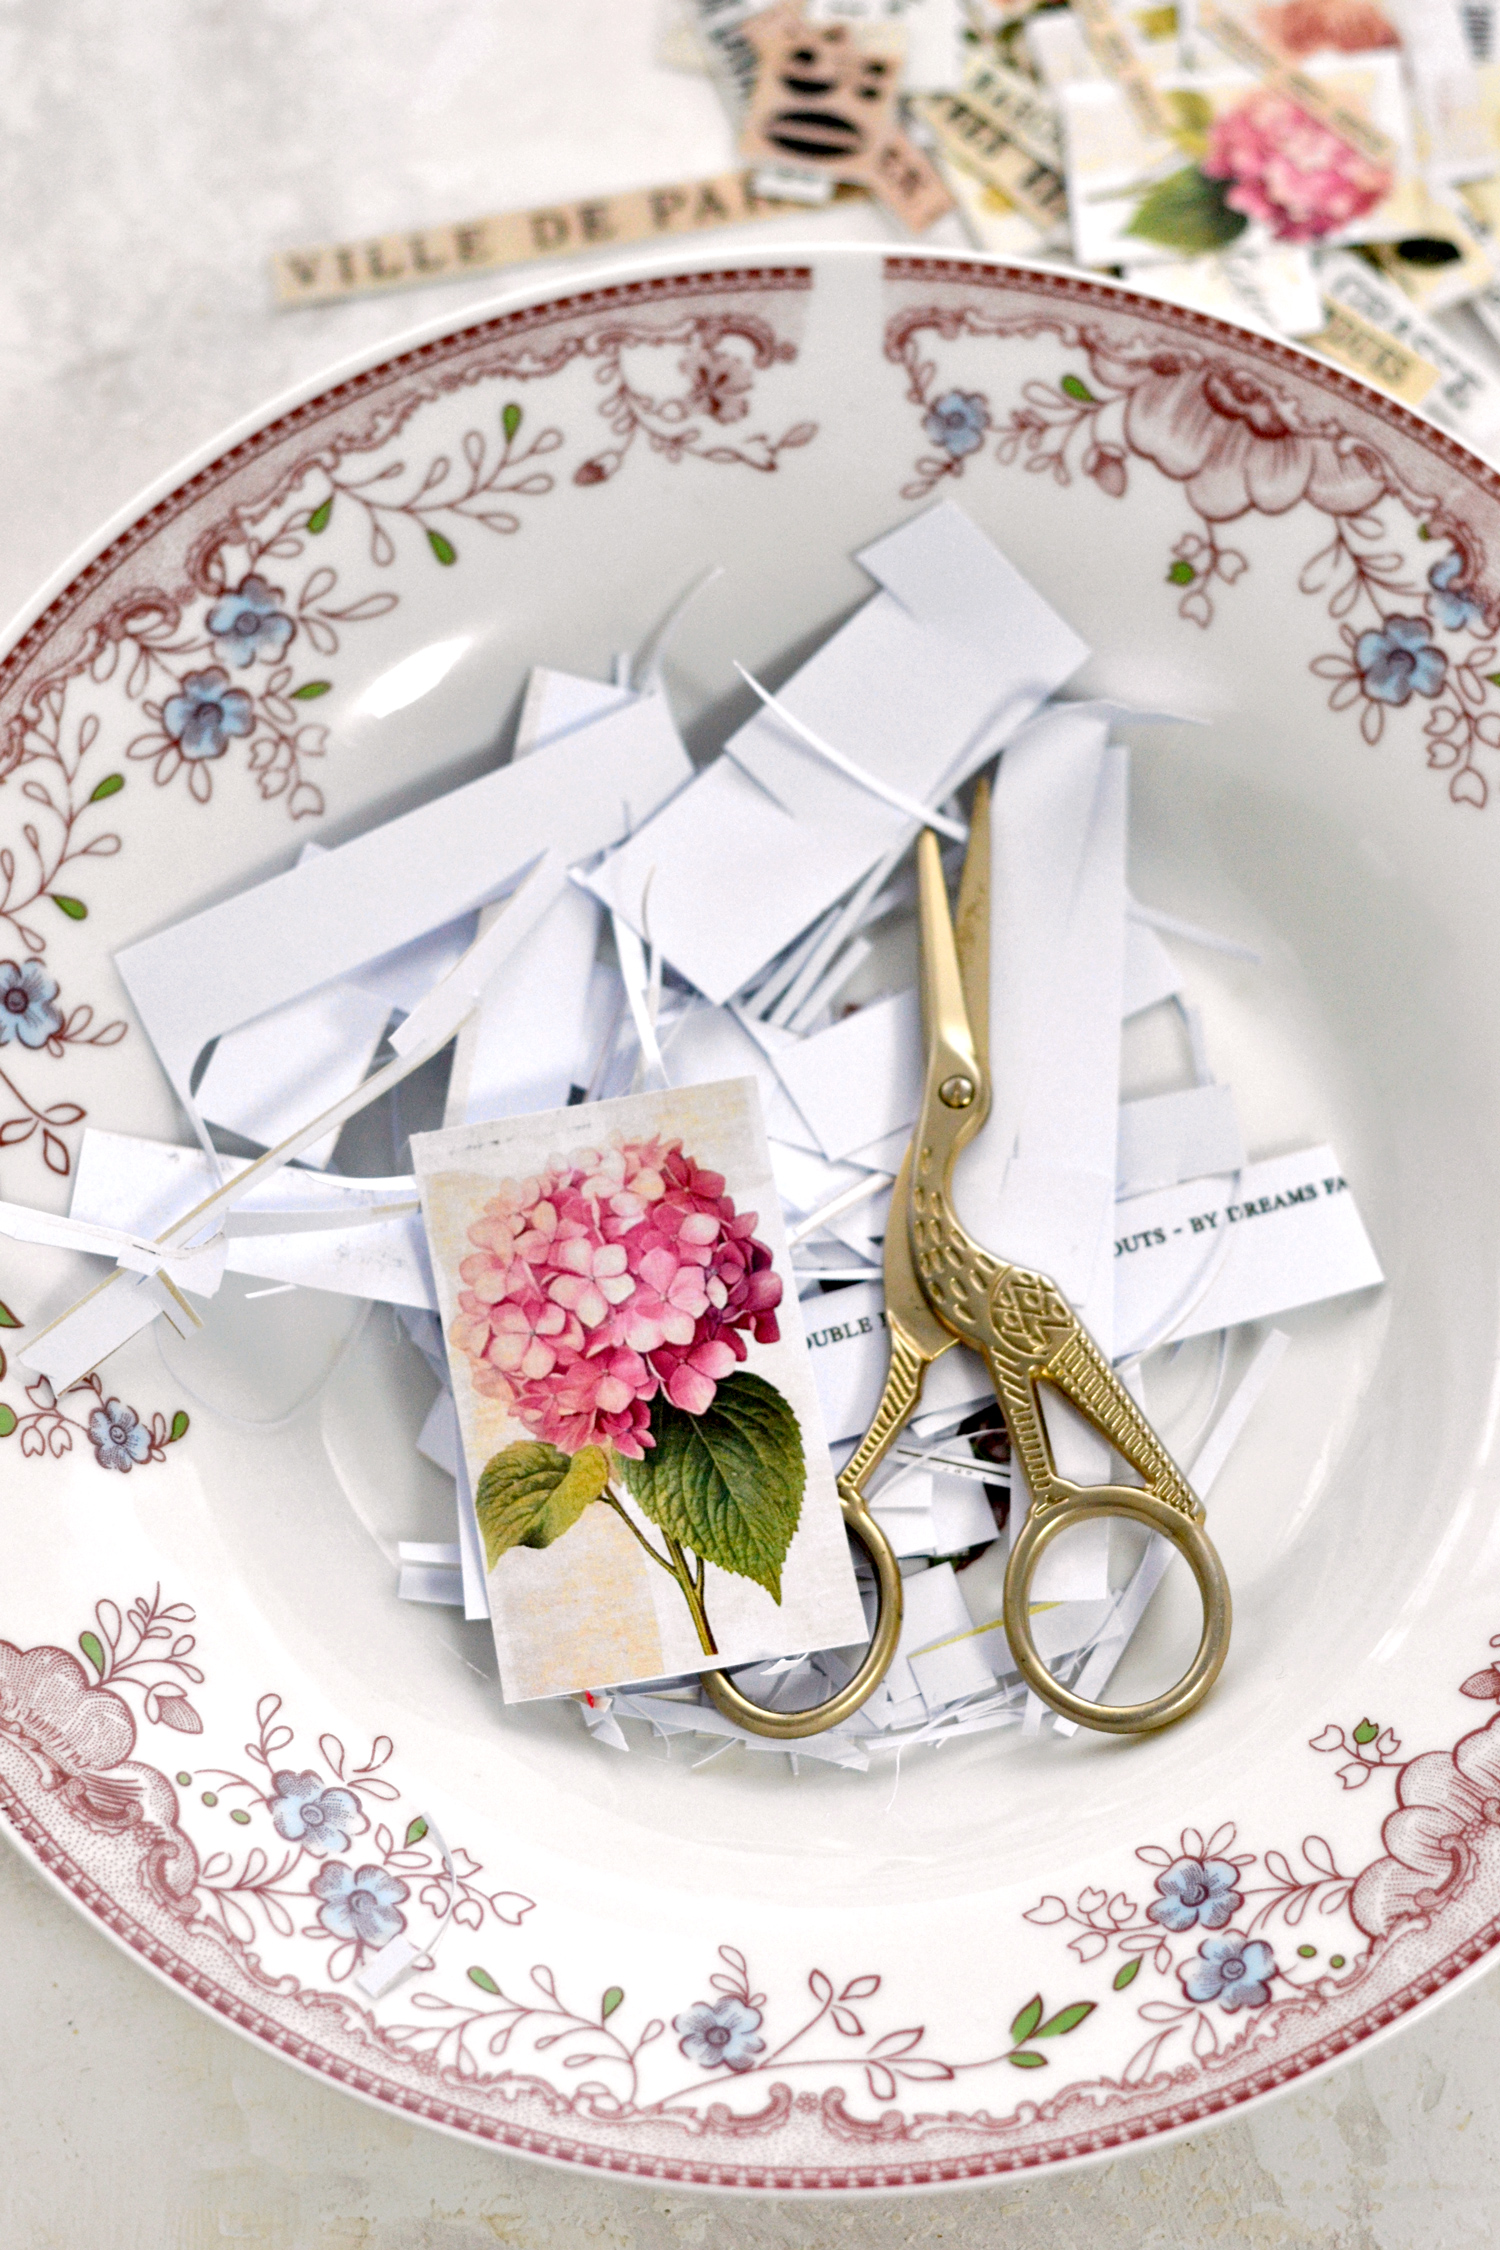
I like to use a plate or a bowl when cutting all these small beauties, the after-cleaning is so much easier this way!
If you want, you can use a little bit of distress ink to make the paper less bright and also give it that vintage look that we all love.
I forgot to mention that I used cardstock paper to print the additional elements, but I’m sure regular paper will work too!
I’m loving each and every one of these beauties!
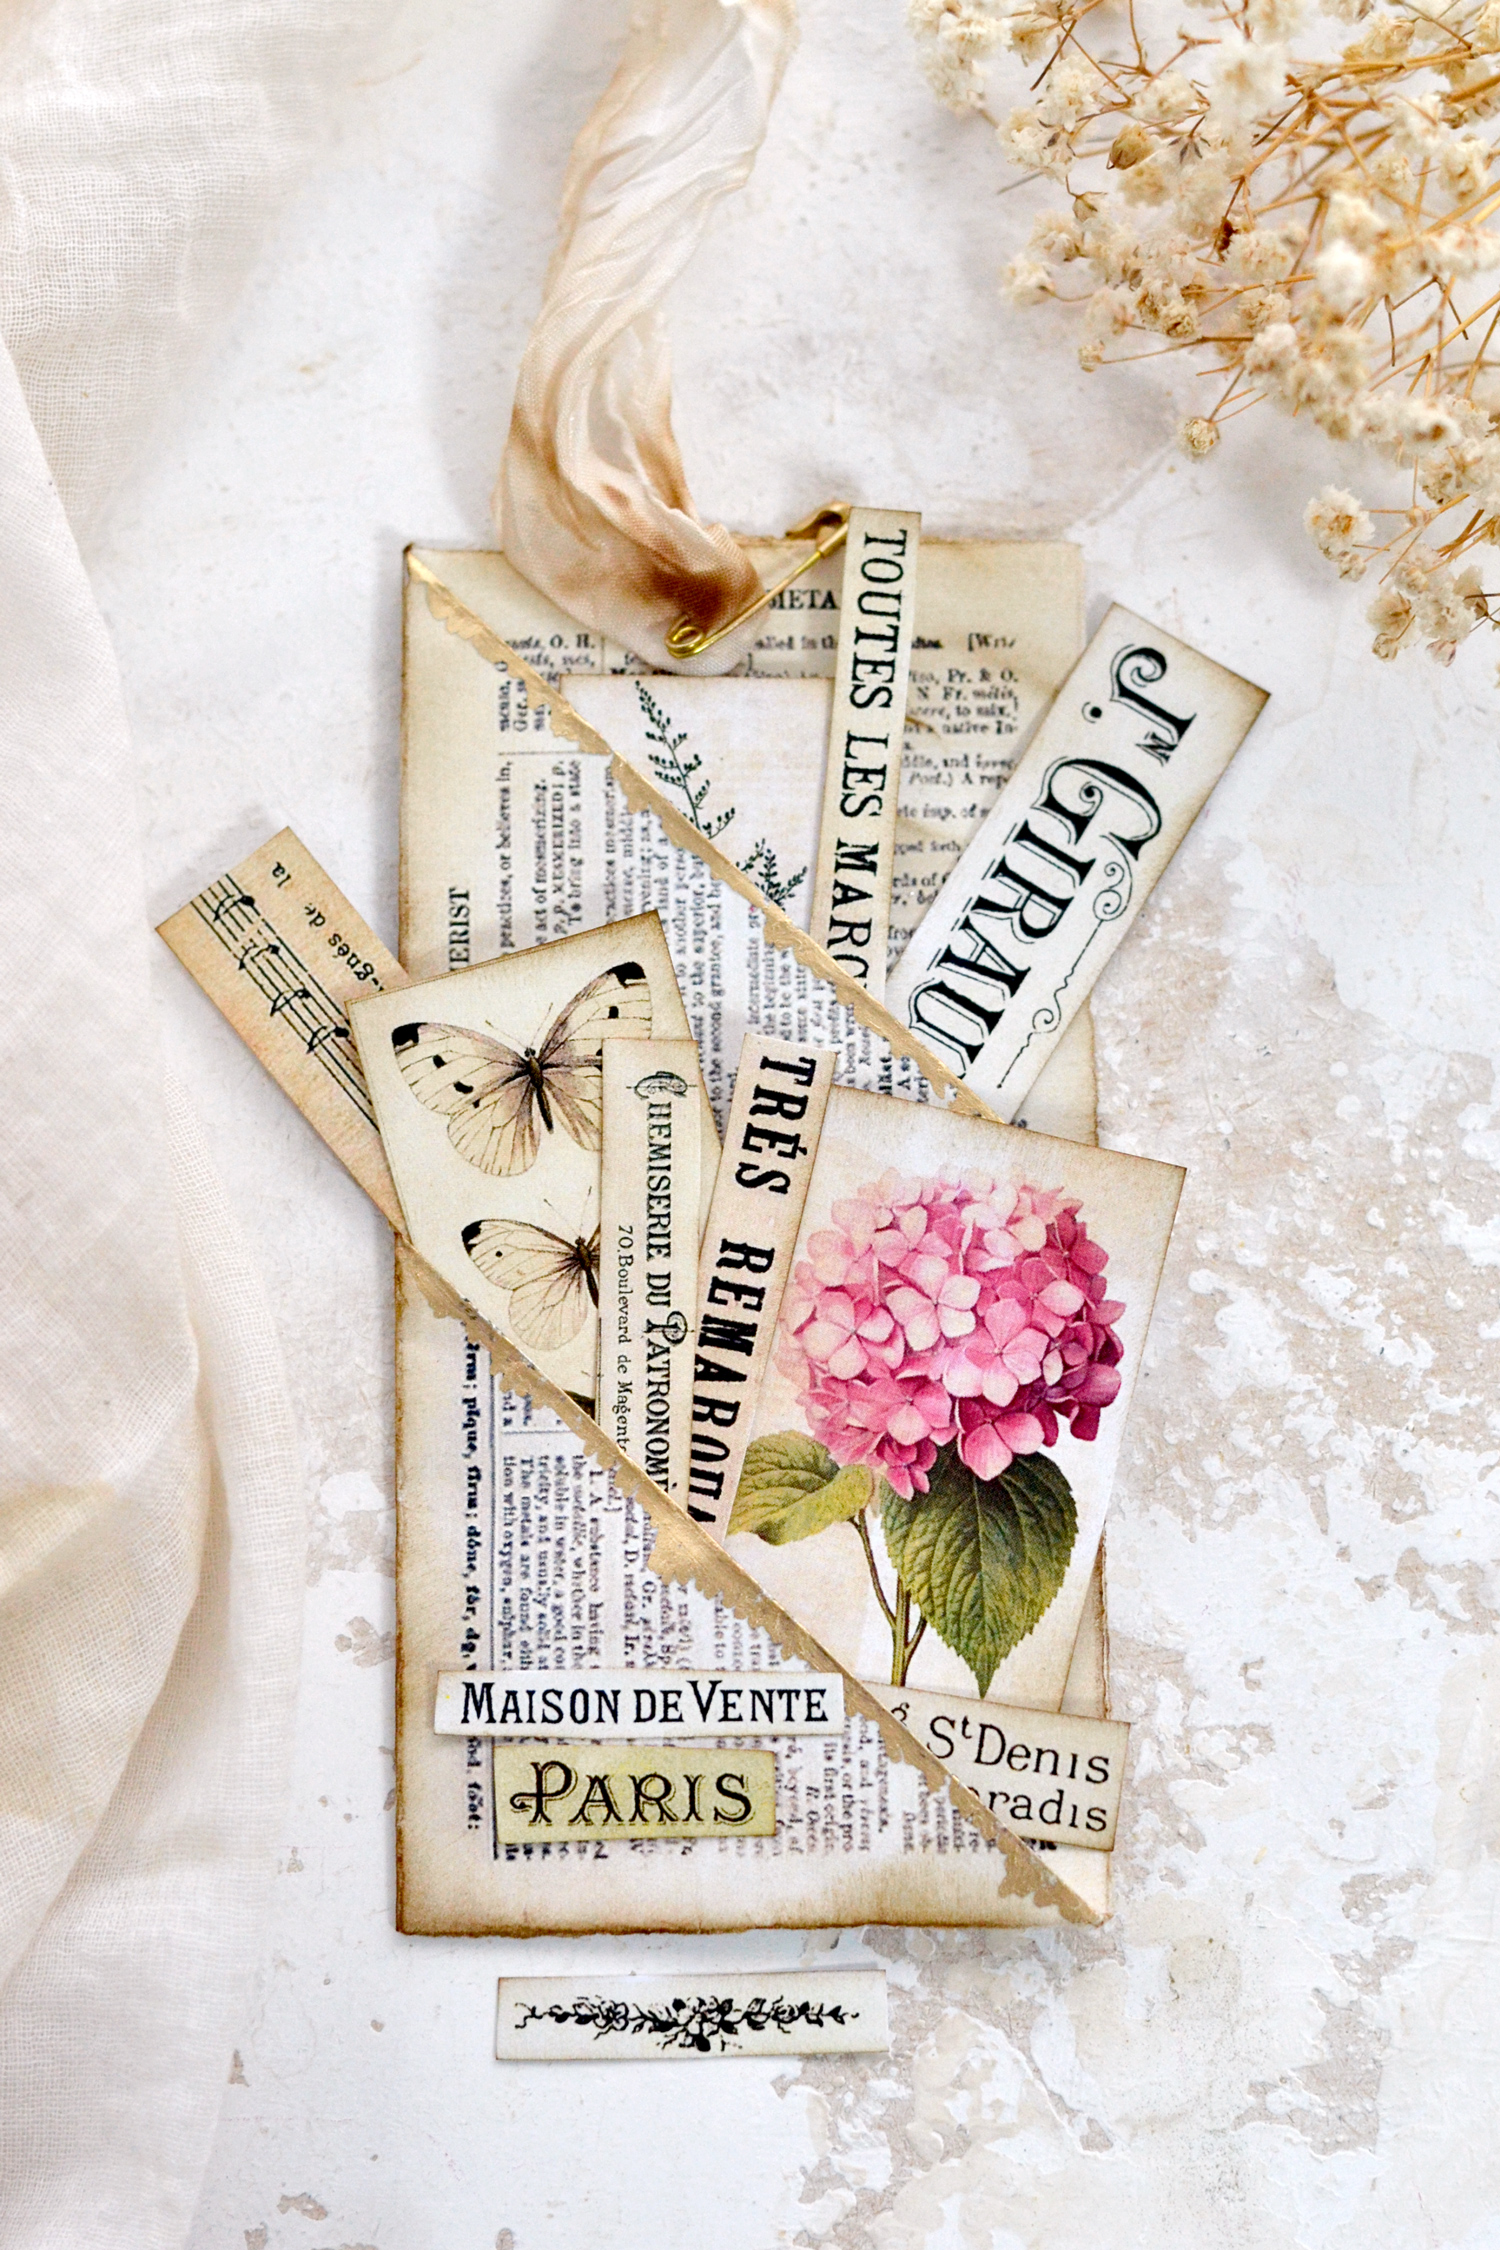
And now that we have everything ready, we can simply tuck our oh-so-gorgeous cutouts inside our oh-so-gorgeous book page double pocket tags!
You can keep the larger elements inside the larger pocket and tuck the smaller ones inside the smaller pocket on the front.
You can keep the cutouts as separate elements or you can use them to create small premade clusters that you can include in your junk journal or why not, other creative projects too! You can even choose to further decorate the tags themselves using some of these additional elements, the sky is the limit!
I hope you will love this project and decide to give it a try! You will see that once you get the basic folding techniques to make the double pockets you will be able to turn any type of paper into customized double pocket tags and even create different sizes!
 You might also like my French Style Junk Journal Pockets HERE.
Happy crafting,
Diana / Dreams Factory











Connie Griffin says
very neat design, now if I just new what all the words mean, LOL!
Karen Watson says
Haha! Google translate perhaps?
Diane says
My art is mixed media and watercolor but when I saw these beautiful tag pockets I became possessed! I had to try my hand. I have decided to make them for three of my friends as valentine gifts. I will include red ribbon on top and tuck a small heart inside. Thank you for this wonderful inspiration and gift.
Karen Watson says
That is wonderful to hear Diane! I’m sure your friends will enjoy receiving these sweet handmade gifts!
Karen says
Love these! Just made the tags and now going to cut out all the beautiful elements! Thanks so much these were so easy to make! xo
Karen Watson says
Yay! I love that you made these already Karen!
Susan Whittaker says
!Thank you Diana~you are so inspirational!
This is brilliant.
I have an old book of maps and geographical graphs that would also look awesome.
Love all your projects, keep ’em coming~!
Karen Watson says
I’m happy you enjoyed Diana’s lovely project Susan. Great idea bout the maps!!
Vickie McCubbin says
Thank you for the complete and thorough instructions. They are so easy to follow and the project is adorable!
Karen Watson says
I’m so glad you enjoyed Diana’s pretty project Vickie. Happy crafting!
Angie says
Nice simple add on to my junk journals!
Karen Watson says
Have fun making these pretties Angie!