Junk Journal Pockets
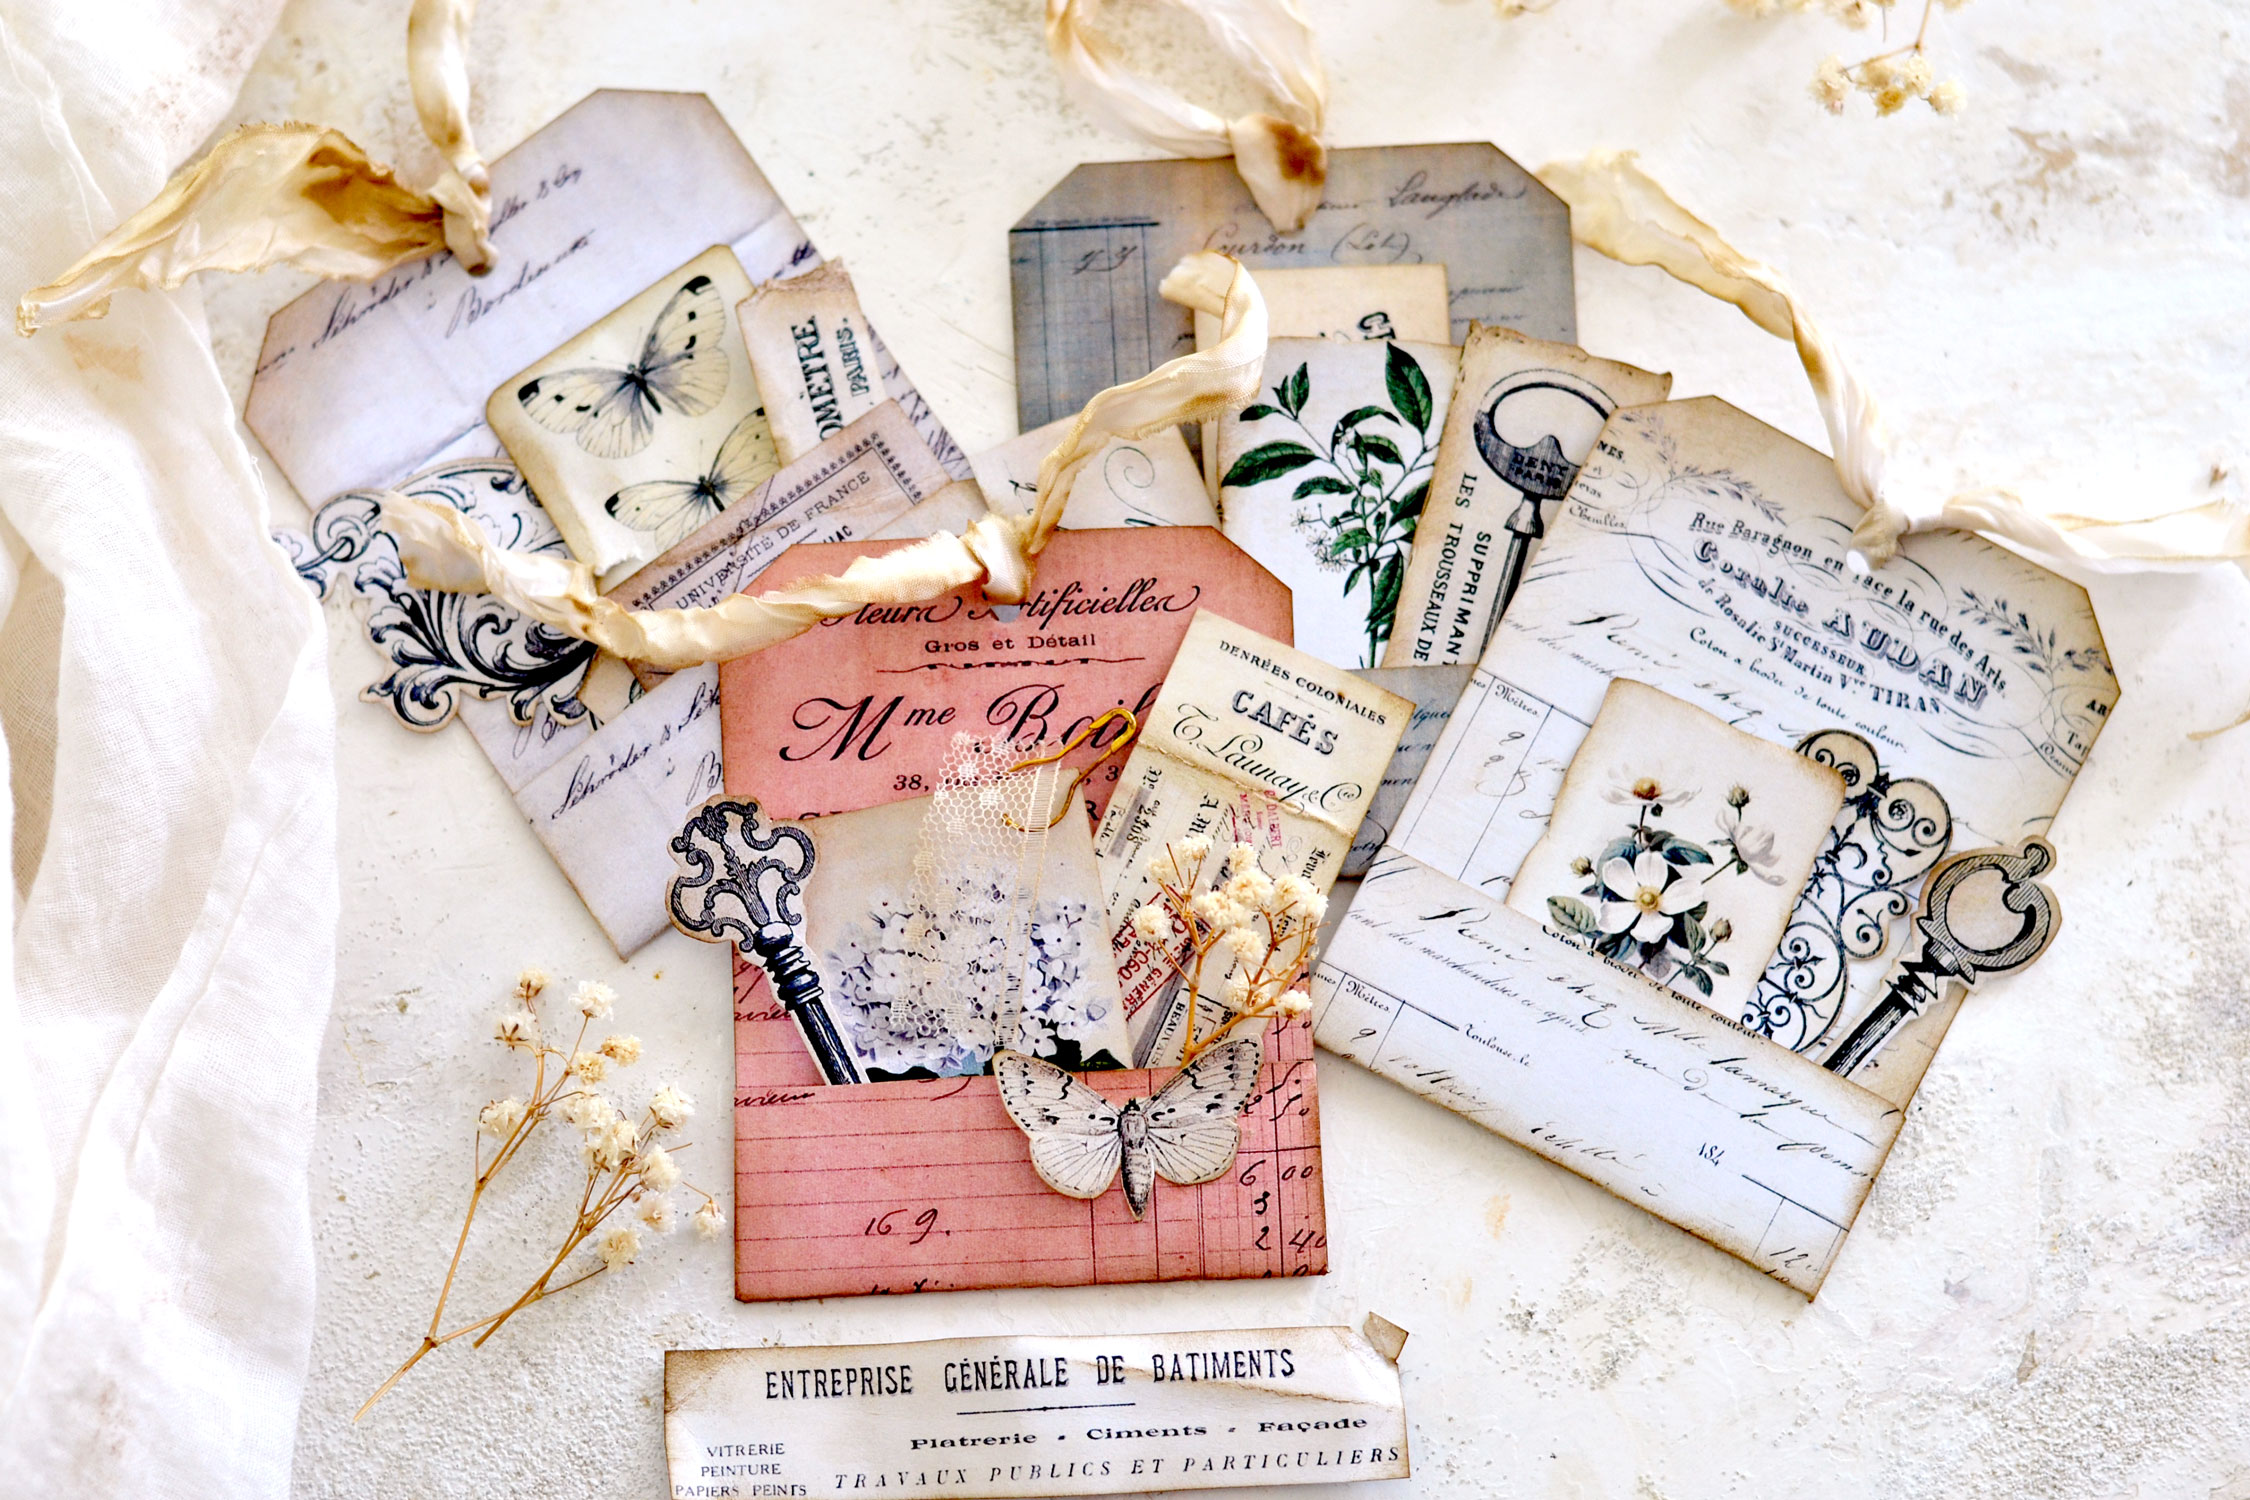
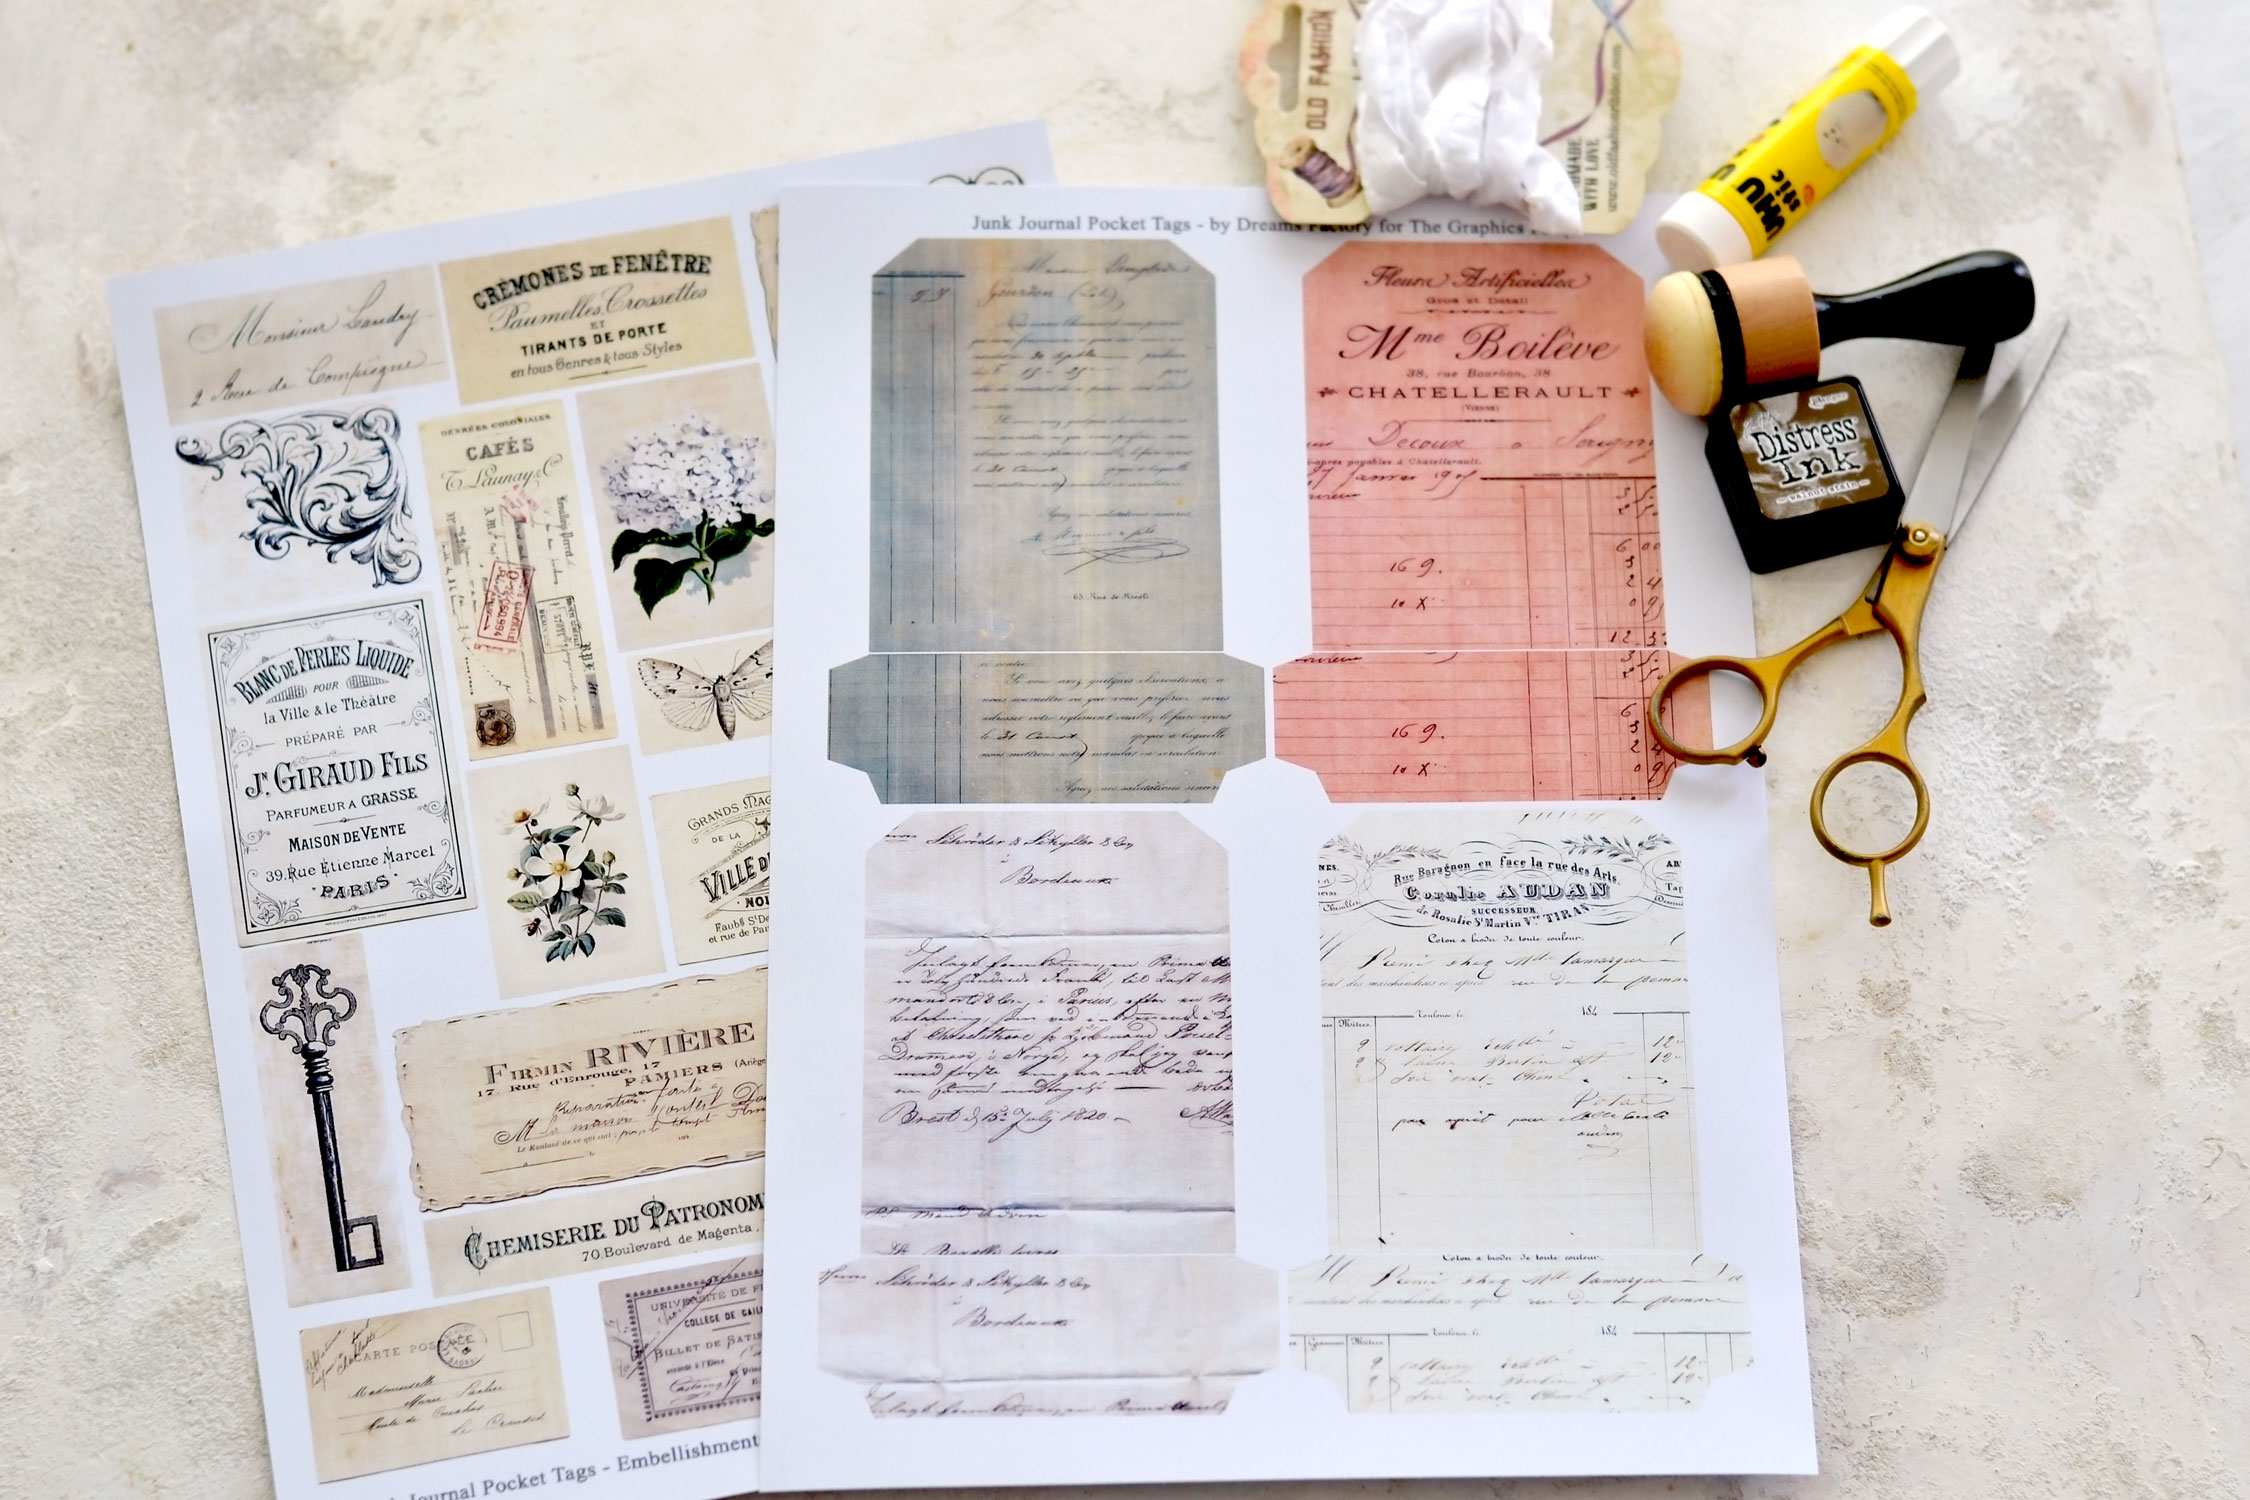
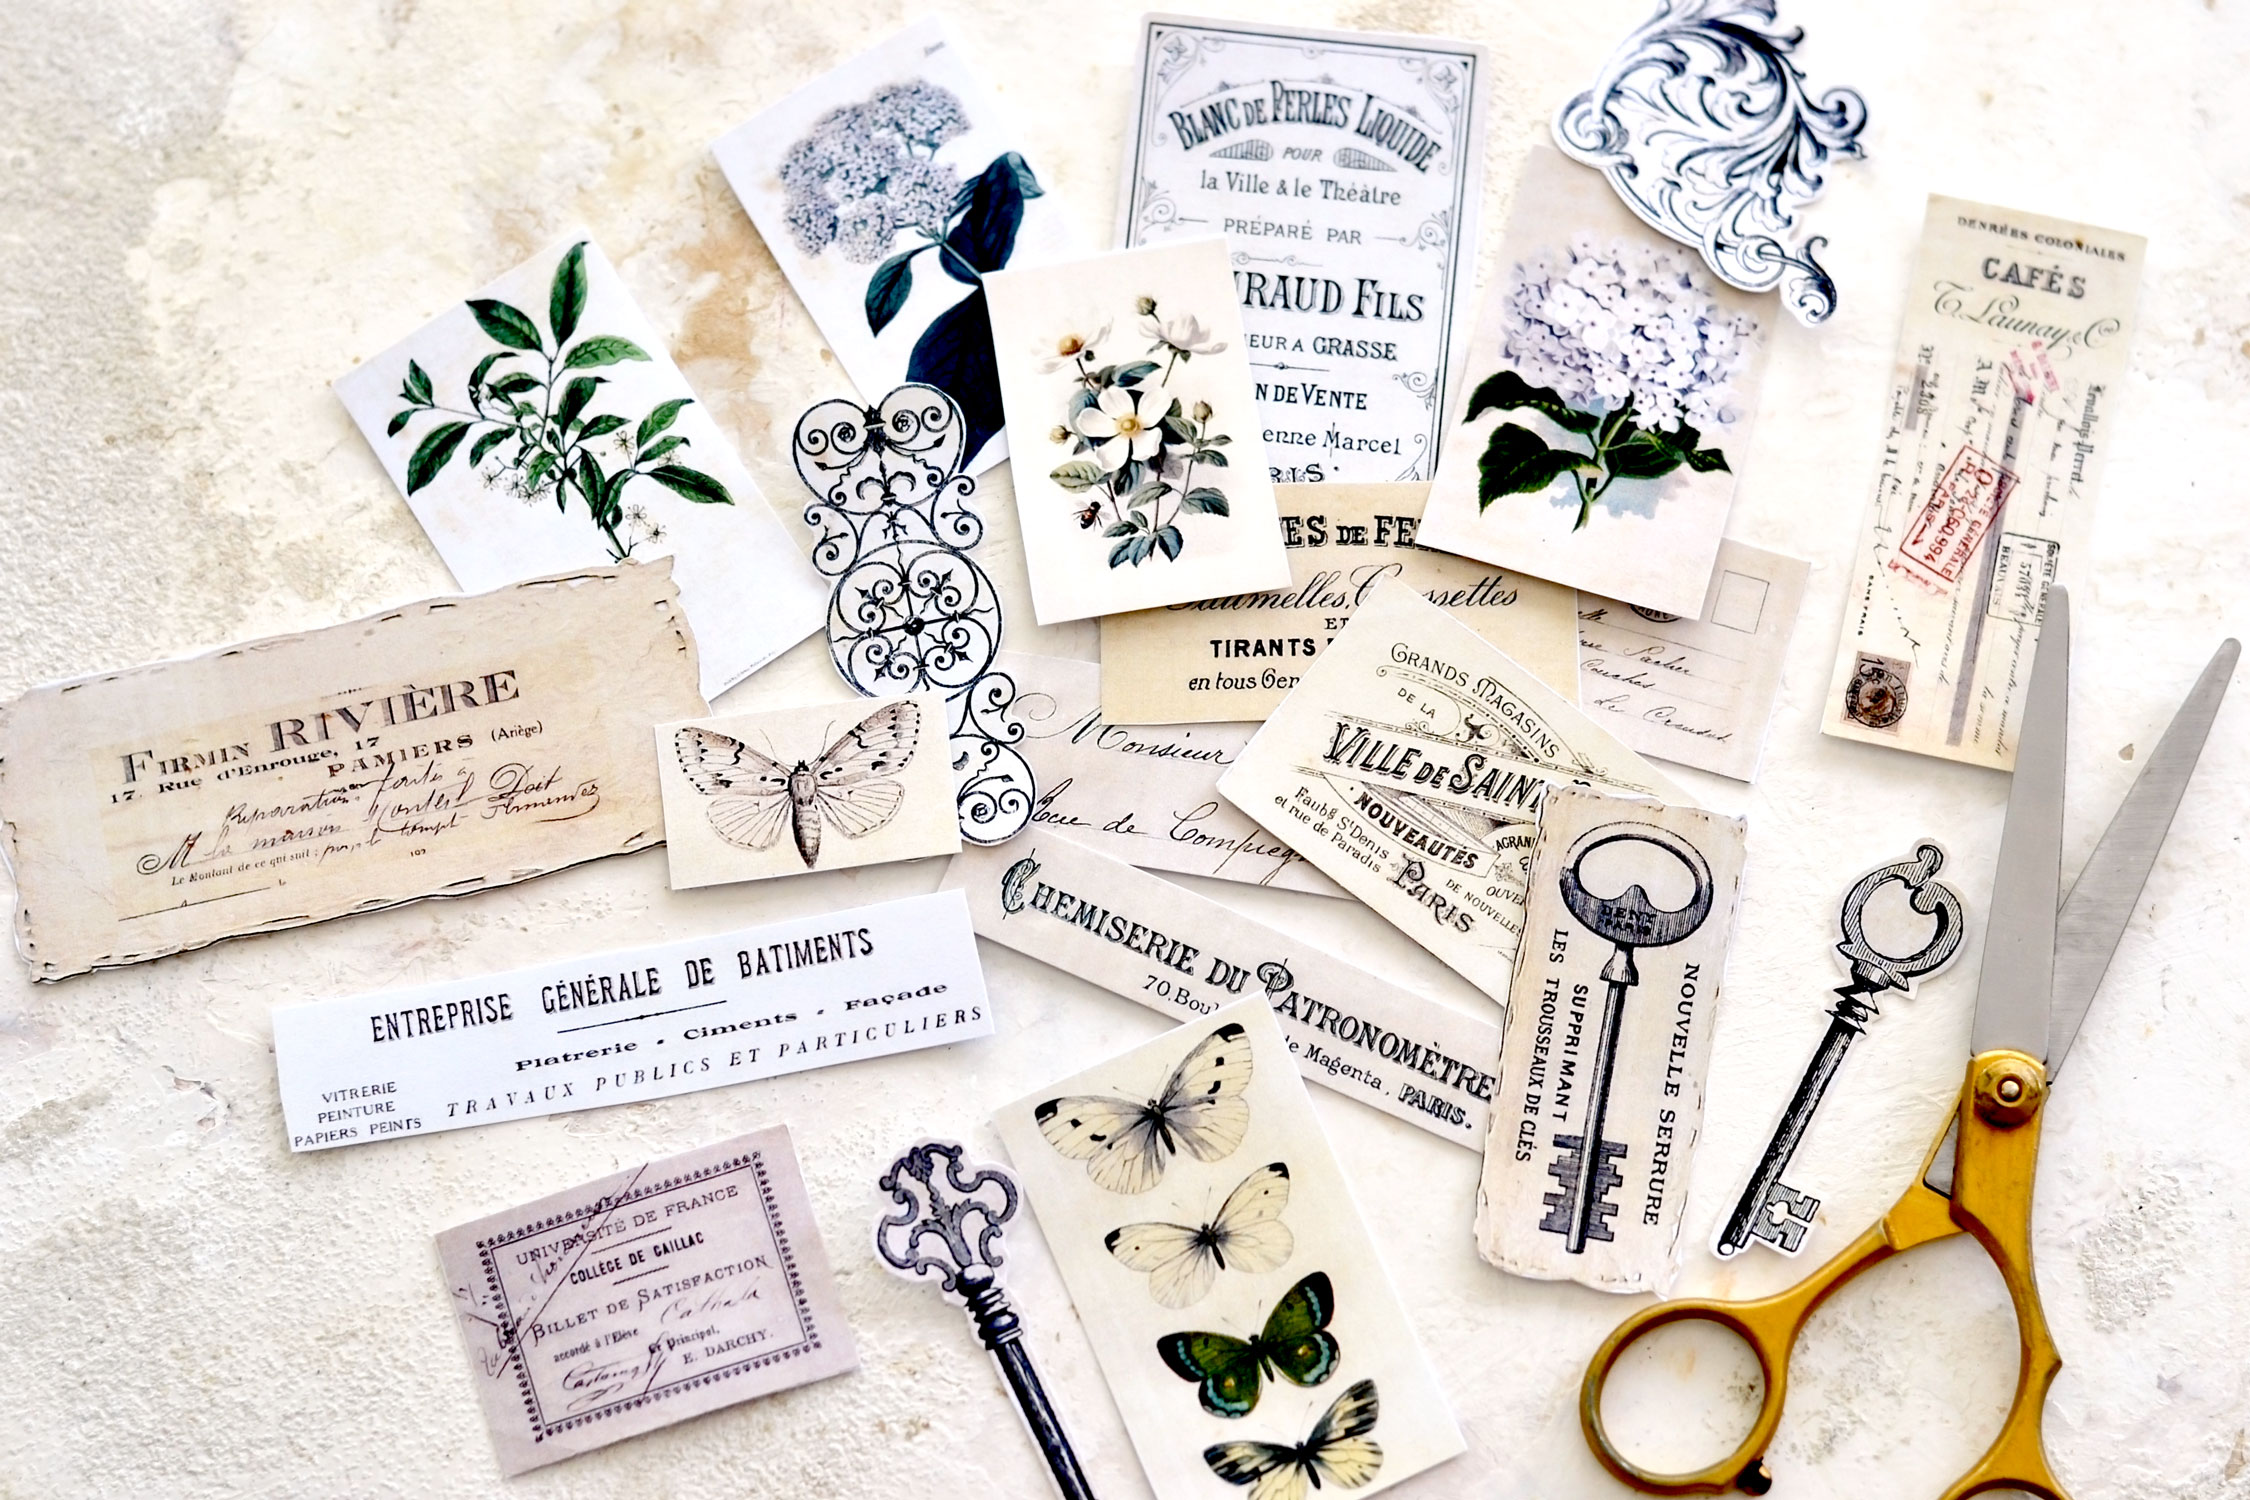
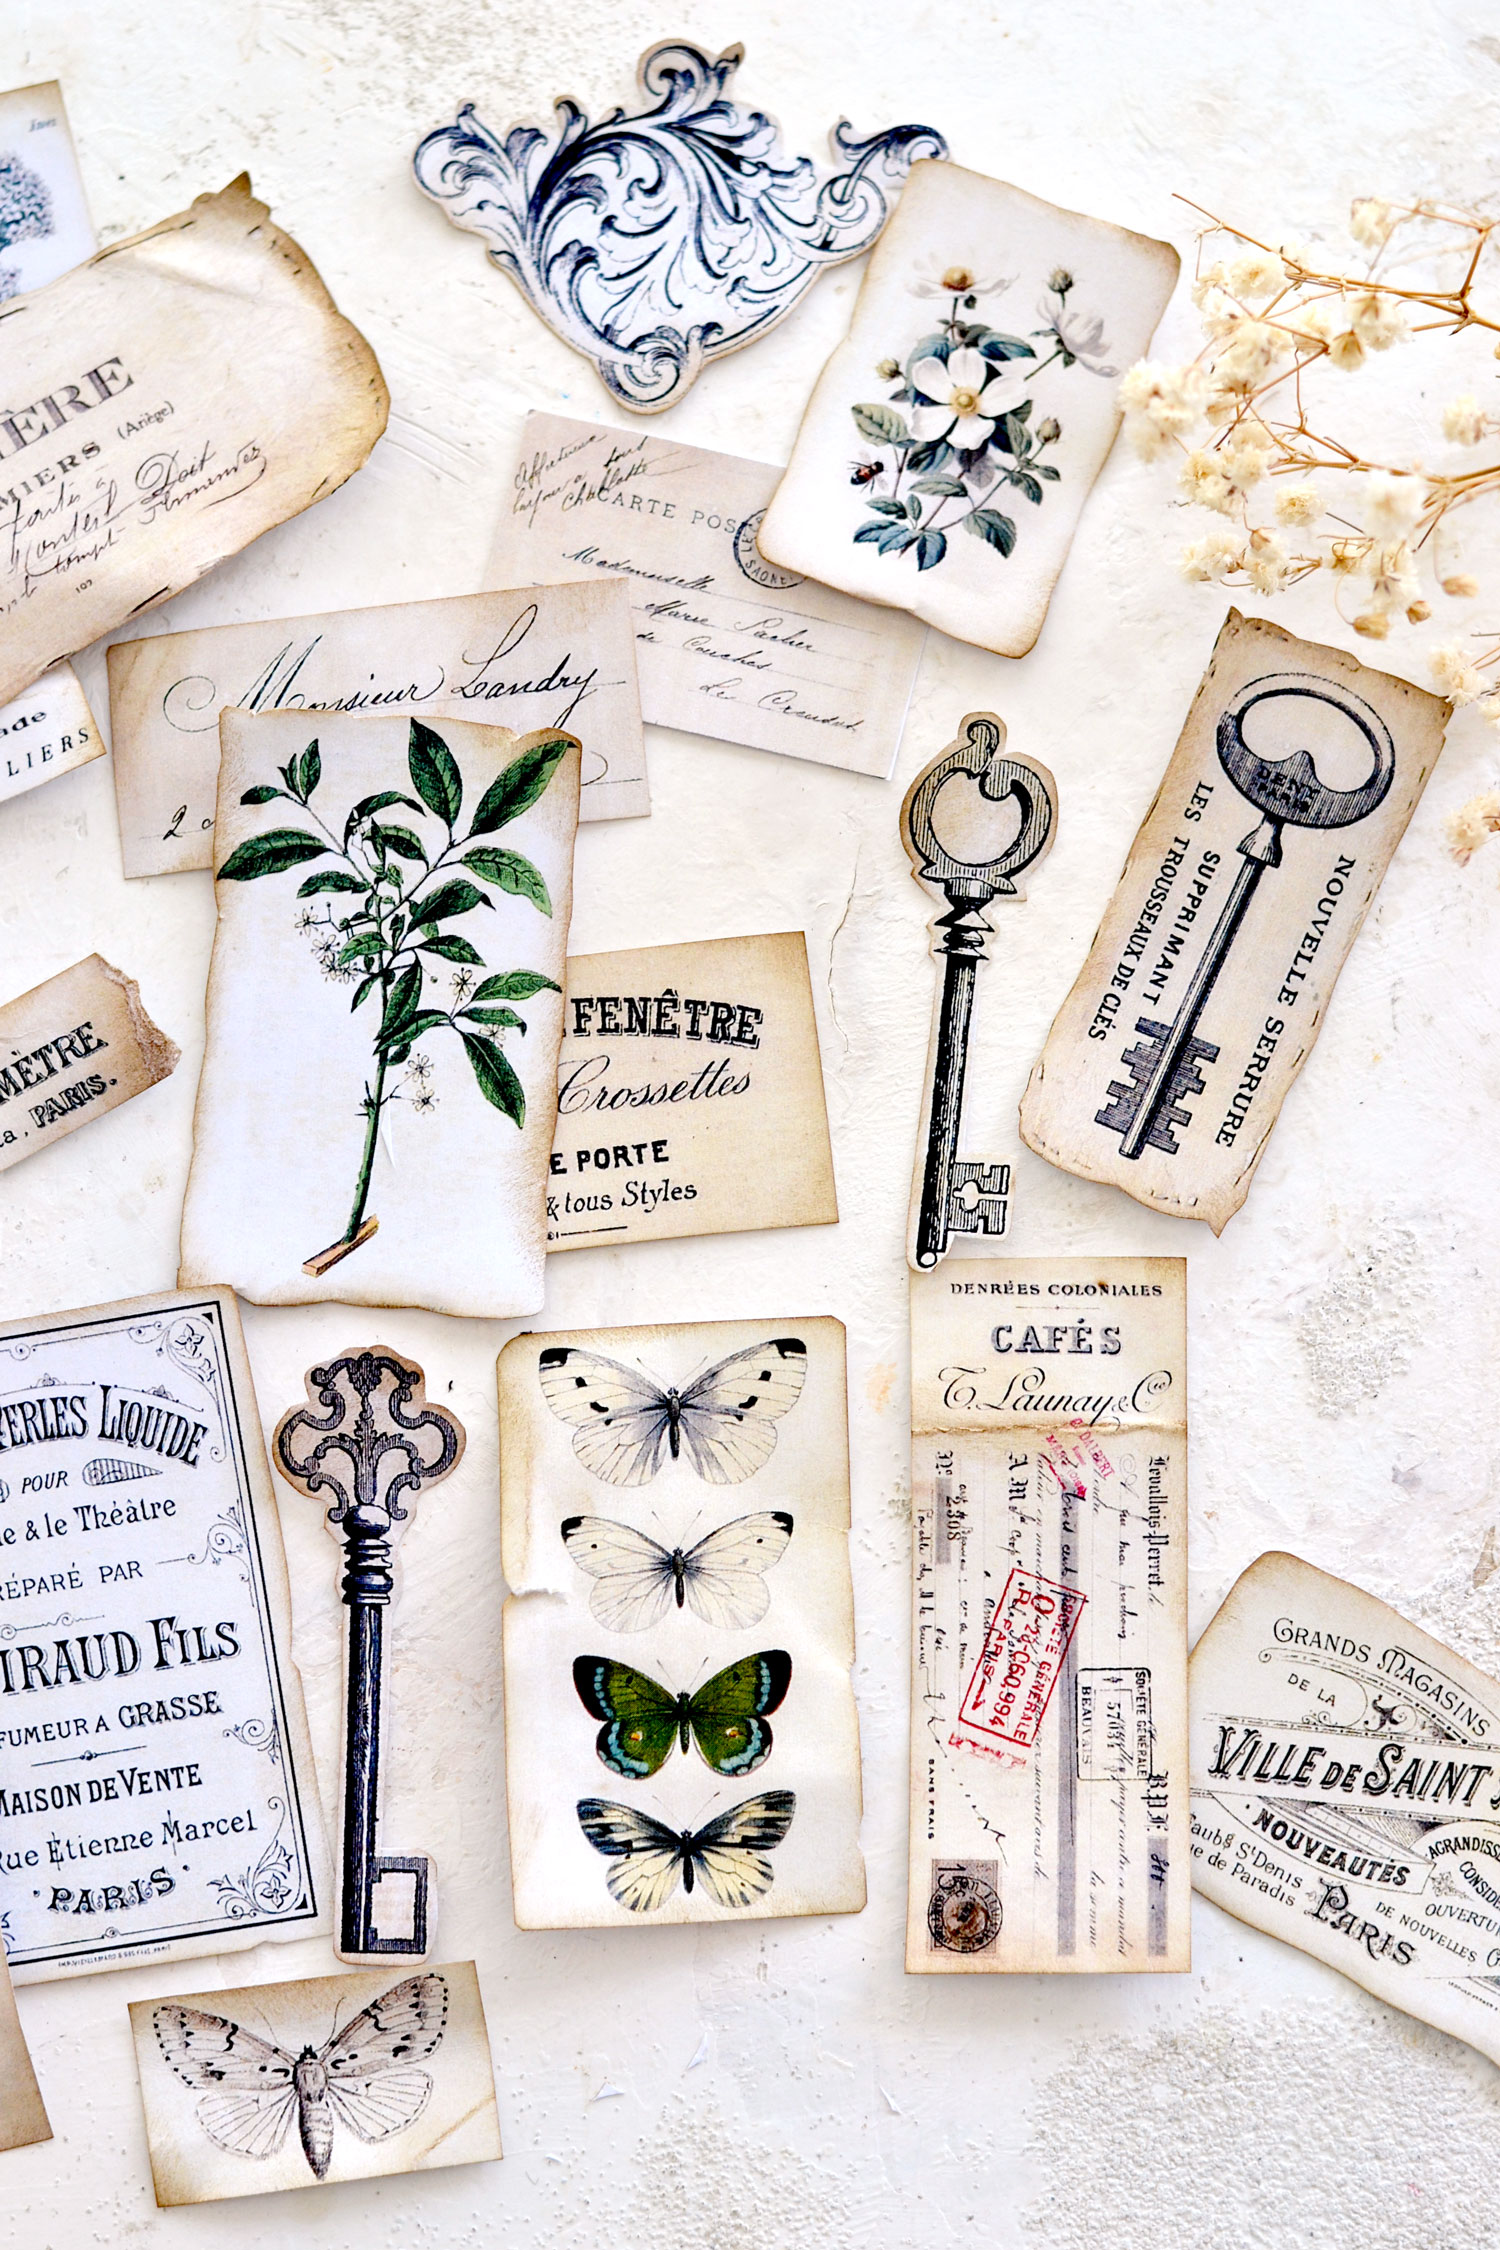
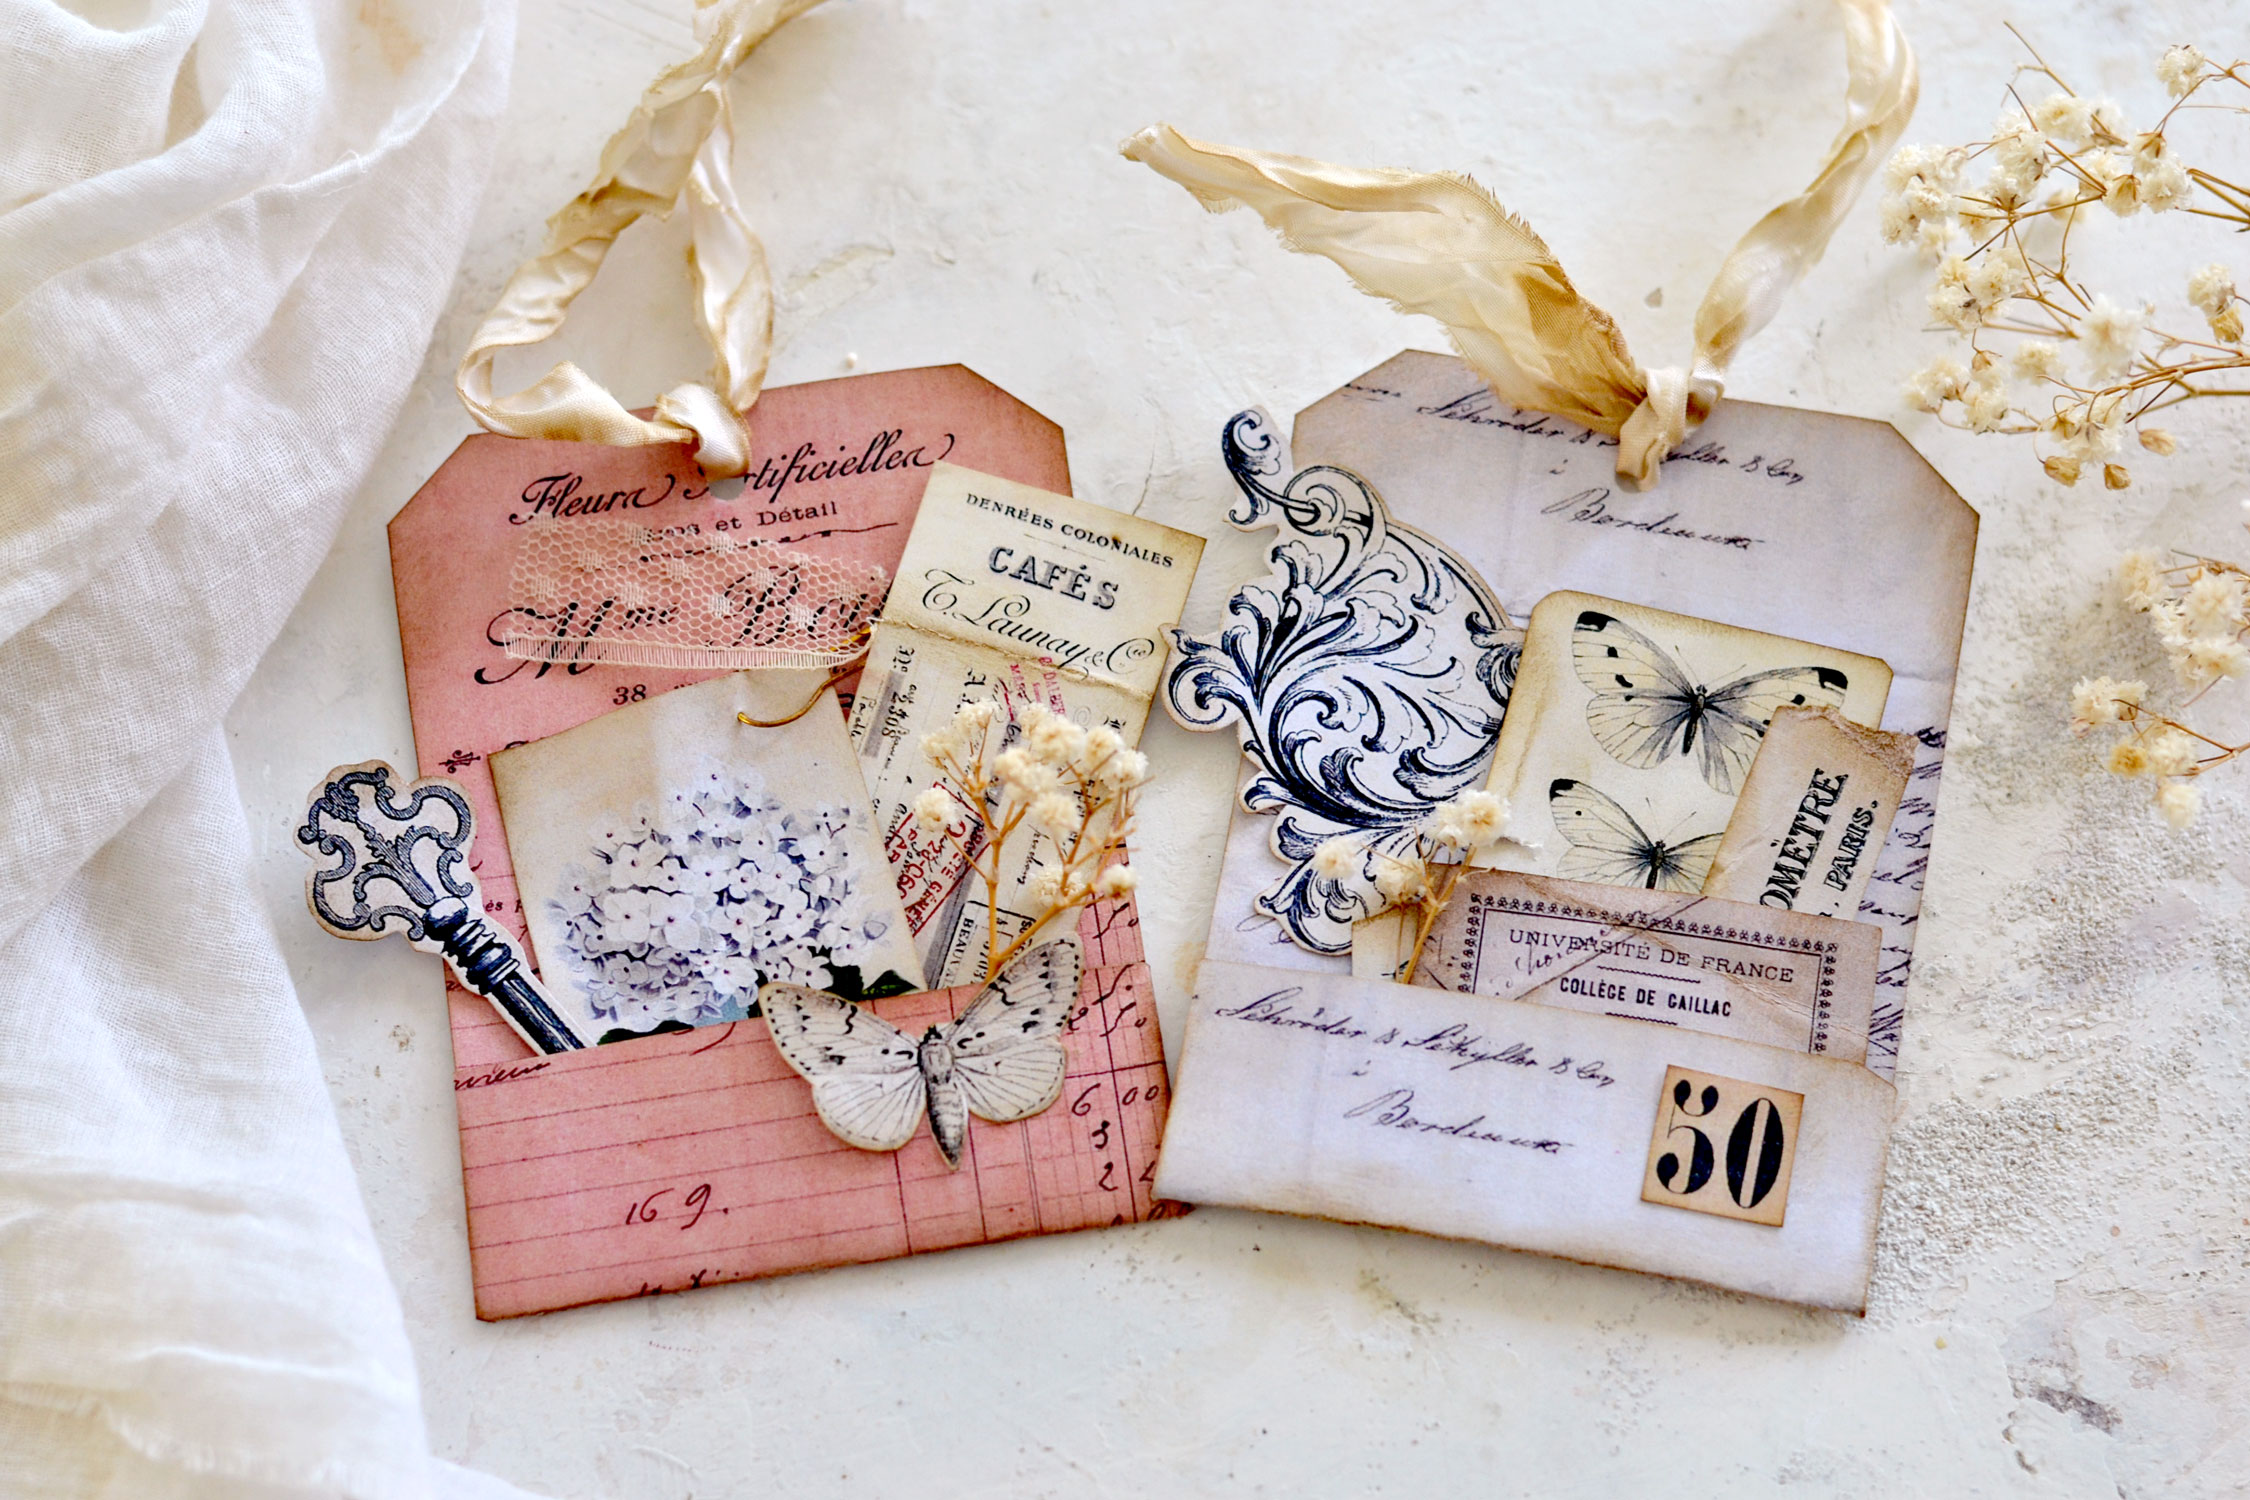
Hello Graphics Fairy friends! I’m Diana from Dreams Factory and I’m happy to be here again to share another DIY project with you! Today I will show you how to make these gorgeous DIY French Junk Journal Pocket Tags that can be ready in no time! We will use only a handful of supplies to make the tags and even though they already have a vintage vibe, you can further distress or embellish them as you want! As always, I’m sharing the free printable to make the pocket tags and as a bonus, I’m also sharing a separate printable with all sorts of beautiful elements! You will find French ephemera cutouts, butterfly images, antique keys, and a few adorable flowers that will add even more charm to the final pieces.
The pocket tags can be included in a junk journal page to hold your favorite paper elements in one place or to decorate your pages, all in a super stylish way! If you want, you can also use them as regular tags to embellish gifts or other projects that need a little bit of TLC.
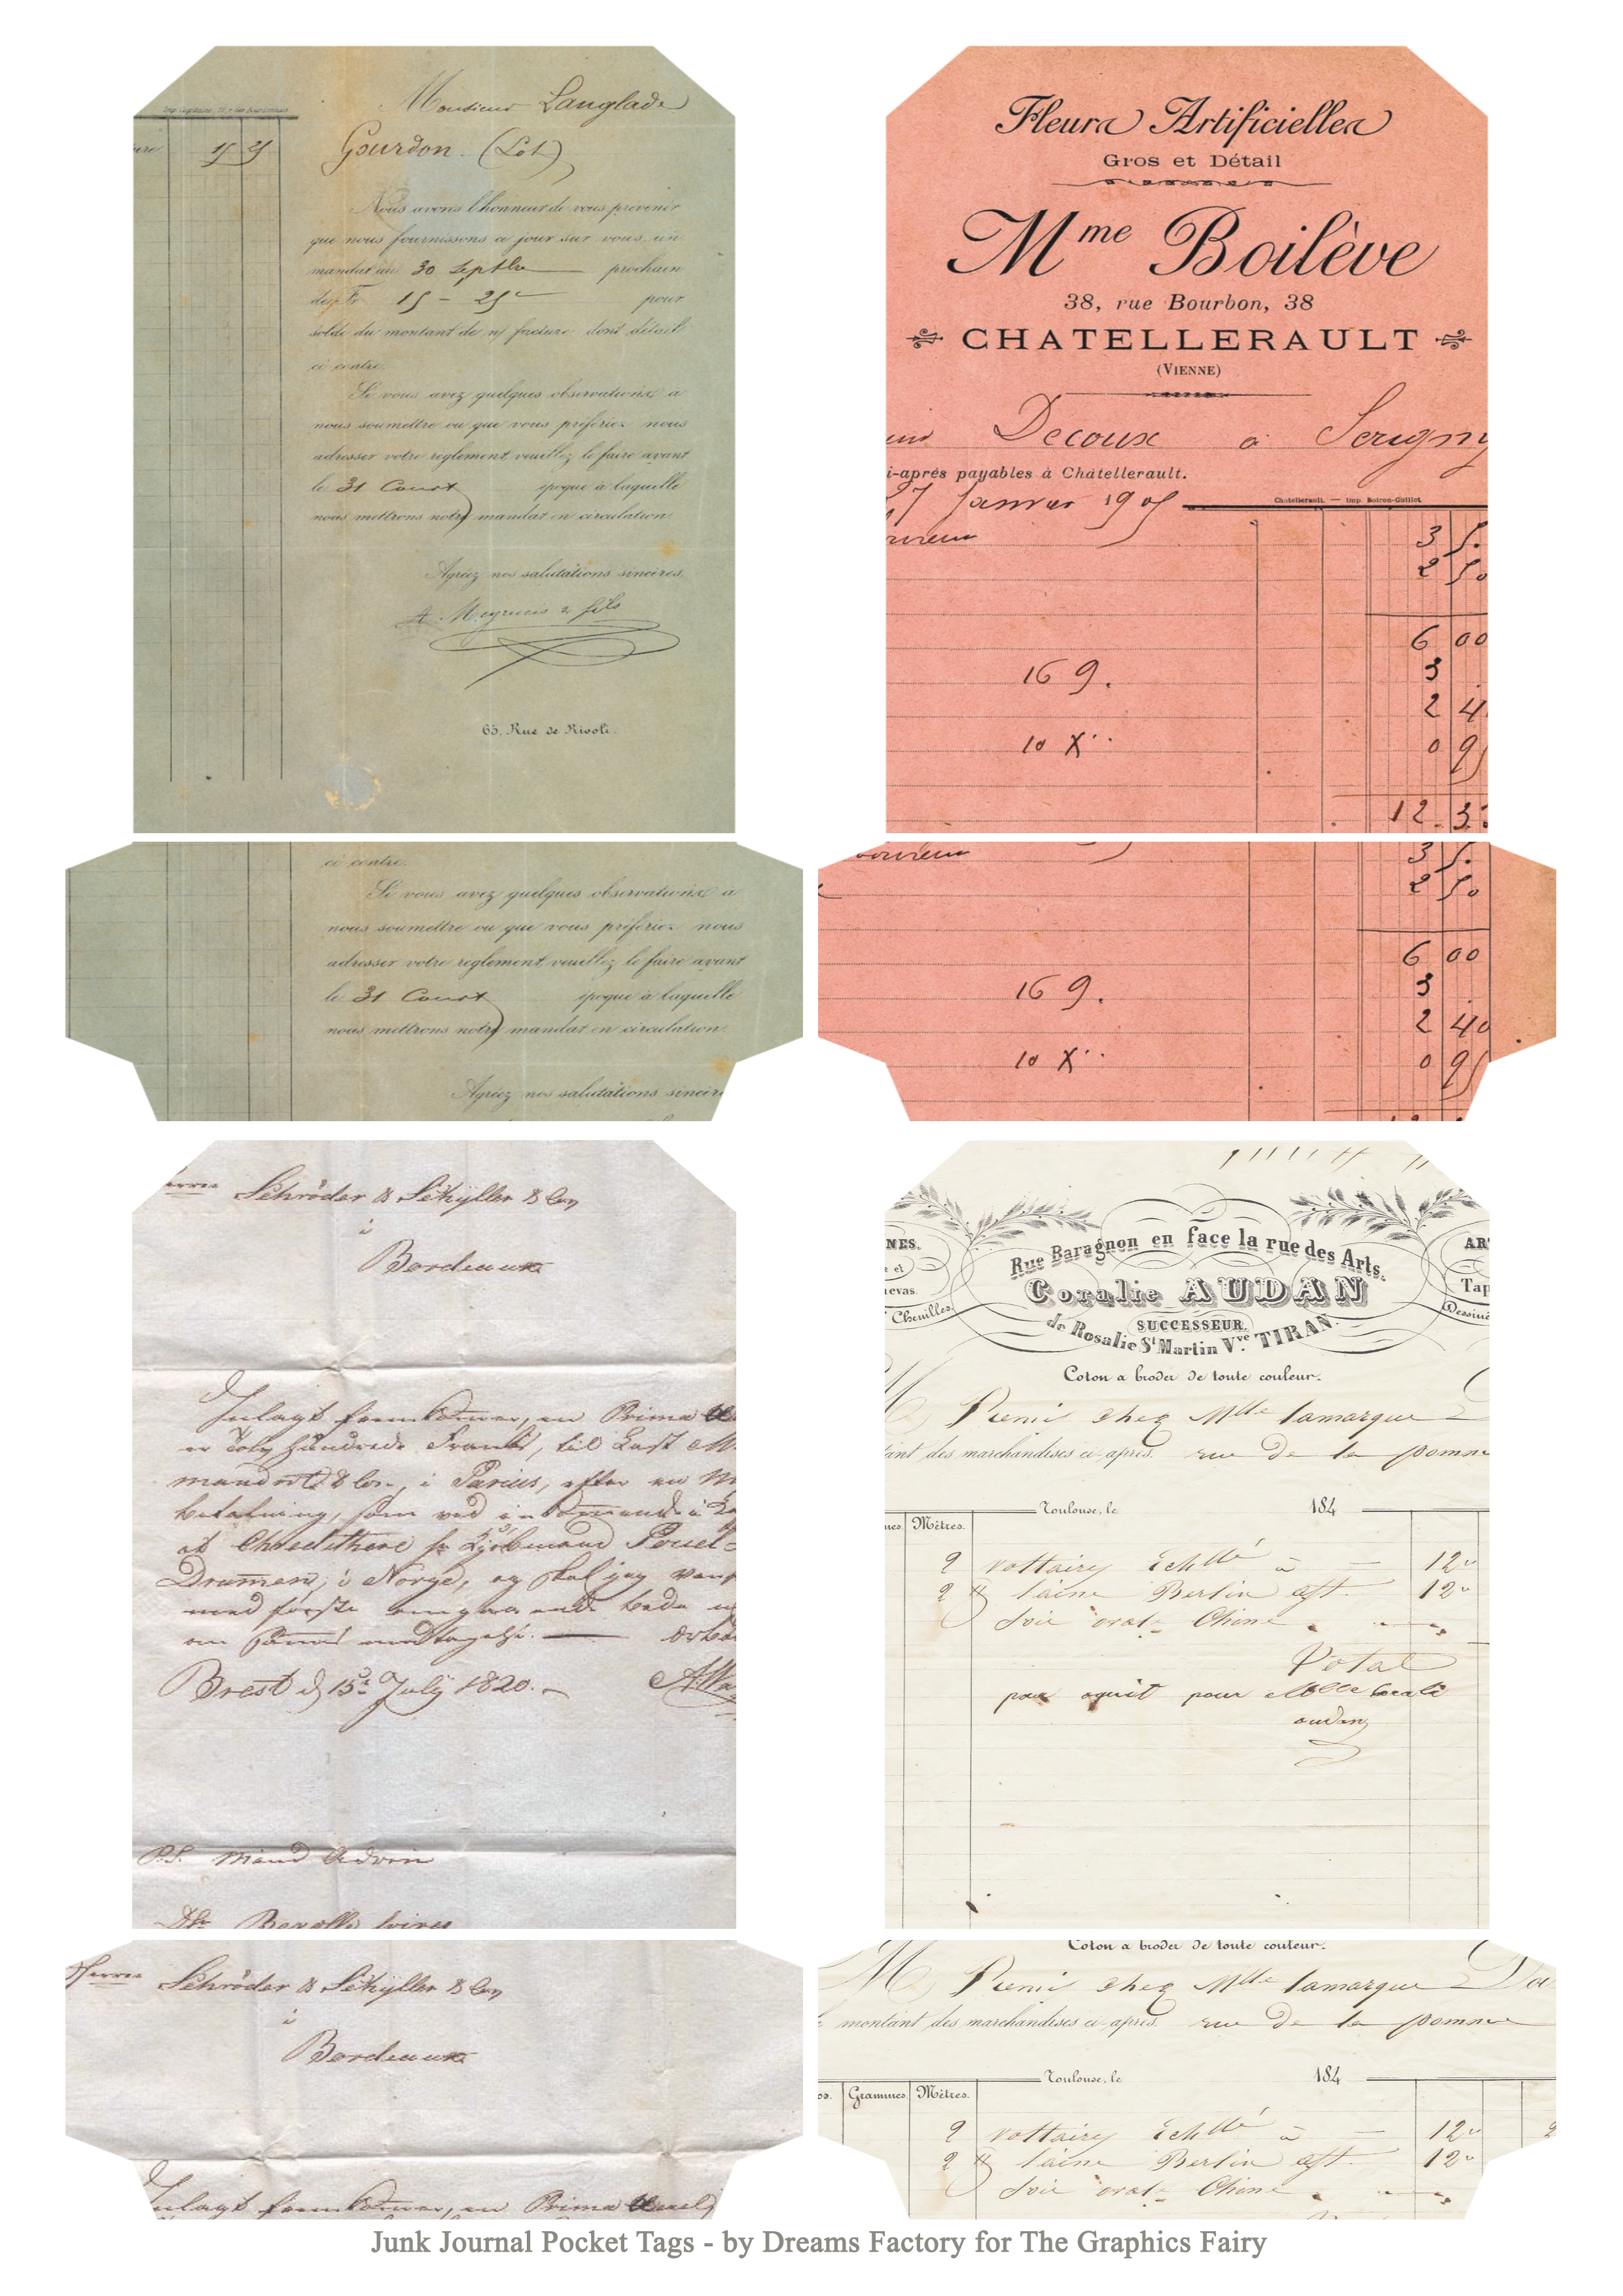
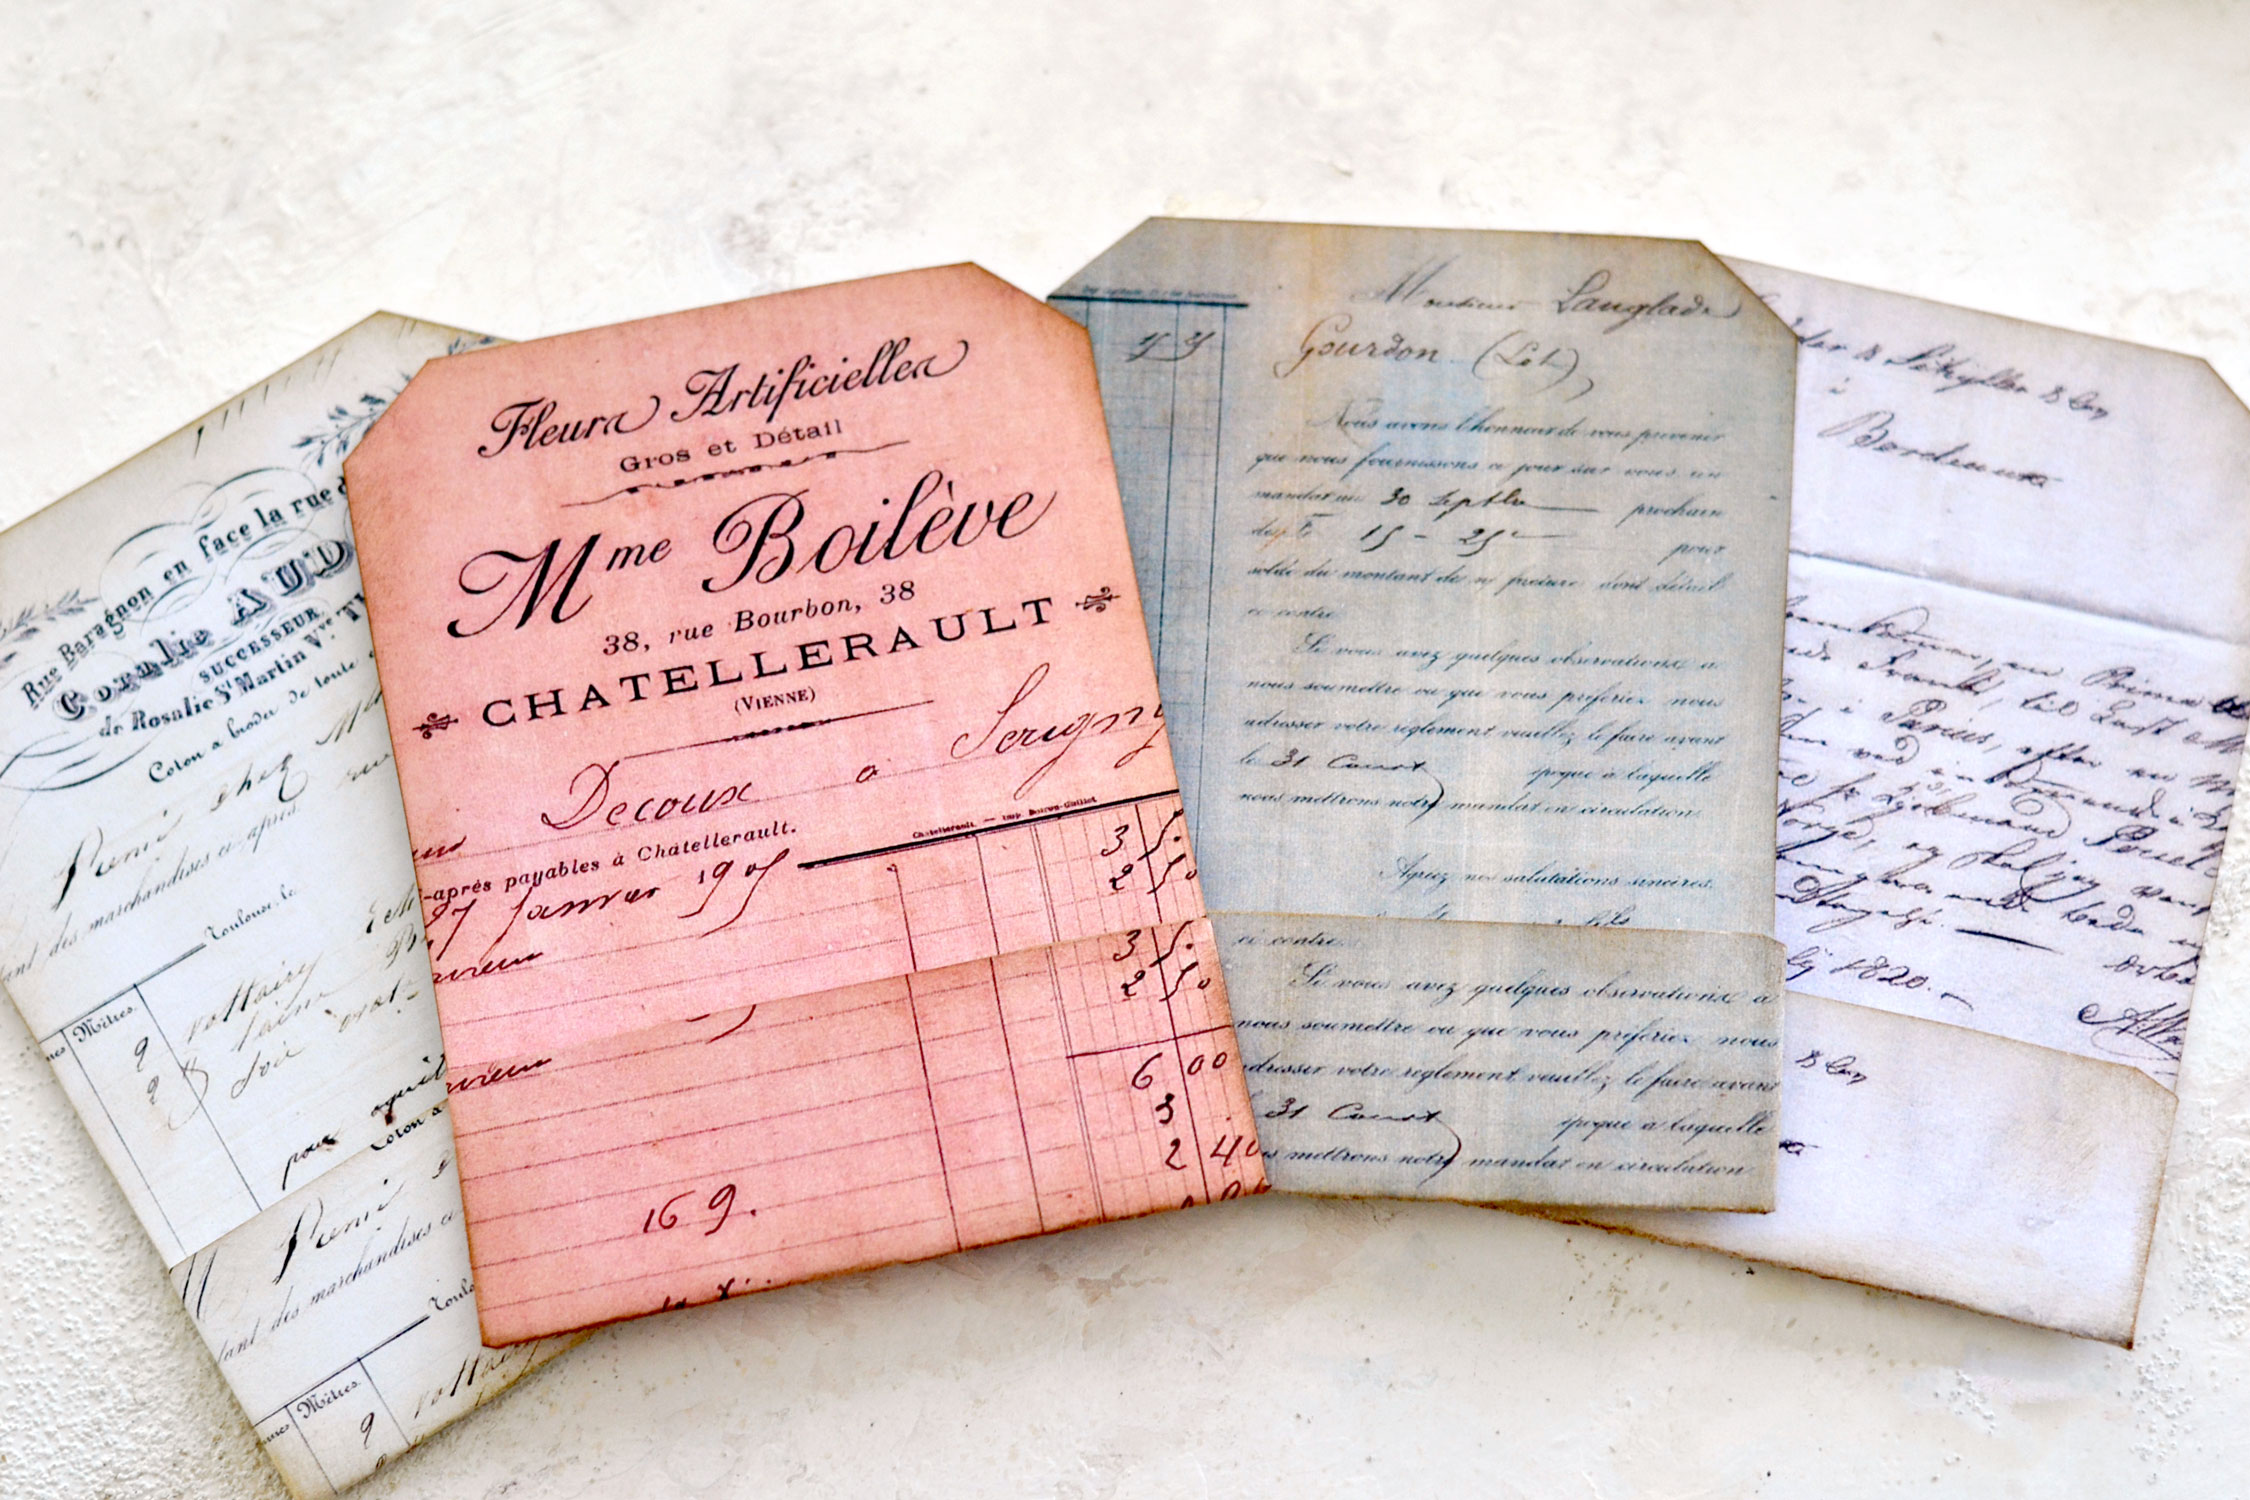
Here is the printable with the pocket tags that I’ve created for this project, you will be able to make 4 vintage pocket tags that have different designs and colors. I had lots of fun with this project and I hope you will too.
Free Printable Junk Journal Pockets
—> Click here to download the full size PDF – the pocket tags<—
And here is the printable with all the additional elements, they look really beautiful together, don’t you think?
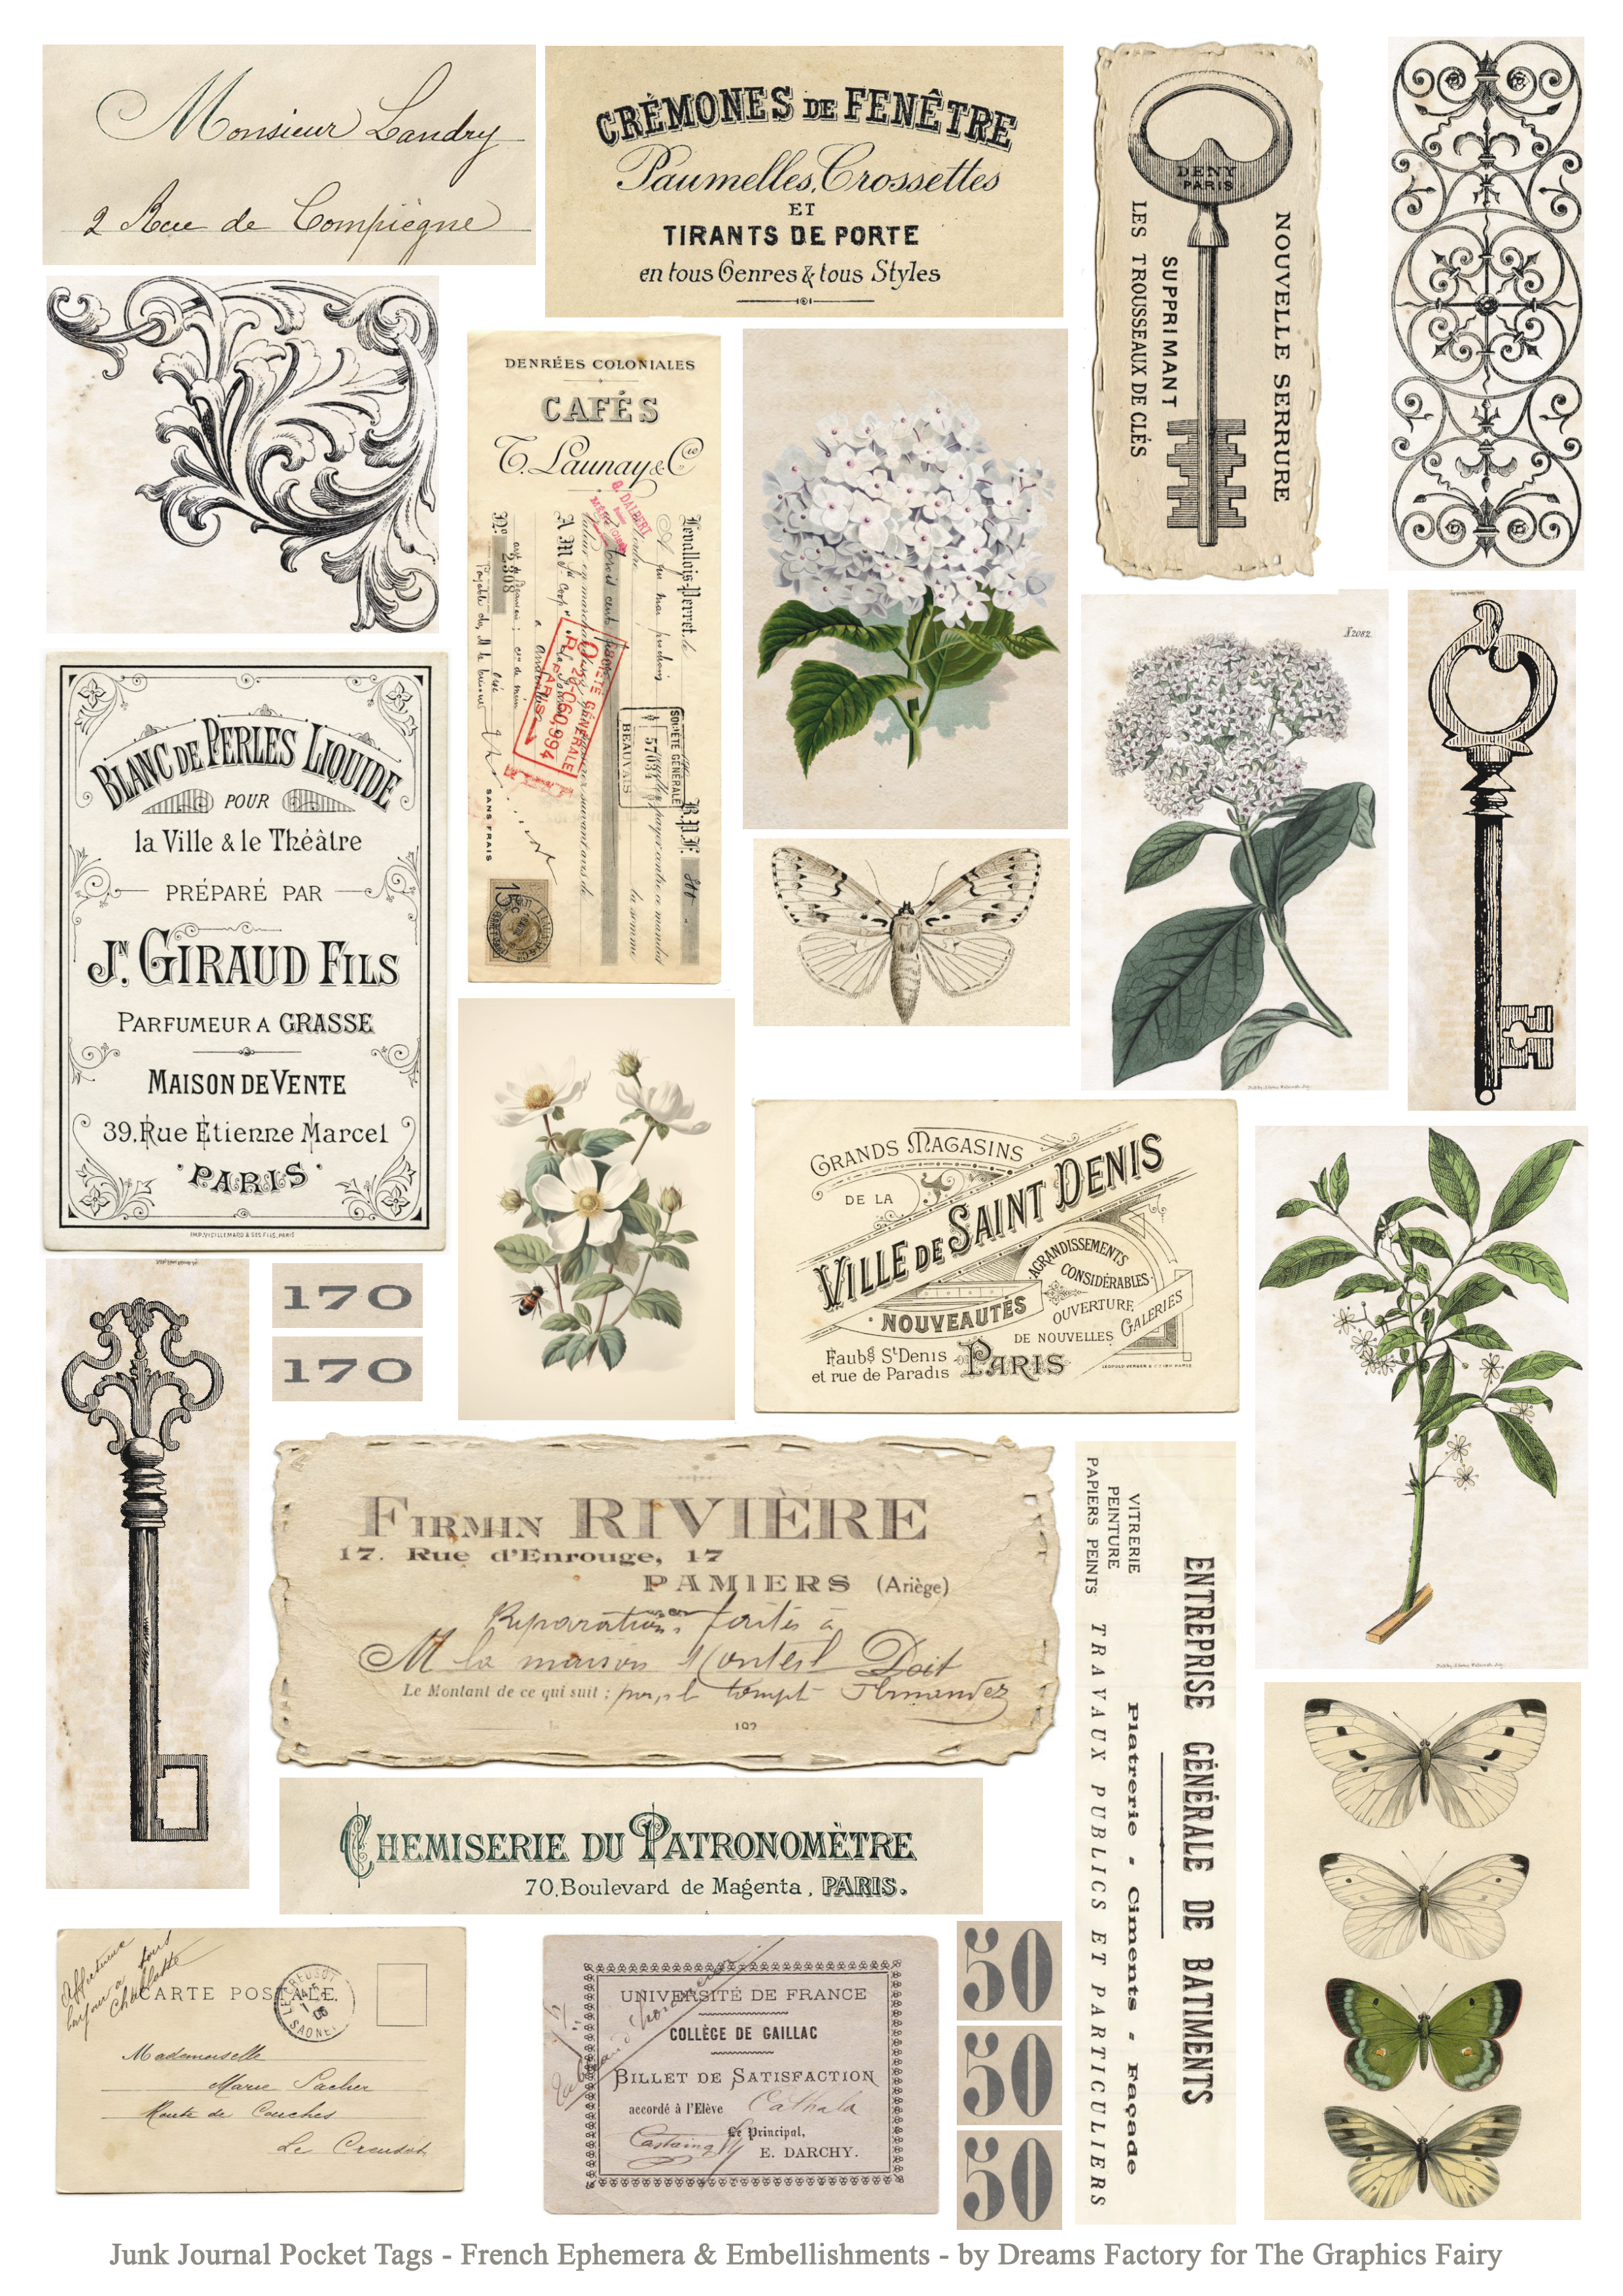
—> Click here to download the full size PDF – the embellishments<—
French Junk Journal Pocket Tags Supplies:
- cardstock paper
- home printer
- scissors
- mini distress inks
- blending tool with foams
- glue stick or any other paper glue
- hole punch
- crinkle ribbon or any other ribbon that you love
Full Step by Step Tutorial
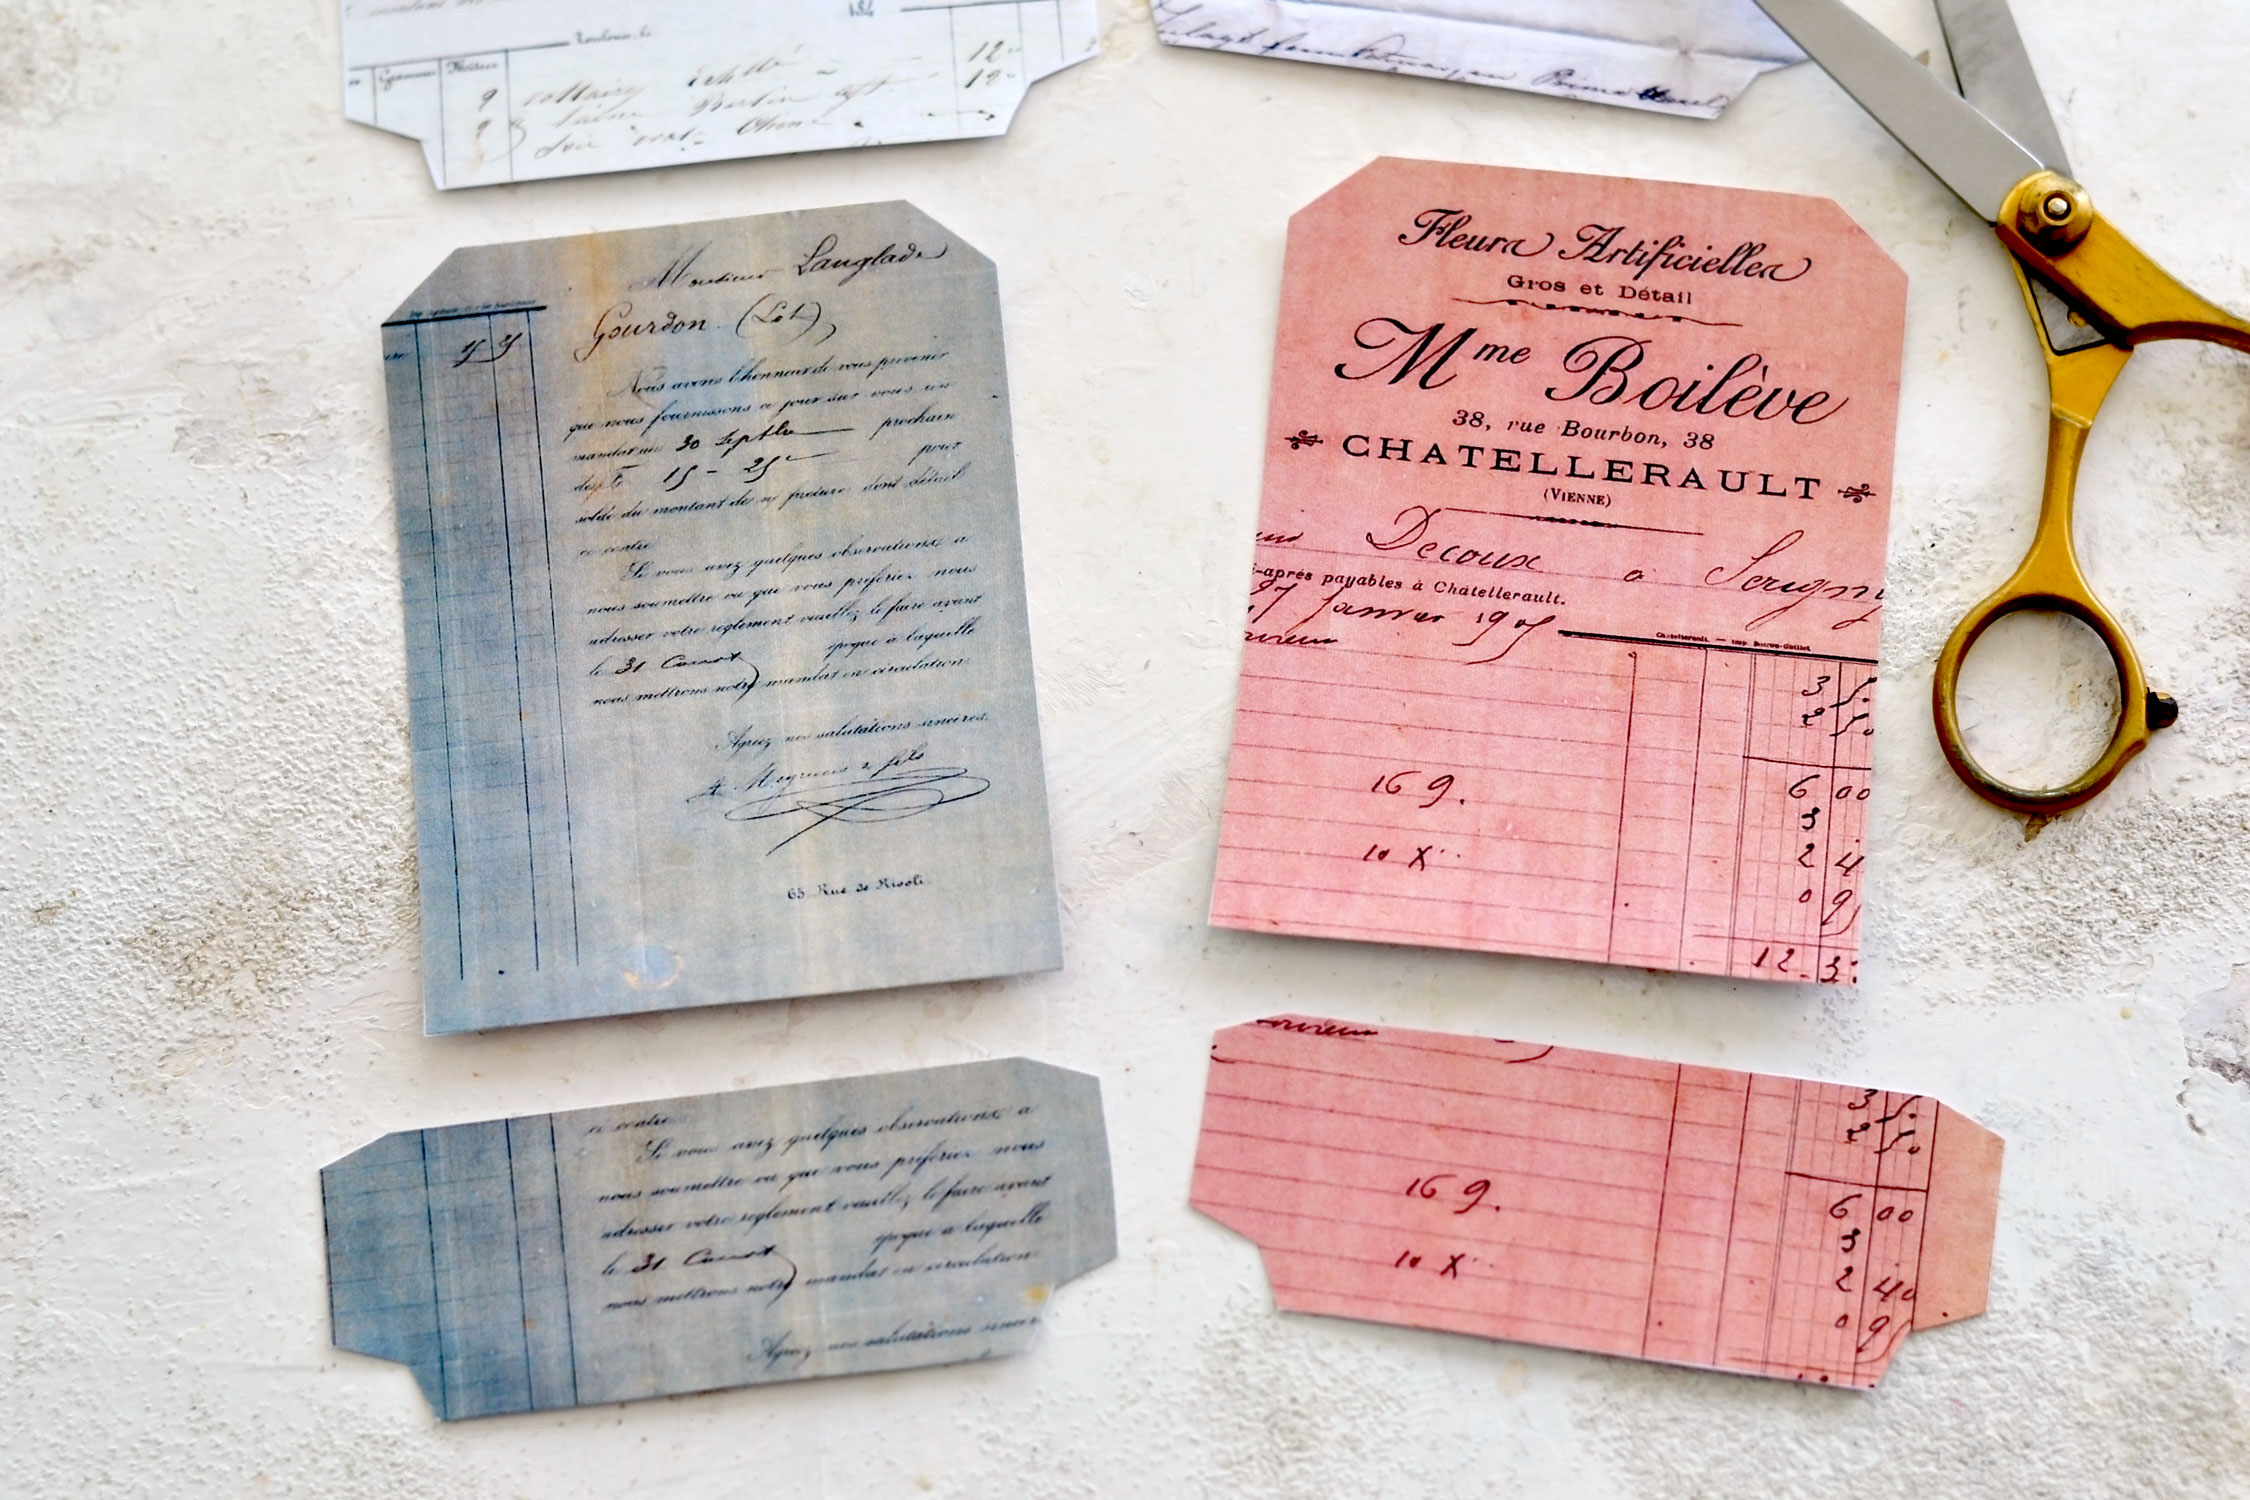
Use your scissors to cut each of the elements from the pocket tags printable. Each pocket tag should have 2 separate elements: the tag itself and a cutout that we will overlap and partially wrap around our tag.
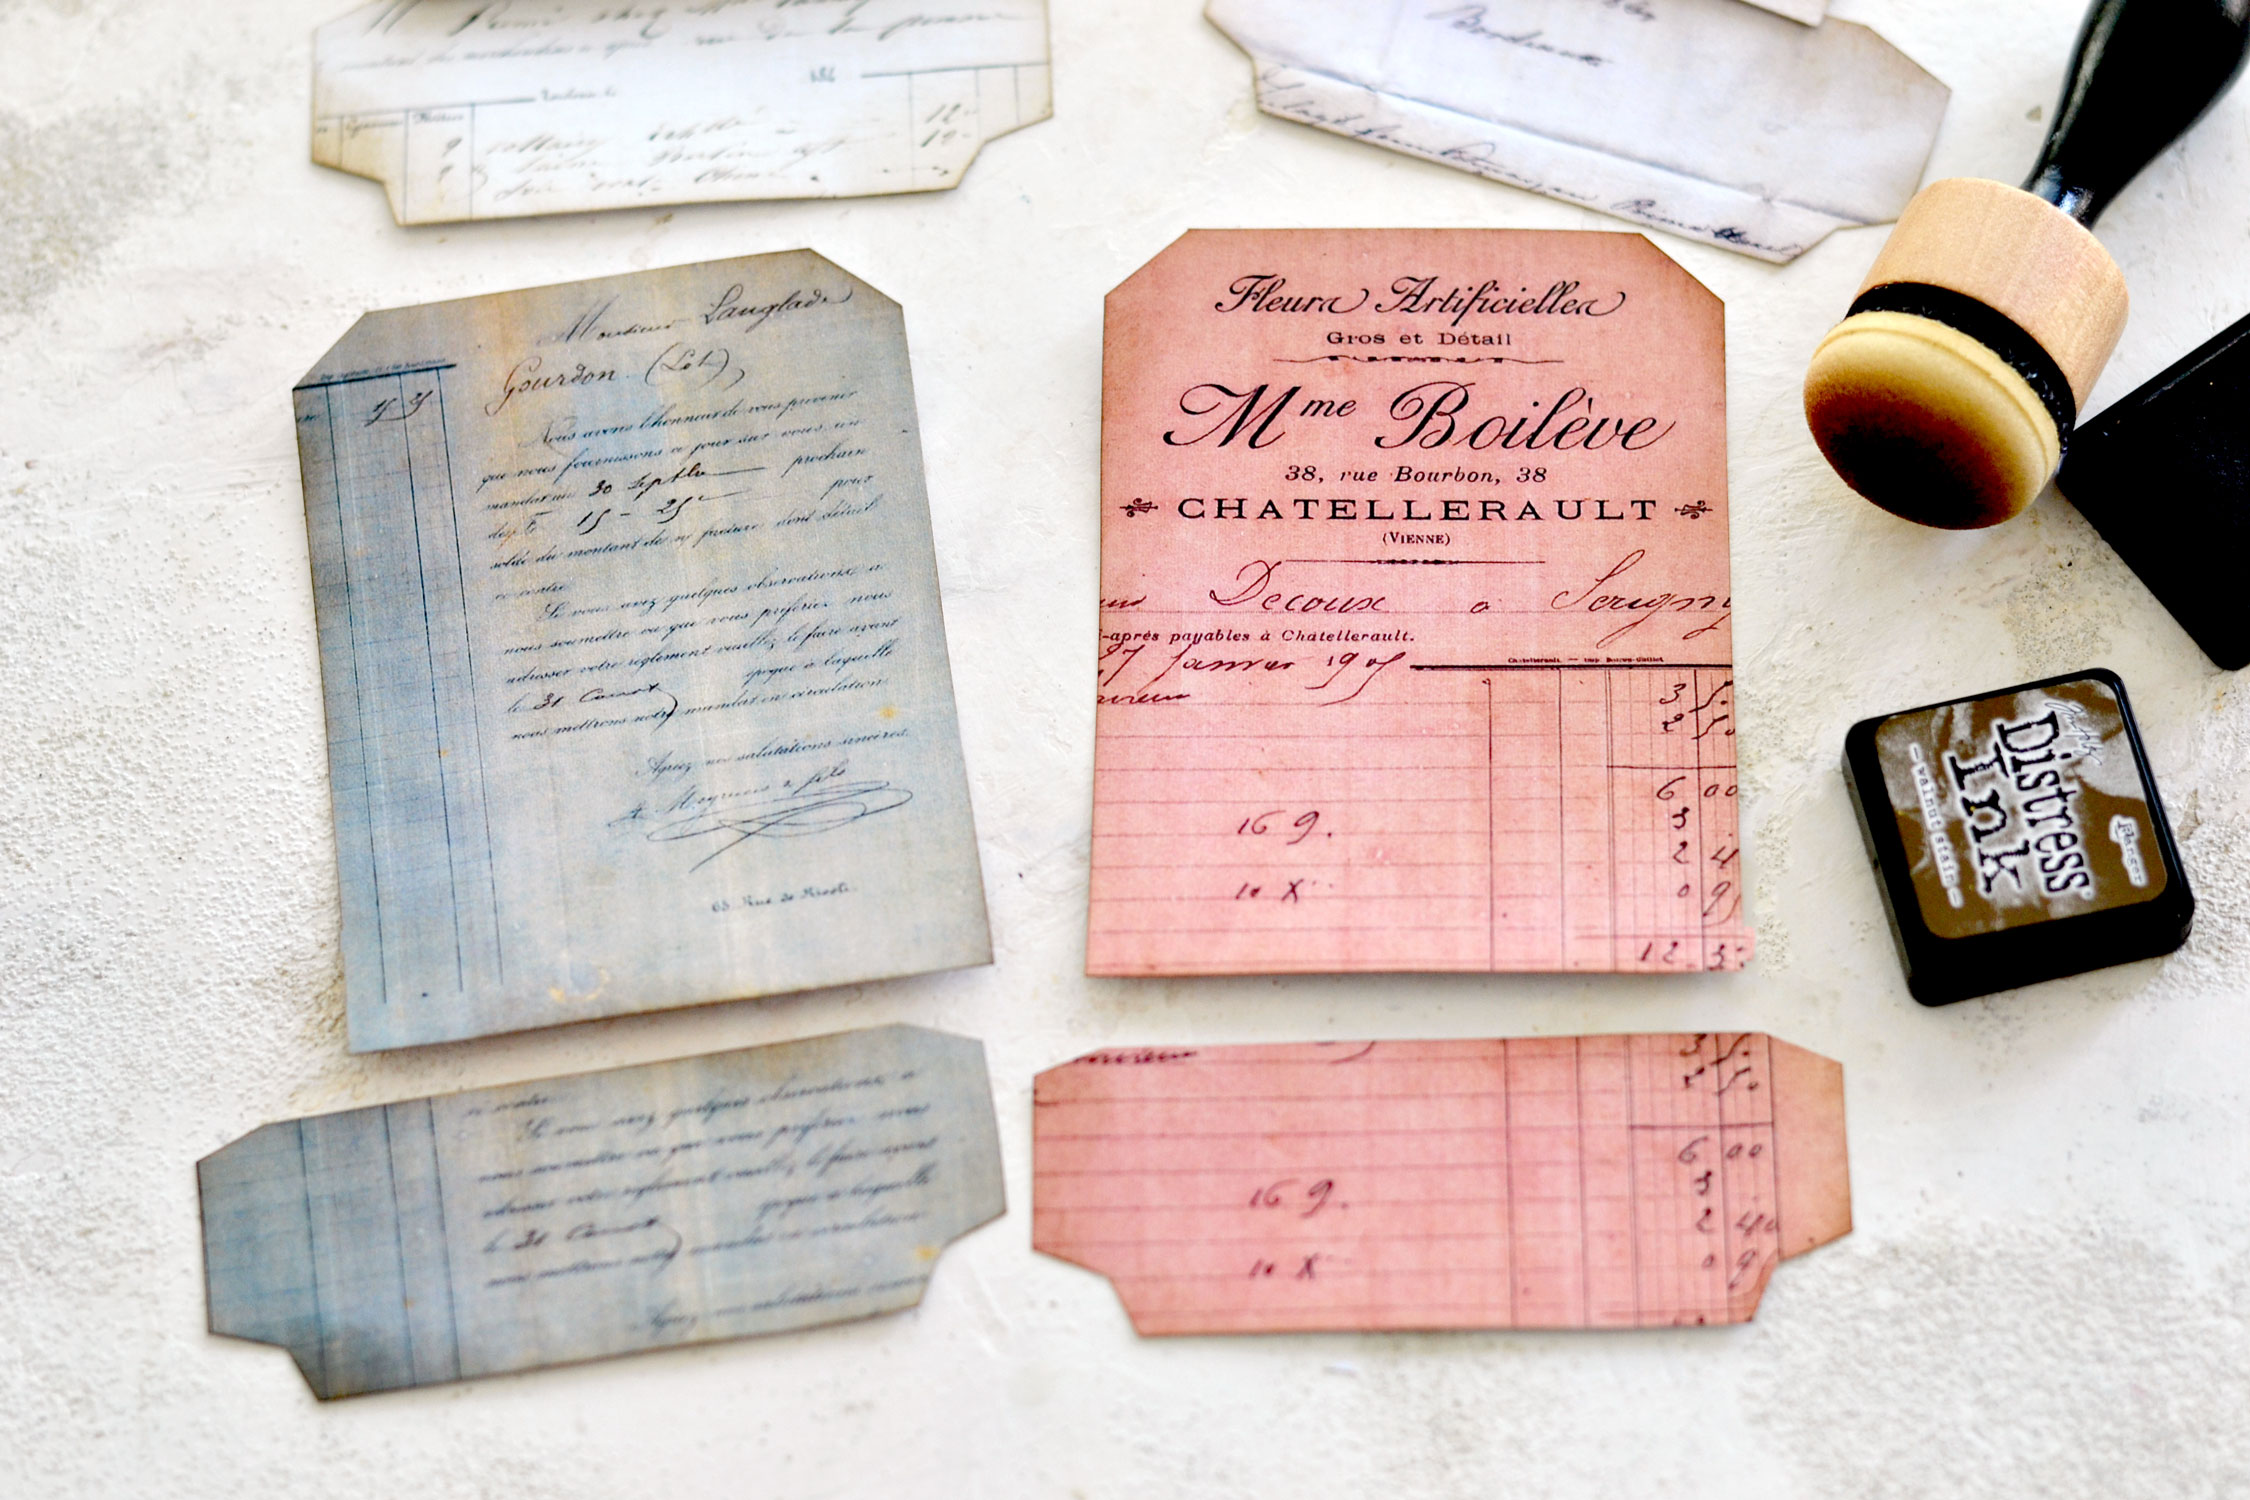
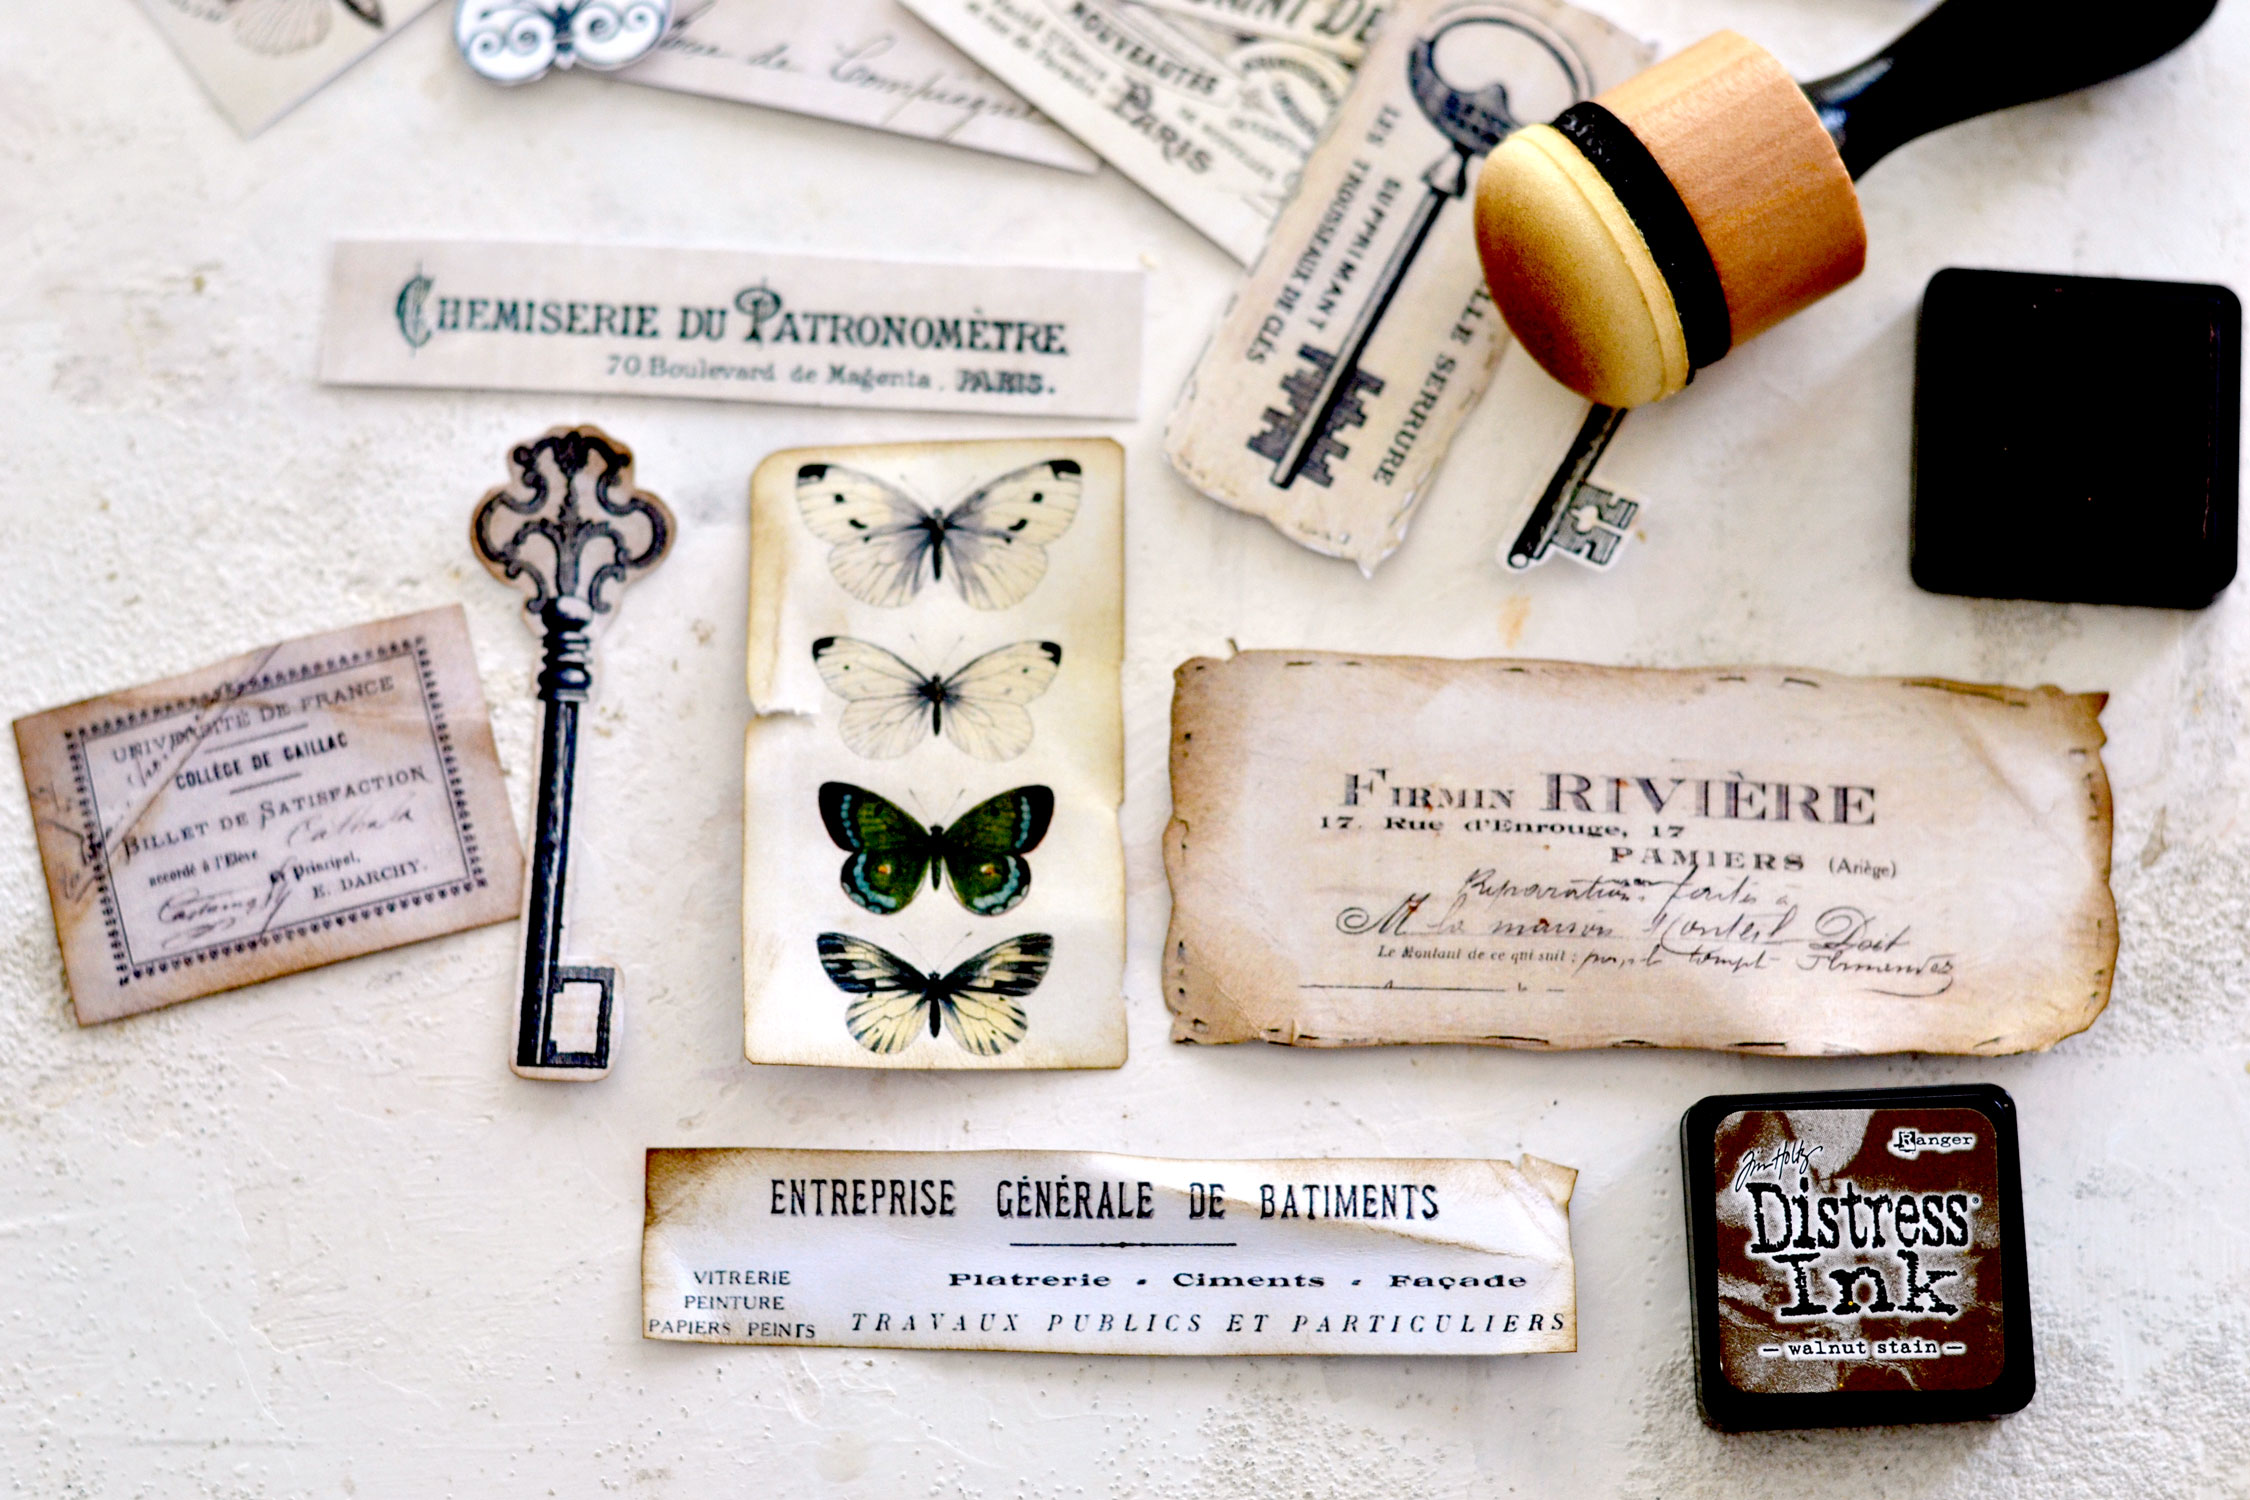
Use distress ink on the edges if you want to give the paper a vintage look. I usually like to use Walnut Stain distress ink for this step, but if you want, you can use other browns or even other colors.
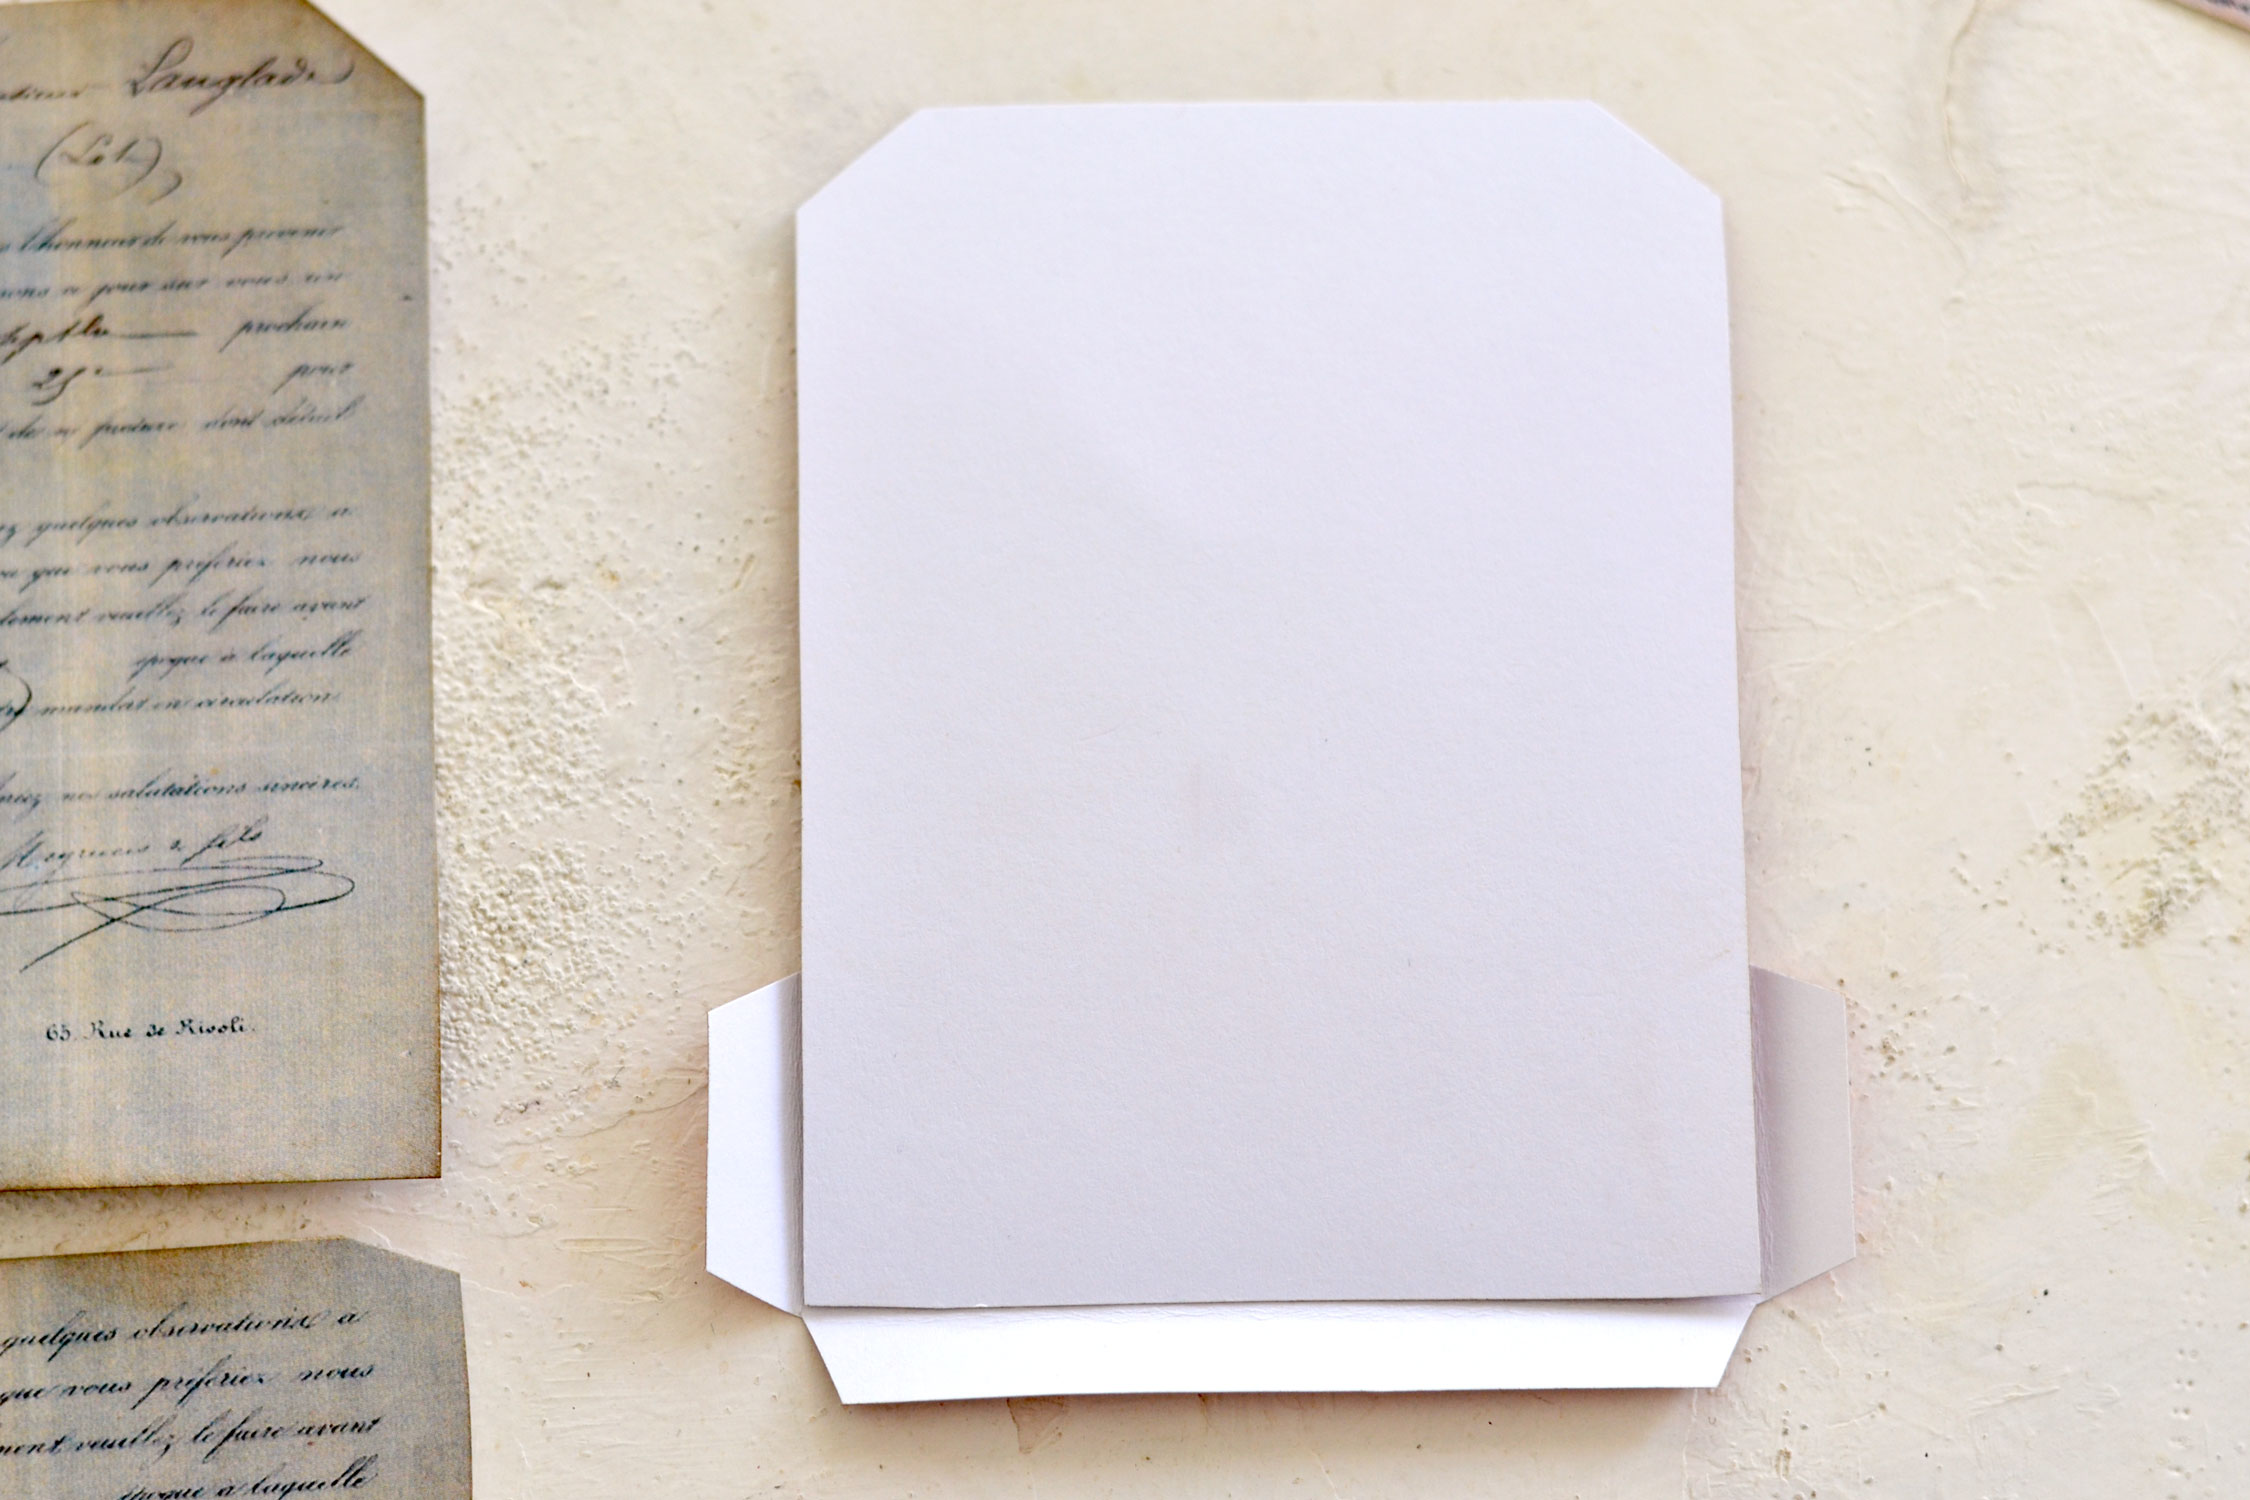
To assemble the tags, simply turn over the additional element and place it on your table, then turn over the tag and put it on top. Use the bottom corners of the tag as a guide to better align it with the additional paper element, then fold the 3 flaps of the additional paper element over the tag.
Use your finger to go all over the folded flaps to create a crease.
Unfold the flaps and add some paper glue on their surface, then fold them again and press them with your fingers for a few seconds until the glue dries.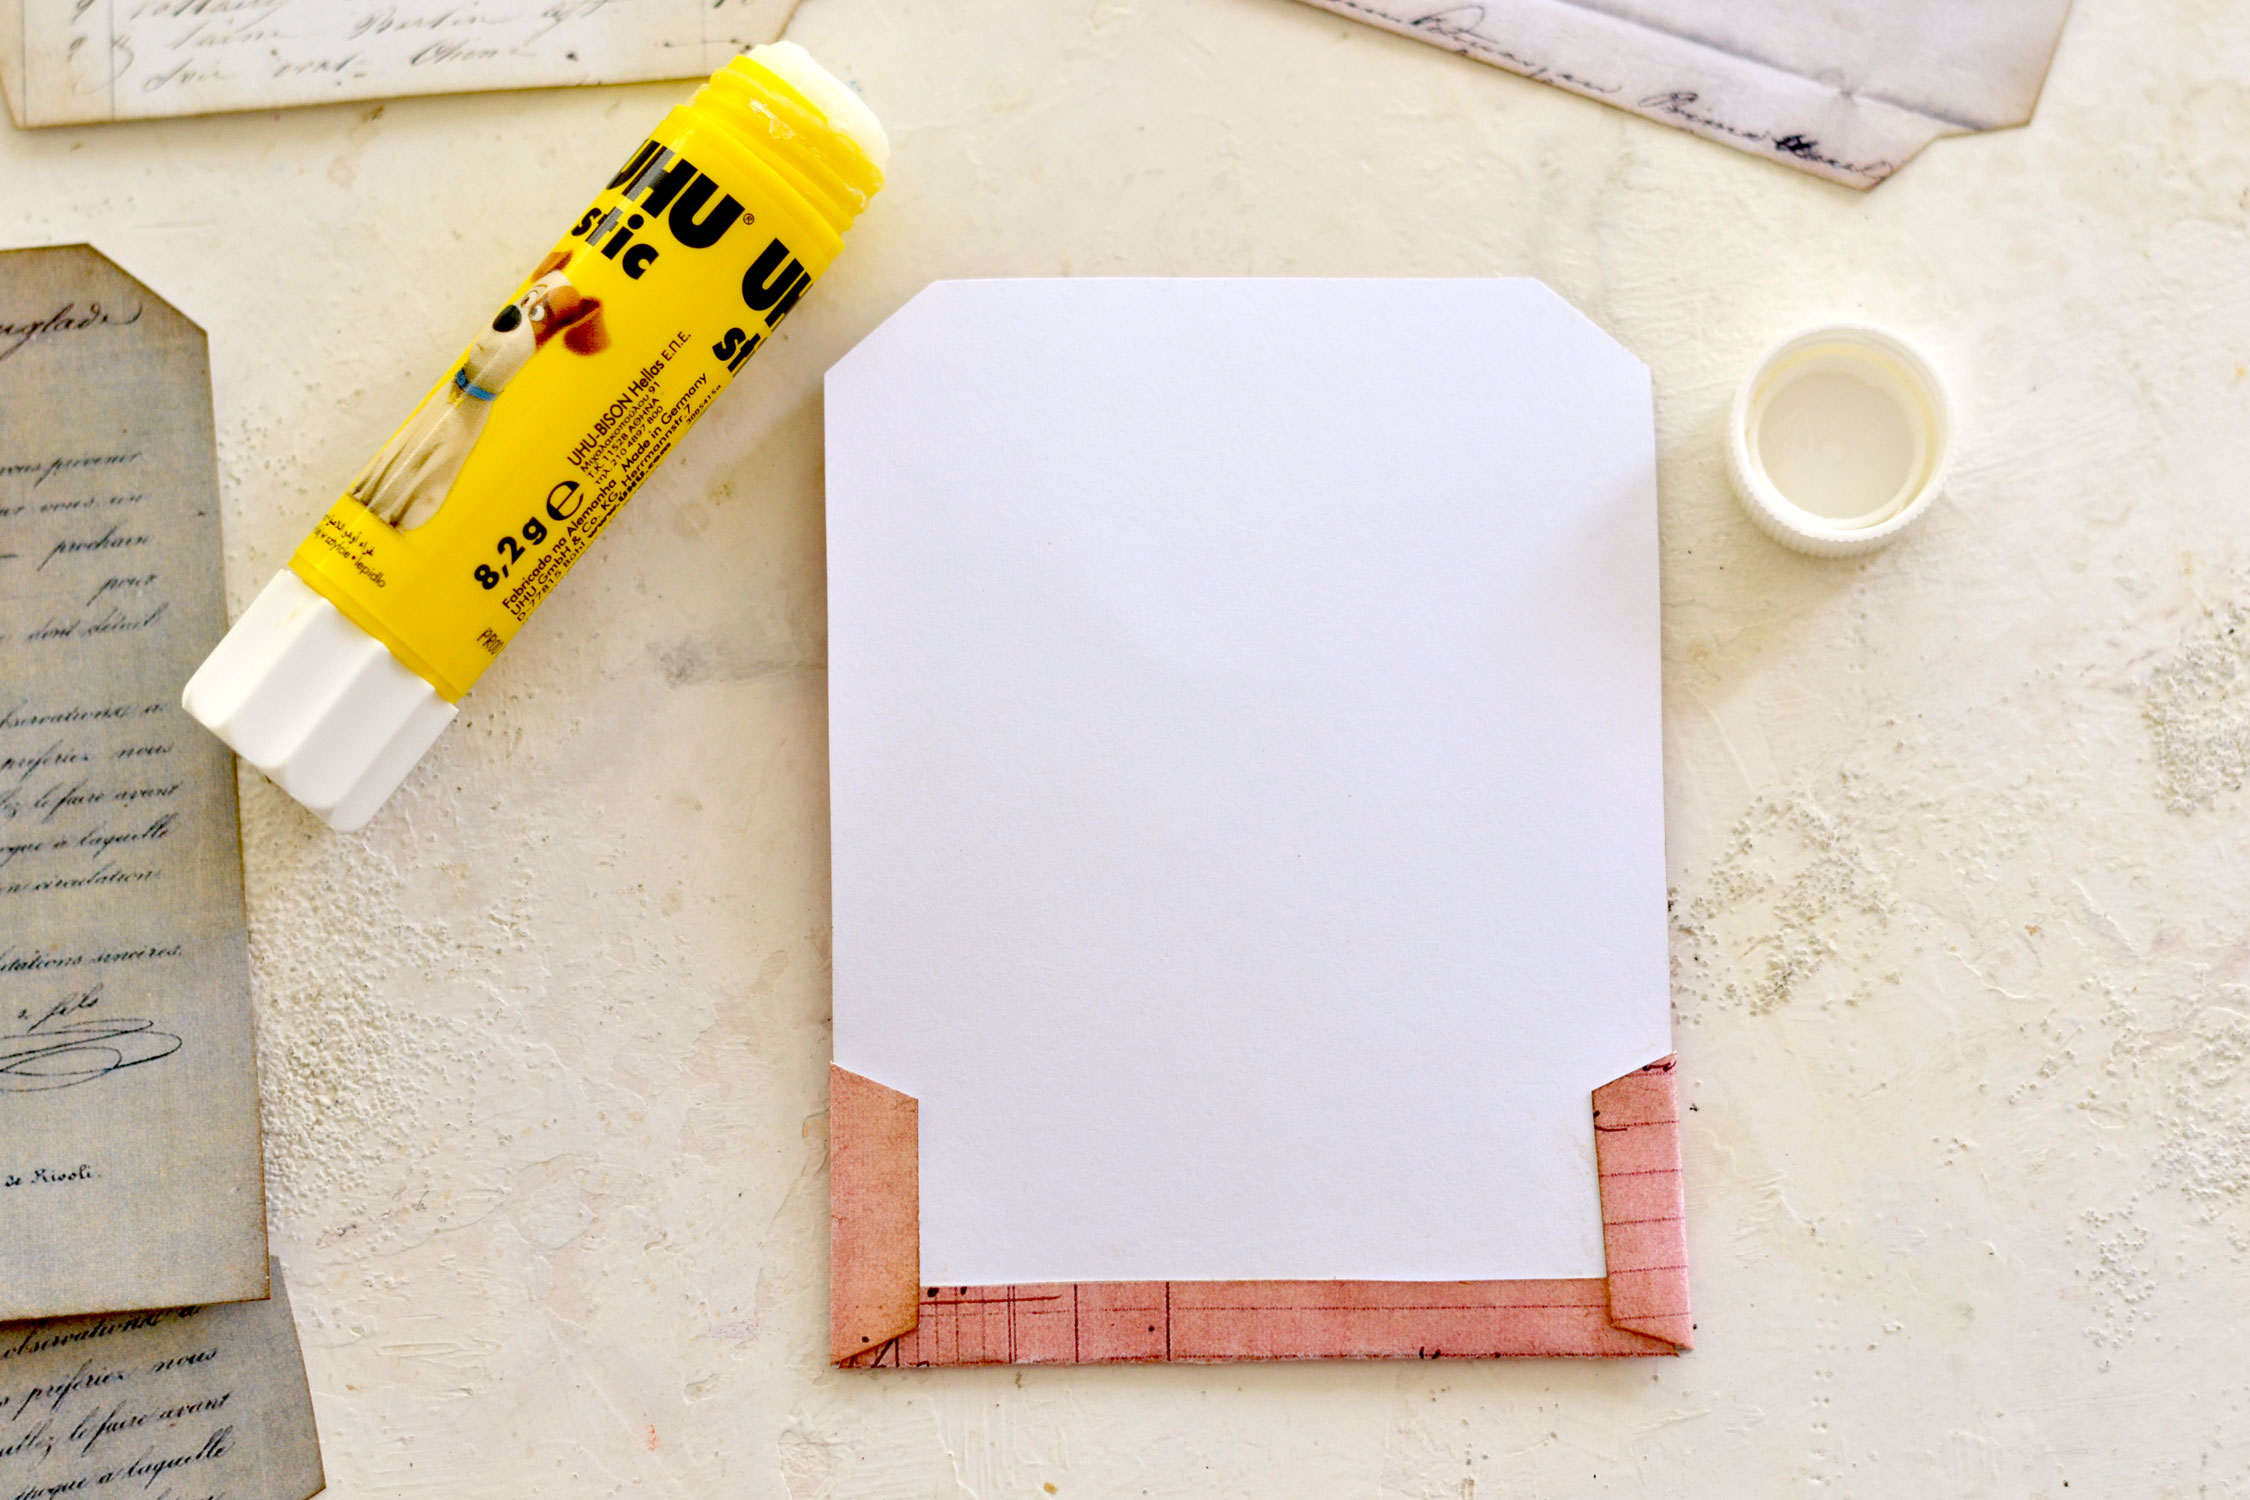
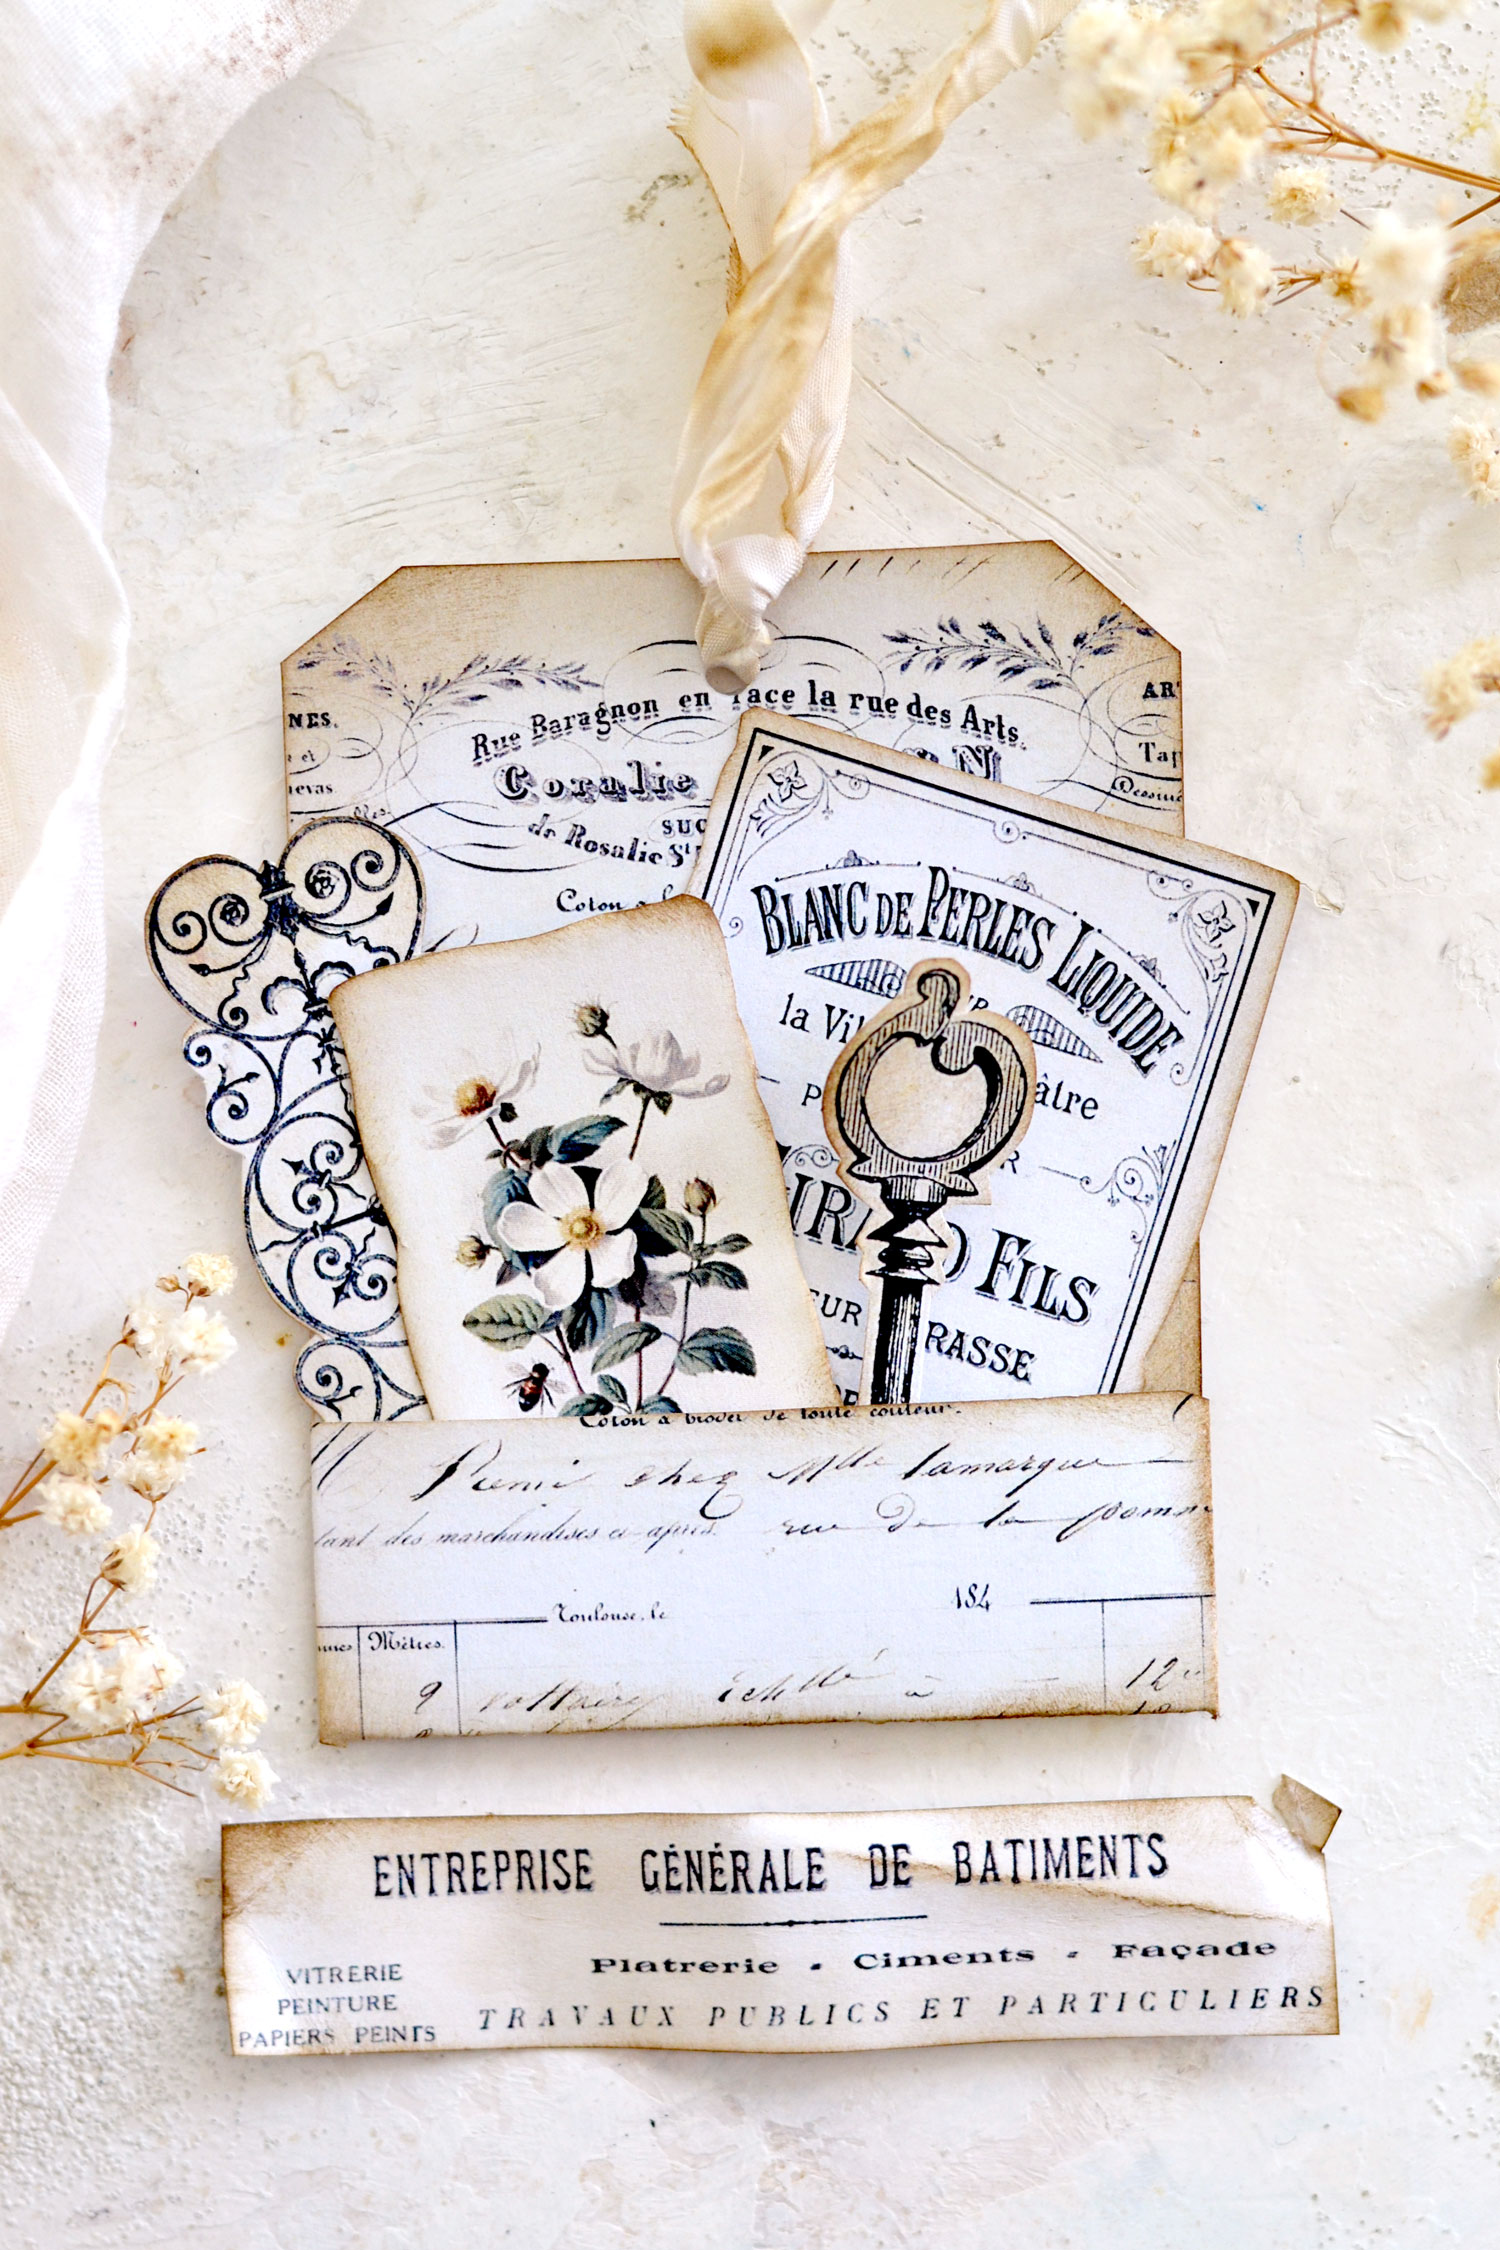
And now, when you turn your tags over, you have a cool pocket that is just waiting to be filled with all sorts of goodies!
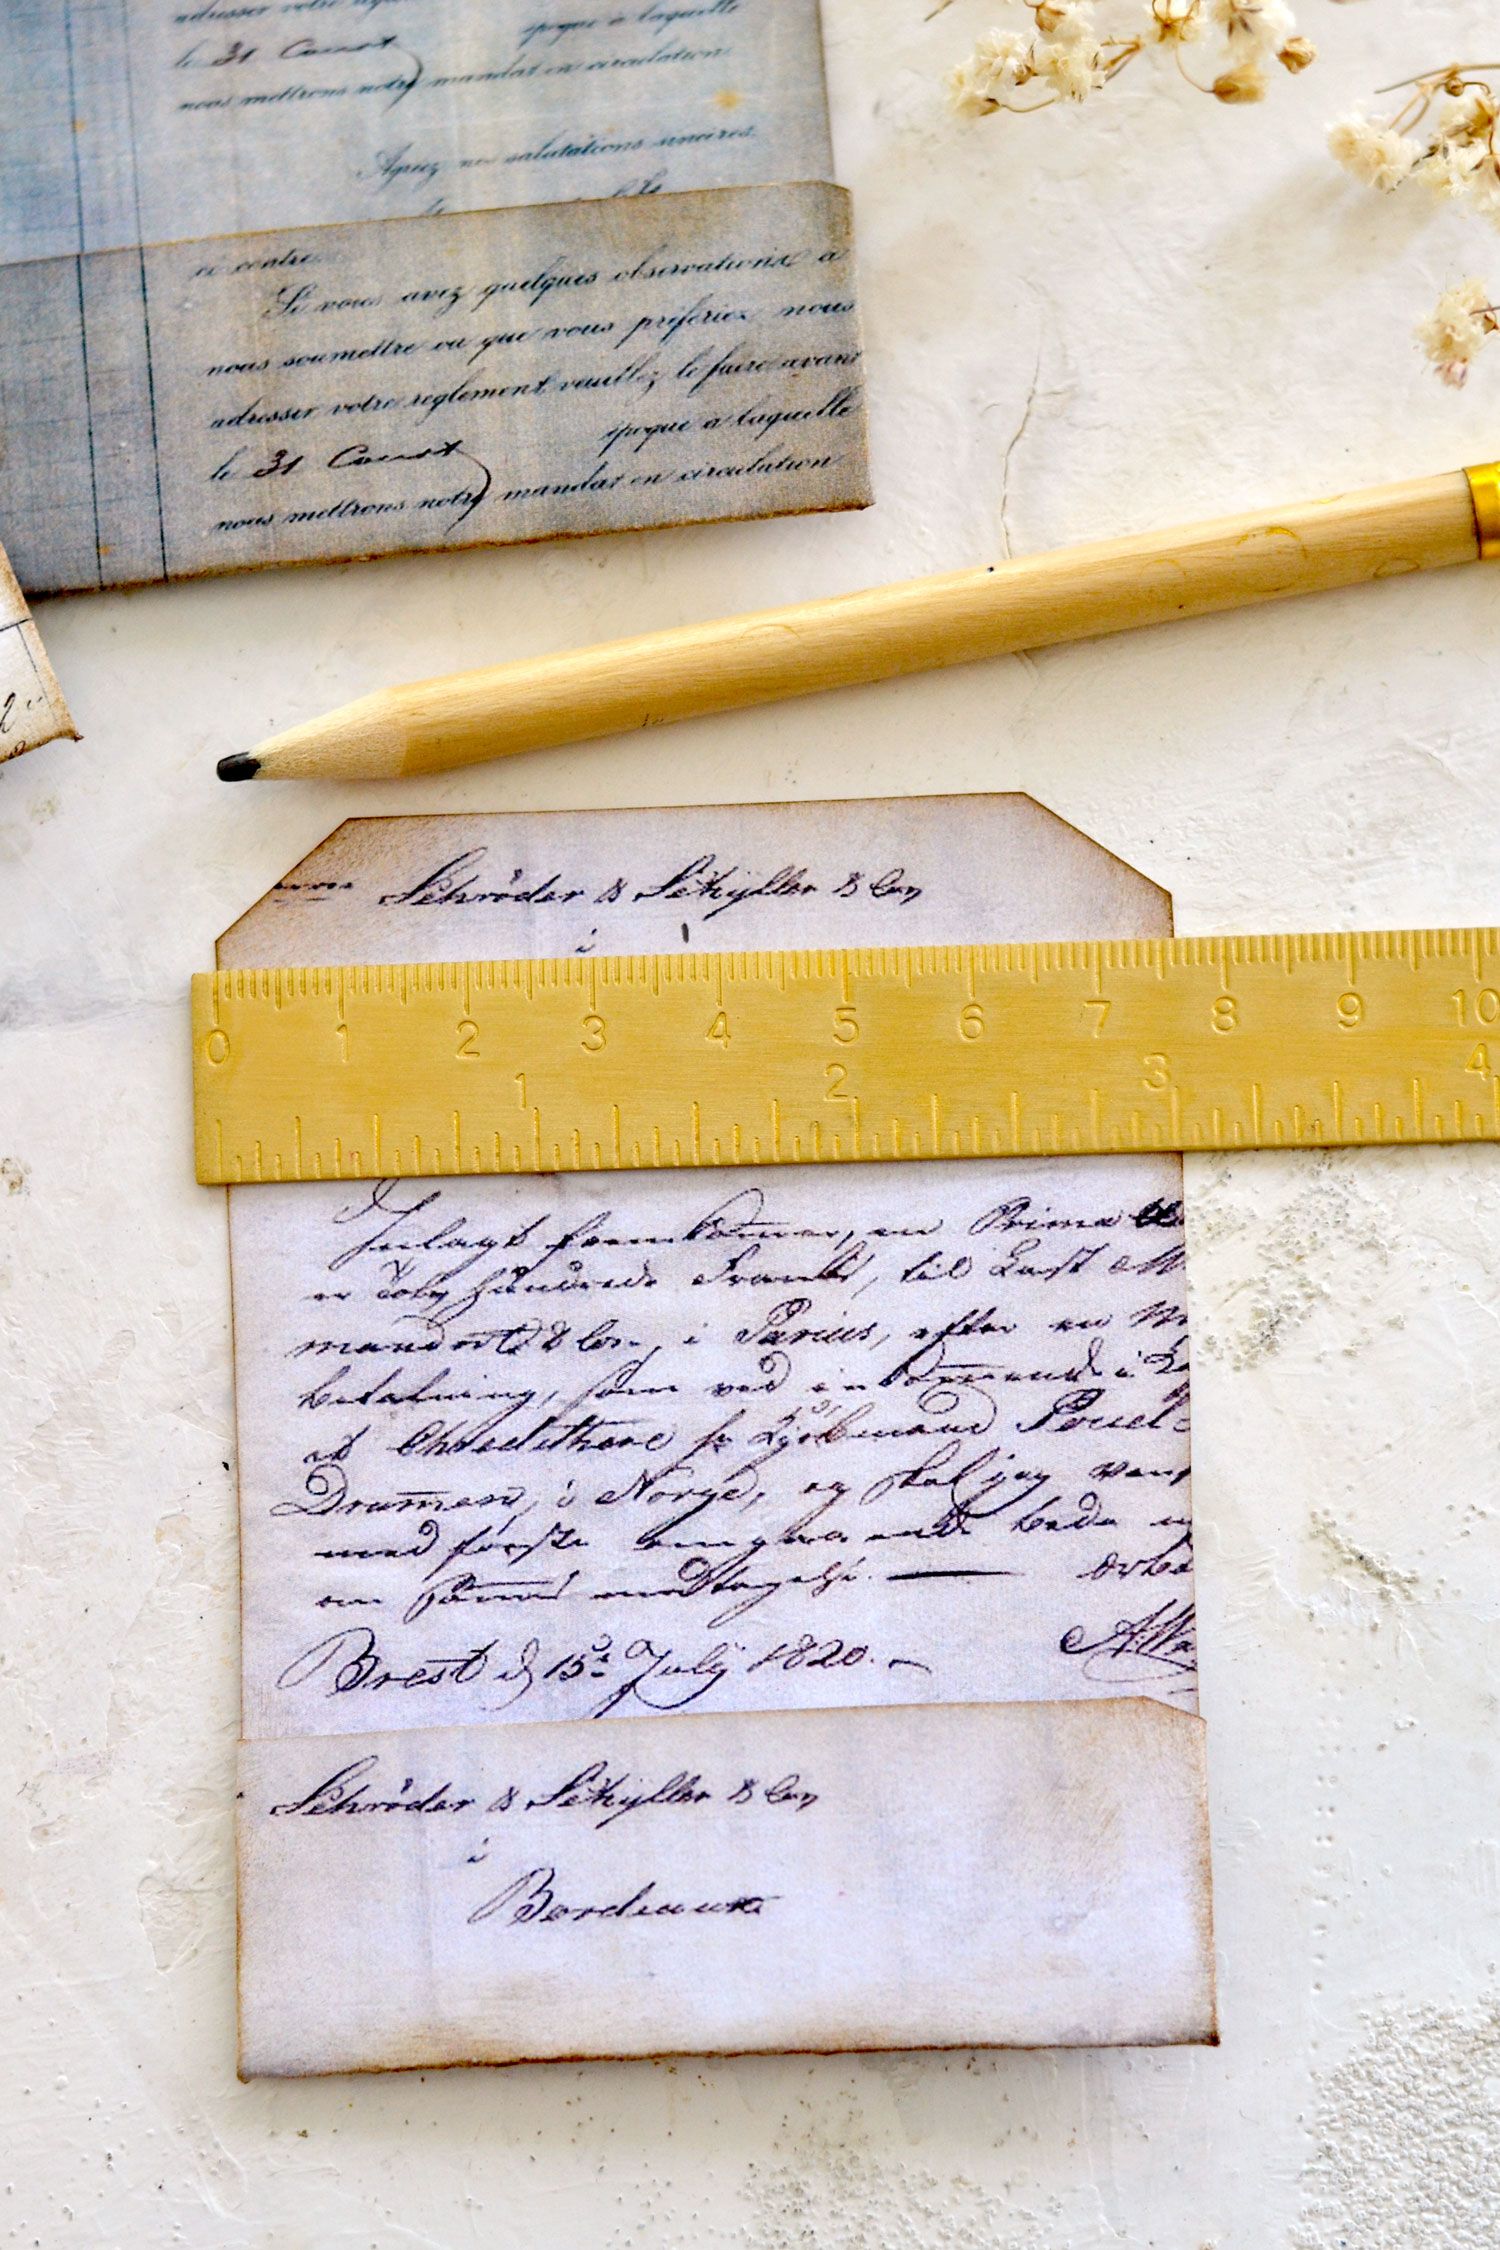
If you want, you can use the tags as they are or you can use a punch tool to make some holes. You can either approximate the middle of your pocket tags or you can use a ruler if you want to be more precise, then just use a pencil to mark it so you’ll know where to make your hole.
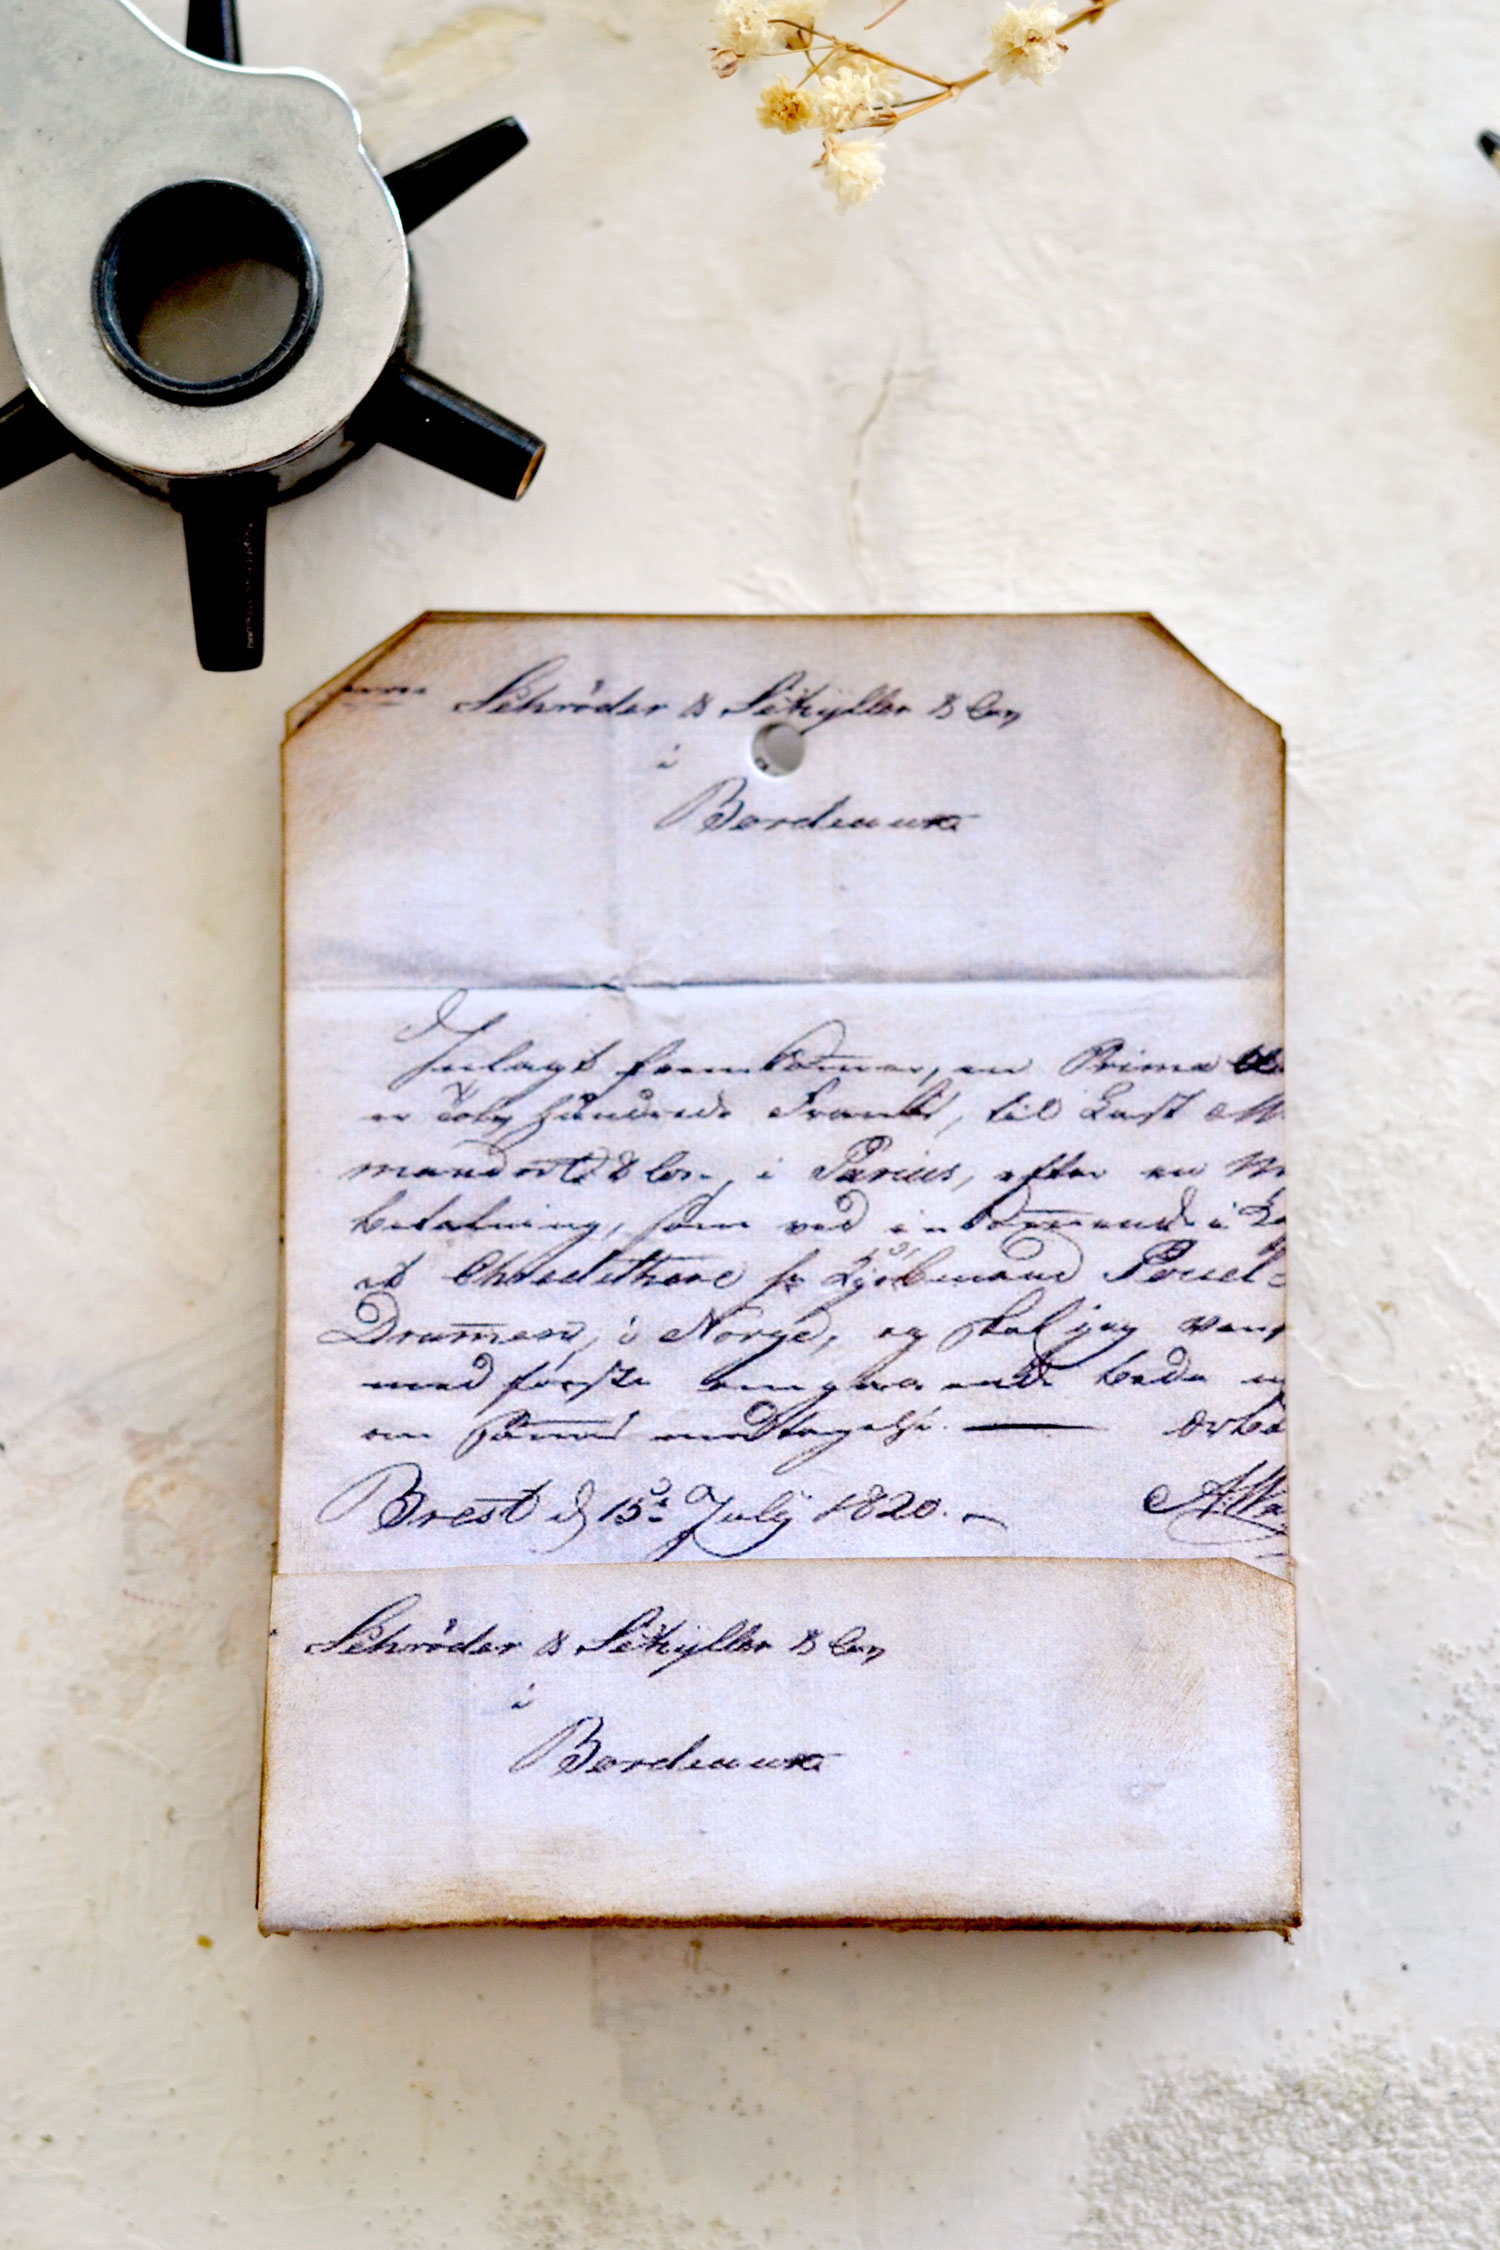
Use a punch tool to make a hole in one of your tags, then simply overlap all the tags and use the one with the hole as a guide to punch the others.
I actually used a leather punch tool, but it worked great on paper too!
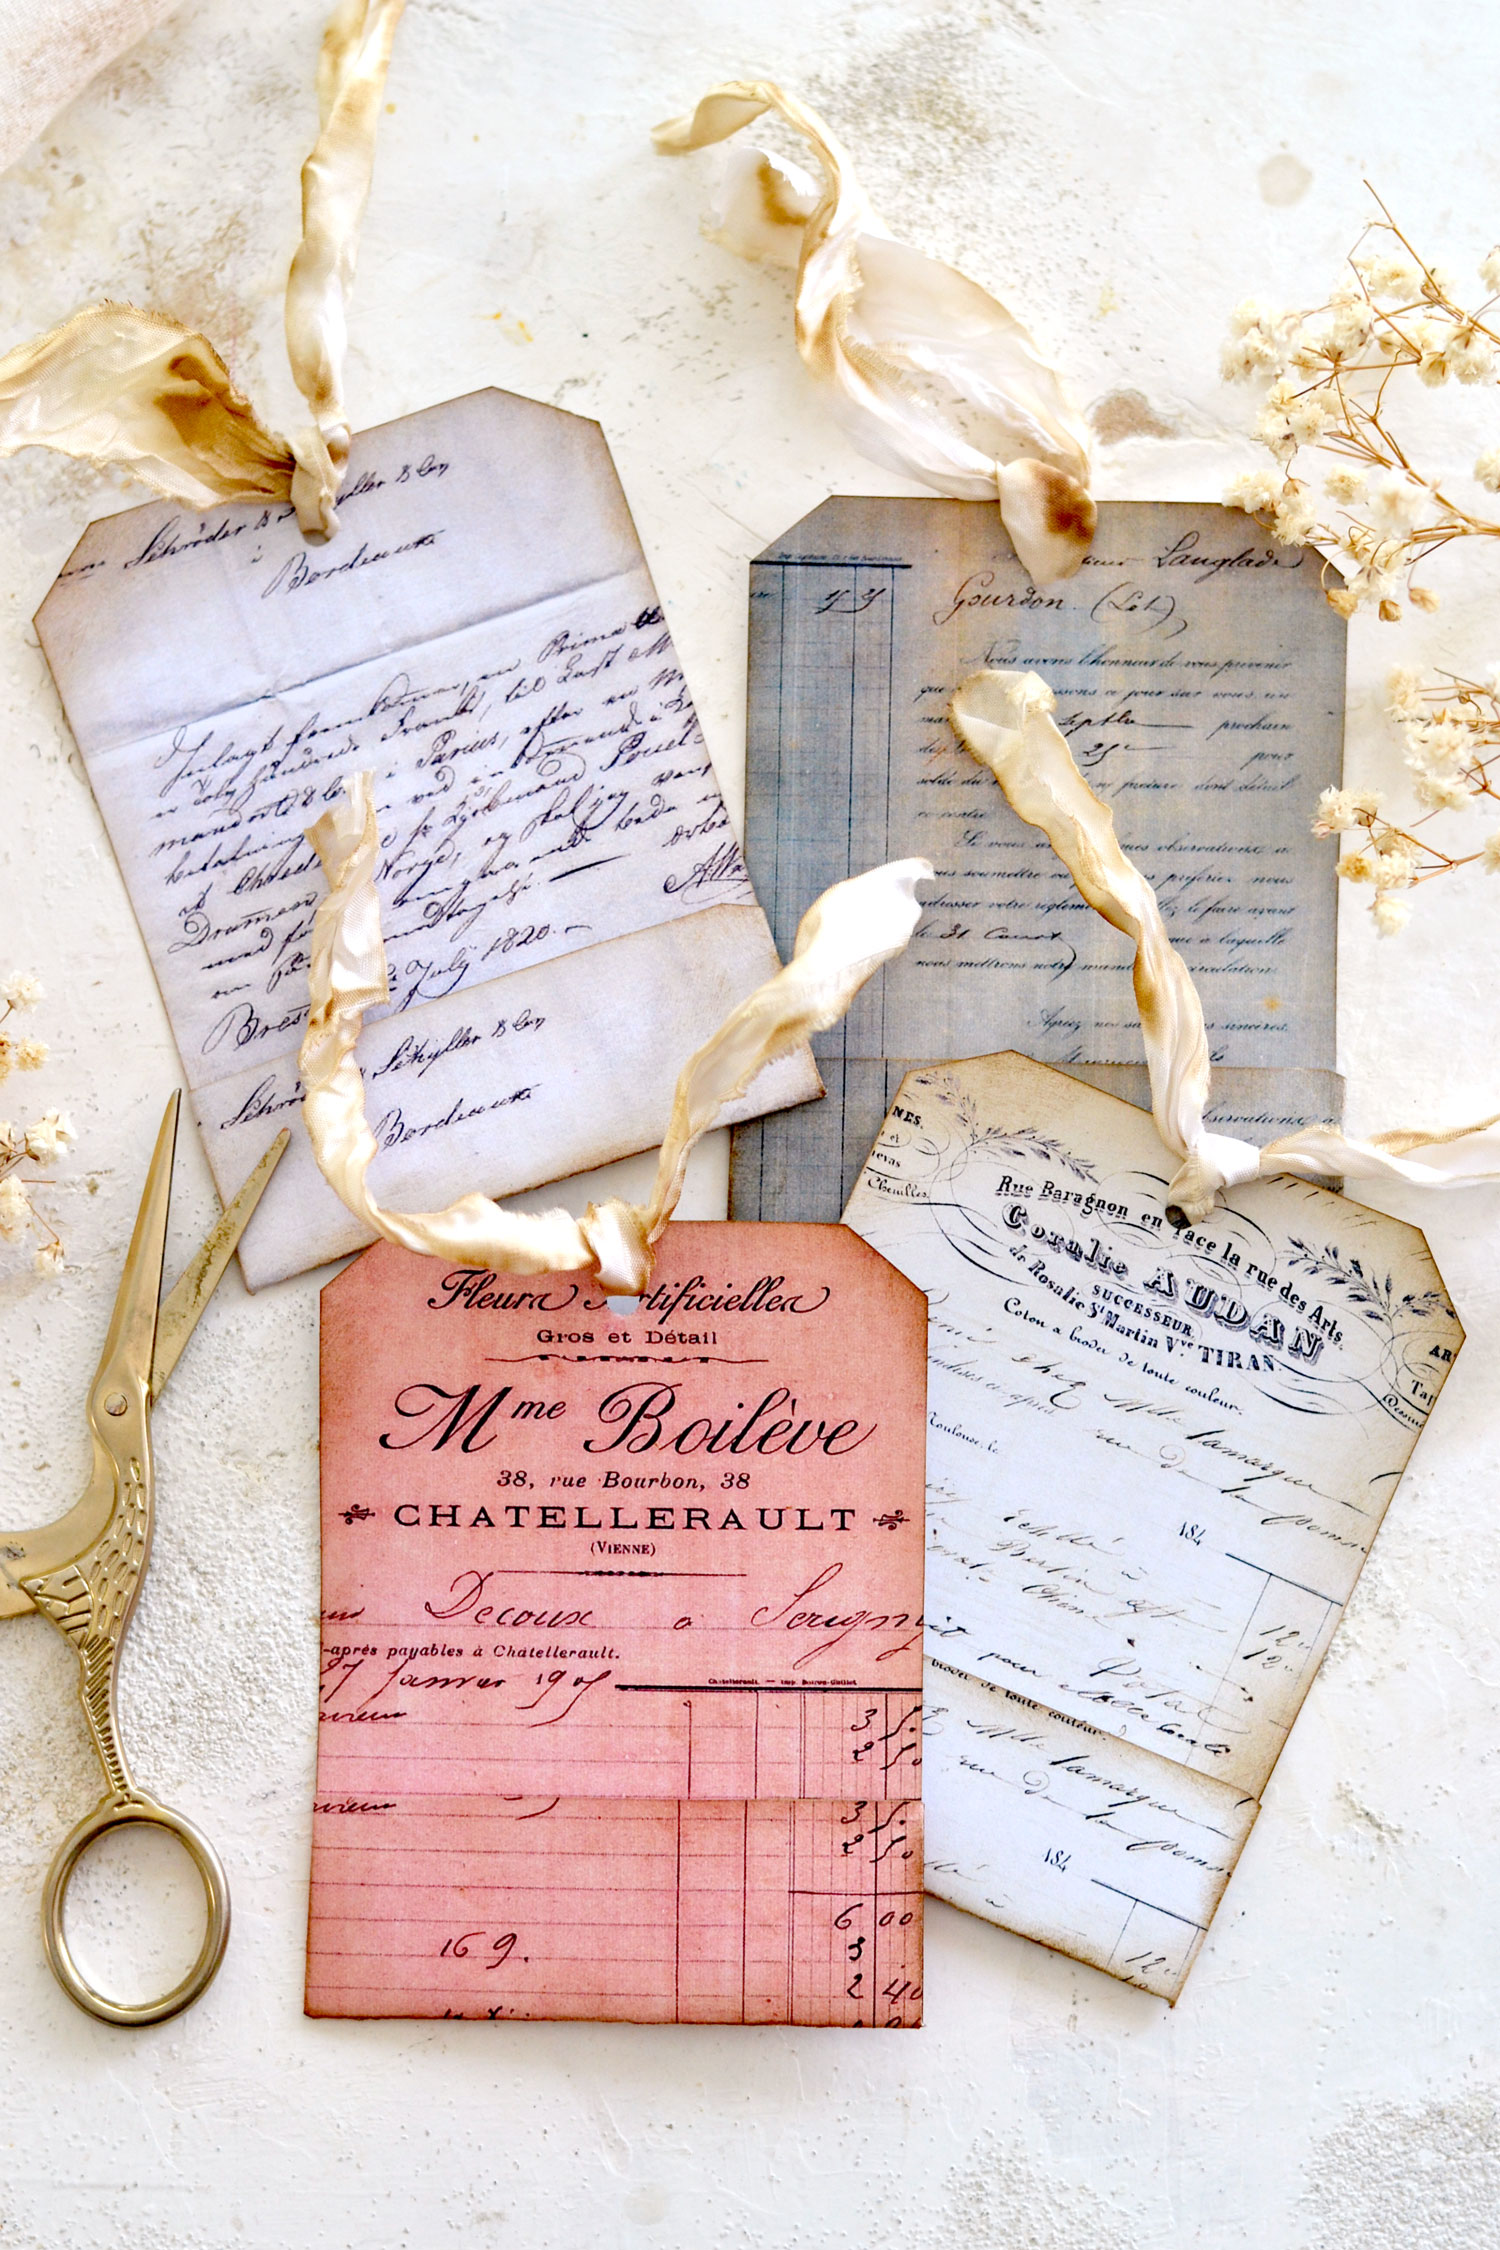
Use lace or some coffee-distressed crinkle ribbon and attach it to your pocket tags. These beauties are now ready to be used!
Moving on to the additional cutouts- use your scissors to cut all the goodies that I have selected for you (from the second printable) or simply use your own ephemera!
If you want to give the paper even more of an antique look, here are a few ideas that you can try:
– you can partially fold it, then unfold it on the edges or on the corners
– you can use your scissors to cut uneven edges and slightly rounded corners
– you can roll the corners and then unroll them
– you can even tear some small pieces here and there
All these small tricks will break some of the fiber in the paper making it look less sharp and flat. You can use more of that brown distress ink to further enhance some of these antique features, your new paper will look like it has been around for quite some time!
We could call these small techniques ‘quick dry distressing’, but if you want to take your experiments even further, you can try some other ‘wet distressing’ aging techniques from a previous tutorial using coffee -> How to make paper look old. 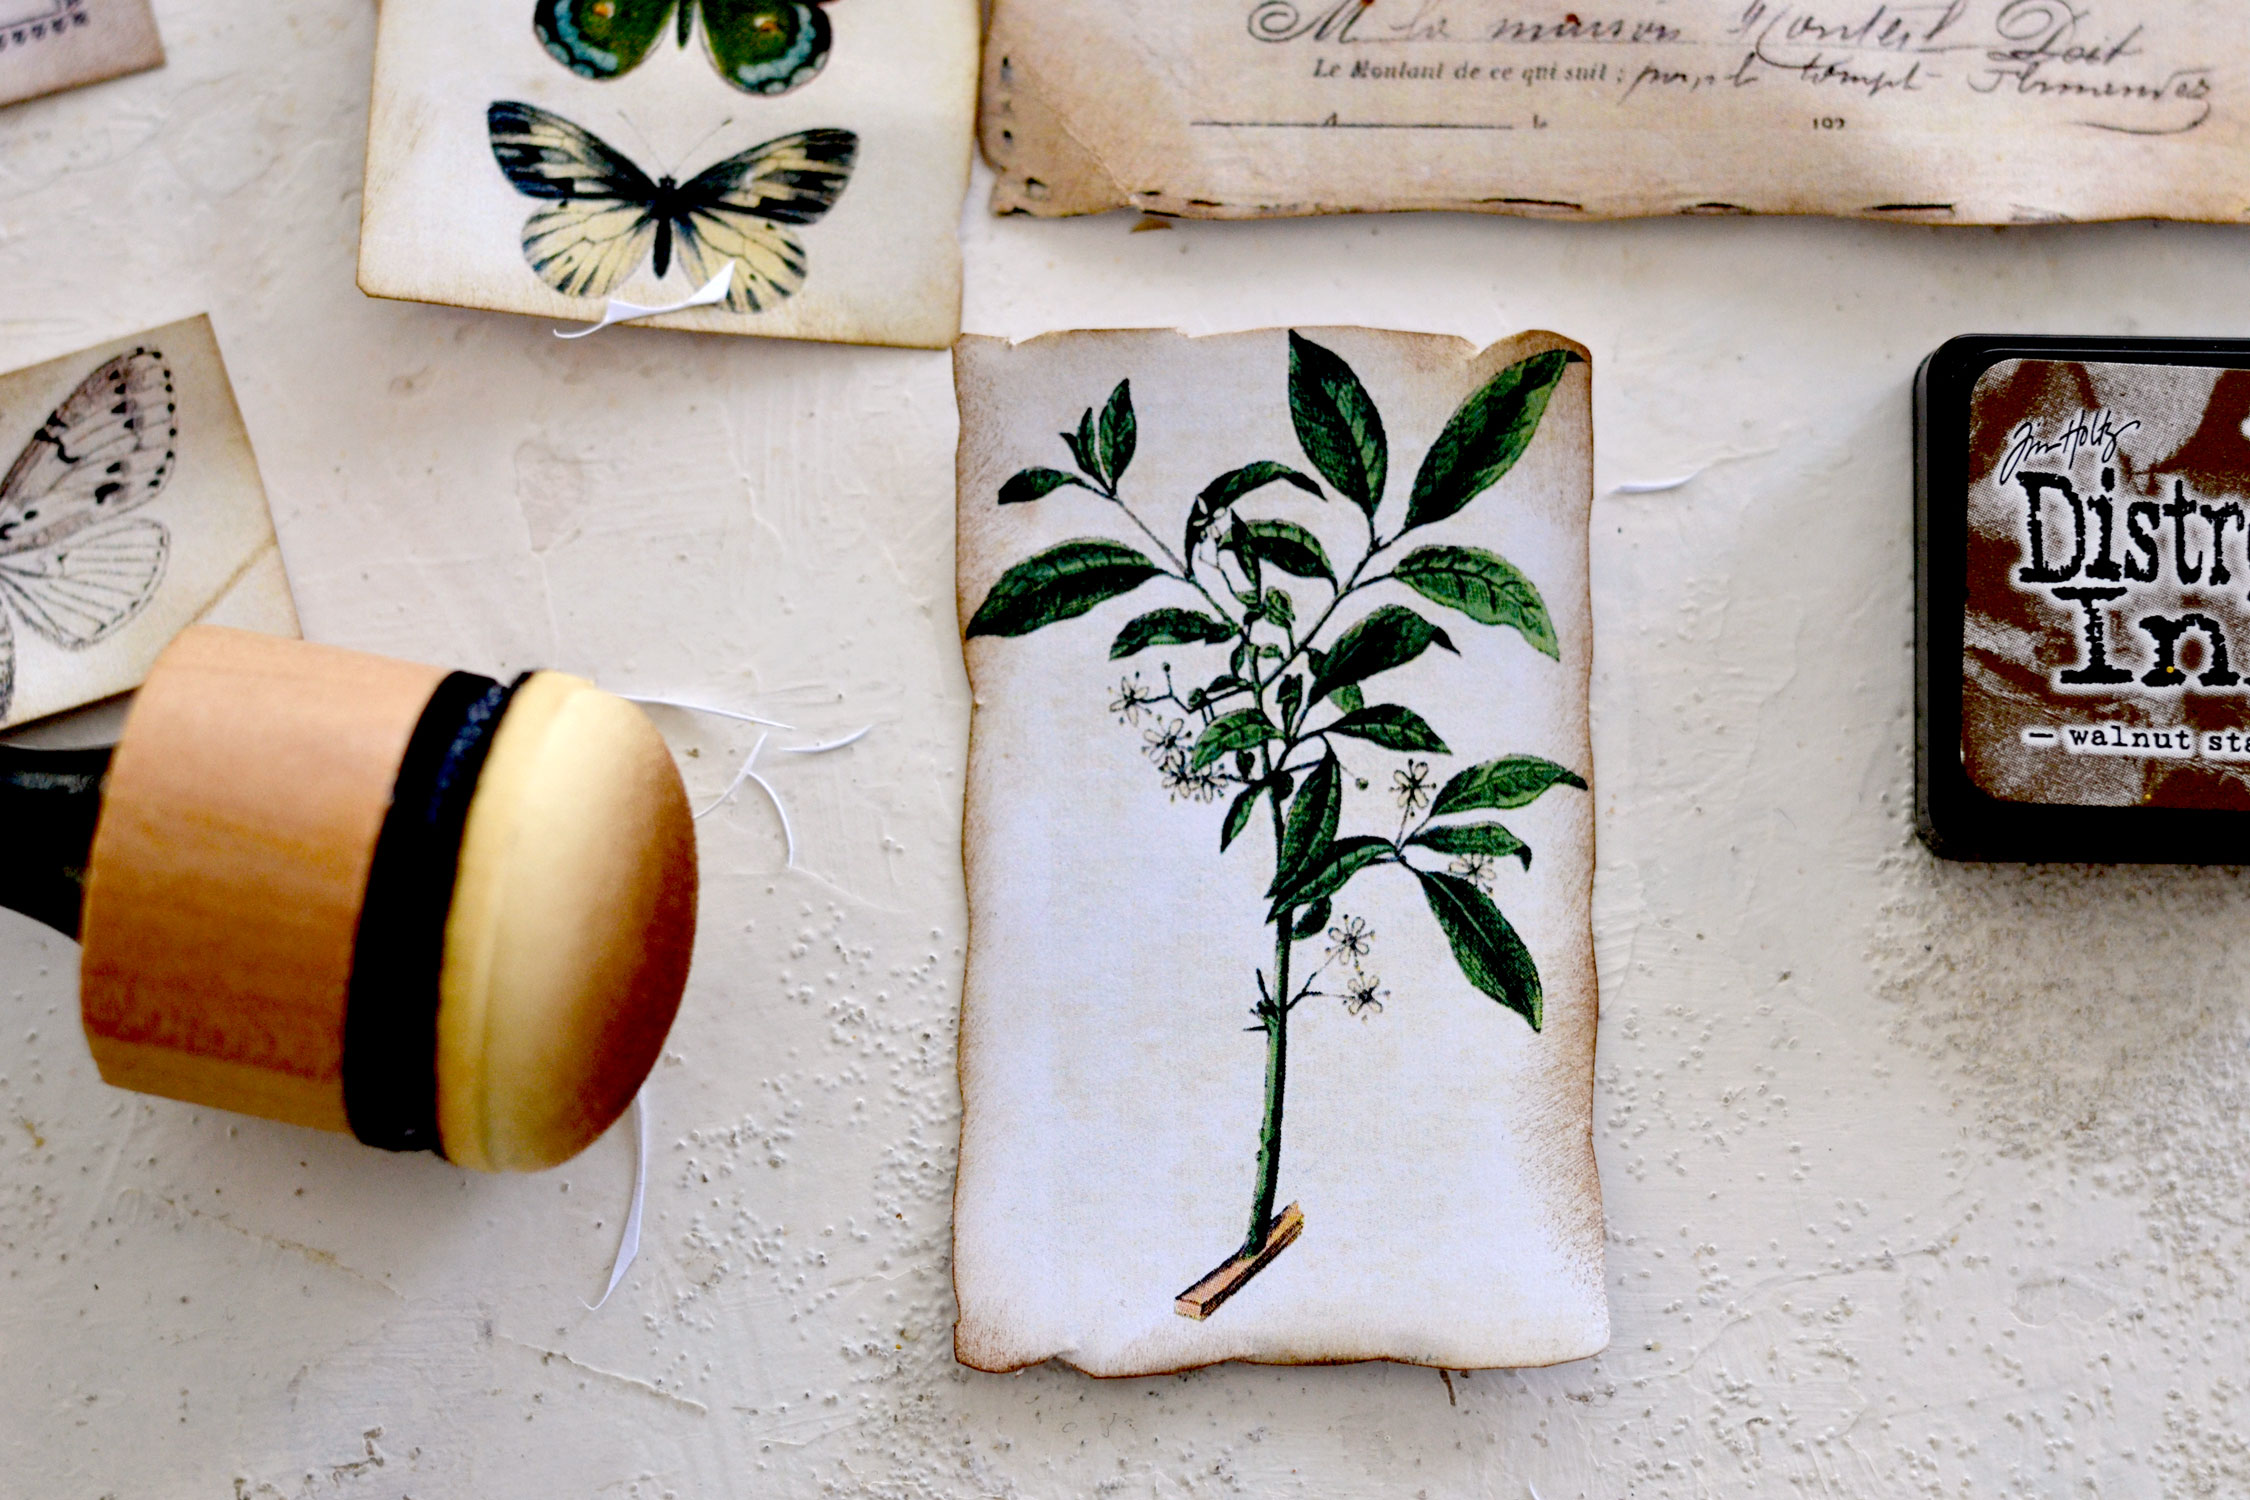
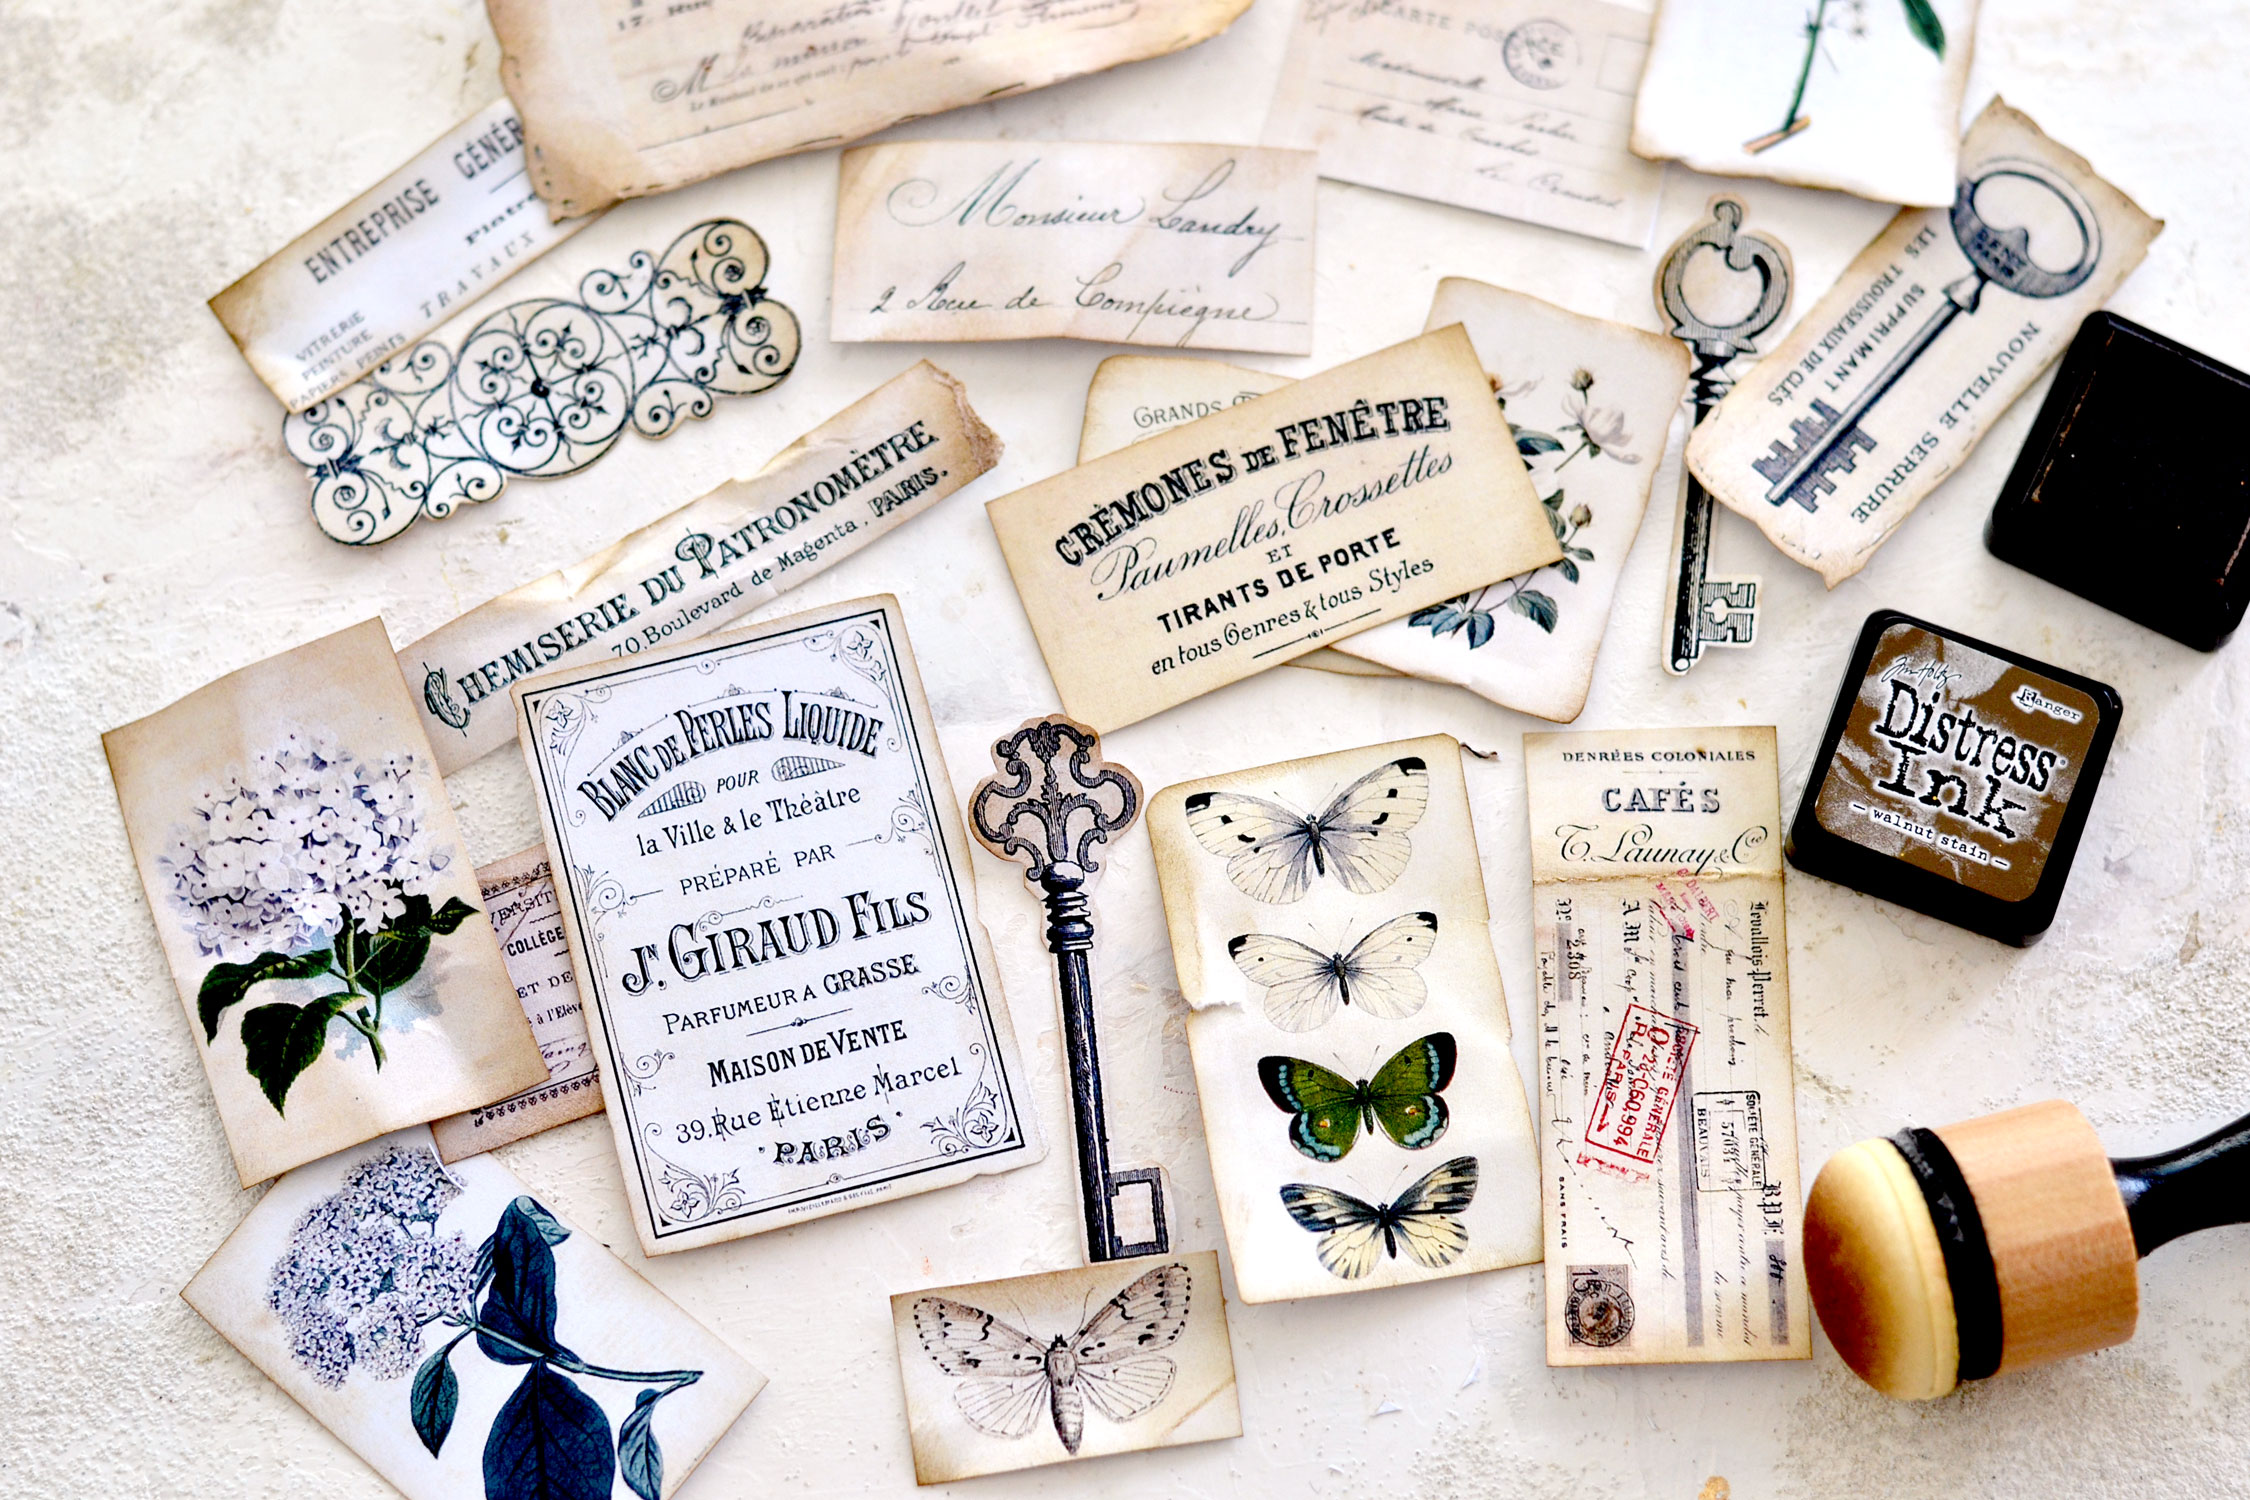
The level of distressing really depends on your preferences, so only stop when you love the vintage look of each and every one of these elements!
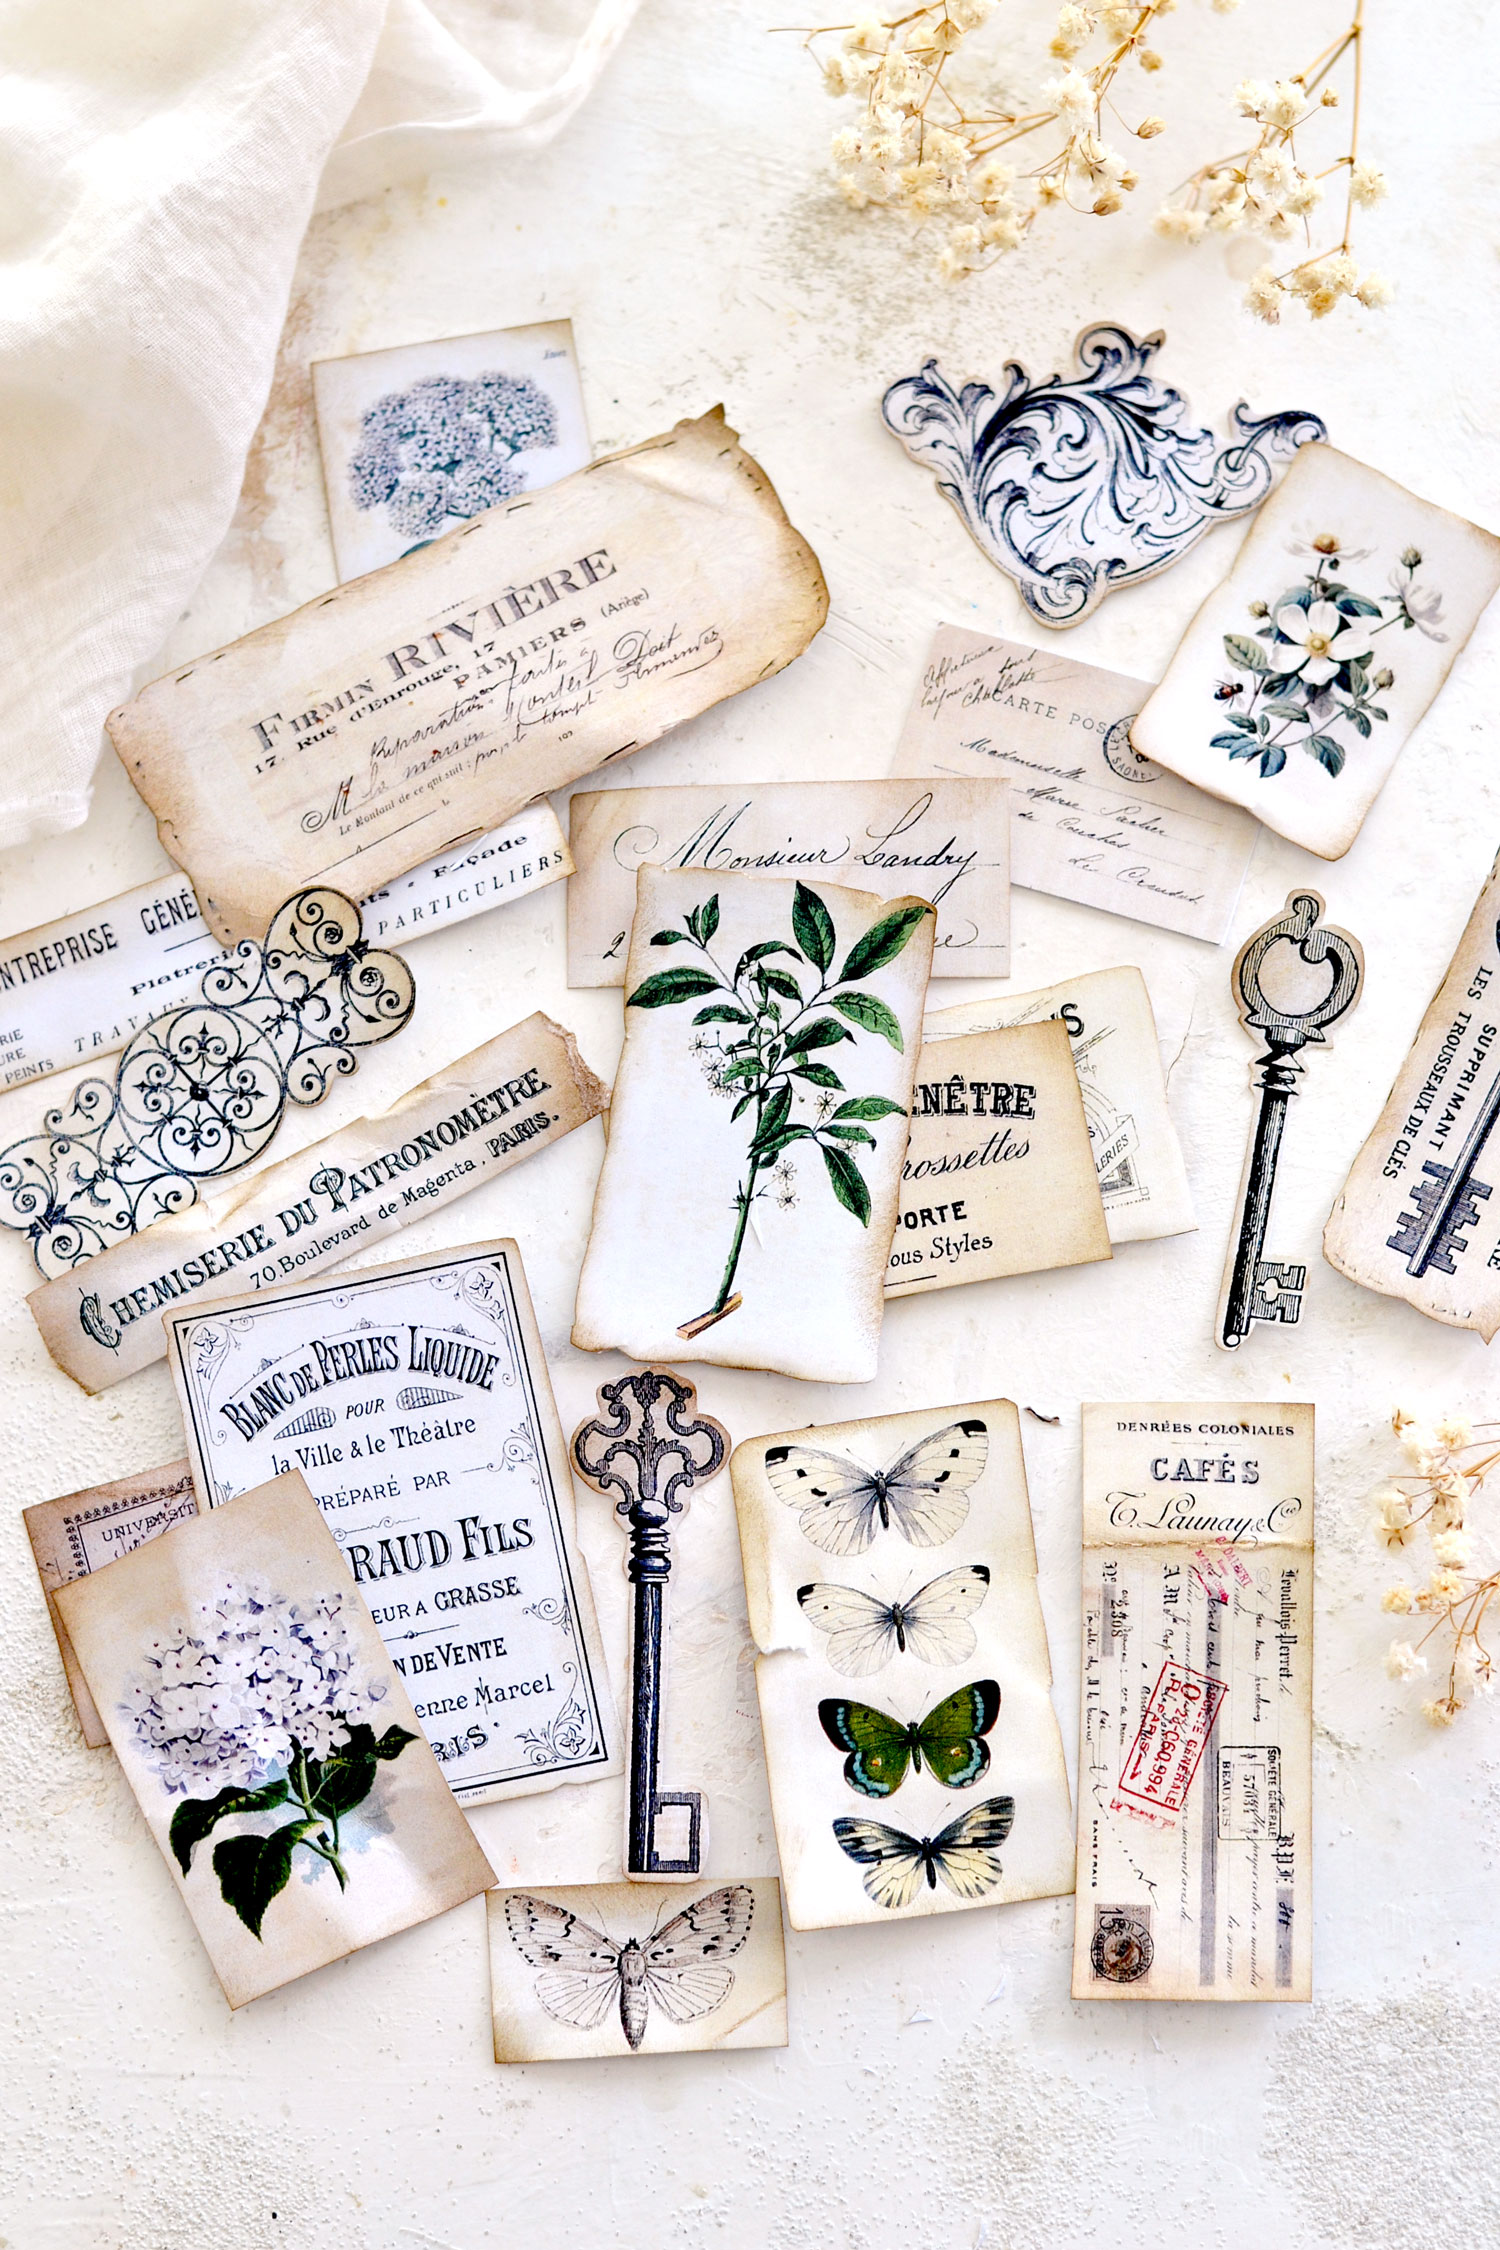
The final pieces are looking absolutely beautiful and are now ready to be used!
And if you look closely, you can see that every element is truly unique and quite charming on its own!
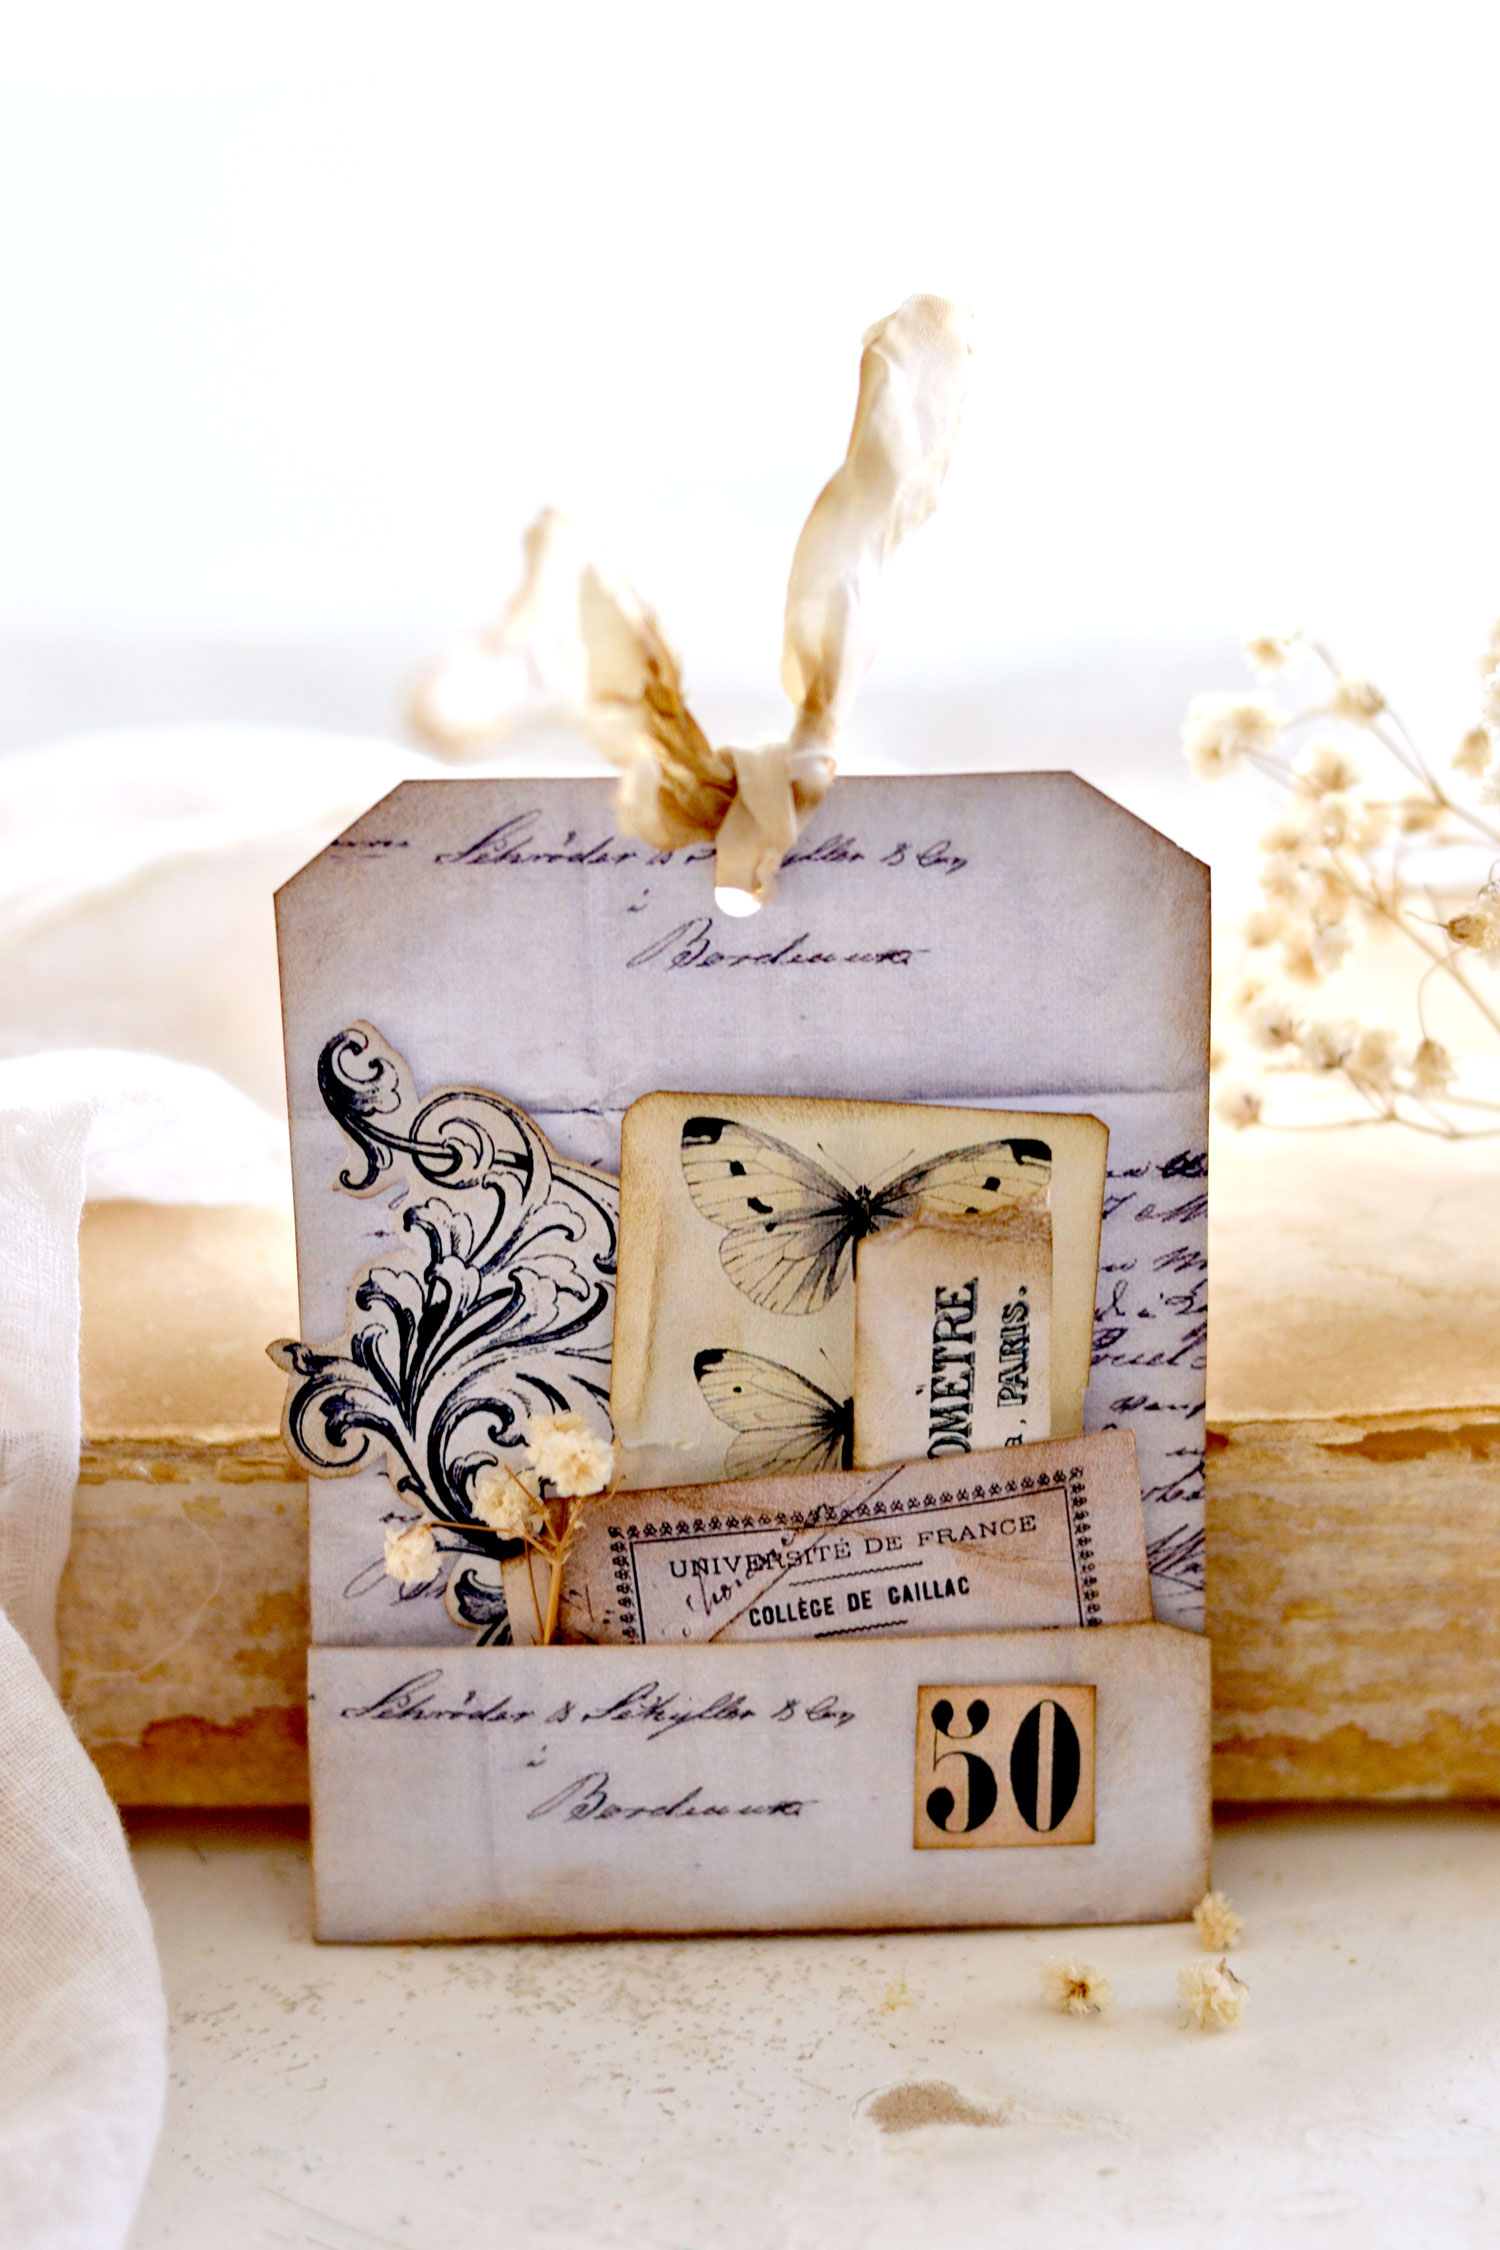
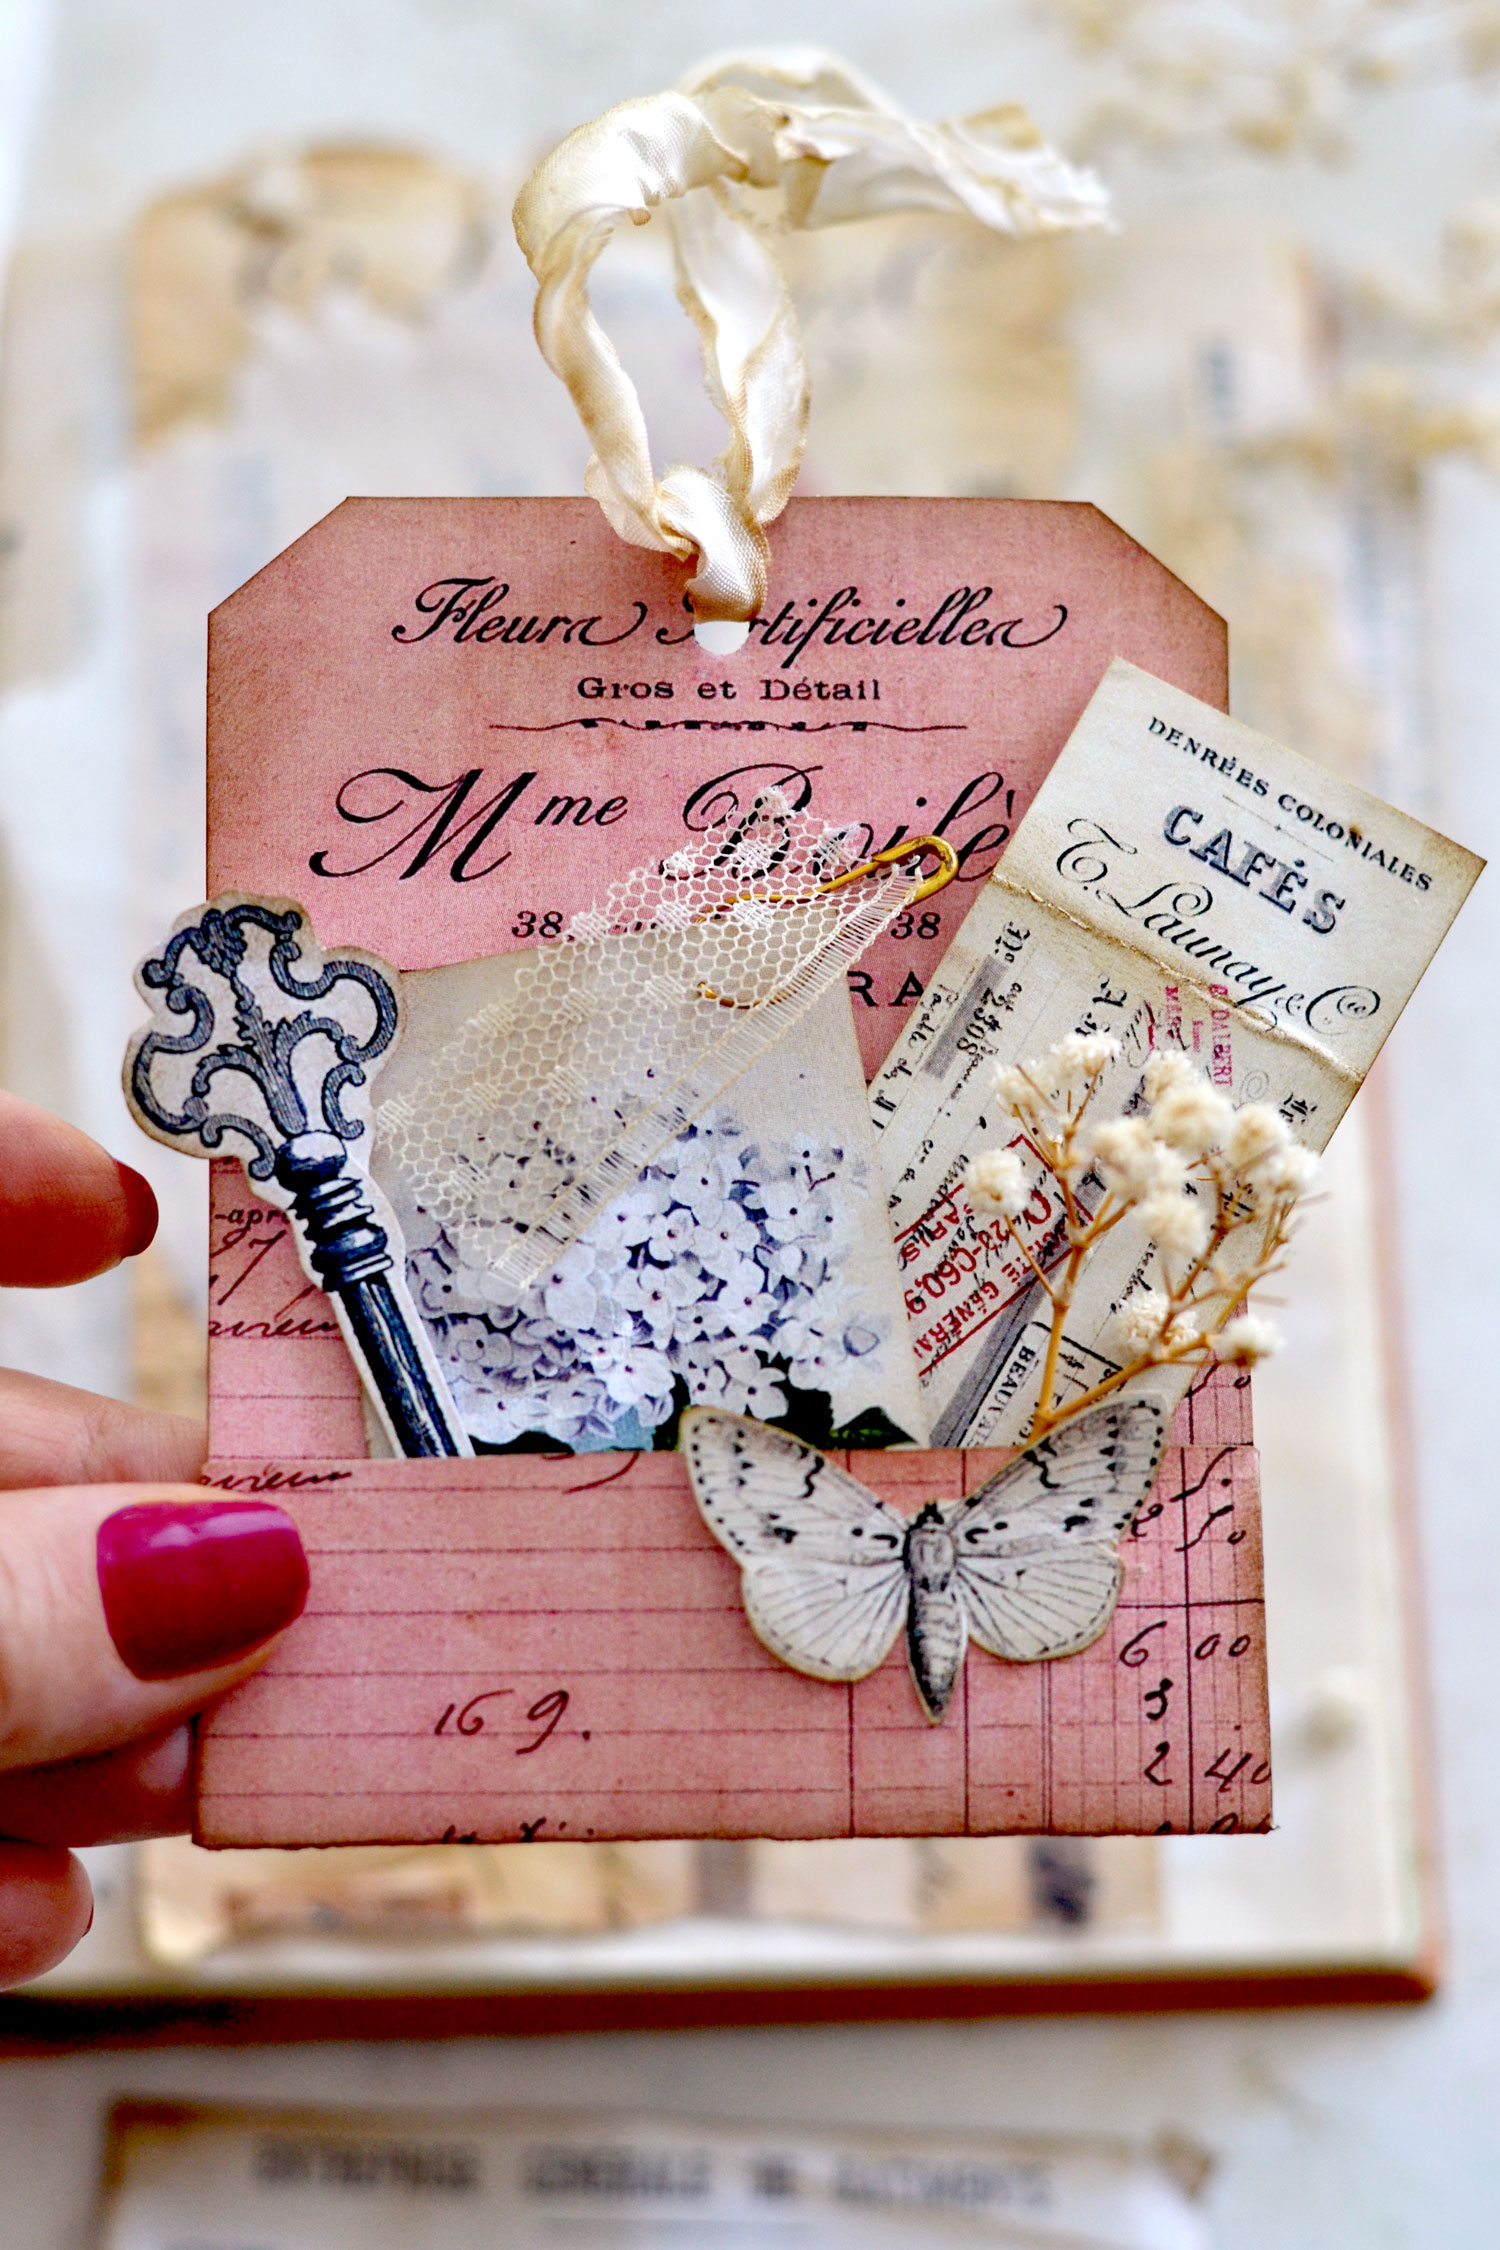
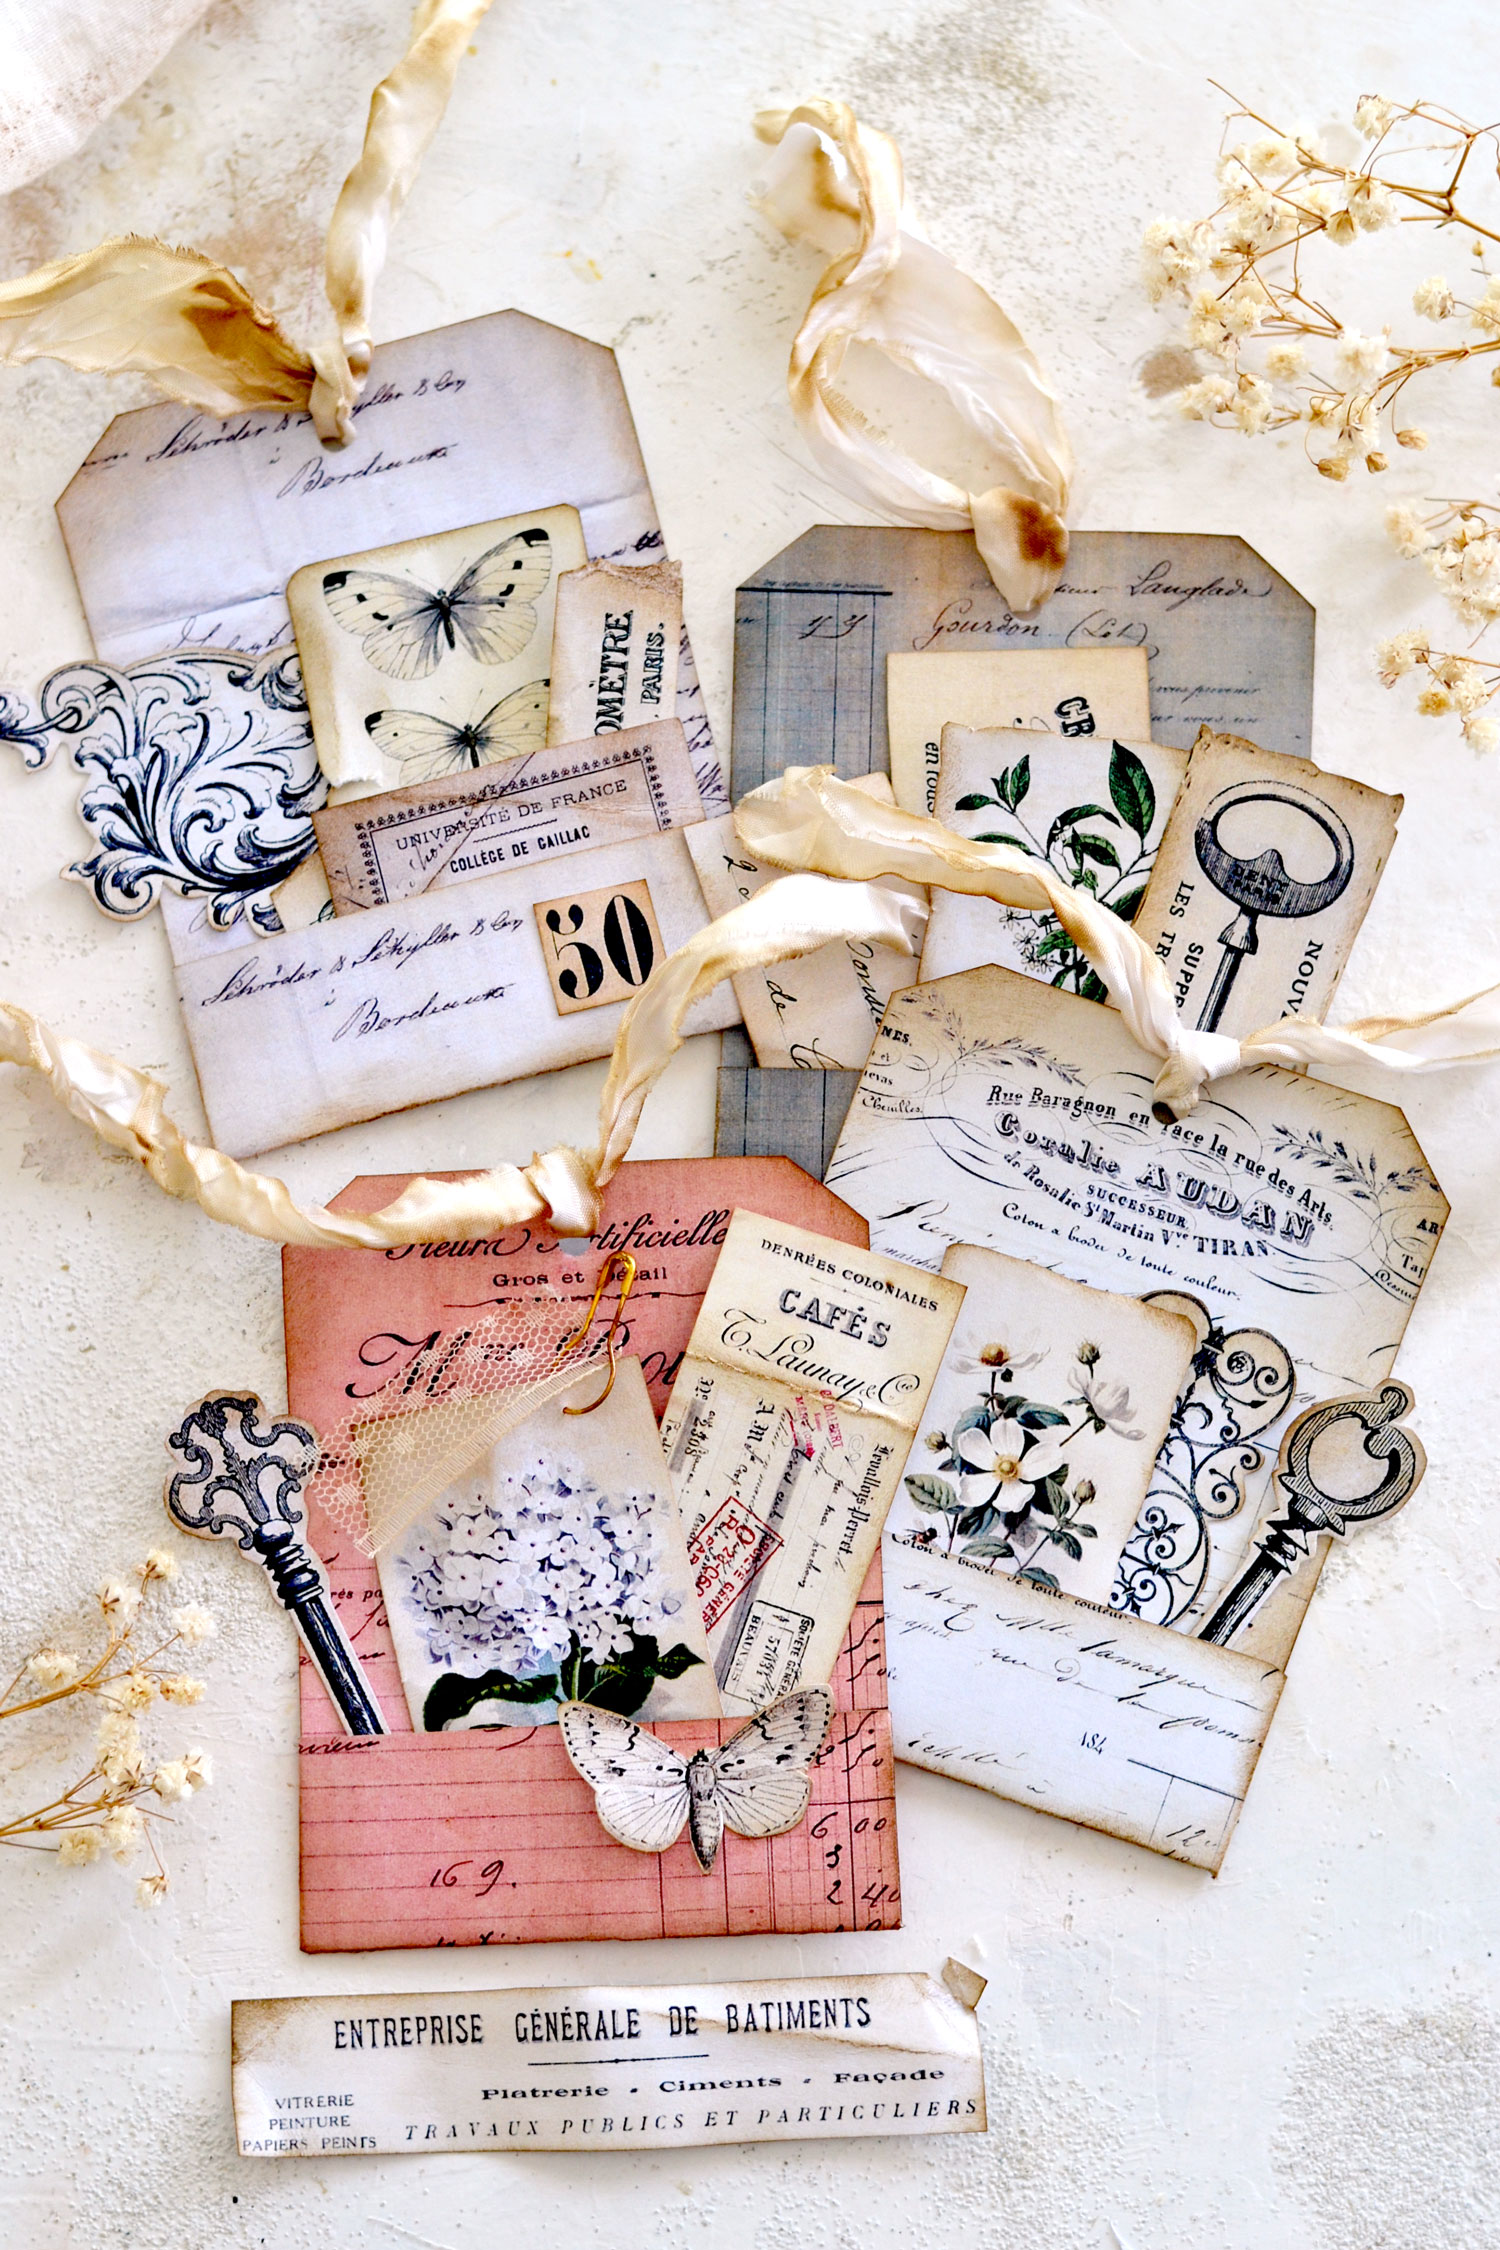
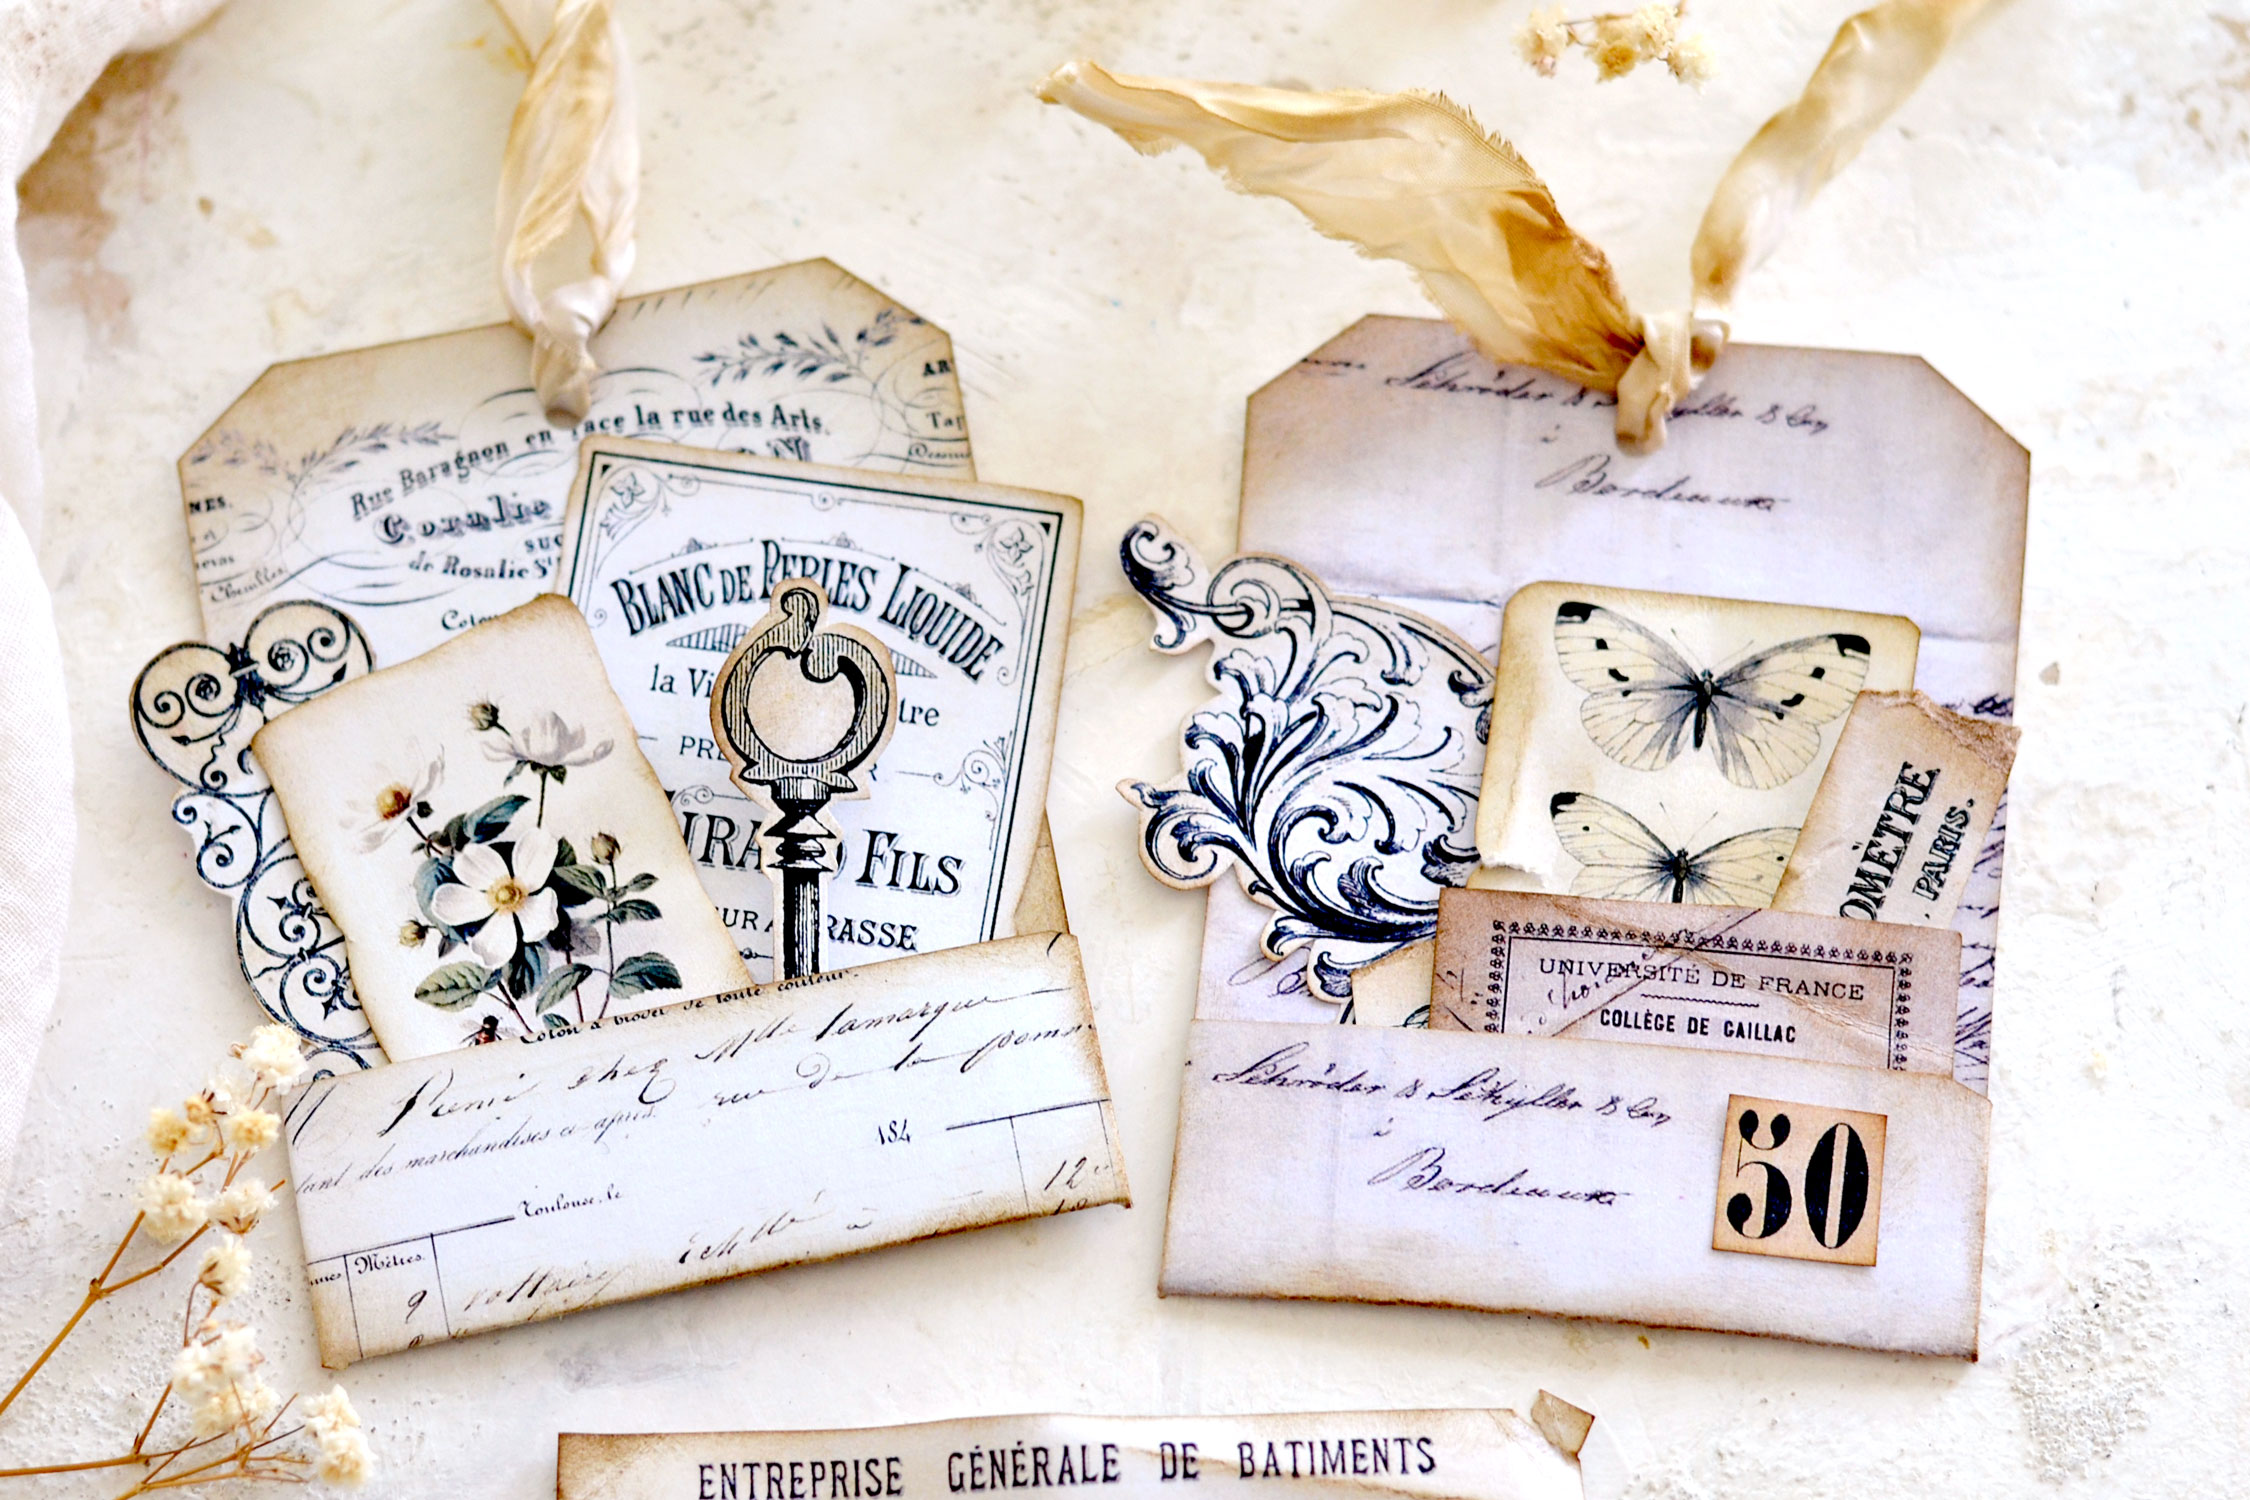
You can now use the additional ephemera cutouts to fill the pockets of your vintage tags!
You can mix and match things according to your own preferences! The neutral appearance and the charm of our additional cutout elements will make it easy to mix things as you want, no matter if you choose a pocket tag that has a beautiful cream color…
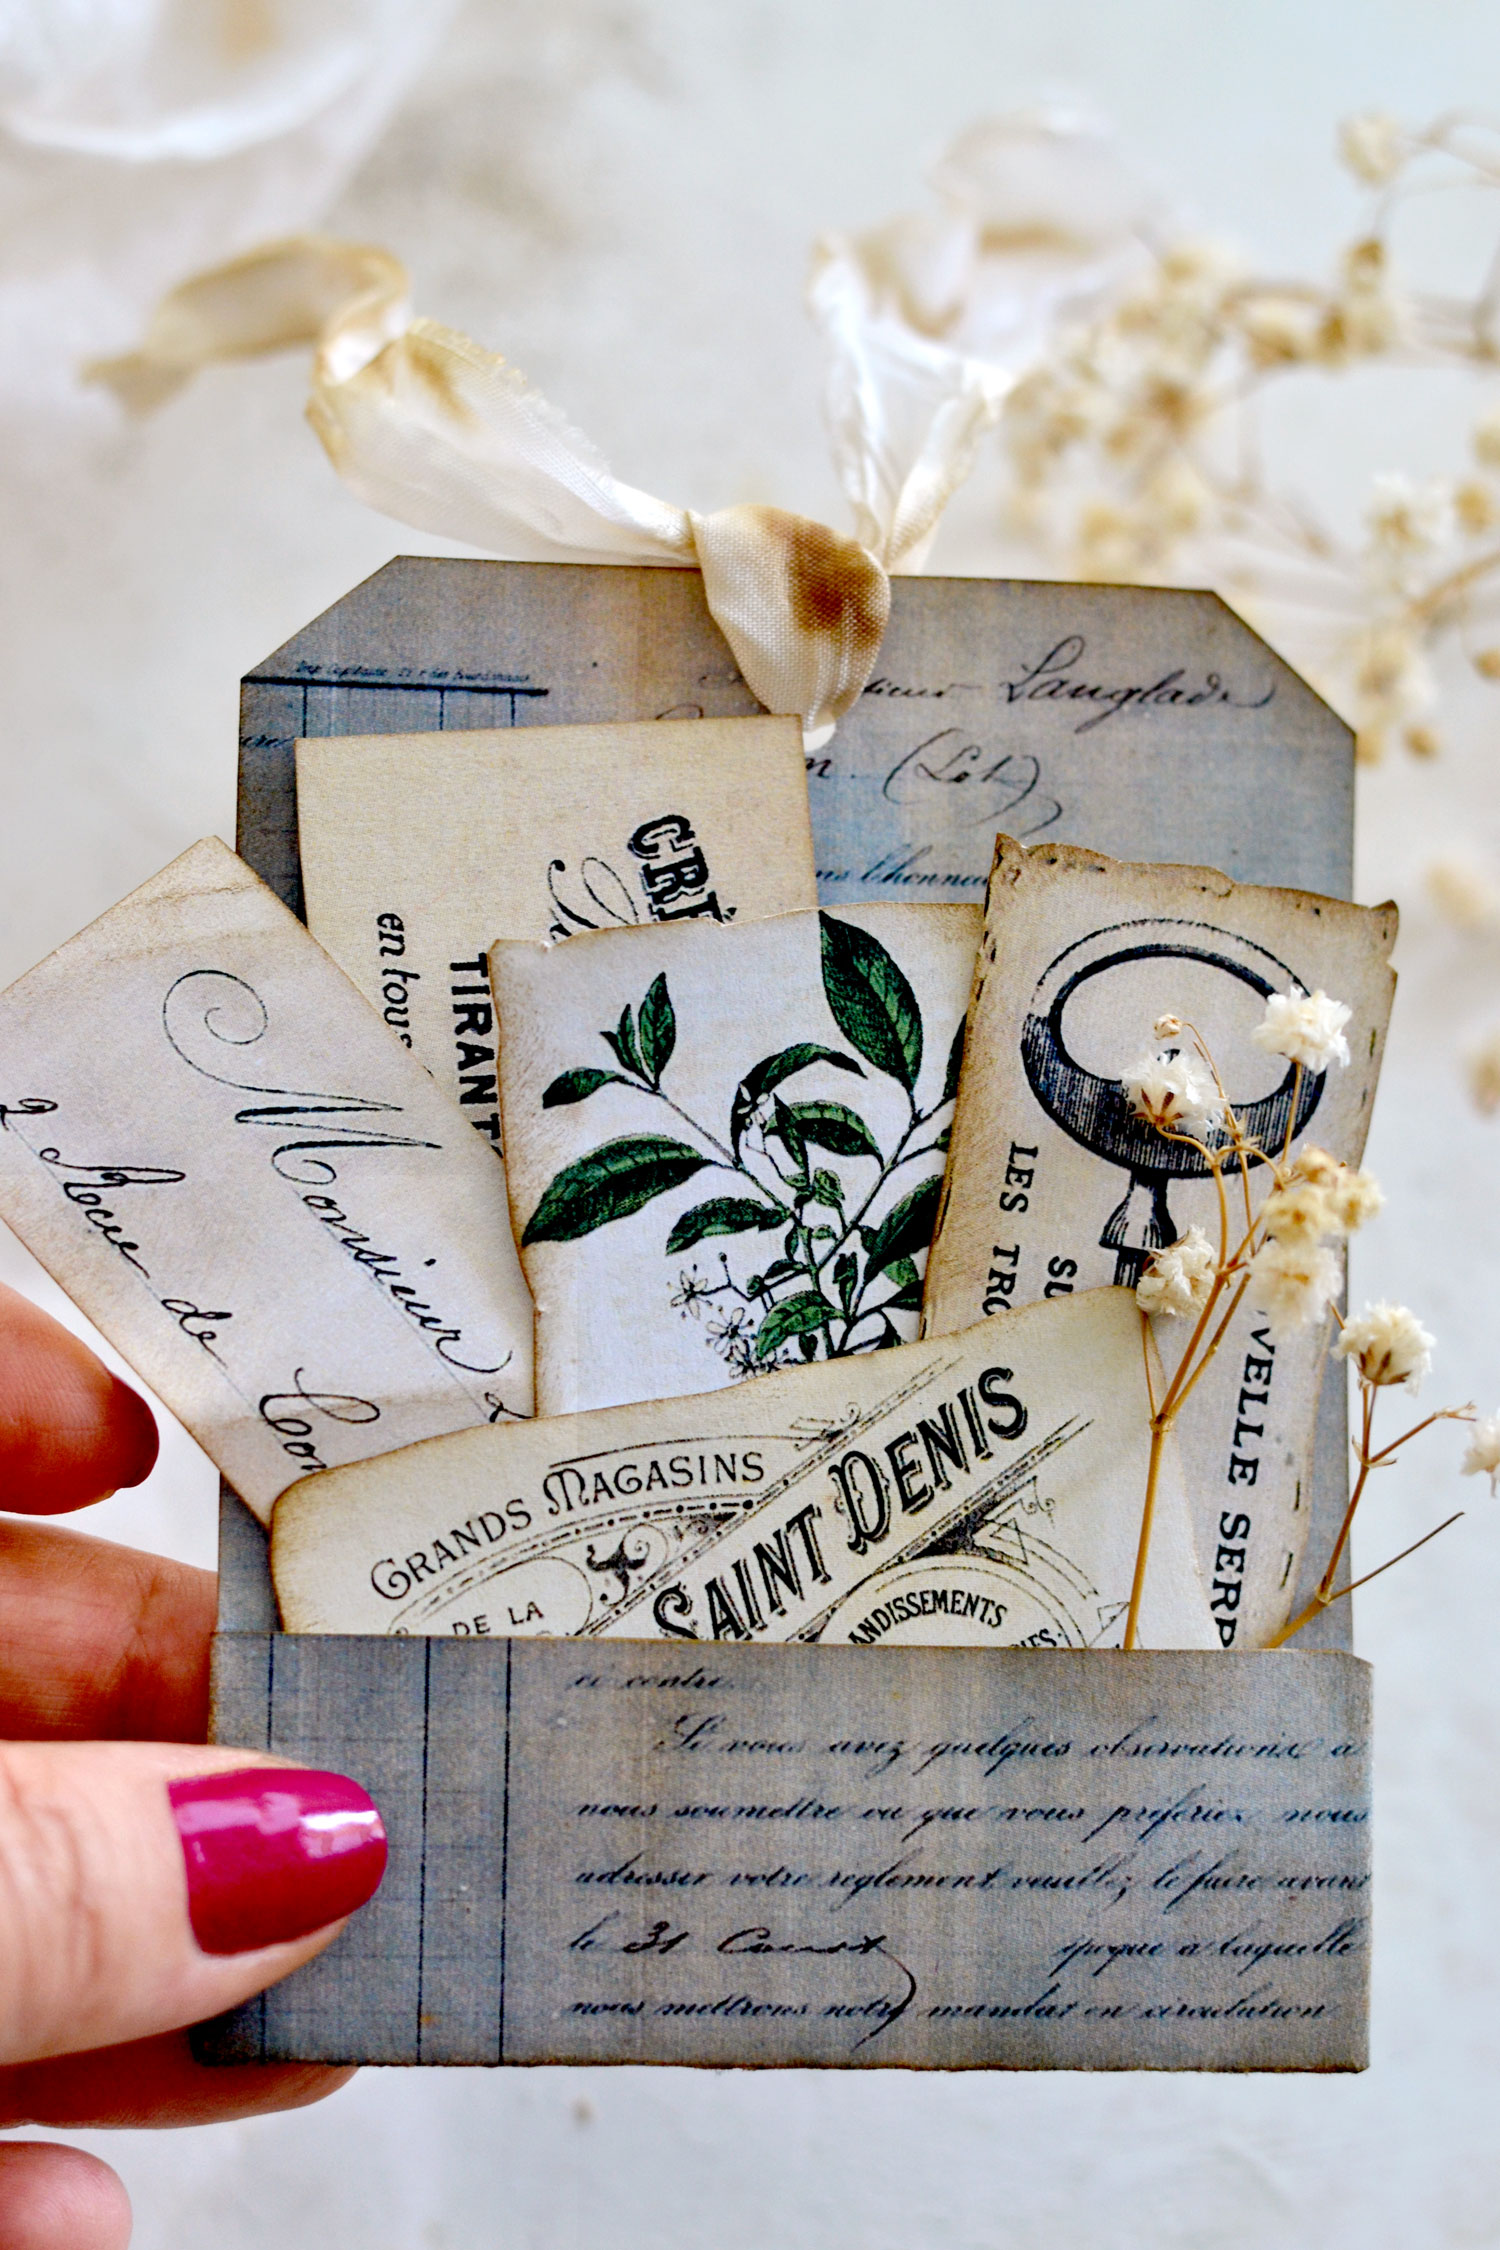
Or one that has more of a vivid color like this lovely French blue.
You can use other small embellishments like scrap pieces of vintage lace, small safety pins (I used gourd safety pins in gold) or even dry flowers that you can tuck in your pockets. And of course, you can decide to glue some of the elements on top of your pockets, instead of just tucking them inside!
This will give dimension to our tags creating more of that layering effect that we love adding to our junk journals.
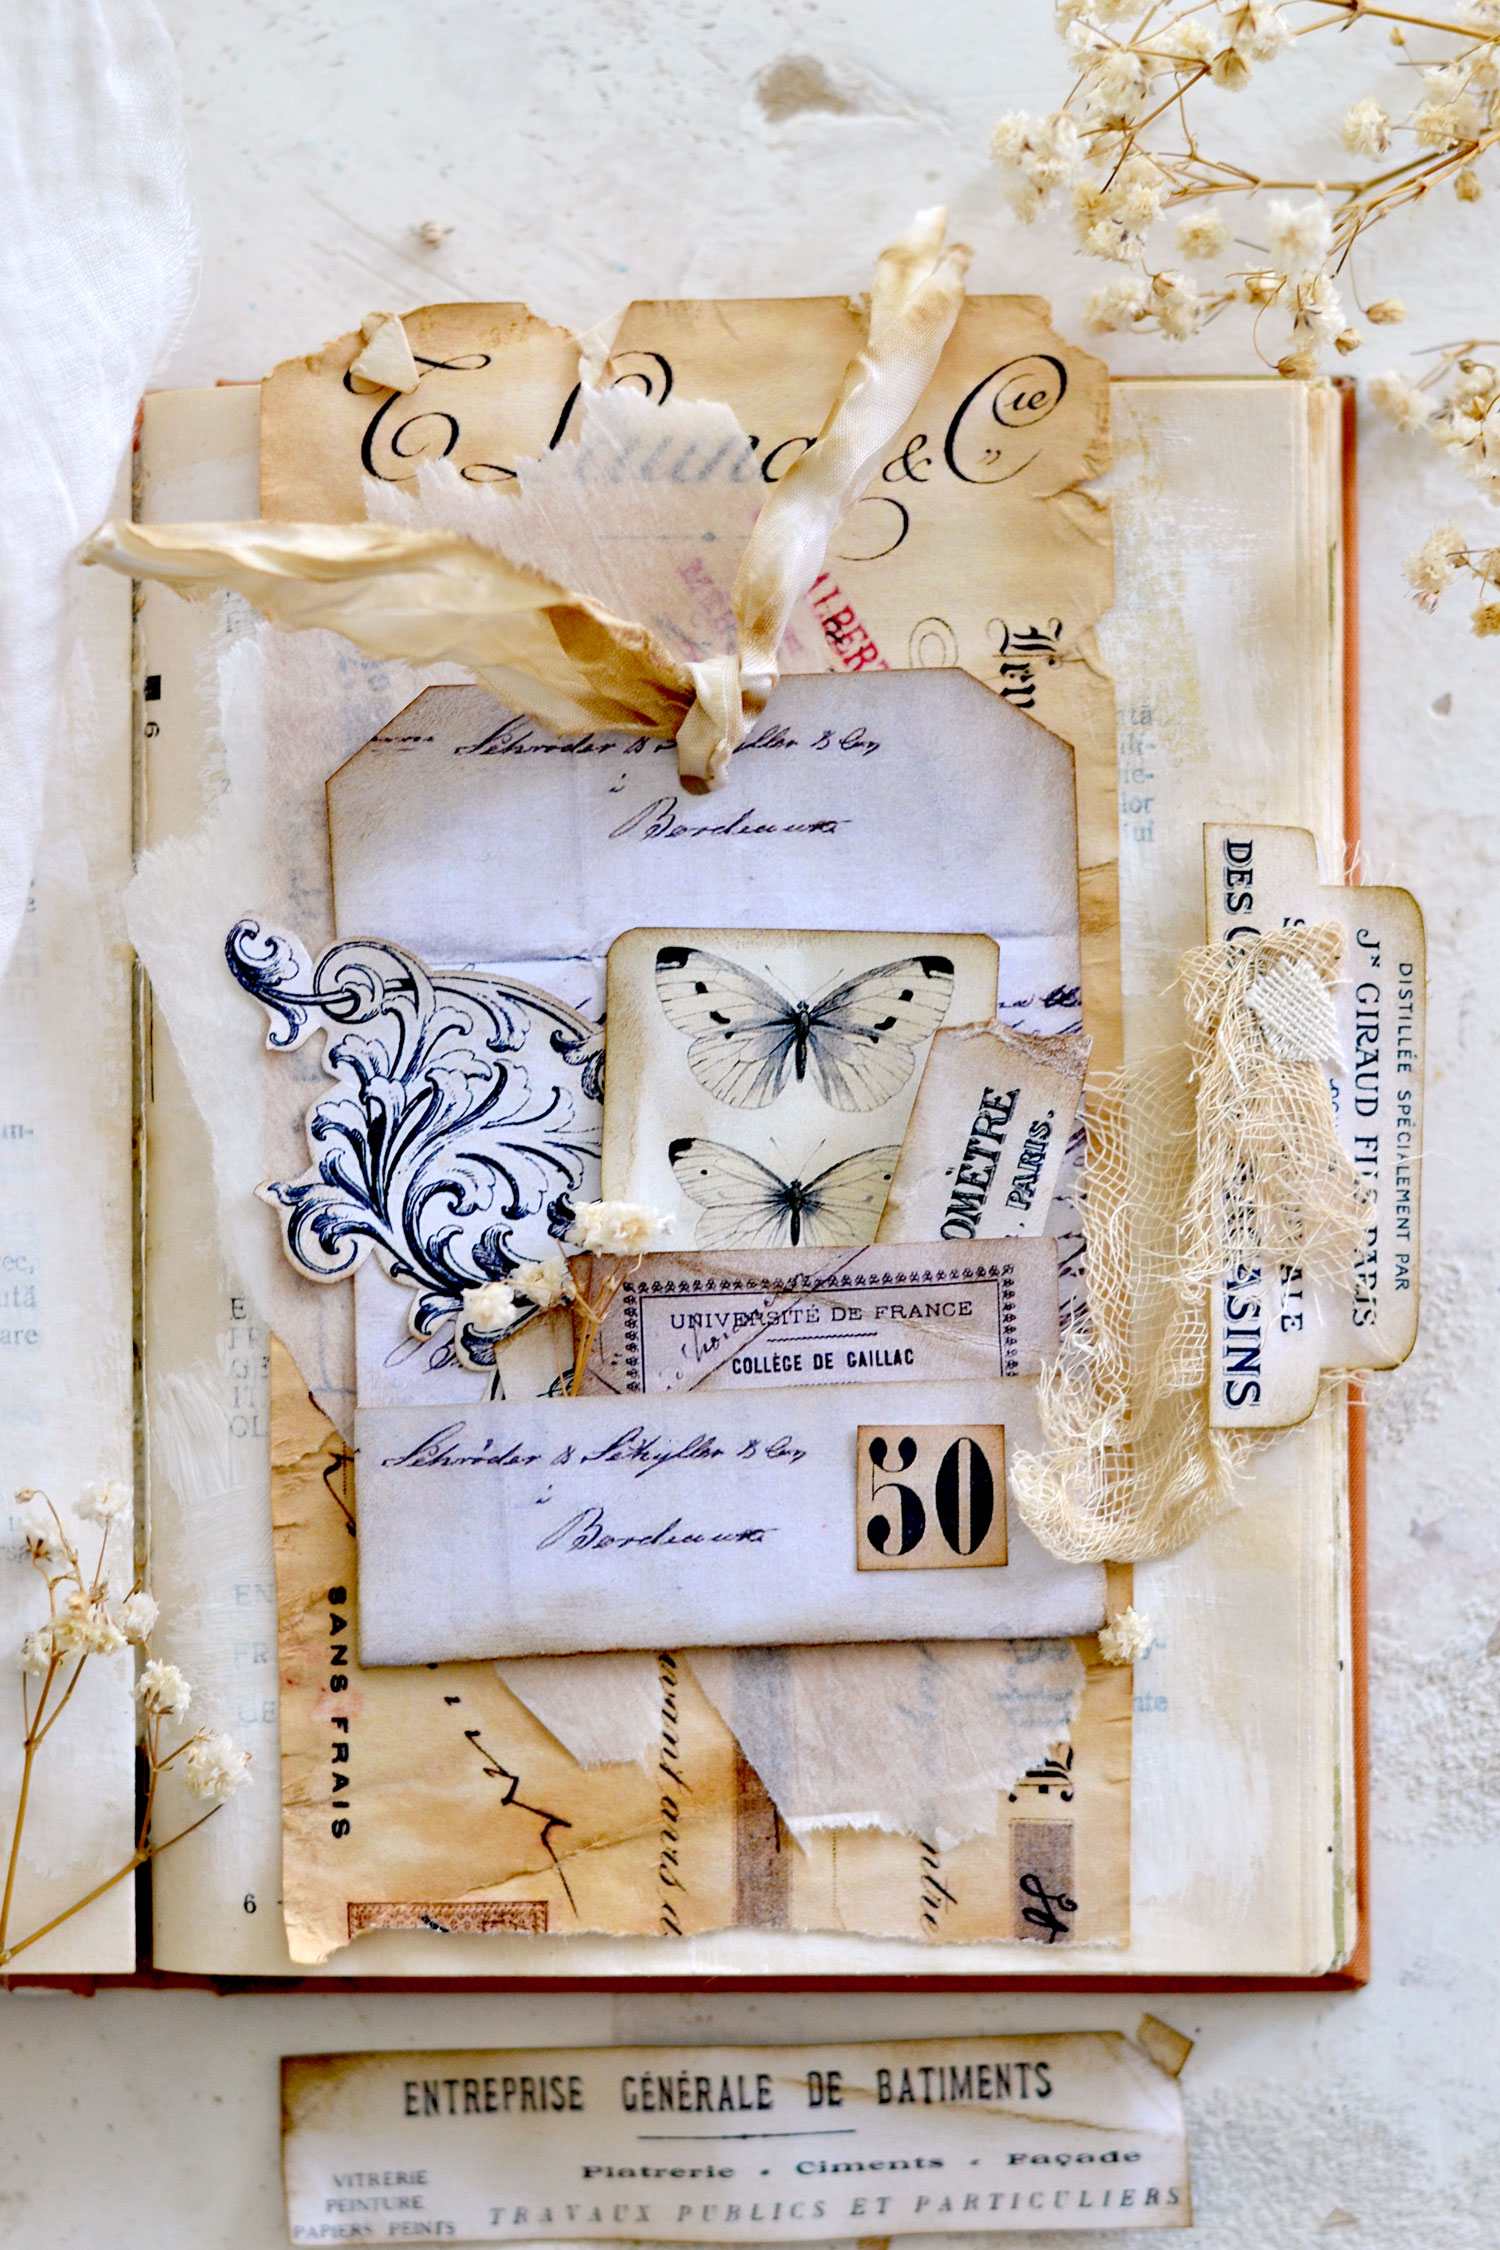
These gorgeous easy junk journal pockets that we created today work really great with my Junk Journal Embellishment Tabs!
As you can see, we only used a handful of supplies to make these absolutely beautiful DIY Pocket Tags, so I hope you will love how easy this project is and decide to give it a try! You will be able to use the tags and the additional cutout ephemera to create a super chic and stylish look in your own journals!
 Do you want an even bigger dose of creativity today? Check out our post How to Make a Junk Journal HERE.
Happy crafting,
Diana | by Dreams Factory



Rupa says
oh my! Where have I been? I need to visit this site more often since I am focused mostly on the premium site for a while now. This is a fabulous simple project with wonderful printables. I keep dropping GF site name in many YT videos so in case newbies don’t know can get freebies for collage, ephemera and so so much more (hard to believe anyone that doesn’t know this site lol). Thank you so much for this great project!
Karen Watson says
Aw, that’s so nice! Thanks so much for spreading the word about our sites Rupa! I’m glad you enjoyed this one. Diana is a bit of a creative genius!
Angela Hoynes says
Thank you for these.
Karen Watson says
Thank you Angela!
Lauren Butler says
Gosh, these pockets are lovely. So much epherema to tuck in! Thank you for all your talents!
Karen Watson says
Thanks for your kind comment about Diana’s project Lauren. I hope you have fun making these!
Connie Griffin says
these are beautiful, thank you!
Karen Watson says
I’m glad you enjoyed them Connie!
Theresa says
Love, love, love the free printables
The bookmarks, tags and pockets are beautiful! Thank you for sharing such beautiful and quality items!
Karen Watson says
I’m glad you enjoyed these Theresa! Thanks for your nice comment about Diana’s project.
nancy says
could not find todays free printables
i didn’t want the tags but wanted to find the printables??????
Karen Watson says
Hi Nancy, just scroll down the page and you will see the printable tags and the other printable right under them. I hope that helps!
Katherine says
Thank you Diana! These are beautiful and absolutely perfect for the journal I am working on right now!
Karen Watson says
I’m glad you enjoyed Diana’s beautiful project this week Katherine! That’s great that you can use them in your current journal.