Once you begin casting your own DIY Appliques, you’ll be hooked!
{this post contains affiliate links}
Hello, Graphics Fairy friends! Heather from Thicketworks here…This is Part One of a Two Part Series.
Today I’ll be sharing a technique that is near and dear to my heart: Casting DIY Appliques.
In Part Two, we’ll explore a few more of the finishing options that will bring your cast appliques to glorious life!
Before we begin, I wish to thank Iron Orchid Designs for supplying the Decor Moulds used in this demonstration. I’m honored to on their Design Team, and lucky enough to work with these incredible tools all the time.
Be sure to check out the entire line, and explore the Fall 2016 Release of Moulds and other tools, available at the end of October!
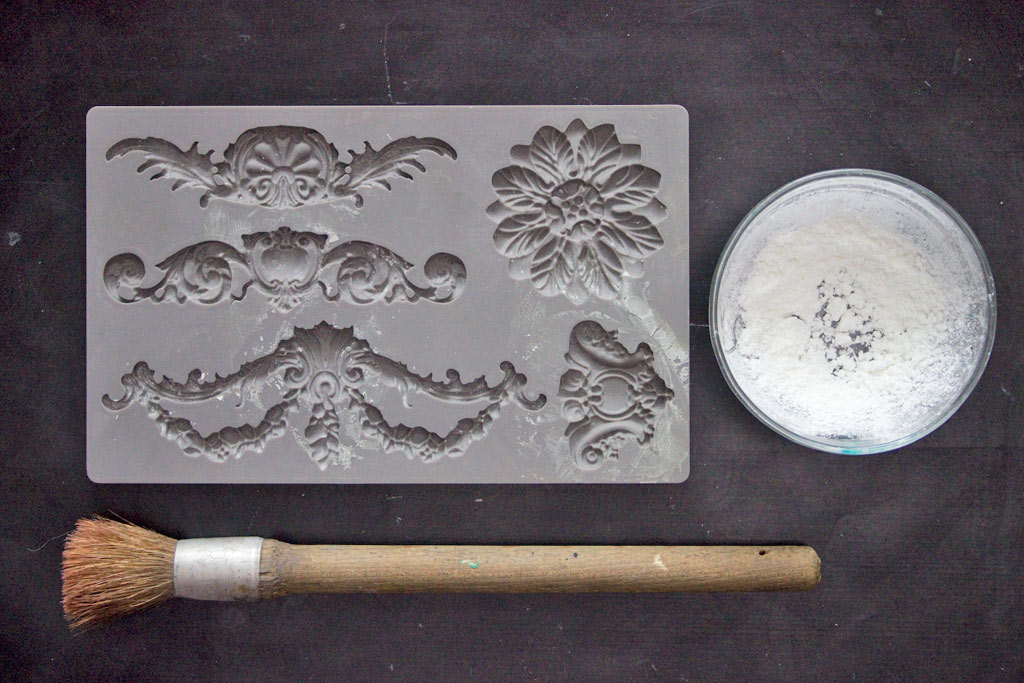
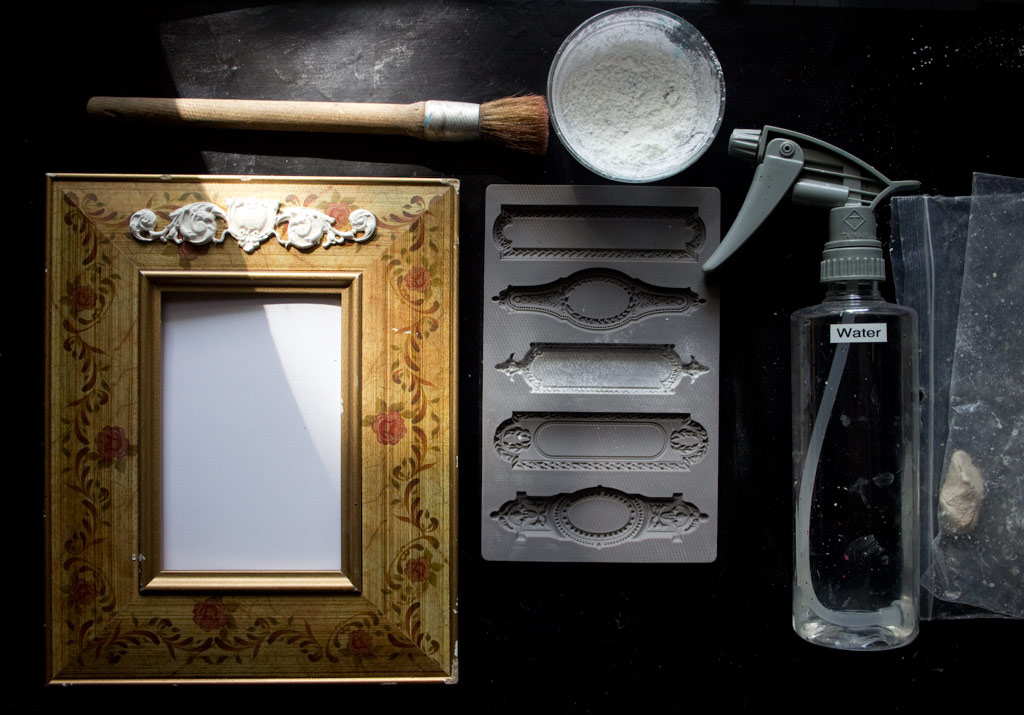
In order to get these wonderful results, a few basic items are required.
Supplies:
- IOD Decor Moulds
- Air Dry Paper Clay
- Cornstarch
- A Fluffy Brush
- Assorted Items to Transform! (think books, furniture, kitchen cabinets, clay pots…the sky’s the limit!)
- Aleene’s Original “Tacky” Glue
- A tool for smoothing the clay: I use an old sturdy cookie flipper
- An artist’s paint brush for mending breaks
- Water
- A Zip Lock Bag to store the Paper Clay
- Assorted Paints and finishing products
Important Disclaimer:
I’ll be showing you how I cast Paper Clay appliques. I work with them while they are wet, and I don’t bother to allow them to cure in the Moulds. I even PAINT them while wet, making the process much faster than traditional methods. The results can be less-than-perfect, and that suits my aesthetic to a tee!
You decide whether or not you want to follow this Outlaw Casting Process, or be more Traditional in your approach! Neither is right or wrong…
Here’s a very cool fact: these Moulds are suitable for just about any casting medium you can name: Polymer Clay, Resin, Porcelain and other ‘Firing’ Clays, even Chocolate! (be sure to keep one set just for food, if you are so inclined)
How to Cast DIY Appliques:
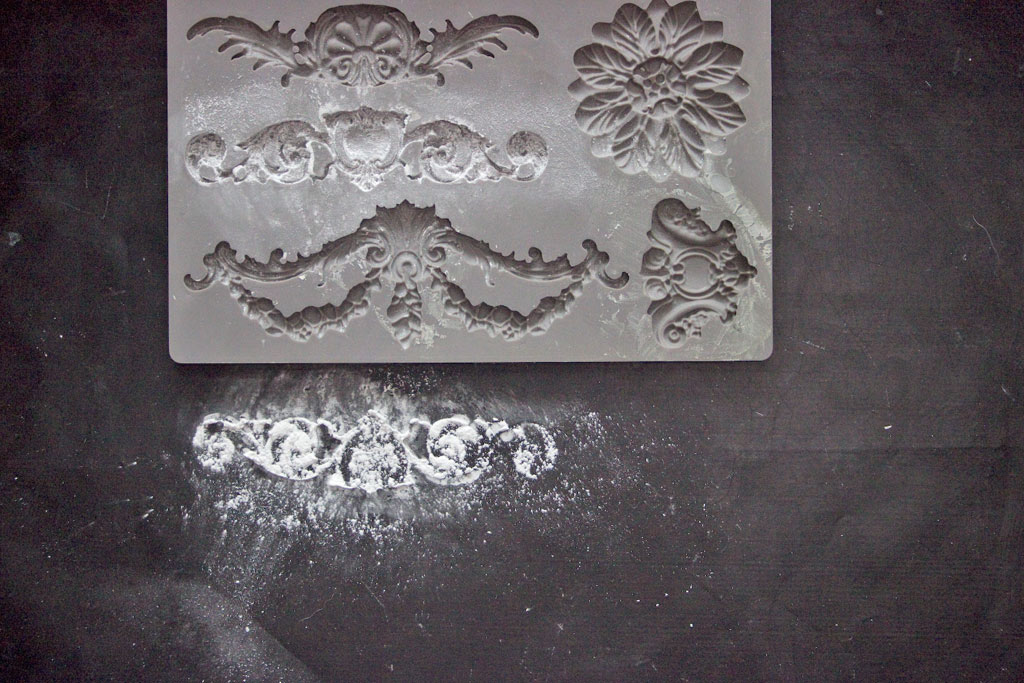
Begin by gathering your Mould, a bit of Cornstarch in a small container, and a fluffy brush onto your work surface.
Grab the item that you will be transforming!
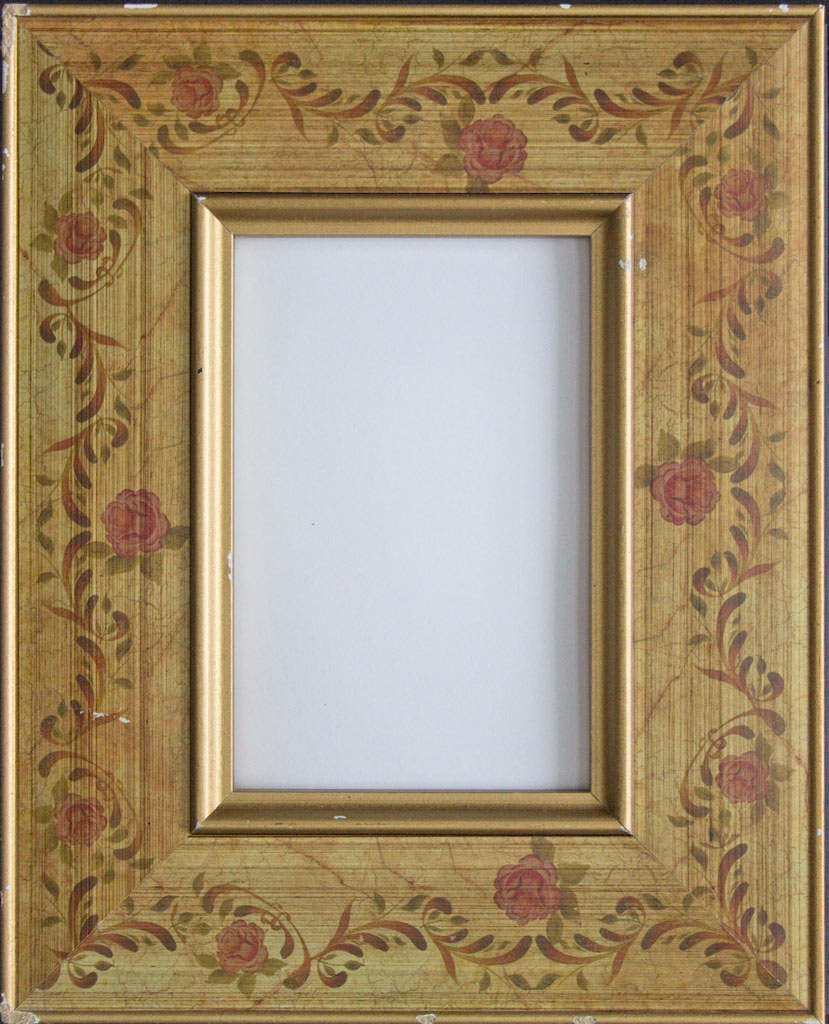
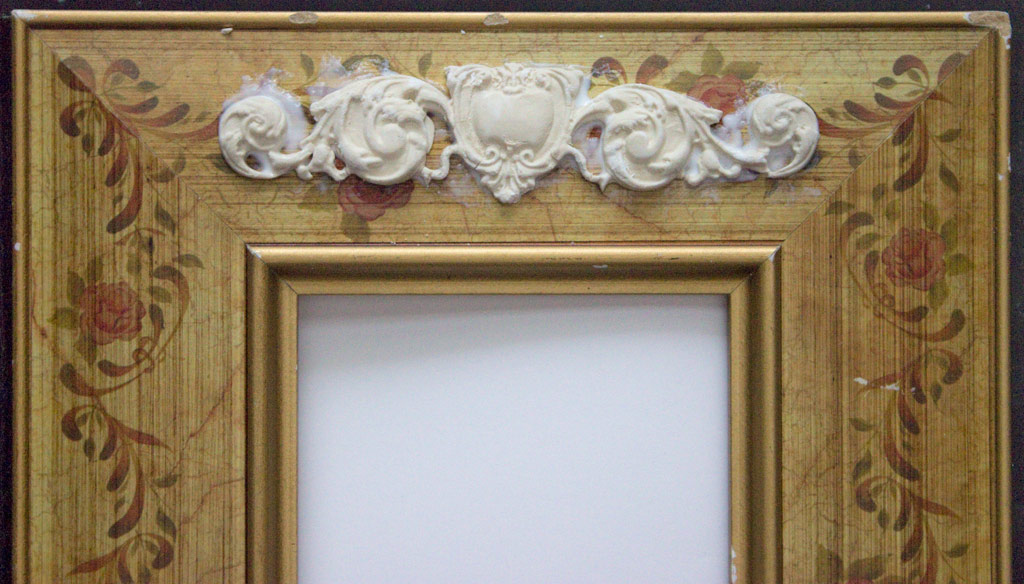
Here’s a sturdy frame I found at the Thrift Store…
Using a fluffy brush, apply a generous amount of Cornstarch to the Mould.
This design is the lovely Iron Orchid Designs Baroque No.3 Vintage Art Decor Mold
Tap the Mould upside down to remove the excess:
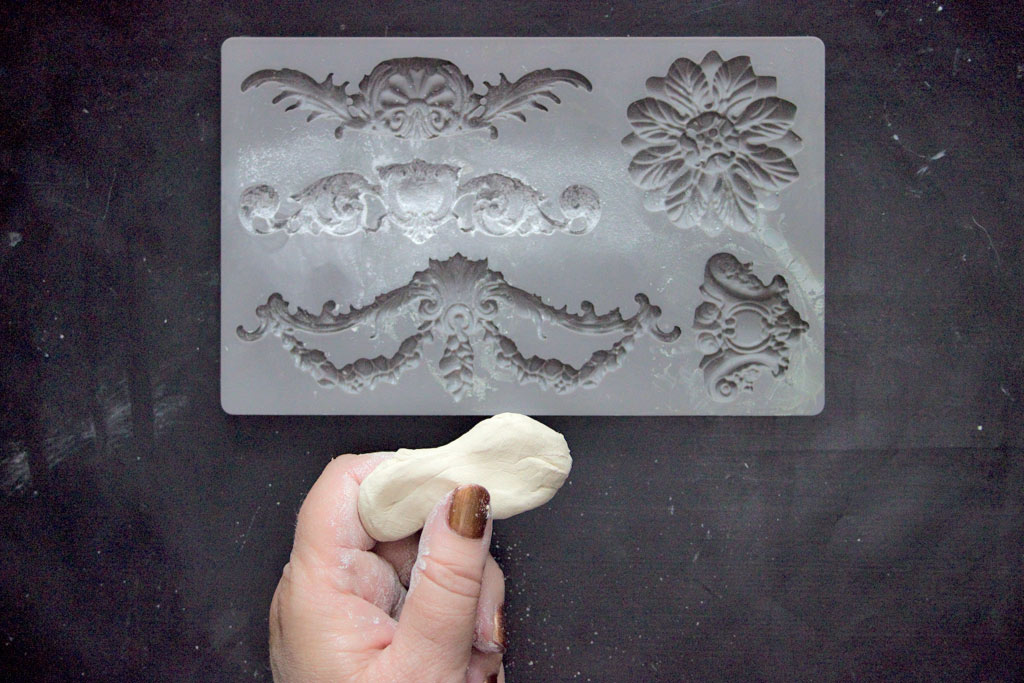
Condition the Paper Clay…knead it in your fingers until it becomes supple and easy to work with.
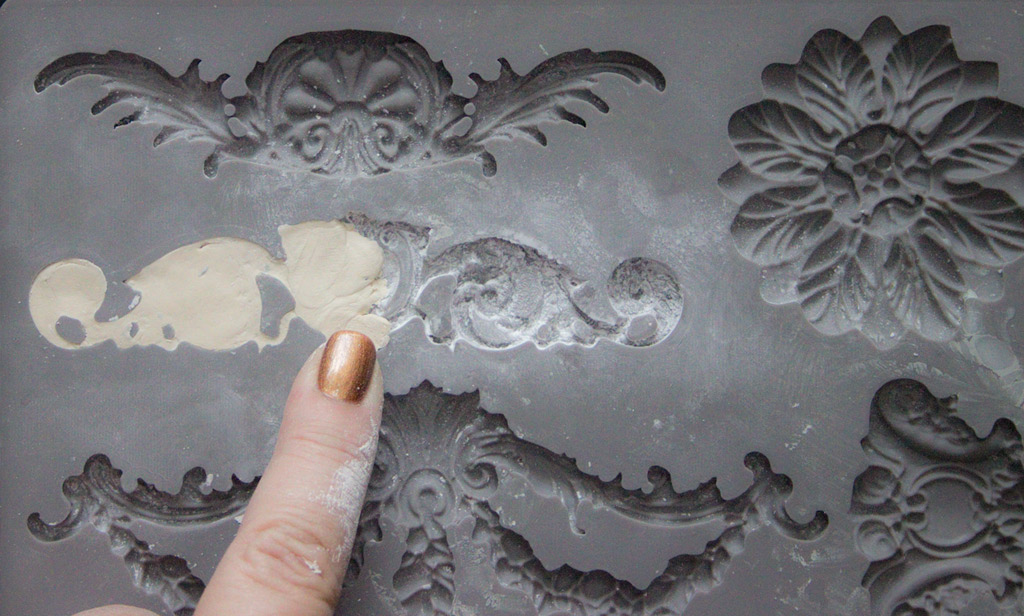
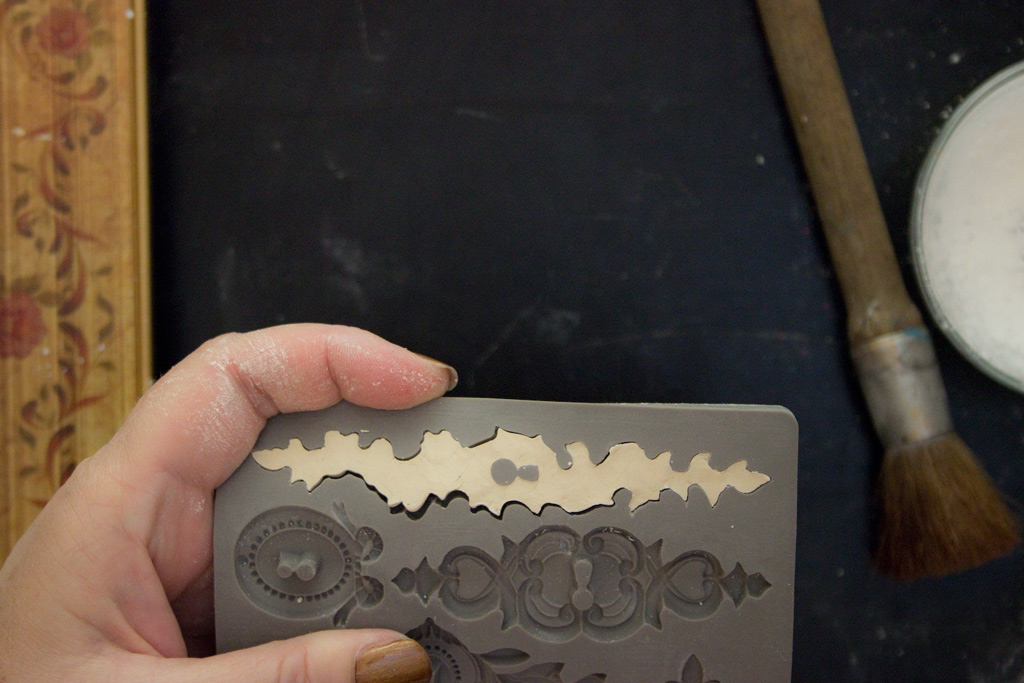
Carefully pack the Mould with the clay, using tiny bits at a time for the intricate details.
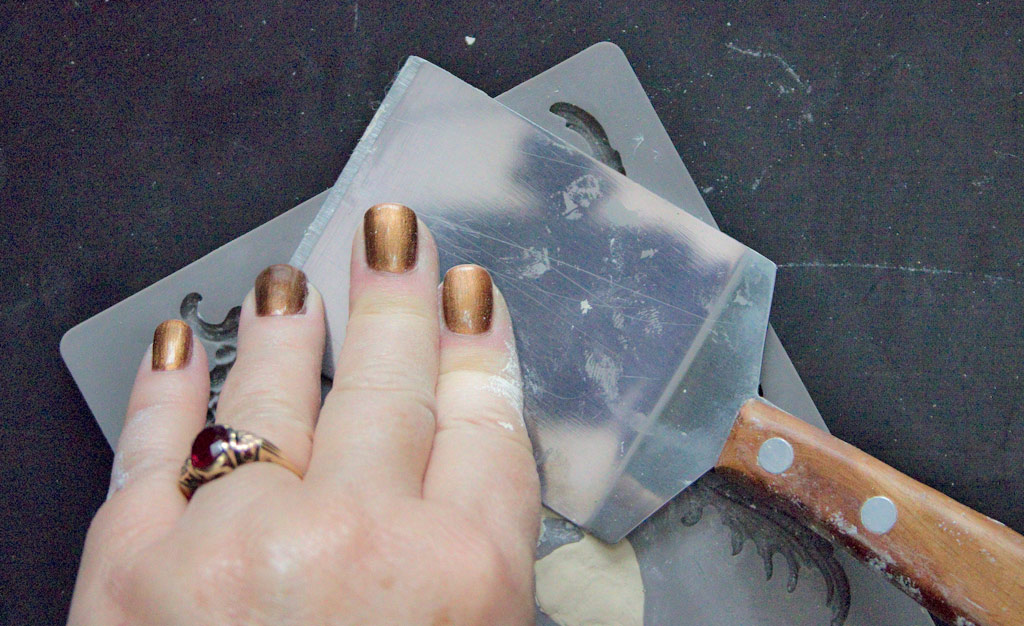
Flatten the back of the casting with a smooth tool:
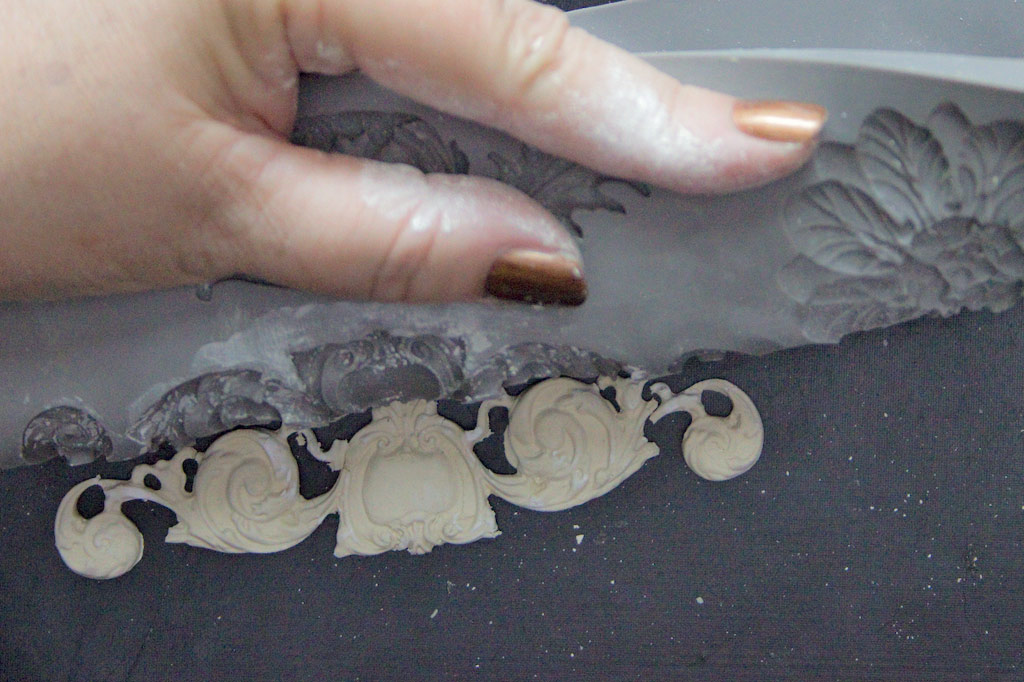
Gently turn the Mould over, and roll it away, depositing the casting onto the work surface:
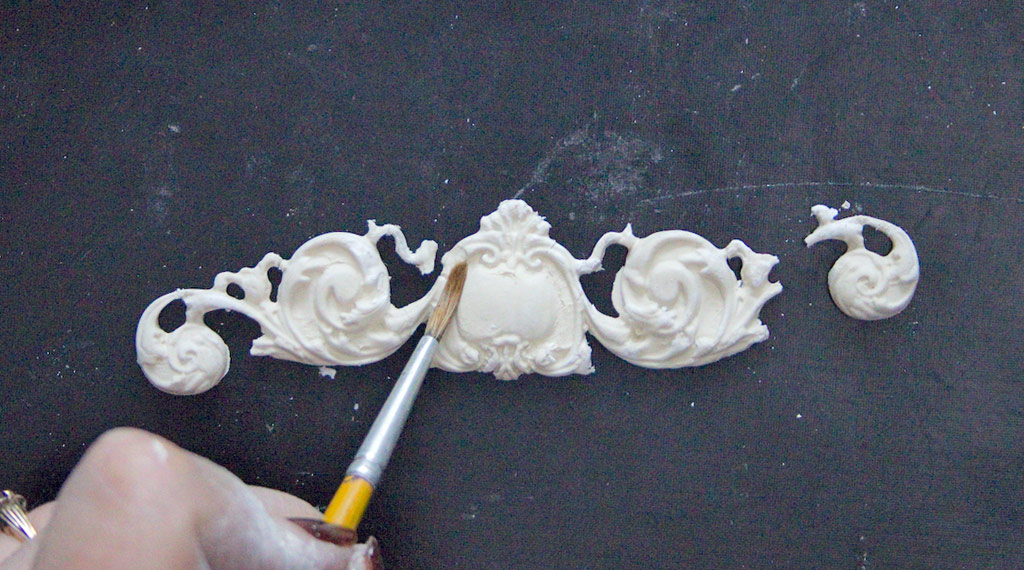
If you encounter tiny ‘breaks’, don’t despair! A dampened brush will allow the clay to bind back together easily…
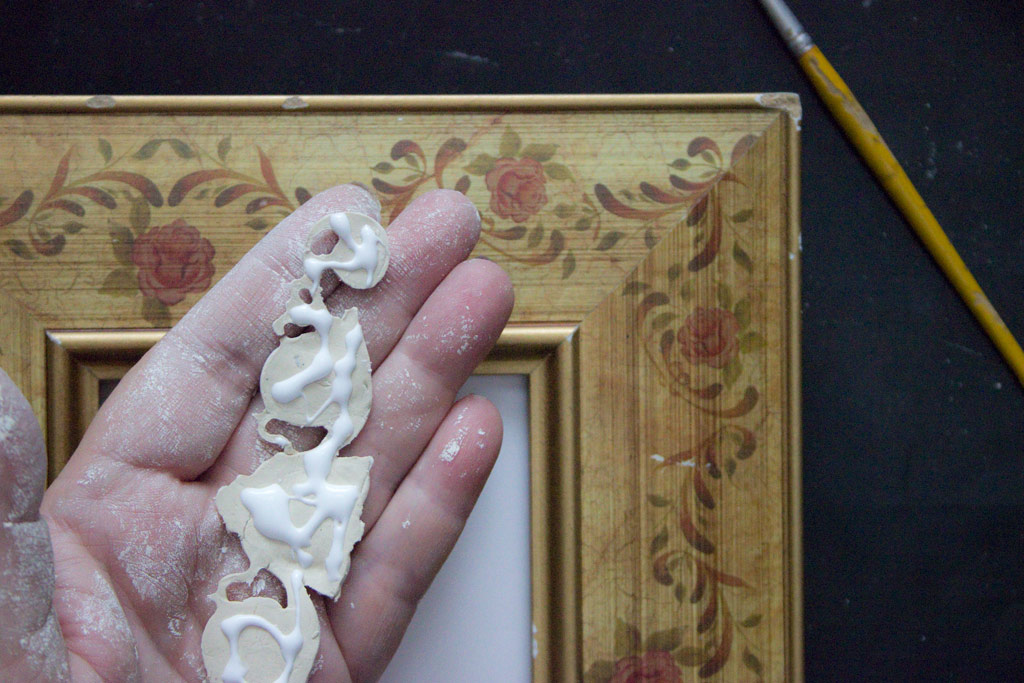
Gently place the casting face down on your palm, and apply adhesive.
I find that Aleene’s Tacky Glue is up to the job for most applications.
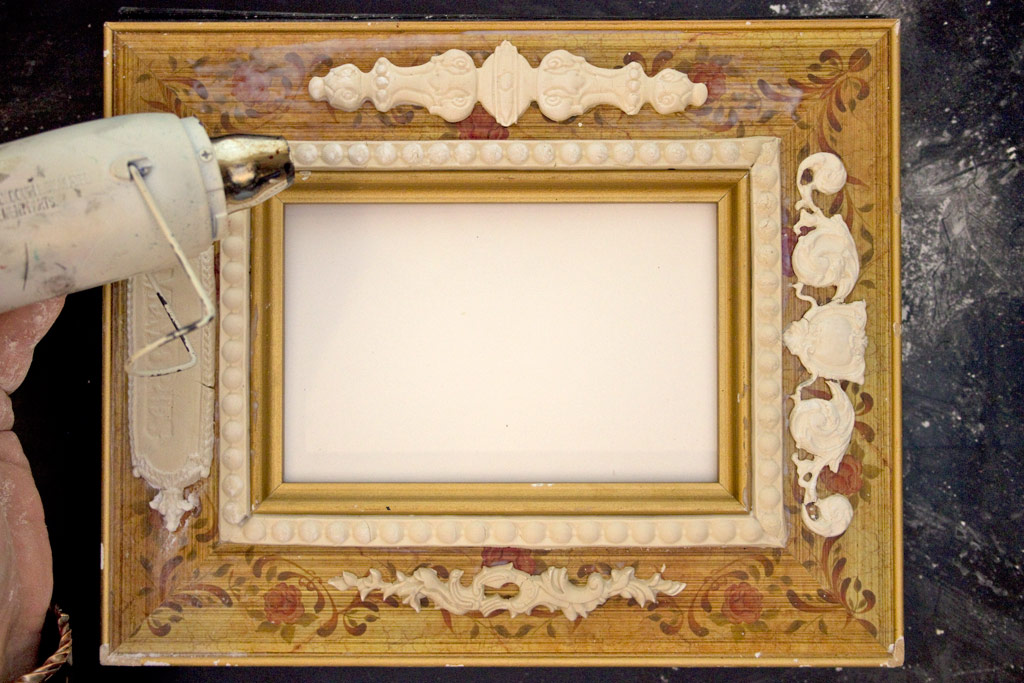
Plop the casting onto the surface!
You will find that you are able to slide it around, so adjust the placement as necessary.
Keep a bit of water and a ziplock bag handy.
To make certain the clay remains workable, place it back into the bag as soon as you’ve finished tearing off the amount you need for each casting.
Spray the interior of the bag with water if the clay becomes too dry.
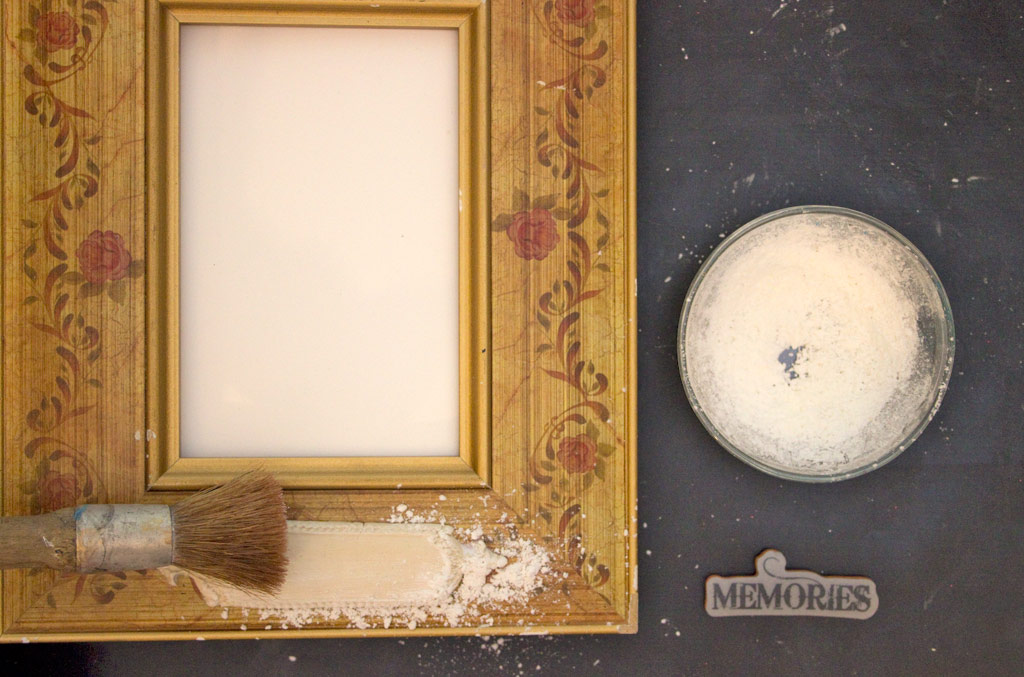
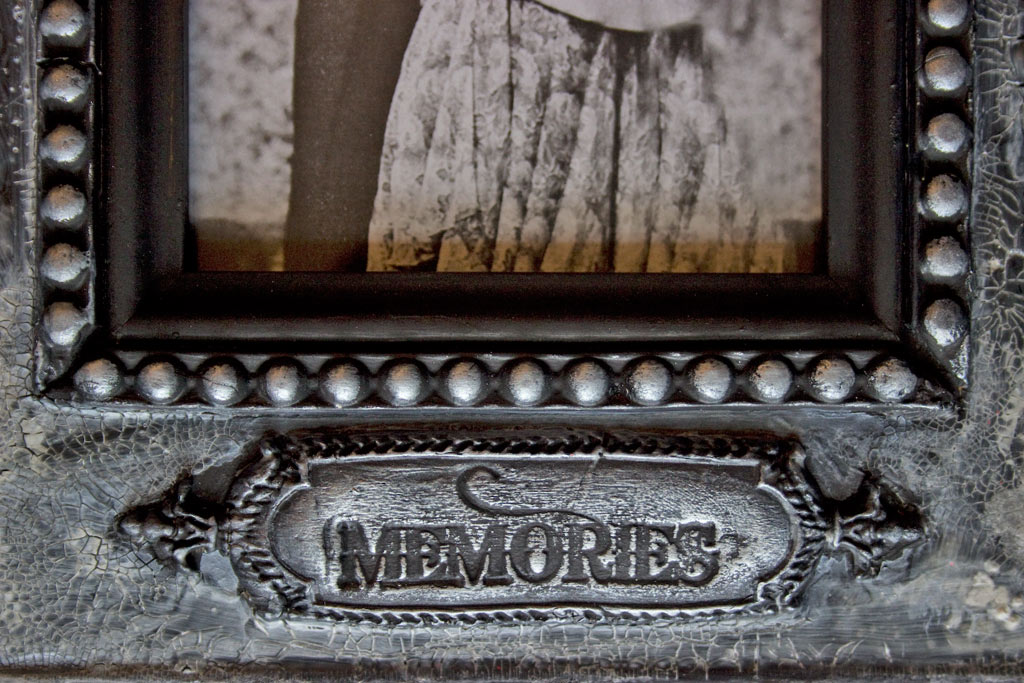
When using Paper Clay, it’s possible to add a sentiment by using a rubber stamp right on top of the still damp casting!
Just brush the surface with Cornstarch first.
(Note: this particular Label Mould is part of the Fall 2016 Release…available very soon!)
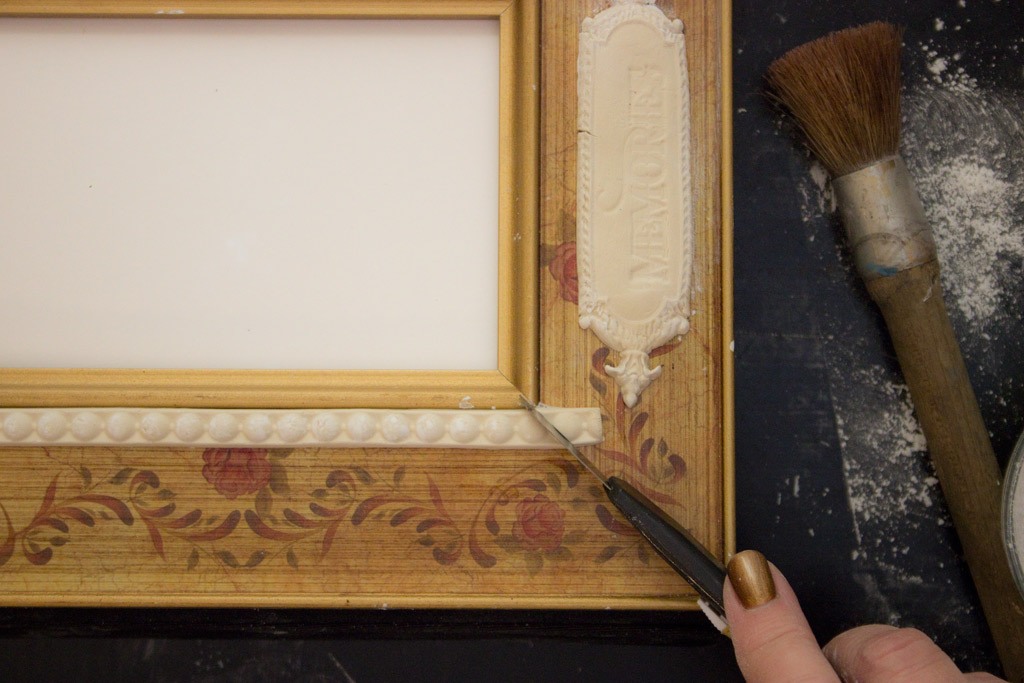
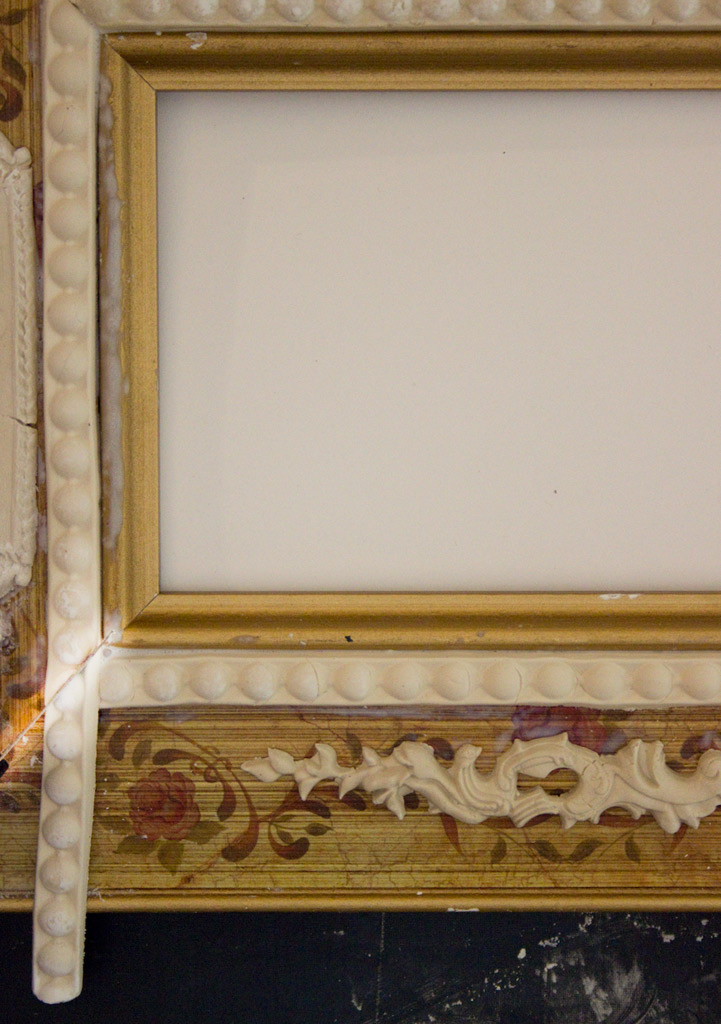
With the Border Moulds, you can completely frame an area…just miter the corners with a sharp blade!
(Note: this Bead Moulding is part of the Fall 2016 Release…available very soon!)
Just overlap the corners, and slice at a 45 degree angle for a perfect miter…
When working with intricate Moulds like this amazing escutcheon, (Fall 2016 Release), carefully break the seal between the clay and the Mould before attempting to demold the piece.
Use a Heat Tool to dry the surface, creating a sturdy ‘crust’ on the castings.
This allows you to add paint immediately!
Basic black craft paint forms this base coat.
One coat, then dry with your heat tool.
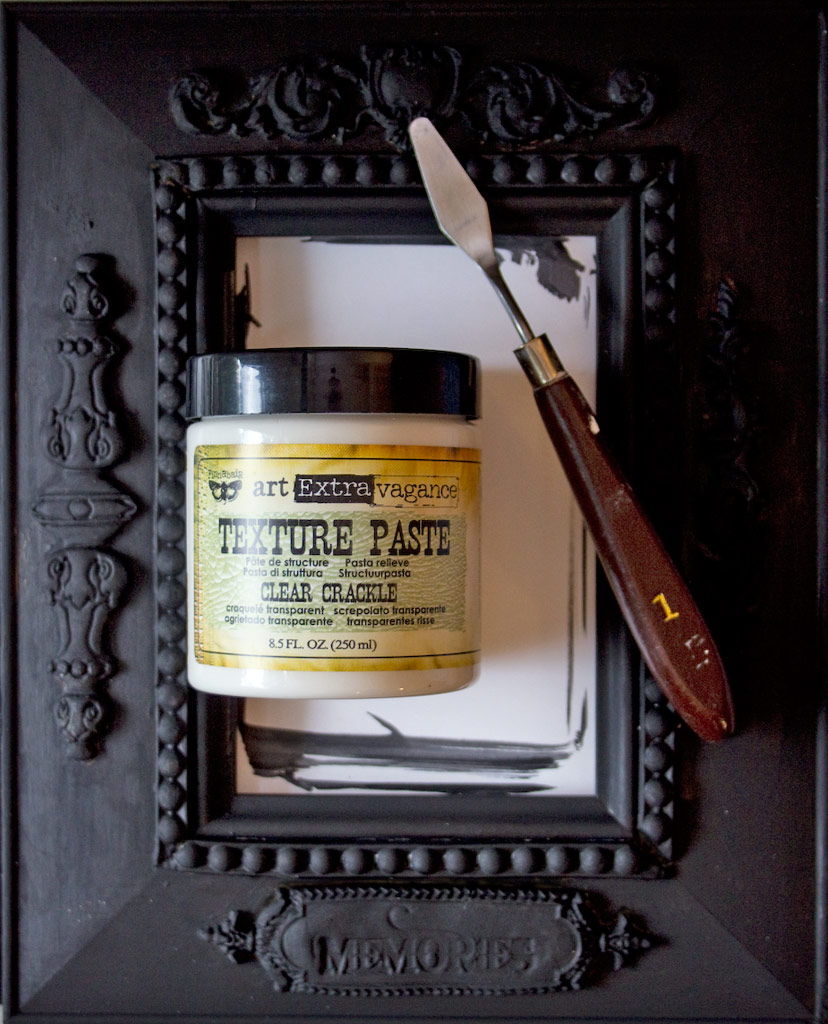
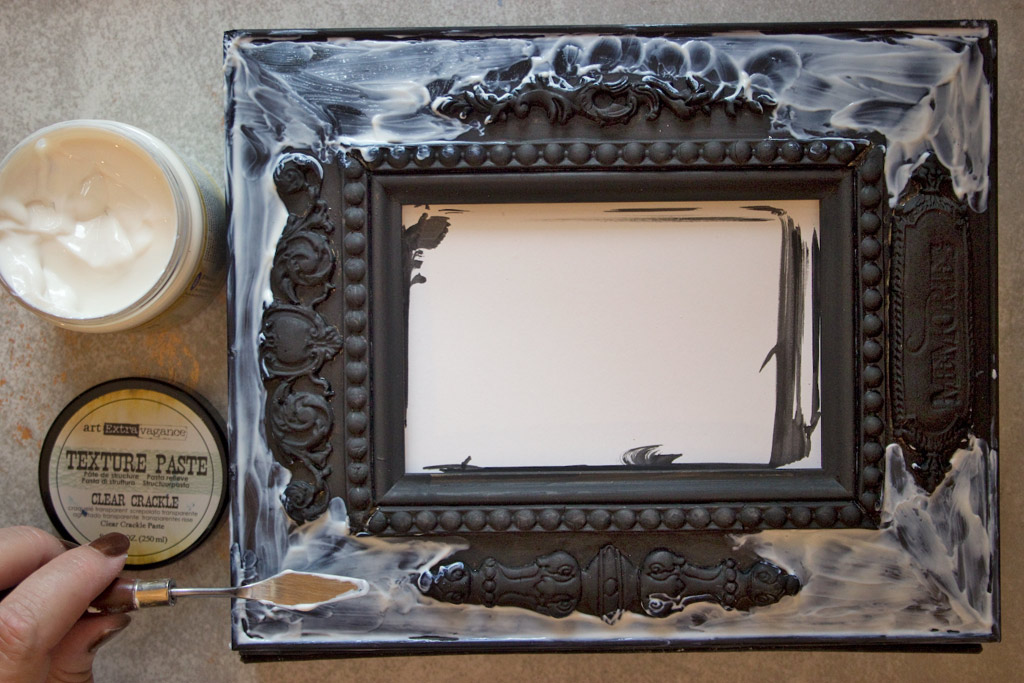
Finnabair Art Extravagance Texture Paste Clear Crackle is a wonderful way to add antique flair to a project like this…
Slather a thick layer on with a Palette Knife, and allow to cure overnight. Low humidity will speed up the curing process.
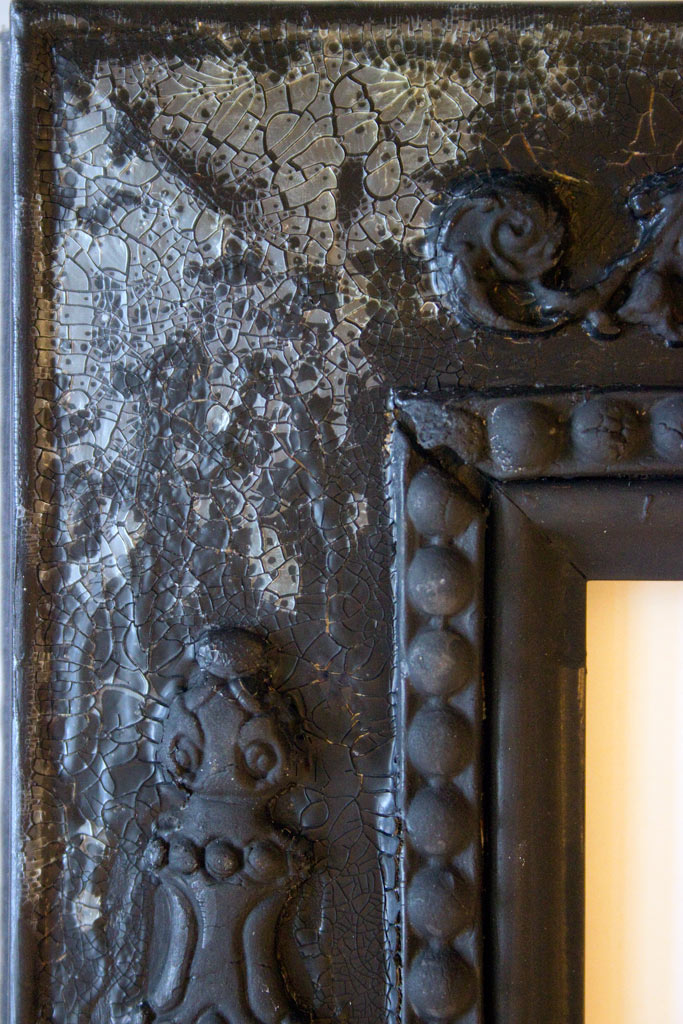
Note: Using a heat tool will decrease the crackle, and I don’t recommend it.
The result once cured:
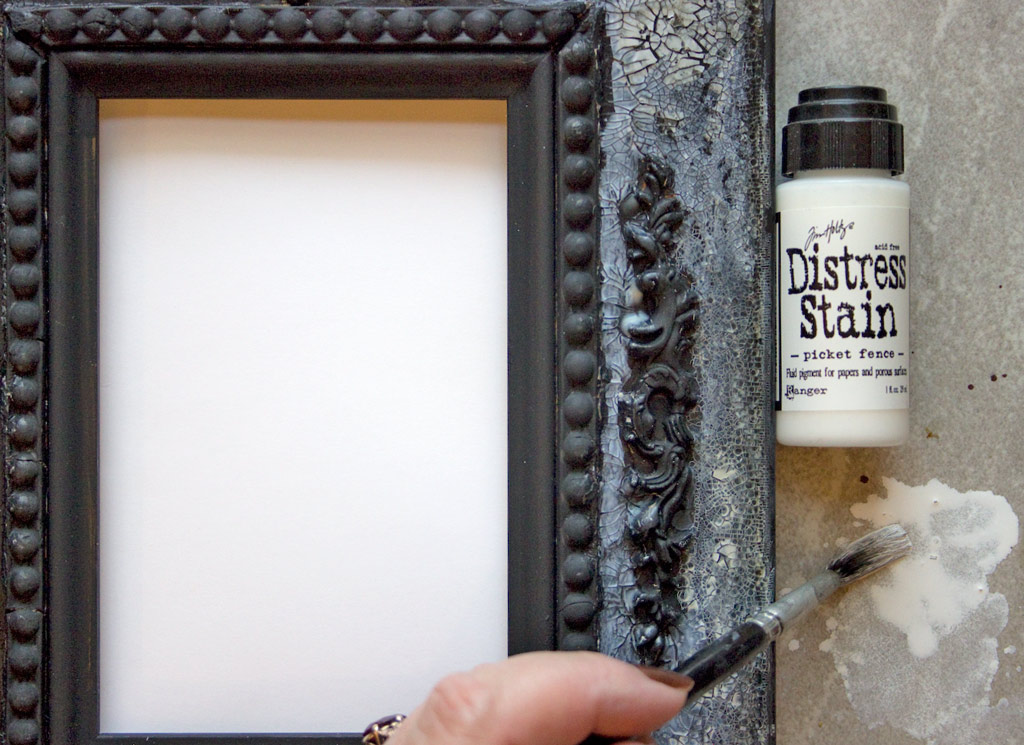
Using a bit of watery pigment, like Distress Stain: Picket Fence will highlight all that deliciously crackled texture…
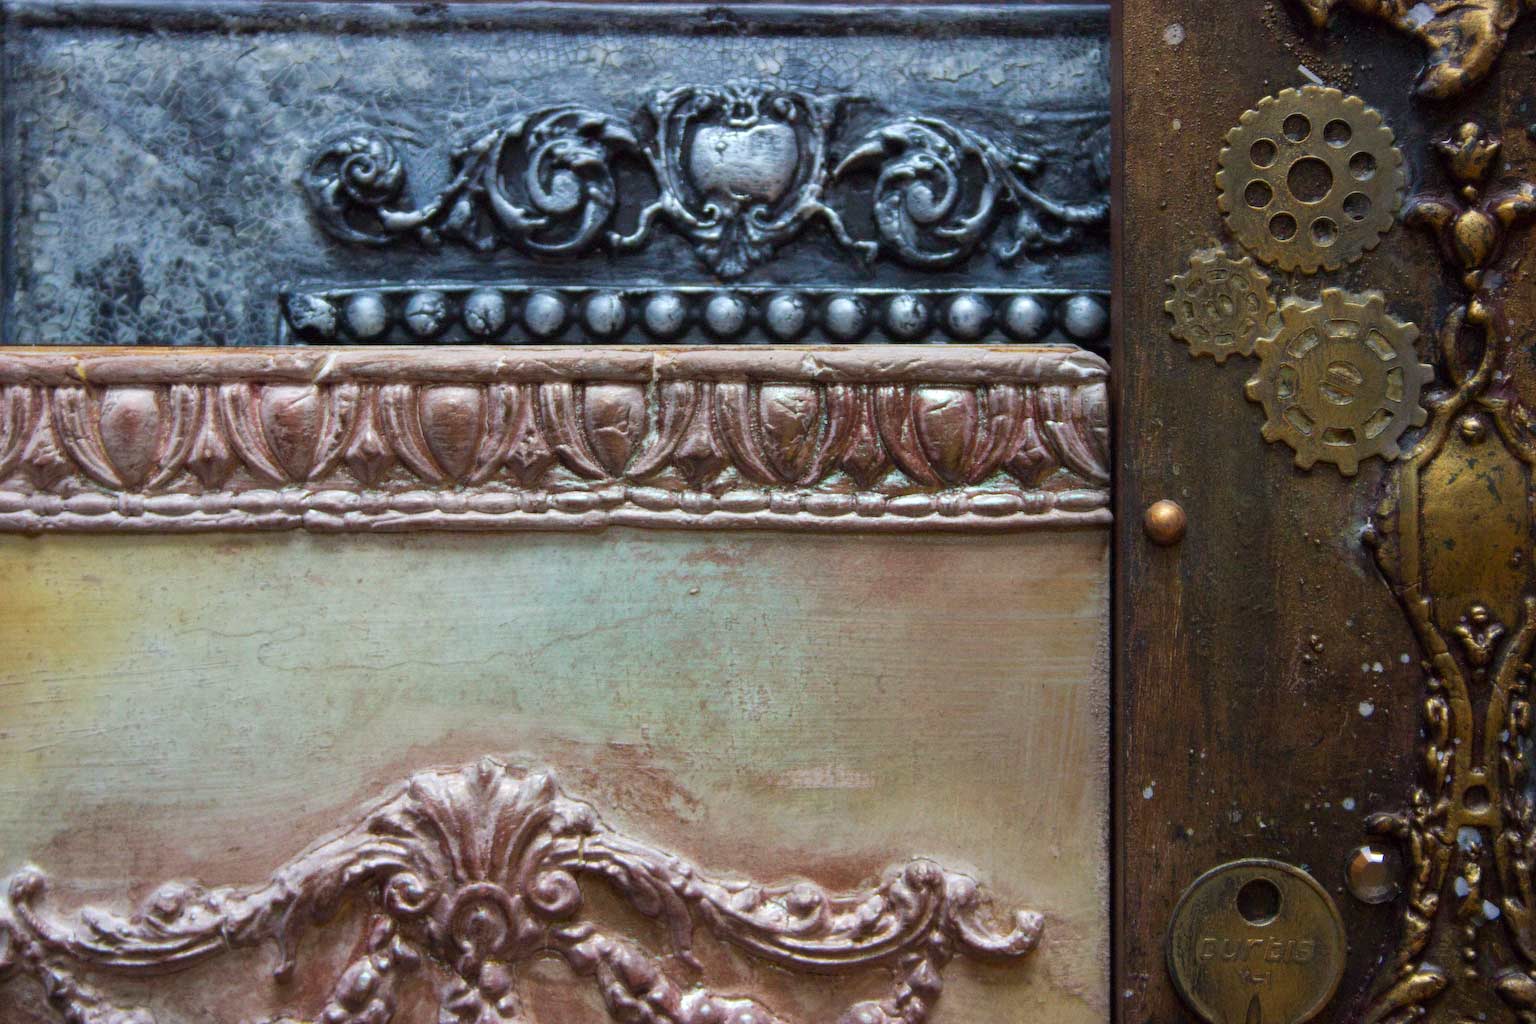
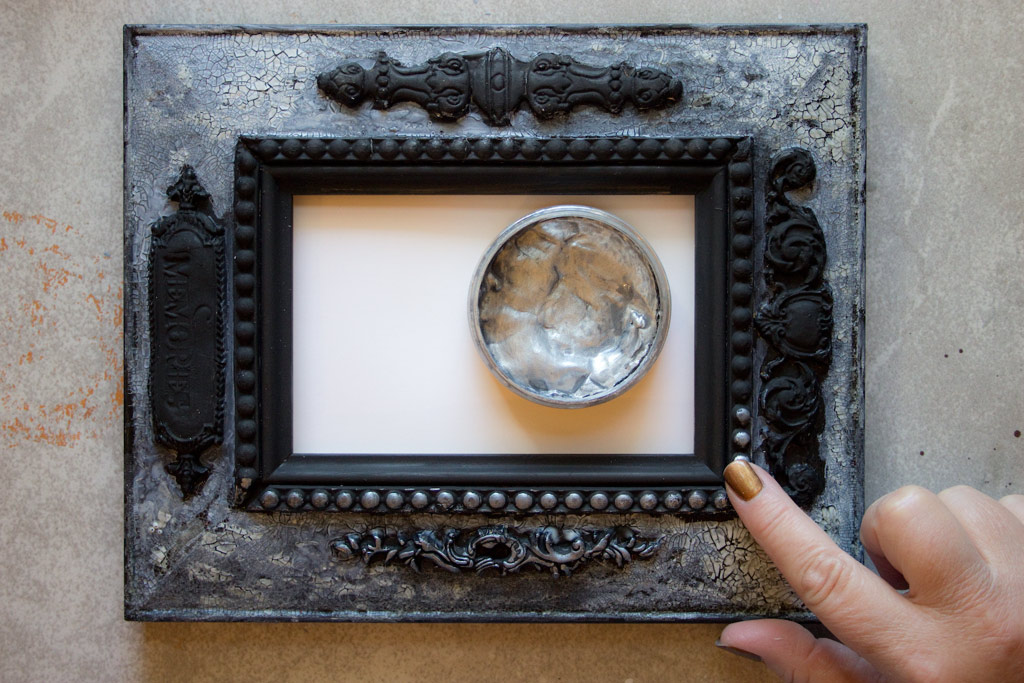
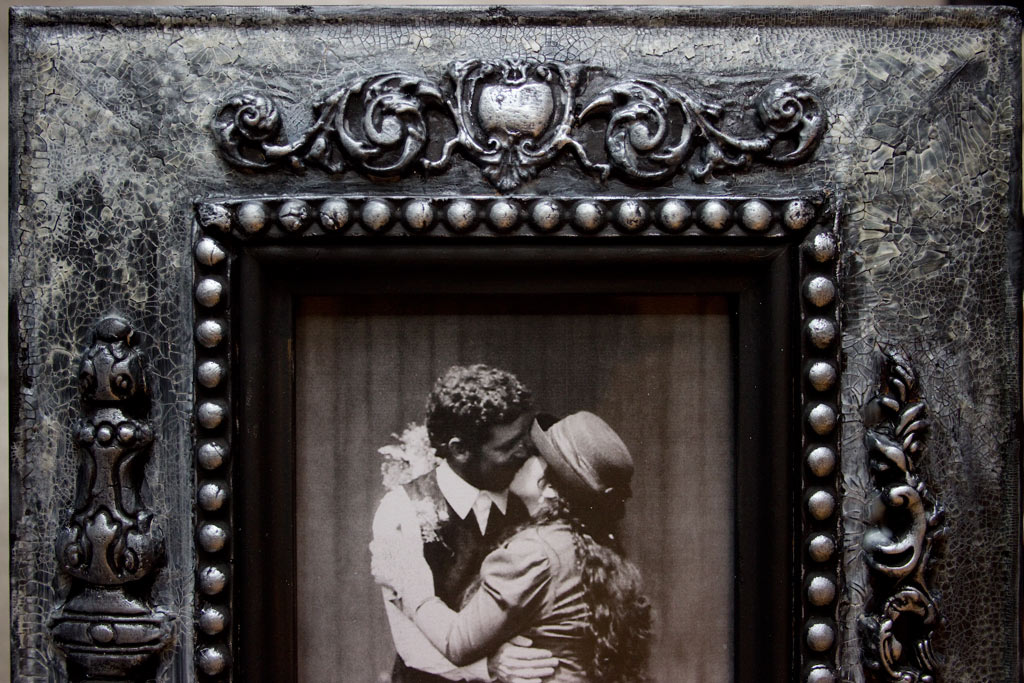
Using a metallic wax, like Inka Gold: Old Silver to highlight the appliques will bring out all the luscious detail:
Highlighting with Old Silver will also create the necessary contrast to showcase any stamped sentiment you may have added:
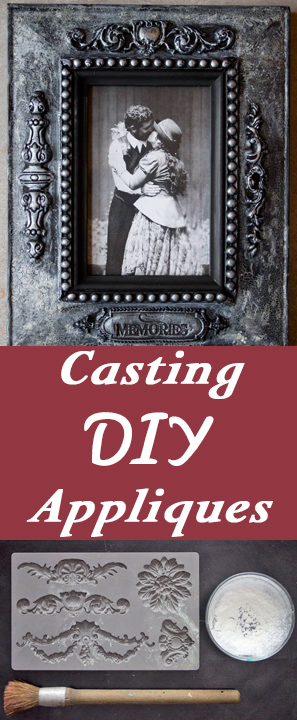
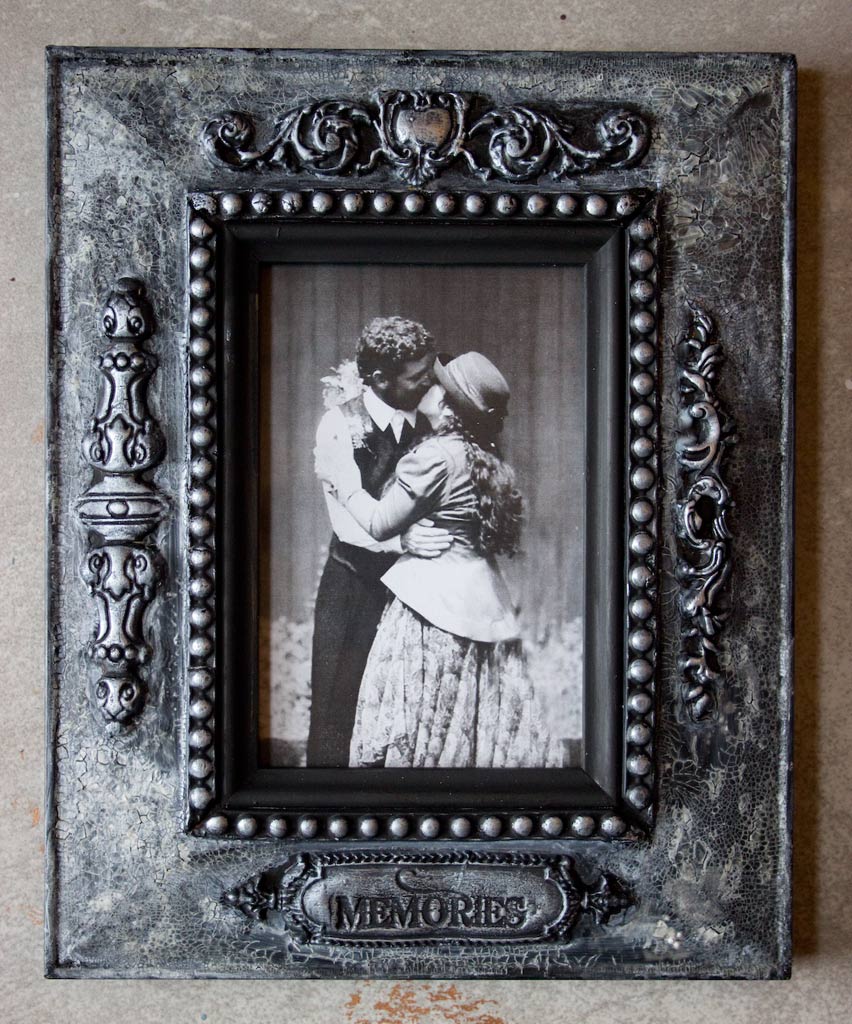
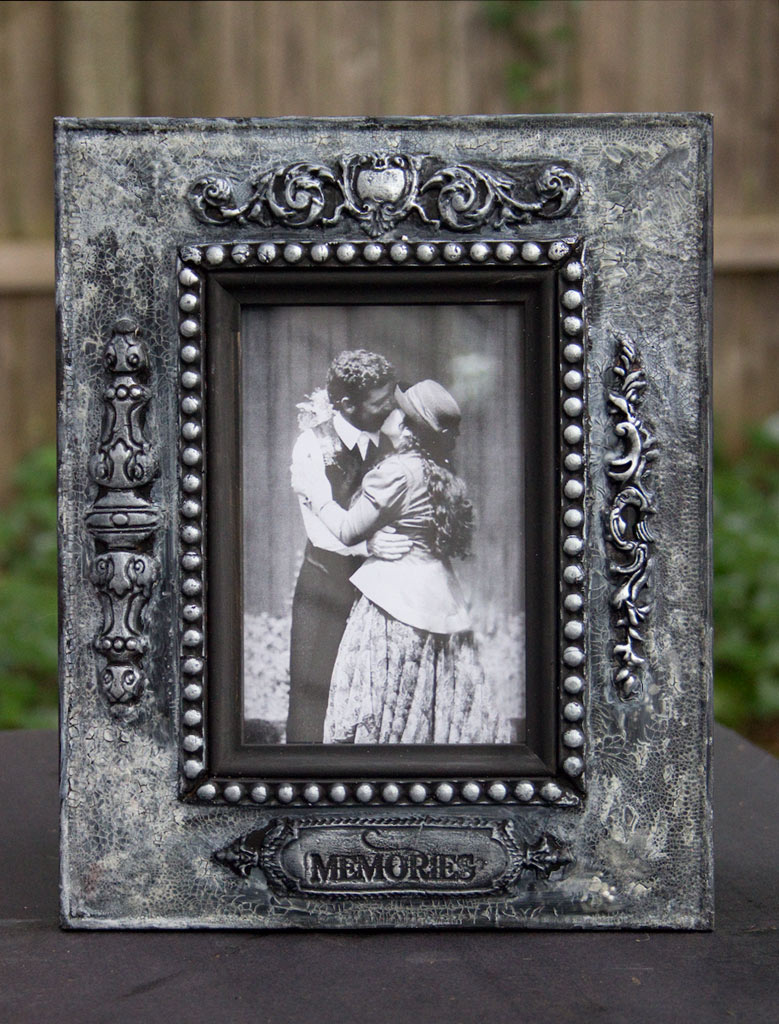
I couldn’t resist placing one my favorite memories in this gorgeous frame!
I adore the way the crackle effect and the metallic interact…it creates such a lovely array of textures for the eye to enjoy…
Note: because the Crackle Medium can result in a fragile finish, I recommend adding a top coat of Matte Medium to secure everything in place.
A final glance at the possibilities with a simple picture frame:
Next time, I’ll demonstrate even more finishing techniques!
Thank you for visiting The Graphics Fairy today! It’s been a pleasure to share this technique with you, and I look forward to sharing Part Two!
Come visit me at Thicketworks, to indulge your taste for quirky crafting!
Until next time,
Heather ♥
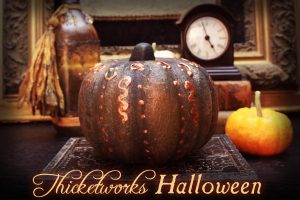
You might enjoy this little Halloween Project:



Faith says
Fabulous piece Heather!
Really enjoy your tutorials, you make everything seem so achievable. Thank you.
Gorgeous photo & attire!
Heather Tracy says
Hi Faith! Awww…thanks for your kind words, my friend! If this helped you to feel as though you can do it too, then I am one HAPPY CRAFTER!
Geri Ann Hart says
This is such a great tutorial!!! Thank you Heather for posting xoxox
Heather Tracy says
Hey Geri Ann! I’m so happy it is of use to you – and it is always my pleasure and privilege to post for my friends! xox
Karen Isaacson says
Would baking soda work as well as or better than cornstarch, as cornstarch is an edible item and could draw pests?
Heather Tracy says
I don’t see why not, Karen. Baby powder…any inert powder that is very fine should work…Try it and let us know!
Karen Isaacson says
Cool. Never worked with paper clay before so it’s good to know what works as a release. Baby powder’s not on my list of release agents any more (I use molds with polymer clay) because of the issue with asbestos.
Heather Tracy says
Thanks Karen, it’s great when we can share our tips n tricks…additionally, if you’d rather, you can use olive oil (or whatever oil you are comfortable with) in a thin layer as a mould release.
Rupa says
Heather, such a simple process achieving such a gorgeous antique finish!! You are of course a genius, just love this project! May I ask if any crackling medium would work? Also, why not apply with a brush instead of the palette knife…? Just curious as it’s easier to spread with a brush…..lastly, is that you in a period costume in that pic? 🙂 Thanks for constantly inspiring us, spending your own time selflessly to experiment and share so generously. Your site/posts here are a treasure trove of techniques!!
Heather Tracy says
Hi Rupa! Of course any crackle medium will work…I just happened to have this one on hand, and knew that it gave big ol’ deep cracks, so was excited to use it. This particular paste needs to be applied very thickly, so a palette knife is an awkward, but appropriate choice. All the Crackles are different, just follow the directions for the one you like…
And yes, that’s me and The Darling Man, circa 1998. Happiest day of my life. And yes, I created the Edwardian Garb, just for the Wedding. Good memories…Thank you for your generous heart, my friend!
Rupa says
Wow, what a sweet pic of your special day! Multi talented woman! Is there any type of art, craft or skill you have not attempted and excelled at? I bet you always succeed with your perseverance if not with your sheer talent at first.
Heather Tracy says
Awww…thank you, Rupa. I’m terrible at housekeeping, bookkeeping, mechanical repairs…and laundry still has me utterly baffled, darling!
Paula Mullins says
Hi Heather. Just finished painting pumpkins for my three grandchildren and I’m ready to try making spell books for them. Before I do I’m going to order the new Iron Orchid molds. I especially like the bead mould and I’m going to try your faux leather paper technique on the covers as well as using the moulds. Thank’s for your great tutorials!!
Heather Tracy says
Hi Paula! I know you’ve been dying to try the casting process for a WHILE! Very excited to see you are going for it! You have to show me what you create, darling! xox
IKE says
Oooooooo !!! That is so super cool – I LUV it 🙂 I wish I could get those moulds and stuff out here in Greece but sadly not 🙁
Great TuT. 🙂
Hugz
IKE xx
My Challenge Blog
My Shop
My Blog
FB Fan Page
Cat Lovers Challenge Blog
graphicsfairy says
Thanks Ike!