Christmas Bookmarks
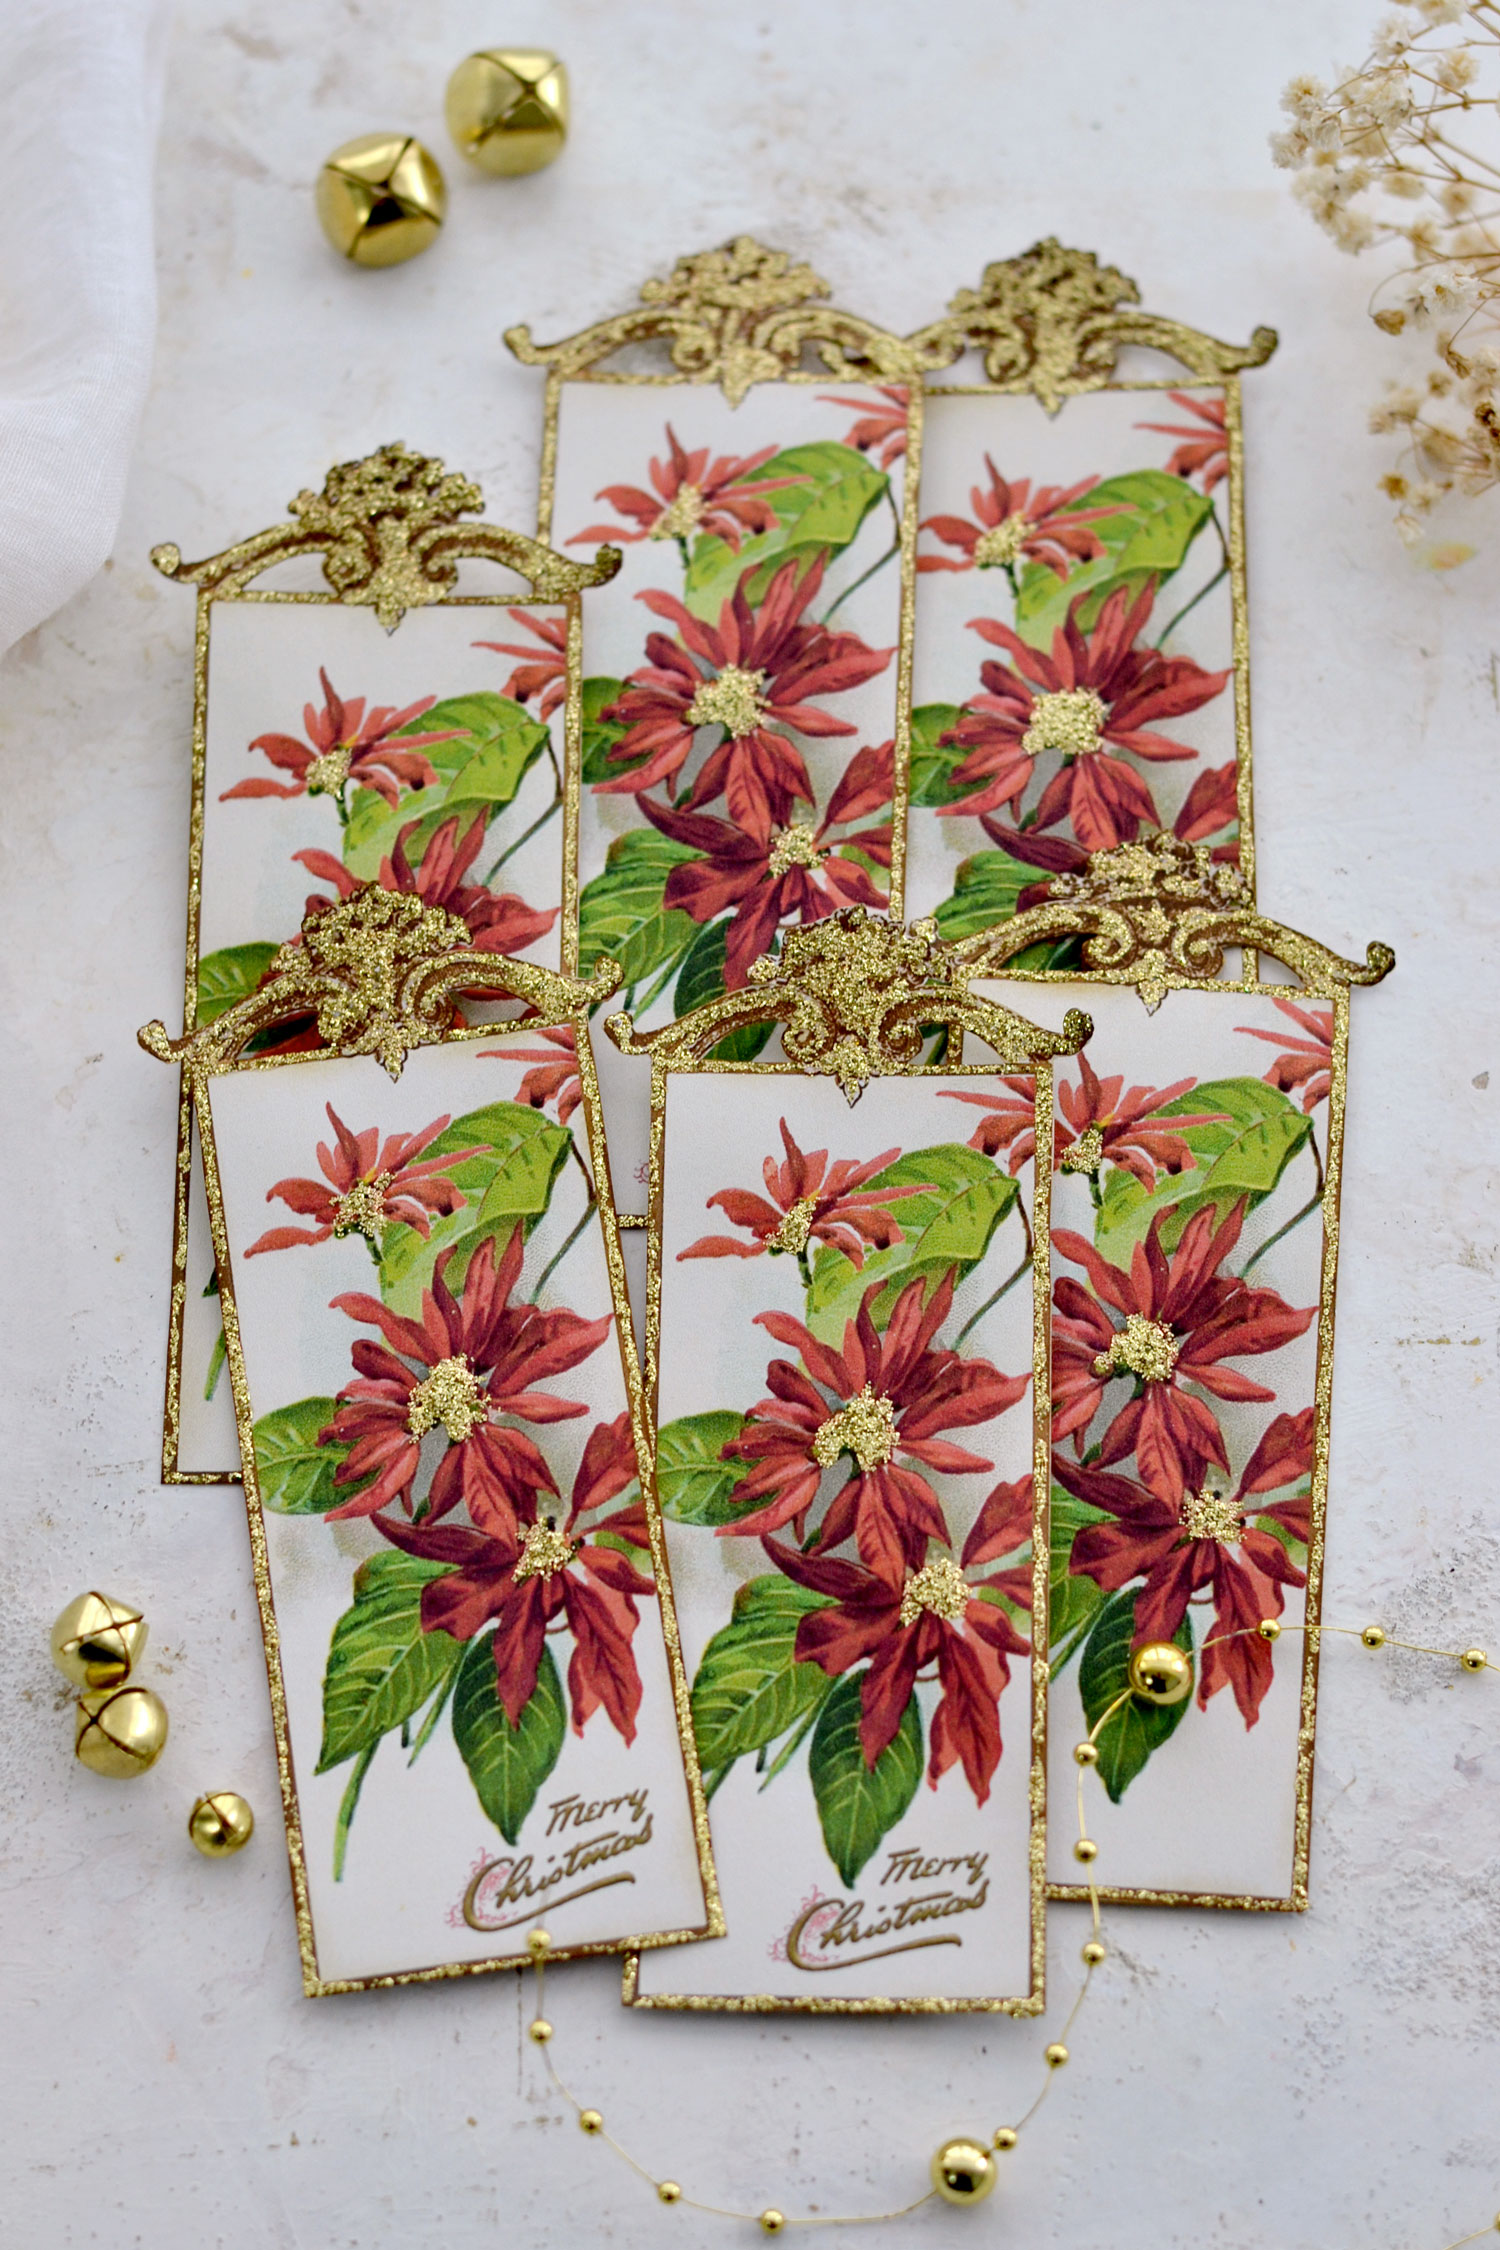
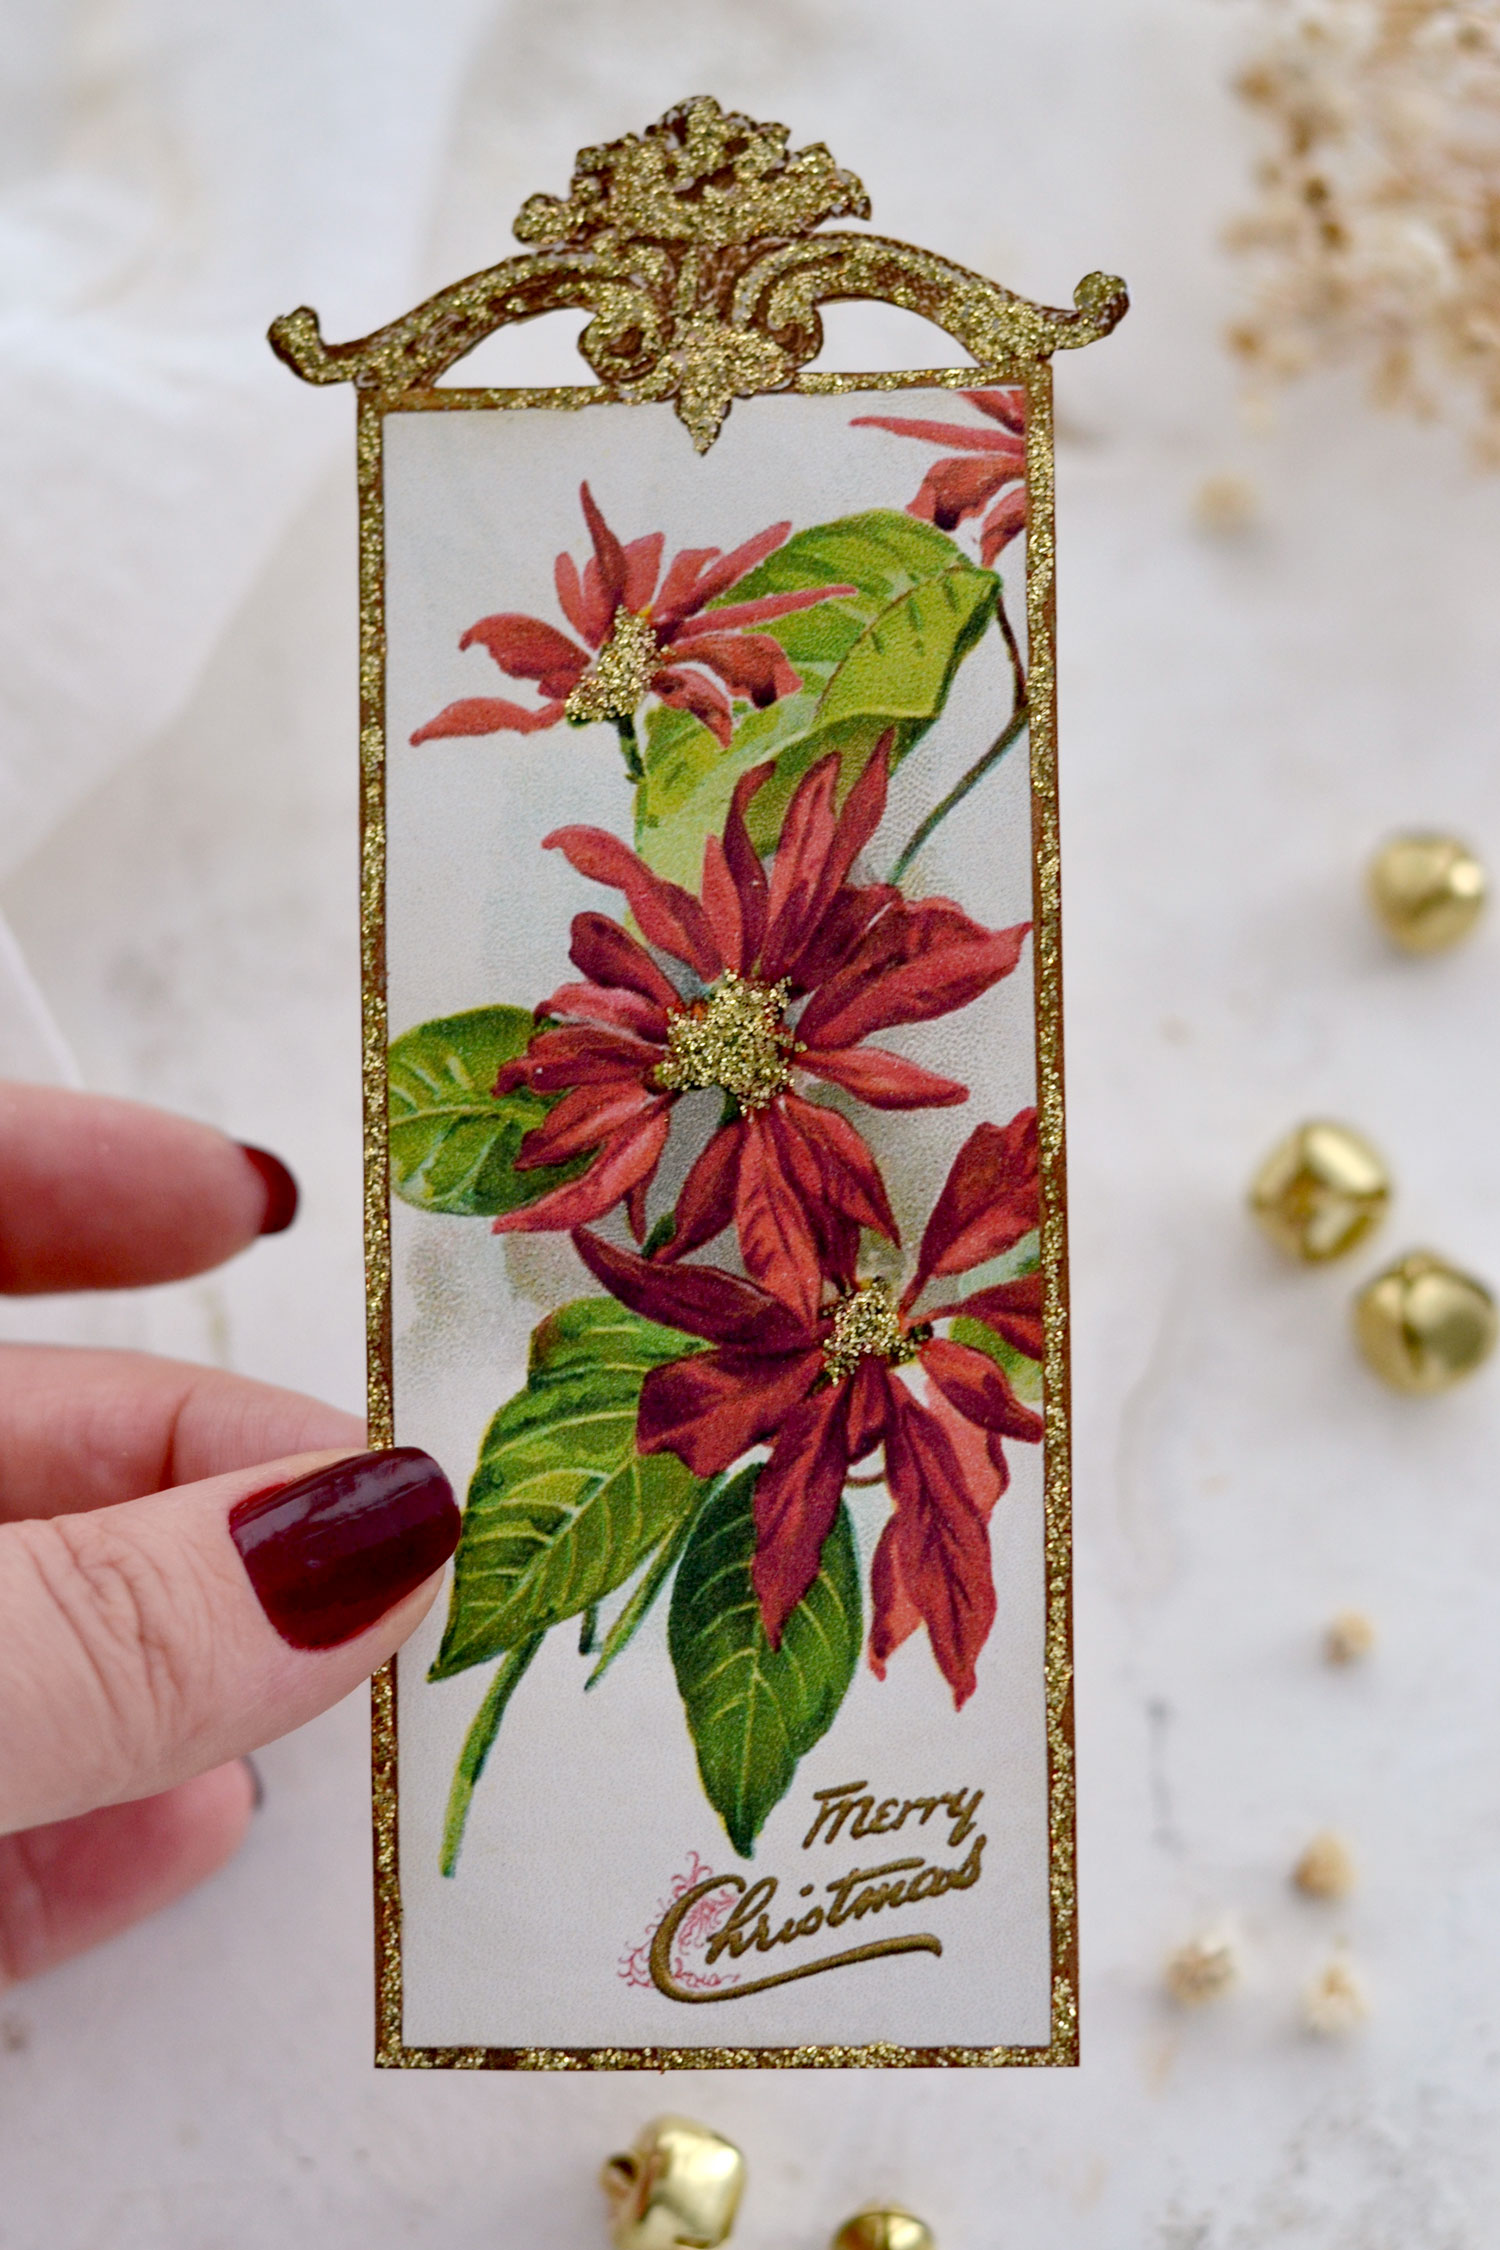
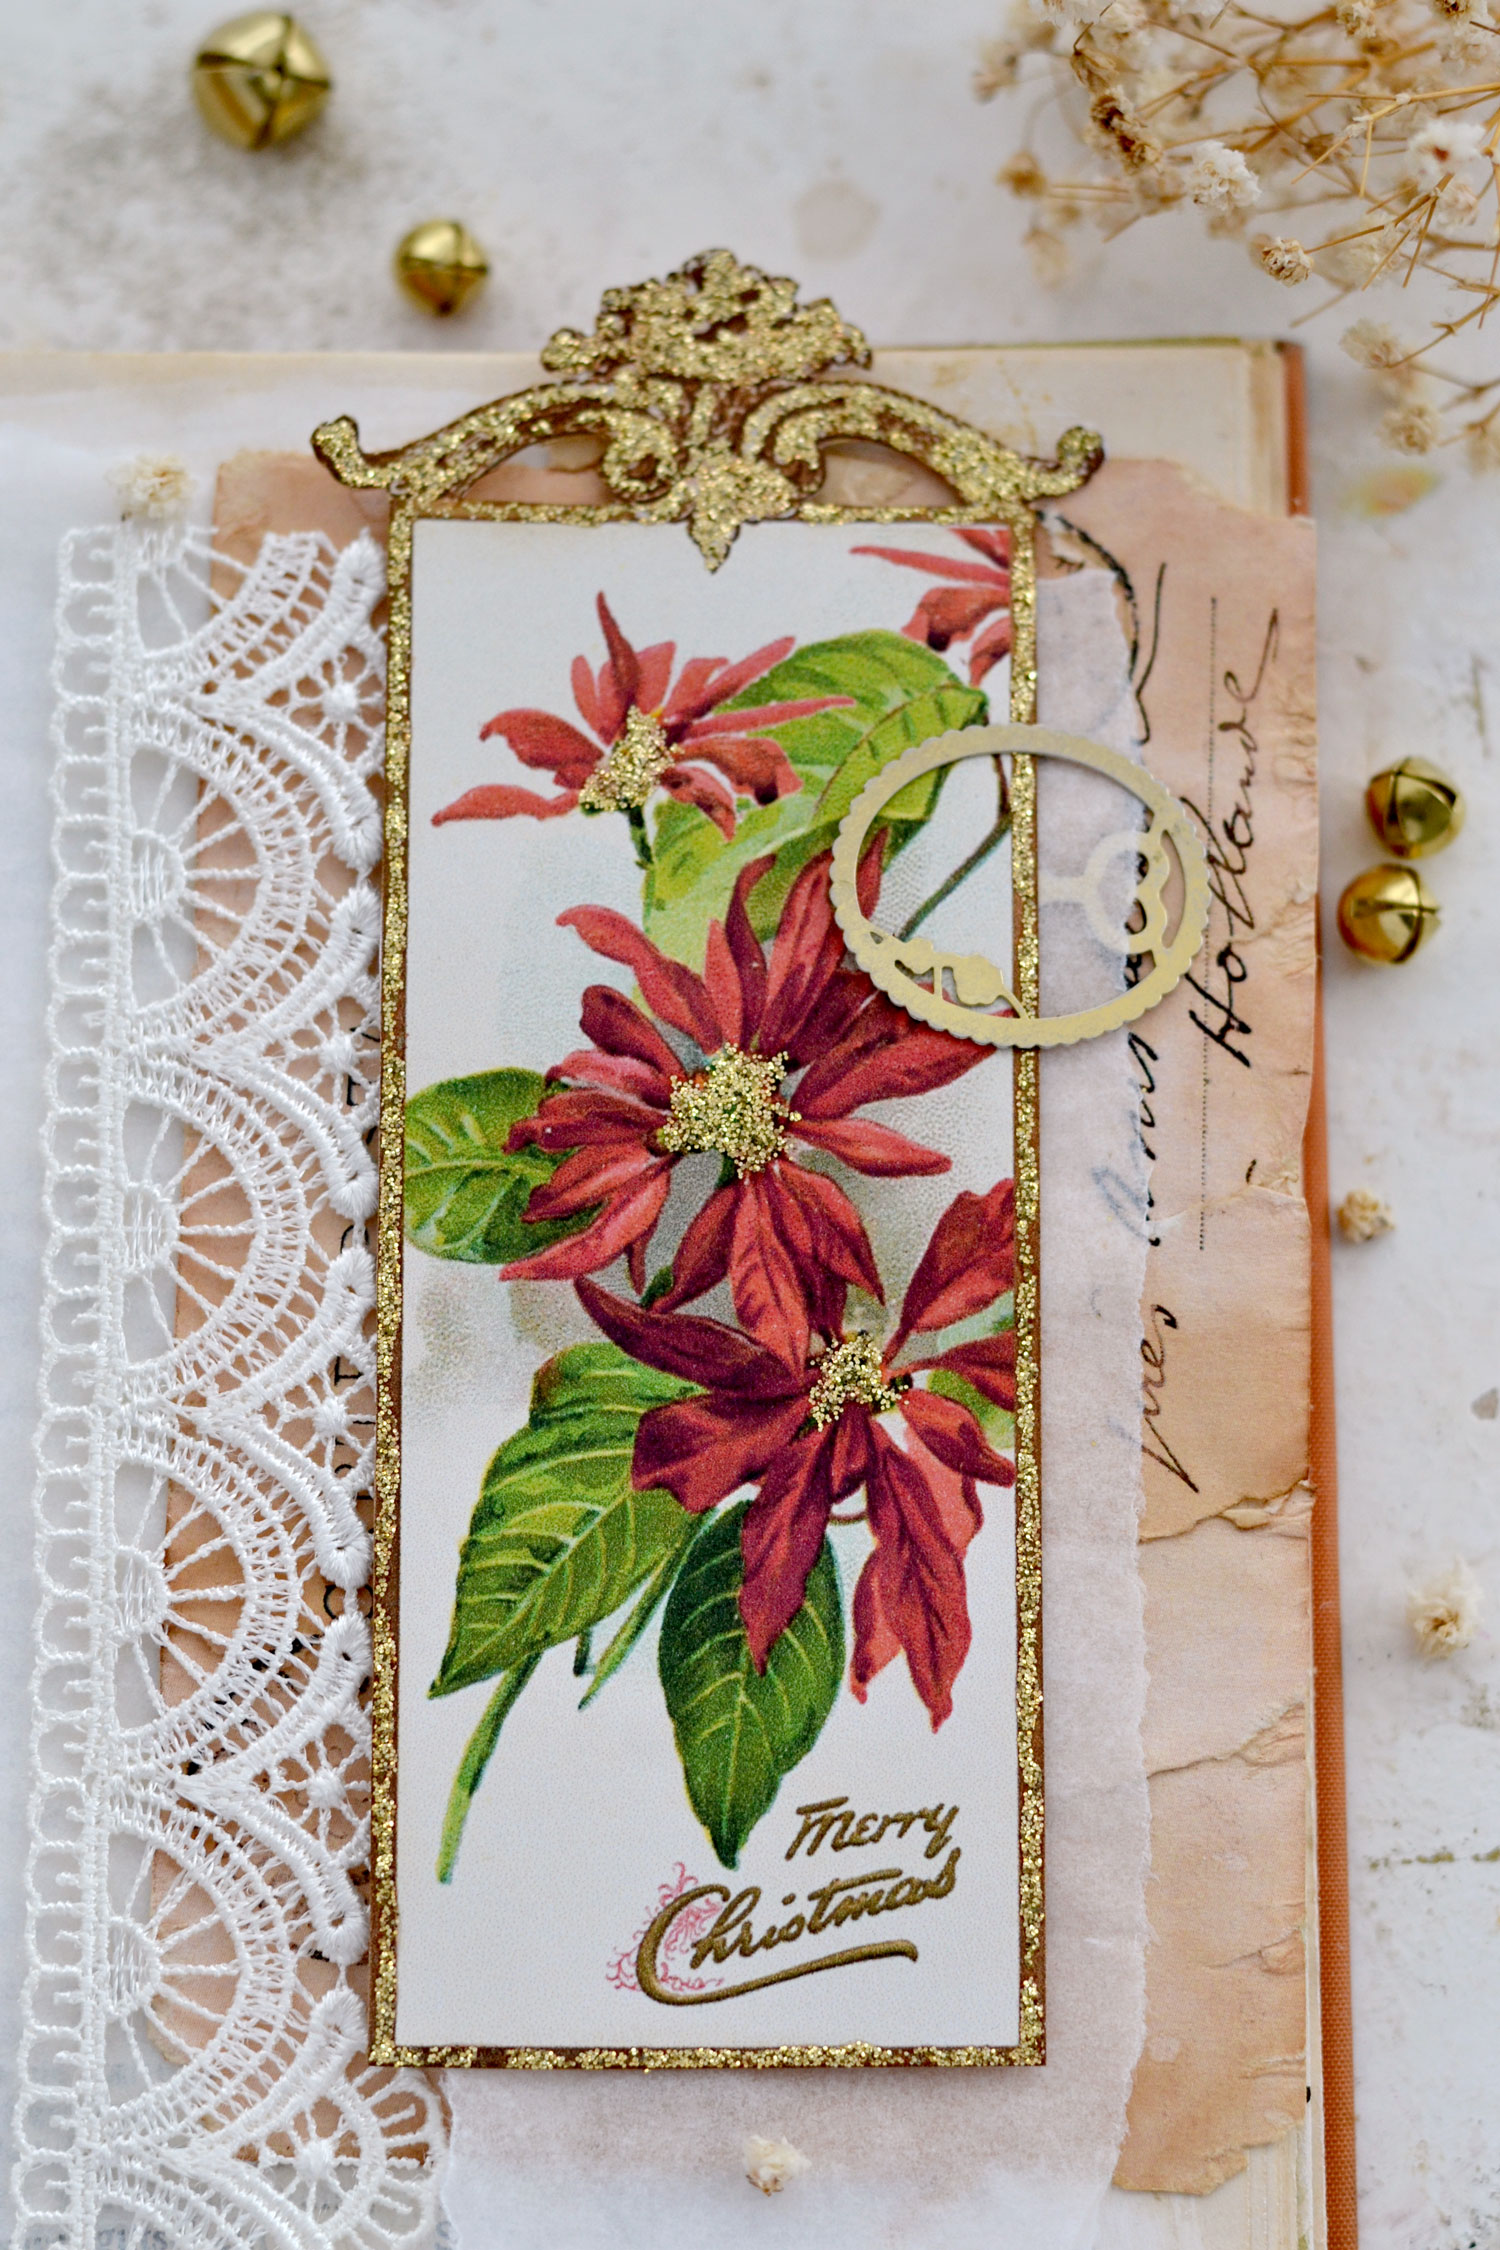
Hello Graphics Fairy friends! I’m Diana from Dreams Factory and I’m happy to be here again to share another DIY project with you! Today I will show you how to make these super chic Vintage Poinsettia Christmas Bookmarks with a lovely decorative top. We’ll use a minimal supply list to make these beauties and you can decide whether you want to keep them simple or use some gold glitter to further embellish and imprint them even more of a festive vibe.
I love Poinsettia flowers and when I stumbled upon this stunning vintage Poinsettia image I knew I wanted to make it the star of our bookmarks. I feel that it really deserves a center spot with all its beautiful red and green colors and I wanted to somehow encapsulate all the joy it brings when decorating our home for the holidays.
I chose a simple rectangular shape to design the bookmarks and I added a lovely decorative frame on top to make them even more special. You can have the bookmarks ready in no time, I know you will agree that quick and easy projects are preferable these days when we have so many things going on.
Free Printable:
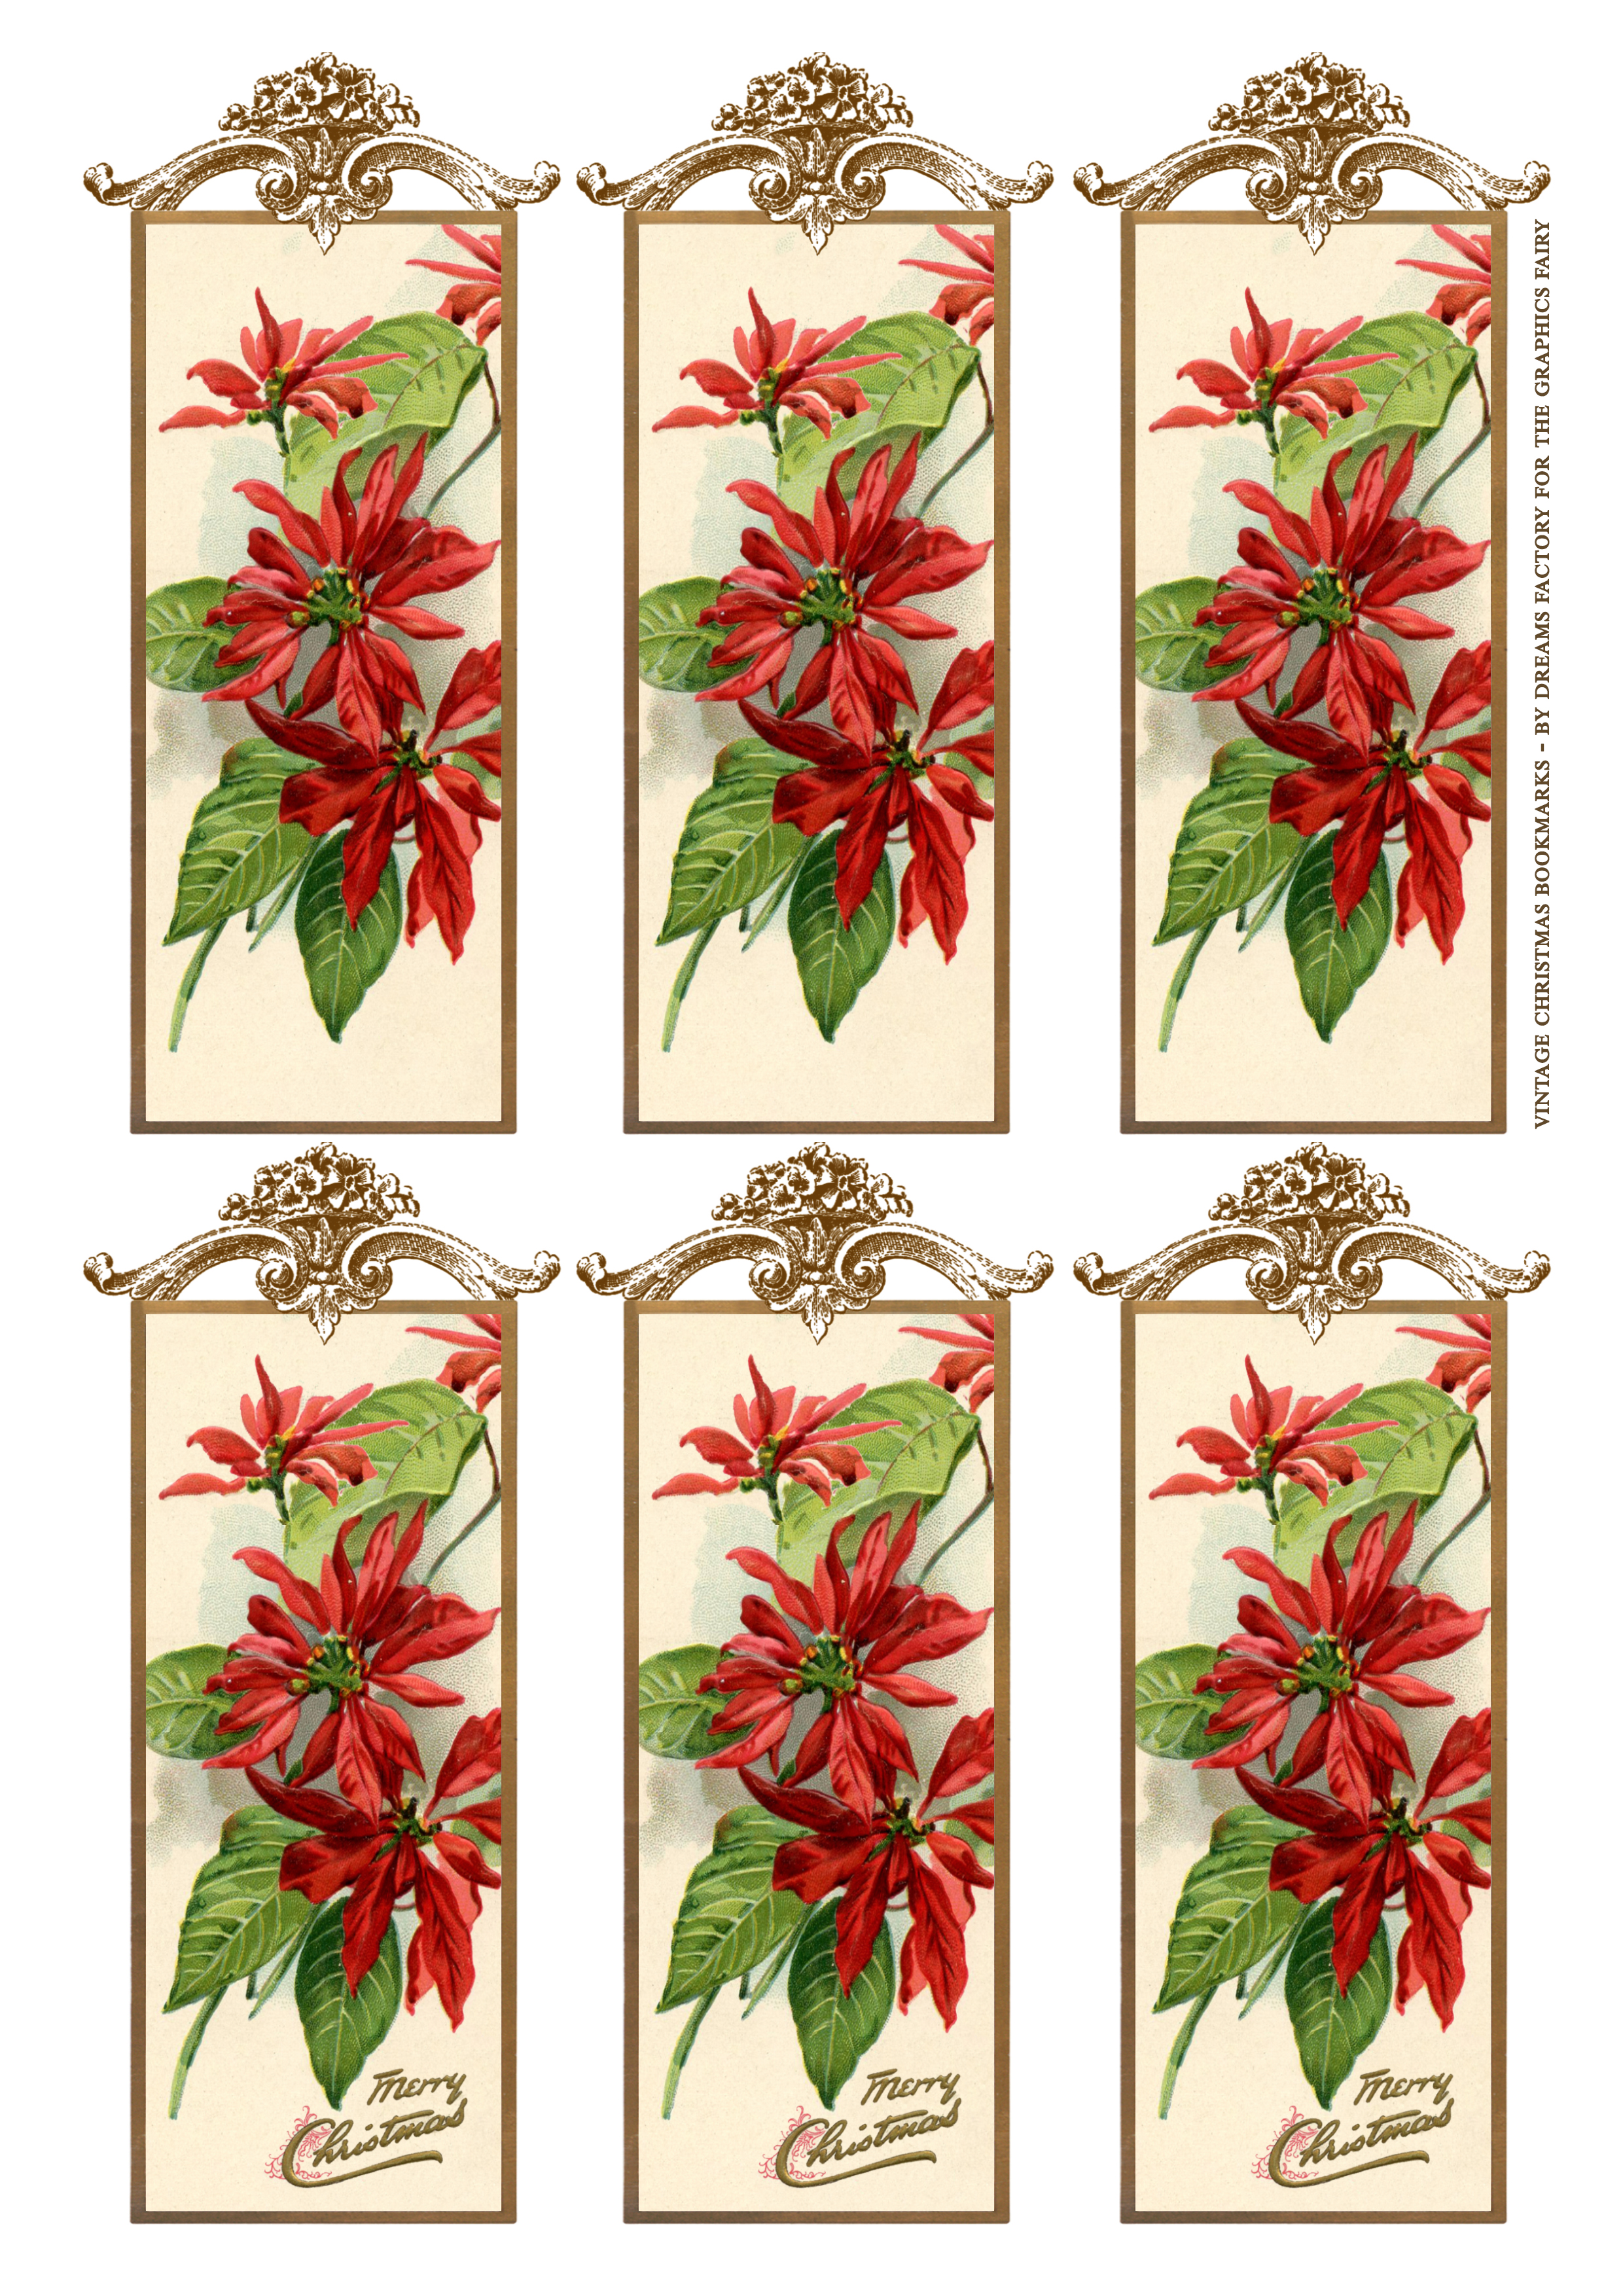
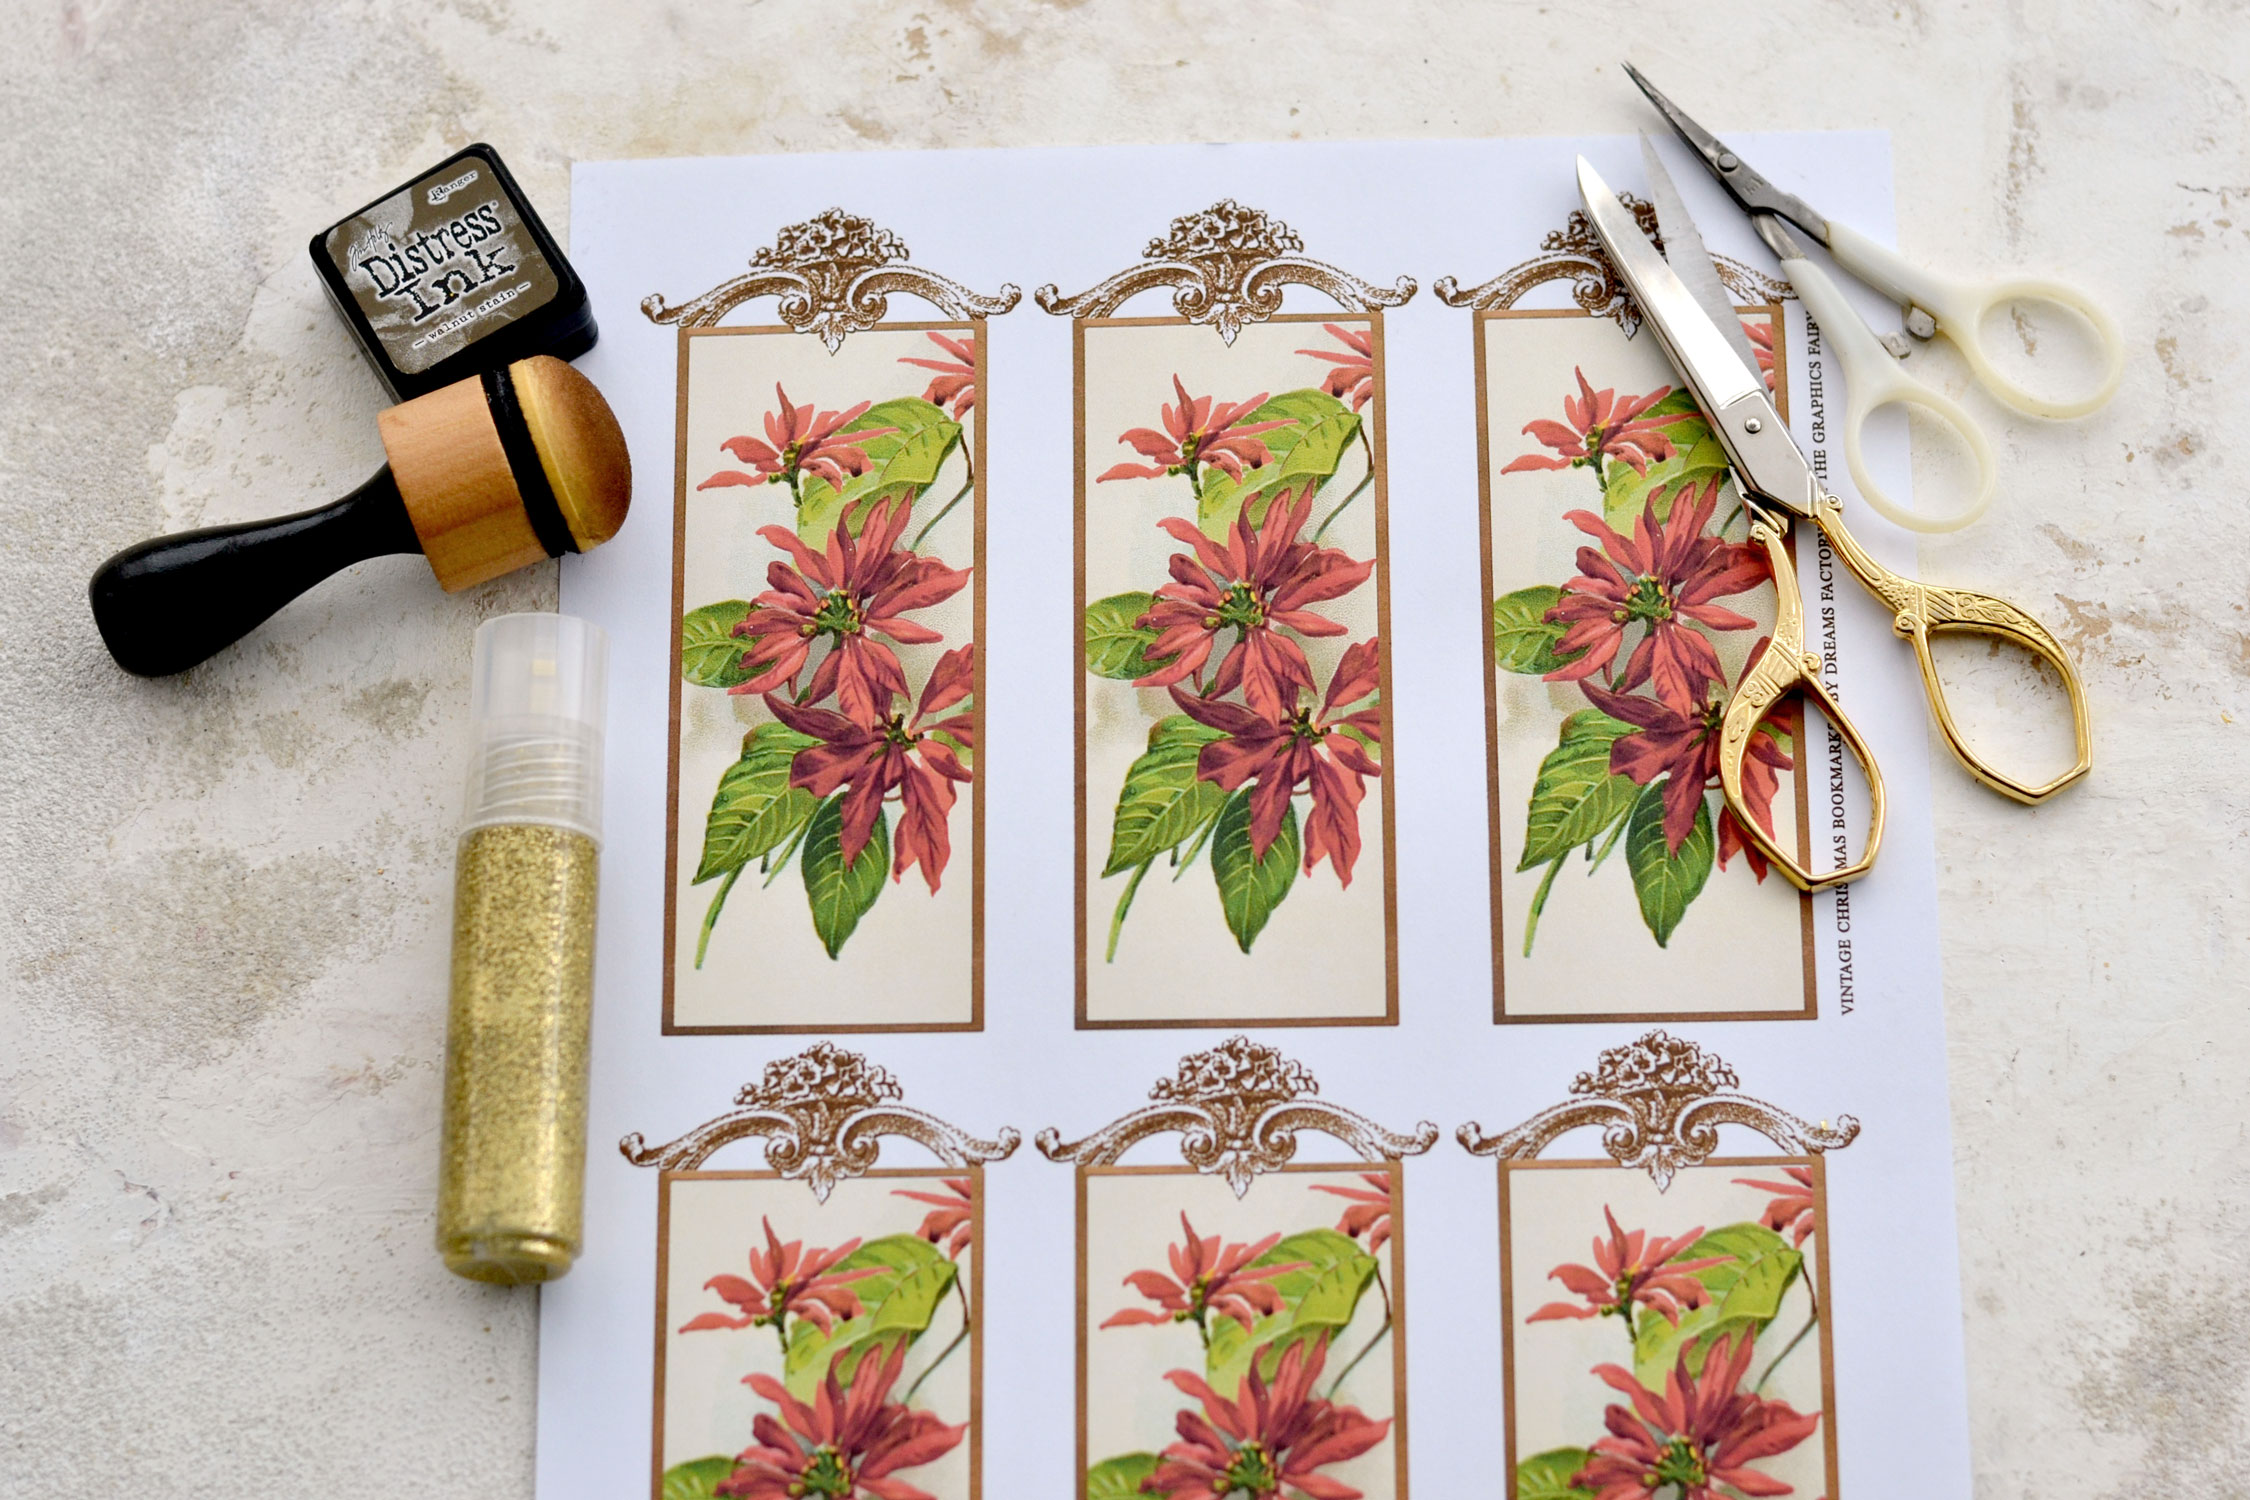
You can find below the free printable that I created for this project. You will find six Poinsettia bookmarks on one page, just print them as many times as you want to make as many bookmarks as you need!
—-> Click HERE to Download the Full Size Printable PDF <—-
Christmas Bookmarks Supply List:
- white cardstock paper
- home printer
- scissors
- manicure scissors (to cut the small details on top)
- mini distress inks
- blending tool with foams
- pocket binders (or a silicon mat, a plastic sheet, baking paper or a non-absorbent material) to protect your working surface
- glitter glue pen (or use glitter, glue and a fine tip plastic bottle to whip up a batch yourself )
Start by printing the bookmarks on your preferred cardstock. Choose the heavier weight your printer can handle to give them some body and make them sturdy.
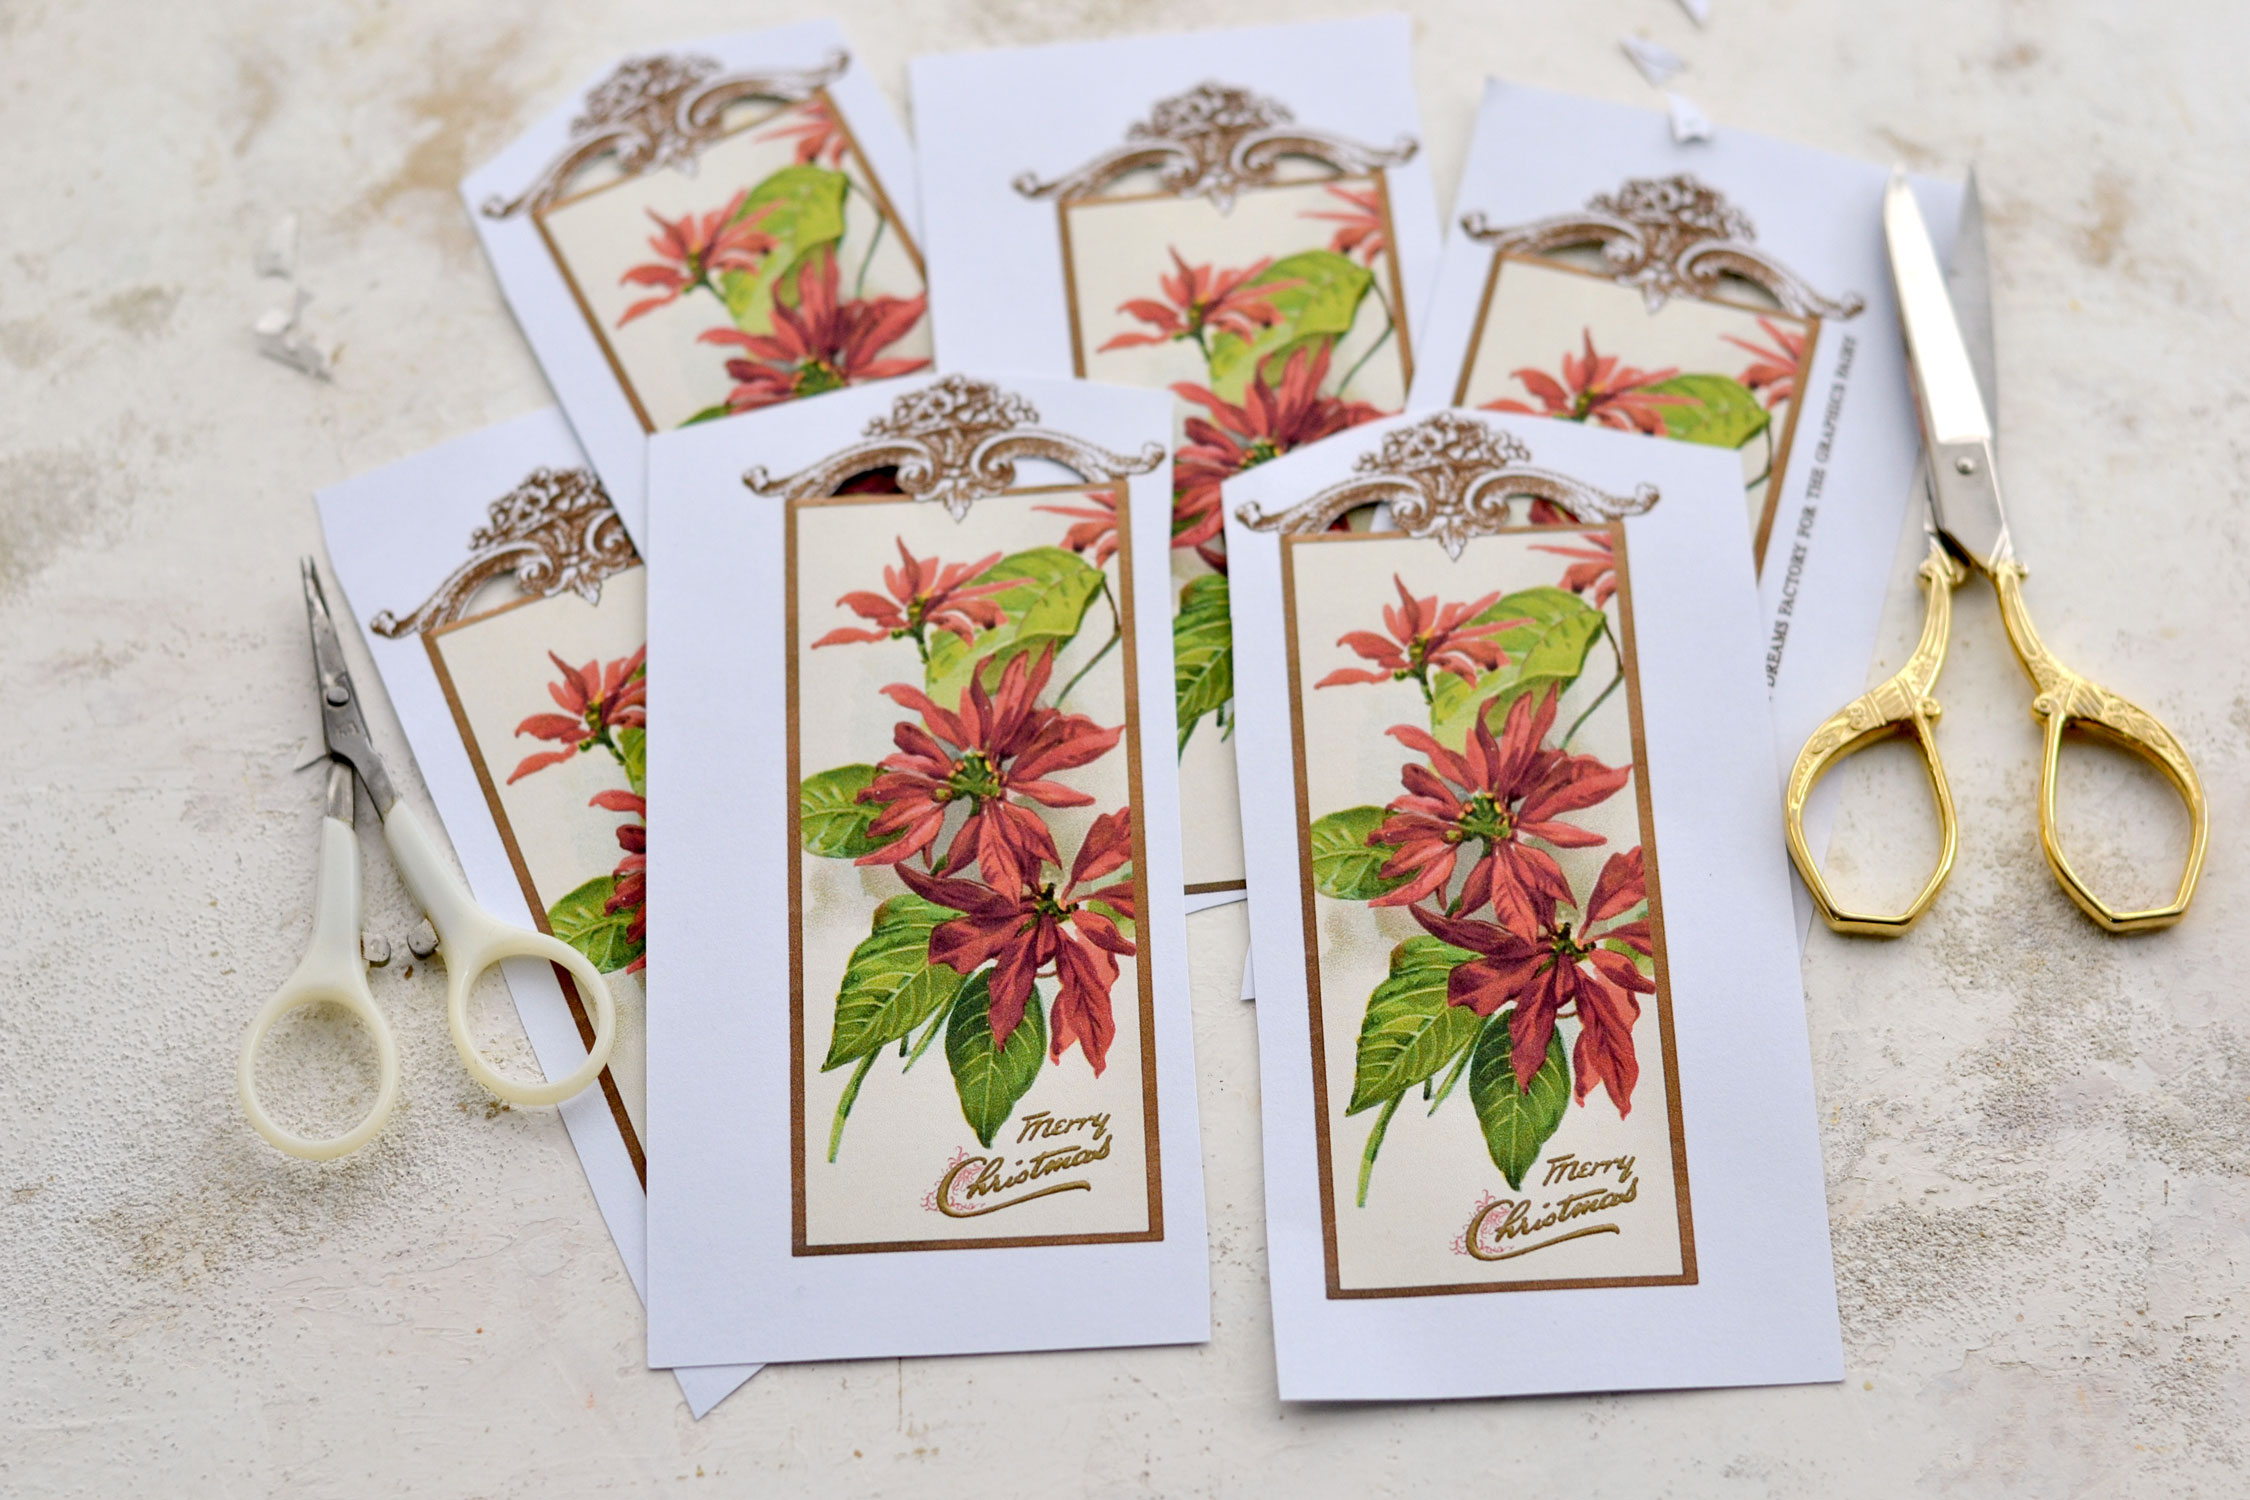
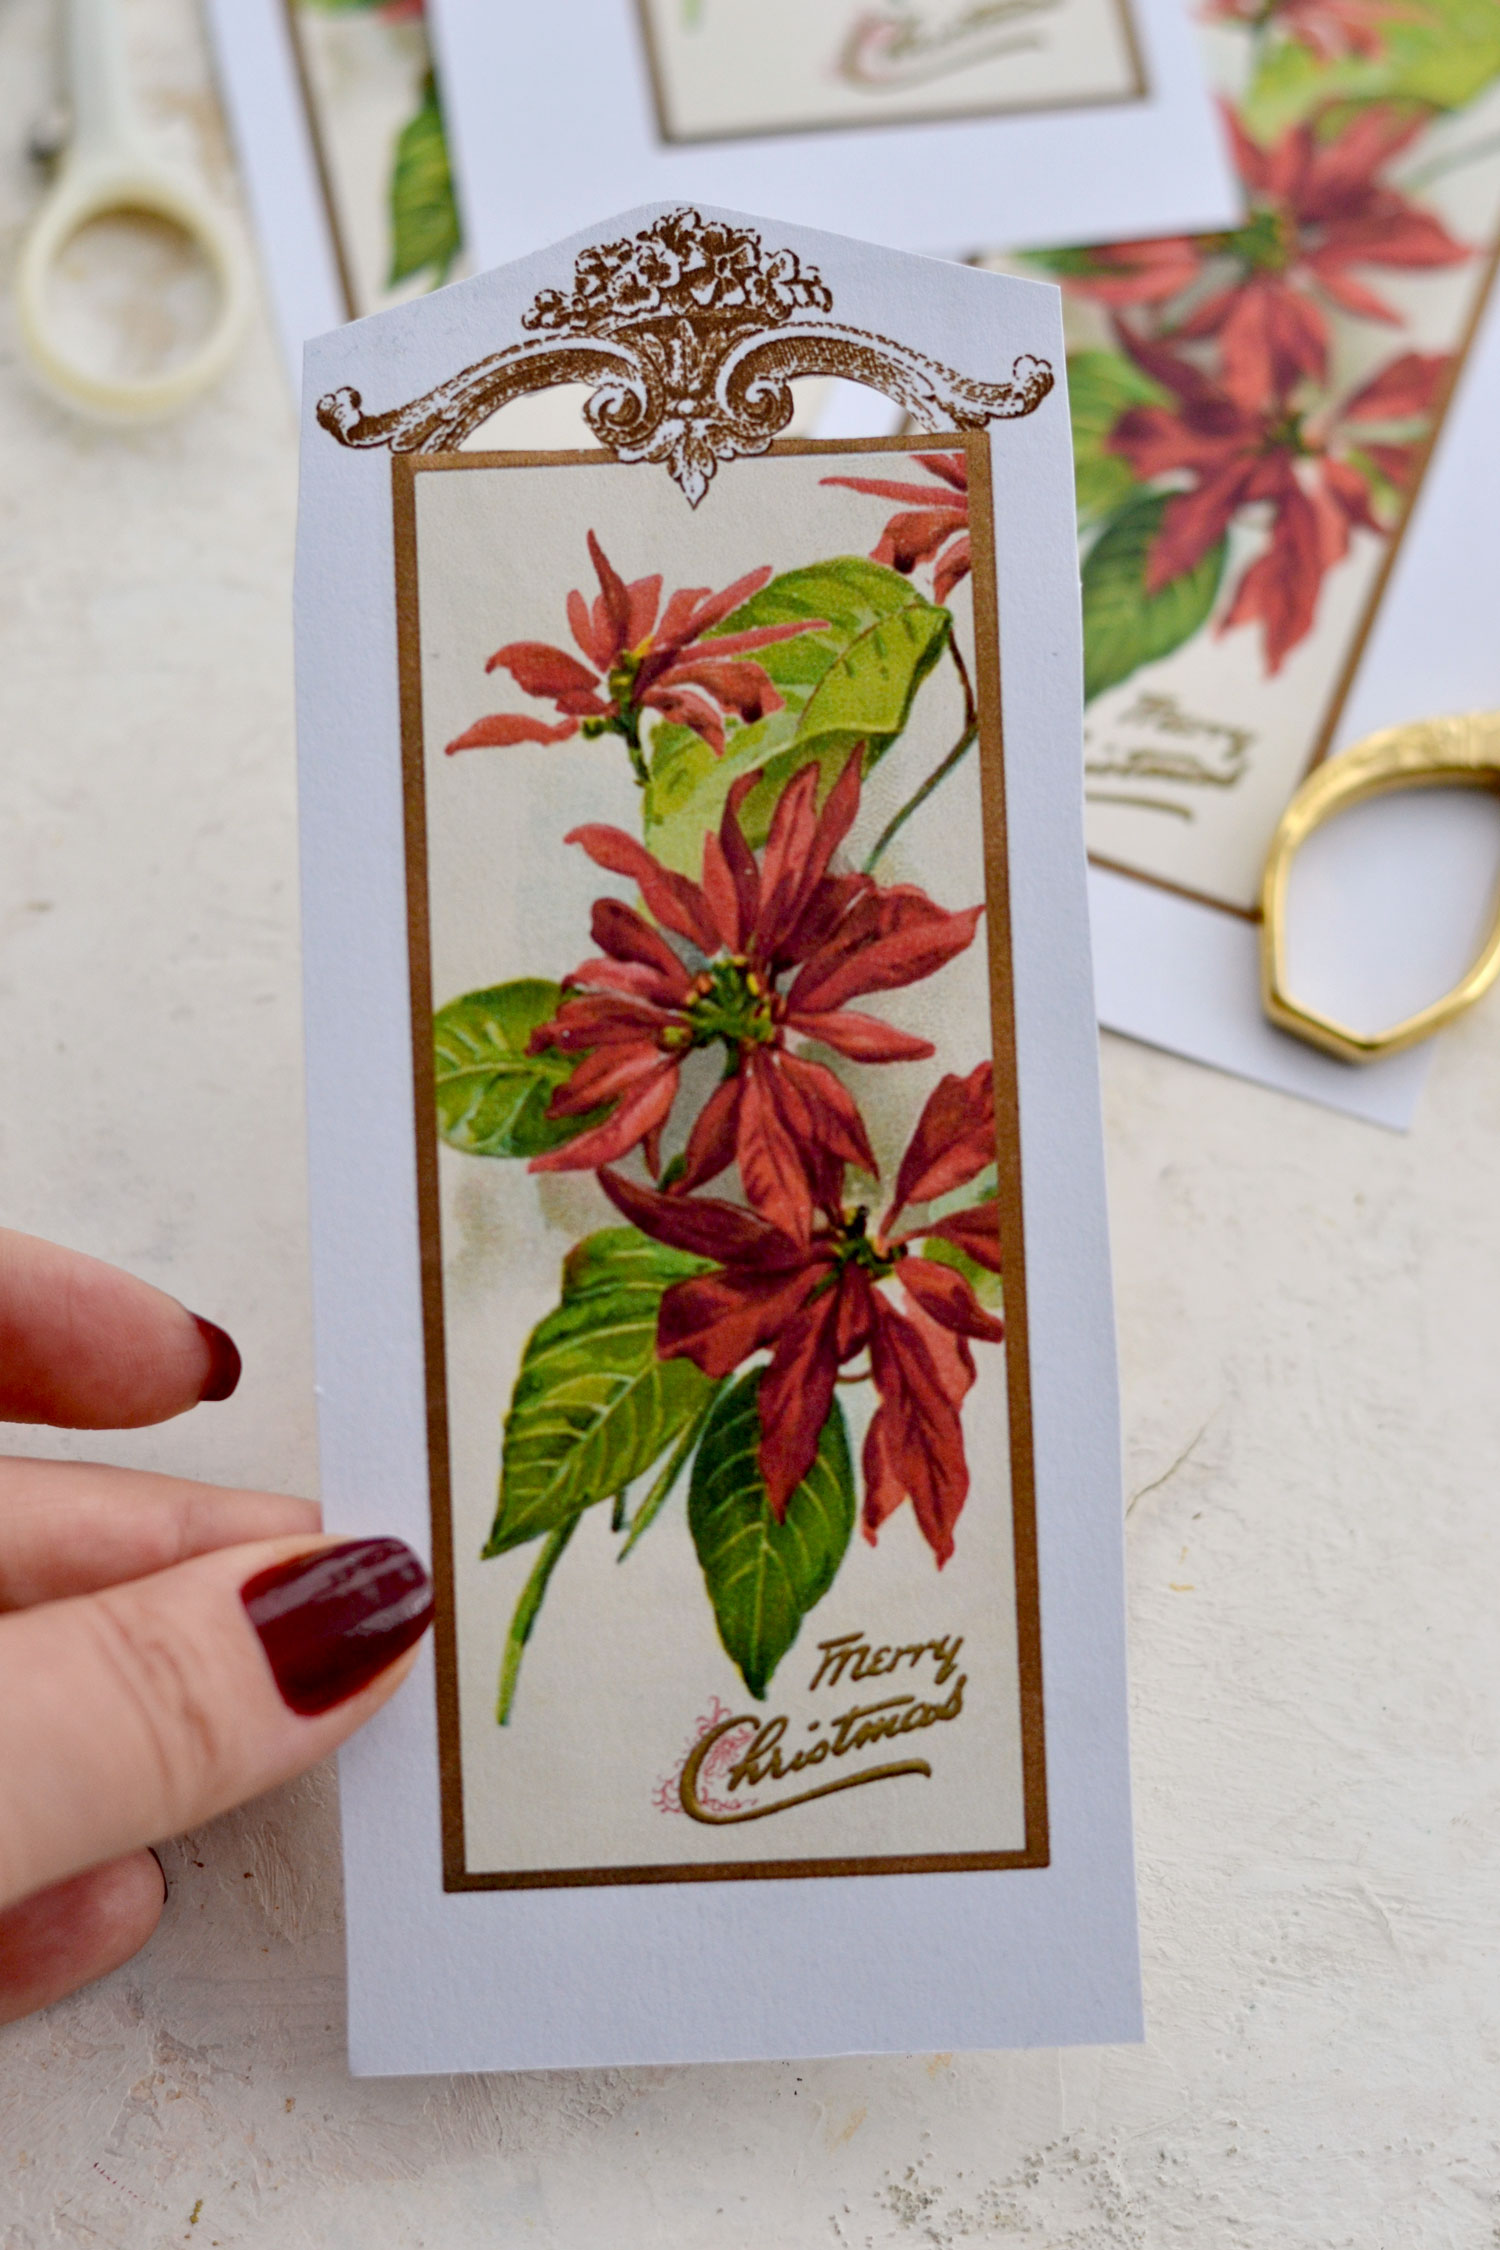
Use regular scissors to roughly cut around each bookmark, then use small scissors to remove the white paper inside the decorative frame on top. I usually go for my old manicure scissors when having to cut small details like these, but you can also use a X-Acto knife and a cutting mat if you prefer.
P.S. If you want to also decorate the back of your bookmarks, you can! Use scrap pieces of sheet music, Christmas ephemera, or even seasonal wrapping paper and glue them on the back. I would suggest doing this after roughly cutting the bookmarks -let everything dry and only then use the small scissors to cut the details on top.
Step by Step Tutorial:
And then you can start cutting off and removing the white paper around the bookmarks. I found it easier to start from the bottom and go up, rather than start with the decorative frame on top.
Try to create a beautiful rounded shape around the frame on top to give the finished pieces a beautiful cut.
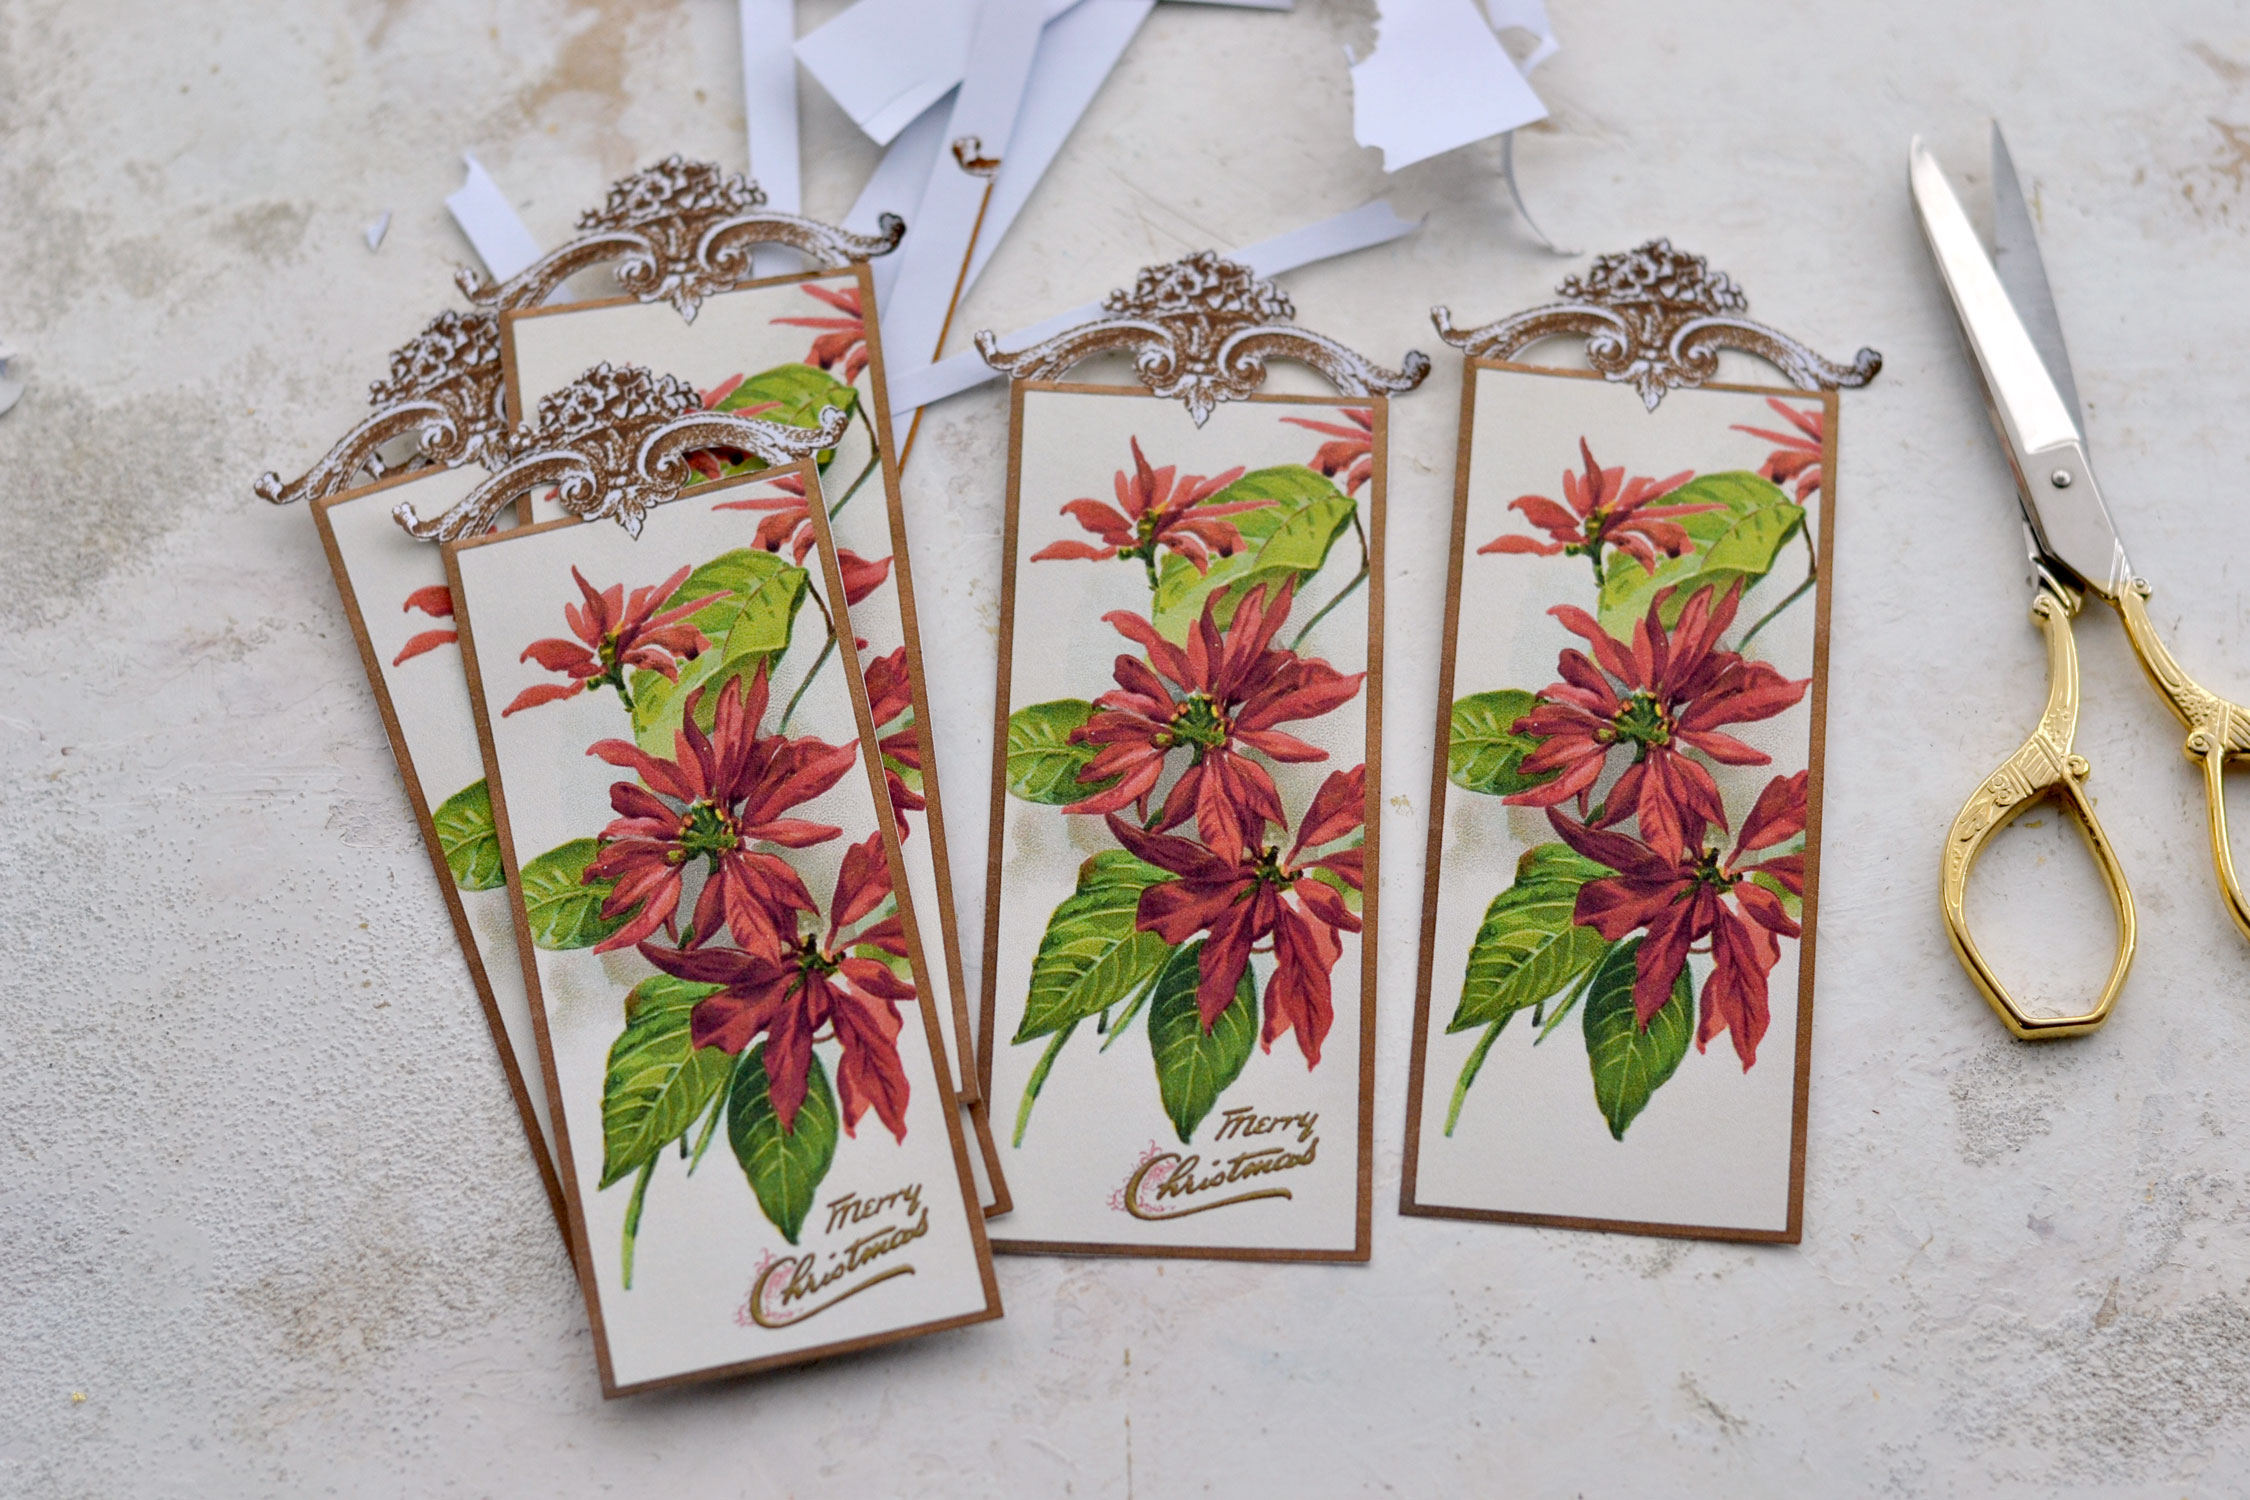
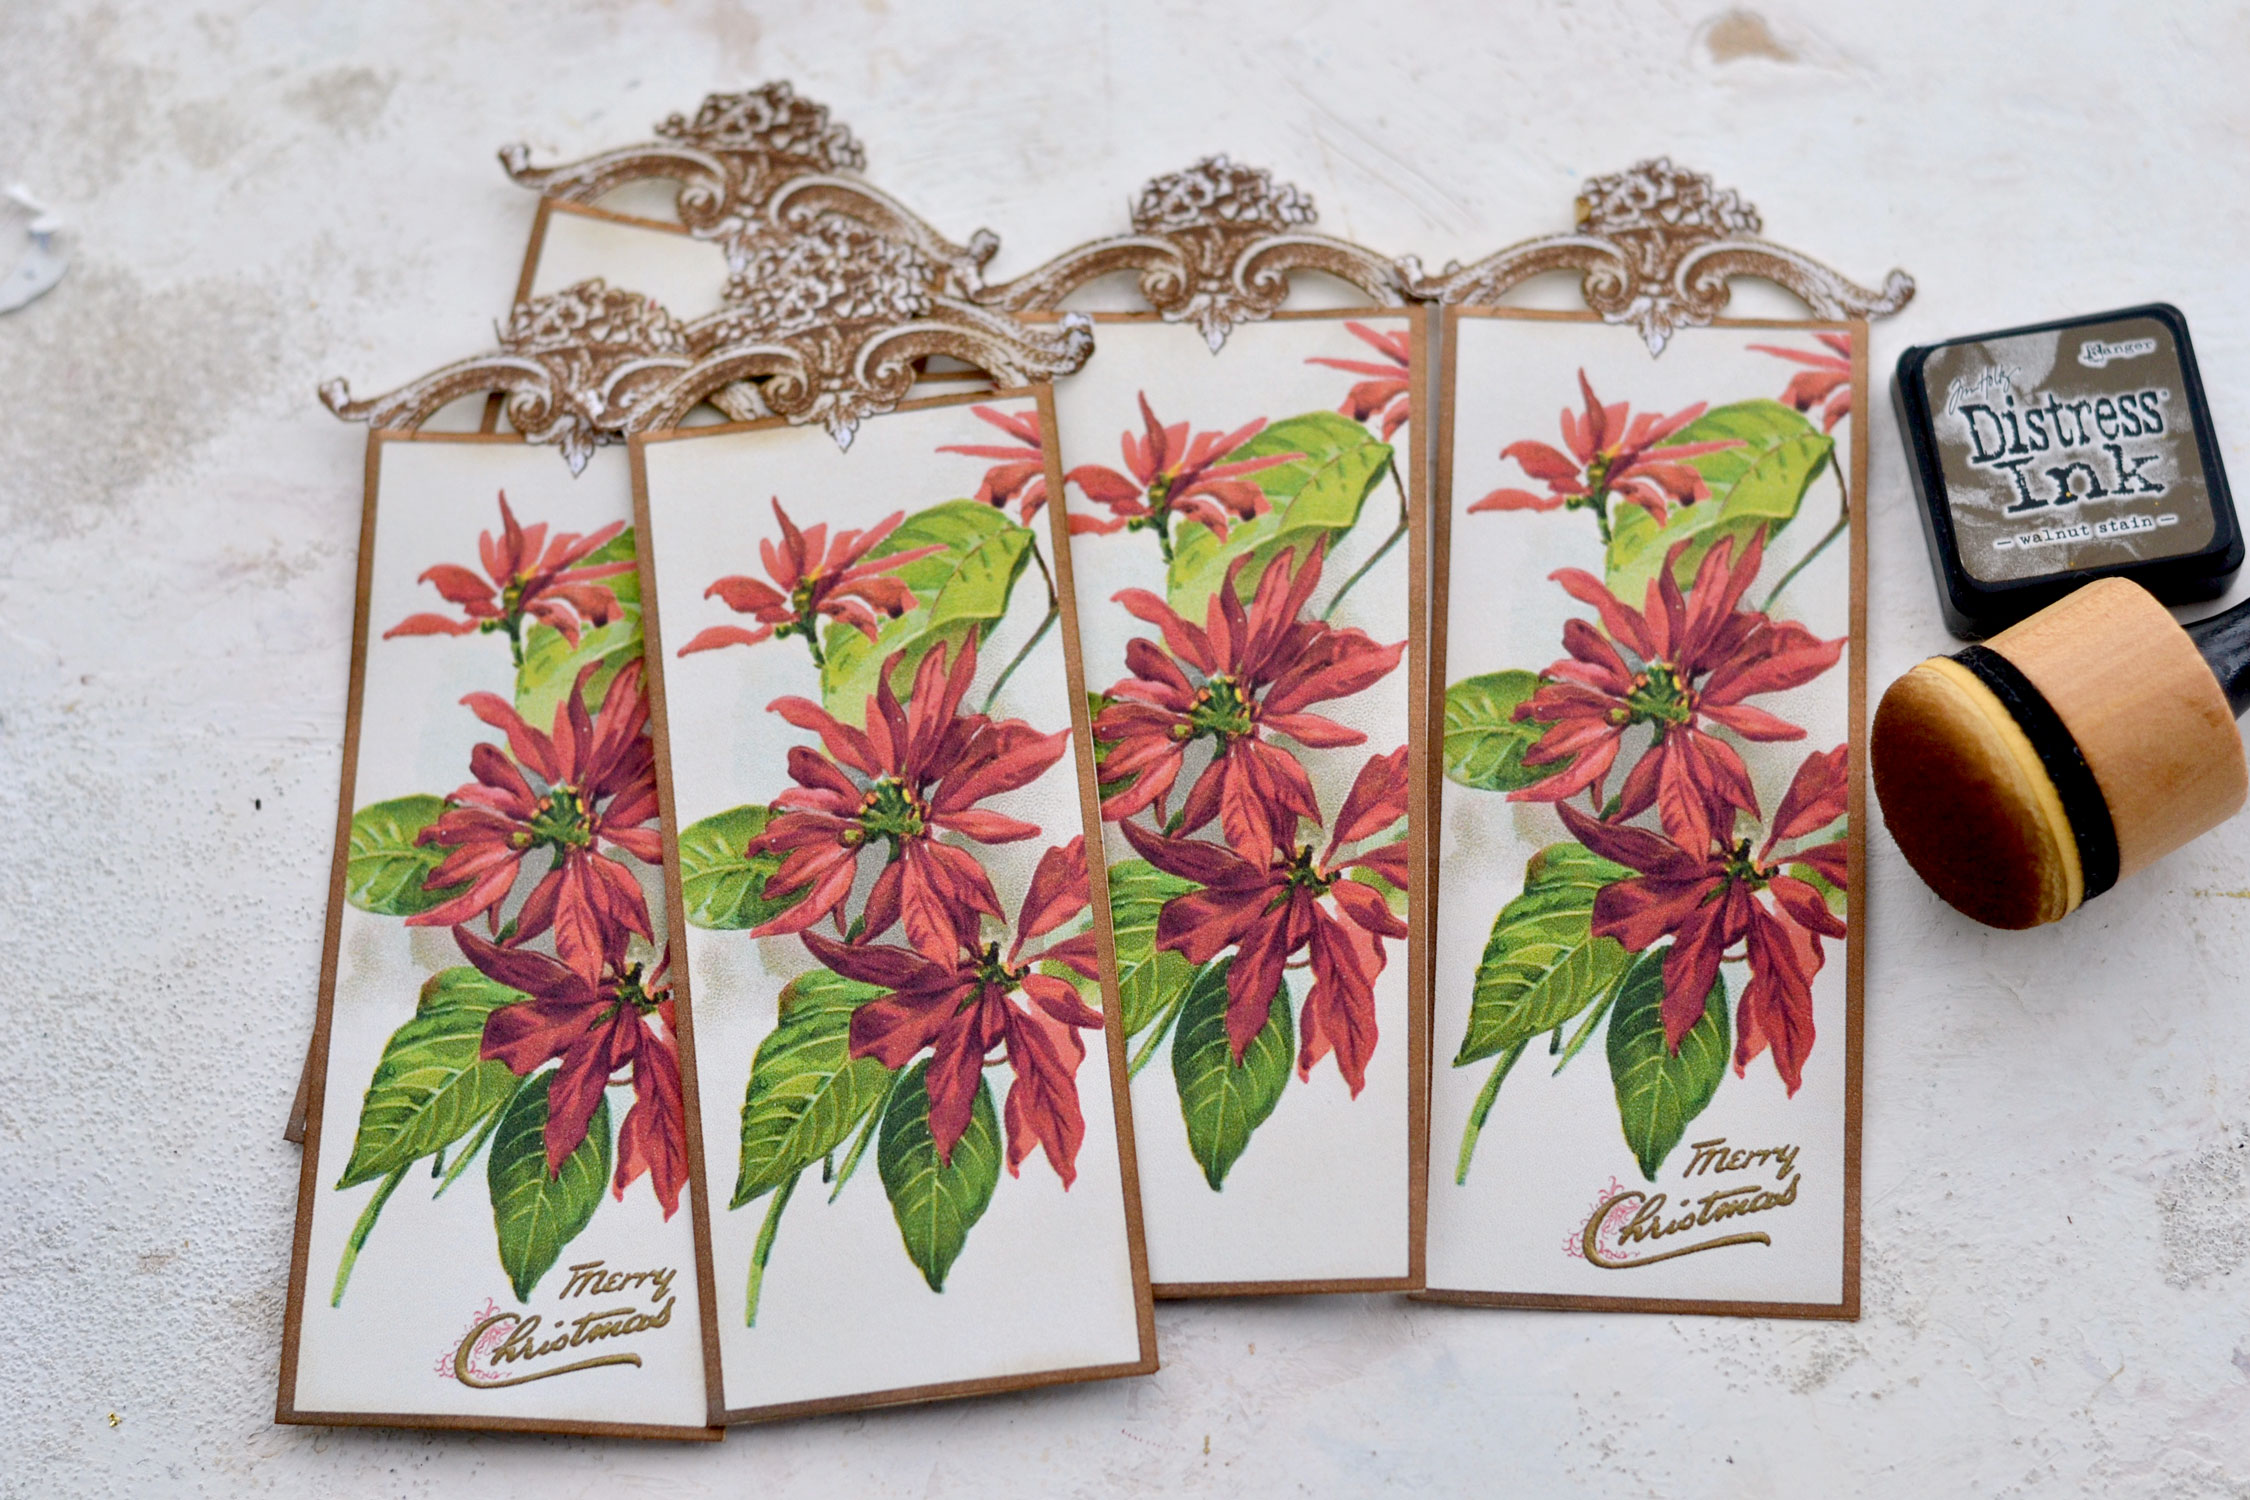
You know I love using brown distress ink to give my projects even more of a vintage vibe and I’m pretty sure you love doing that too! But this time I used it mainly to cover all the white paper that might have been left behind while cutting the bookmarks. You can go all around the rectangular edges, but also on the frame on top both on the inside and the outside, you will see that everything will start to look so much better and you will be able to give them a more put-together appearance.
If you prefer, you can stop now and use the Christmas bookmarks as they are! But if you want to further embellish them, you can use a gold glitter pen as I did!
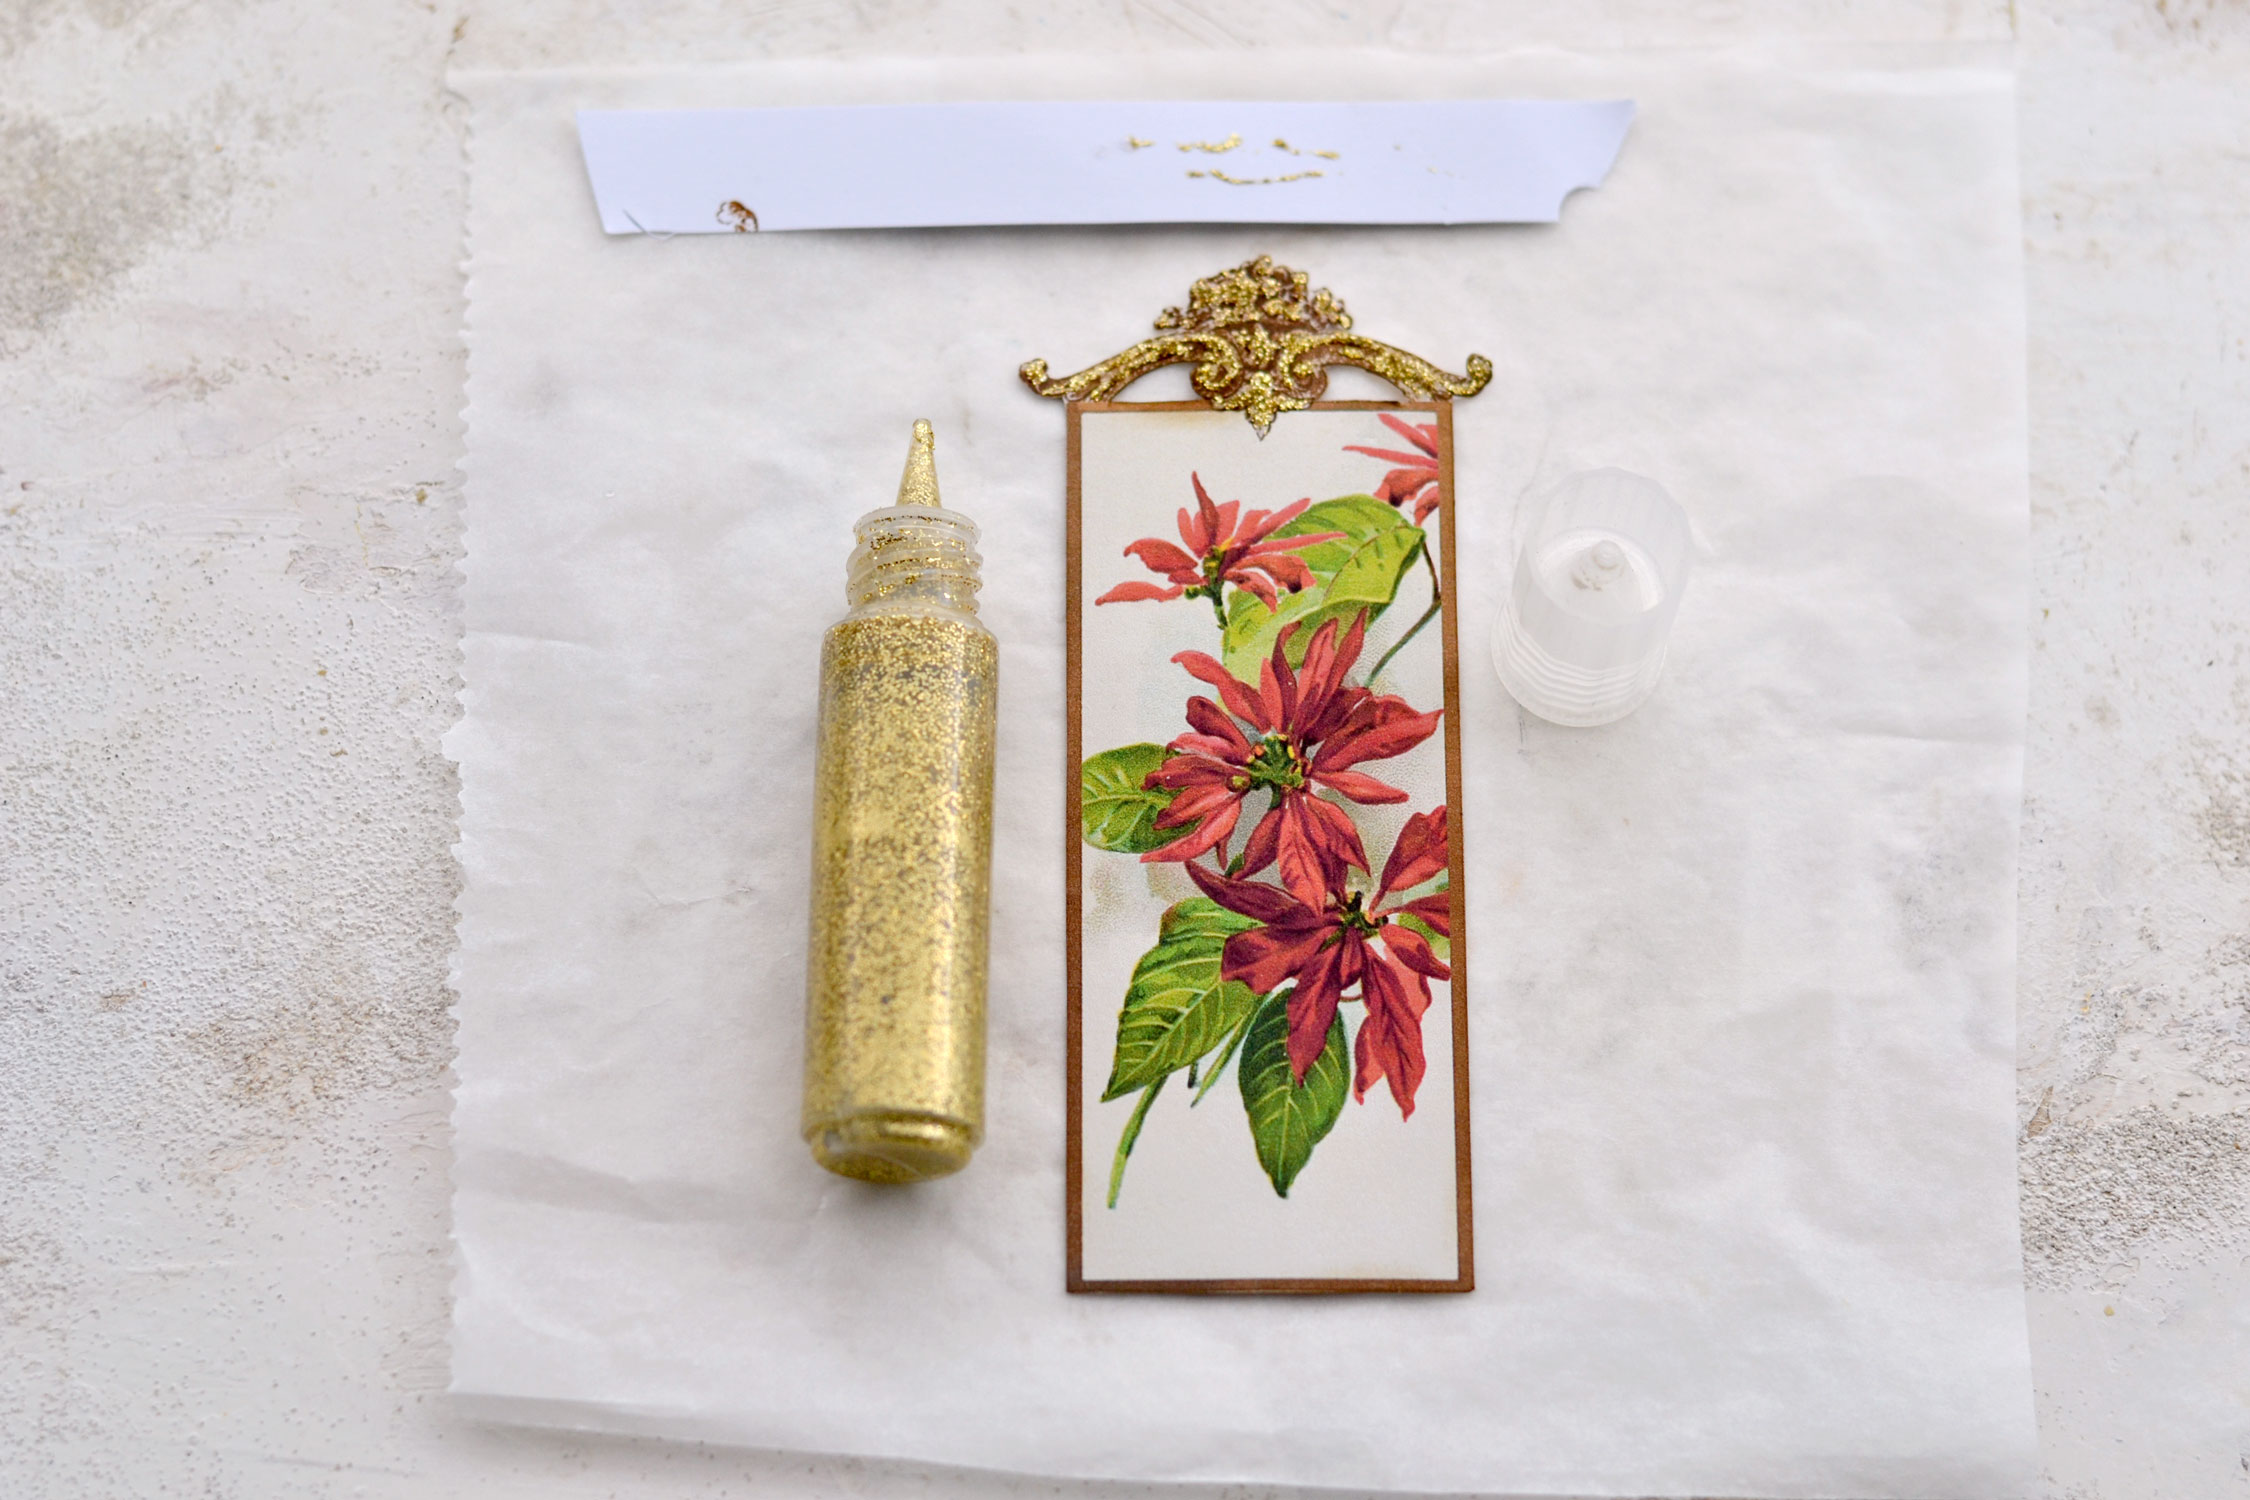
Start by ‘painting’ with gold glitter on top of the decorative frame, the idea is to gild the frame, but also keep the design itself visible. To do that you need to paint mostly on top of the white areas of the frame. Try to make small gold glitter ‘brush strokes’ rather than cover the whole design.
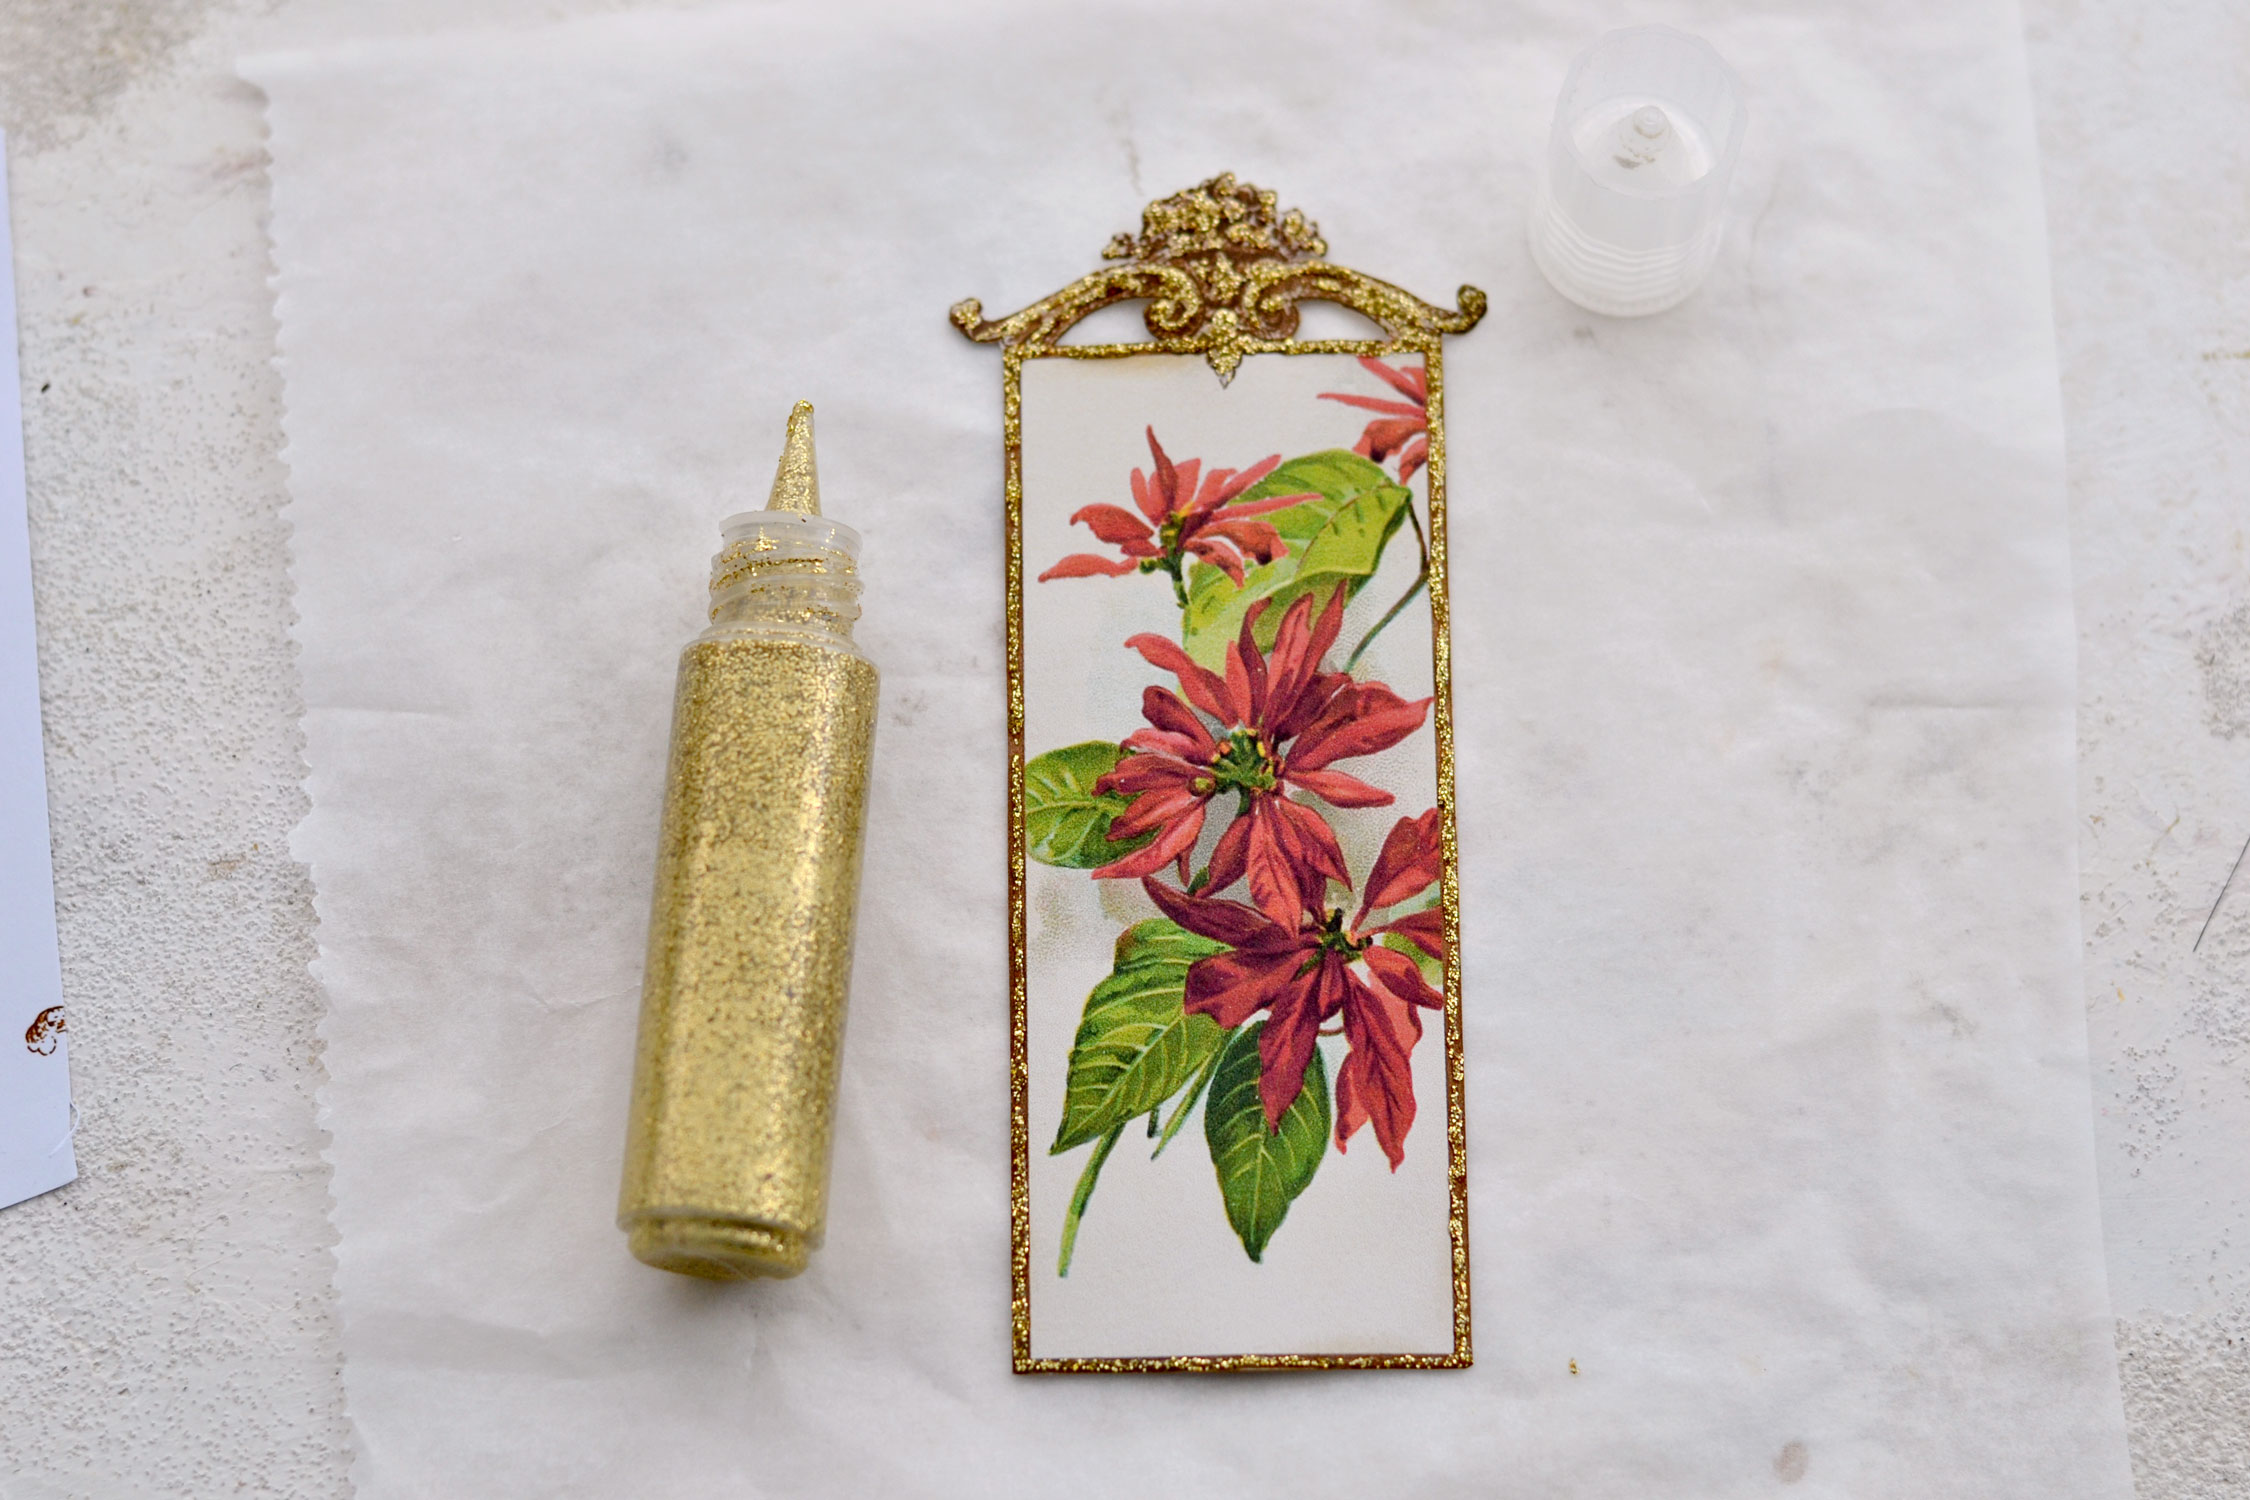
Move on to the rectangular frame around the edges.
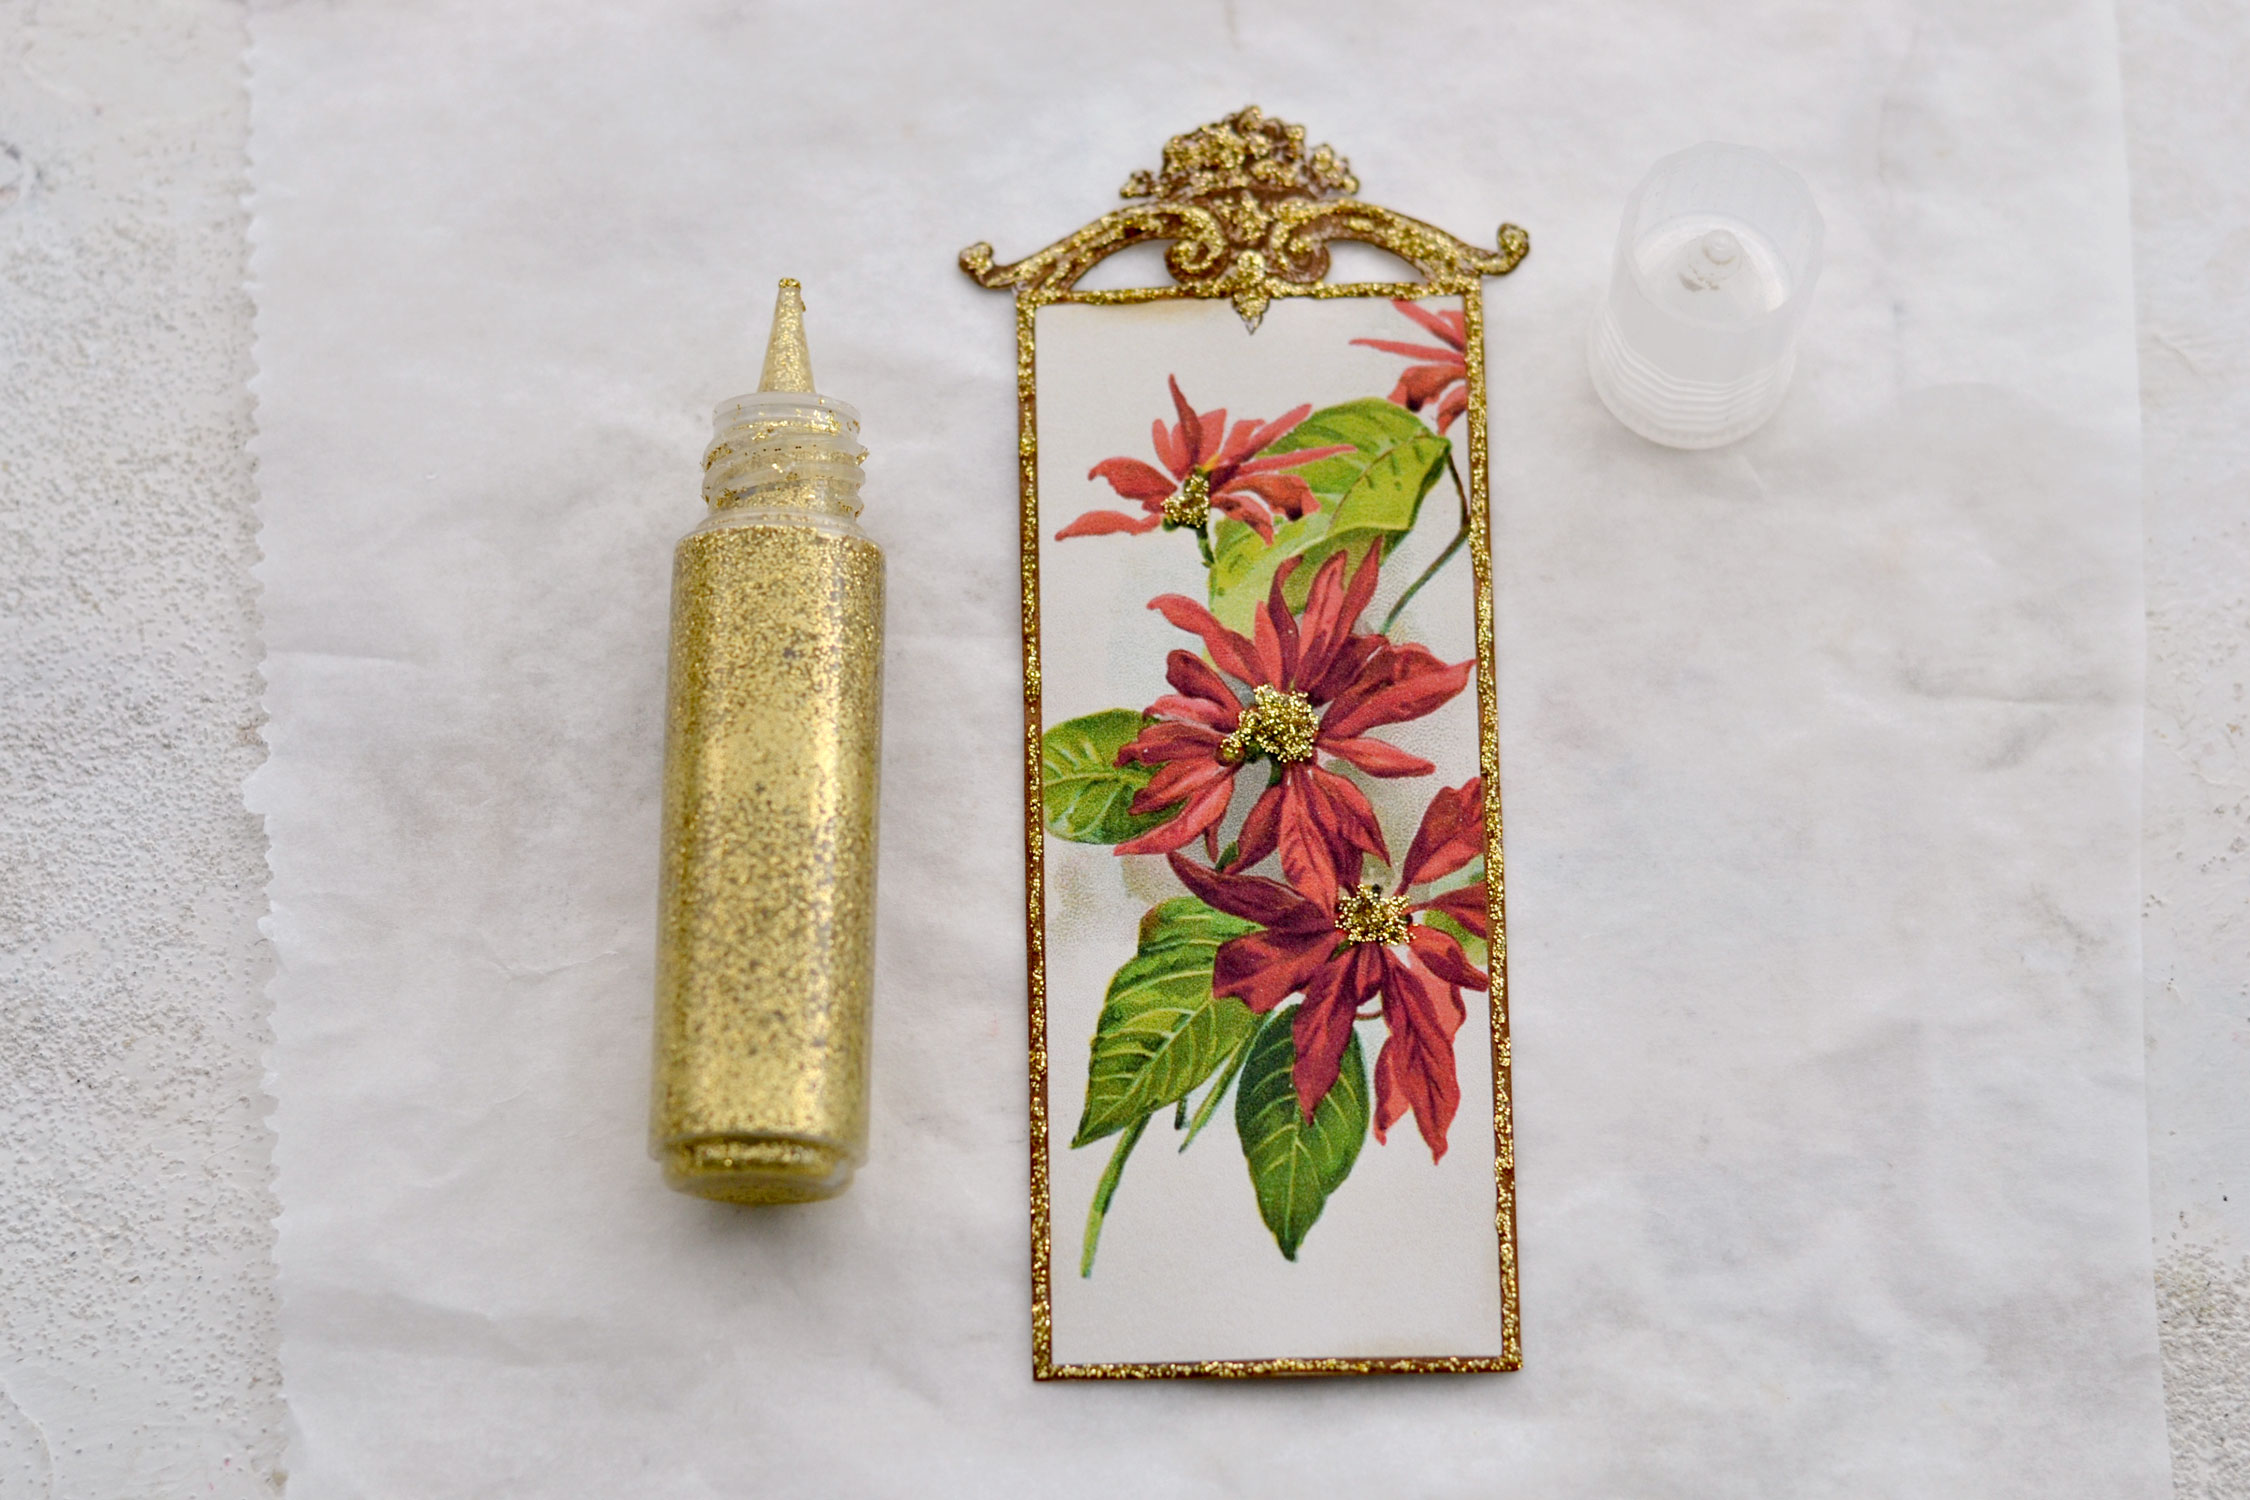
And to finish things up, add some gold inside the flowers while trying to follow their beautiful shape.
And you are now finished! You just need to let your new Vintage Poinsettia Christmas Bookmarks dry completely before actually using them.
Then you can admire them in all their glory!
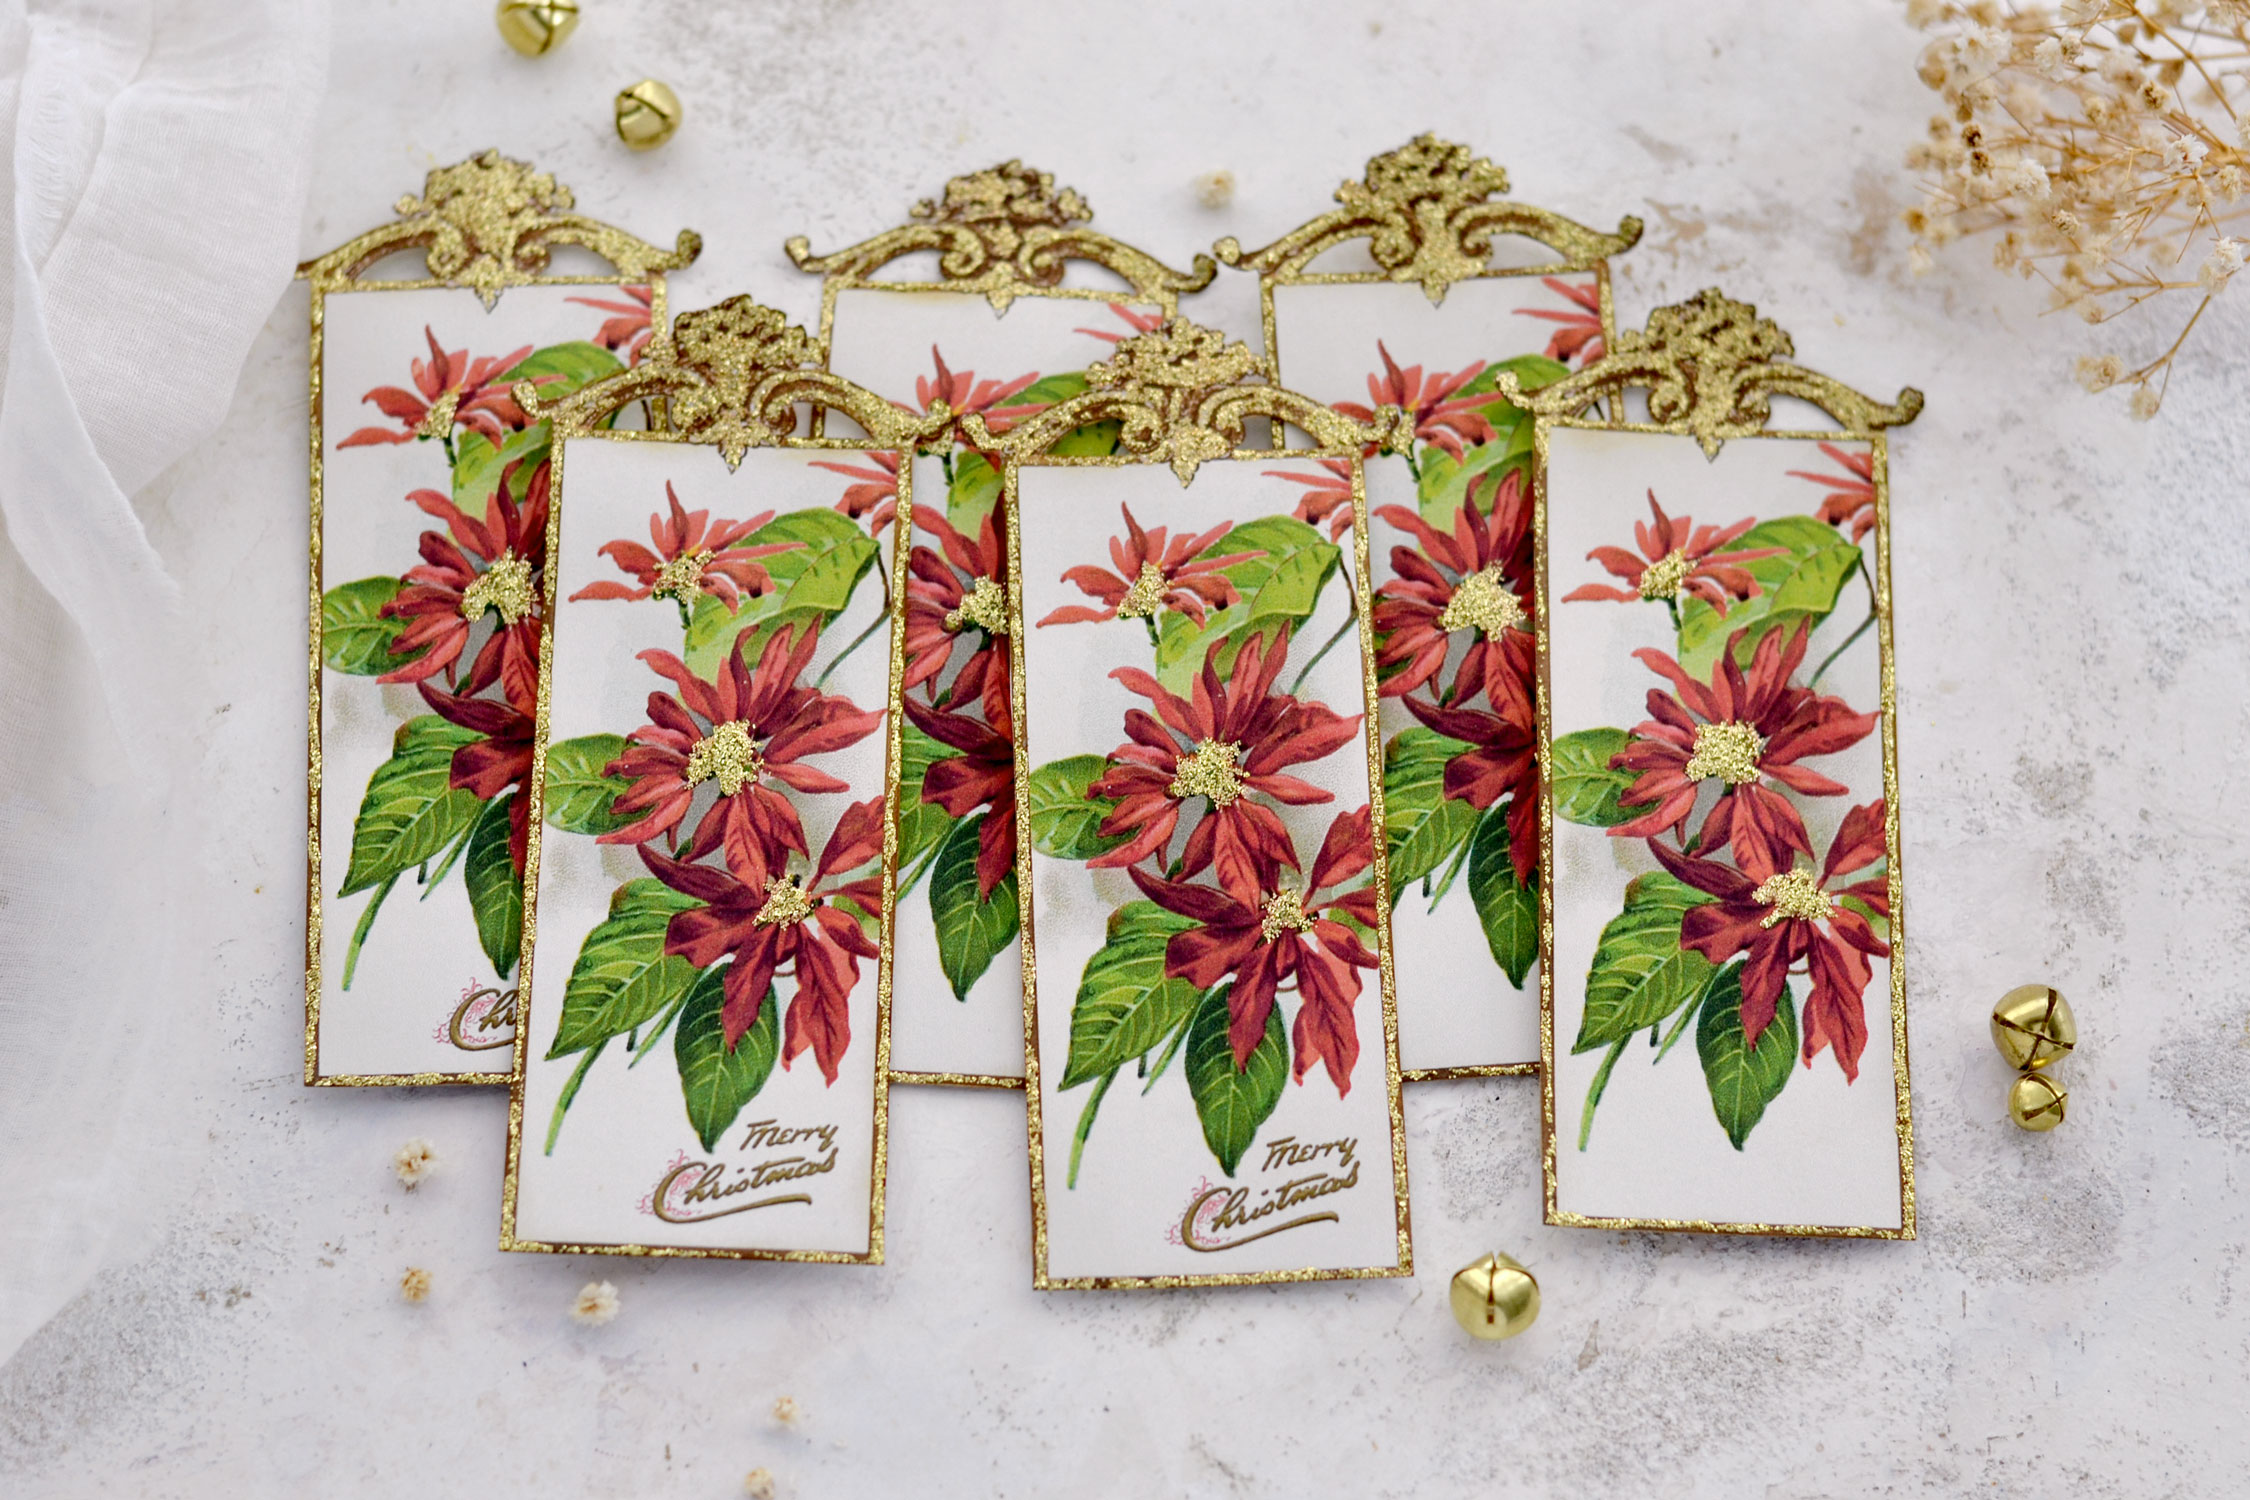
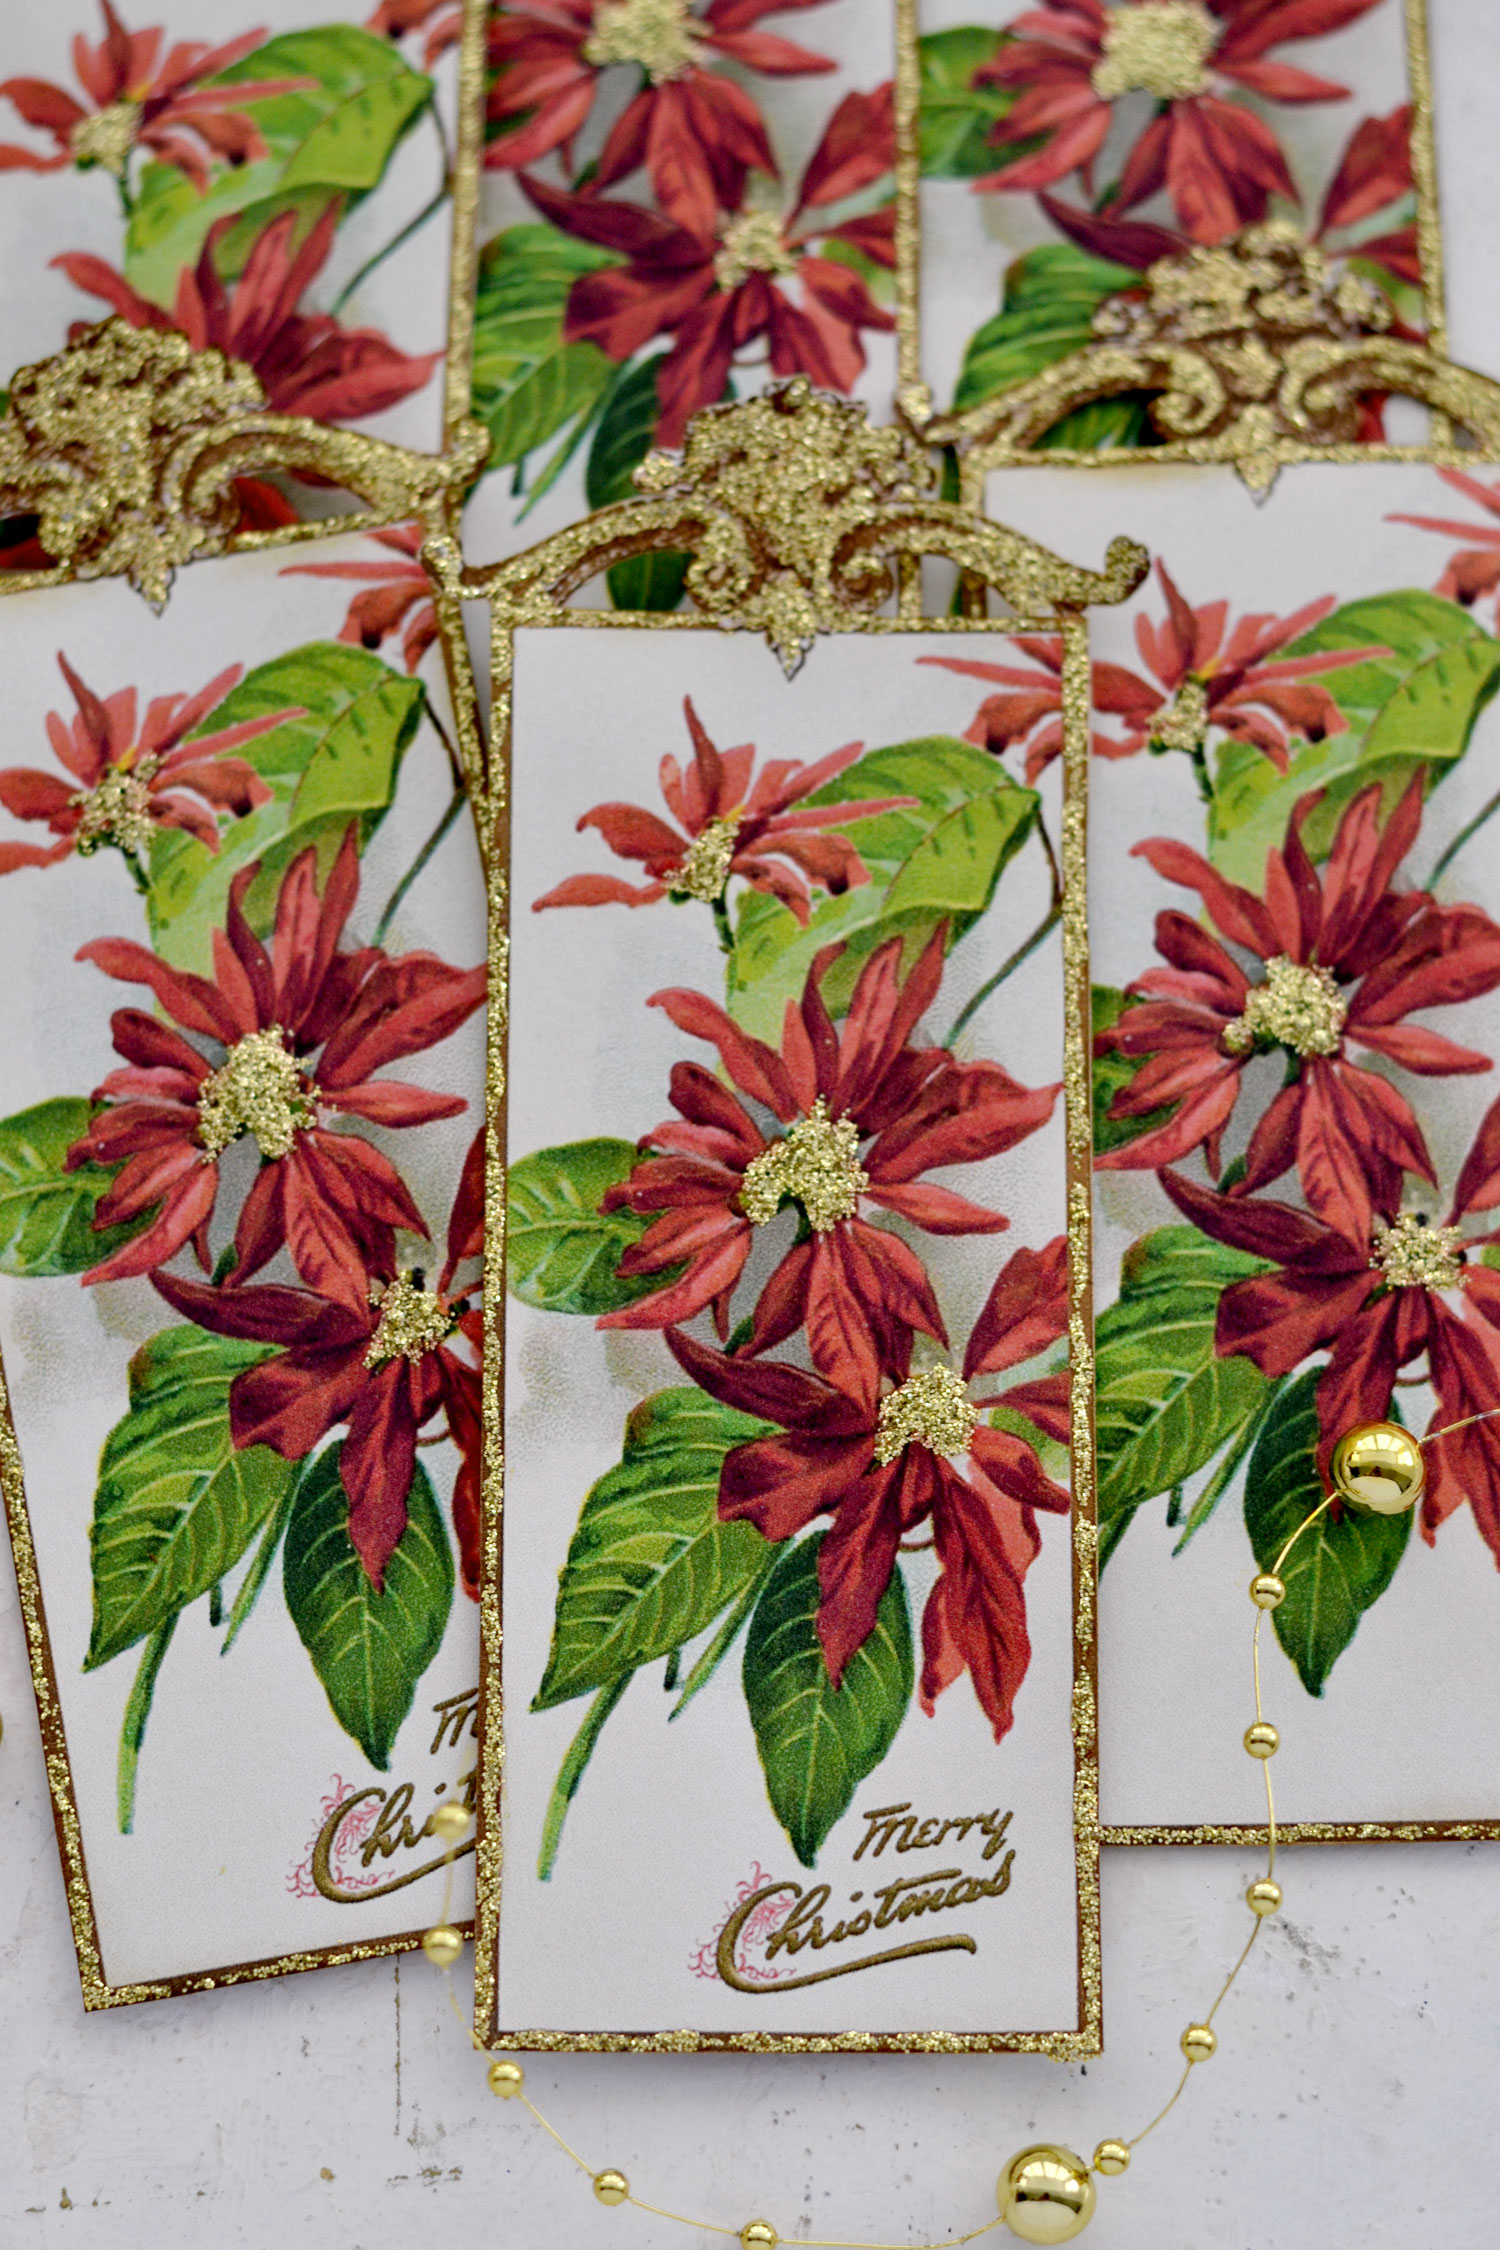
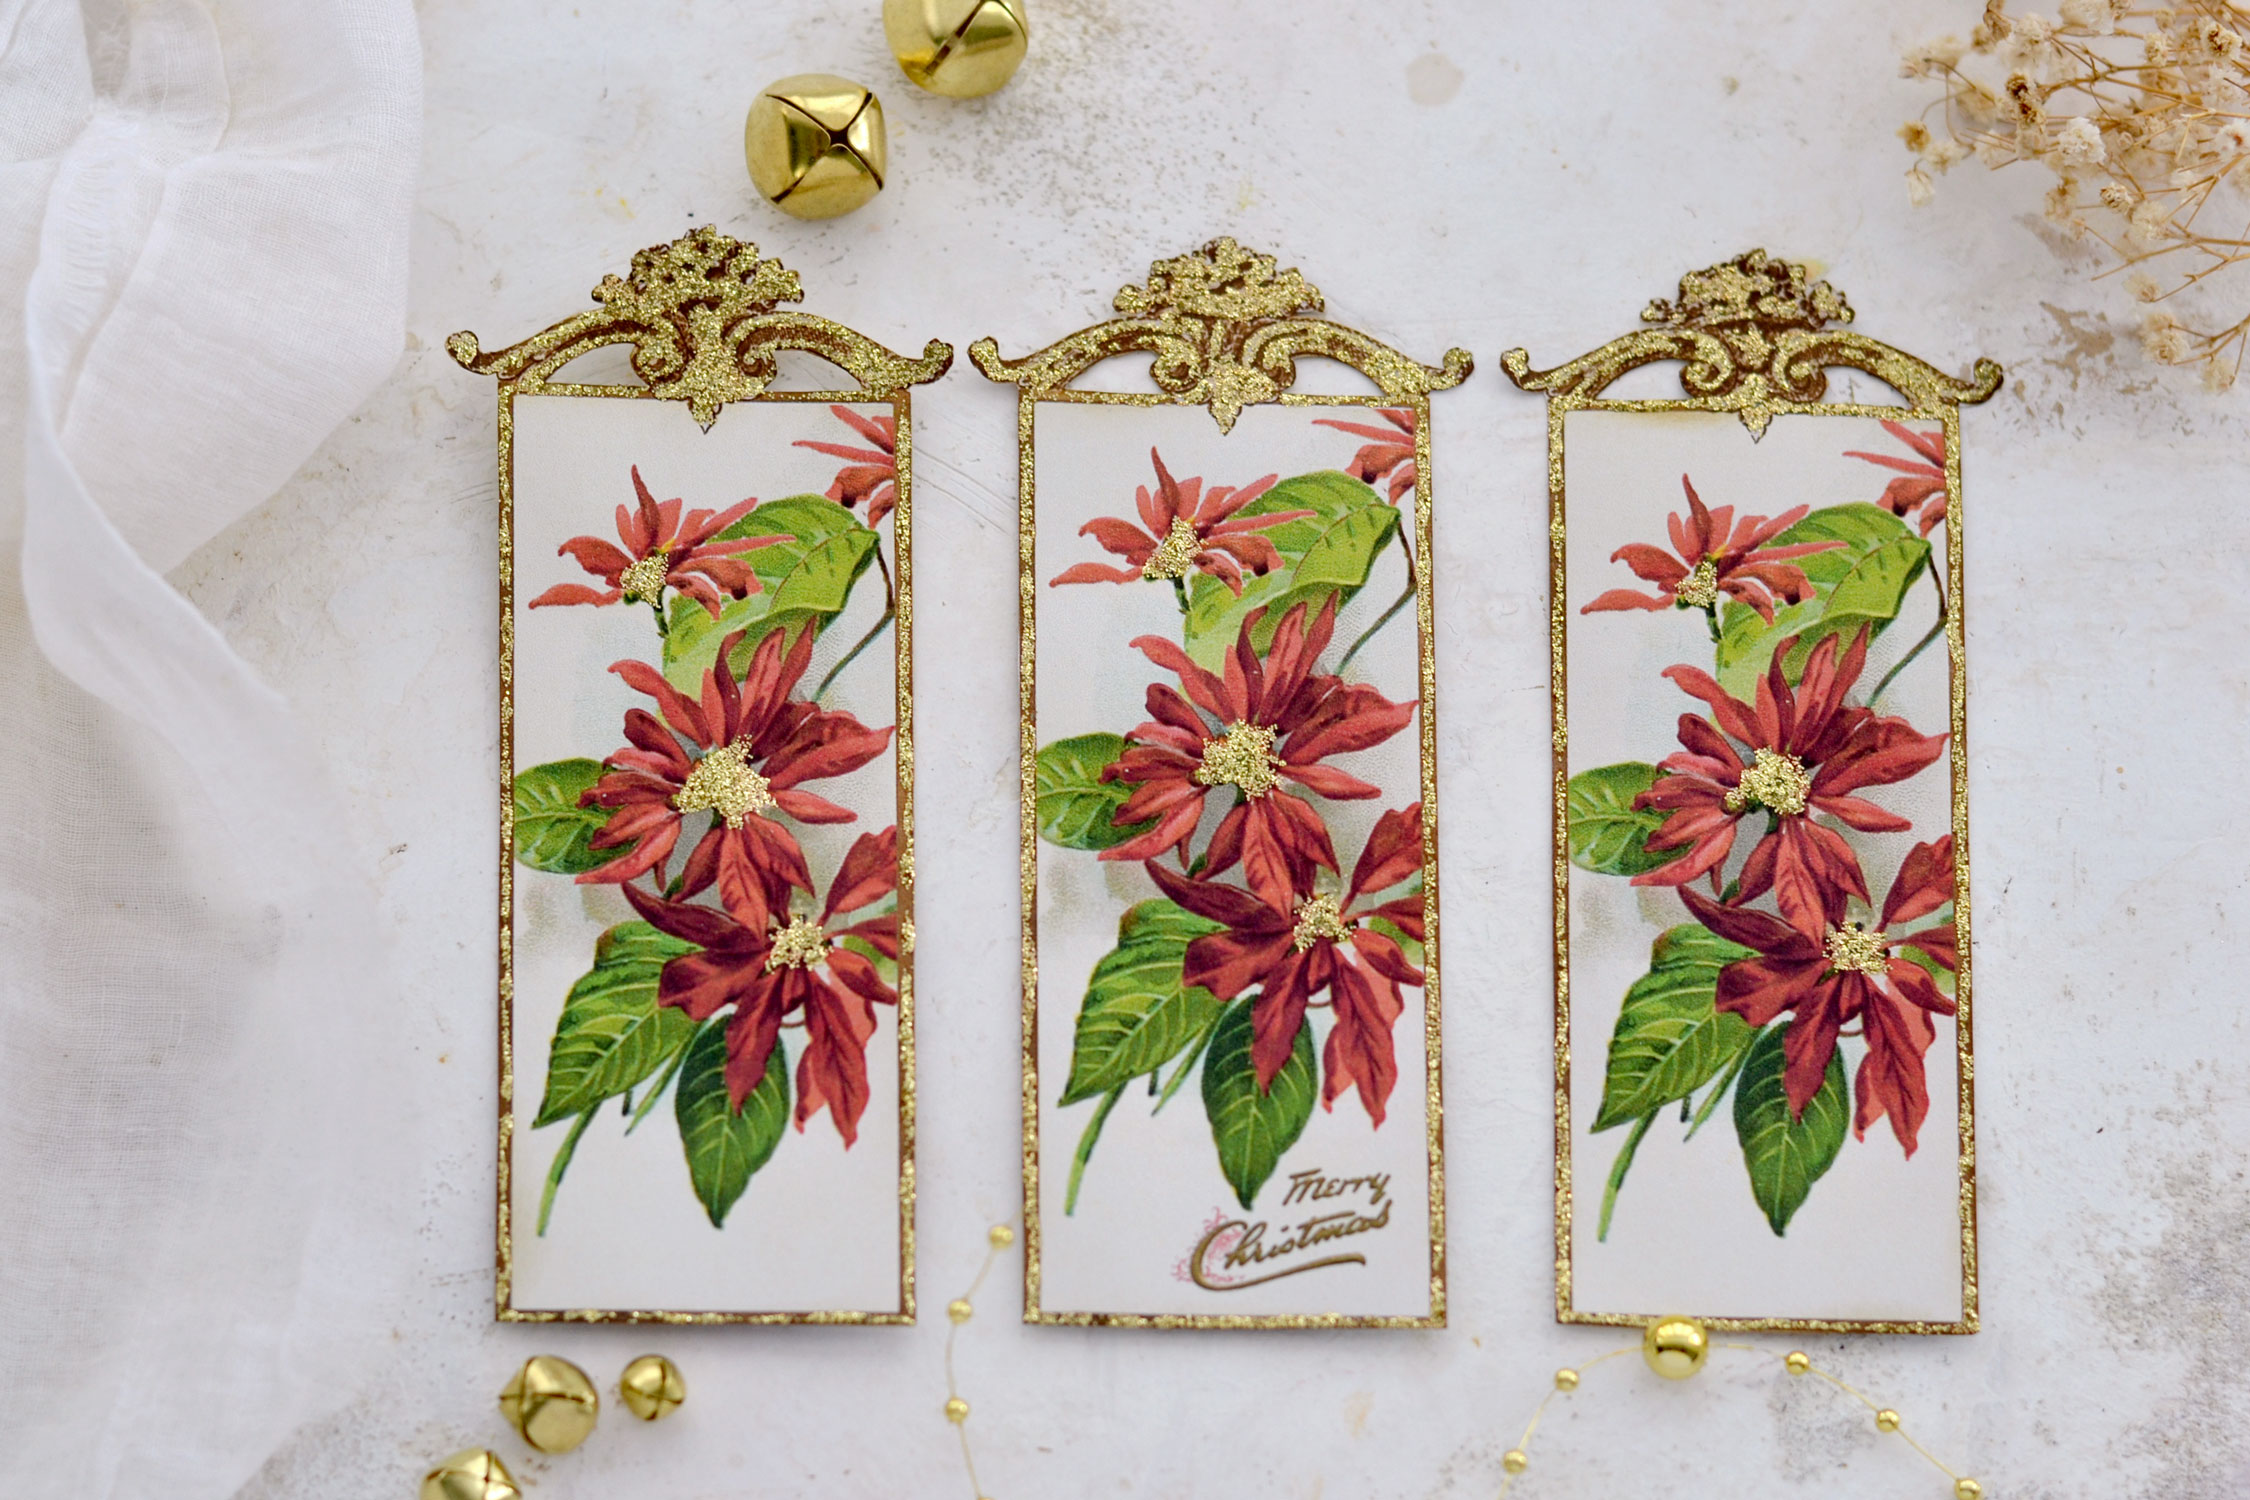
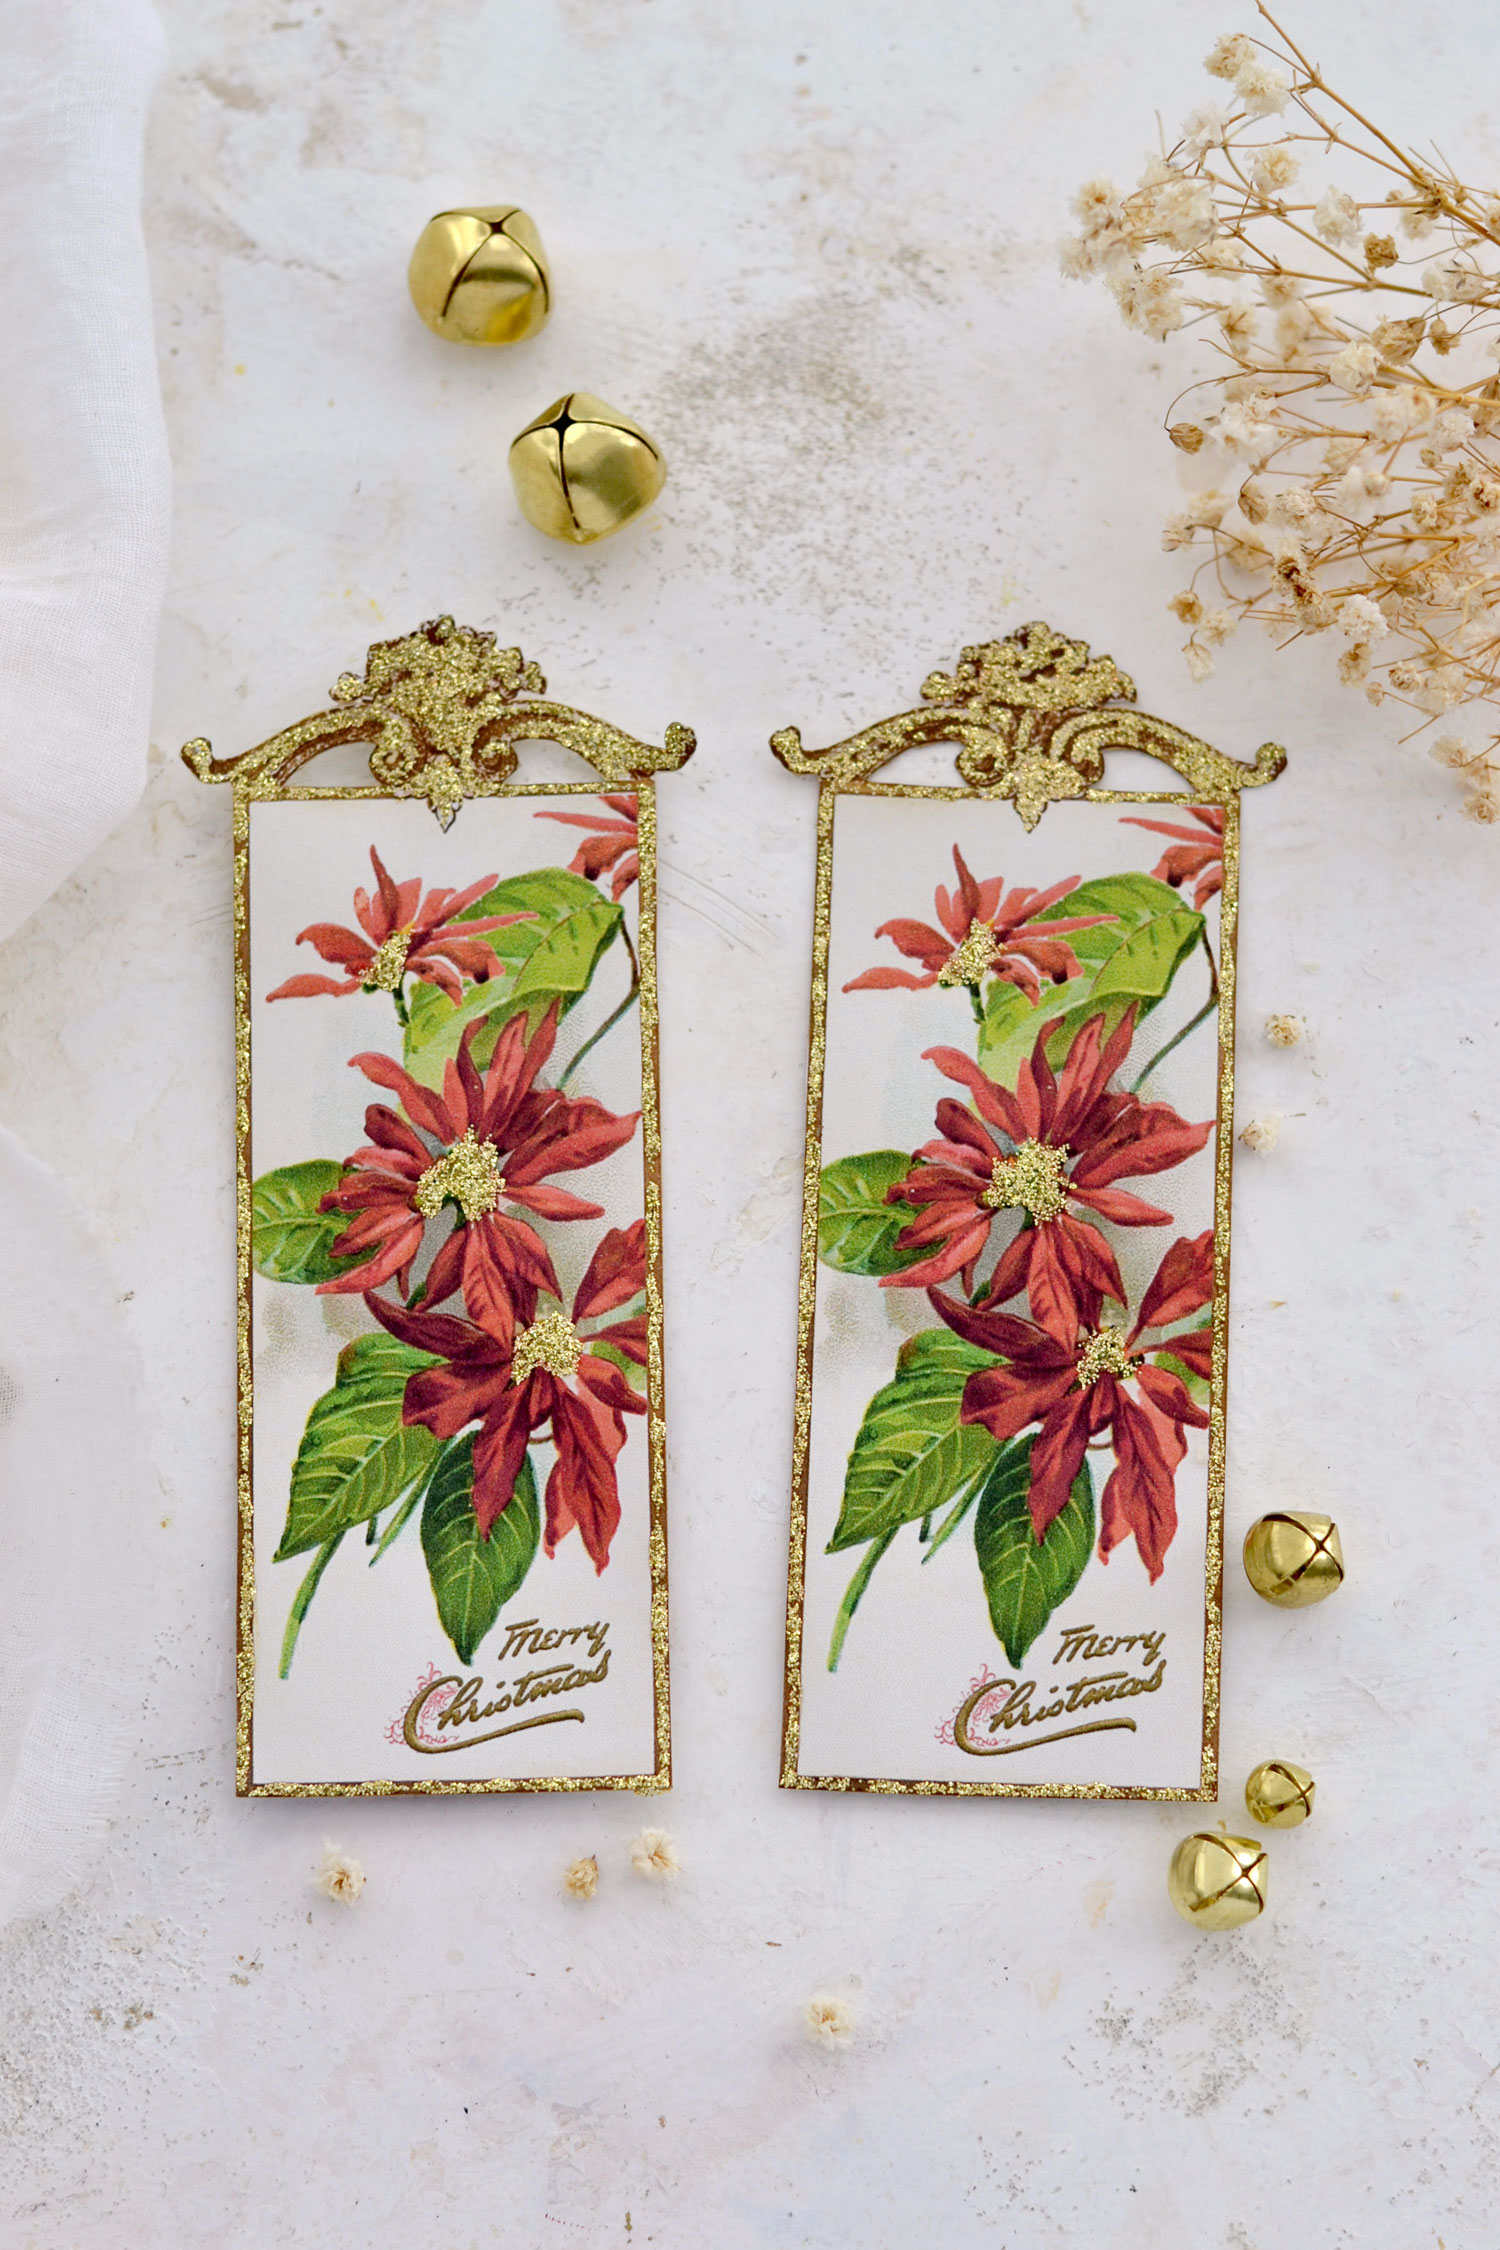
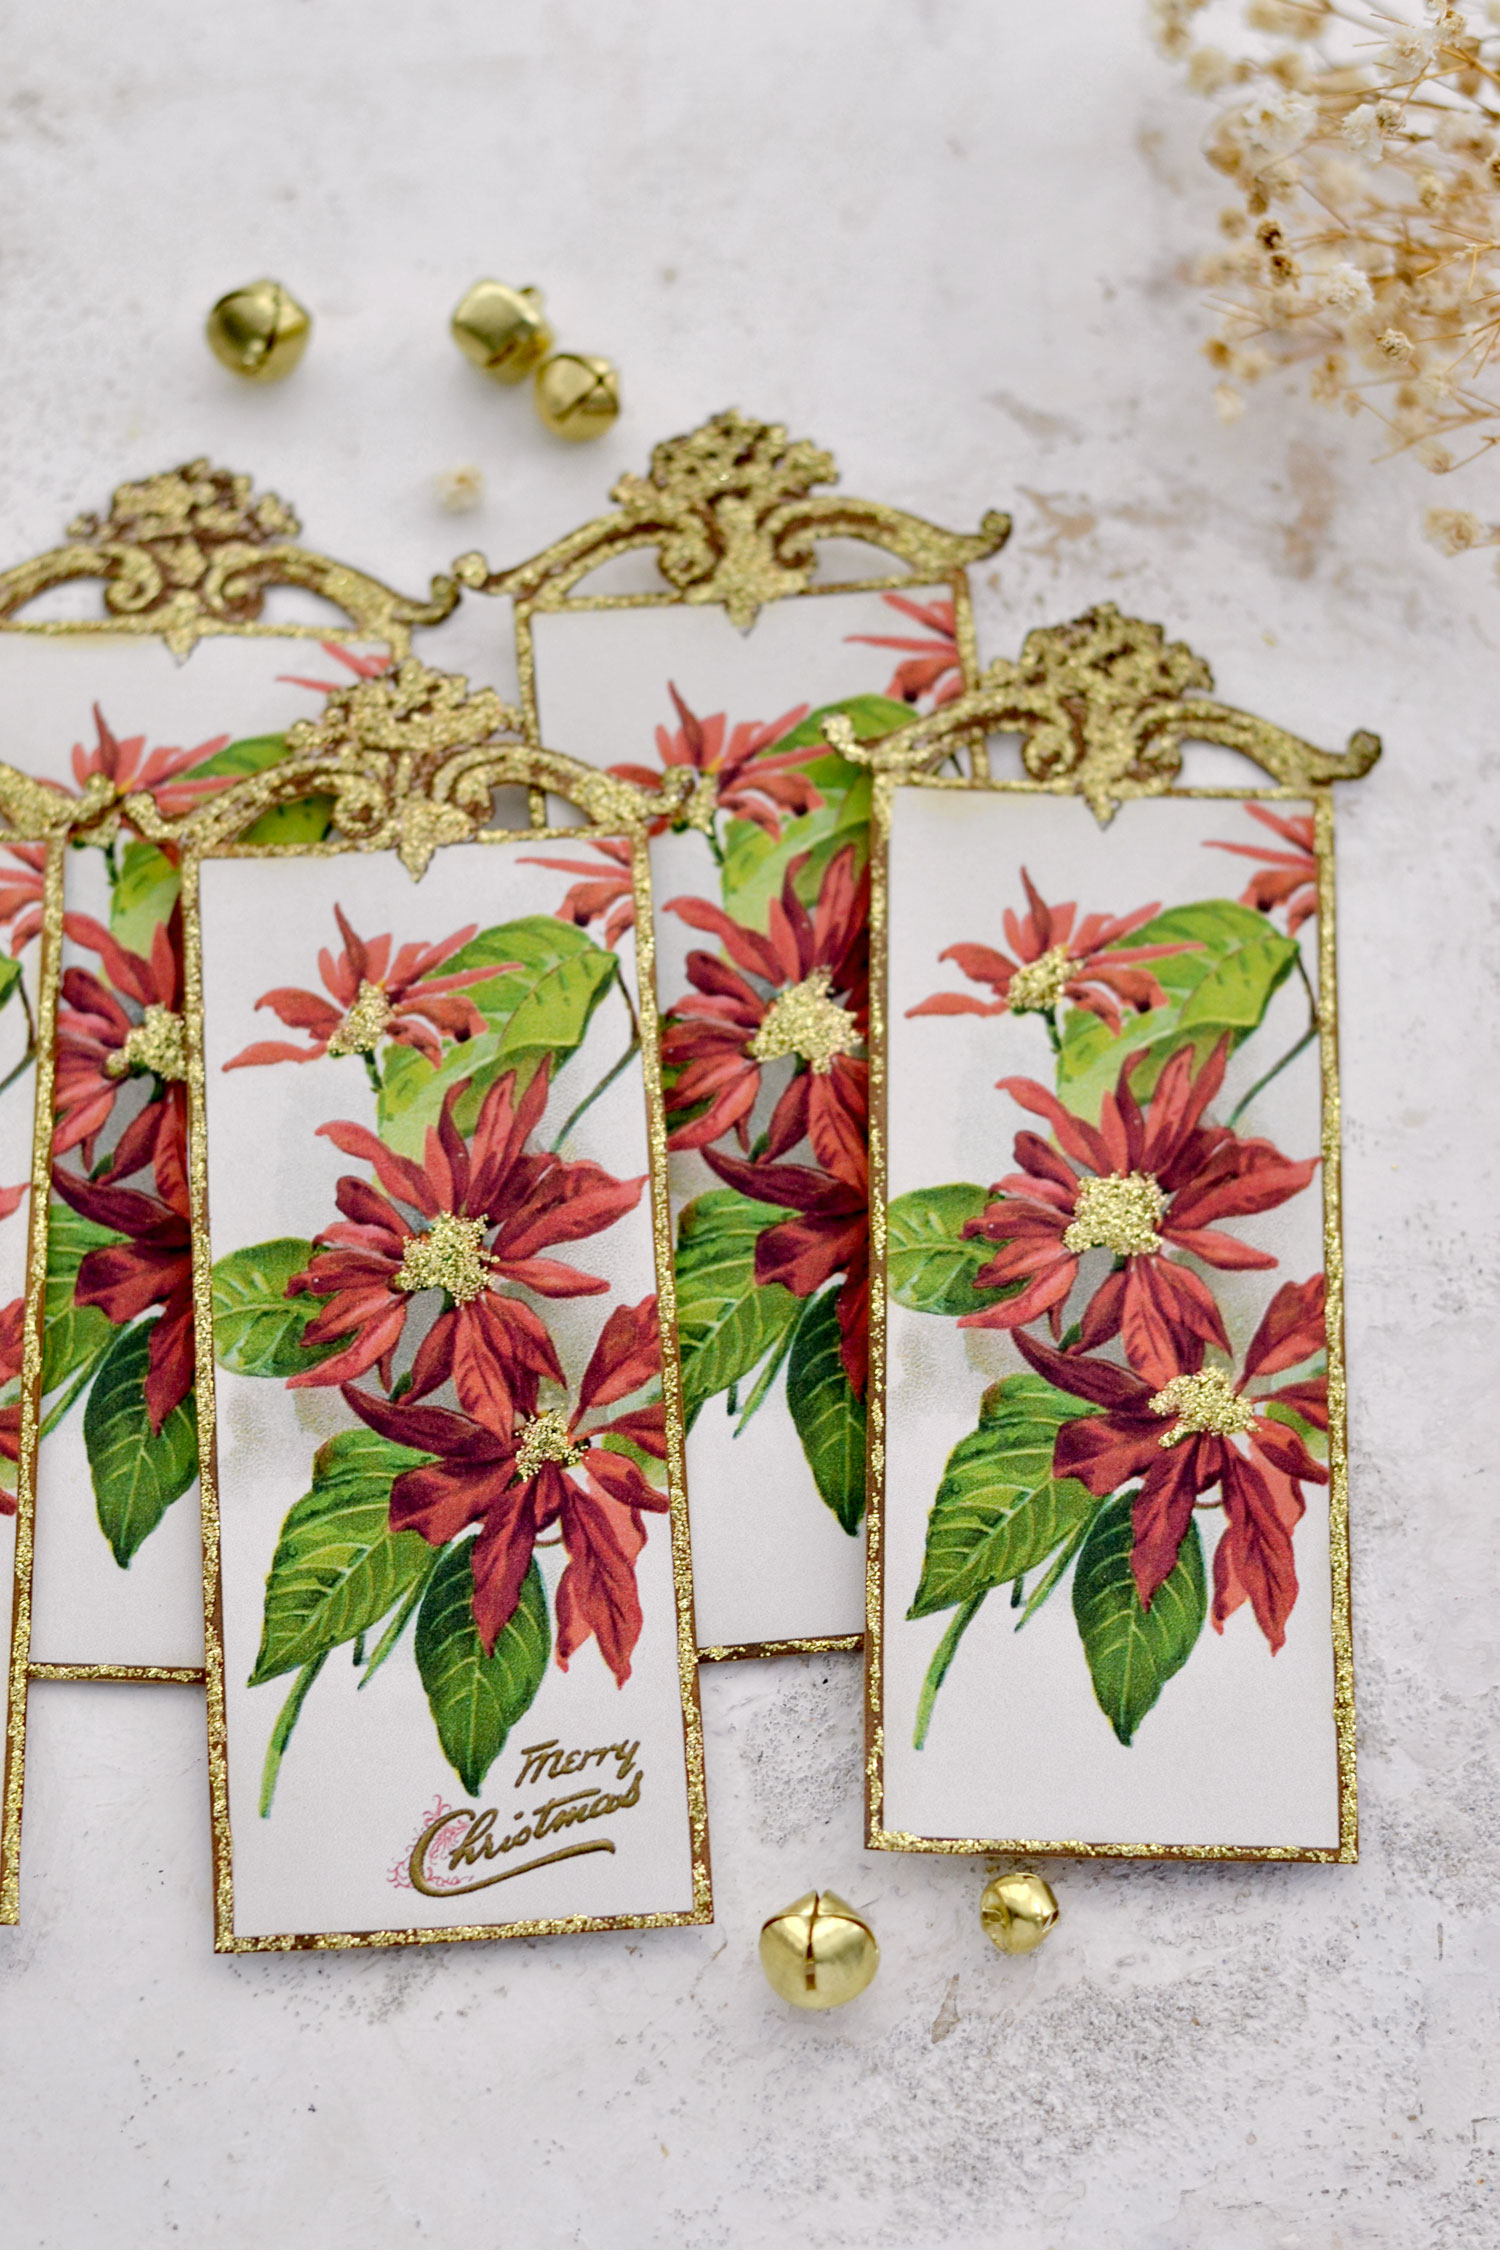
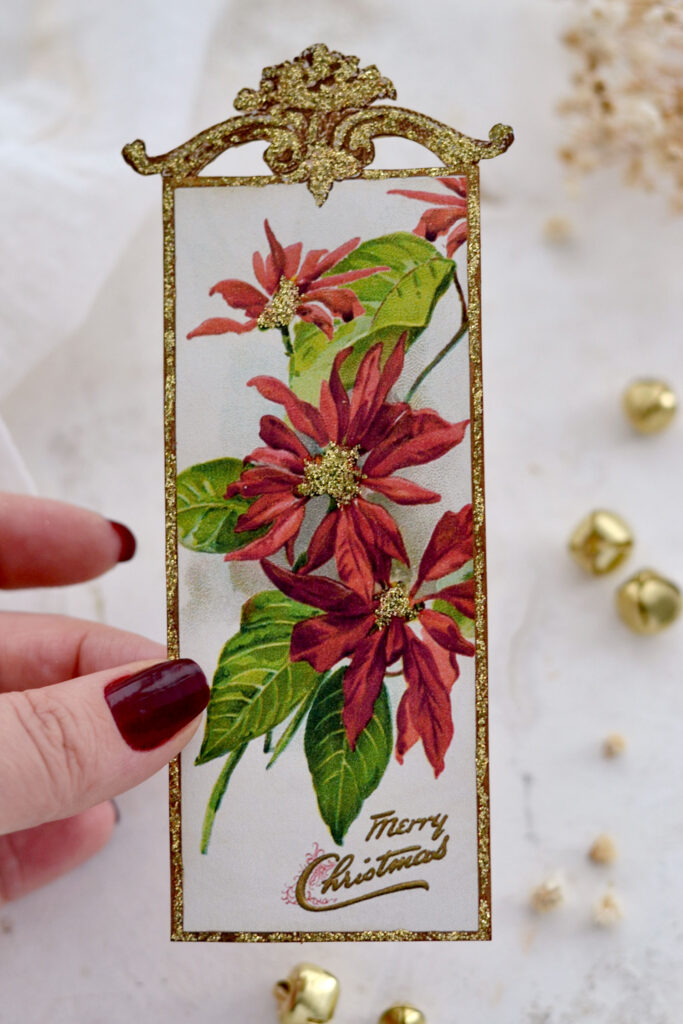
You can see that even though they have the same overall design, the handpainted gold glitter frame on top is what makes them truly unique!
I noticed that the gold glitter lines that I created flattened a little bit after drying. Nothing major, but maybe next time I’ll try covering the bookmarks with a layer of Mod Podge first to keep the glitter glue from seeping into the paper while drying.
As you can see, I added some vintage Merry Christmas wishes on three of the bookmarks and kept the other ones without any writing because I wanted to give you more options to experiment on your own. You can keep the simple ones as they are and use them for other non-Christmas projects but you can also use stamps or small cutouts to further embellish them if you prefer.
The finished pieces are absolutely gorgeous, that vintage glittery frame really takes them to a new level of chicness, don’t you think?
You can let these beautiful bookmarks bring you some delight while taking a moment to sip some hot cocoa and enjoy a few pages from your favorite book. A Christmas Carol is my go-to for the holidays, it has such a powerful message that always acts as a reminder to shift your perspective to what really matters. But of course, you can find other ways of using these beauties – like turning them into gift tags, including them in your junk journals and why not, even hanging them on your Christmas tree! So I hope you will love this quick and easy project and decide to give it a try!
 You might also like my Christmas Paris Printable Bookmarks HERE.
Happy crafting,
Diana / Dreams Factory
