Christmas Card Making Kits
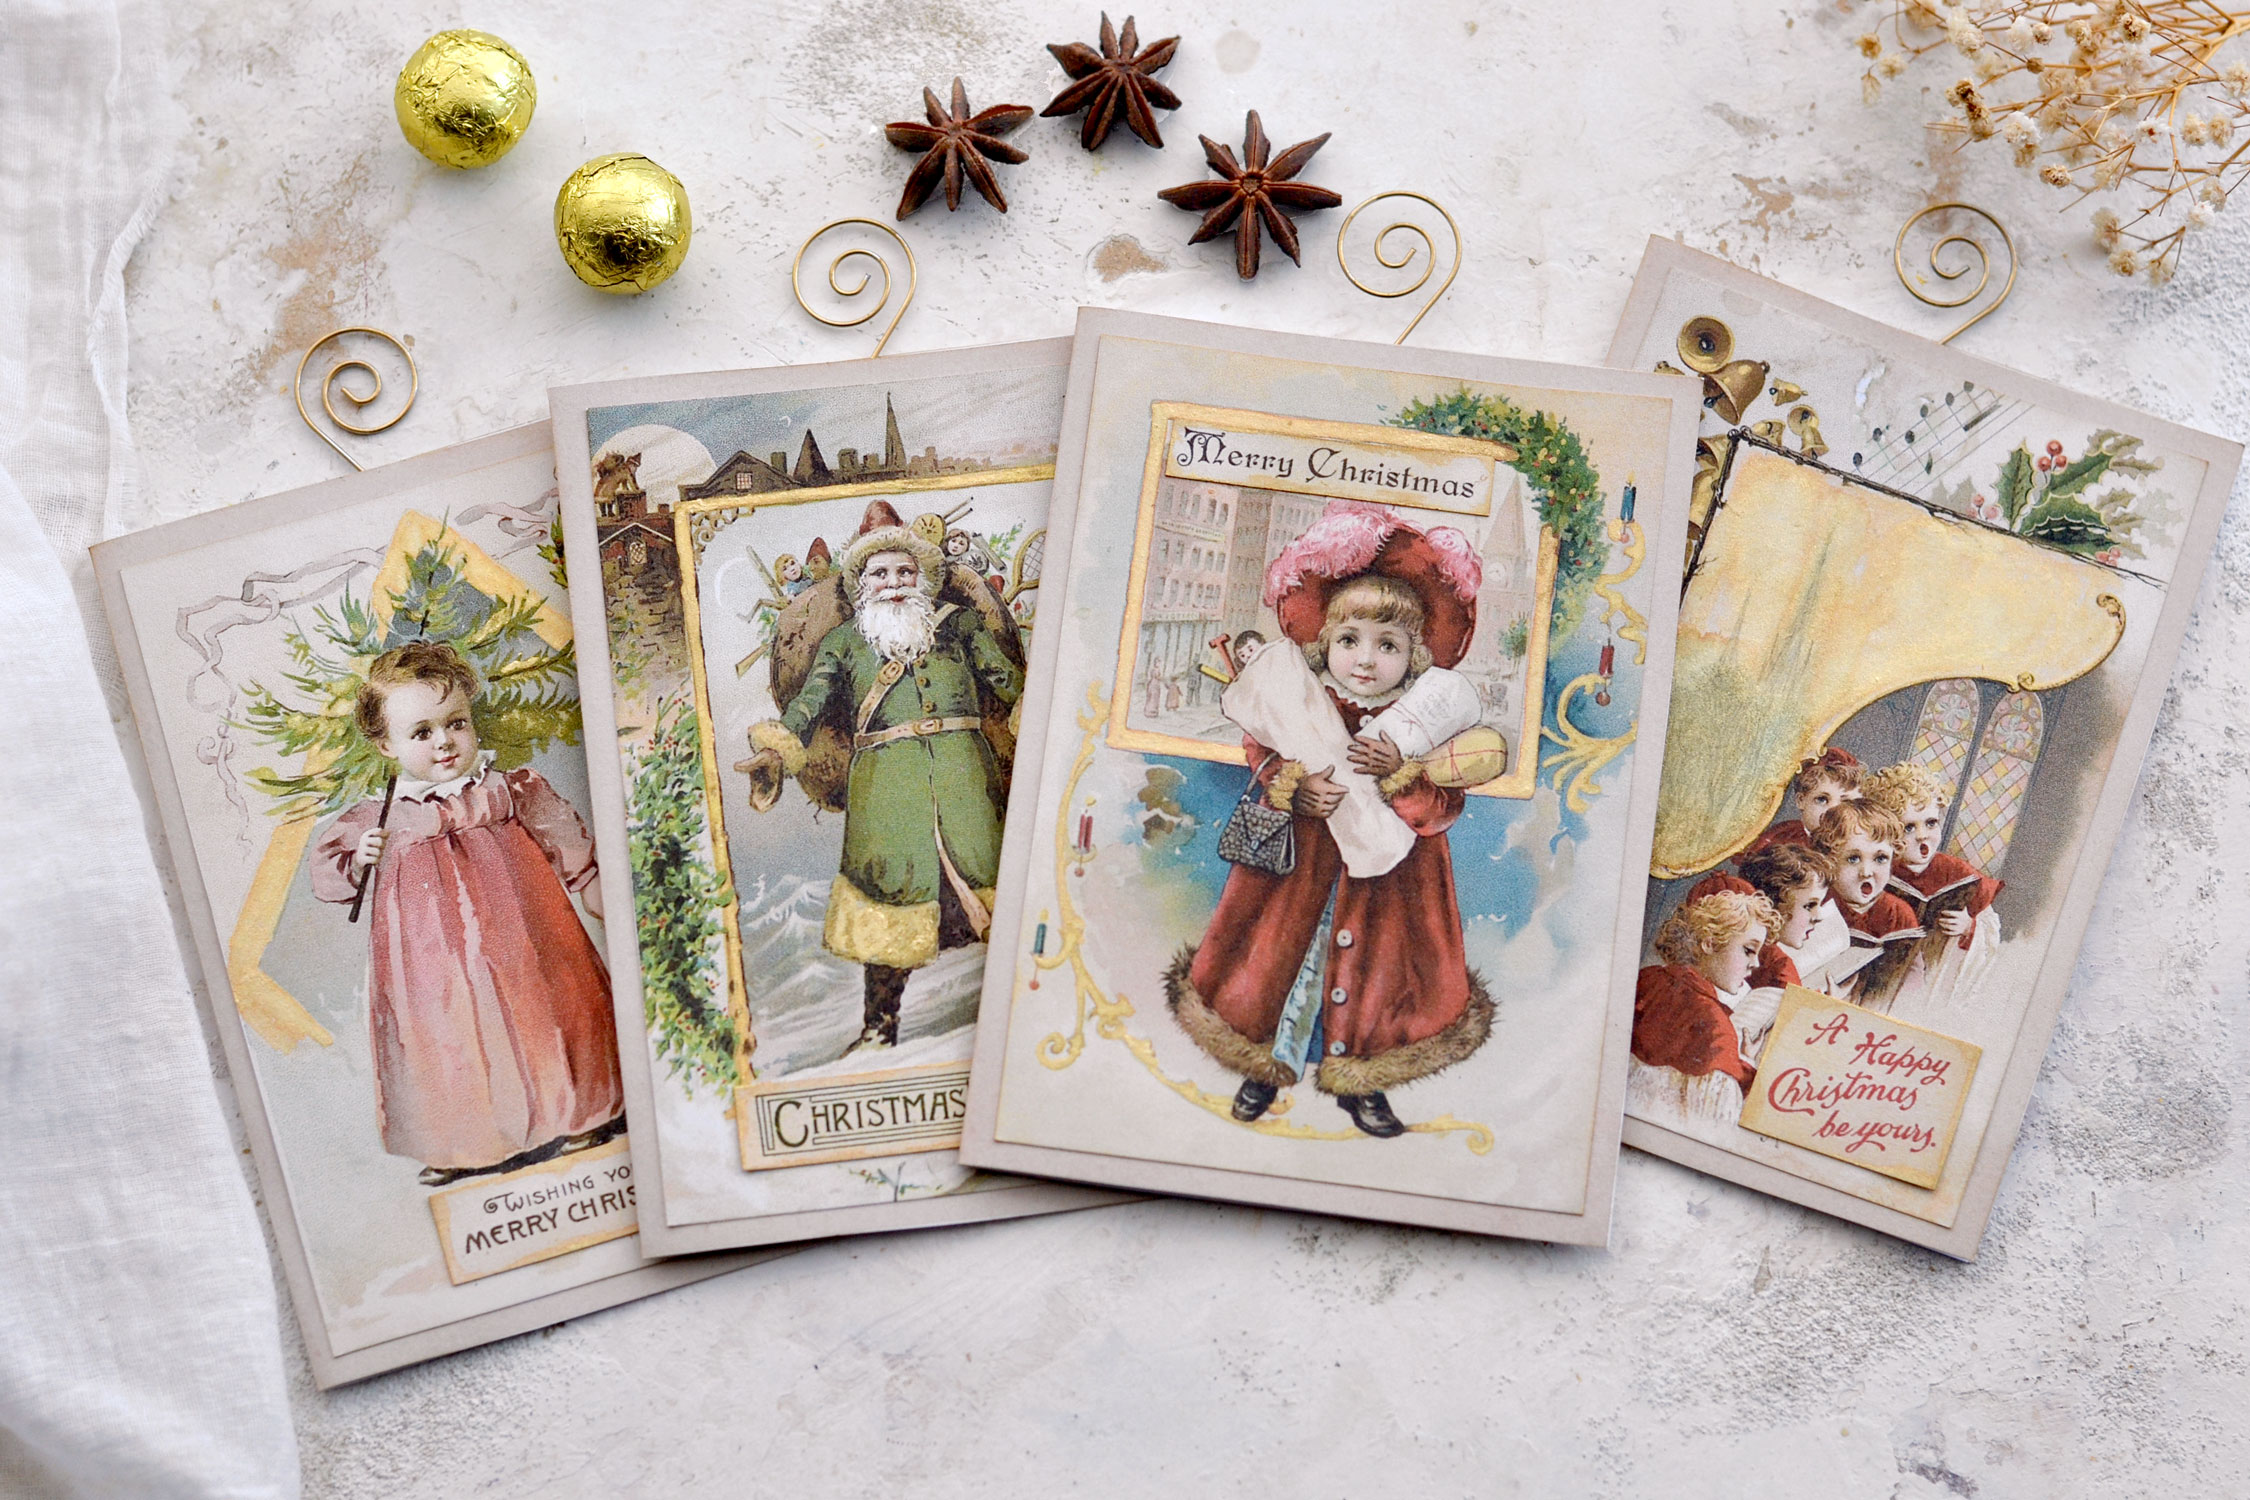
Hello Graphics Fairy friends, I’m Diana from Dreams Factory and I’m happy to be here again to share another DIY project with you! Today I will show you how to make these beautiful Vintage cards with some Printable Christmas Card Making Kits! This quick and easy project won’t take too much of your time and you’ll be able to make these beauties now and have them ready for the holidays. One thing you can cross off your list so you’ll be able to use that time to make precious memories with your family!
The cards have a classical, old-time Christmas vibe and I thought it would be fun to add some sort of a quirky element to make them truly unique. I had no idea what that element would be until the very end when I remembered I had a few Christmas ornament hooks lying around so I’ve decided to quickly paint them in gold and use them here. I’m really happy with how they all turned out, I think the golden hooks add so much more chicness to these, making them even more beautiful. And quite intriguing.
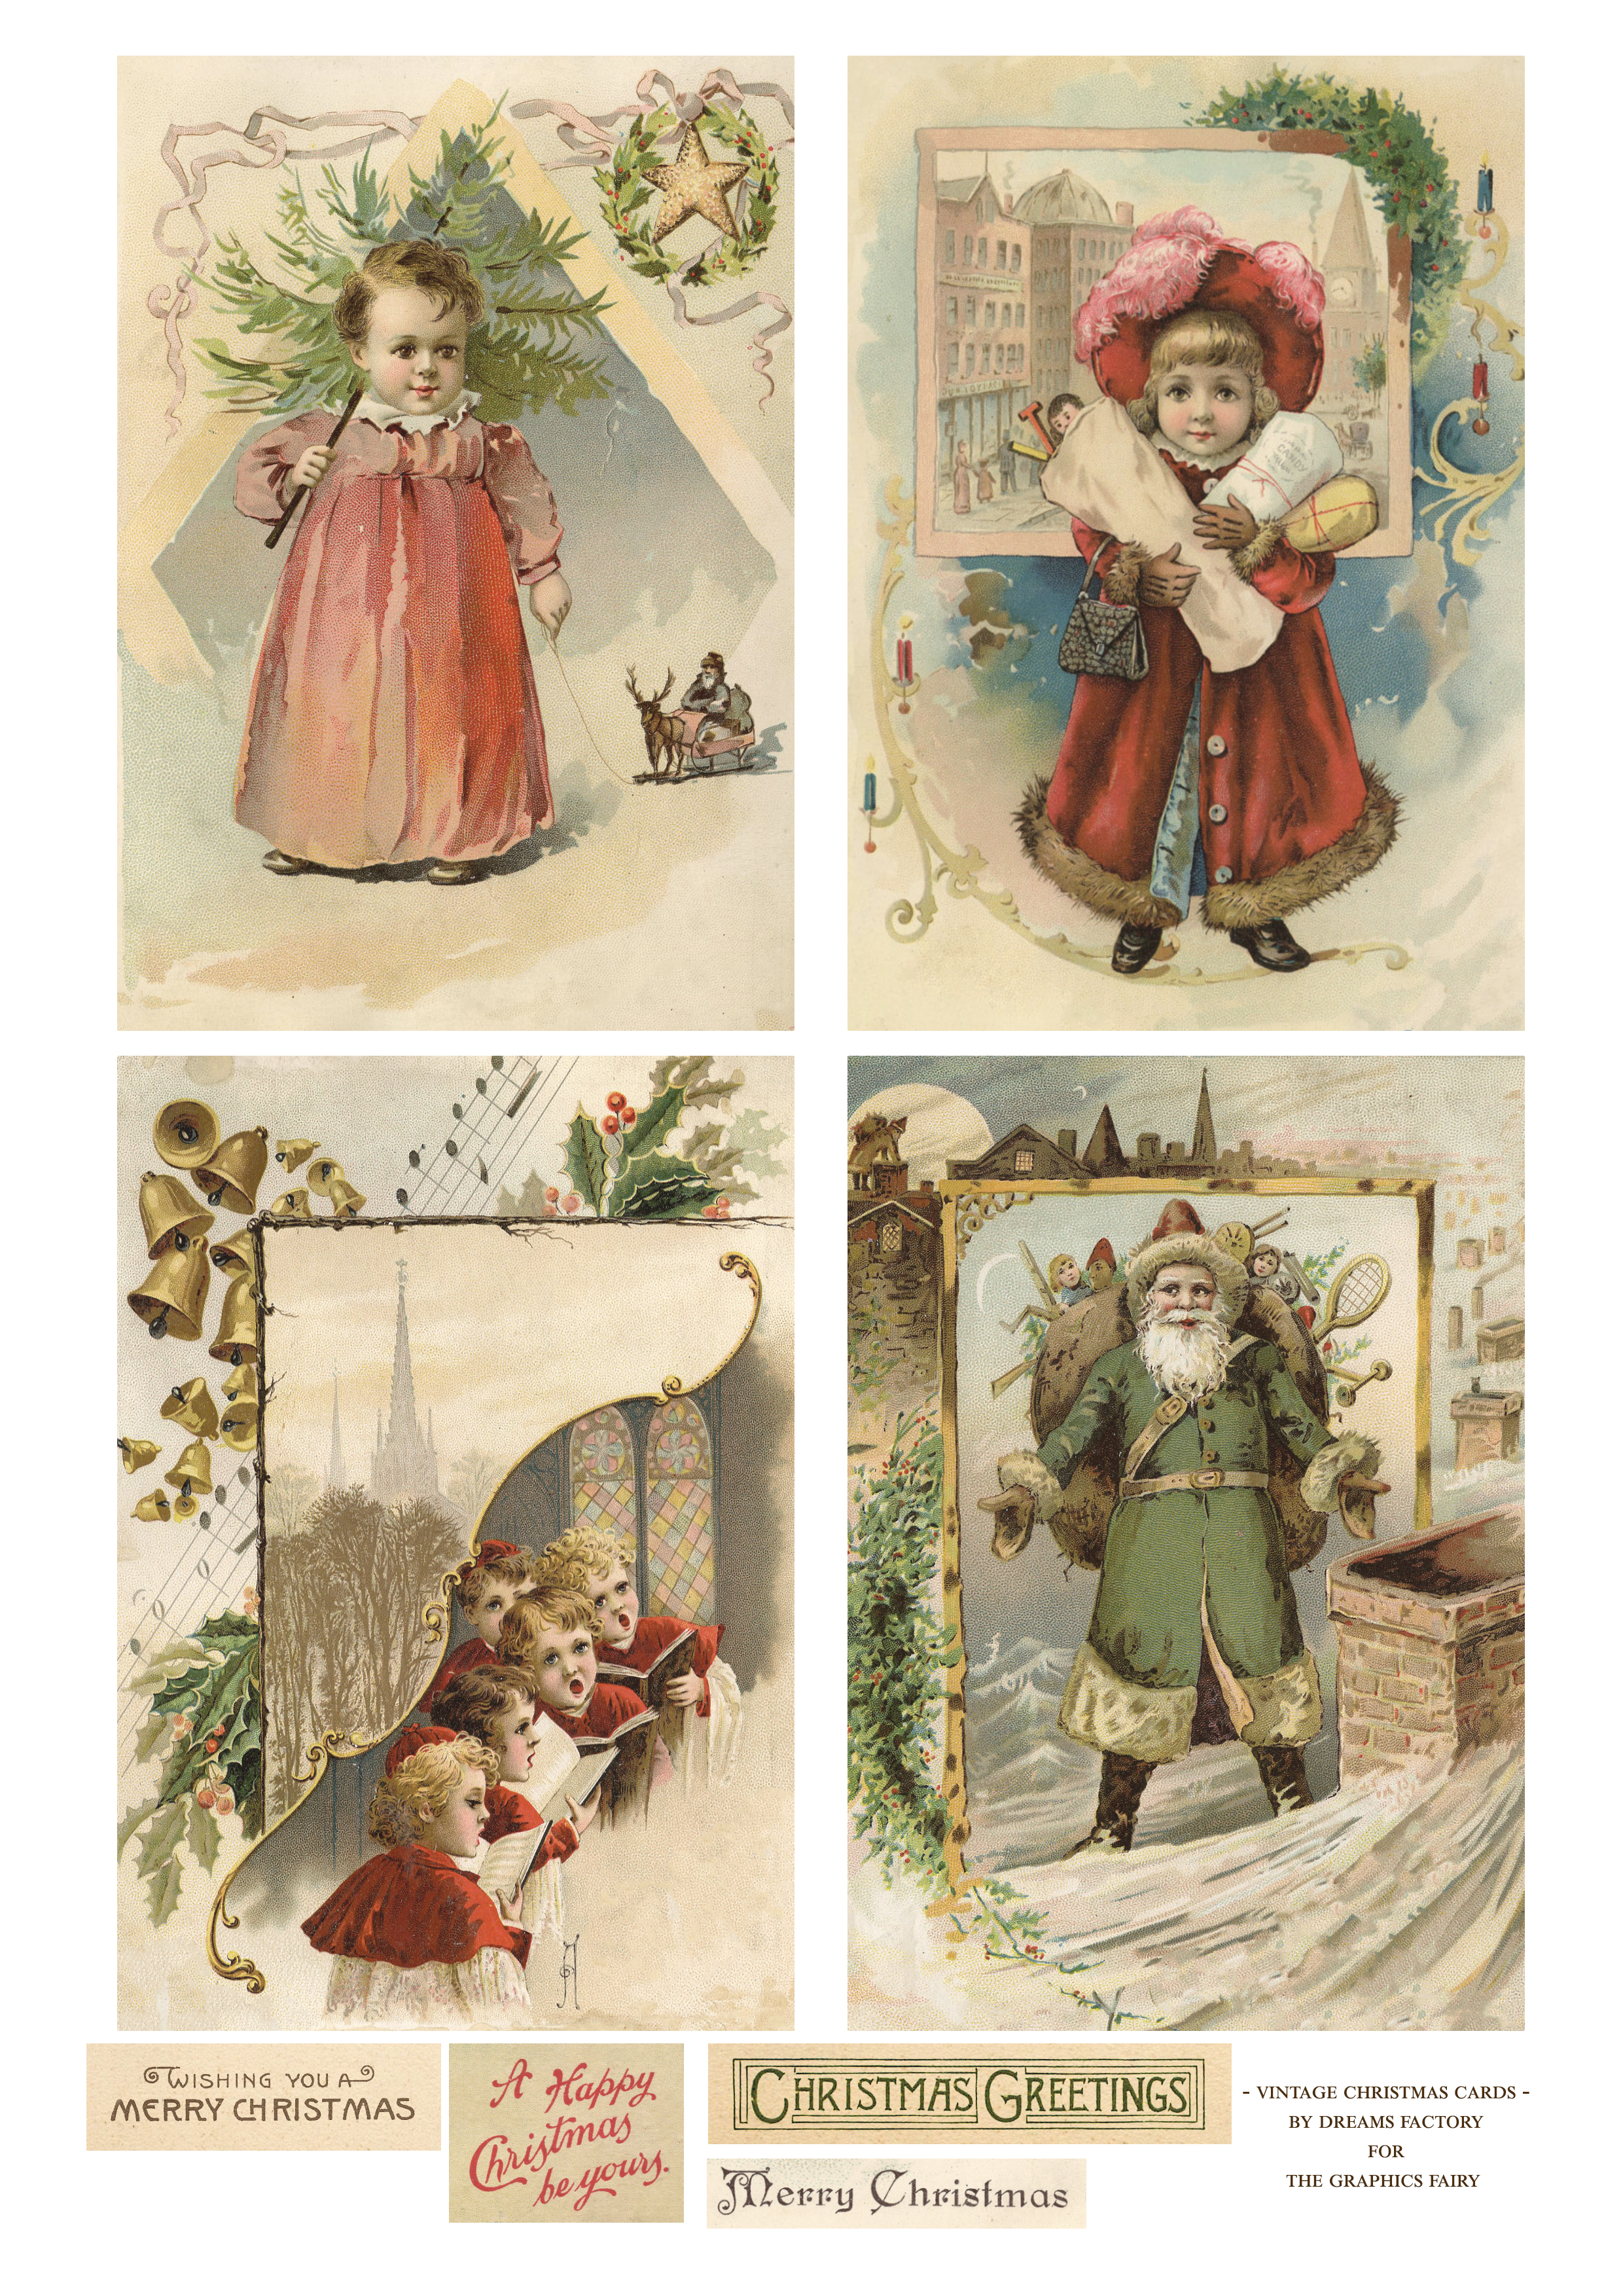
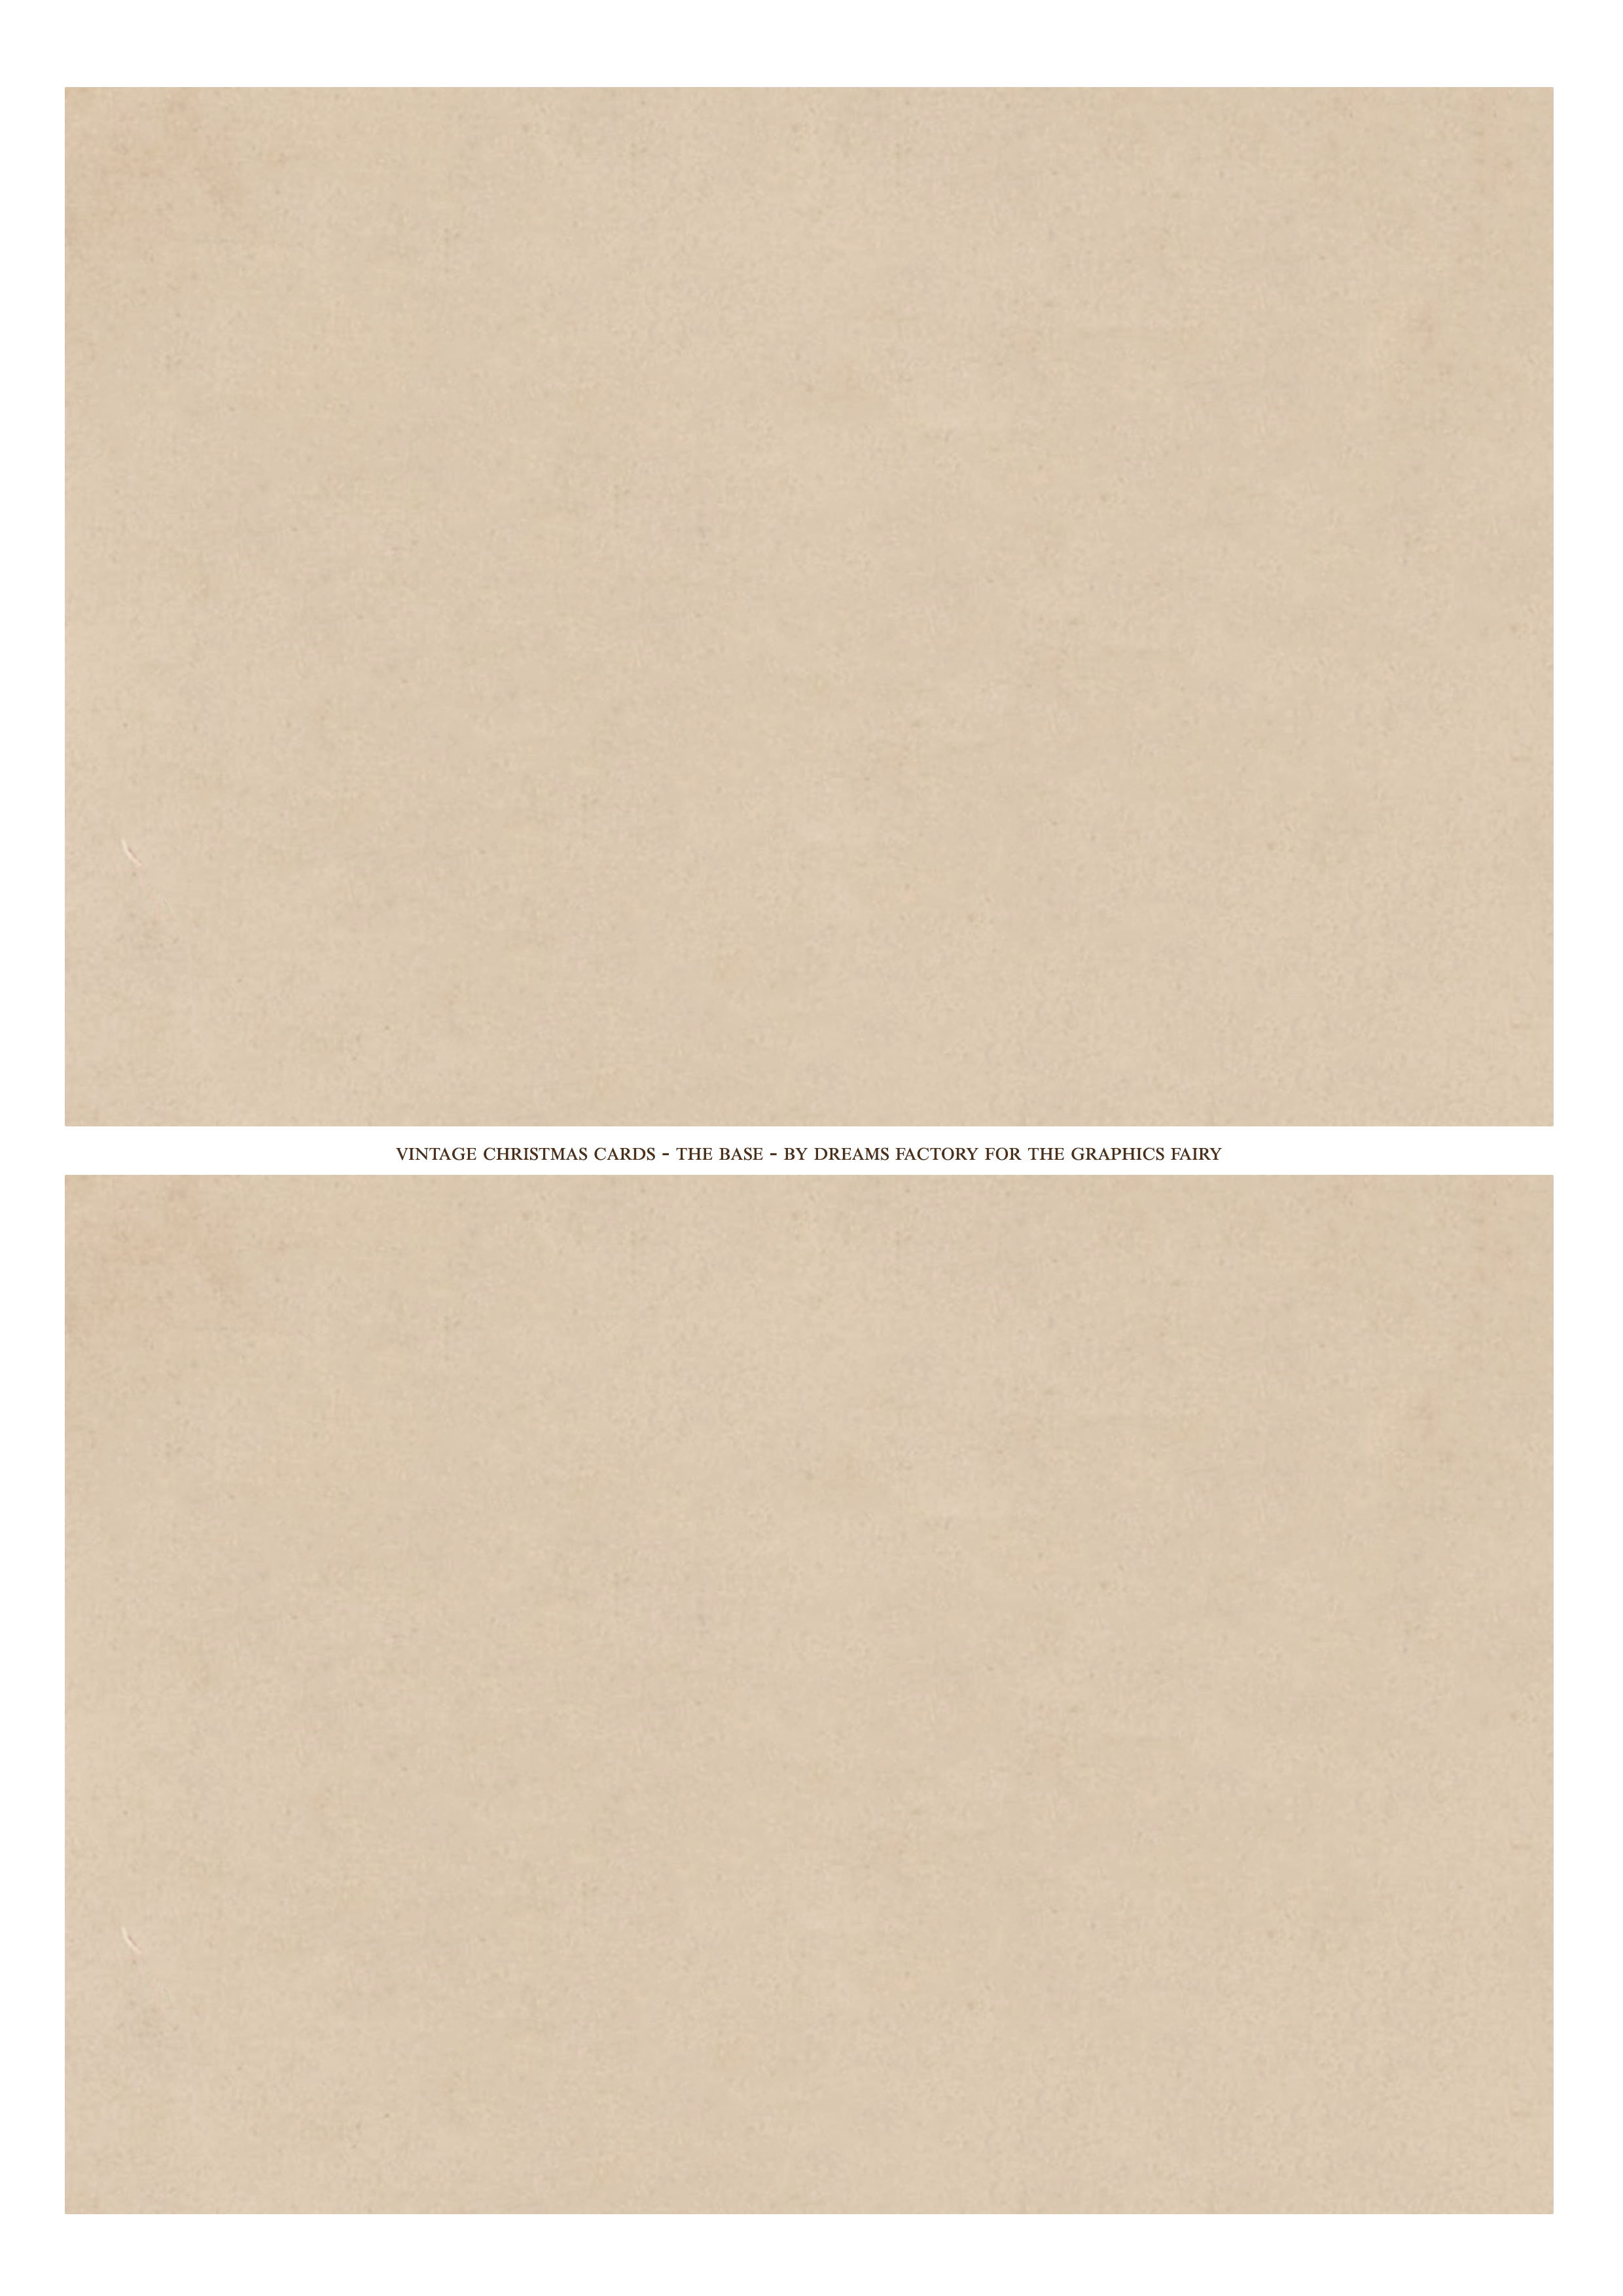
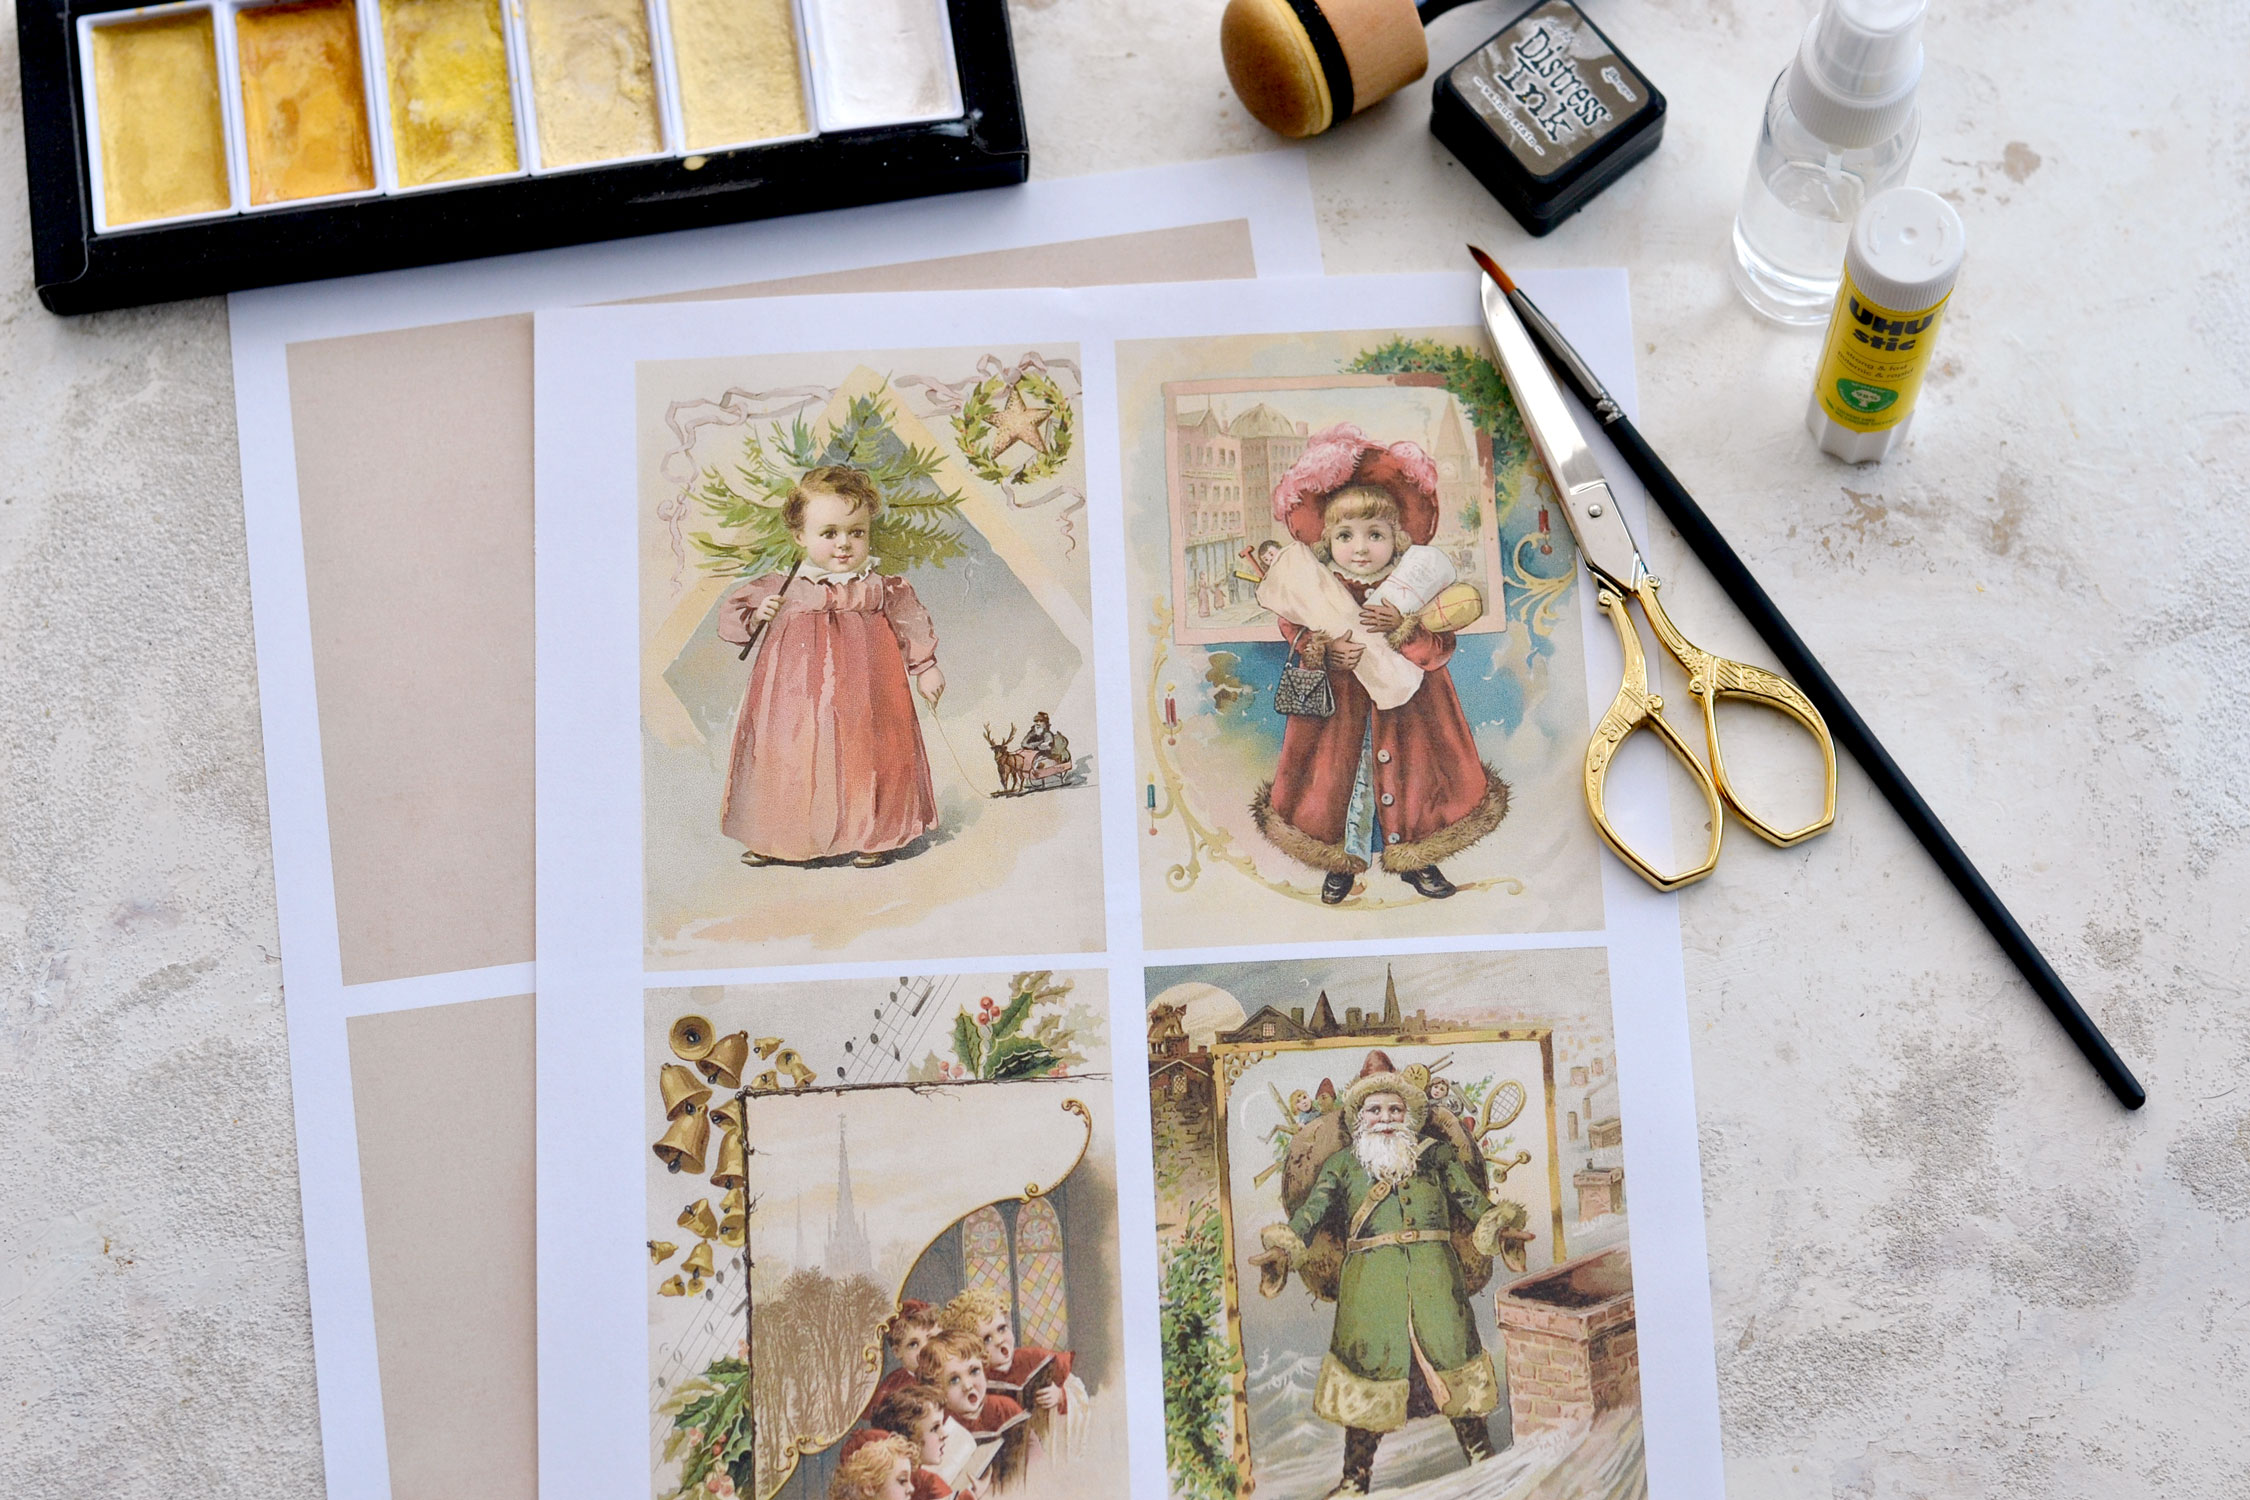
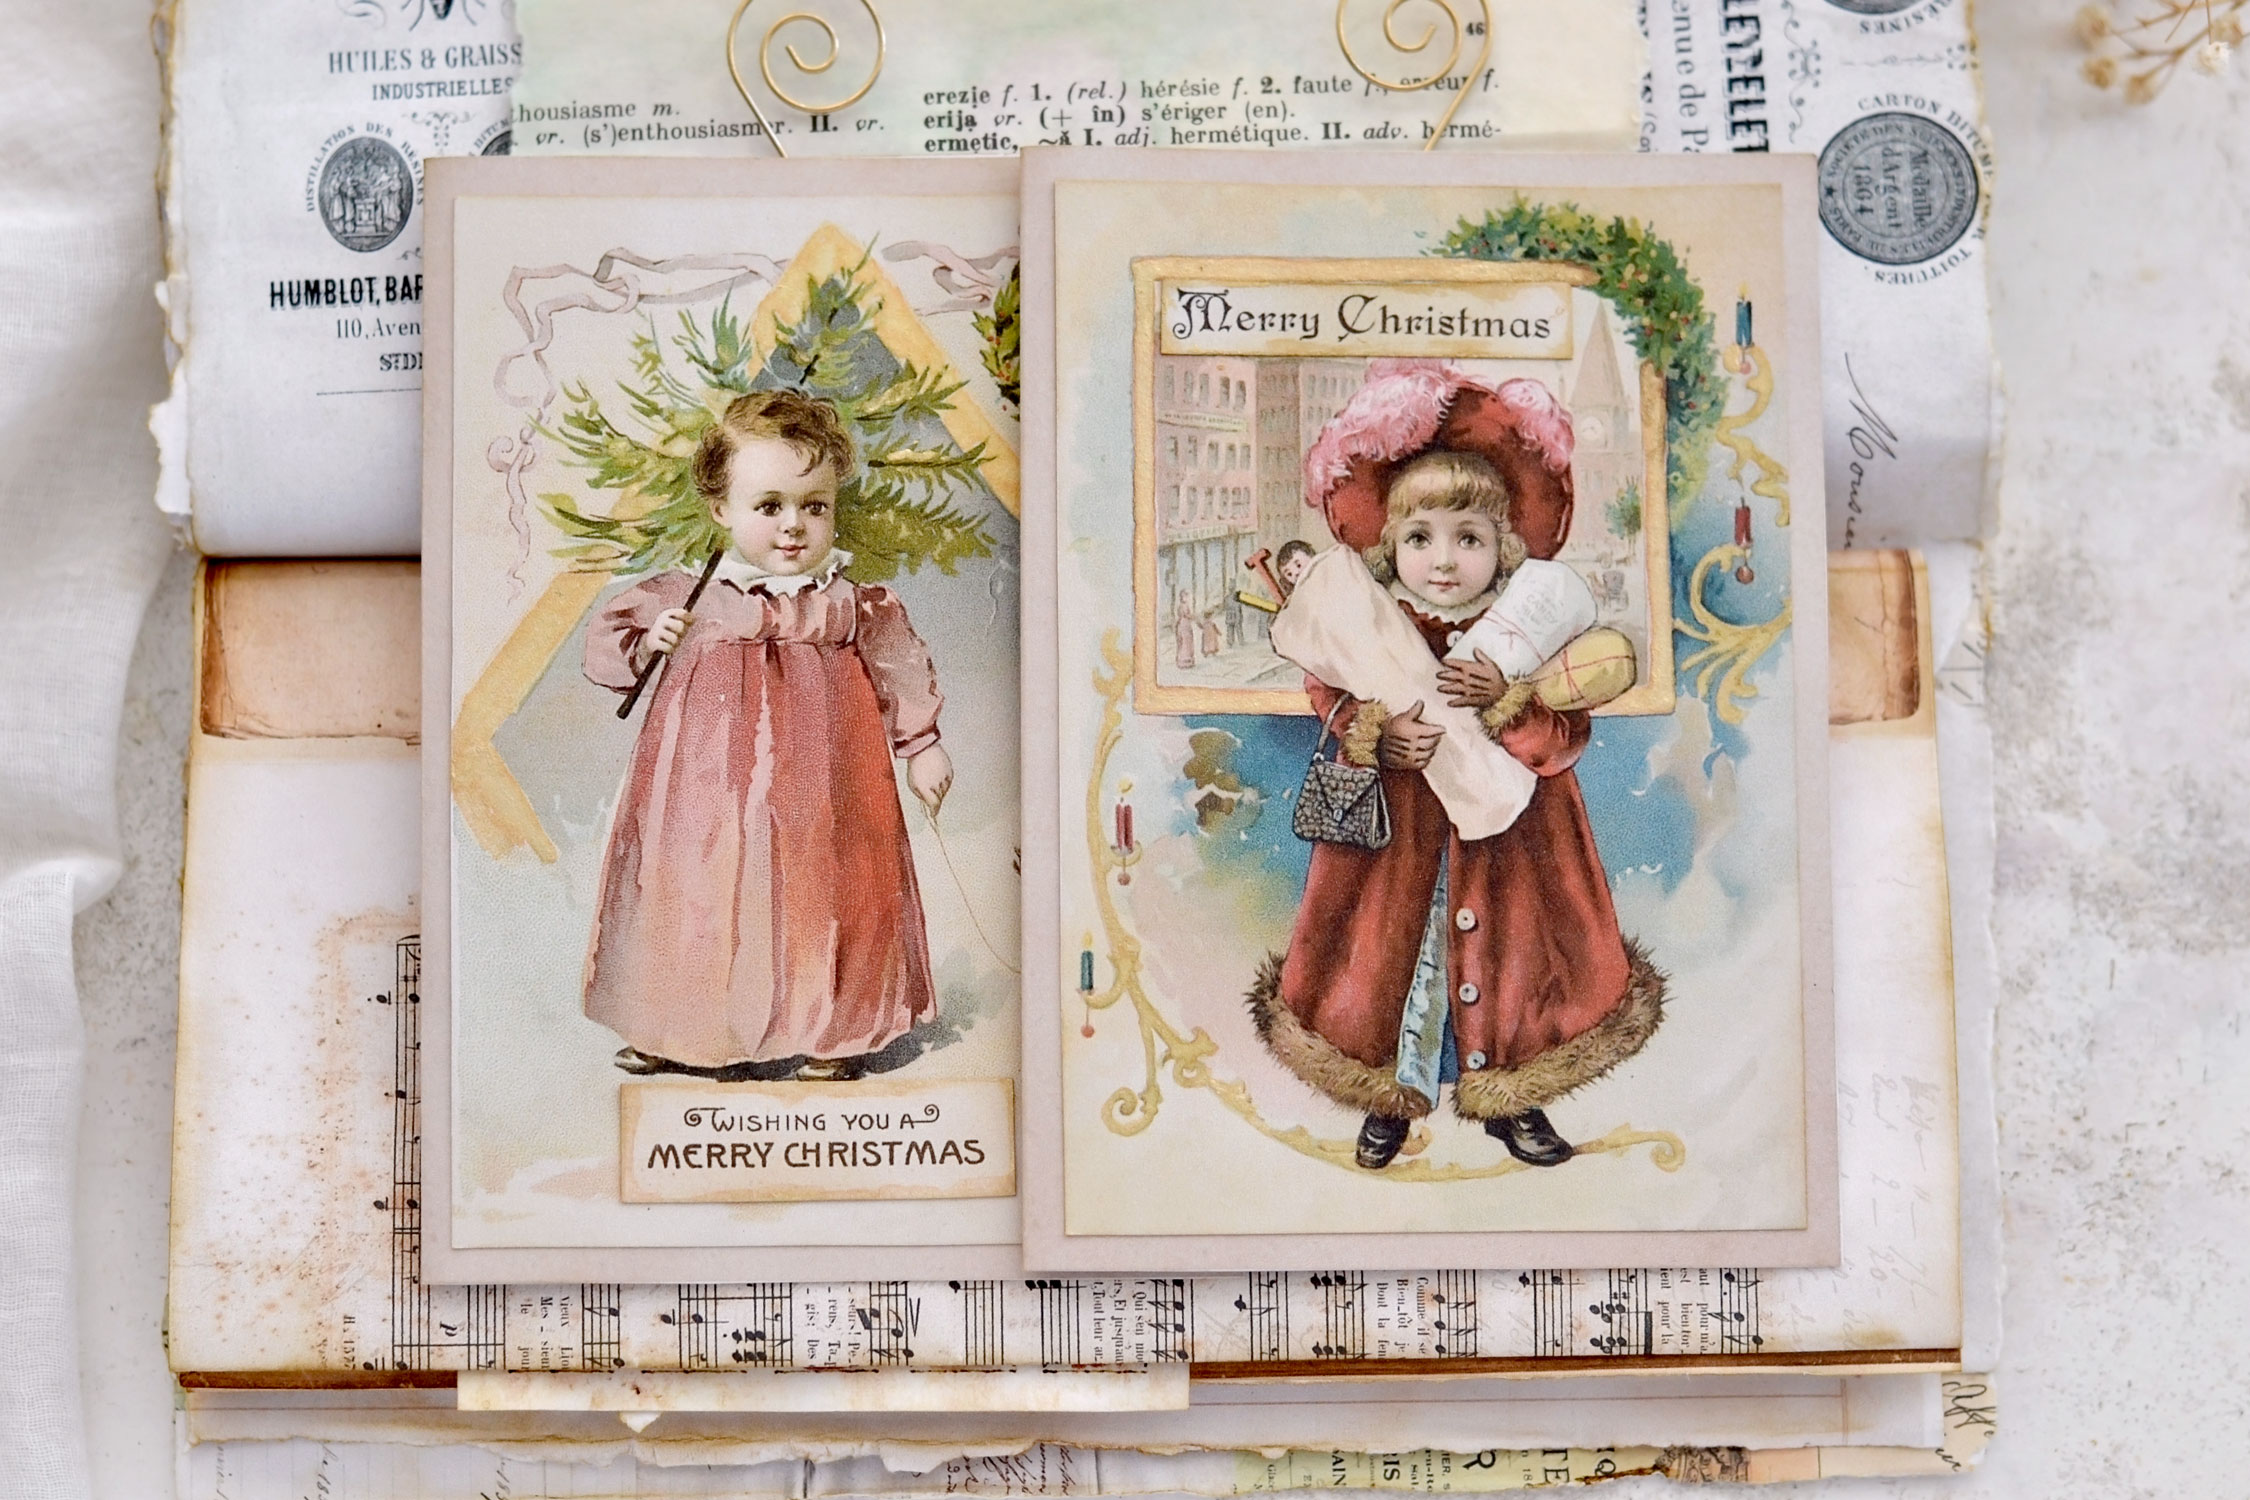
Here are the lovely printables that I created for this project – you will find one with the Christmas images and the wishes that contains four cards and one with two creamy-beige bases. To make all four cards you’ll need to print the top printable once and the base printable twice.
Free Printable Christmas Card Making Kits:
—-> Click HERE to Download the Full Size Printable PDF – the top<—-
—-> Click HERE to Download the Full Size Printable PDF – the base <—-
Supplies:
- white cardstock paper
- home printer
- scissors or paper trimmer
- mini distress inks
- blending tool with foam
- bone folder
- gold watercolors – I used my favorite Kuretake Gansai Tambi Starry Colors
- spray bottle filled with water
- gold marker – I used my favorite Decocolor
- small brush
- double sided foam tape
- Christmas ornament hooks
Full Step by Step Tutorial:
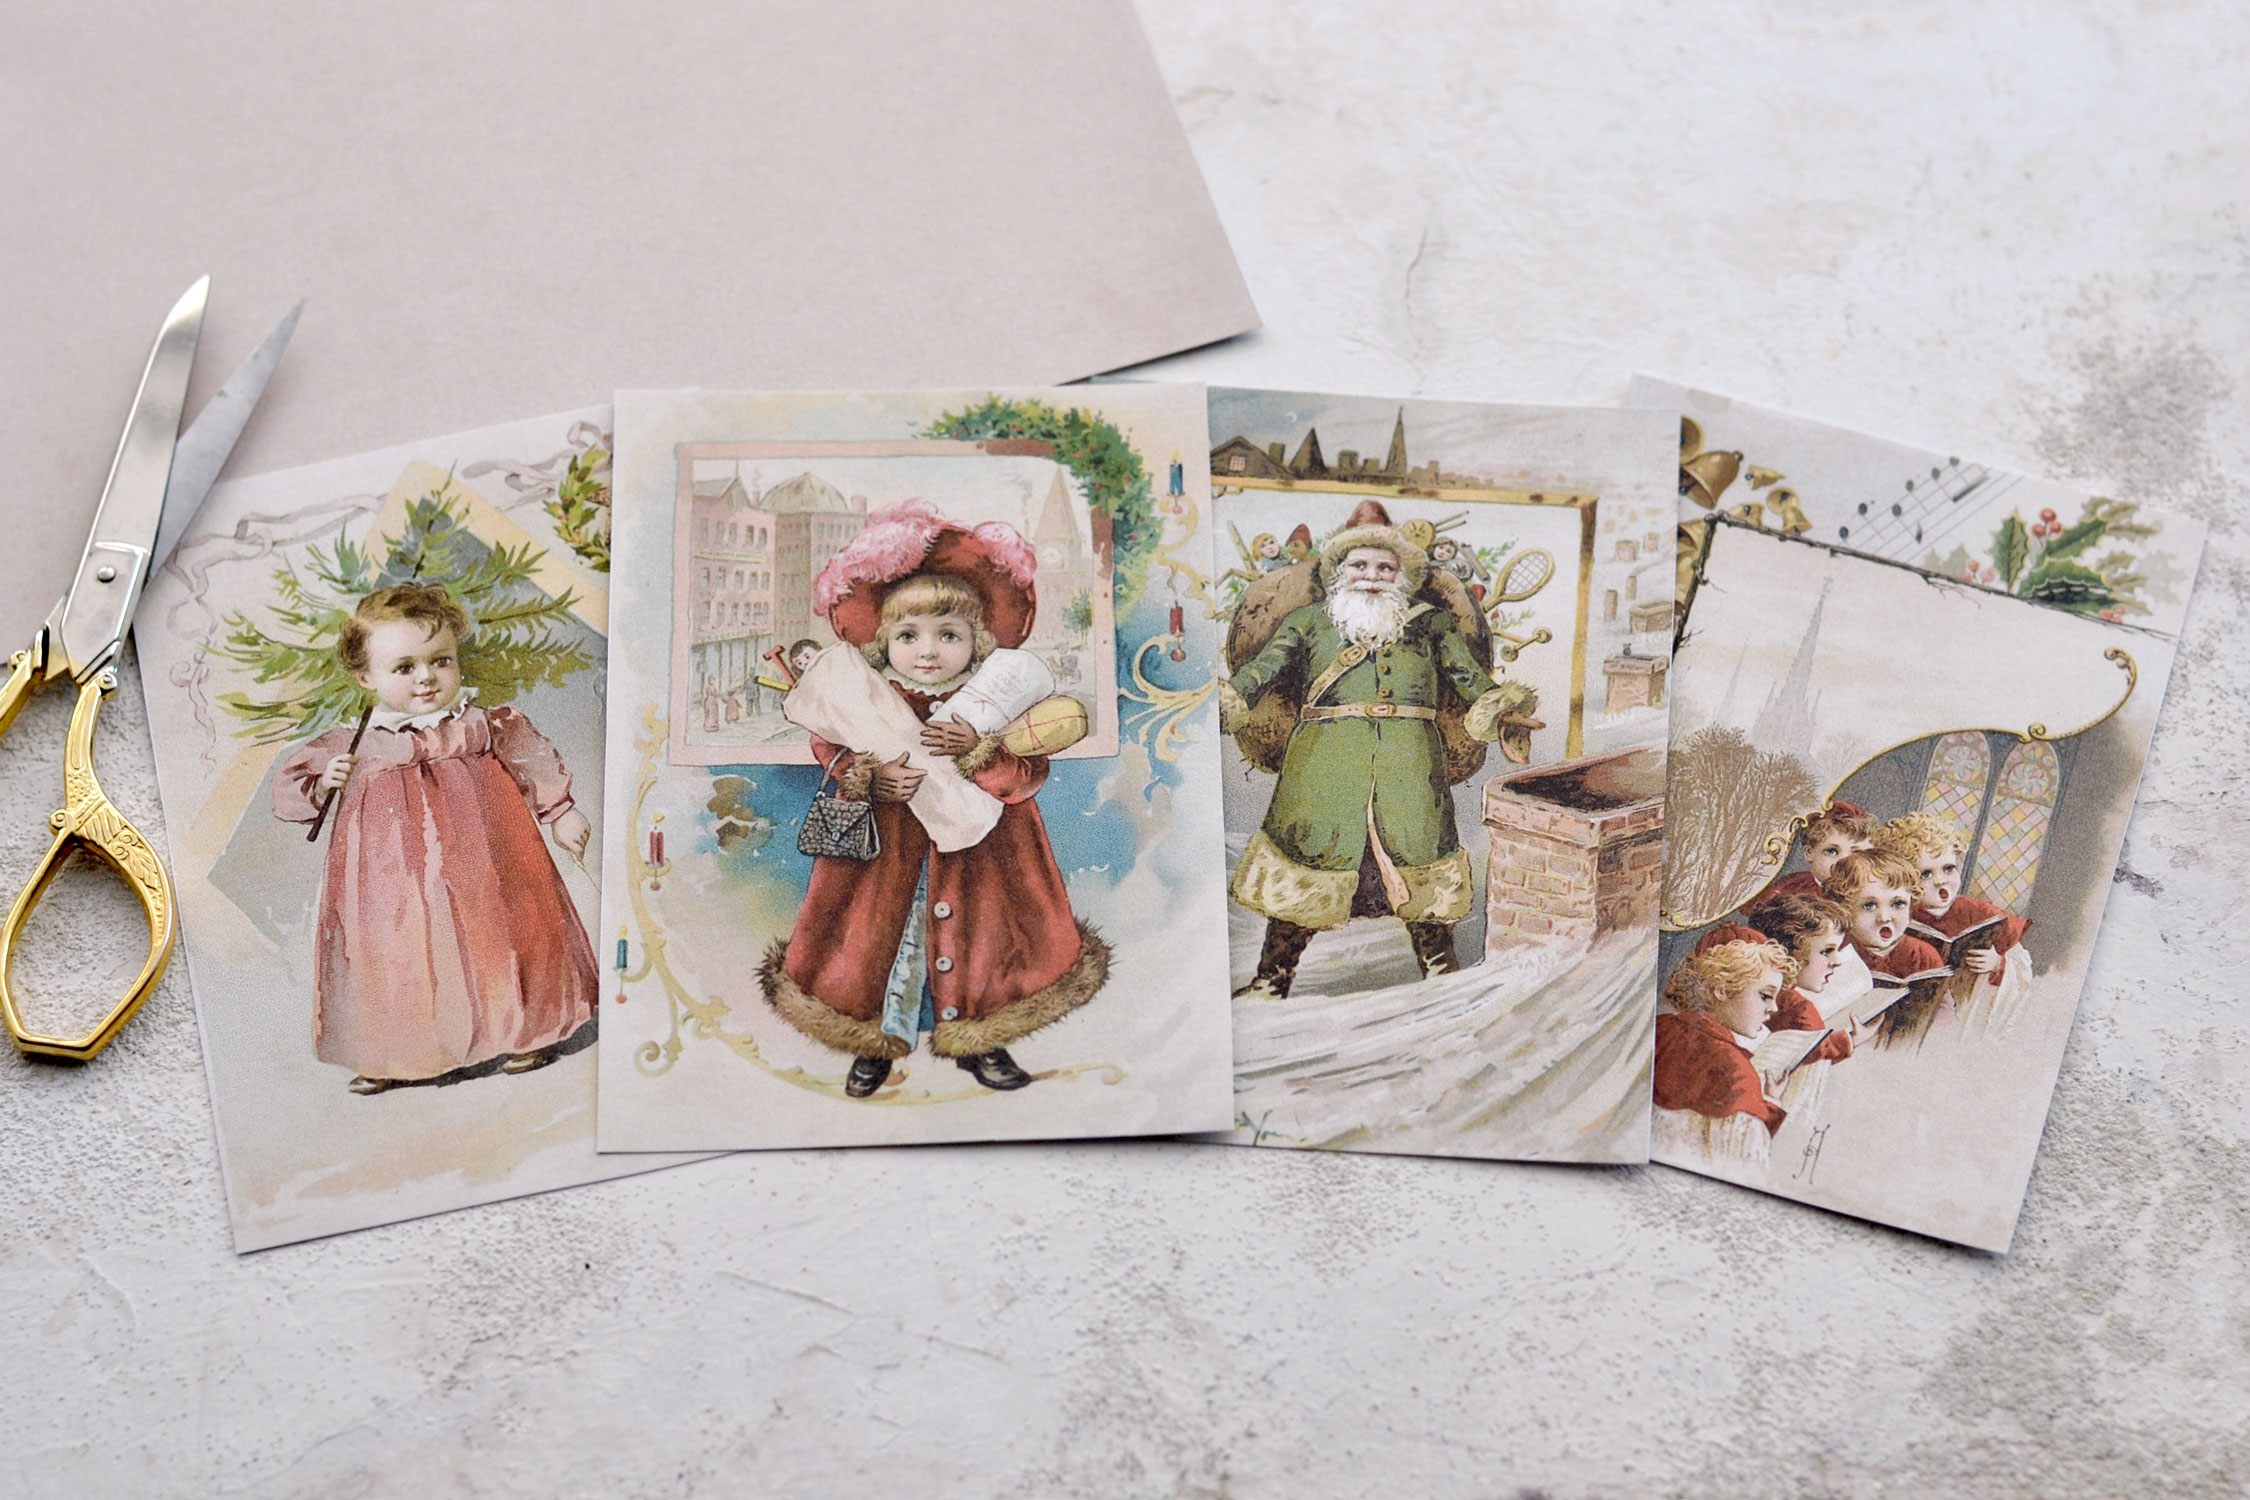
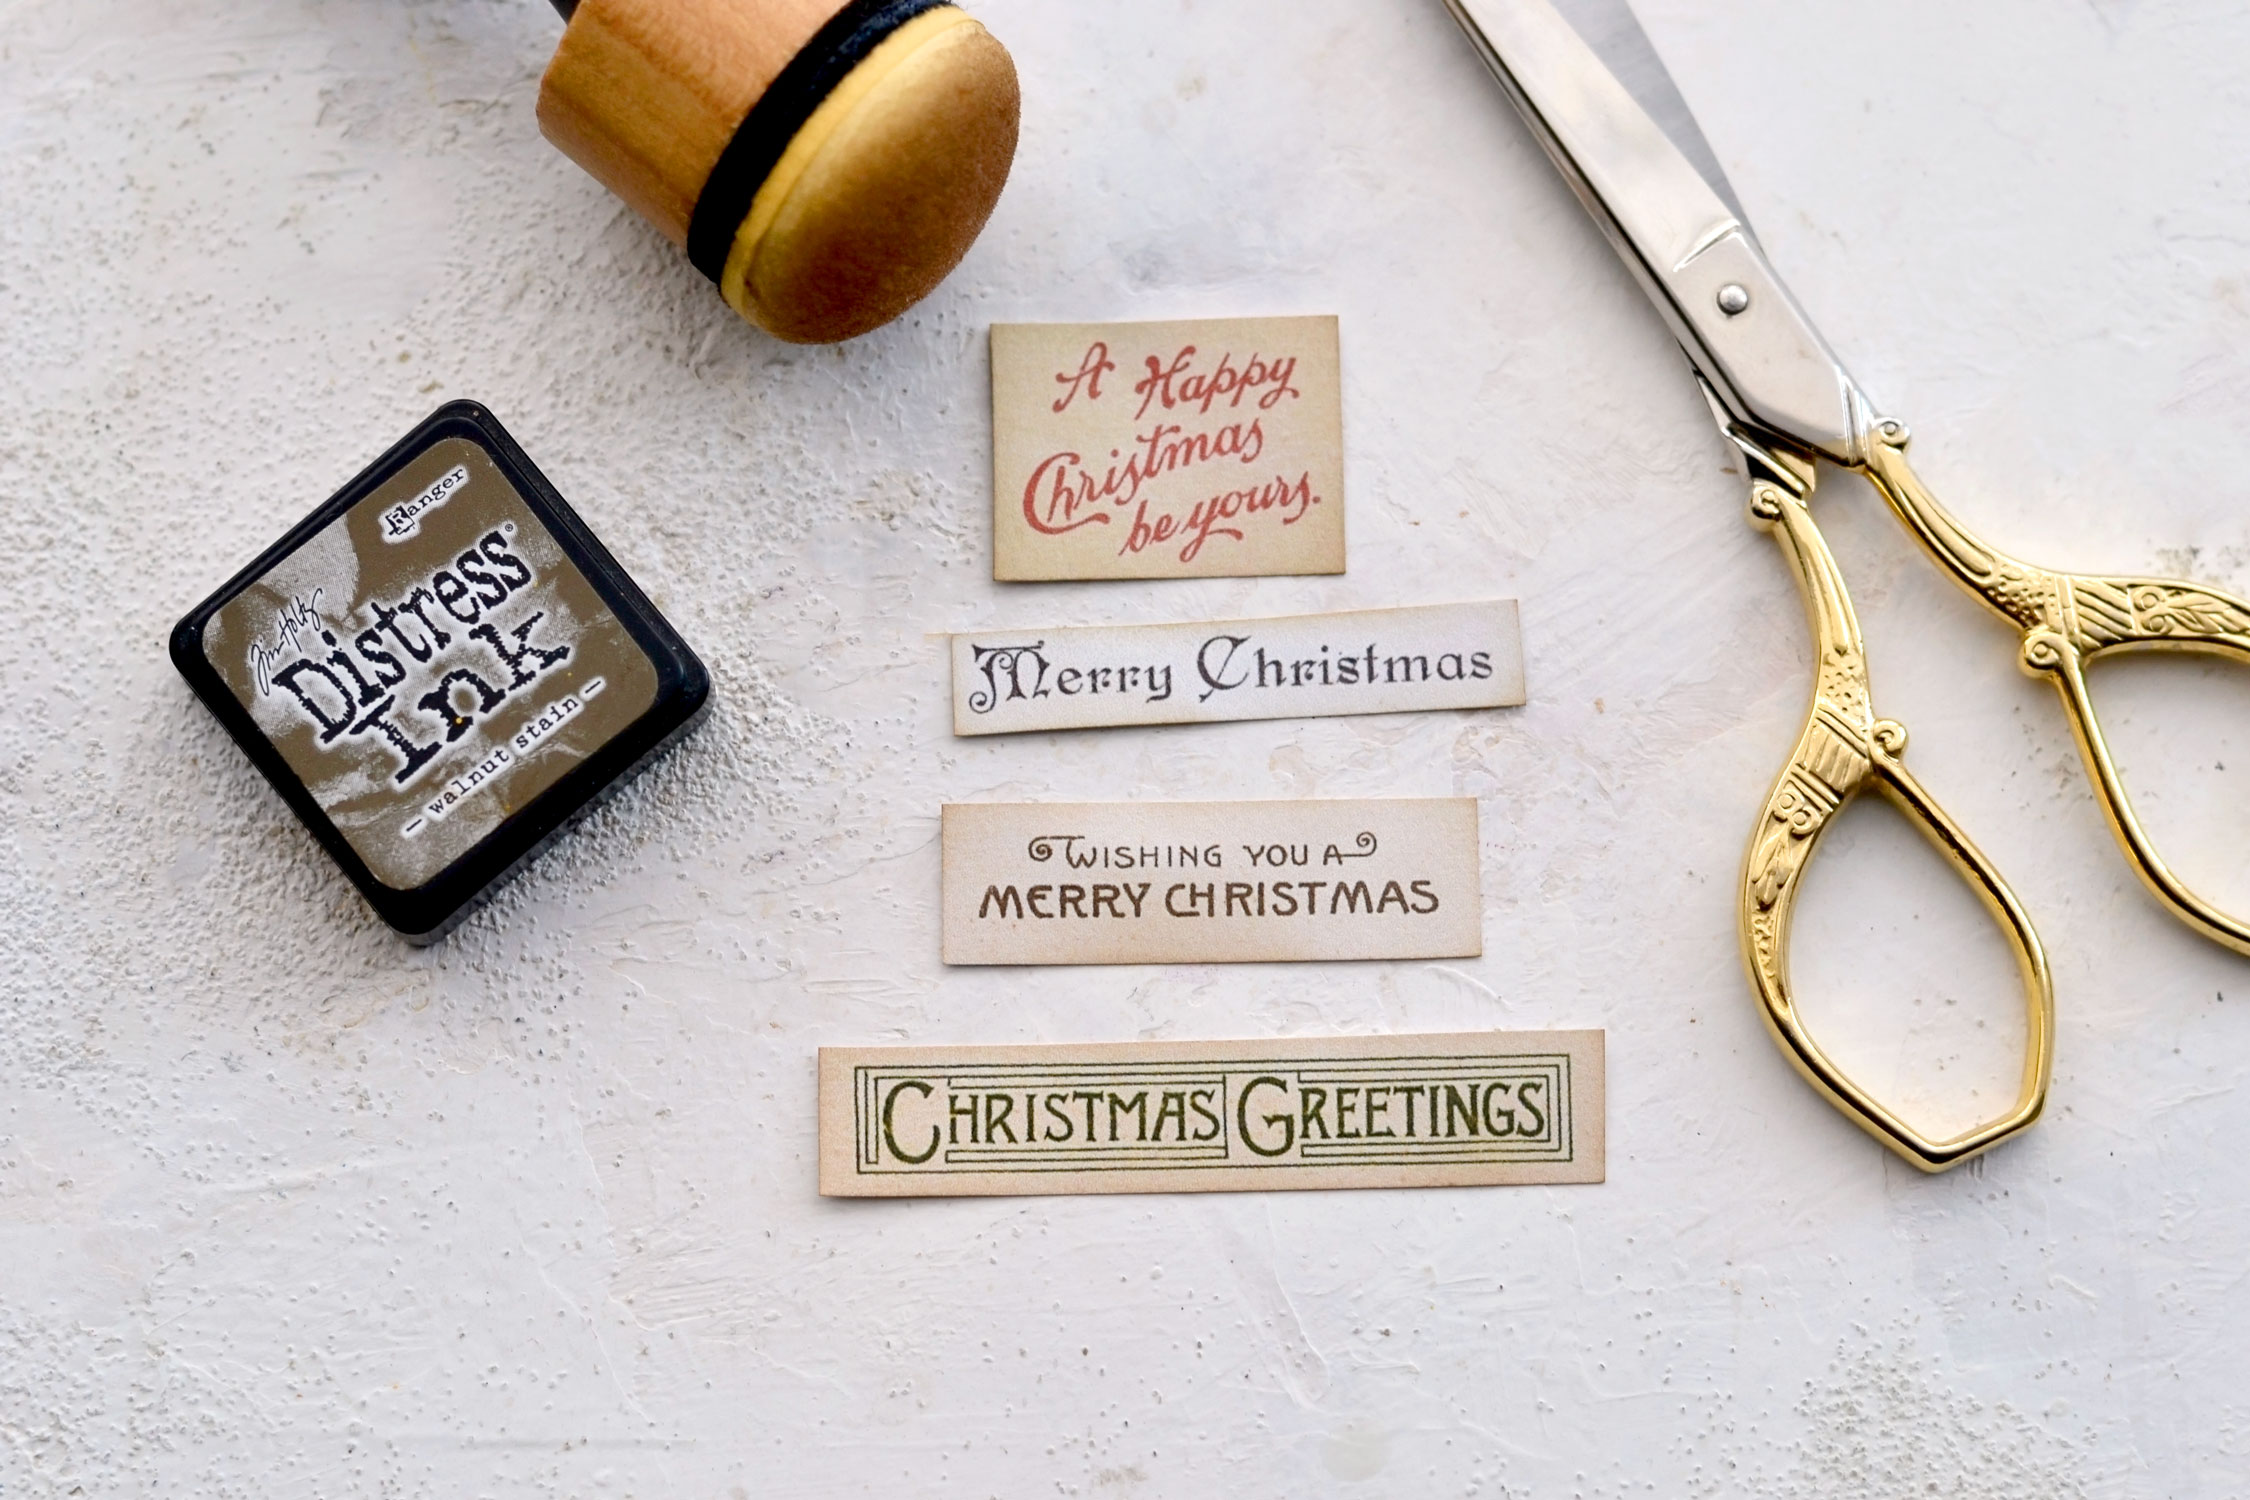
Start by printing your printables and use your scissors (or a paper trimmer) to cut them all. If using your scissors, you can use a small bowl to cut the paper over it and collect the scraps, it’s so much easier this way and you don’t have to clean all the small bits and pieces of paper afterward. Don’t forget about the small cutouts with the Christmas wishes, I accidentally forgot about them at this point, but found them in my scrap pieces bowl afterward.
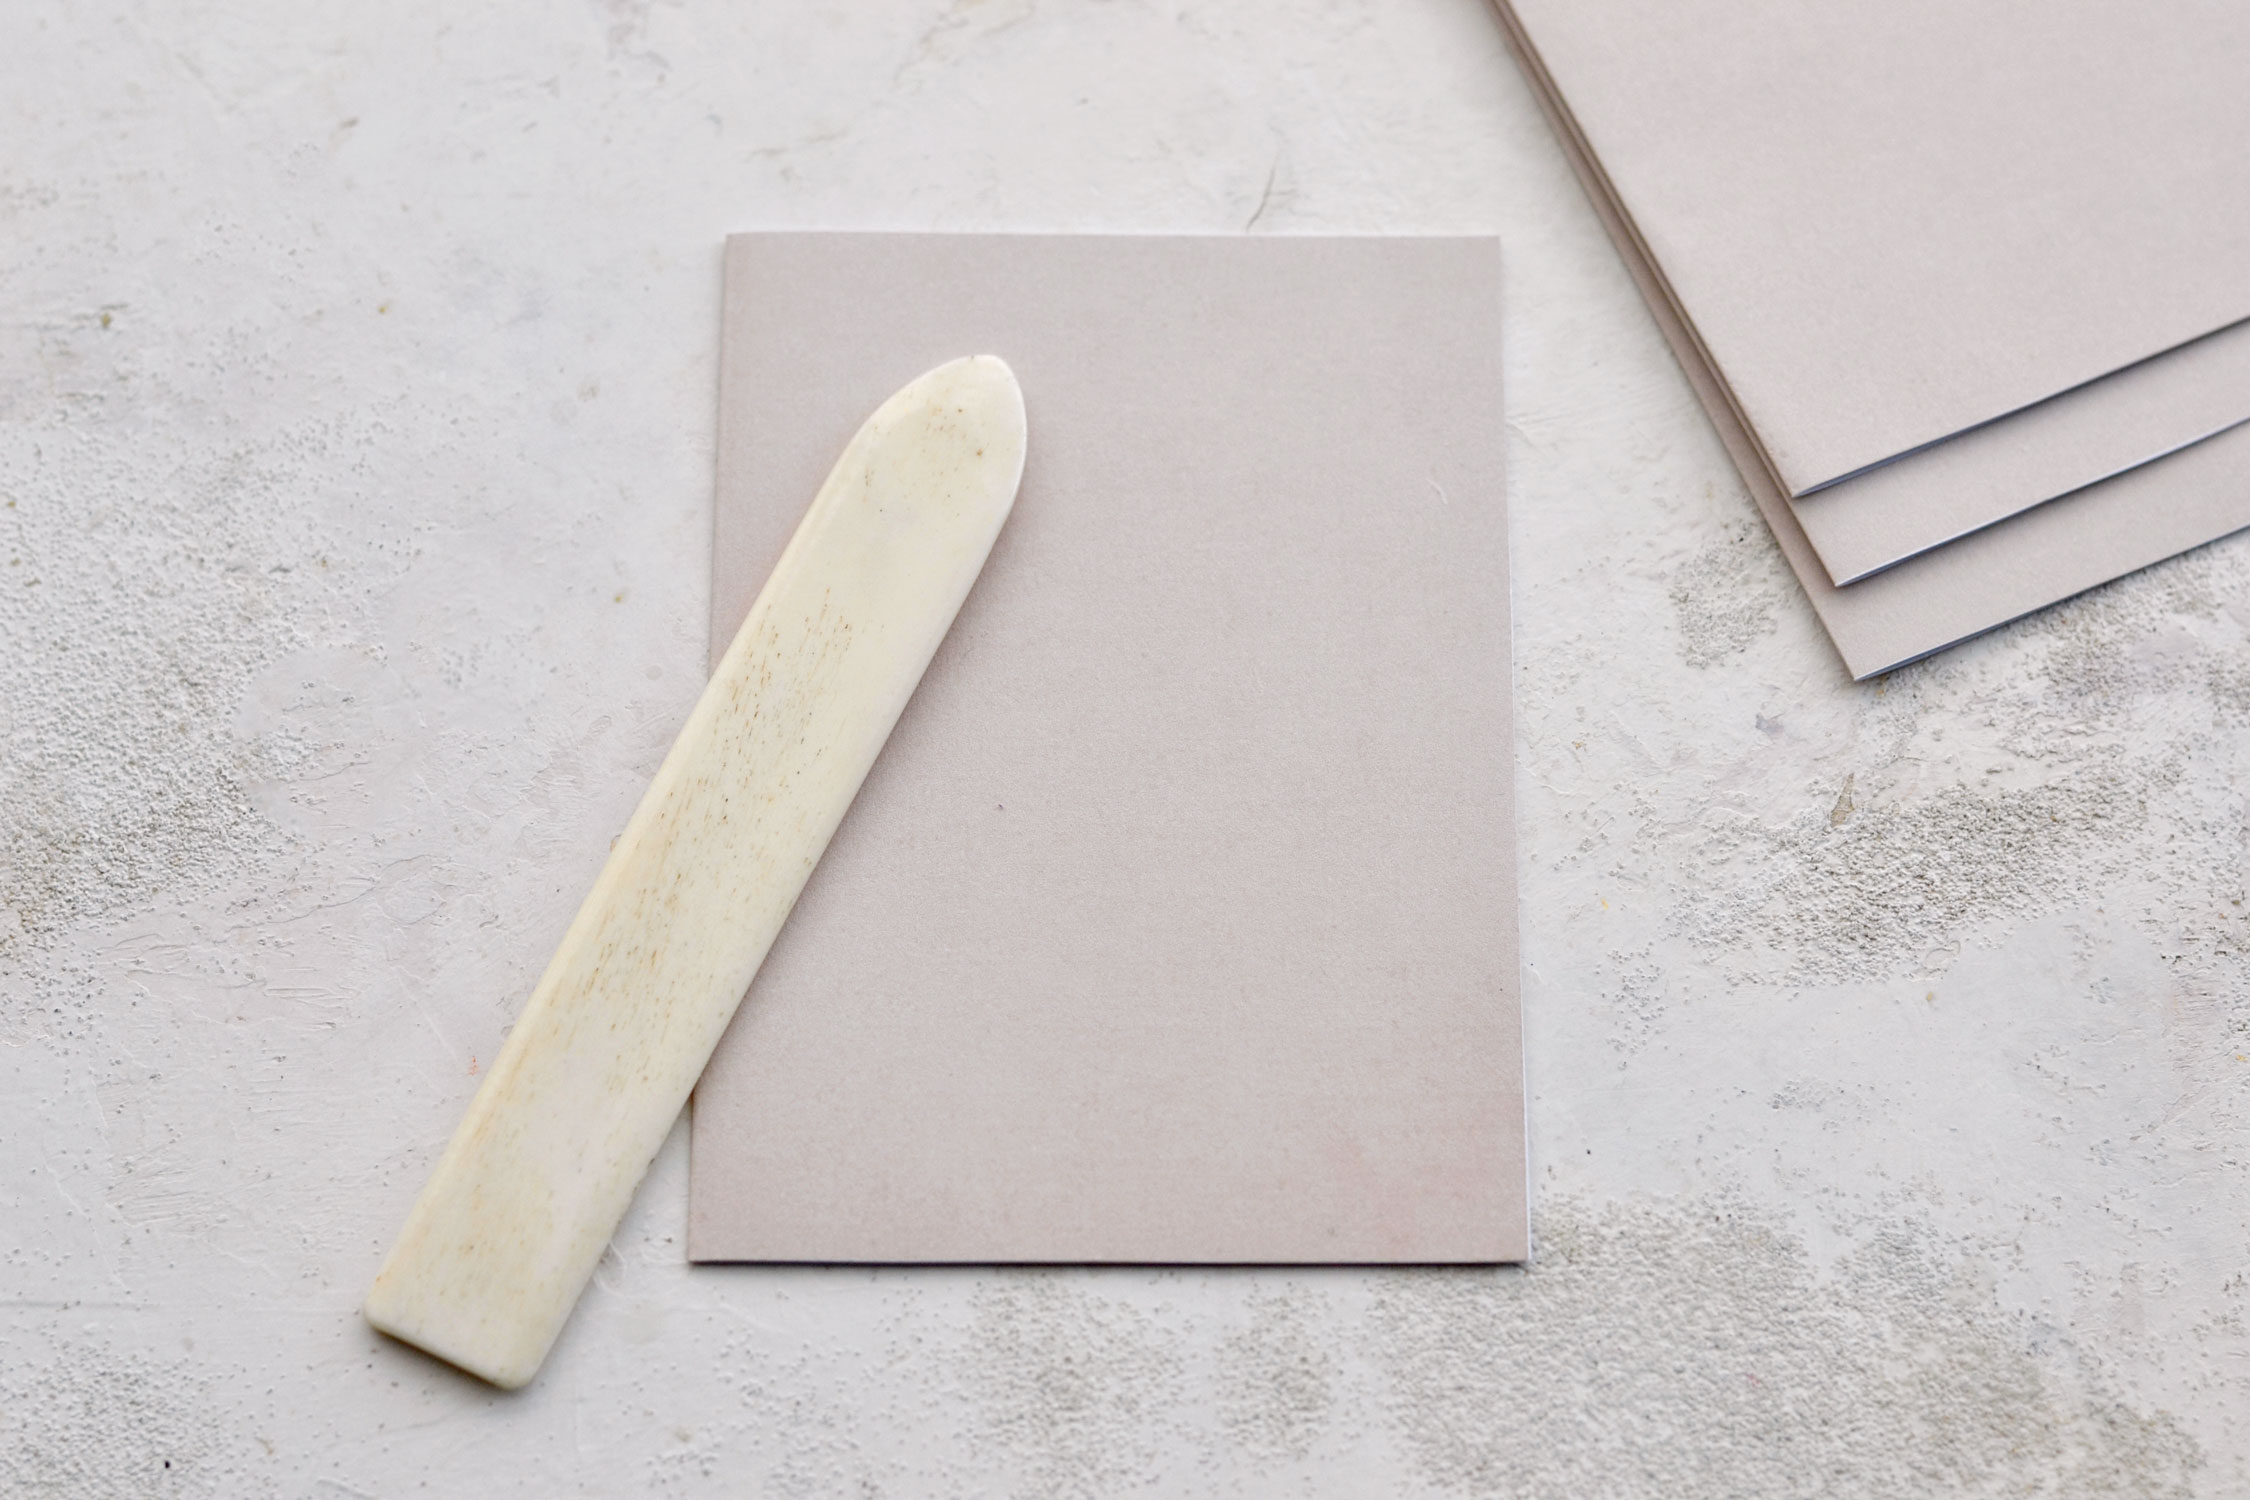
Use your finger to partially fold the card bases, then use a bone folder to press the edges and create a super smooth line.
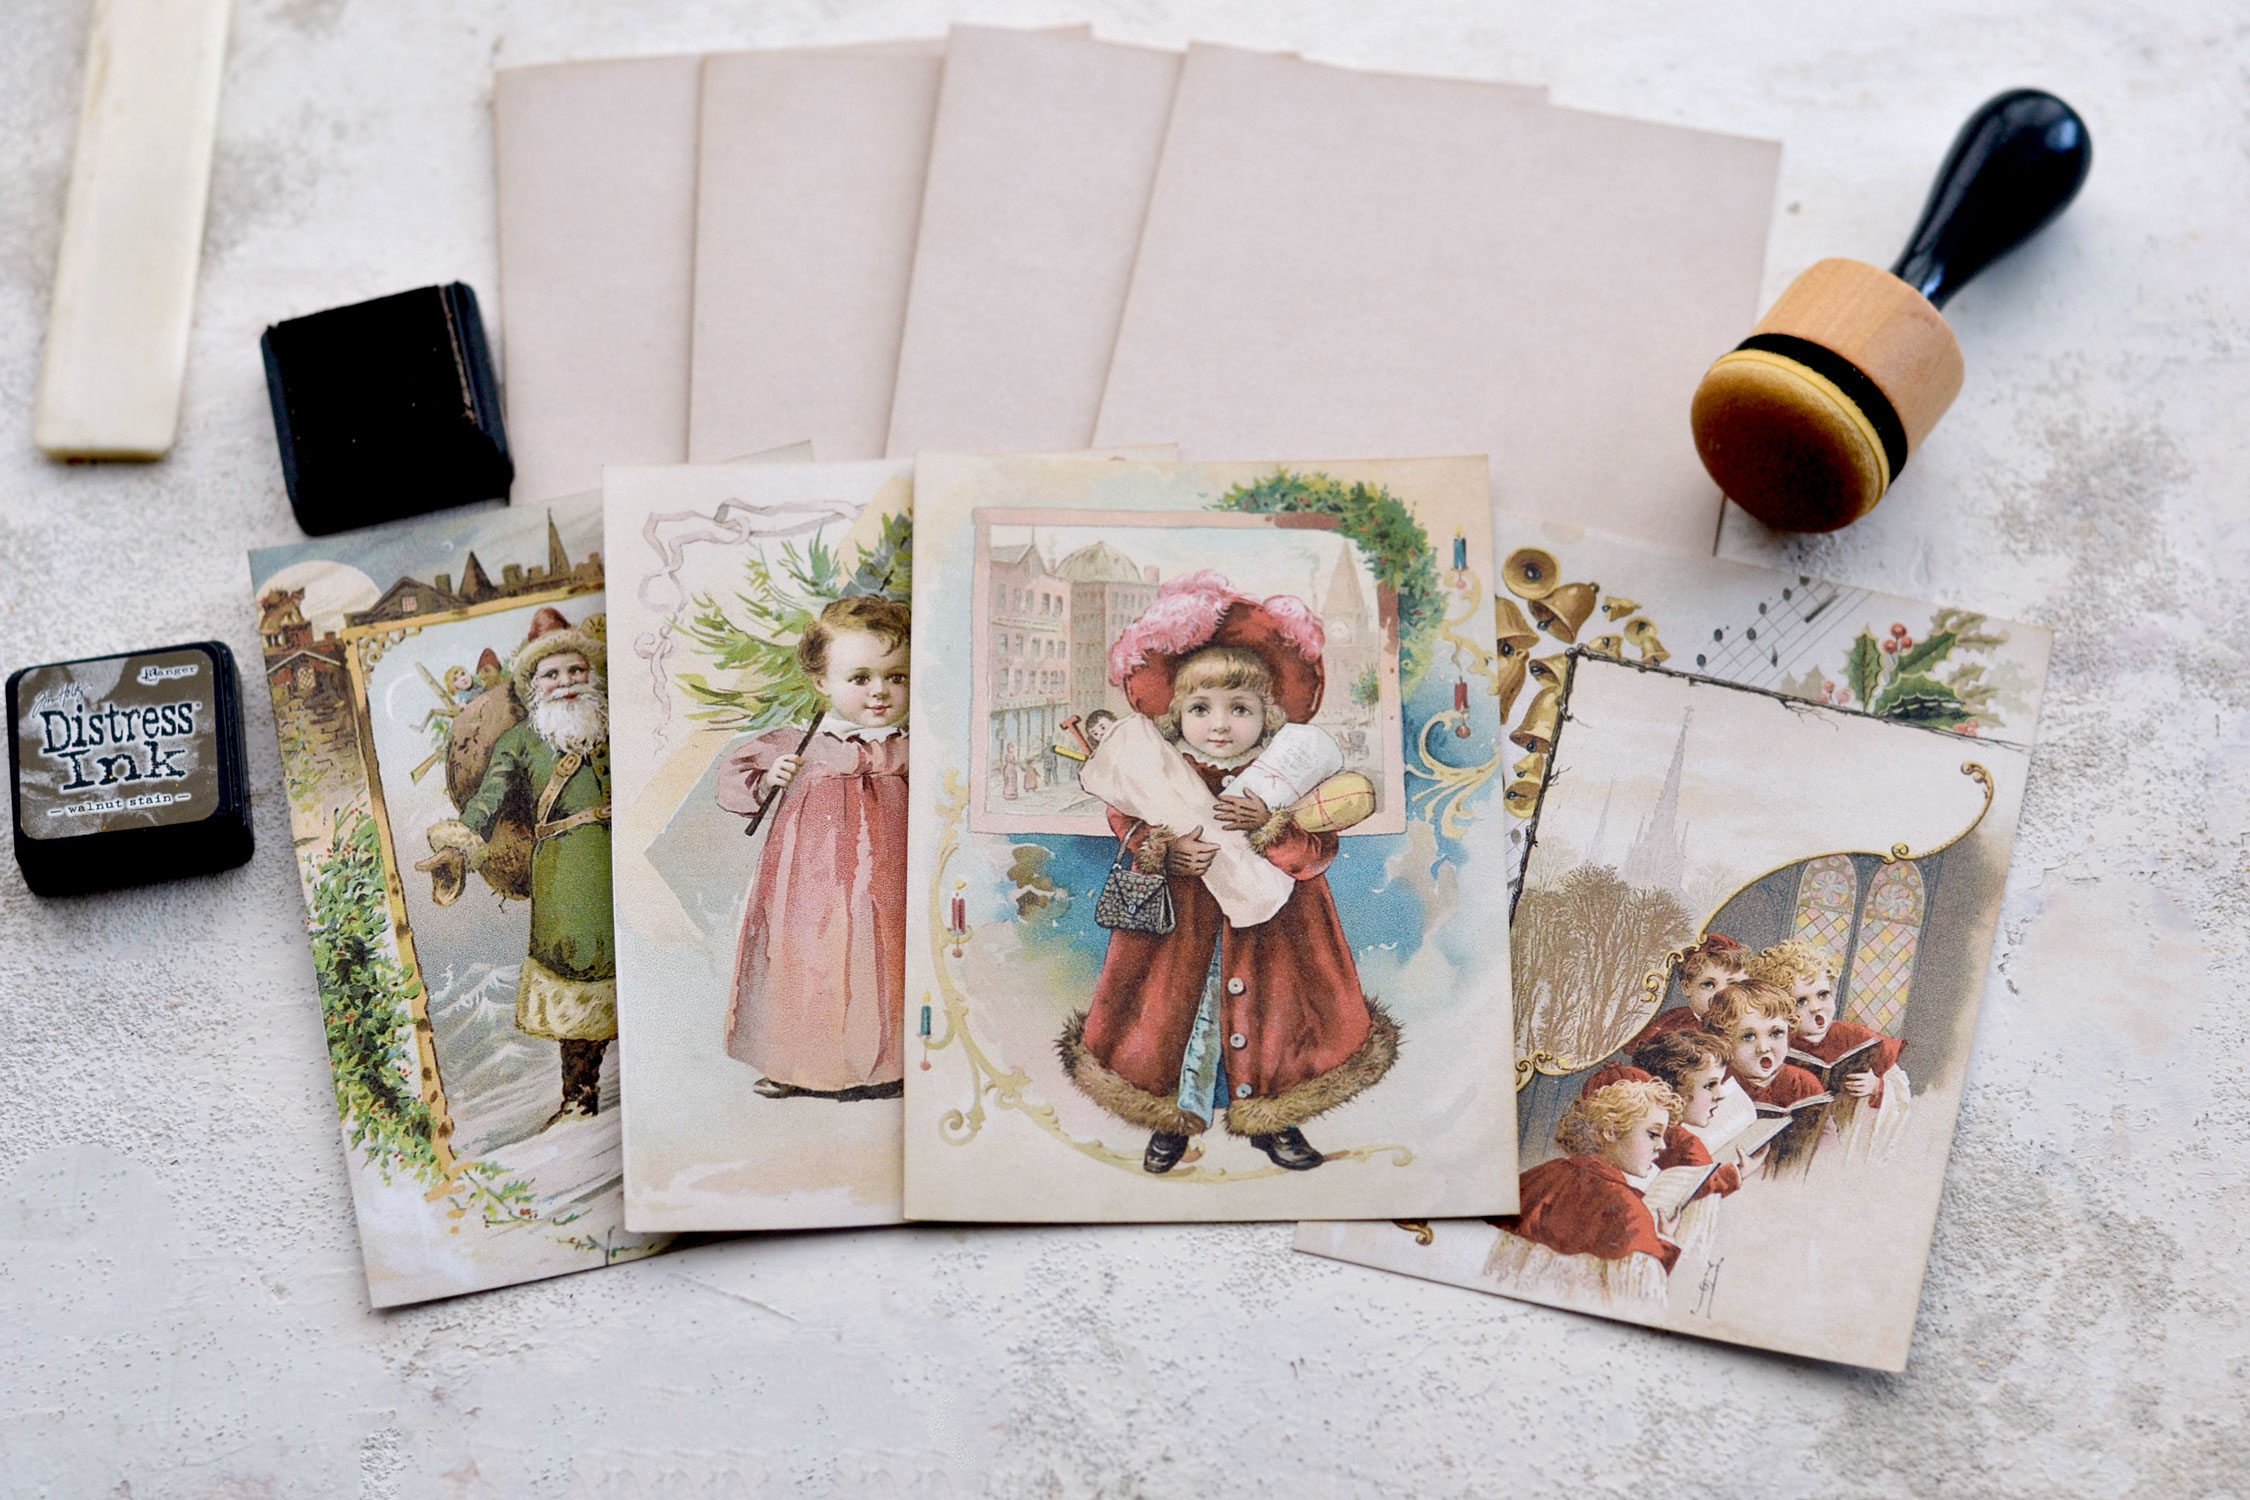
Use distress ink to give the paper even more of a vintage vibe.
I know you love adding a touch of distress to the edges as much as I do, but if you are planning to give these as gifts and prefer to keep them simple, you can skip this step. The design is beautiful on its own you don’t have to necessarily distress them if you prefer not to.
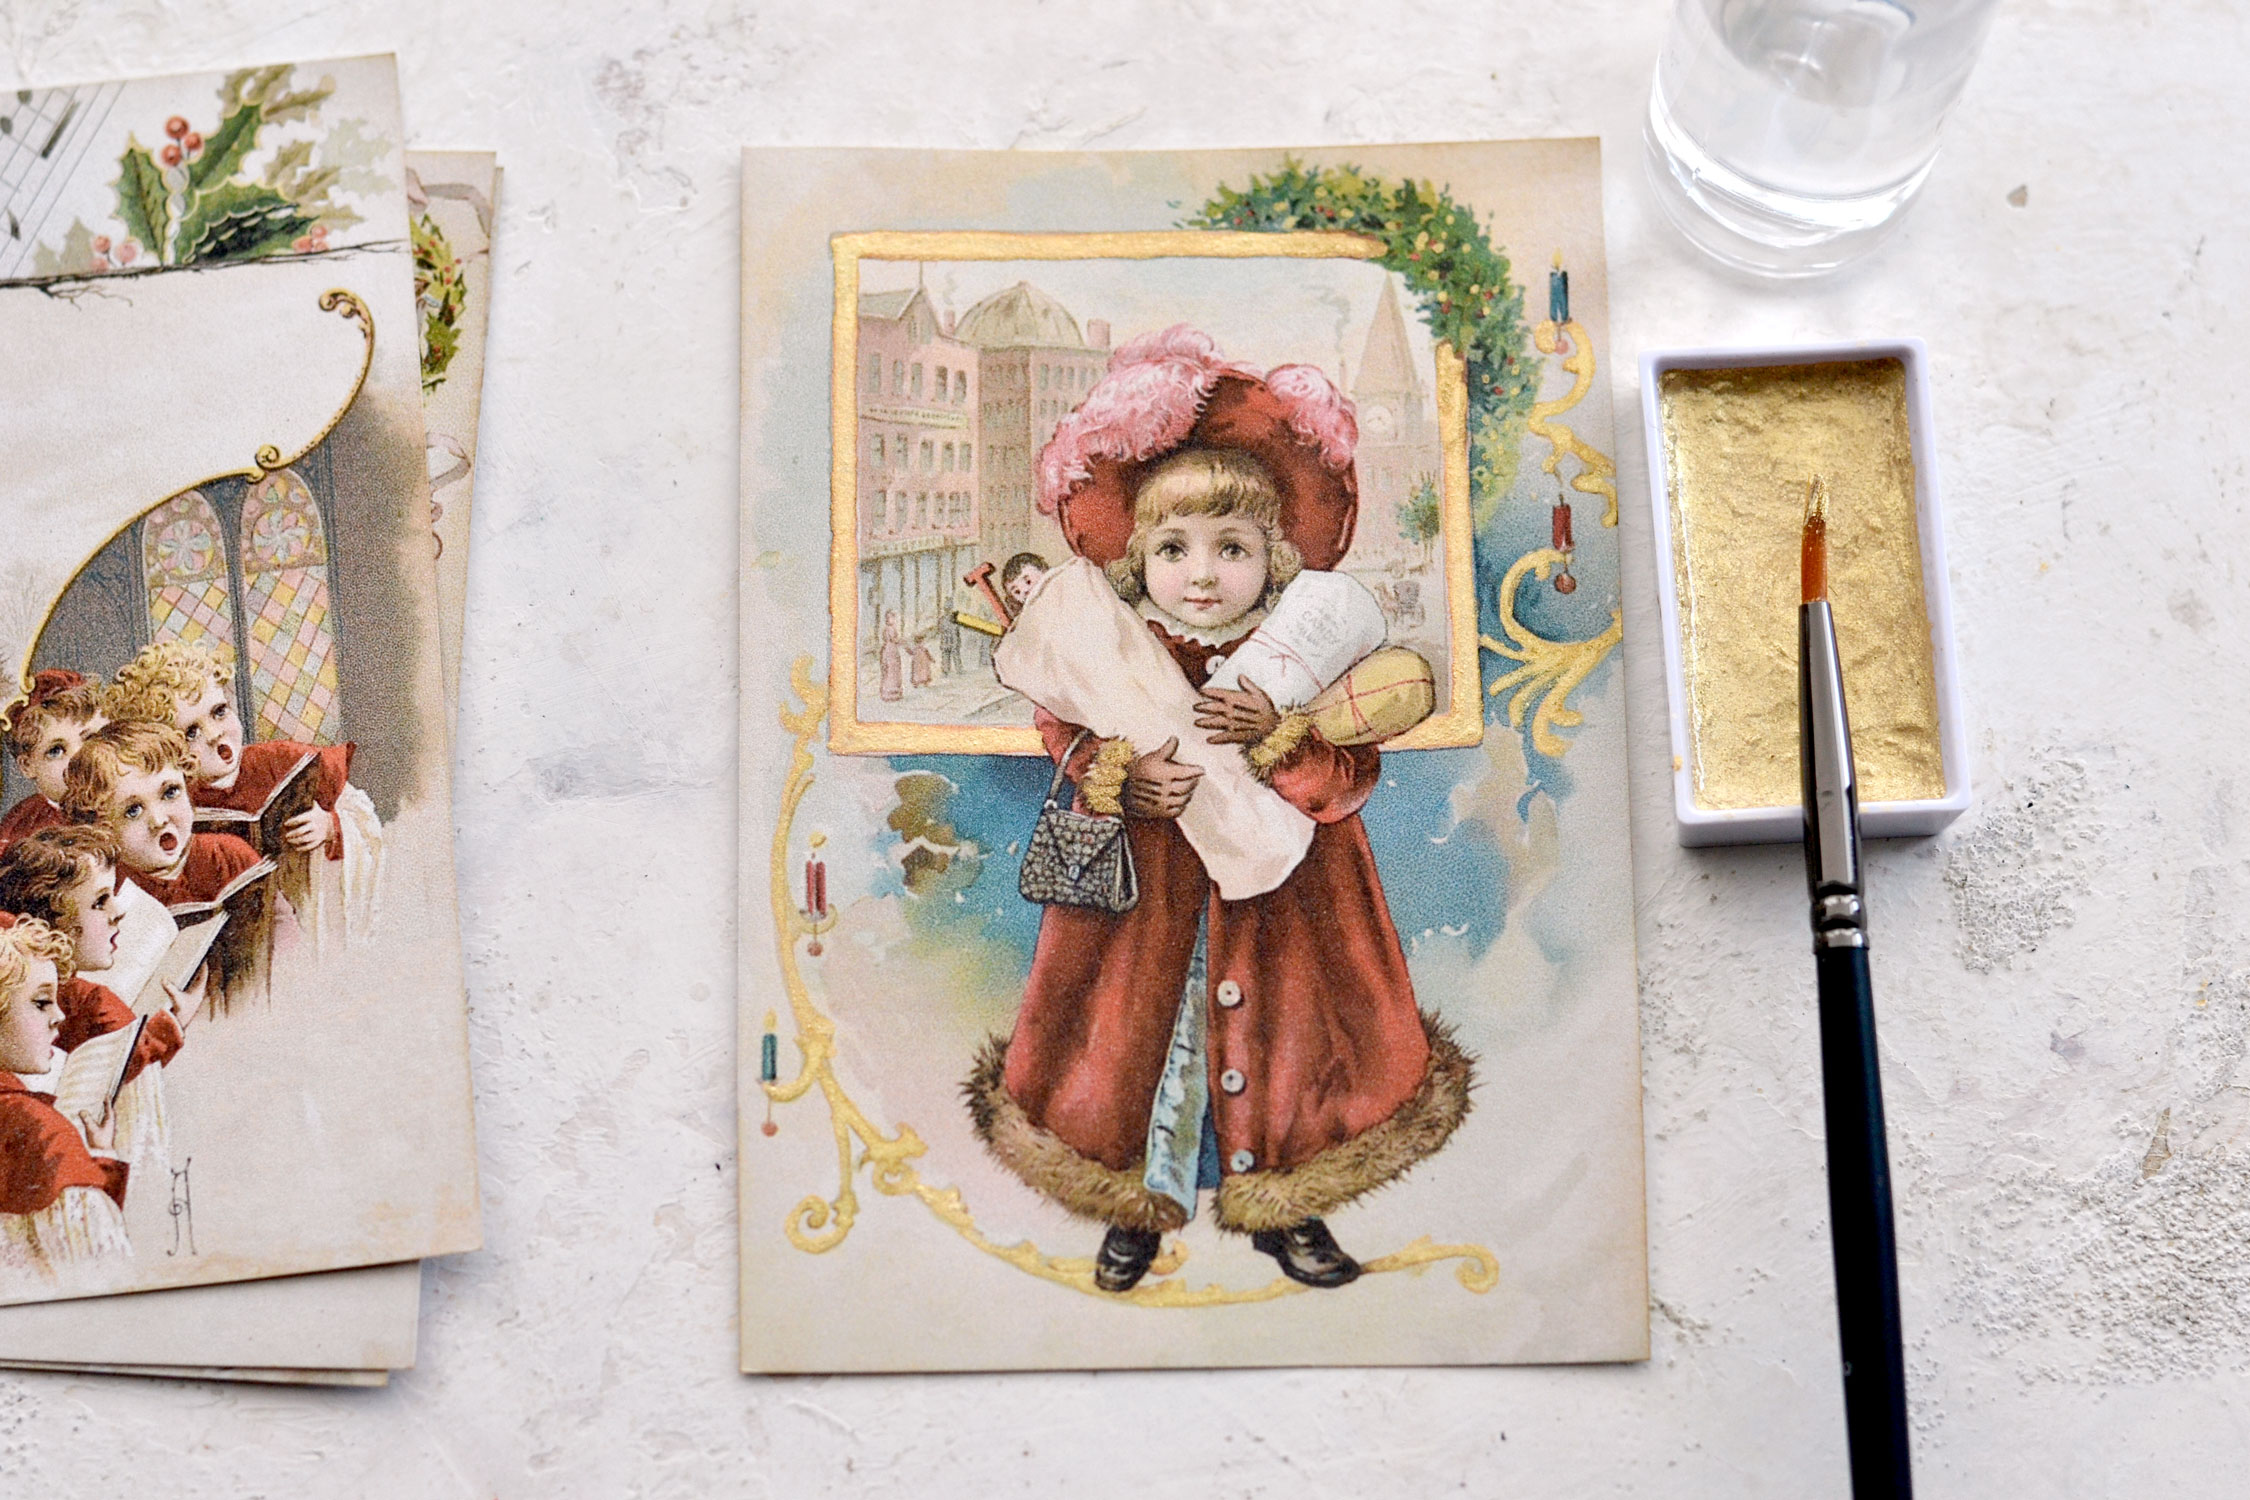
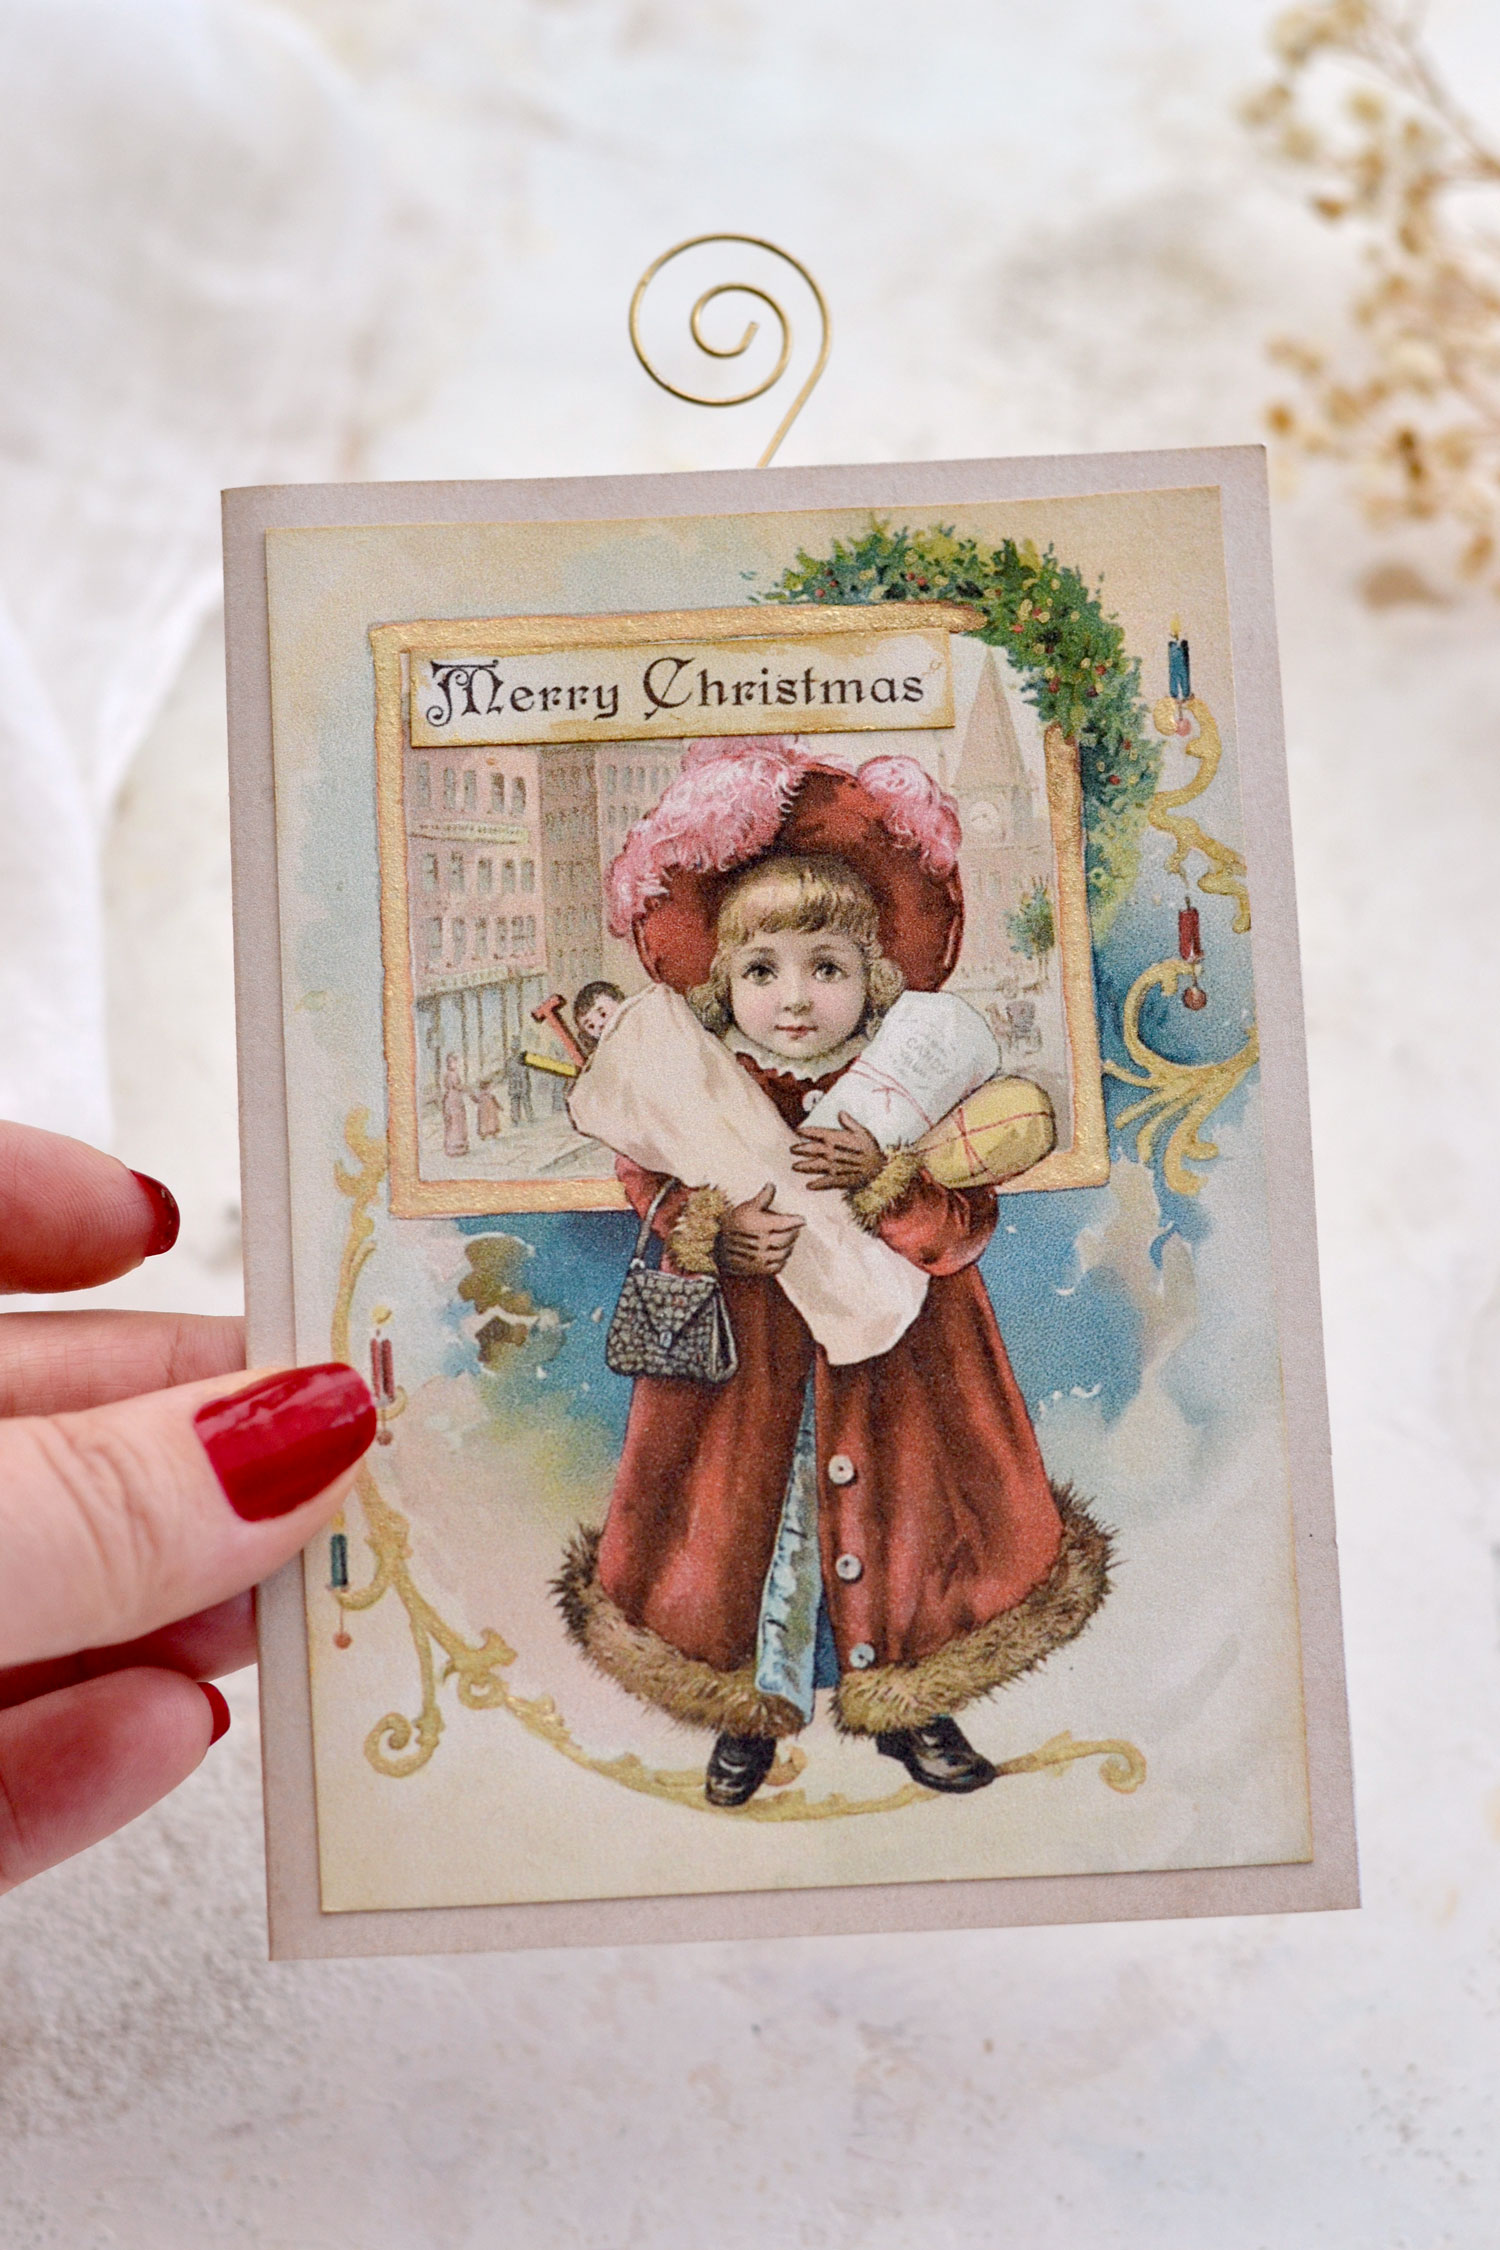
Moving on to my favorite part, adding the gold touches! This little step always brings me so much joy, that I simply can’t get enough of this quick and easy gilding technique. Use your favorite gold watercolors (or highly diluted acrylic paint) – I used the super chic Kuretake Gansai Tambi Starry Colors which come in several different shades of gold and can be easily adapted to your needs. Use your spray bottle to spritz a little bit of water in the pan, just enough to wake up your gorgeous watercolors. Pick up the paint using a small round brush and start gilding some of the details in the images. I started with the frame around the girl and moved on to the other decorative scrolls surrounding her. I also painted the fur on the gloves using a tiny bit of paint, just to make them glow. A small brush is essential here as you want to keep the shape of all these delicate details.
The truth is that I picked all these beautiful vintage Christmas images because of the frames they came with, I just knew they would look amazing in gold!
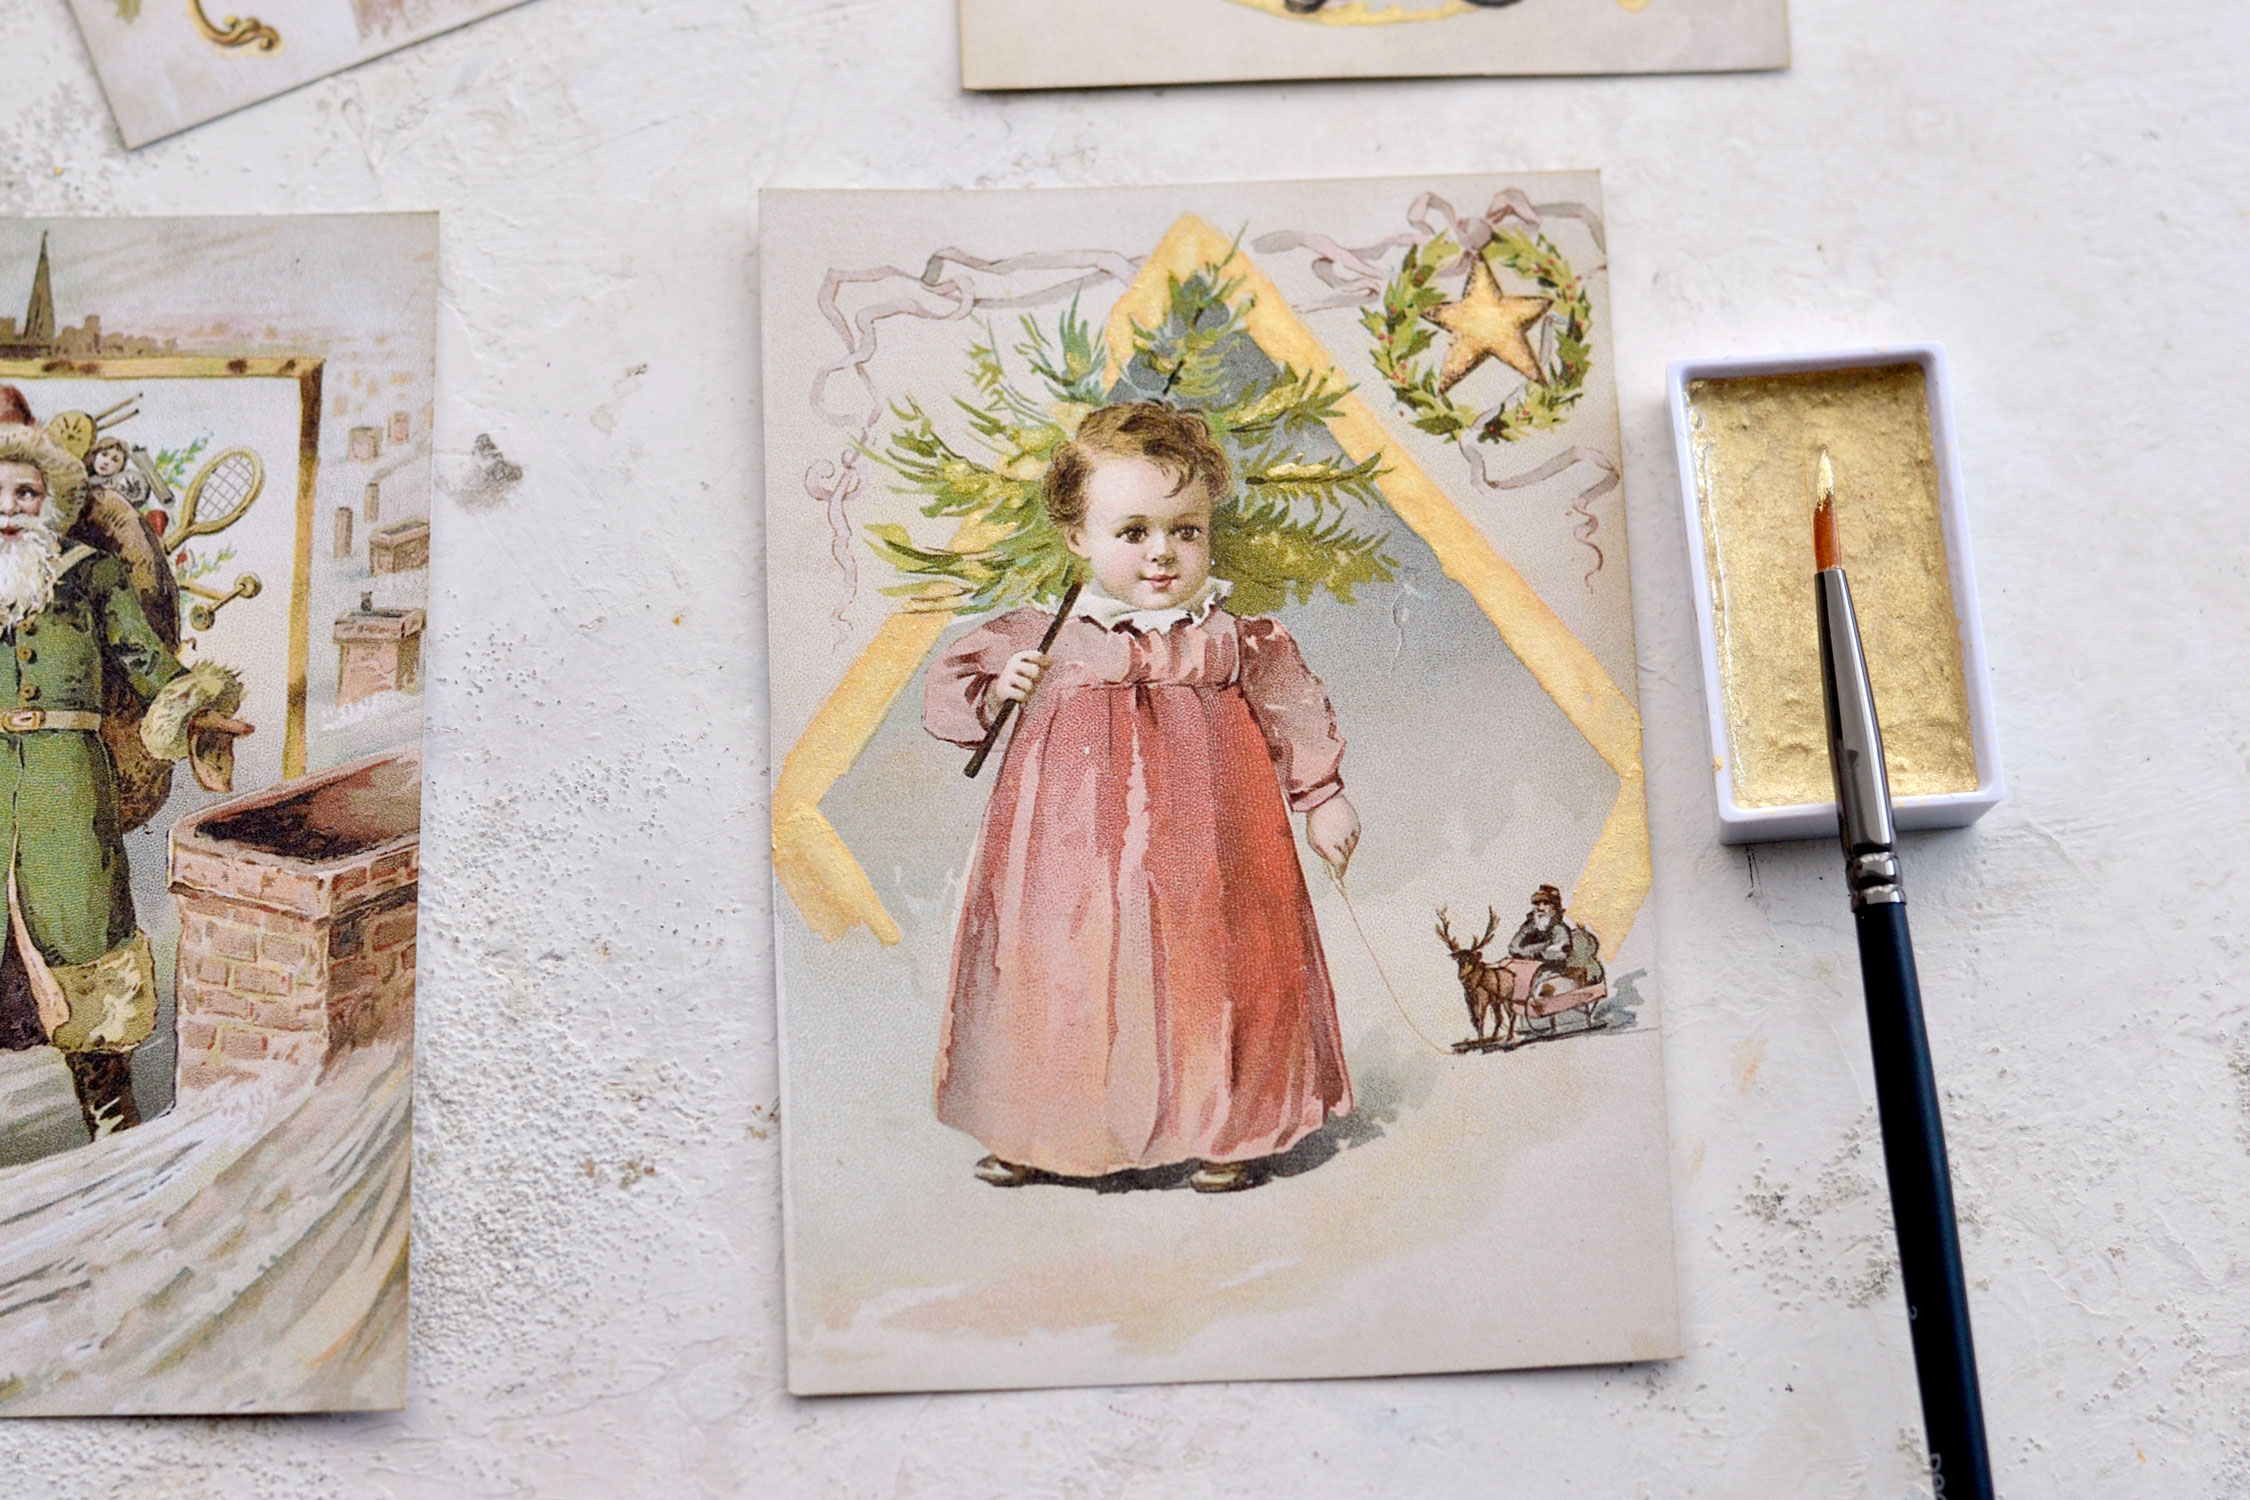
I moved on to the next image and also painted the diamond-shaped frame around the girl with the Christmas tree. I then painted the star in the corner and added a little bit of golden snow on the Christmas tree branches.
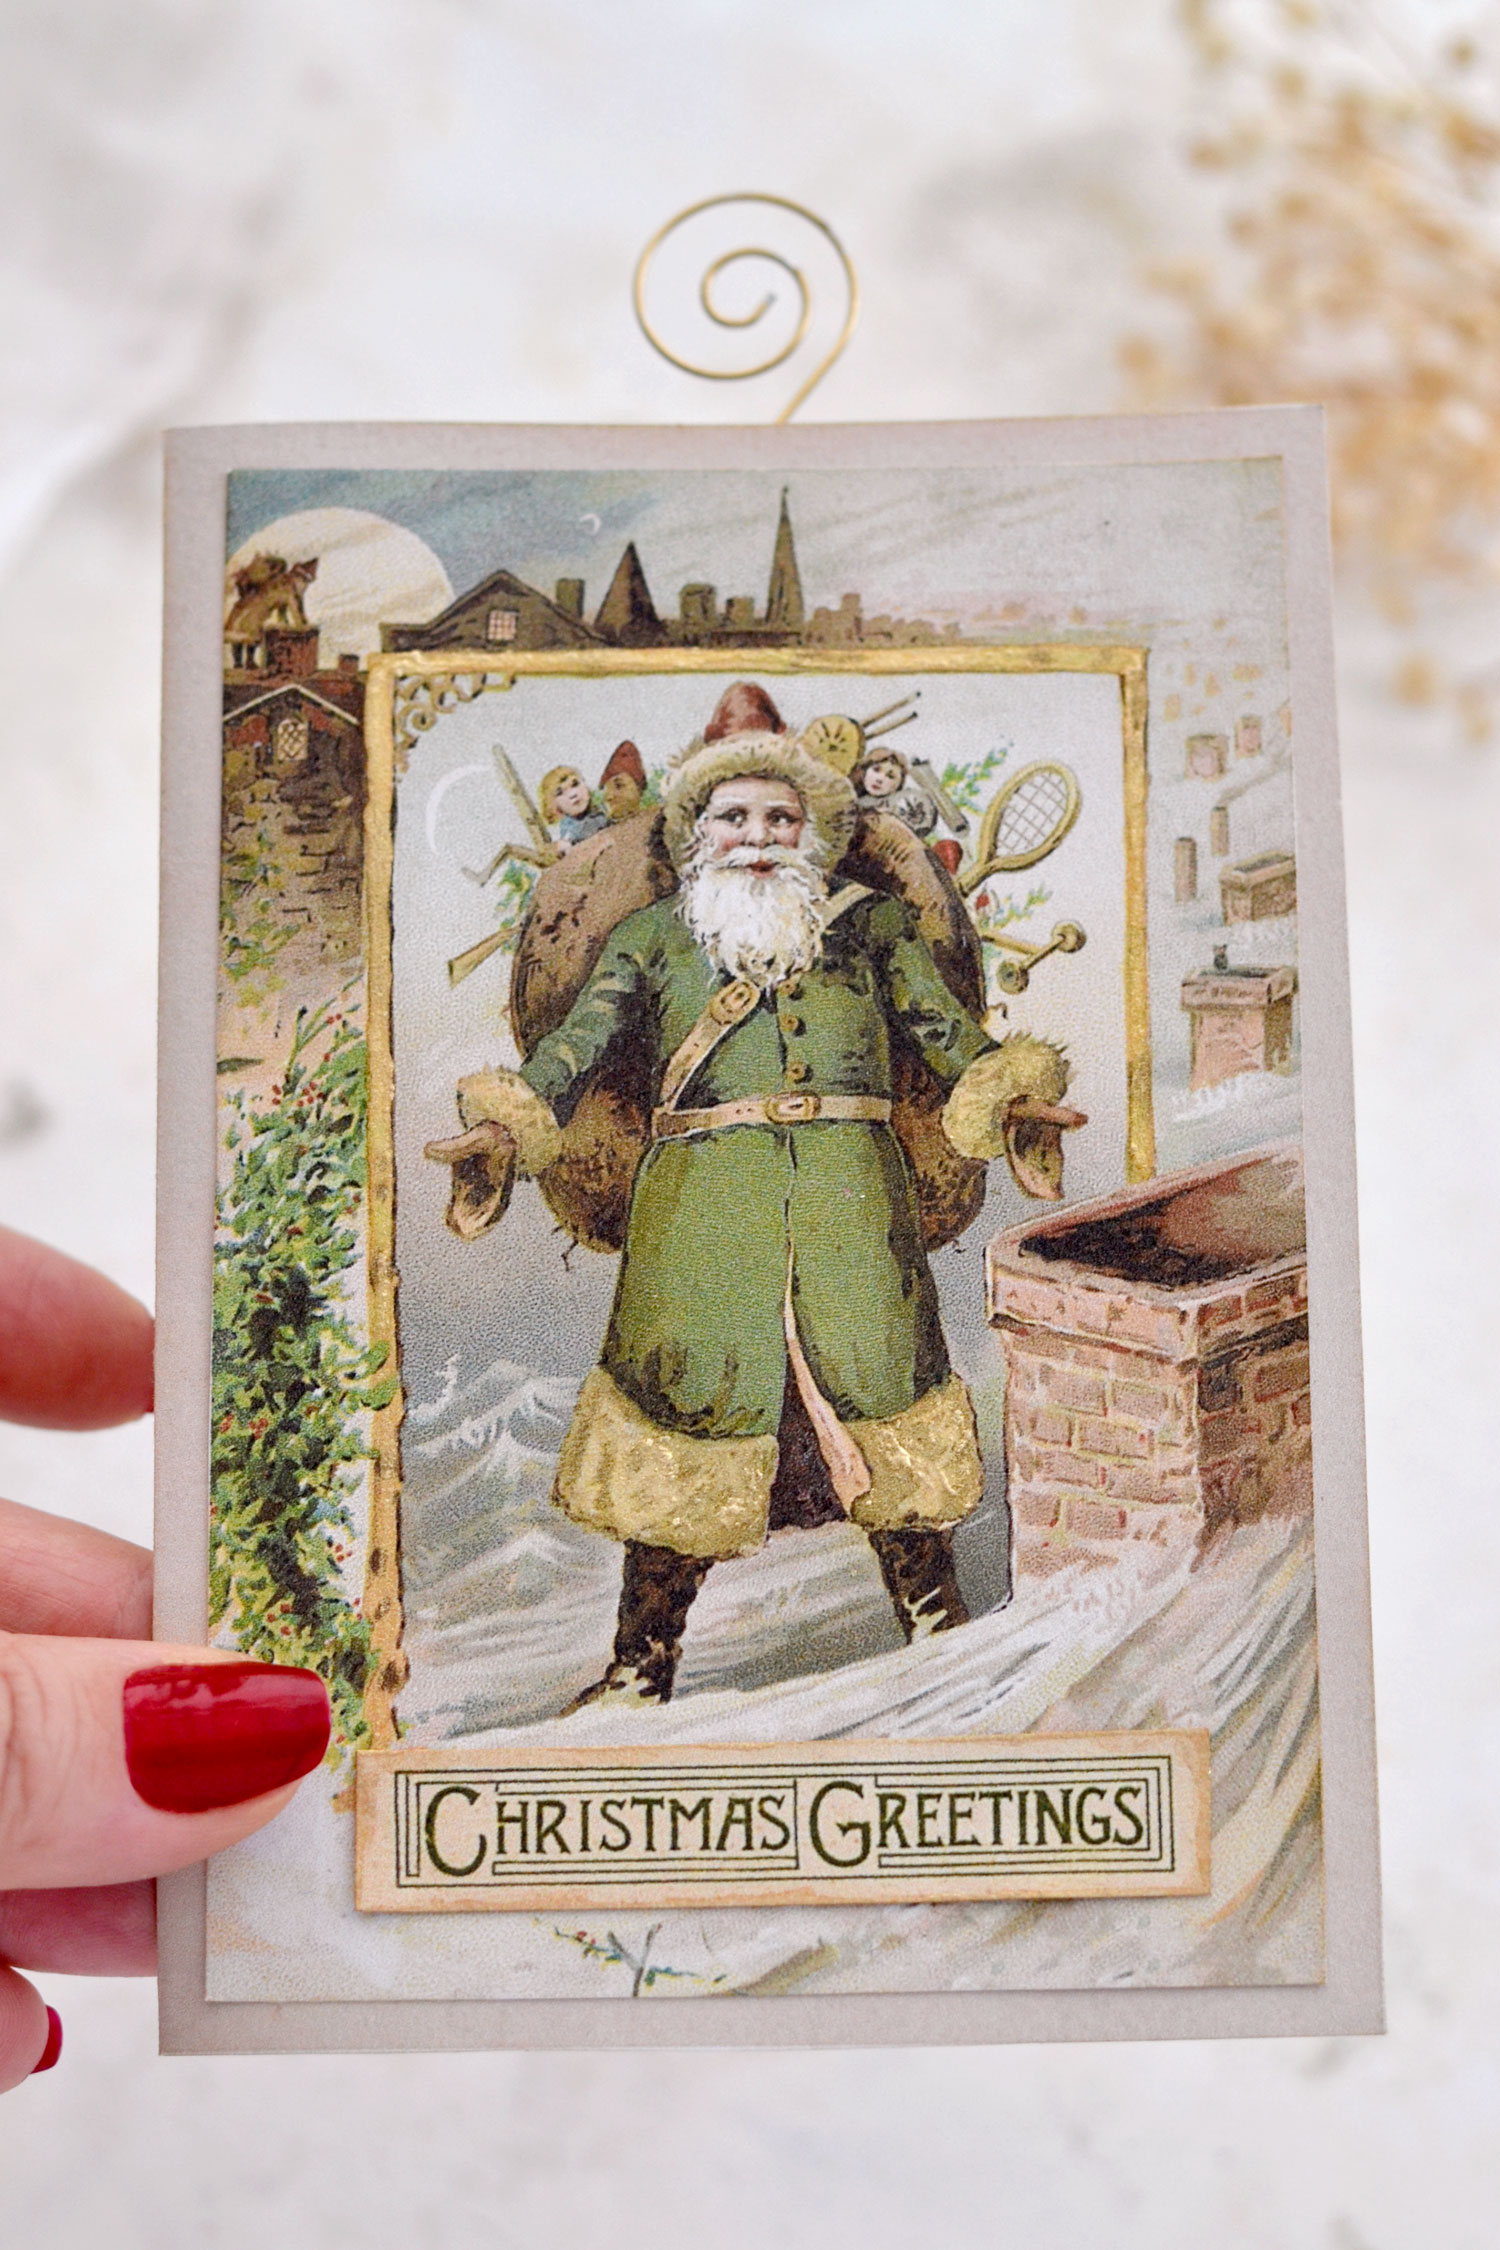
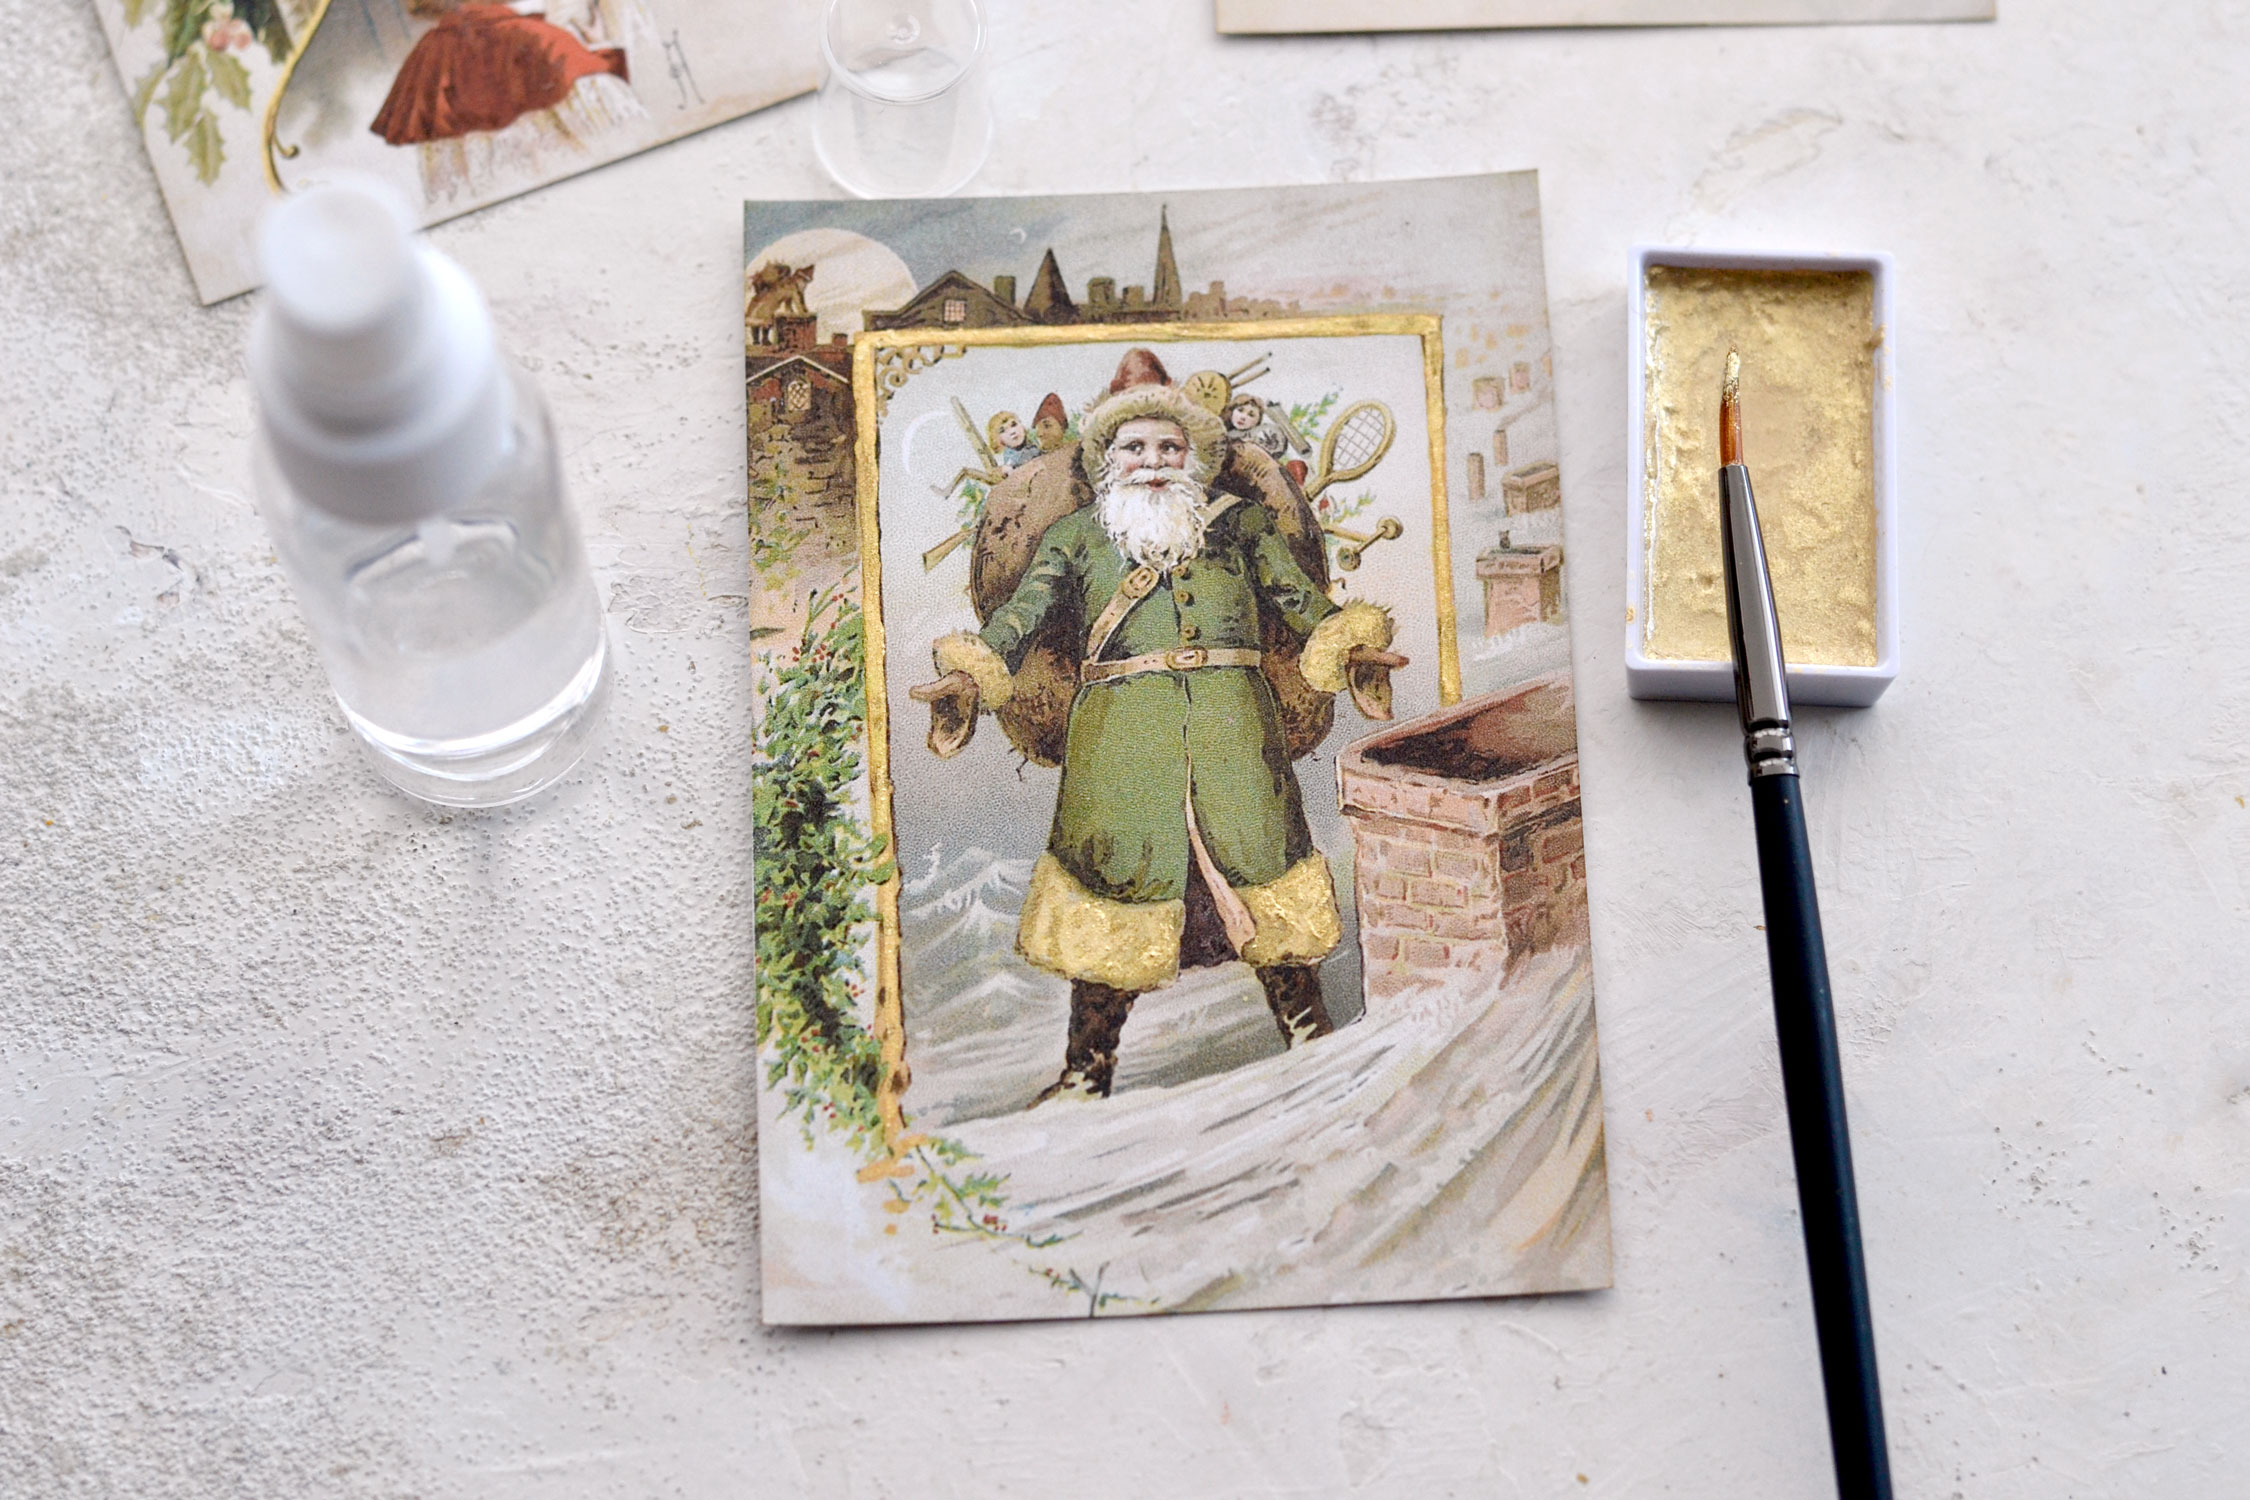
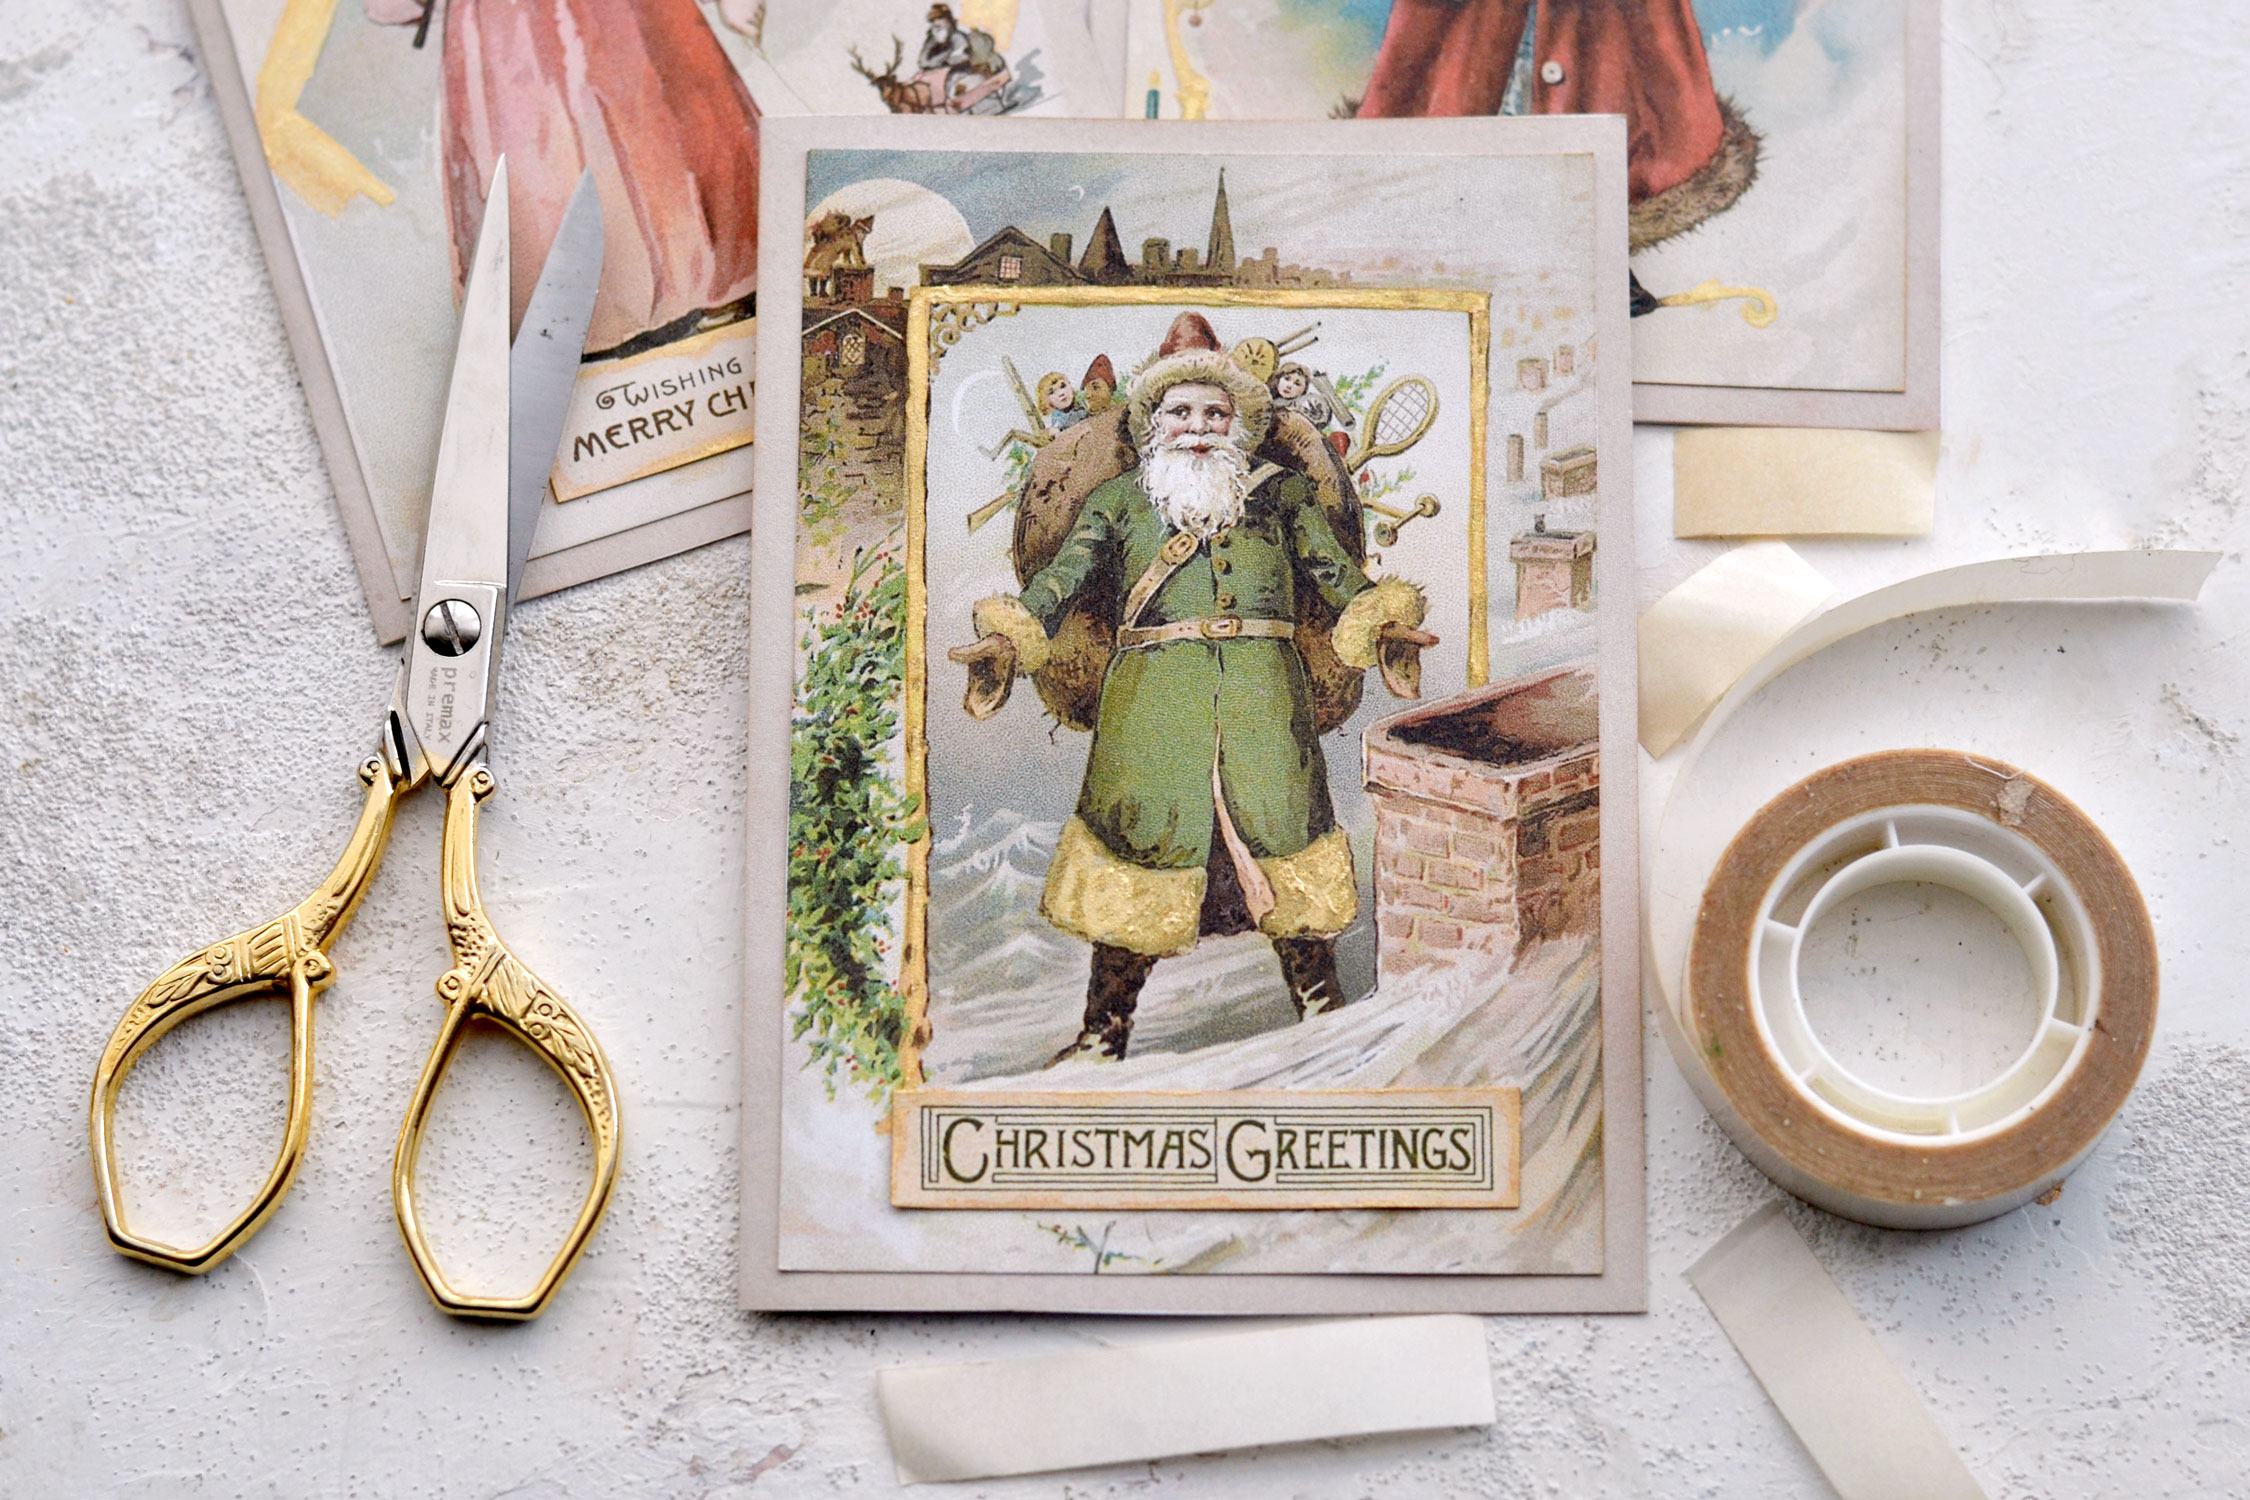
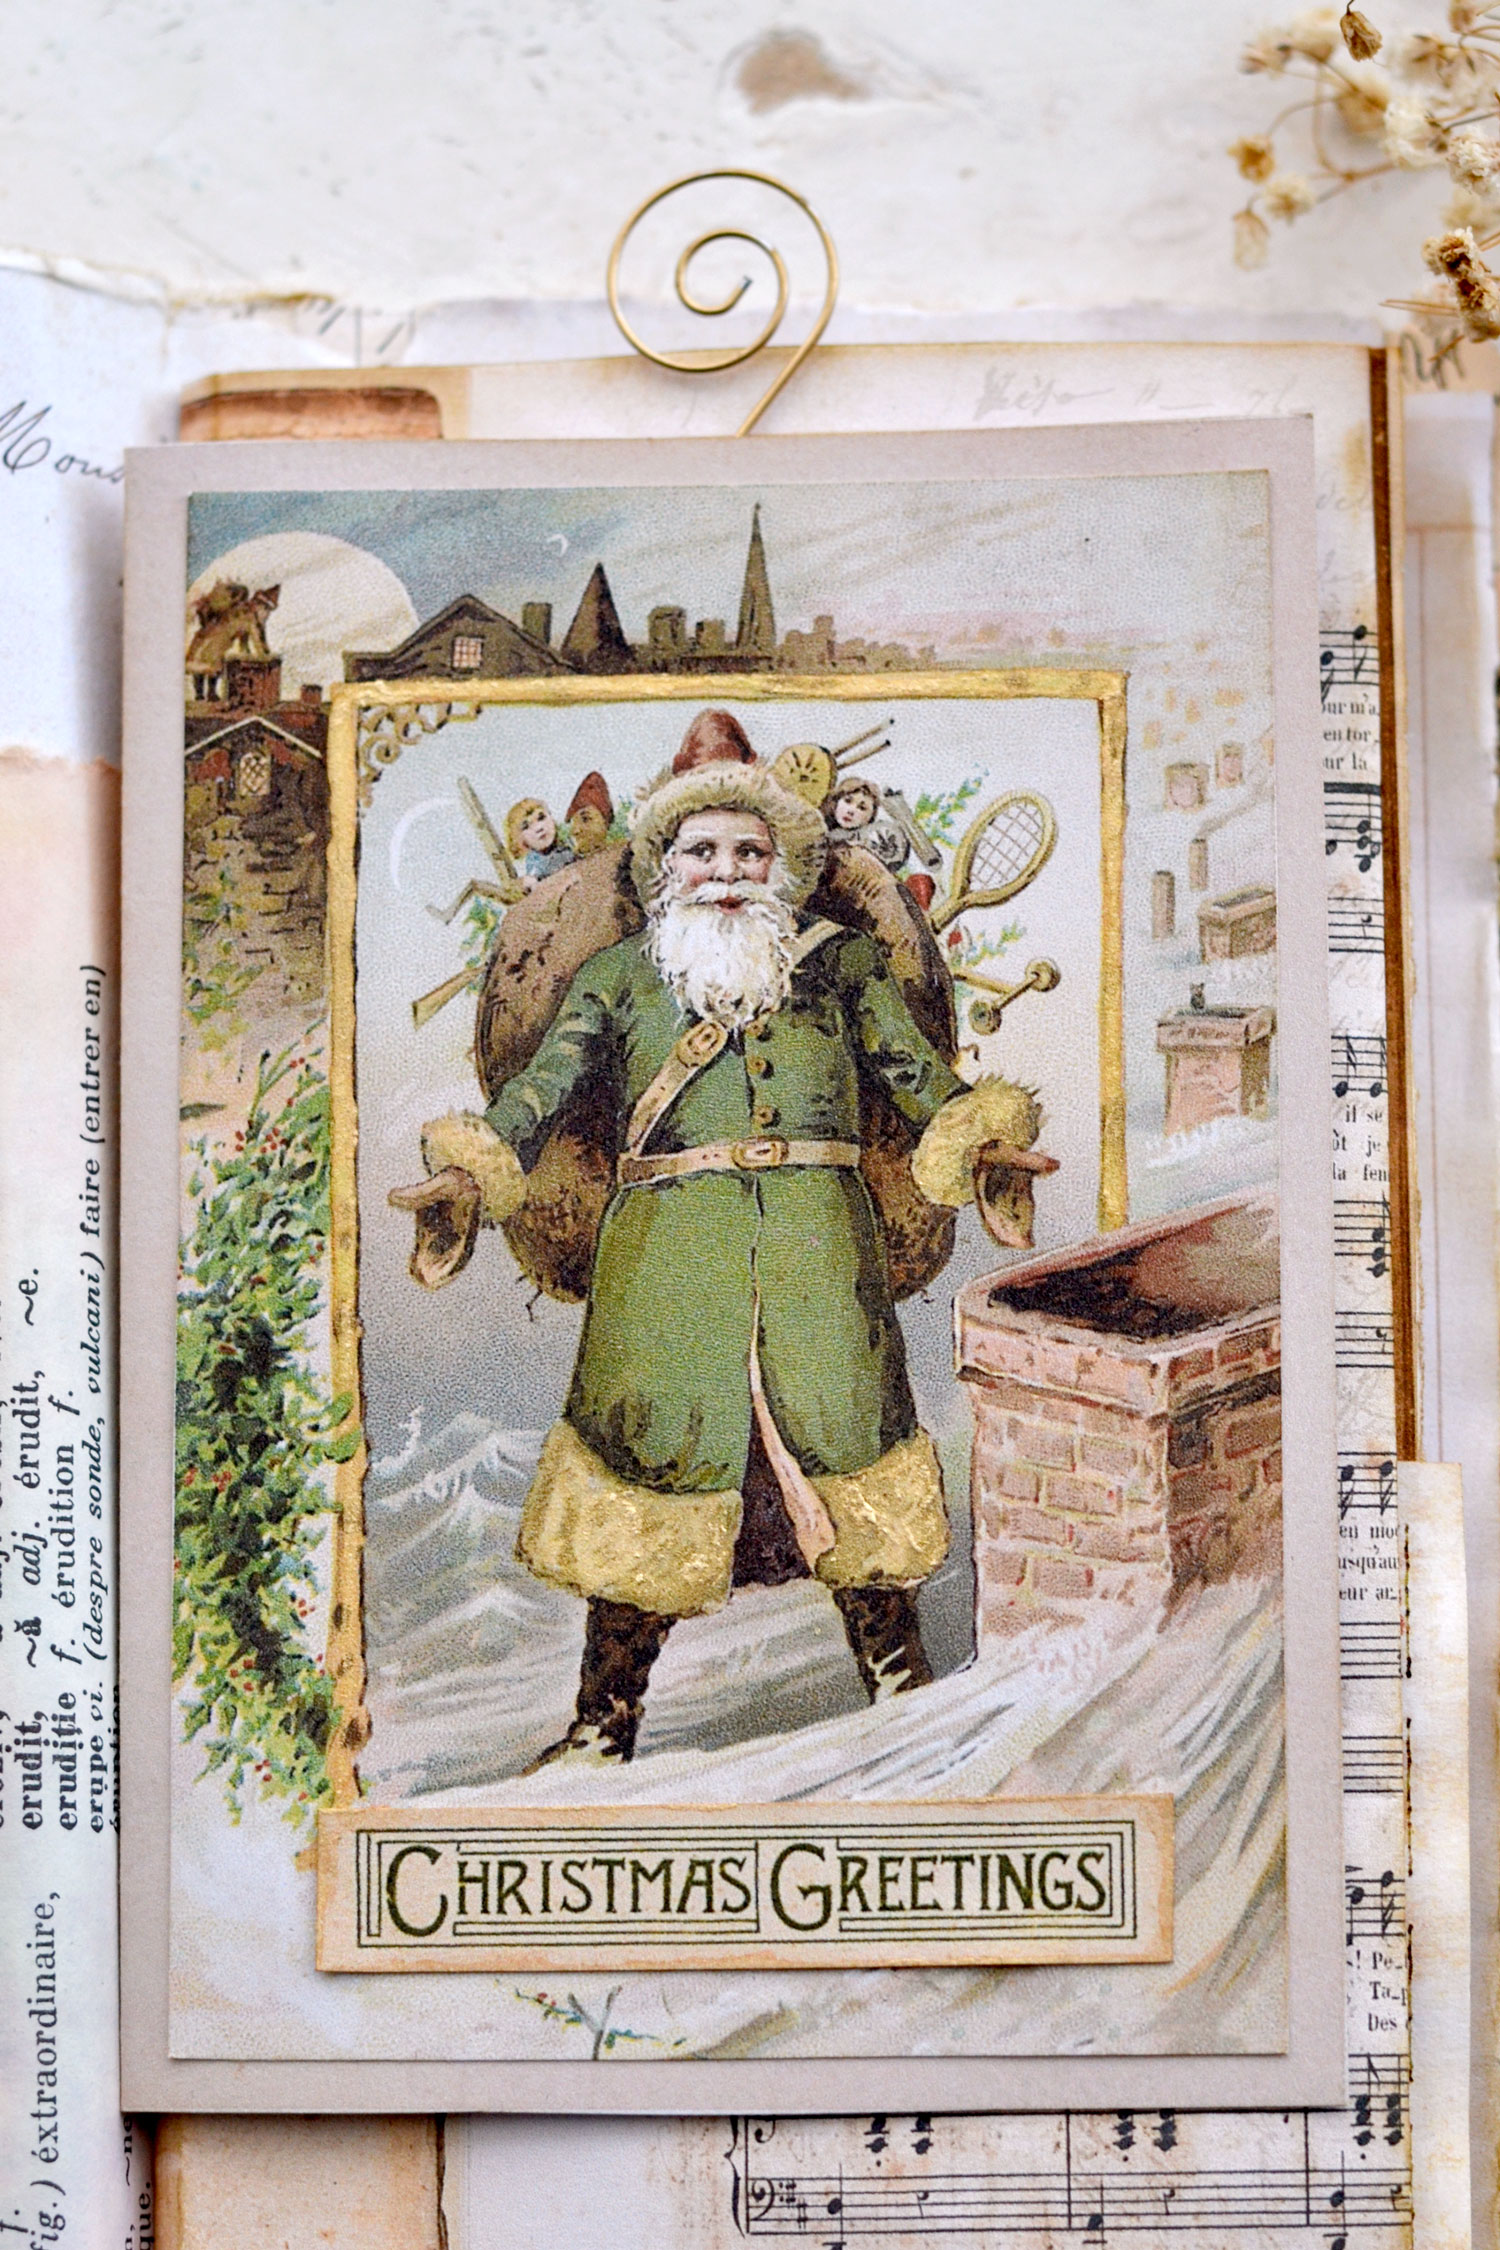
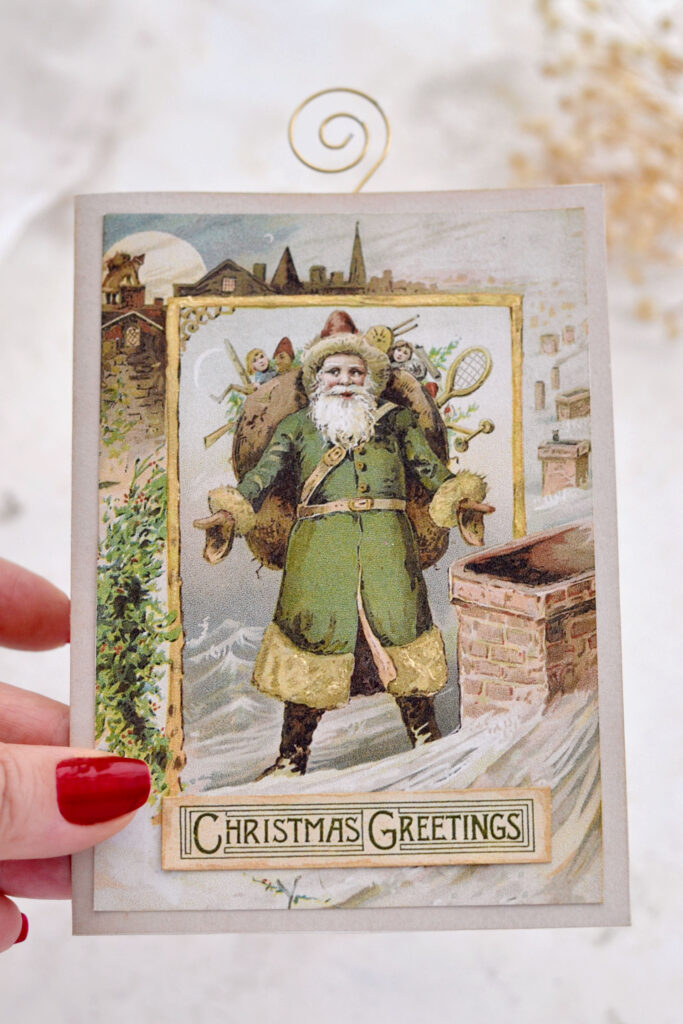
On this one, I painted the frame and as you can see, I tried not to completely cover the details of the frame, I still kept some of the shadows on the edges. I then painted the fur on the gloves, and finally, the bottom of the coat. On the coat, I tried to apply the paint using circular motions rather than just using regular brush strokes. This will also create a small raised effect that will create movement on our image.
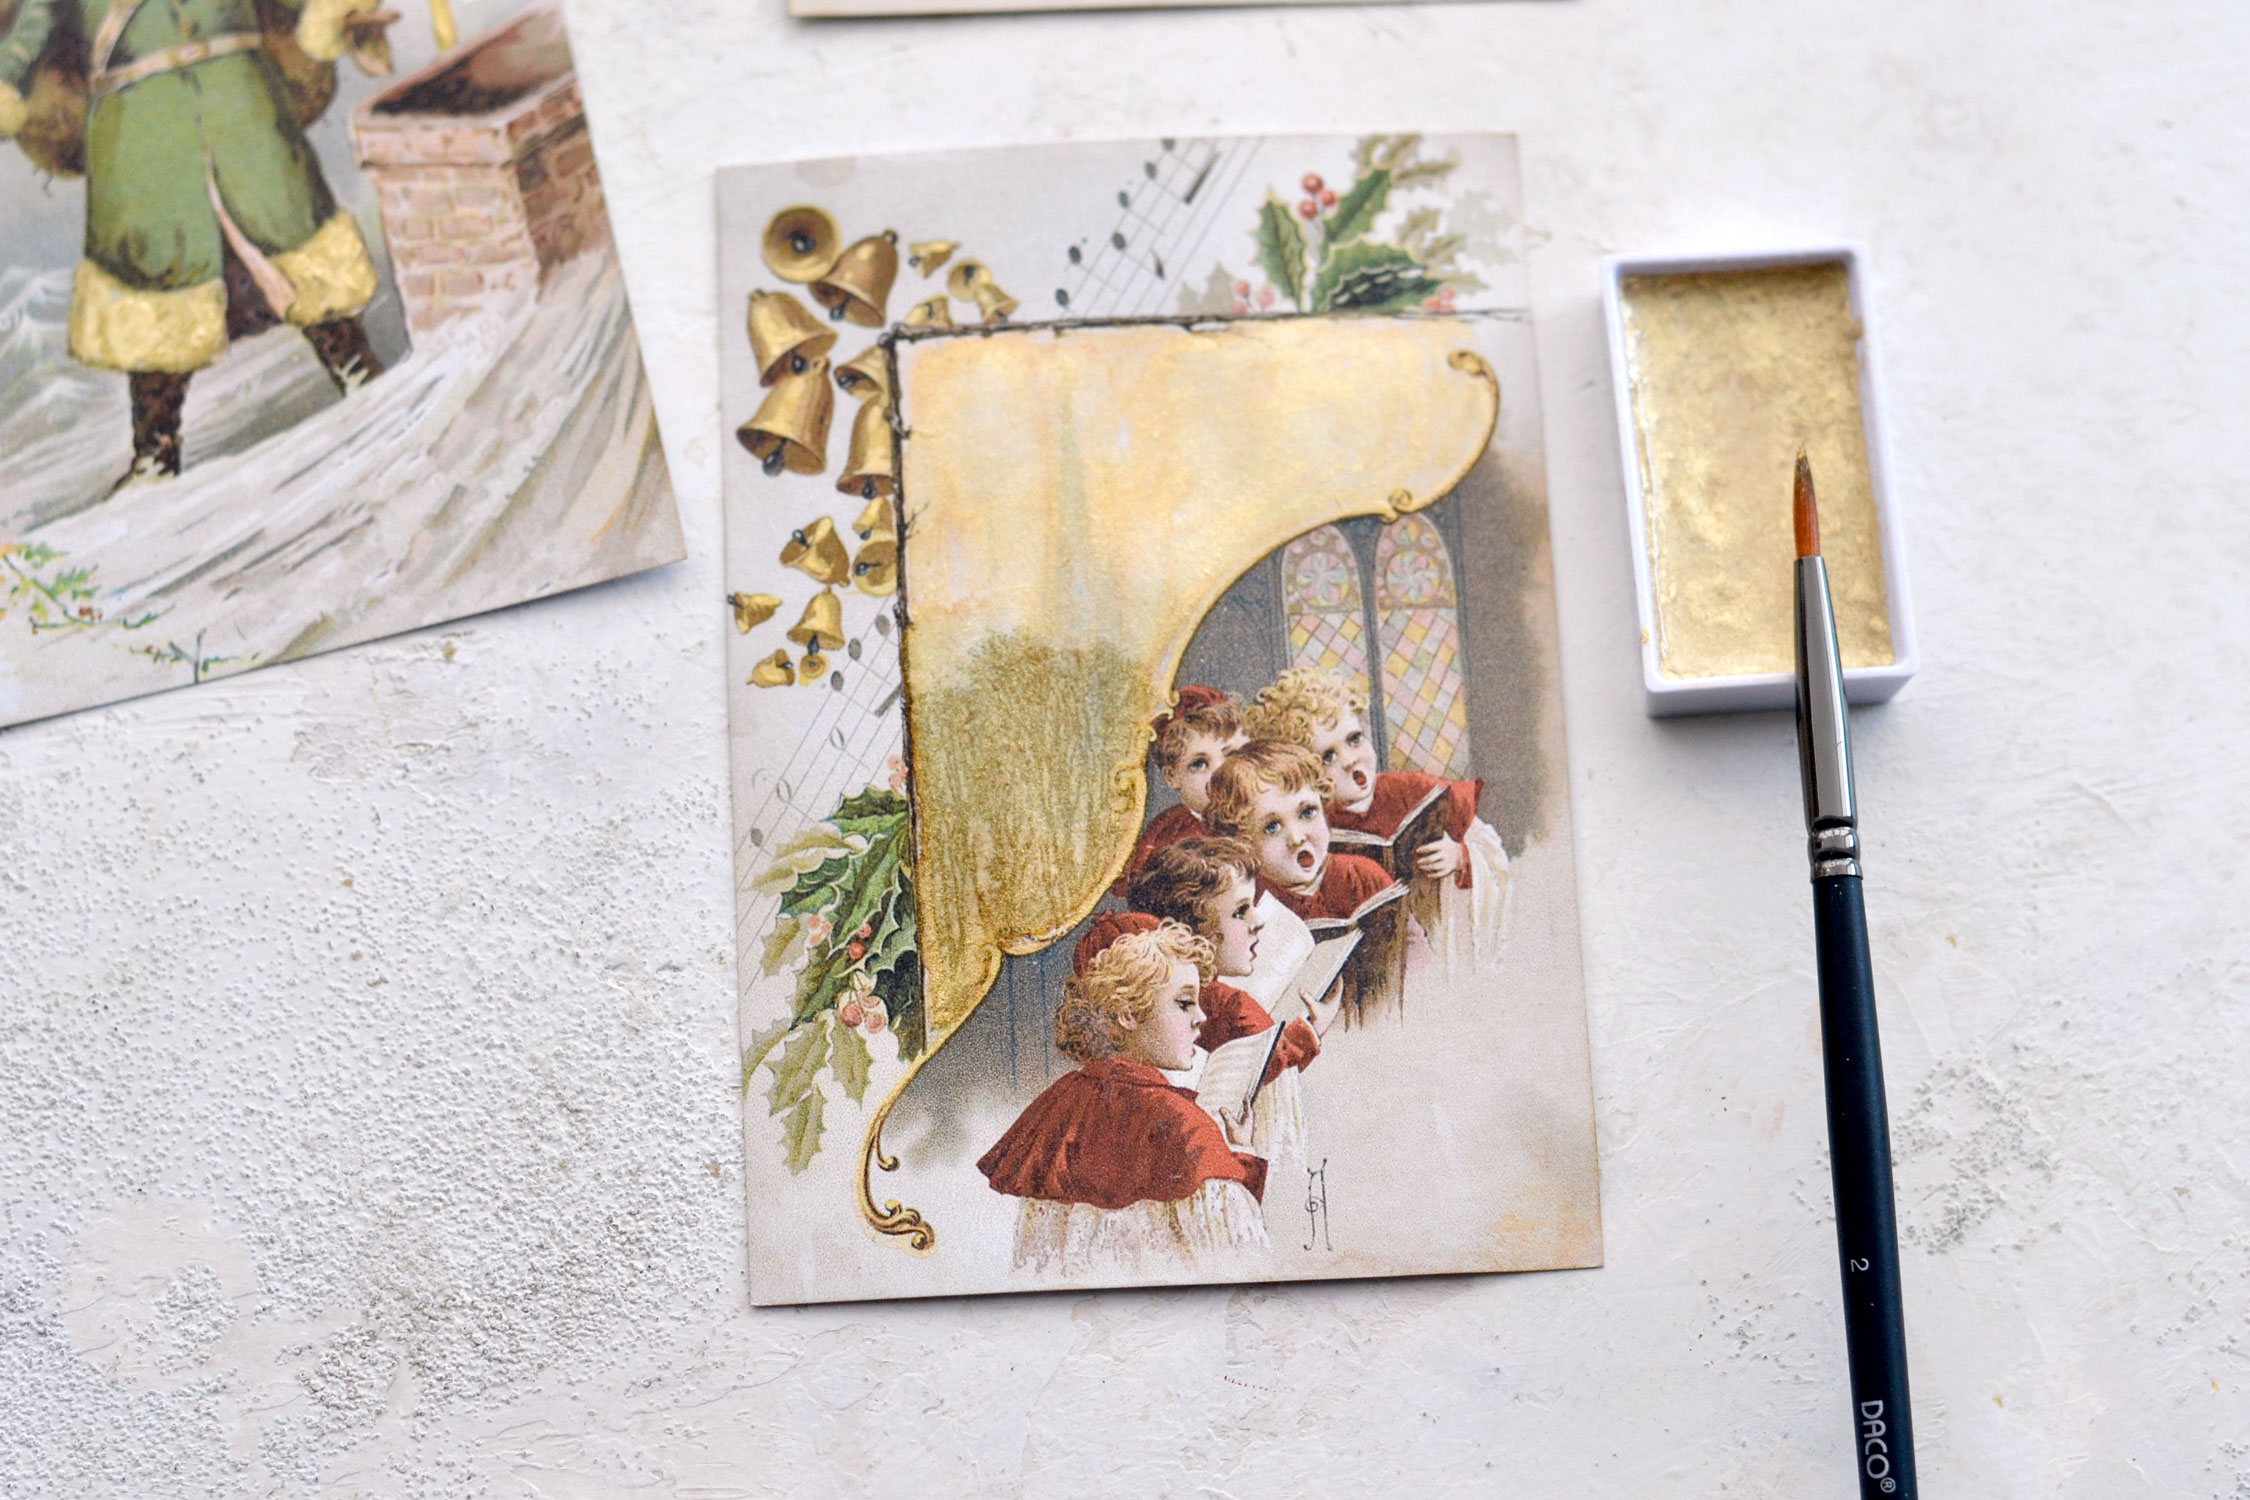
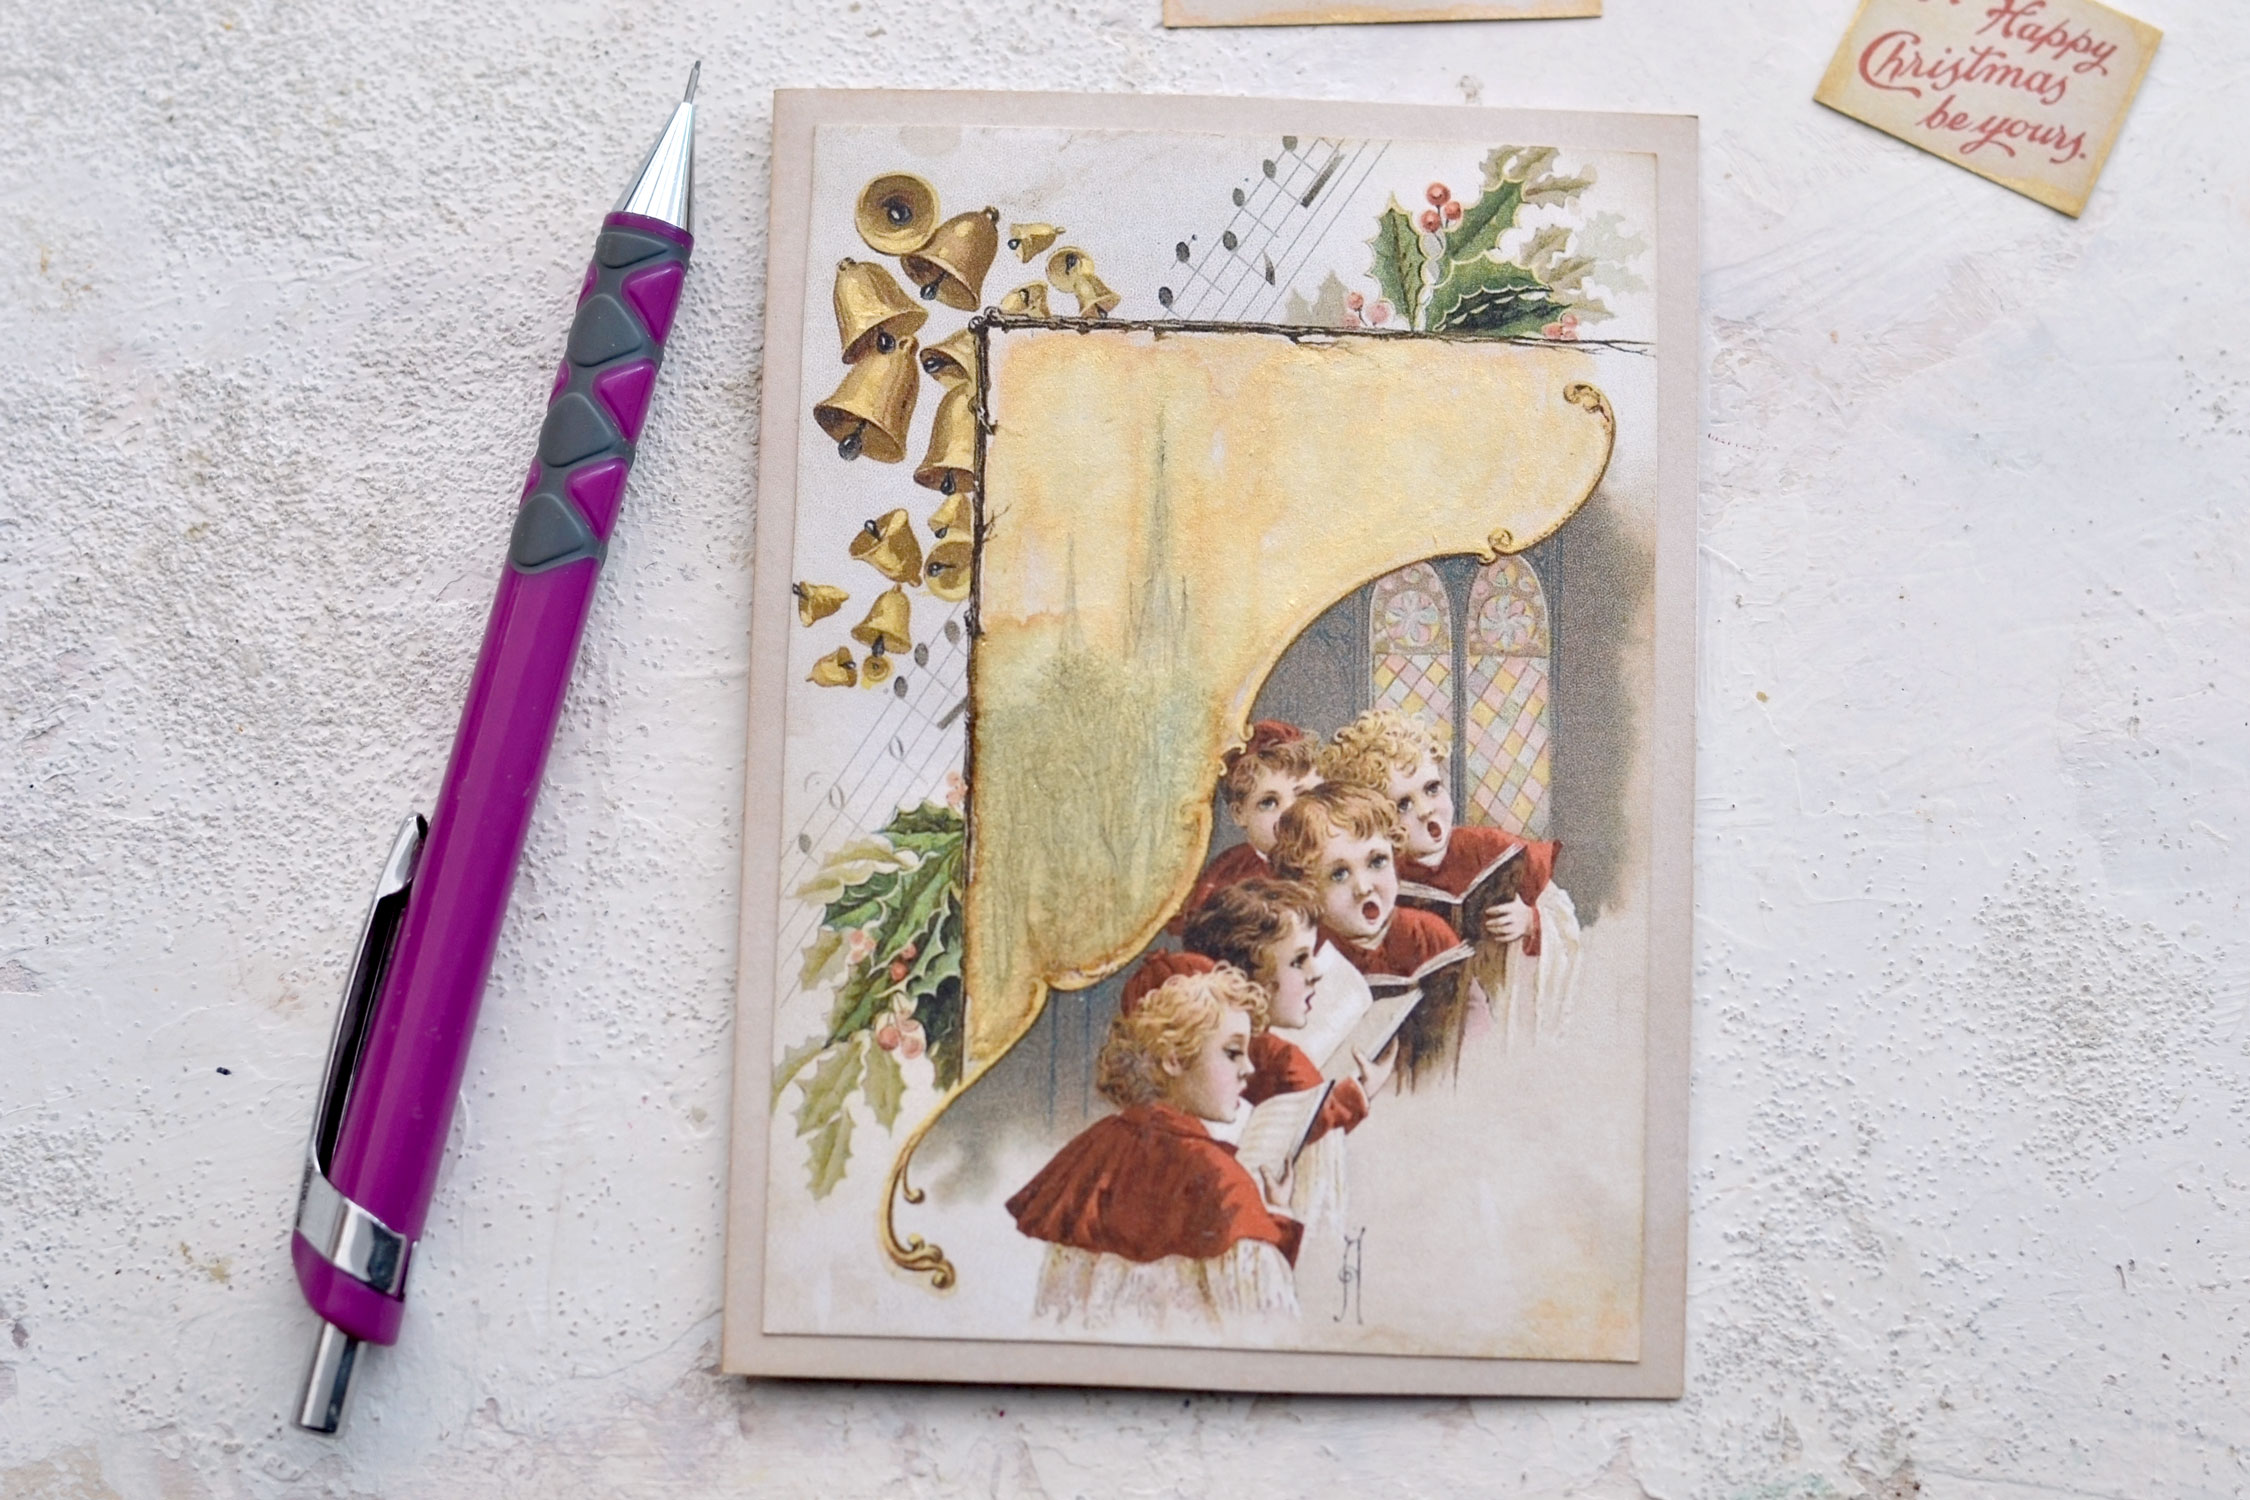
For the last one, I first painted the bells, but only on top of the areas that were lighter in color because I didn’t want to completely cover the shadows or ruin the design.
I moved on to painting the decorative edge and then I filled all the area on top of the boys. I might have added a little bit too much paint at this point, so I tried to pick it up using some clean water. You can usually do that with watercolors, especially if you are using watercolor paper, but it was not the case here and I tried to limit the water amount so that the paper doesn’t warp too much.
I let the paper dry completely and then I used a mechanical pencil to highlight some of the details that were covered by the paint. It worked like a charm!
It was only at this point that I remembered about the small cutouts with the Christmas wishes, so I just fished them out from my scrap pieces bowl and cut them.
Use a little bit of distress ink to distress them and use your brush (or your finger) to add a touch of gold here and there if you want.
You can use regular paper glue to adhere the Christmas cutouts to your cards or use some double-sided foam tape, as I did. My tape was not too thick so I only got a small raised effect, but it really depends on the tape that you use.
As a final step, you can choose to use some Christmas ornament hooks as I did and turn them into lovely embellishments for your cards.
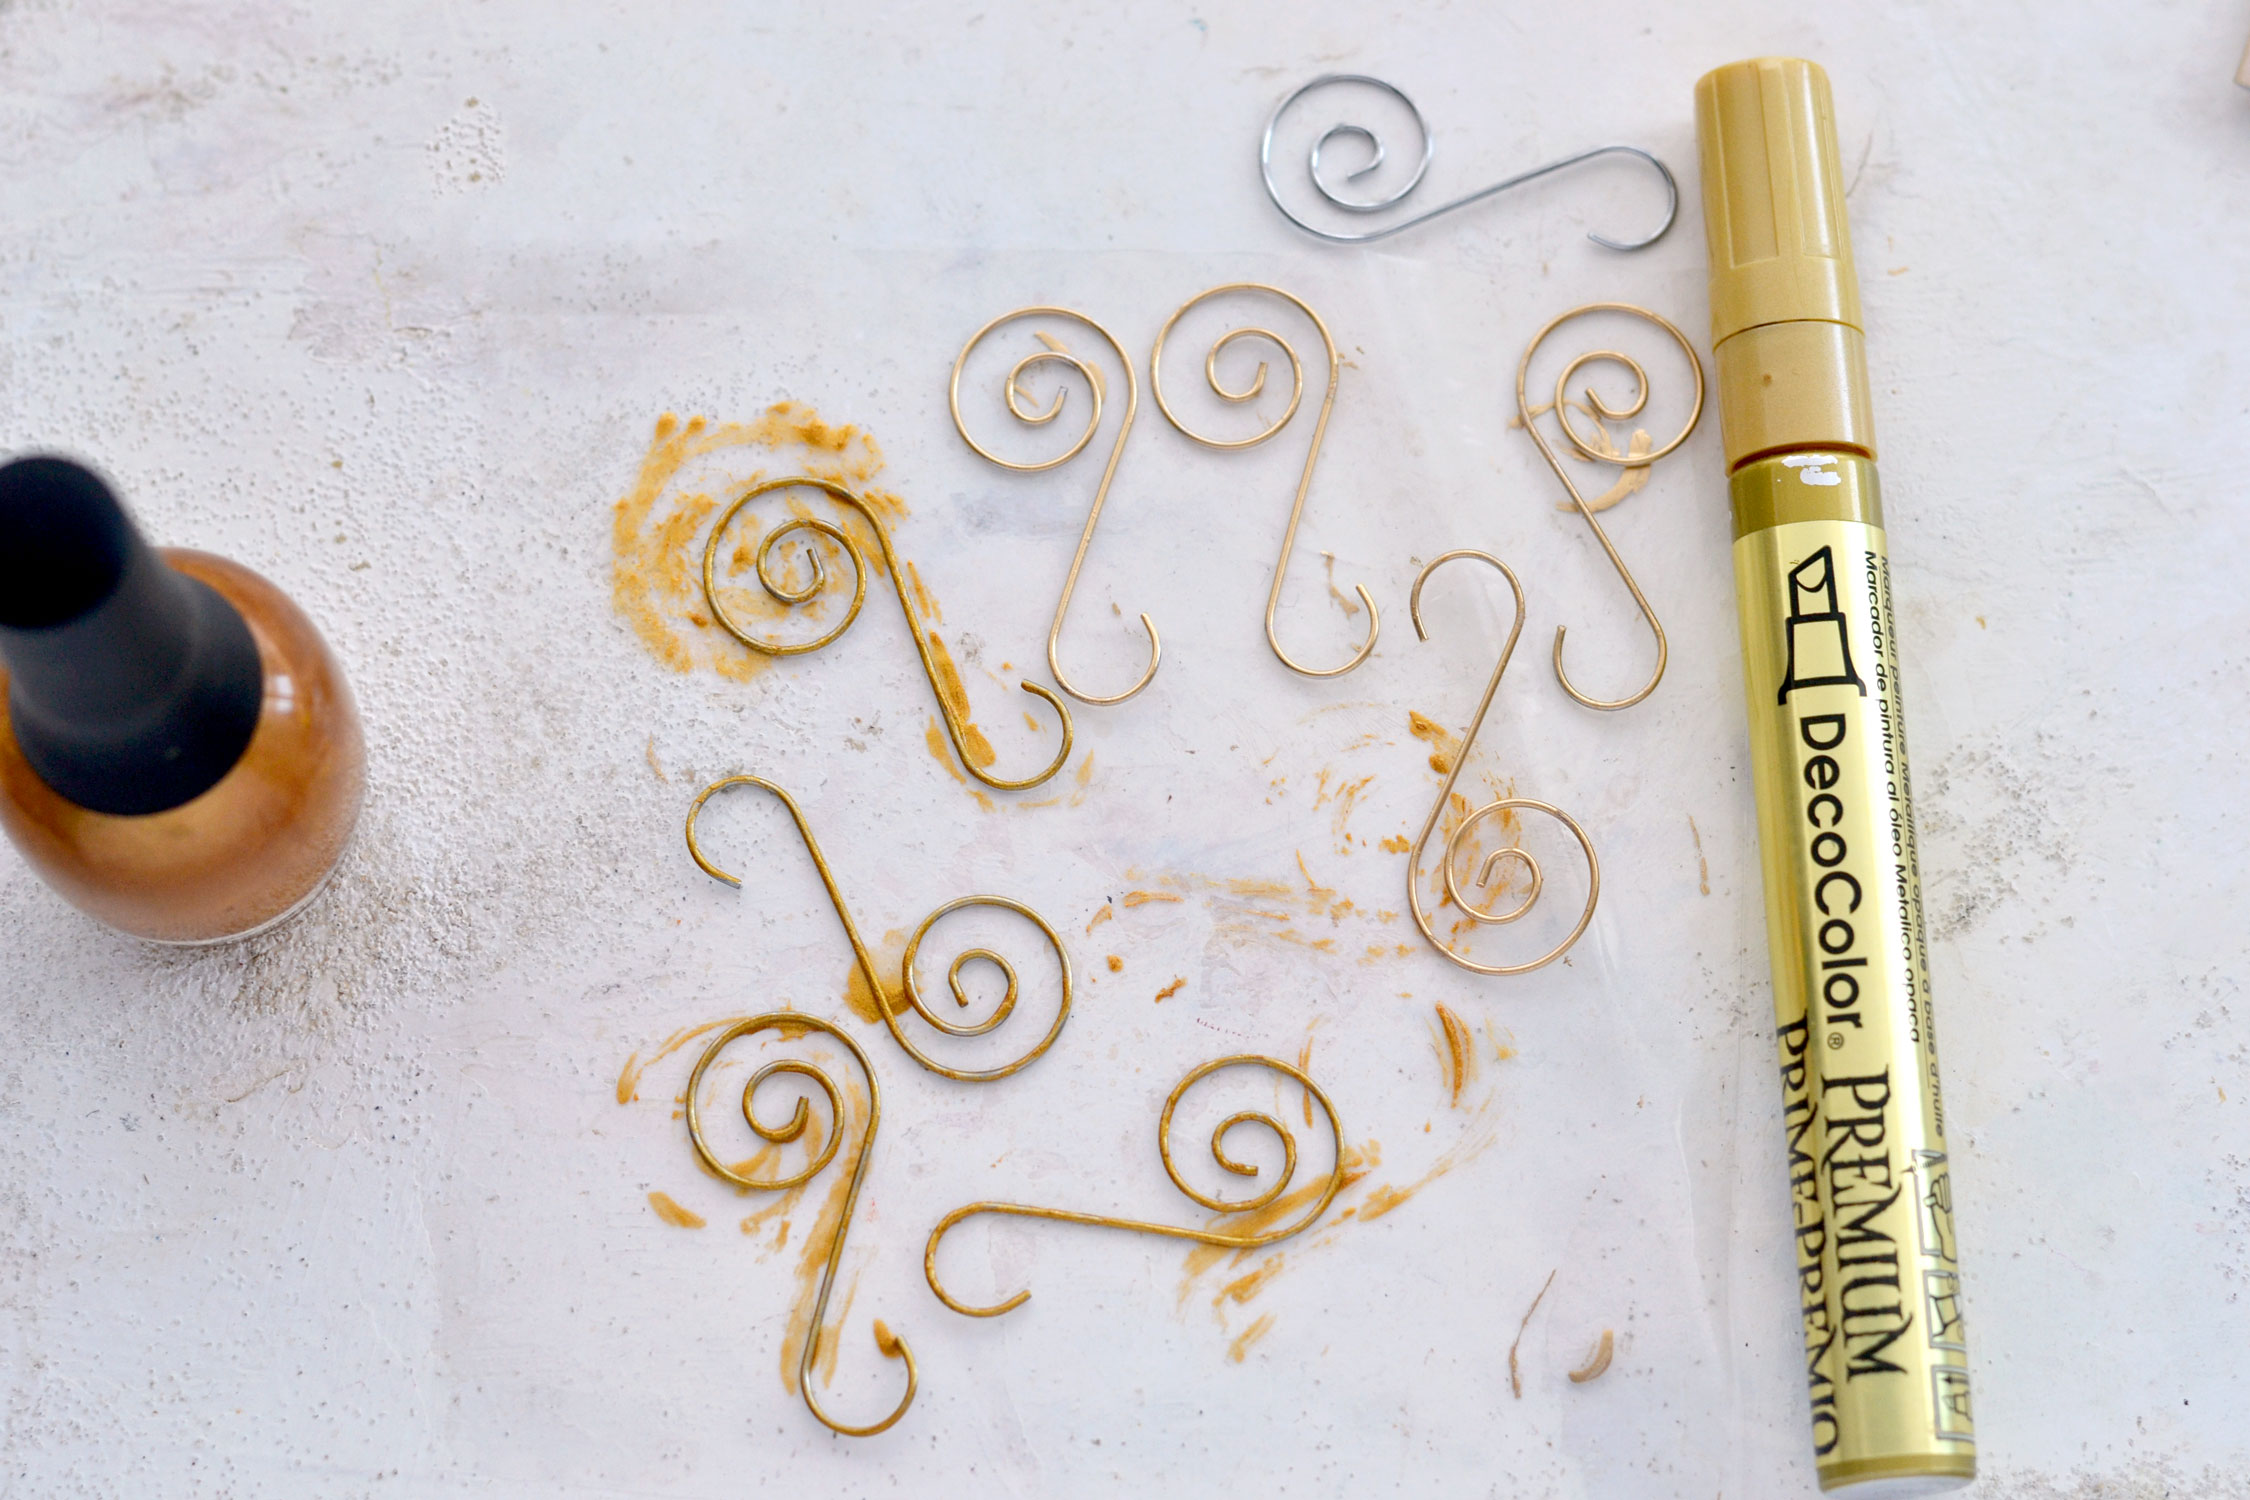
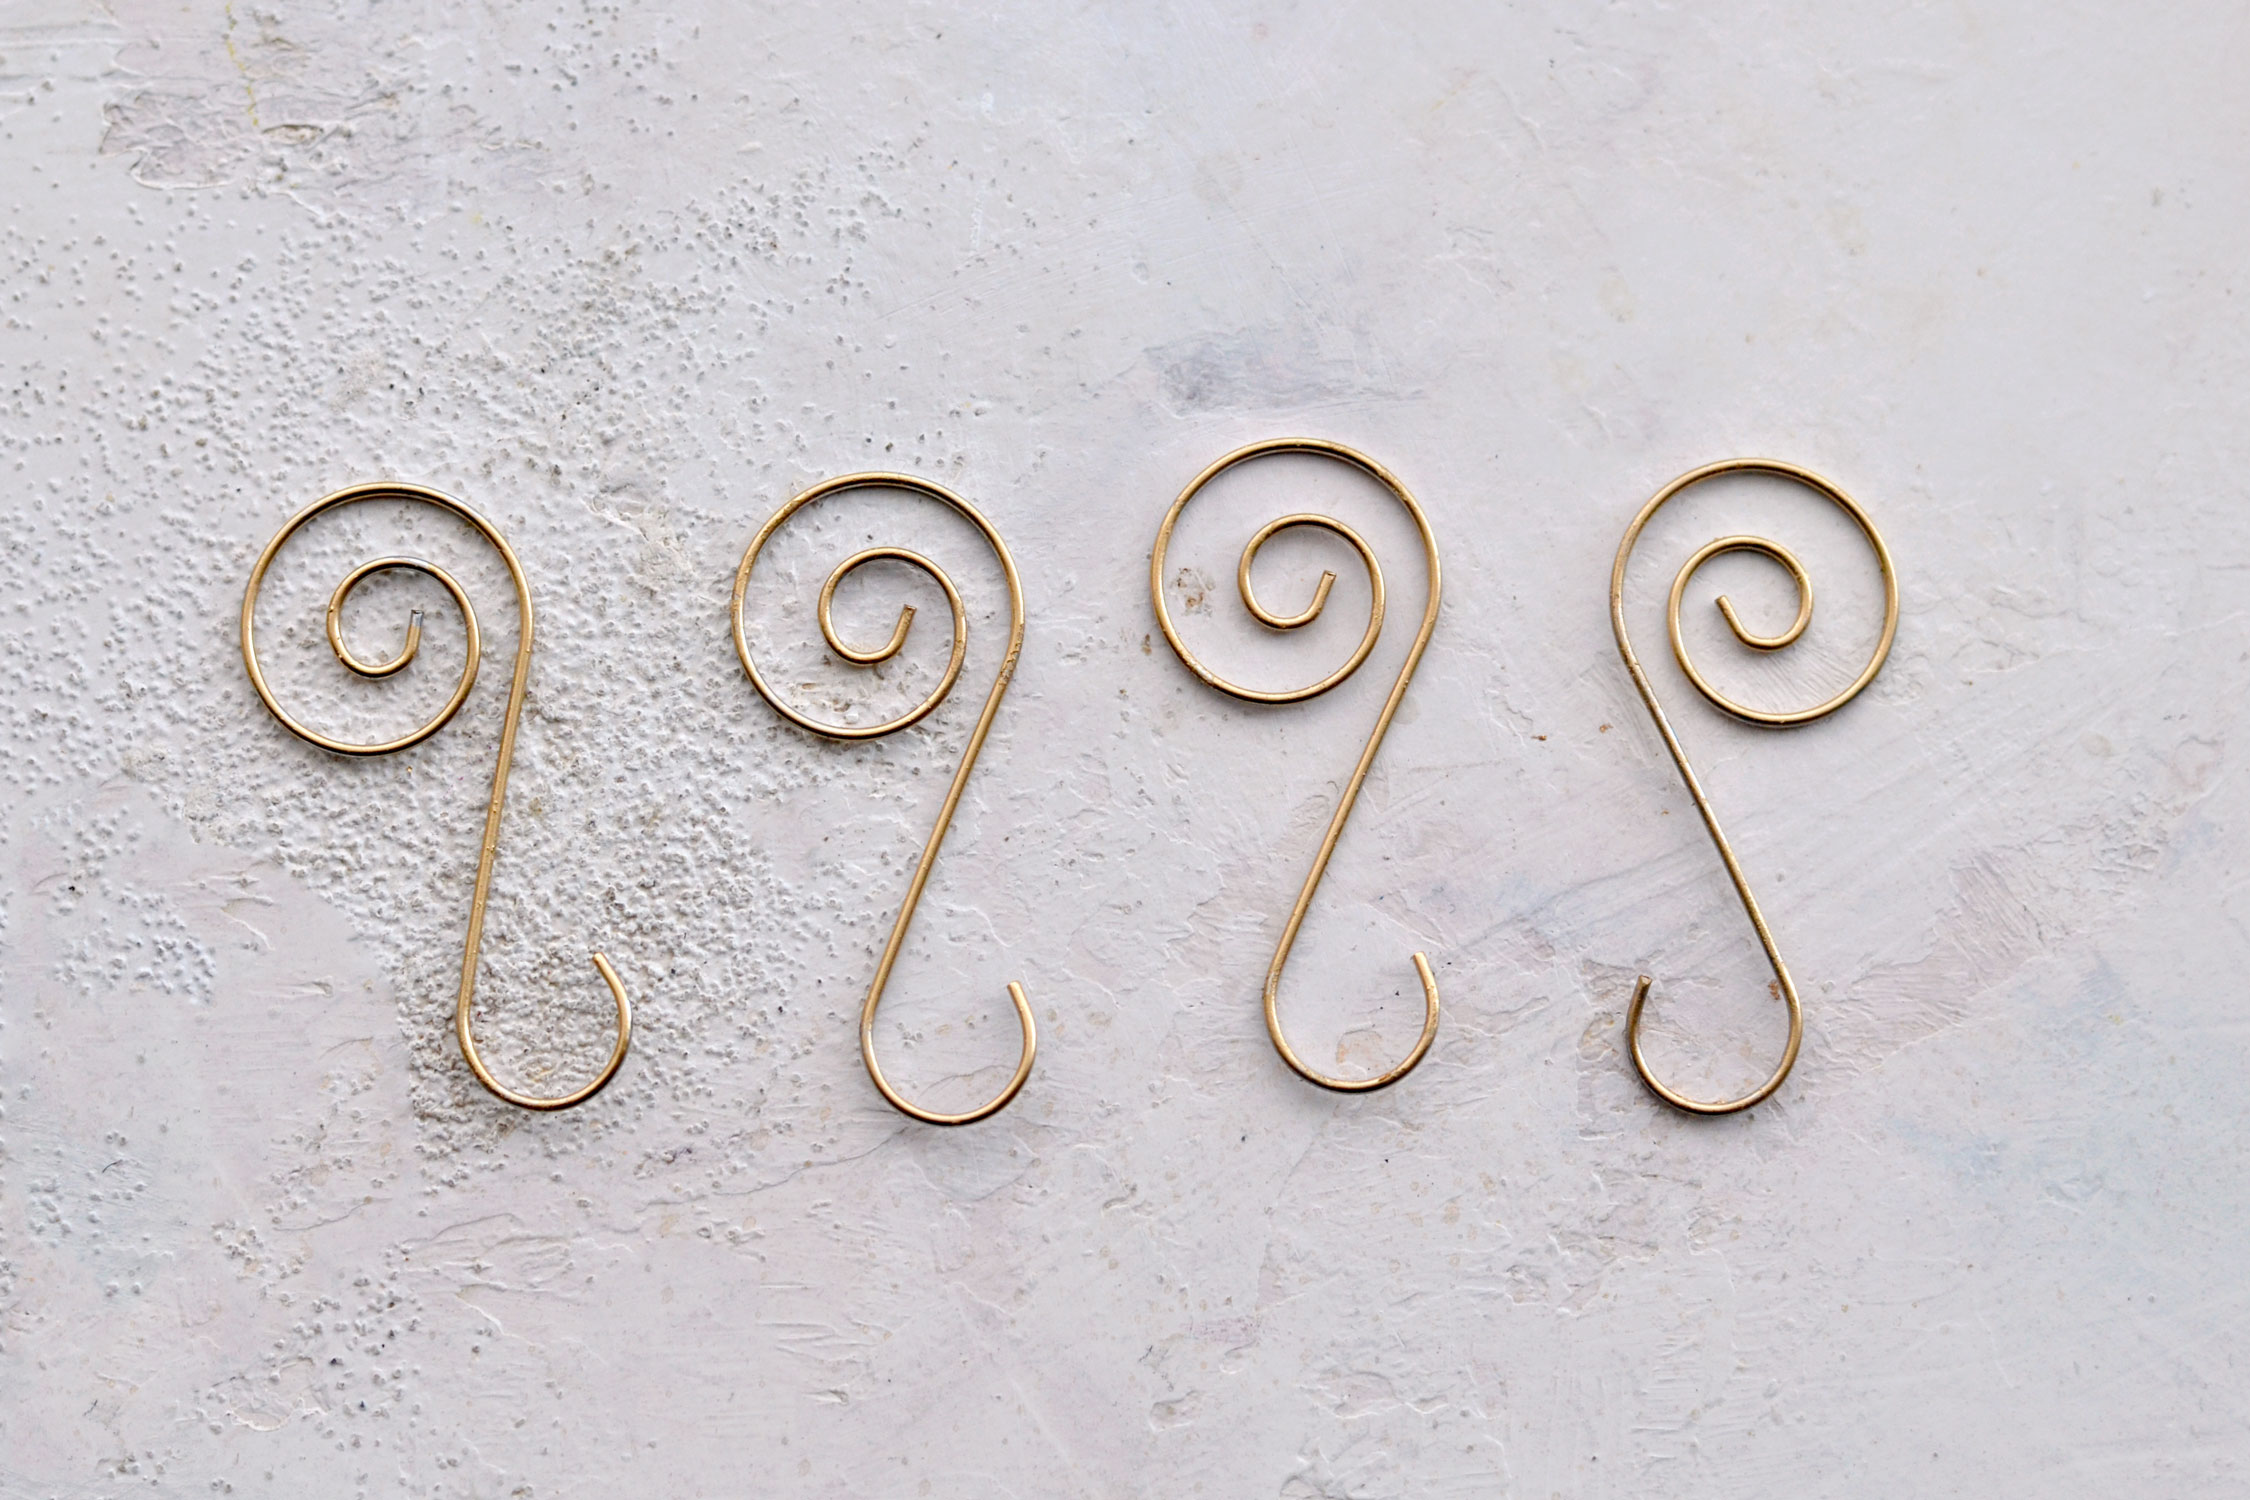
I placed a small scrap piece from a clear packaging on my table to protect the surface, and then I placed the hooks on top. I initially tried to use some gold nail polish (the hooks on the left) but this improvised paint was a little bit too thick and created uneven strokes on the metal. Then I had the idea of trying my trusted friend, the Decocolor gold marker and guess what? It worked! You can check the hooks on the right, they are painted with the gold marker.
I did leave an unpainted hook on top just so you can see how it initially looked.
I love how these turned out and the fact they were gilded in about 10 seconds is definitely a plus! The gold marker dried almost instantly and I was able to flip them over and also paint the other side in no time!
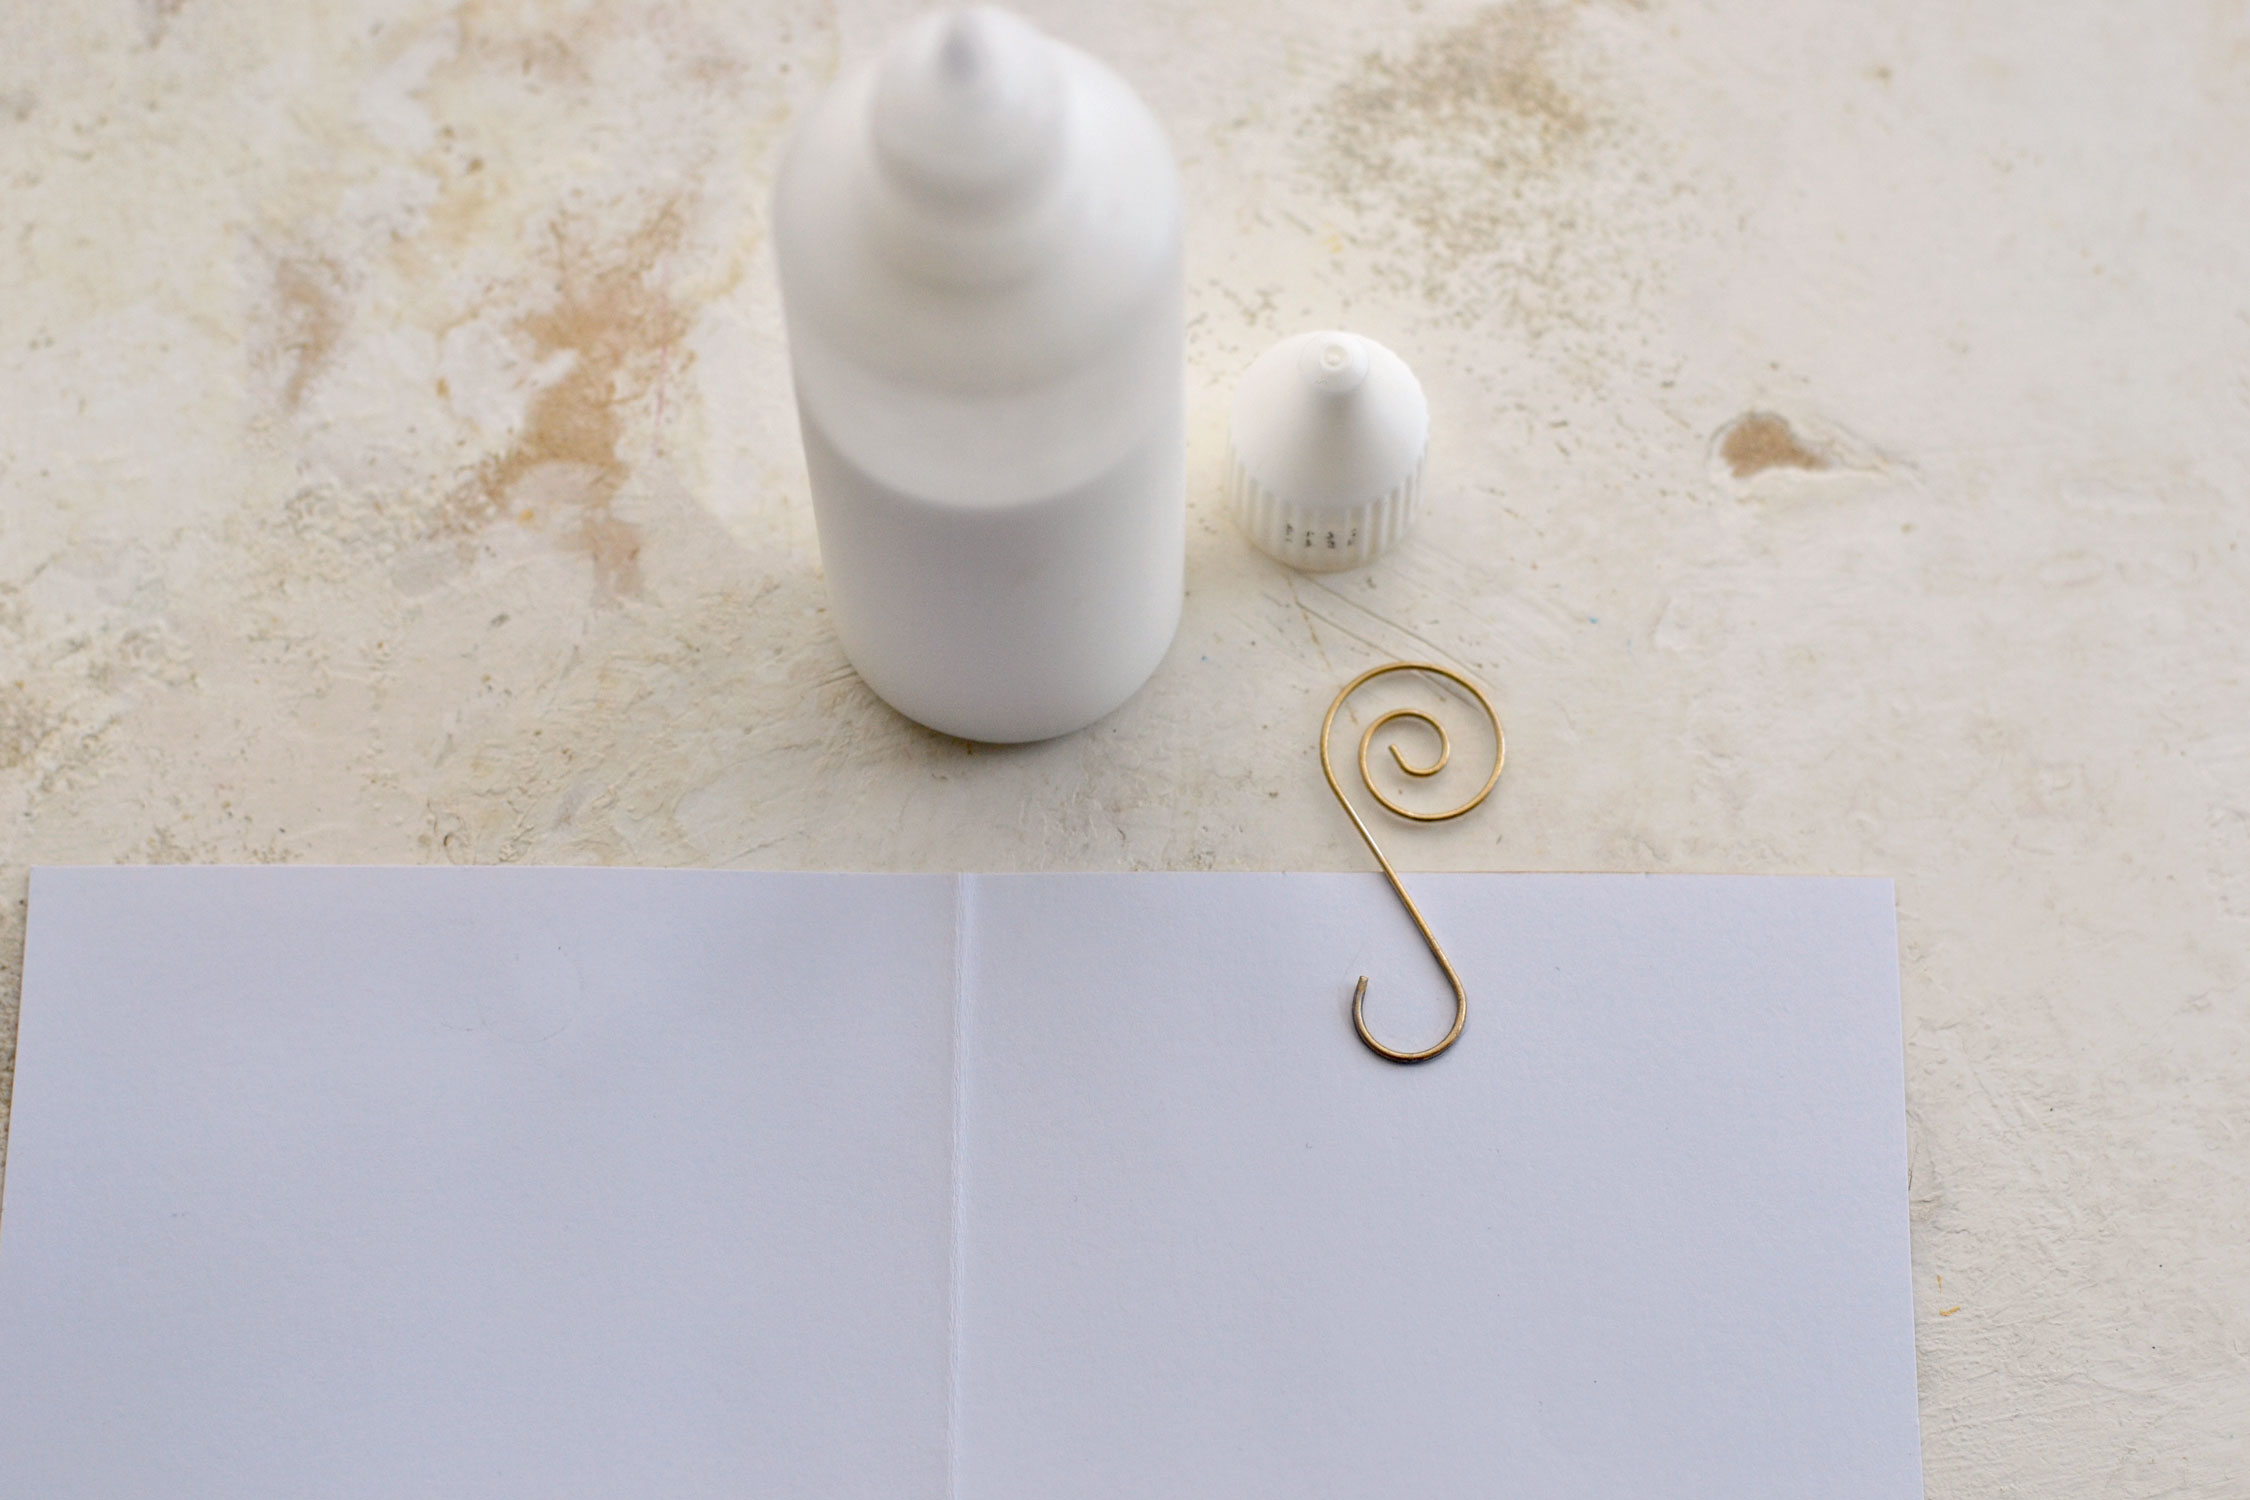
Then I applied a tiny bit of Mod Podge on the hooks and glued them to the inside of the cards. You might need to flatten the end of your hooks for better adherence if they are slightly bent, they won’t stick to your paper because the contact area is quite small.
I pressed them on the paper and let them dry completely on the table. I wasn’t sure if they would hold, but they did and the final results are really beautiful!
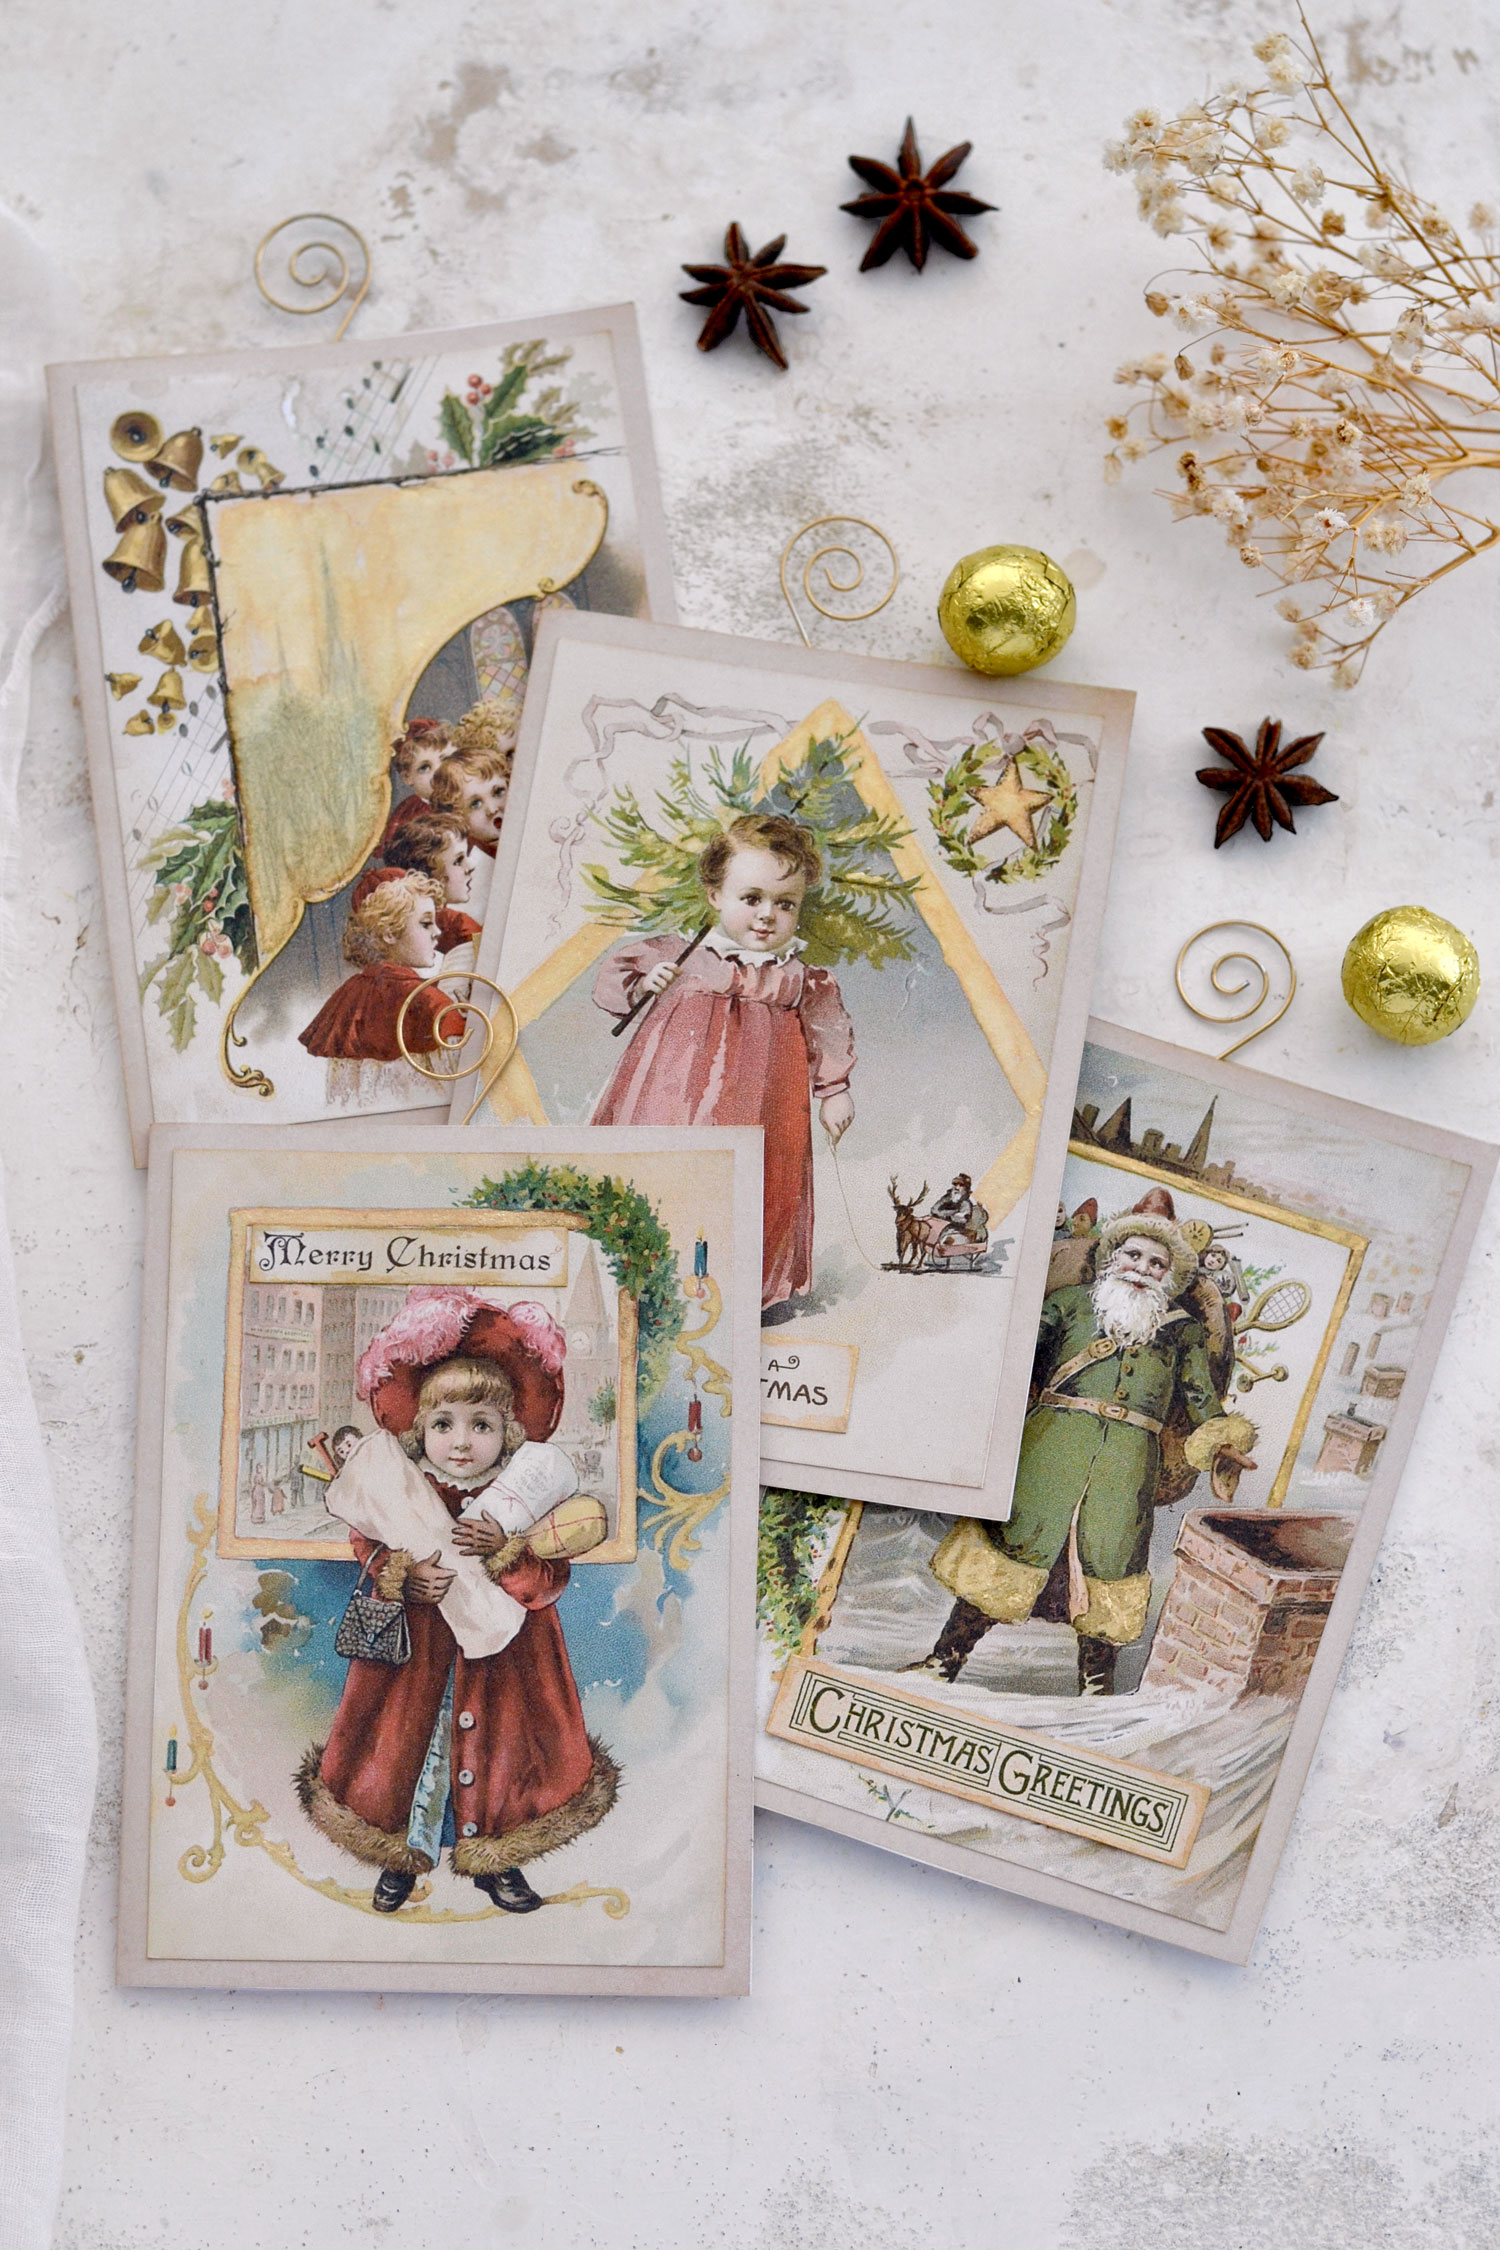
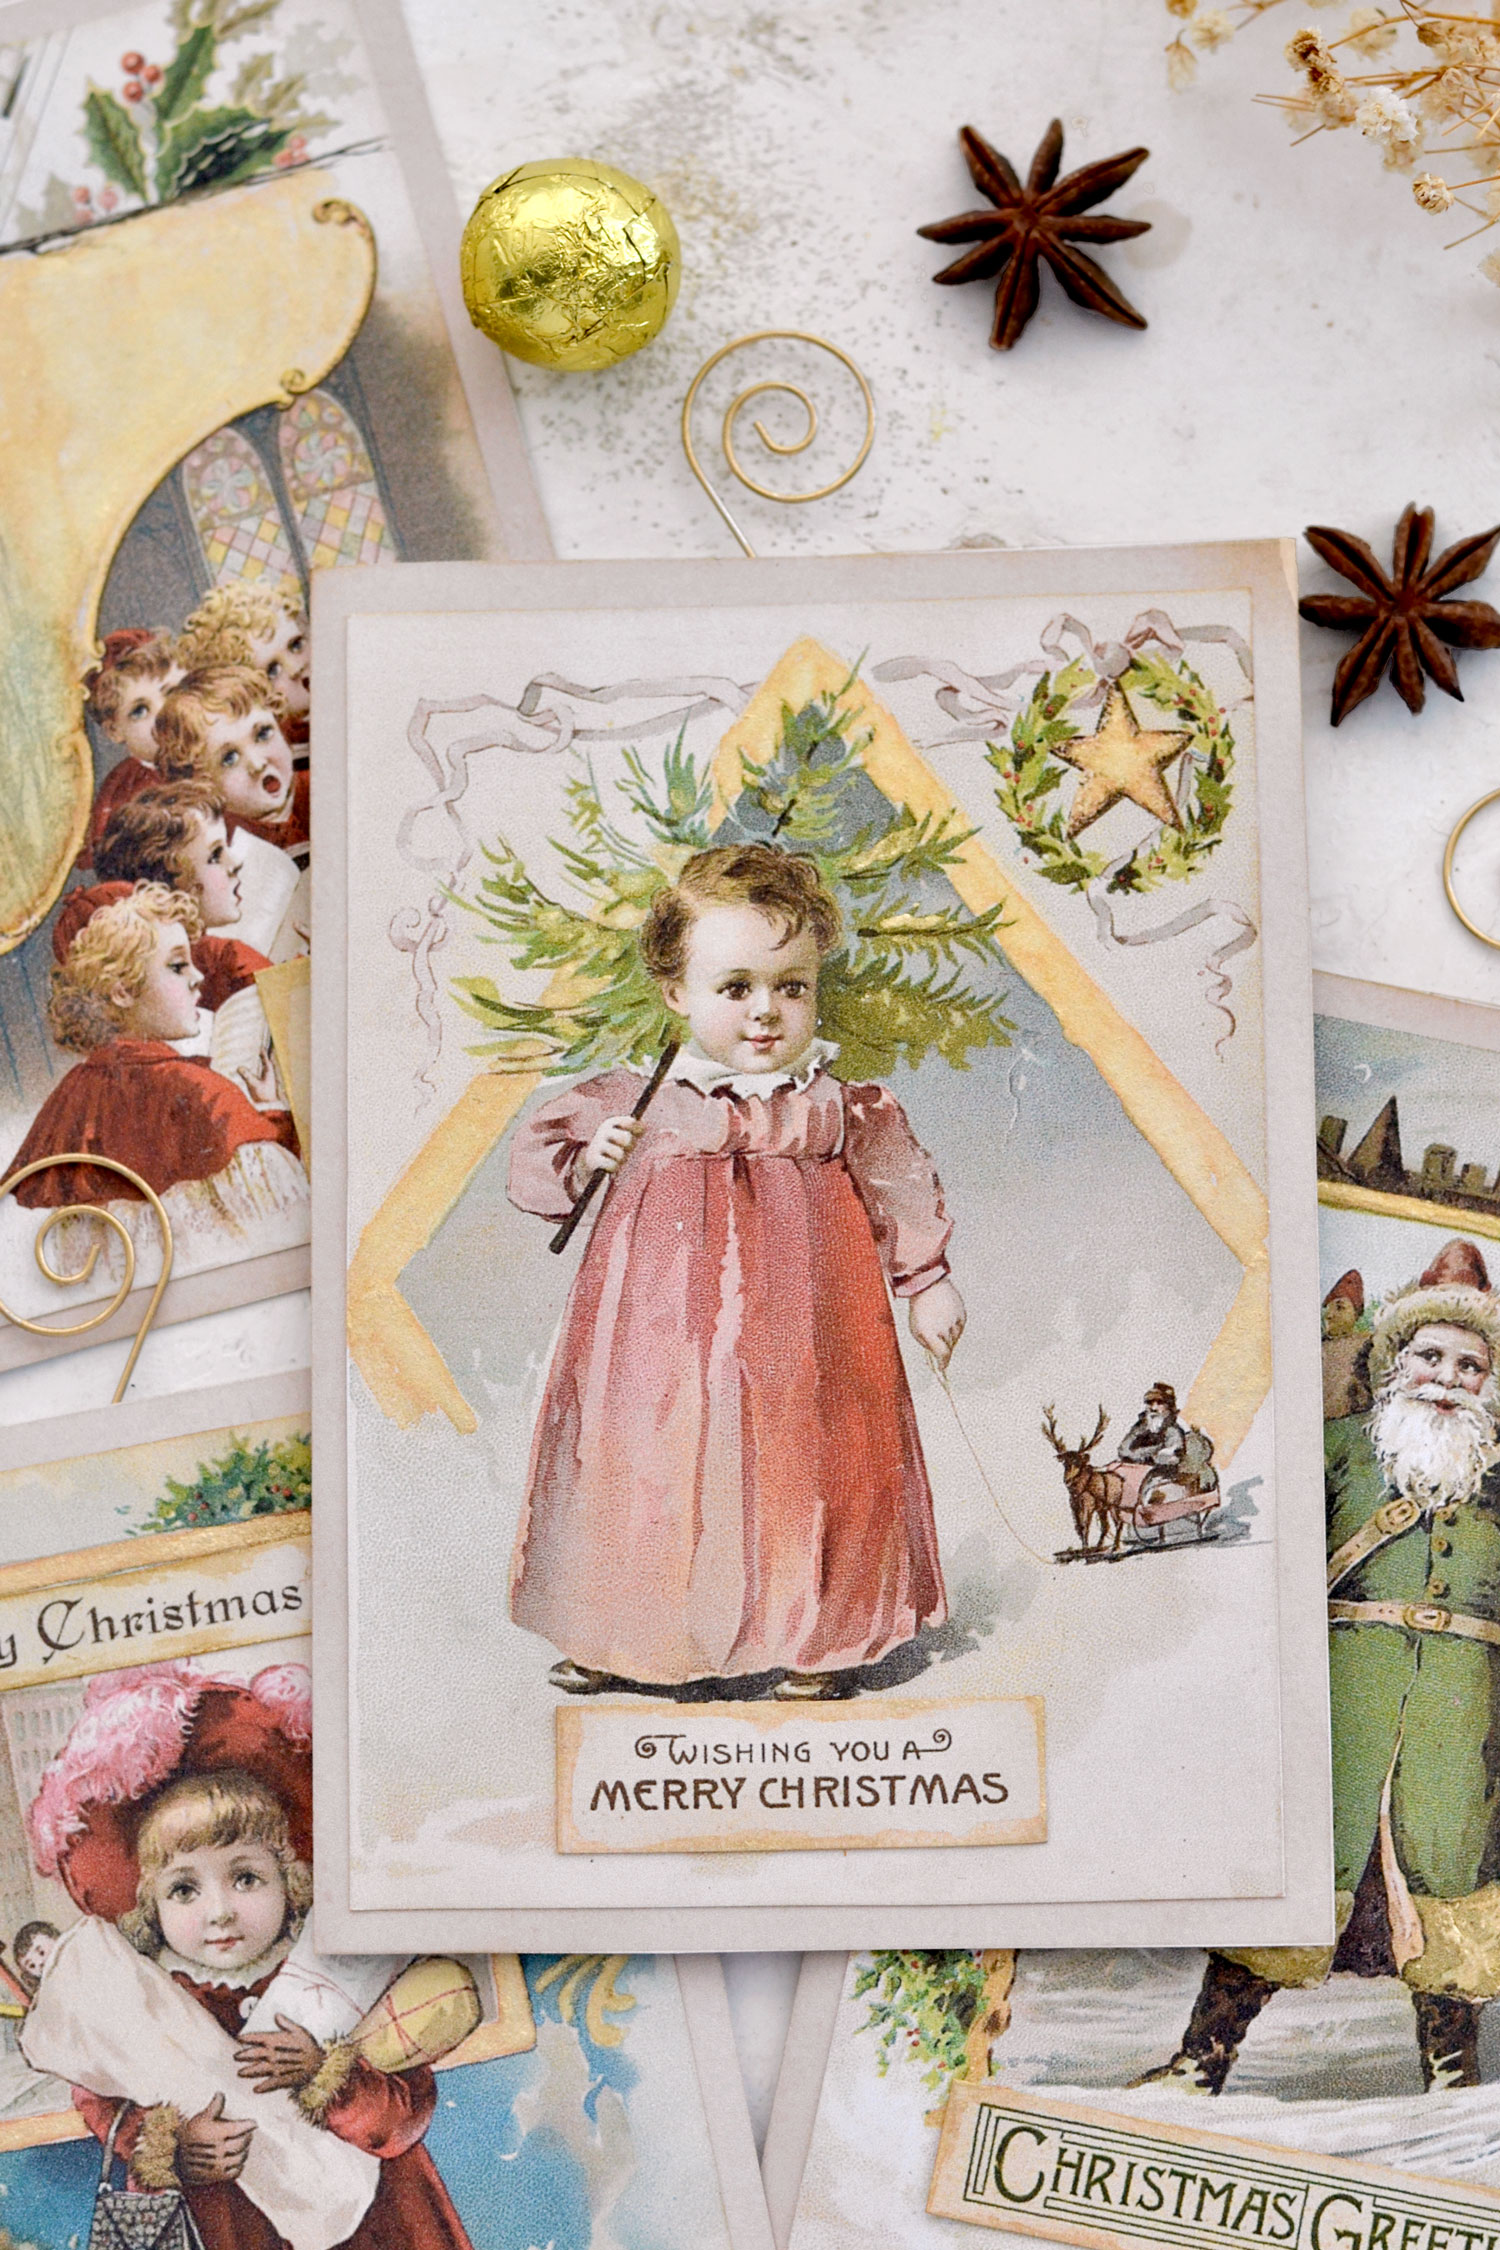
Your Vintage Christmas Cards are now ready to be admired, I love how gorgeous they all turned out!
I would say it’s all about the small details with these beauties, the subtle touches of gold take them to the next level. Especially when you tilt the paper and get different lighting effects.
Of course, you can include one of these in your Christmas-themed junk journal, they would look amazing if paired with sheet music and other scrap pieces of ephemera. 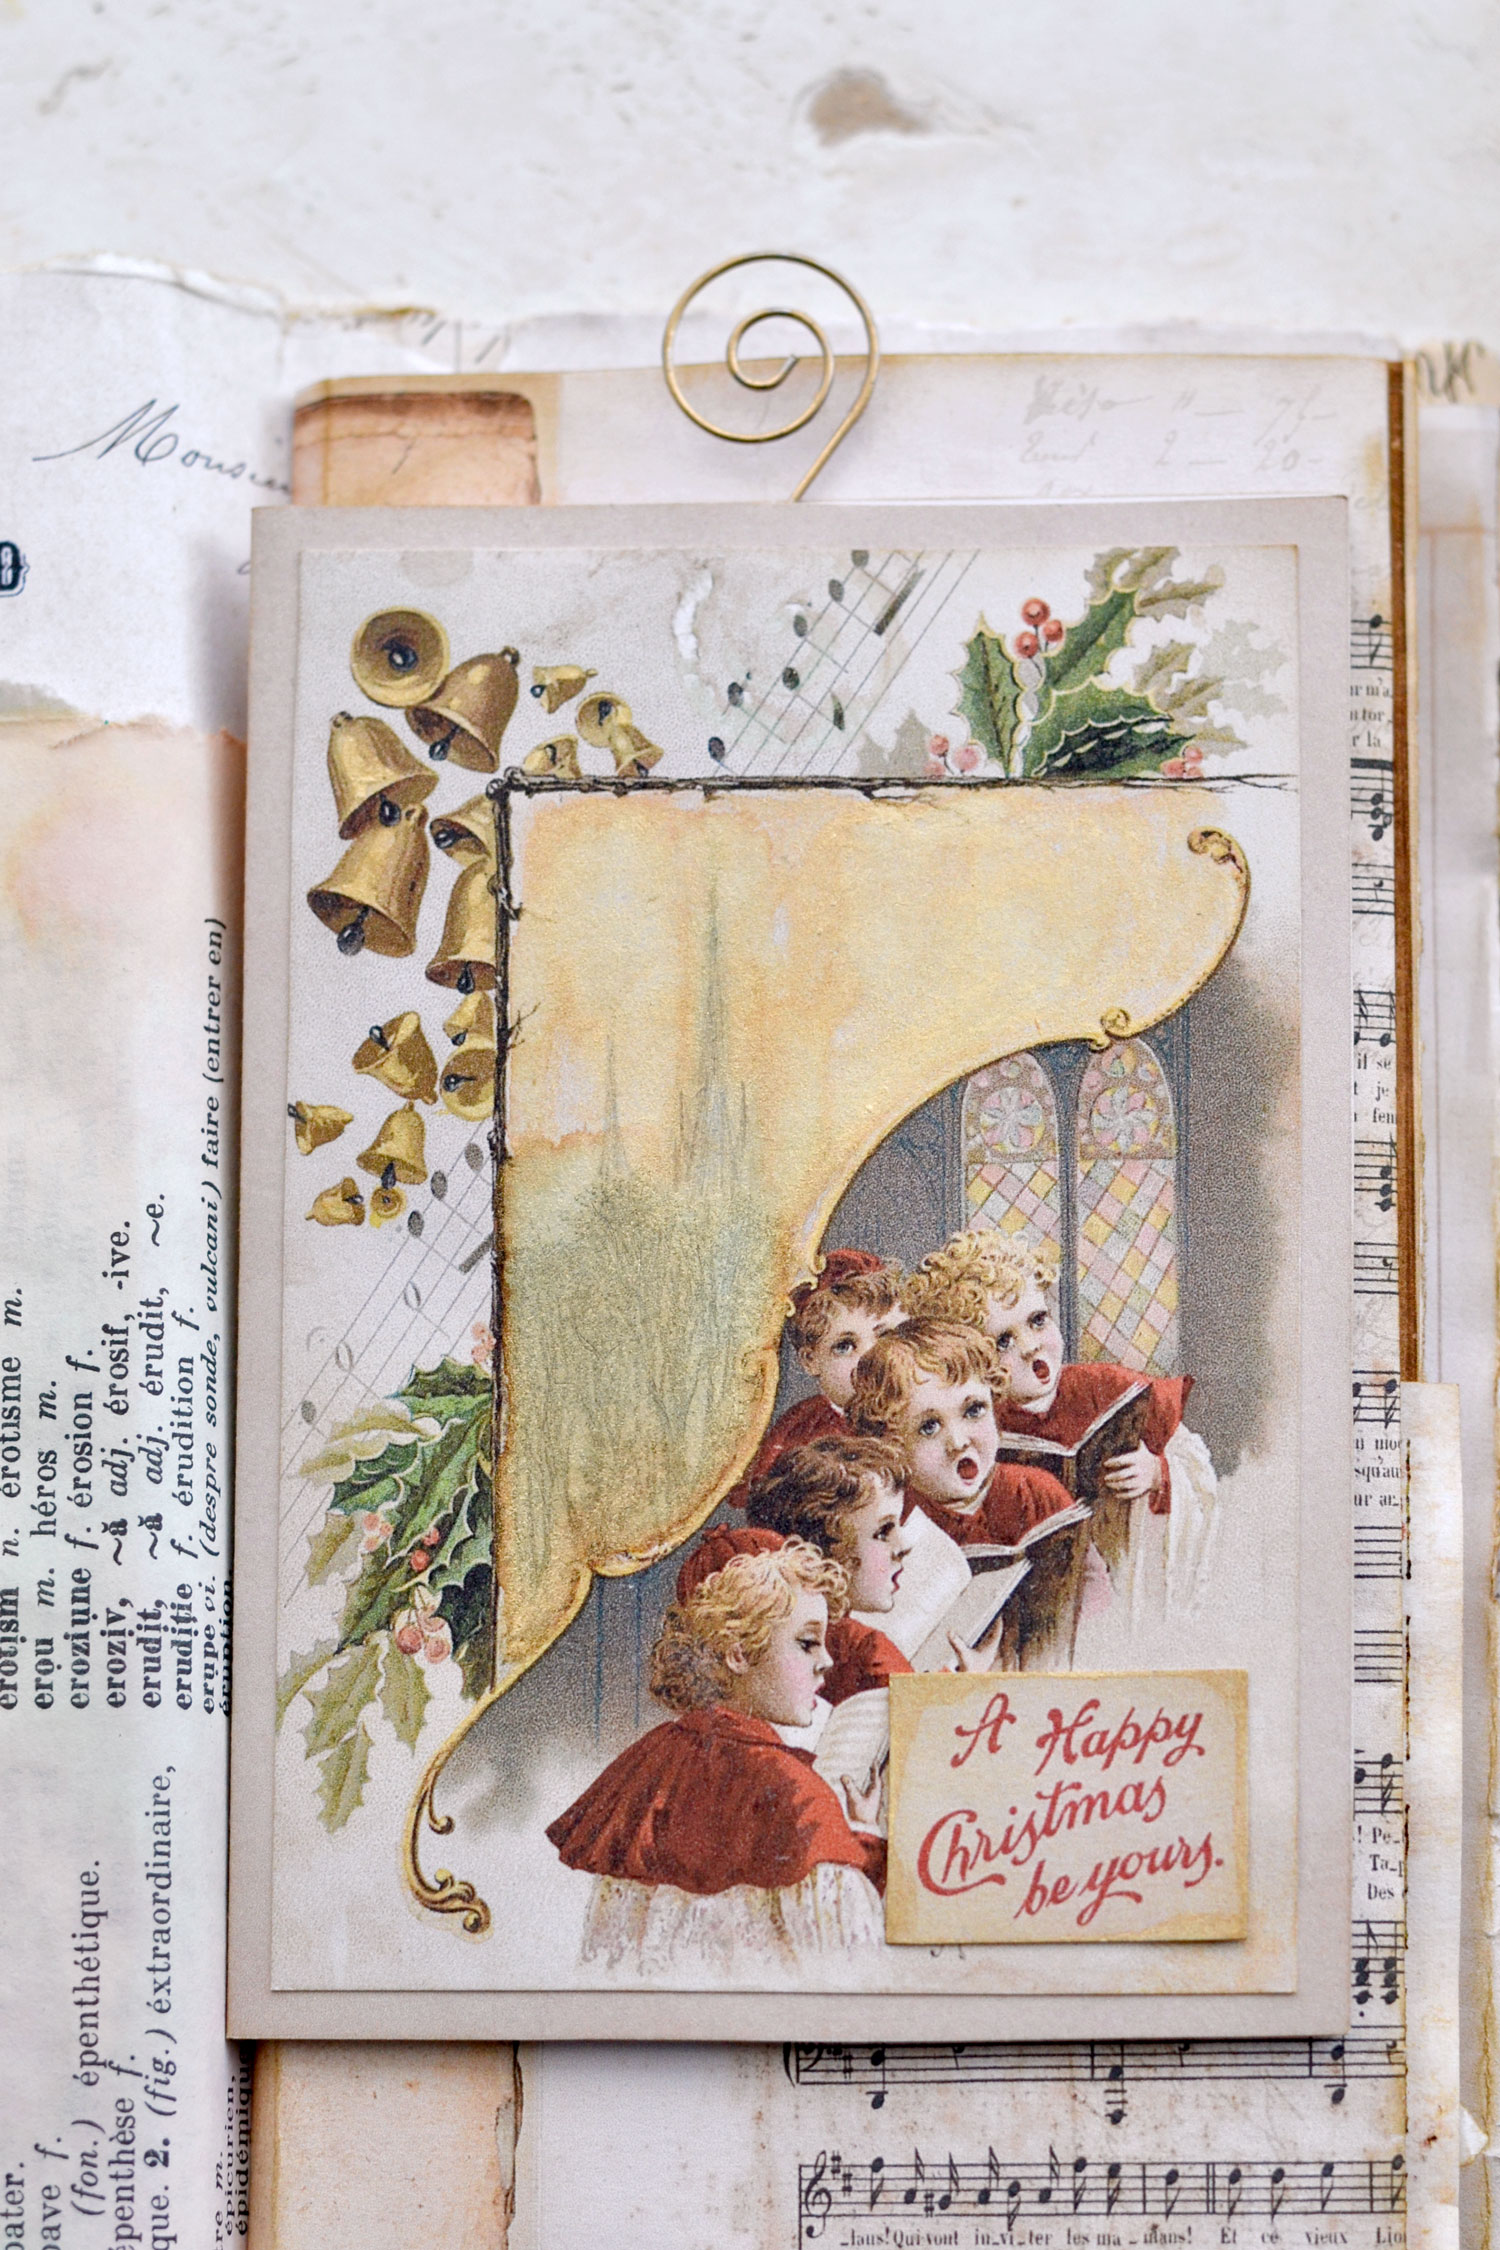
I feel that the golden hooks add that extra touch of charm, but also a little bit of quirkiness because they are not something you would expect to see on a card.
The truth is I love the gold hooks so much I’m planning on including some on my junk journal on a regular basis. They look really beautiful and can be easily turned into embellishments for your junk journal pages, tags or cards, but honestly, I can see them included in other projects too.
Make some of these beauties for your friends and family this Christmas, handmade cards are always appreciated and can add such a personal touch to your gifts, making them even more charming. And don’t forget to stock on these lovely Christmas ornament hooks, I’m sure you’ll love including them in all sorts of creative projects!
I hope you will love making these Christmas Card Making Kits you might also like the Christmas Greeting Card Kit HERE, the Pop Up Christmas Card Kit HERE and the Dog Christmas Card Kit HERE.
Happy crafting,
Diana | by Dreams Factory
