Christmas Present Bows DIY
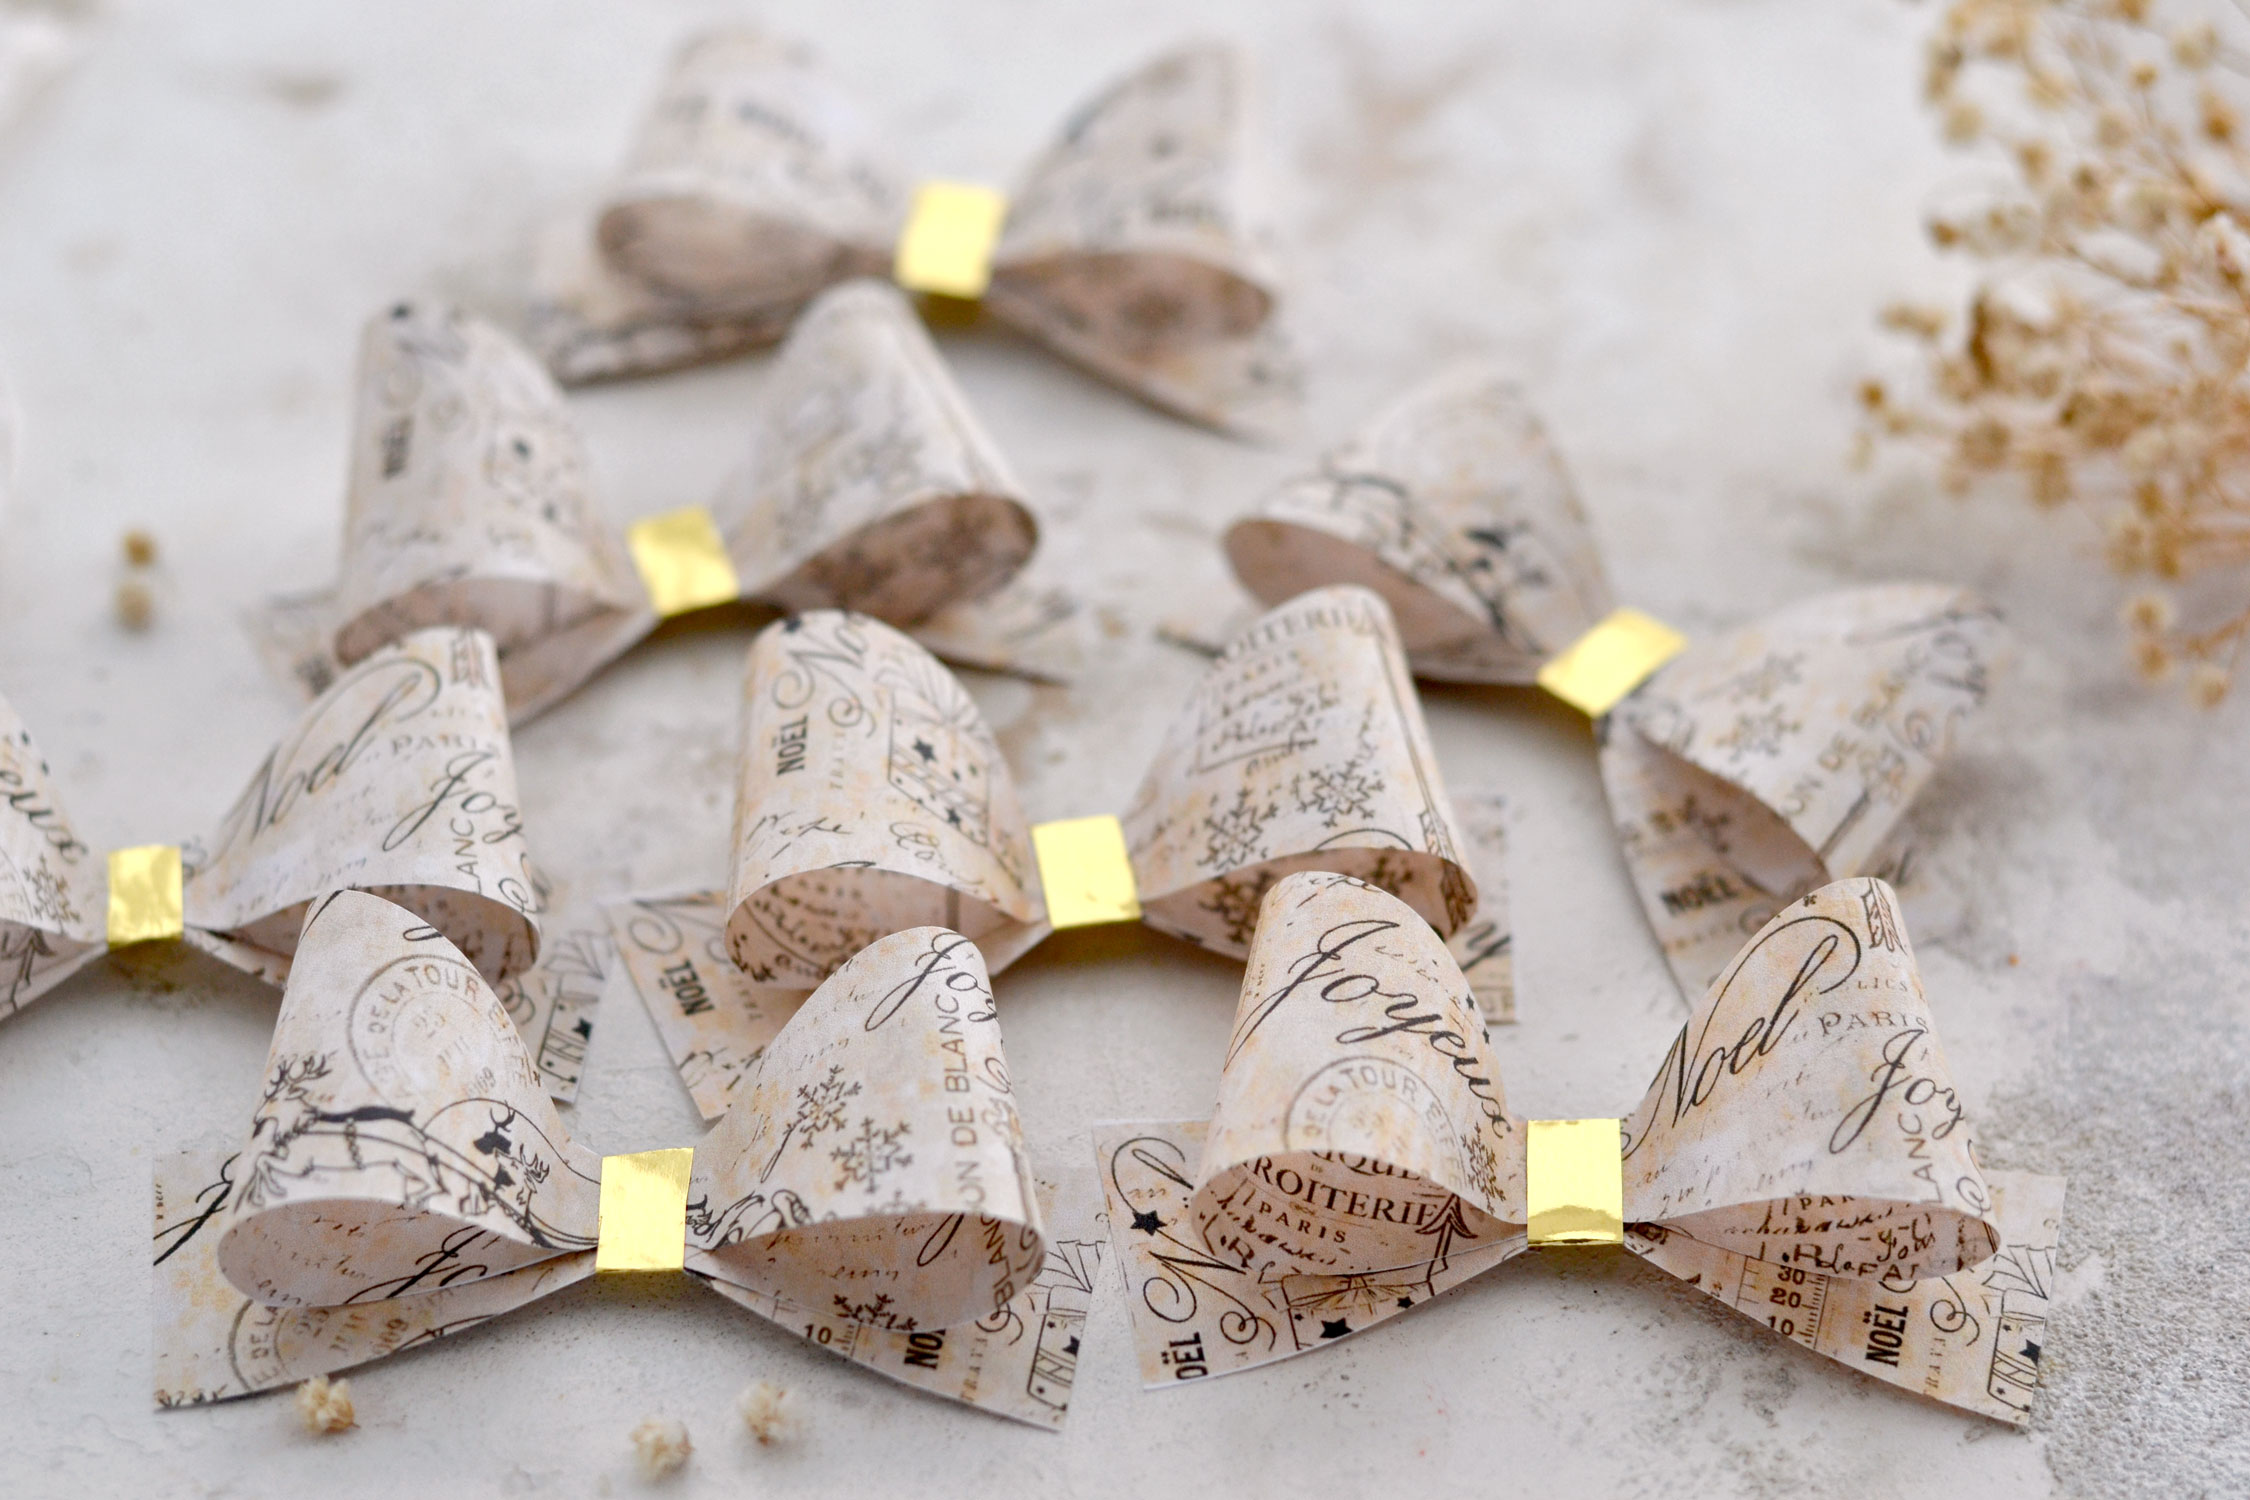
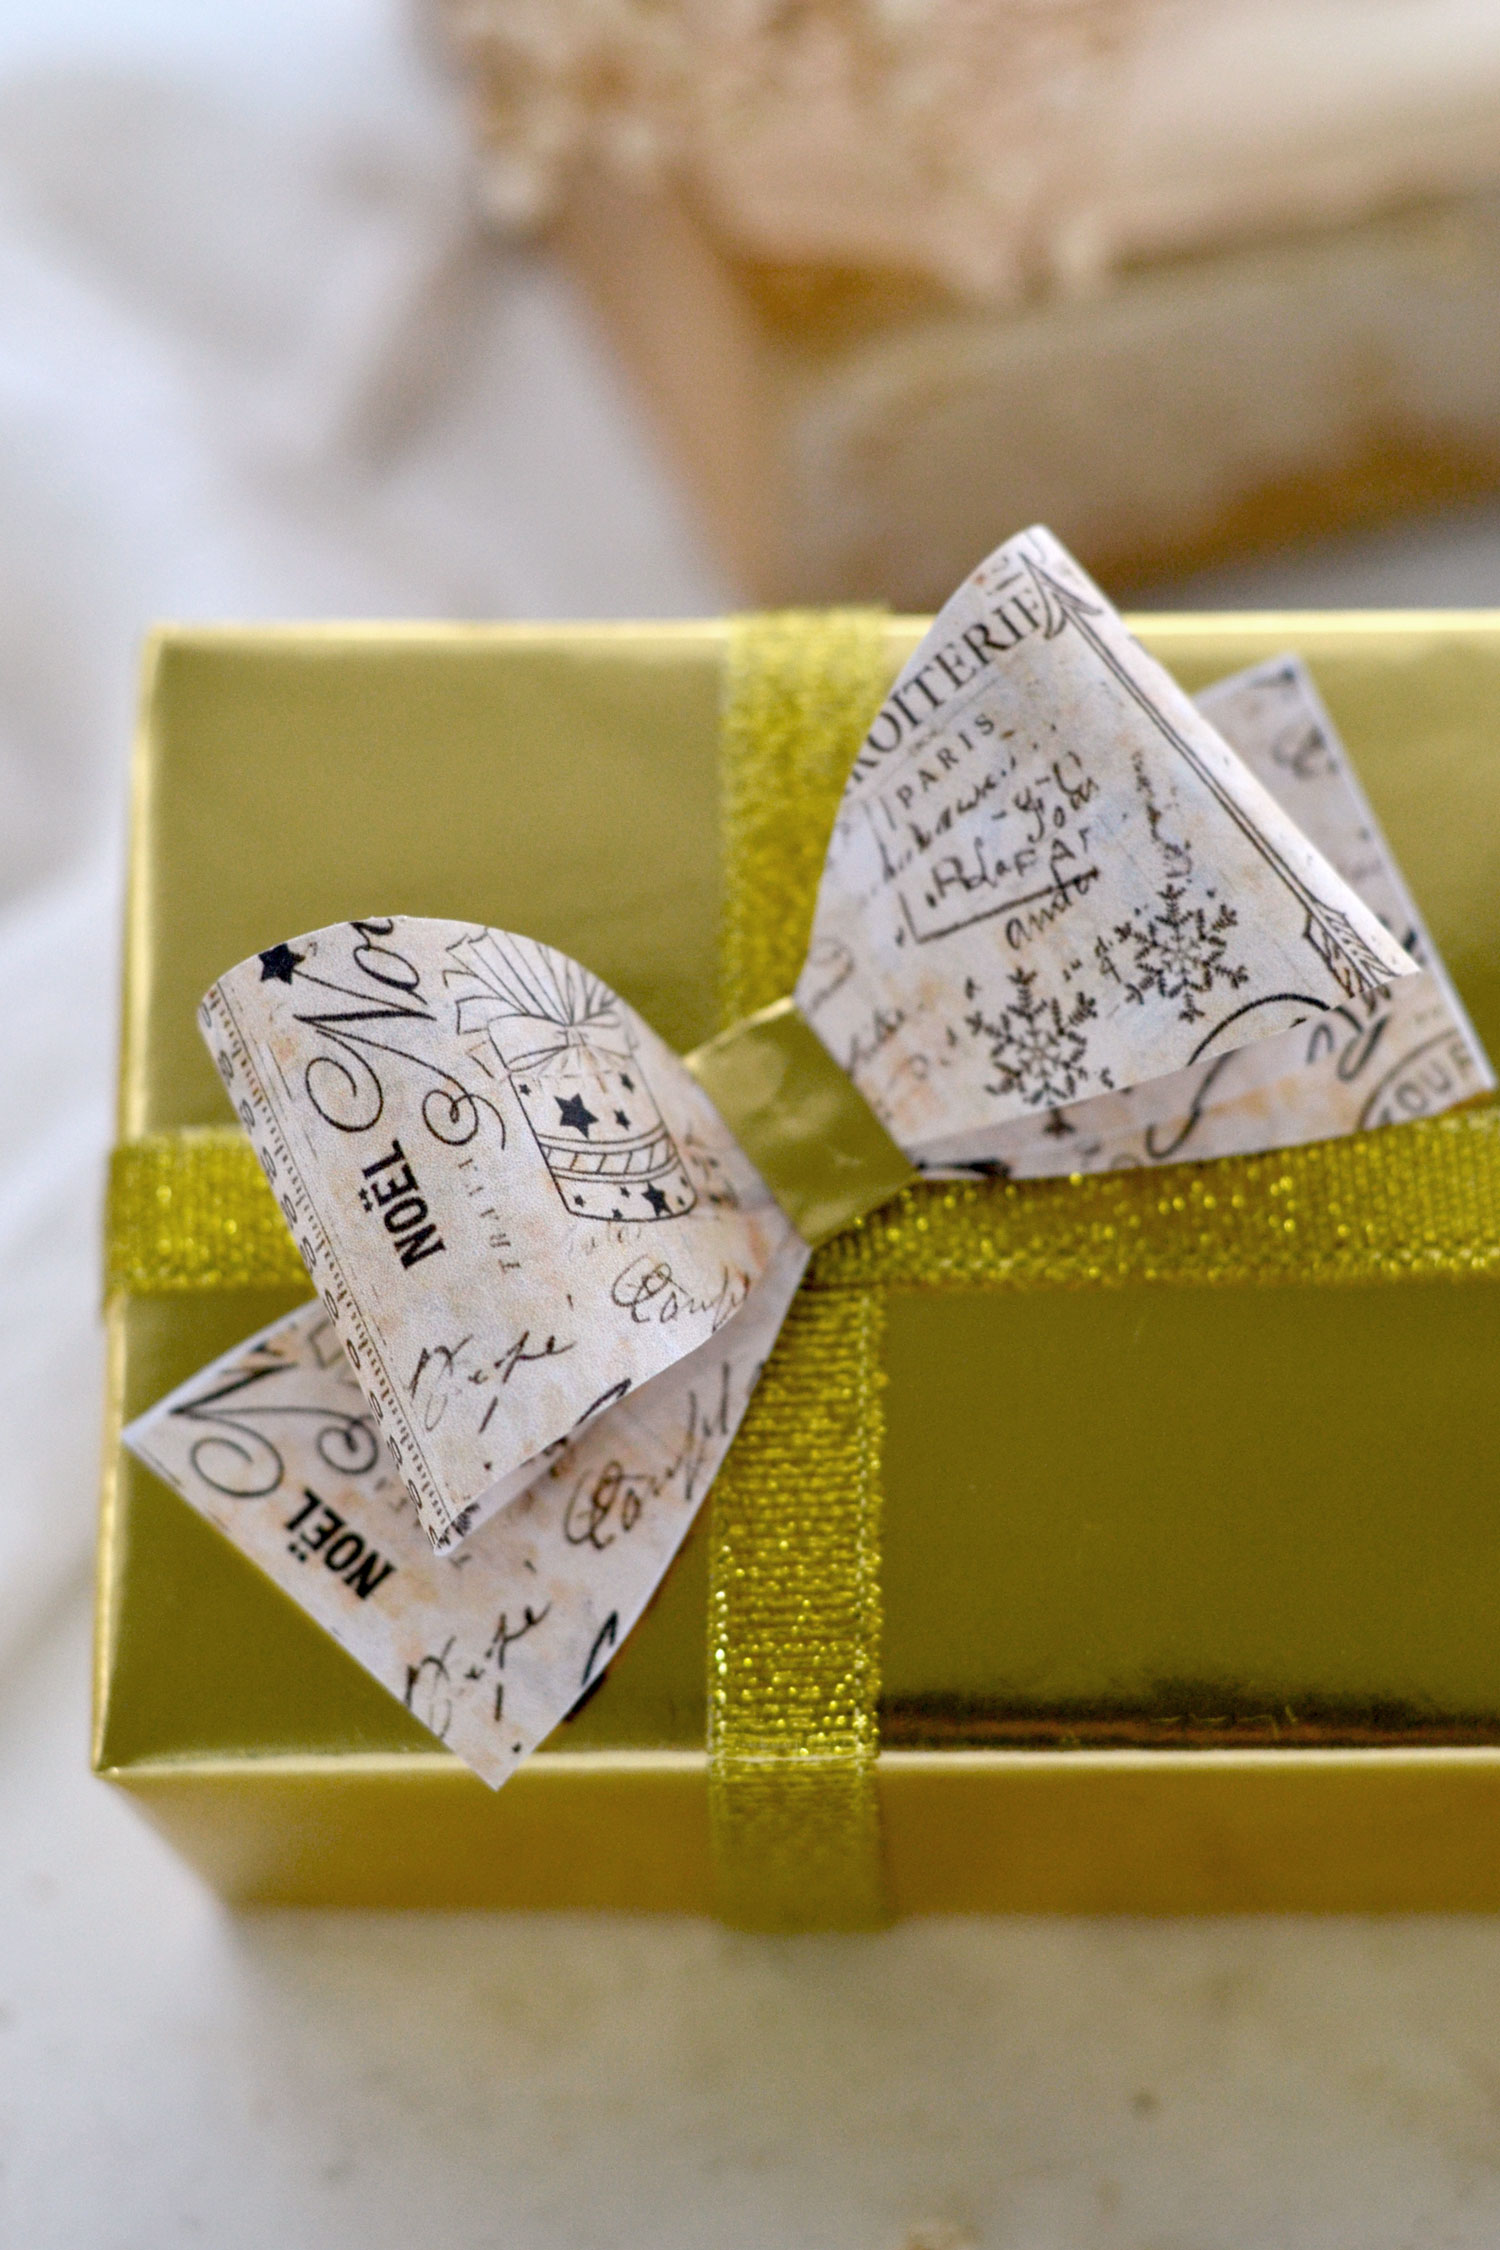
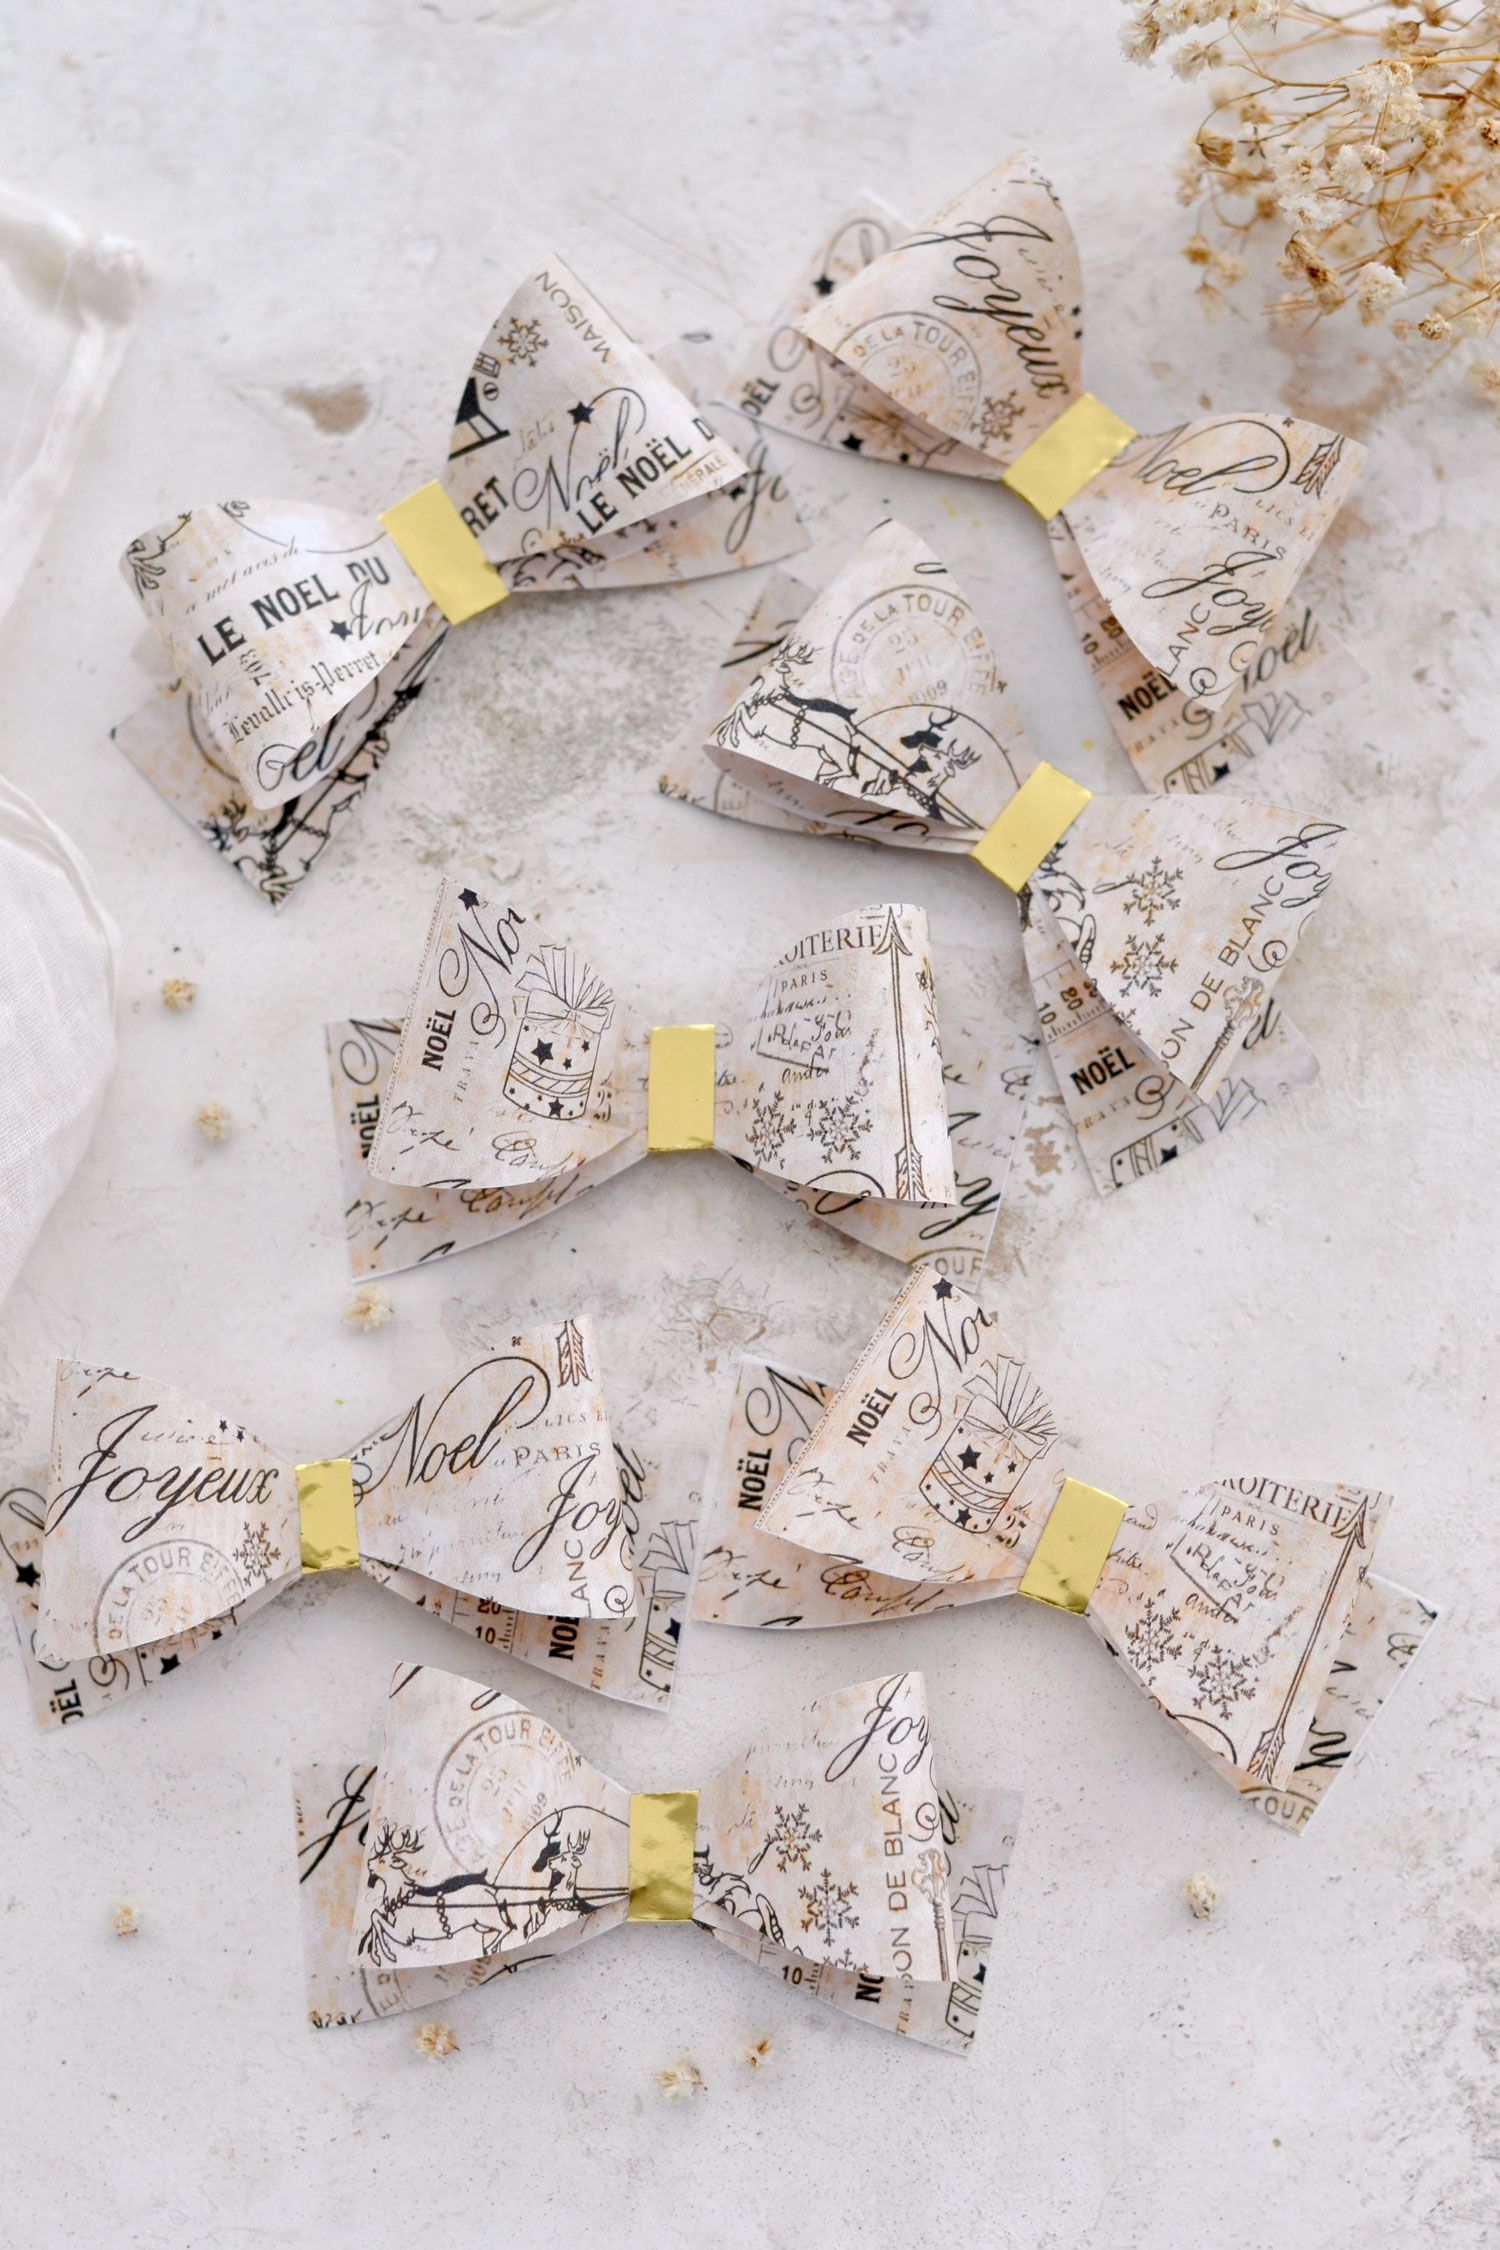
Hello Graphics Fairy friends! I’m Diana from Dreams Factory and I’m happy to be here again to share another DIY project with you! Today I will show you how to make these super chic Christmas Present Bows DIY. A quick and easy last-minute Christmas project that you need to try! Add a touch of gold and use the finished pieces to add a little bit of charm to your gift-wrapping sessions this year!
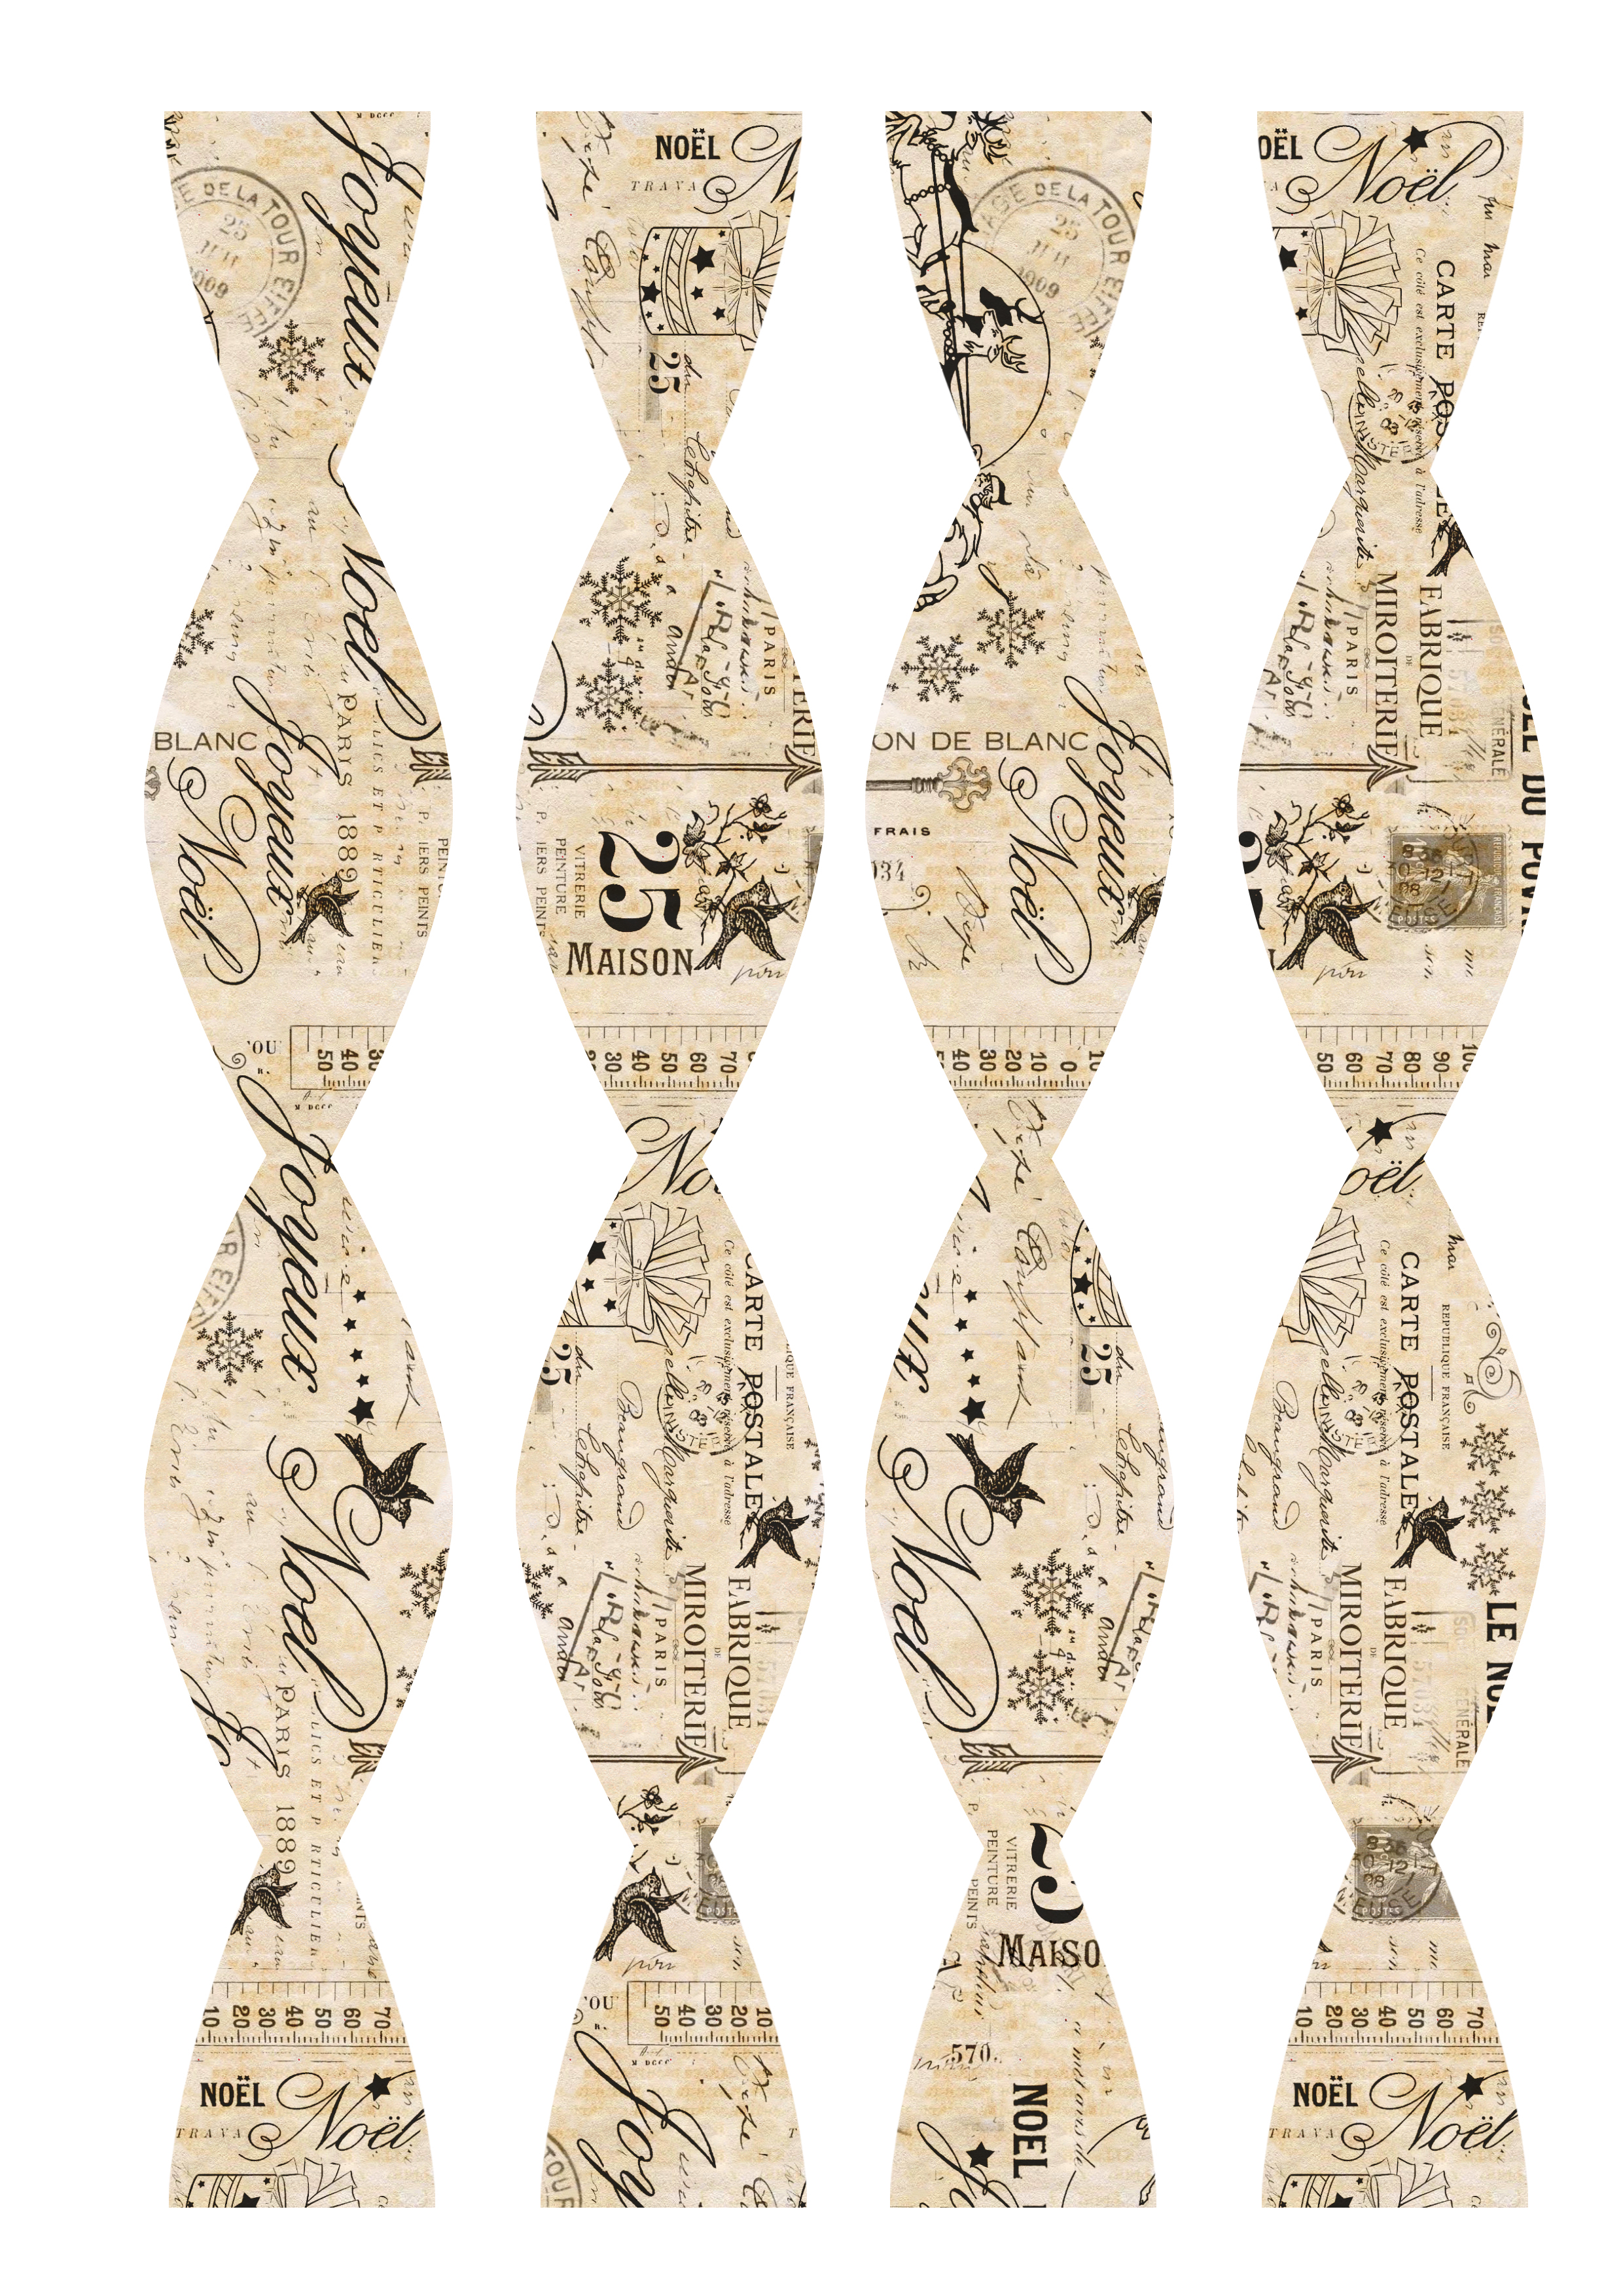
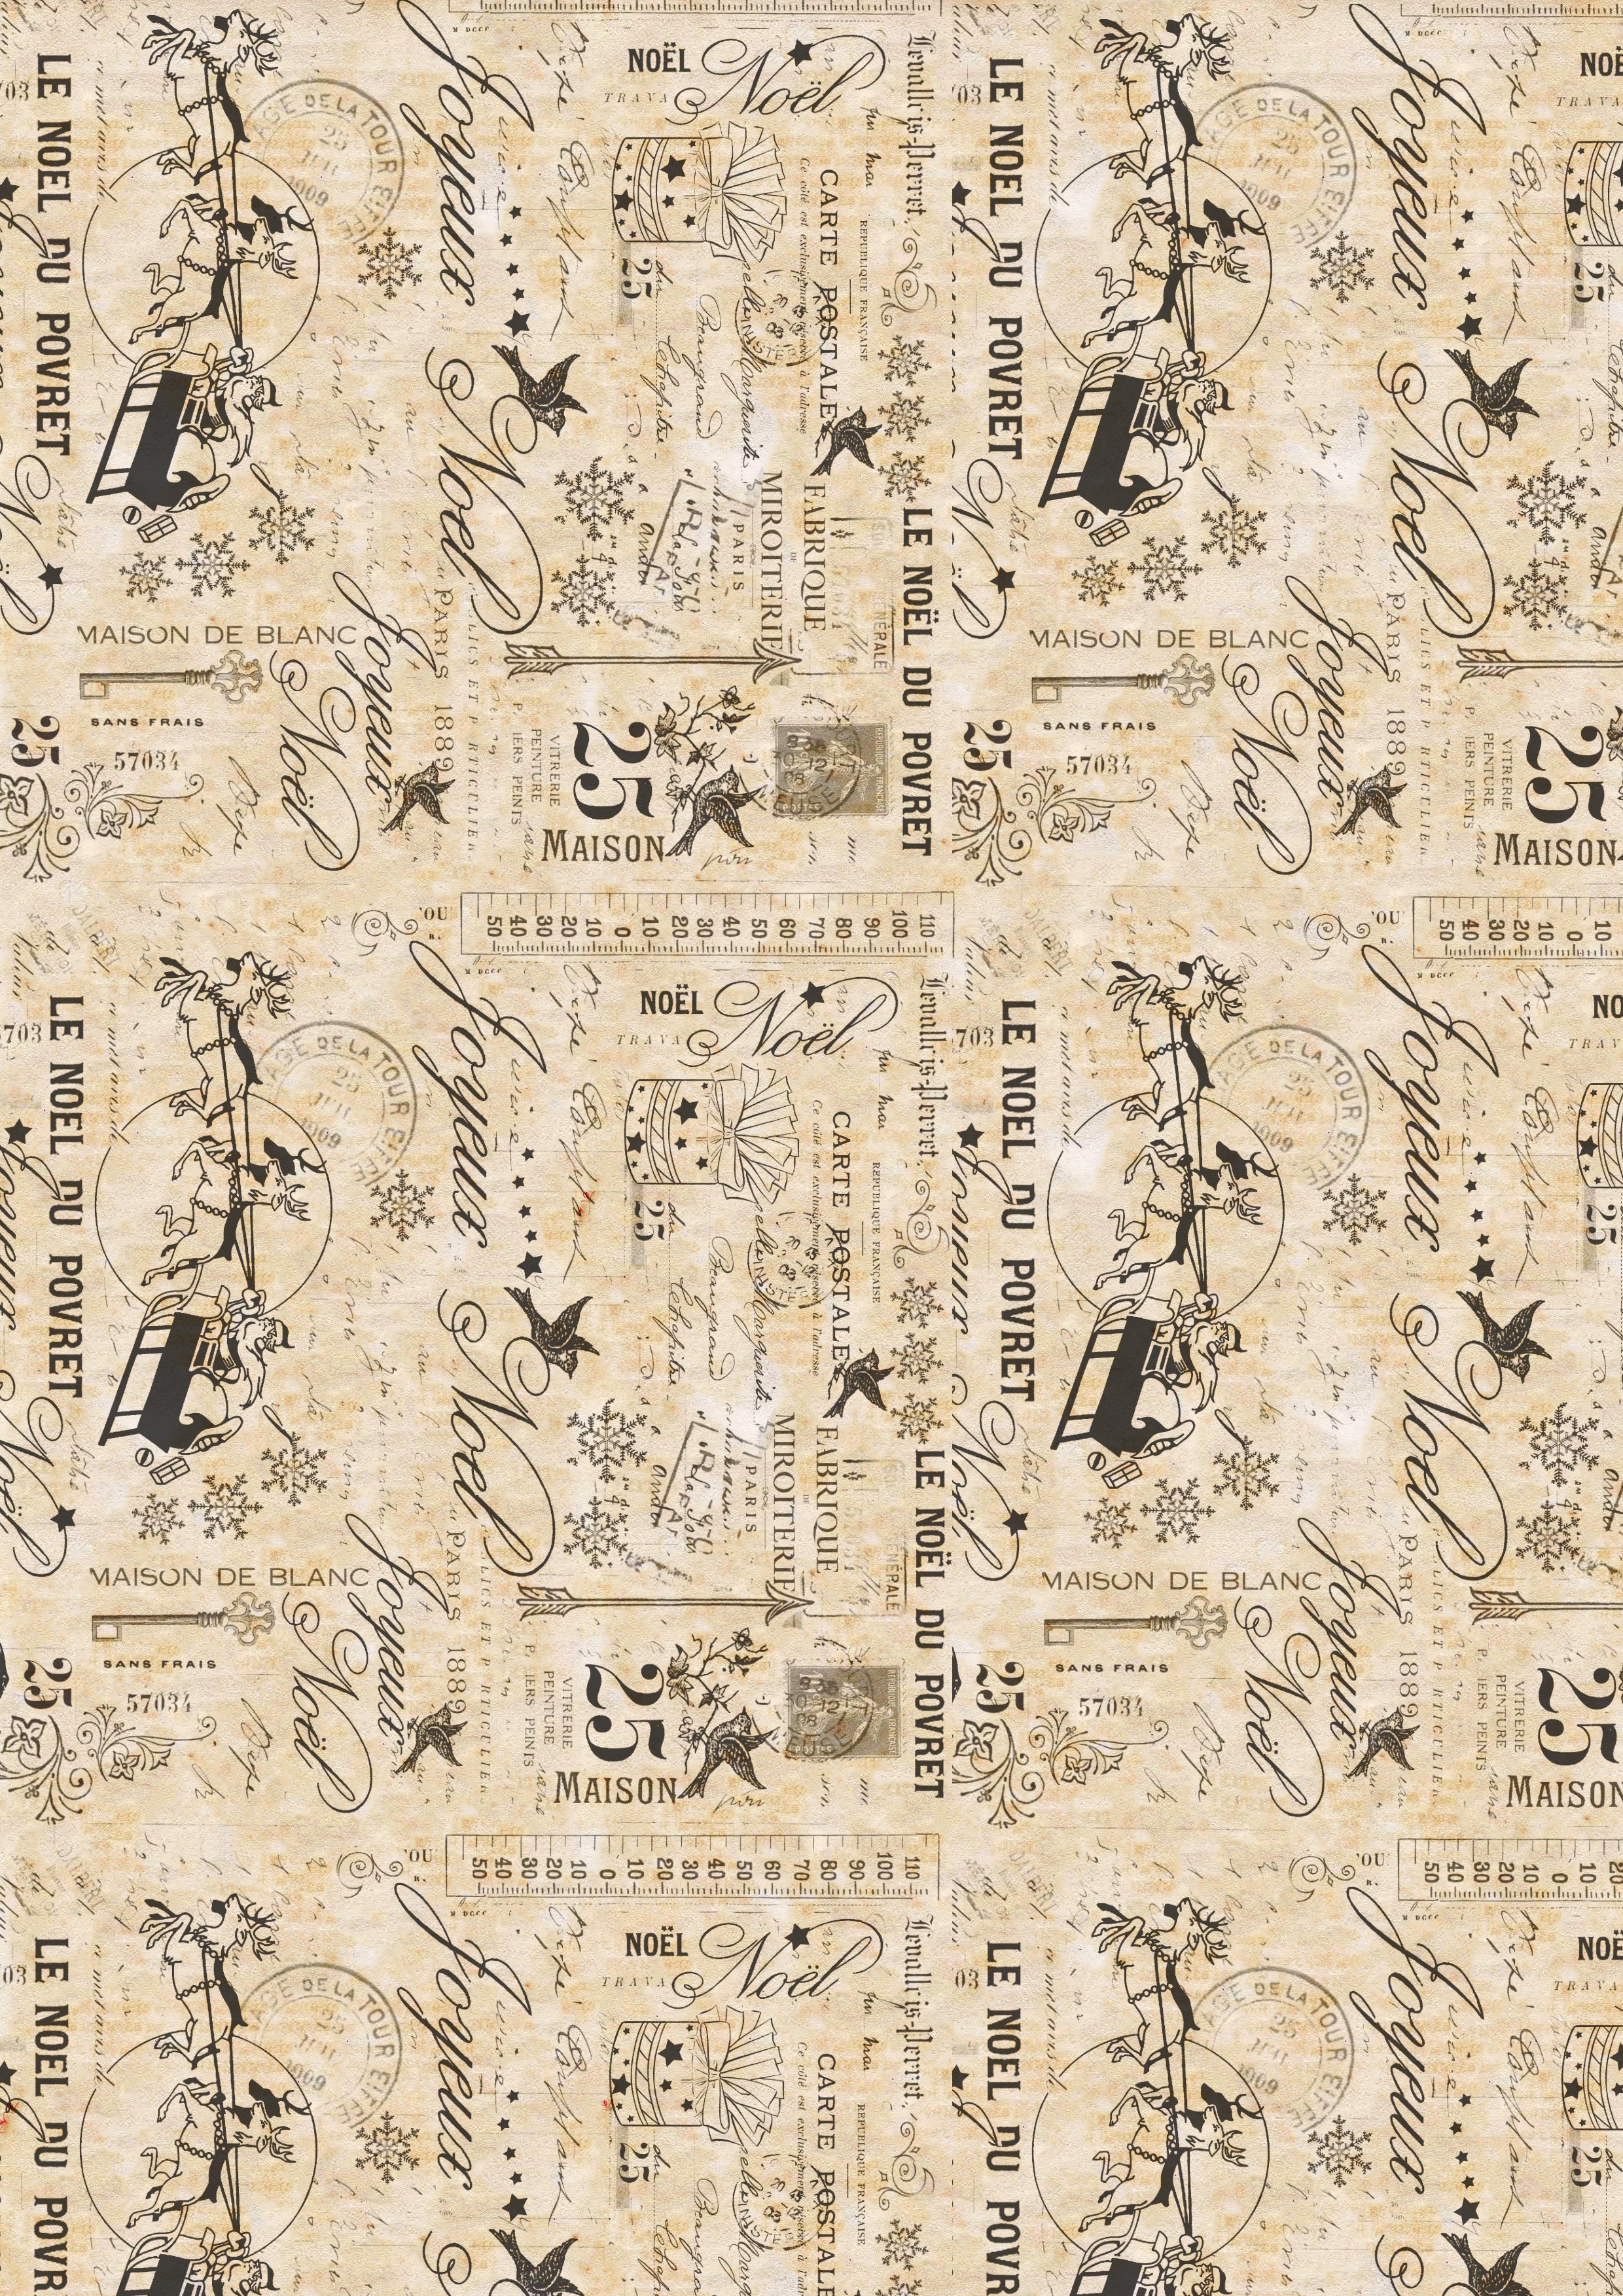
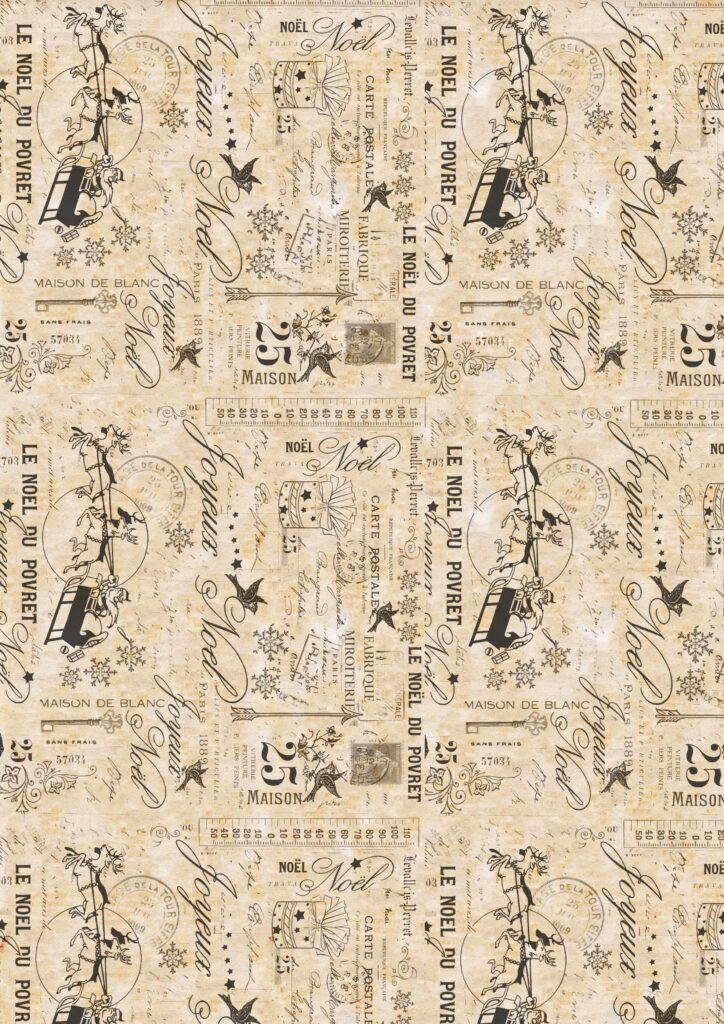
You won’t believe how easy these beauties are to make! They can be ready in no time, but the trick to finishing them quickly is to print the two printables that I’m sharing on one sheet of paper! So once you determine how you need to feed these through your printer to have a double-sided printable, half the work is already done!
Free Printable Christmas Present Bows DIY:
—-> Click HERE to Download the Full Size Printable PDF <—-
—-> Click HERE to Download the Full Size Printable PDF <—-
Christmas Journal Tags Supply List:
- white cardstock paper or regular paper
- home printer
- scissors
- paper glue
- gold paper – I used scrap pieces of gold wrapping paper
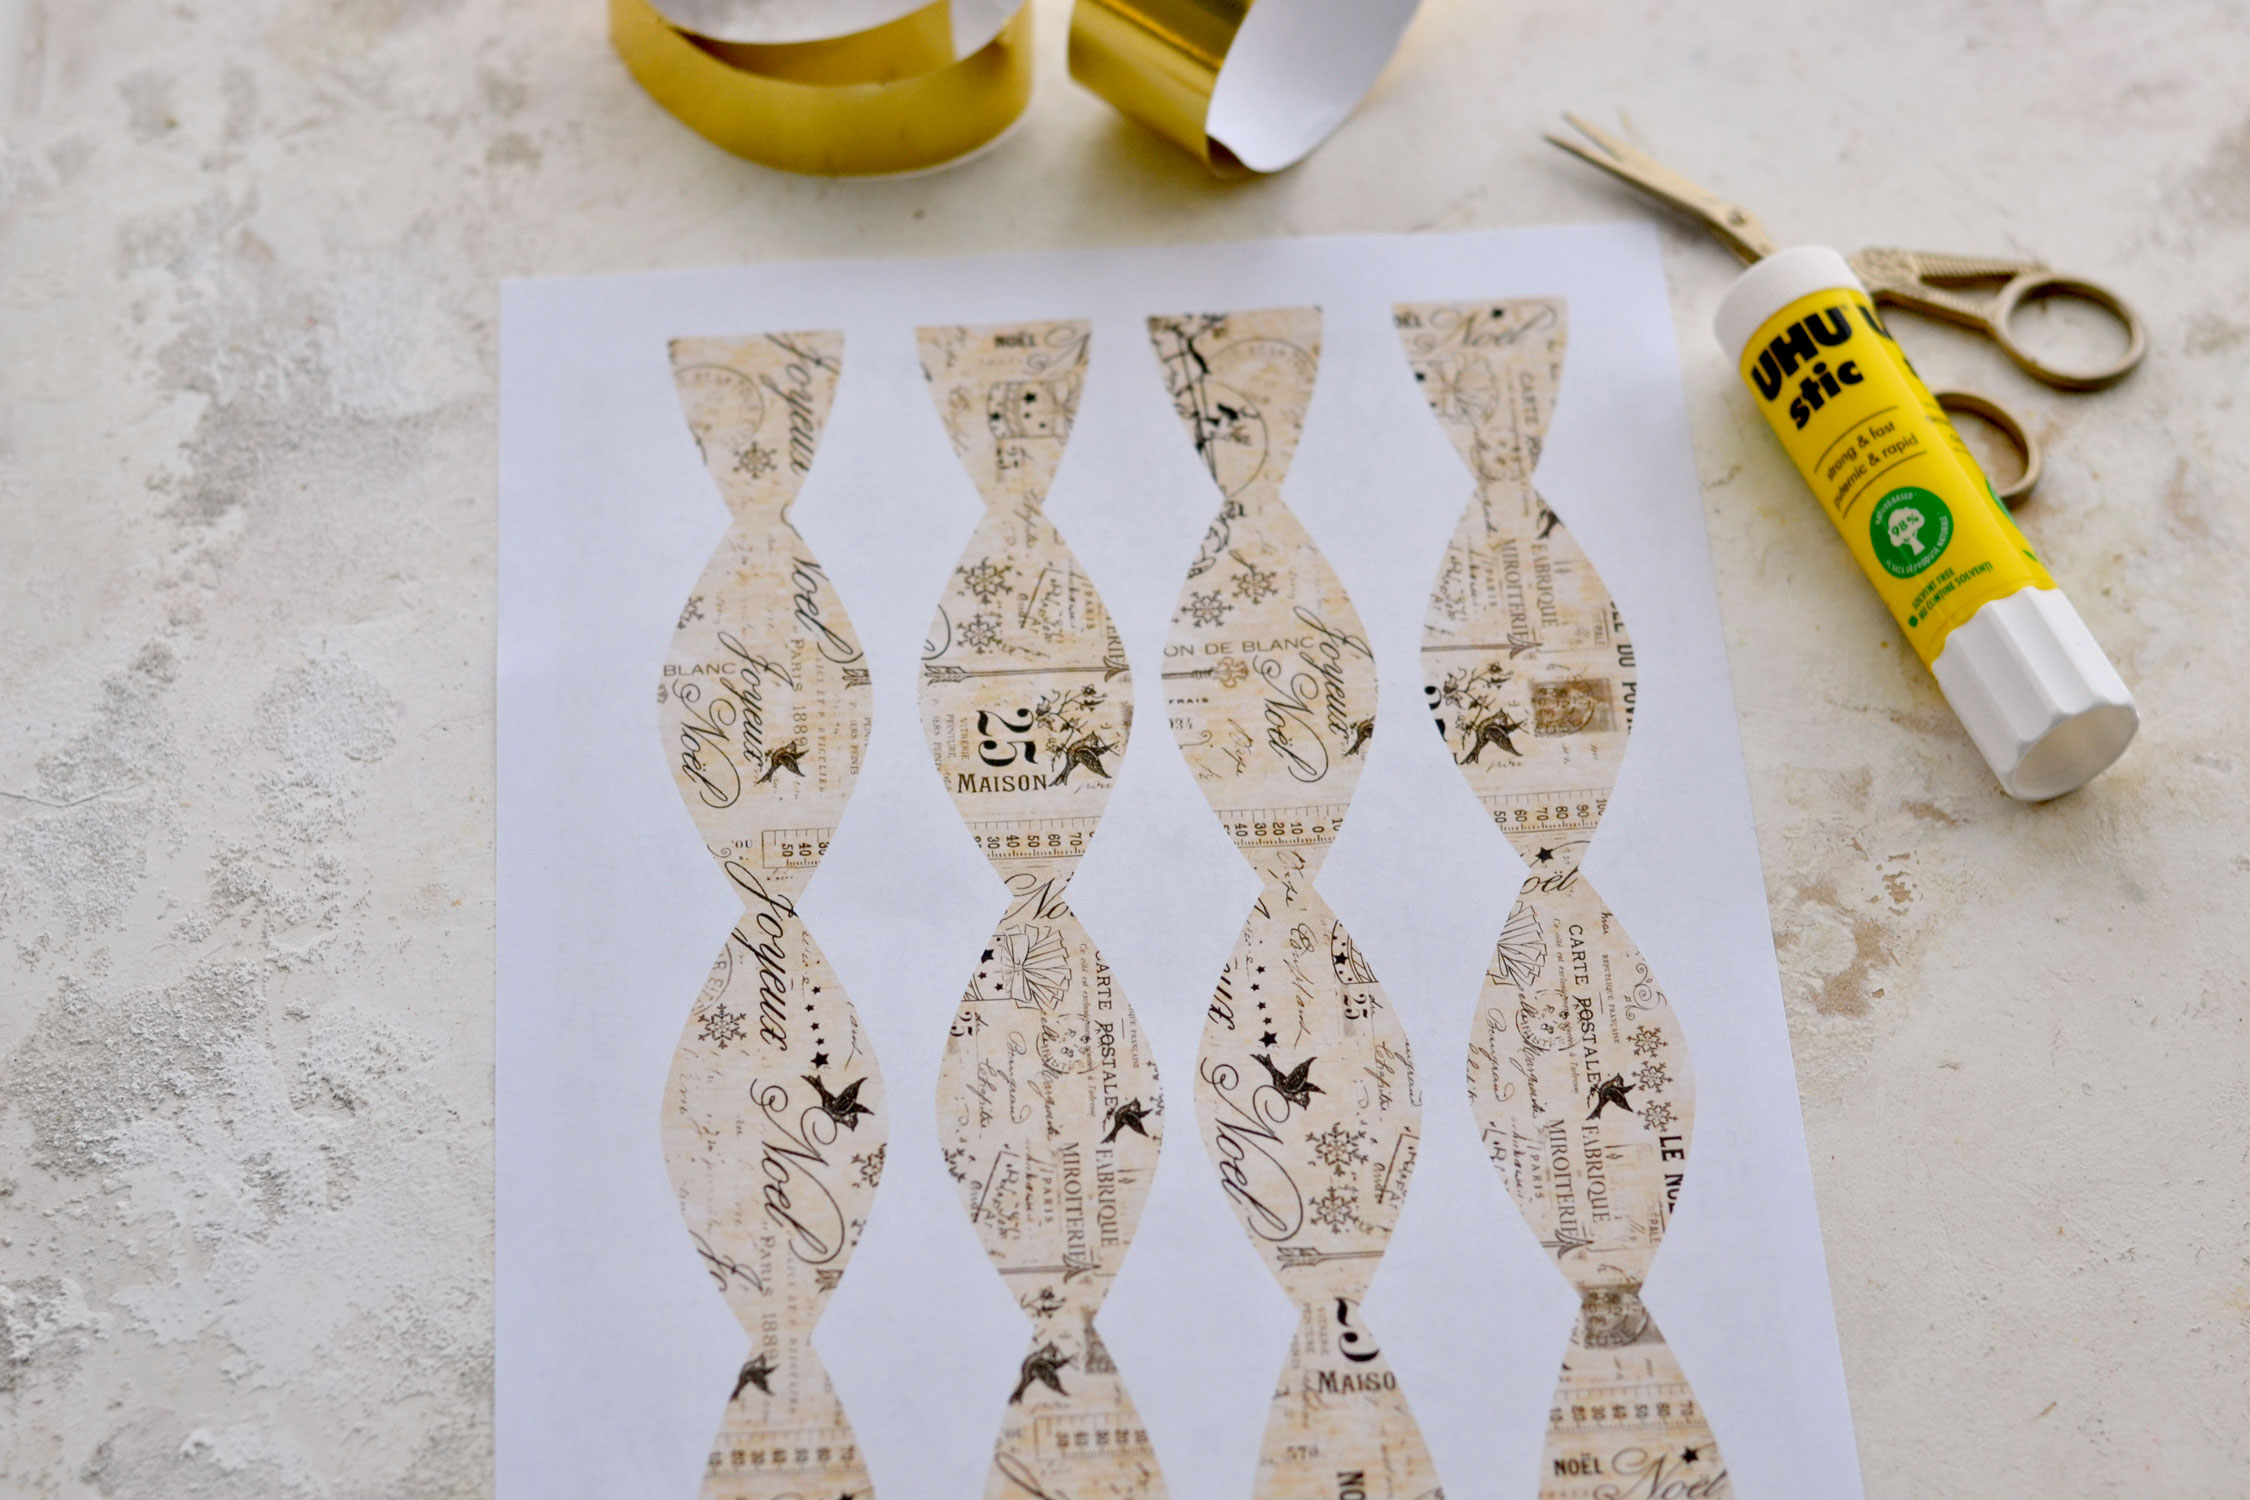
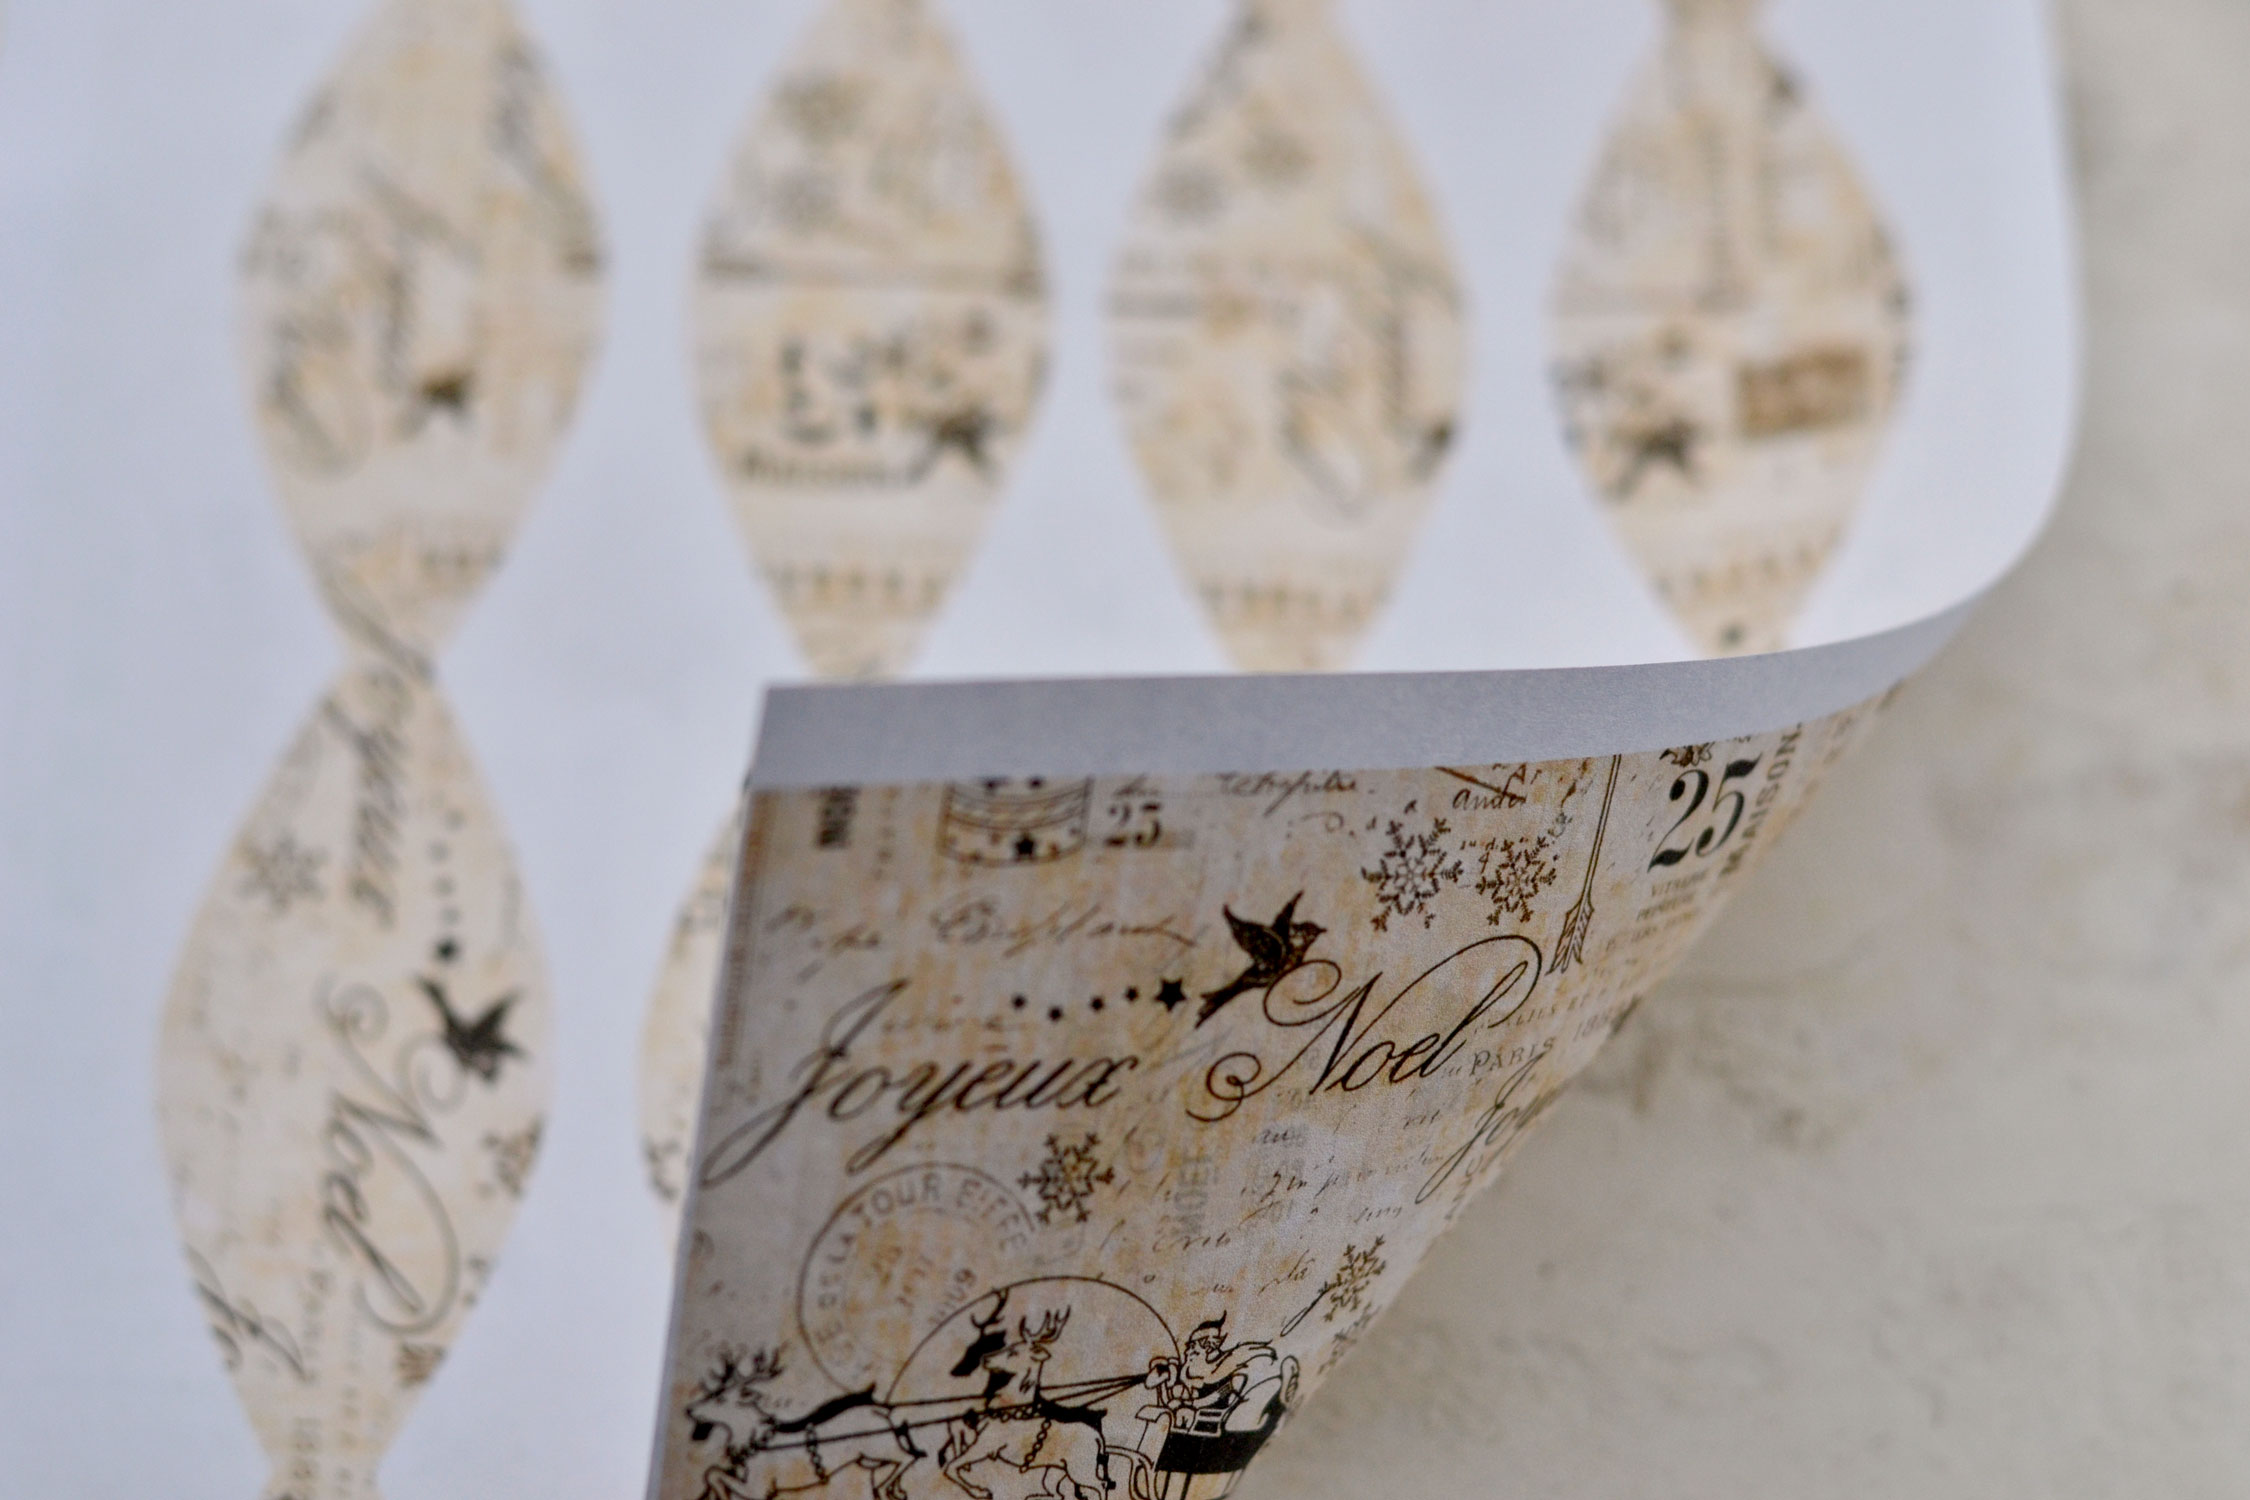
Start by printing the printables on the same piece of paper, front and back so you’ll have your double-sided printable ready to use.
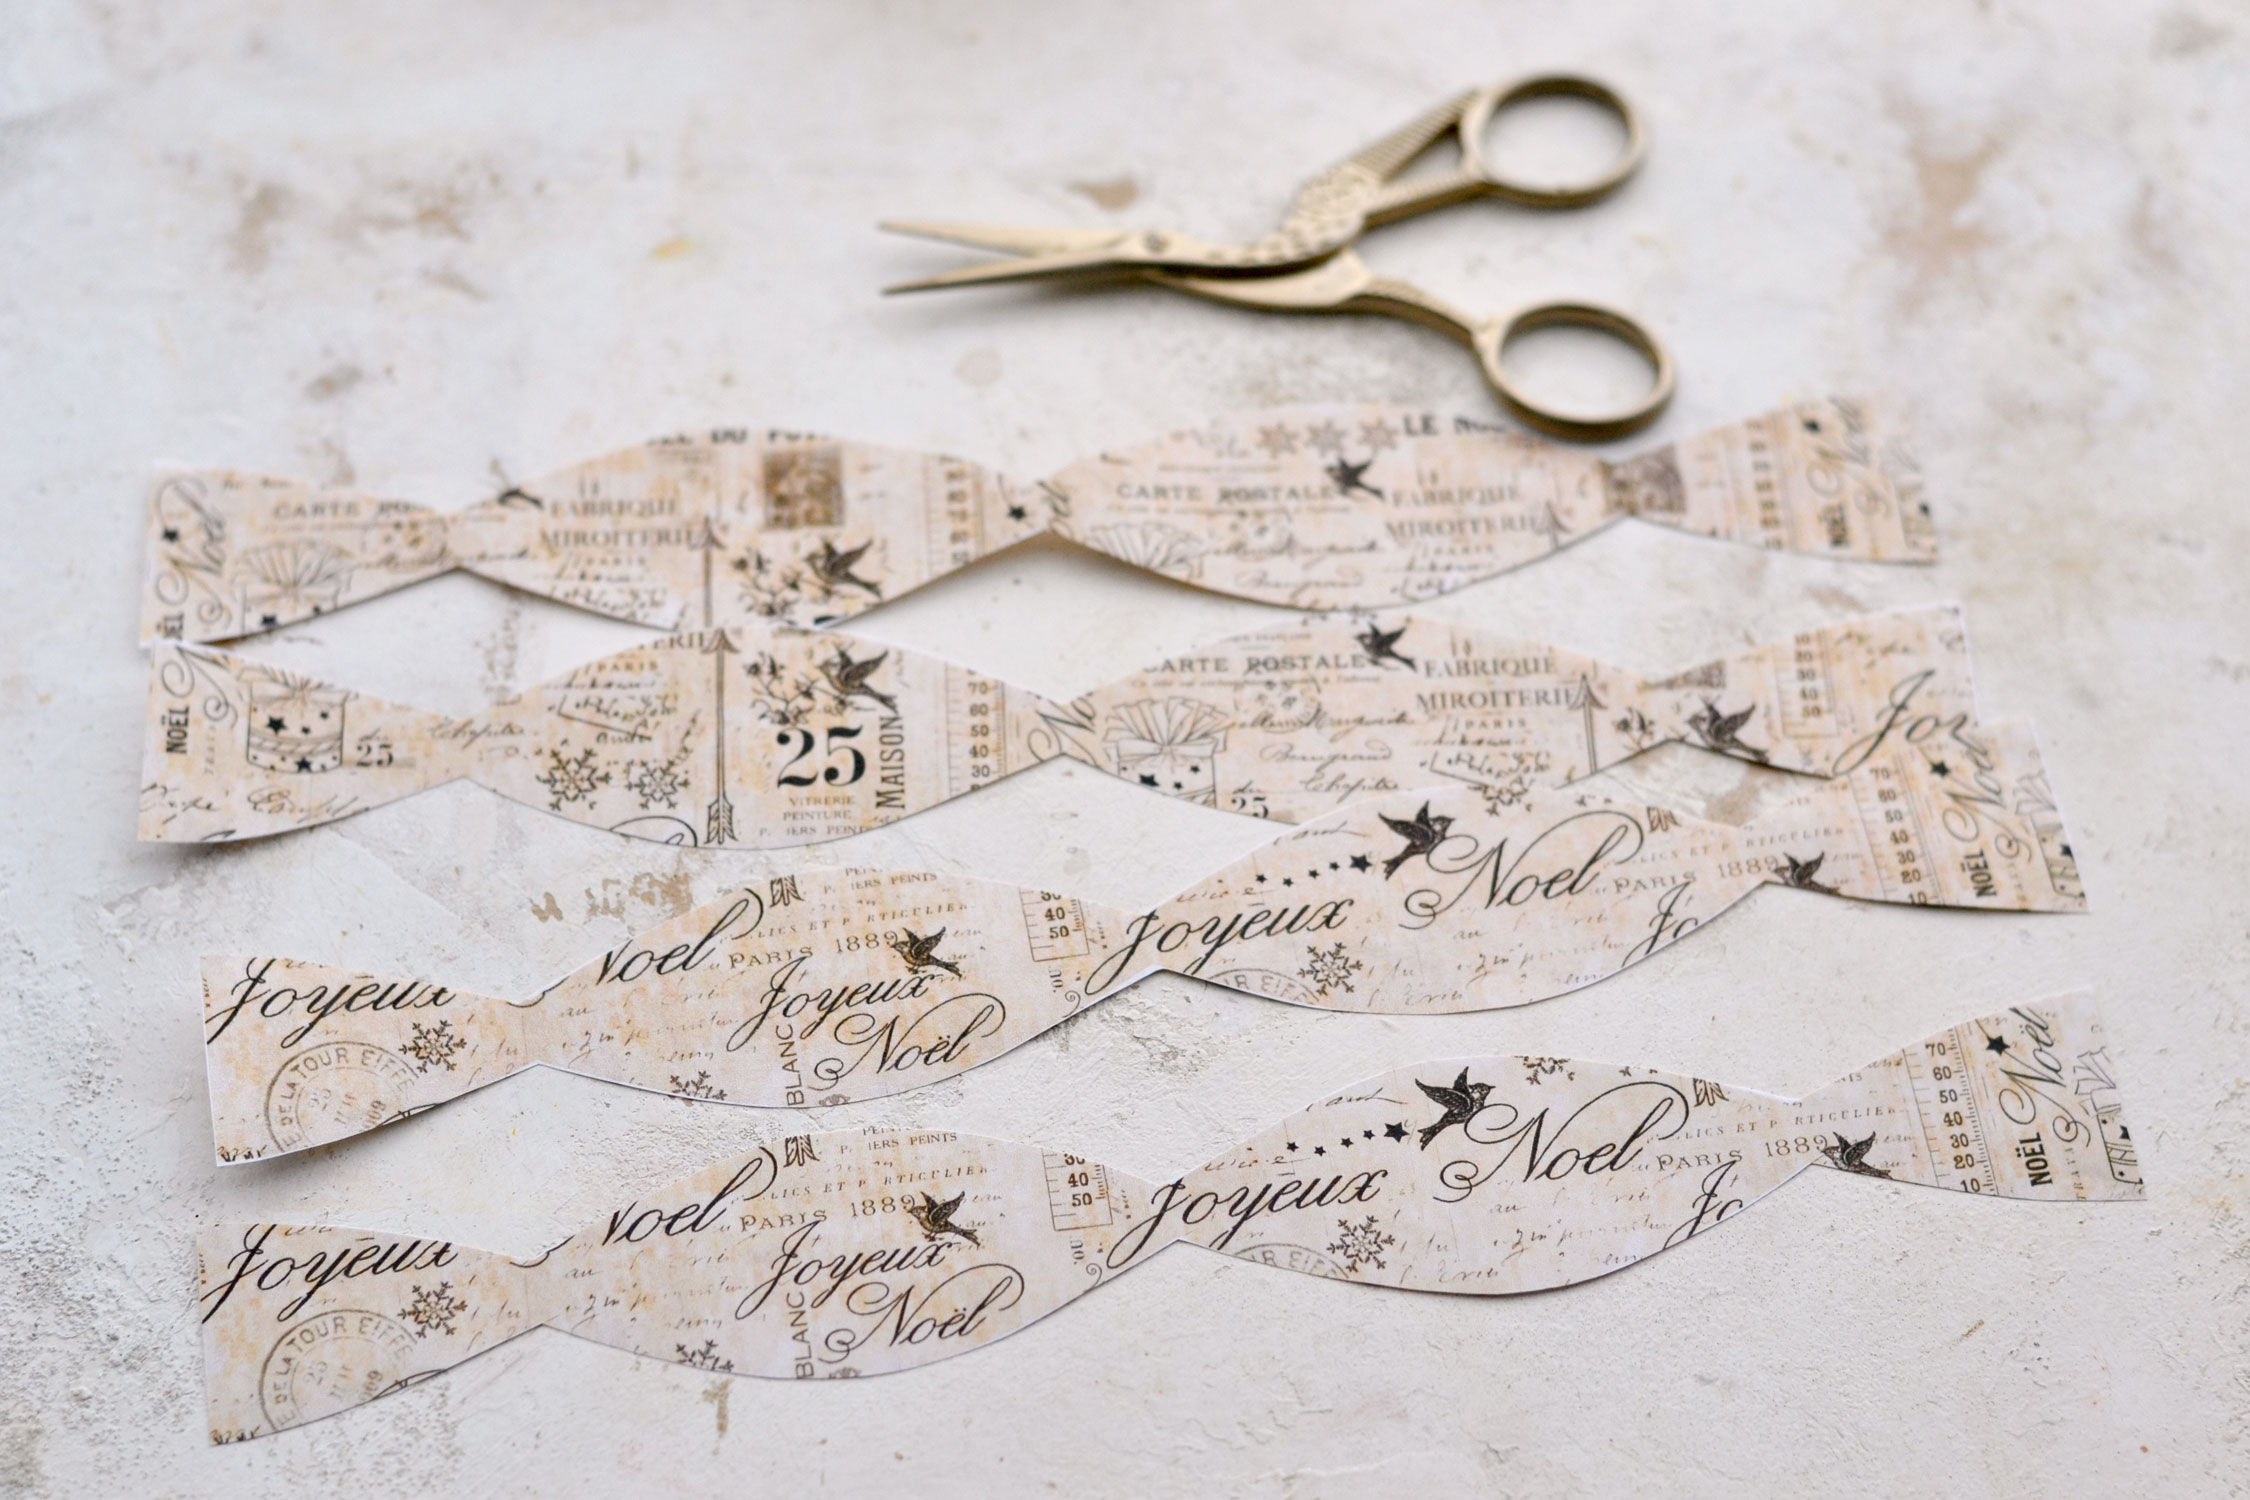
Use the side with the templates to cut each piece. You can make four bows from one sheet, so remember to print it a few more times if you want to make more than four.
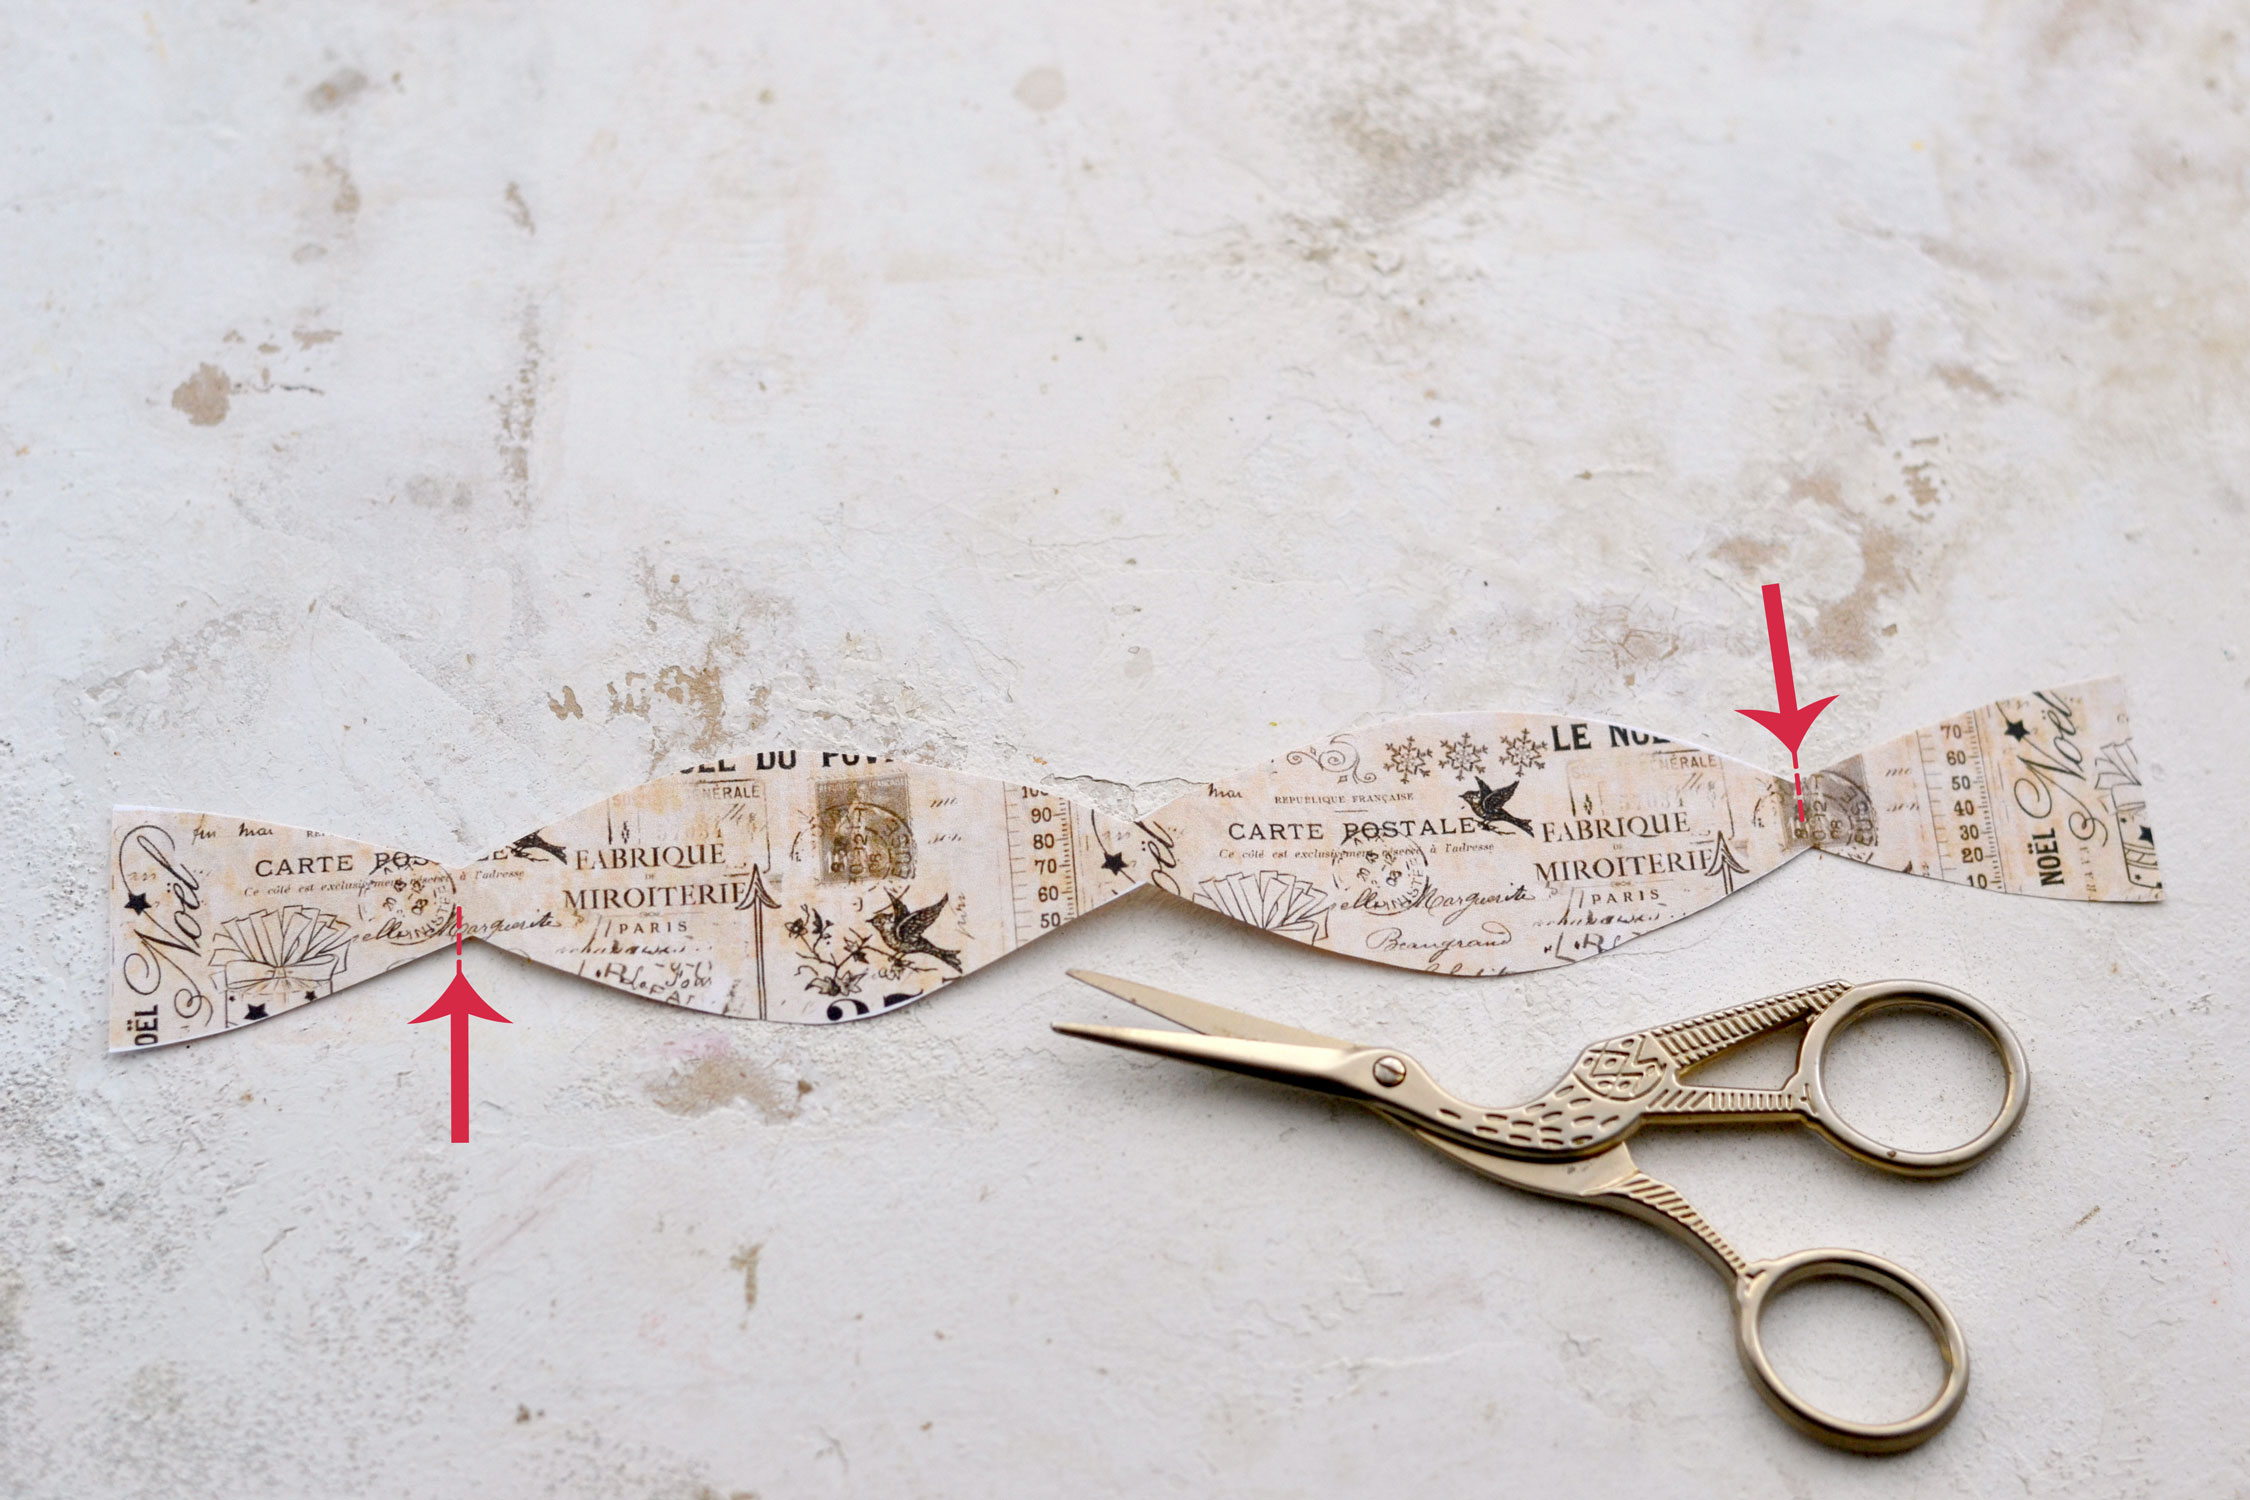
Use your scissors to cut halfway through as you can see in the image below. You need to cut on one side toward the end starting from the bottom and on the other end starting from the top. Don’t cut them all the way through, stop halfway through!
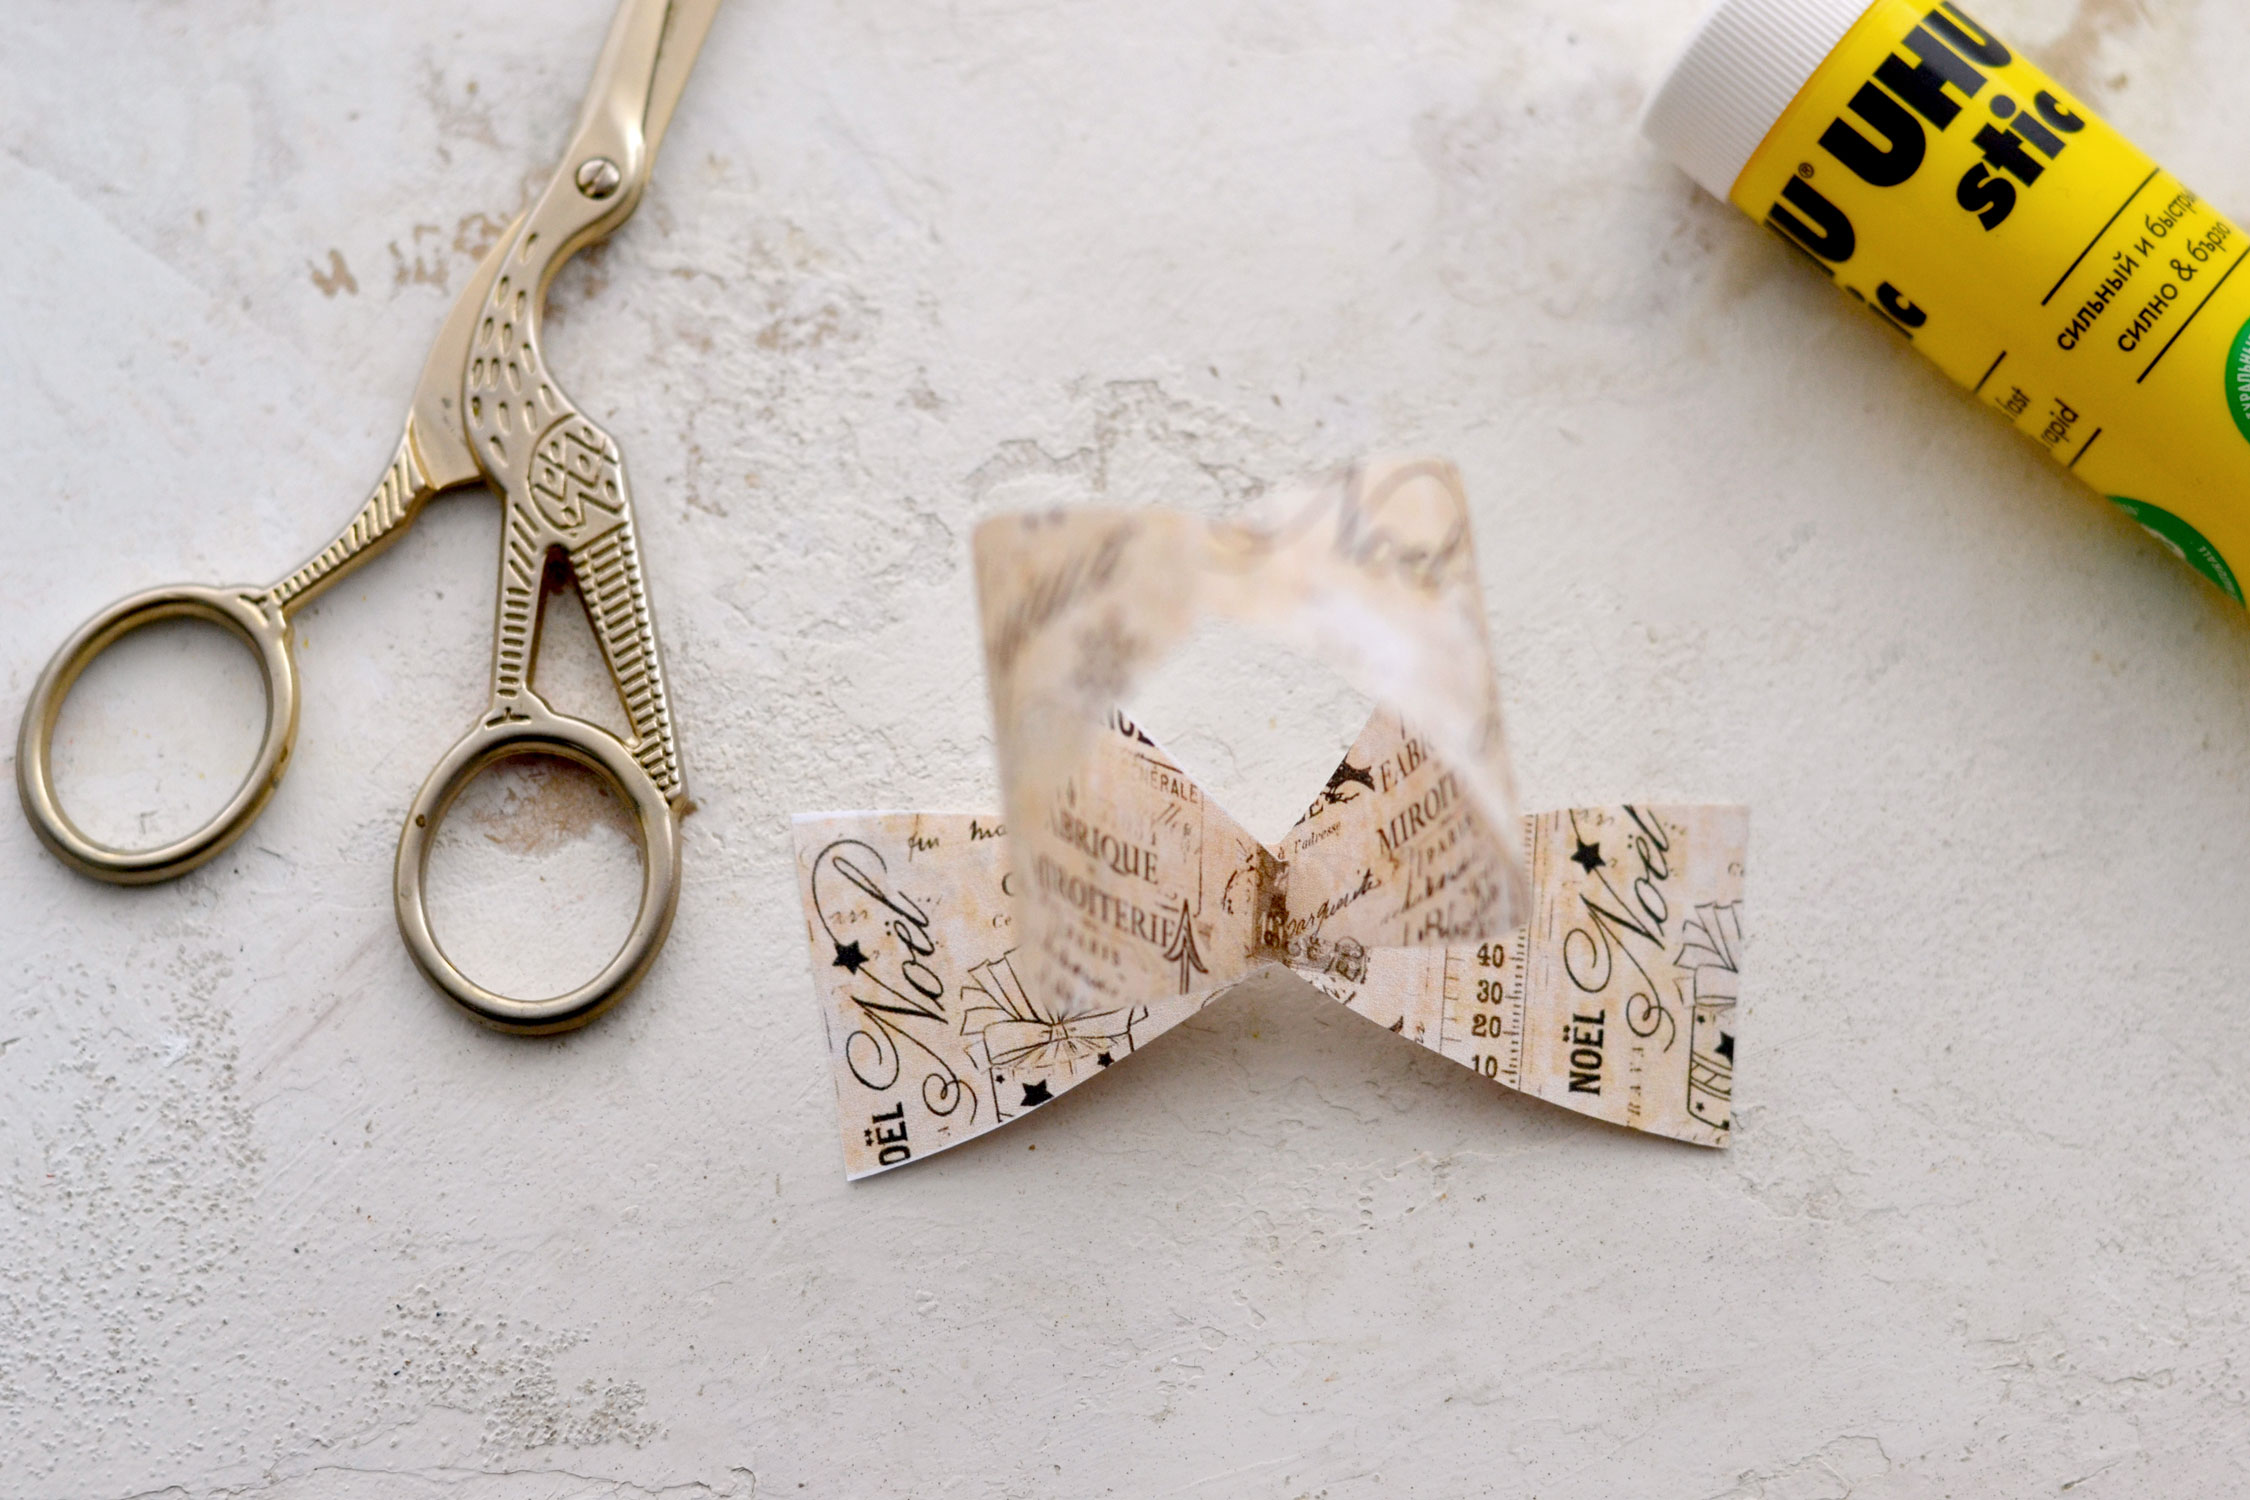
Partially fold the template and use the two cuts to interlock them together while creating a loop on top.
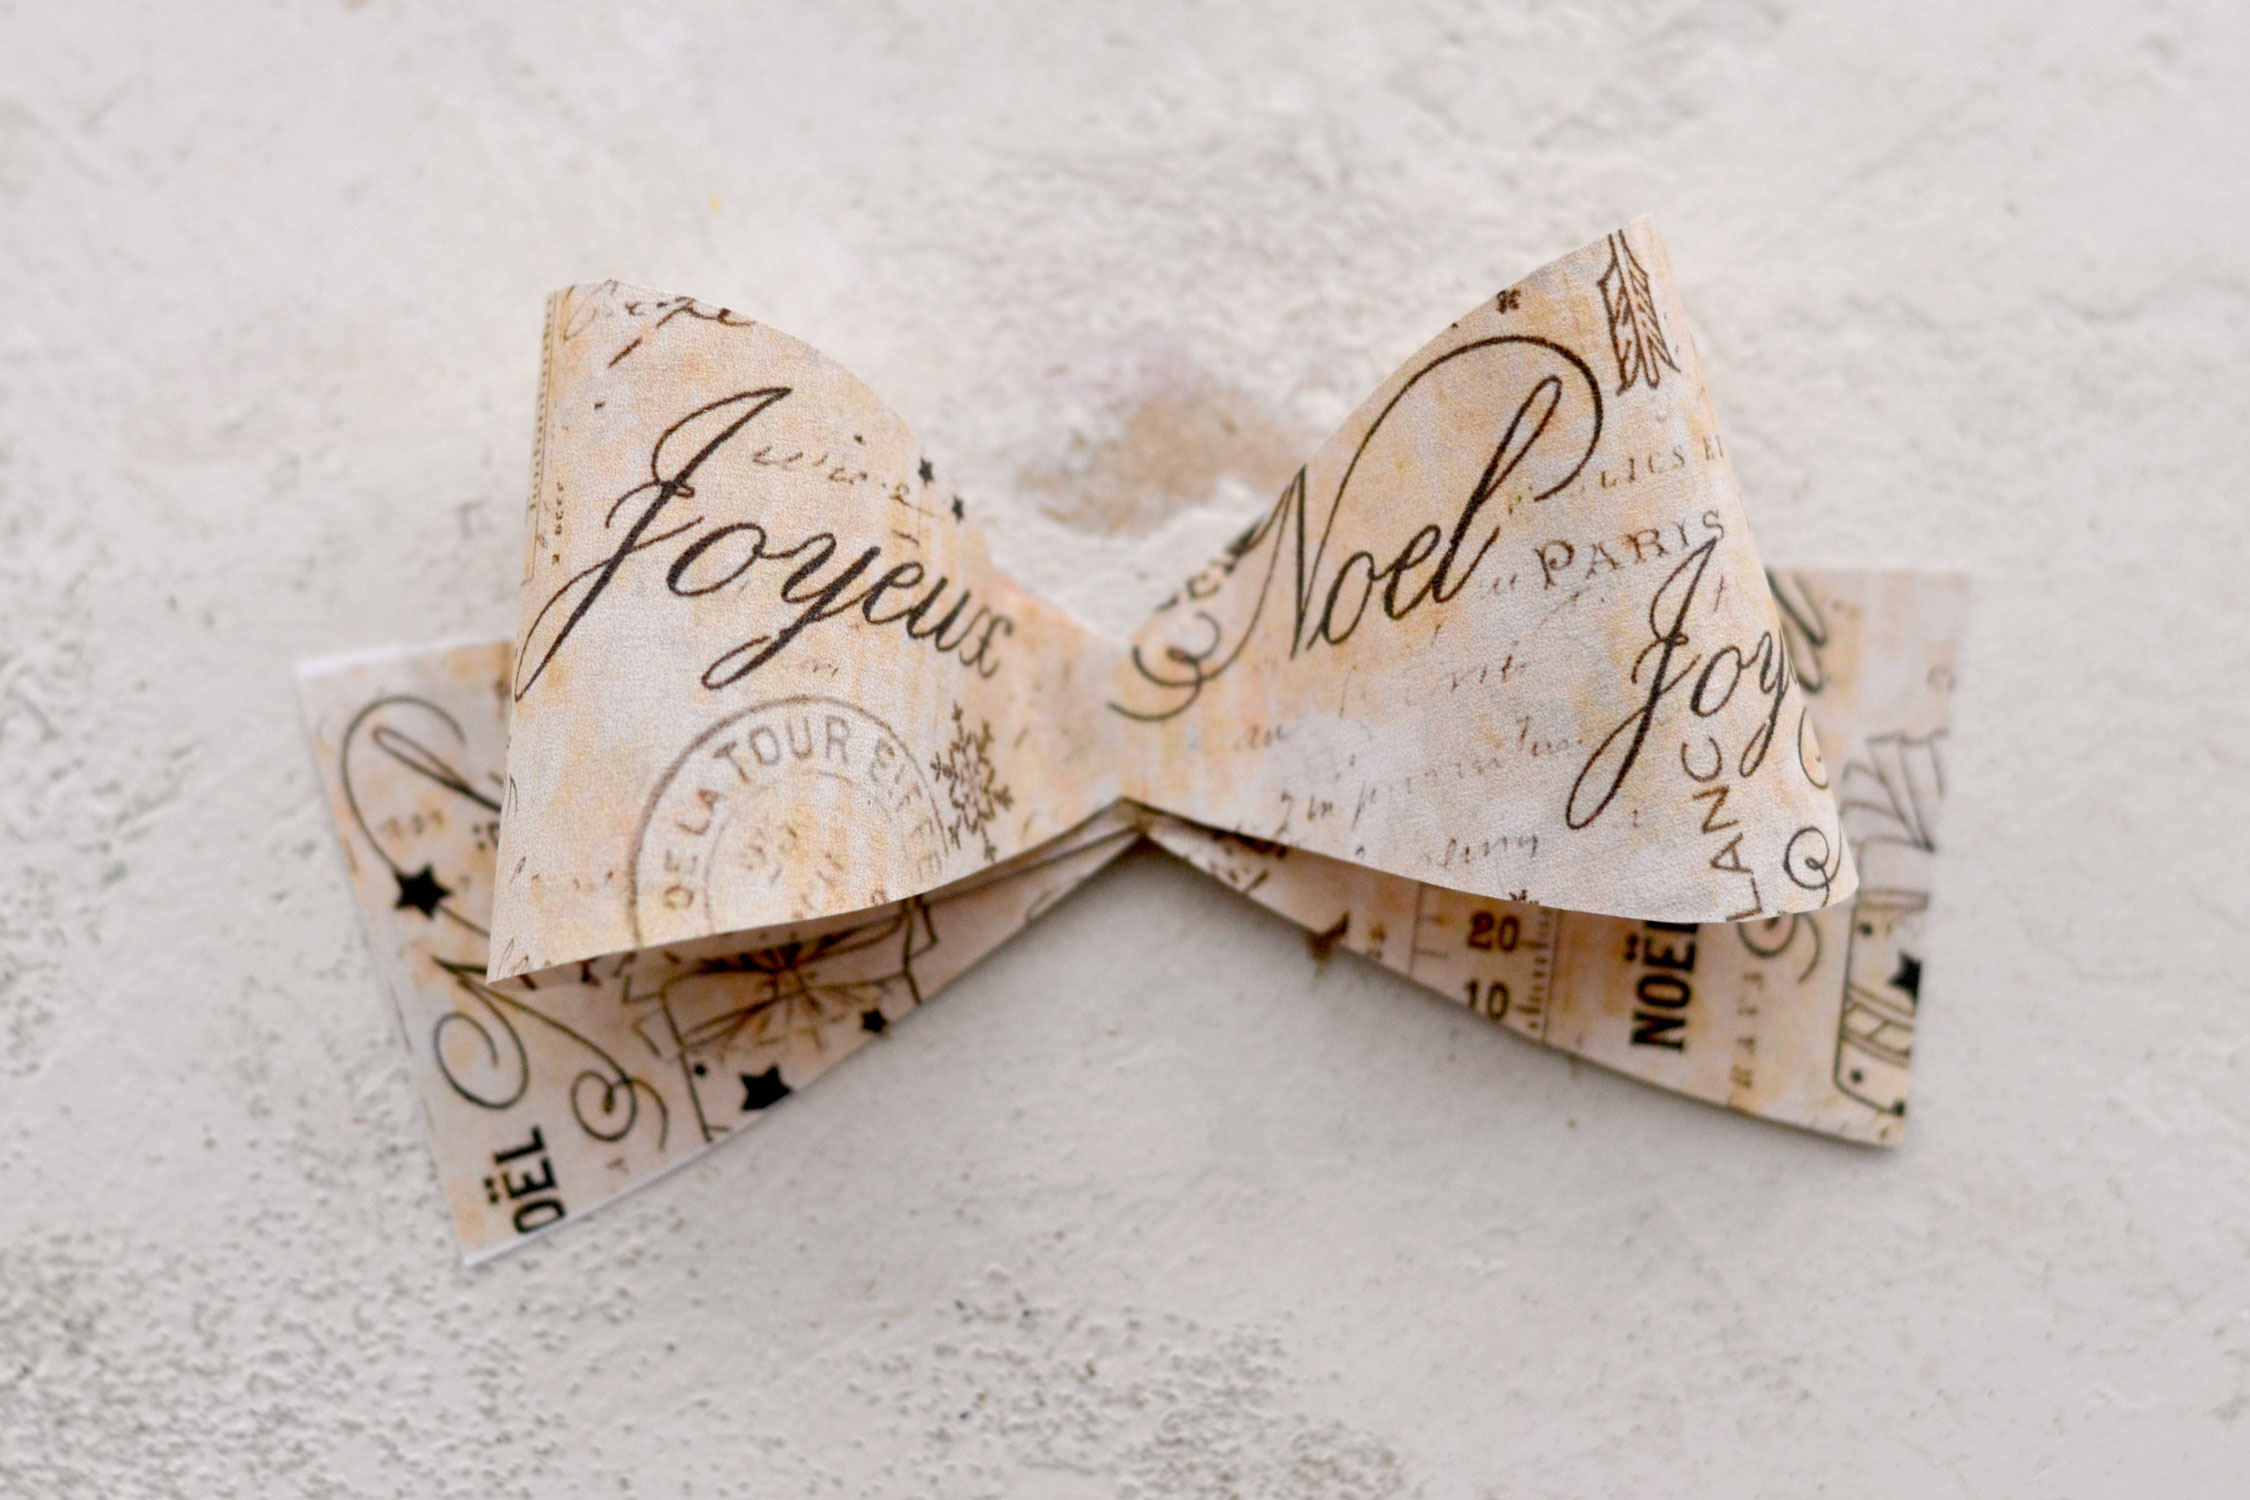
Use your fingers to press in the middle of the loop to create the bow on top and use some glue to adhere the middle section to the paper underneath. Before the glue gets the chance to completely dry, you can slightly arrange the two pieces under the bow and drag their ends toward the bottom to create some interest.
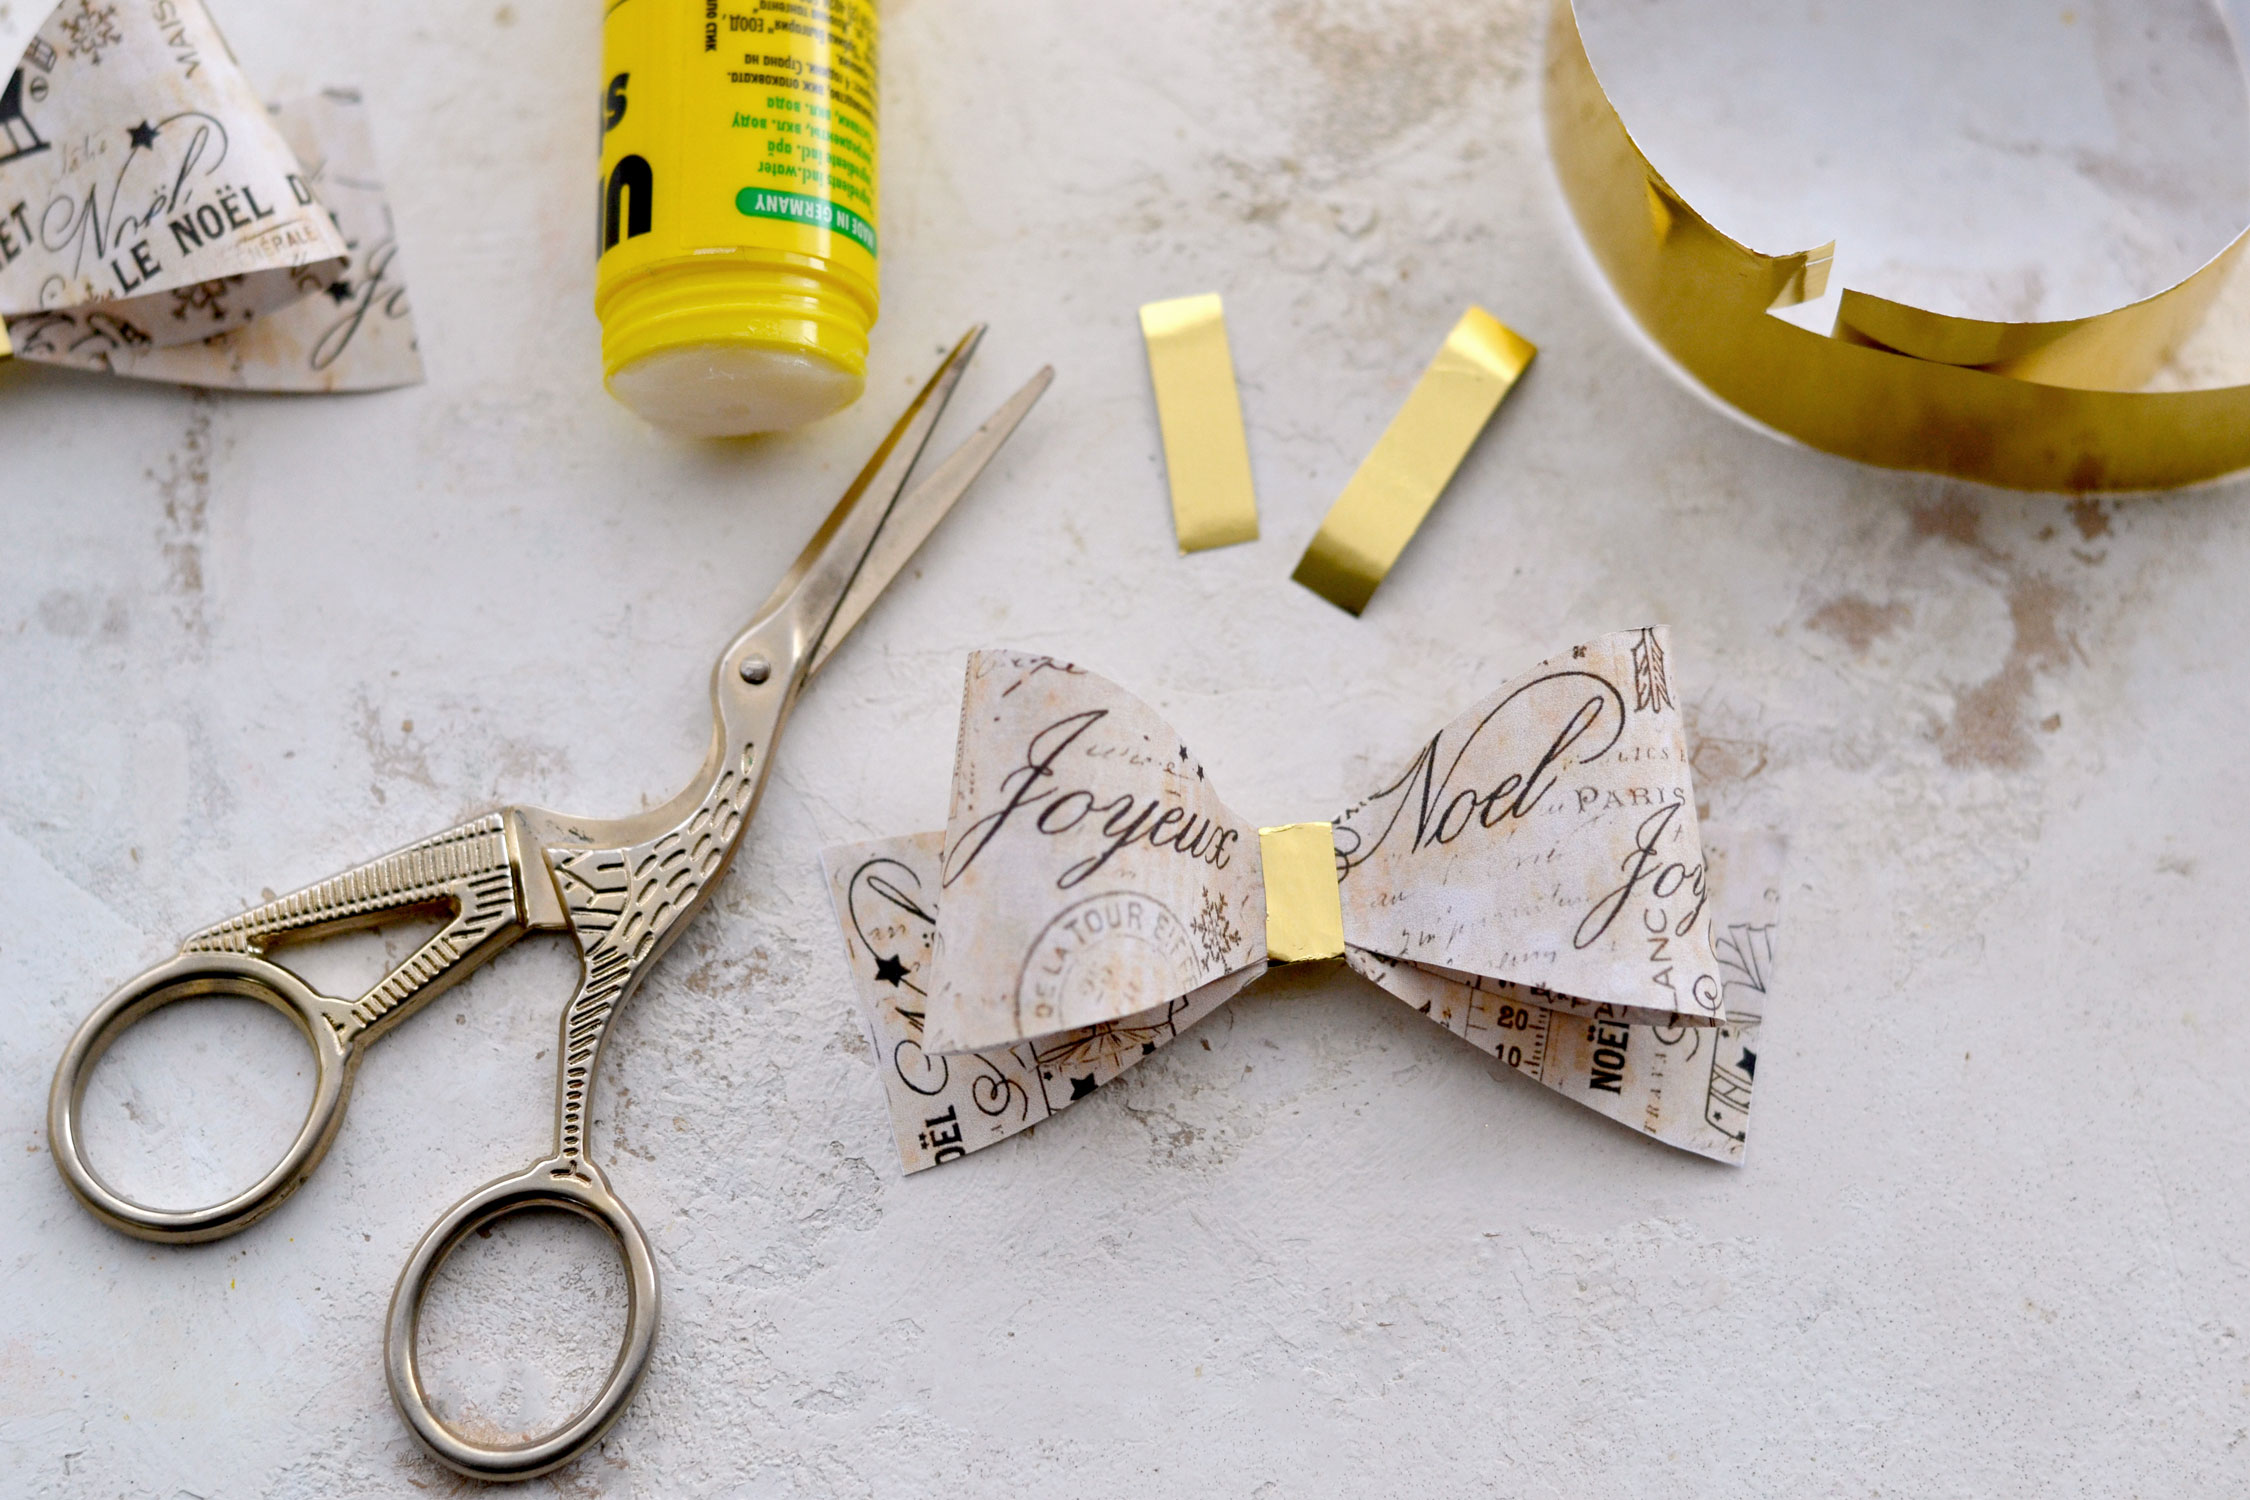
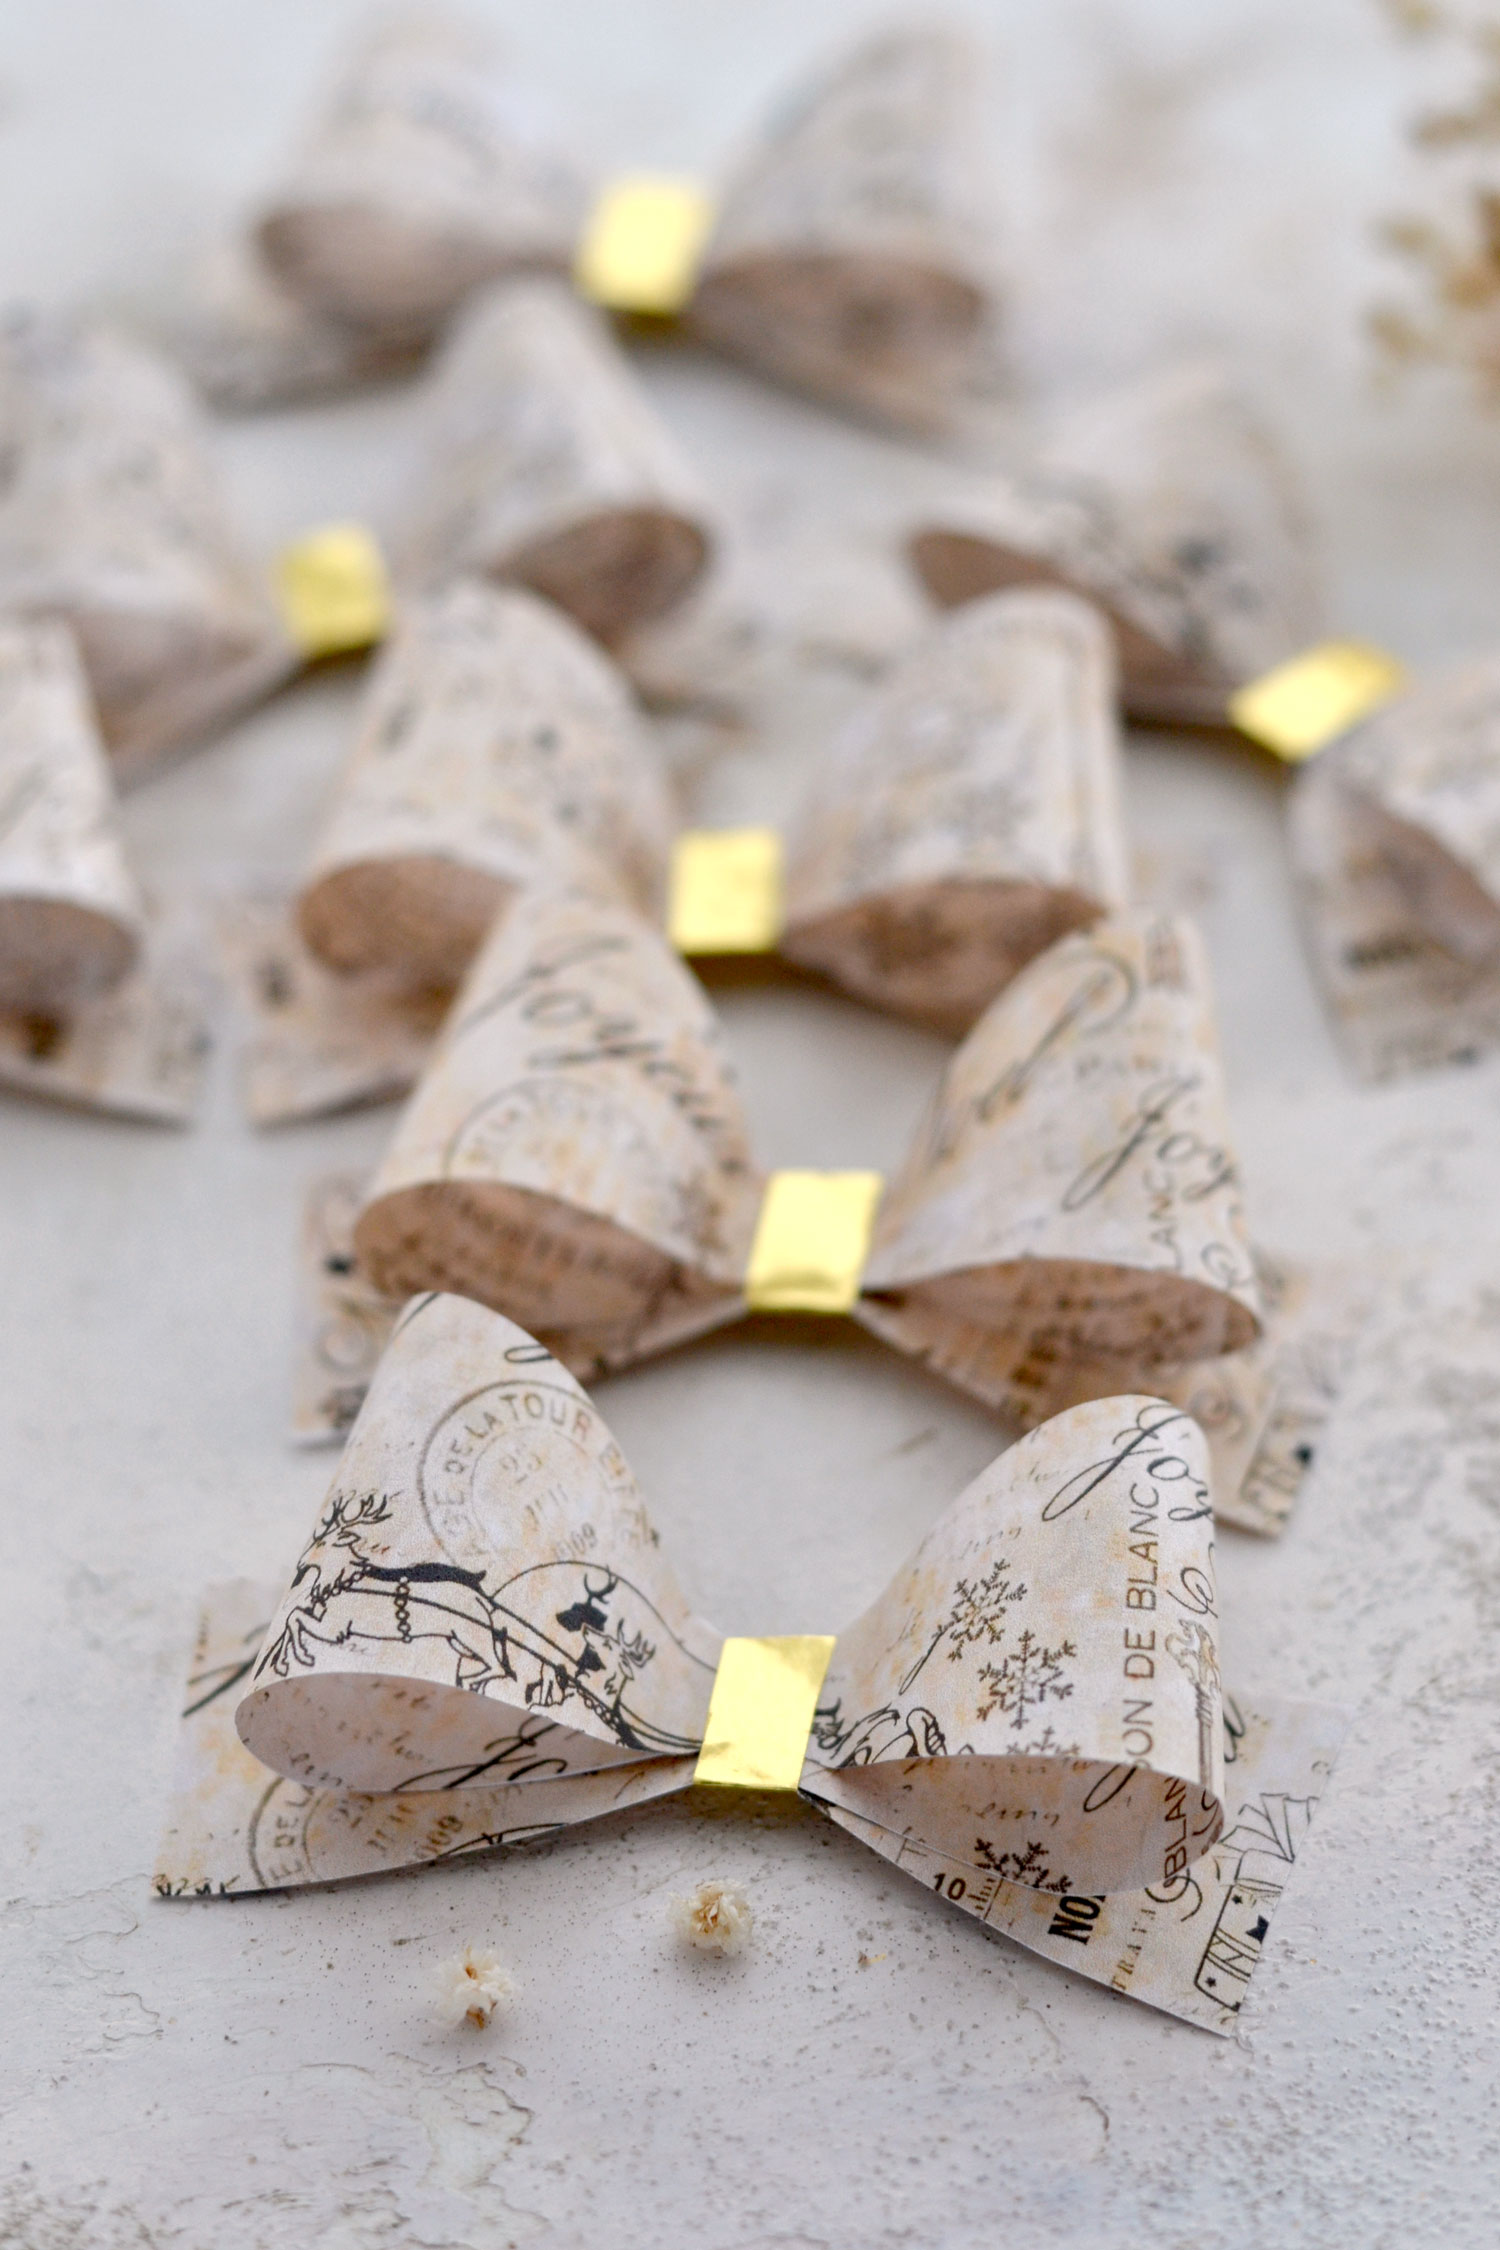
Add a small piece of gold paper in the middle if you want to give the finished pieces even more glamour and charm. I had some scrap pieces of gold wrapping paper and I’ve decided to use some here. If you don’t have any you could also use some thin gold washi or you can paint some regular paper with gold acrylic or watercolor paint, let it dry, cut it and use it here instead.
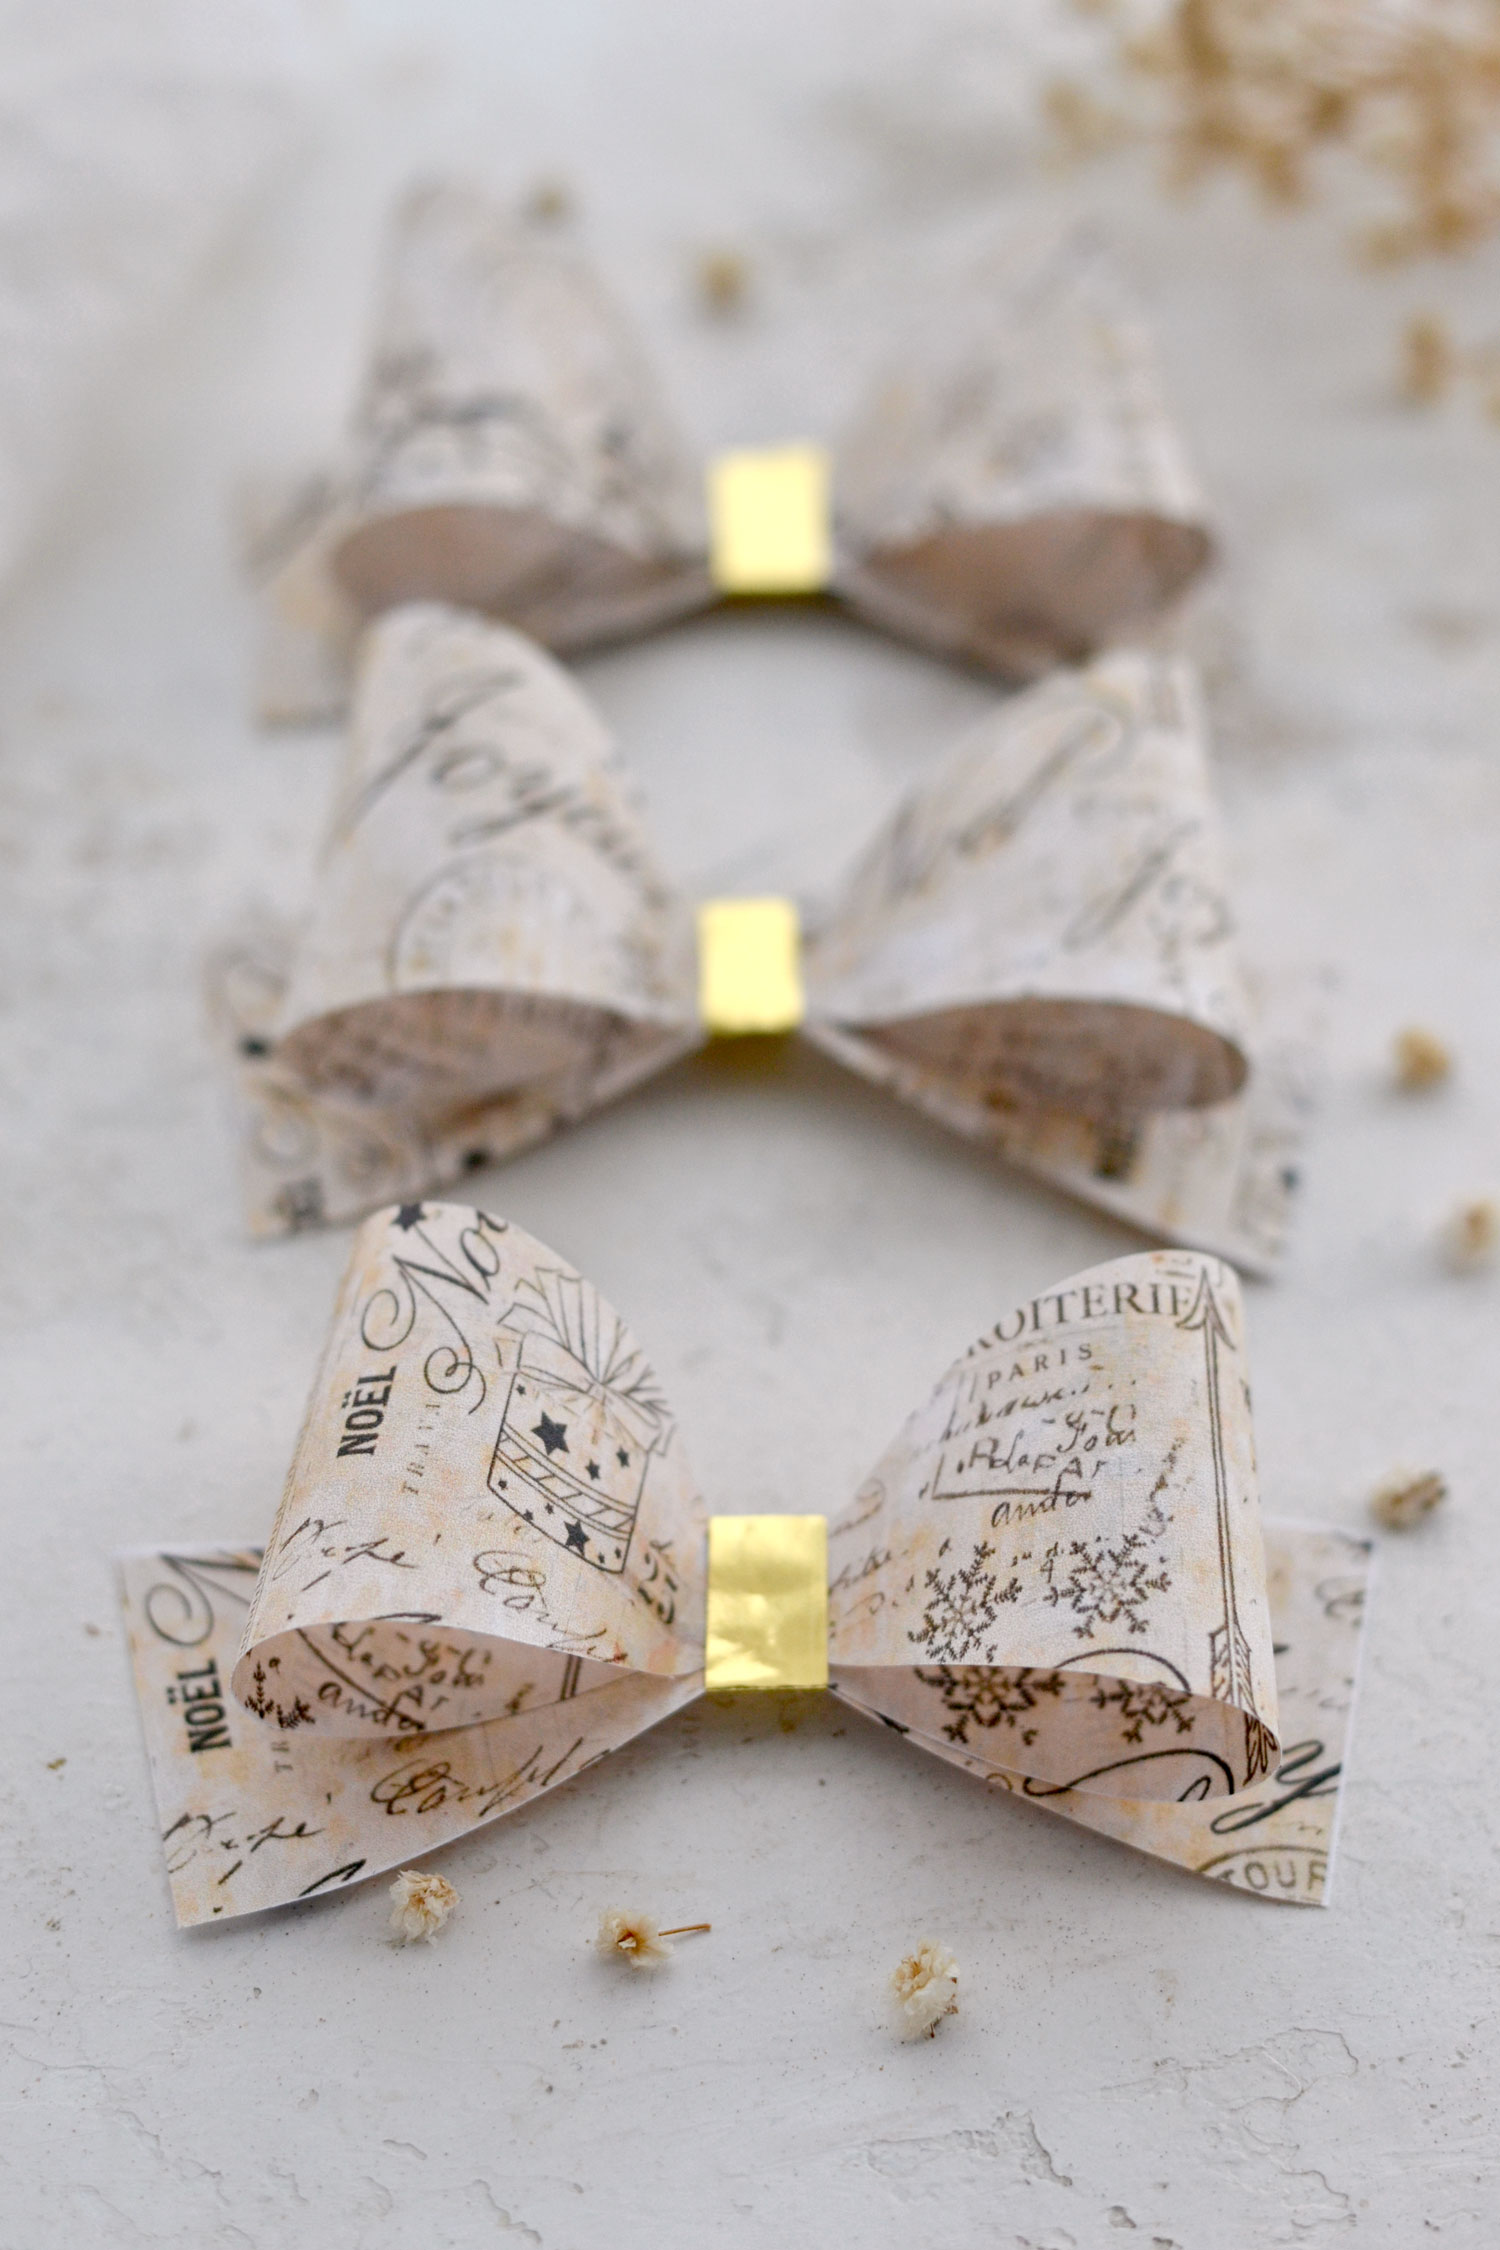
Once you’ll learn the basics, you will be amazed to see how quickly these beauties come to life and how gorgeous the final results will be!
And because the design that we used looks delicate and elegant, the paper itself will look delicate and elegant and will have an almost handmade feel to it.
I have to confess these can get quite addictive to make! There is something quite rewarding about finishing a new batch, so you might end up like me with more bows than you could need. But that’s not necessarily a bad thing, I’m sure you’ll find plenty of fun ways to use them.
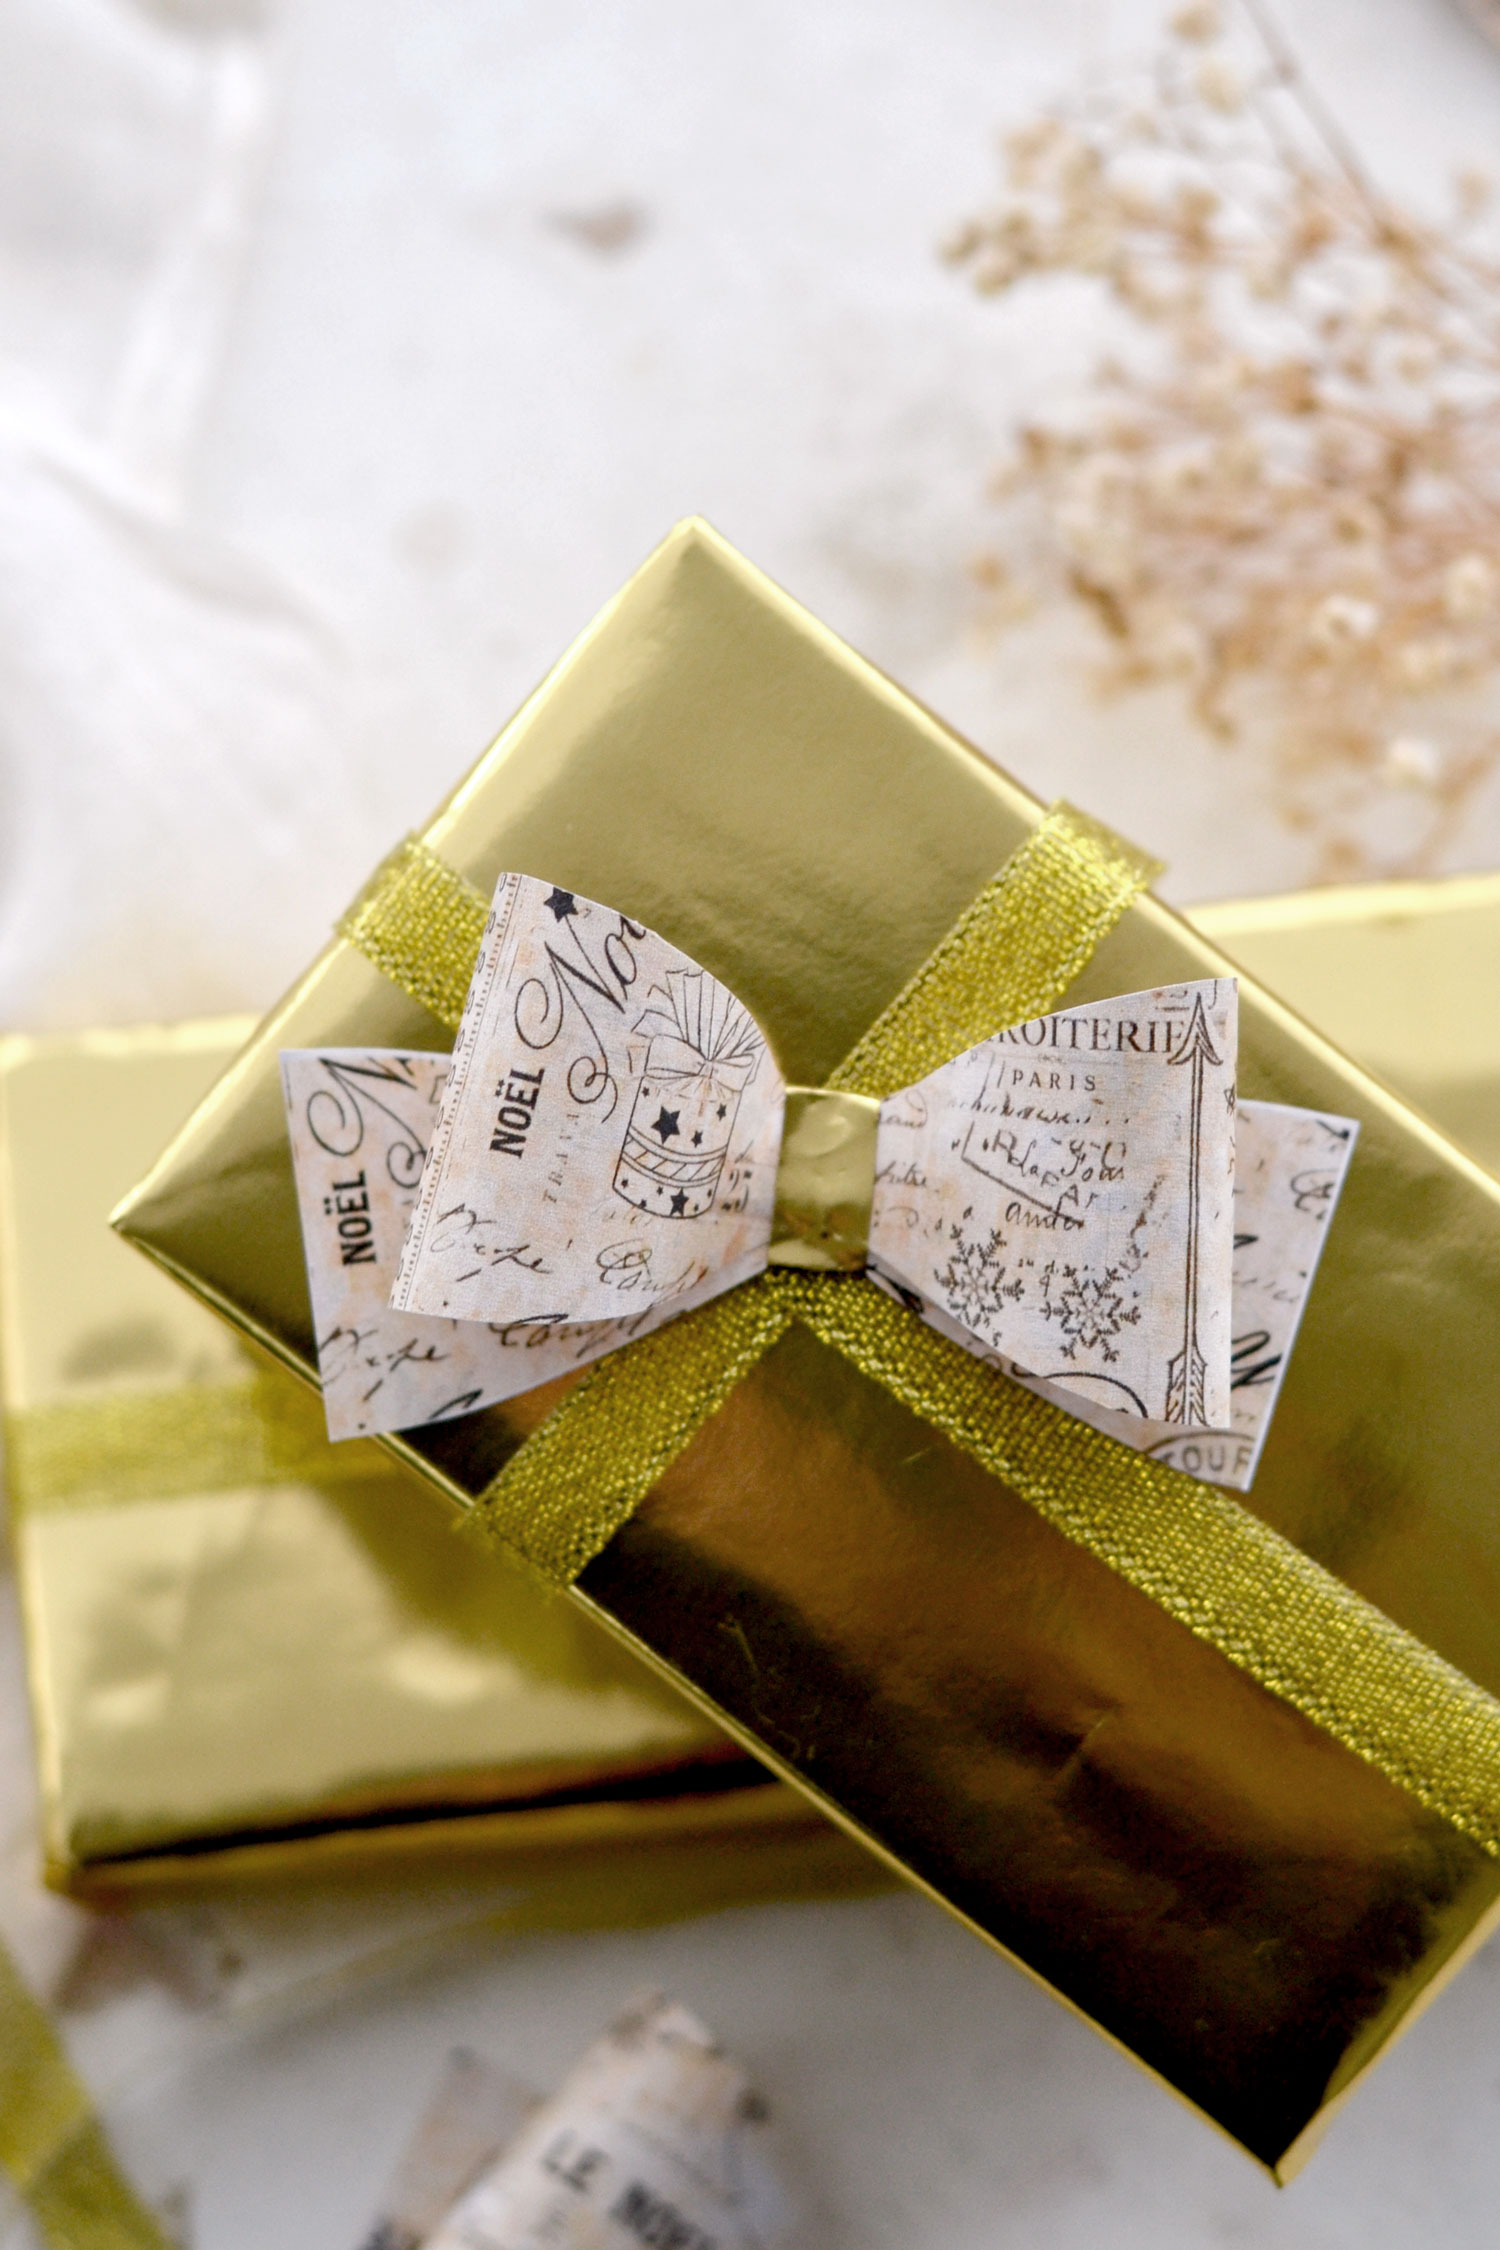 These will make the perfect last-minute touch that you can add to your Christmas-wrapping sessions, but you can definitely use them on other projects too! Hang them on your Christmas tree, use them to decorate wreaths or small vignettes all around your home, use them as small embellishments for Christmas tags, or place them on your dinner table, the sky is the limit! And if you are feeling adventurous, you could try and give some as wearable gifts for your guests to wear as handmade fancy bow ties on Christmas day!
 You might also like my How to Make a Bow out of Wrapping Paper Post HERE.
Happy crafting,
Diana / Dreams Factory
