Cling Wrap Image Transfer Project
Hello Graphics Fairy friends! I’m Diana from Dreams Factory and I’m happy to be here again to share another DIY project with you! Today we will do a little bit of experimenting as I will show you how to make a cling wrap image transfer using paper napkins! We will be printing our own design on paper napkins, I will tell you what you need to consider so you can feed this type of paper through your printer. You will love how easy this project is and how gorgeous the final results are, you’ll just want to try it over and over again!
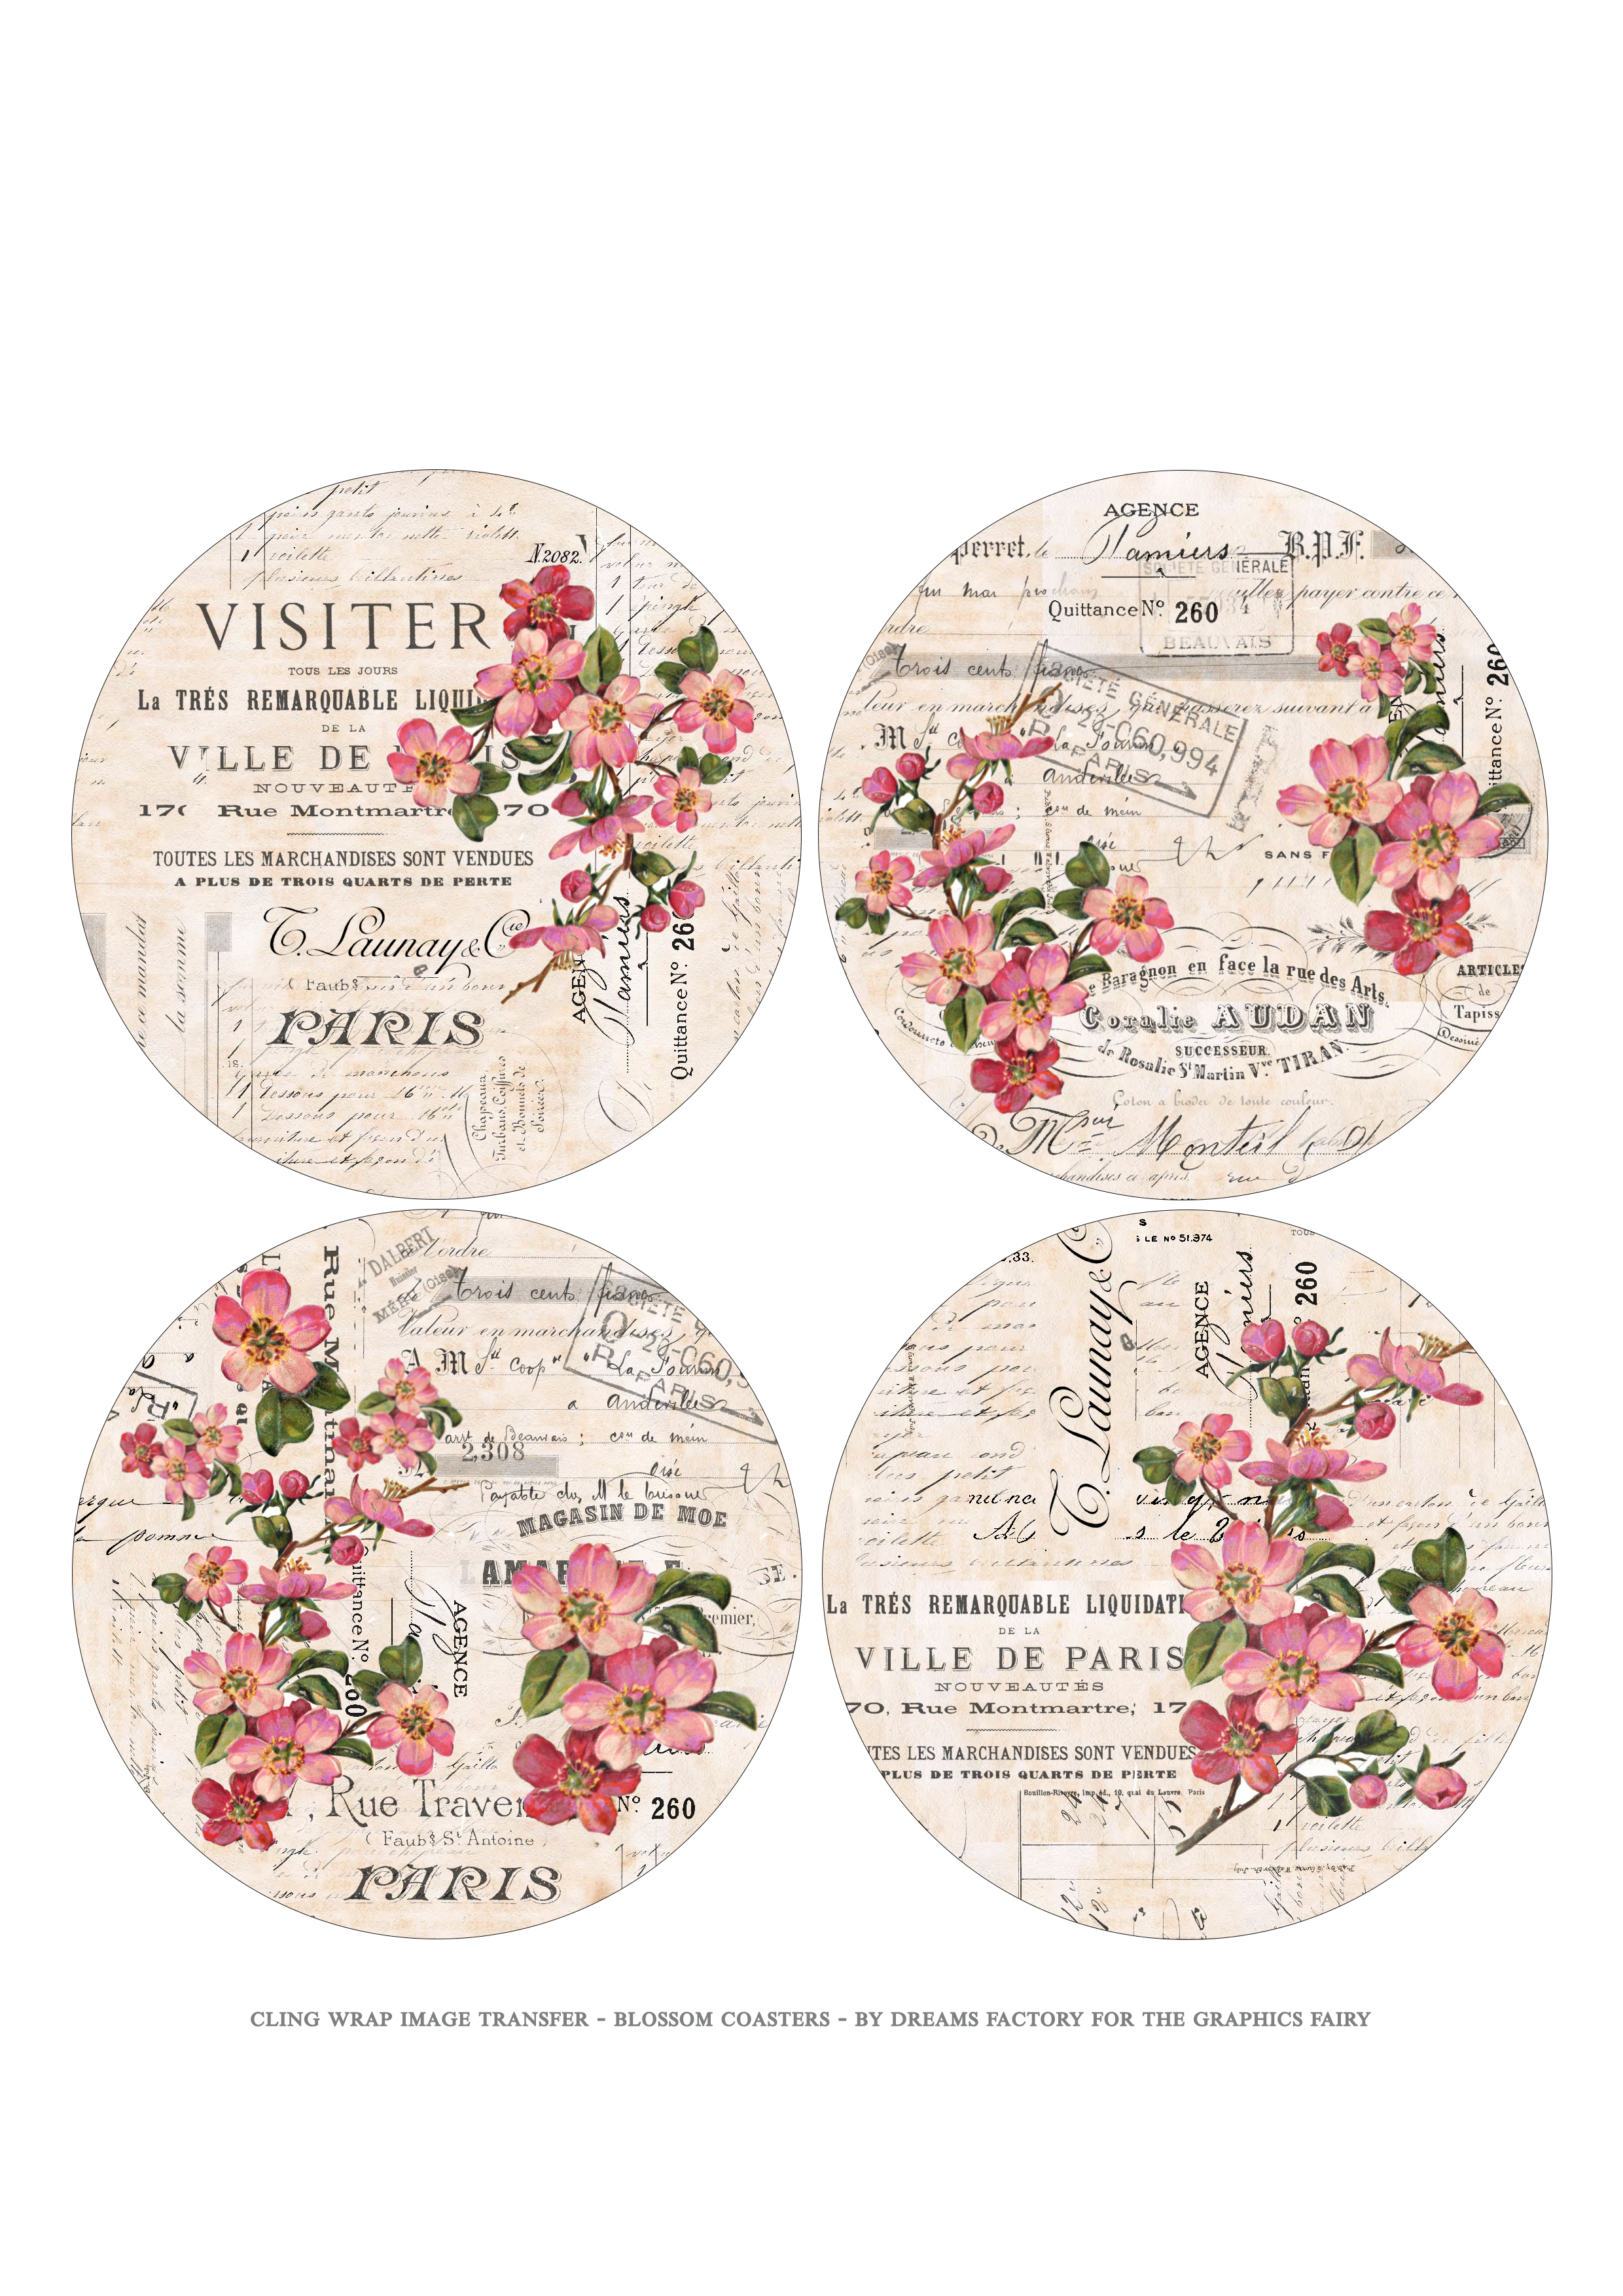
I created the design for this project using beautiful French ephemera elements and these gorgeous pink blossom flowers. There’s something about blossom flowers that really speak to my heart, especially this time of year when all nature comes to life, so I thought it would be fun to use them here.
You will need to create a special assembly so you can feed paper napkins through your printer, so I created the design having this in mind. That’s why I left some extra white space on top and bottom so that everything can go as smoothly as possible.
Free Printables:
—-> Click HERE to Download the Full Size Printable PDF – the Blossom Coasters <—-
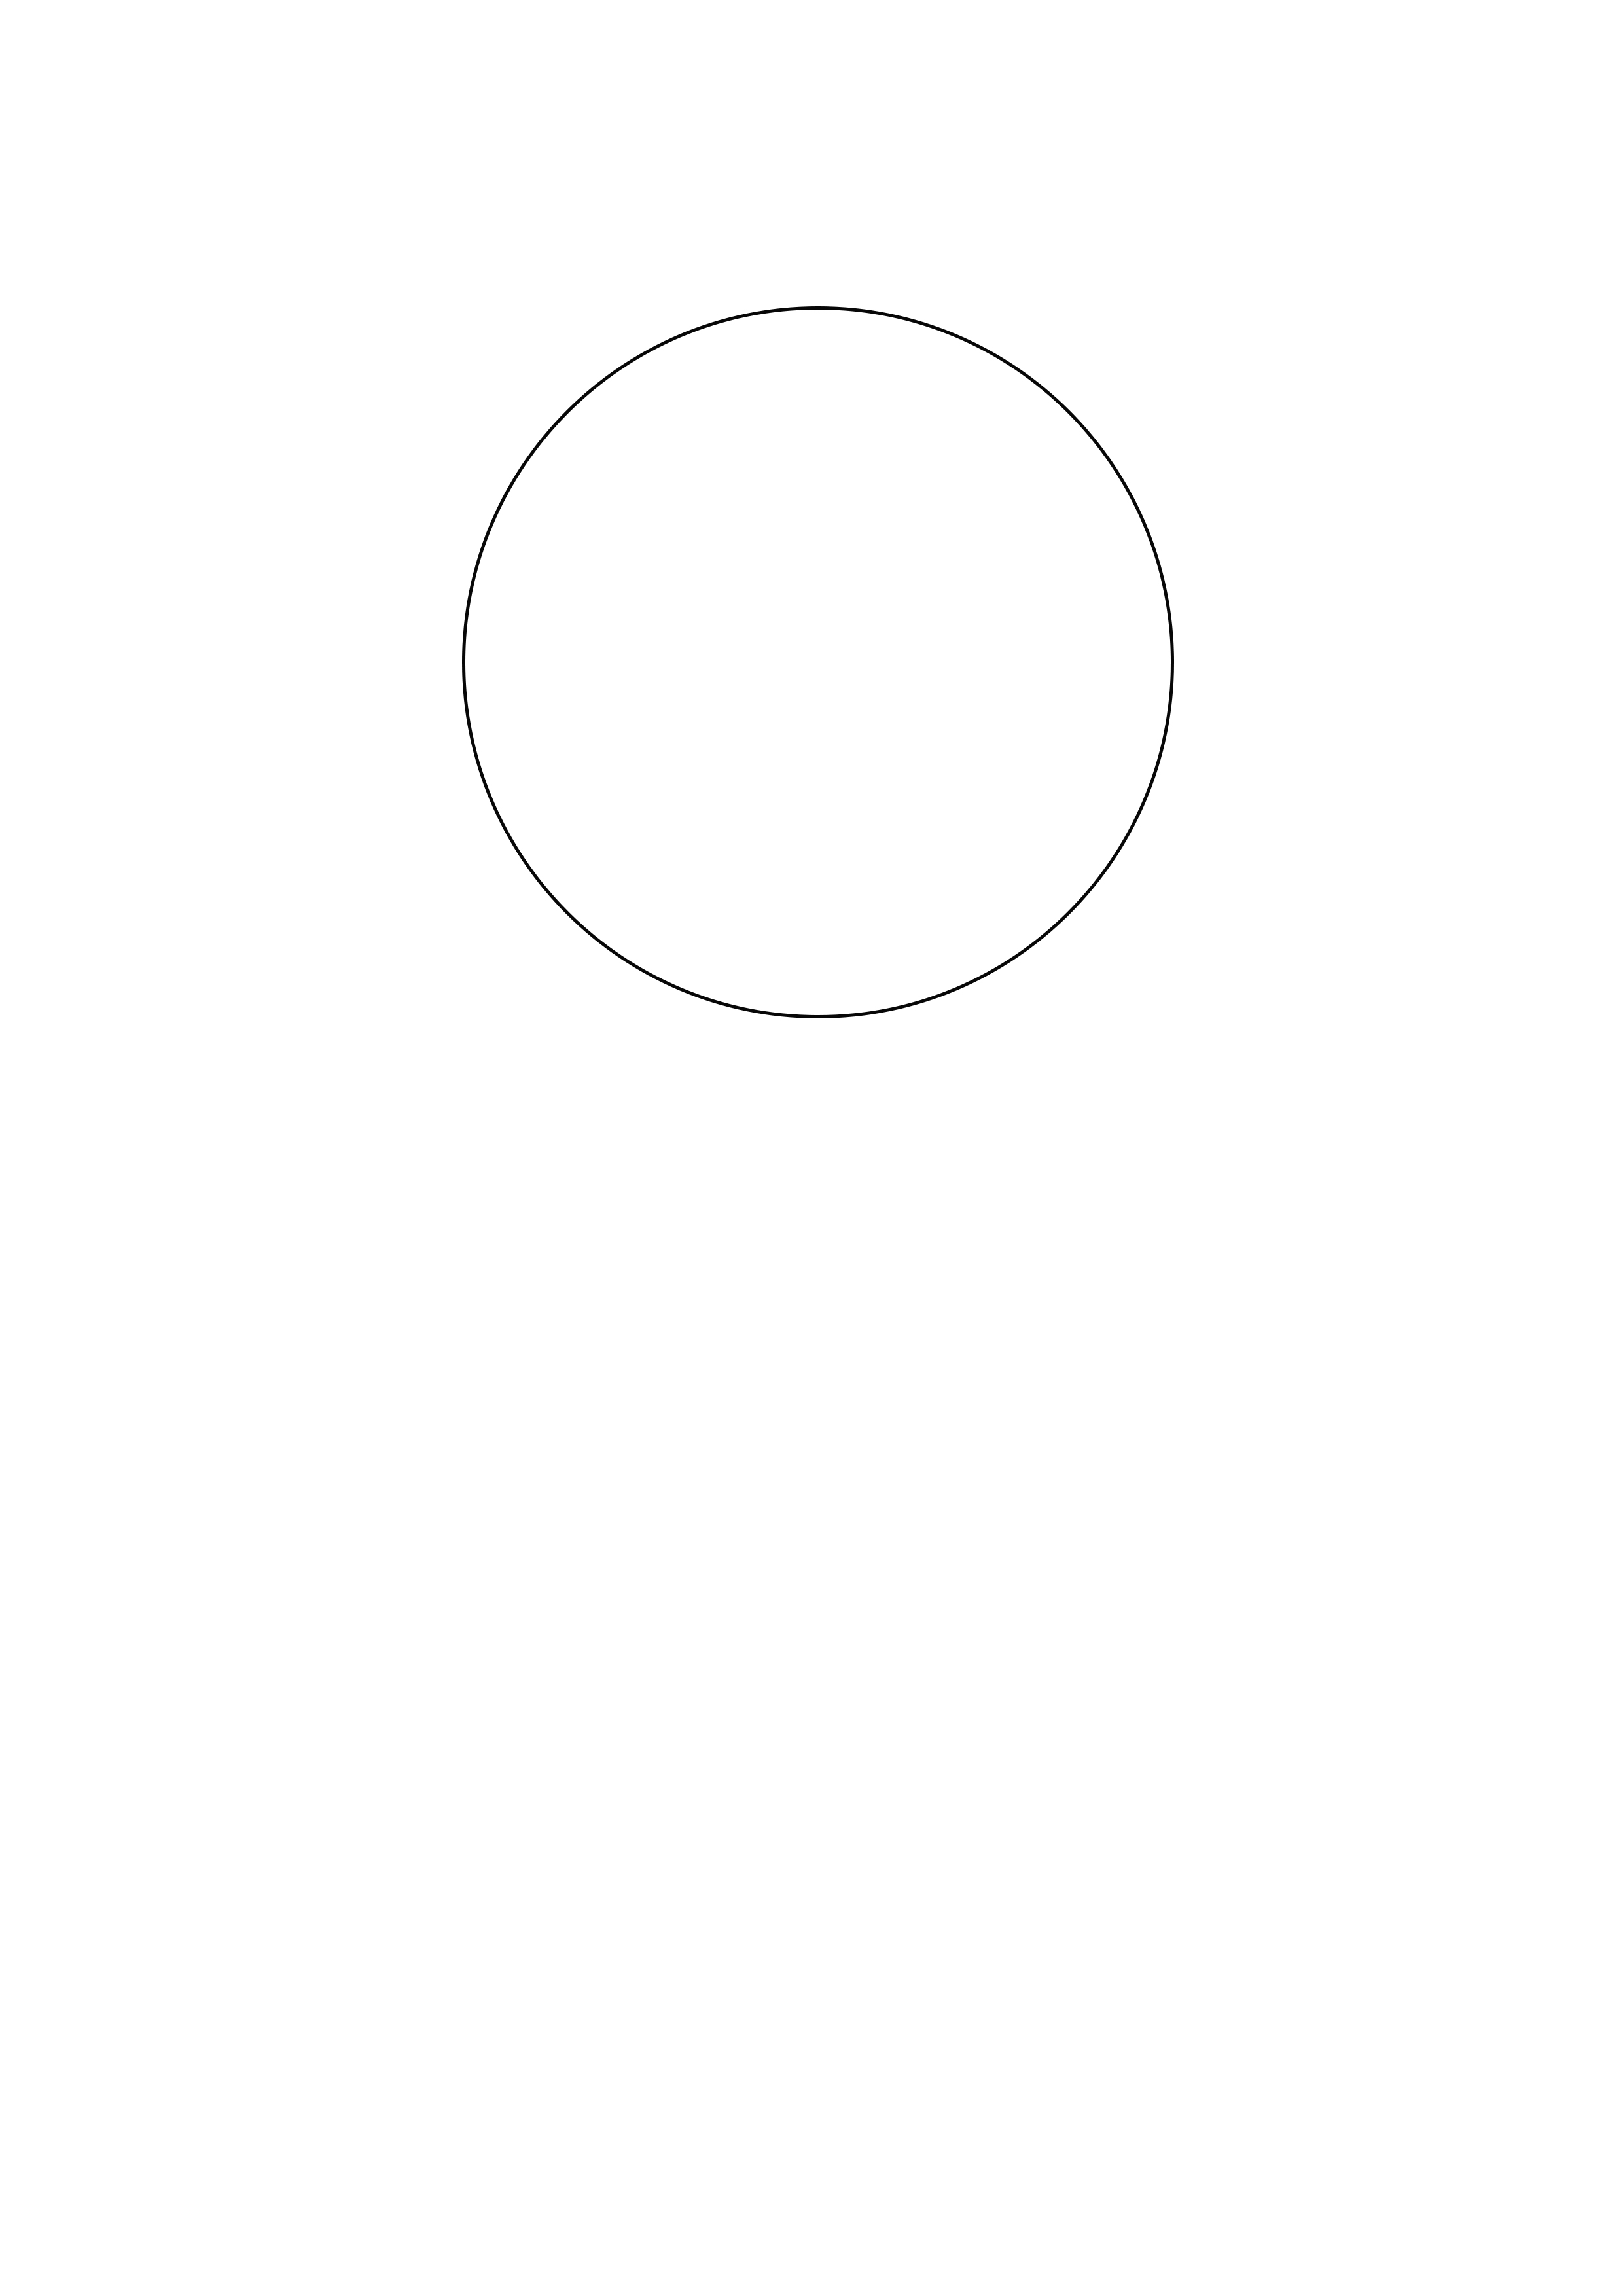
I’m also sharing a template so you can easily cut the round coasters from MDF or wood. Print this on cardstock paper and use it to trace as many coasters as you want!
—-> Click HERE to Download the Full Size Printable PDF – the Round Template <—-
Supplies for Cling Wrap Transfer Project:
- cardstock paper, white napkin paper and masking tape (to print the Blossom Coasters)
- cardstock paper (to print the templates)
- home printer
- scissors
- regular pencil
- MDF (Medium Density Fiberboard) OR any other scrap wood
- top handle jigsaw
- cling wrap (also known as saran wrap or cling film)
- nail file or sandpaper
- neutral acrylic paint – white, cream, beige, ivory (I used ivory)
- a brush
- clothes iron
- parchment paper (also known as baking paper)
- gold acrylic paint (optional)
- gold marker – I used my favorite gold Decocolor (optional)
Step by Step Tutorial:
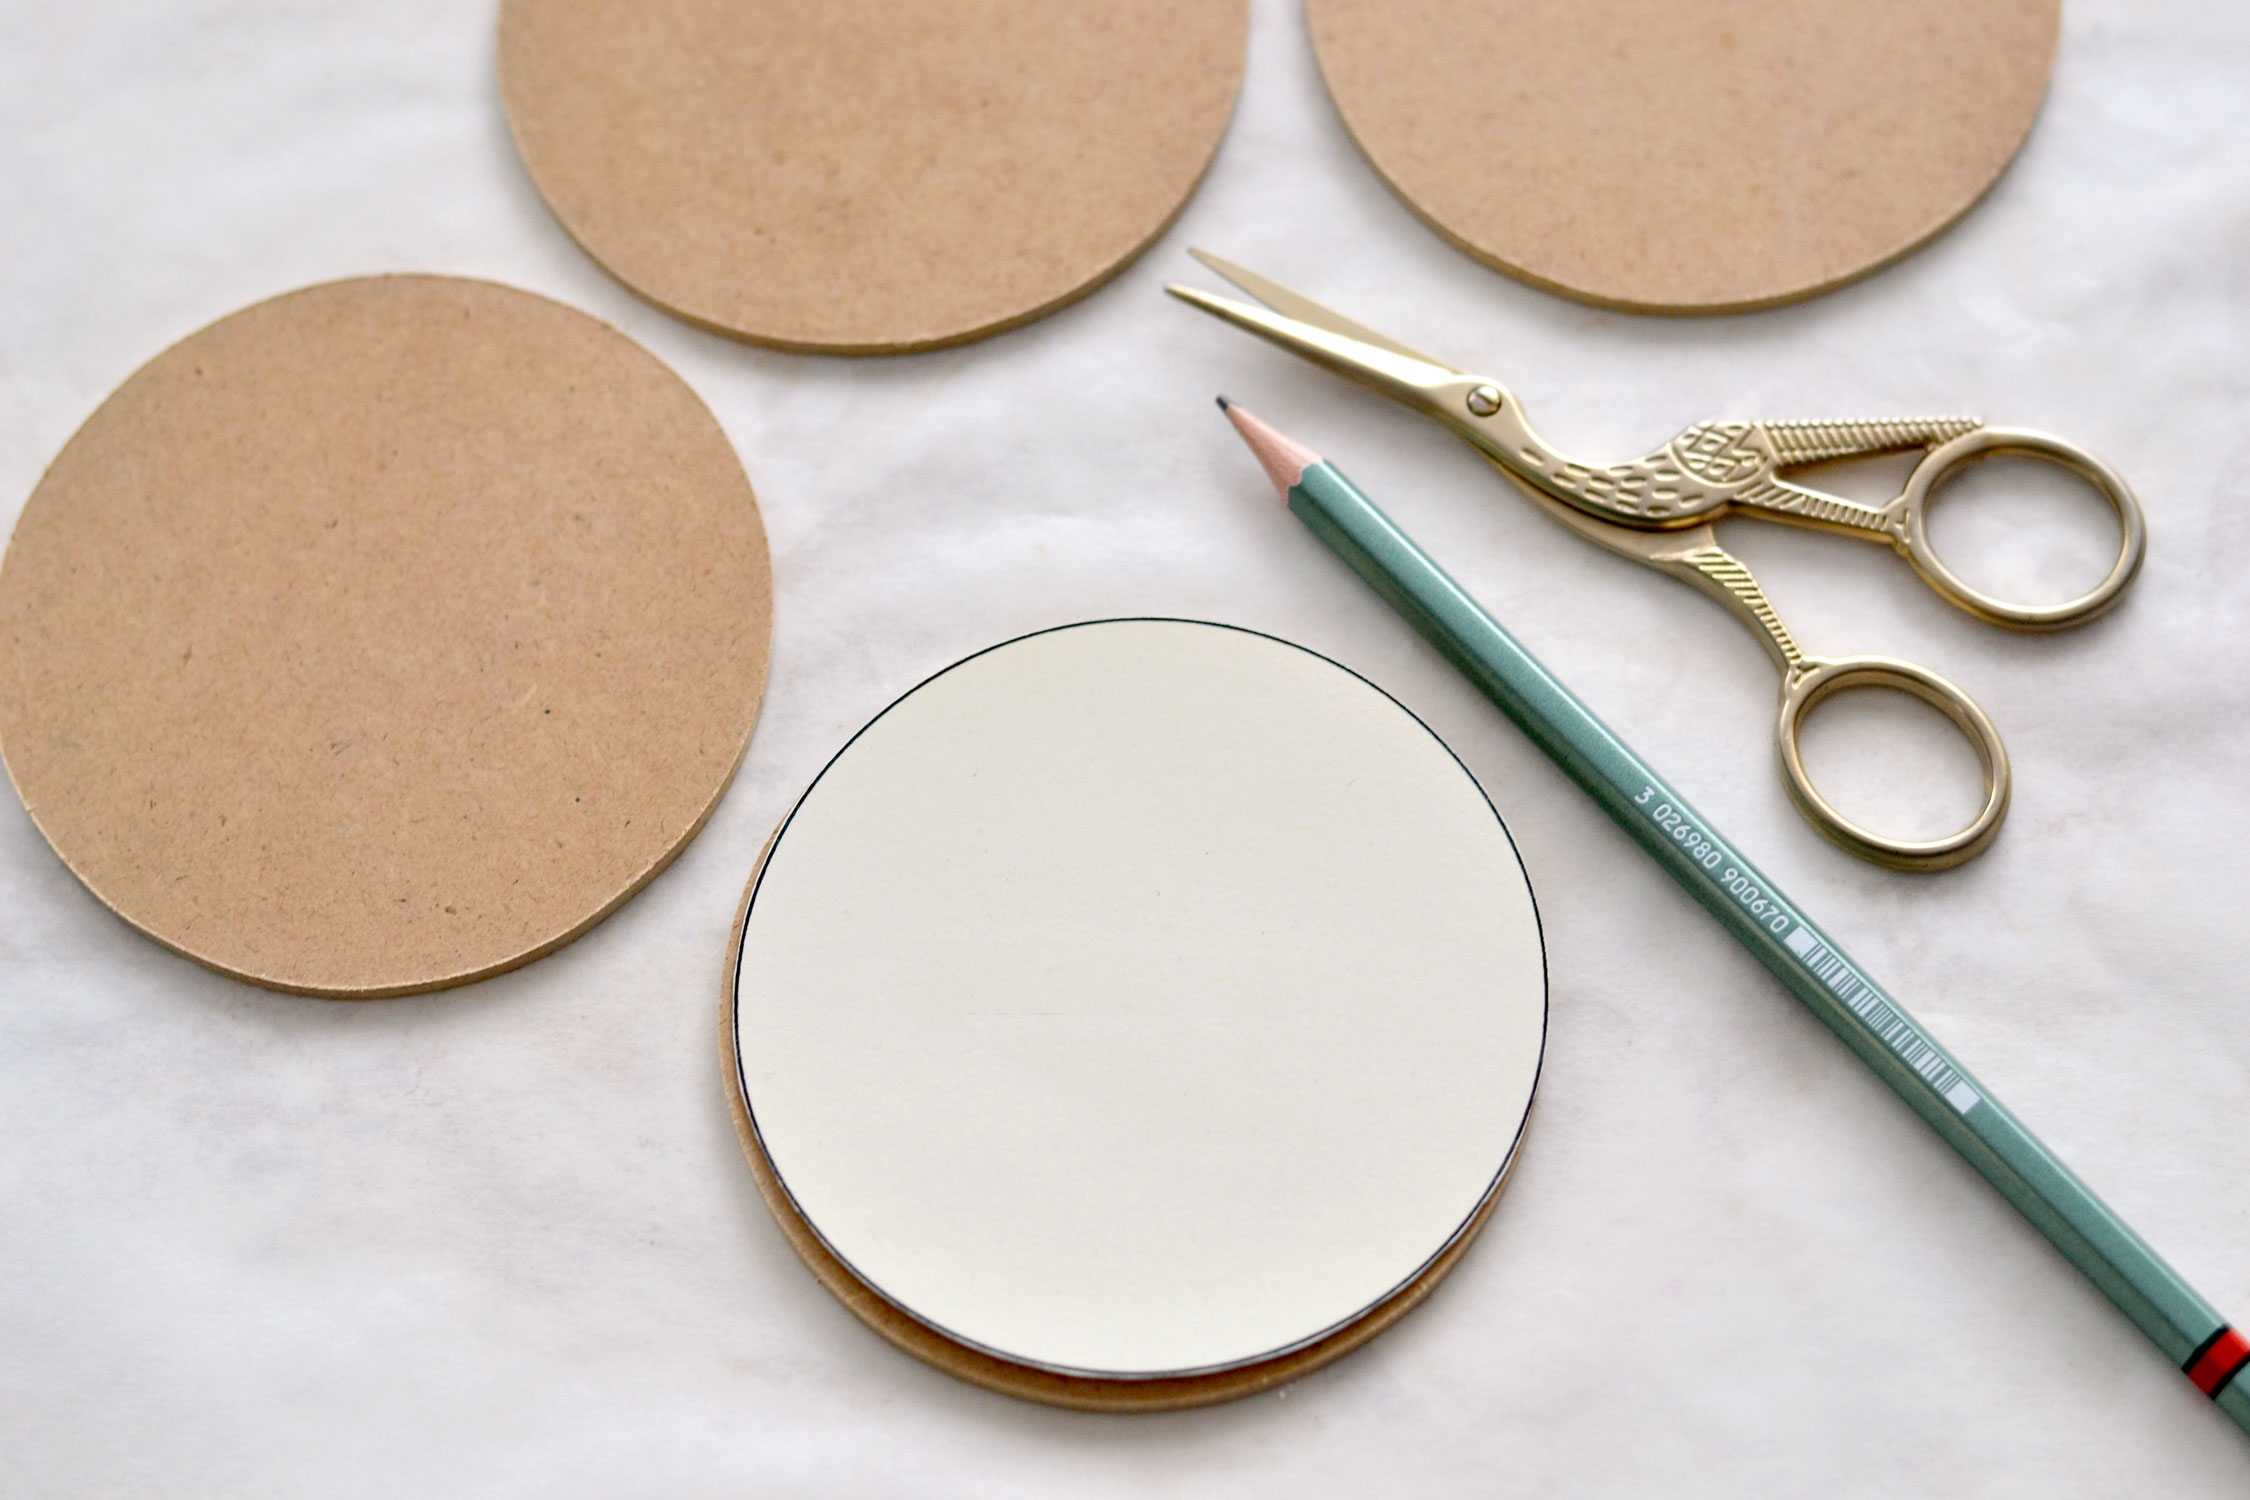
Start by printing the round template on cardstock paper and use your scissors to cut it outside its black frame. Cut it as well as you can, this will dictate the shape of our coasters. Use the cardstock circle as a template to trace the coasters on MDF or any scrap pieces of wood that you have around. Then use a jigsaw to cut the coasters – I cut 4 coasters, but if you want to make more, you can!
P.S. If you have some old coasters around that would need a little bit of TLC you can use those instead, it’s always great to adapt to things that you have around!
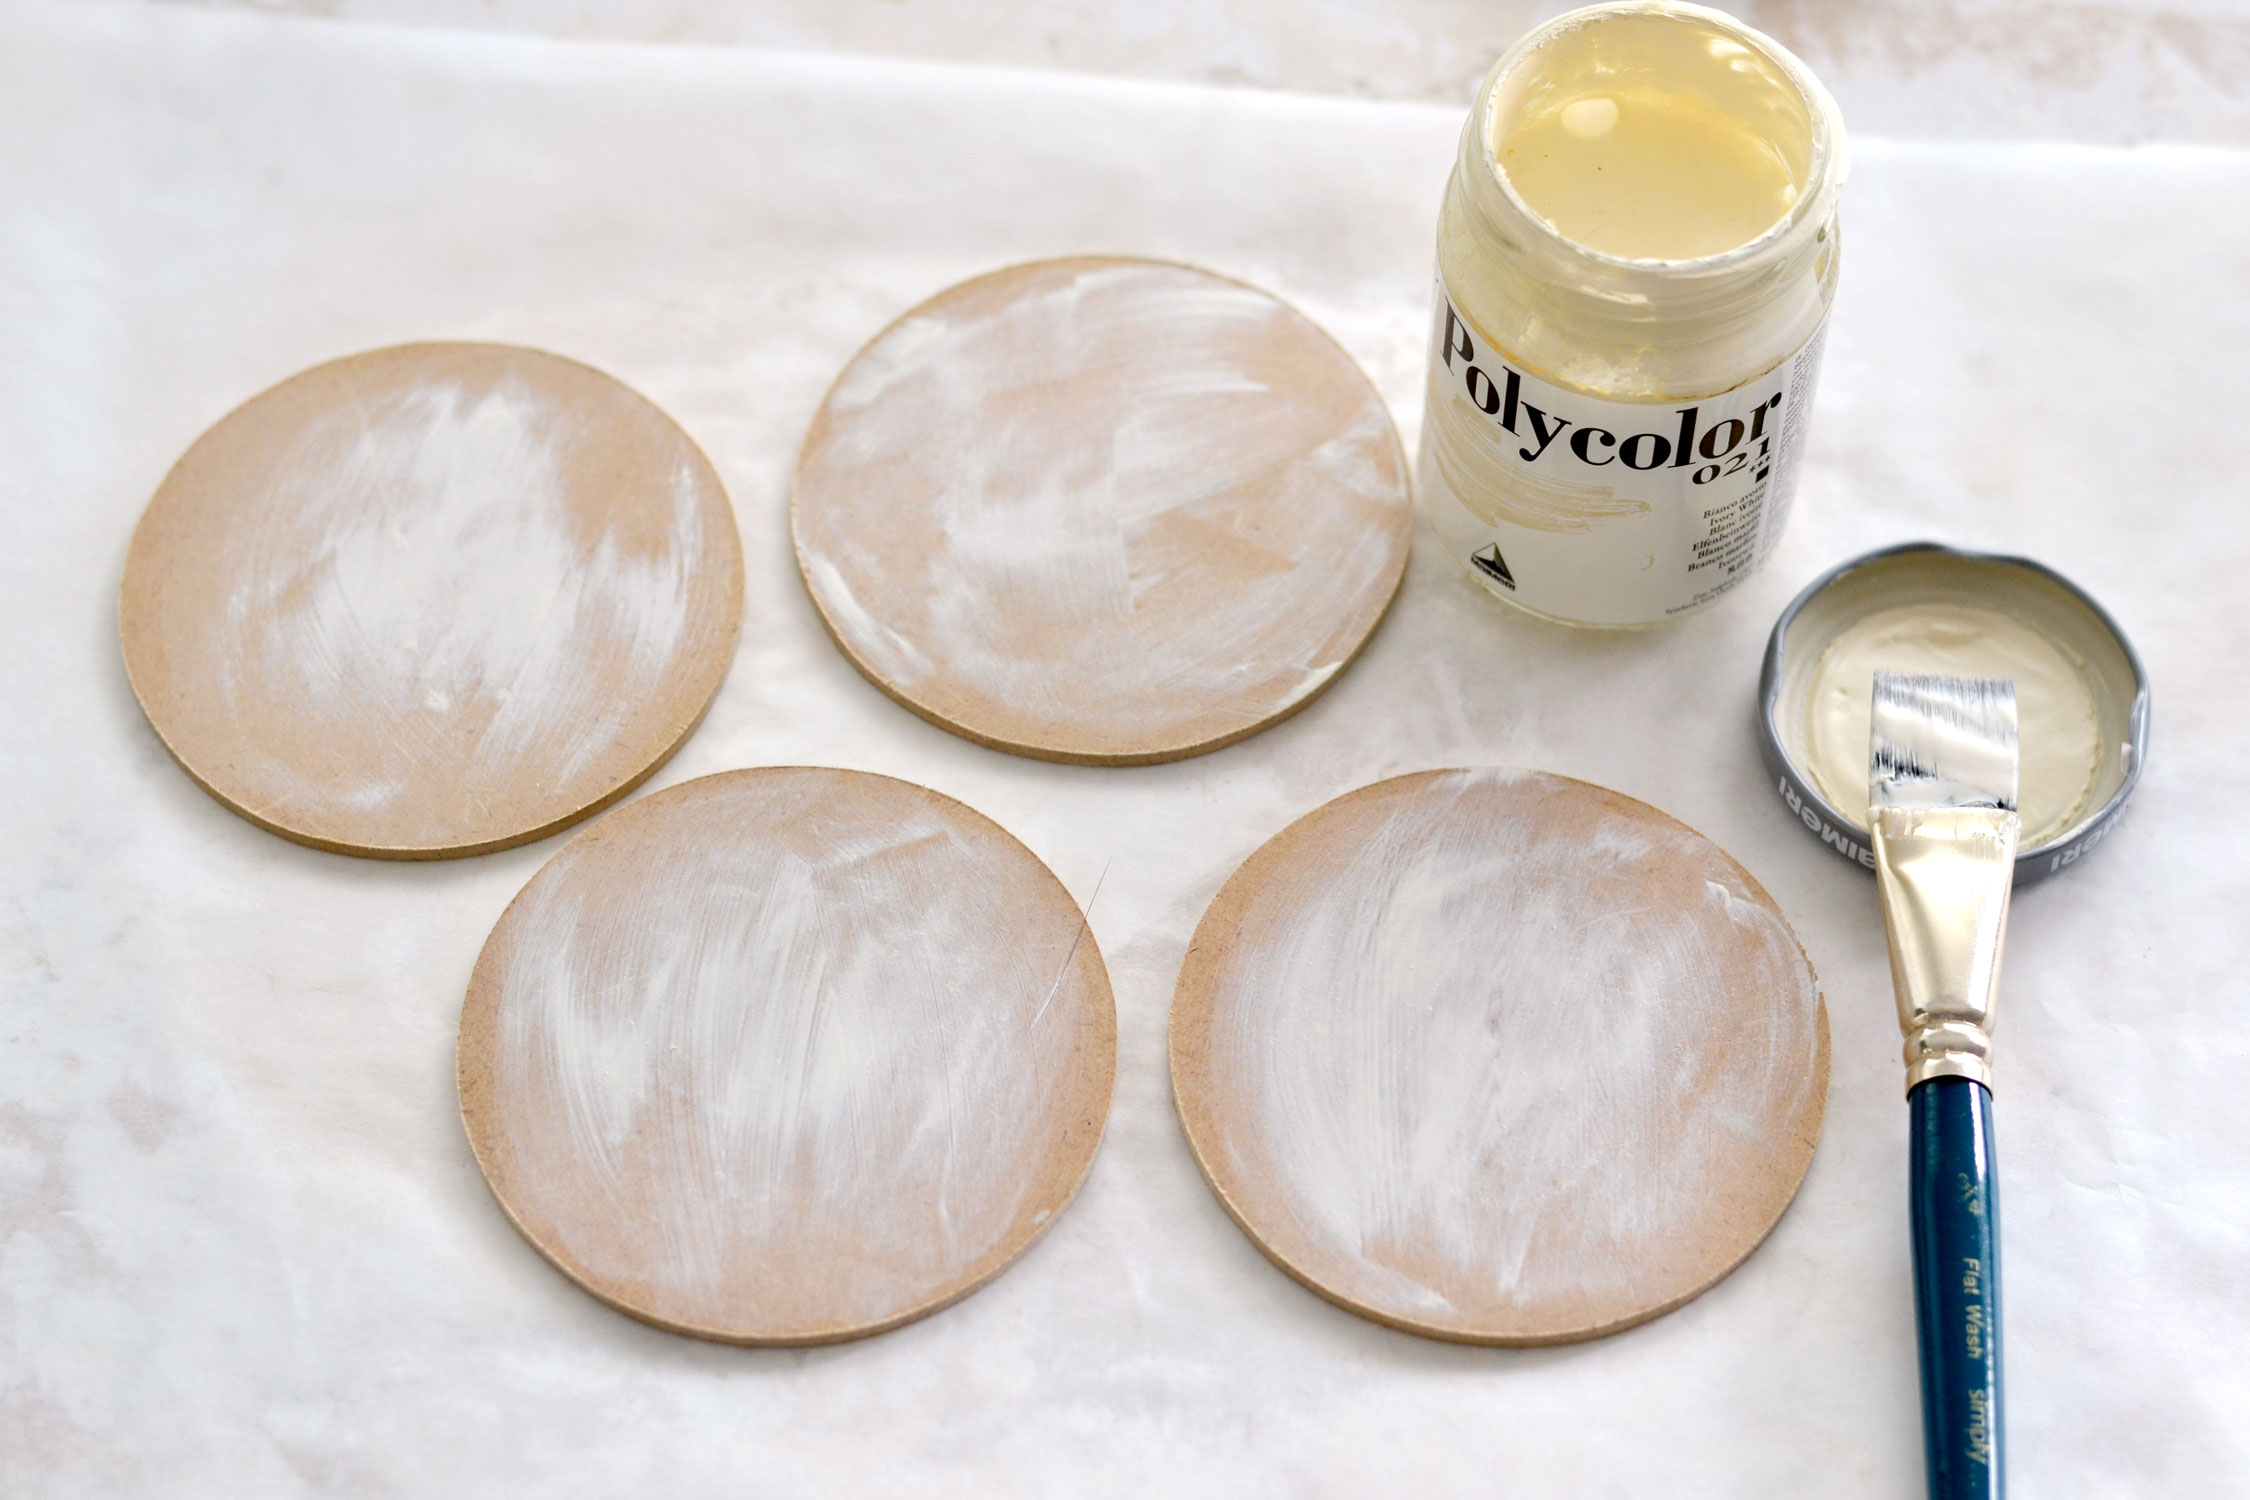
Use a neutral acrylic paint color (white, ivory, beige, cream) and a brush and starting from the middle of the coasters, paint a thin layer. Leave the edges unpainted if you want to give the coasters more of a vintage look, but also to create interest and dimension. Apply a small quantity of paint at first, I envisioned these to have a beautiful irregular appearance. The paint will soak fairly quickly so you might need to apply another coat after drying. If you prefer to completely cover the coasters with paint, you can – just make them as you like!
I initially wanted to add some gold or brown paint on the edges to slightly distress them, but I loved how they looked at this point and kept them like this.
P.S. Don’t forget to use a piece of parchment paper or a scrap piece of plastic to protect your working surface while painting.
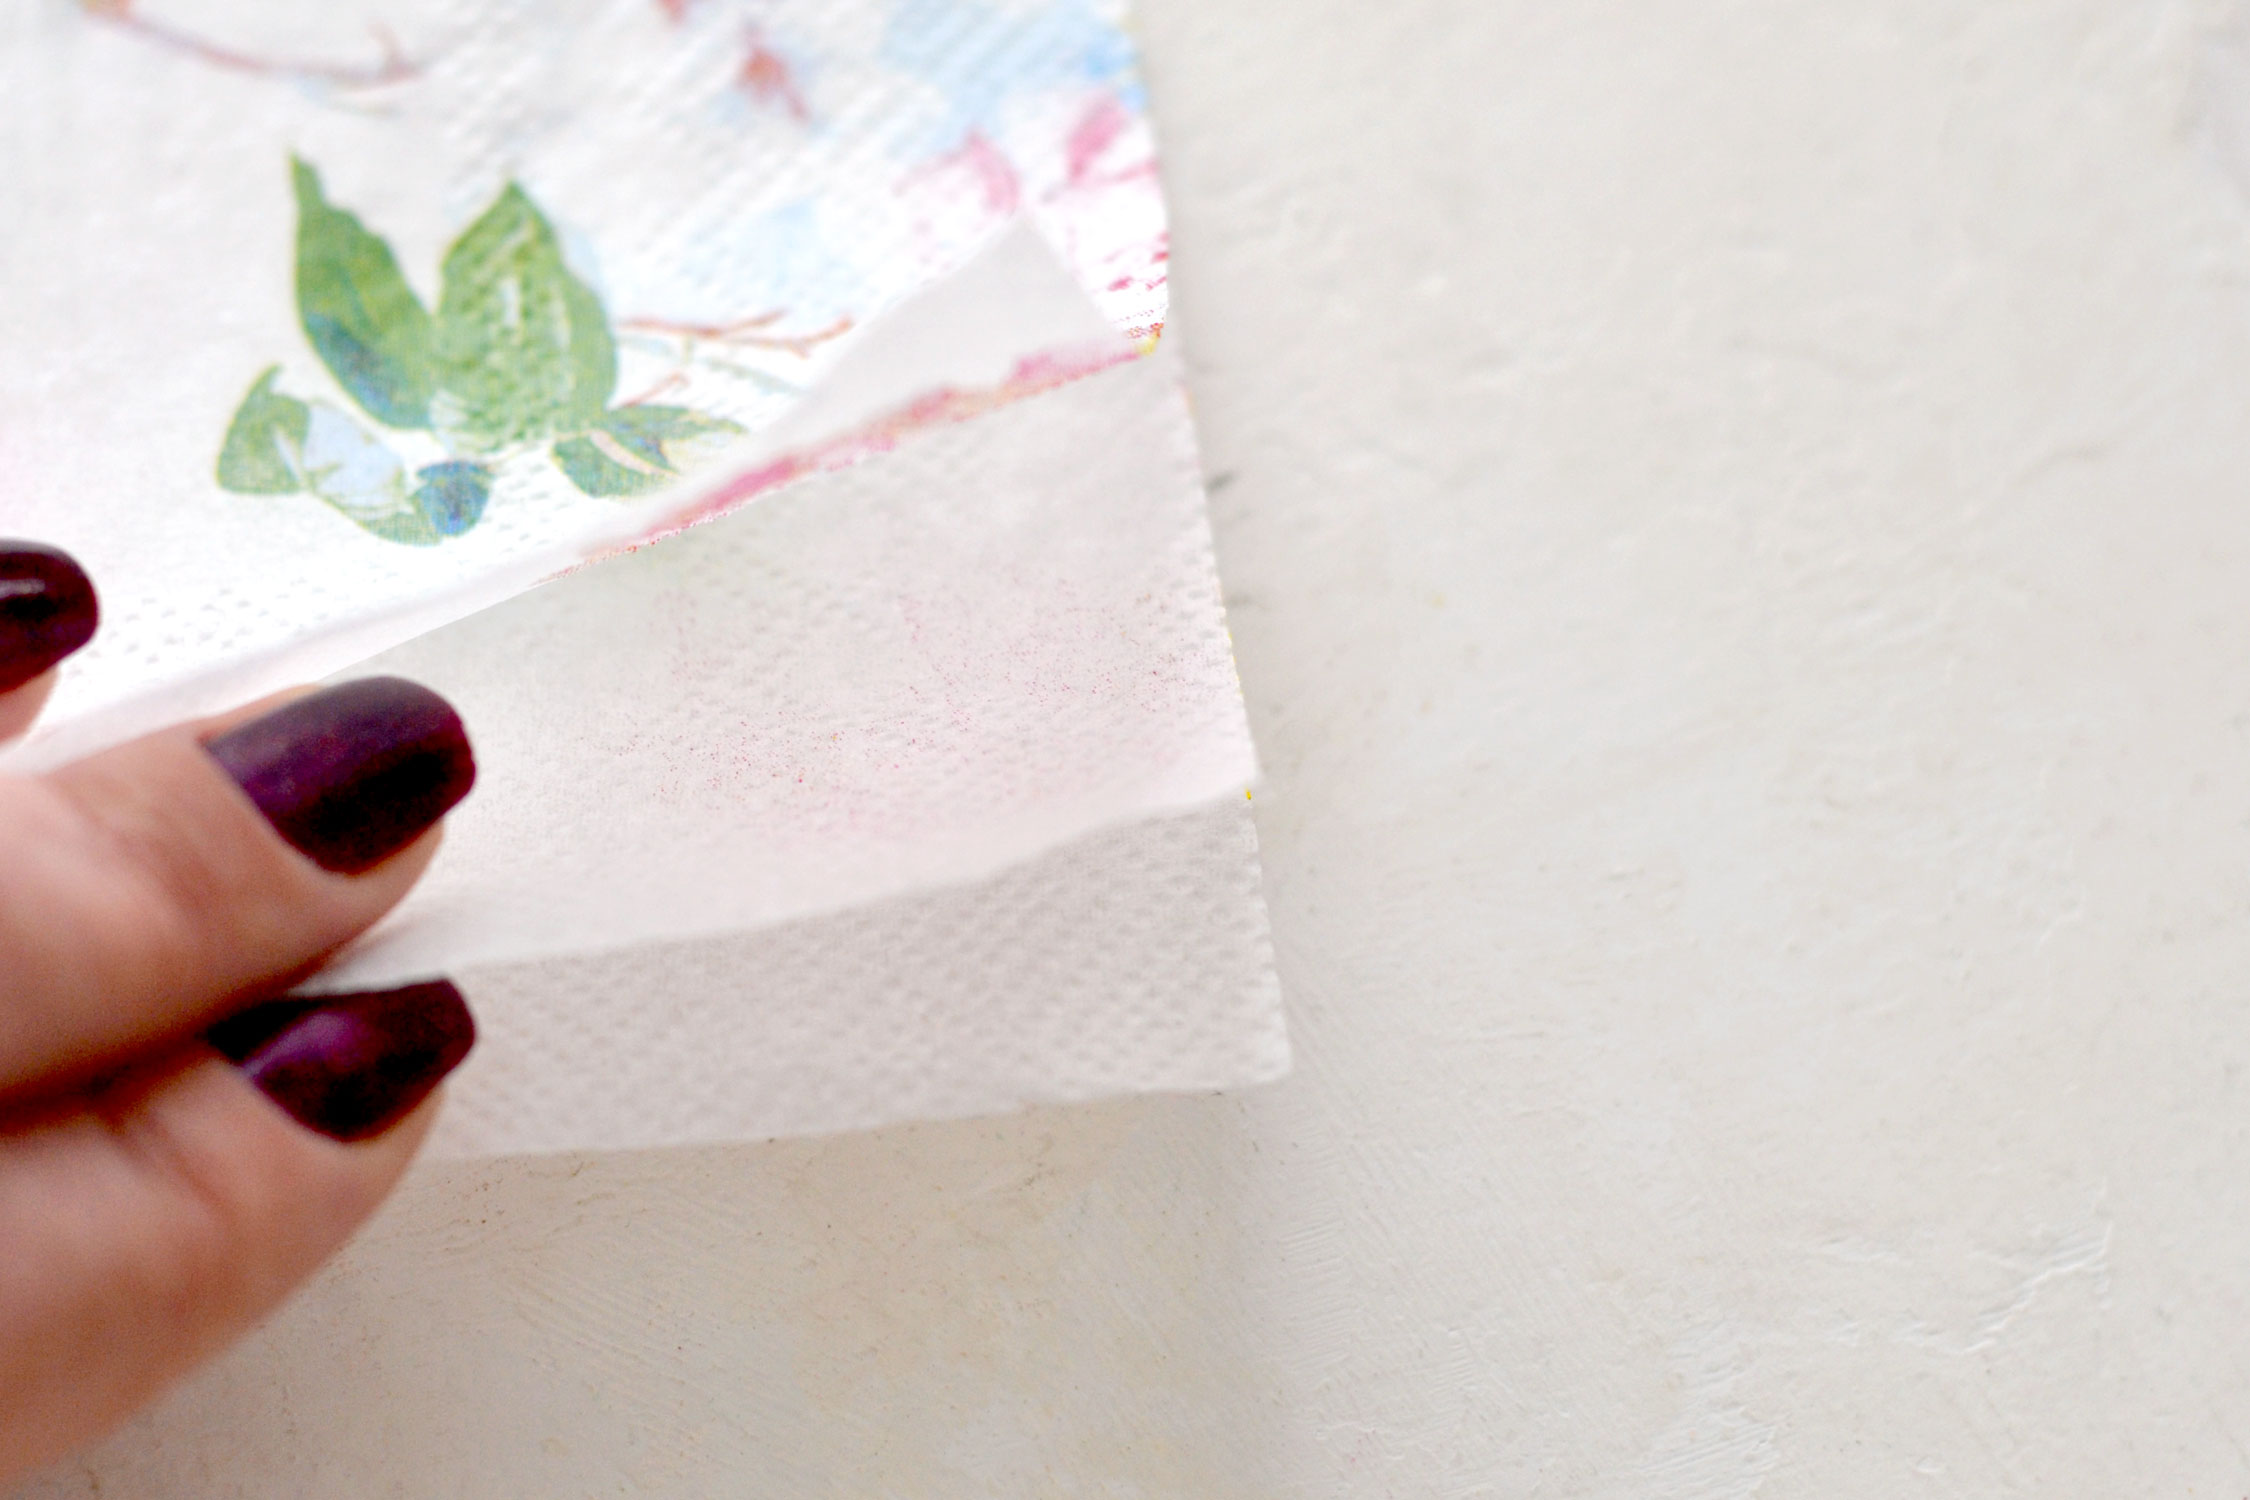
While the coasters are drying, you can go ahead and print your designs on napkin paper. You can use any of those square regular white napkins that you have around. If you don’t have white paper napkins, you can peel one of the underneath layers from other, more colorful napkins, as I did. I’m not sure if you are aware that all paper napkins have 3 layers – a top, a middle and a bottom layer. The top layer is the one that has the printed design on it, but the other two layers underneath are usually white, so you can easily peel one of those white layers and use it for our project.
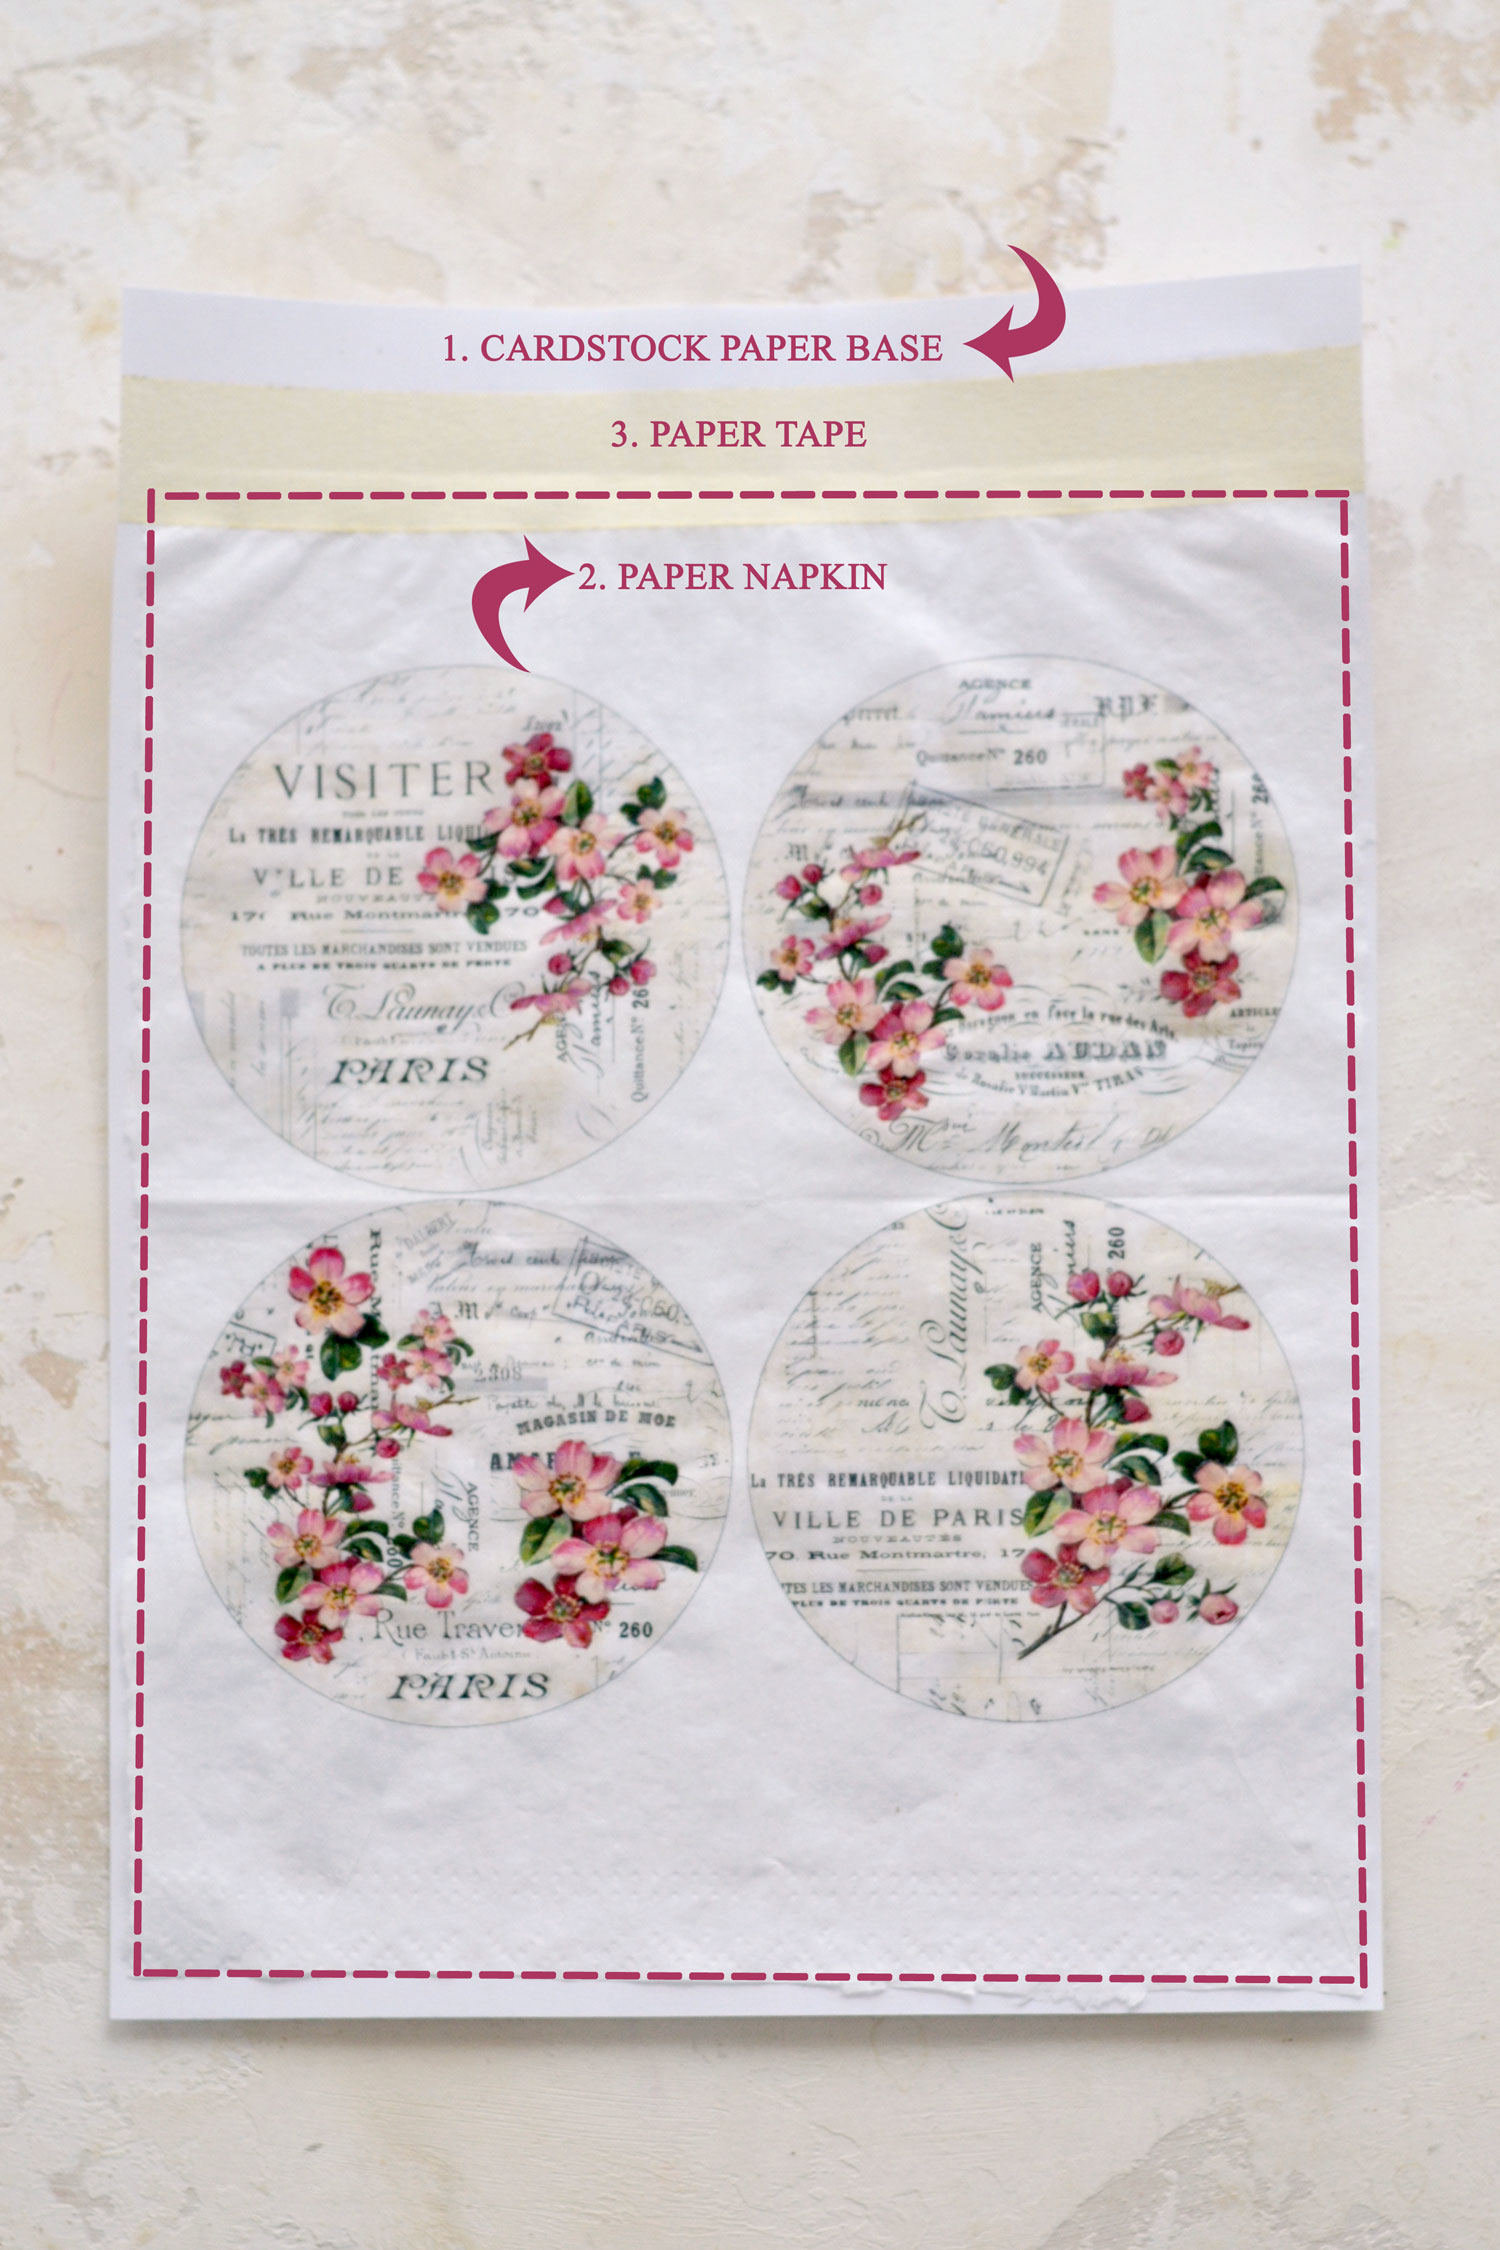
Just keep in mind that we only need to use one of those thin layers, and then, you’ll need to cut the paper napkin almost to the size of your printing paper, so you can feed it through your printer and print your preferred design! What I usually do is cut the paper napkin a little bit smaller on the left/right sides and even smaller on the top. This way I can leave a little bit of extra space on top of the cardstock so that the printer can easily print this whole assembly. I use paper tape to adhere the upper part of the napkin on the cardstock while leaving that extra white space that I mentioned on top, as you can see in the image below. Just make sure you press the paper tape with your fingers really well before feeding everything through your printer, we want to avoid any paper jams or other unwanted incidents that would hurt our precious printer.
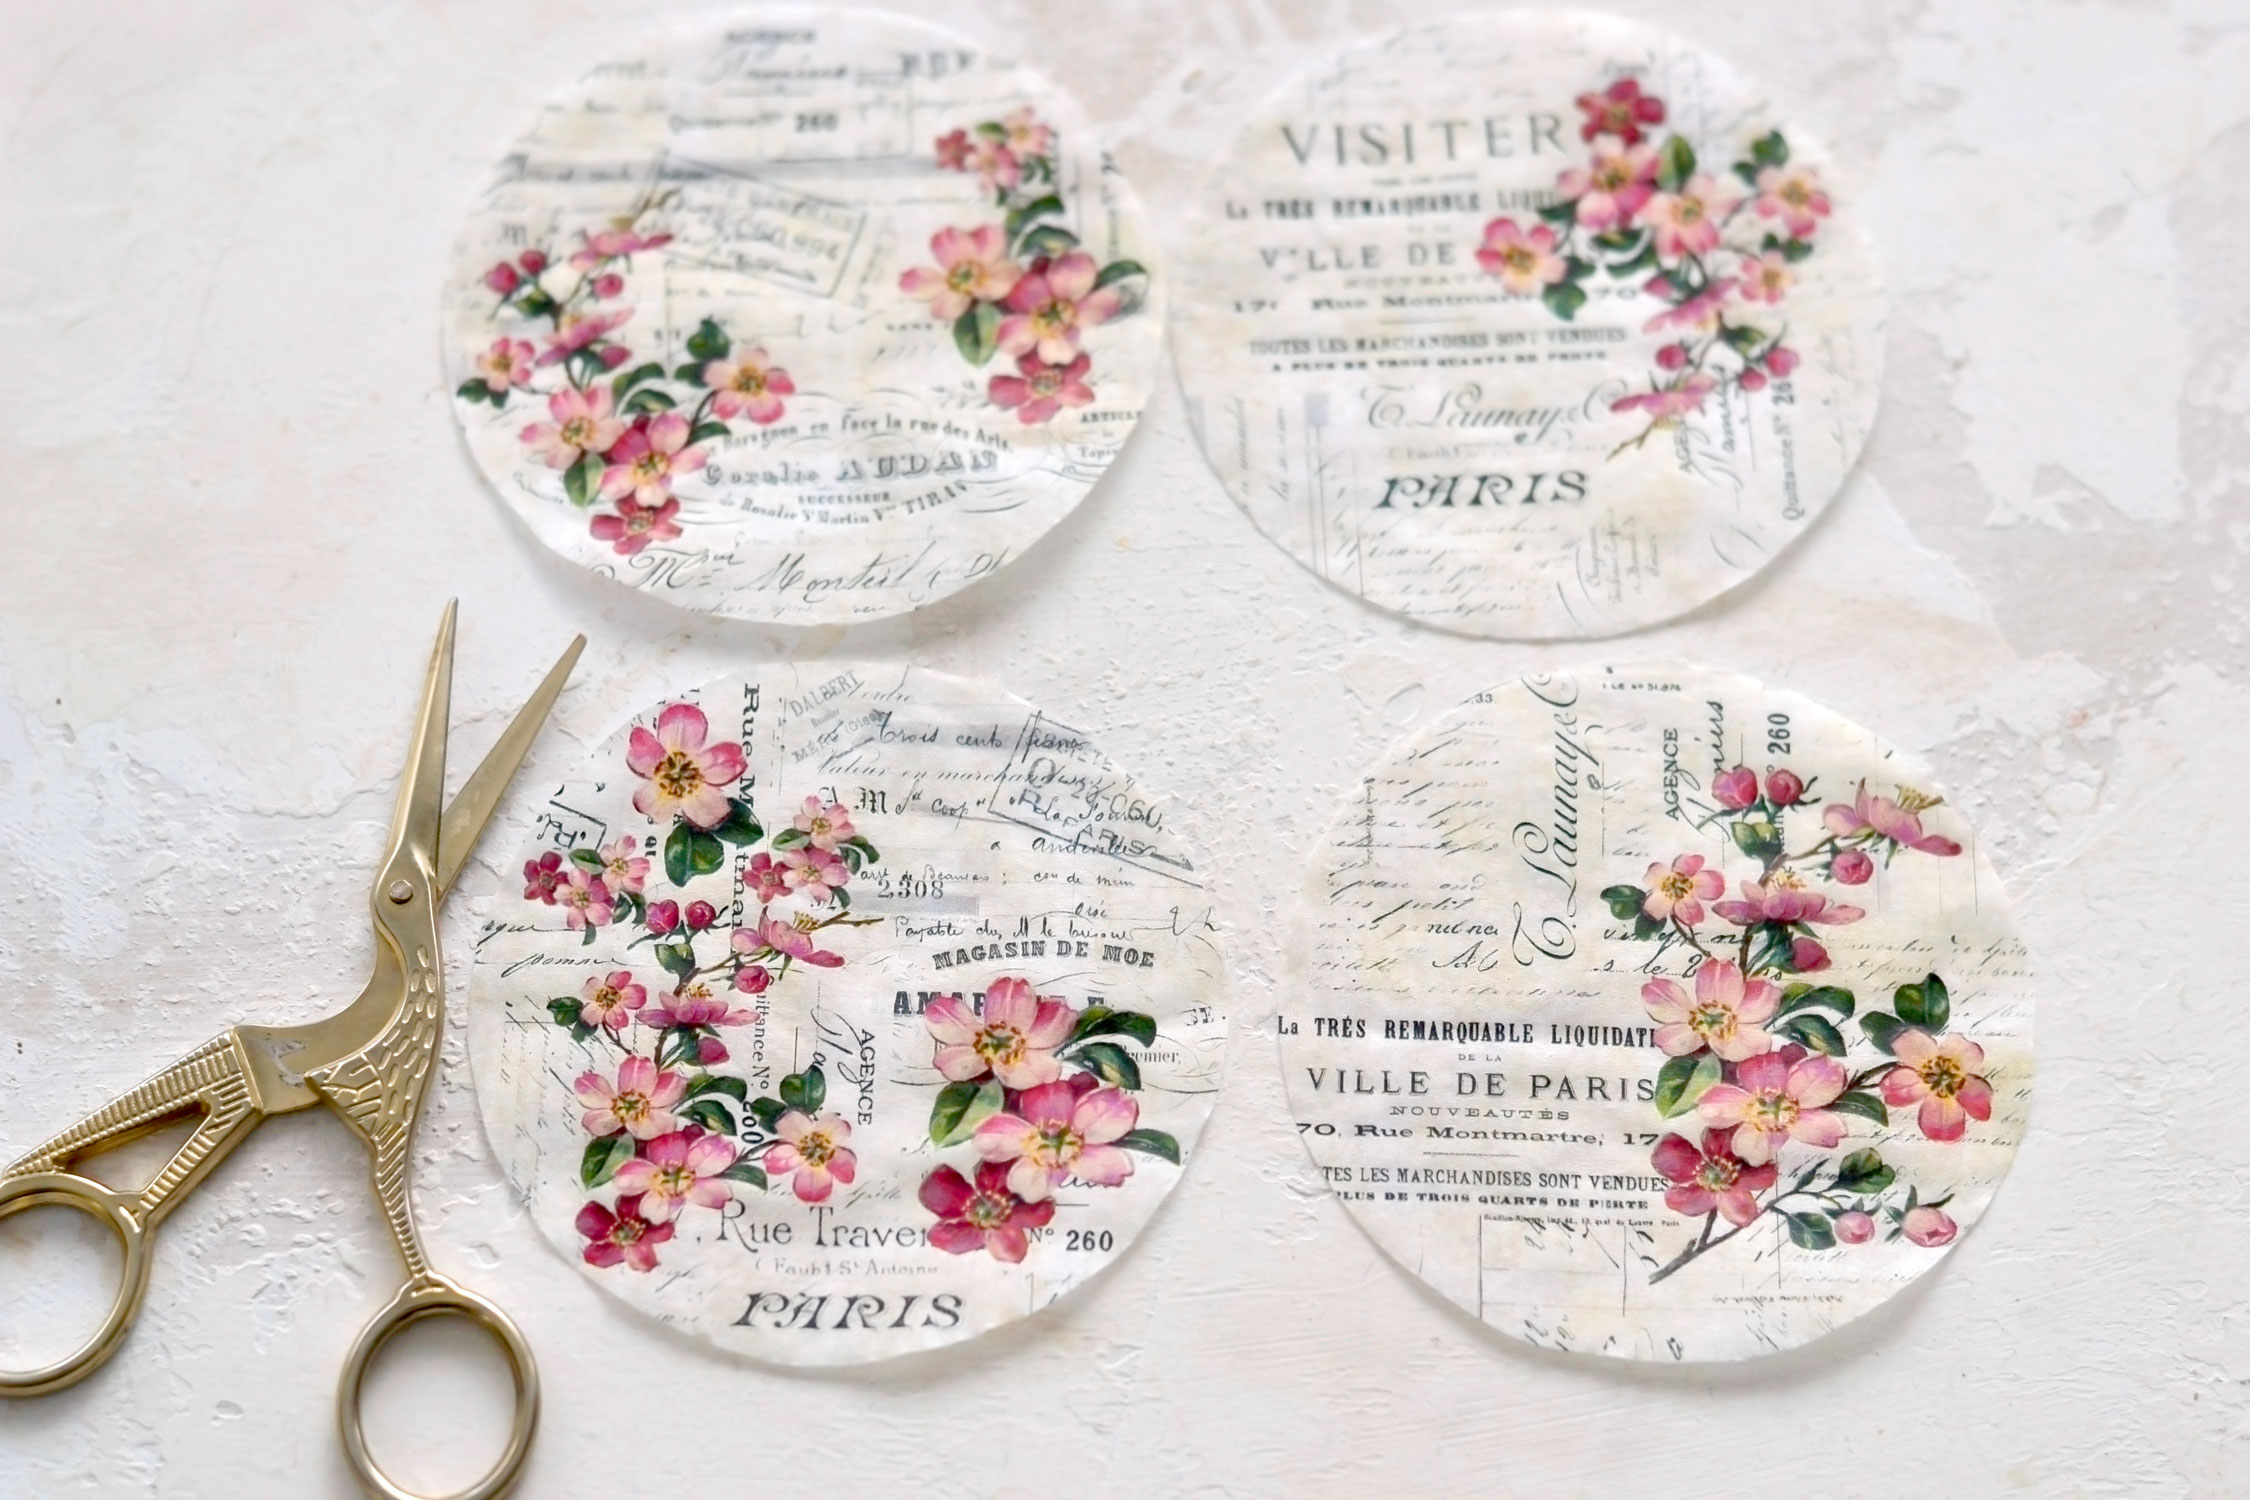
Use your scissors to cut the printed napkins and this time completely remove the black border around the edges. Be gentle and take your time to cut these beauties, paper napkins are quite fragile and can tear easily.
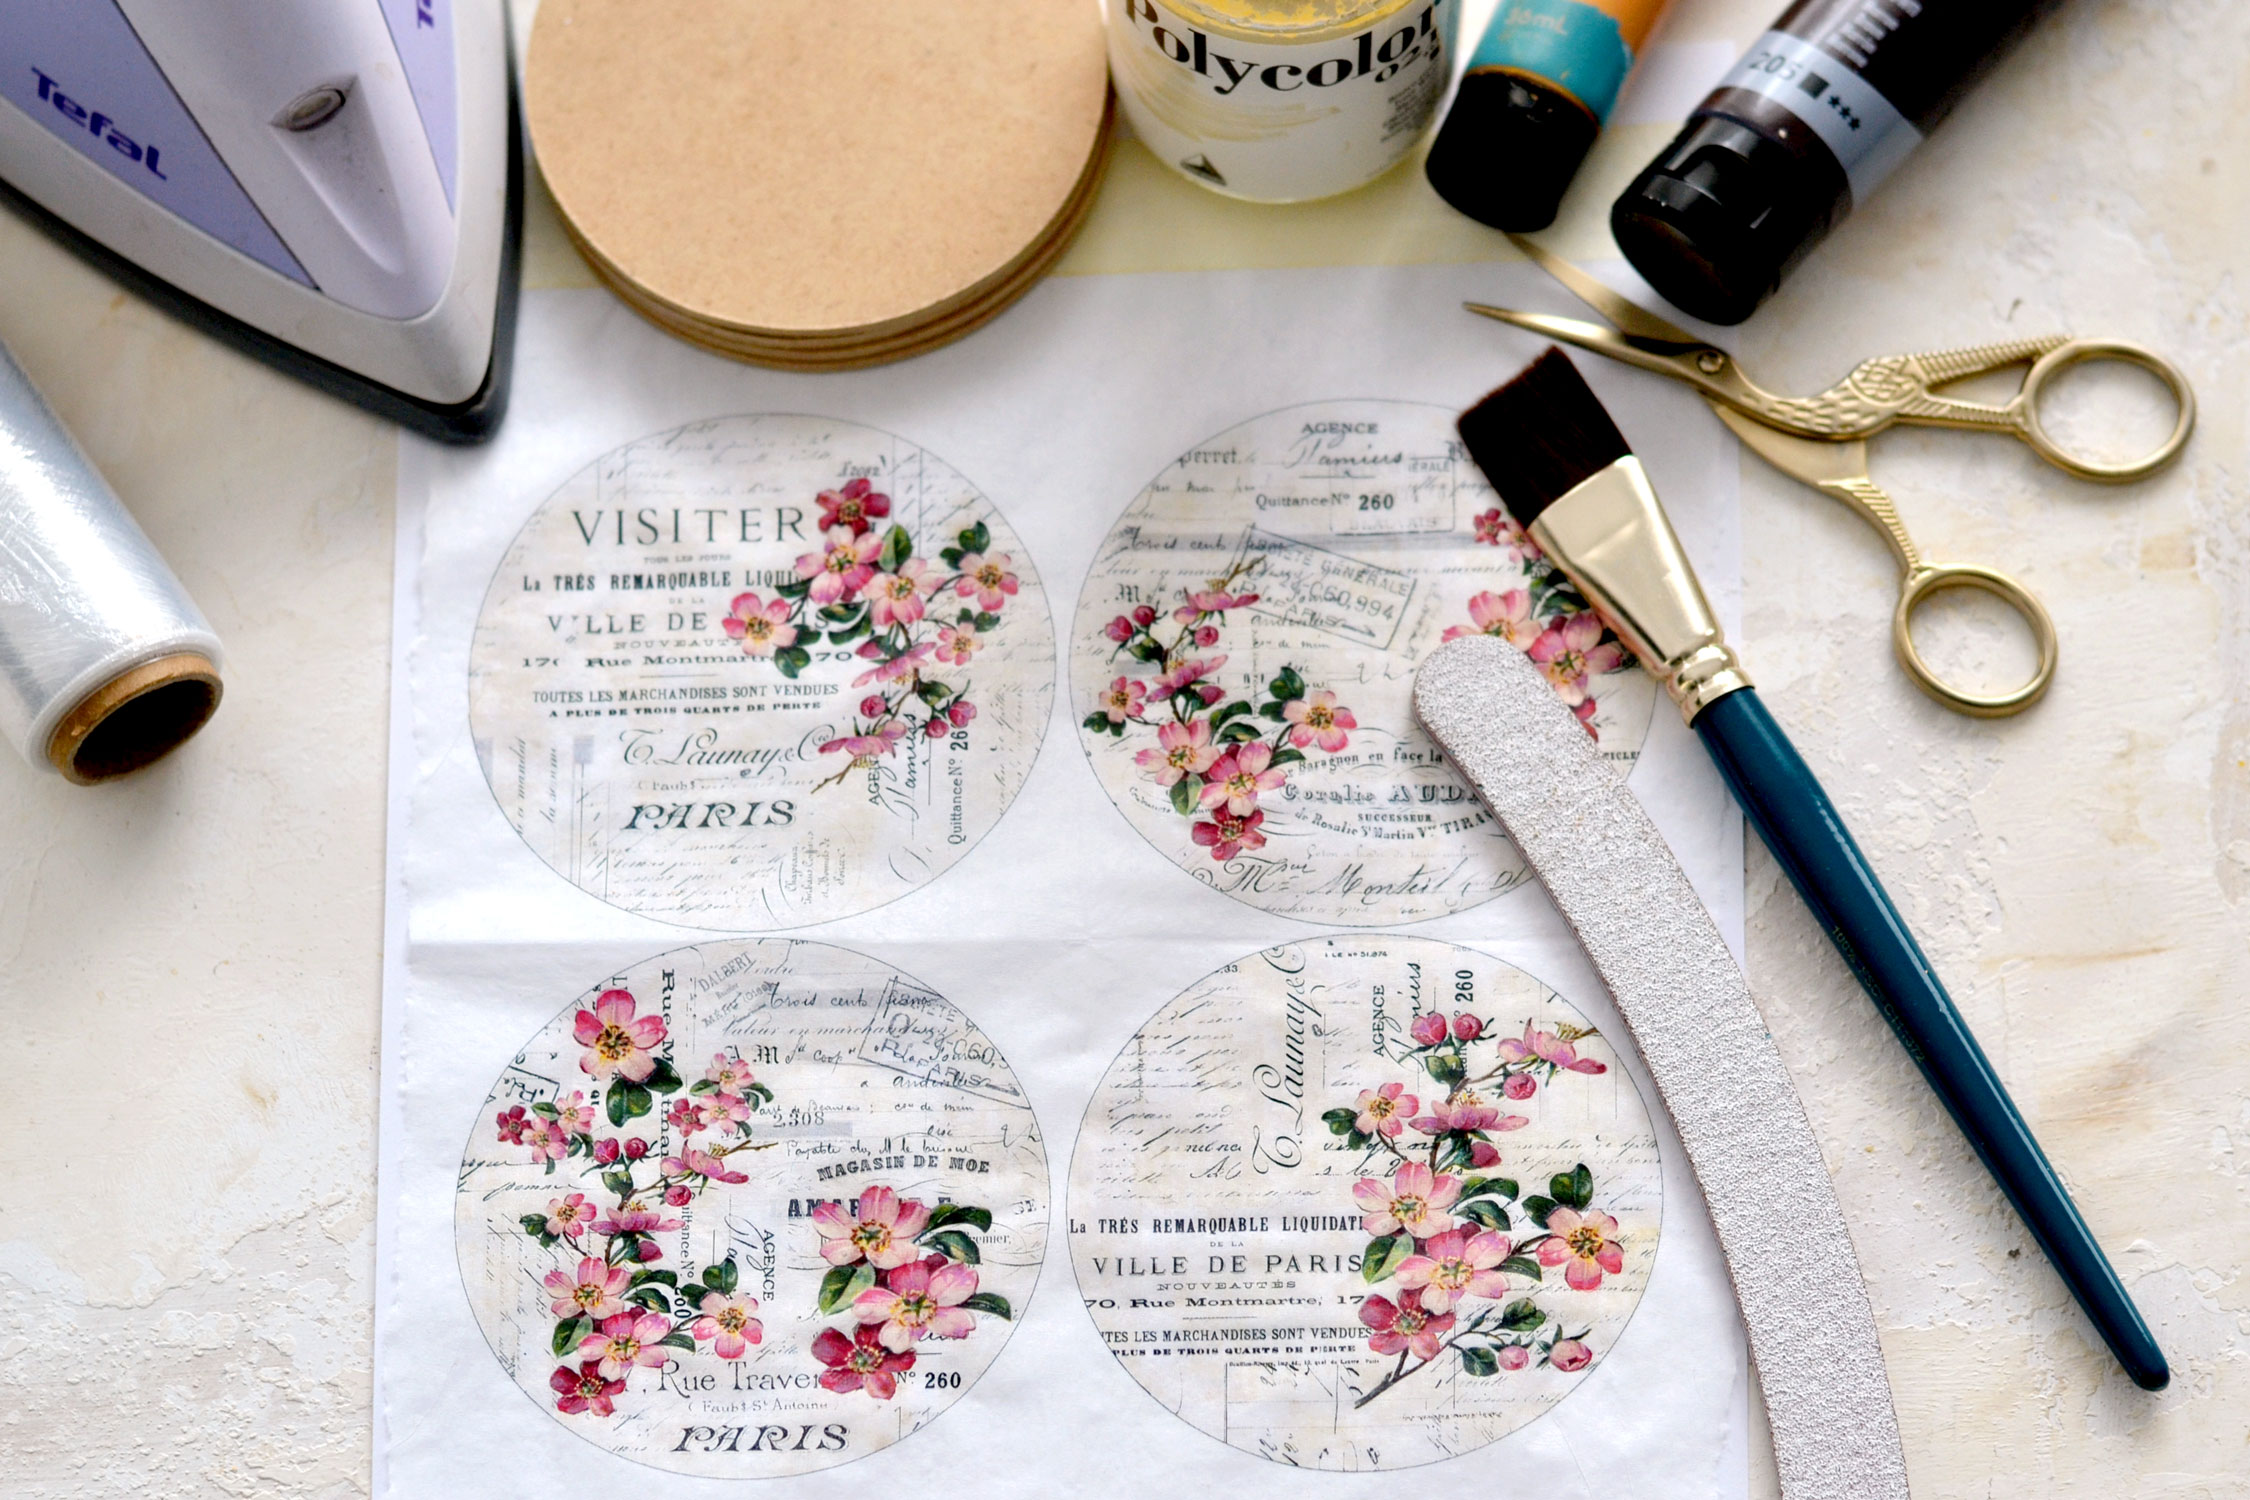
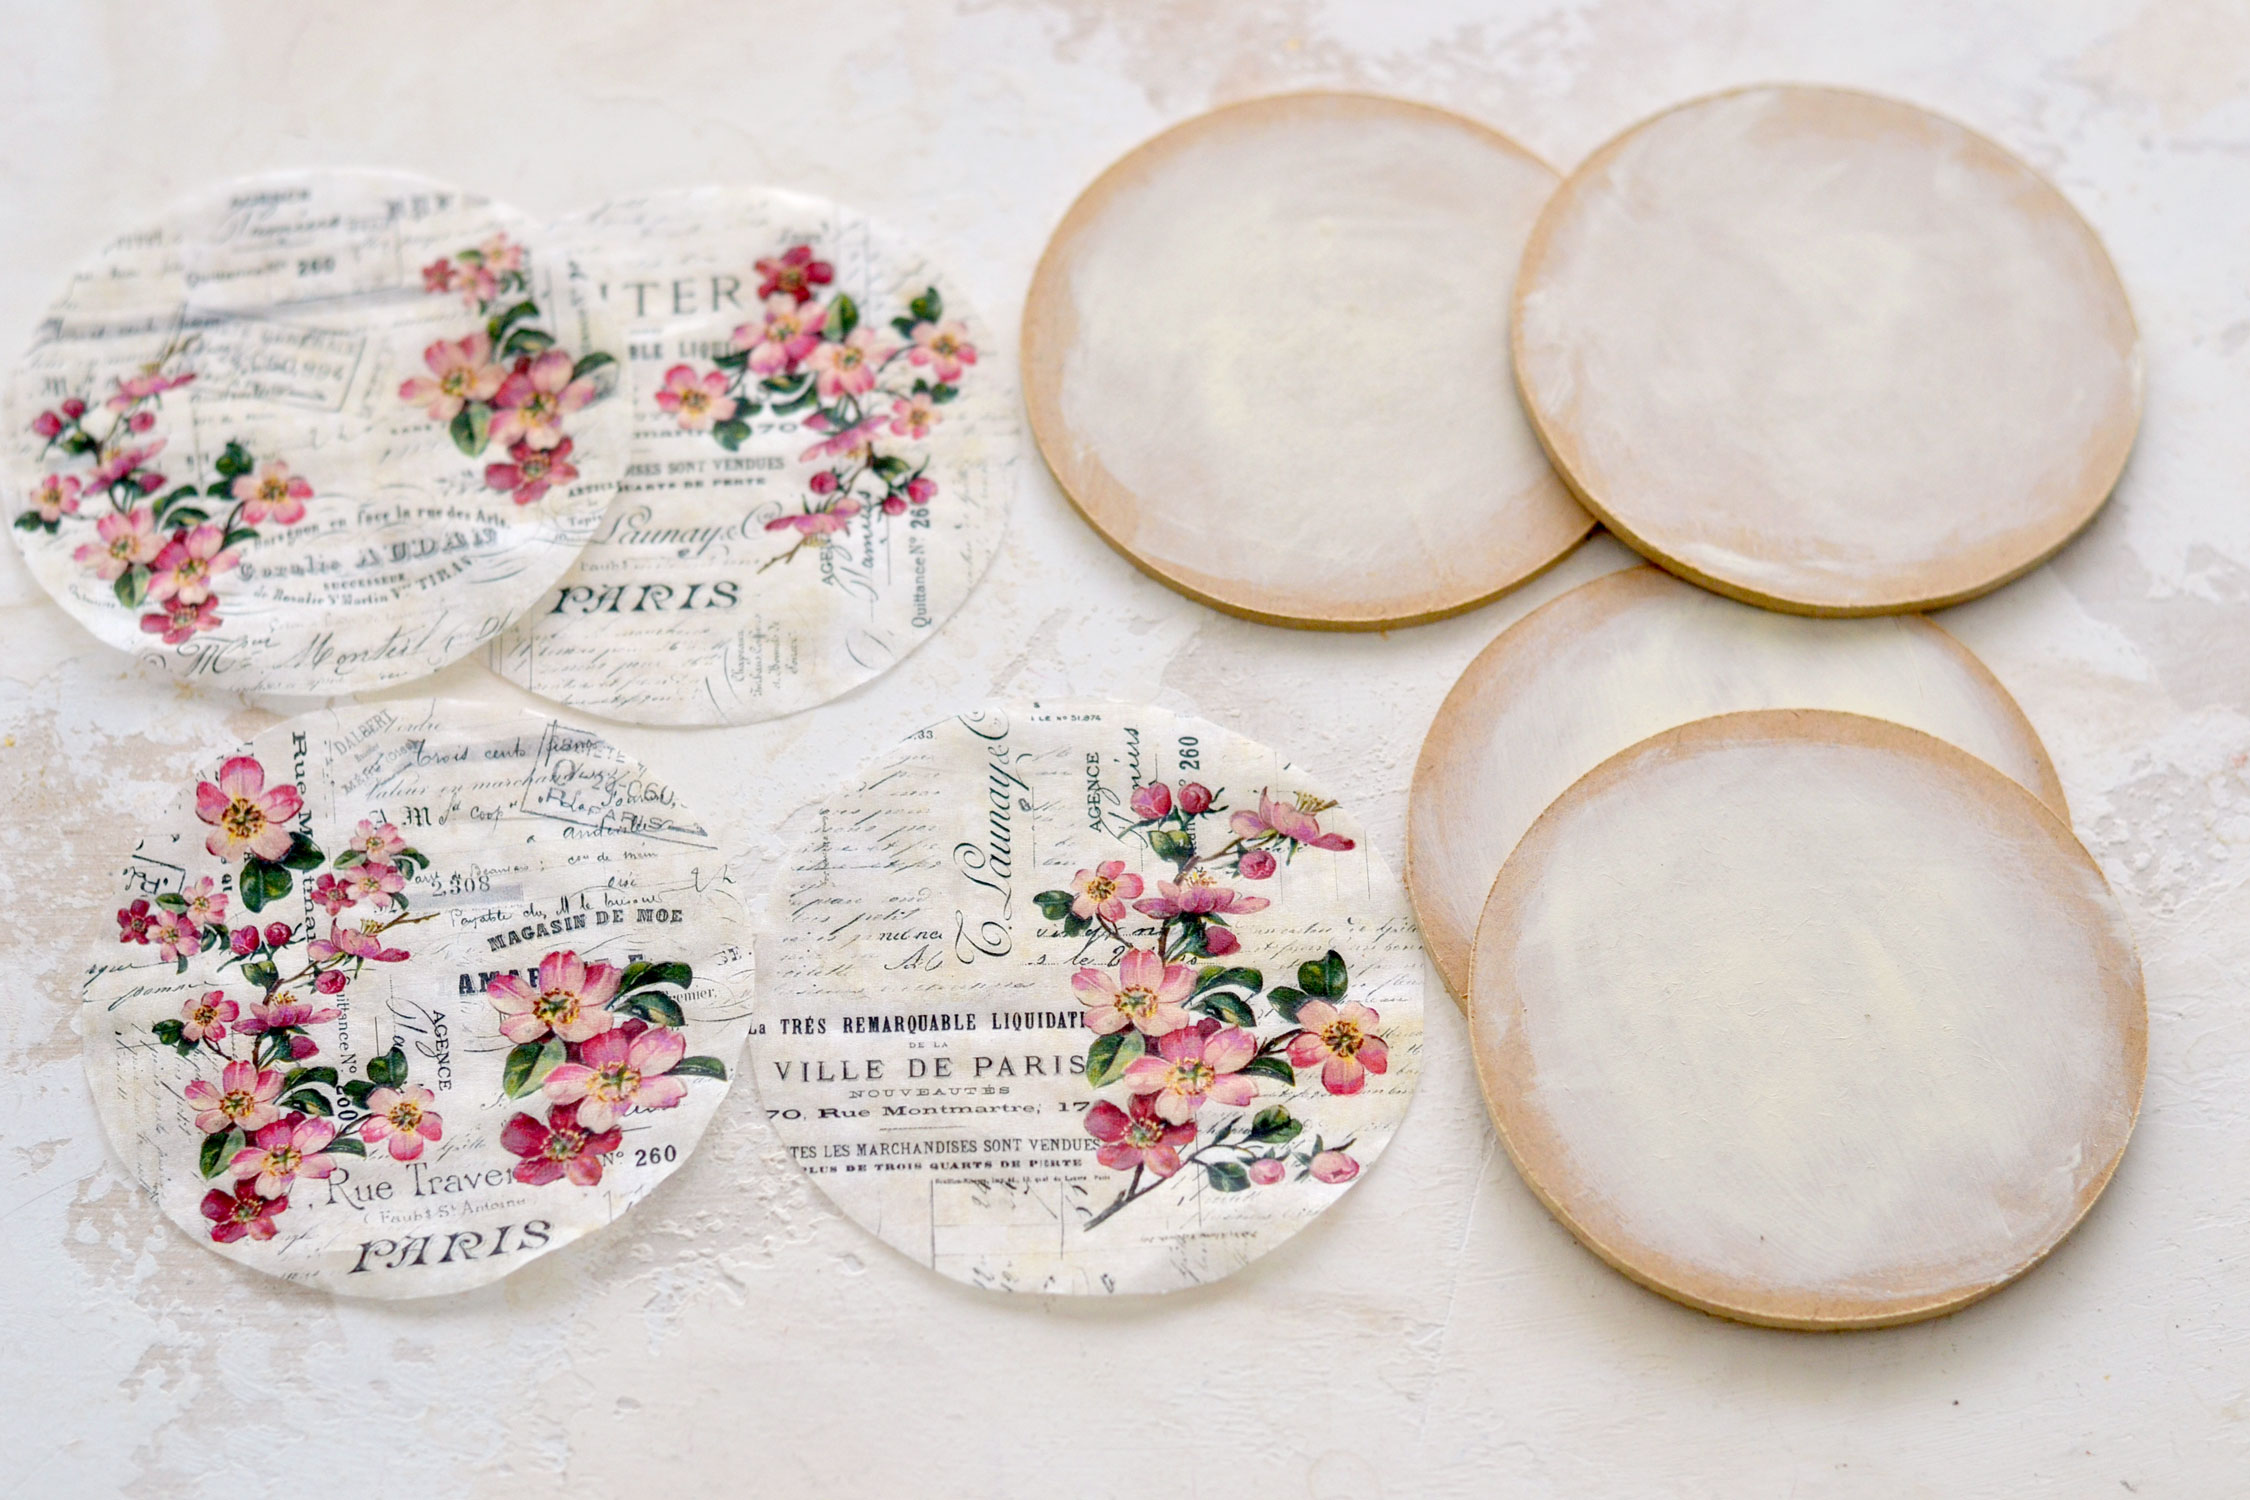
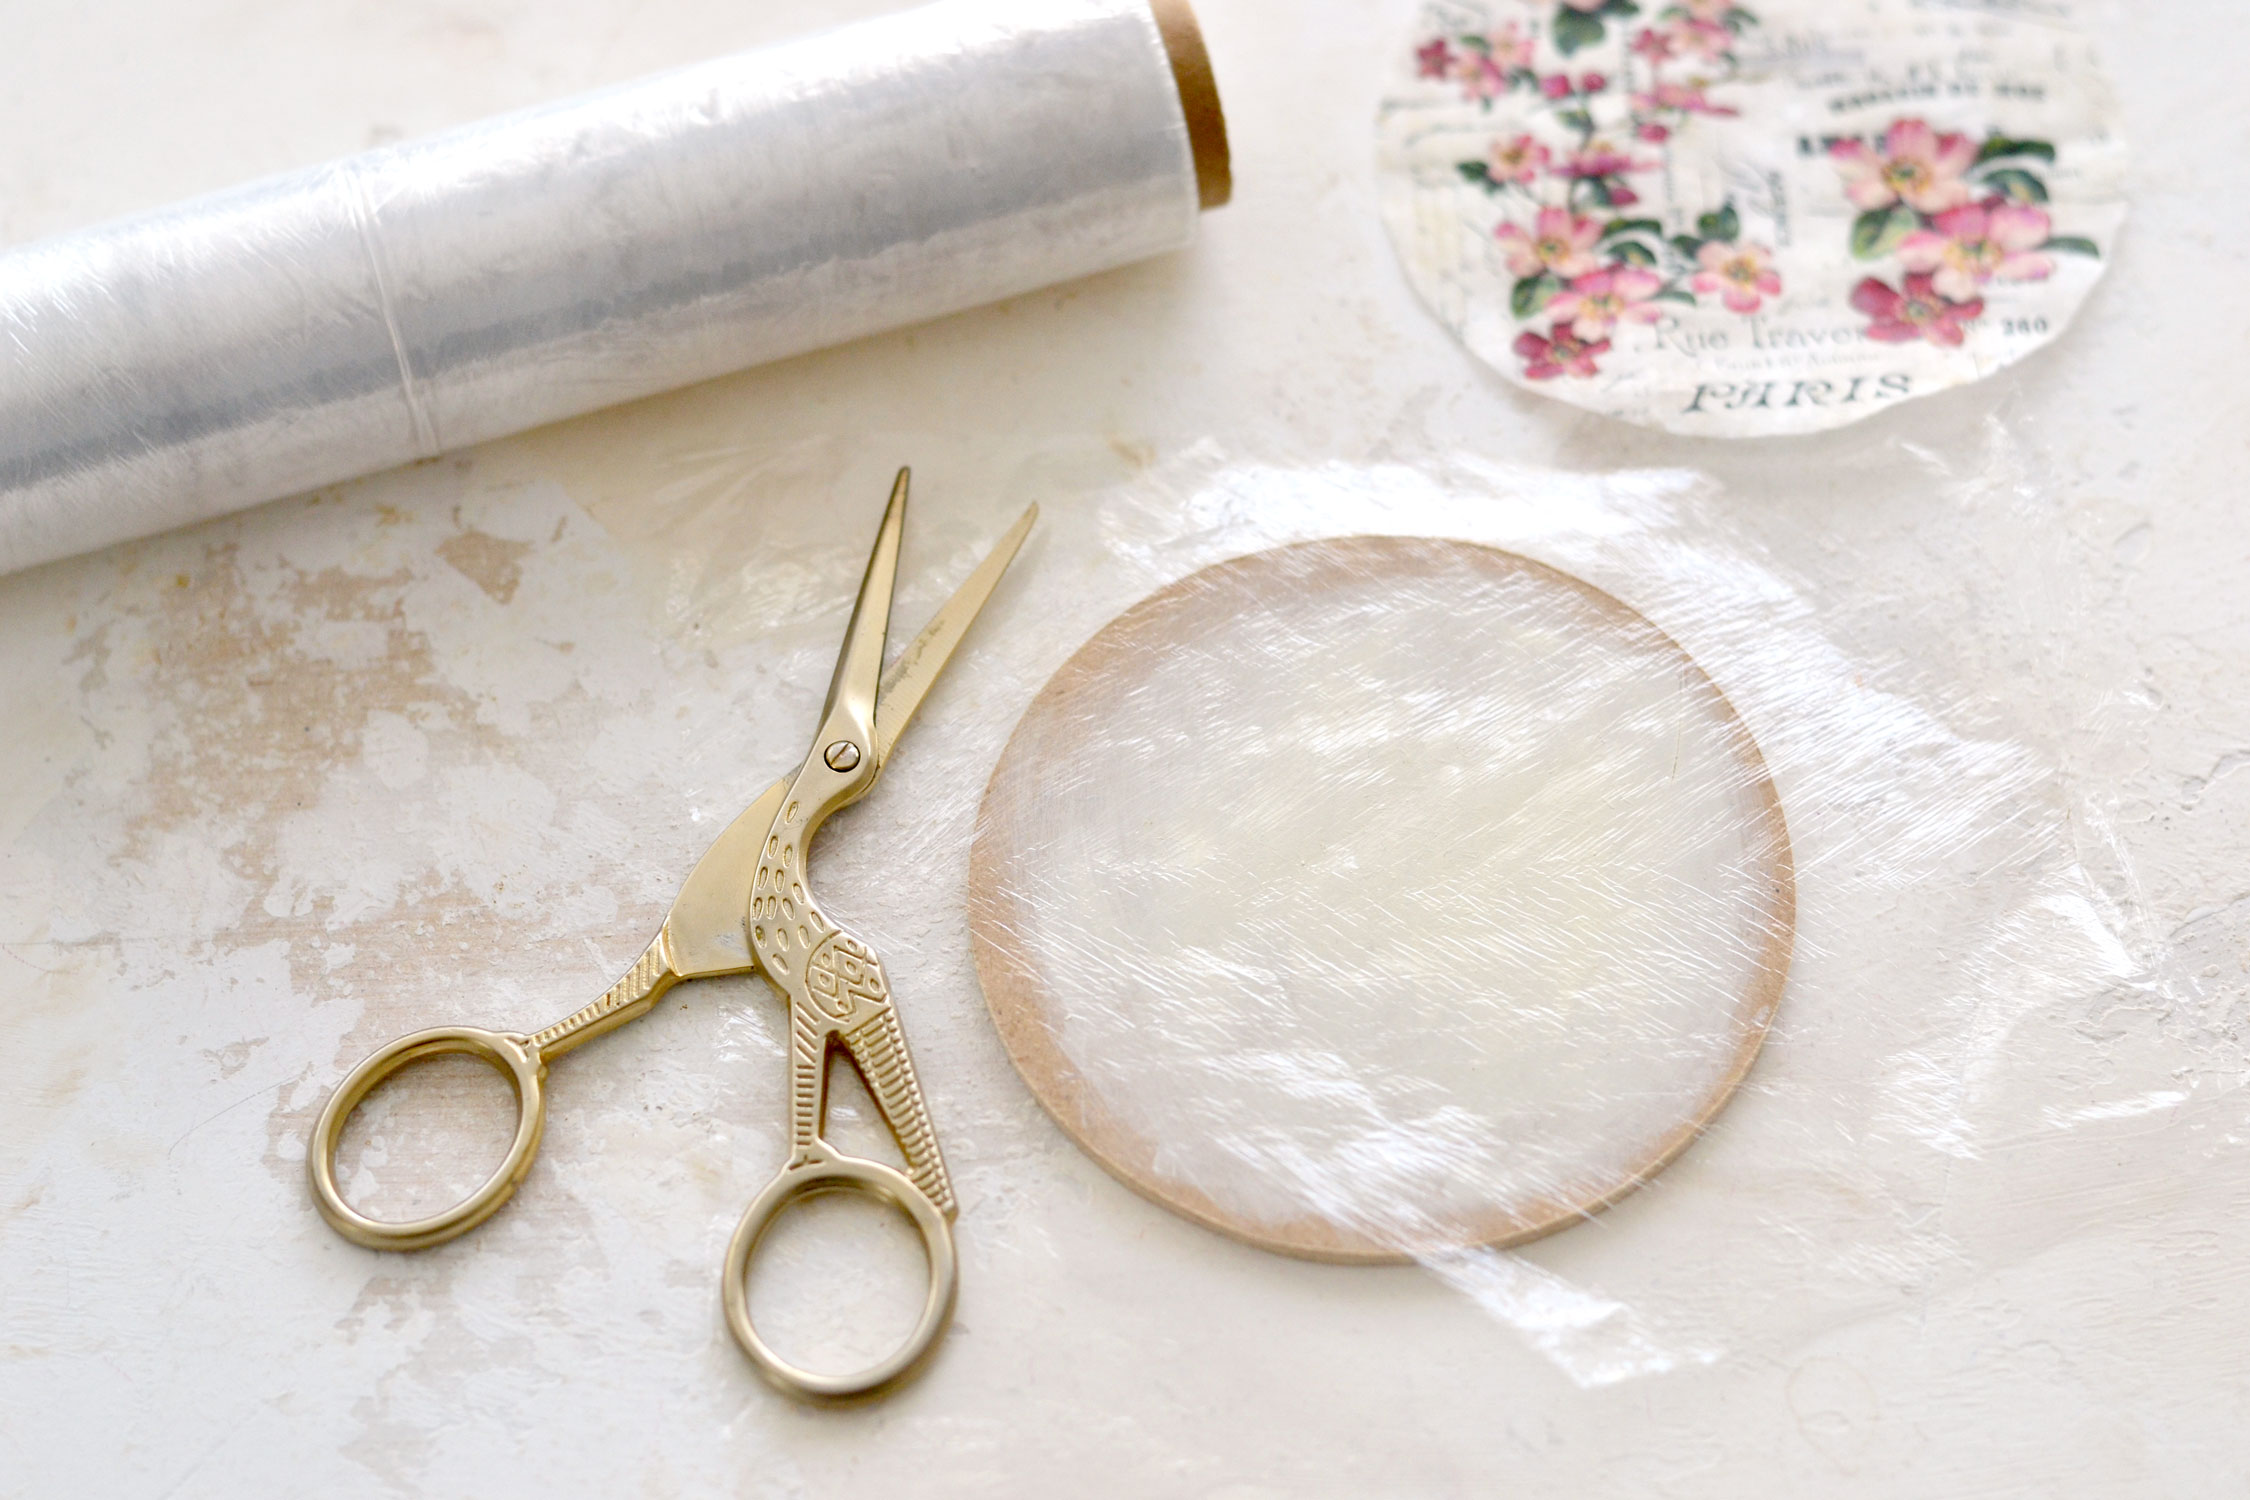
Prepare the painted MDF coasters and the beautifully printed napkin designs.
Now it’s time for our cling wrap image transfer, you will love how easy this is and how gorgeous the final results are!
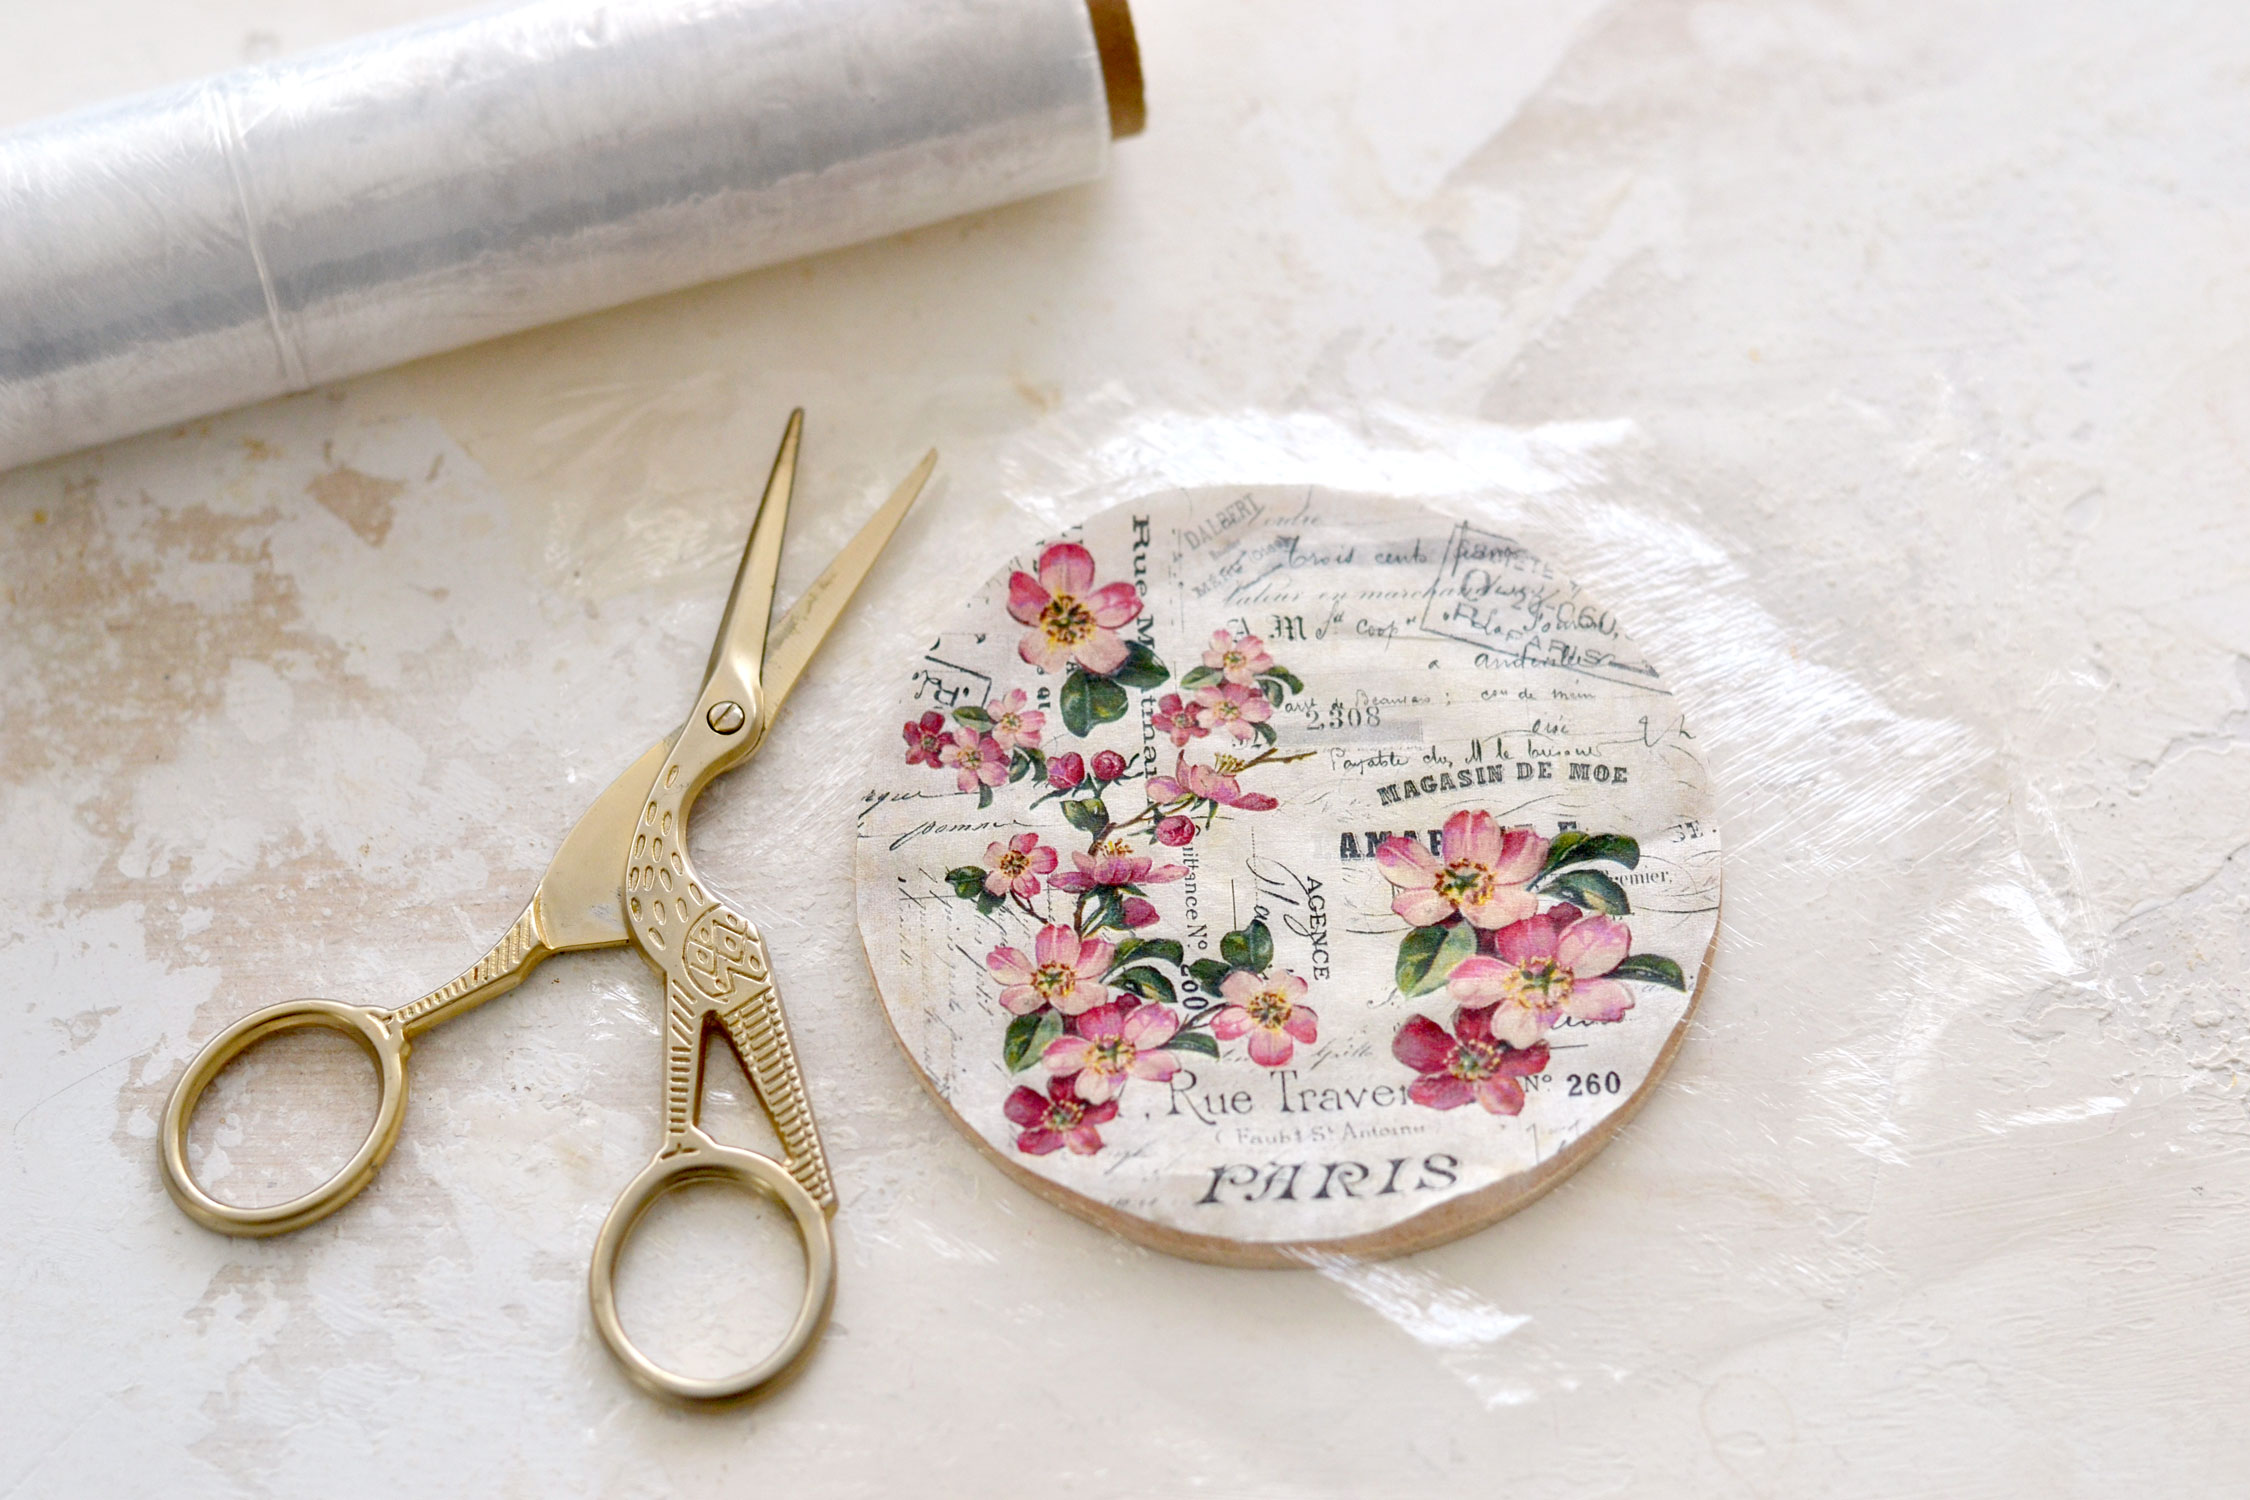
Start by placing a larger piece of parchment paper on your table and put one of your coasters there. Cut a piece of cling wrap that is slightly larger than your coaster (but smaller than the parchment underneath) and place it on top.
Put the printed napkin paper on top of the cling wrap and center it as well as you can.
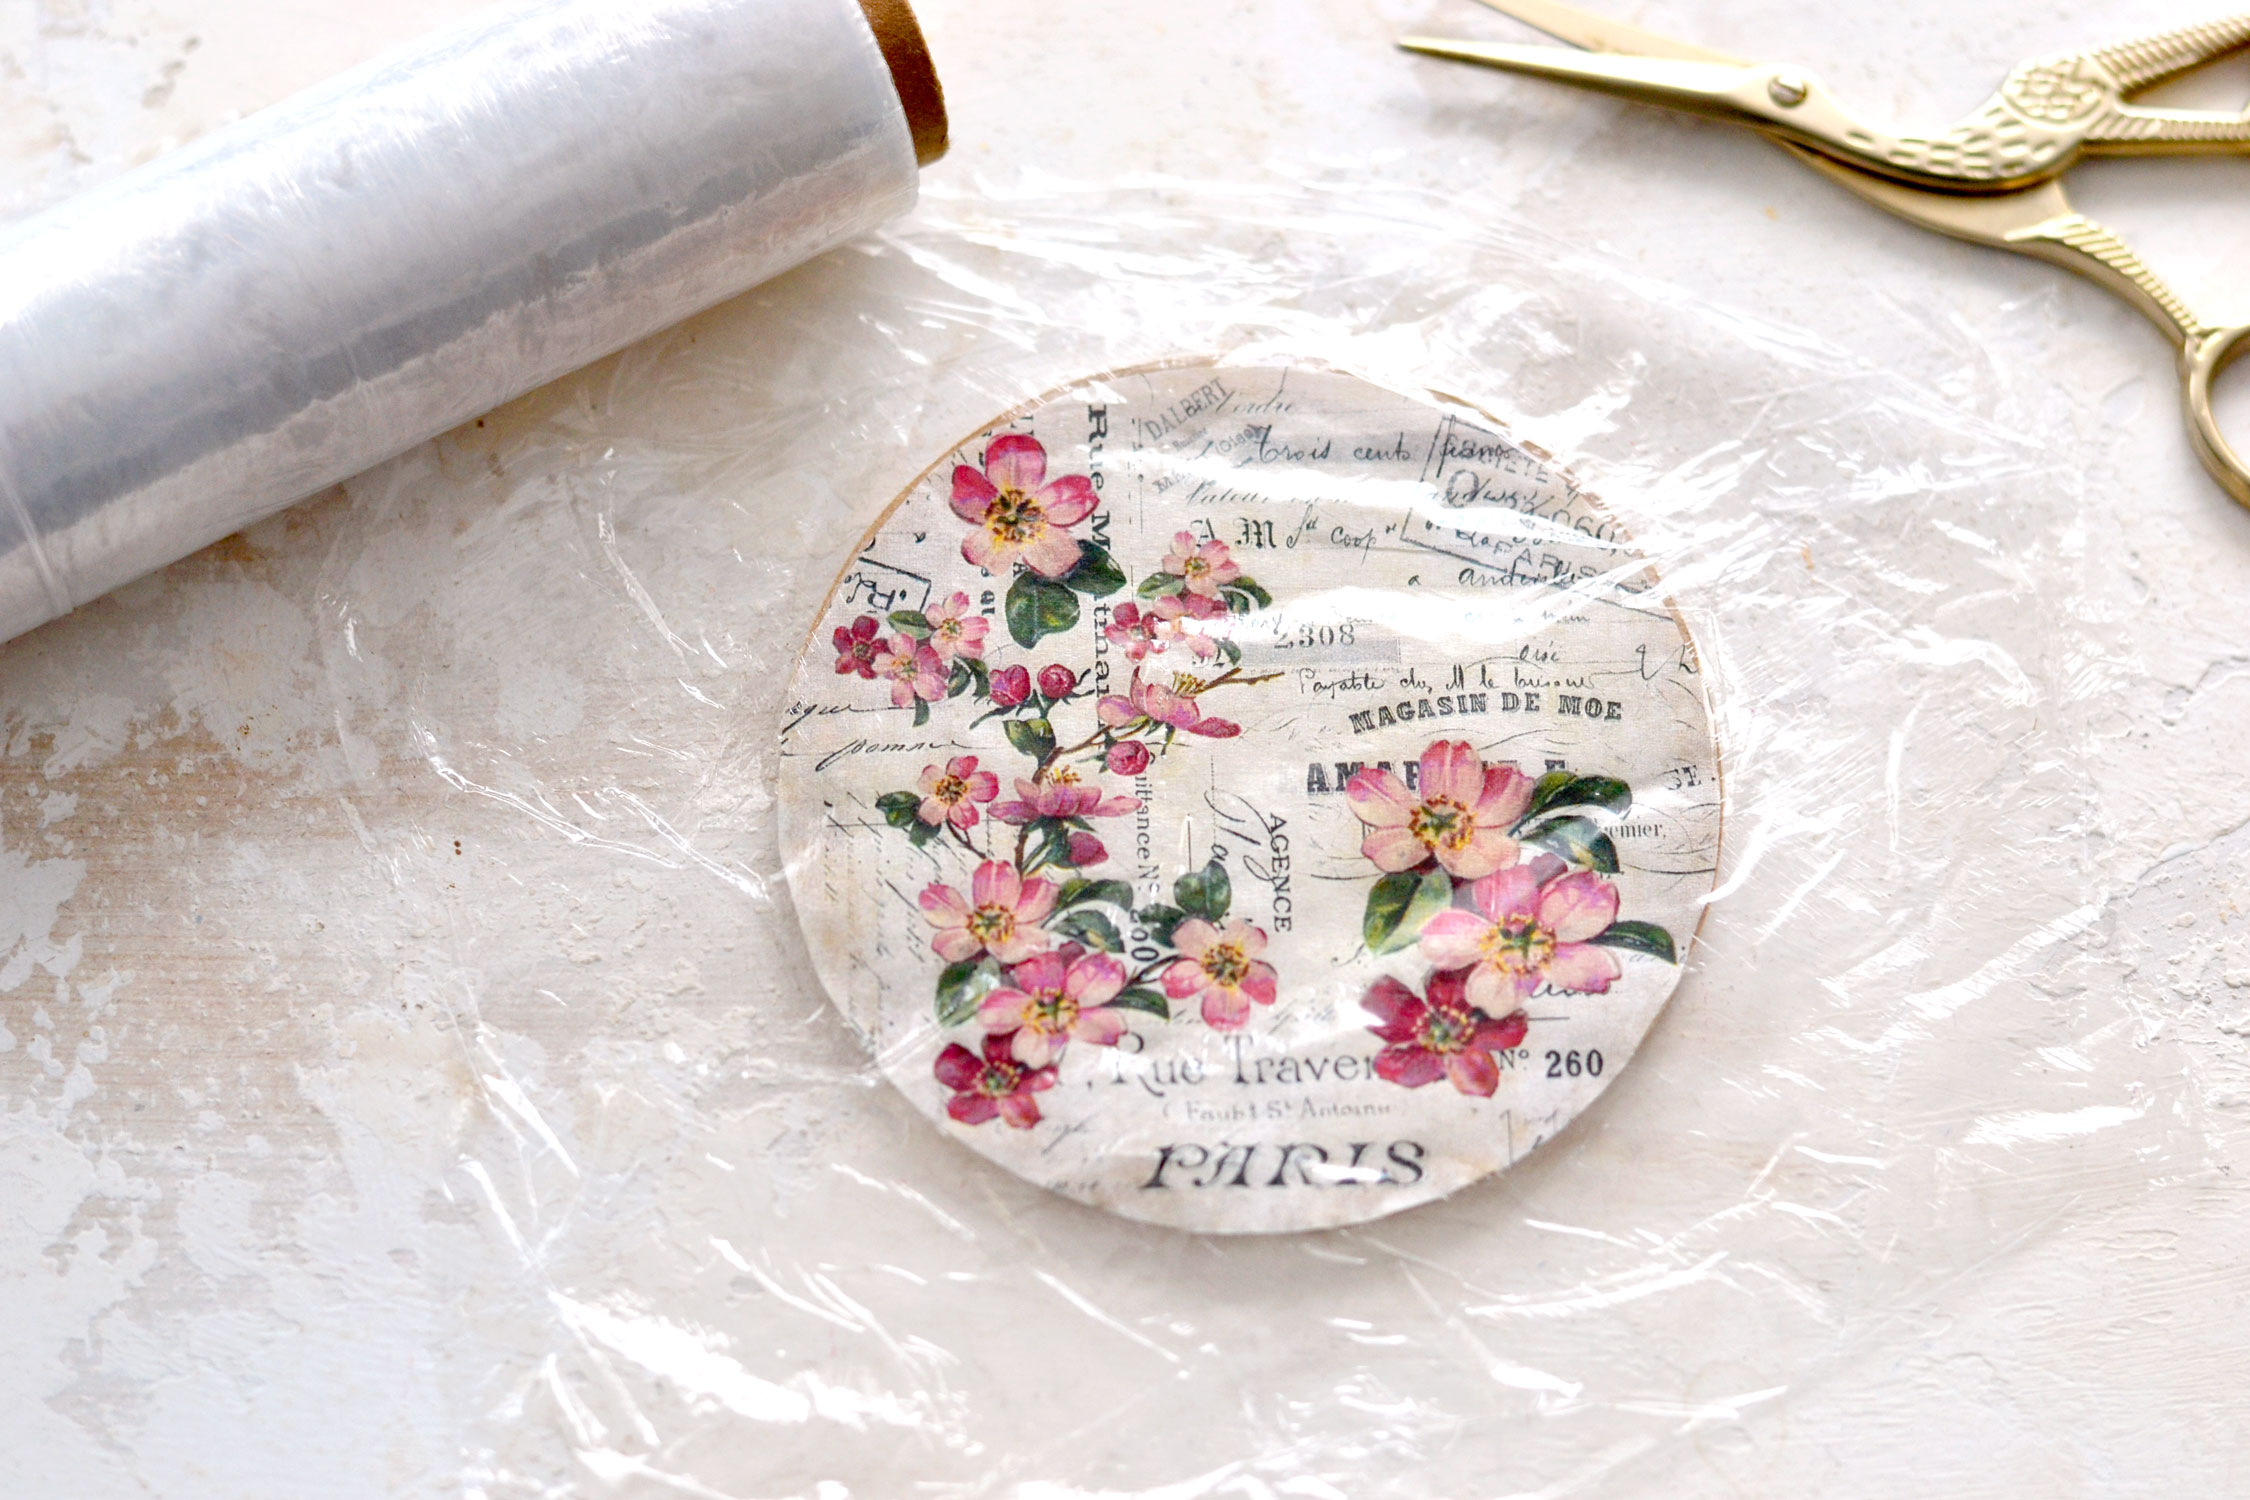
Then place another piece of cling wrap on top of the napkin and center everything one more time.
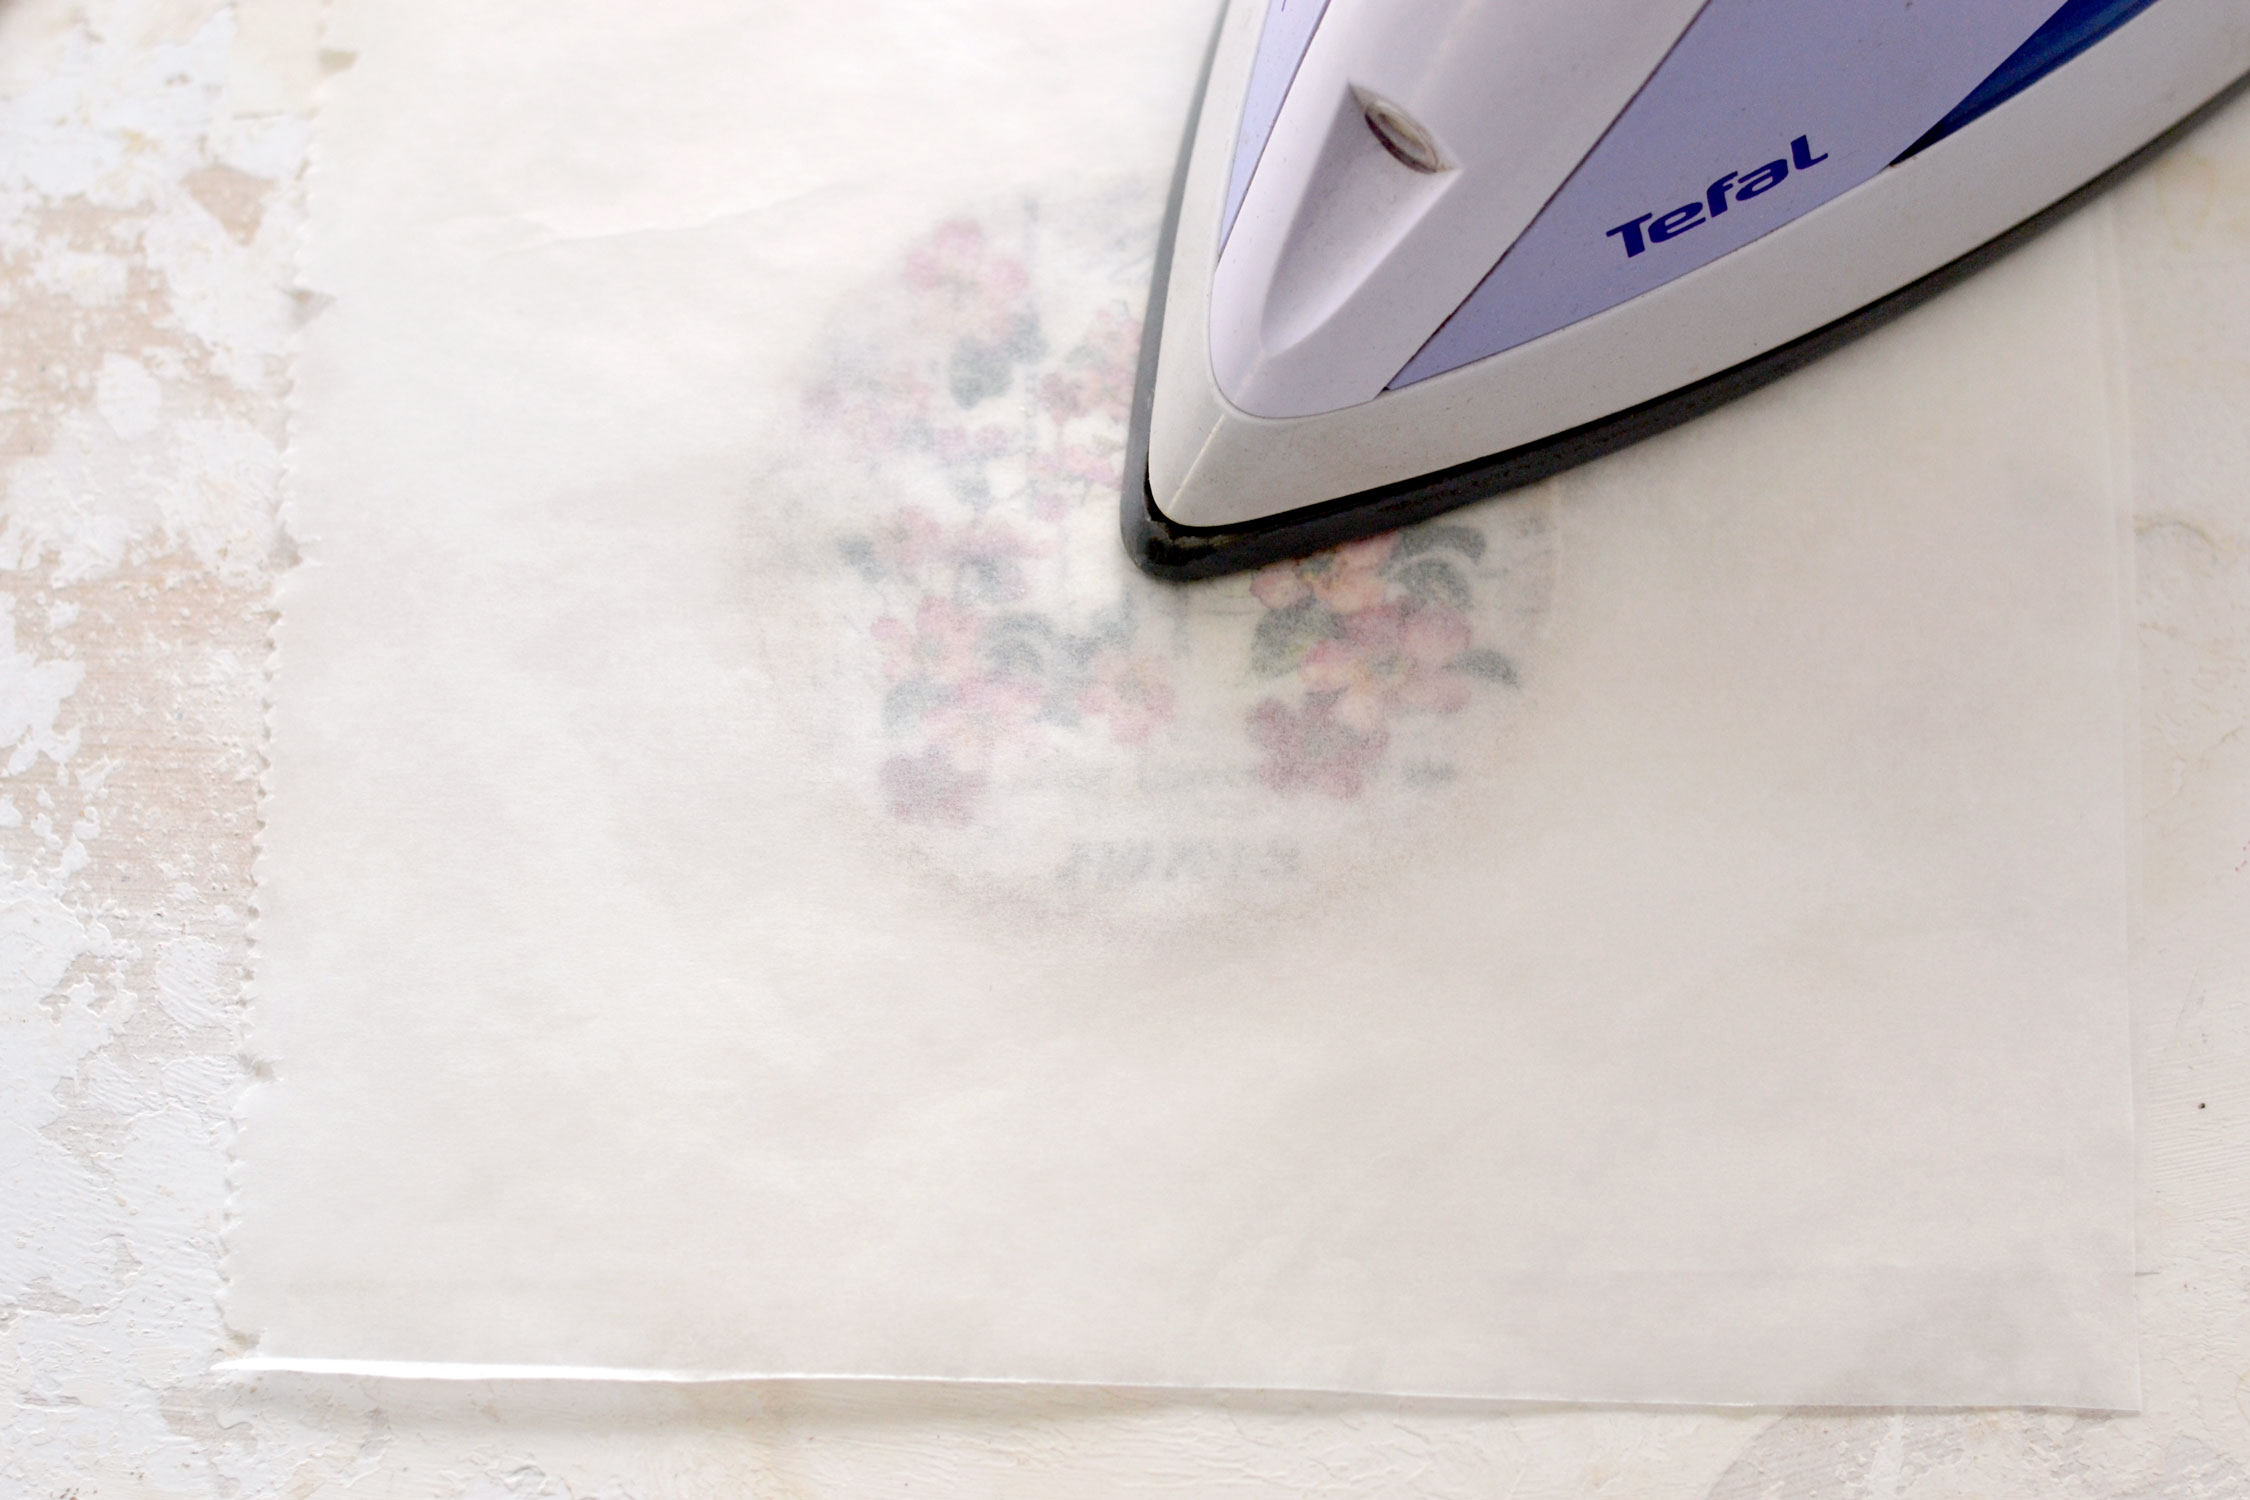
Cover this whole cling – napkin – cling ‘sandwich’ with a larger piece of parchment paper while trying not to move things too much and start ironing using a medium setting on your iron.
Just remember that the top parchment needs to be larger than the coaster and the cling wrap underneath – you don’t want any cling wrap to get in direct contact with your iron because it might ruin it.
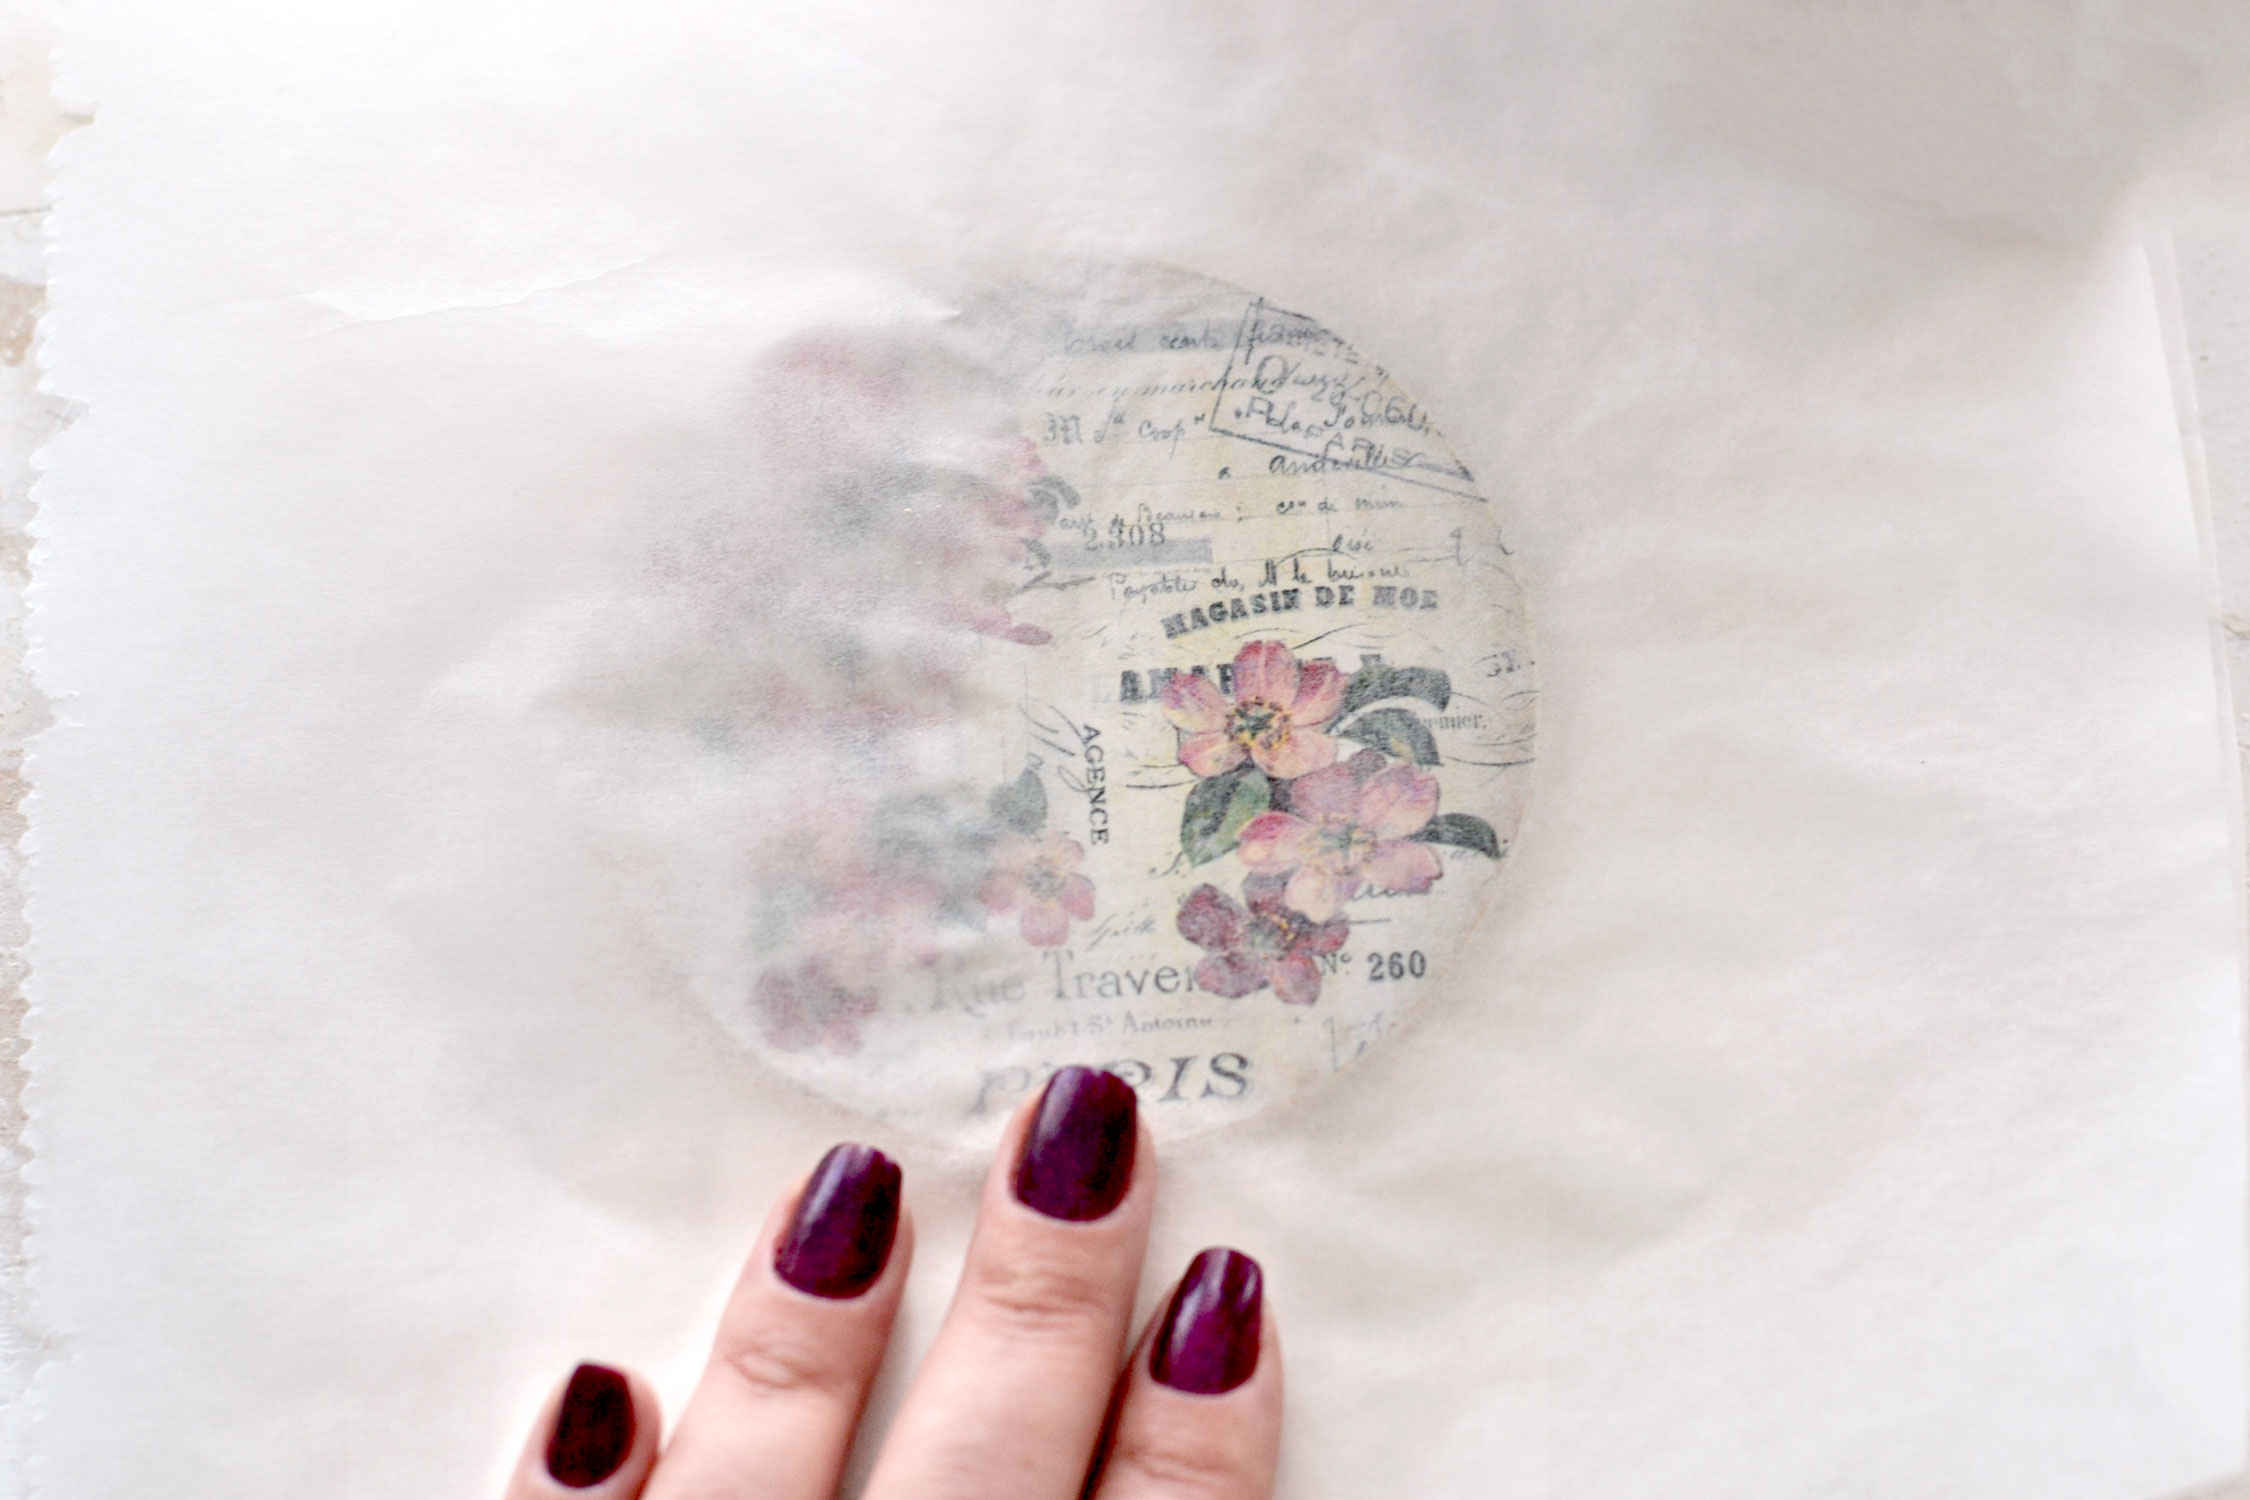
You will start to notice that the napkin underneath will be more visible while ironing it, you can definitely see the difference in the image below – the right side is ironed and the left side is not.
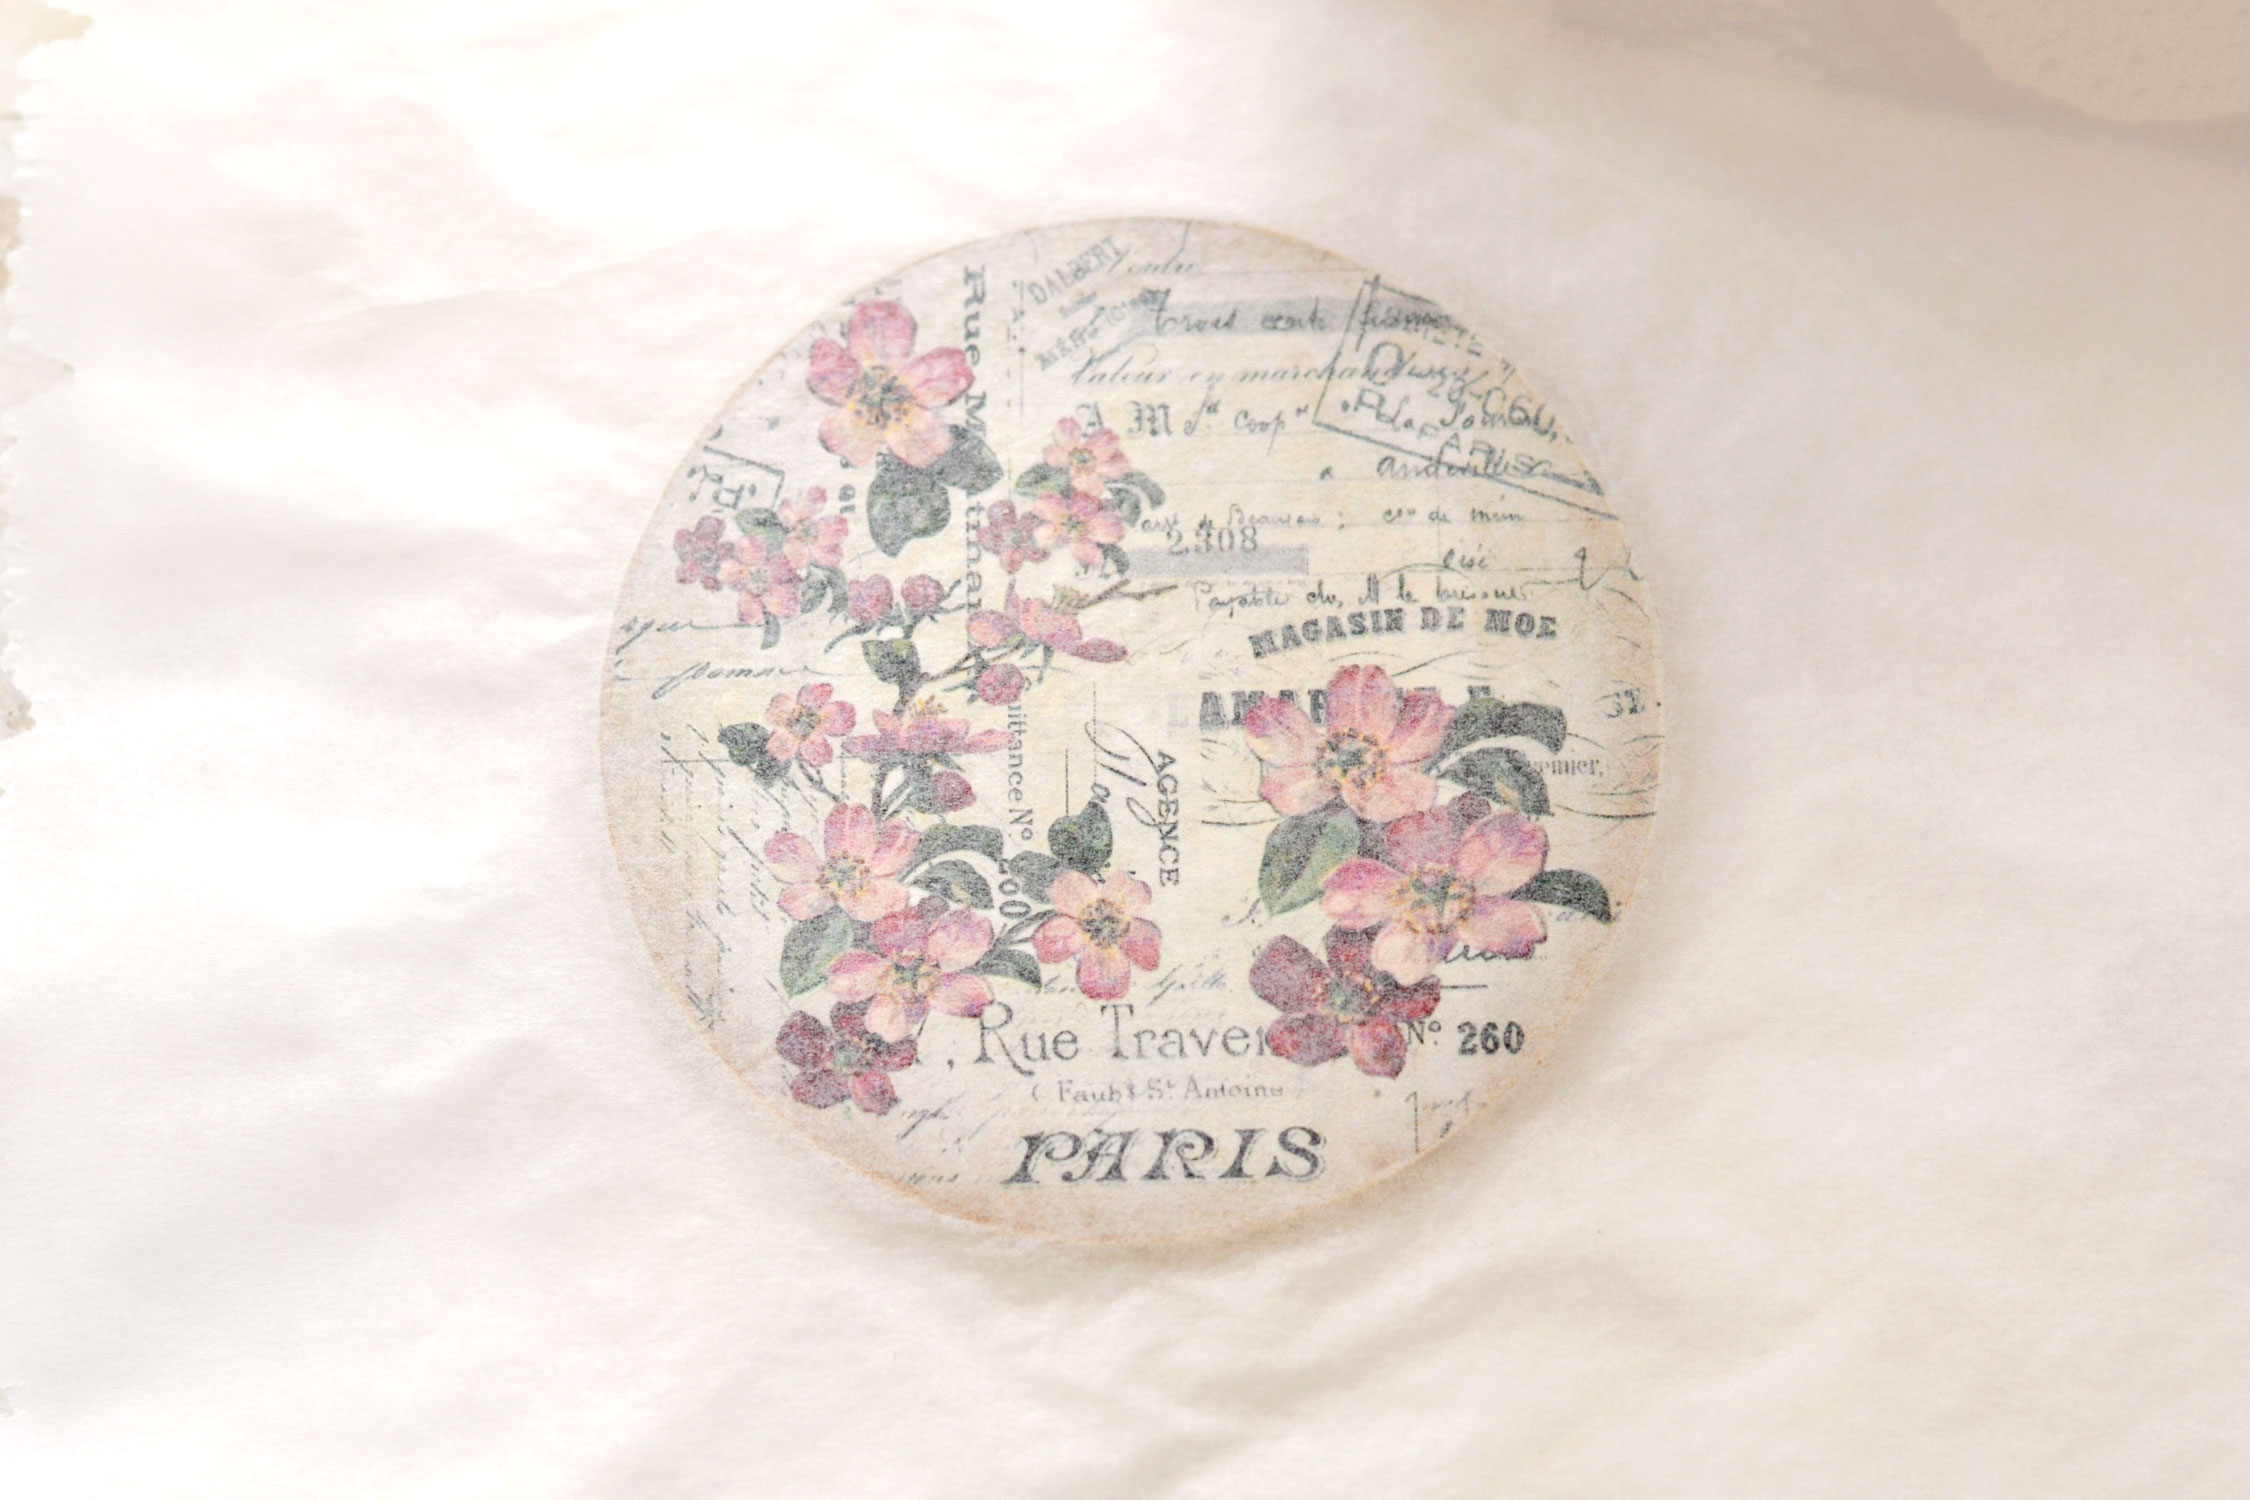
As you can see, after ironing the whole surface, our design is now quite visible, even with the parchment paper on top.
Wait for about 30 seconds (so you don’t burn yourself) and gently remove the parchment paper on top.
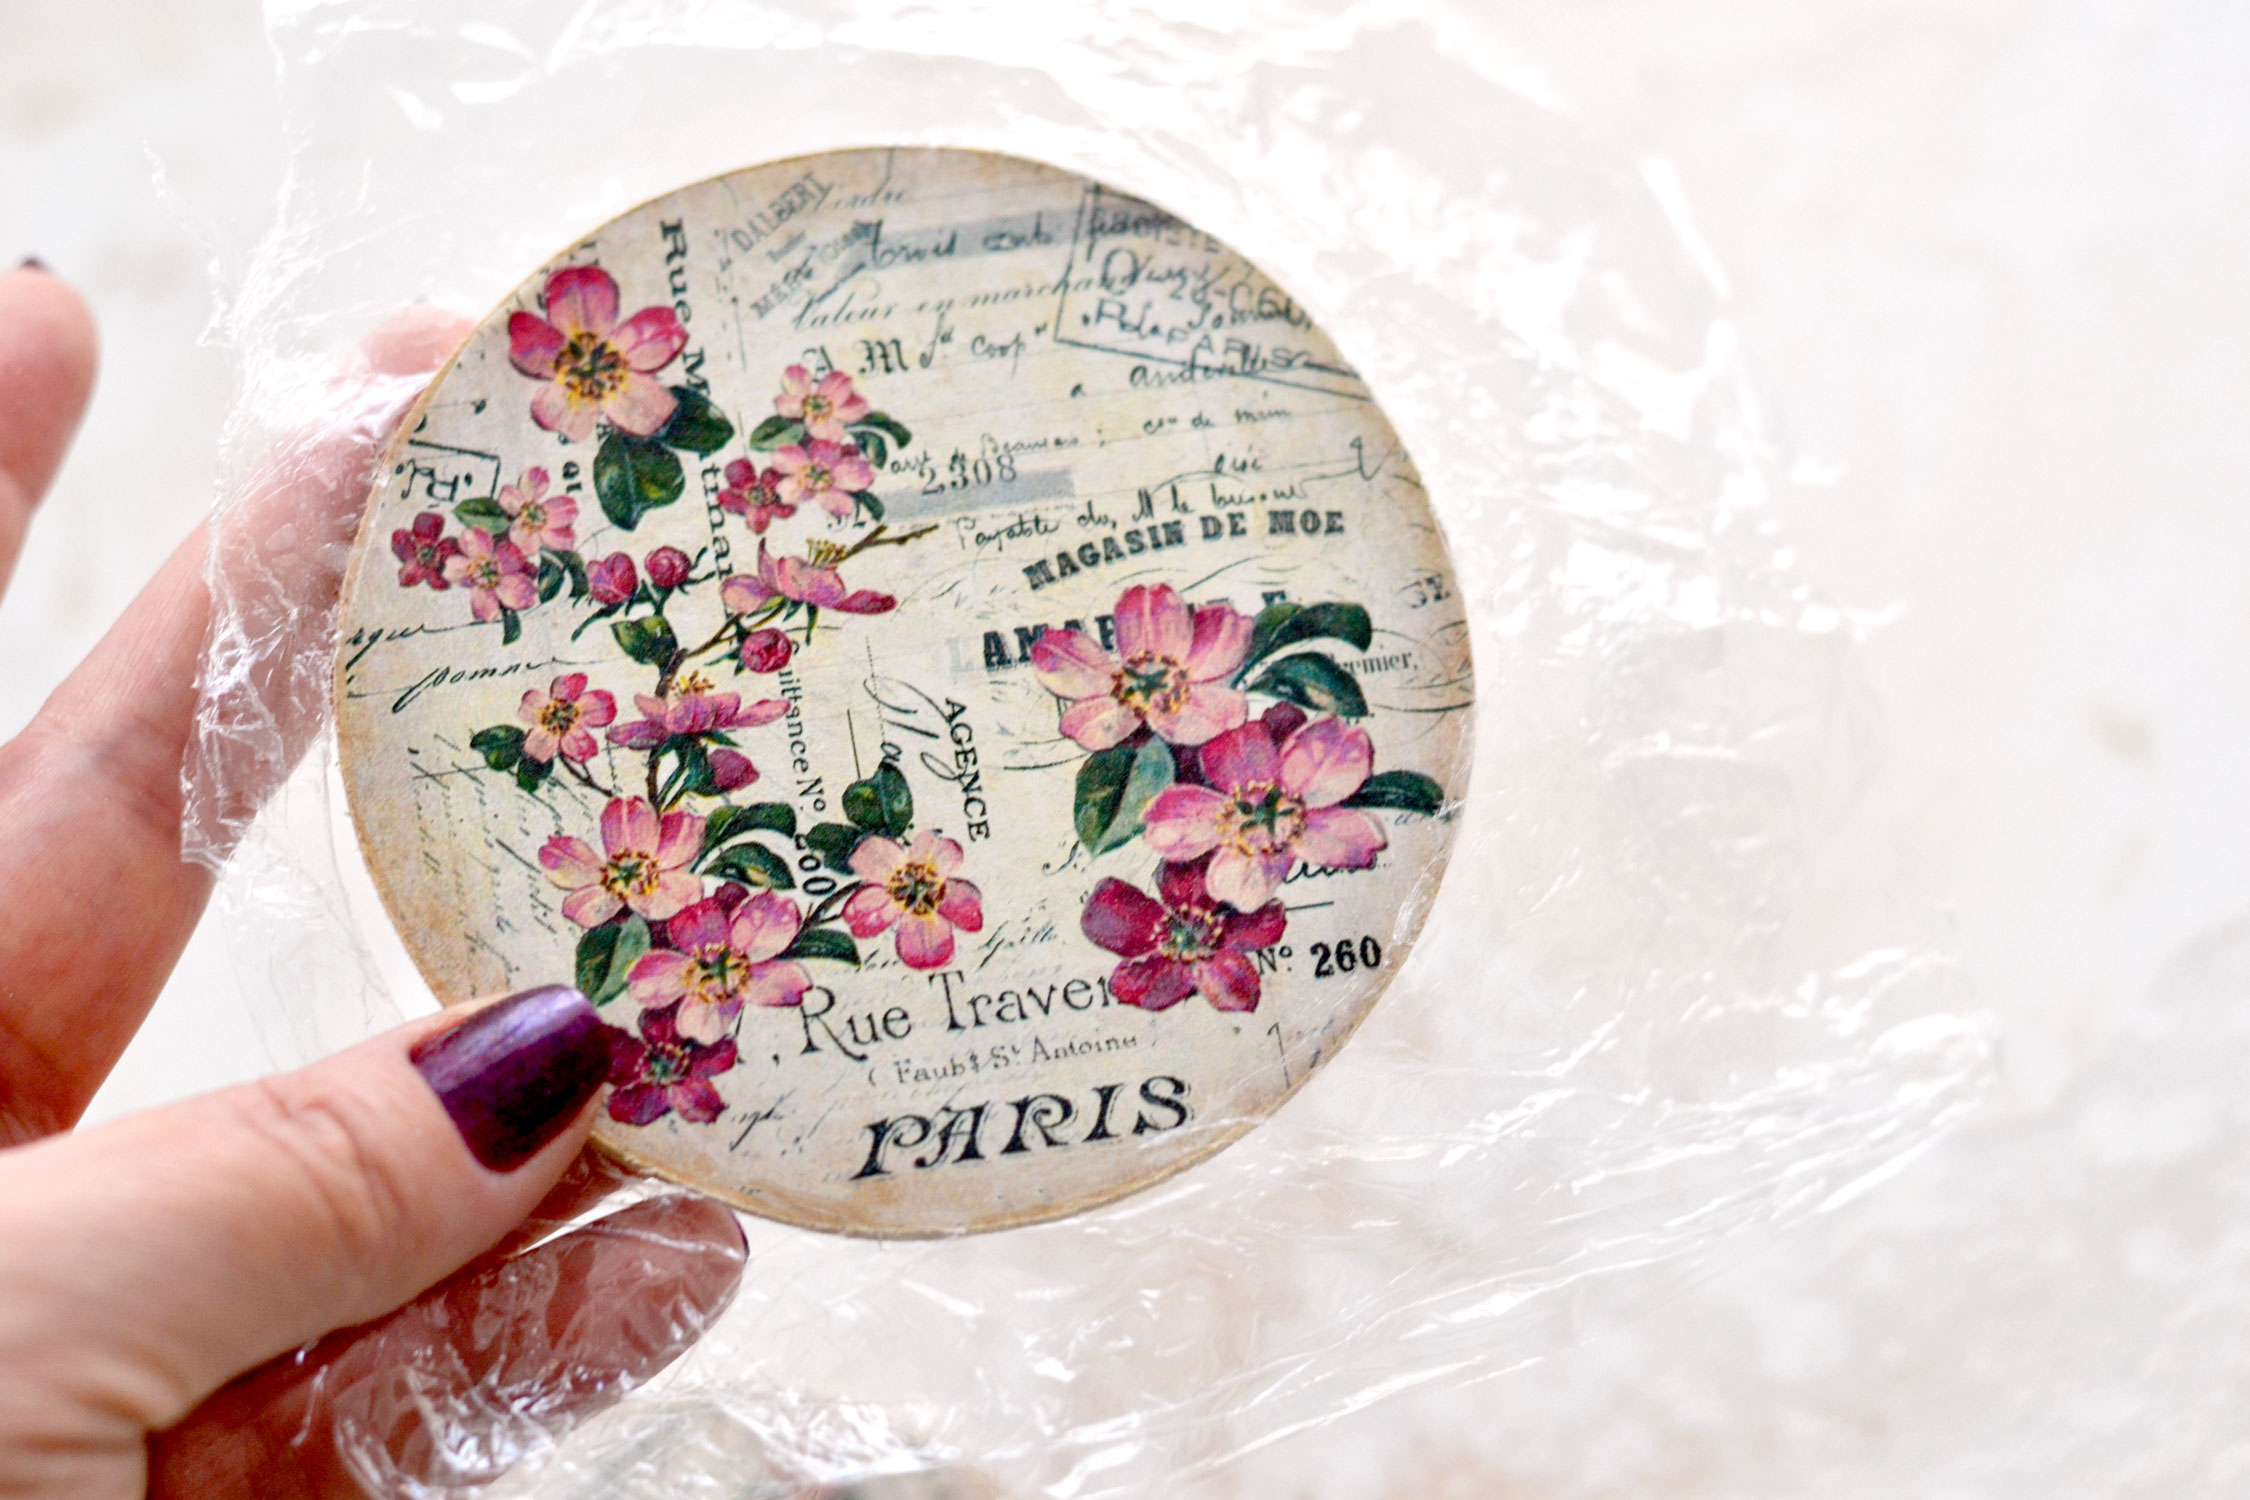
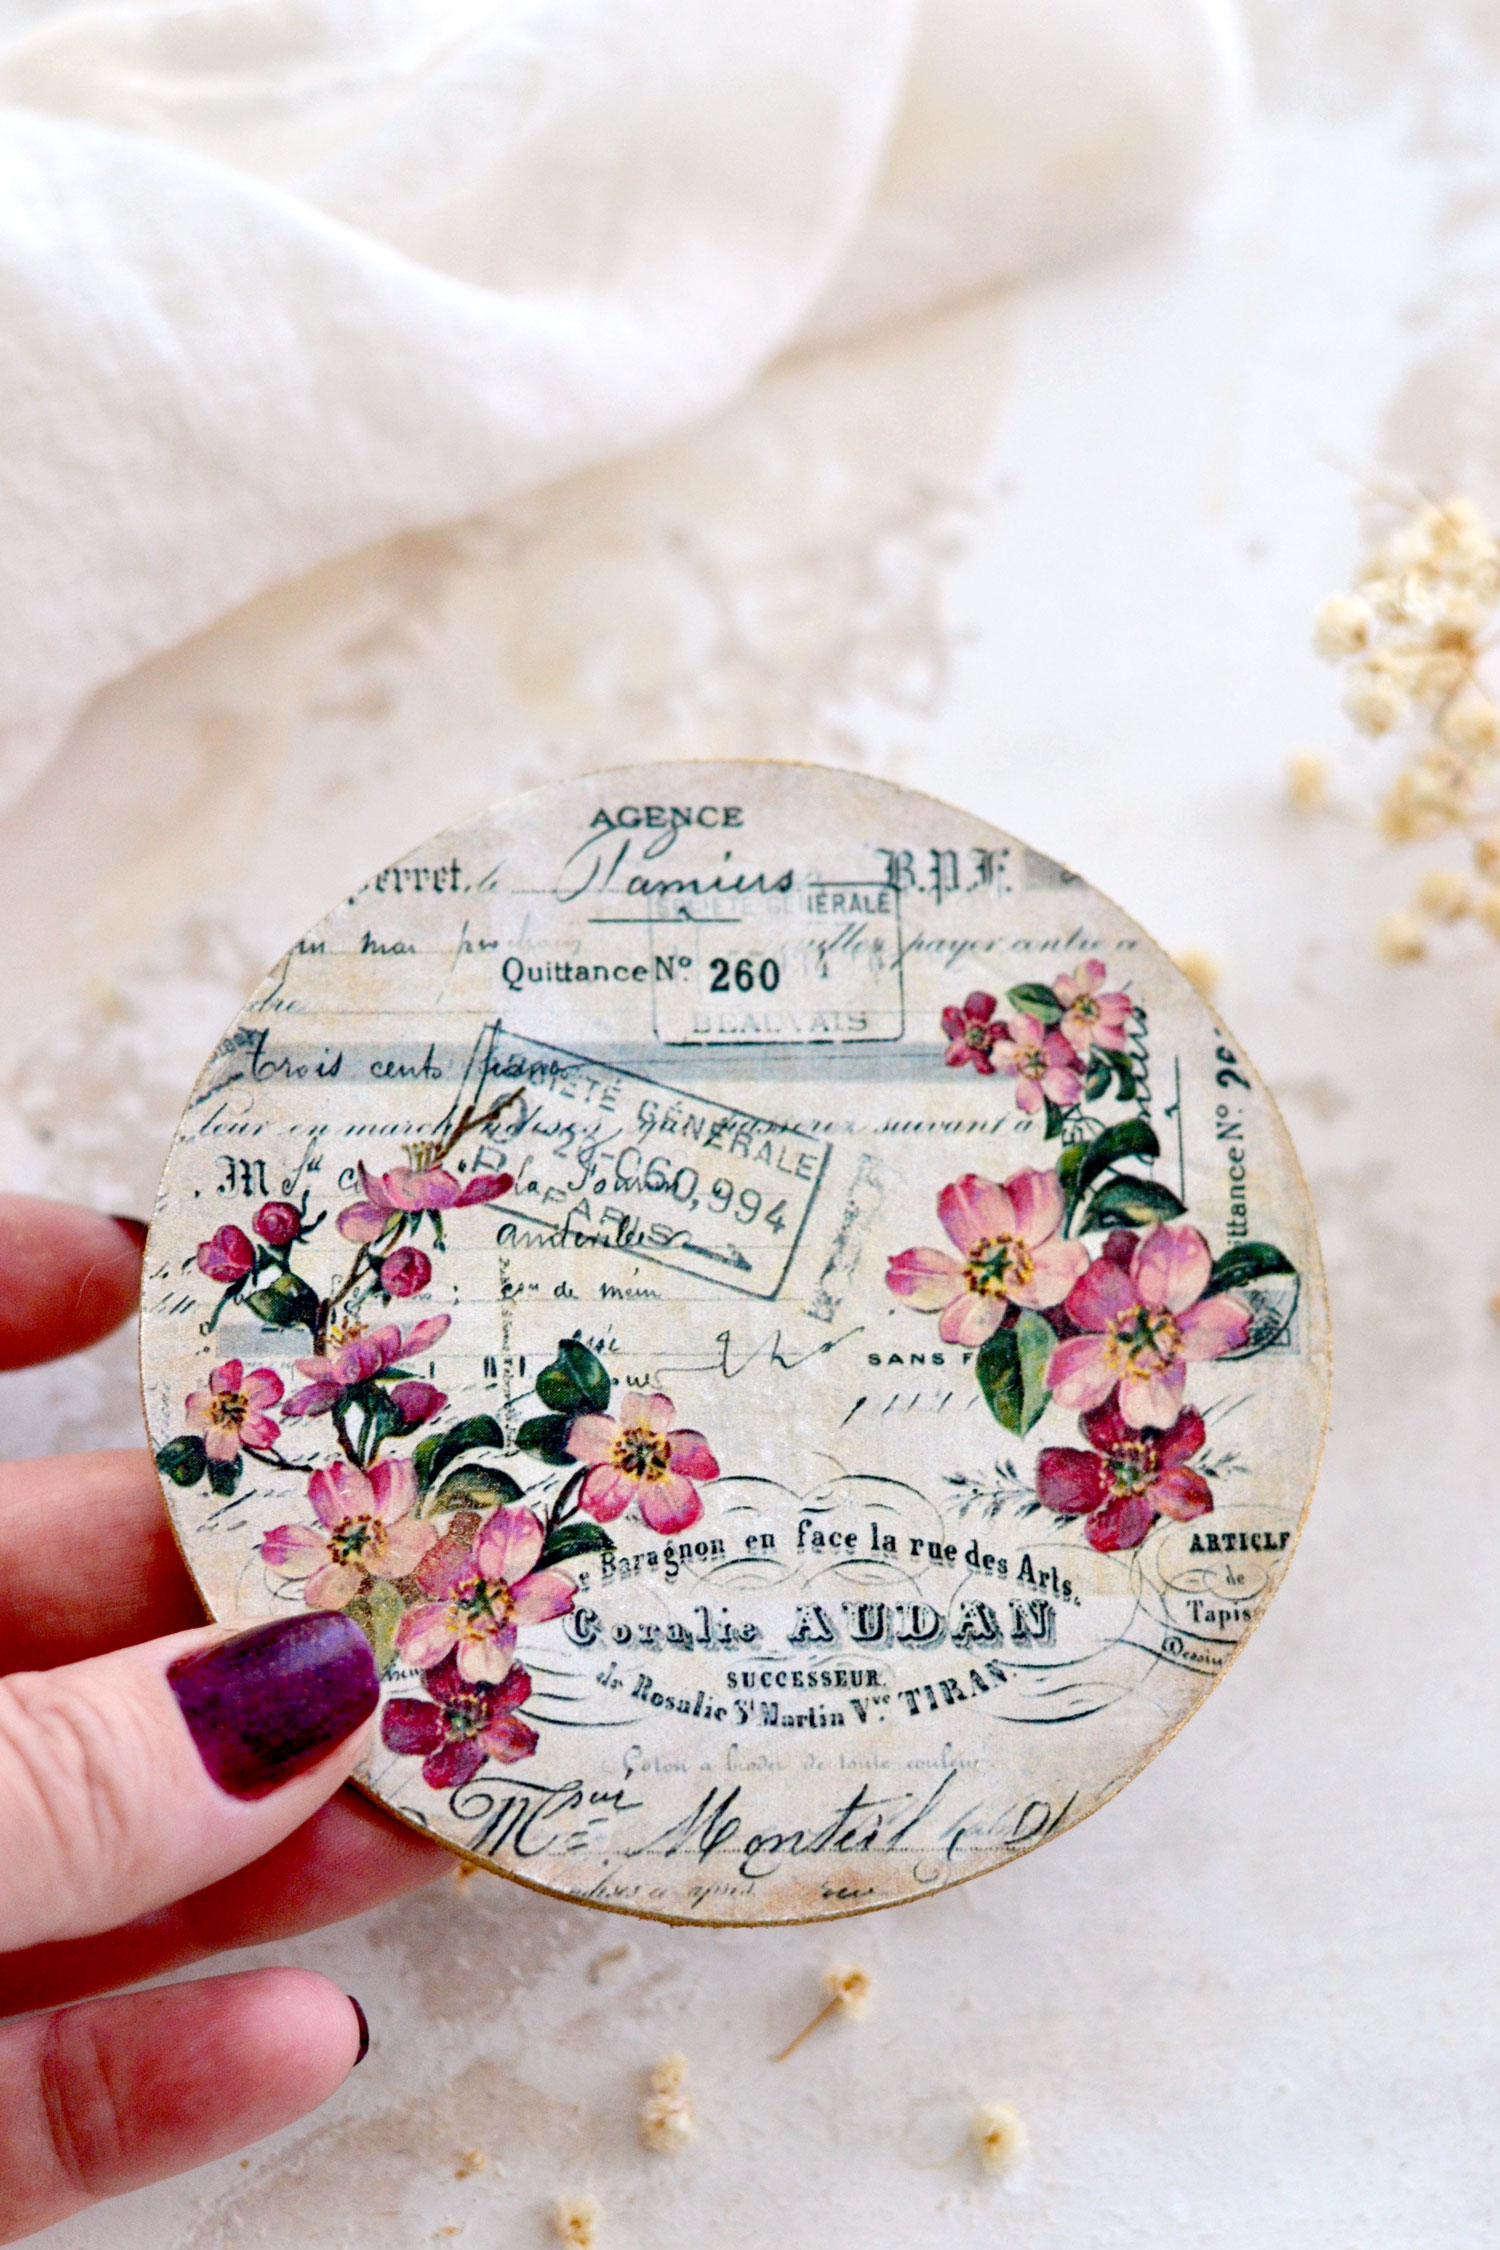
Use your fingers to tear and gradually remove the cling wrap outside the edges, it should come off easily. And then, you should be left with a gorgeously fused design on top of your coasters!
If some areas are not completely fused or some are not sticking to your MDF base (especially around the edges), place the parchment paper on top again and iron everything one more time.
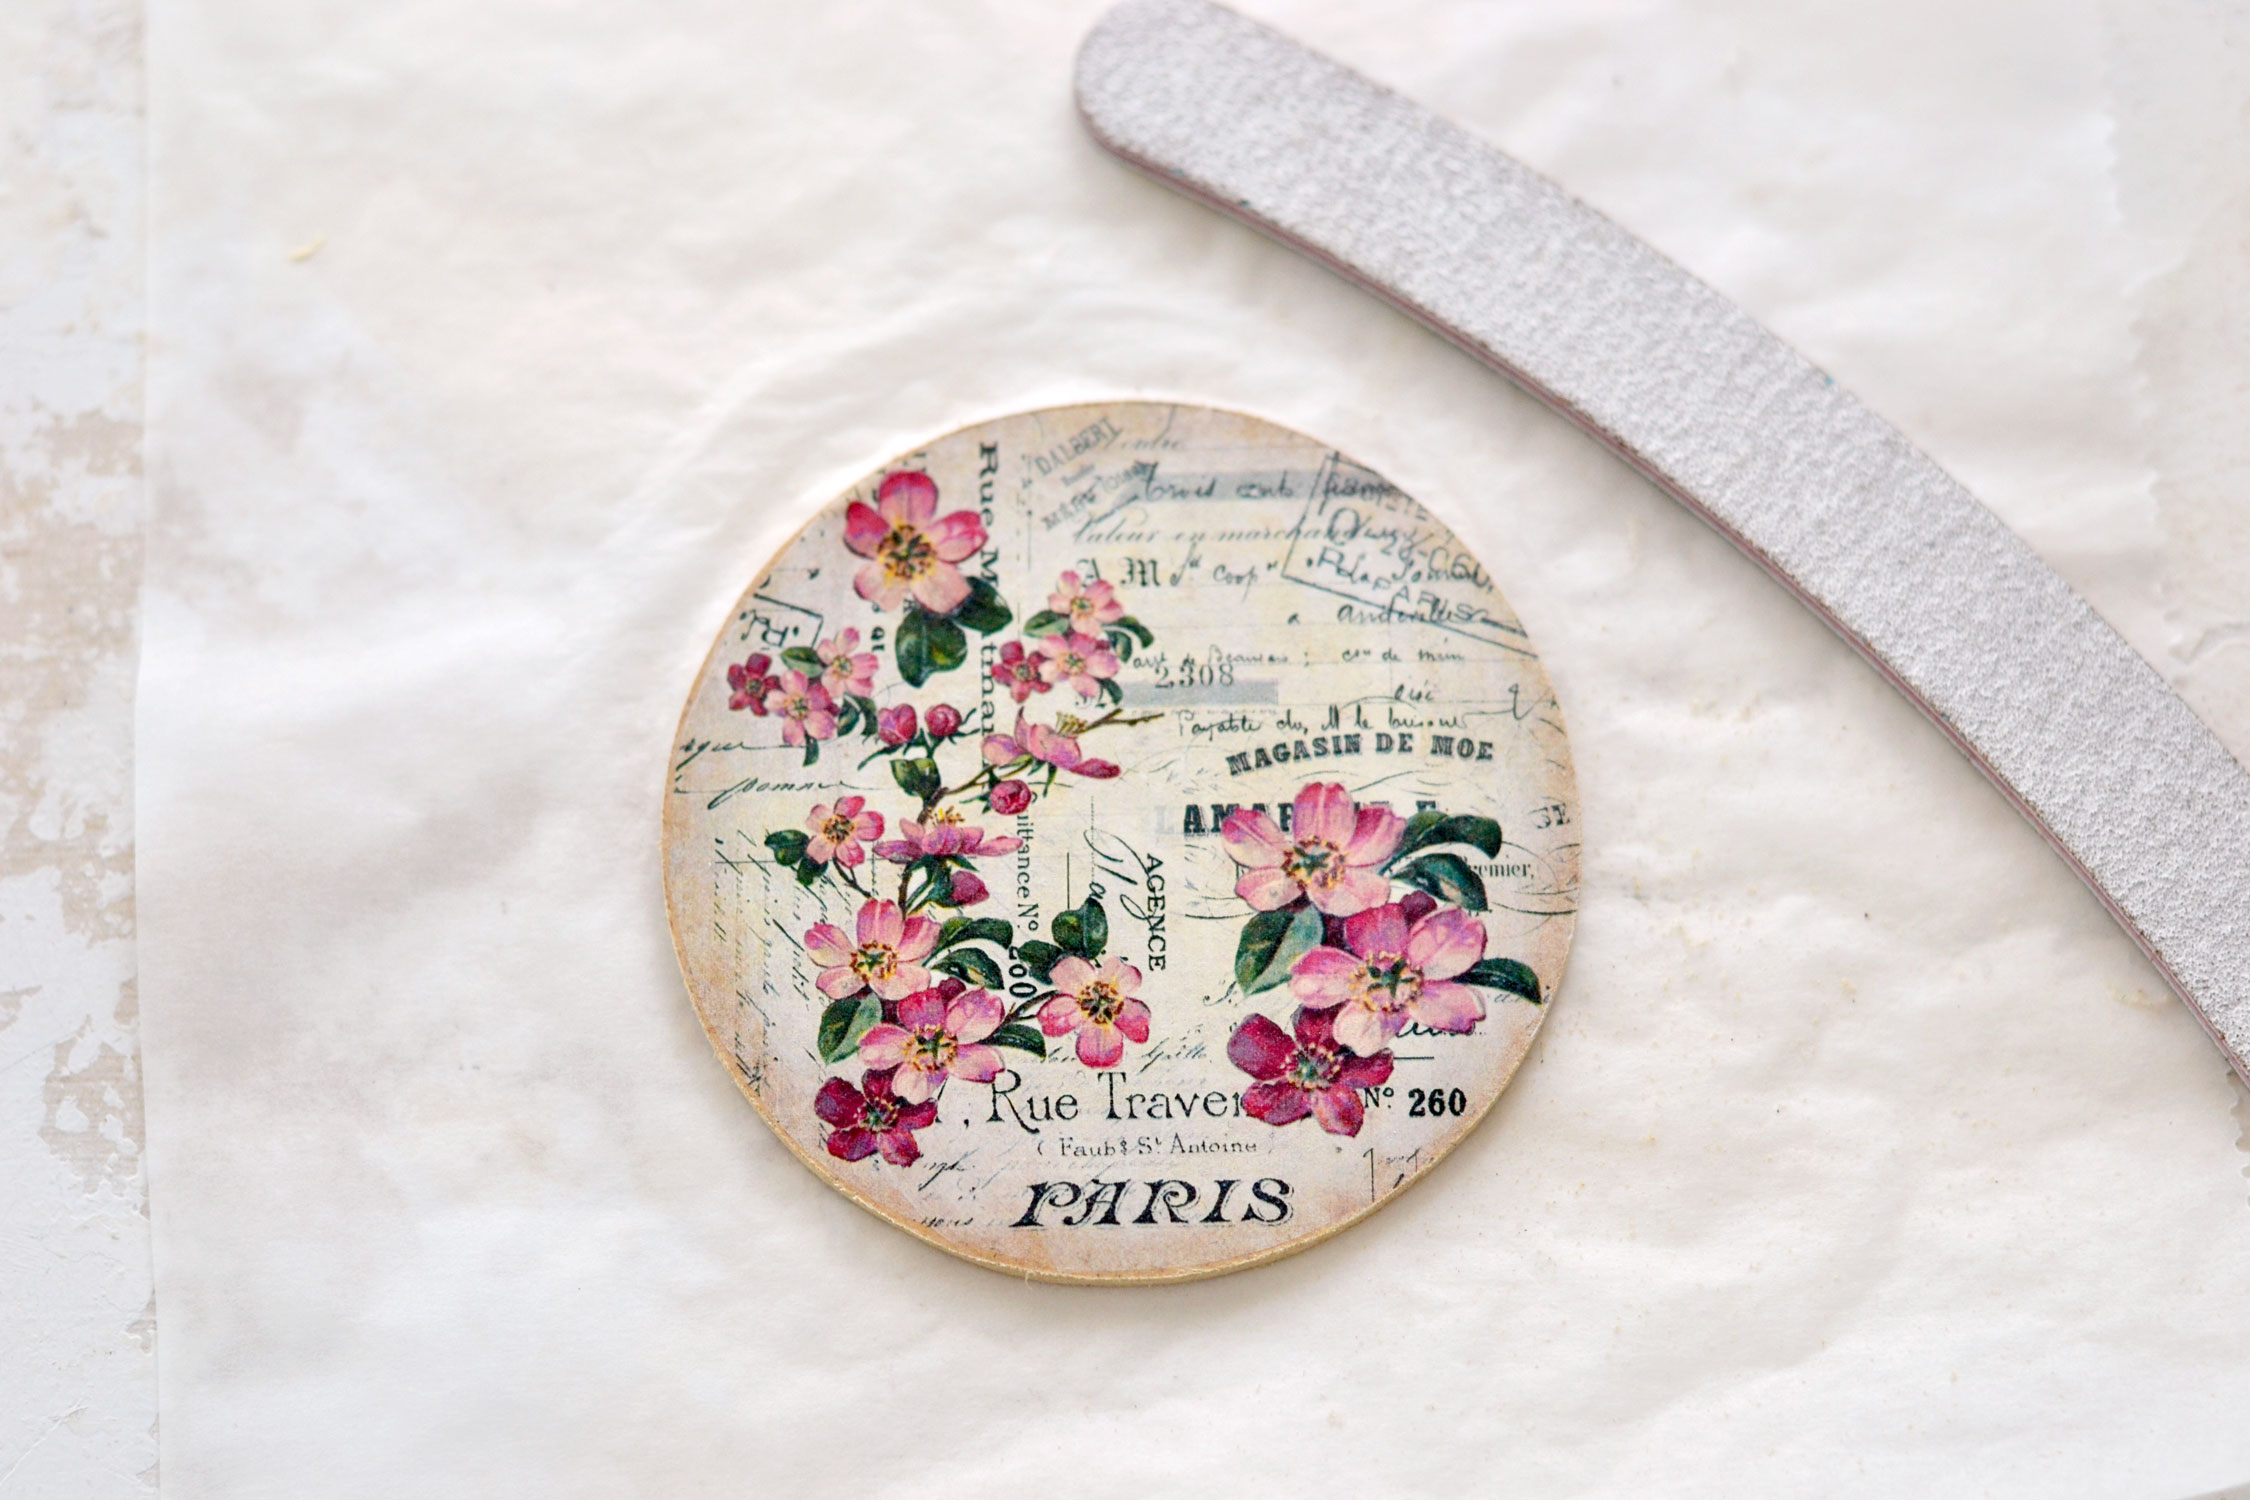
If some napkin pieces are going outside your MDF base, you can use a nail file or some sandpaper to remove them. That can happen if you haven’t perfectly centered the printed image, but that’s OK, things don’t always have to be perfect!
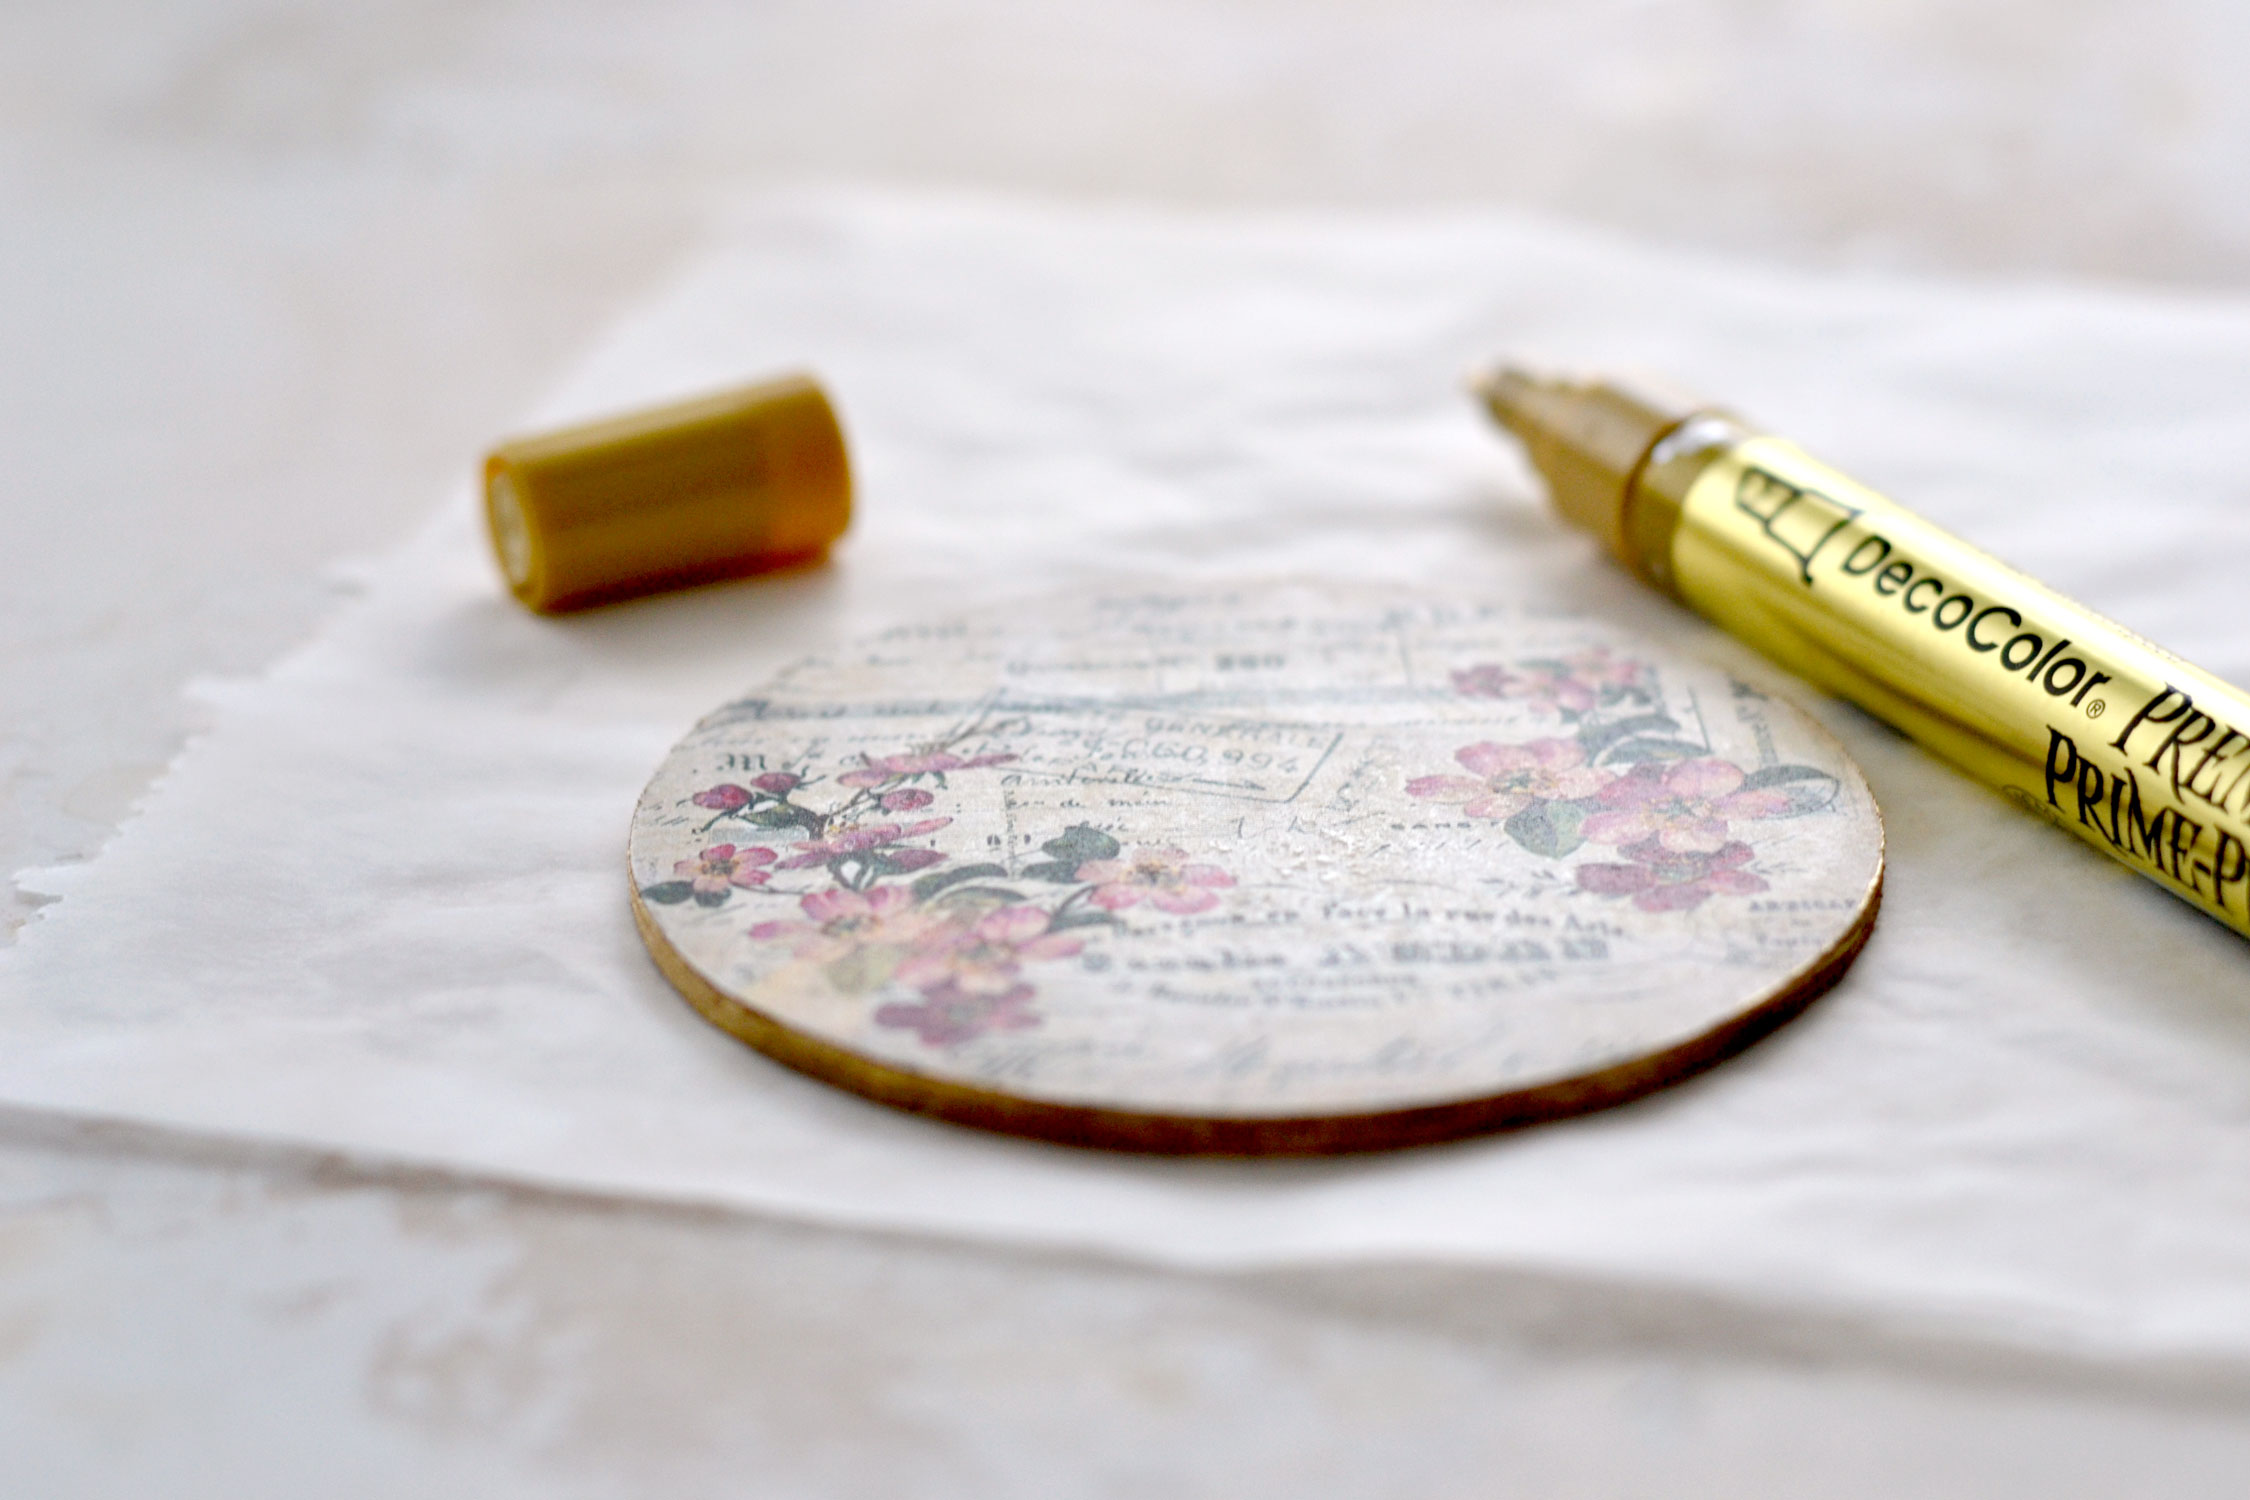
As an extra step, you can add a little bit of gold around the edges. You can never go wrong with gold if you ask me, so use your favorite gold marker or some gold acrylic paint to your heart’s content!
If you want, you can use a matte finish spray to further protect the surface of your final pieces and make them even more resistant.
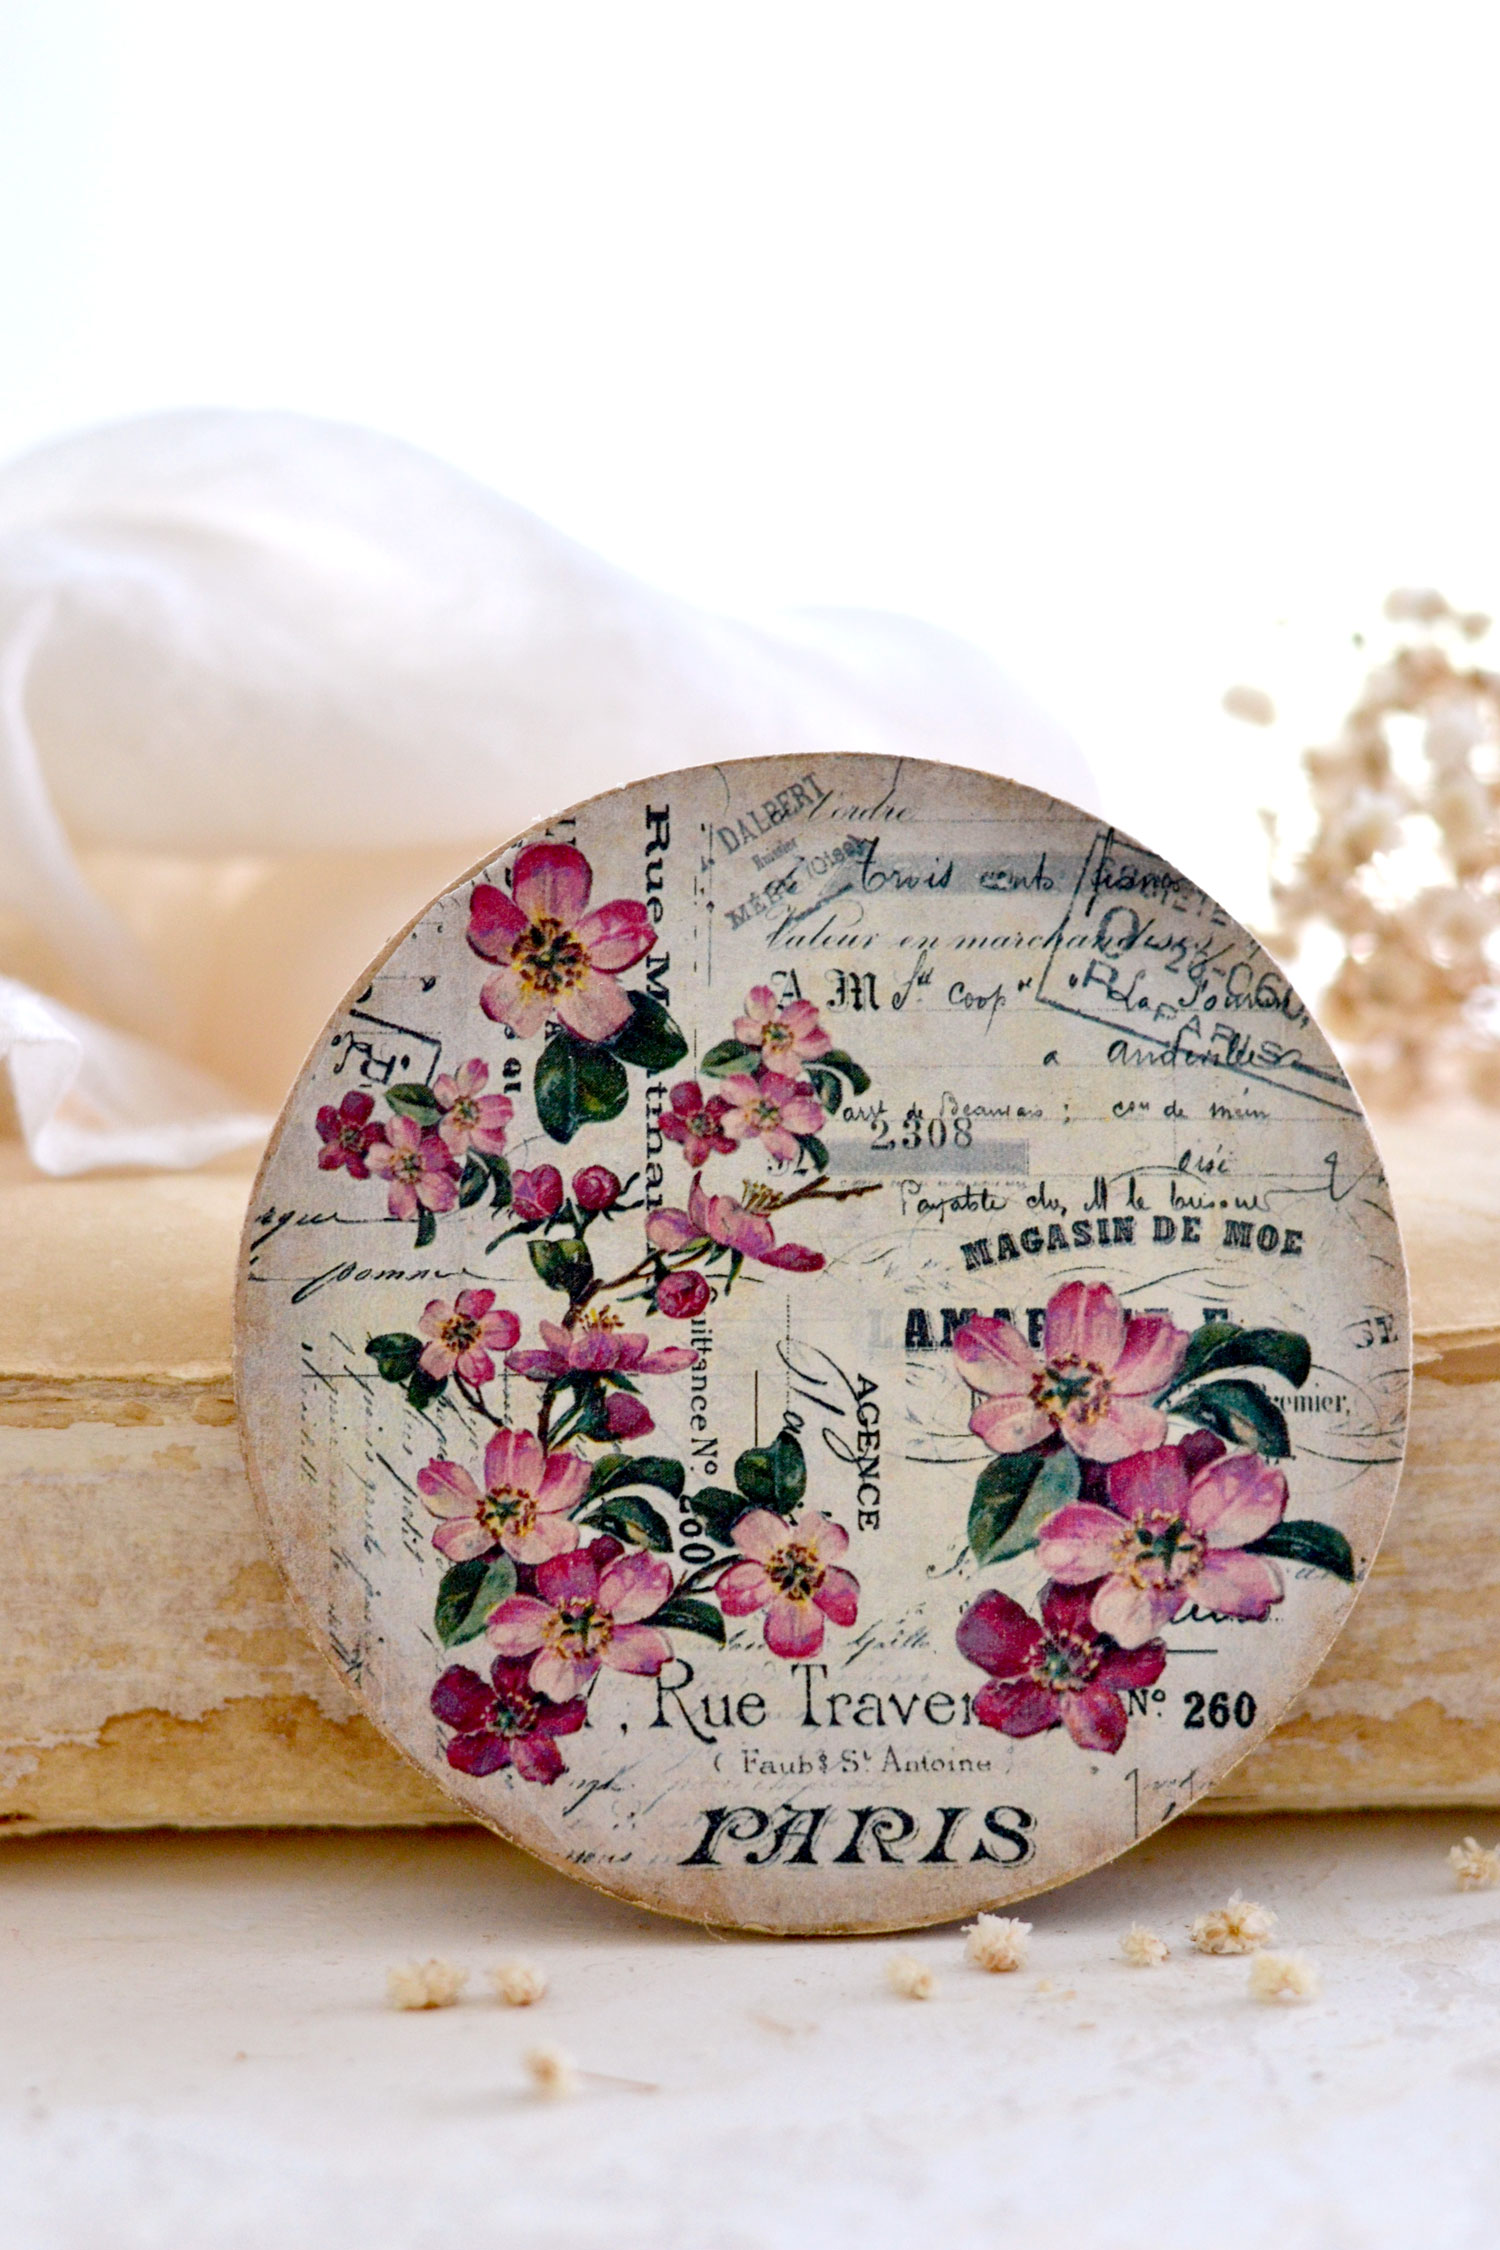
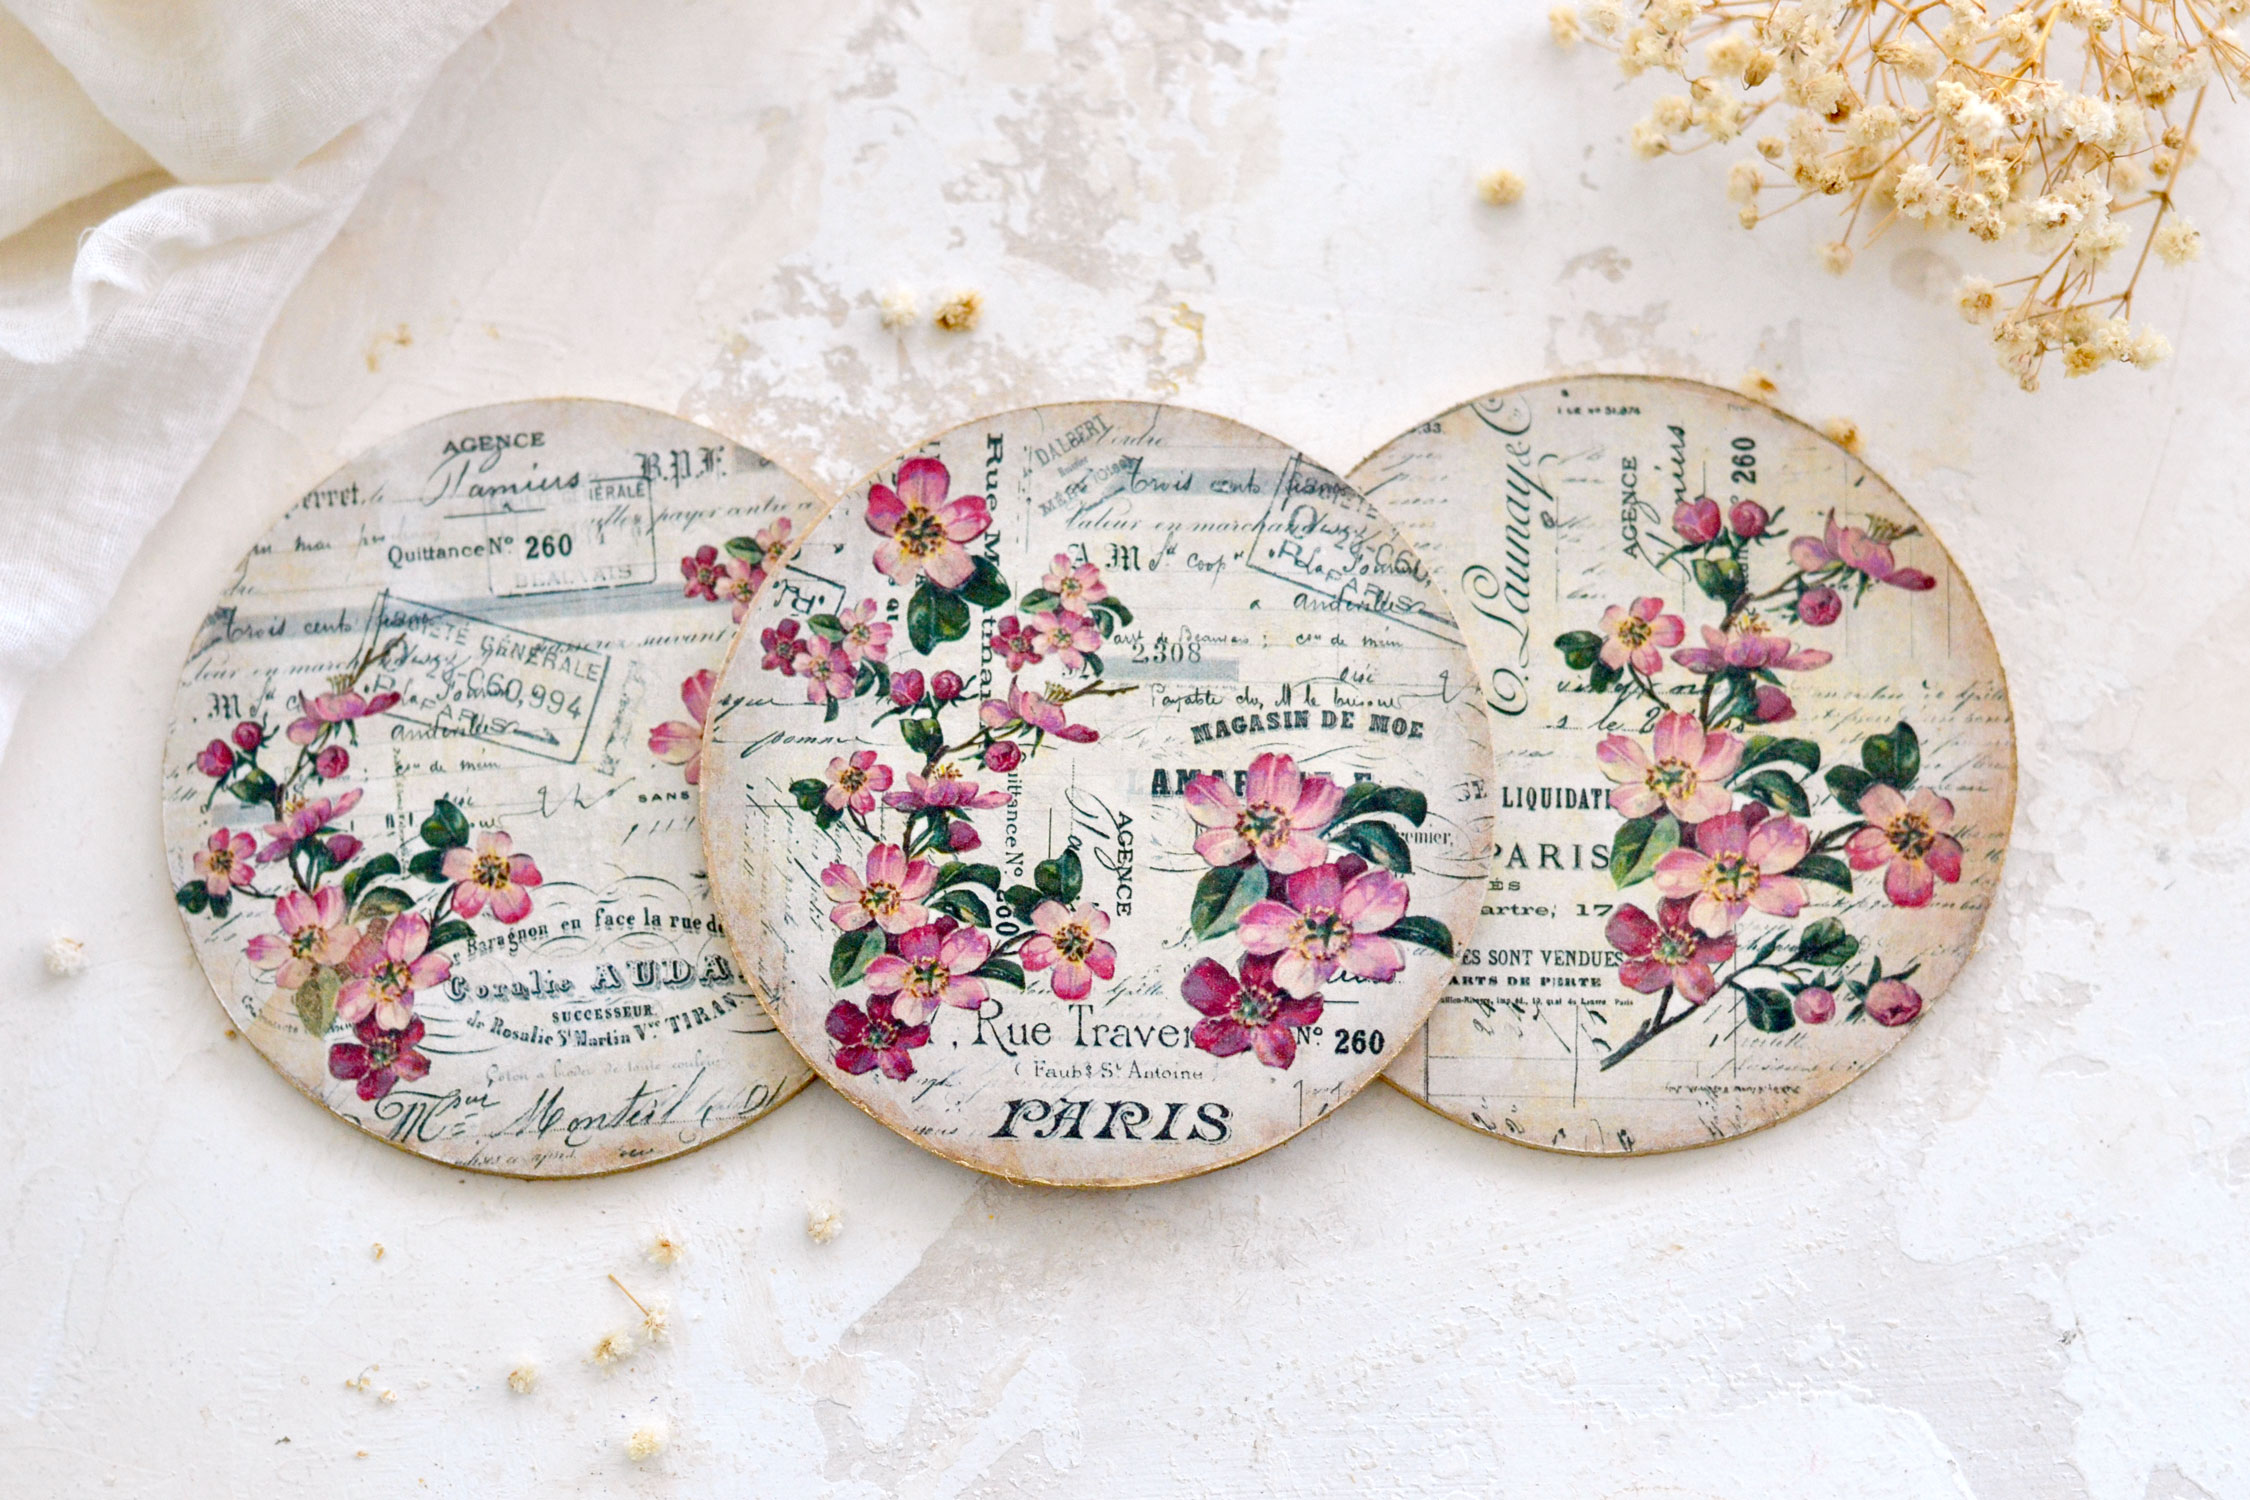
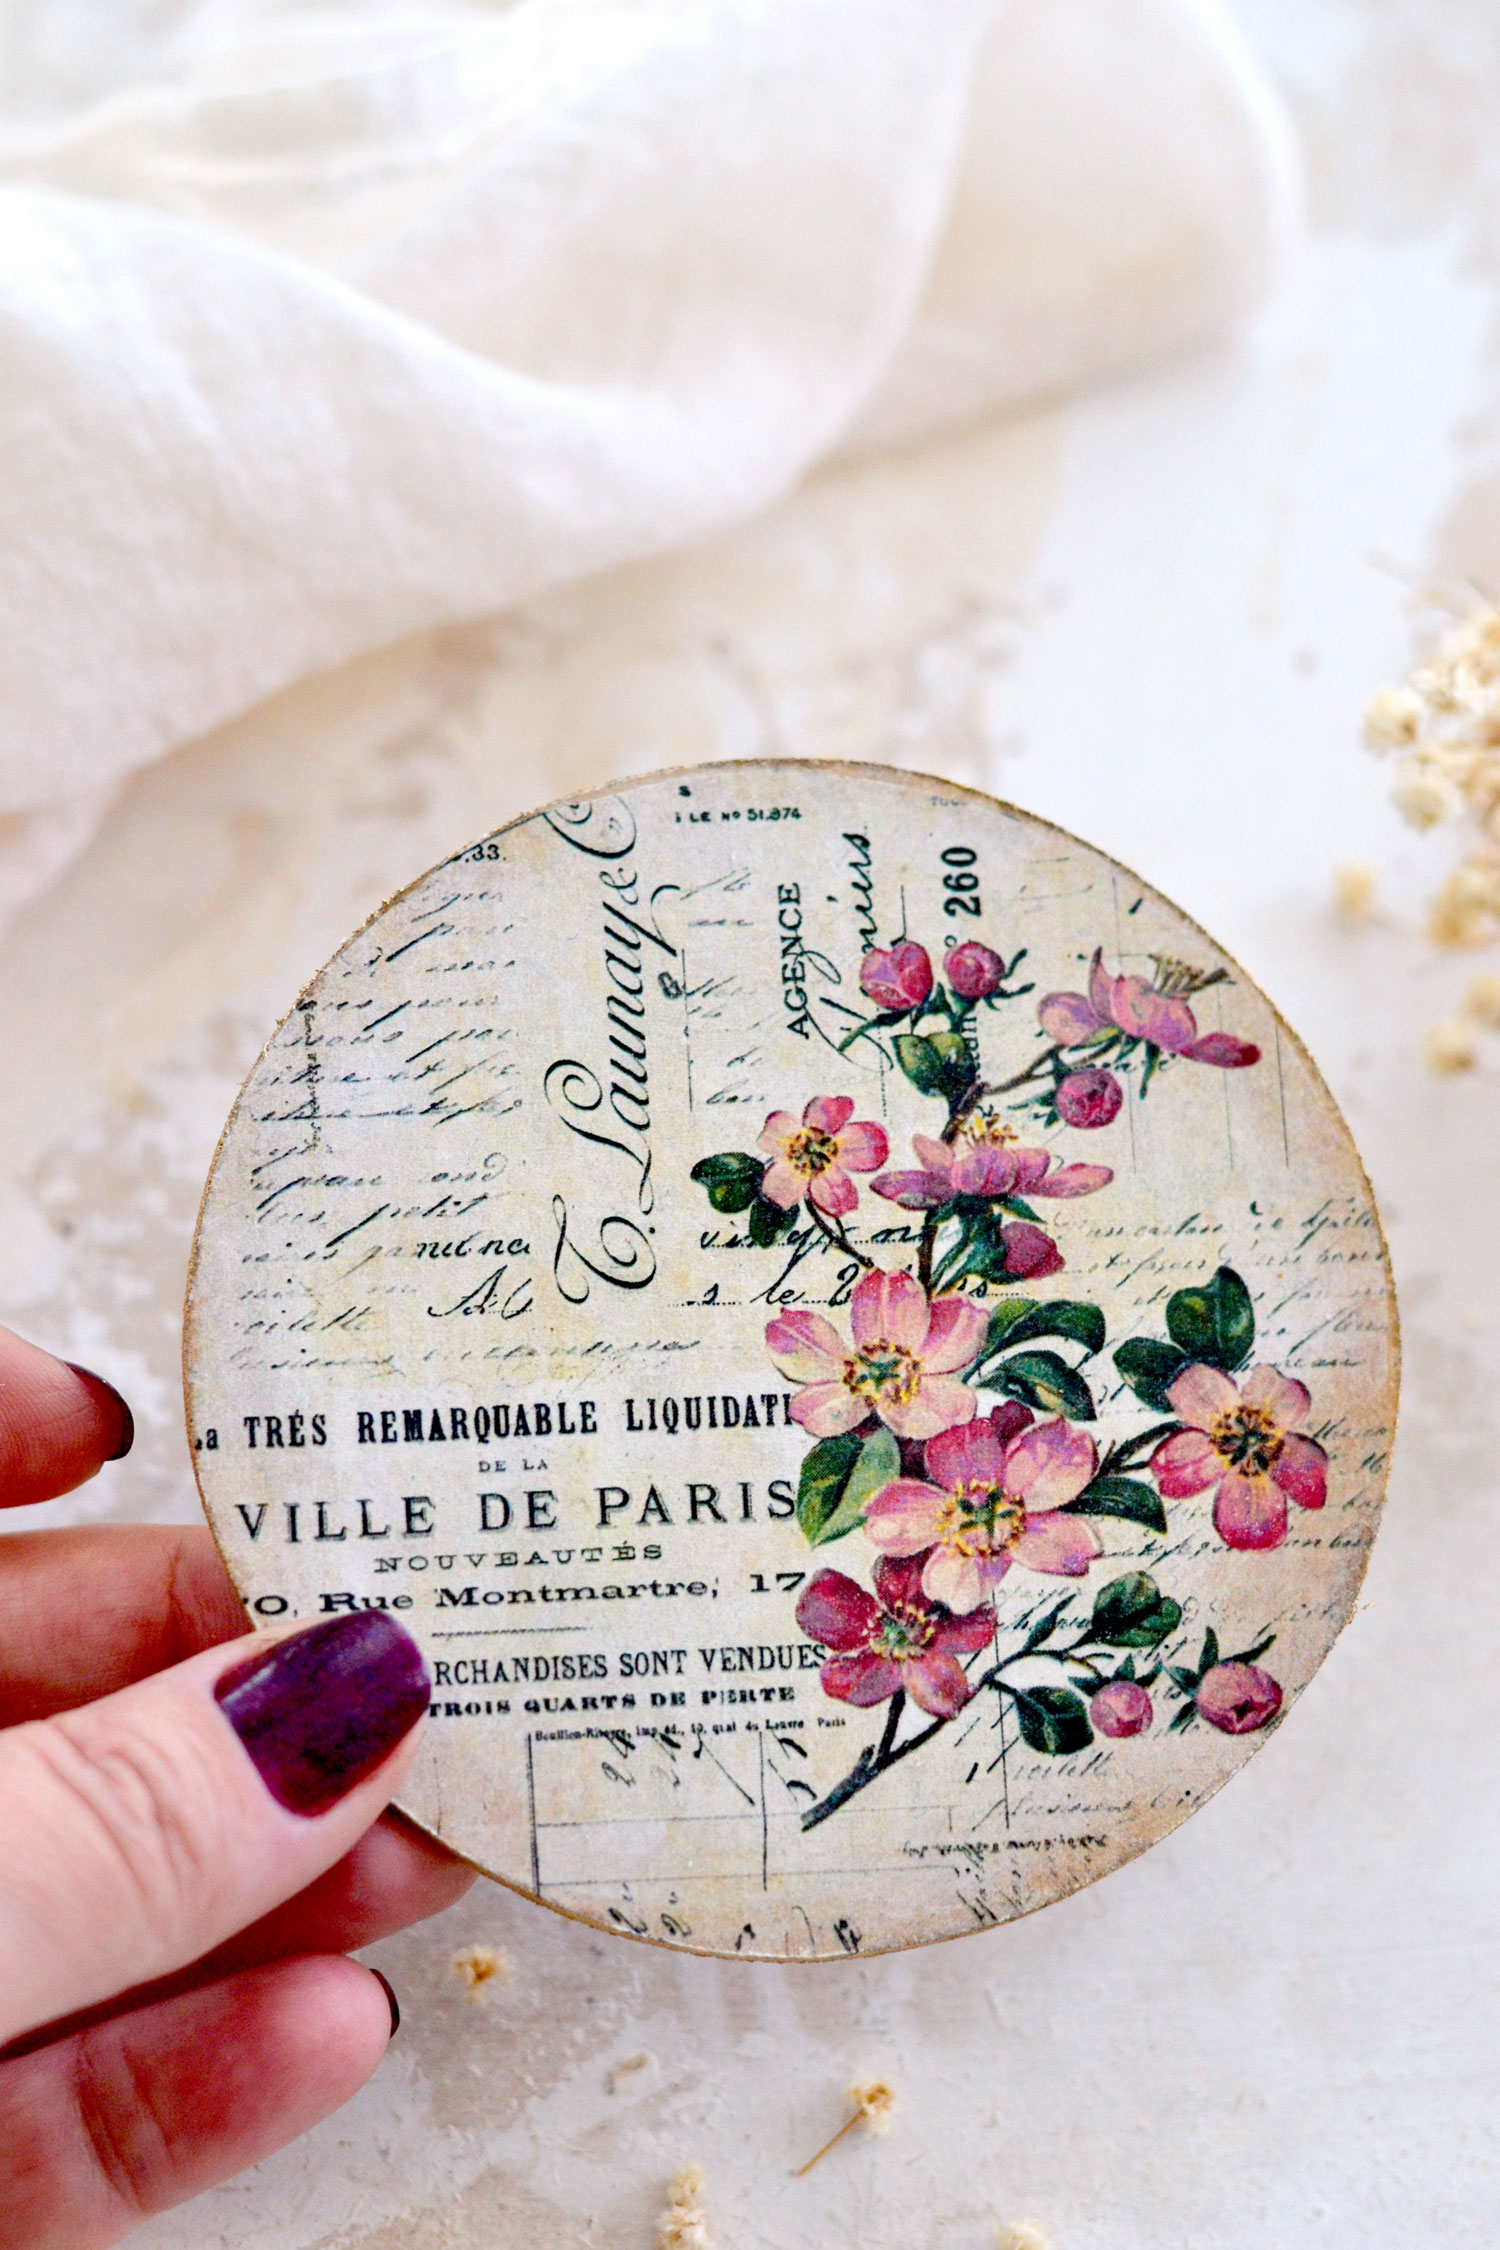
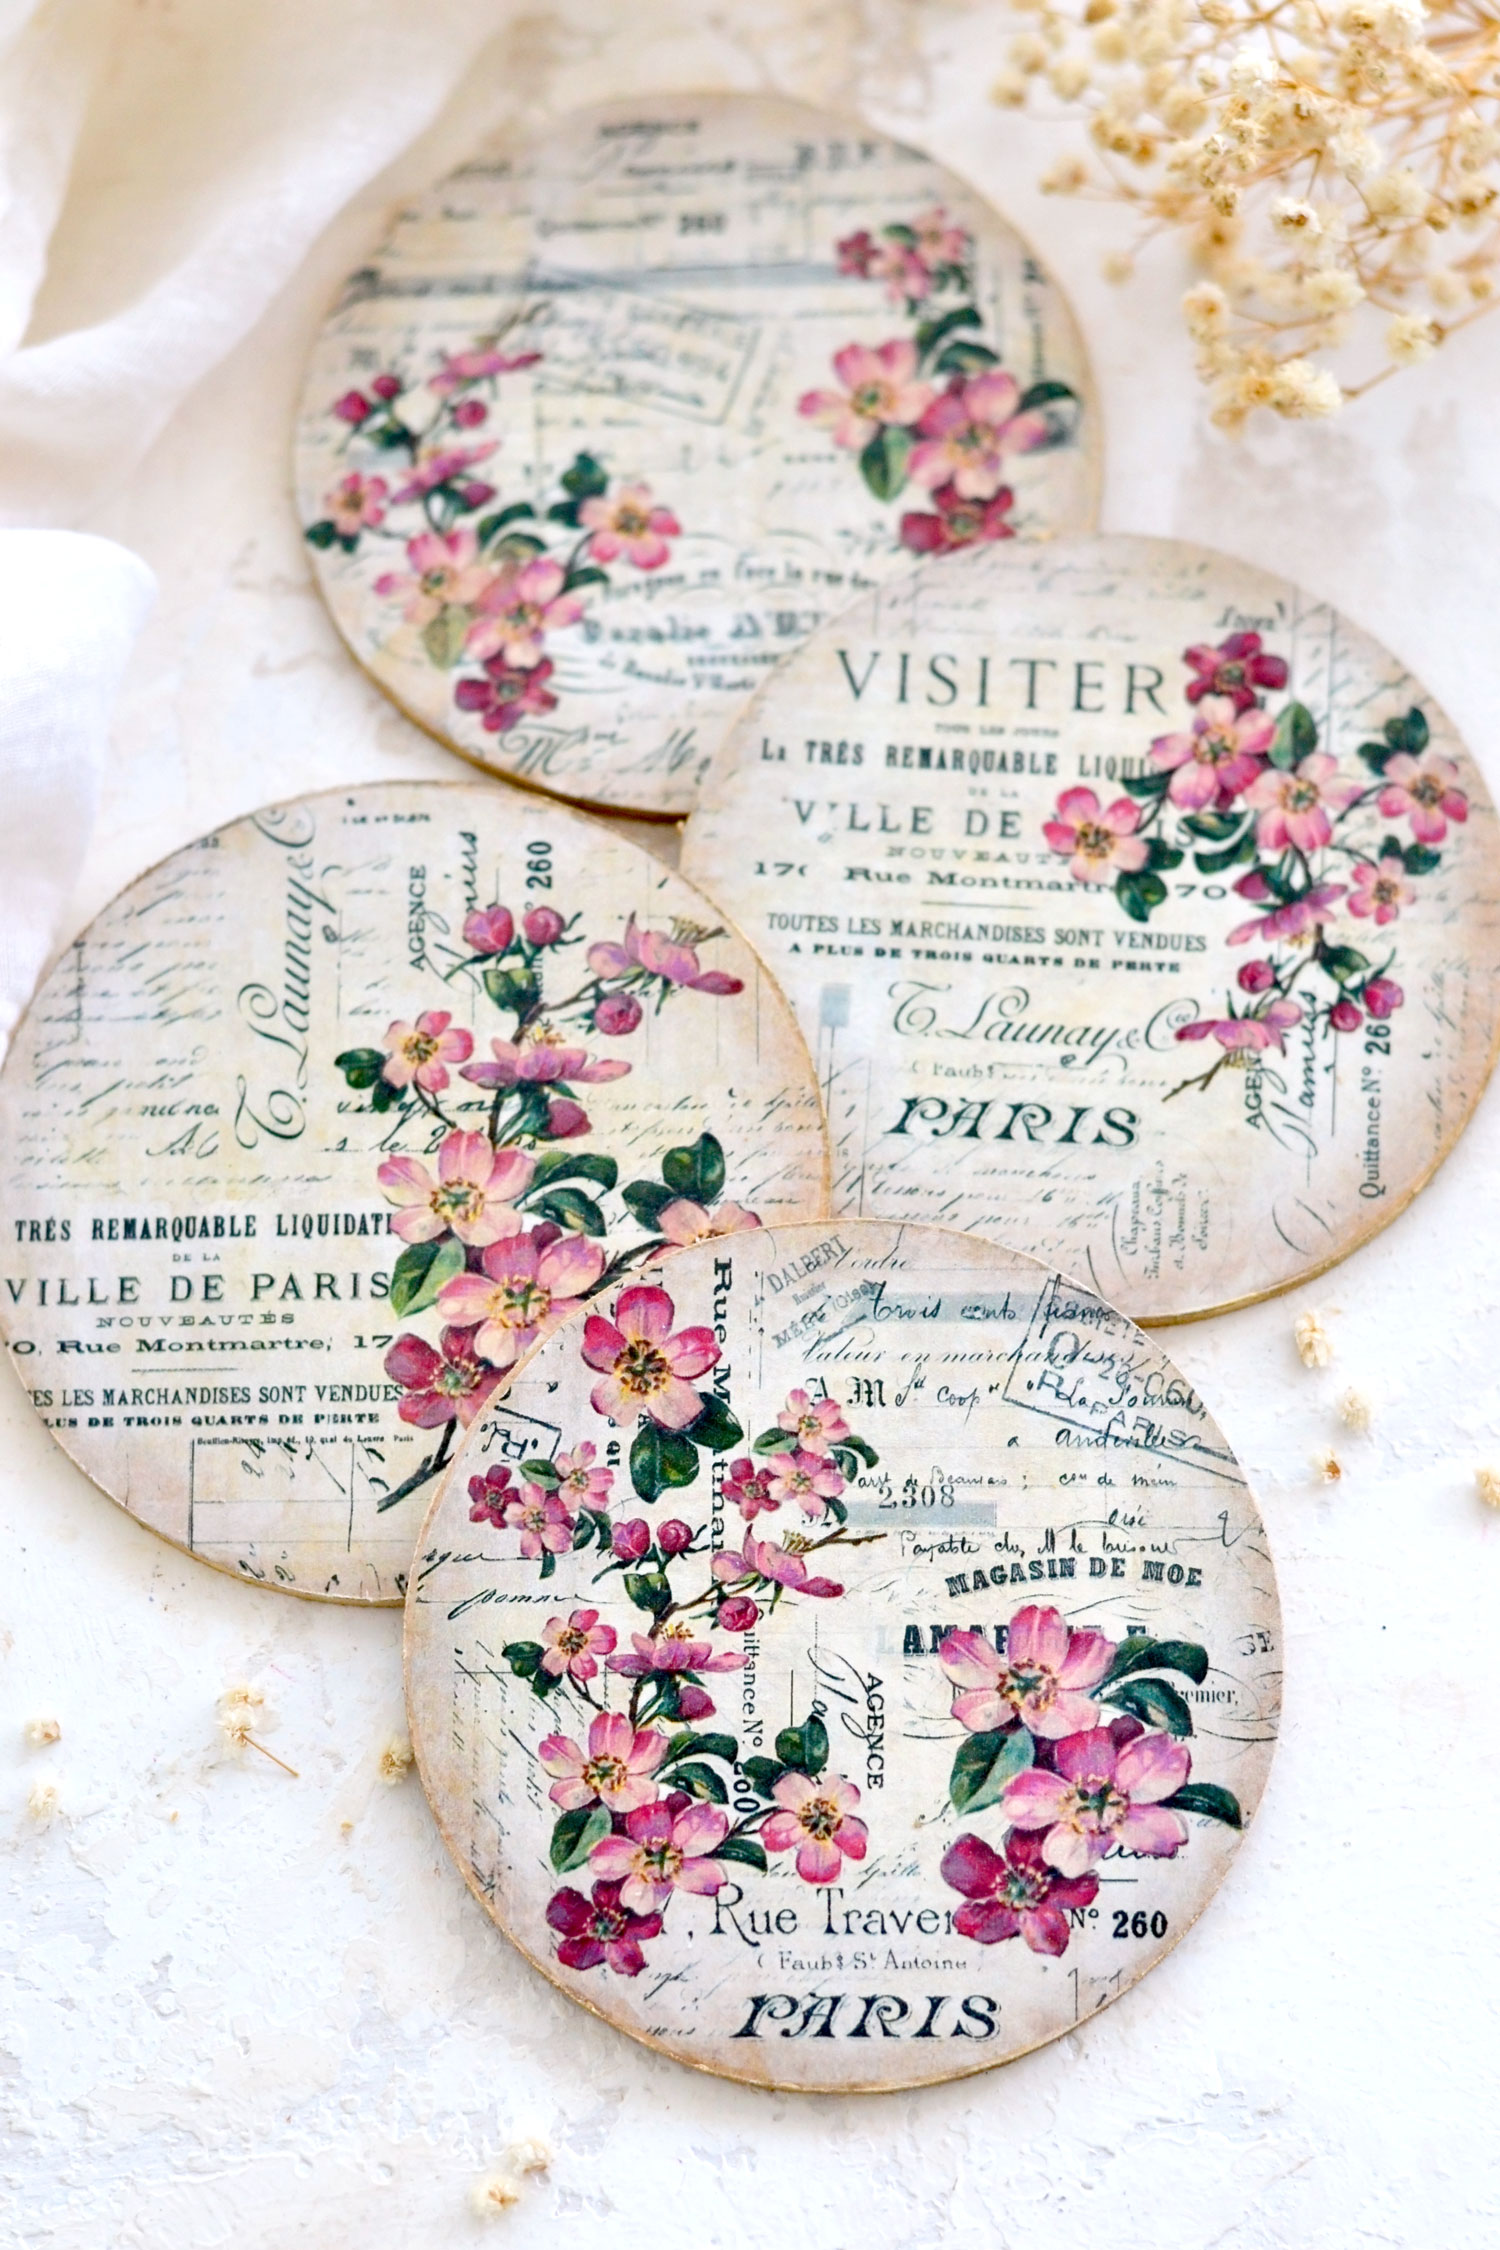
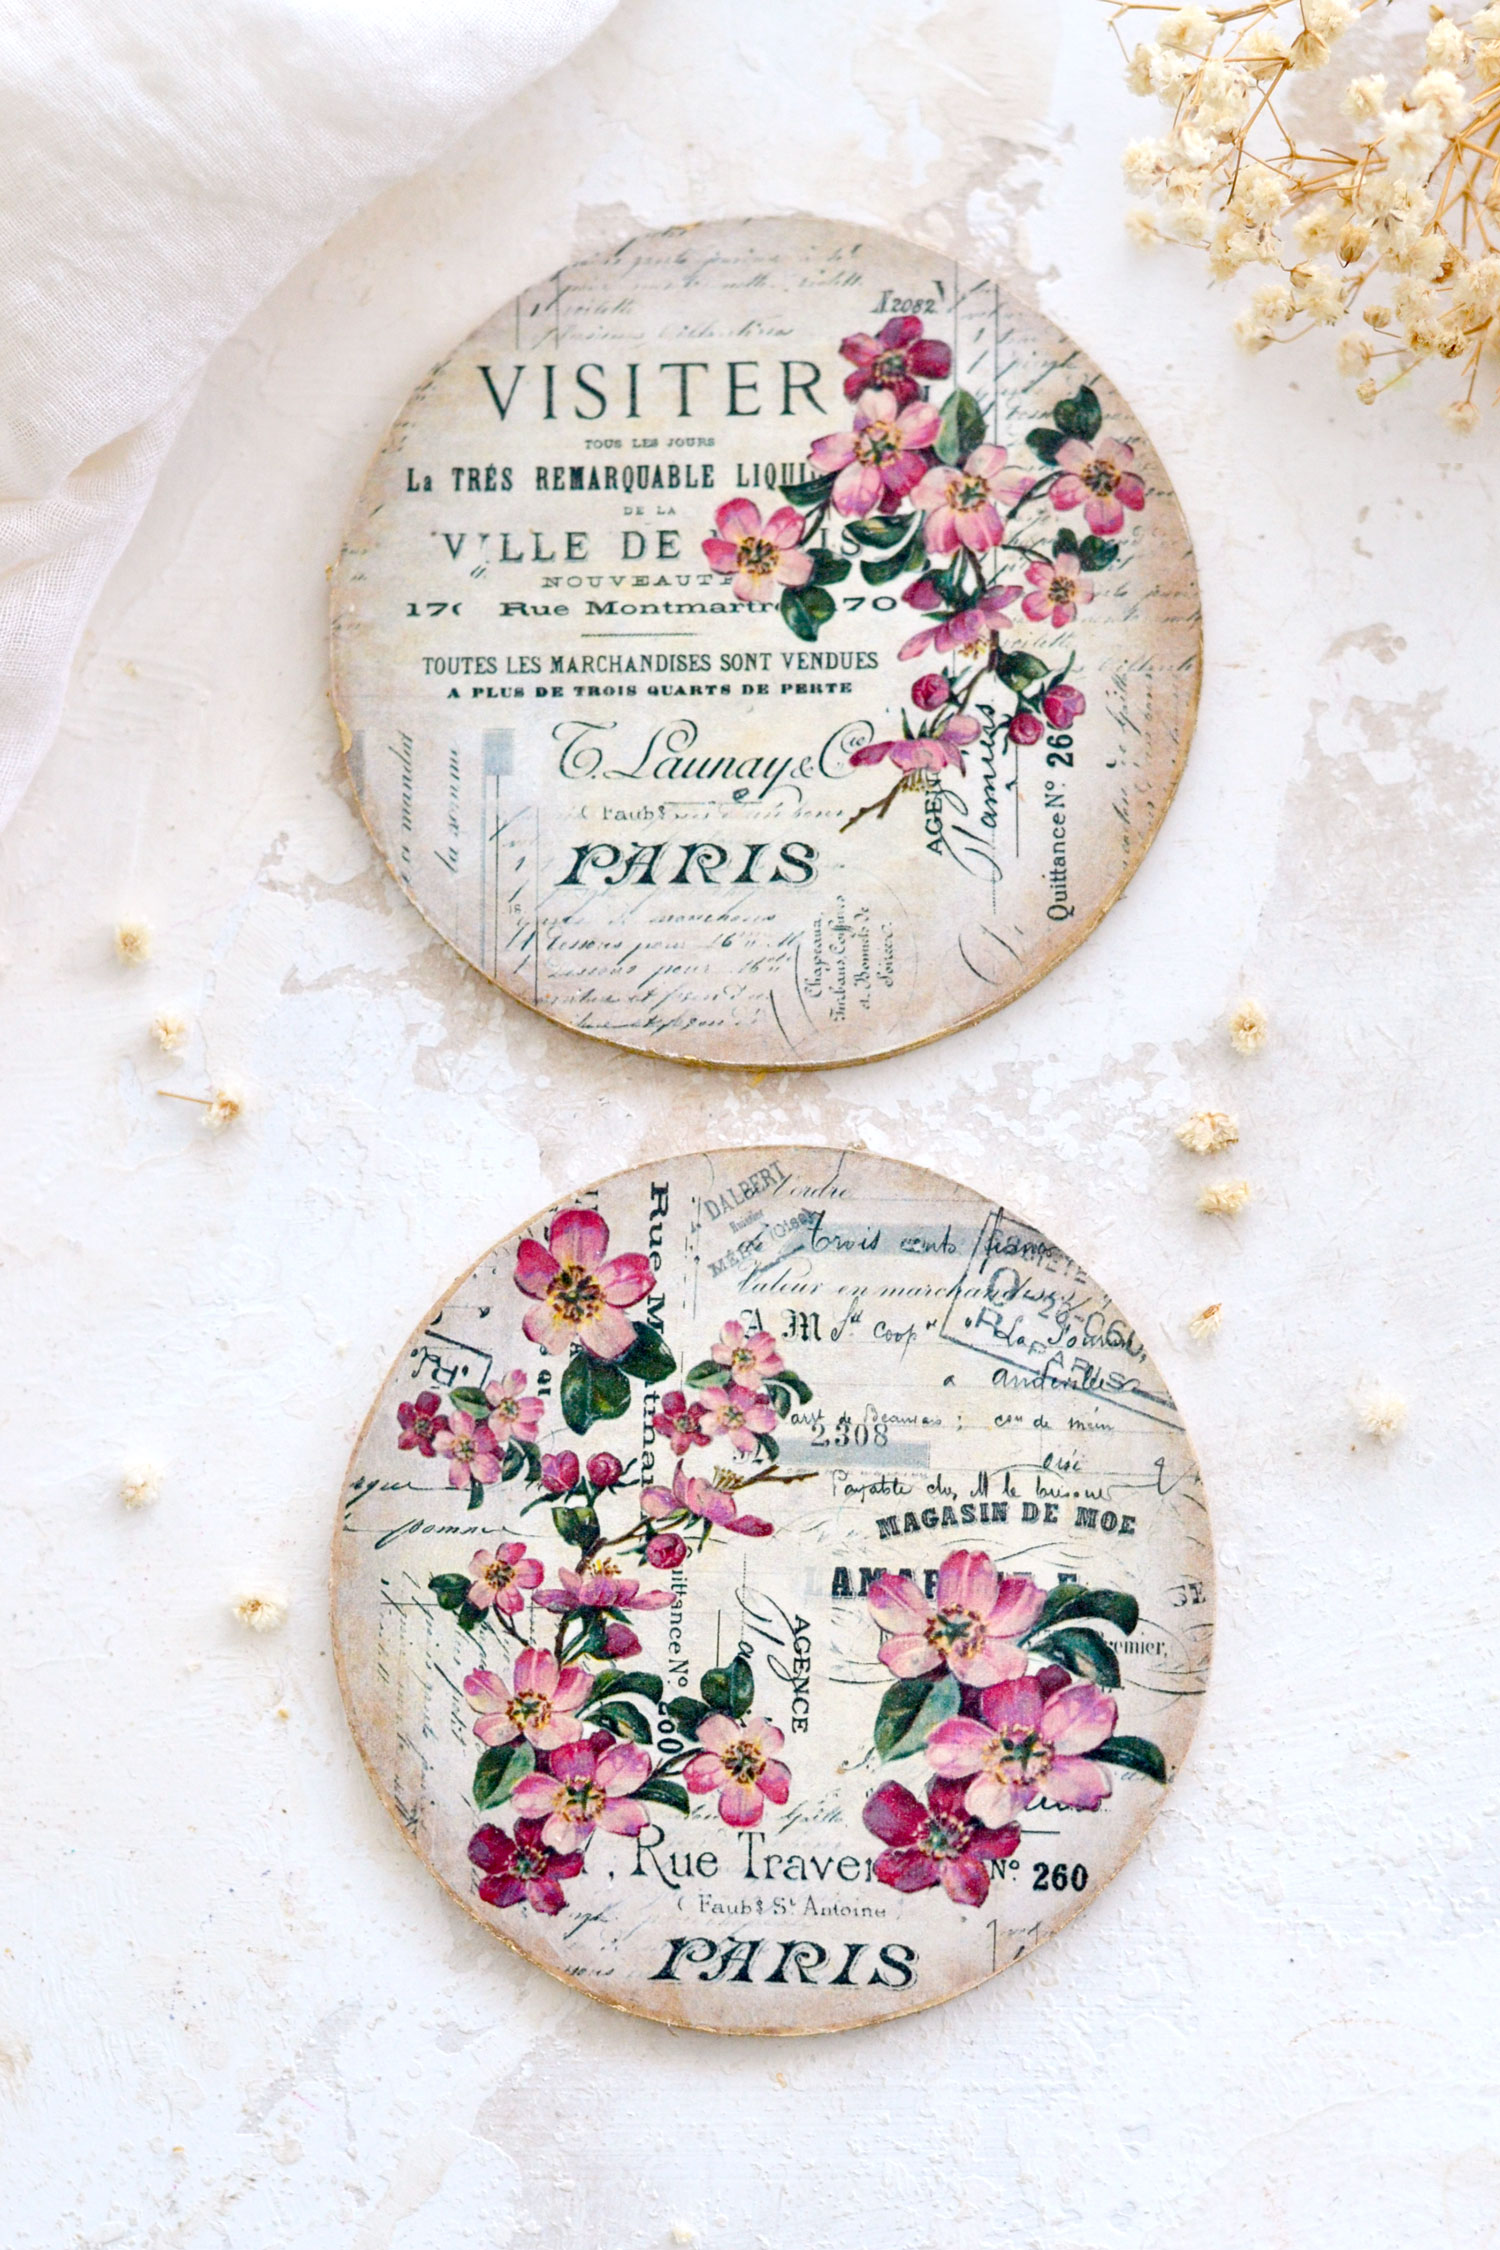
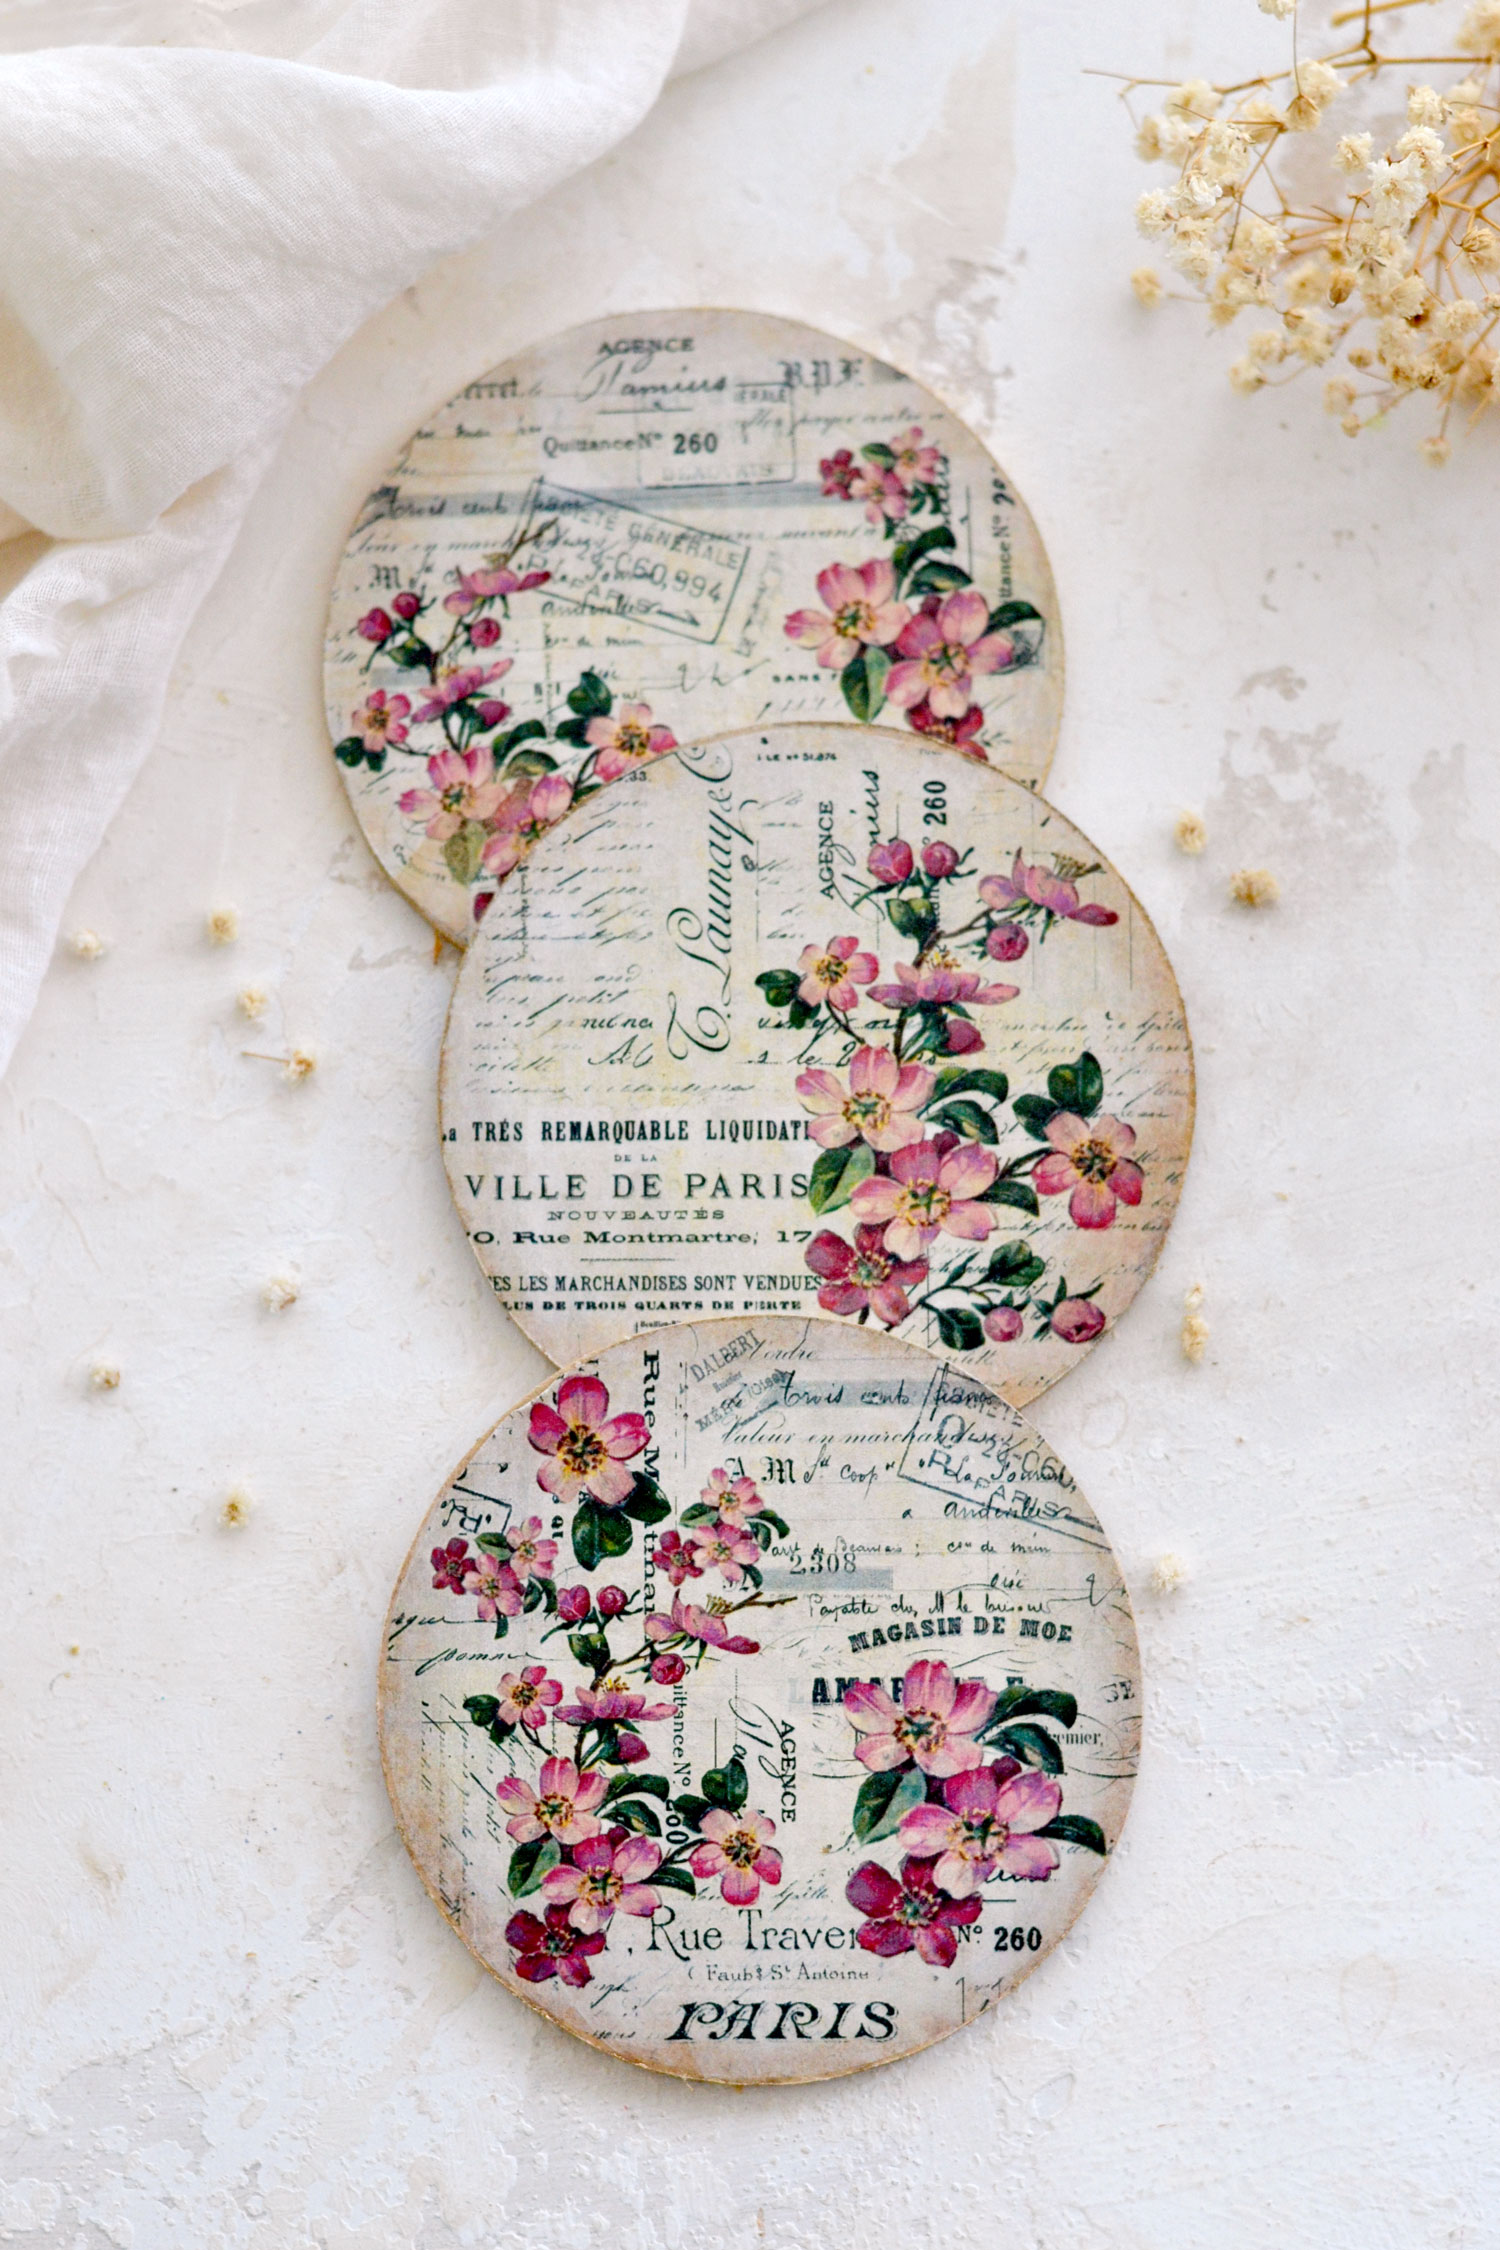
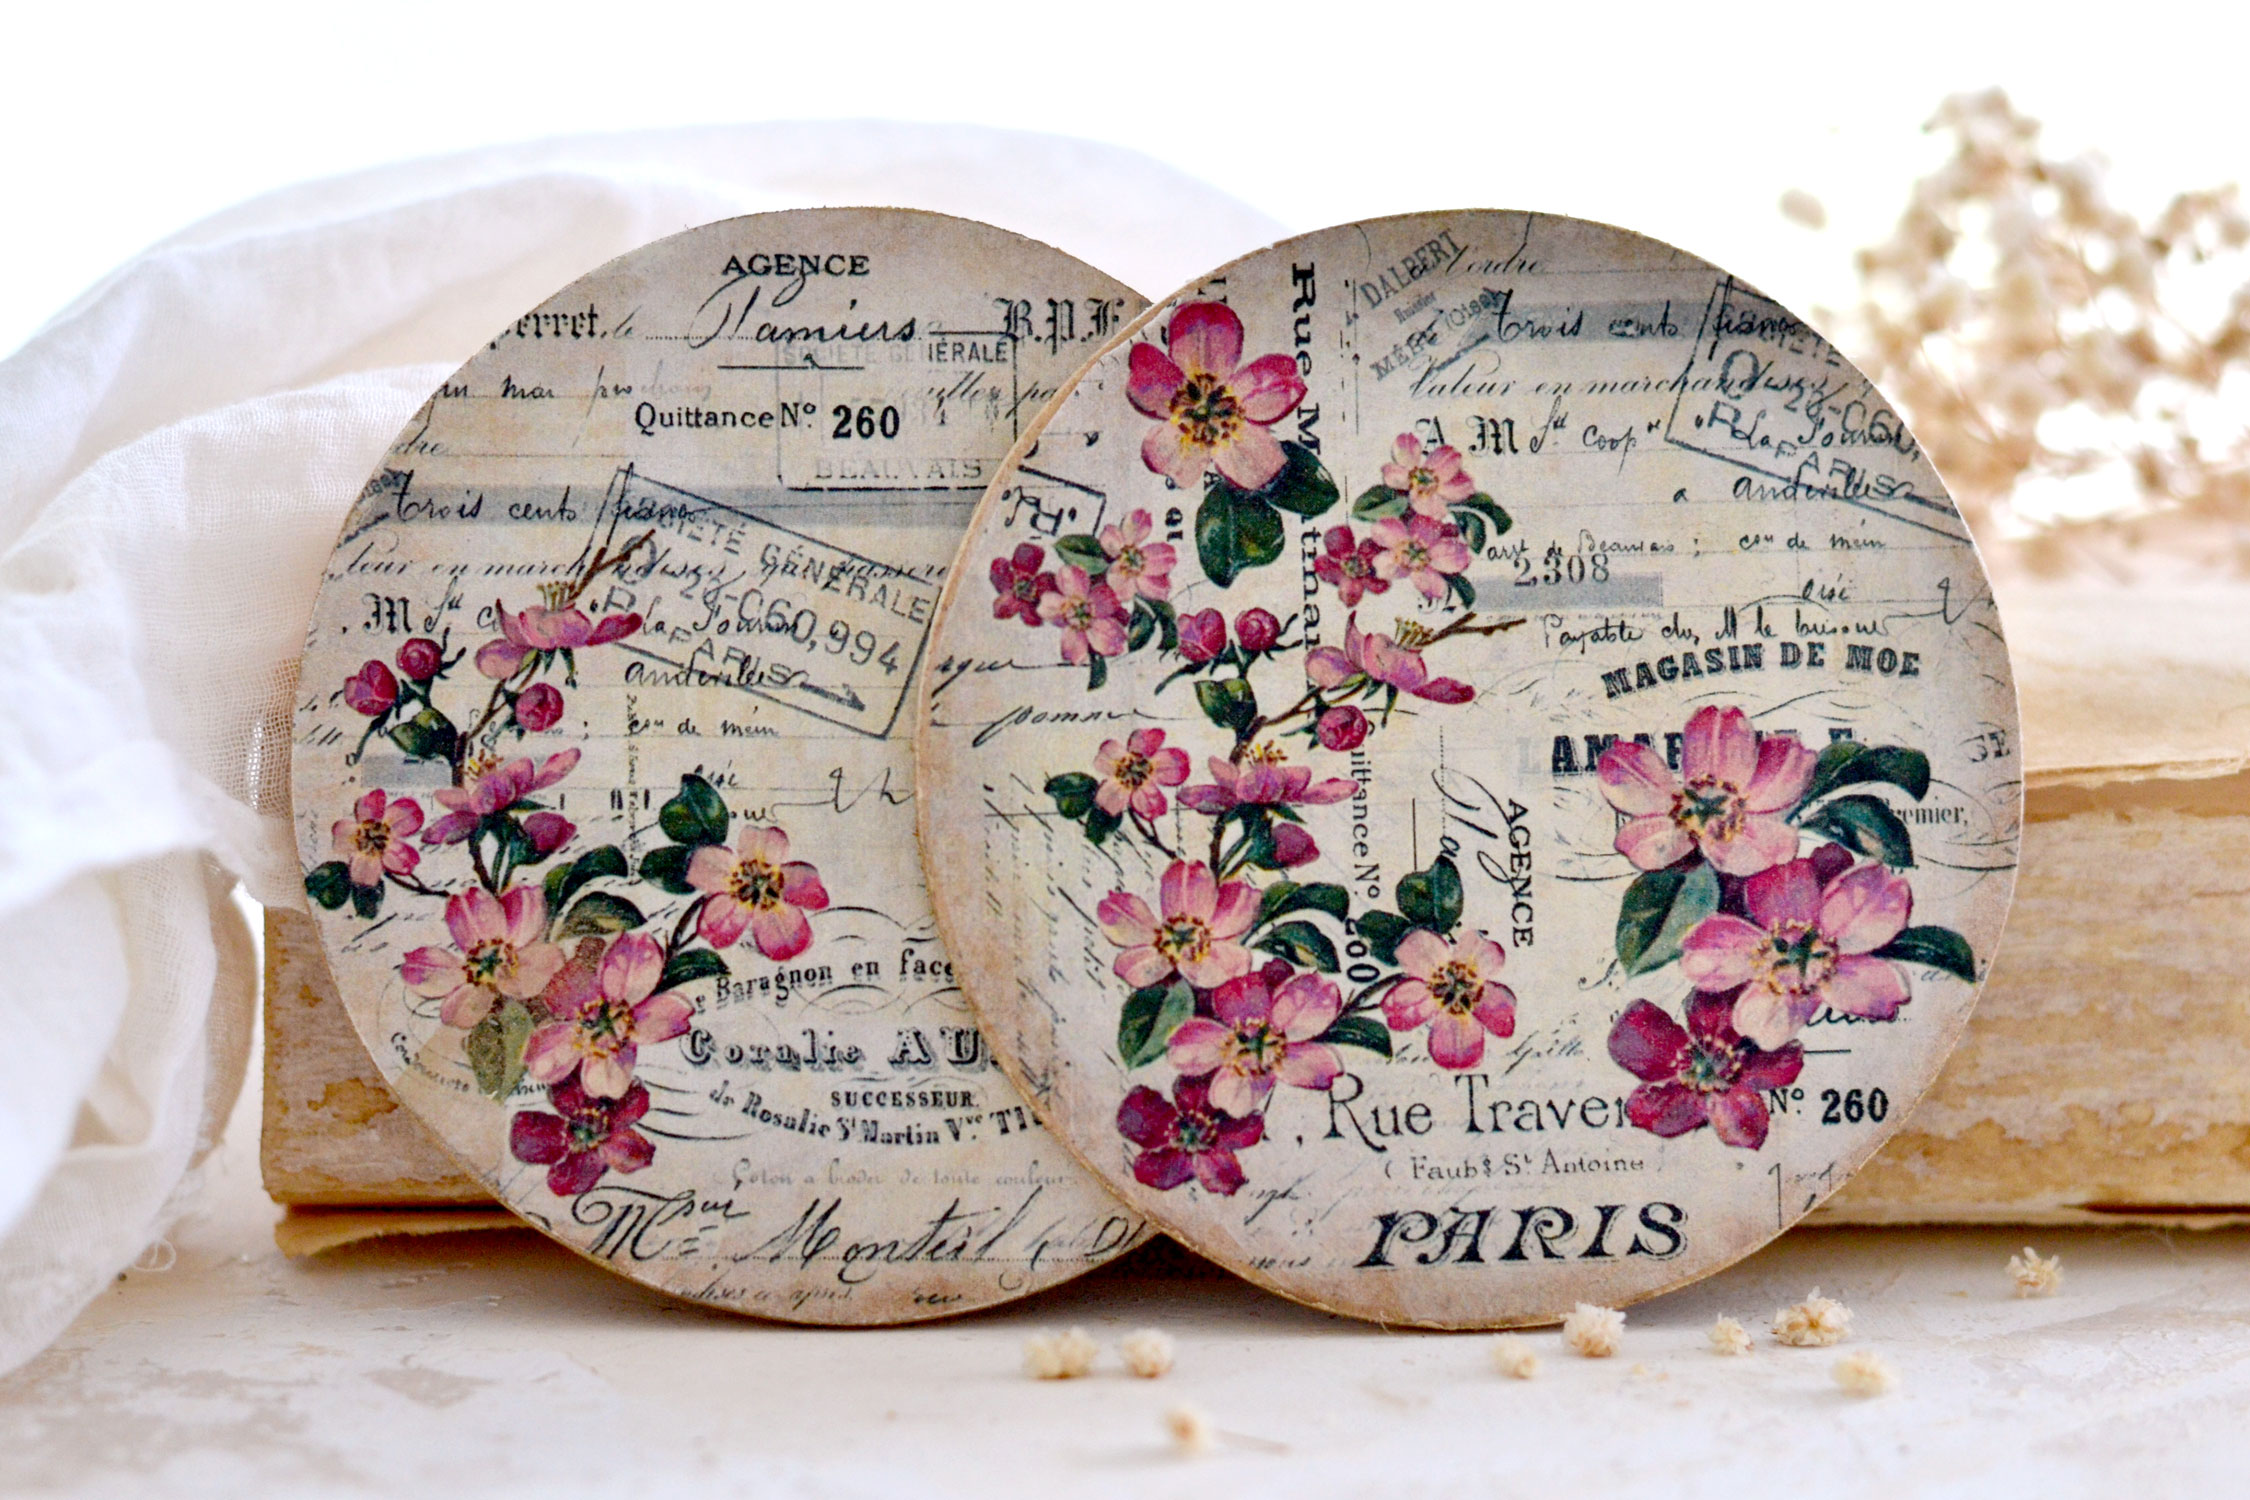
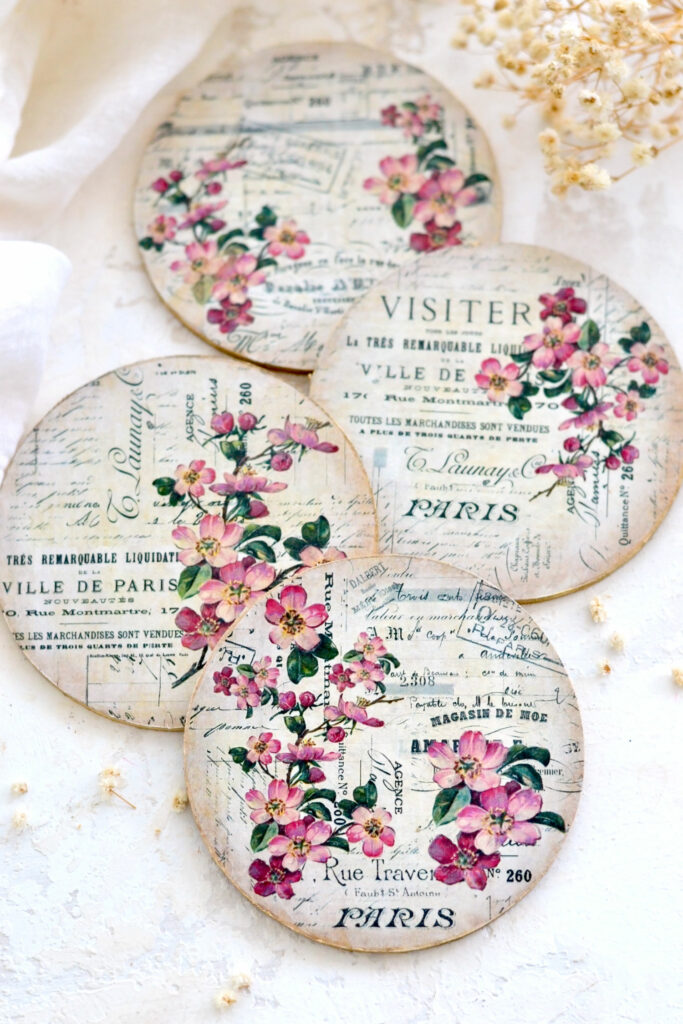
The final Blossom Flower Coasters are absolutely gorgeous, I would say that this cling wrap image transfer is definitely a keeper!
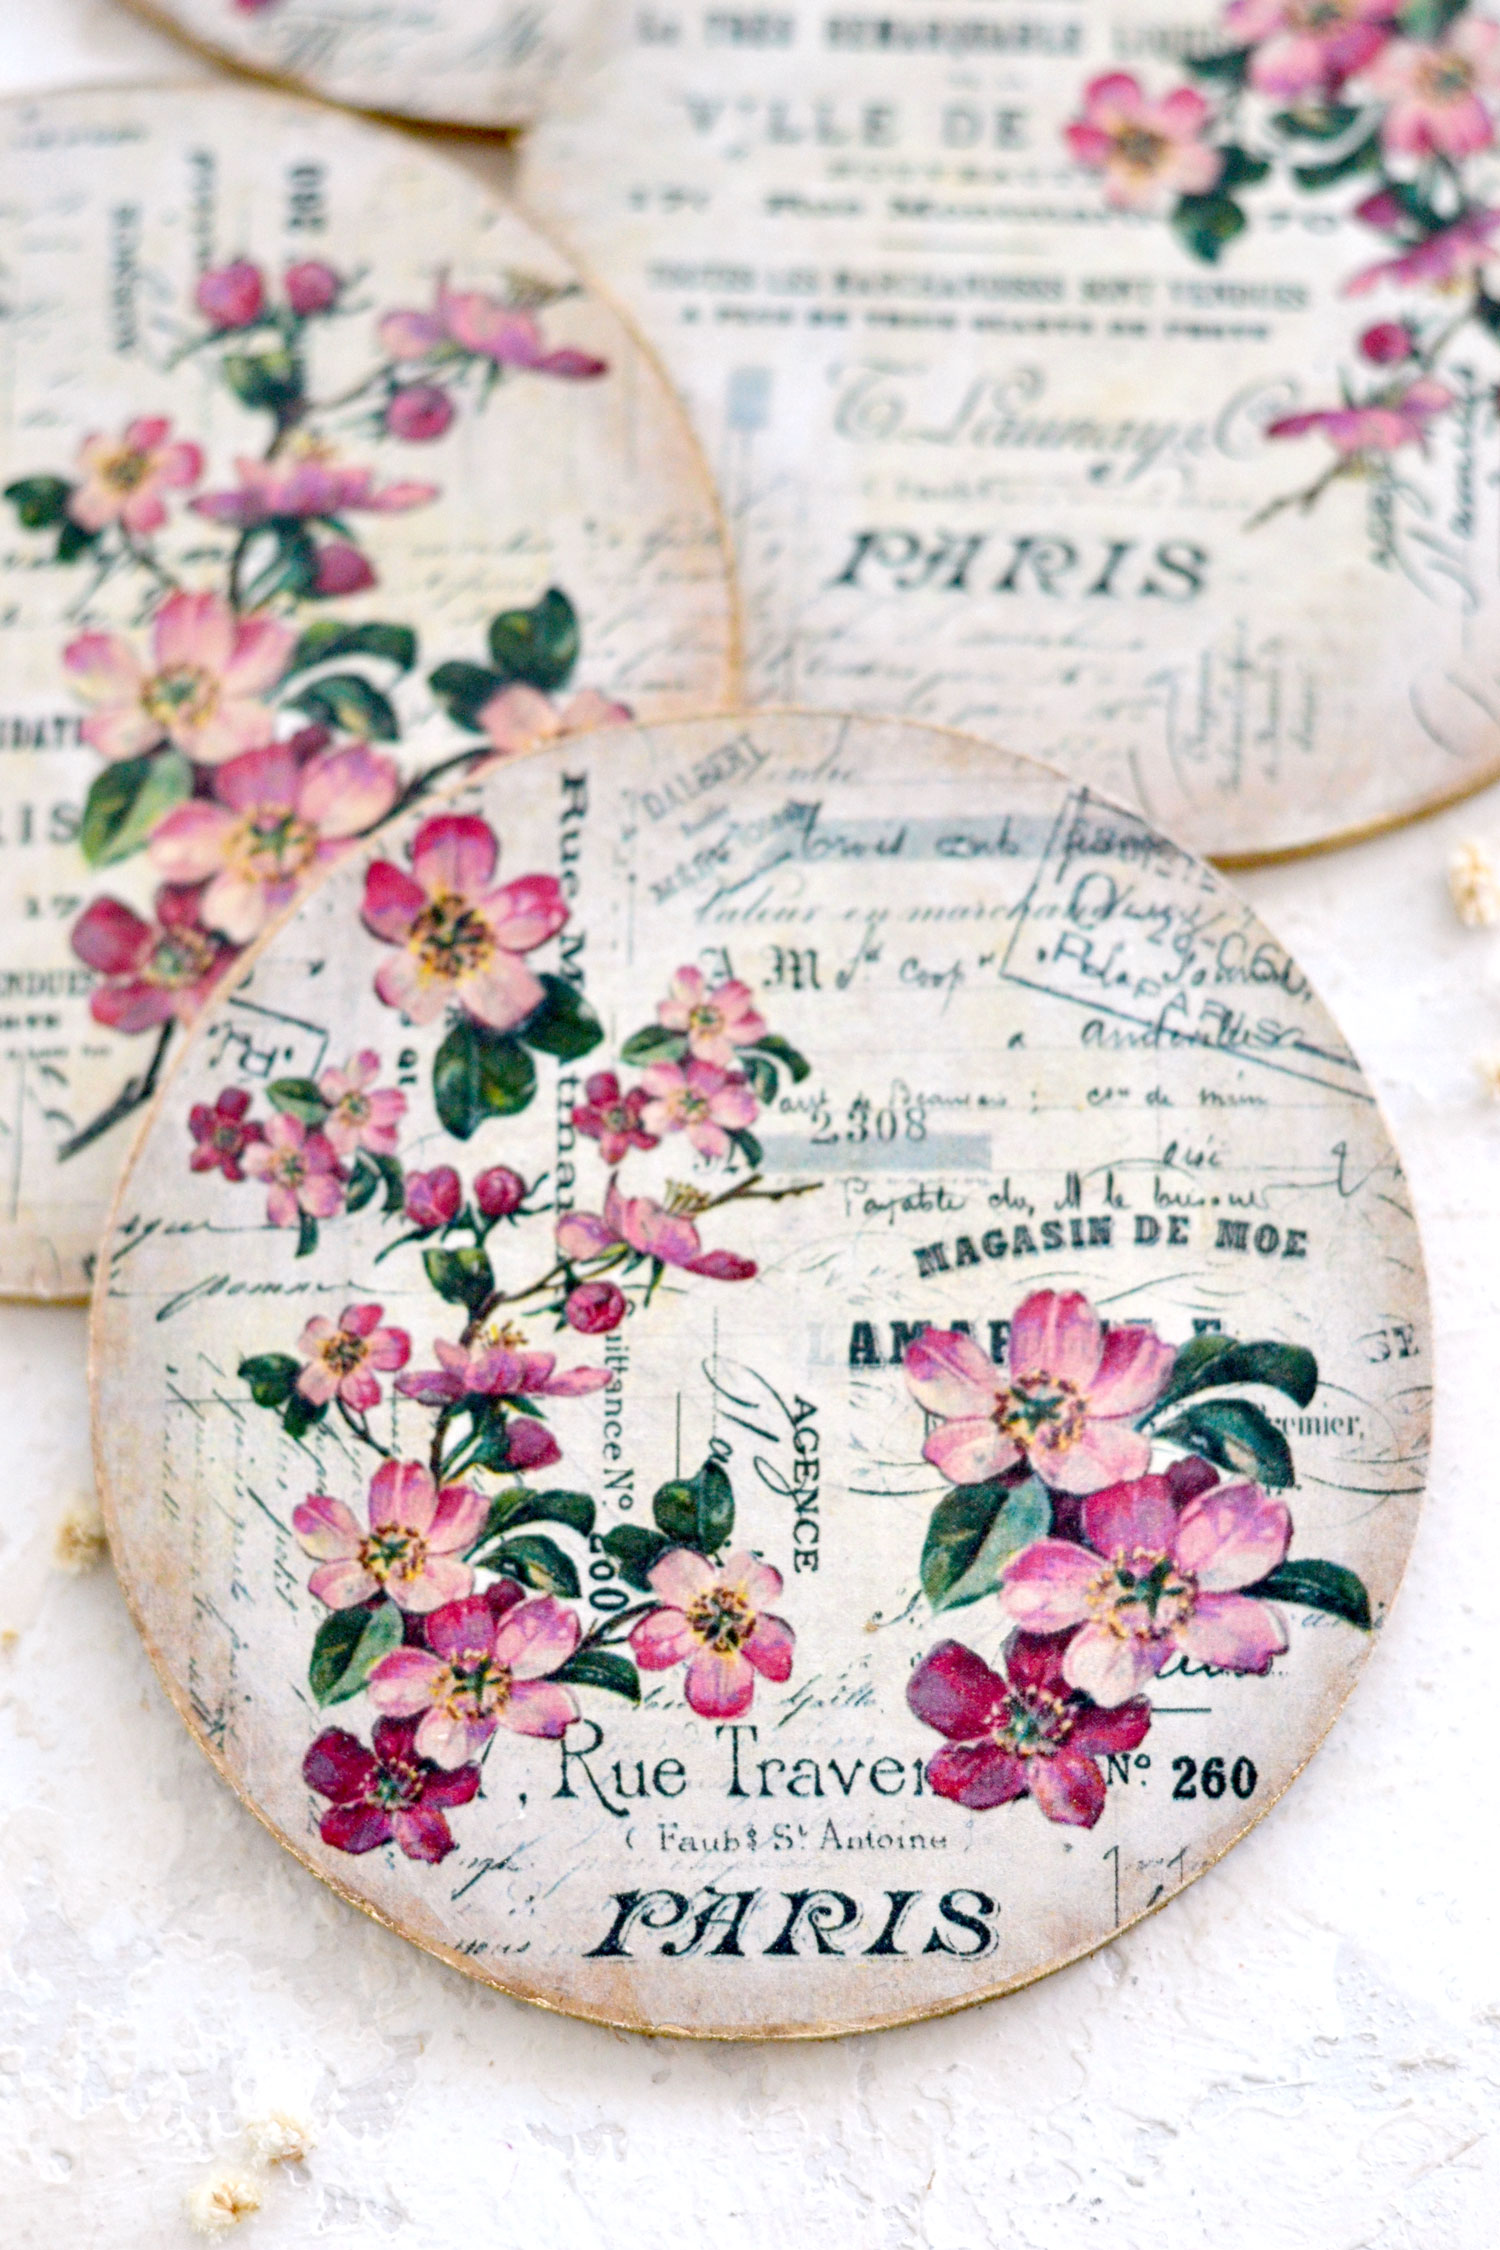
One of my main concerns before trying this type of transfer was that the final pieces would be shiny, just like cling is, but they are not!
In fact, you will be amazed to see that they have quite a smooth and matte finish that perfectly complements the vintage look of our design.
This cling wrap & napkin transfer will open new doors for endless experimenting, you will be able to use your preferred images to personalize things as you want! For the sake of experimenting, you can try this type of transfer on other surfaces, I think it would be fun to try it on regular paper or cardstock and why not, even on fabric!
Our French Blossom Coasters turned out really beautiful, the lovely edges that we left unpainted bring so much charm to our final pieces, even though they are quite subtle!
Printing your own design is always so rewarding because you get to control everything and make things your way. Not to mention that you can imprint a unique factor to your projects, but of course, if you have bought paper napkins with beautiful designs you can experiment with those too!
These lovely coasters can be used on a daily basis, they will instantly bring joy and elegance to your morning coffee rituals or summer gatherings with friends! They can also be used as mini decorative signs in your home or can be easily turned into fridge magnets! You can make them for you and your family, but let’s not forget what an amazing gift they would make for any of your friends! Unique handmade gifts are always appreciated, especially when you pour a little bit of your soul into making them!
 You might also like the Bee themed Coasters HERE.
Happy crafting,
Diana / Dreams Factory



Pauline says
Another way: after painting surface of MDF or any other surface, apply thin coat of Mod Pidge, let completely dry then place on parchment paper add napkin print on top then cover with another sheet of parchment paper the iron away. No need for plastic wrap which can be tricky to keep smooth. I use thin coats of modpodge on paper, yardstick, book pages etc, let dry then iron on fabric, napkins using this technique all work beautifully. I have tried the plastic wrap and find it more frustrating. Love your explanation on how you print on those white napkins!
Karen Watson says
Thanks so much for the great tips Pauline!
Julie says
The problem with modge podge is if the bottom of a glass is a little wet it will stick to the coaster as you lift the glass.
Misti says
Hi!
These are so beautiful…! I can’t wait to make them.
One question, did you print with a laser printer or an inkjet printer?
Thank you for sharing this project with us!
Karen Watson says
Hi Misti, I believe that Diana used a laser printer, as that is what she normally uses. If you try it with an inkjet, please let us know if it works!