Clock Face Craft
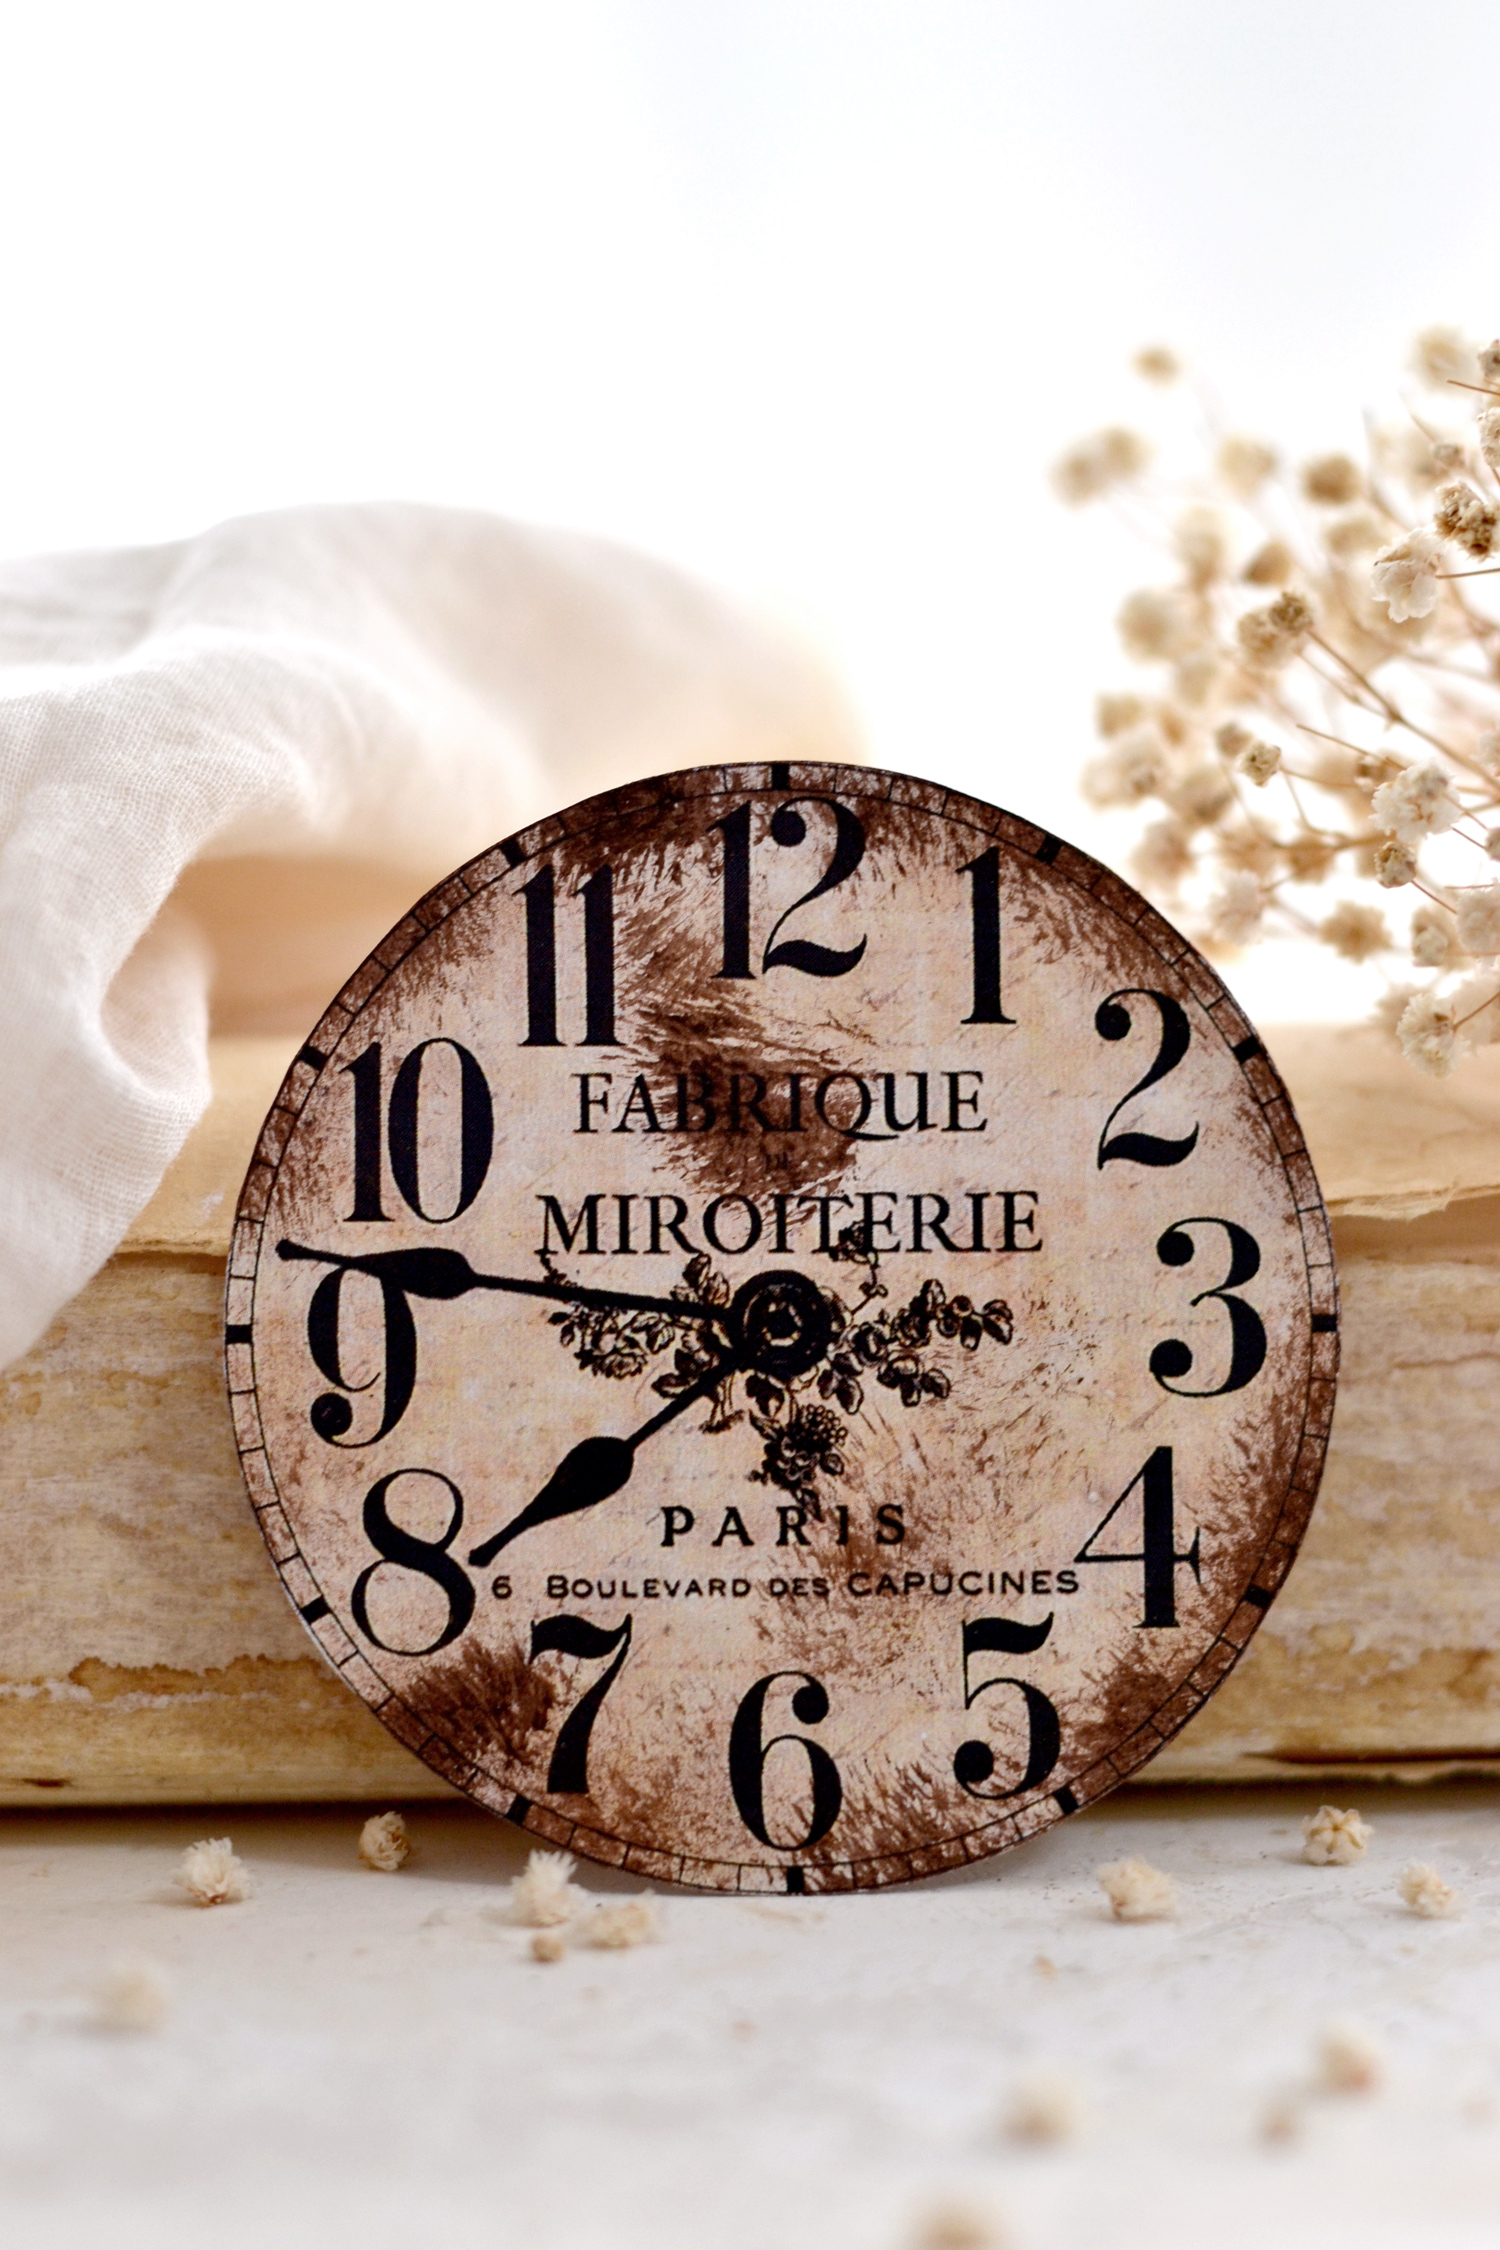
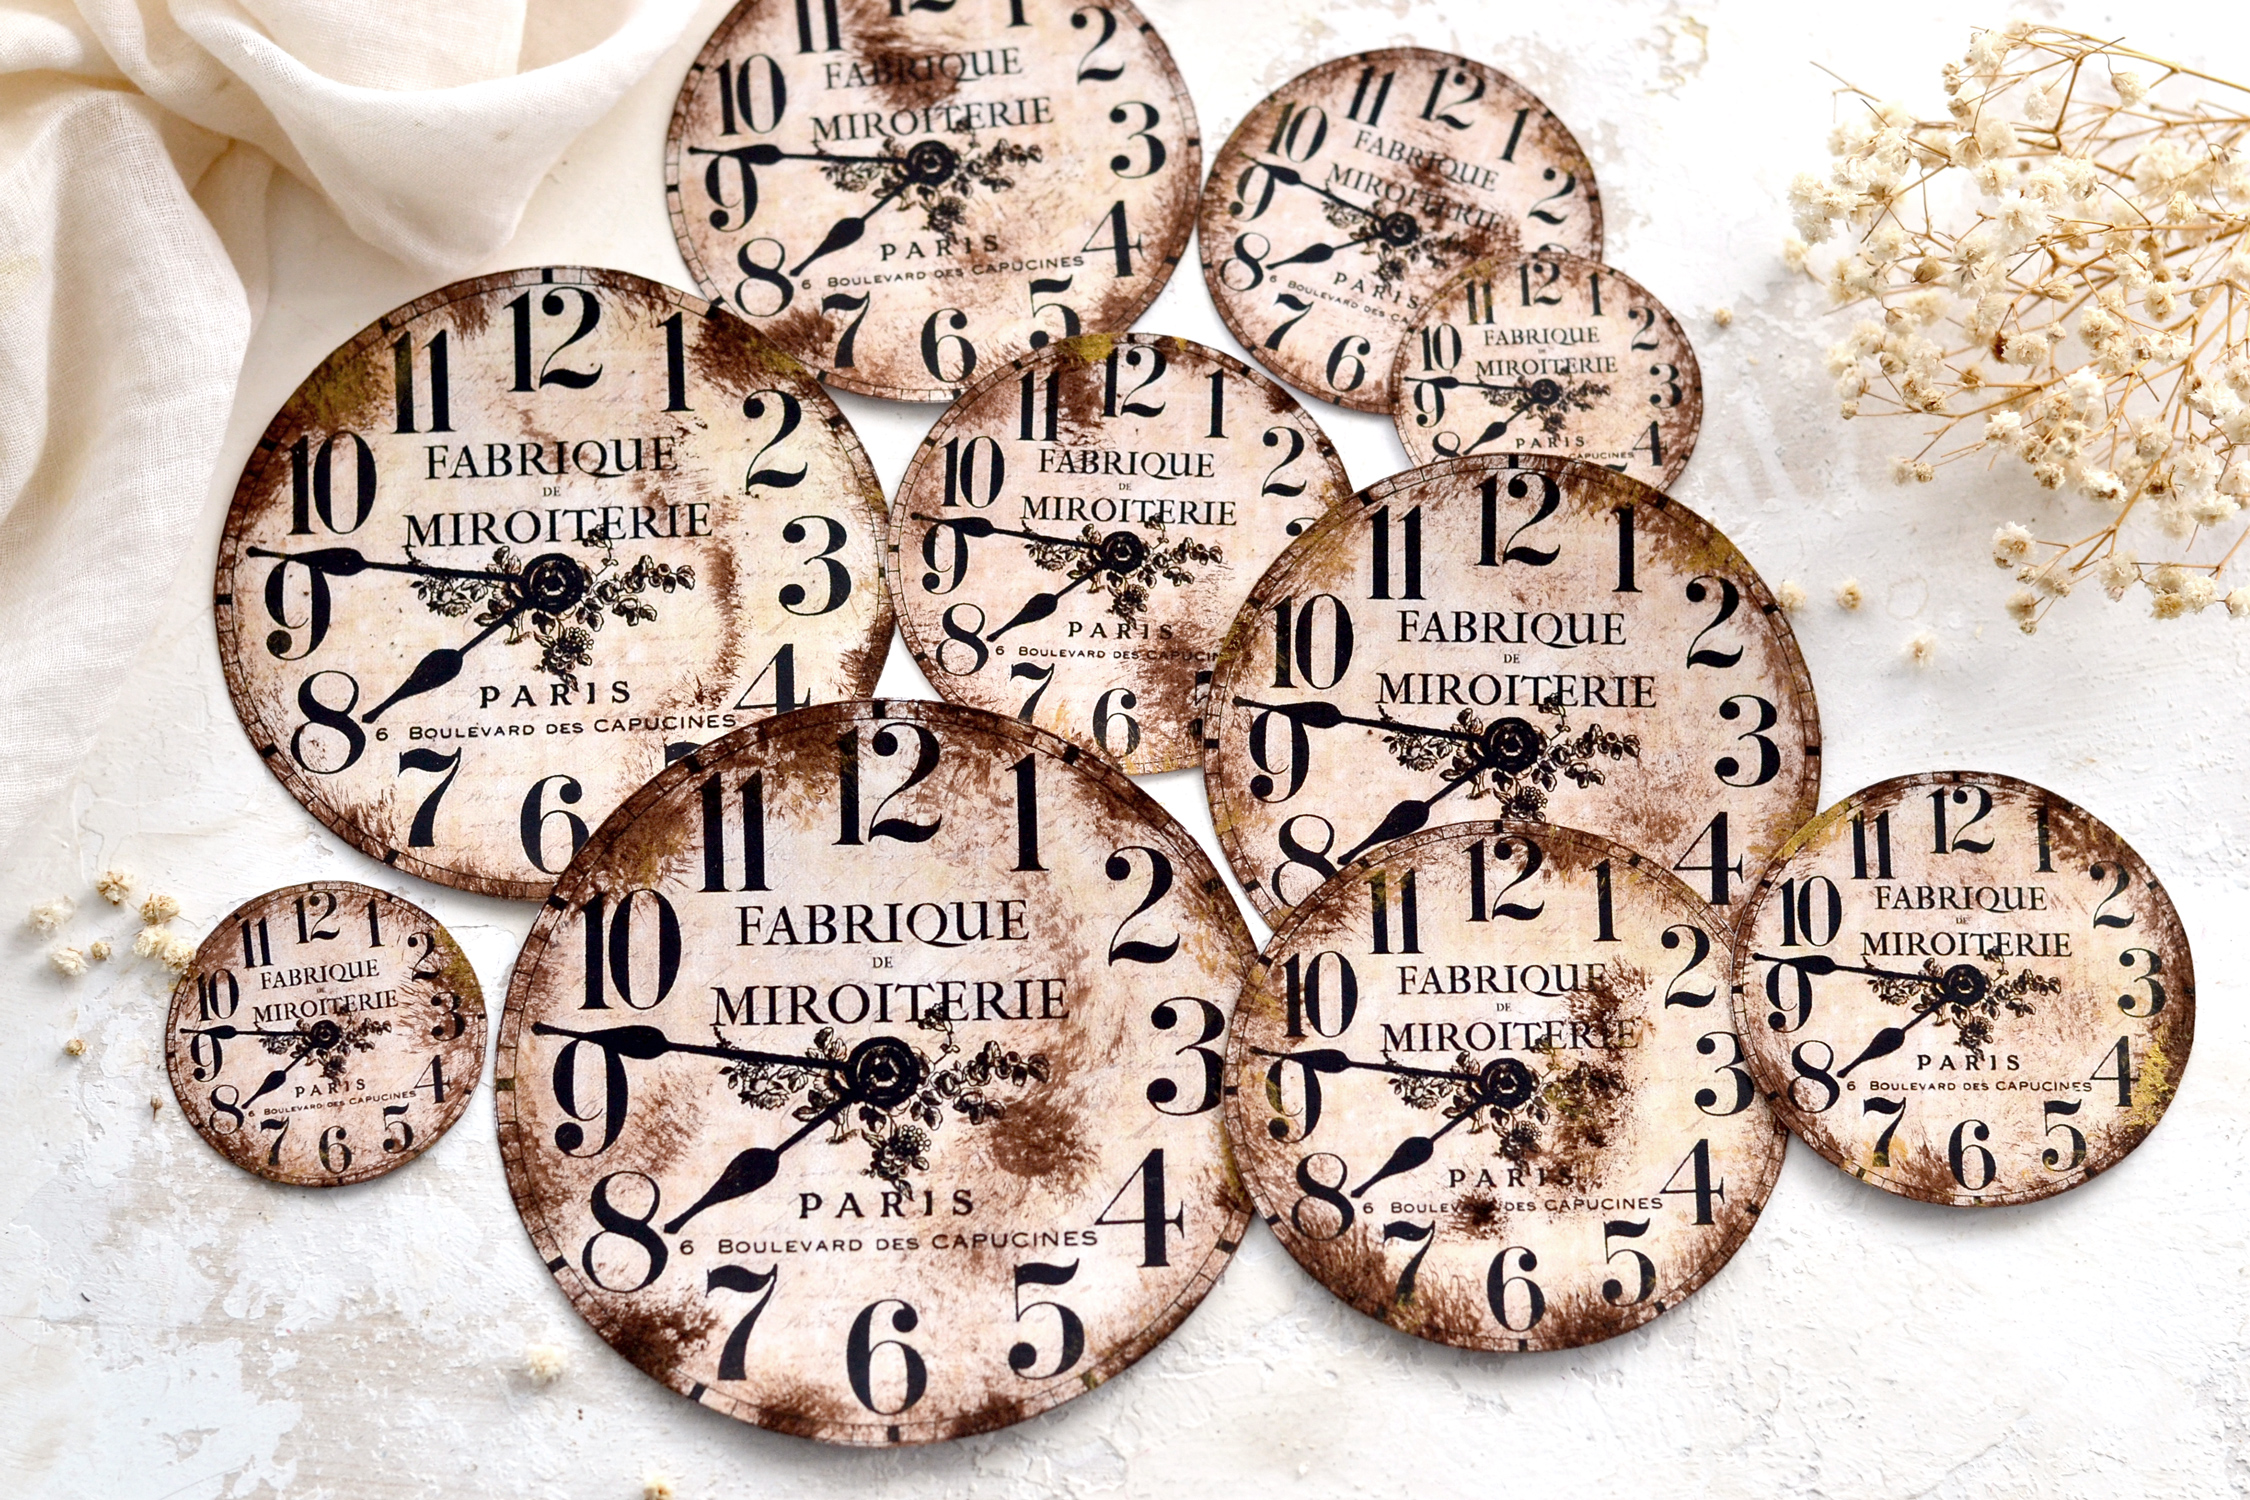
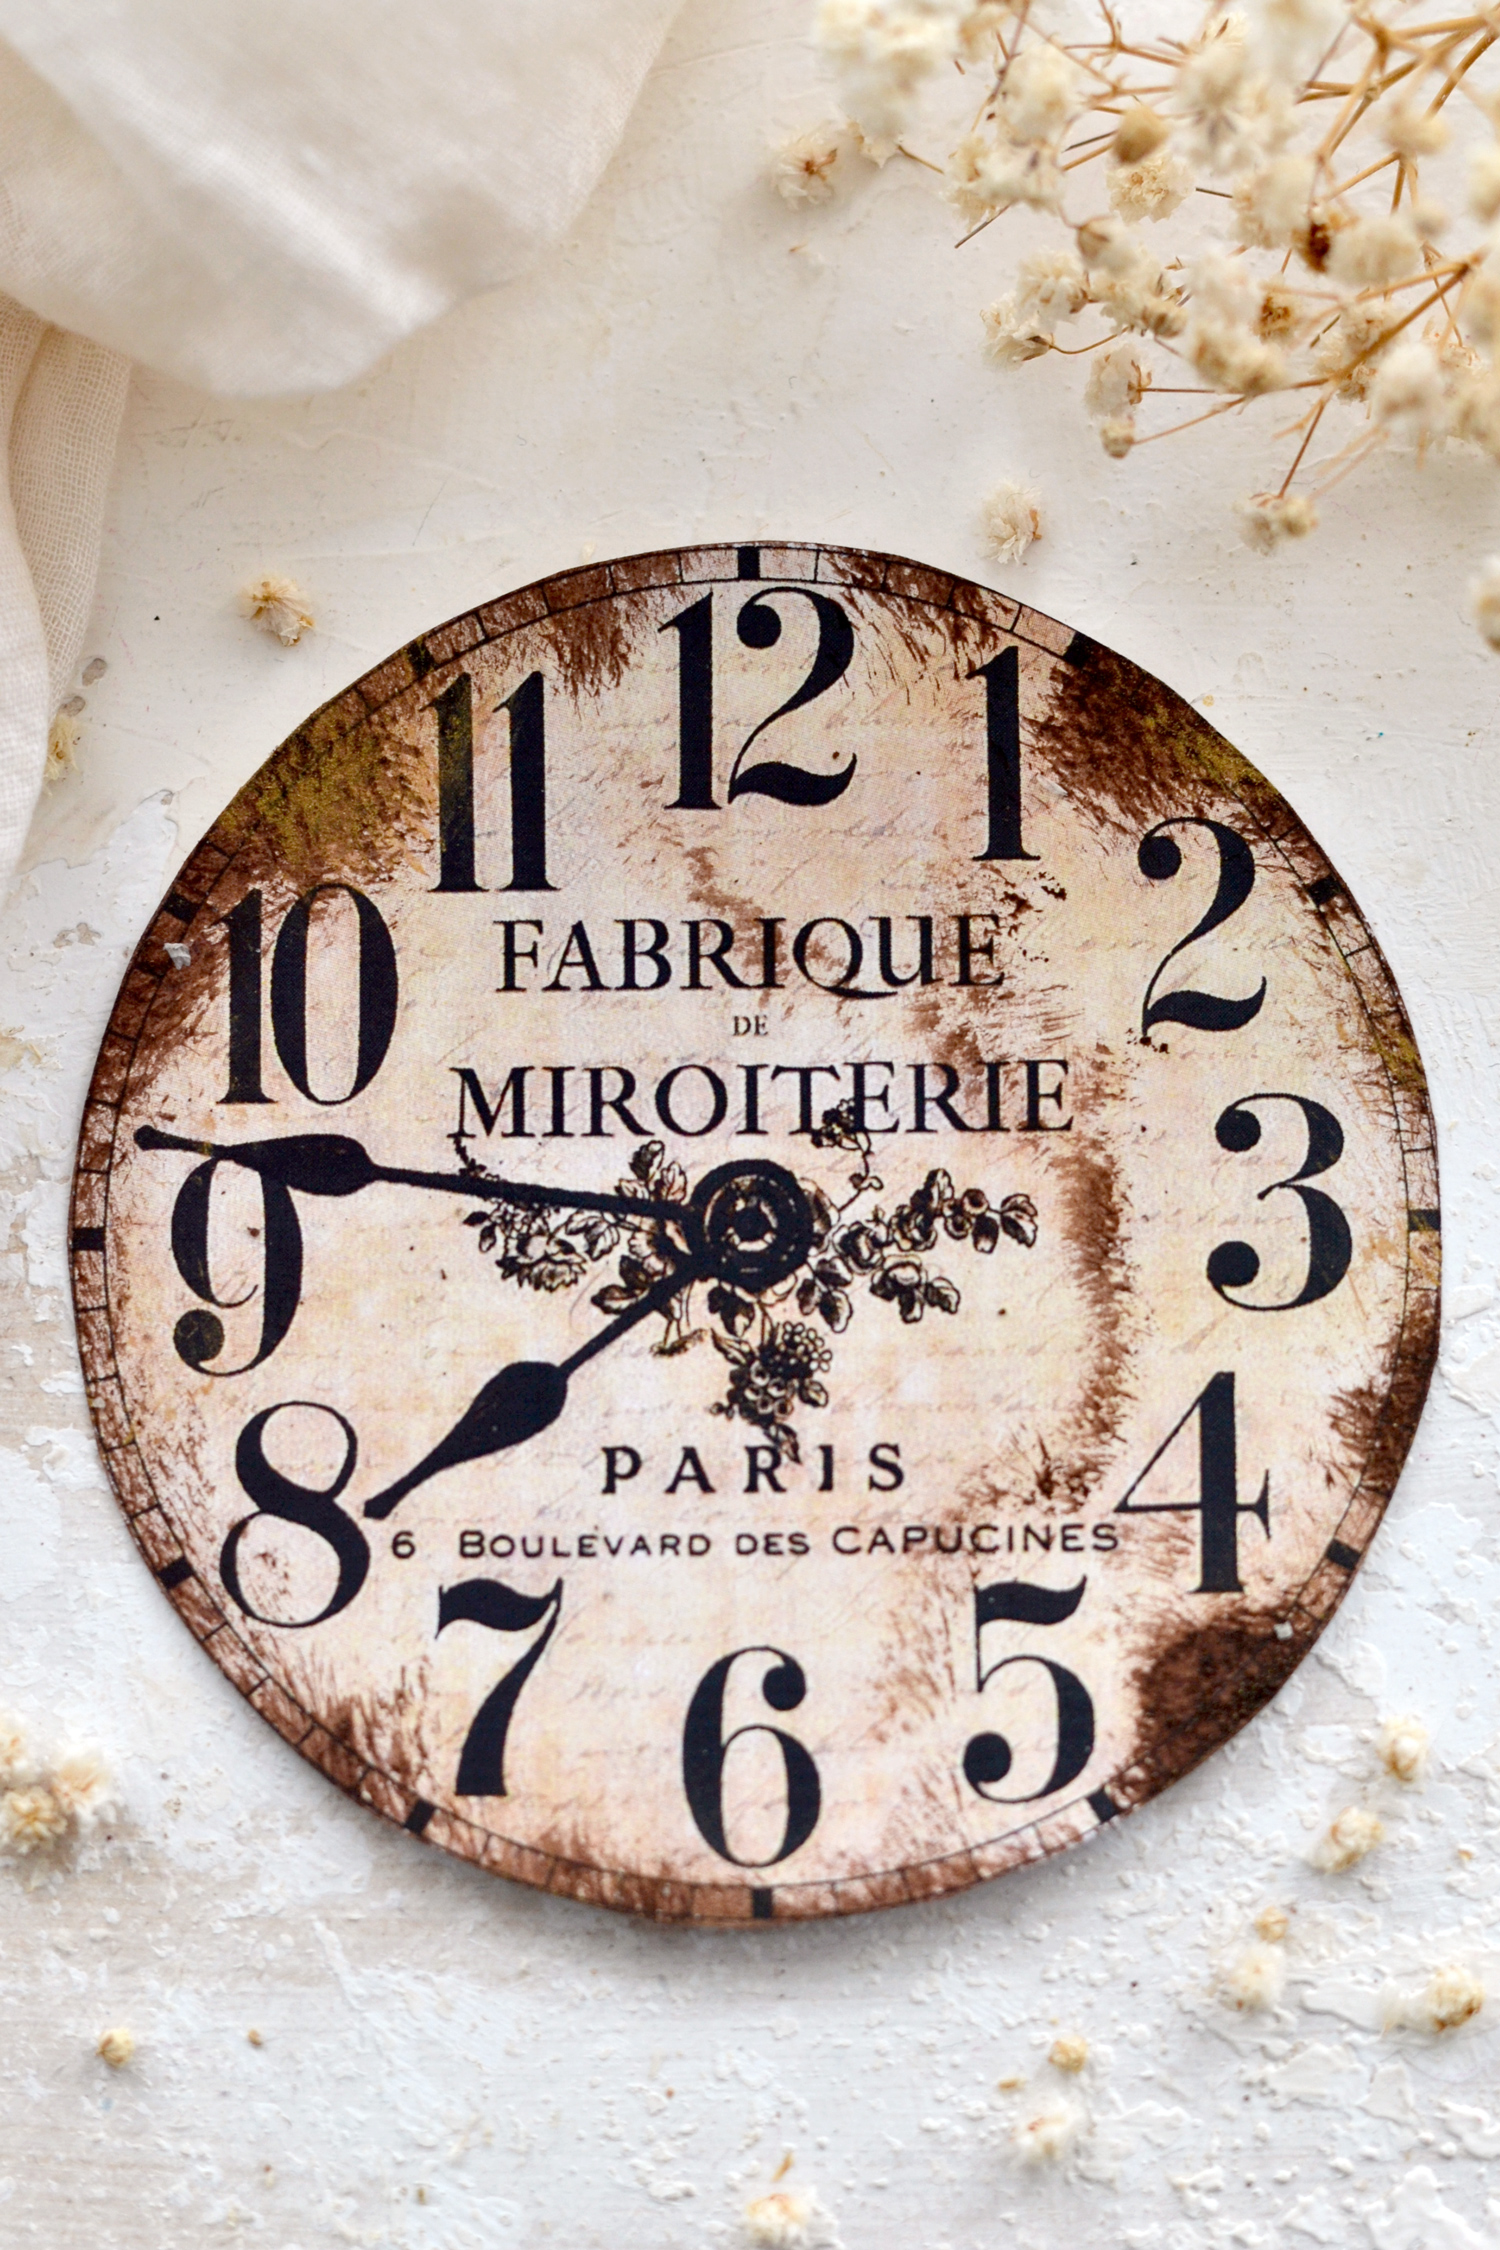
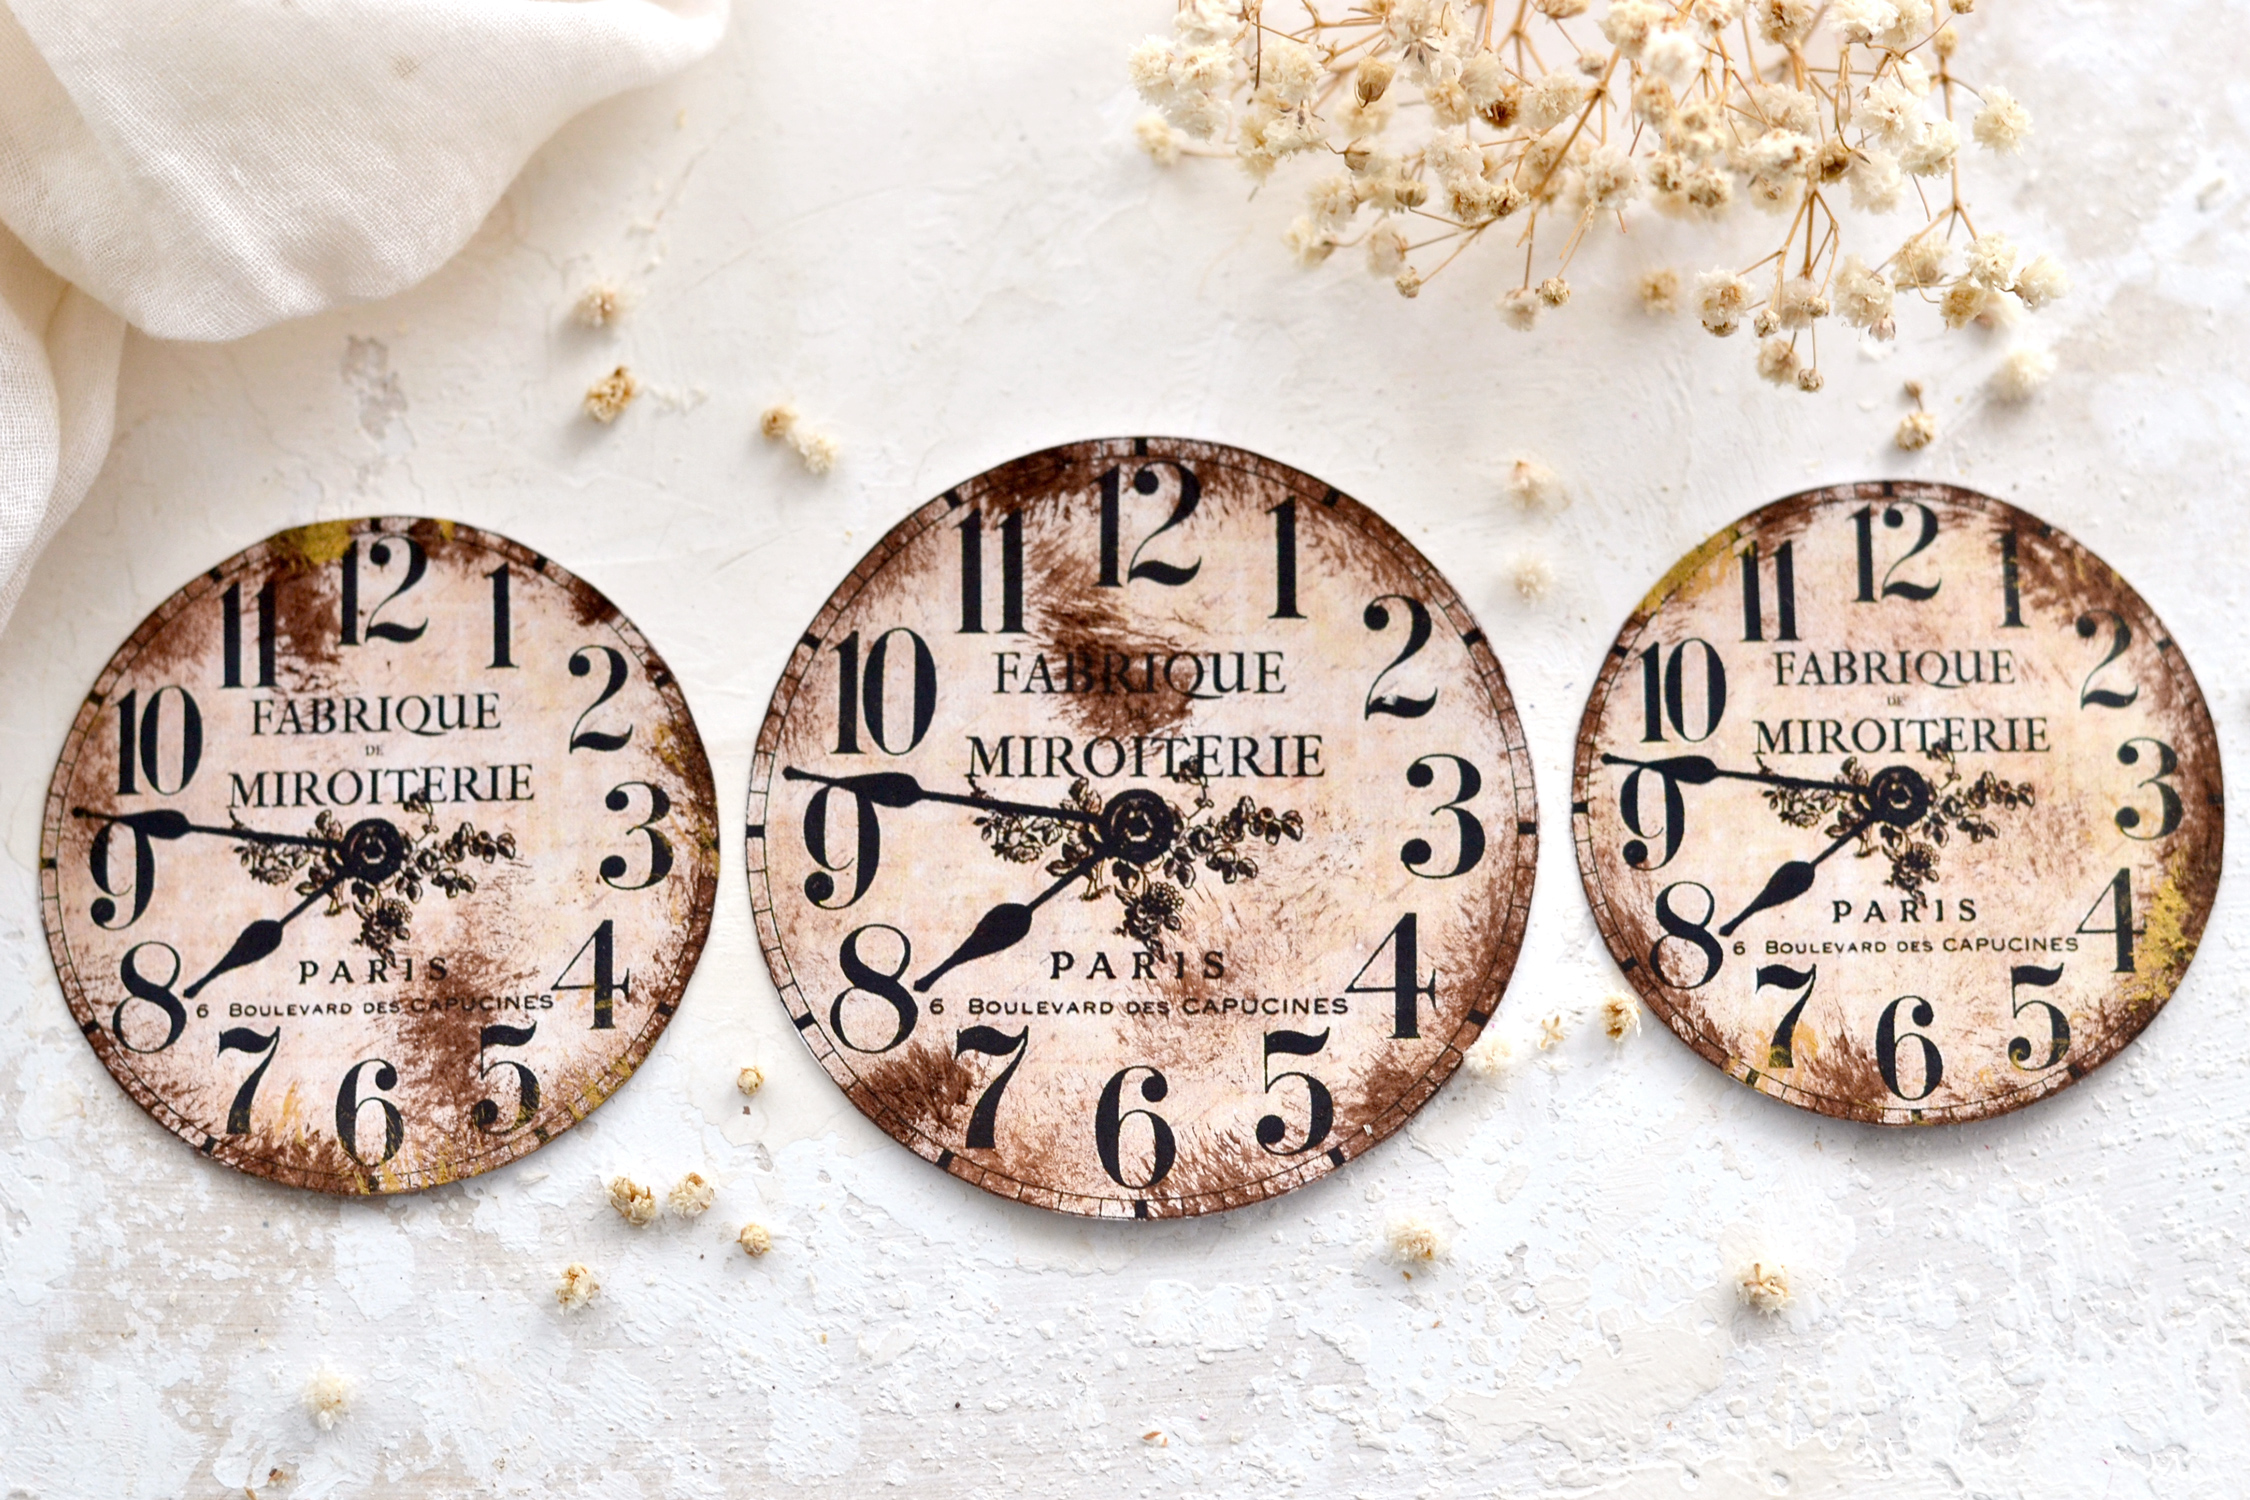
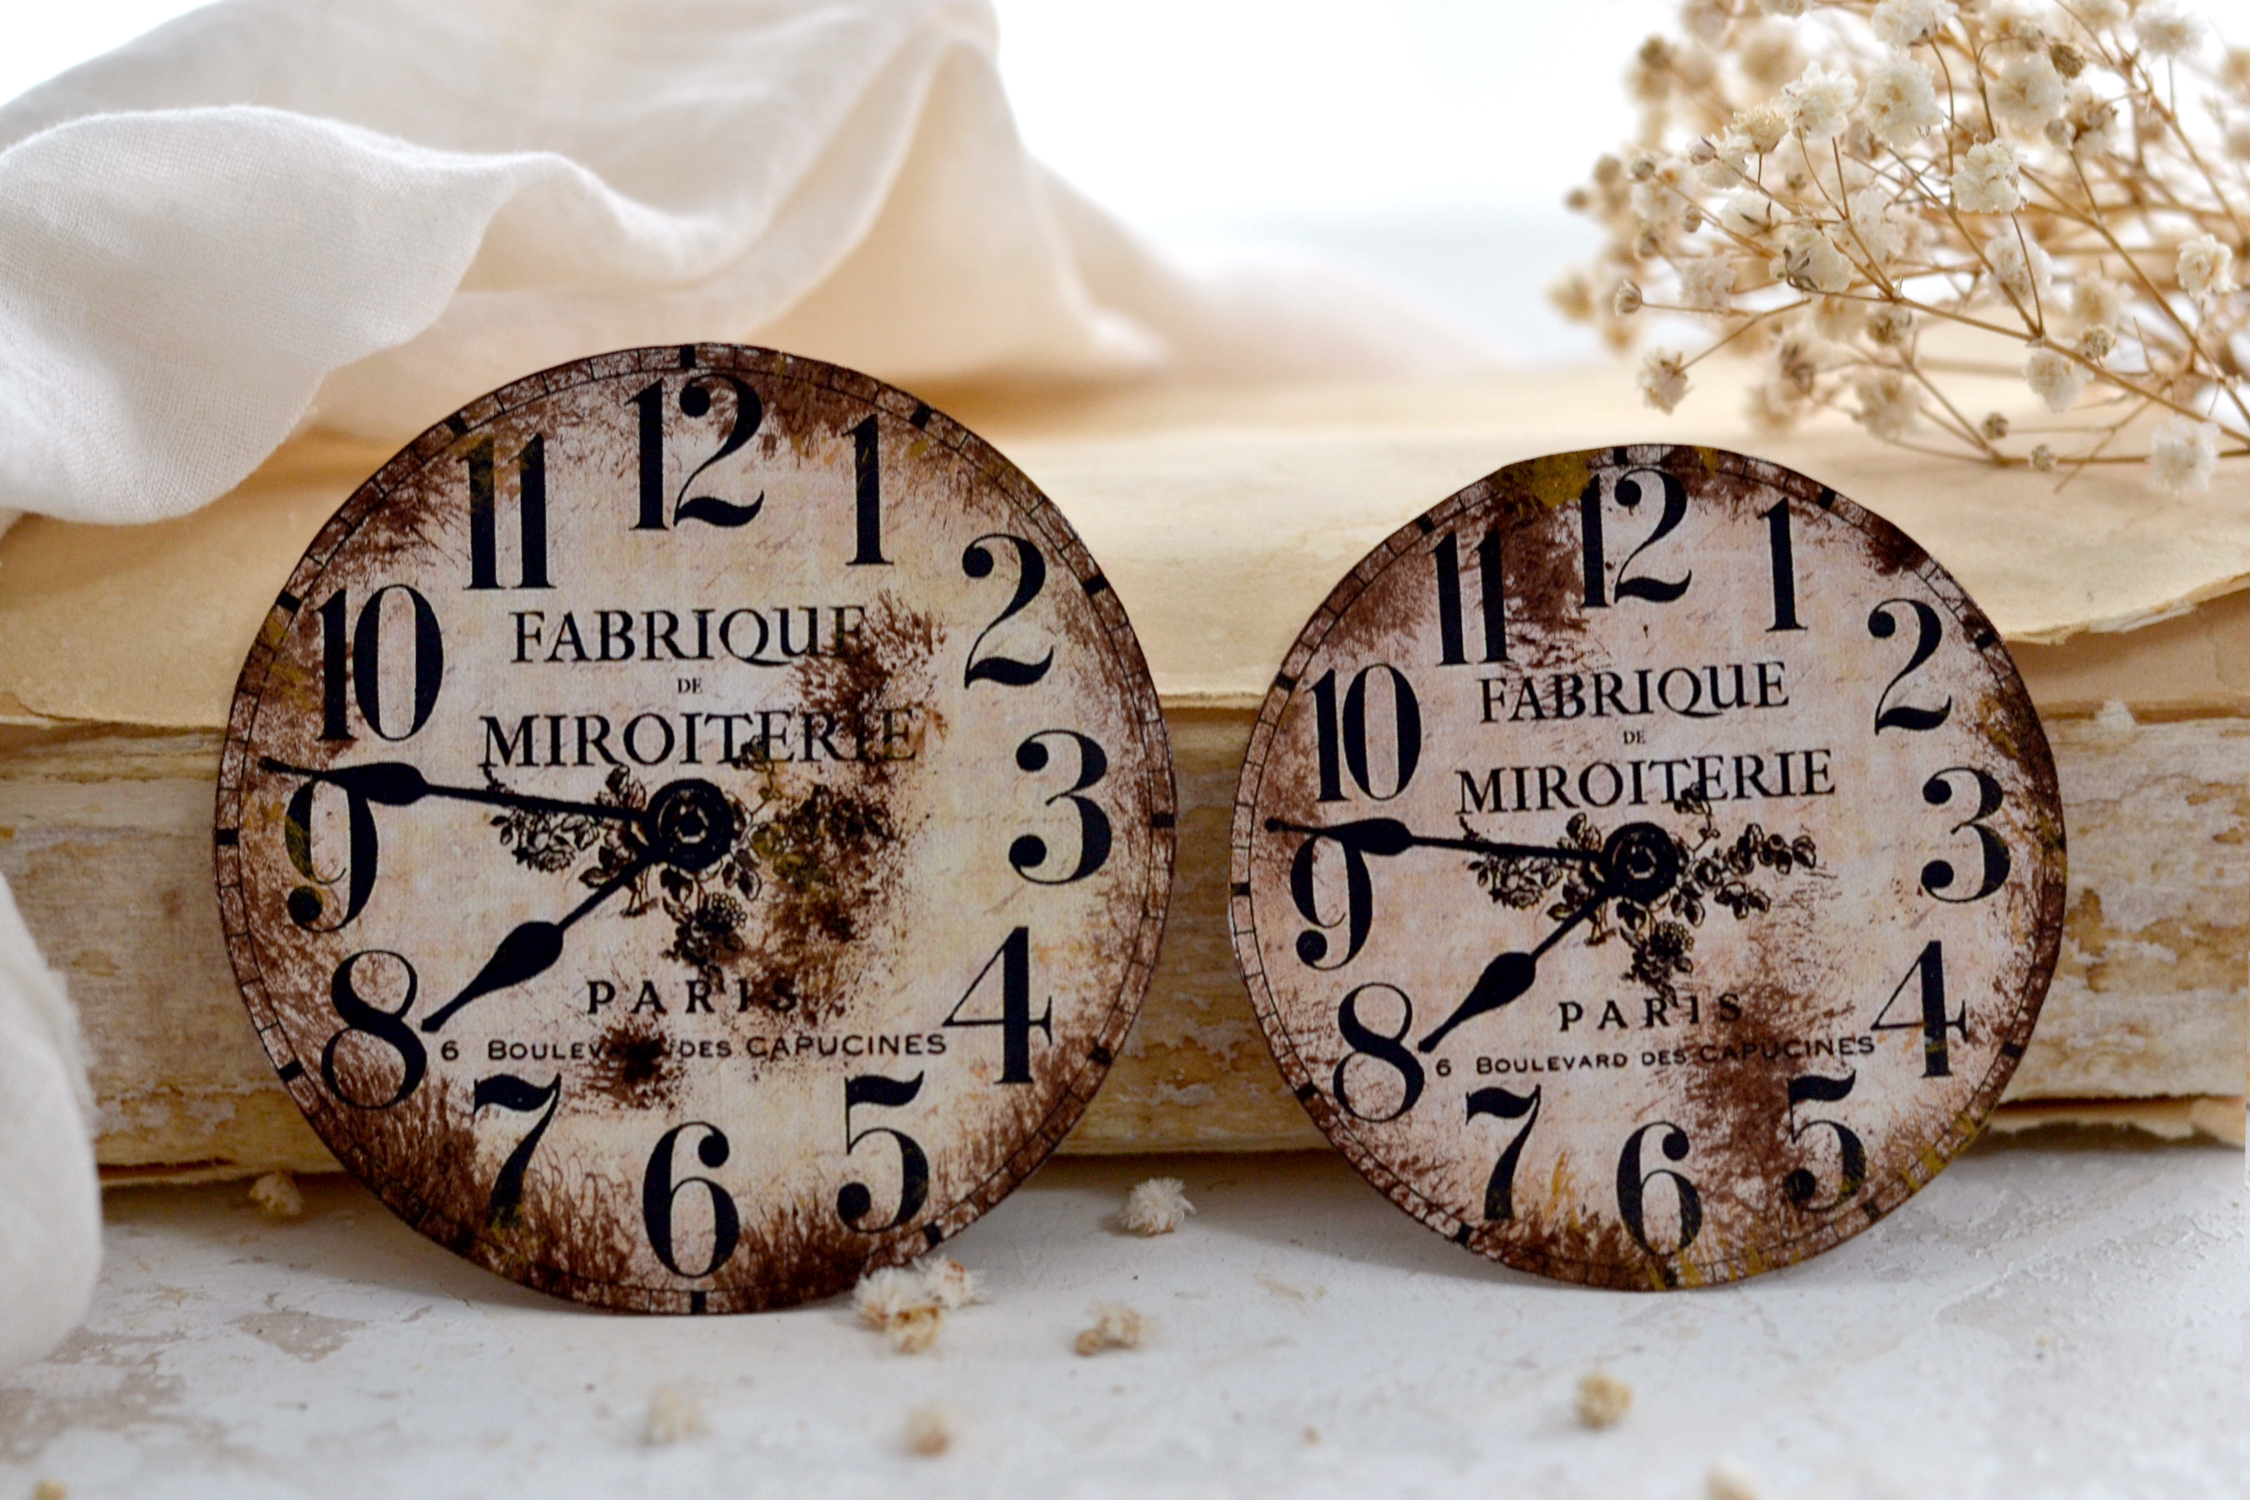
Hello Graphics Fairy friends! I’m Diana from Dreams Factory and I’m happy to be here again to share another DIY project with you! Today I will show you how to make these beautiful Faux Rusted Clock Faces! We will be experimenting with a secret ingredient from our kitchens to create the texture of our rust and a little bit of brown paint to give it that lovely rusty color. You can determine the level of rustiness you want to add to these beauties according to your preferences, so feel free to add more or less, depending on how you envision the final look of your project!
If you are wondering about the secret ingredient that will help us create a little bit of texture on our rust, I have to confess I wasn’t sure it would even work! But it did, and the final results are absolutely gorgeous!
Are you ready to find out what the secret ingredient is? OK… here we go – it’s … drum rolls … baking soda! You will be amazed to discover that this unexpected ingredient from your kitchen will make your faux rust visually look like real rust when mixed with a little bit of brown paint. Furthermore, it will also give it a lovely texturized feel, once you hold one of these in your hand.
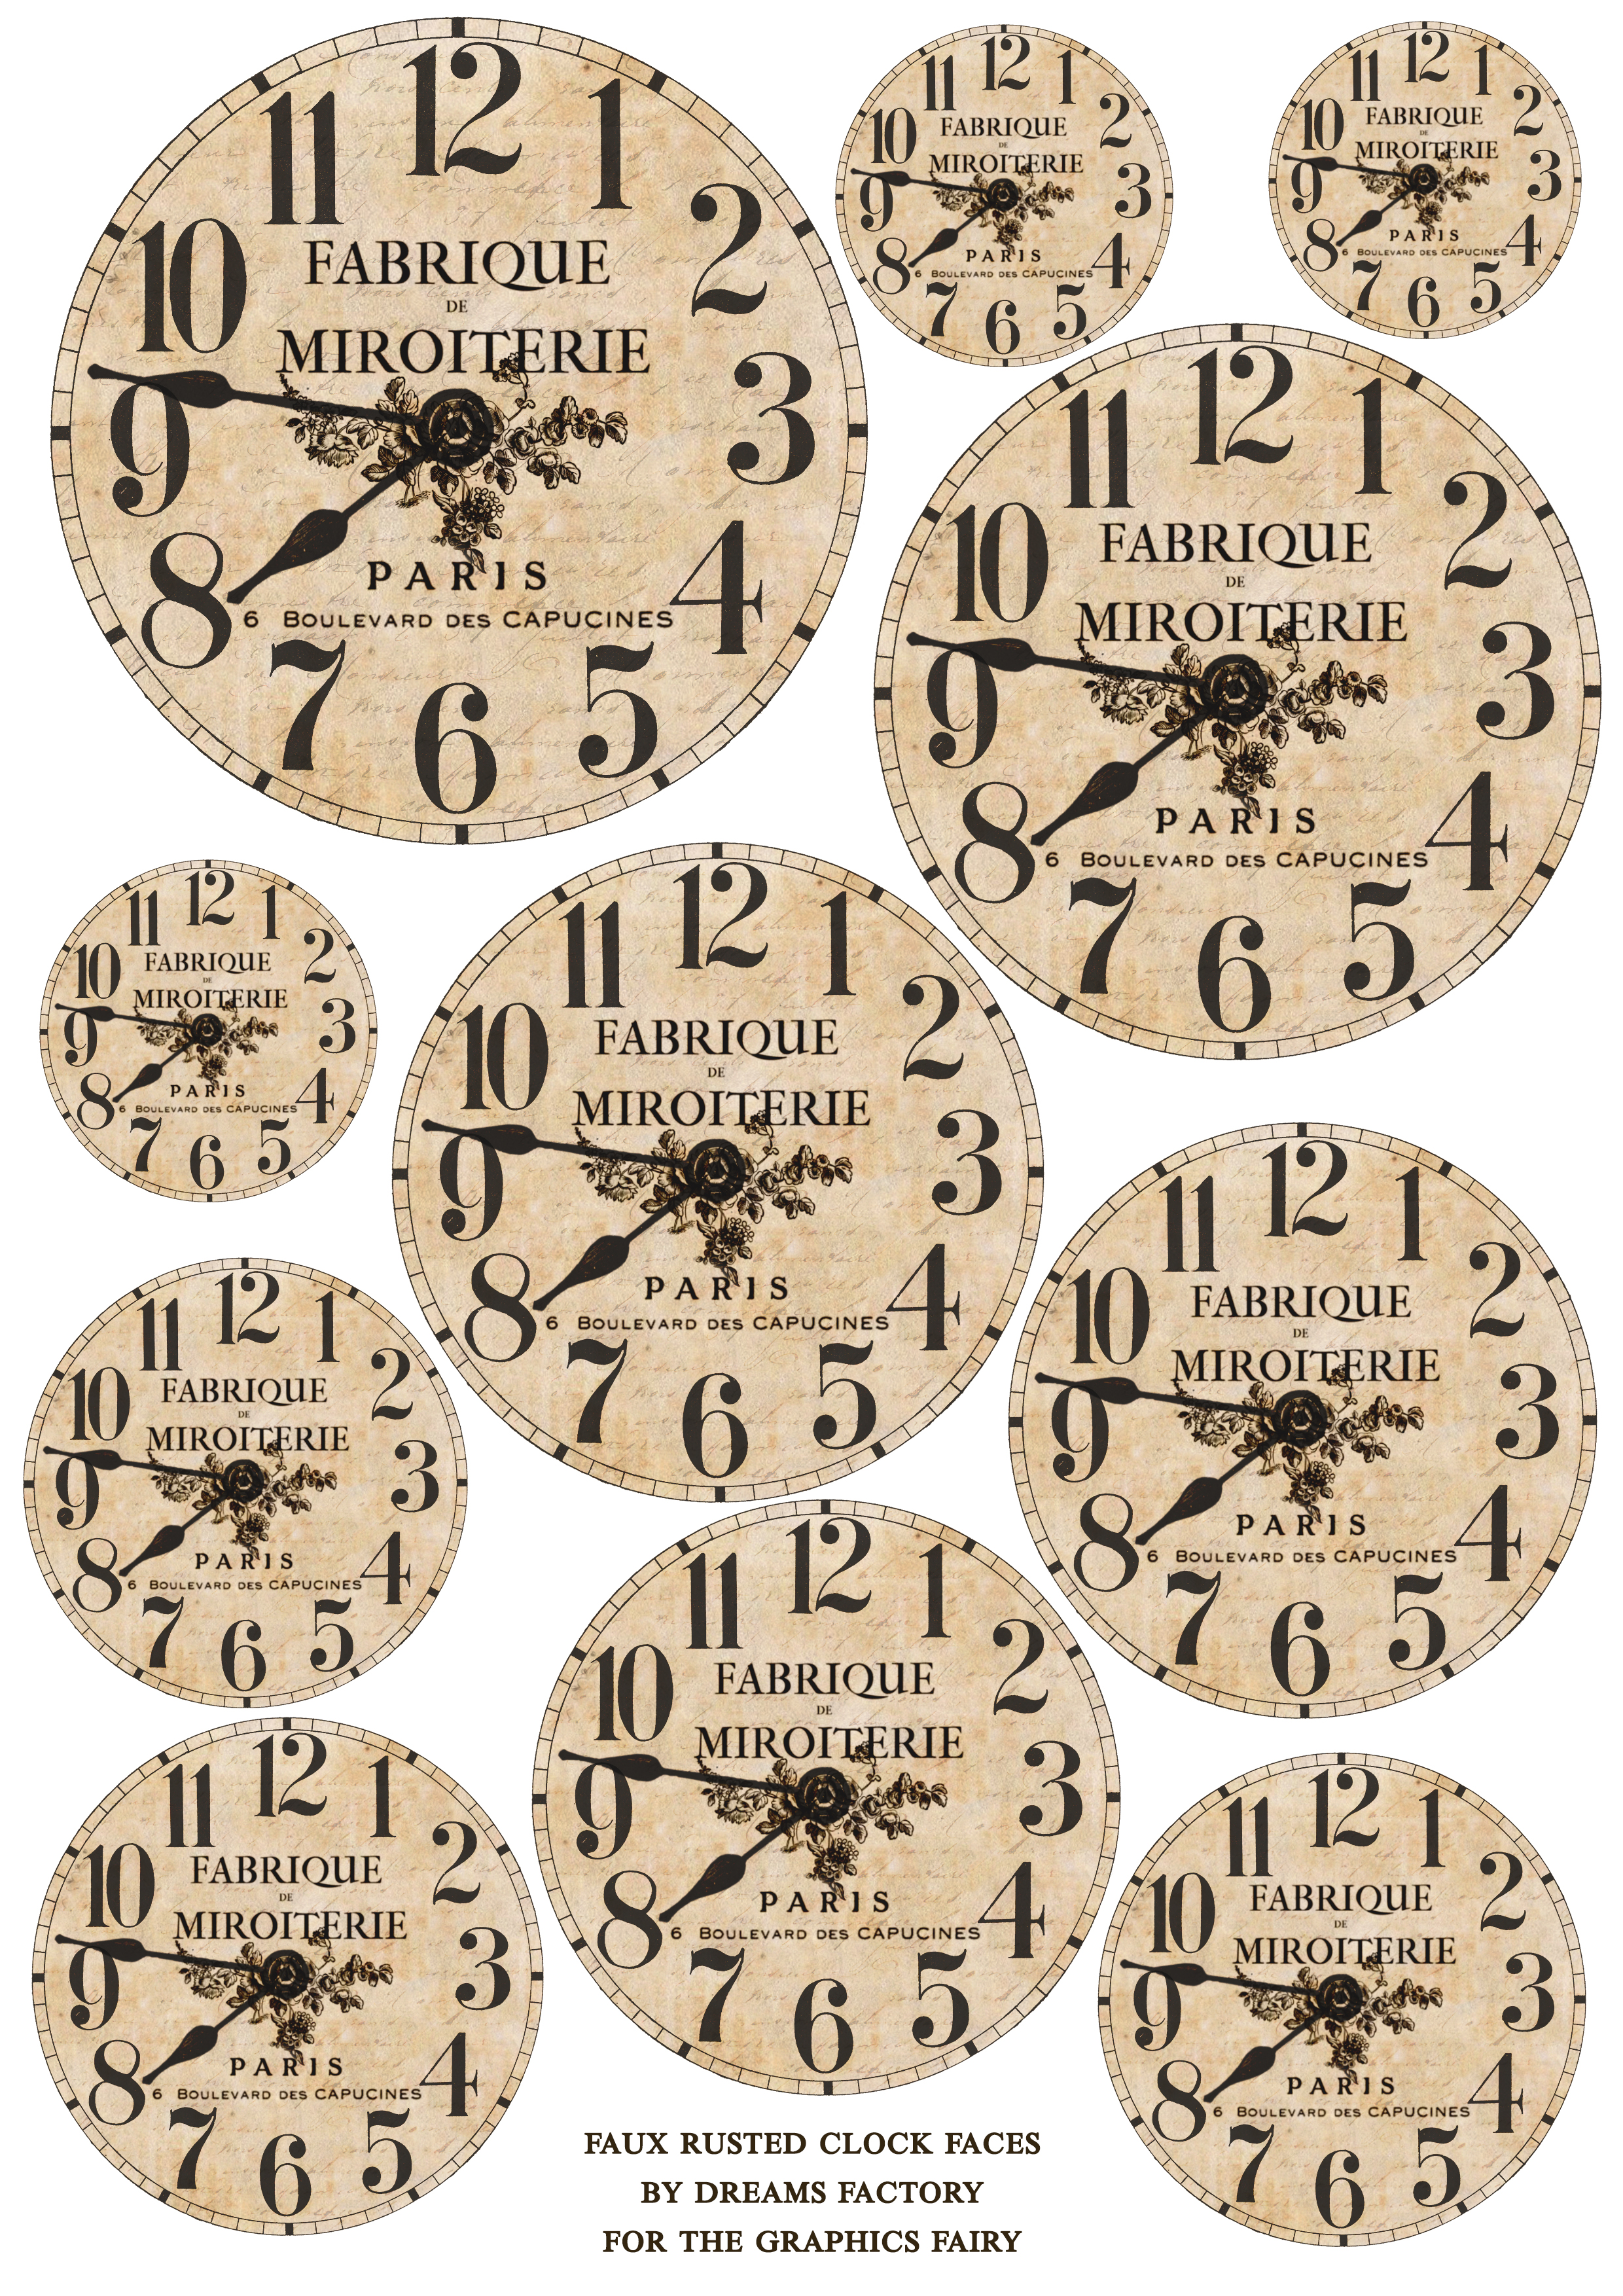
Free Printable:
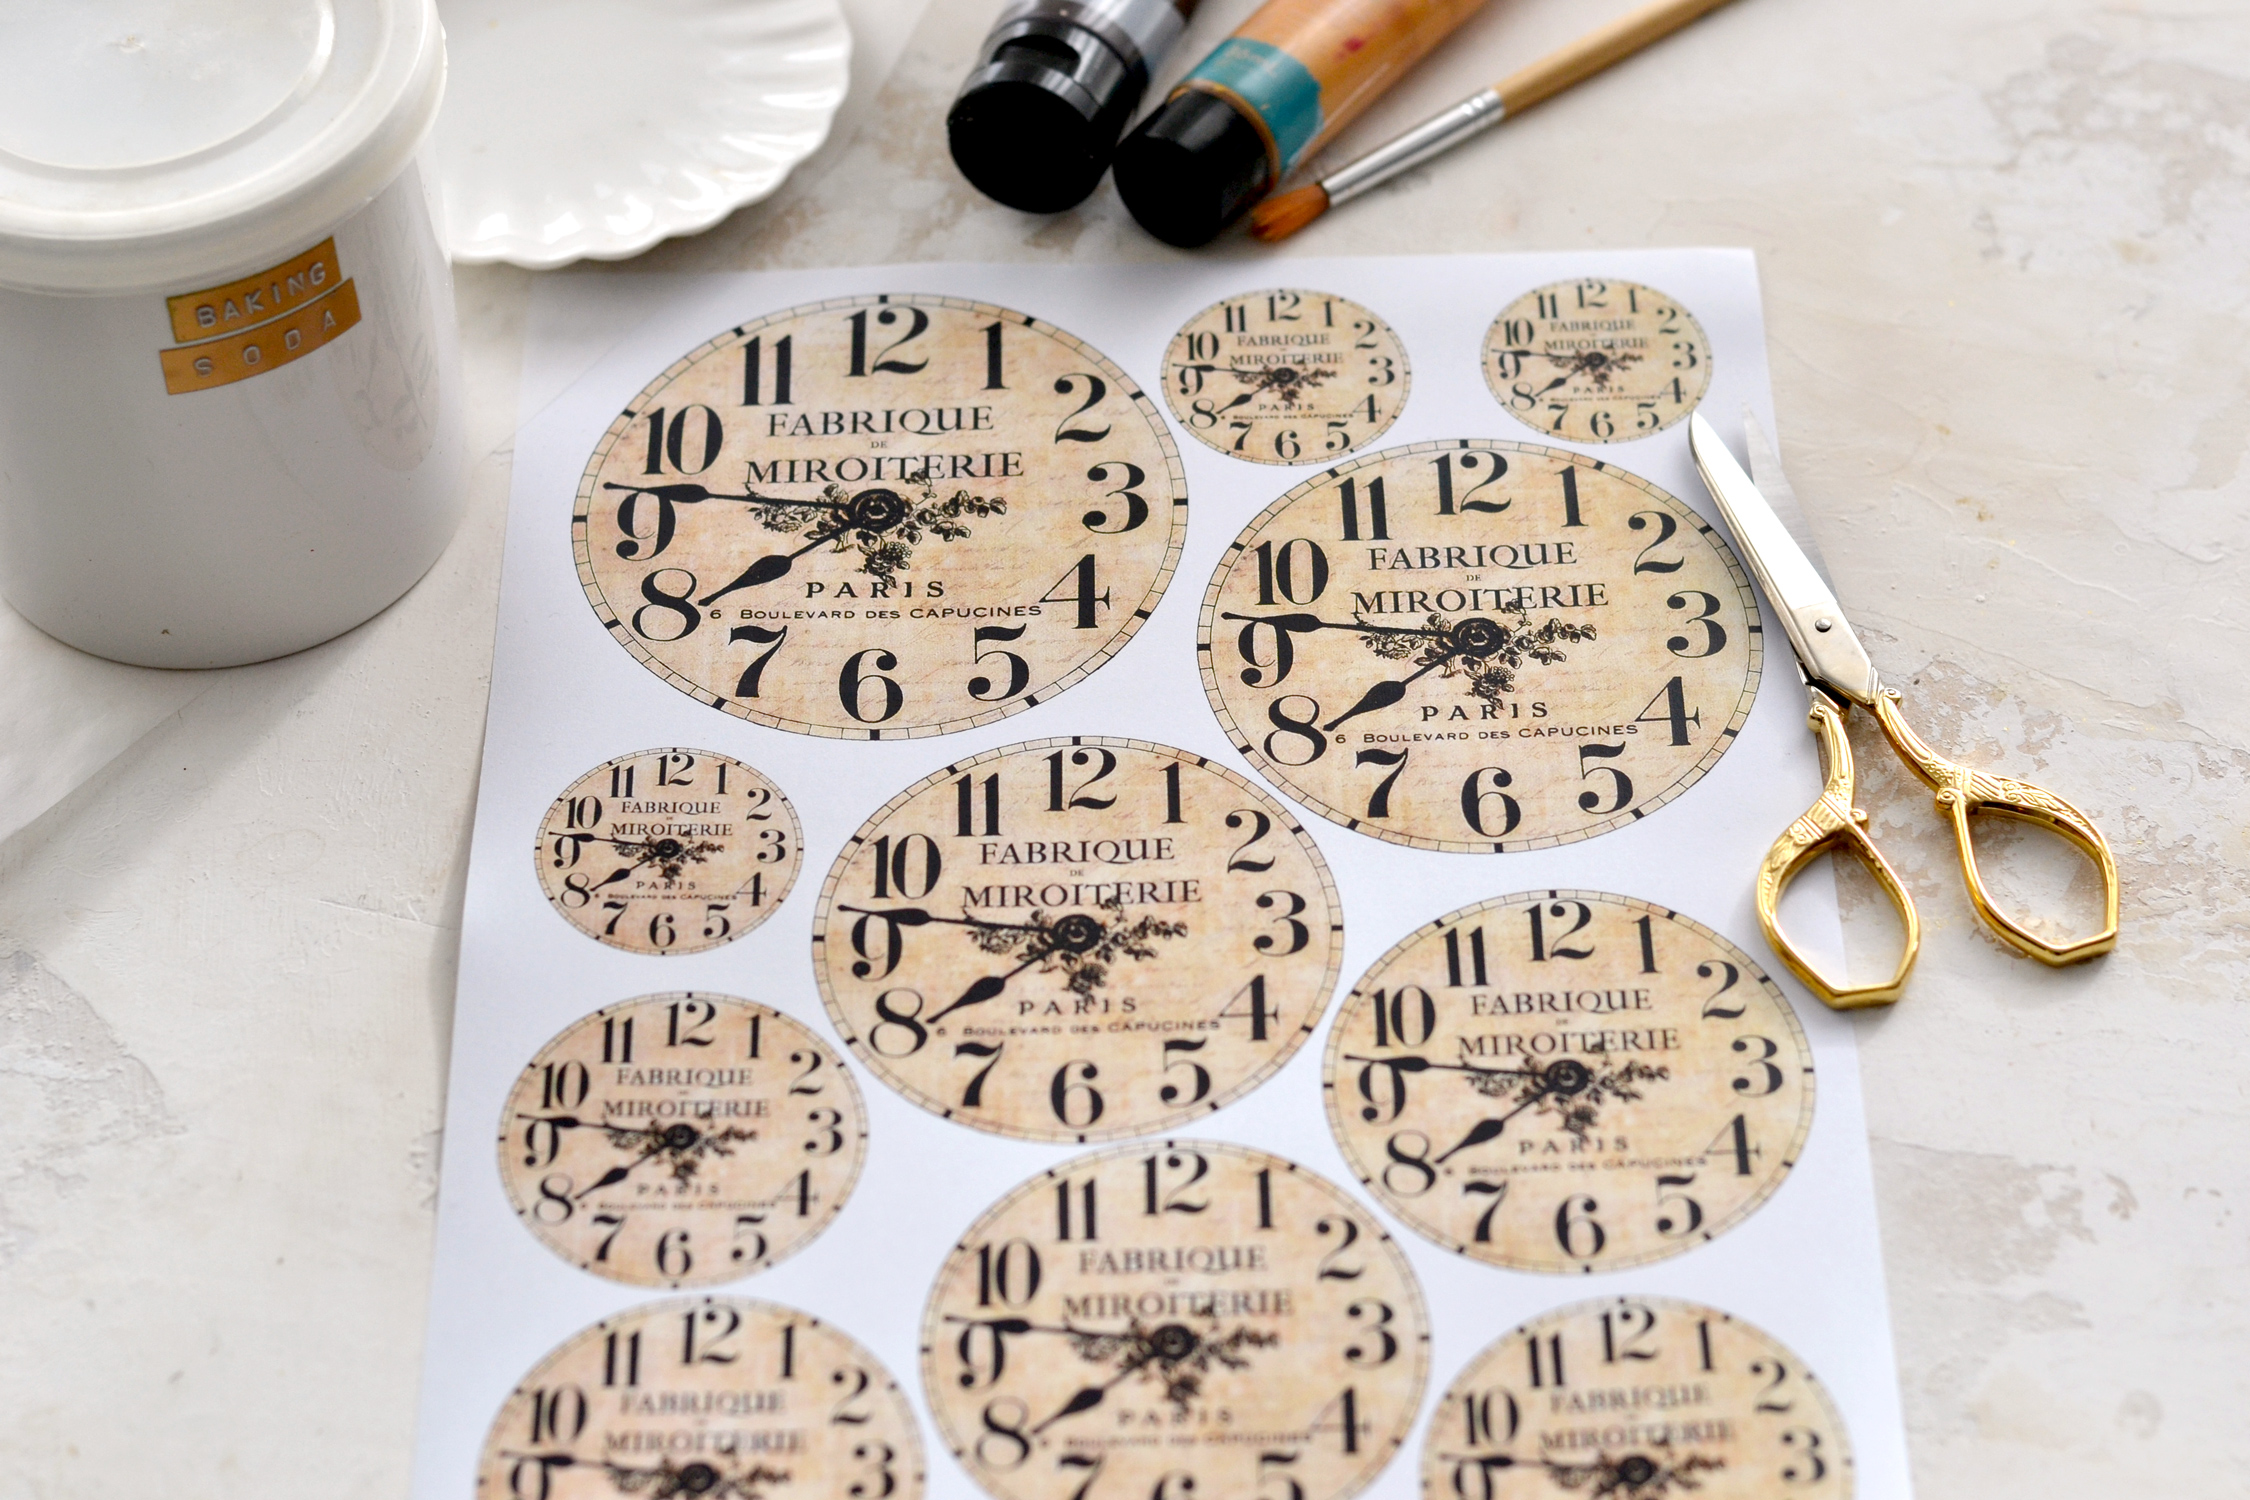
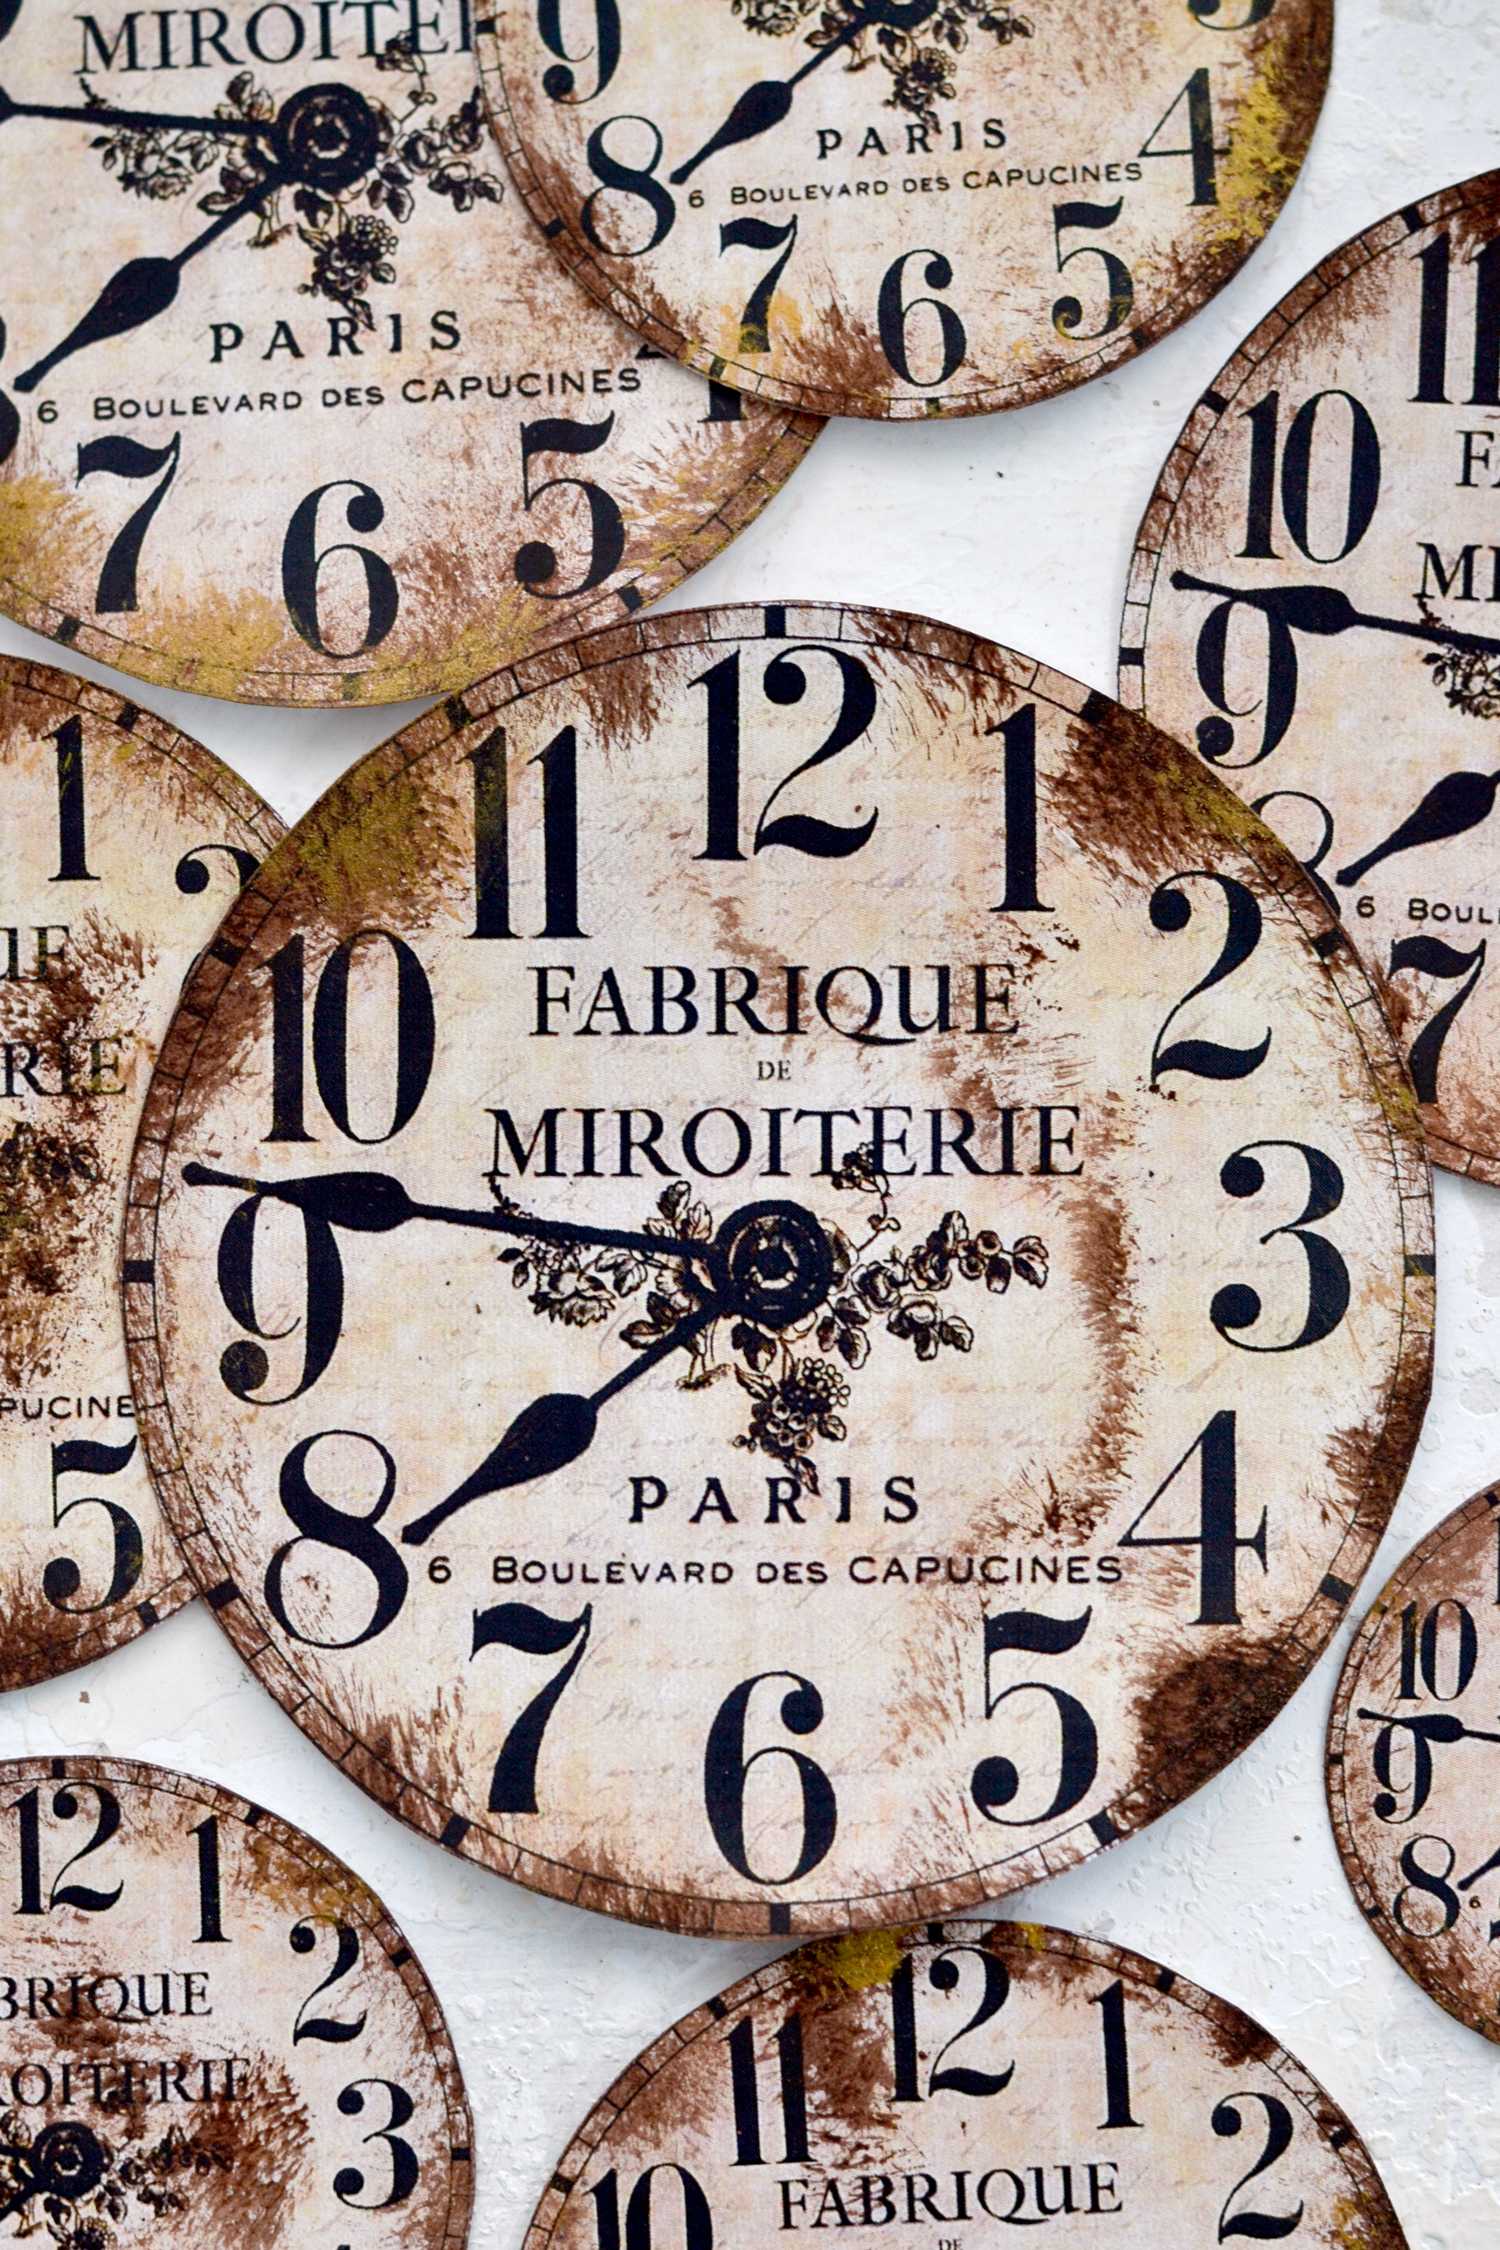
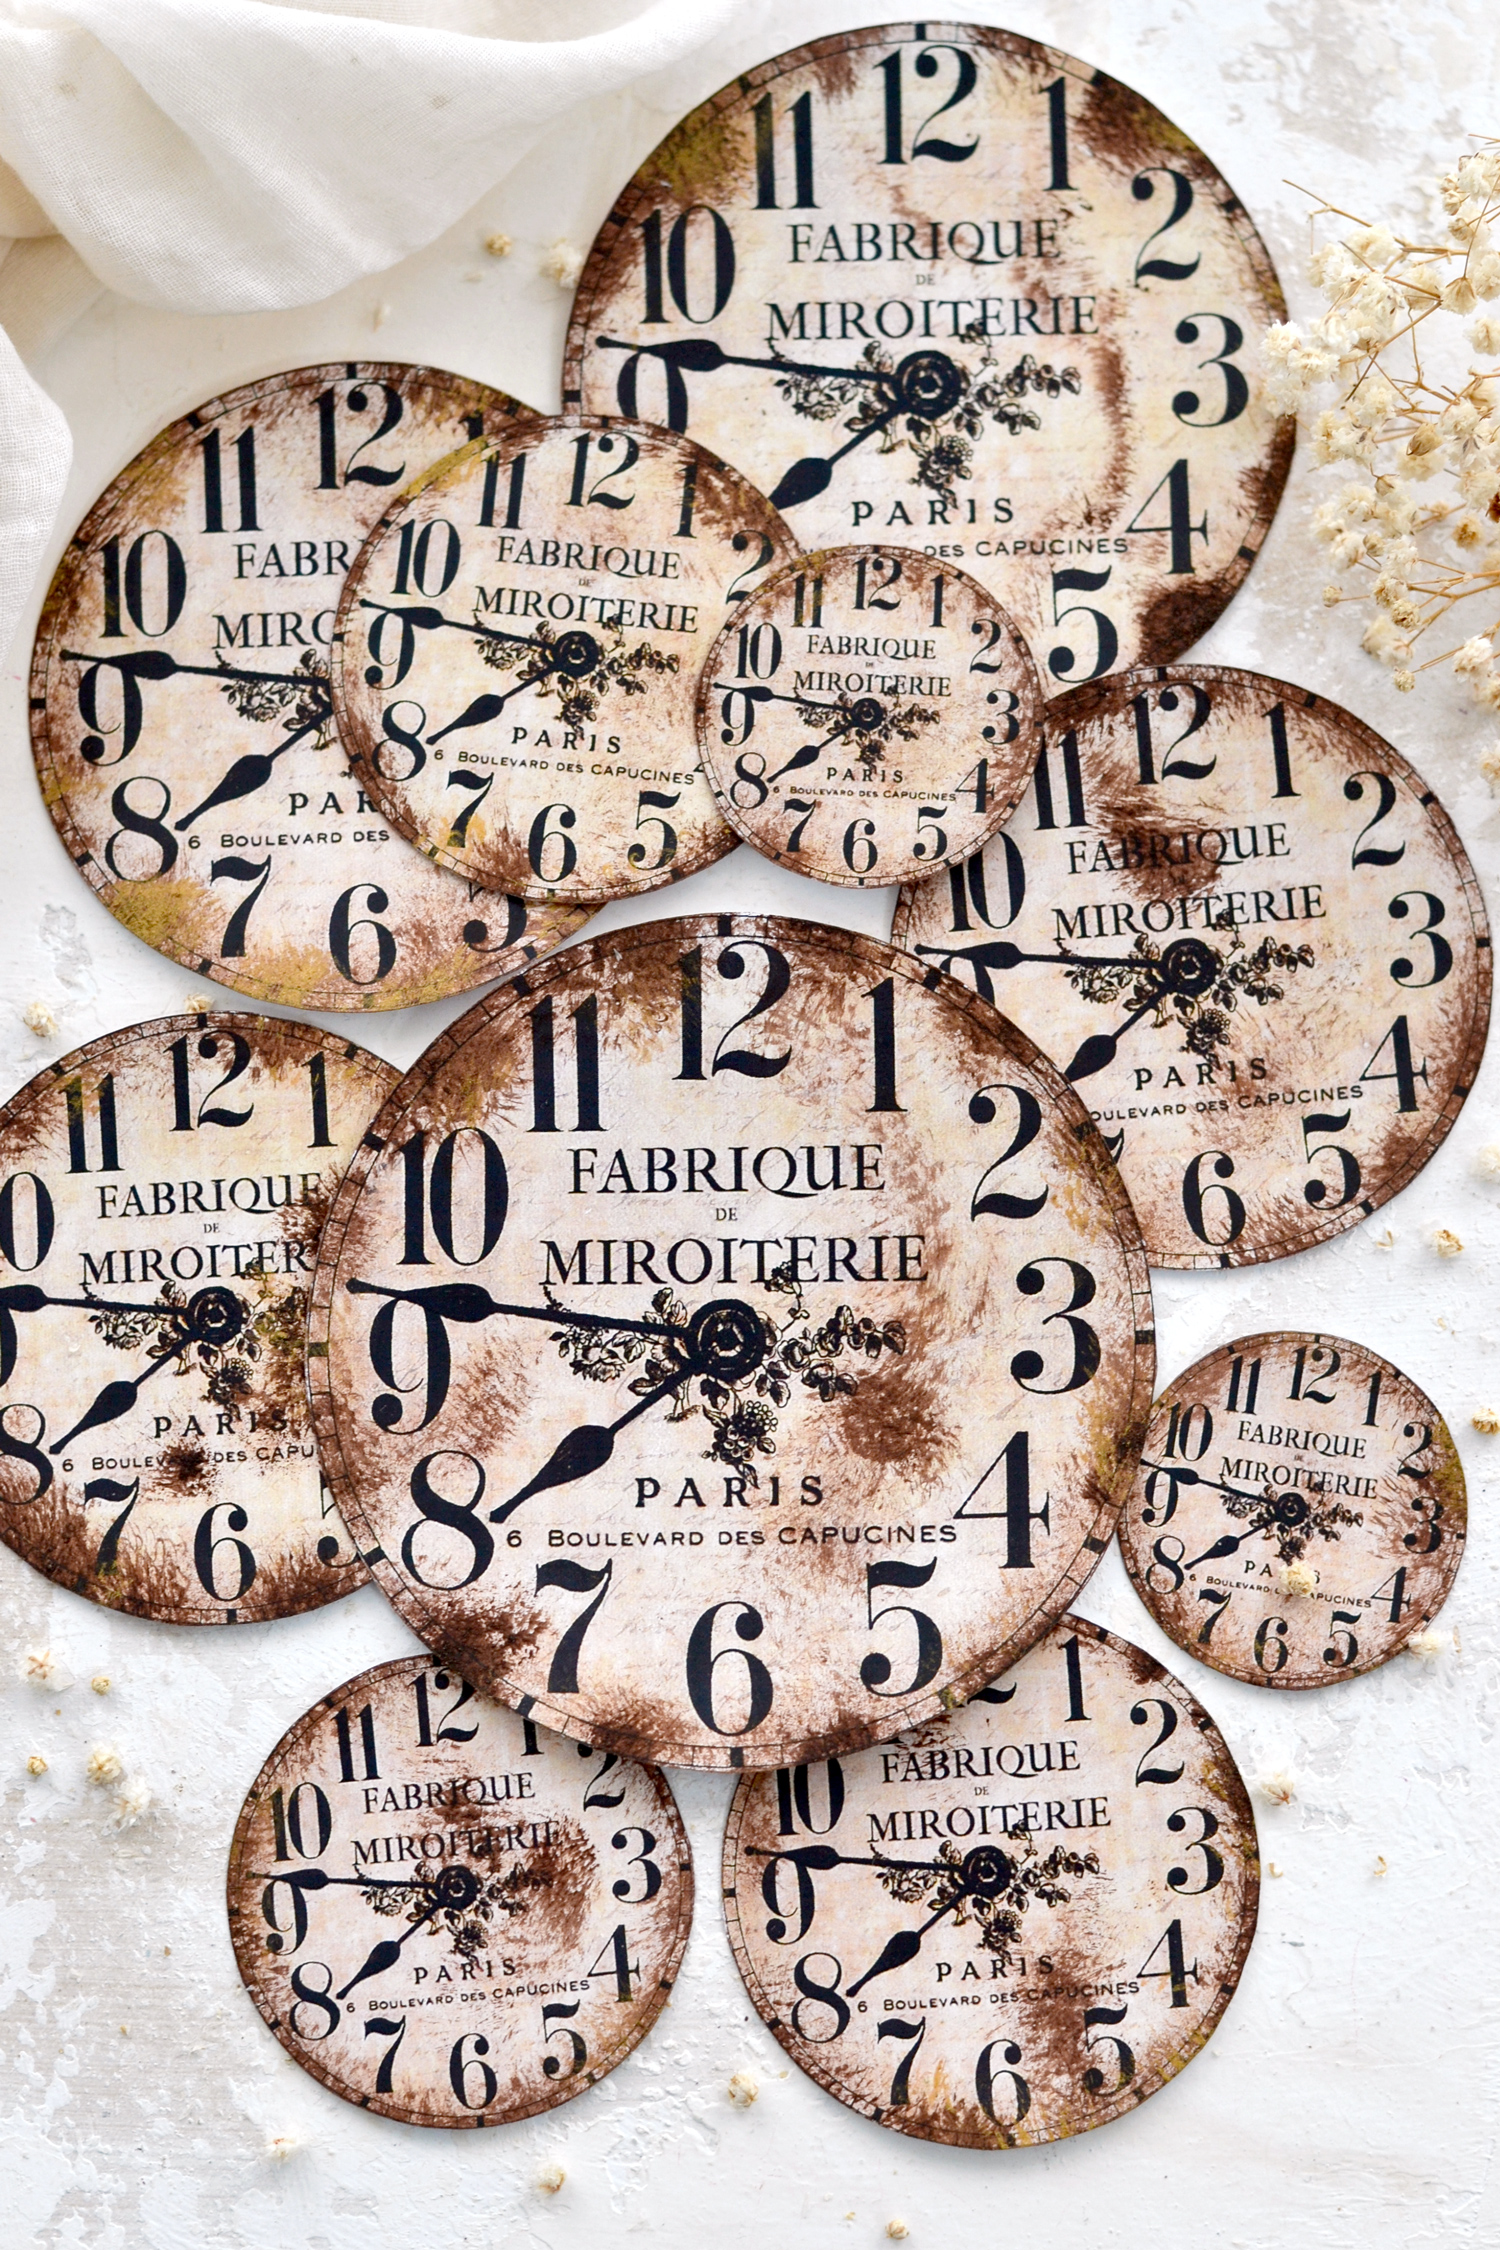
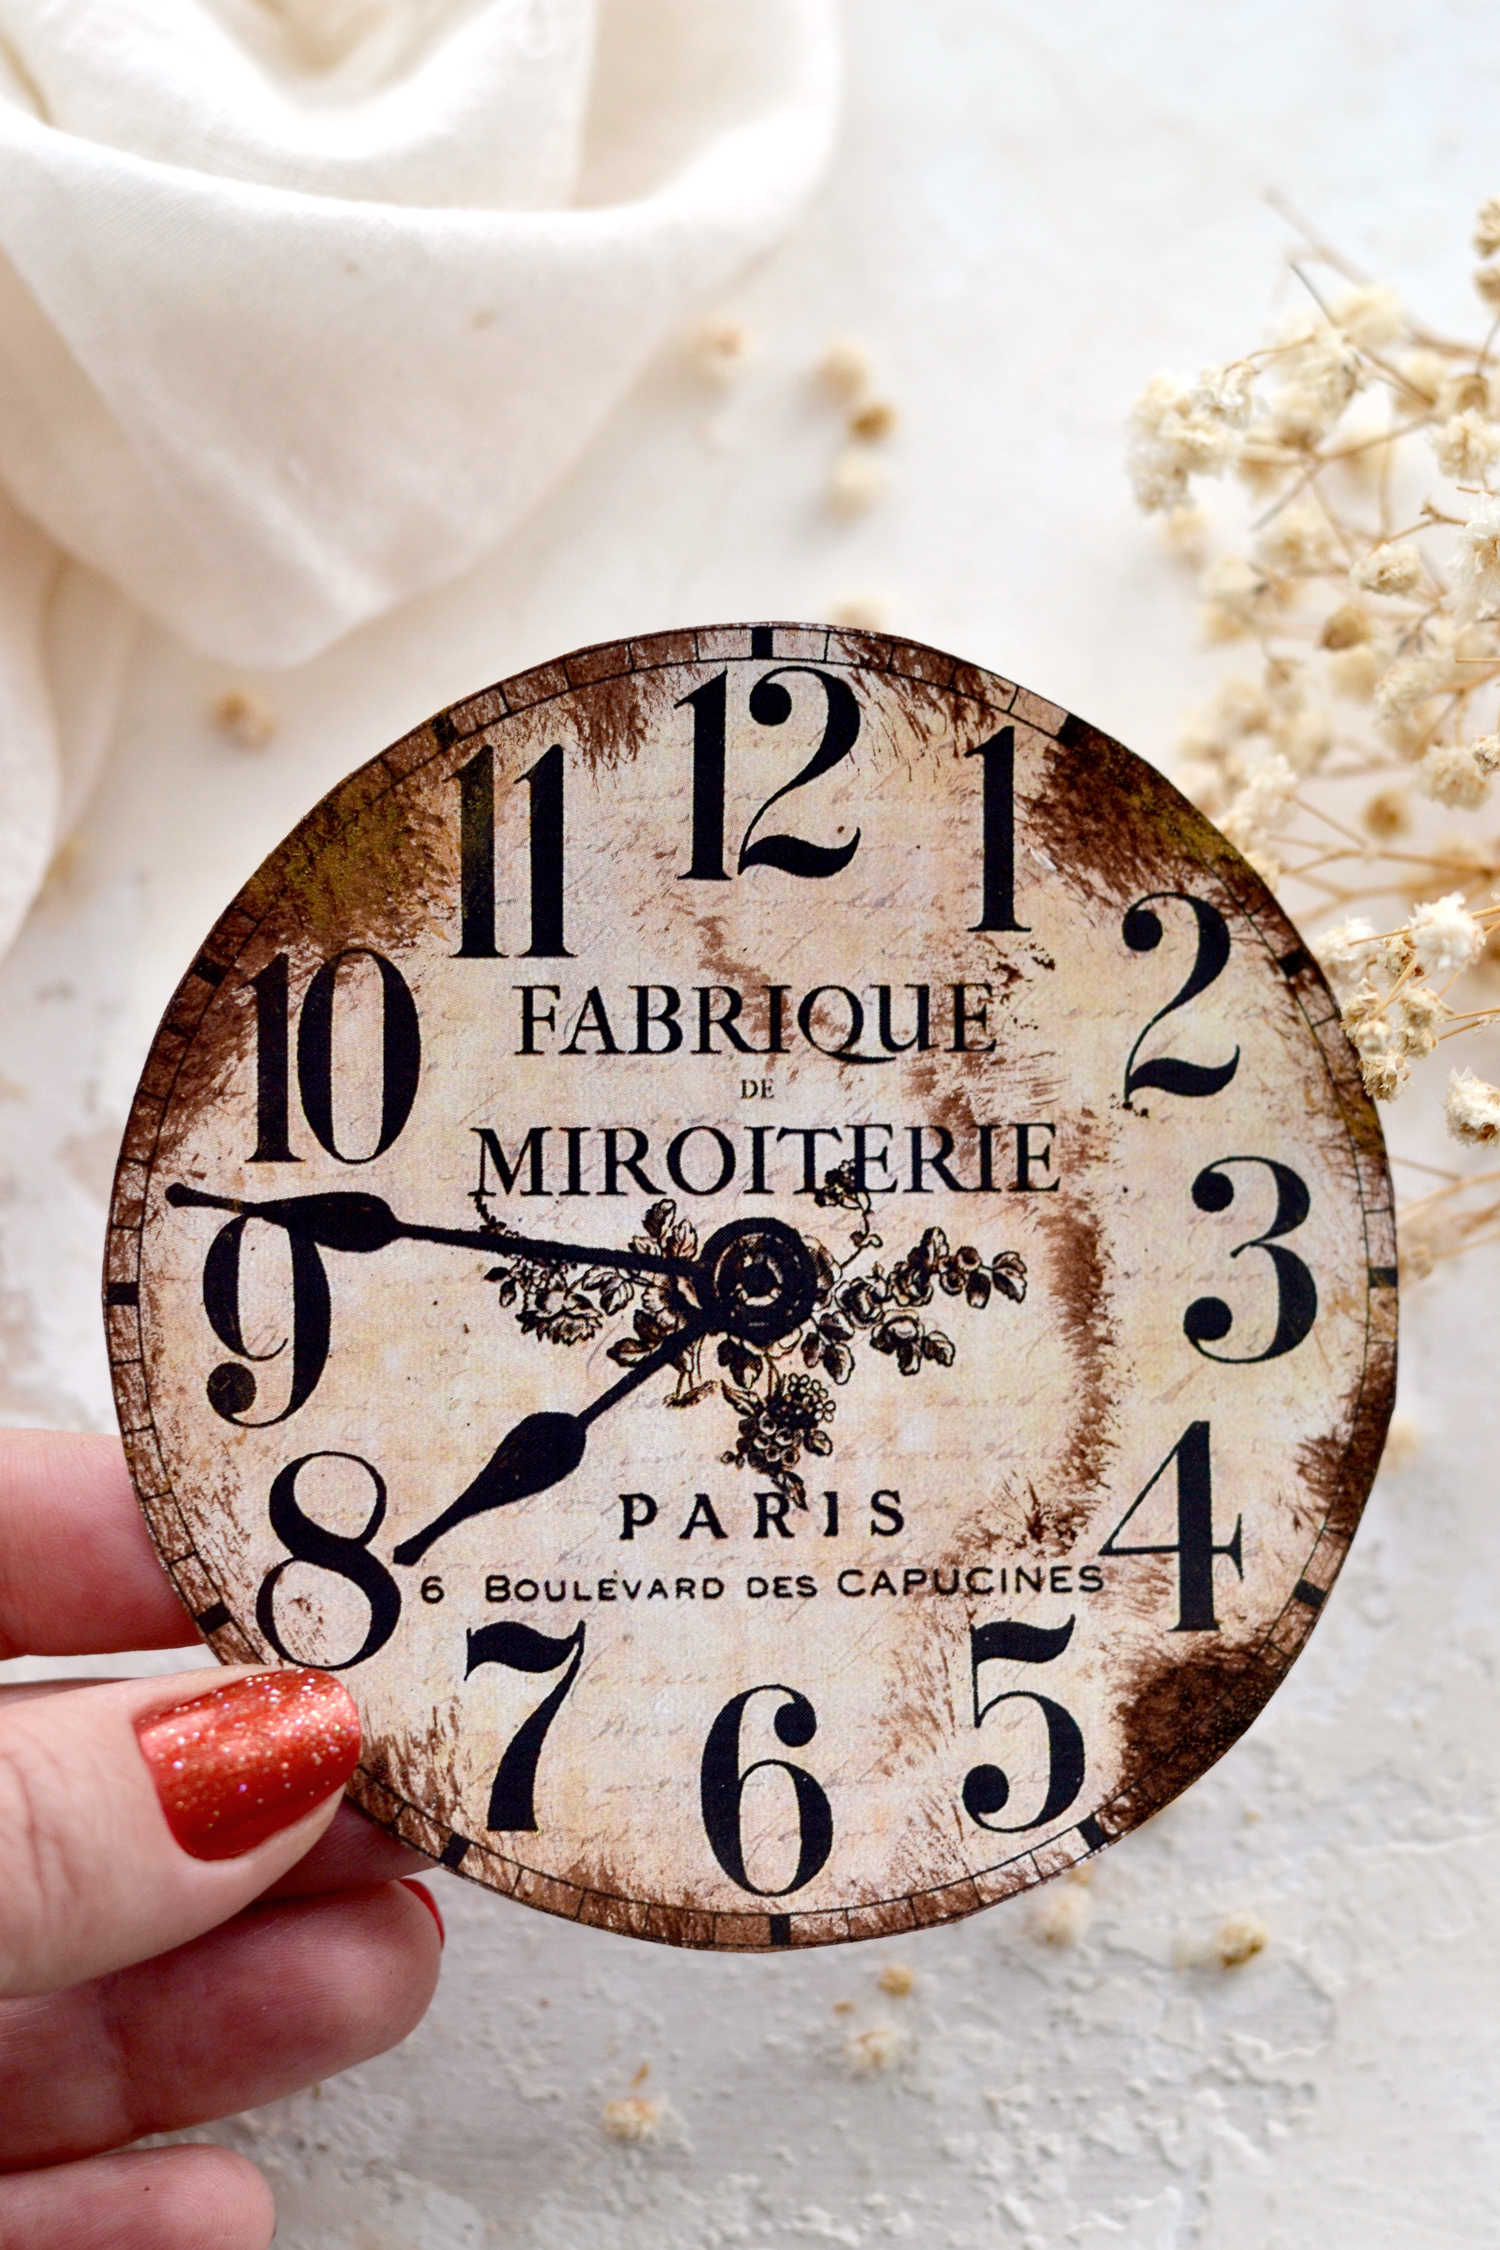
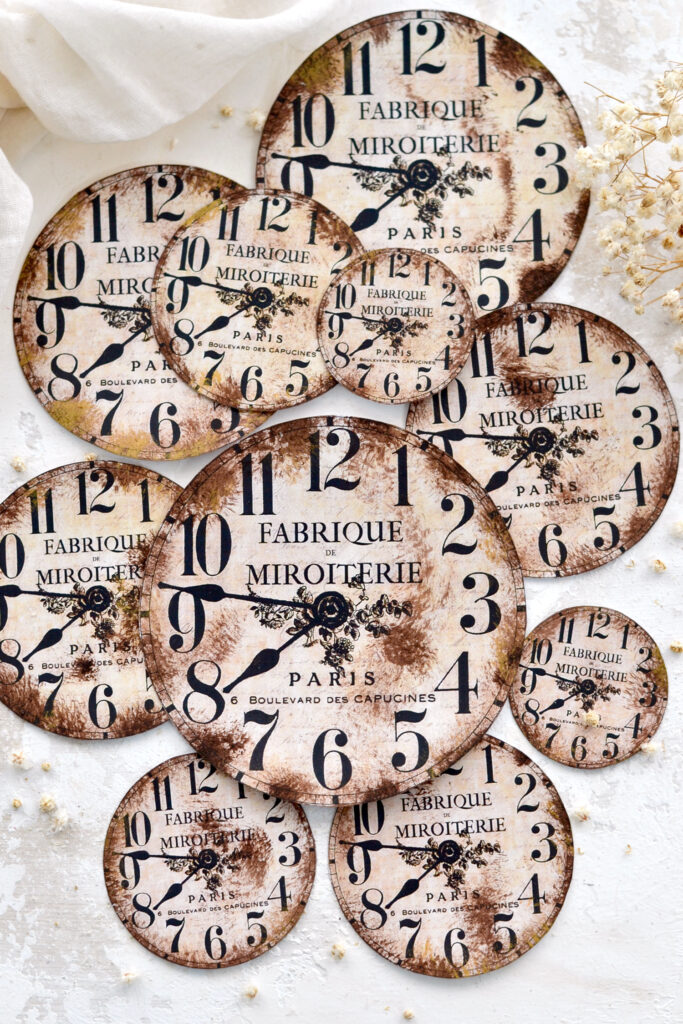
I used a gorgeous clock face as the base for the clocks and a beautiful French ephemera image to give them a lovely Frenchified vibe. If you look really close you will also notice a subtle French script image in the background that will add even more chicness to our project! I included clocks in several different sizes so you can have them ready for when in need!
—-> Click HERE to Download the Full Size Printable PDF <—-
Clock Face Craft Supplies:
- cardstock paper
- home printer
- scissors
- old flat brush
- Mod Podge or any white craft glue
- scissors
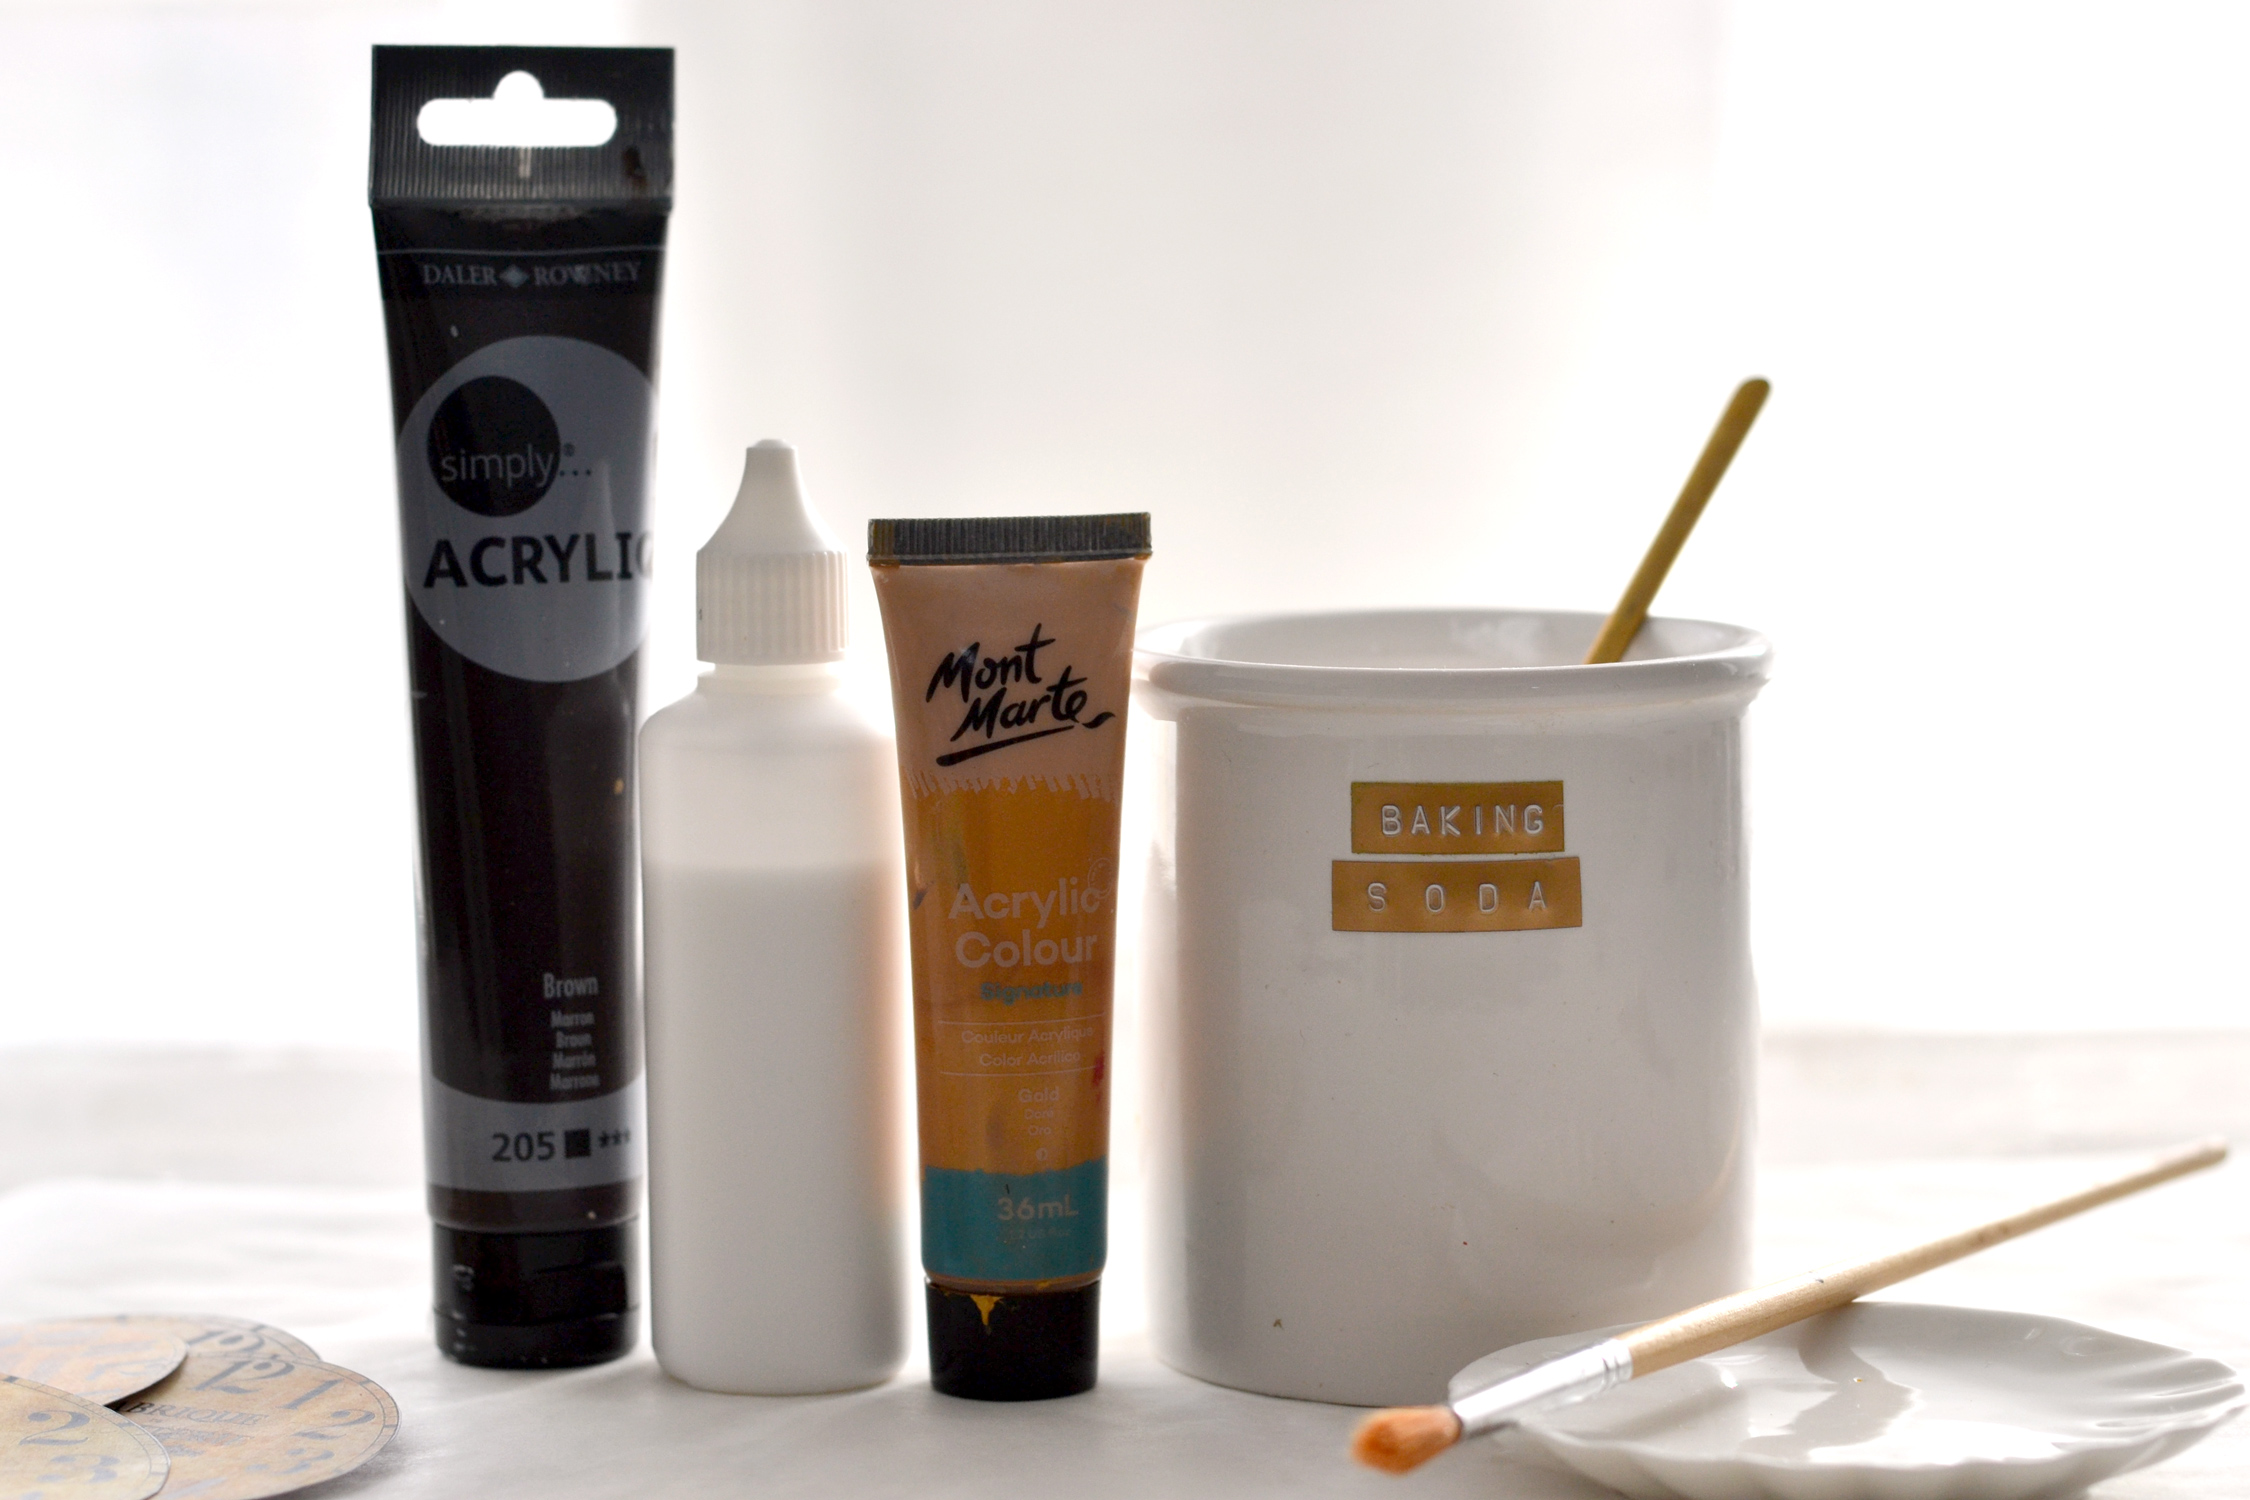
- acrylic paint (I used brown and a little bit of gold)
- baking soda
- small mixing palette (I used a small plate)
- a plastic sheet or a non-absorbent surface to protect your working area
Clock Face Craft Step by Step Tutorial:
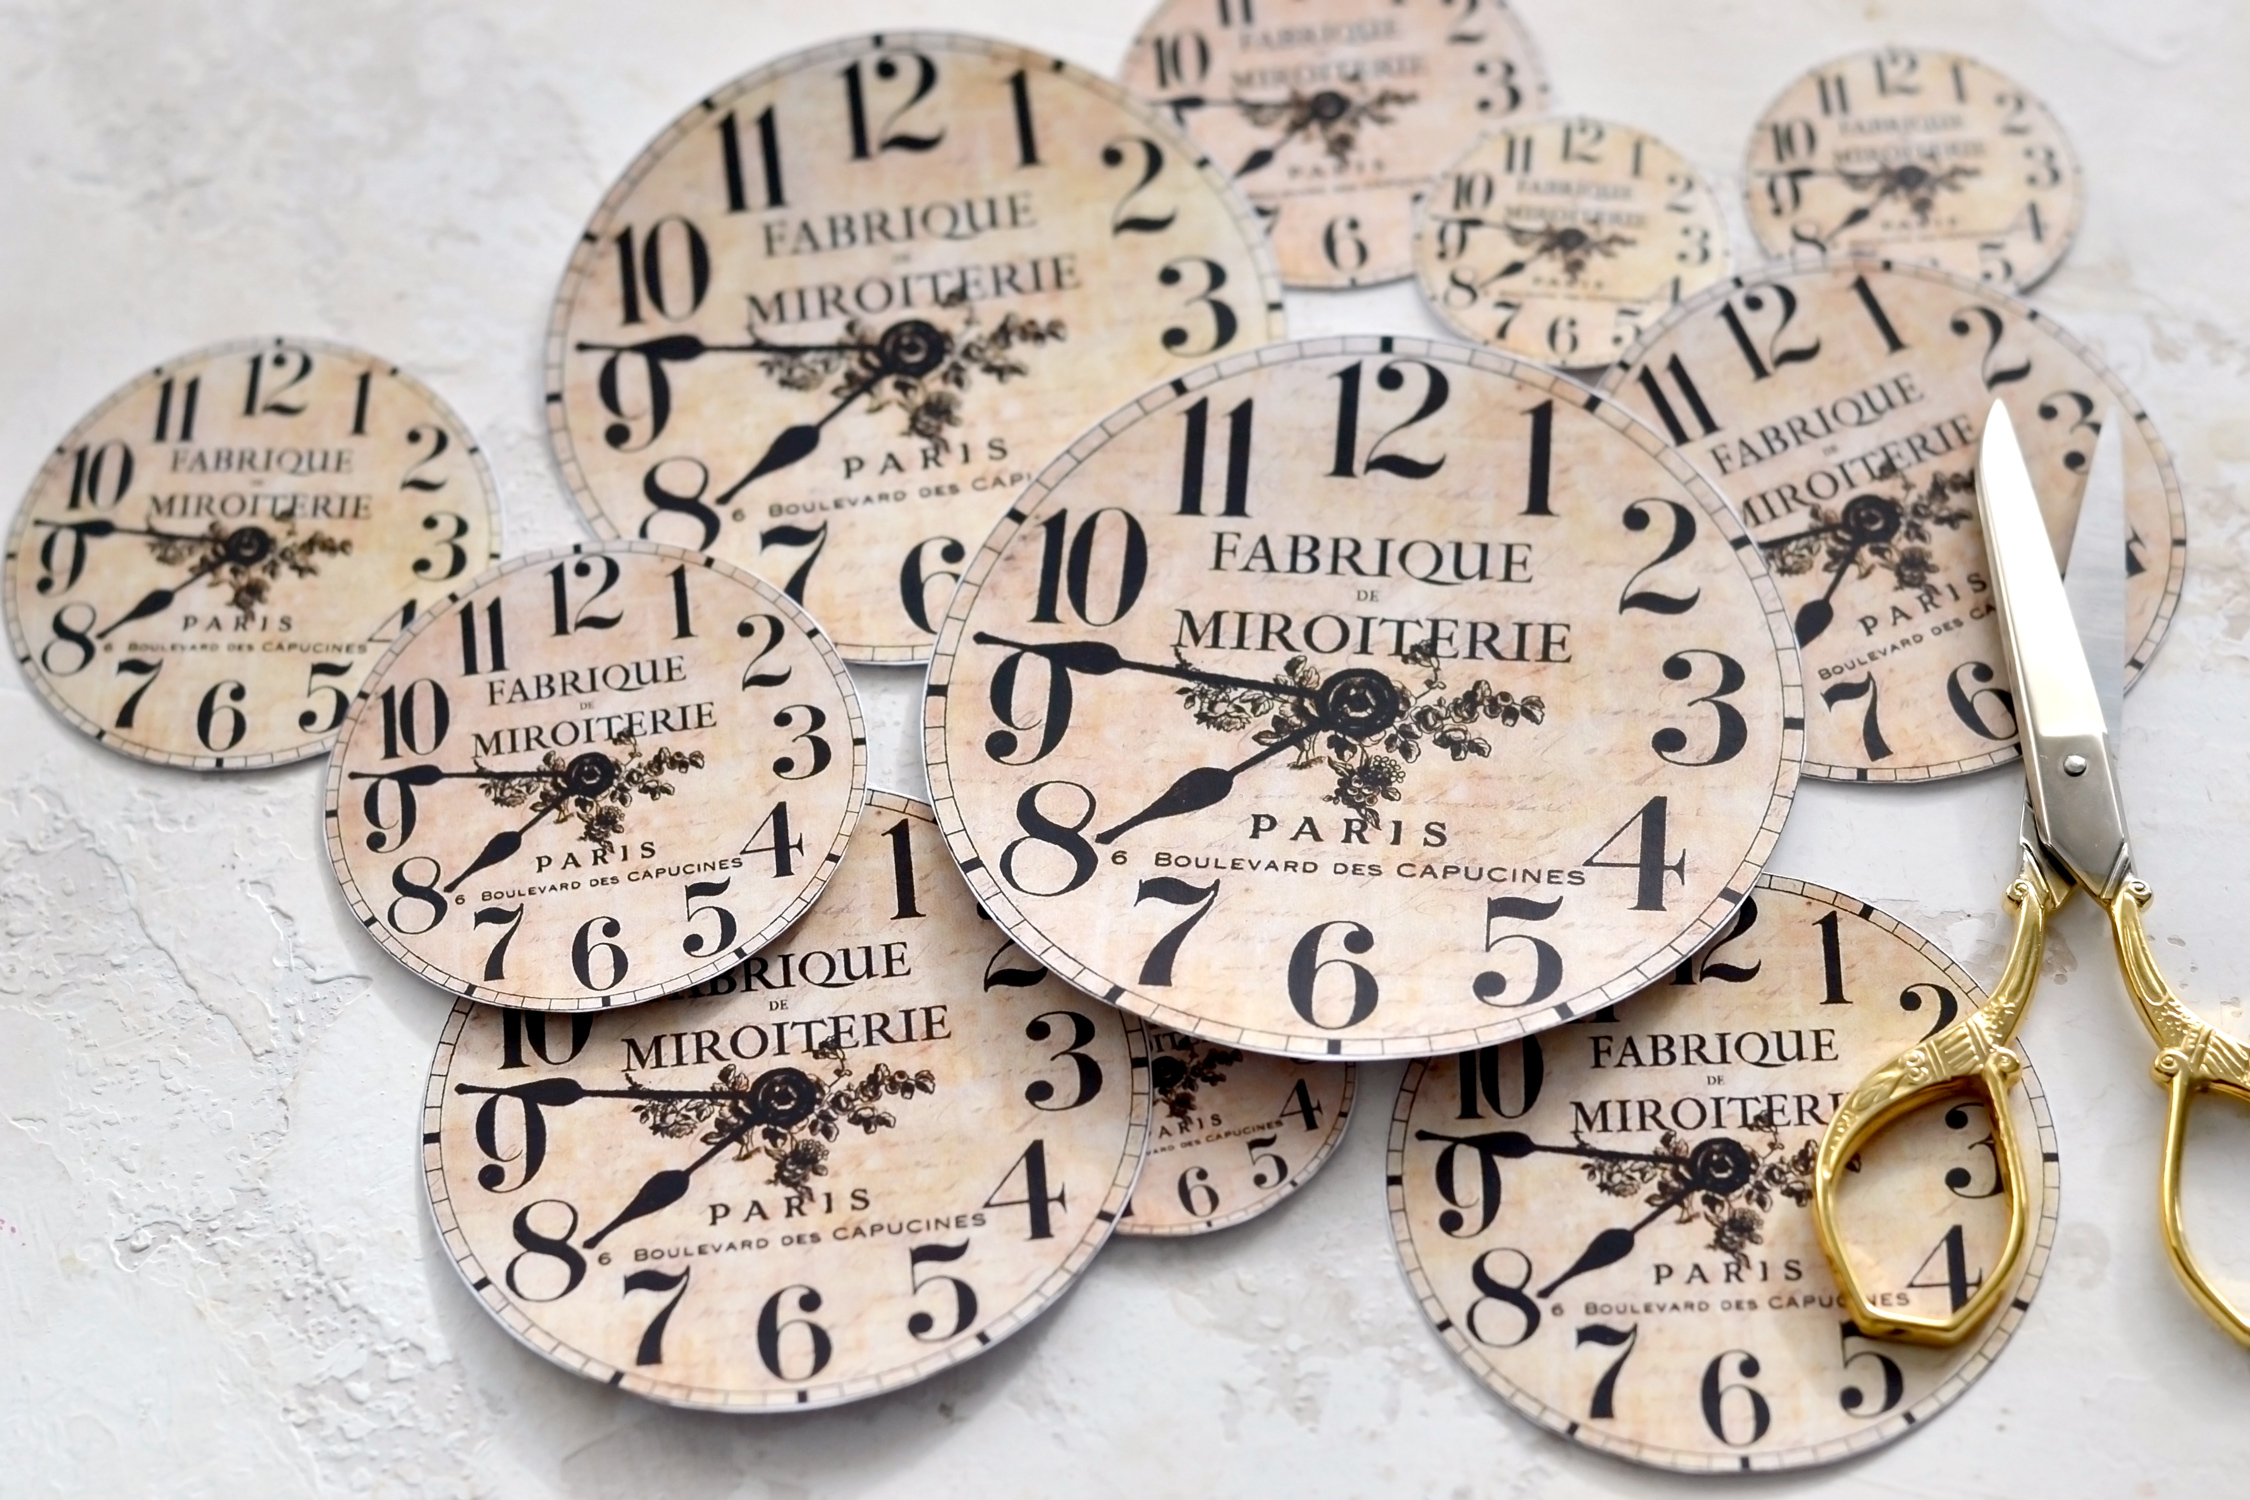
Start by printing the printable on cardstock paper and use your scissors to cut all these lovely clock faces. Try to remove the white excess paper around them as much as you can while following their round shape.
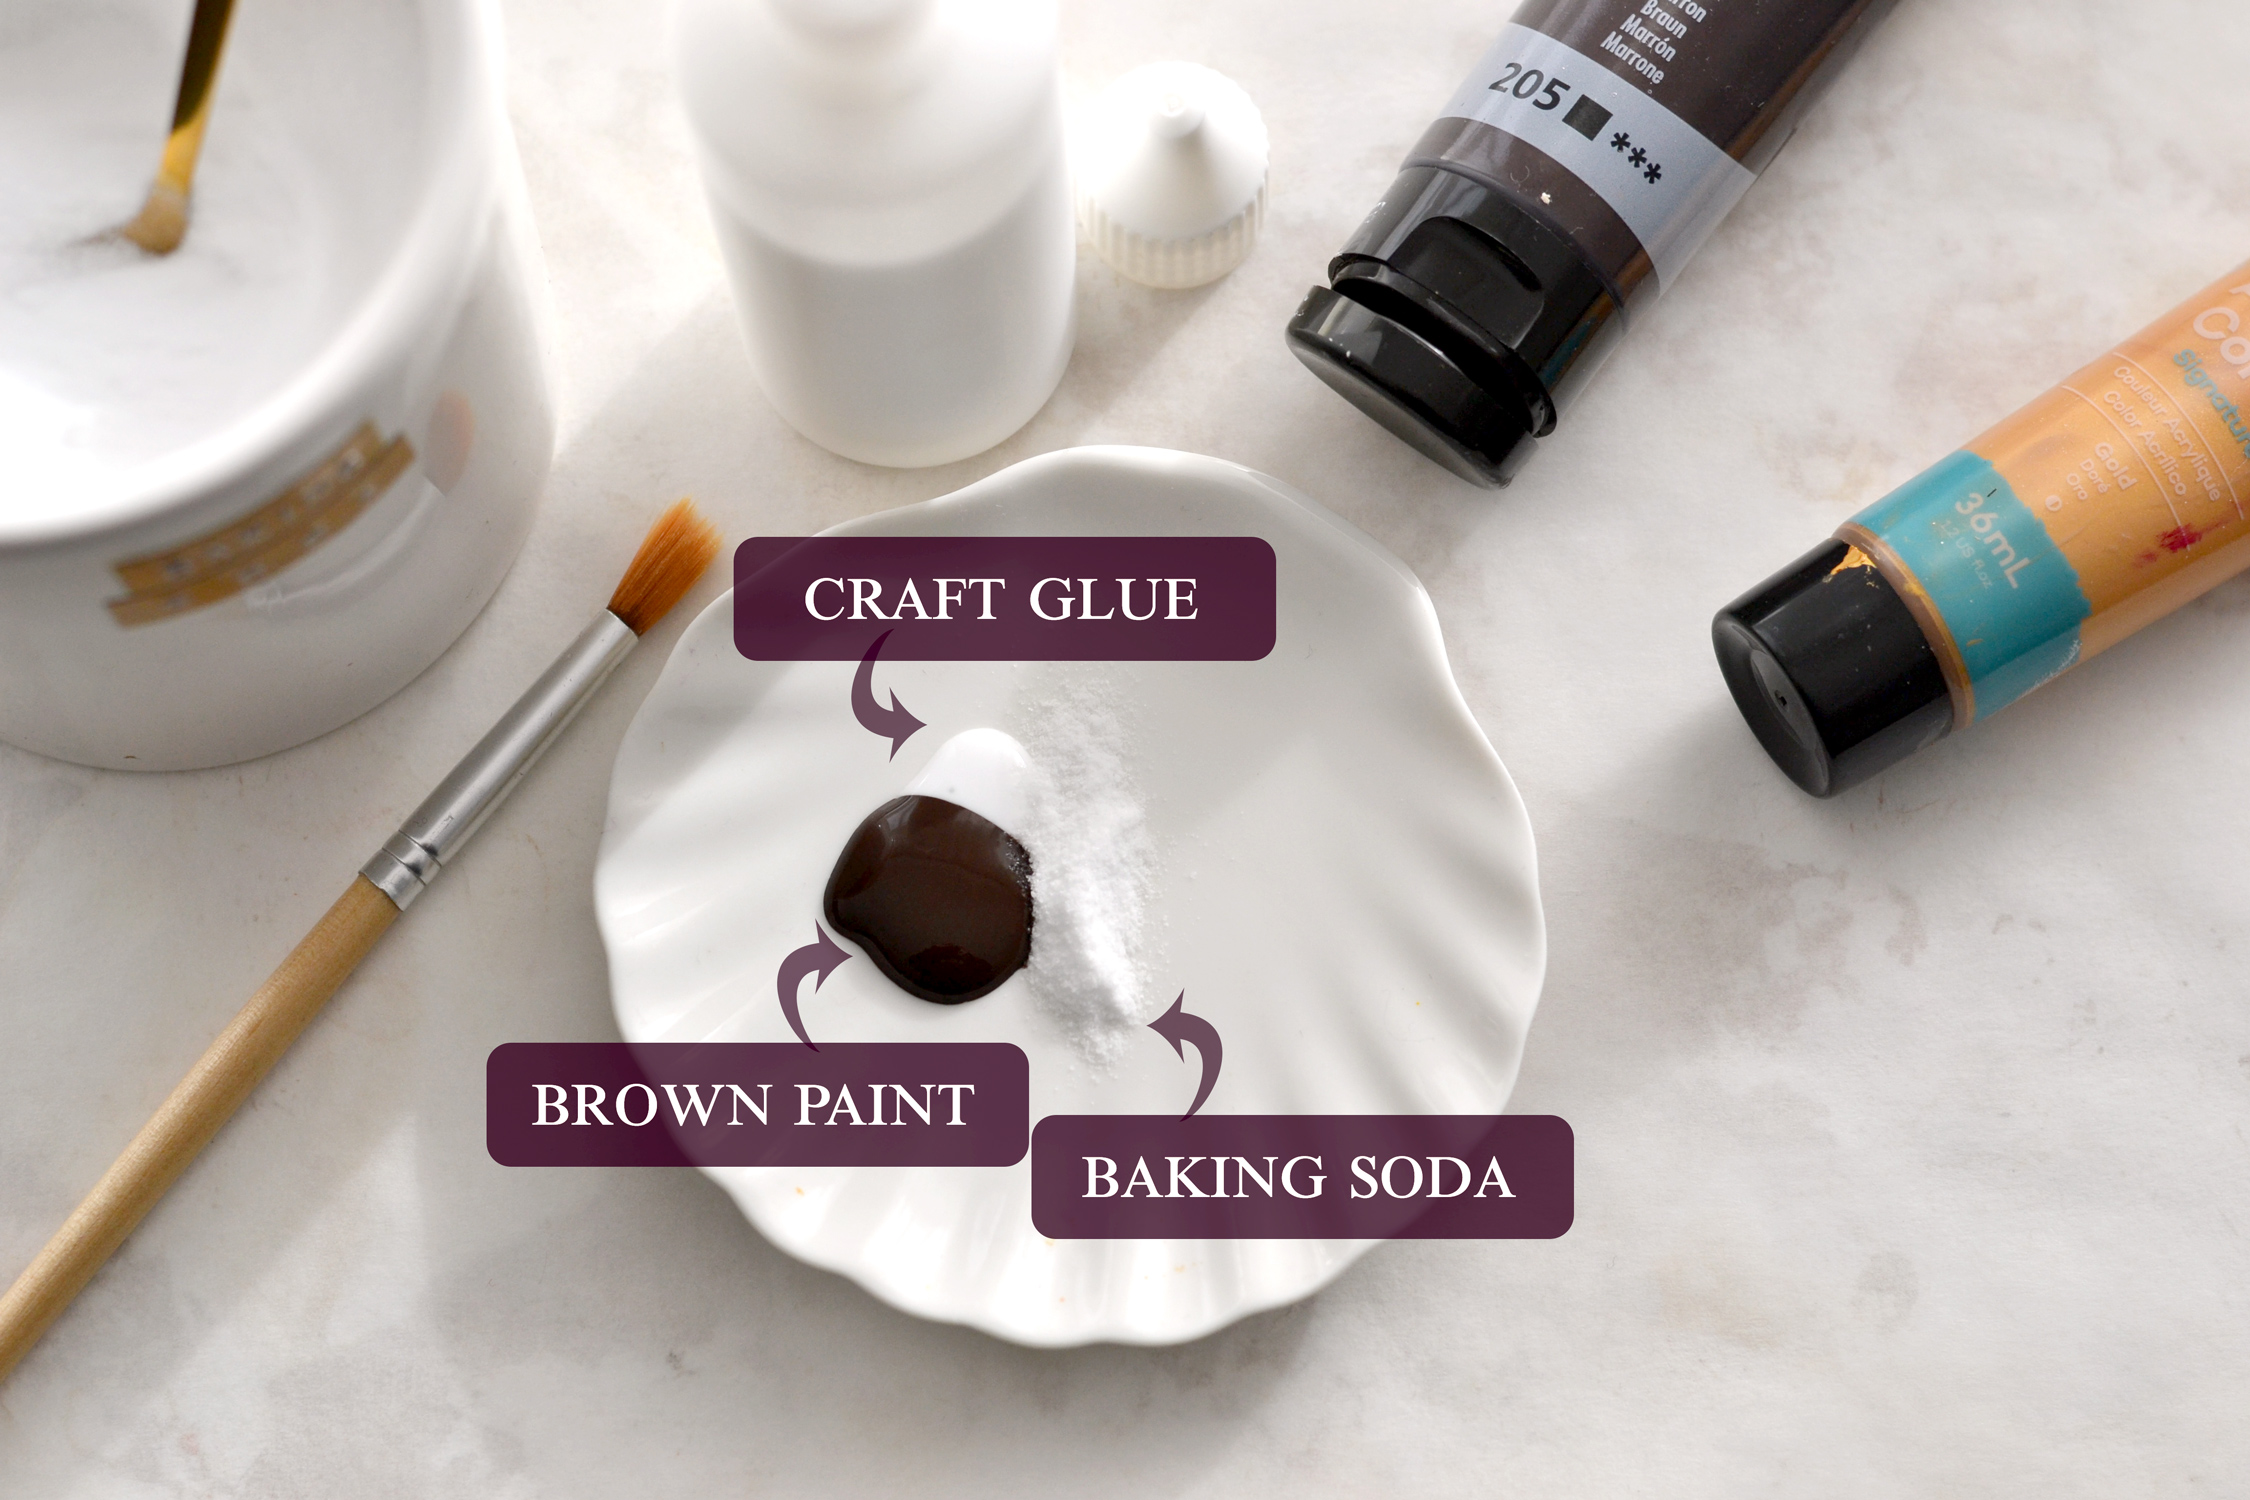
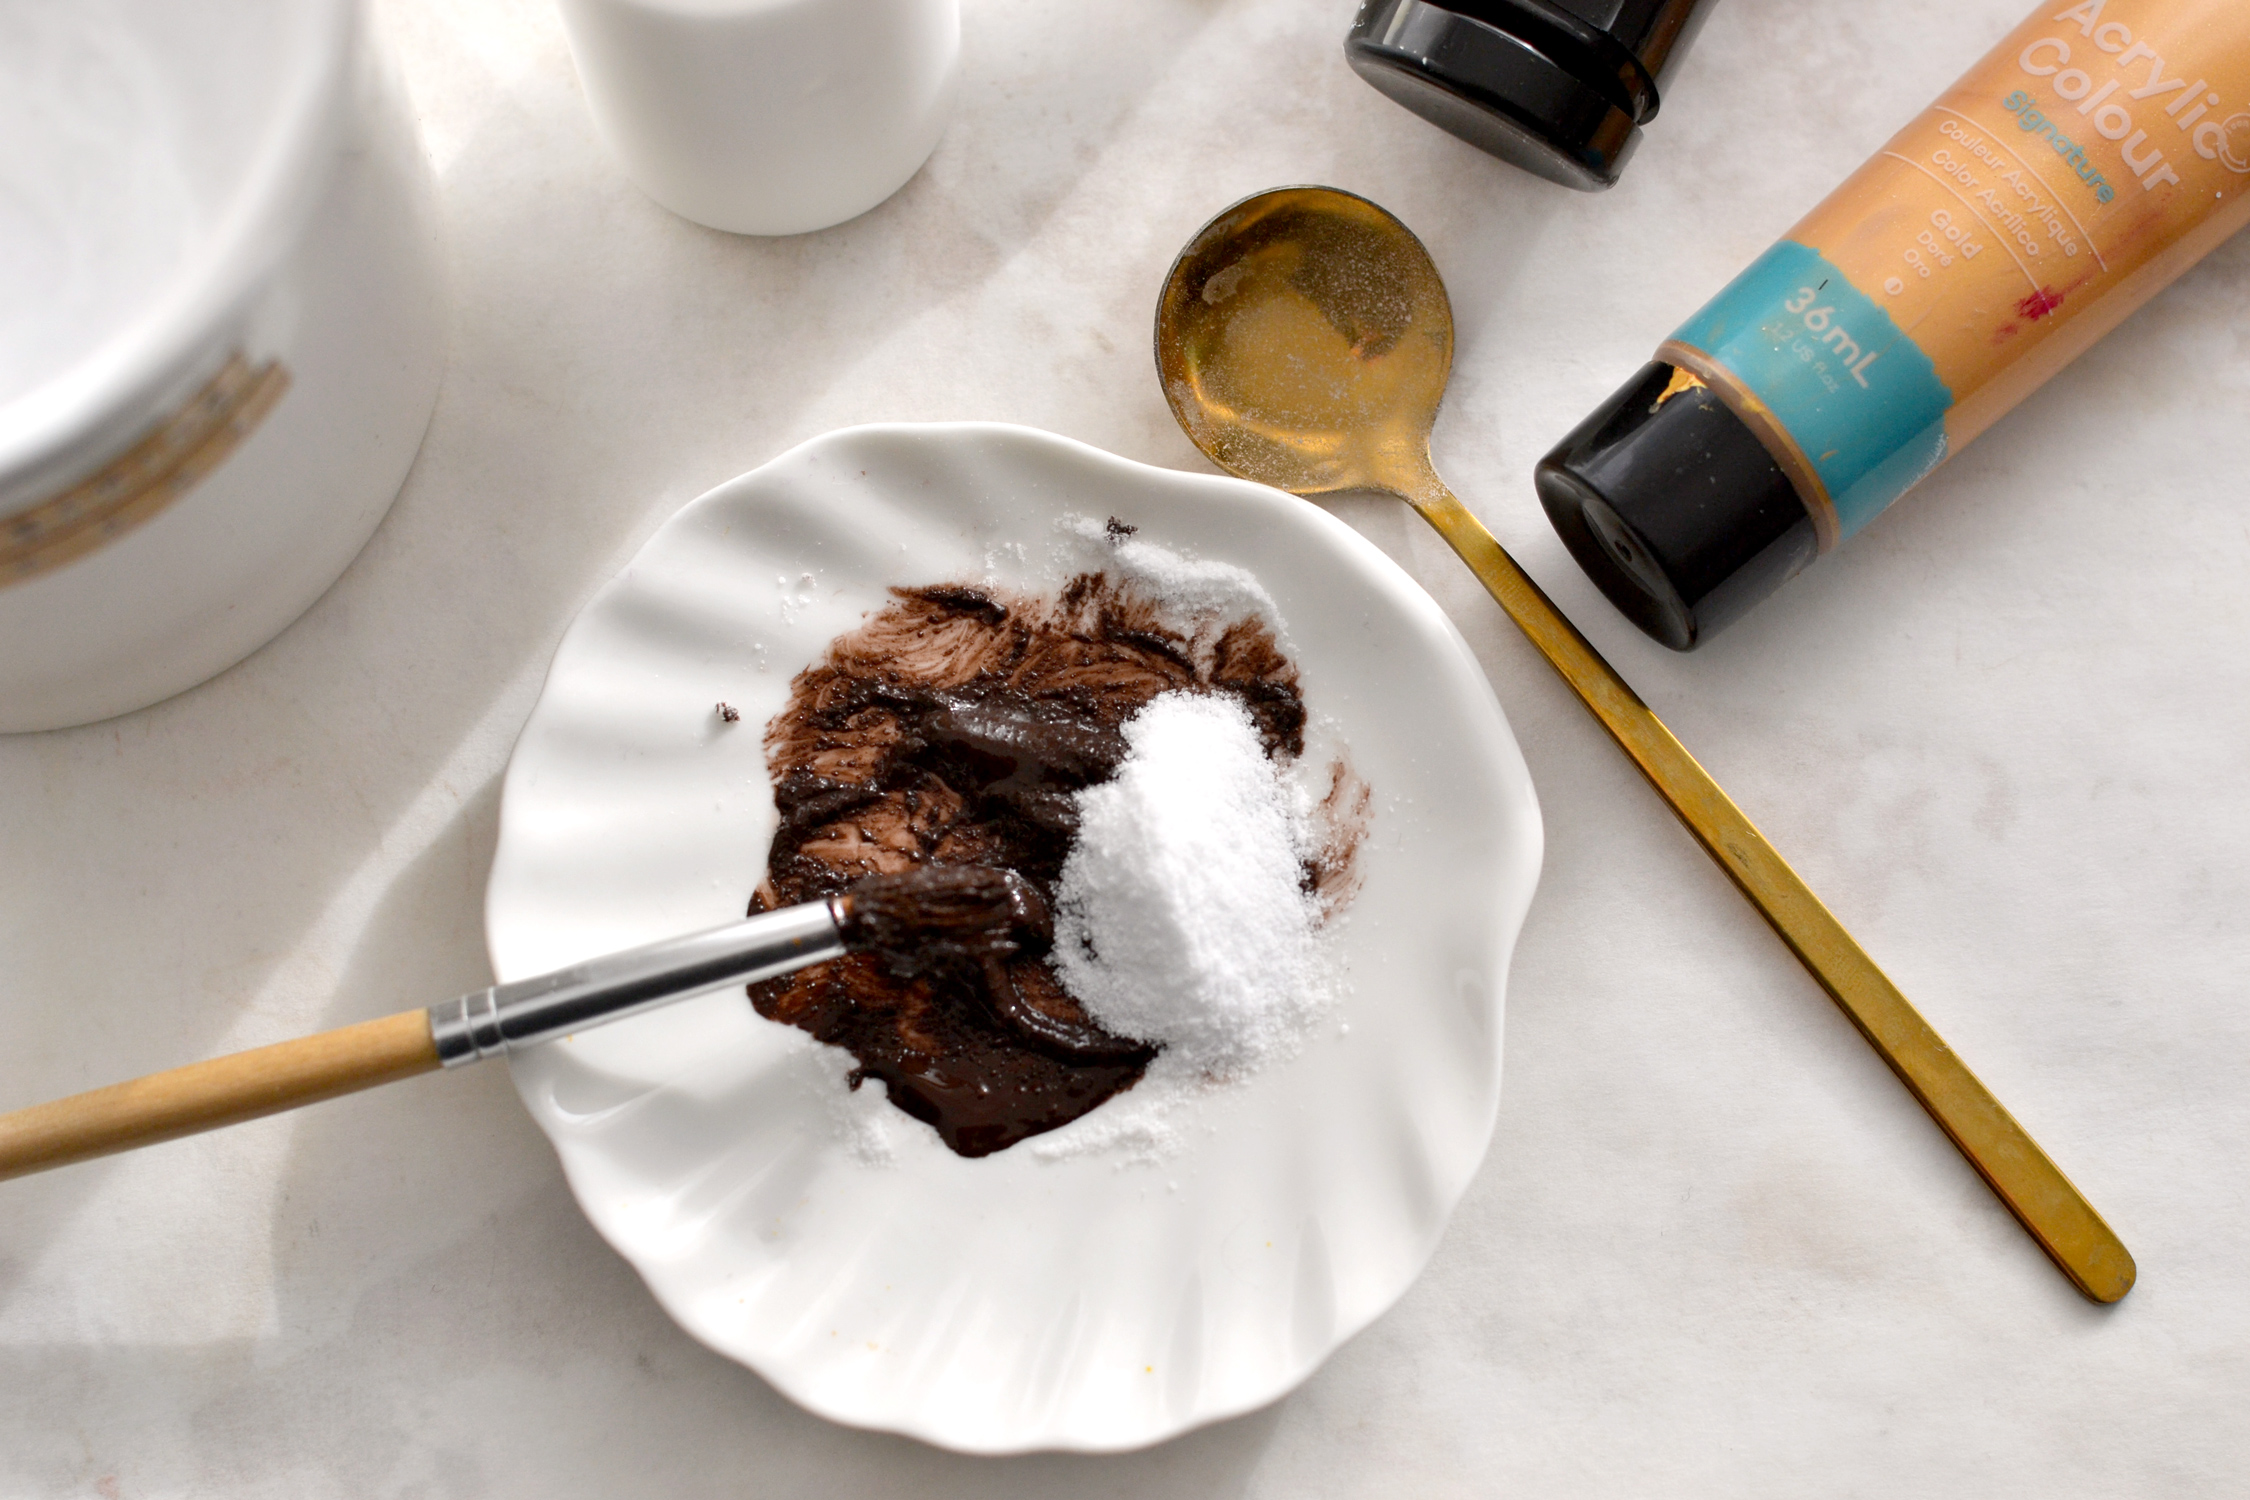
Gather all the supplies you need to create the rust. We will primarily use brown acrylic paint and baking soda, but just to make sure the baking soda doesn’t come off after drying, we will also add a little bit of white glue. As a final touch, you can use some gold acrylic paint if you want to add a little bit more interest to our finished pieces.
We will also need a small mixing palette and a flat brush, but it would be best to use an old brush or one that you don’t mind ruining.
To create the rust, start by adding some brown acrylic paint to your mixing palette. Add the white glue and then the baking soda. When it comes to proportions, I would say that we need about 3 parts brown acrylic paint, 1 part white glue, and 1/2 to 1 part baking soda. You can use a small measuring spoon if you want (start with the baking soda in this case), or you can just eyeball everything as I did.
My brown paint is more on the thinner side, but if your paint is thicker, you might want to start with a smaller amount of baking soda. Use your brush (or a small wooden craft stick) to mix the paint, the glue and the baking soda. If the paint is too runny, you might need to gradually add some more baking soda, the final concoction should look like wet sand.
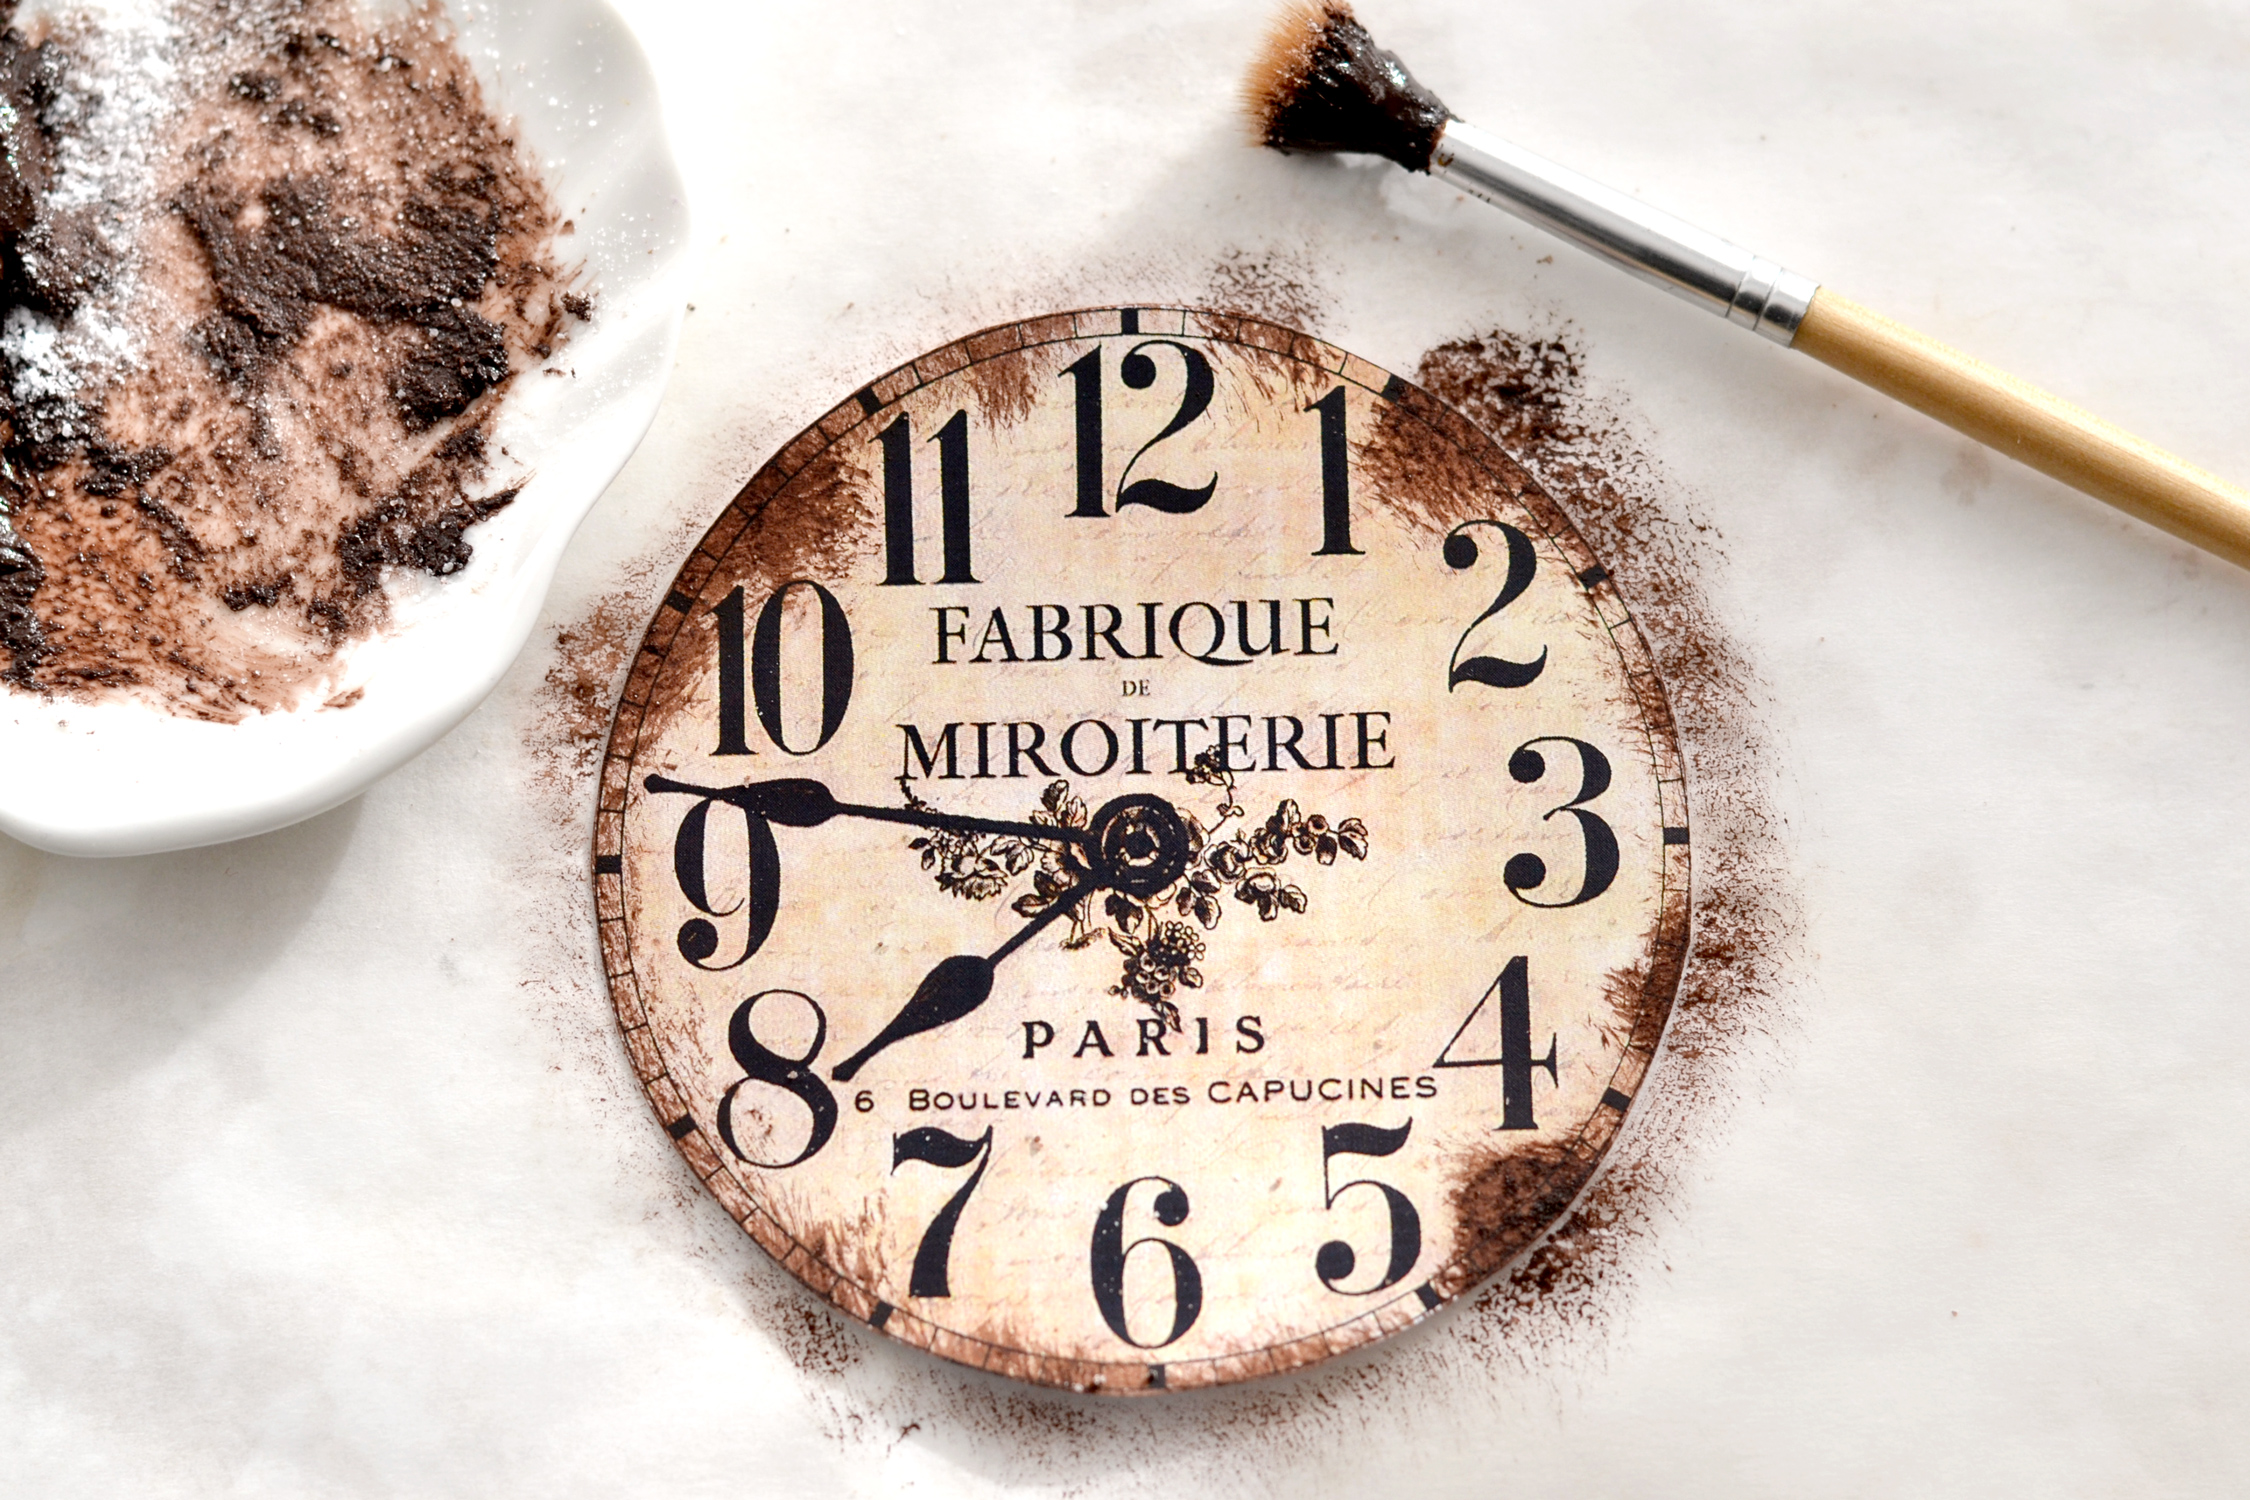
Don’t forget to protect your working surface before applying the paint (I used a scrap piece of baking paper), then use your flat brush and start dabbing the edges! I used a dabbing motion instead of just creating linear brush strokes – this will help in applying the rust paint mixture, while also creating a lovely irregular effect on the edges. Don’t add too much rust paint at first, just work your way around the surface of the clock gradually and see how it looks, then add more if you want.
Use irregular brush patterns to make perfectly imperfect rust stains here and there, the more different and irregular they are the better.
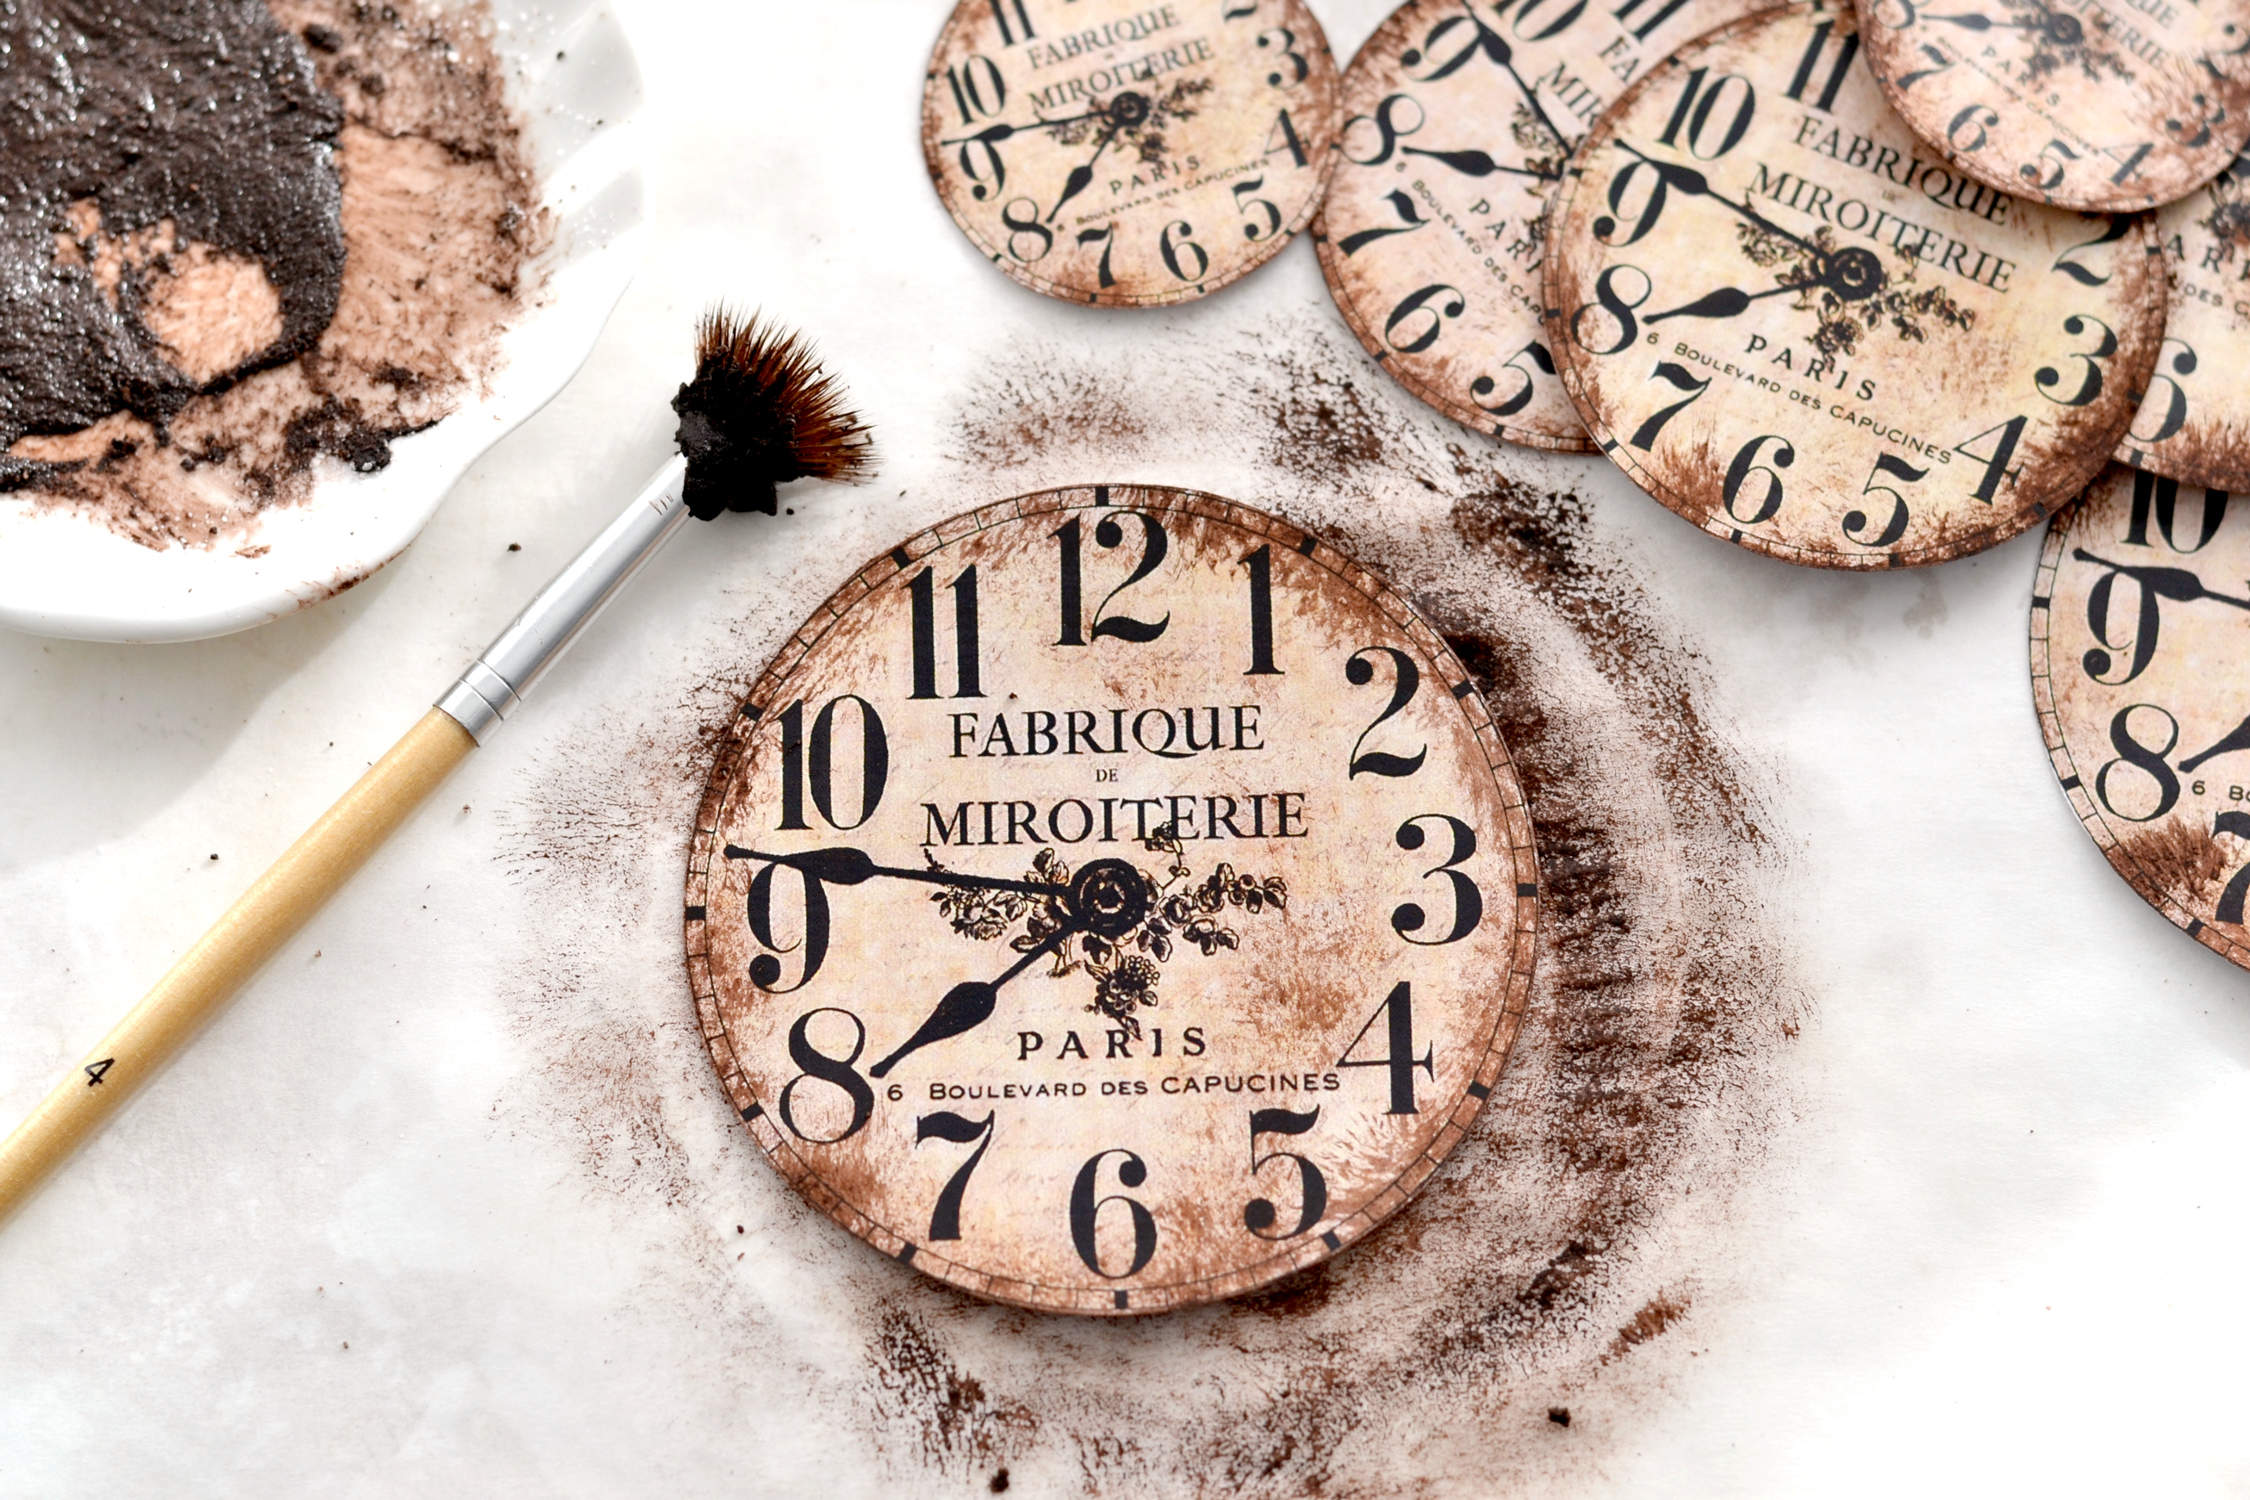
As you can see, I haven’t used any water for this project, we need to keep the mixture fairly dry to be able to create a lovely dry brushing effect on our paper. But if your rust mixture becomes too dry, you can gradually add some brown acrylic paint or some glue to slightly thin it out.
Don’t worry if your brush becomes super loaded and super freezy at this point because of the baking soda mixture and our dabbing motions, it will just add more interest to our beautifully finished pieces. You can also try to add some rust stains inside the clock at this stage, I used the paint loaded on the side of the brush for this step – I followed a wavy imaginary line to do this, I wanted the rust stains inside the clock to also look irregular.
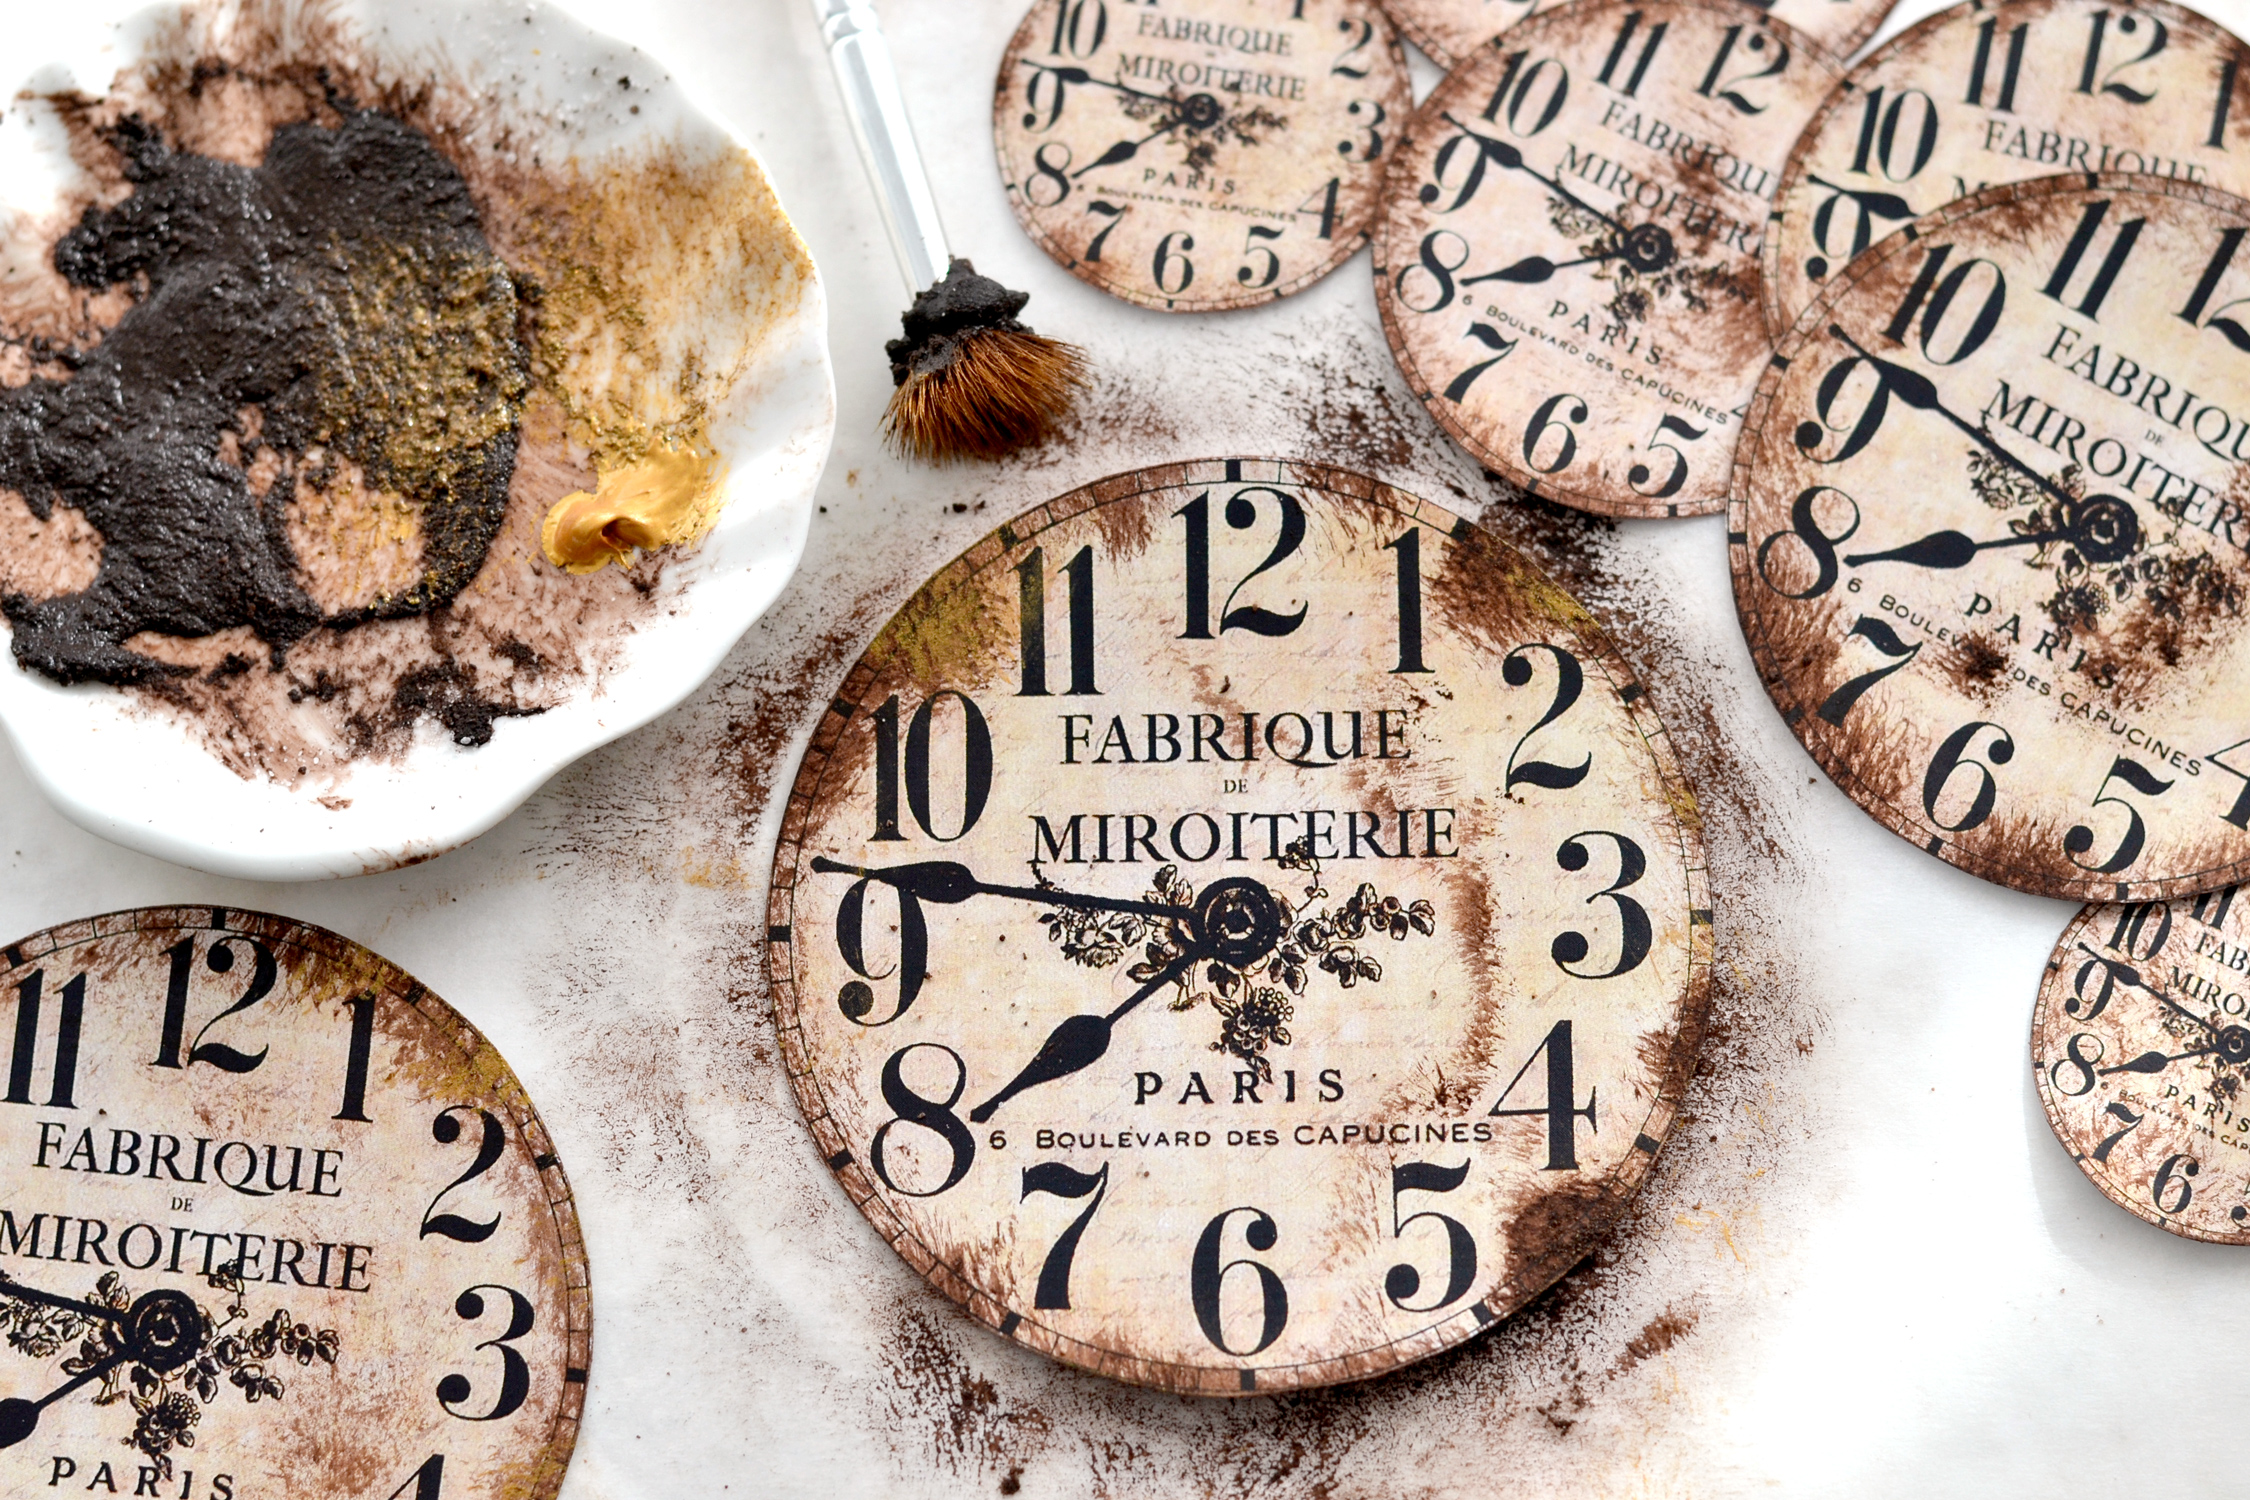
If you want, you can add a tiny bit of gold to your palette, then use your freezy brush to randomly paint some gold here and there.
The best part about this project is that there is no right or wrong to do it! You can add as much faux rust as you want, according to your preferences and your vintage tastes. If you want, you can do a few tests before on some scrap pieces of paper, but then, try not to think too much and just enjoy the whole process!
Don’t overthink it and just go with the flow, I found it easier to paint these relatively quickly so I don’t have time to stress too much about the final look. And if you feel like some areas need a little bit more of this faux distressing, just add some more of this amazing rust!
Our faux rust will dry relatively quickly on the paper, so you can finish these beauties in no time! Each piece will be truly unique, with some amazing perfectly imperfect details!
And your faux rust will not only look like real rust but it will also feel like rust. Once you hold one of these stunning clocks in your hand, you’ll be amazed at how realistic they feel!
You can choose to prepare a small amount of rust and only use it for this project at first, just to see how things go. But if you like it, you can prepare a larger amount that you can use for future projects – just make sure you store it in a recipient with a tight closing system so it doesn’t dry out in this case.
I used white cardstock paper to make the clocks, but if you want, you can also use white sticker paper to print these beauties. And when you are done, you can include the finished faux rusted clocks with a chic Frenchified look in all sorts of DIY projects. There are so many possibilities for getting creative with these, so I hope you will love this clock face craft project and decide to give it a try!
 You might also like my DIY Paper Bird Craft Project HERE.
Happy crafting,
Diana | Dreams Factory


Diana@findingstory says
I love these! Rust, very interesting. I’d been looking for a clock face.
Karen Watson says
That’s great Diana, I’m so glad you can use the clock face!