Collage Ephemera Book Mixed Media
Hello friends. Today Wendy Connors-Beckett, of Wendy’s Journal Adventure, is our featured Mixed Media Design Team creator. She shares her fun Collage Ephemera Book with you! Each week we highlight another Mixed Media project created by one of the exceptional Designers on our team. Each designer was given the task of using images from our Premium Membership Site to provide inspiration for your own projects. There is a blog post each week showing the photos of their finished artwork. We have a Show and Tell Video of the projects as well. Please scroll down to the end of this post to see her video. Be prepared to be inspired! I will now allow Wendy to tell you all about her art in her own words…
How I Made My Collage Ephemera Book
Hi everyone! Leo and I are excited and happy to share our April design team project. I was inspired by Spring, the beautiful Graphics Fairy images, and my love for organization. And with Spring cleaning on everyone’s mind, I considered how I could best organize my Graphics Fairy ephemera while keeping the bits and pieces visible, portable, and at hand for my projects.
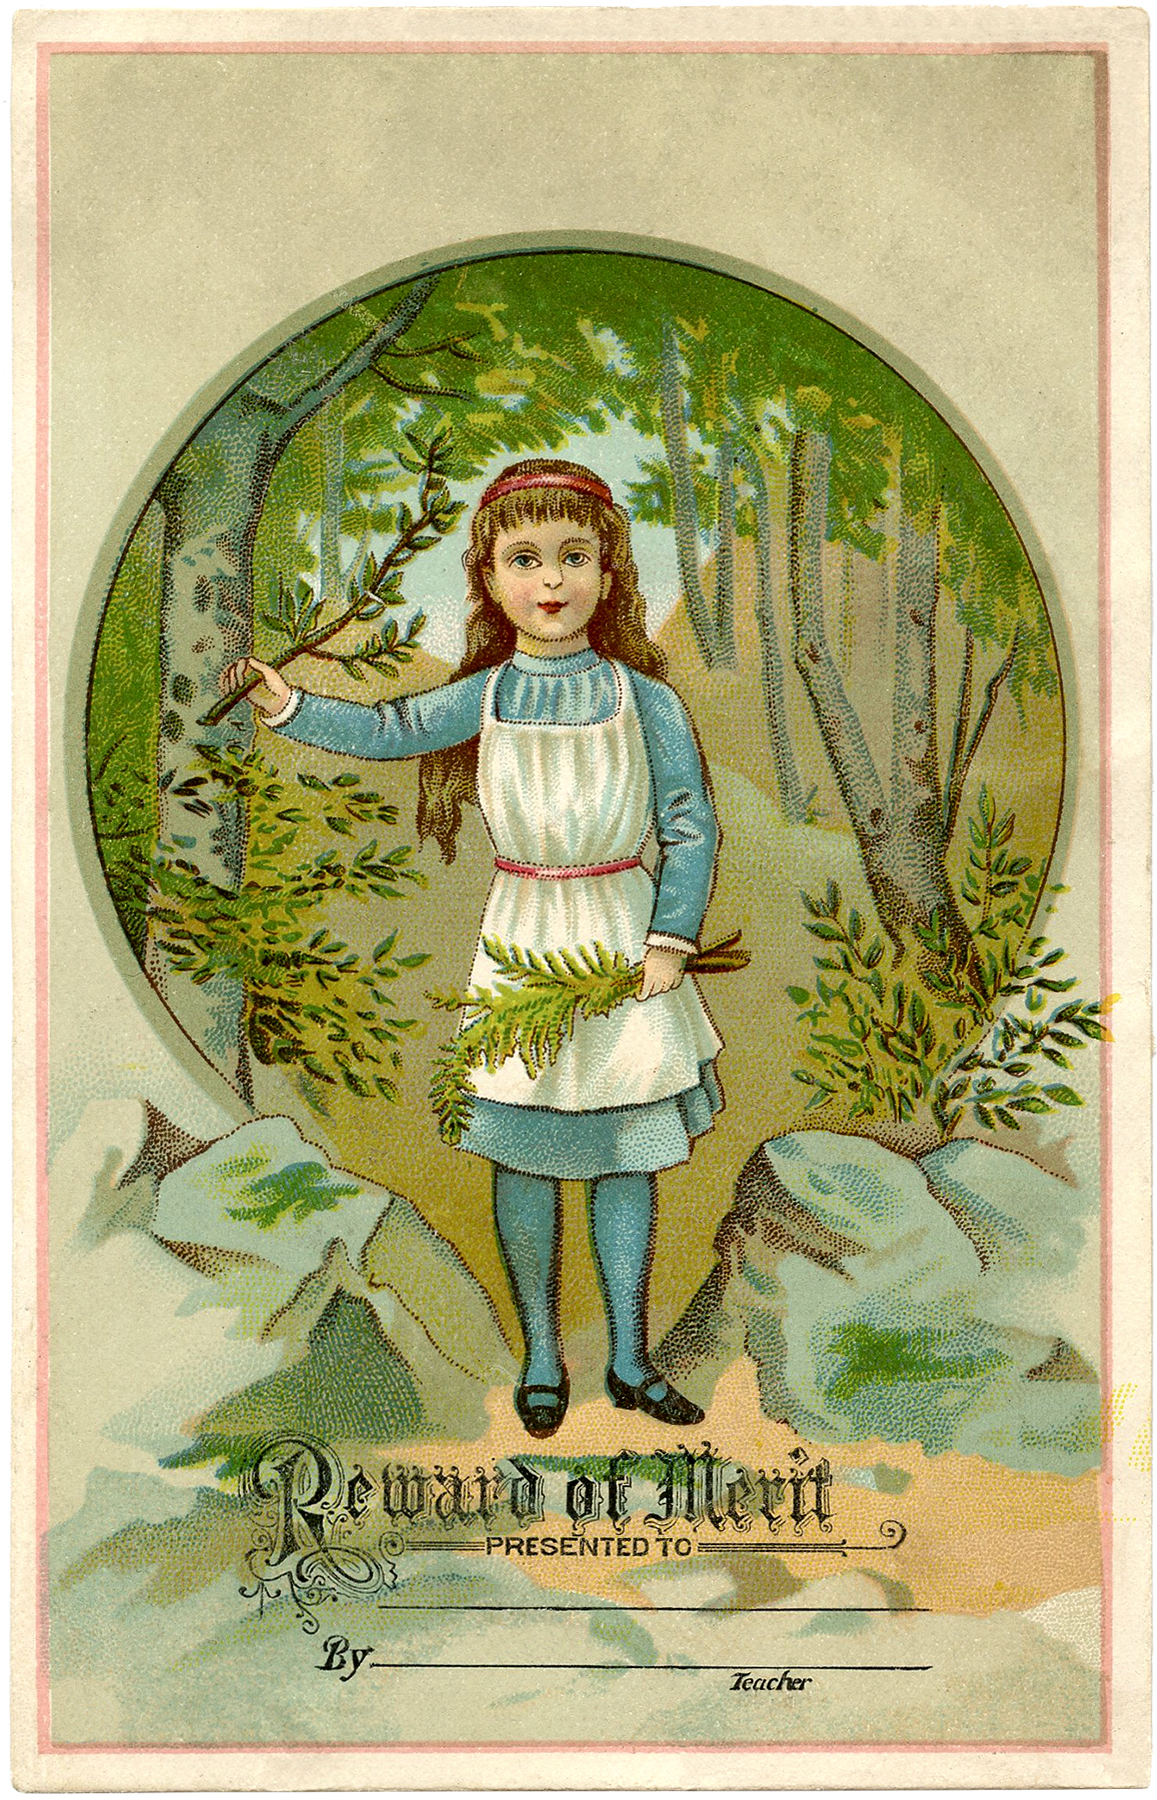
With that in mind I’m sharing what I’m calling my Collage Ephemera Book. I’ve used images from four digital kits on the cover – the links for each are below.
Collage Book Supply List
Here’s what you will need to complete this project:
- Glassine envelopes (sized smaller than the index card pages)
- Closure rings – 1 inch diameter
- Graphics Fairy images/pages for collaging
- Glue stick
- Pen
- Hole punch and 4 eyelets to fit
- Cover base (2) –vintage flash cards or card stock
- Index cards for interior pages
- Wet glue (FabriTac or Art Glitter Glue)
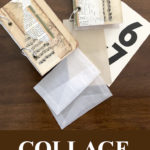
The first step is to collage The Graphics Fairy printed paper onto the cover base. I used vintage flash cards as my cover bases, but you can use card stock cut to your preferred size. Please remember that the size of your cover will dictate the size of your interior pages and glassine envelopes. I added a piece of cardstock to the inside of each cover to stabilize the flash card and keep it from curling.
TIP: I prefer to use glue stick for collaging my images onto my base. Glue stick is a dry glue, and when applied evenly it doesn’t ‘bleed’ through your paper or leave a wet mark.
When the covers are completely dry, punch two holes in the top cover at the spine location. Be sure that the distance between the holes will fit the interior page height.
Using the top cover as a guide, mark the back cover and interior pages (index cards) for hole placement with the pen. Set eyelets on the top and back cover. This ensures durability of the book; the inside pages do not require eyelets.
Glassine Bags
The glassine bags are essentially the ephemera holders for the organizer. Use the wet glue to add the envelopes to the index cards. TIP: Wet glue is preferred for this step because it will hold better and is easier to control re: glue placement. It’s important to place the envelopes with the flap facing up and on the side of the index card opposite the spine (where the holes have been punched).
Glassine envelopes are preferred over glassine bags for this project because they allow for easy side access to your ephemera. I don’t add another glassine envelope to the back of the index card (although that is an option). I prefer instead to keep the back of the card available to write the type and source of ephemera in the envelope. Once you have all your glassine envelopes added to your hole punched index cards you’re ready to place everything on the rings.
Images Used to Make Book
For the Book, I have used the following Premium Site bundles:
- French Attic Ephemera
- 1700’s Music Sheet
- Blank Papers & Parchment
- Blank Paper Ephemera – 5 x 7 Journal Pages Printable
Show and Tell Video
Thank you all for watching! I hope you enjoyed this quick and easy project. I encourage you to give it a try and add your own personal touches. Feel free to add a label to the front of your Collage Ephemera Book or add further embellishments.
Wendy
Come by and visit me on Youtube: Wendy’s Journal Adventure


Rk says
Very pretty and practical for storing ephemera, which I have plenty of. I have been storing them in decorative boxes but then I forget to look in there before a project lol.
graphicsfairy says
LOL, isn’t that always the case Rupa 🙂
PattyVan Fleet says
Love this idea! I went to Dollar Tree and bought there accordion files that are half sheet size. There are enough dividers for my needs but it is so blaugh and has such sharp corners. I told myself I needed a better idea. And this is great. Thank you. I already have index cards on rings for tips and tricks I’m picking up here and there. I love that so I know I will love yours as well!
graphicsfairy says
That is awesome Patty, have fun!