DIY Coasters with Photo Transfers
I’ve got a fun project tutorial for you guys today, we’re going to make DIY Coasters! Not just any coasters but Gorgeous Travertine Marble Tile Coasters with photo transfers. These are inexpensive to make and look very high end, and they make fantastic Homemade Gifts! I first created this tutorial back in 2016 but I think it still holds up, so I’ve updated it with some larger photos.
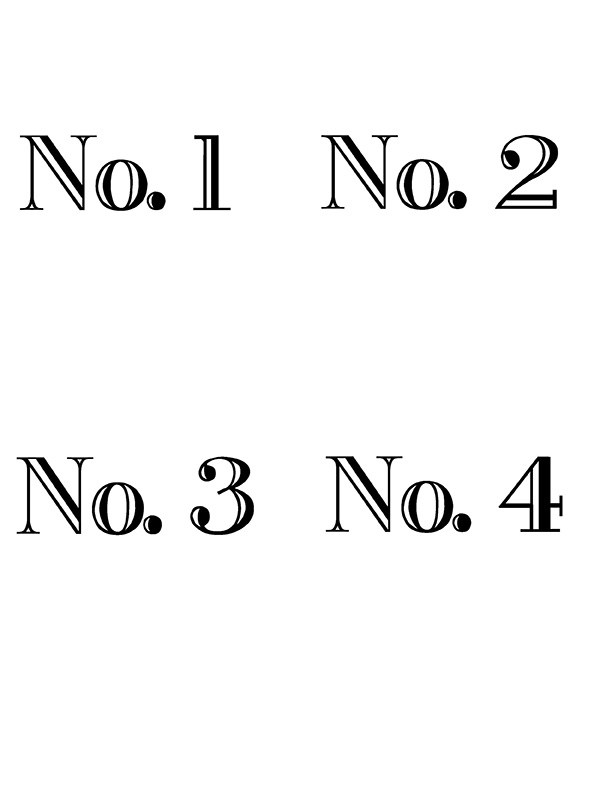
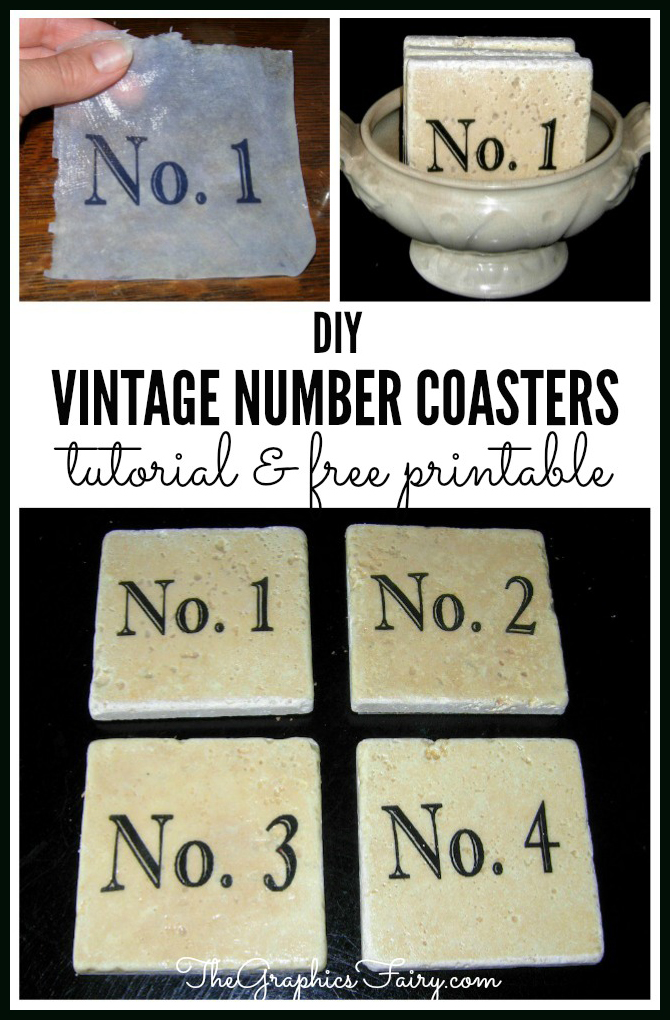
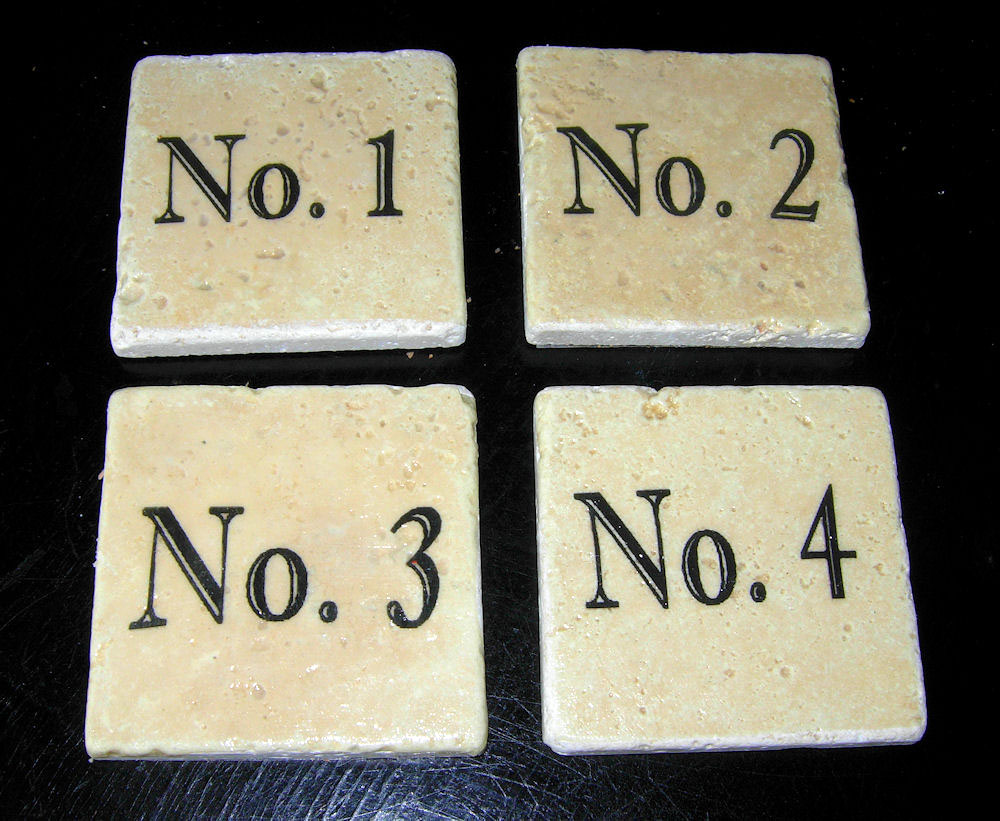 I used some fun Vintage numbers for my coasters and I’ve included a free printable down below so that you can make some too, if you like. But really you can use any image that you like, beautiful flowers, pretty Birds, Mushrooms, Architecture and of course Photos too! You can customize with photos of your own family, ancestors, pets or friends or even with pictures of your house. Feel free to customize the process to your liking!
Supply List for DIY Coasters:
1)Light colored 4″ square tumbled Travertine marble Tiles (you can often buy them by the box at Lowes or Home Depot too)
3)A roll of adhesive backed cork sheet
4)Paintbrush
Free Printable Numbers
Click HERE for the Full Size Printable PDF of the Vintage Numbers
Tutorial for DIY Tile Coasters
Step 1: Grab the Free PDF sheet of the numbers above for this project, and print it out on your computer (or use your own images or photos). Next, you will need to have a Photocopy made of this ( inkjet printers do not work with this process.) So take your printed images or photos on over to a copy place, like Staples or Office Max etc and have them make a Laser Copy for you.
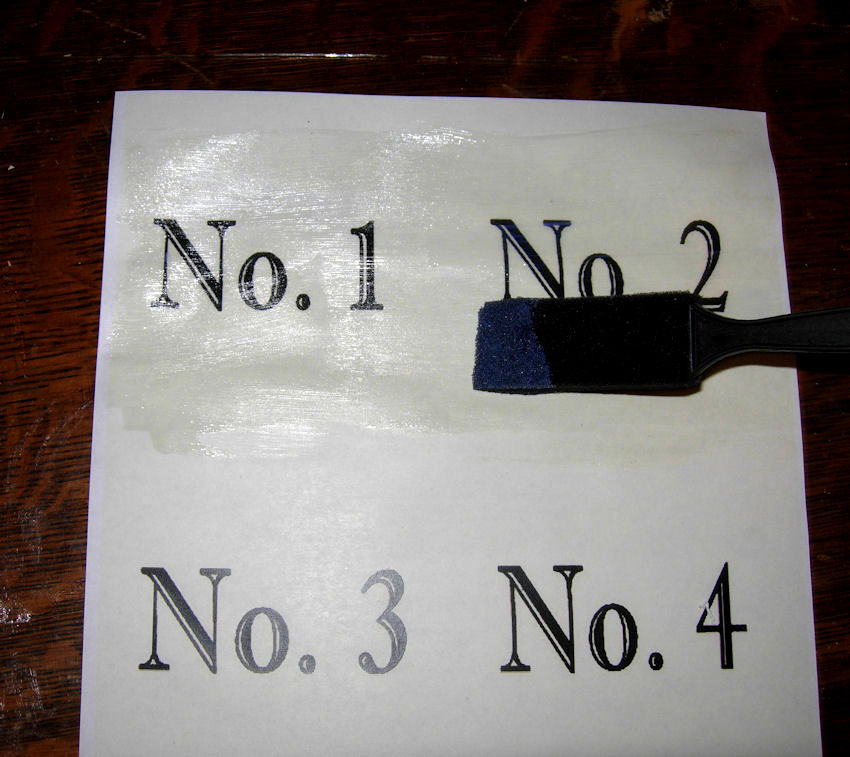
Step 2: You will need to brush on 3 coats of the Omni gel Transfer Medium. Brush the first coat in a horizontal direction, let dry completely. Brush the second coat in a vertical direction, let dry completely. Brush the 3rd coat in a diagonal direction, and again let dry completely.
Step 3: Cut image to the size of the coaster and then soak in a bowl of water for 10-20 minutes.
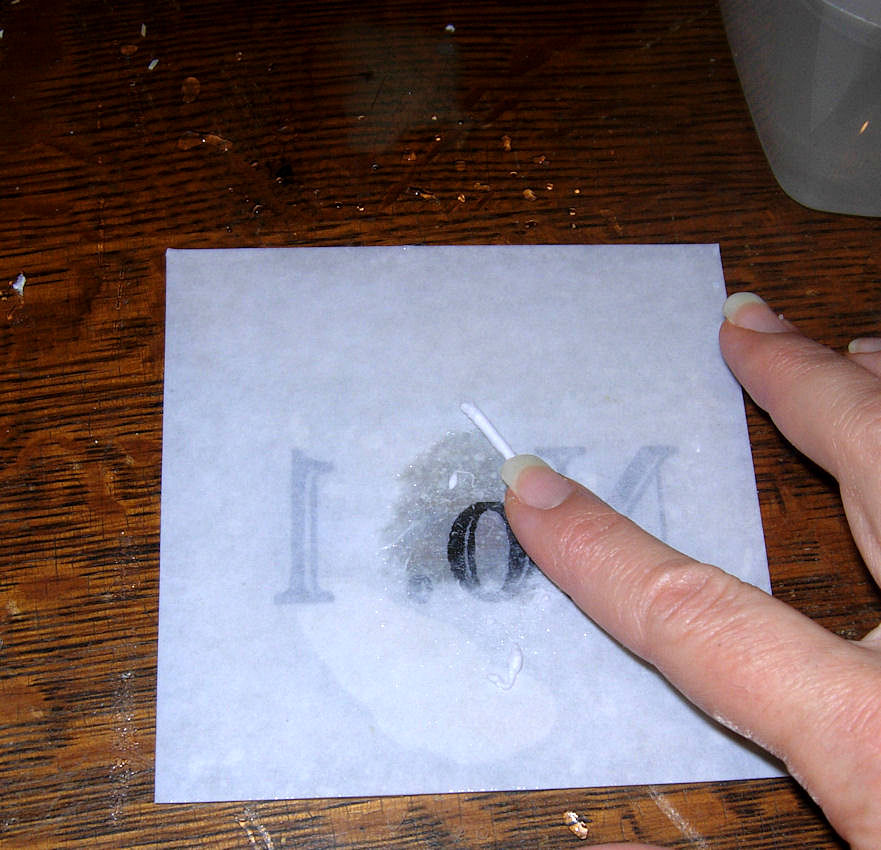
Step 4: While paper is still wet, rub the paper backing with your fingers in a circular motion to remove all of the paper leaving just the gel transfer behind. It can take a bit of rubbing to get it all off but it’s worth it!
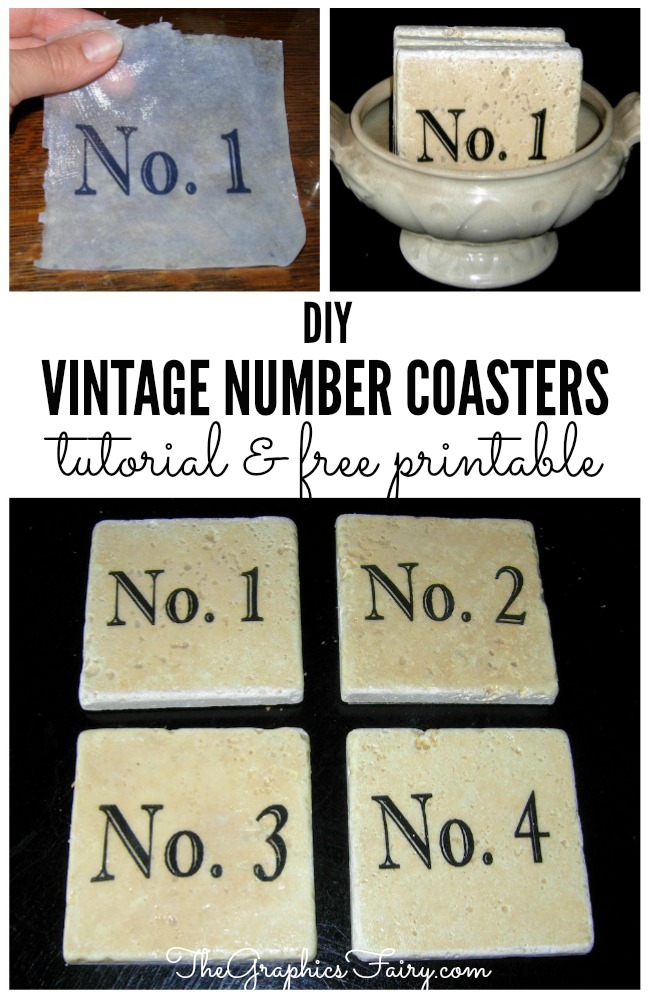
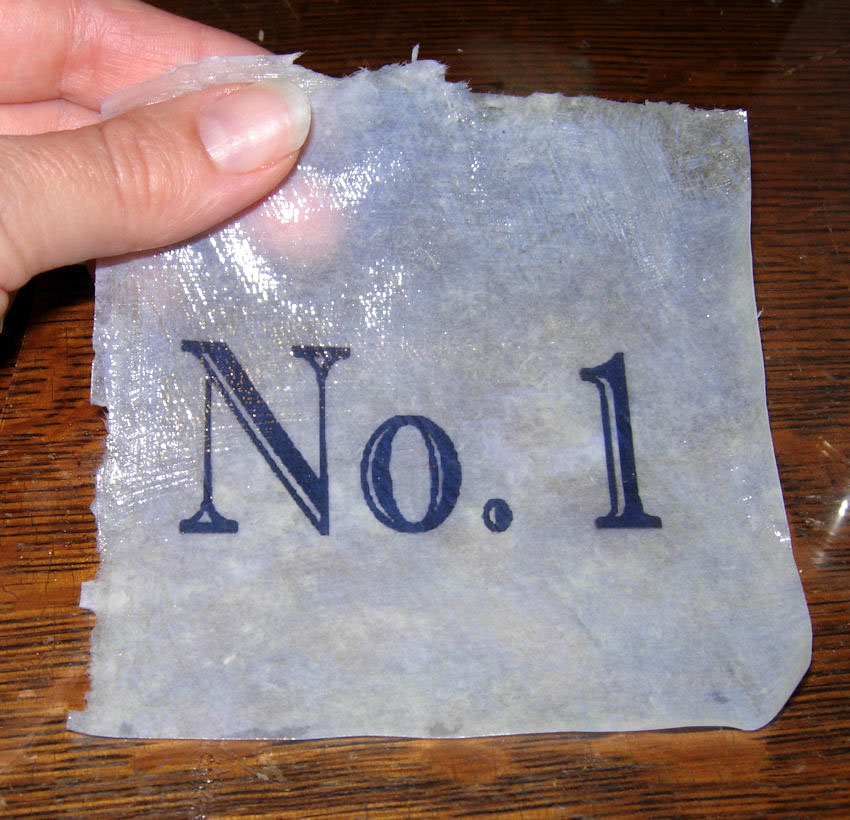
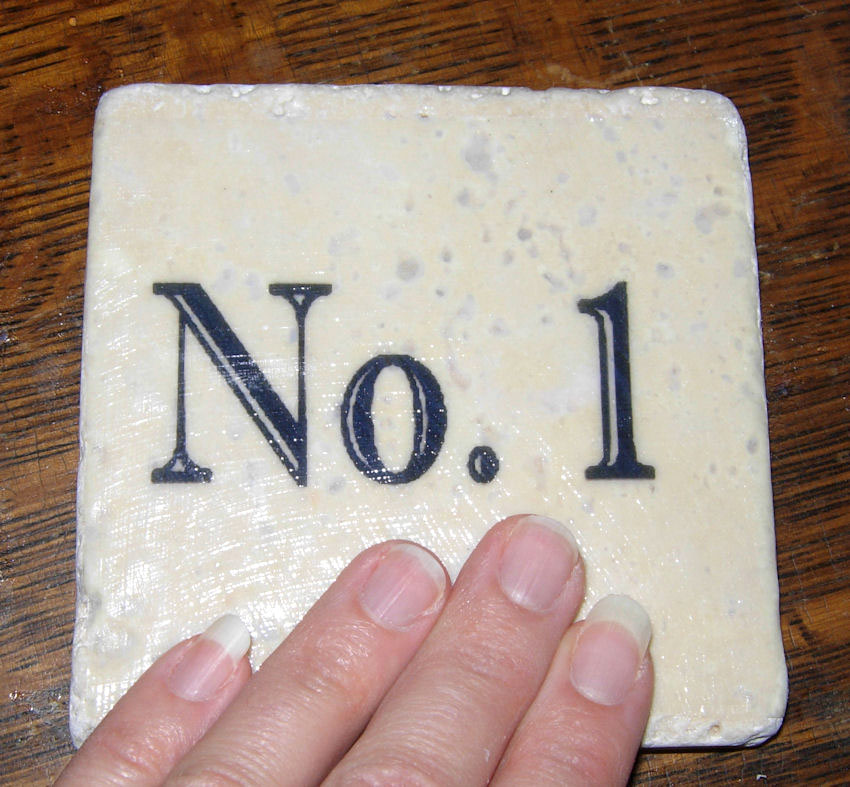
Step 5: This is what your left with. The ink is trapped inside of this vinyl looking piece. Pretty cool!! At this point you can trim this up with scissors if you have ragged edges like I did here.
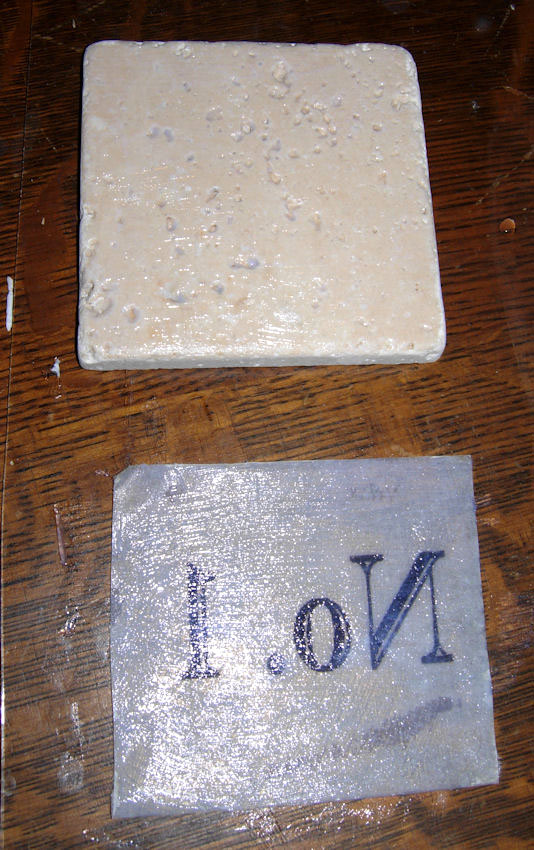
Step 6: Use more of the Omni Gel as a glue to adhere the transfer to the tile. I coated both the top of the marble and the back of the transfer.
Step 7: Press the transfer down and smooth out to get rid of any air bubbles. If you have a brayer this would probably work even better. I have one but um… couldn’t find it. Oh well!
(Note: The image will look a little cloudy at first but it will dry clear after a day or 2.)
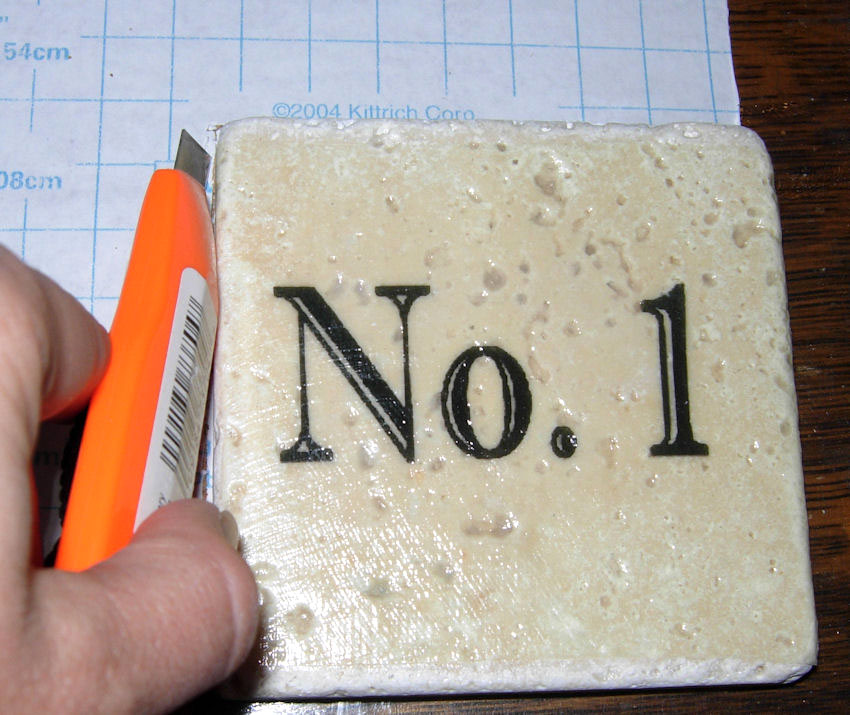
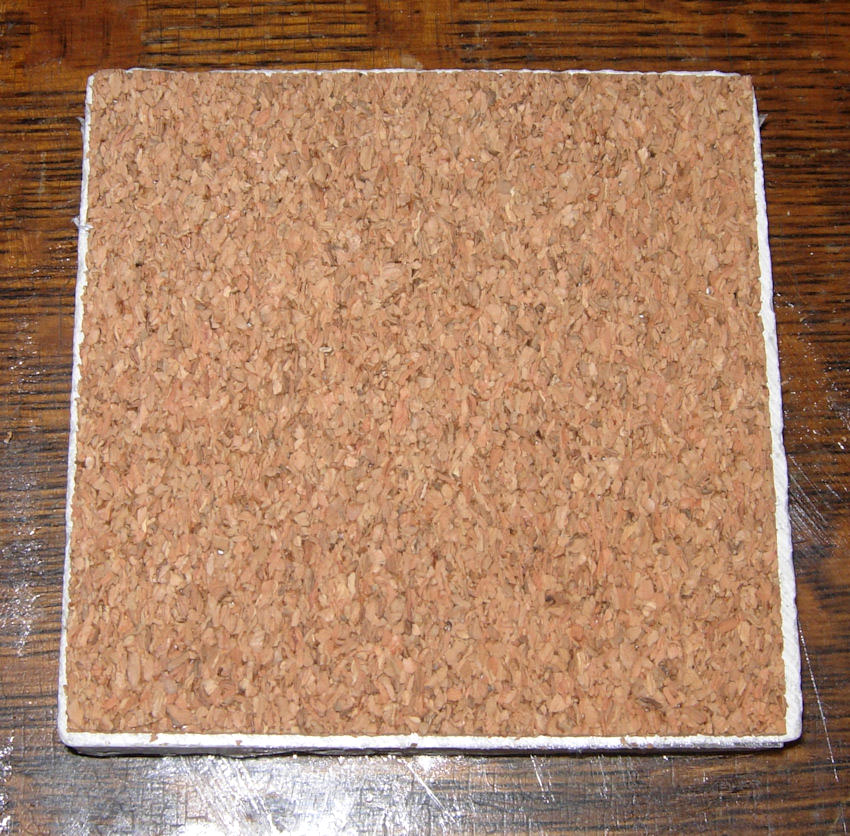
Step 8: Next roll out the adhesive backed cork and lay the tile on top. Then cut around it to fit. I used a utility knife for this one, but scissors work just as well. This cork is made by “Contact” (the same people that make Contact Paper that you line your shelves with) and it has a nice grid on the back, which makes it easy to get it just right!
Step 9: Smooth down the cork with your fingers until it’s nicely adhered to the tiles. I think this gives them such a great finished look and it will protect your tables too.
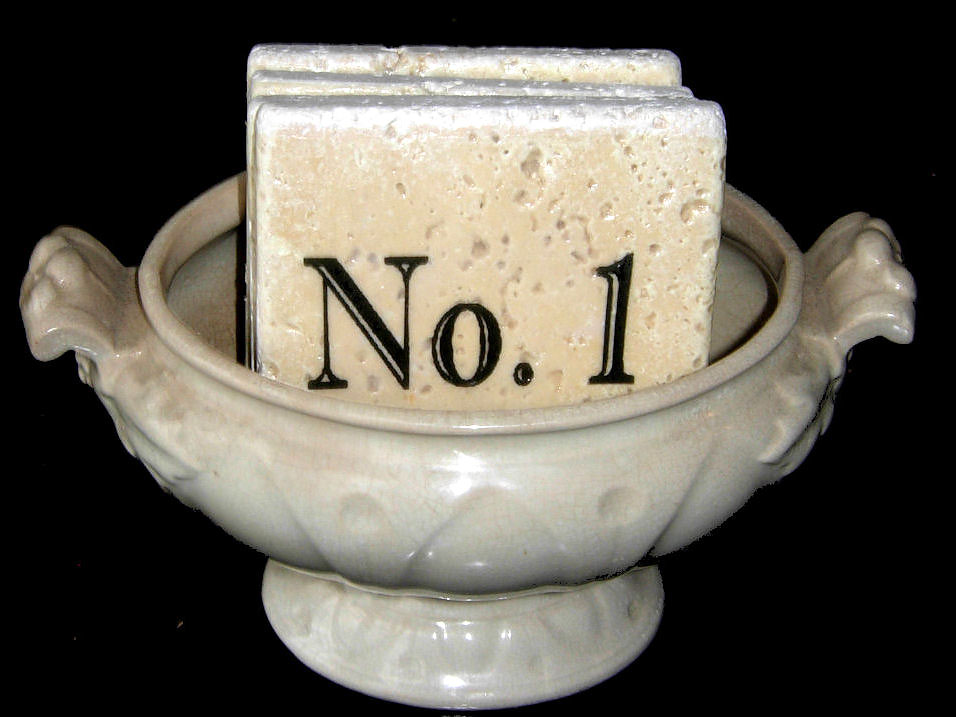
Now you are done! So easy right? And they really do look like a very high quality item. I’m storing mine in a small antique Ironstone tureen for now. I hope you like this easy project. These would make a great gift for the holidays, I think they would also be a good item to sell at craft shows, or Barn Sales etc. I would sell them in sets of 4, you could tie them up with some nice rustic string or pretty ribbons. You might also like our Transfer Methods Page HERE and these beautiful Wooden Bee Coasters that Diana made HERE.


Hannah says
Could this be done on wood??
graphicsfairy says
I’ve never tried it on wood Hannah but don’t see why not. I am a firm believer in giving it a practice try on a piece of scrap material first before trying it on your real project piece! Give it a try and let us know how it turned out 🙂
Anthony says
I am VERY excited to make these for my wife as a Christmas Gift. One question I have seen conflicting advice on…Do you use the actual image or do you use the mirror image? I think it is the regular image, but don’t want to make a mistake.
Thank you!
Karen Watson says
That’s great Anthony! The Omni Gel is reversible! Since it’s clear you can use either side. I think one side is more shiny and one site is more matte, so you may want to play around with a test piece and see which side you prefer.
Anthony says
Thank you so much for the quick response! I will experiment with the shiny/matte options.
I understand that you recommend just working with the “full sized printable PDF” image as opposed to the “reversible printable PDF” option you have on your site.
Is that correct?
Thank you!
Karen Watson says
Hi Anthony, You can use either one, depending on the type of project that you’re doing. They are both the same size and quality.
Tess Grace says
Hello,
You say that inkjet printers will not work for.this method… what printing do you recommend?
Also what should the graphic be photocopied onto, normal paper?
Many thanks
Karen Watson says
Hi Tess, Just make a photocopy of it at a copy shop, like Staples or Office Max. The standard paper that they use in the machines work just fine!
Ginger slate says
What kind of brush should I use for the omni gel because I have brush stroke marks on my image and how to I disguise the border of the image when I place it on a piece of furniture so that it looks painted on and not just glued on??
Karen Watson says
Hi Ginger, it’s been awhile since I’ve used this technique, but I think I used a foam brush. The best way for it to look natural, is to take the product all the way to the edge, so that you have an even sheen all over. I would stick to small pieces of furniture, as you will go through a lot of product with larger pieces using this technique. I hope that helps!
Denese winterscheidt says
Thanks so much for the download will use them with waterslide decal paper, will use the sealing sheet so it will be washable. Going to put them on the drawers of my grandaughter dresser i am doing. Thanks so much for sharing your work.
Nicole N says
These are so cool! Love them! A question I have is, can you use a picture with color in it?Or will that not transfer? I noticed all of the images are black and white images. I am guessing the color would not transfer well, but was curious.
Thanks so much!
Nancy says
I have the same question about photocopy. What does that term mean? I have a laser printer and just bought an ink jet printer, would the laser printer work? What kind of paper? Anyone ……..??? Thanks!
The Shabby Owl says
Does any type of sealer need to be used on them to protect them from moisture from the drinks?
BTW, I absolutely LOVE your site.
Oline-Marie says
Apparently no one at Michaels, AC Moore, and JoAnns have heard of Omni Gel…can only find it online.
brianarenee51 says
Hi Karen, I’m getting ready to make these coasters as Christmas gifts for a few people on my list. I wanted to know if I should use a sealer on them after they are put together to help with condensation to protect the image. Thank you
Nicole N says
Did you ever put a sealer on them? If so what kind?
Anonymous says
Hi Karen, I love these coasters and can’t wait to try this project. I am not familiar with omni gel and I have a question about it. When the drinking glasses leave rings of moisture on the coasters, does the gel ever become soft again?
Anonymous says
Hi Karen, I love these coasters and can’t wait to try this project. I am not familiar with omni gel and I have a question about it. When the drinking glasses leave rings of moisture on the coasters, does the gel ever become soft again? T
rkramadh says
Hi Karen, I have been wanting to try something like this with some bird images from your site. Unfortunately I have not had any luck finding Omni gel in any of the Michaels stores in my state. Do you know if Liquitex Gel Medium would do the same? I hope the answer is yes since I have been wanting to make these for a long time now. Thanks!
rkramadh says
I have an update. I found Omni Gel on Overstock (yes!). What I discovered is that if the image has white parts to it and I apply the transfer to an ivory colored tile, the whole tile takes on a antique look, not bright colors. Yours look great because the numbers are black. I will try this again with some brighter images. Thanks again for the great inspiration!
Karen Watson says
Thanks Rkramadh! You can also find it at JoAnne’s!
Nancy says
Love these! I think I’ll make some coaster sets for some gifts! Great directions! I suspect I could even use something similar on EEEBCI projects on my DIY page (Easy Enough Even Bill Can Do It) Better known as husband craft tested for easiness! Thanks.
Lisa says
Hi, I was wondering if anyone else had trouble with the image in the gel ripping as you were trying to get all the paper off the back? I’ve tried 3 times, making the gel layers thicker each time, and no matter how gently I try to remove the paper, it rips. Any suggestions?
Lisa
Karen Watson says
Hi Lisa,
Hmm, I’m not sure why that’s happening. What type of paper are you using? I just use regular printer paper.