DIY Pedestal Cake Stand
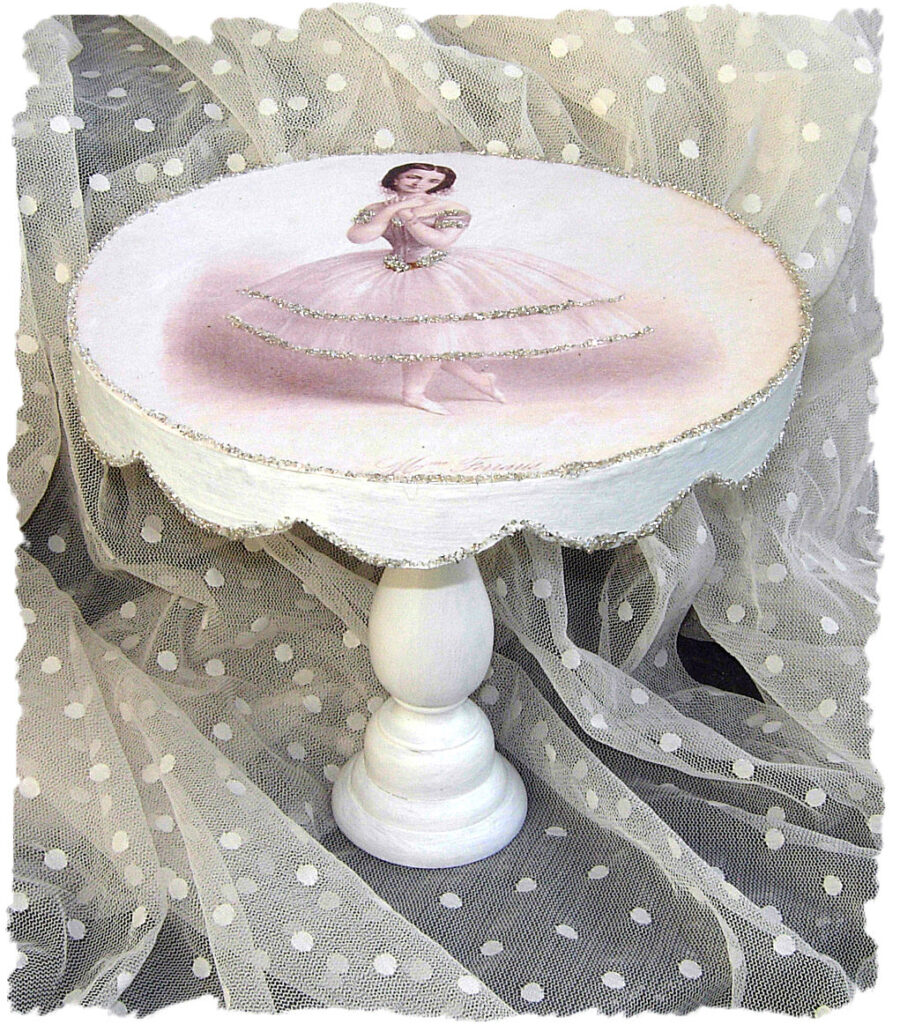
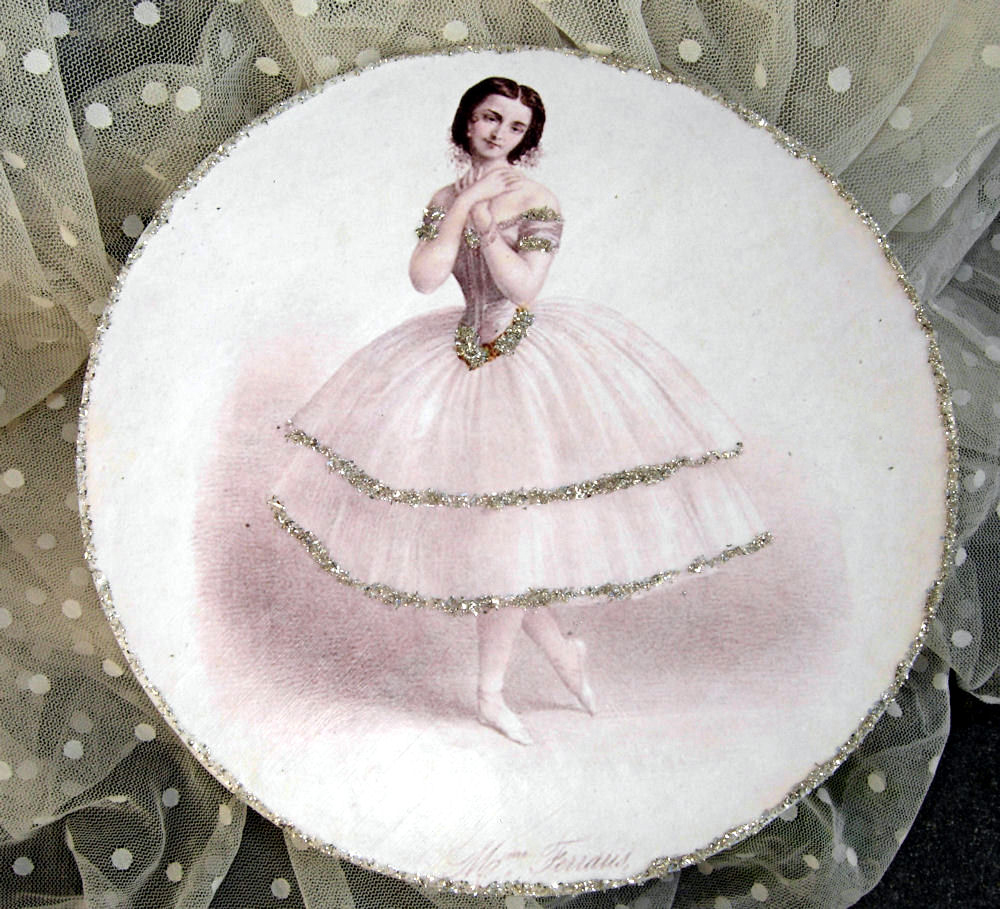
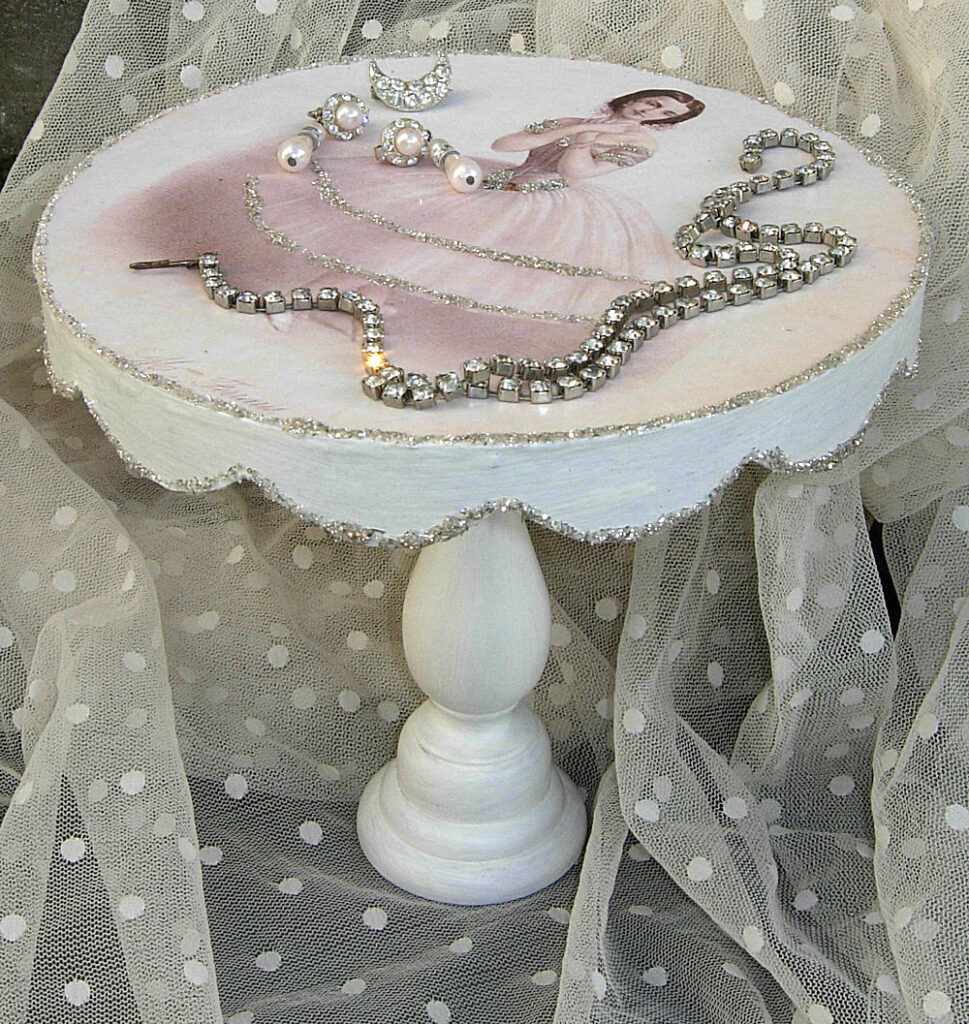
This is a fun tutorial for creating a DIY Pedestal Cake Stand! For this stand I used a beautiful pink Ballerina image, but you could use any sort of motif that you like. You could also change up the color, the glitter, add embellishments, ribbons or whatever you like. I could see doing a black version with a spooky print for Halloween for example! Keep in mind, this is not a food safe surface so do not place food directly on the top. If you want to serve food on it, you definitely want the food on a plate first, then you could put the plate on the pedestal. It’s a great little display piece though, that’s perfect for displaying jewelry or hair accessories. Or great to use at a craft fair to display pretty handmade soaps or other small craft items.
I’ve included a supply list and instructions below:
Supply List for DIY Pedestal Cake Plate:
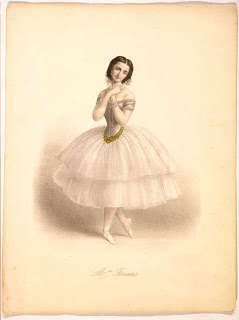
1) Printed copy of the image shown above.
2)Mod Podge (I used matte finish)
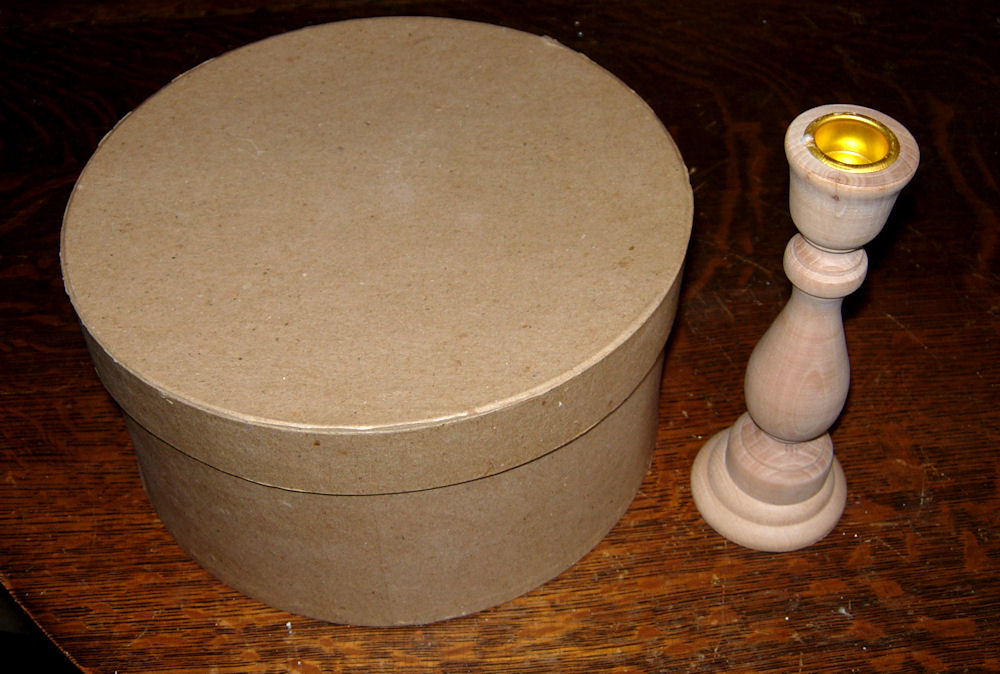
4)Round Paper Mache box lid (around 8″)
5)Wooden Candle Stick (around 7″)
6)Paintbrush
7)Glitter
8)Strong Household Glue (Like Goop or Gorilla Glue)
9)White paint
10)Scissors or knife
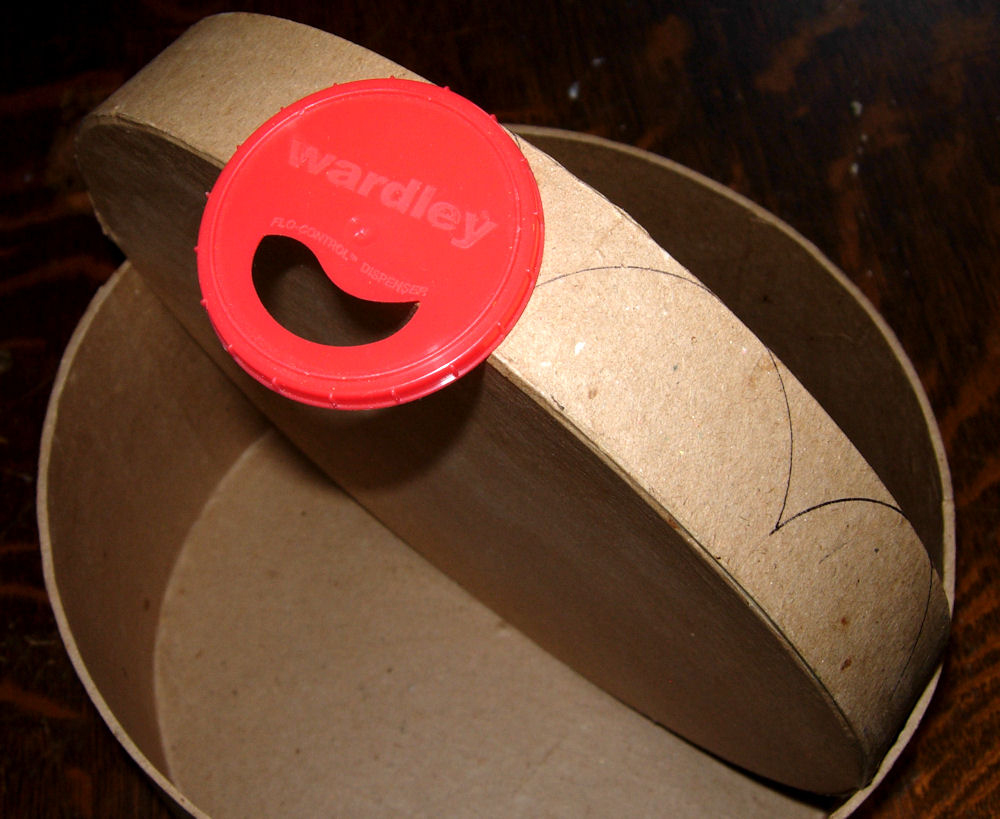
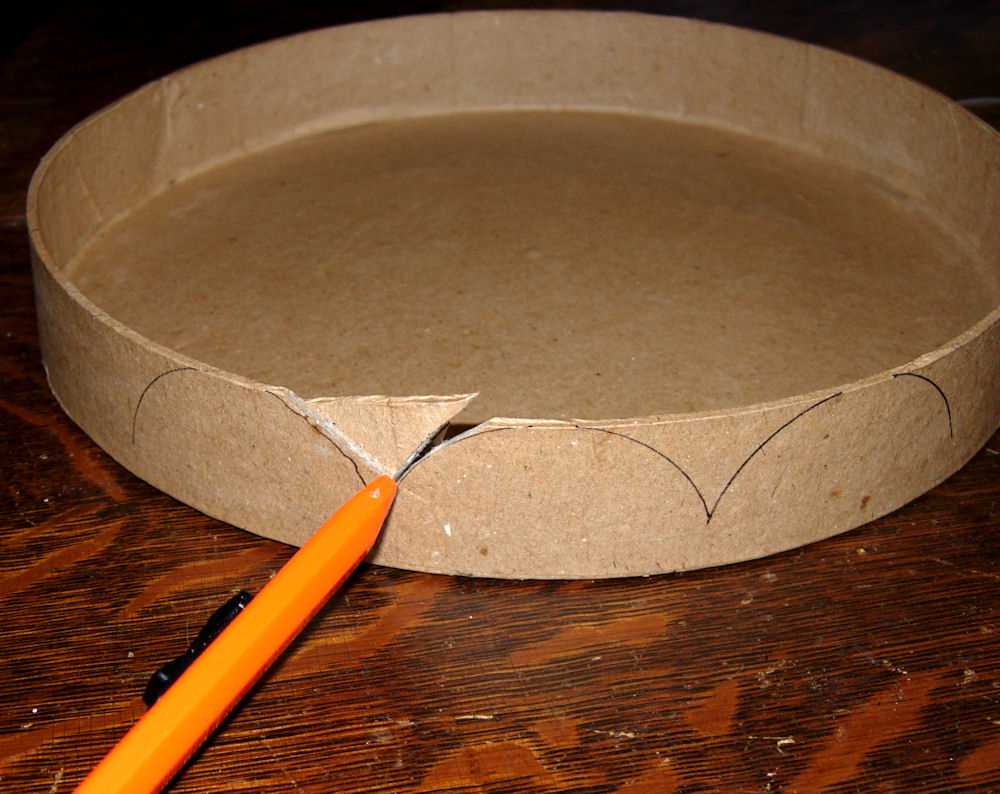
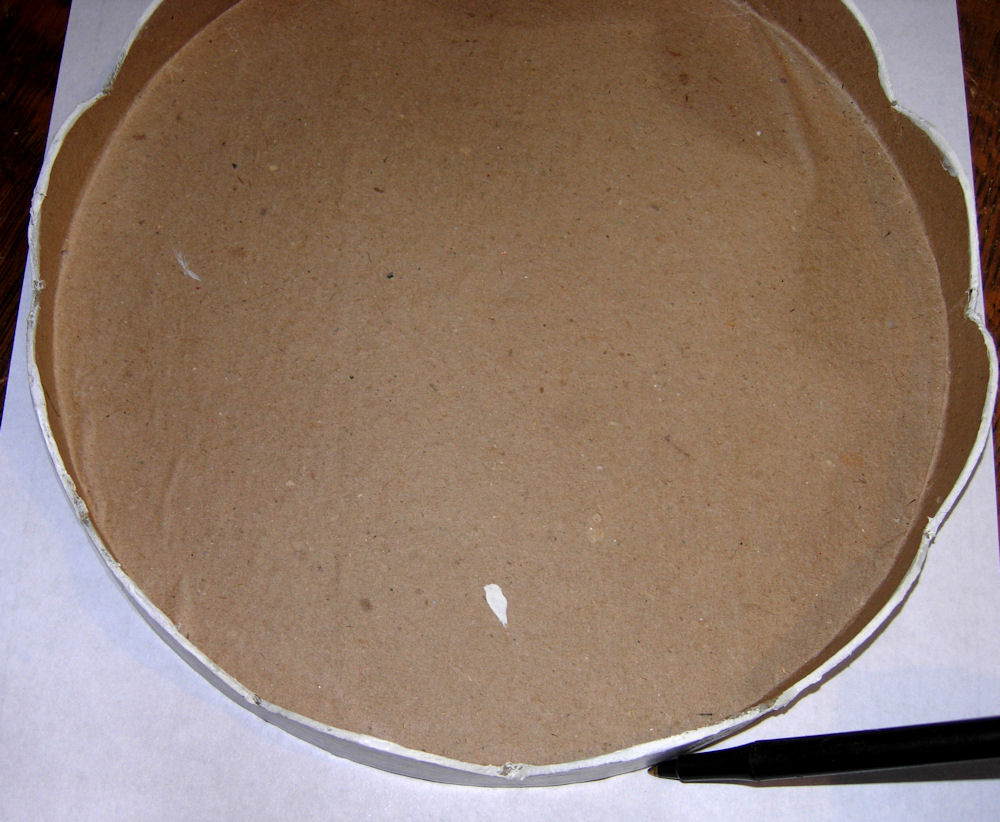
Step 1) Using the lid for the paper mache box, draw scallops around the entire edge. I used a lid from some fish food as a template.
Step 2) Using a knife or scissors cut out around the scallops. Be careful!
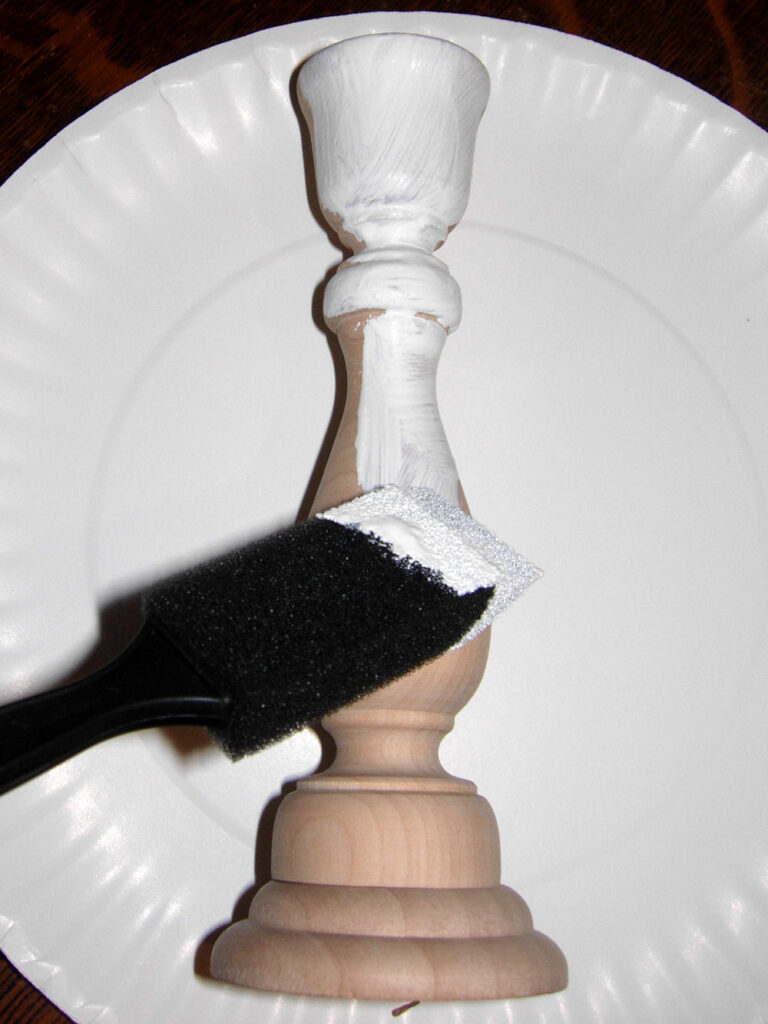
Step 3)Paint the wooden candle holder. I did a couple of coats and let dry in between.
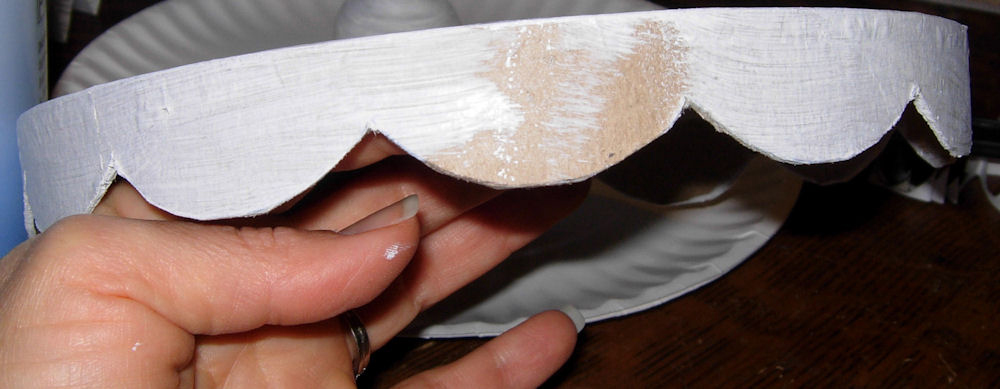
Step 4) Paint the lid and allow it to dry as well.
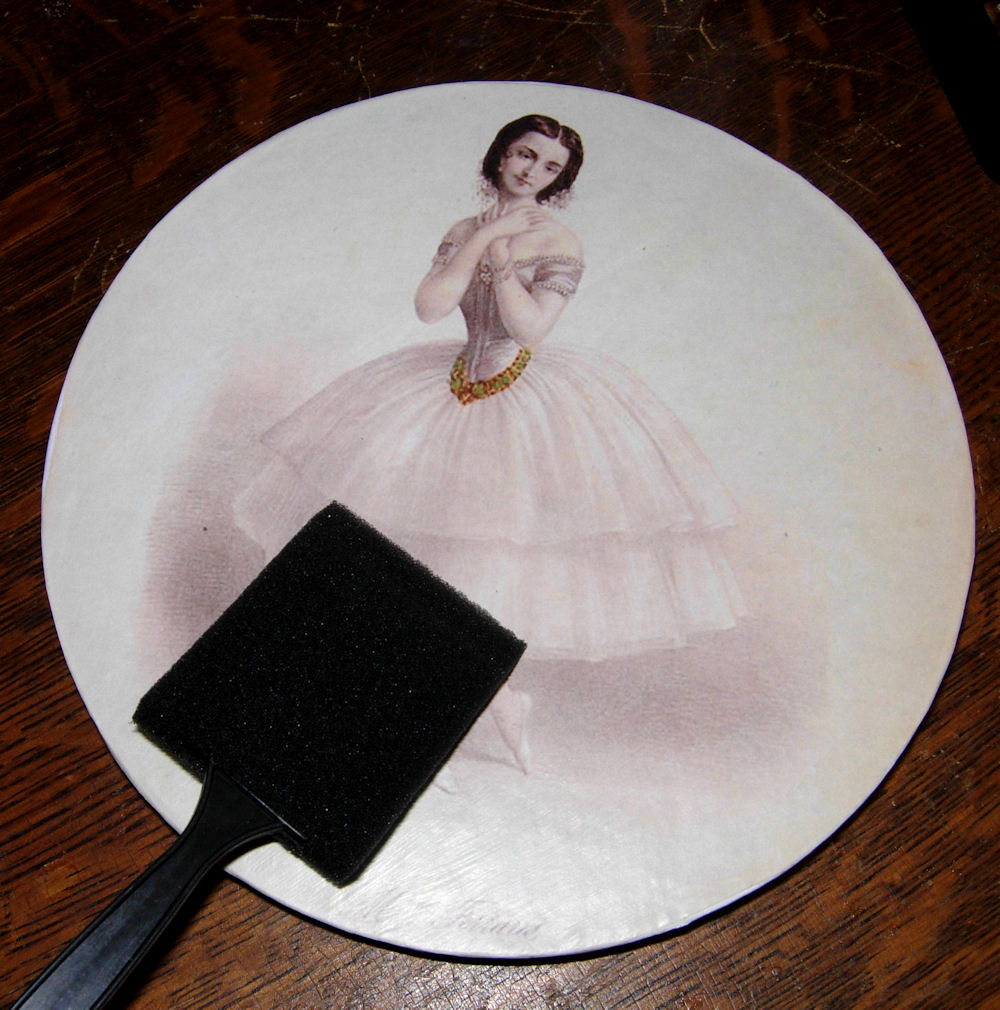
Step 5) Next print up the image above and then using your lid as a template, draw around your image and cut out. (Make sure you have it centered)
Step 6) Adhere the image to the lid using Mod Podge and a brush. Allow to dry. Then apply a top coat, or two, with some more Mod Podge. Let it dry again.
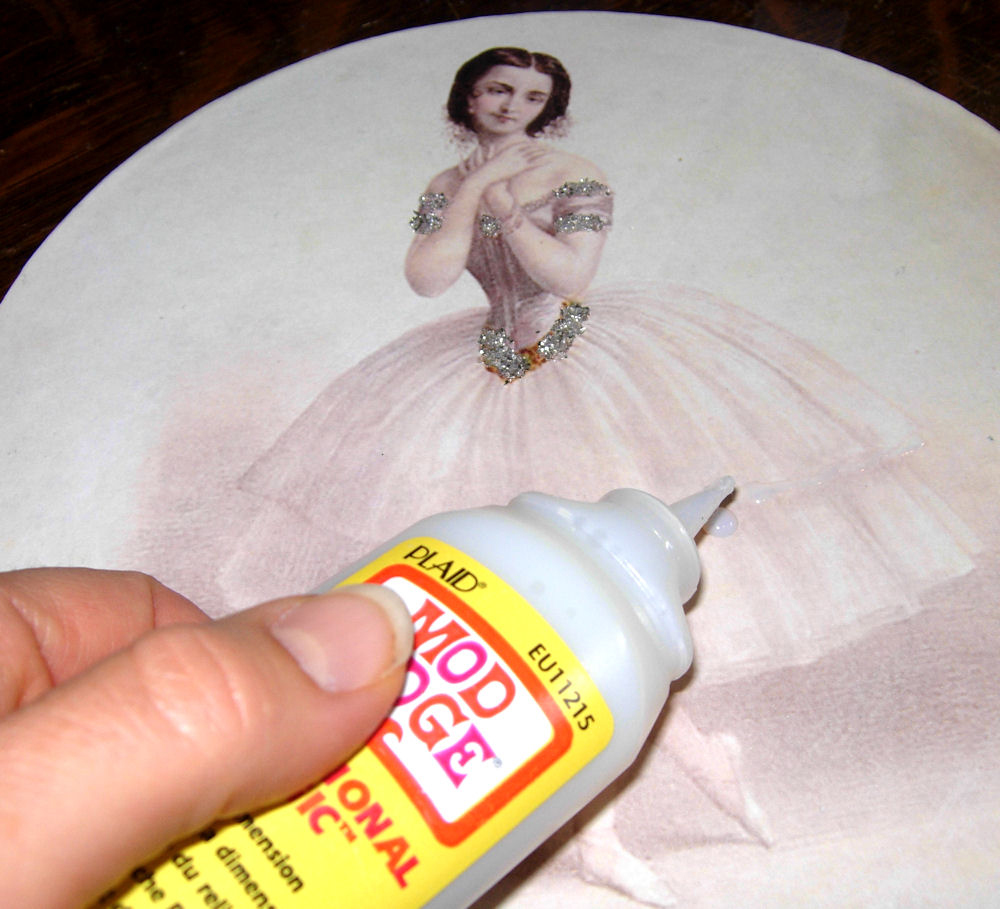
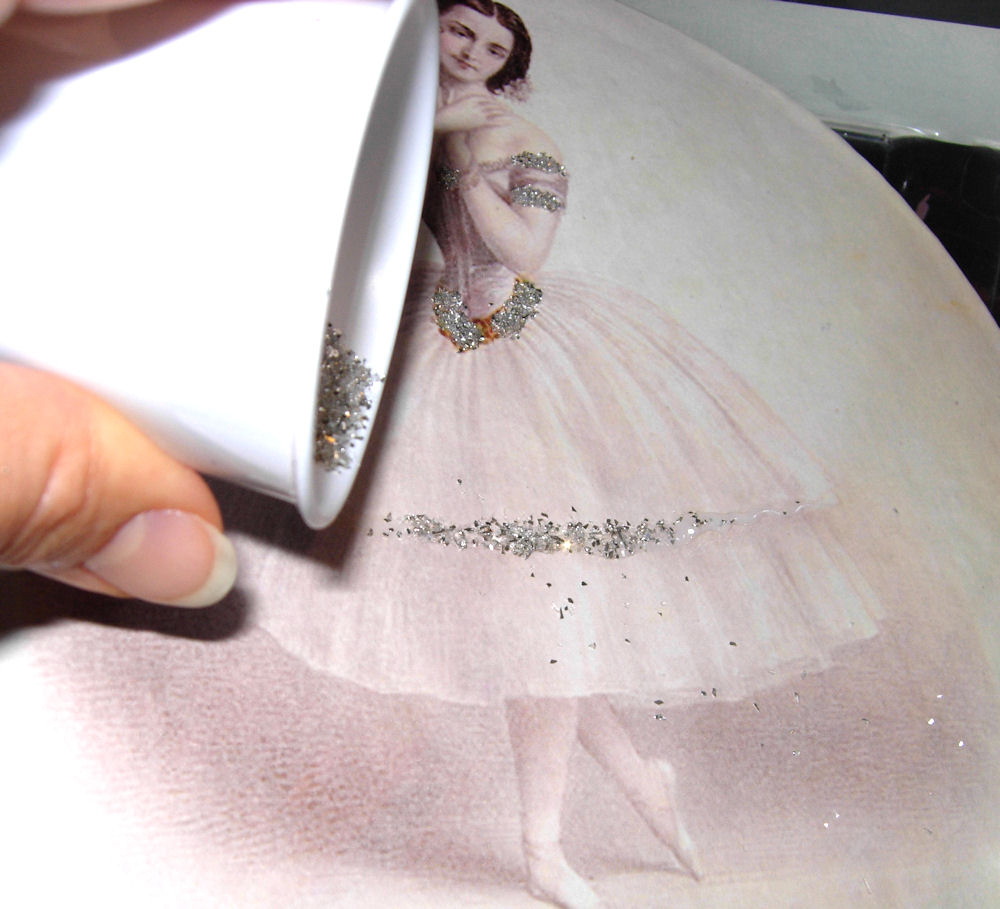
Step 7) Apply the Dimensional glue anywhere that you would like to add some sparkle.
Step 8) Sprinkle on the glitter. Yay! My favorite part!!
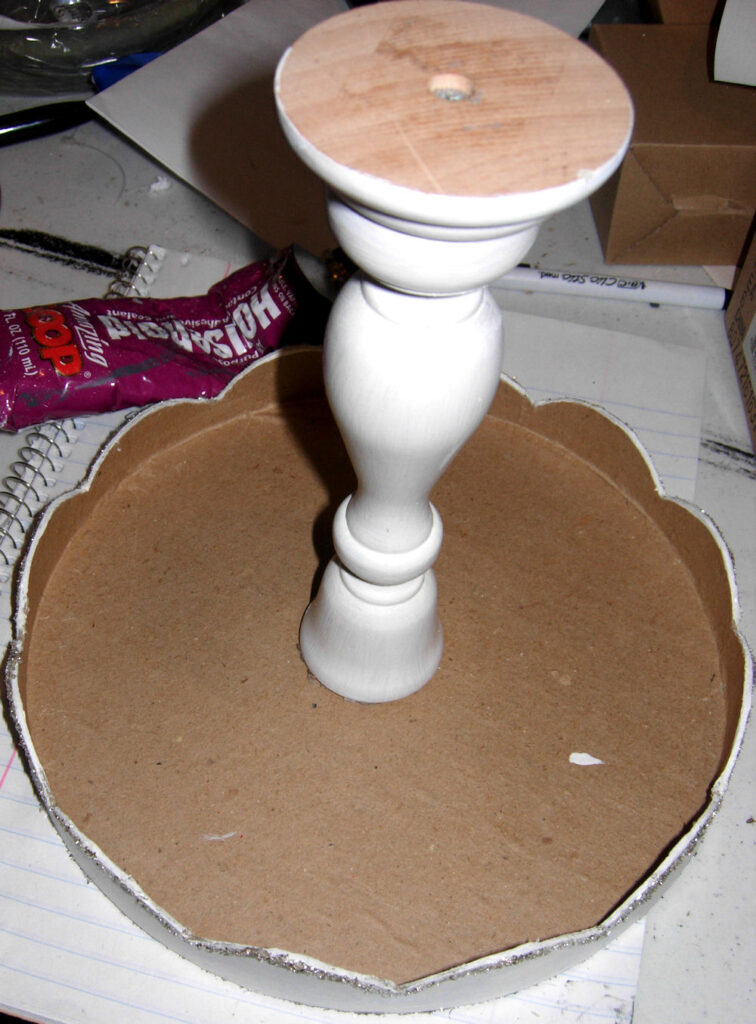
Step 9) When it’s thoroughly dry you can glue the top to the base using a strong household glue or epoxy. Make sure you follow the instructions on the glue and properly ventilate if the instructions advise this. I never use Epoxy inside, I prefer to work with it in my garage with the garage door open, or on a screened porch. Let dry according to instructions on your glue bottle. ( I removed the metal candle cup using pliers first, you may not need to depending on how deeply it’s set into the candle holder.)
And here you can see how nice it looks with some sparkly rhinestone jewelry on it. I hope you enjoyed this fun DIY Pedestal Cake Plate Project and that you make something similar for yourself or a friend. These would make a great gift too I think!


Iben Riis says
Soo sweet, it´s a very good idea.
Iben
Puppenstubennostalgie says
Wunderschön… und eine nette Idee.
Liebe Grüße PuNo/Monika
debi says
I love it! Gorgeous! Now I’ve got another project to do. lol
bastrota says
I love your project, Karen. The ballerina cake / display stand is very pretty.
And I love your graphics. Thank you for sharing.
Have a nice day, Marion
Johanna says
I love this very romantic look.
Greetings, Johanna
Karen- The Graphics Fairy says
Thanks everyone, your comments mean so much to me!!
Stephanie, I actually made this awhile ago even though I just posted it. If I recall correctly however, I think I ended up mostly using a pair of small fiskar scissors for the scallops, and then trimmed a bit with the knife.
Elyse says
that is lovely. i love your “yay” because sprinkling on the glitter is my favorite part of most projects, too!
happy weekend
xo
elyse
Stephanie ~ Angelic Accents says
I really really want to try this! You really make cutting the scallops look easy ~ I always had wondered where to buy them done that way….duh, never thought of trying to cut my own! Love your graphics always, dear Karen! Thanks!
Big TX Hugs,
Stephanie
Angelic Accents
Shelia says
How pretty! Love this olden look!
Be a sweetie,
Shelia 😉
Piney Rose says
this is just beautiful!
Nettie says
Hi Karen, What a gorgeous project. It would make a great art activity for older school students … maybe for a Mothers’ Day gift. Thank you so much for sharing. 🙂
Kim~HomeIsWhereTheHeartIs says
It’s very pretty, Karen 🙂
Nancy says
What a wonderful project, Karen! I love it, thanks so much for the inspiration.
bless you,
nancy
charles says
fantastic post and much creative xoxo
KC Mom says
Gorgeous and soooo vintage!