DIY Decoupaged Glass Prisms
This weeks project are some fast and easy, but oh so pretty, DIY decoupaged glass prisms! They are decoupaged with some printed Antique Sheet Music. I think the typography from the sheet music looks so lovely under the prisms. It really shows off the beauty of the Typography.
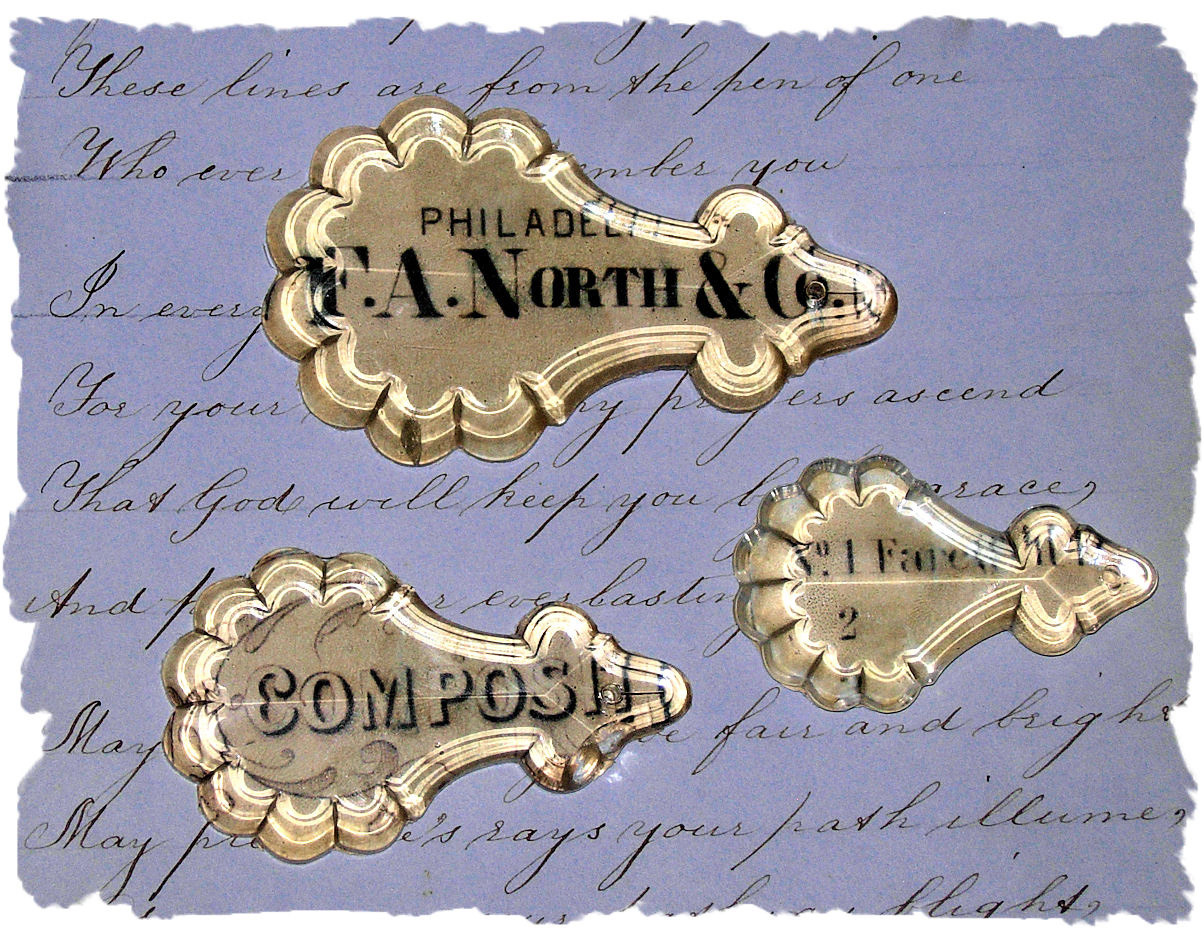
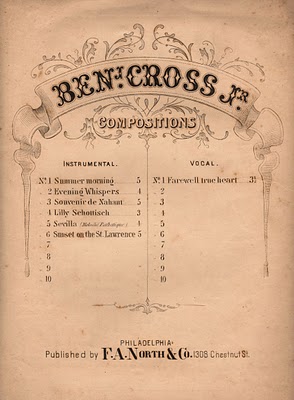
I used the antique sheet music graphic that you see above, you can find it HERE. But really, you could use any of the typography images on my site that you like for this, or perhaps you have your own.
I’ve included a supply list and instructions below:
Supply List for DIY Decoupaged Glass Prisms
1) A printed copy of the sheet music shown above.
2)French Pendant Crystal Prisms – I got mine HERE they come in 3 sizes.
3) Small scissors
4)White Glue – I used Durwin Rice’s Glue which you can’t get anymore. I have heard this Glue is also good HERE.
5)Paintbrush
6)Mod Podge or a spray sealer
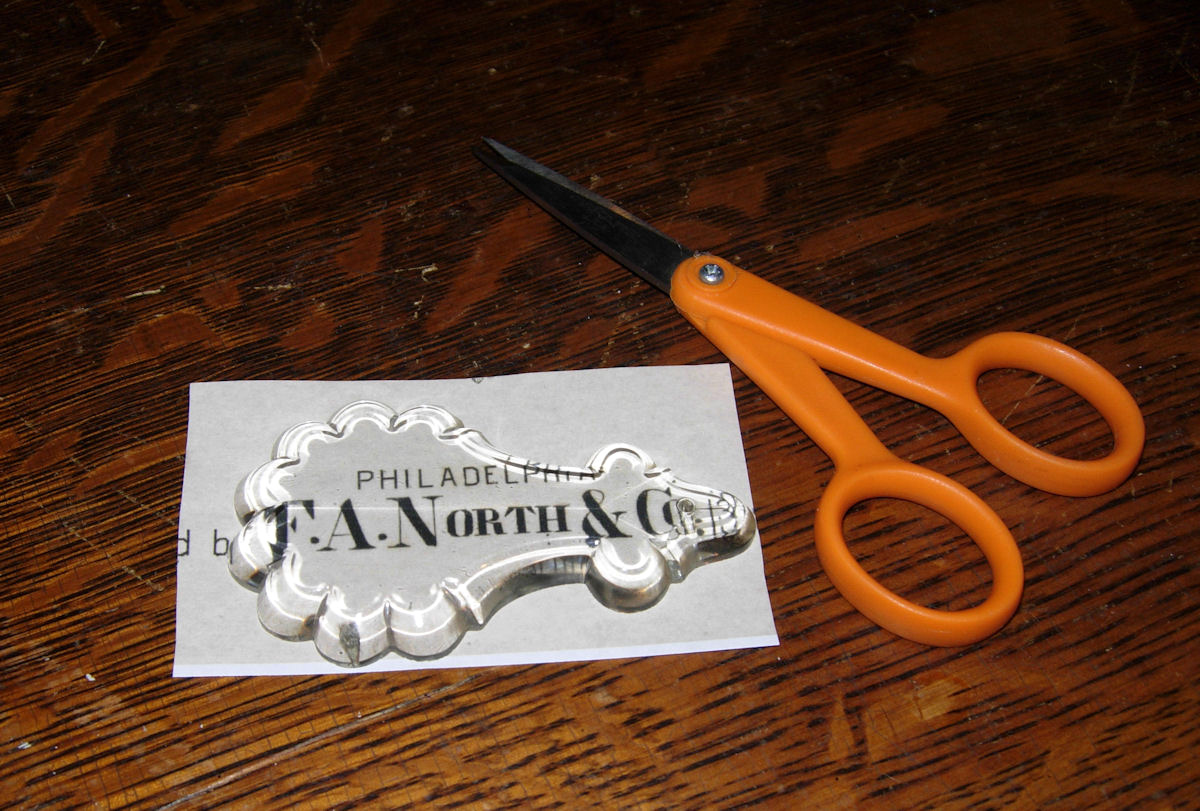
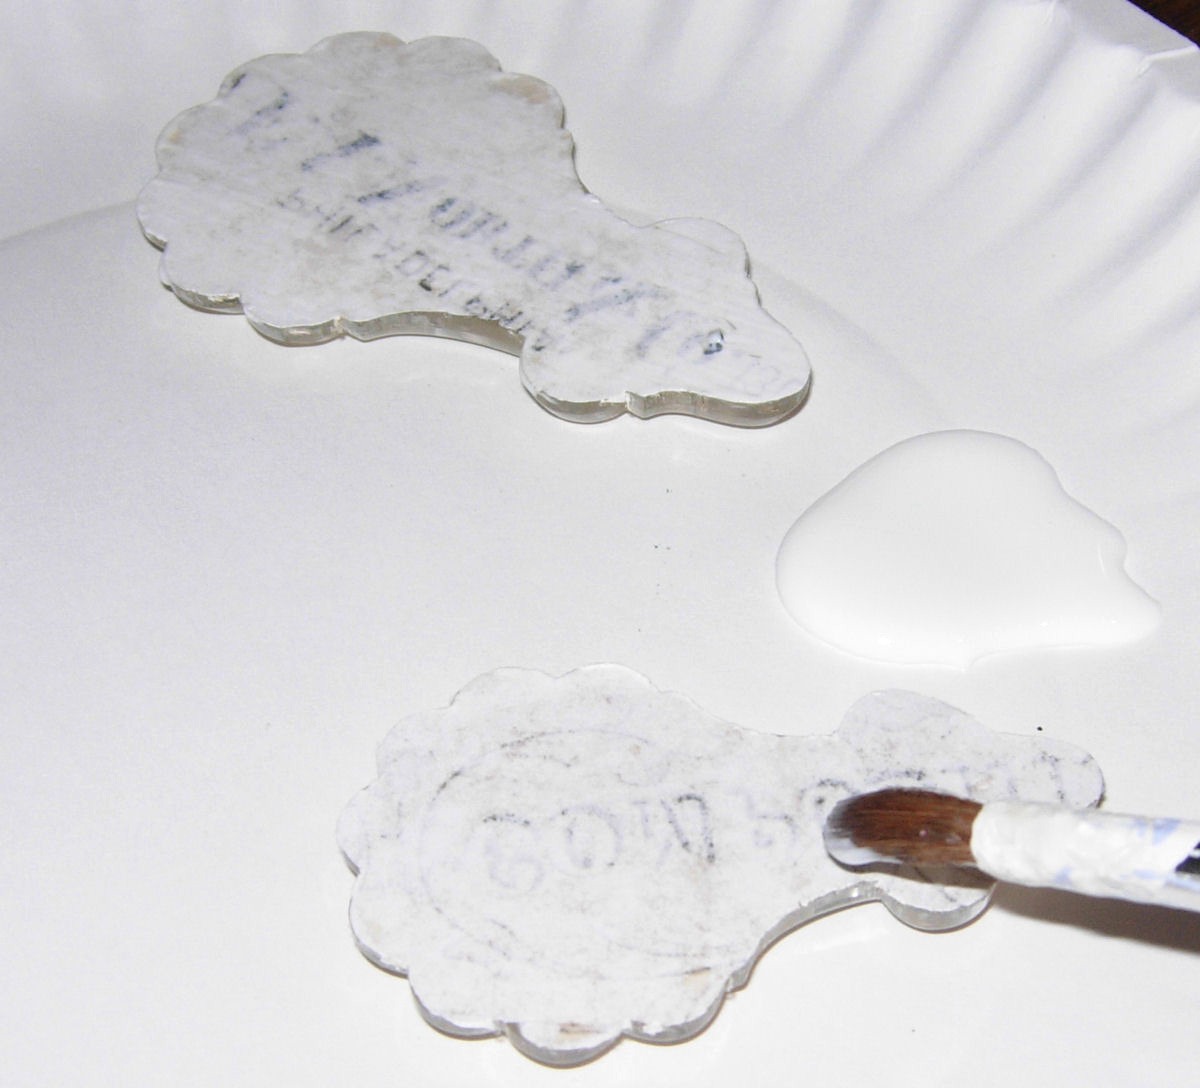
Step 1: Print up the antique sheet music, or your chosen graphic, and cut out desired portions. You can trace around your prism with a pencil before cutting out. (Hint – Depending on your printer you may want to seal this with a spray sealer first before glueing. I didn’t and my ink bleed only a tiny bit, which didn’t bother me really.)
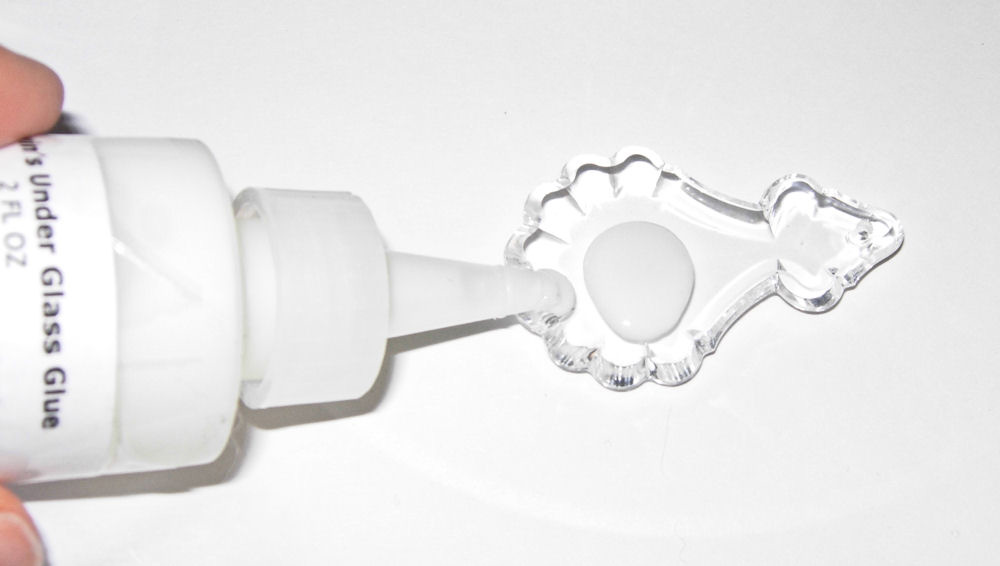
Step 2: Add a small amount of the white glue to the back of the prism, using a brush or your fingers to coat evenly and then apply your paper cut out (face down onto the glue). Remove any large air bubbles by smoothing down with your fingers or a brayer. Then allow 30 minutes or more to dry.
Step 3: Once dry, coat the back of your piece with a sealer. I used Mod Podge but you could use a spray sealer too. And allow to dry. Depending on how you are going to use these, you could leave the back as it is, or finish it off with paint, decorative paper, markers, glitter, lace etc.
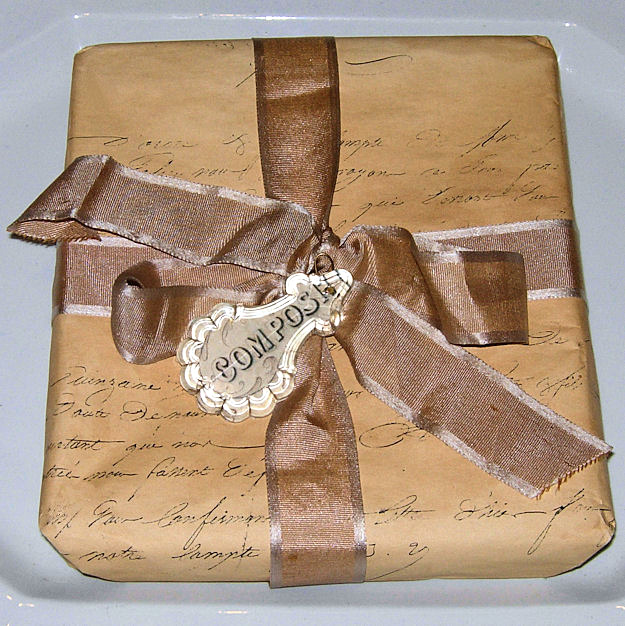
I used mine to decorate a package with but you could use these in so many ways. You could embellish a candle, hang them on a Christmas tree, make a pendant or earrings, or you could do a whole chandelier in these, wouldn’t that be gorgeous! I hope you liked this fast and fun project!


KarenHarveyCox says
Karen, this is brilliant. I was just in a wonderful little Antique shop yesterday and saw lovely paper weights and wondered how they got the images on there. Your prisms are fabulous. Oooooooh picture a chandelier with these boasting Congrats for a bridal shower. I definitely will try these. Where do you find these inspirations?
Karen
honeysuckle says
I love this idea and have bookmarked it to try. Thank you for sharing this great idea!
Jessi @ Yankee Belle Home says
These are gorgeous! And I love how you used one on a package. Thanks for sharing!
Anonymous says
Lovely! Gonna give it a try with Glossy Accents…
Rolin
Terri Kahrs says
How lovely!!! Thanks for such a great toot! Hugs, Terri
Mrs. So and So says
I love this! This is a beautiful project.
Aunt Amelia's Attic says
OT but I just wanted you to know that I’m loving, and making lots of use of your great graphics!!!!!!!!
Thank you so much!
‘Aunt Amelia’s Attic’
HeidiRose says
Oh for goodness sake!
You always show the best ideas.
I have lots of these prisms in a box and only take them out at Christmas. Now I can use them all the time!
Thank you – again!
jeanne @ Inspiring Ideas says
Pretty! I did that same effect for Christmas a few years ago – I like yours on the package!
Stephanie says
What a neat idea!
Karen- The Graphics Fairy says
I’m so glad you guys like it!
Sylvia, I think you can only get Durwin’s glue through his site. It is worth getting if you plan on doing a lot of decoupage under glass, as it is the best that I have found (no shiny spots). But, you can use Elmer’s glue instead, if you want to try this right away.
peggy gatto says
Great!!!
thank you!
Sylvia says
Karen, I have always wanted to do this but never knew how, thank you for the tutorial. I am going to Michaels tomorrow to buy Durwin Rice glue.
Thank you,
Sylvia
Kathy-Catnip Studio says
Karen,
This is an awesome crafty project – and I lovelovelove how you used it on the gift package!
Princess of Everything (and then some) says
That is so unique!