How to use Distress Oxide Ink
Distress Oxide Inks are a Game-Changer! Hello, my wonderful Graphics Fairy Friends! It’s Heather from Thicketworks. I haven’t been this excited about a new product in a long time, and I can’t wait to show you what I’ve discovered in an exciting way on how to use distress oxide ink!
We’re only scratching the surface with this post – it will take many happy experimental sessions to discover all the ways that Distress Oxide Inks can enhance our work, but it’s a good start!
These inks are a Hybrid Creature … Part Pigment Ink, Part Dye Based Ink, PLUS they Oxidize!
Have you seen the wonderful effects you can achieve with Distress Oxide Inks? If you have, then you probably already share my excitement about these fabulous new tools!
If not, then you are in for a TREAT! You will have no END of fun experimenting with Distress Oxide Inks .
If you want to experiment, too, here’s a list of the stuff I used…
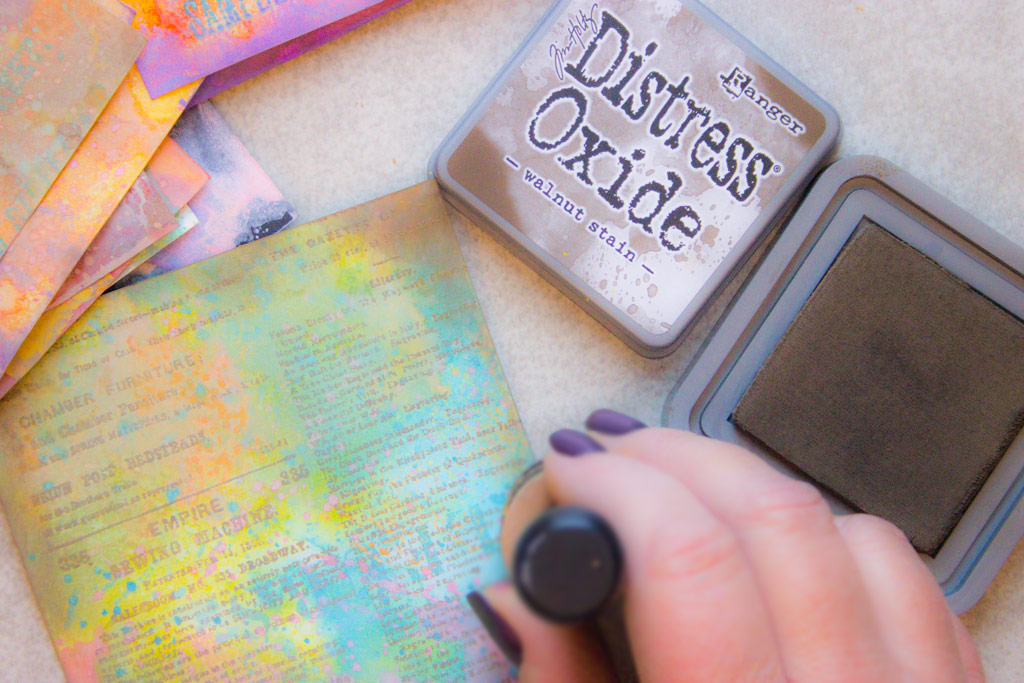
How to use Distress Oxide Ink Supplies:
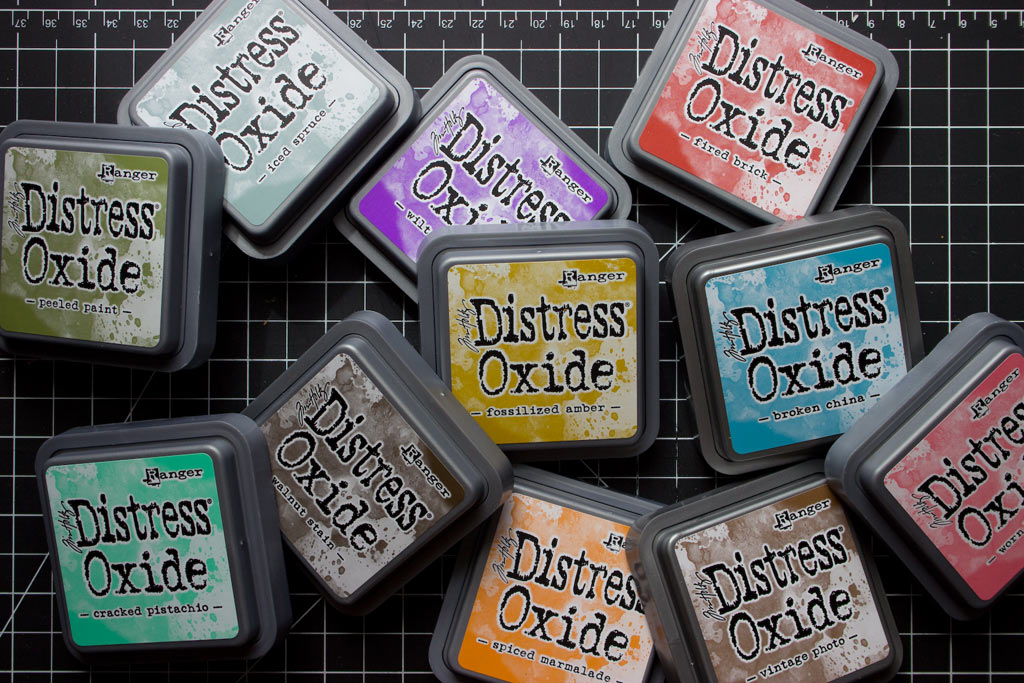
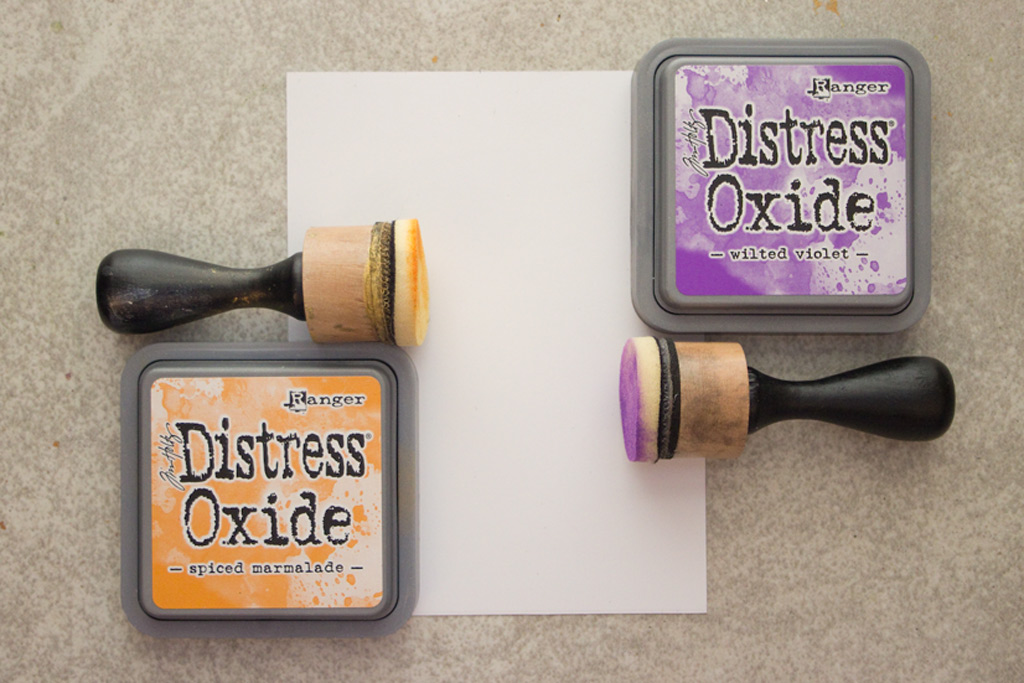
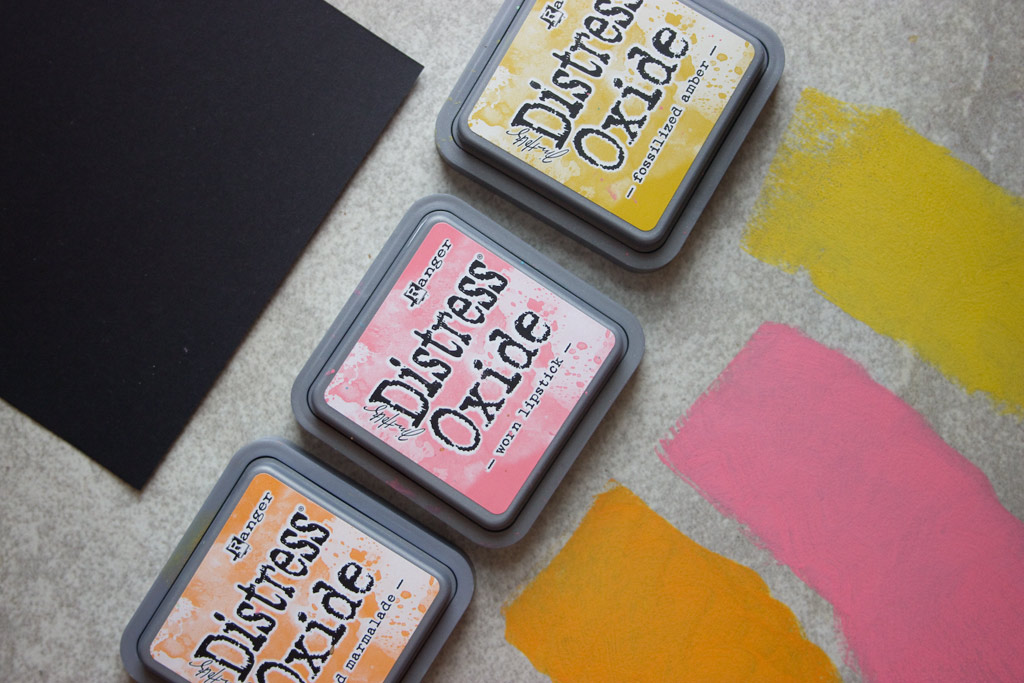
- Tim Holtz Distress Oxide Inks
- Ranger Inkssentials Ink Blending Tool
- A Spray Bottle of Water (I used a Tim Holtz Distress Sprayer)
- Plain White Cardstock
- Plain Black Cardstock
- Glossy Photo Paper (I get mine at the Dollar Store)
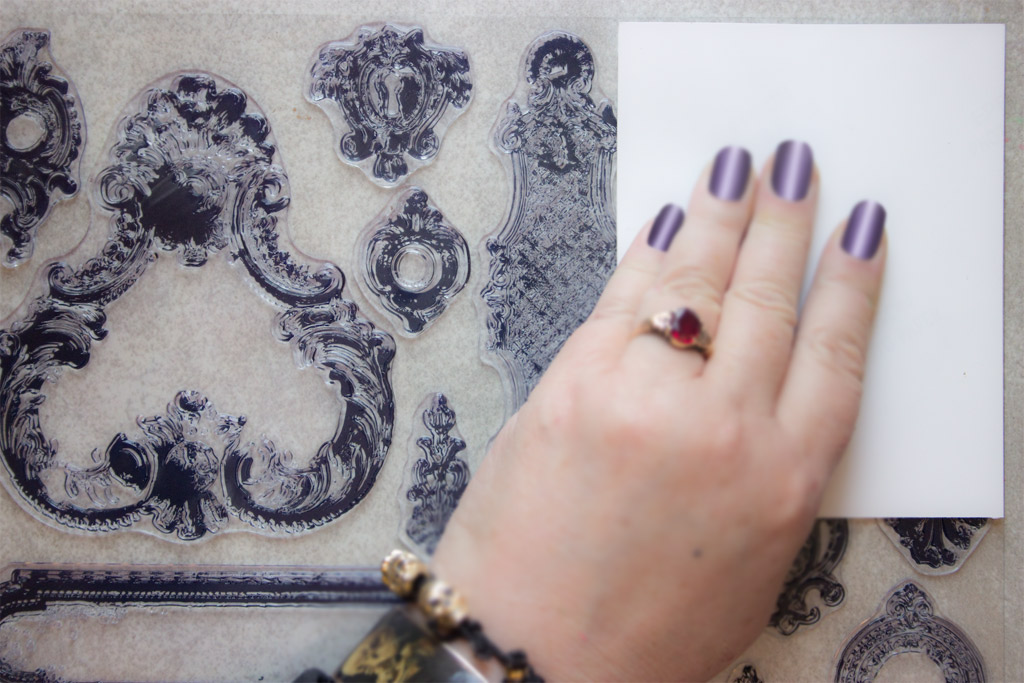
- Your favorite stamps (I used a selection of IOD Decor Stamps)
- Fine Clear Embossing Powder
- Gold Embossing Powder
- A Heat Tool
- Baby Wipes
- A light colored, smooth, heat-impervious work surface (I use a large ceramic tile)
How to use Distress Oxide Inks:
To begin, put on your Mad Scientist Goggles…
(I know, you won’t find them in the supplies list, but they ARE essential!)
Gather several varieties of paper to work with – I chose to focus on plain White and Black Cardstock, plus Glossy Photo Paper.
Grab your favorite beverage and play music that makes you happy!
Give yourself ample time – this process is a succession of procedures, one ‘atop’ the other, and there can be moments when you feel it’s all gone wrong…I certainly felt that way at some points…
BUT – if you persevere, you’ll discover that the additive nature of the effects adds up to one big WOW!
Okay, so enough of this nonsense! Let’s get MESSY!
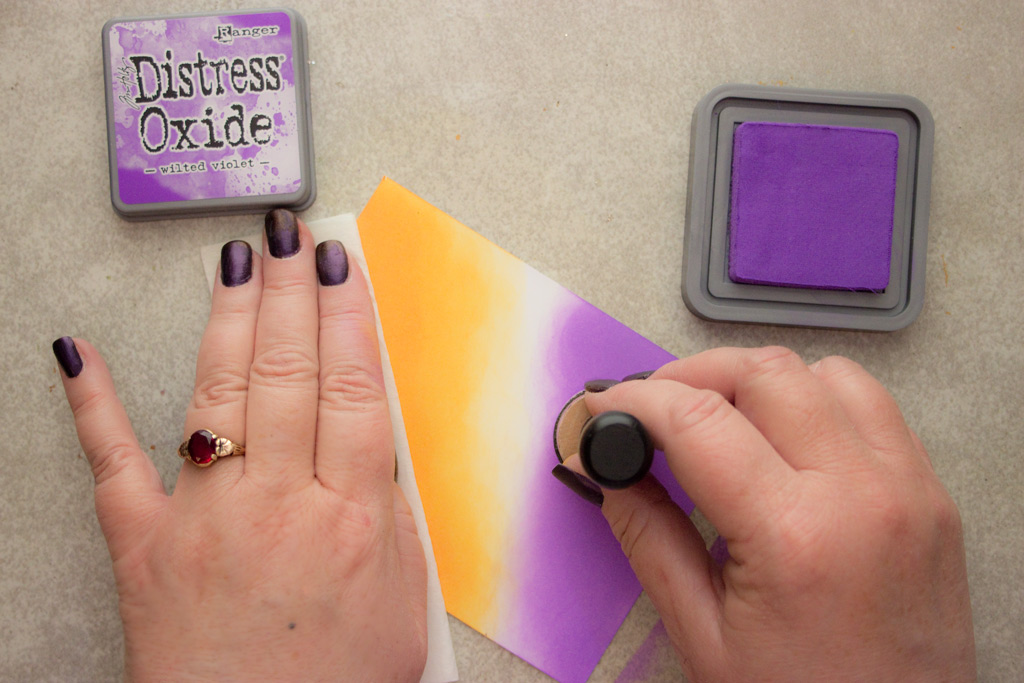
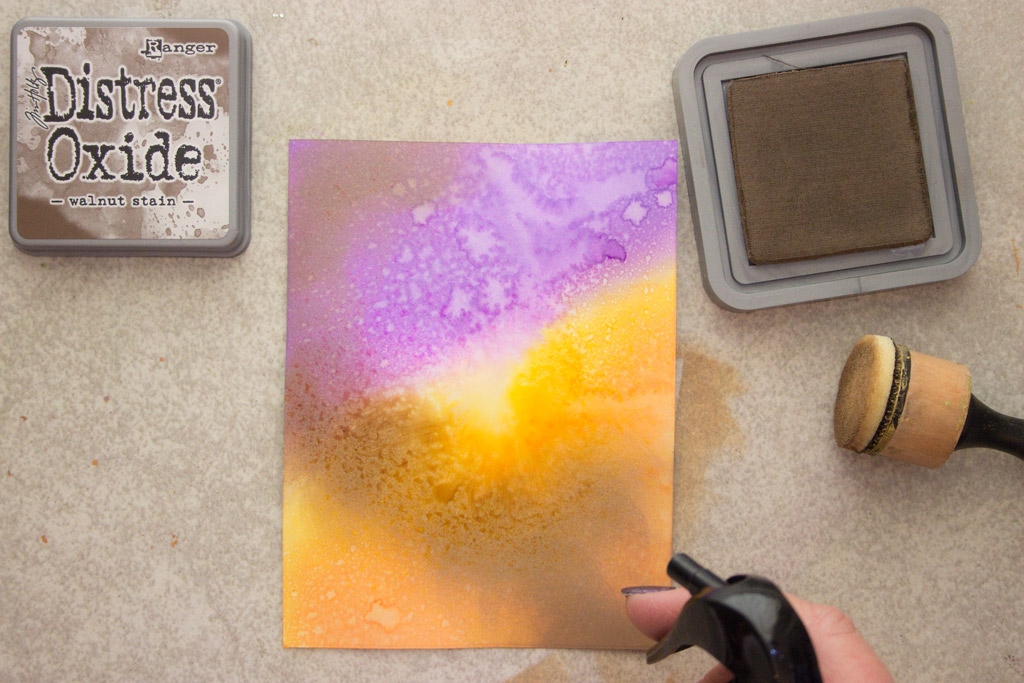
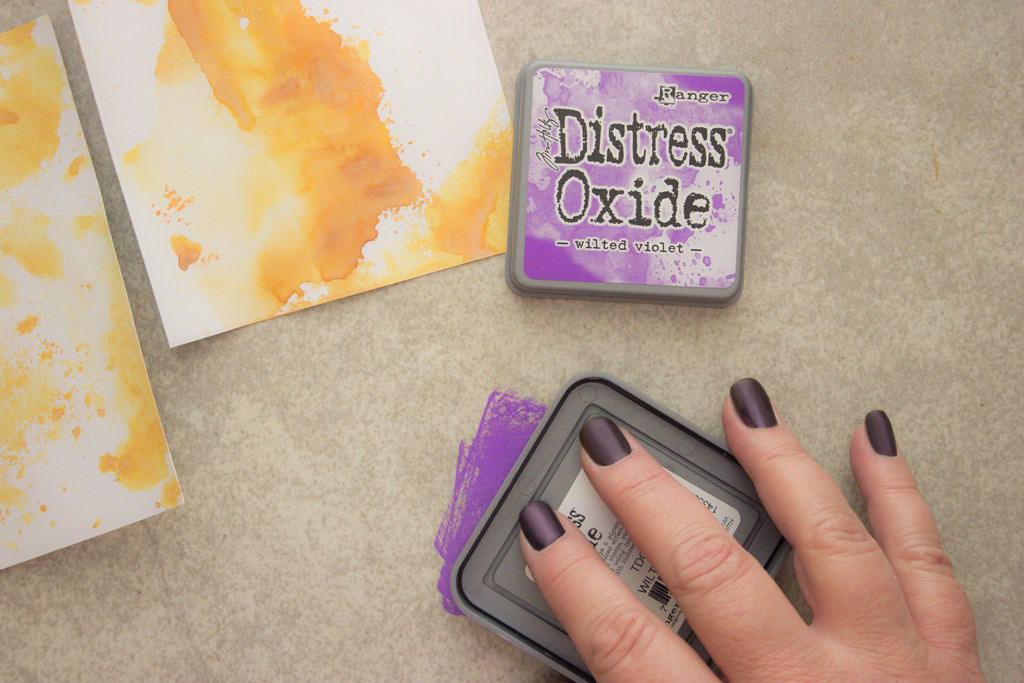
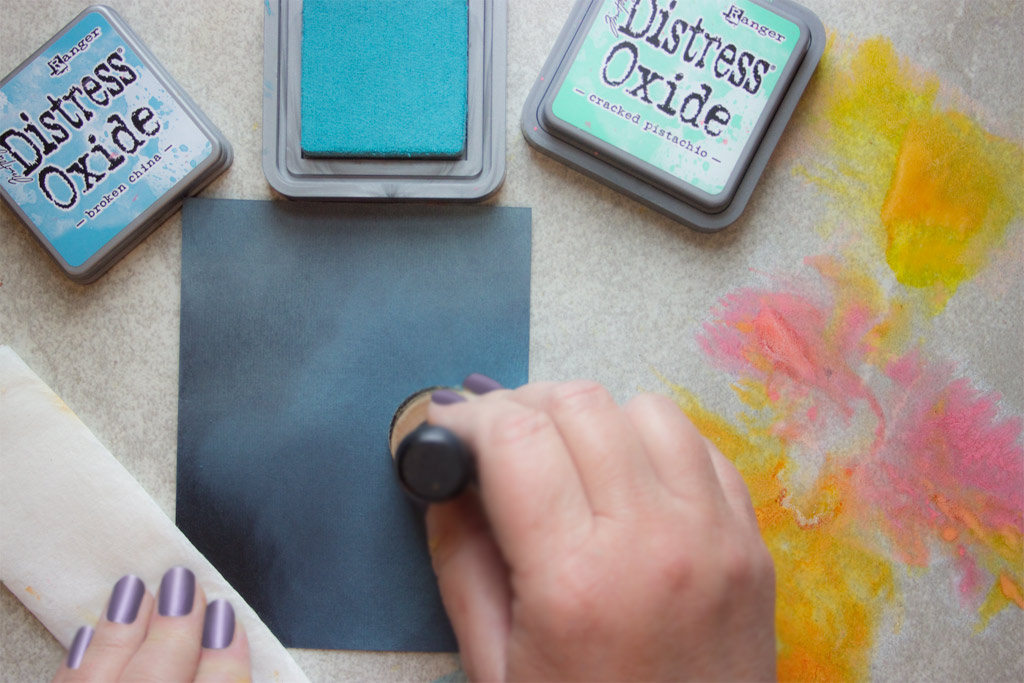
Blend one color of Distress Oxide Ink over a portion of plain white cardstock.
You may be surprised and delighted (I was!) to discover how creamy and rich the pigments are, and how smooth the blending process is!
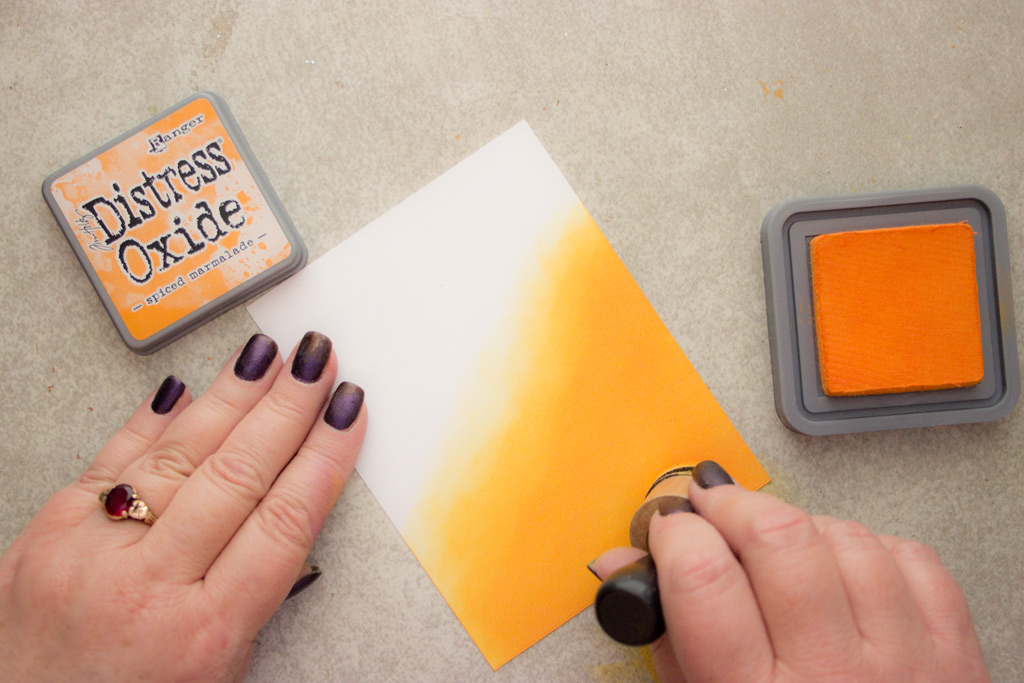
Next, grab a color that SHOULDN’T be used in conjunction with the first!
That’s right.
Feel the doubt, but do it anyway!
Reach for a color that is sure to make MUD when mixed with the first color!
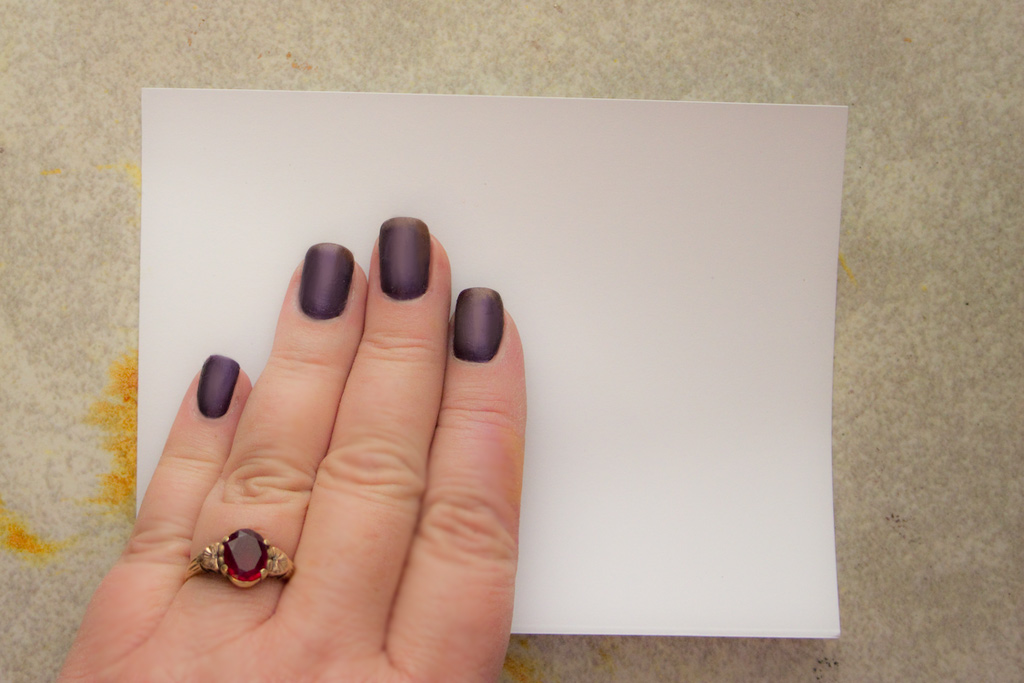
Note: these inks are SO juicy and rich that fingerprints are inevitable unless you guard your work with a piece of paper.
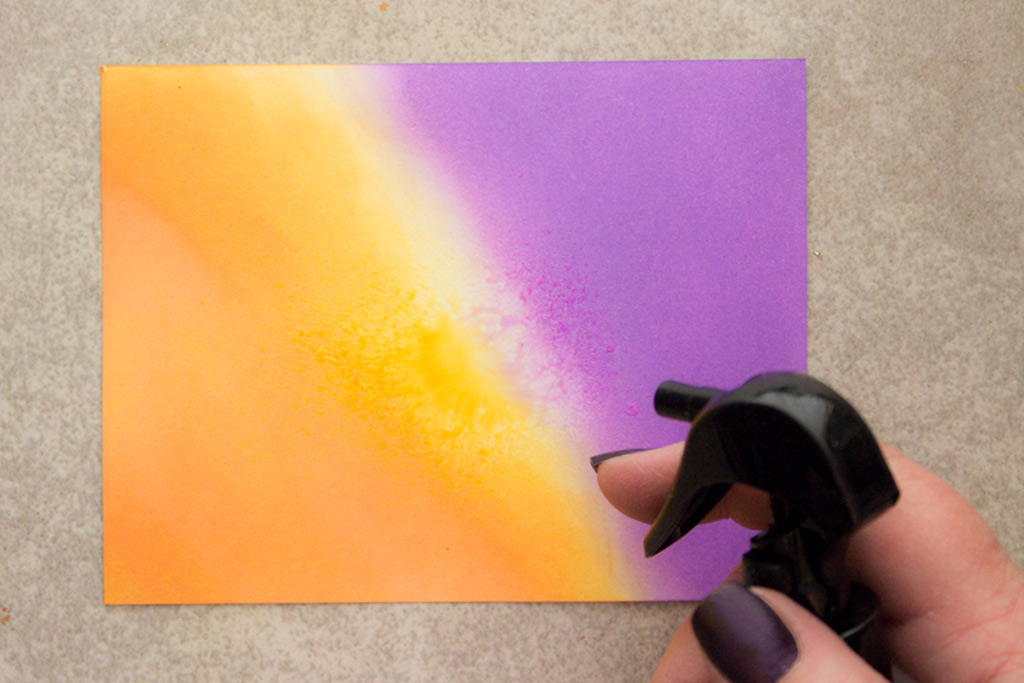
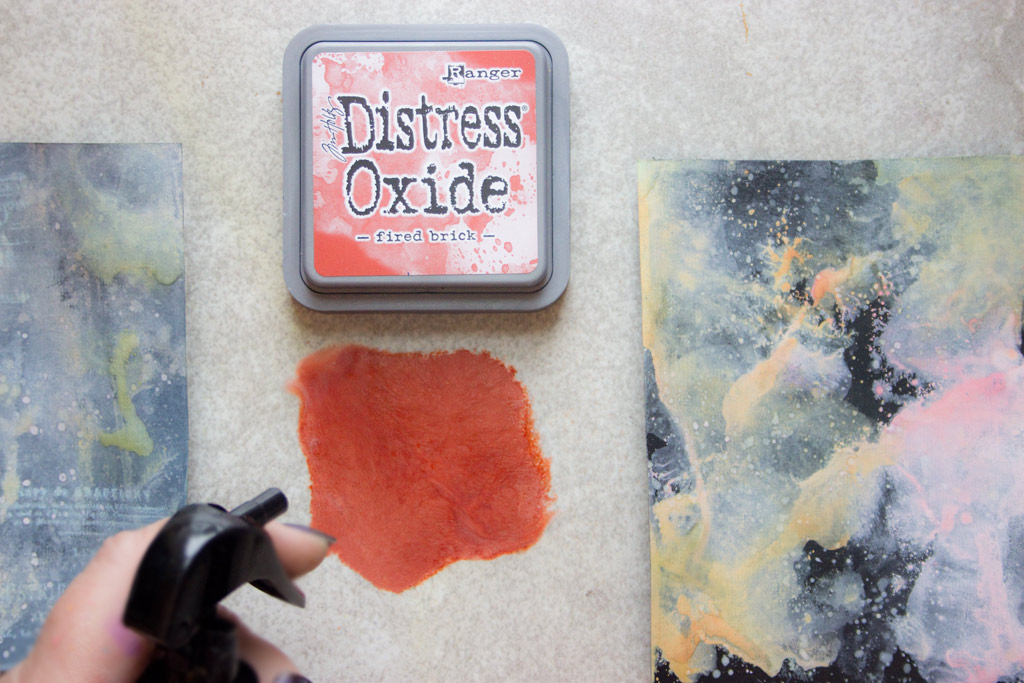
Now – Spritz the ink soaked paper!
And Spritz some MORE!
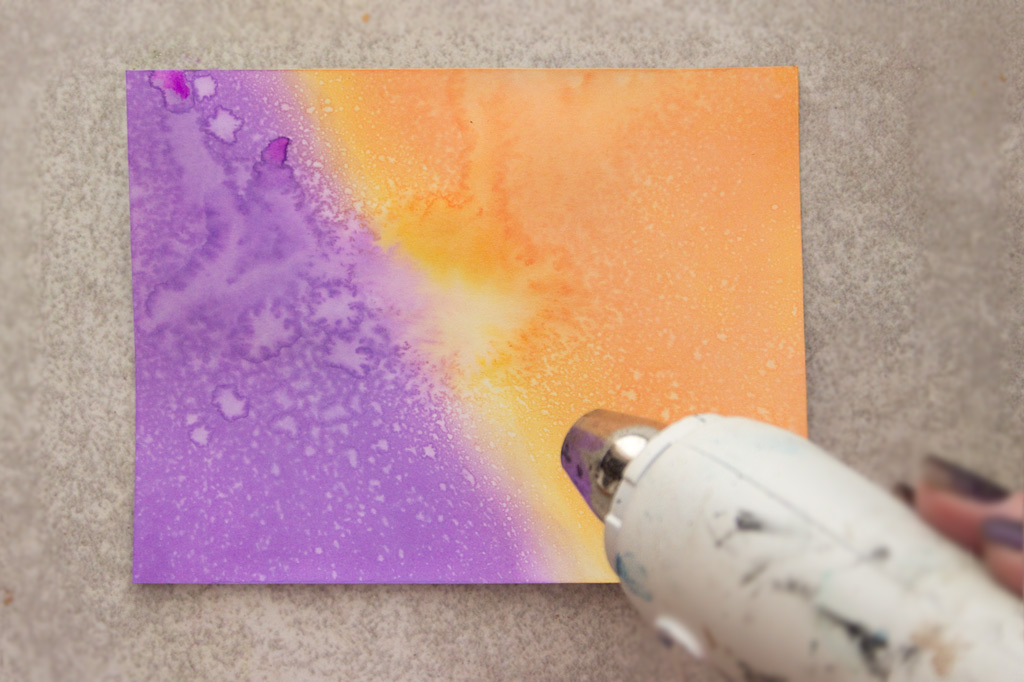
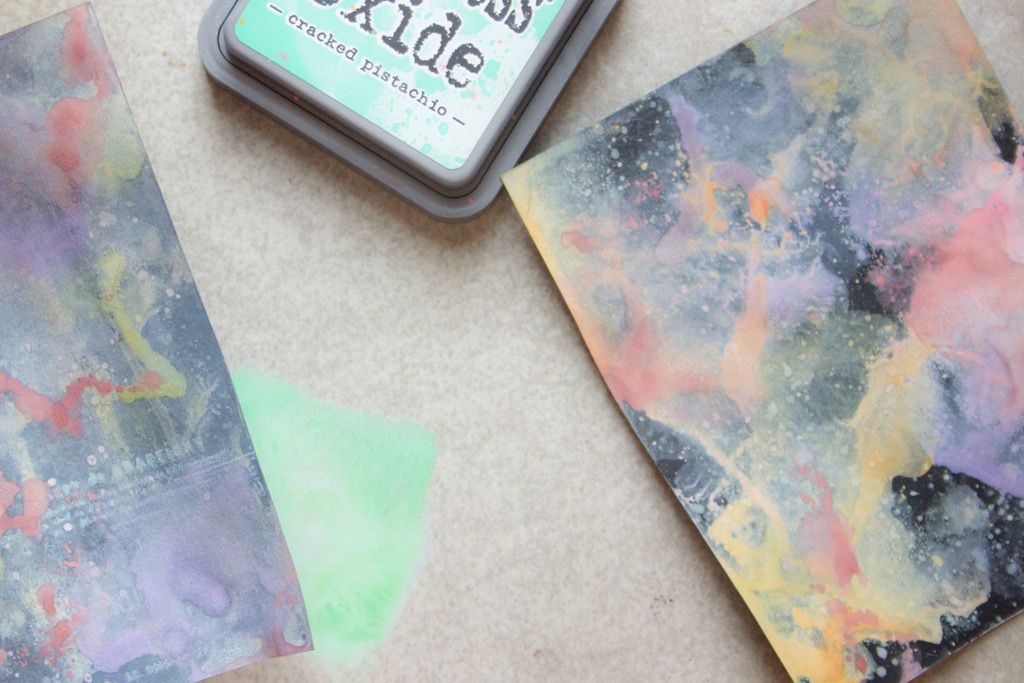
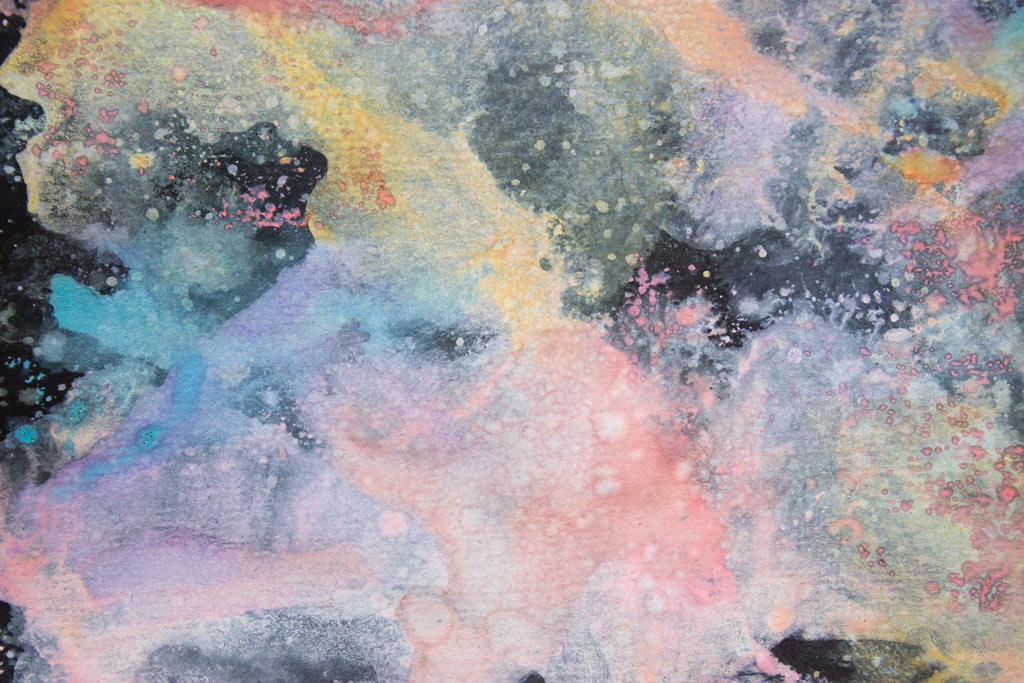
You’ll be able to see the Oxidization begin to take place immediately…a whitish film will form over portions of the color, and delightful little universes of splotches will occur.
Mud will NOT appear, however! Yay!
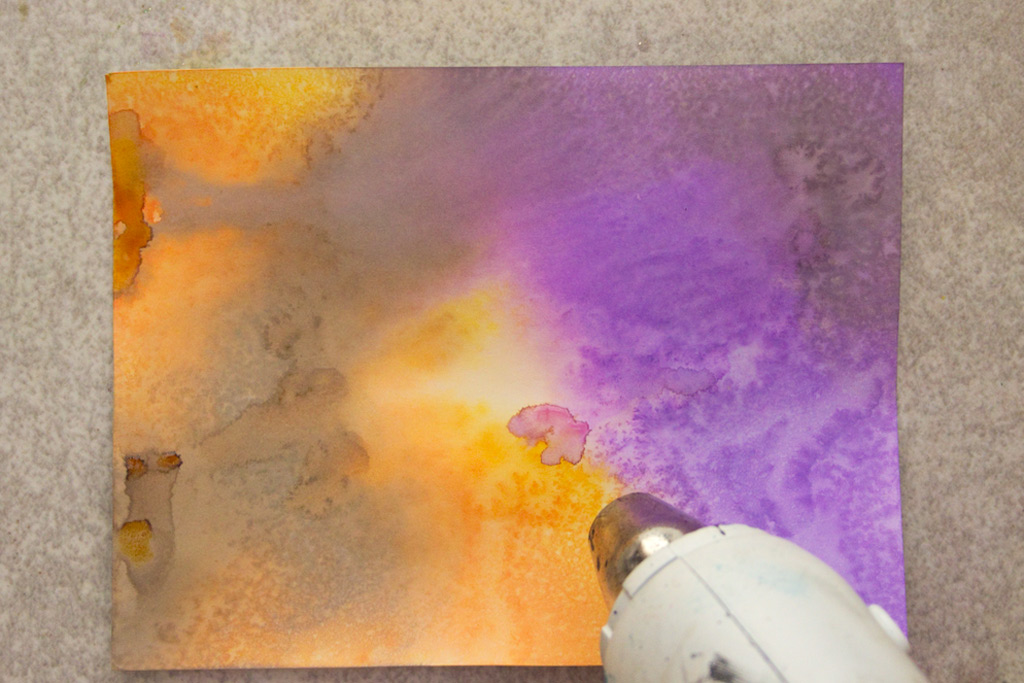
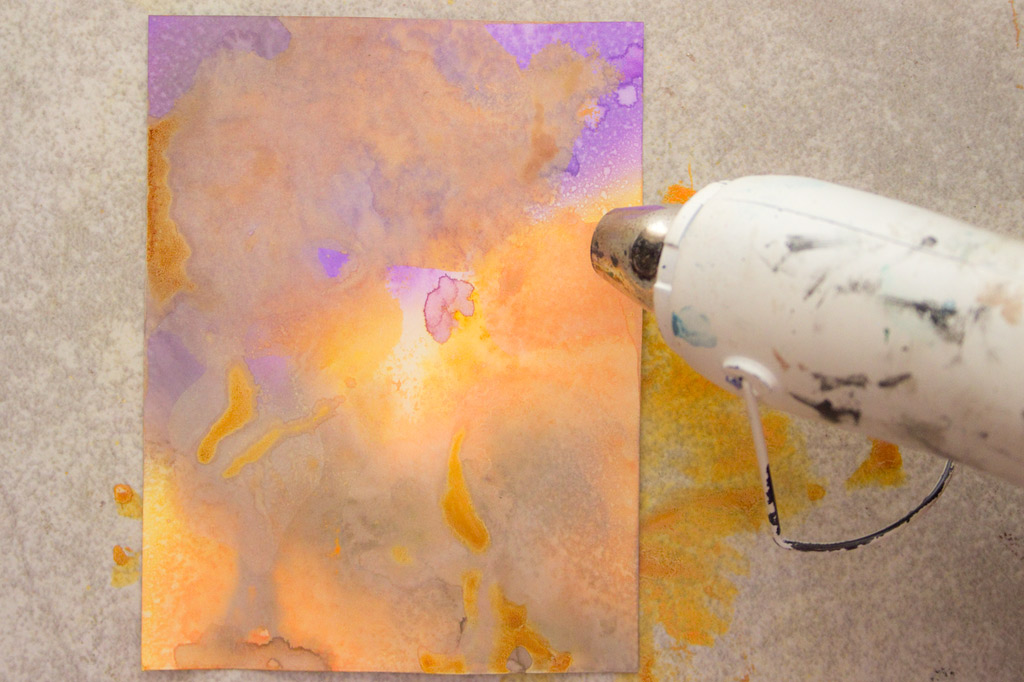
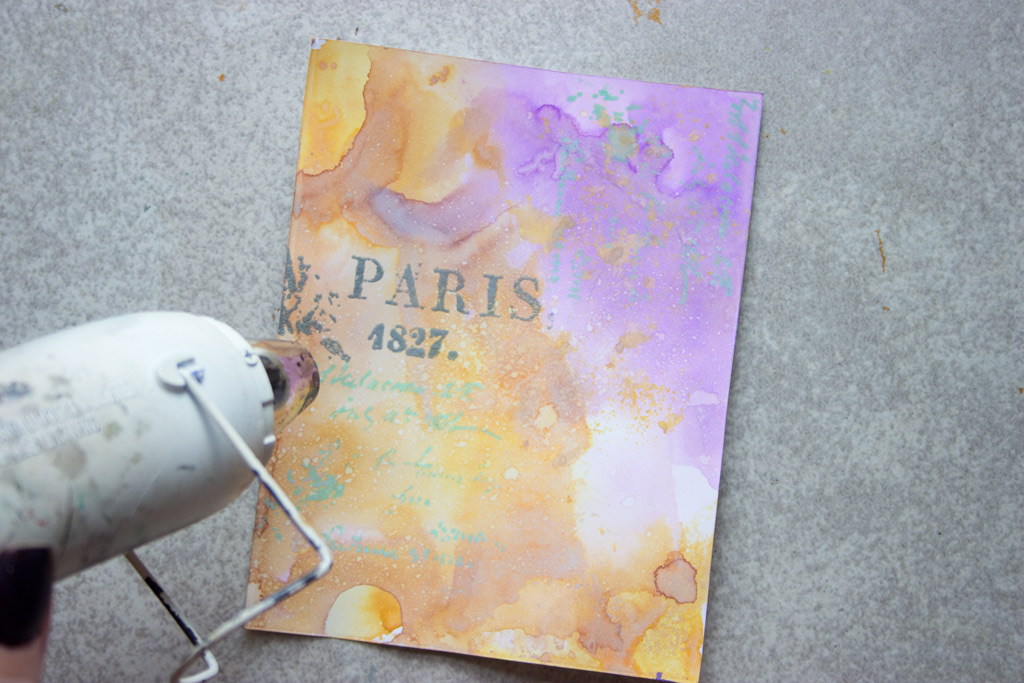
Dry the surface with your heat tool.
(Keep it handy – you’ll be giving it a workout!)
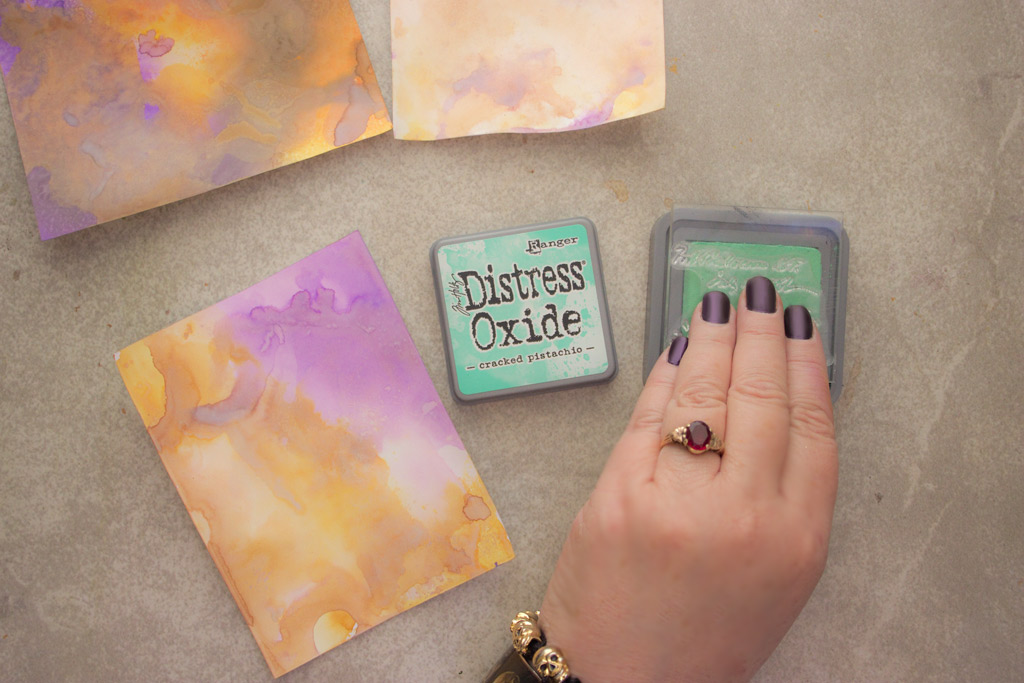
Blend another color over the first two.
Spritz, Witness the Glory, and dry with a heat tool.
Note: it can smell a little funky when heated. I guess all Magic comes at a price!
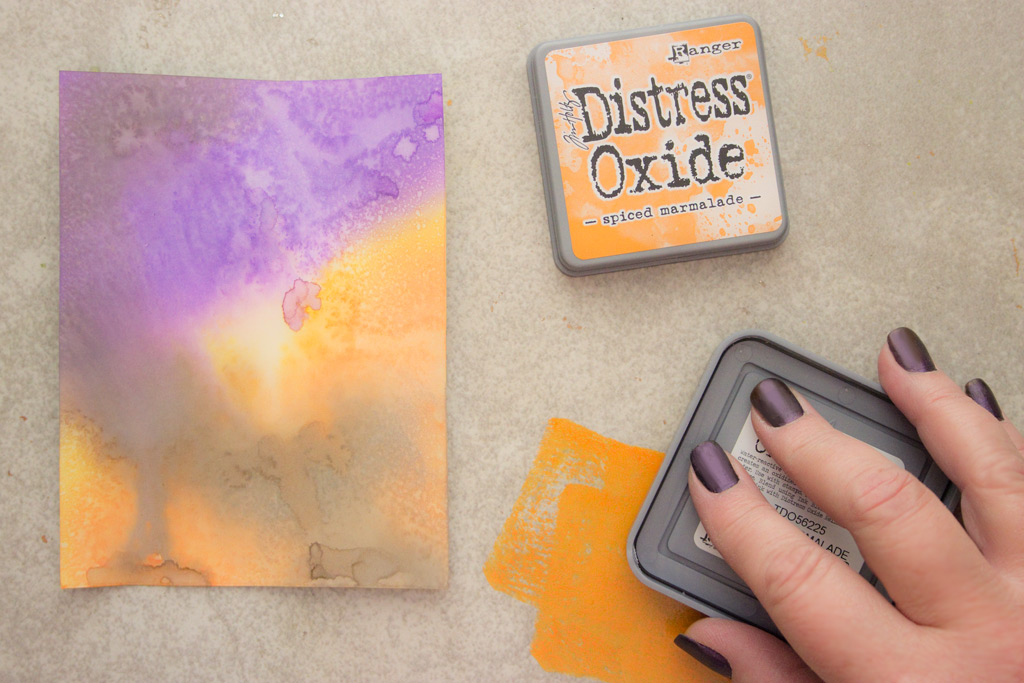
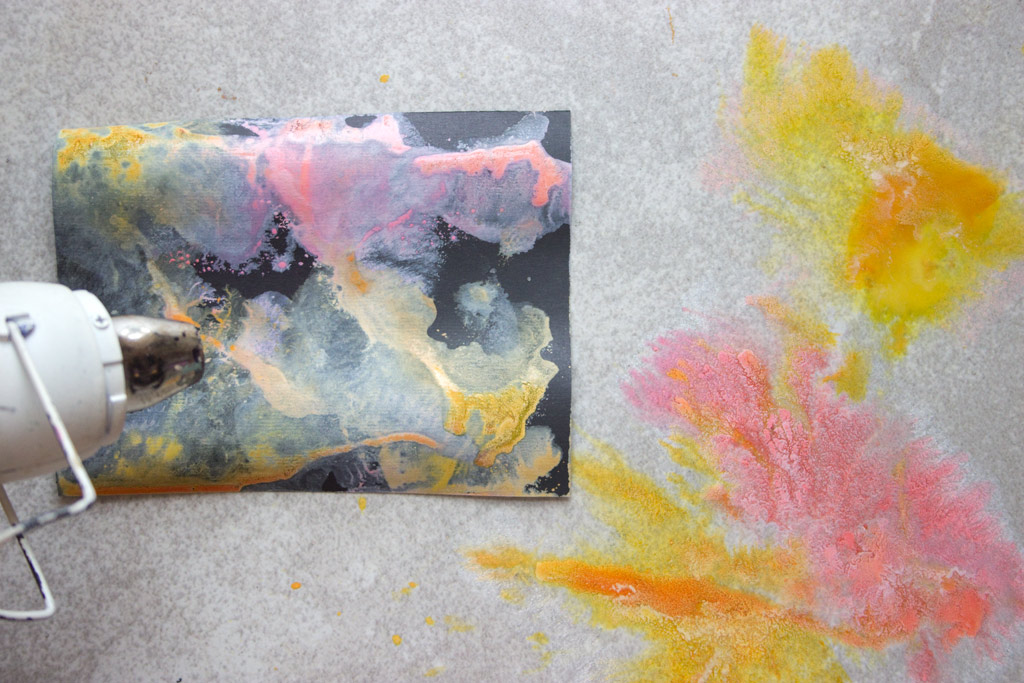
Now, smoosh a big glob of your brightest color on the work surface.
The color is so intense!
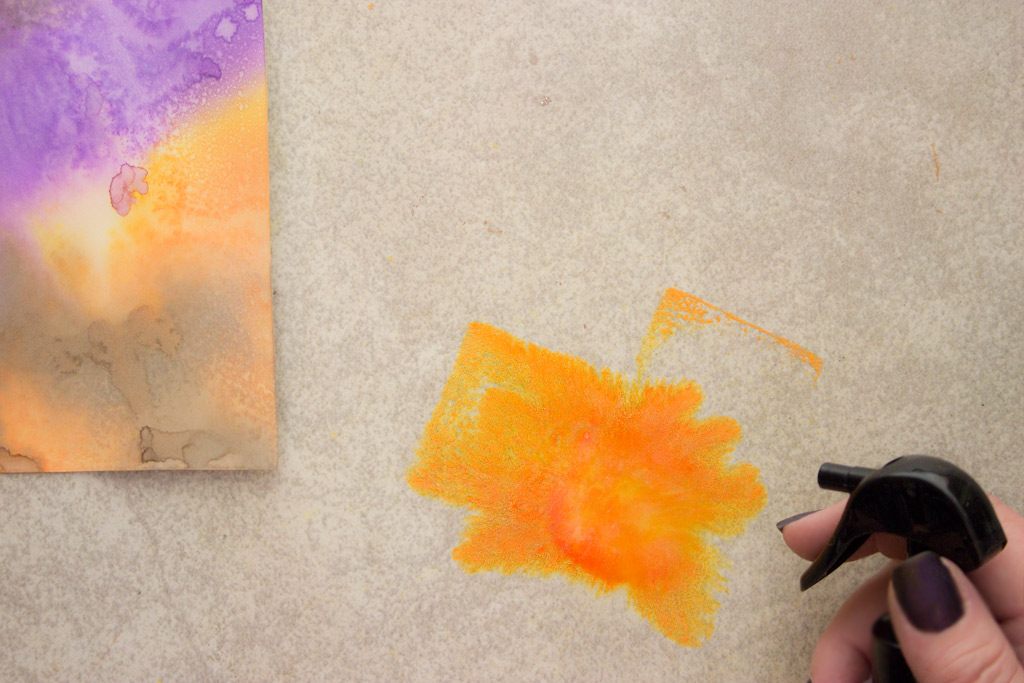
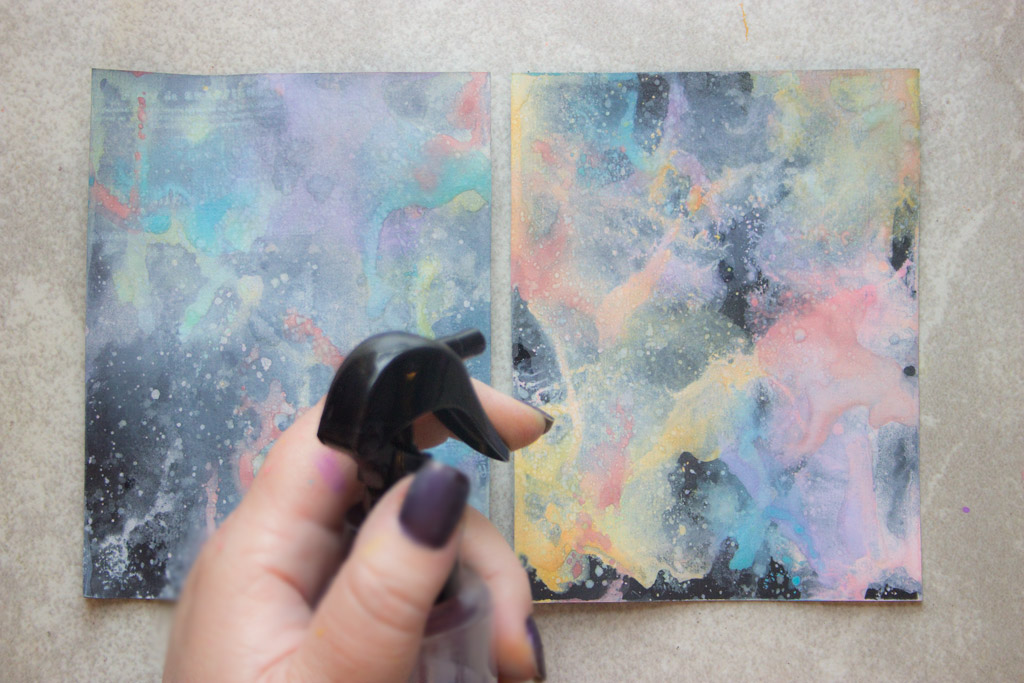
Spritz with water…
Gently tap your paper face down into the puddle of yummy pigment.
Do it over again, until you like what you see.
Dry the surface.
Do it again, with a contrasting color…
Dry the surface.
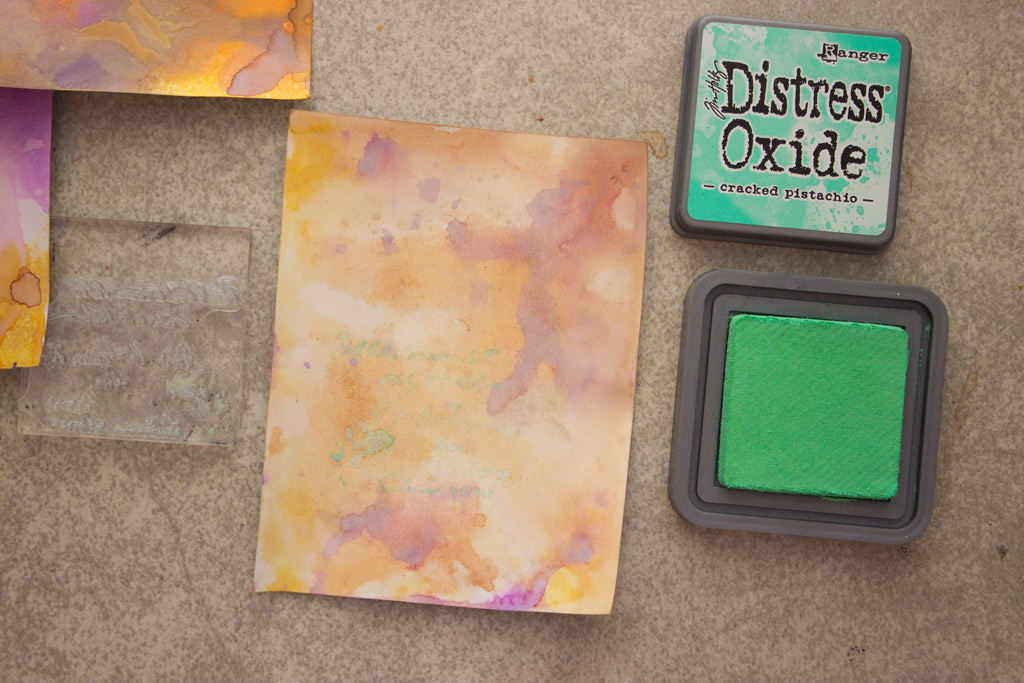
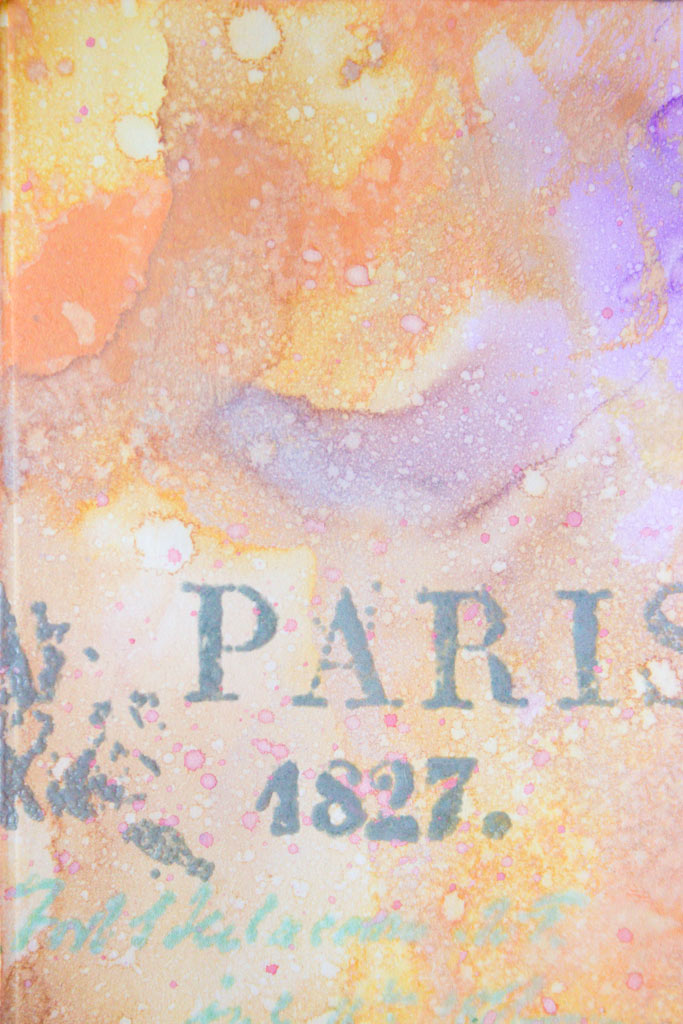
Try stamping over the top in a LIGHTER color…
Spritz lightly with a gentle mist of water…
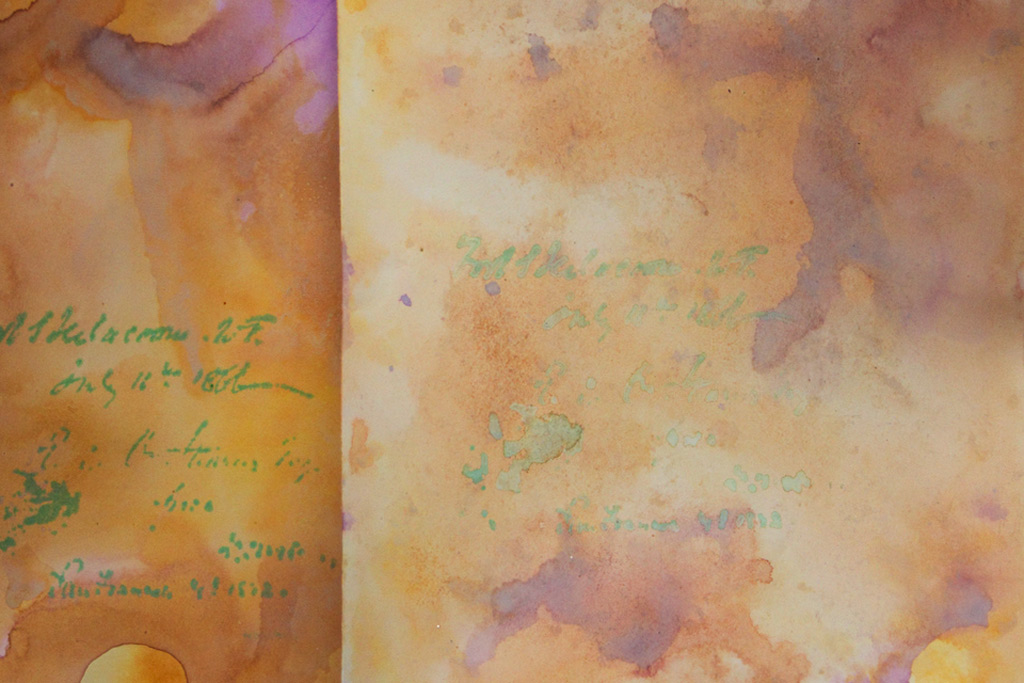
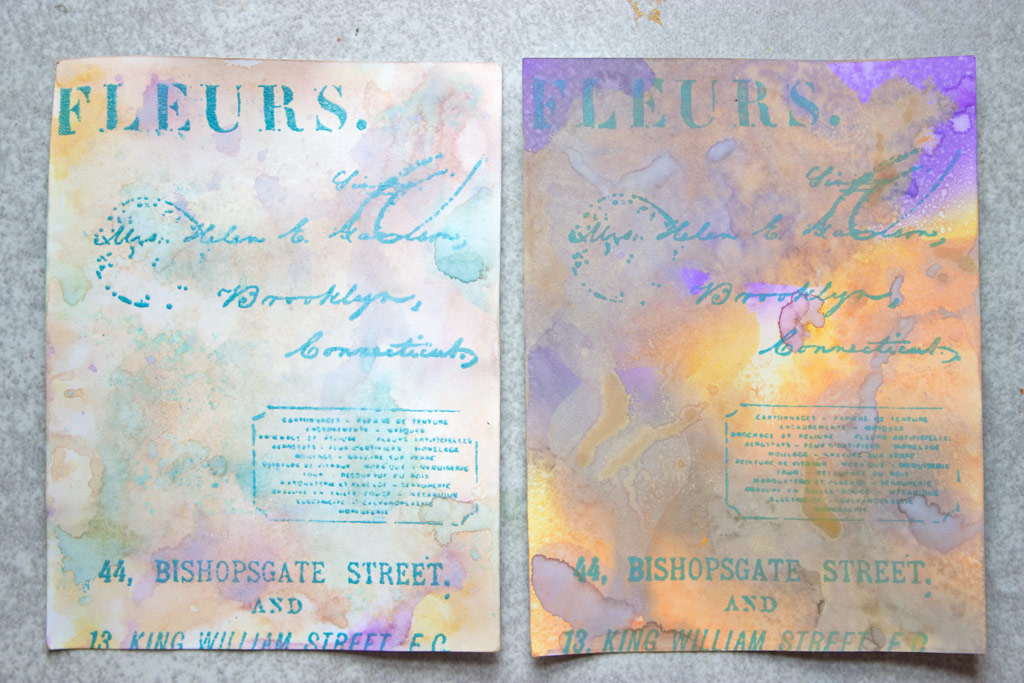
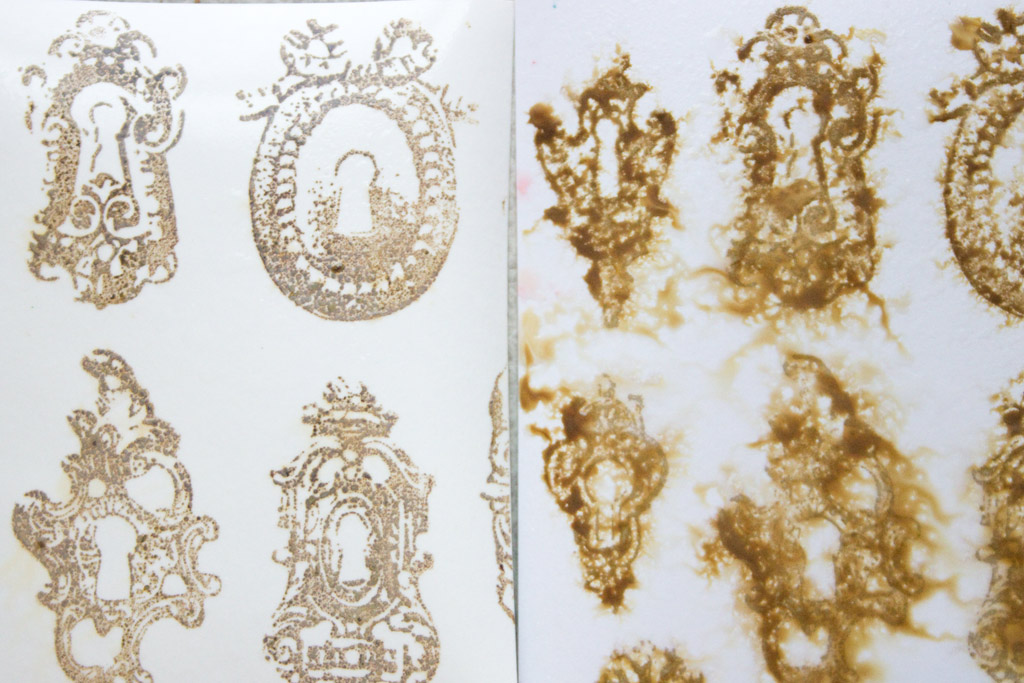
On the left, you see the results on Glossy Photo Paper.
On the right, on plain white cardstock.
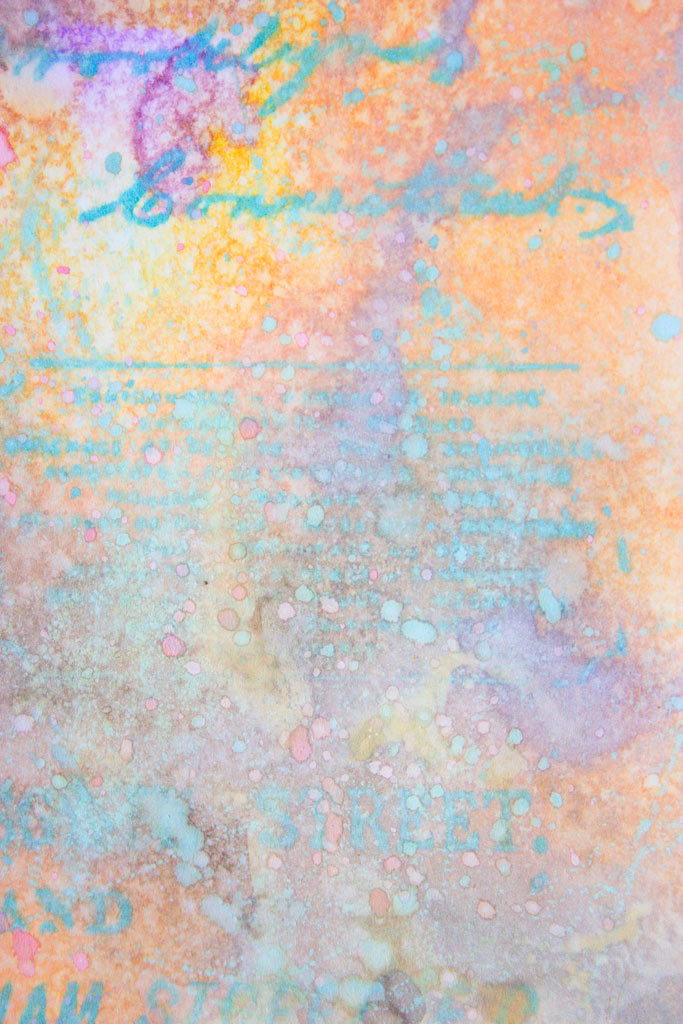
I really liked the intensity of color that results from using the Glossy Photo Paper, so next, I stamped a larger portion of the background.
Yummy!
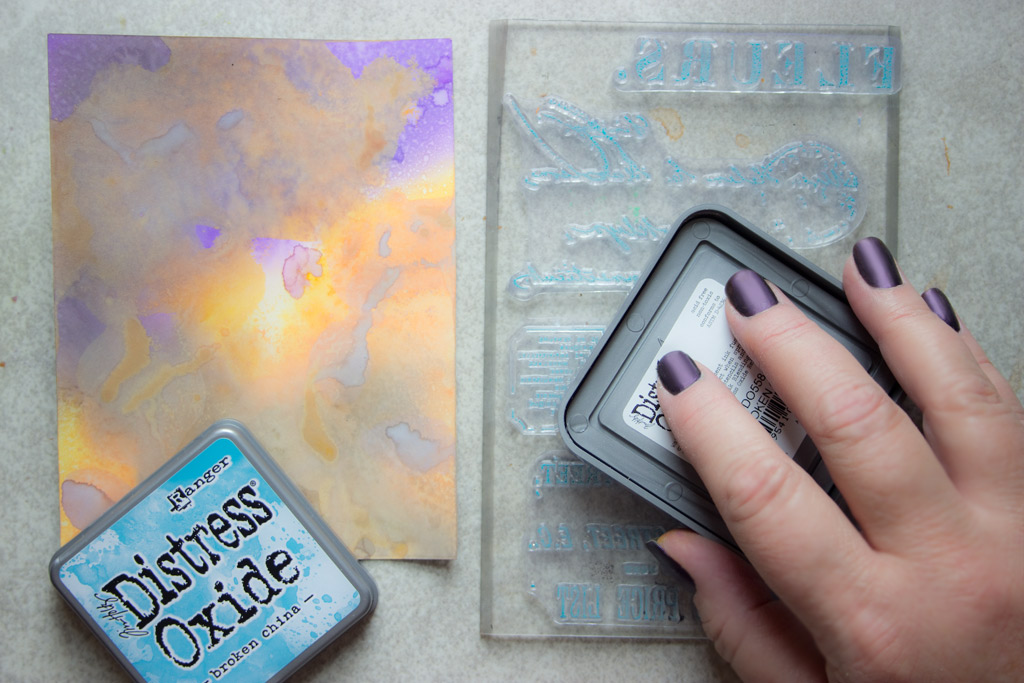
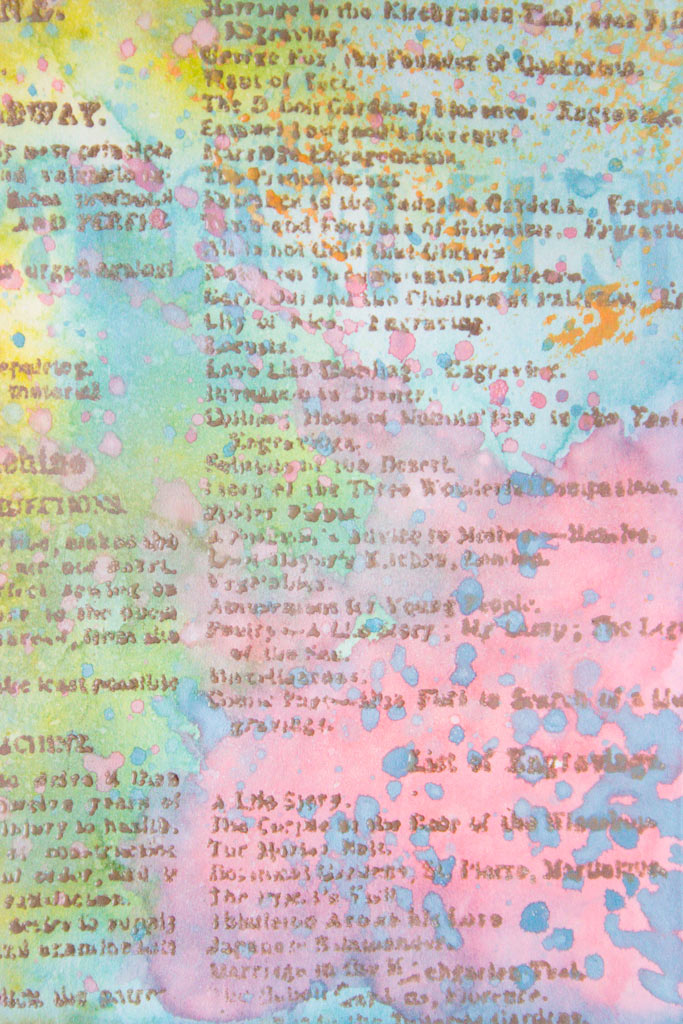
Distress Oxide Inks are a DREAM to stamp with…
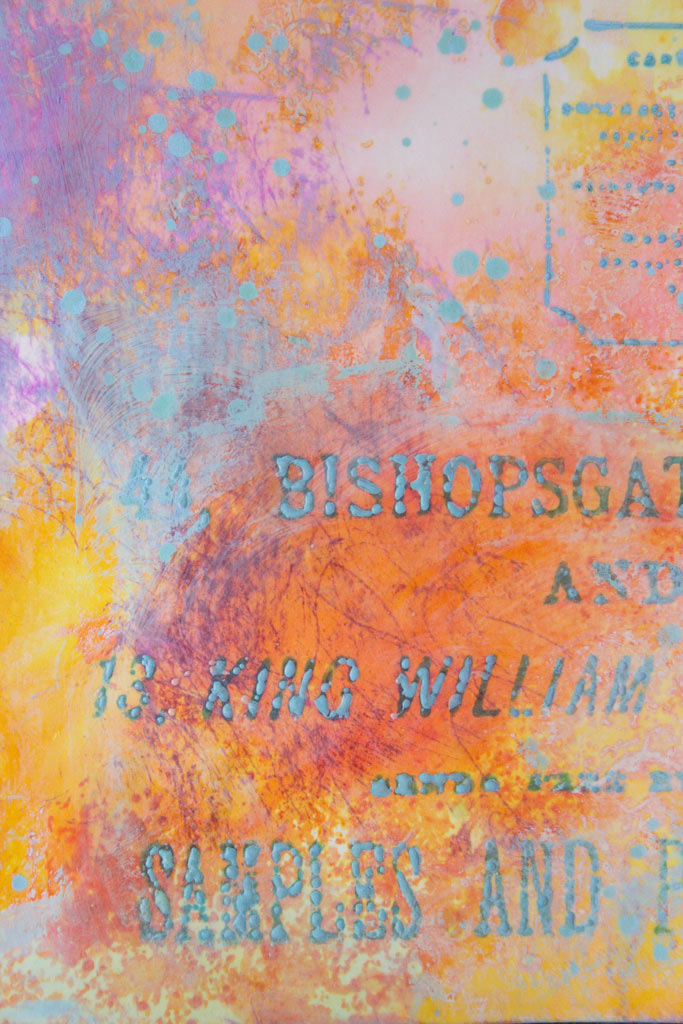
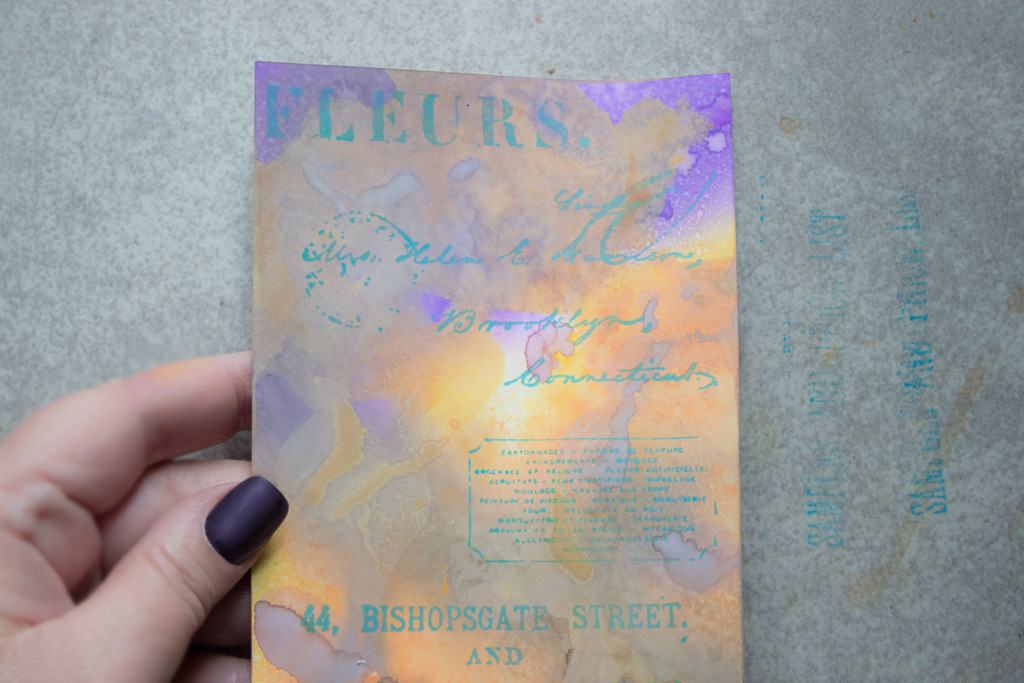
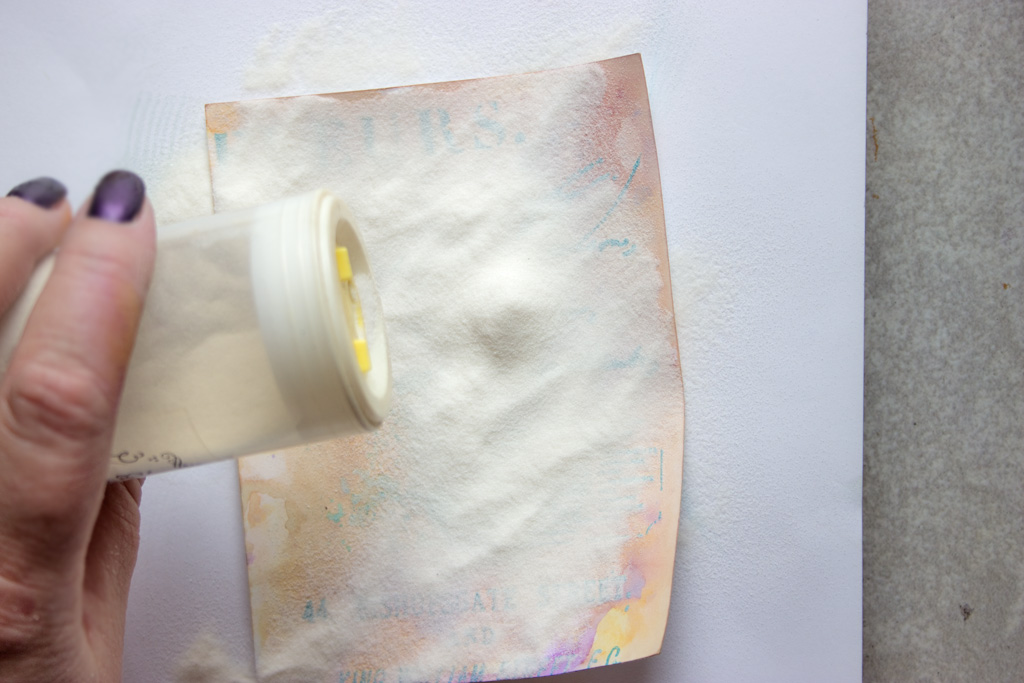
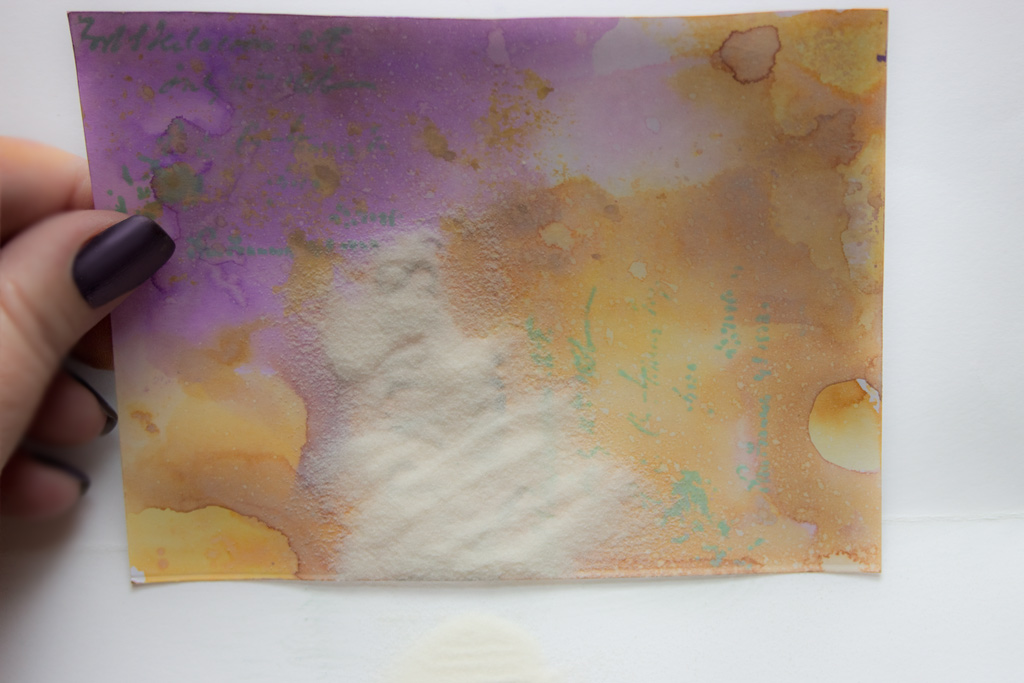
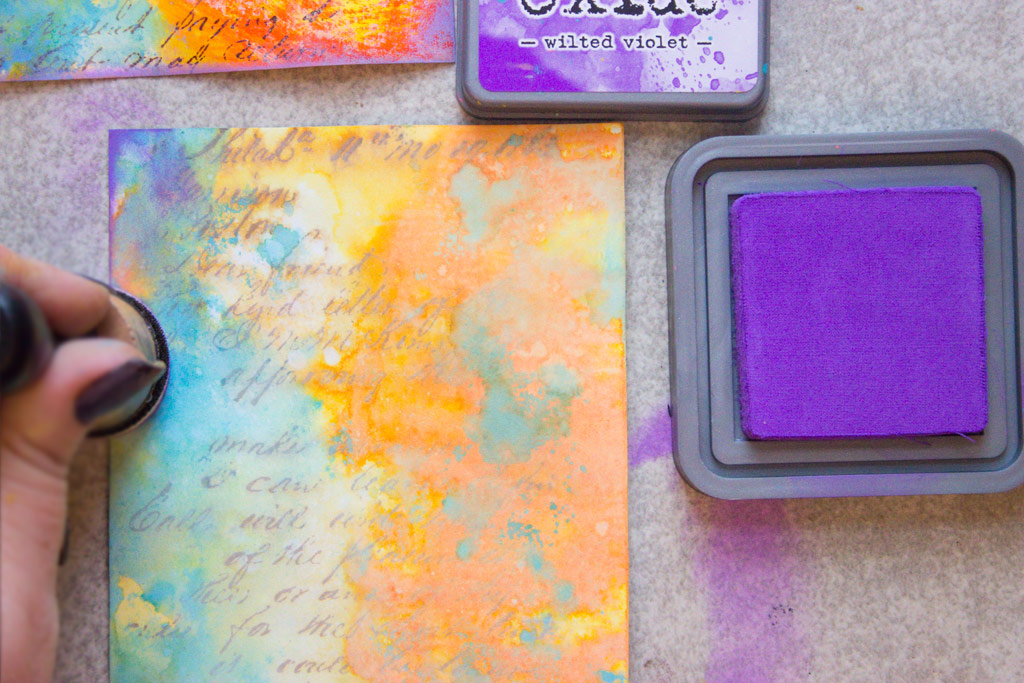
To preserve the crisp stamped text, cover with fine, clear embossing powder, then heat set.
On the left, an example on plain white cardstock.
On the right, the results on Glossy Photo Paper.
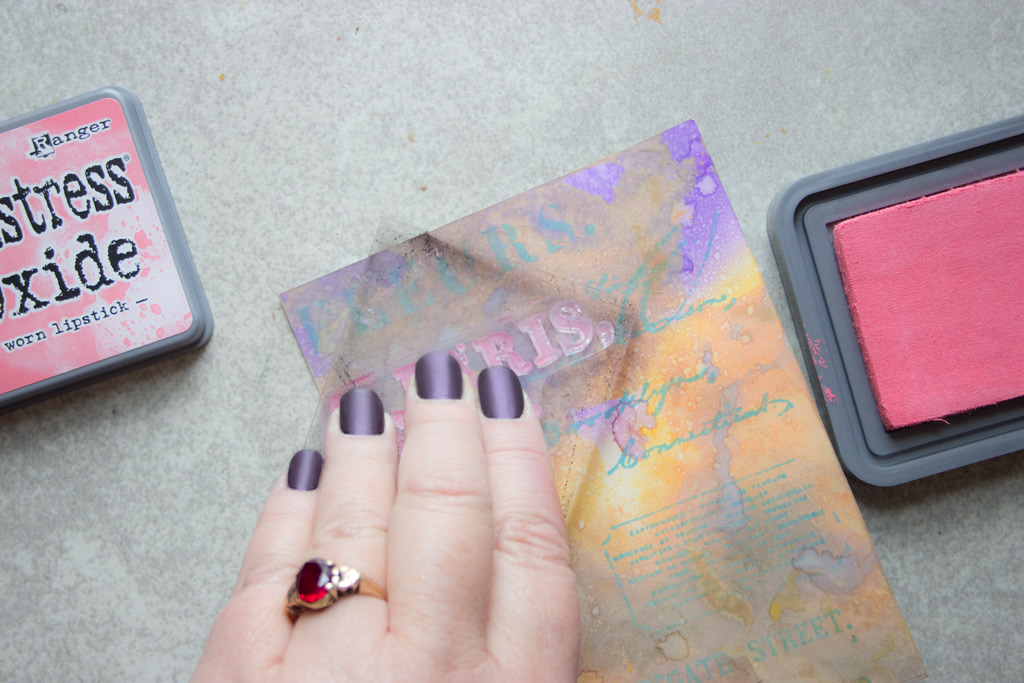
How cool to be able to stamp over darker colors with PINK!
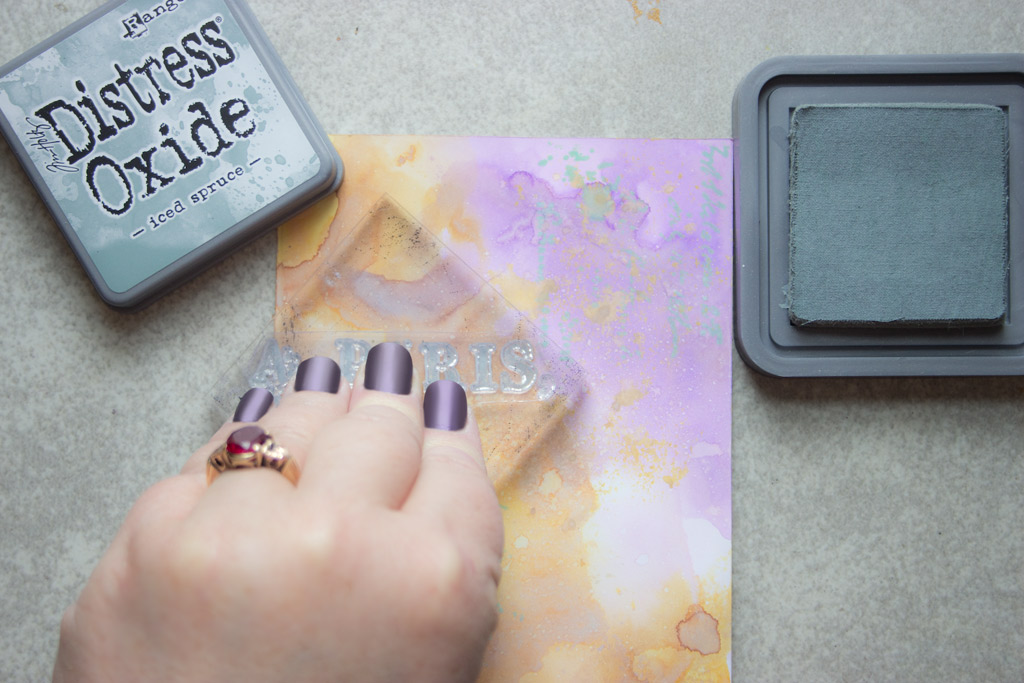
Or to get a whispery, soft effect with grey-green…ahh
Heat embossing will allow you to continue to add layers of inks, without obscuring your stamped images…
So pretty!
You can smoosh the ink pad directly onto the surface of the paper, then spritz!
Create a puddle of pigment, then flick it over the surface with Wild Abandon!
Splatters will never be the same!
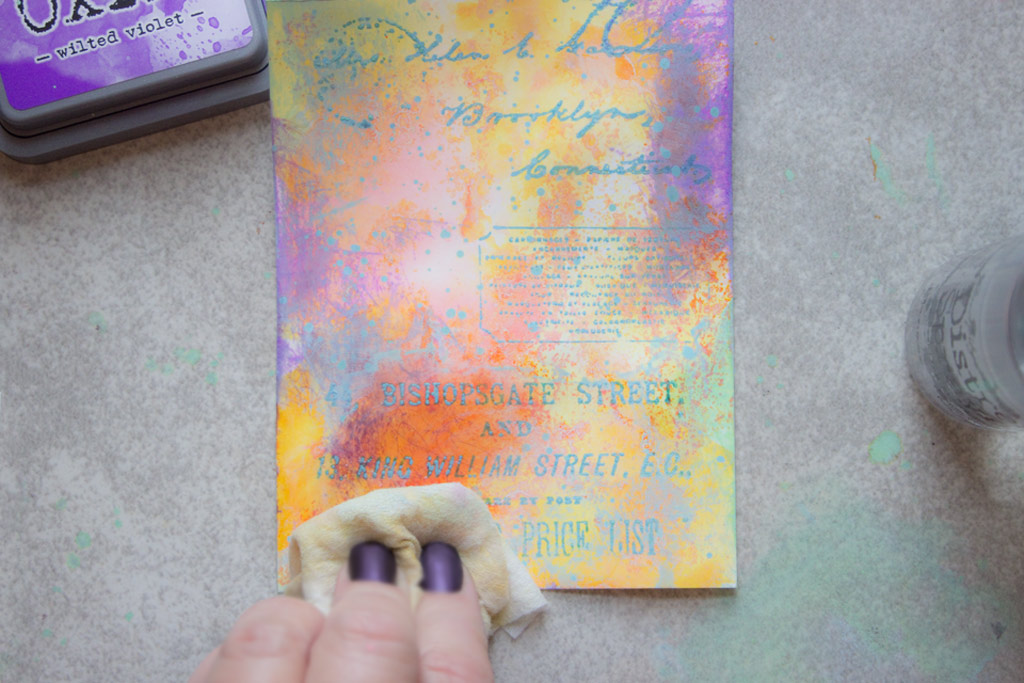
On Glossy Photo Paper, you can selectively wipe-back the inks with a Baby Wipe to reveal the intense under-layers…
How about on Black Cardstock?
Drag wild swathes of color over the worksurface…
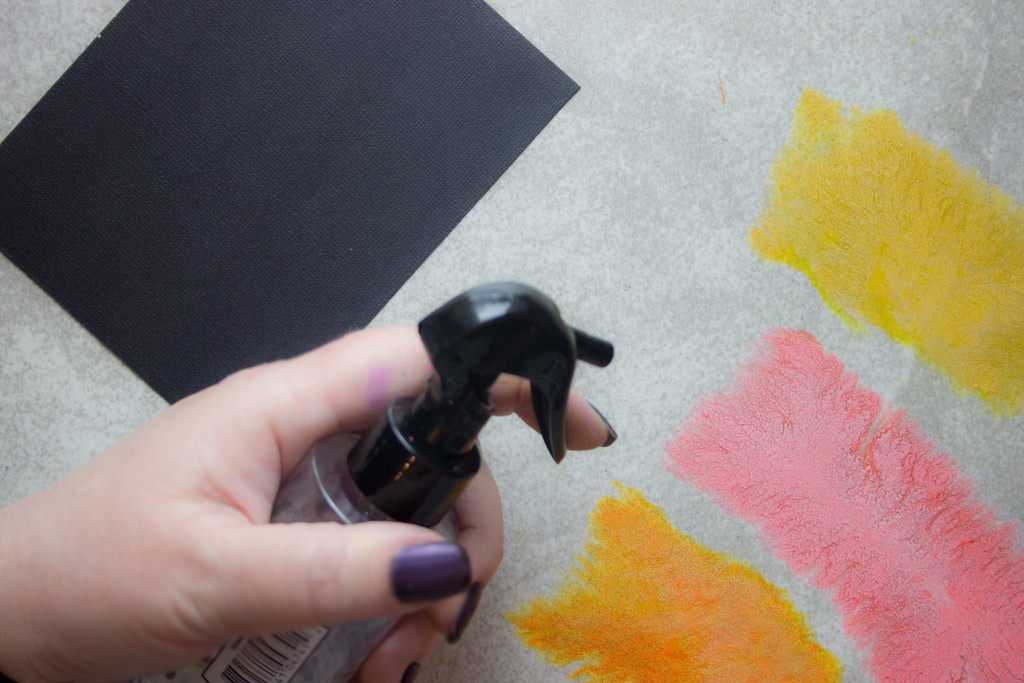
Spritz…
I found that if you leave the water to activate the inks for a few moments, before you use them, the effect is more intense…
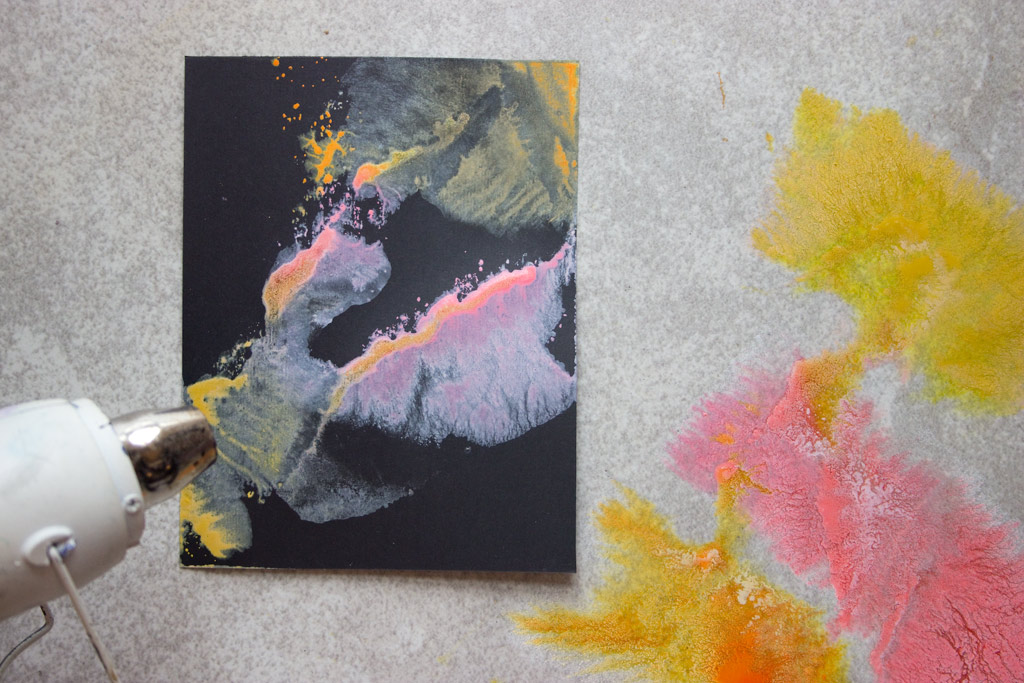
See the tiny estuaries and deltas forming in the ink? So cool…
Tap your black paper into the puddles!
Dry.
Do it again!
Blend a couple of inks onto the surface of another piece of Black Cardstock, allowing a bit of pure black to remain…
Then, make a Happy Puddle of a color that does NOT harmonize with your masterpiece!
Be bold!
Tap the paper right into those scary colors!
Spray the surface!
Admire the wild and wonderful outcome!
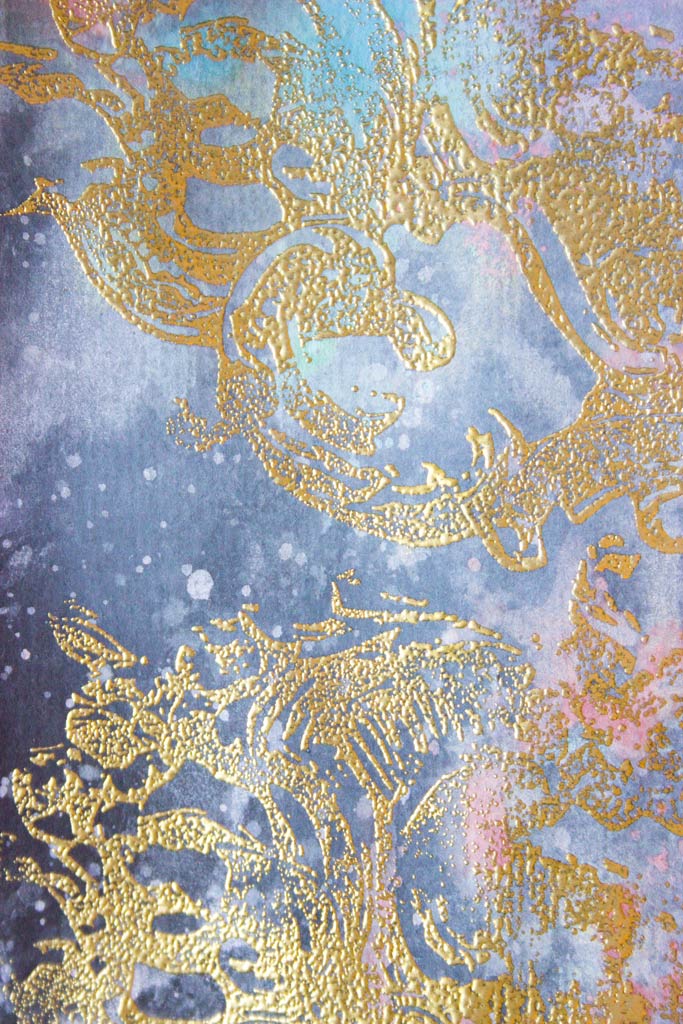
Gold heat embossing, right over the top!
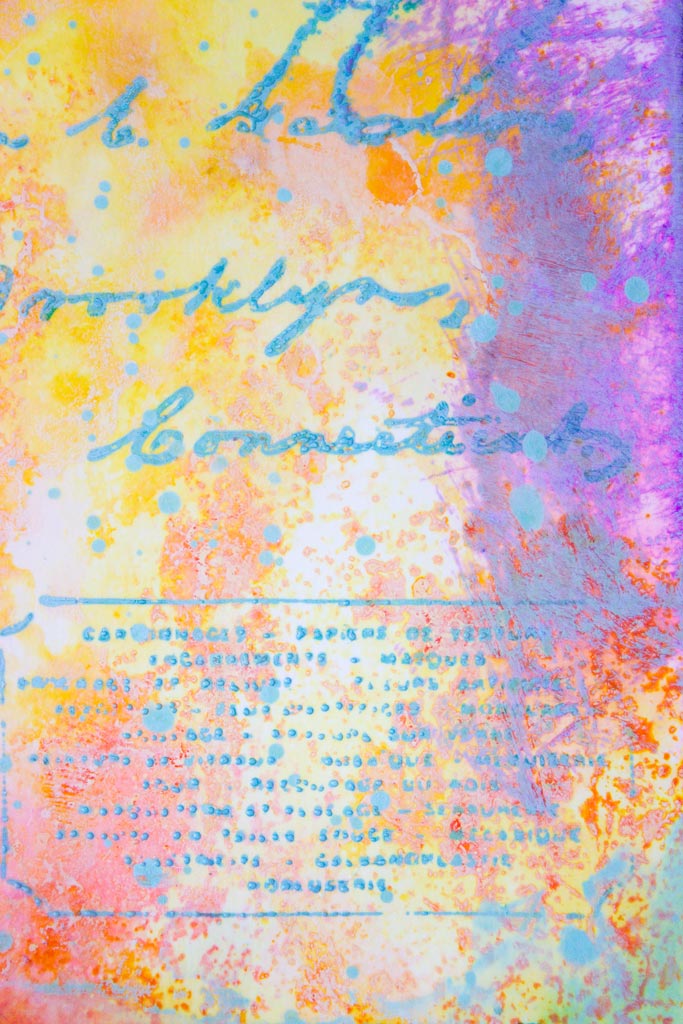
What if we START with a stamped image?
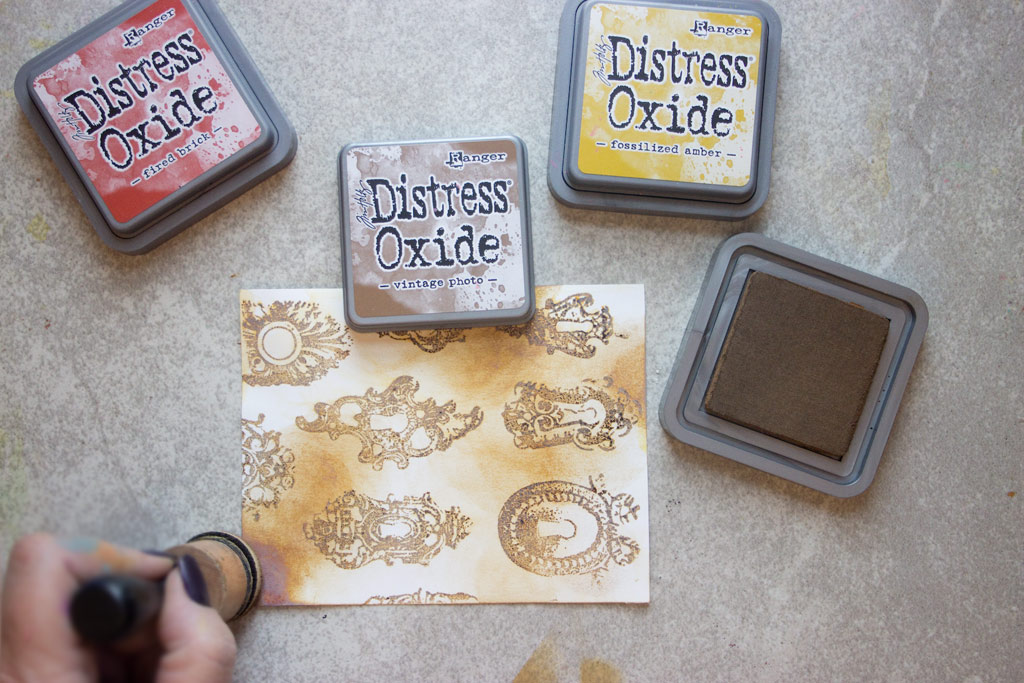
Here, I’m stamping some of the delicious motifs from Iron Orchid Designs Decor Stamp: Hardware with Vintage Photo Distress Oxide Ink.
Once stamped, Spritz with water!
The stamped image on Glossy Photo Paper (left)
On plain white cardstock (right)
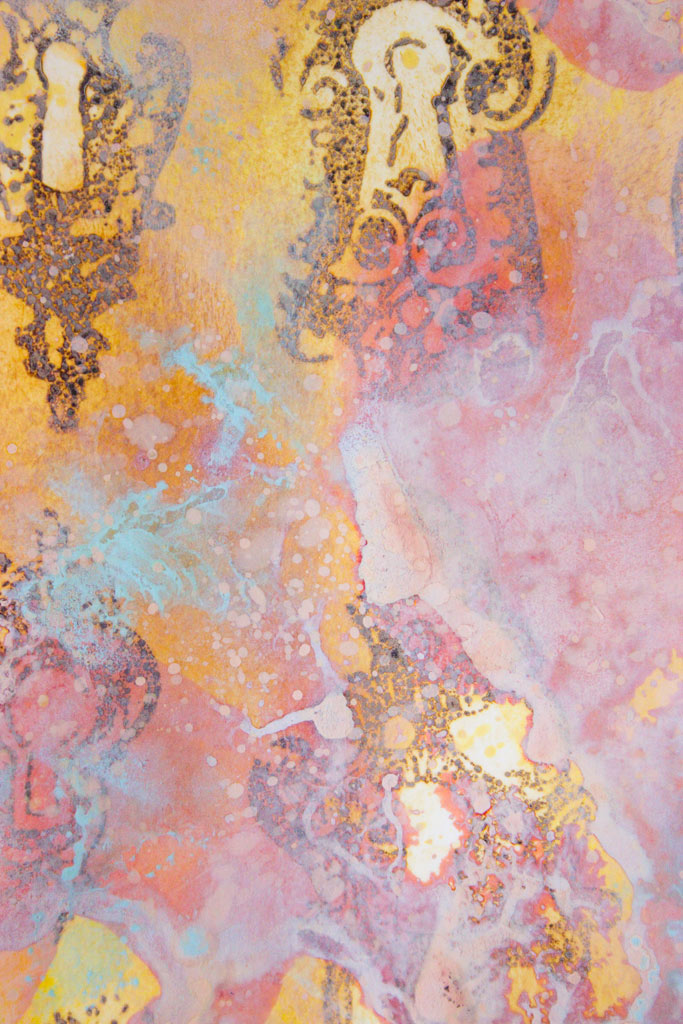
Blend some warm colors for an aged effect…
Spritz, dry, then dip into puddles of contrast!
See the milky white oxidization? This appears more pronounced on the glossy paper…
Also, the initial stamped image retains much more clarity on glossy paper.
I LOVE that!
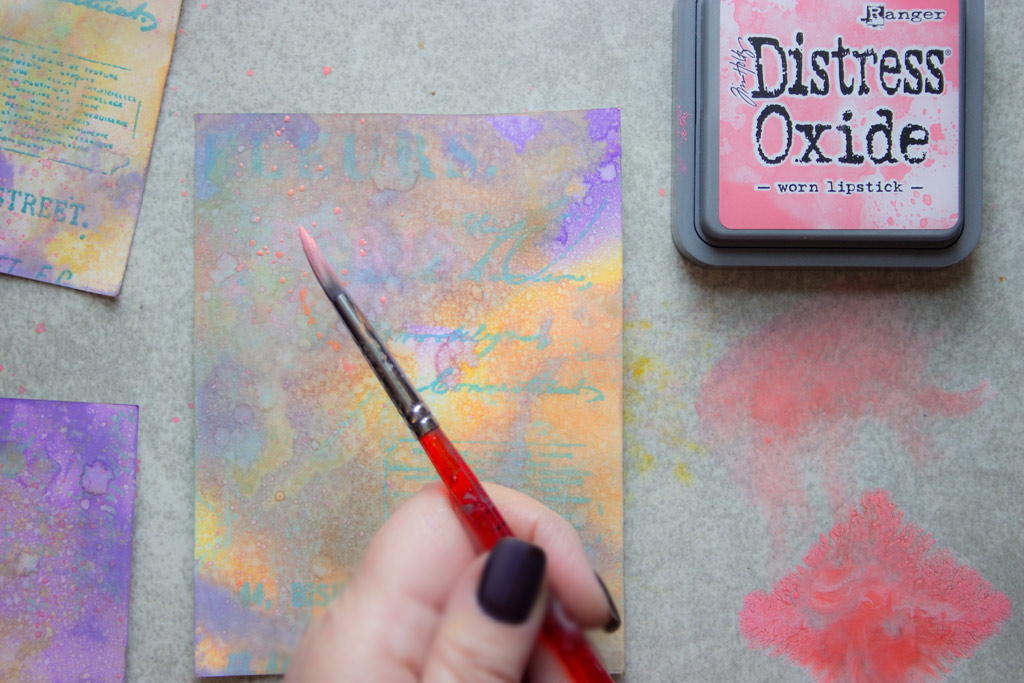
As a final touch, distress the edges of your fabulous papers with contrasting colors!
At this stage, you should find yourself in a state of Distress Oxide Induced BLISS!
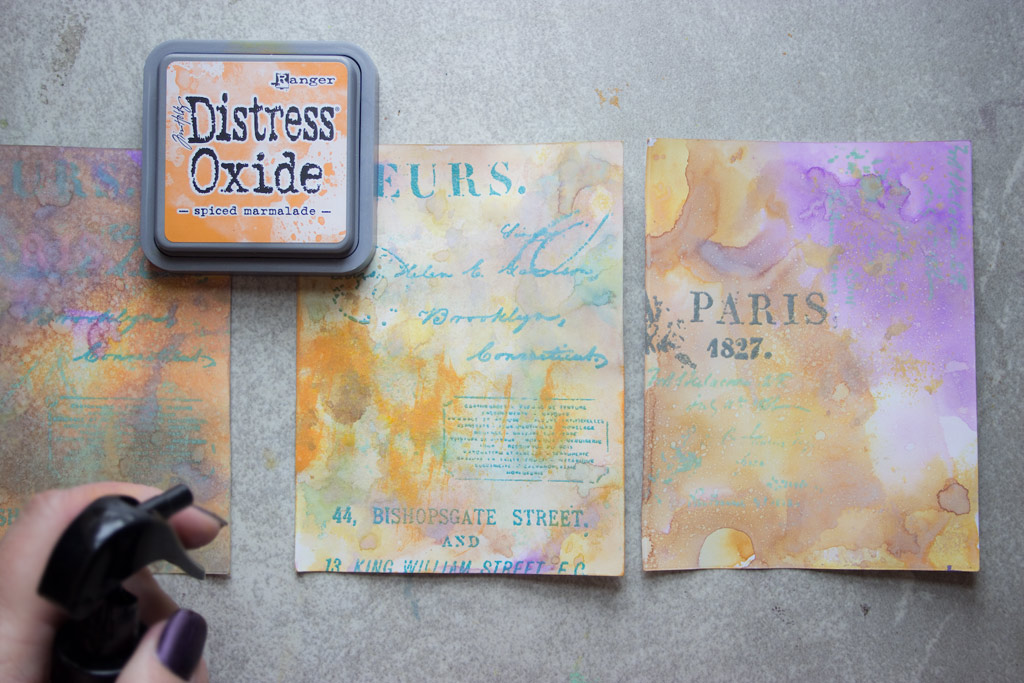
Here is a small sample of the papers created in just one session!
This experience reminds me of my first experiments with a Gelli Plate – the process is SO full of creative possibility that you just keep reaching for one more piece of paper!
I hope that you learn how to use distress oxide inks and that you have as much FUN as I did!
You may also like More Distress Oxide Ink Techniques HERE.
Thank you for visiting The Graphics Fairy today! It’s been a pleasure to share these experiments with you!
Stop by Thicketworks to browse around more Quirky Crafting Projects & Ideas…you’re always welcome there.
Until next time,
Heather






Rupa says
Yeah, you have done it again! Driving me crazy with the gorgeous colors/patterns and cool effects you have created. You call it “additive effect”, I call it “addictive effect” lol! In fact, my brain read it exactly as addictive 🙂 And I am glad I paid attention in my geography class to learn about peaks/valleys and estuaries/deltas so that they would come in handy in crafting 🙂 I haven’t used the DIs I have bought over the years and now all these new cool inks are out….sigh! I am sure I will get sucked into buying these. I had heard of these after CHA (didn’t watch TH’s video) but you now have got me thinking about these…a lot…I think he should include you in his design team…I know it will happen sooner or later! PS: I might drop a hint on his site…hm….
Heather Tracy says
Hi Rupa! Girl, you are hilarious, and wonderful. I like “addictive effect” just FINE…it’s true. Seriously – once you start playing with these, you just can’t stop reaching for the next piece of paper! This is one of those MUST have products. And what is the story with all of your regular Distress Inks??? Languishing. Lonely. So SAD! Thank you for your kind words, my friend…you know how much they mean to me! xox
Keti's Projects says
This looks like a real fun. You did great. Thanks for sharing your experience. I got my first 4 oxides today and I can’t wait to give it a try. Hope I’ll figure it out 😉
Heather Tracy says
Hey there, Keti! I’m excited for you – you will totally ‘figure’ this out…and you’ll have a BLAST doing it! Woo hoo! xox
Saba says
I too, love easily they blend! Love all the experiments you shared. ?
Heather Tracy says
Hey Saba! Isn’t the blending amazing? It was so fun to try the inks – can’t wait to play MORE! Thanks for being sweet. 🙂
Martha says
Thank you heather! This was fantastic. I recently received these inks and can’t wait to try them. Love the inks on the black.i am already wondering if more colors will follow.
Heather Tracy says
Oohhh…you are going to have fun with the inks, Martha! And I know, right? The look amazing on black. They have to give us ALL THE COLORS!!!! Thanks for leaving such a nice comment, my friend! xox
Dixie Cravens says
Glossy paper!!! I like the glossy paper examples so much more than the cardstock. I’ve got to go craft! (The stamps you used…how did I miss them? Thanks for the introduction!)
It was all eye candy. So beautiful.
Heather Tracy says
Hey Dixie! I know, right? The glossy paper is my favorite, too. So excited that you’ve found the IOD Stamps – they are fantastic. Have fun with your Distress Oxides, my friend! xox
christine kaminski says
great examples!! do you know if the stamping will fade if it’s not embossed with clear powder? just curious if these will fade or if the heat set will hold the stamping of words or designs? again – AWESOME work!!
Heather Tracy says
Hi Christine! Thank you for your kindness, my friend. The ink won’t fade, but it will be affected by subsequent applications of ink – like all Distress Products, Oxide inks remain water-reactive, even when dry (although to a lesser degree than standard Distress Inks, for sure). I REALLY wanted to keep adding inky layers: thus the heat embossing. The ink stamps SO nicely – you will love it! xox
Julie Heyer says
These inks just speak to me, and your techniques are all so cool! I think my favorite way to use them is on the dark papers. Love that look. Thanks again for sharing. 🙂
Heather Tracy says
Hi Julie – I feel exactly the same way: the rich colors against the dark background is magical! It was SO exciting to get to play with these cool inks – can’t wait til I have time for Round Two! Have fun! xox
BarbaraRaney'Ferrell says
Oh I’m so glad you’ve been given so many products to work with, thus giving us the opportunity to see how they would work in the hands of a mad scientist. I’ve seen the new line demonstrated by a lot of people but on projects I would probably never do. But you showing them shows me that they are right up my alley. So here’s hoping you are blessed with all of the new products that came out during the last show. Oh and I’m still waiting to get a peak at the product line you are coming out with, I’m excited and can barely wait . Blessed be
Heather Tracy says
Hi Barbara! It’s lovely to hear from you my friend. I think we will all be experimenting with these inks for quite some time before exhausting all the possibilities…they really are a joy to work with. So glad that this demo helps you feel as though they might be of use to you, too!
Note: I purchased all of the Oxide Inks. I saw them during the CHA YouTube coverage and ordered them ASAP! I just knew they were worth the investment, and I was RIGHT! 😉
Thank you for your kindness, Barbara. I know I’ve been discussing the upcoming line of Stencils & Masks for far too long! Life has intervened, and I’ll be oh-so-glad when the time comes that I can fulfill all the promised goodness! Thank you for your patience. xox
Hellen Edwards says
Amazing!!! I was given some distress oxide inks 2 days ago, and wasn’t quite sure about how to get the best results from them. You are definitely an angel Heather, LOVE the results and thanks also for the comparisons on different card.
So happy to have such an inspired artistic soul sharing with us.
Hellen
Heather Tracy says
Hi Hellen! What a cool gift…glad we got the timing right, my friend. I just know that our community will discover many more amazing ways to enjoy these fun inks…
Thank you for being so encouraging! It’s a true gift be a part of The Graphics Fairy Team, and to share these little experiments with our friends. xox
Fonda says
My head must have been in the sand. I have never heard of these oxide stamp pads. Good gravy! My wallet is going to say “Ouch!” soon! The ink certainly does have some great qualities. I am going to have to find out how many colors there are and make an order from somewhere. I love these! {And, of course, what you have shown that can be done!} I’m excited. Thank you!
Heather Tracy says
Hi Fonda! This is a very new release – only 12 colors are available so far. I wanted to resist…but, oh MAN, the inks are SO fun. You will have a blast, my friend. Thanks so much for stopping by and catching the FEVER! xox
Sharlene Brown says
Thanks so much for the detailed showcase of the wonderful effects that can be created with these new distress oxide inkpads. I cant wait to get my hands on these and play.
Heather Tracy says
Oh, Sharlene…girl, you are going to have a blast once you get your hands on these inks! Makes me smile to imagine all the experimenting you’ll do! xox
Dorthe Hansen says
Heather every bit you create ends up as beautiful art, – your papers are stunning prove of that , dear friend.
So fabulous all, I need more time to study them.. <3
Heather Tracy says
What is so wonderful, Dorthe, is that anyone can achieve these great results…the inks are just amazing to work with…thank you for taking the time to visit, my friend, and for being so kind! xox
Christina in FL says
Oh my! These are cool and I REALLY like that they can also be purchased in a dropper bottle rather than just a pad. 🙂 They are on my wish list! Thanks!
Heather Tracy says
I can’t wait to get my hands on the Re-inkers, too, Christina! It will be so fun to play with the concentrated colors! xox
Linda Cain says
HOT DAMN You’re GOOD!!! TFS. I’m hooked.?
Heather Tracy says
I knew you would love these, Linda! So excited to see the magic you will make! xox
Josie iod says
Heather this is just gorgeous!!!! The inks look fabulous and you showcase them so
Well, thank you and graphics fairy for another superb tutorial!
Heather Tracy says
Hi Josie! I’m so glad you like the post – it’s always a joy working with my favorite products, and it’s always a joy to hear from you! xox