DIY Accordion Pocket Folders
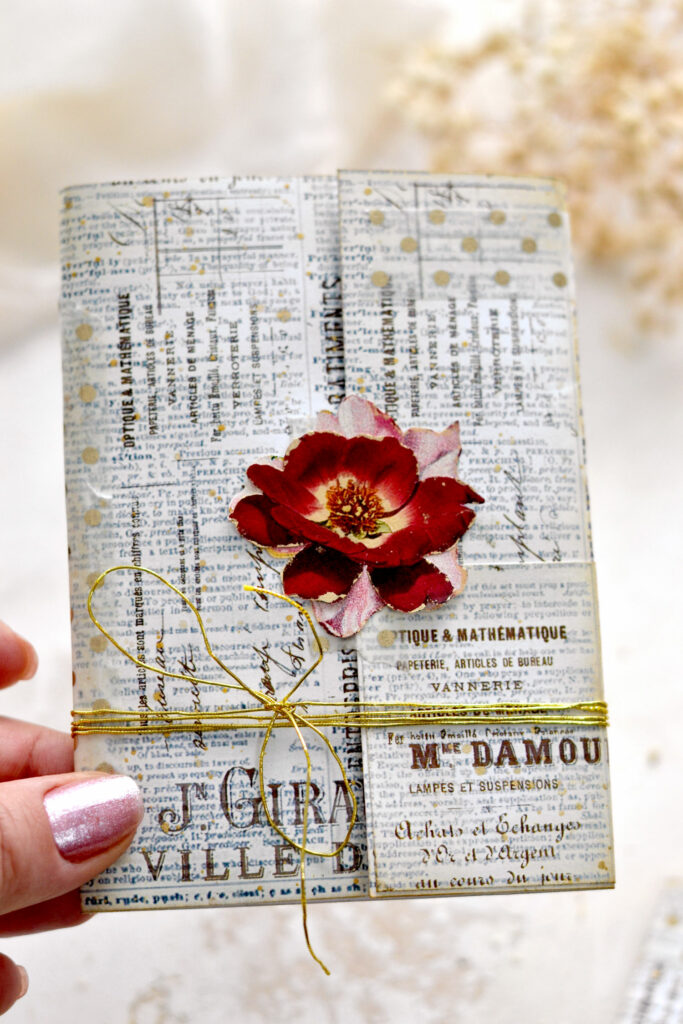
Hello Graphics Fairy friends! I’m Diana from Dreams Factory and I’m happy to be here again to share another DIY project with you! Today I will show how to make these beautiful Accordion Pocket Folders with a chic Frenchified theme using envelopes! You can use new envelopes or you can decide to finally put to good use all those recycled envelopes that you’ve been saving for a while. We will add some gold touches here and there and we will finish everything with gorgeous flower cutouts that look like flower brooches made with real flowers!
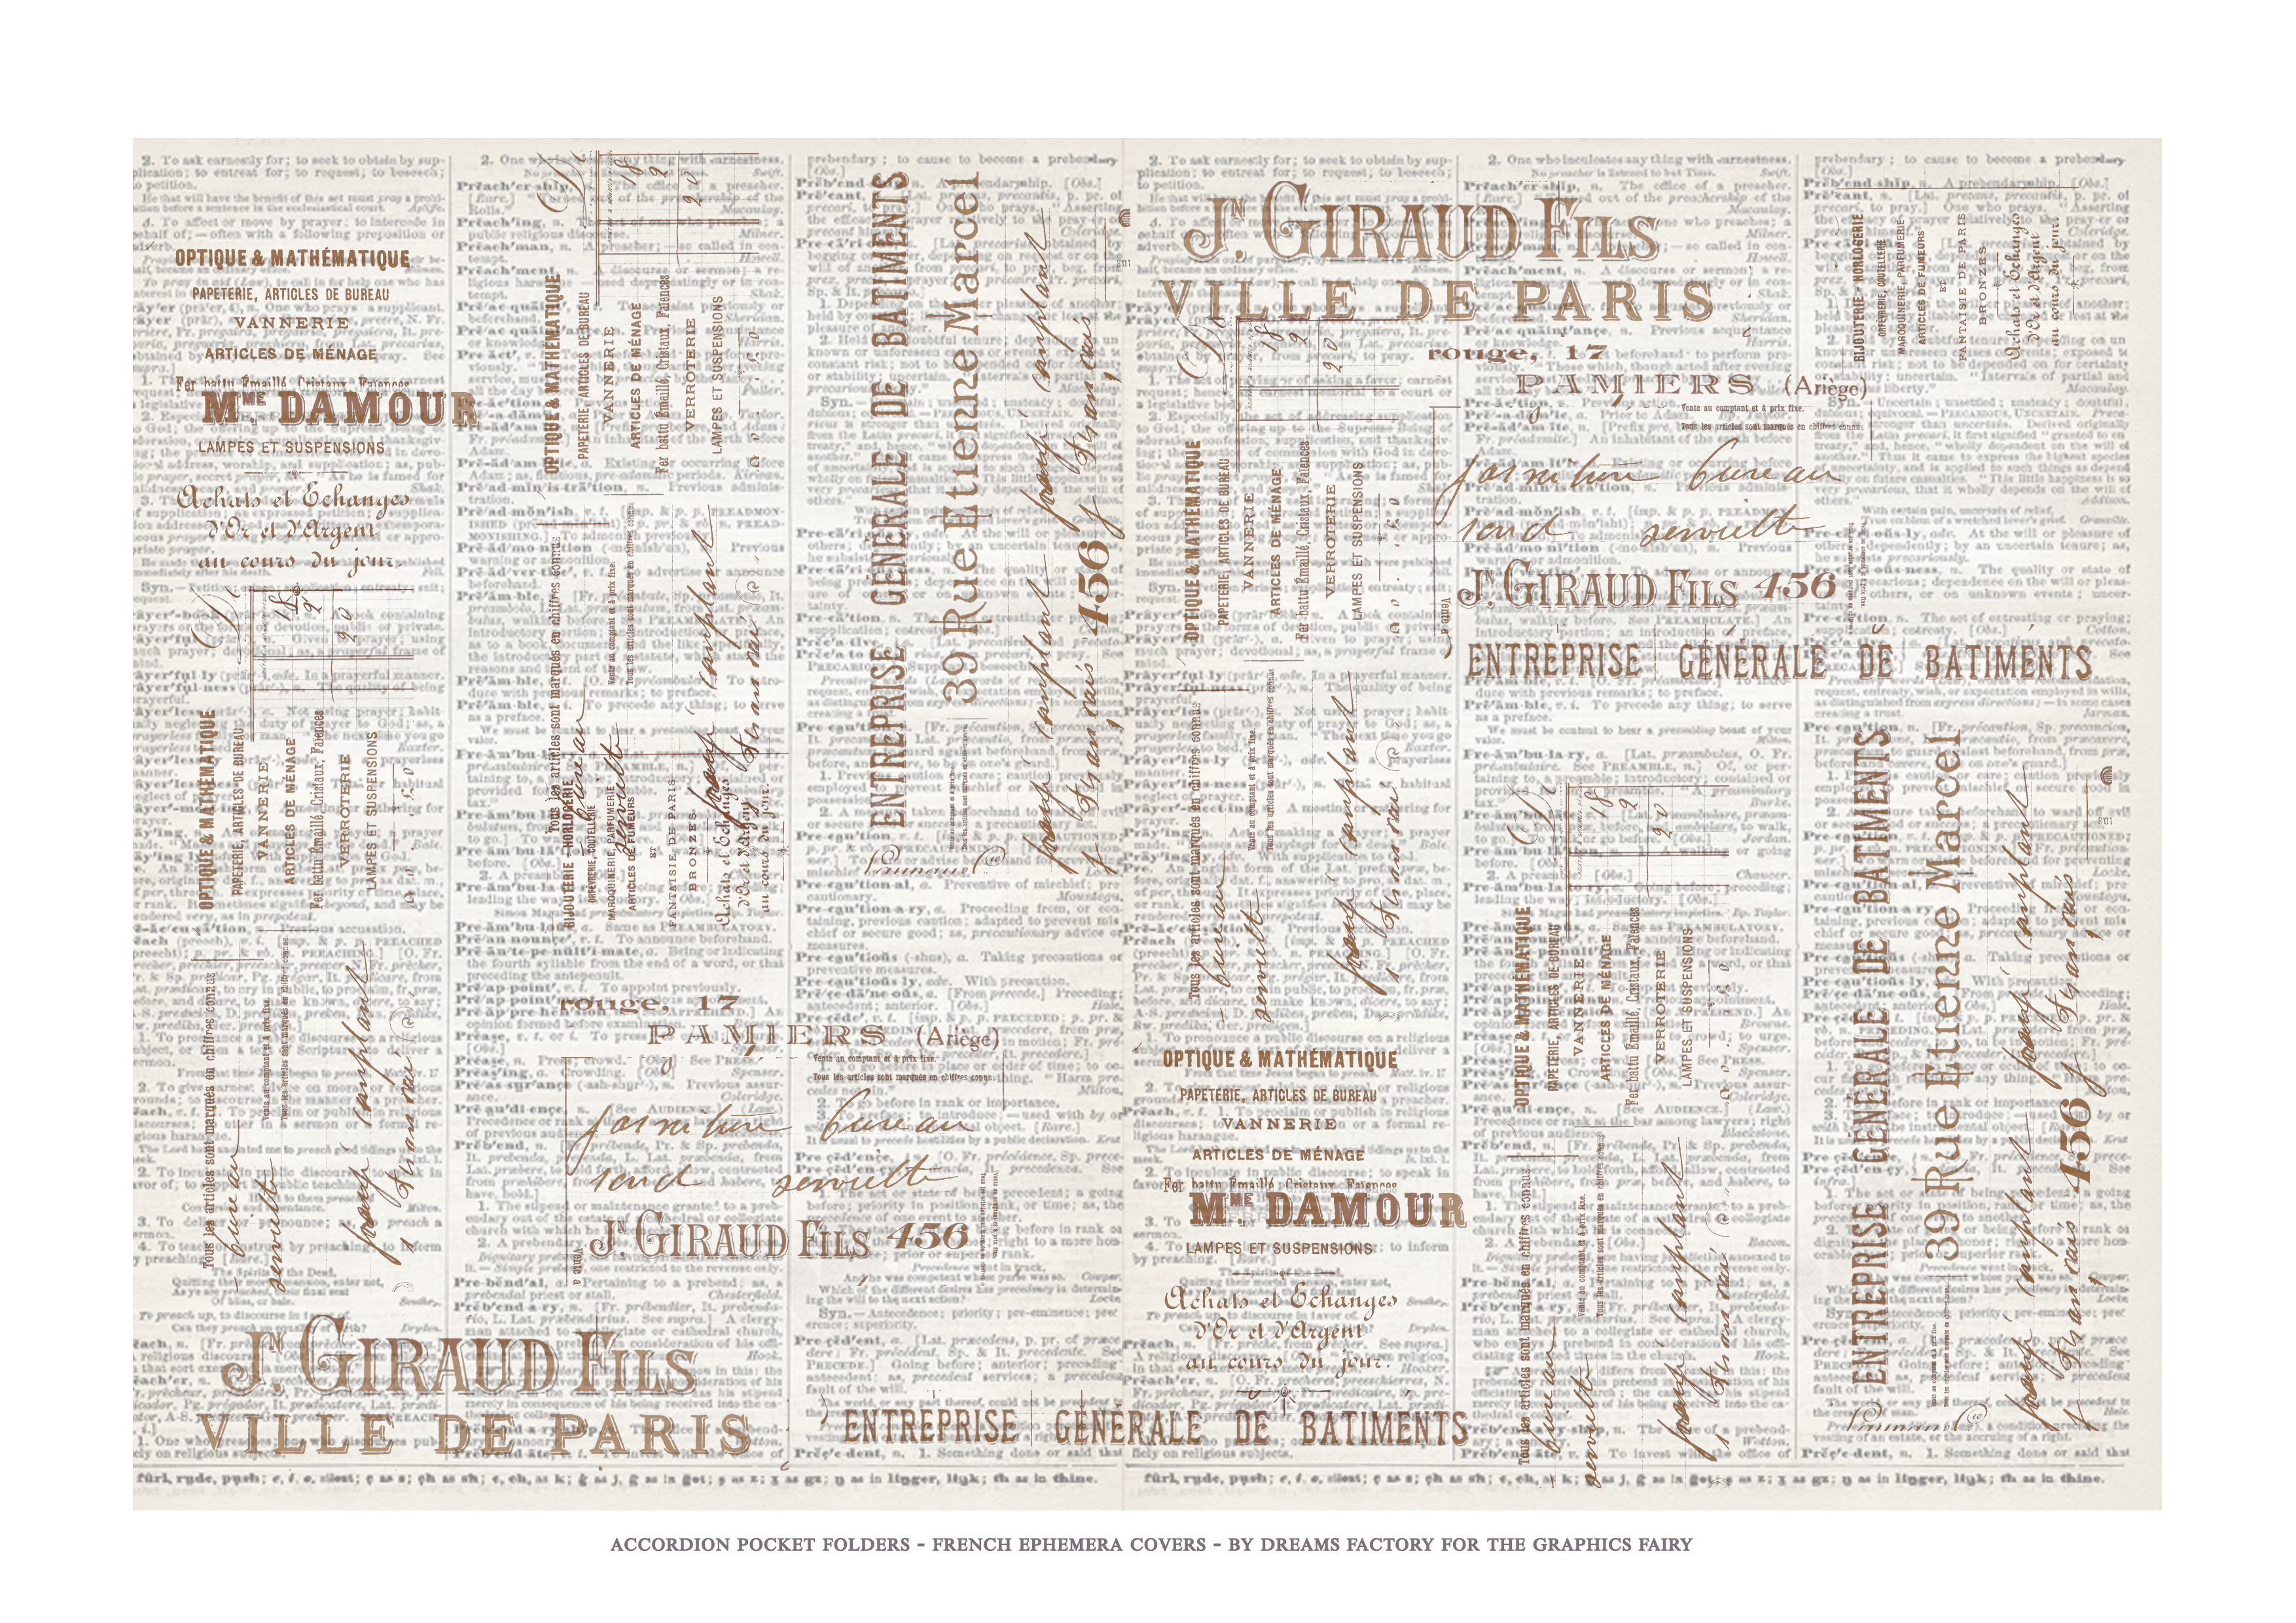
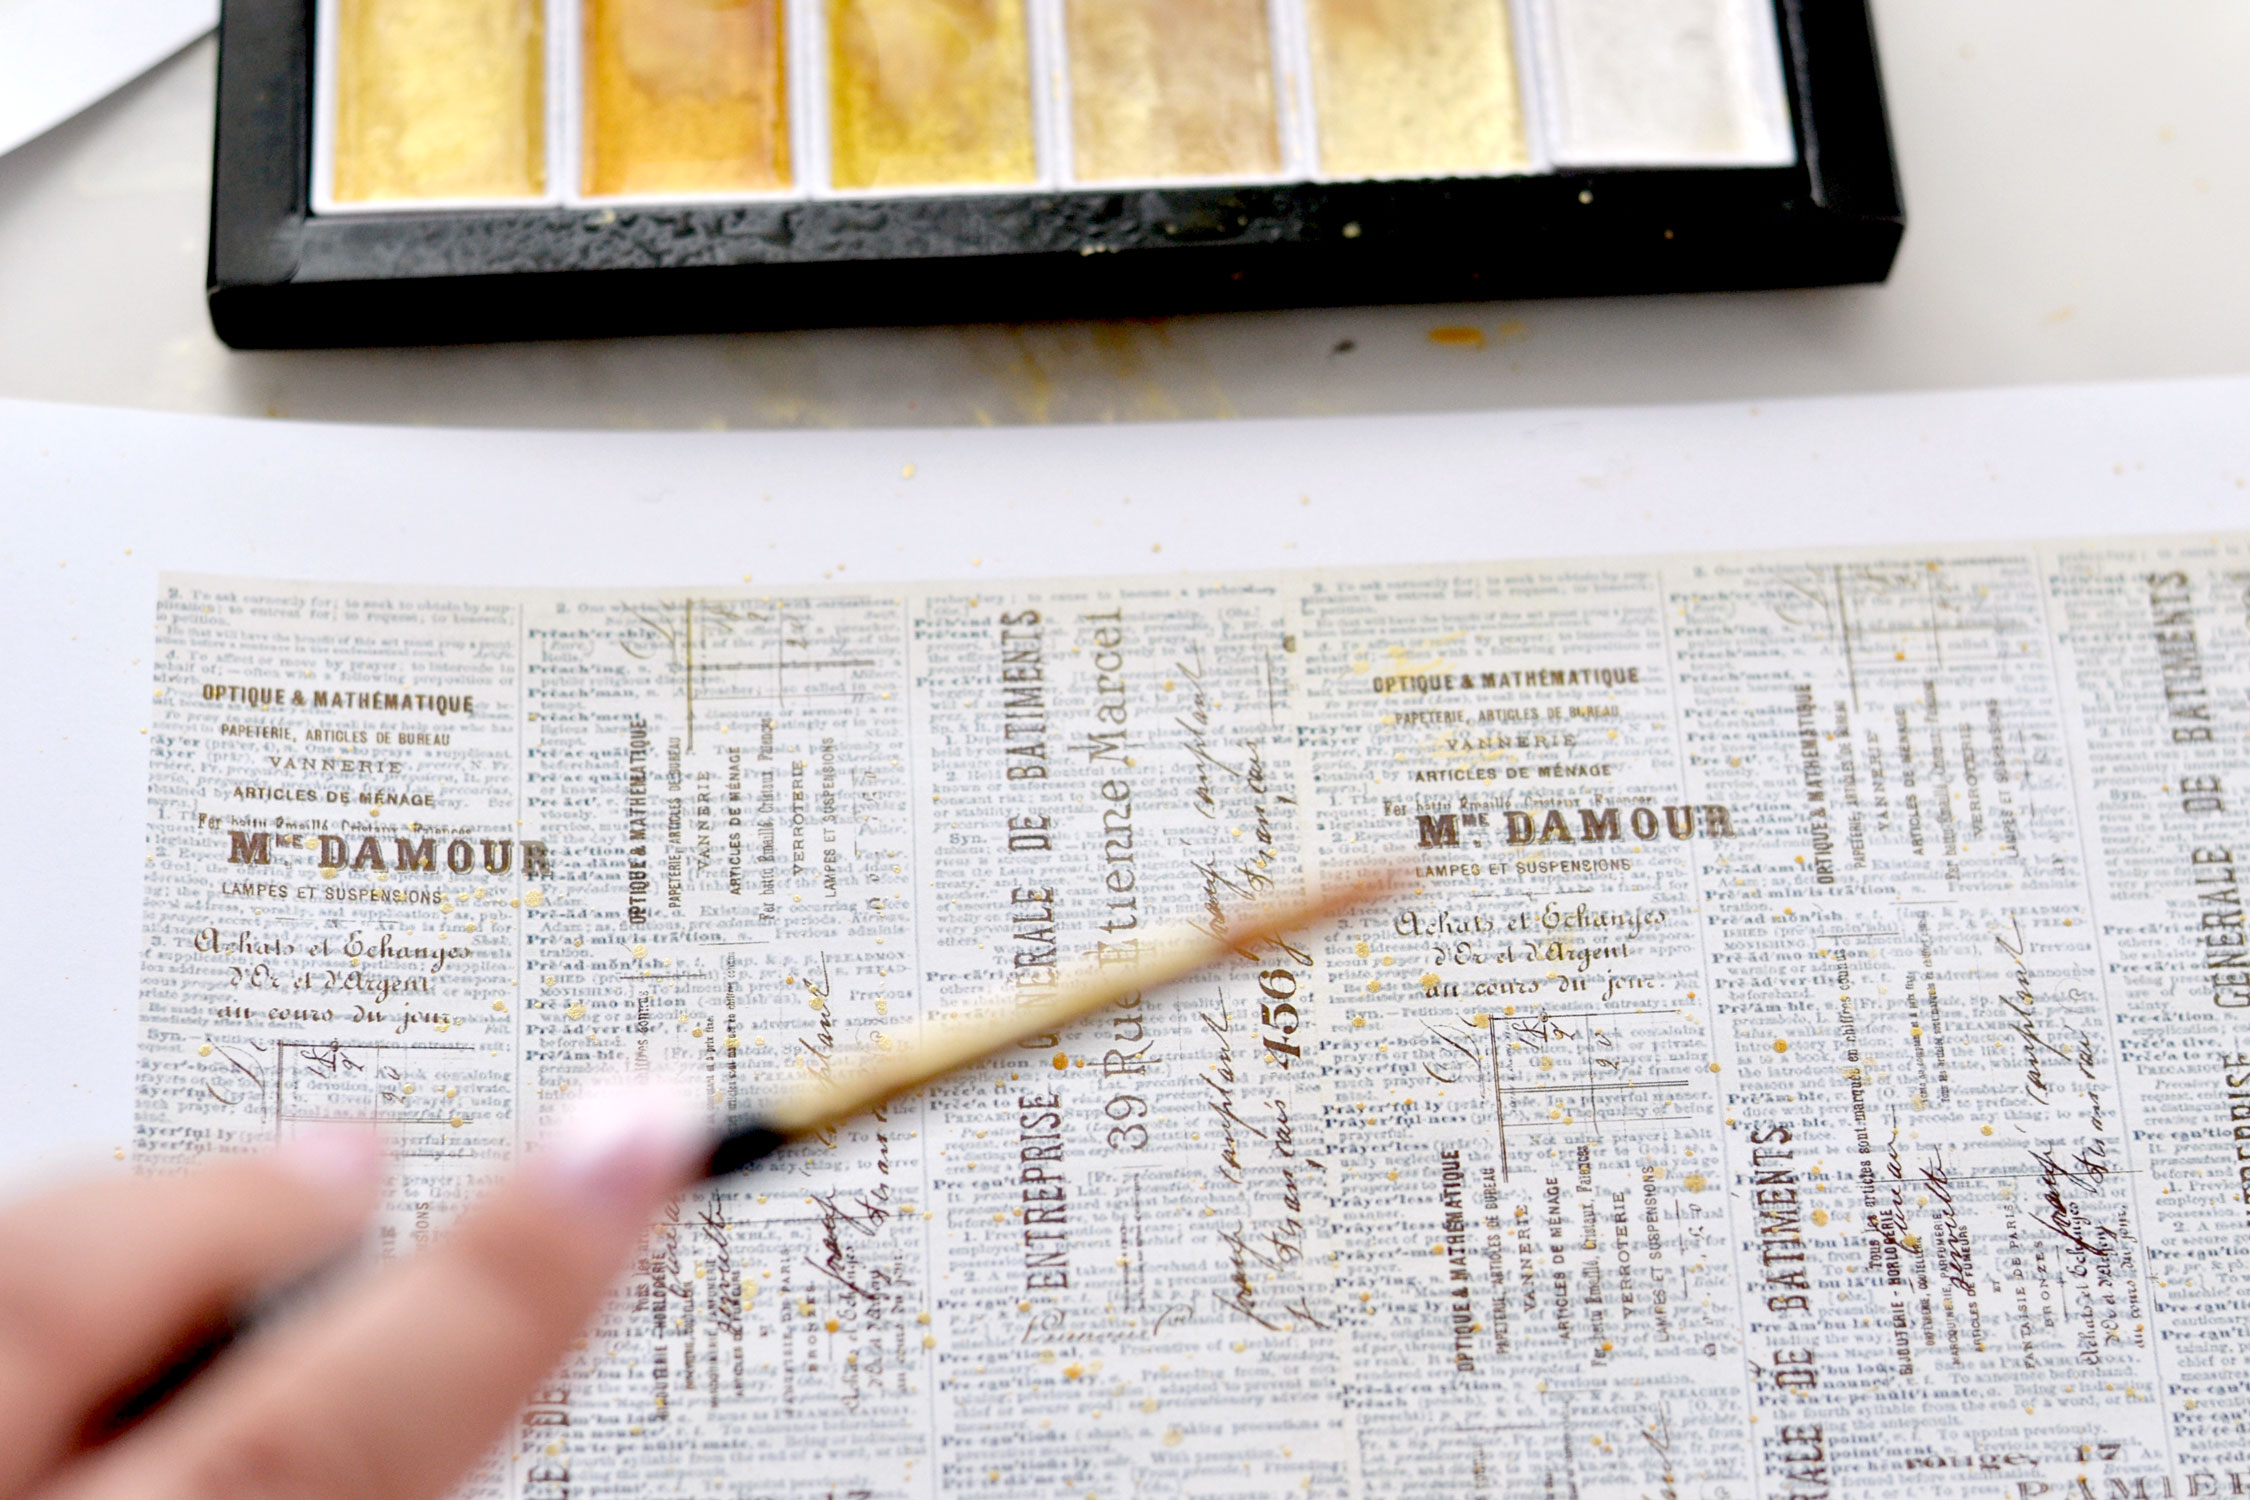
My idea while creating the design for these beauties was to make them look like vintage dictionary pages that have beautiful French ephemera writing stamped on top. So I faded the dictionary image underneath to create more of a subtle background and added the ‘stamped’ French ephemera writing on top using a dark brown color. I love how they turned out and I hope that you will love them too!
Free Printables:
The printable section consists of two printables today.
You will find this lovely French ephemera background that we will use to create the covers.
—-> Click HERE to Download the Full Size Printable PDF <—-
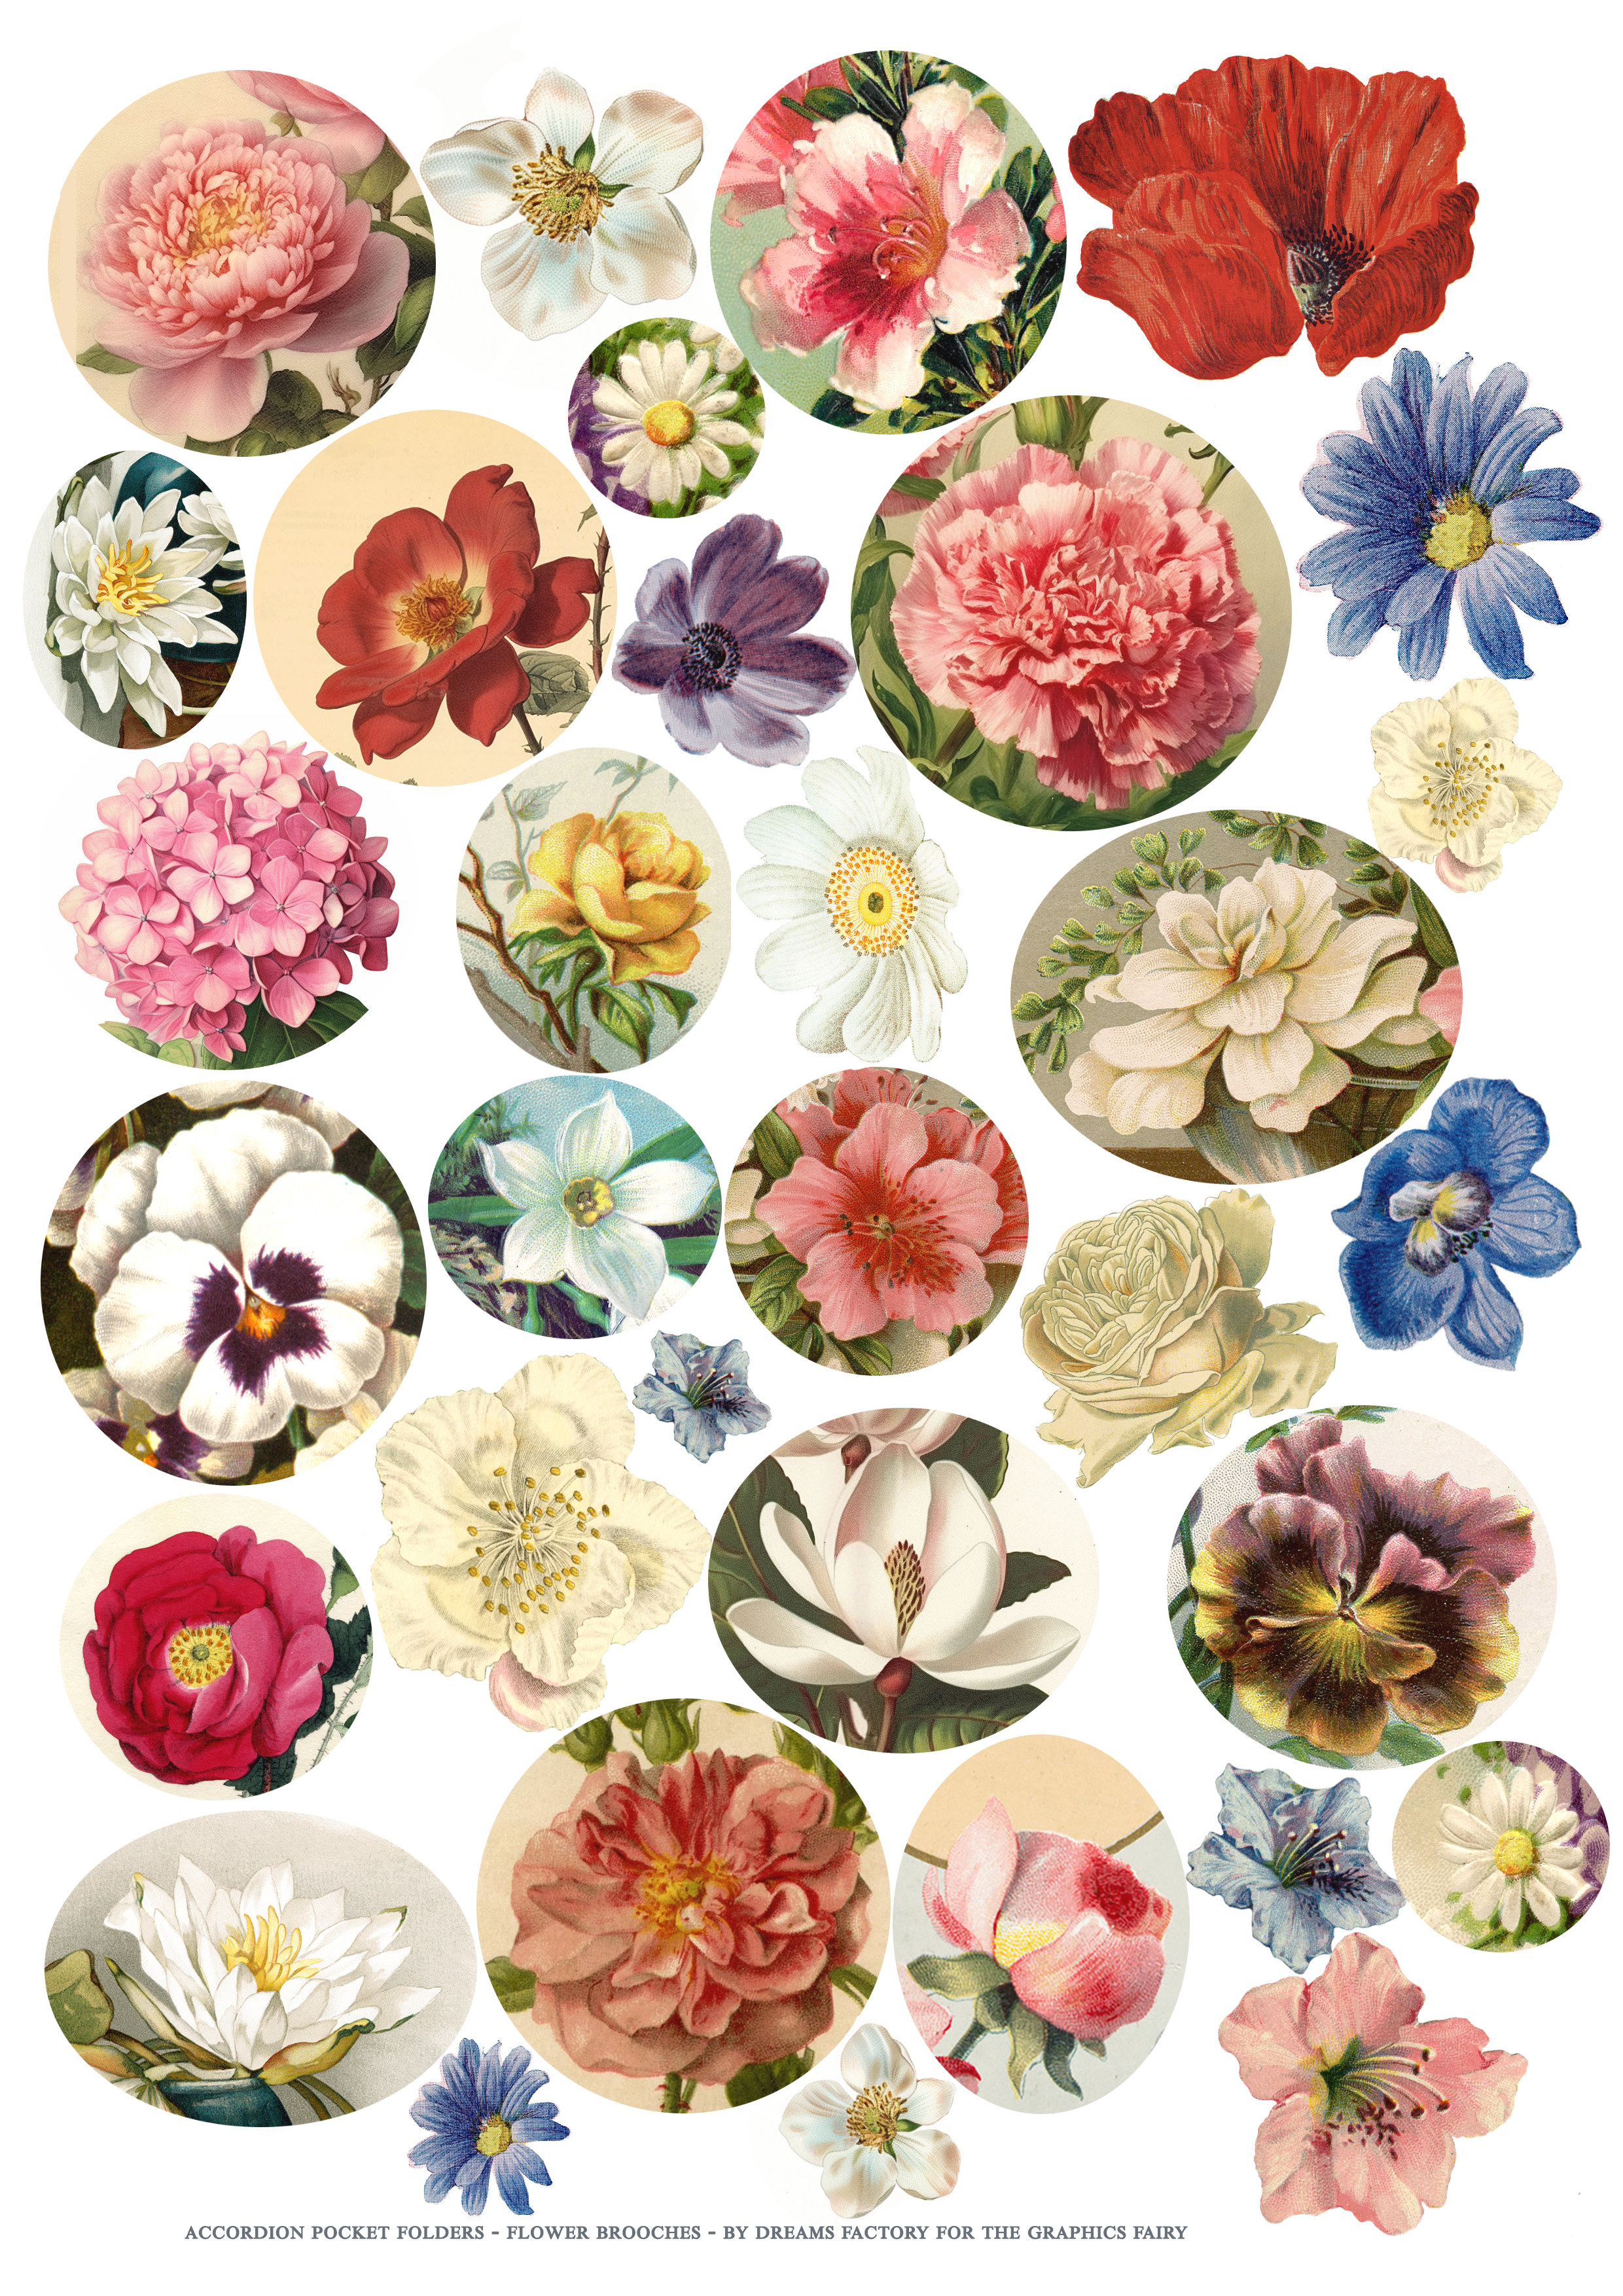
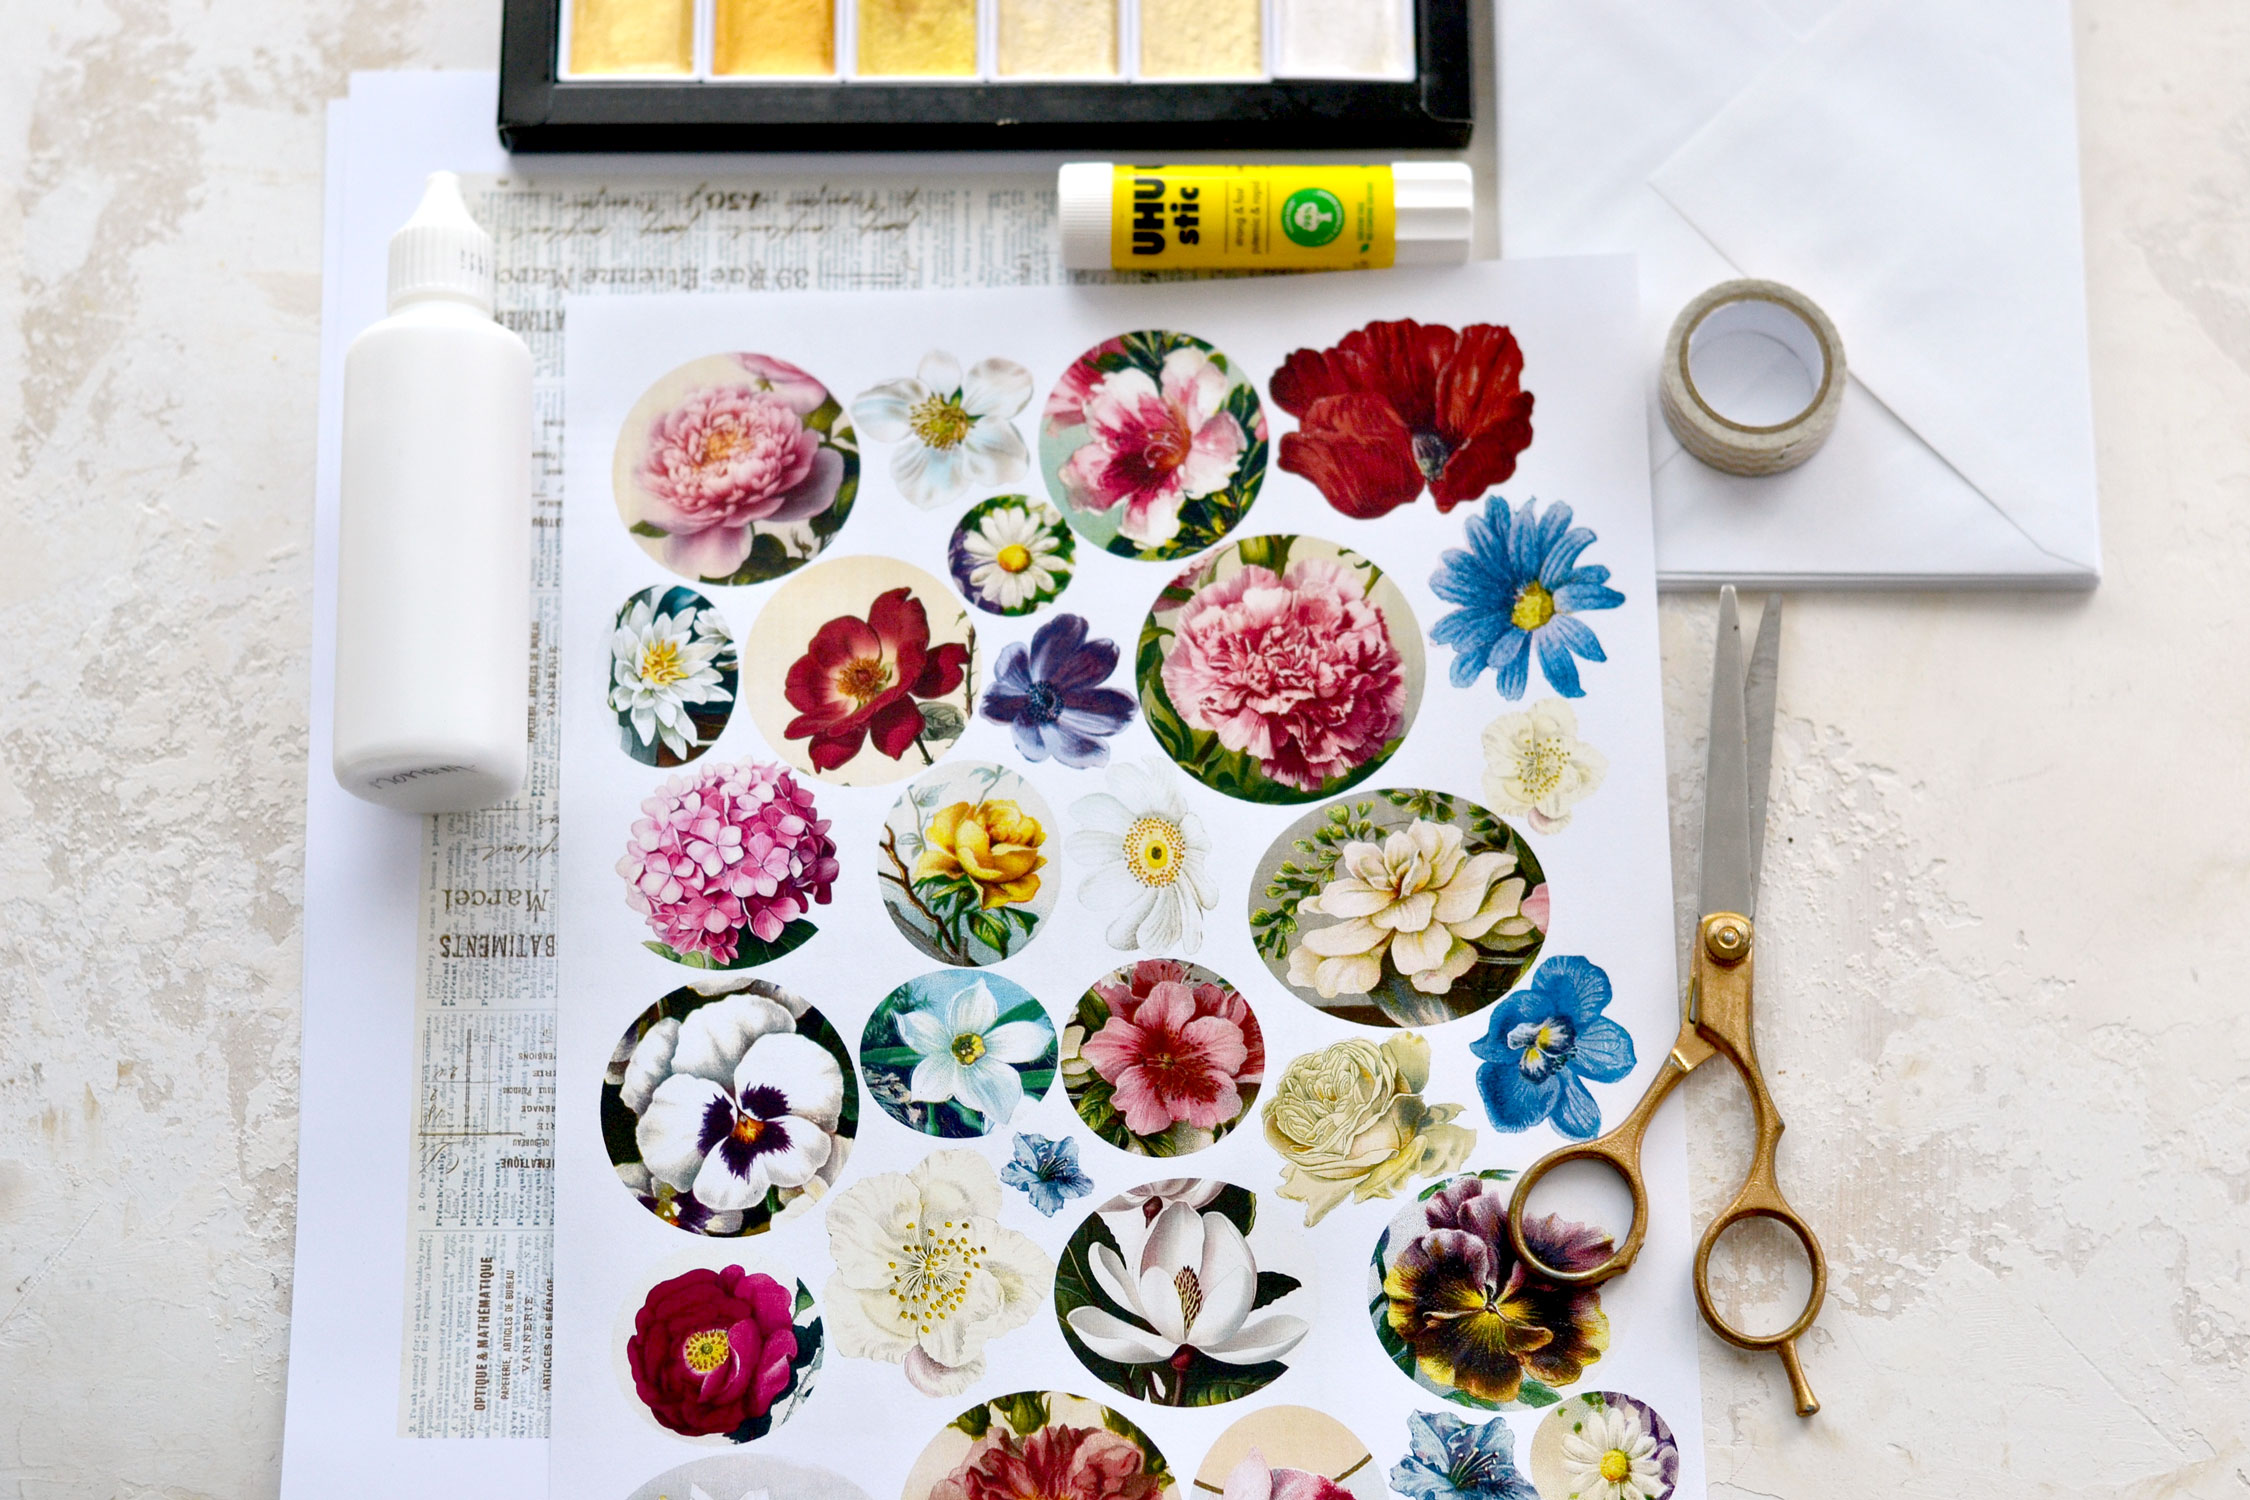
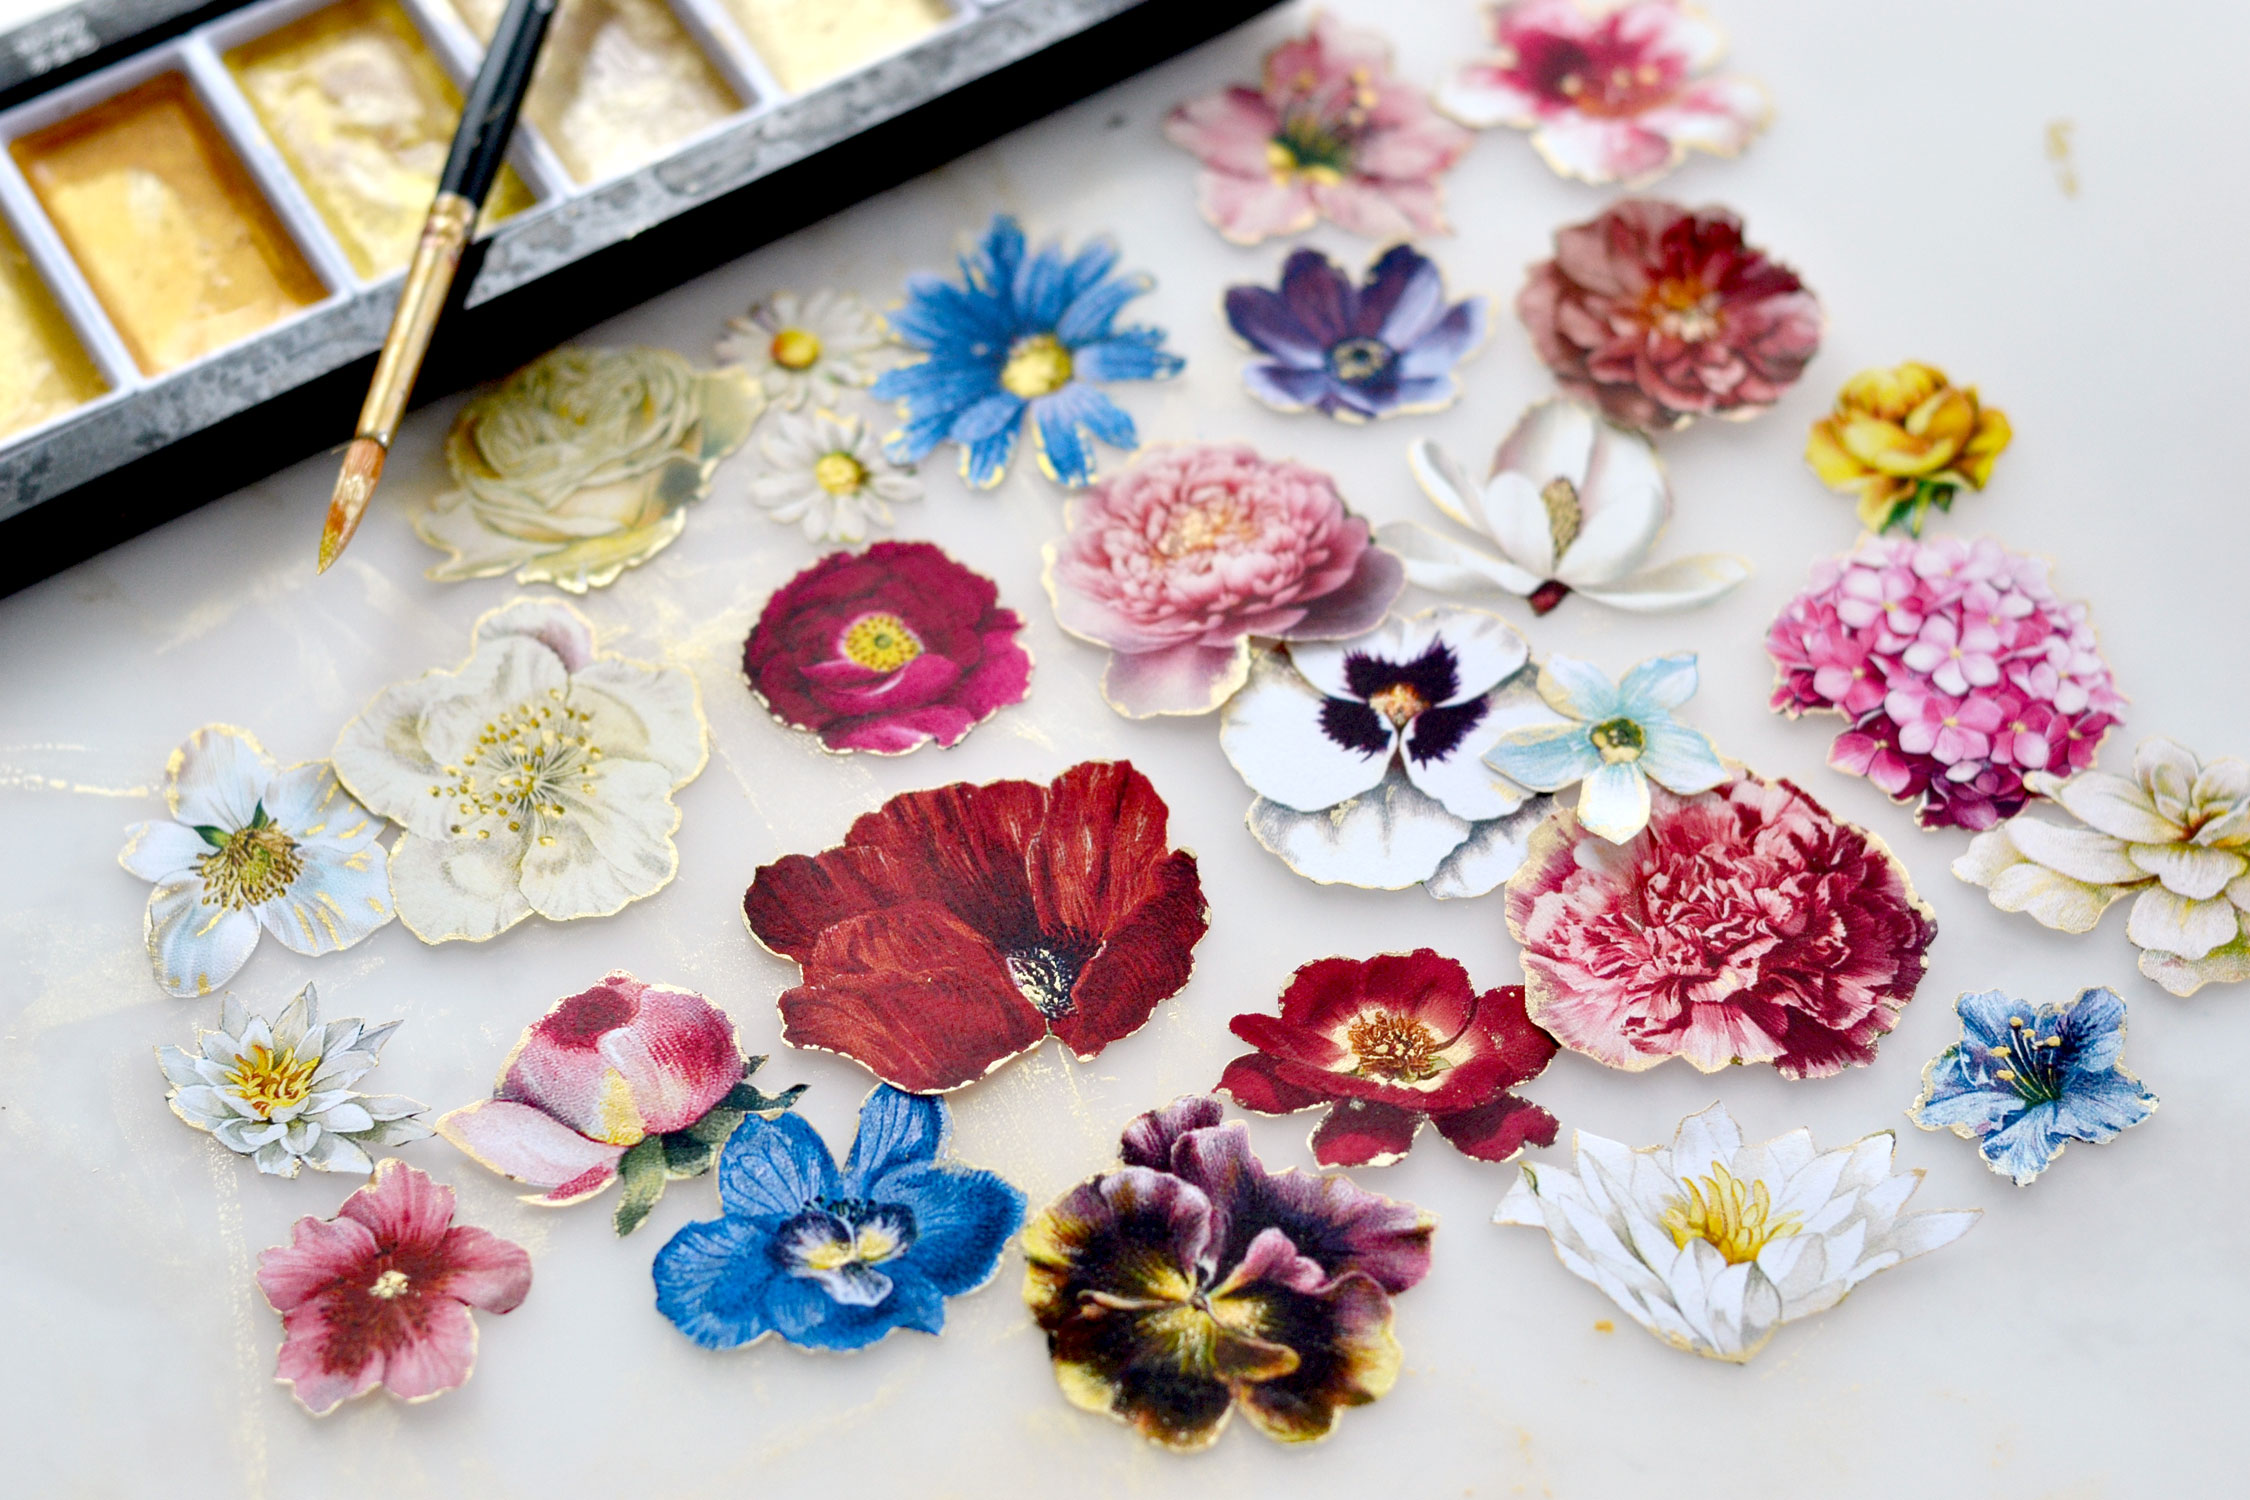
And these gorgeous flower brooches – as I like to call them – that we will use to embellish the final pieces. As you can see, I cleaned up the background for some of the flowers but left a few of them with the background, so you’ll need to use your scissors to completely remove the background yourself.
Supplies for DIY Accordion Pocket Folders:
- white cardstock paper
- envelopes – I used 3 envelopes to create a folder
- home printer
- scissors
- mini distress inks
- blending tool with foams
- gold watercolors – I used my favorite Kuretake Gansai Tambi Starry Colors
- small brush
- pencil
- paper glue
- washi tape (optional, to further embellish the folders)
- gold metallic thread (optional, to further embellish and keep the folders closed)
Full Step by Step Tutorial:
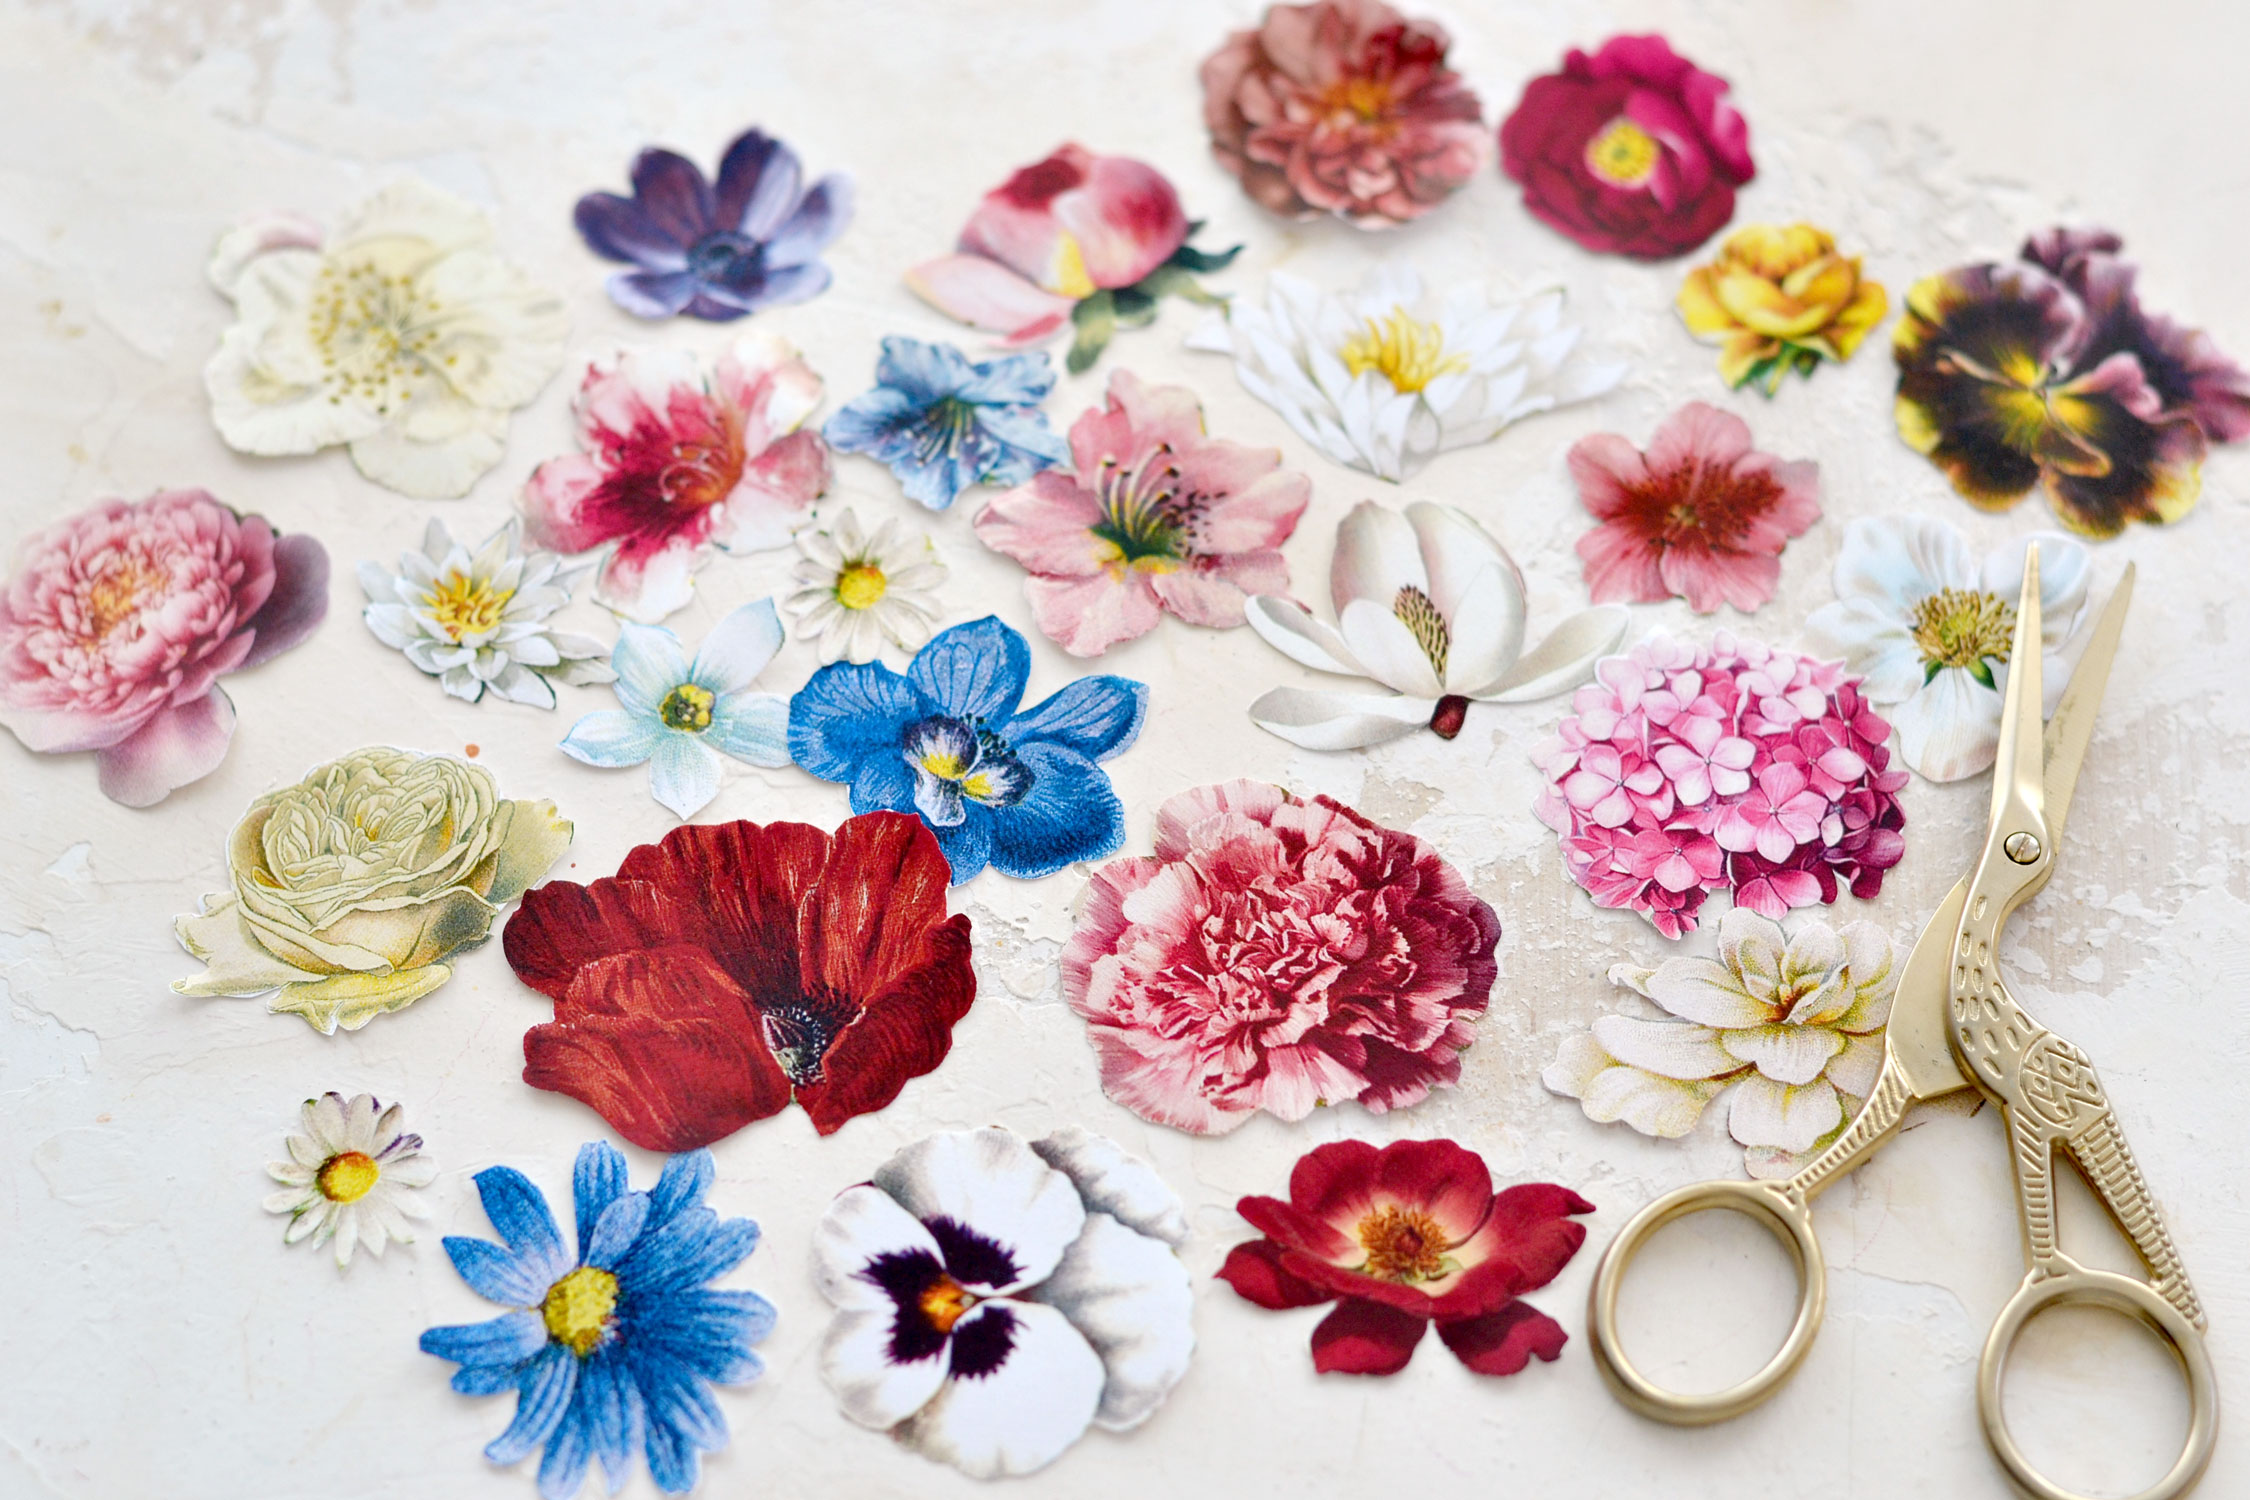
Start by cutting the gorgeous flower images – our improvised brooches. Use your scissors to completely remove the white or colored background around each flower trying to create a beautifully cut final piece, without any sharp edges.
Use something to protect your working area, then gradually paint the edges of the flowers with gold paint. I used these gold watercolors from Kuretake that I just love! I picked each flower in my hand and angled the brush while painting to create a small and subtle gilded edge while gradually rotating it in my hand. I also added small dots or thin brush strokes in the middle of the flowers, depending on their design.
If you want to create small splashes on top of your French ephemera background, you can! Simply pick a little bit of water and some gold paint on your brush then use your index finger to tap it over the paper here and there.
The paint will dry fairly quickly, then you can use your scissors to completely remove the white border around the edges.
P.S. My printer created a little bit of a blue shadowing on my French ephemera printable and the fact that was quite cloudy while photographing the project didn’t help either – that’s why you’ll see a blue overcast here and there on my photographs.
Moving on to creating the accordion-style folders inside! I used regular envelopes for this step, but you can also use recycled ones if you prefer. And if you would love to imprint even more of a vintage vibe to your final folders, you can use coffee to dye the envelopes – just leave them to completely dry before using them!
You’ll need around 3 envelopes to create a folder, so use as many envelopes as you need to create as many folders as you want. If you make 2 folders you’ll need 6 envelopes, if you make 3 folders you’ll need 9 envelopes and so on.
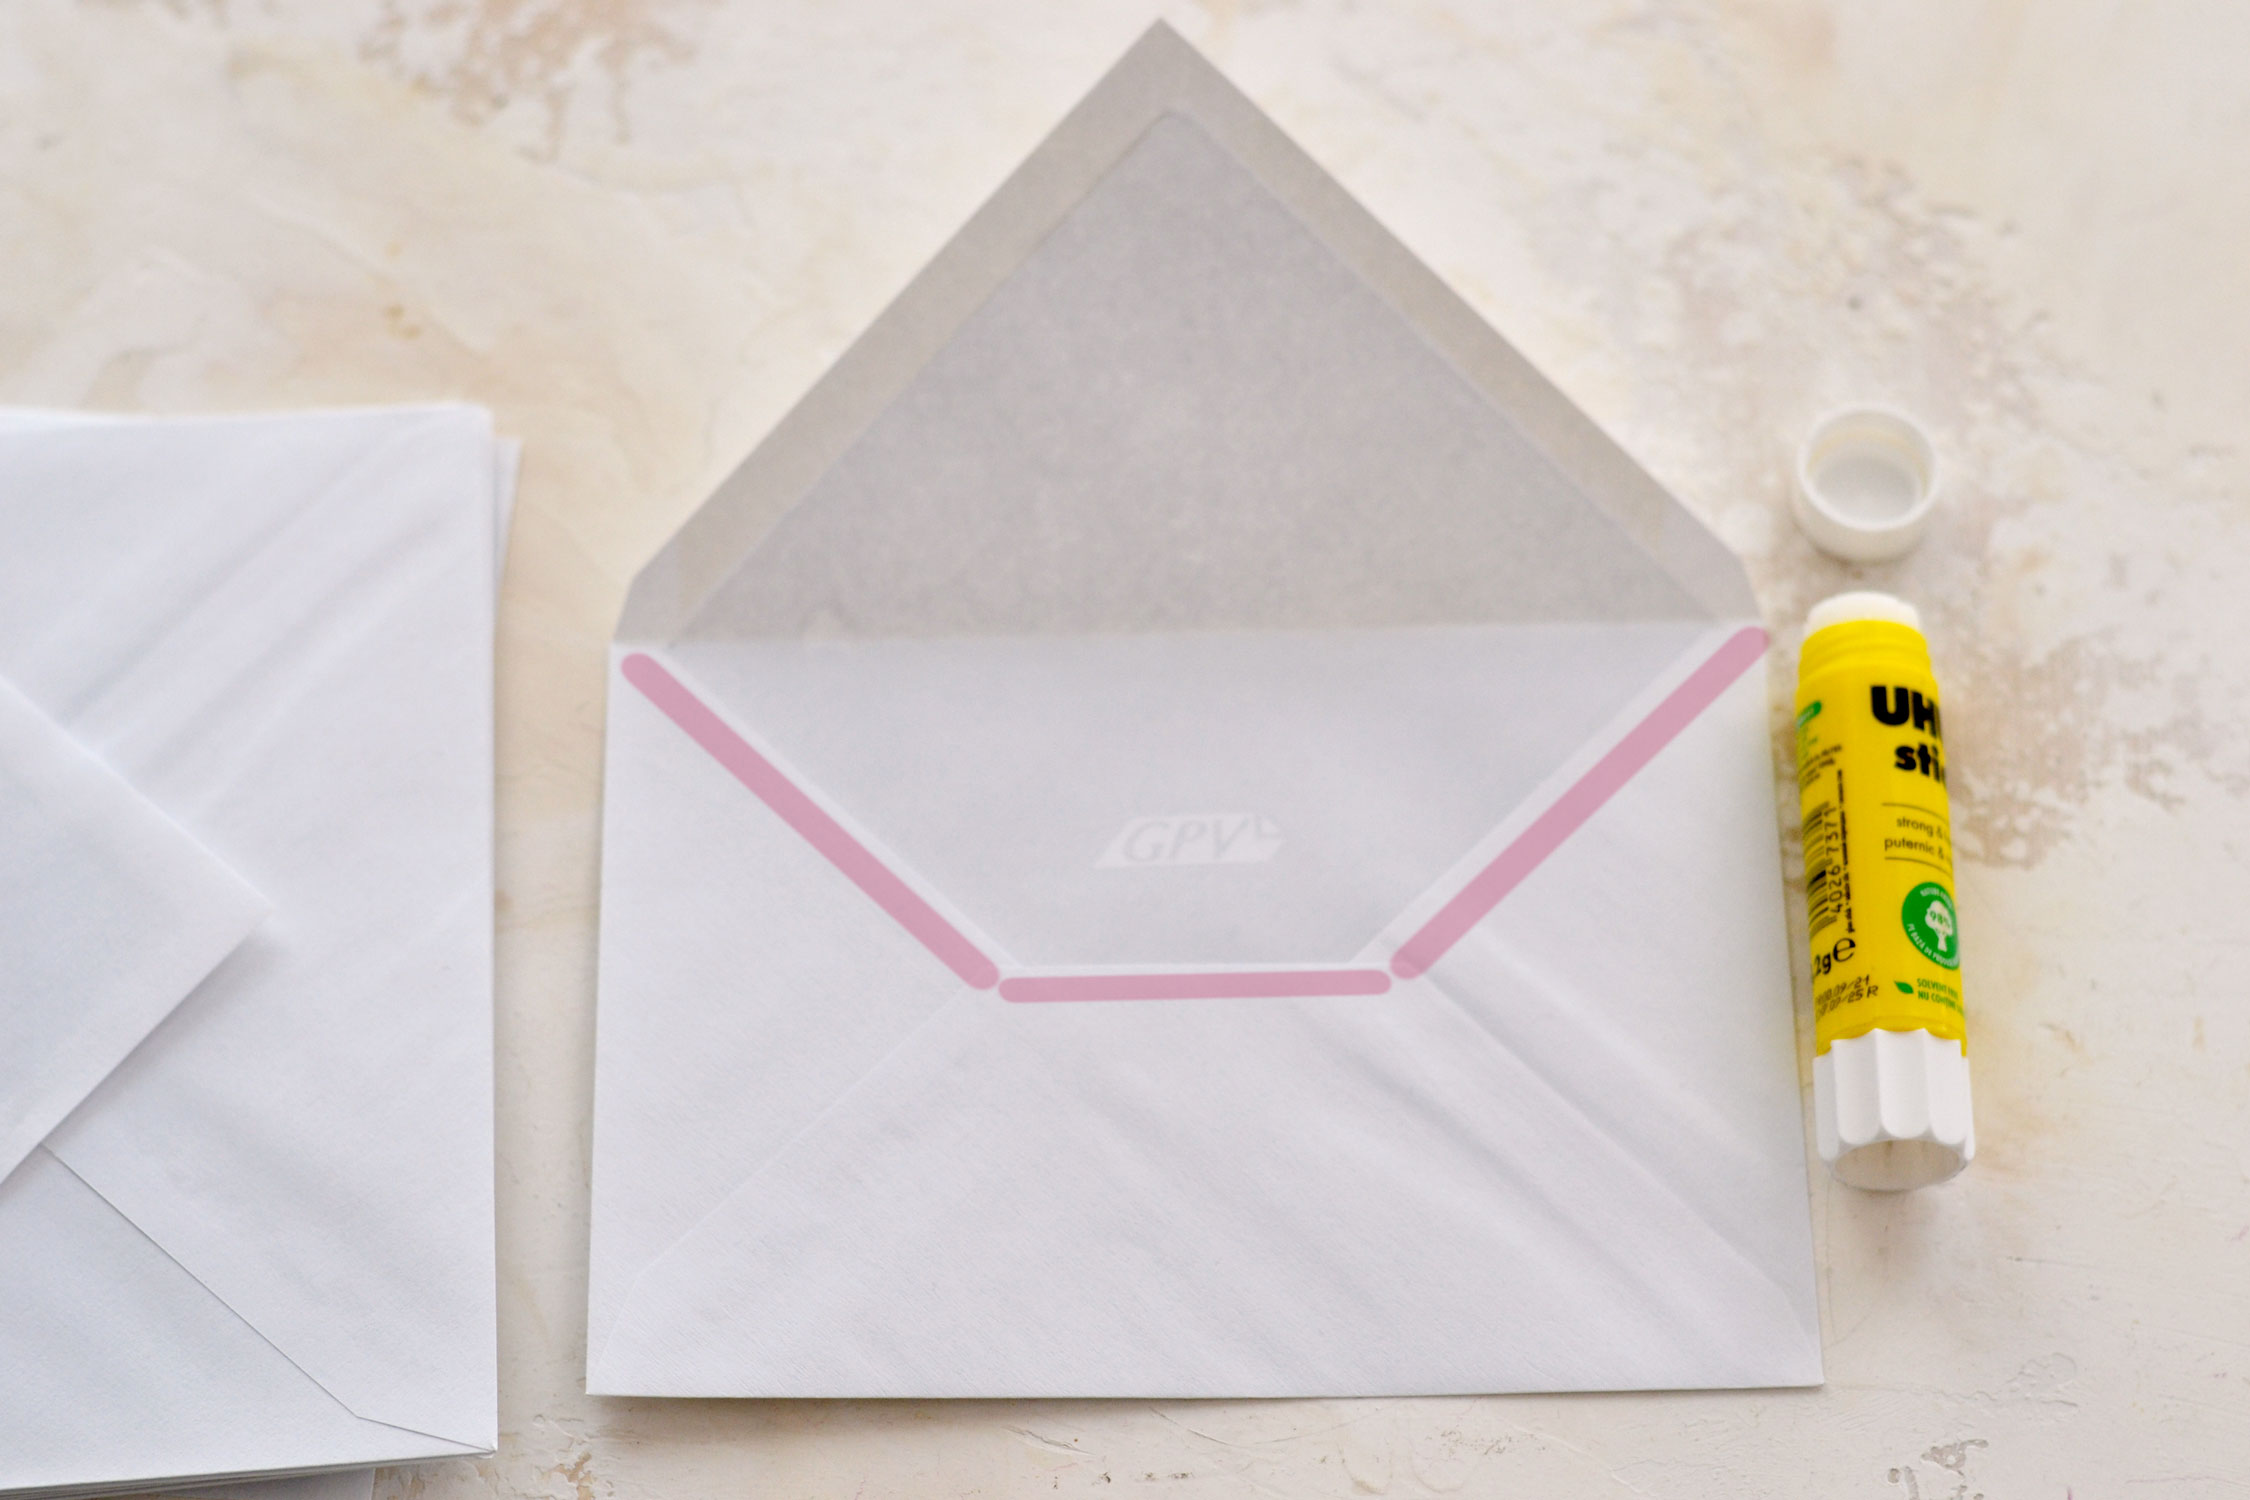
The technique is relatively simple, we first need to glue the flap of each envelope! Apply the glue as you can see in the image below – I highlighted the glue in pink everywhere so you can get a better look at how to apply it.
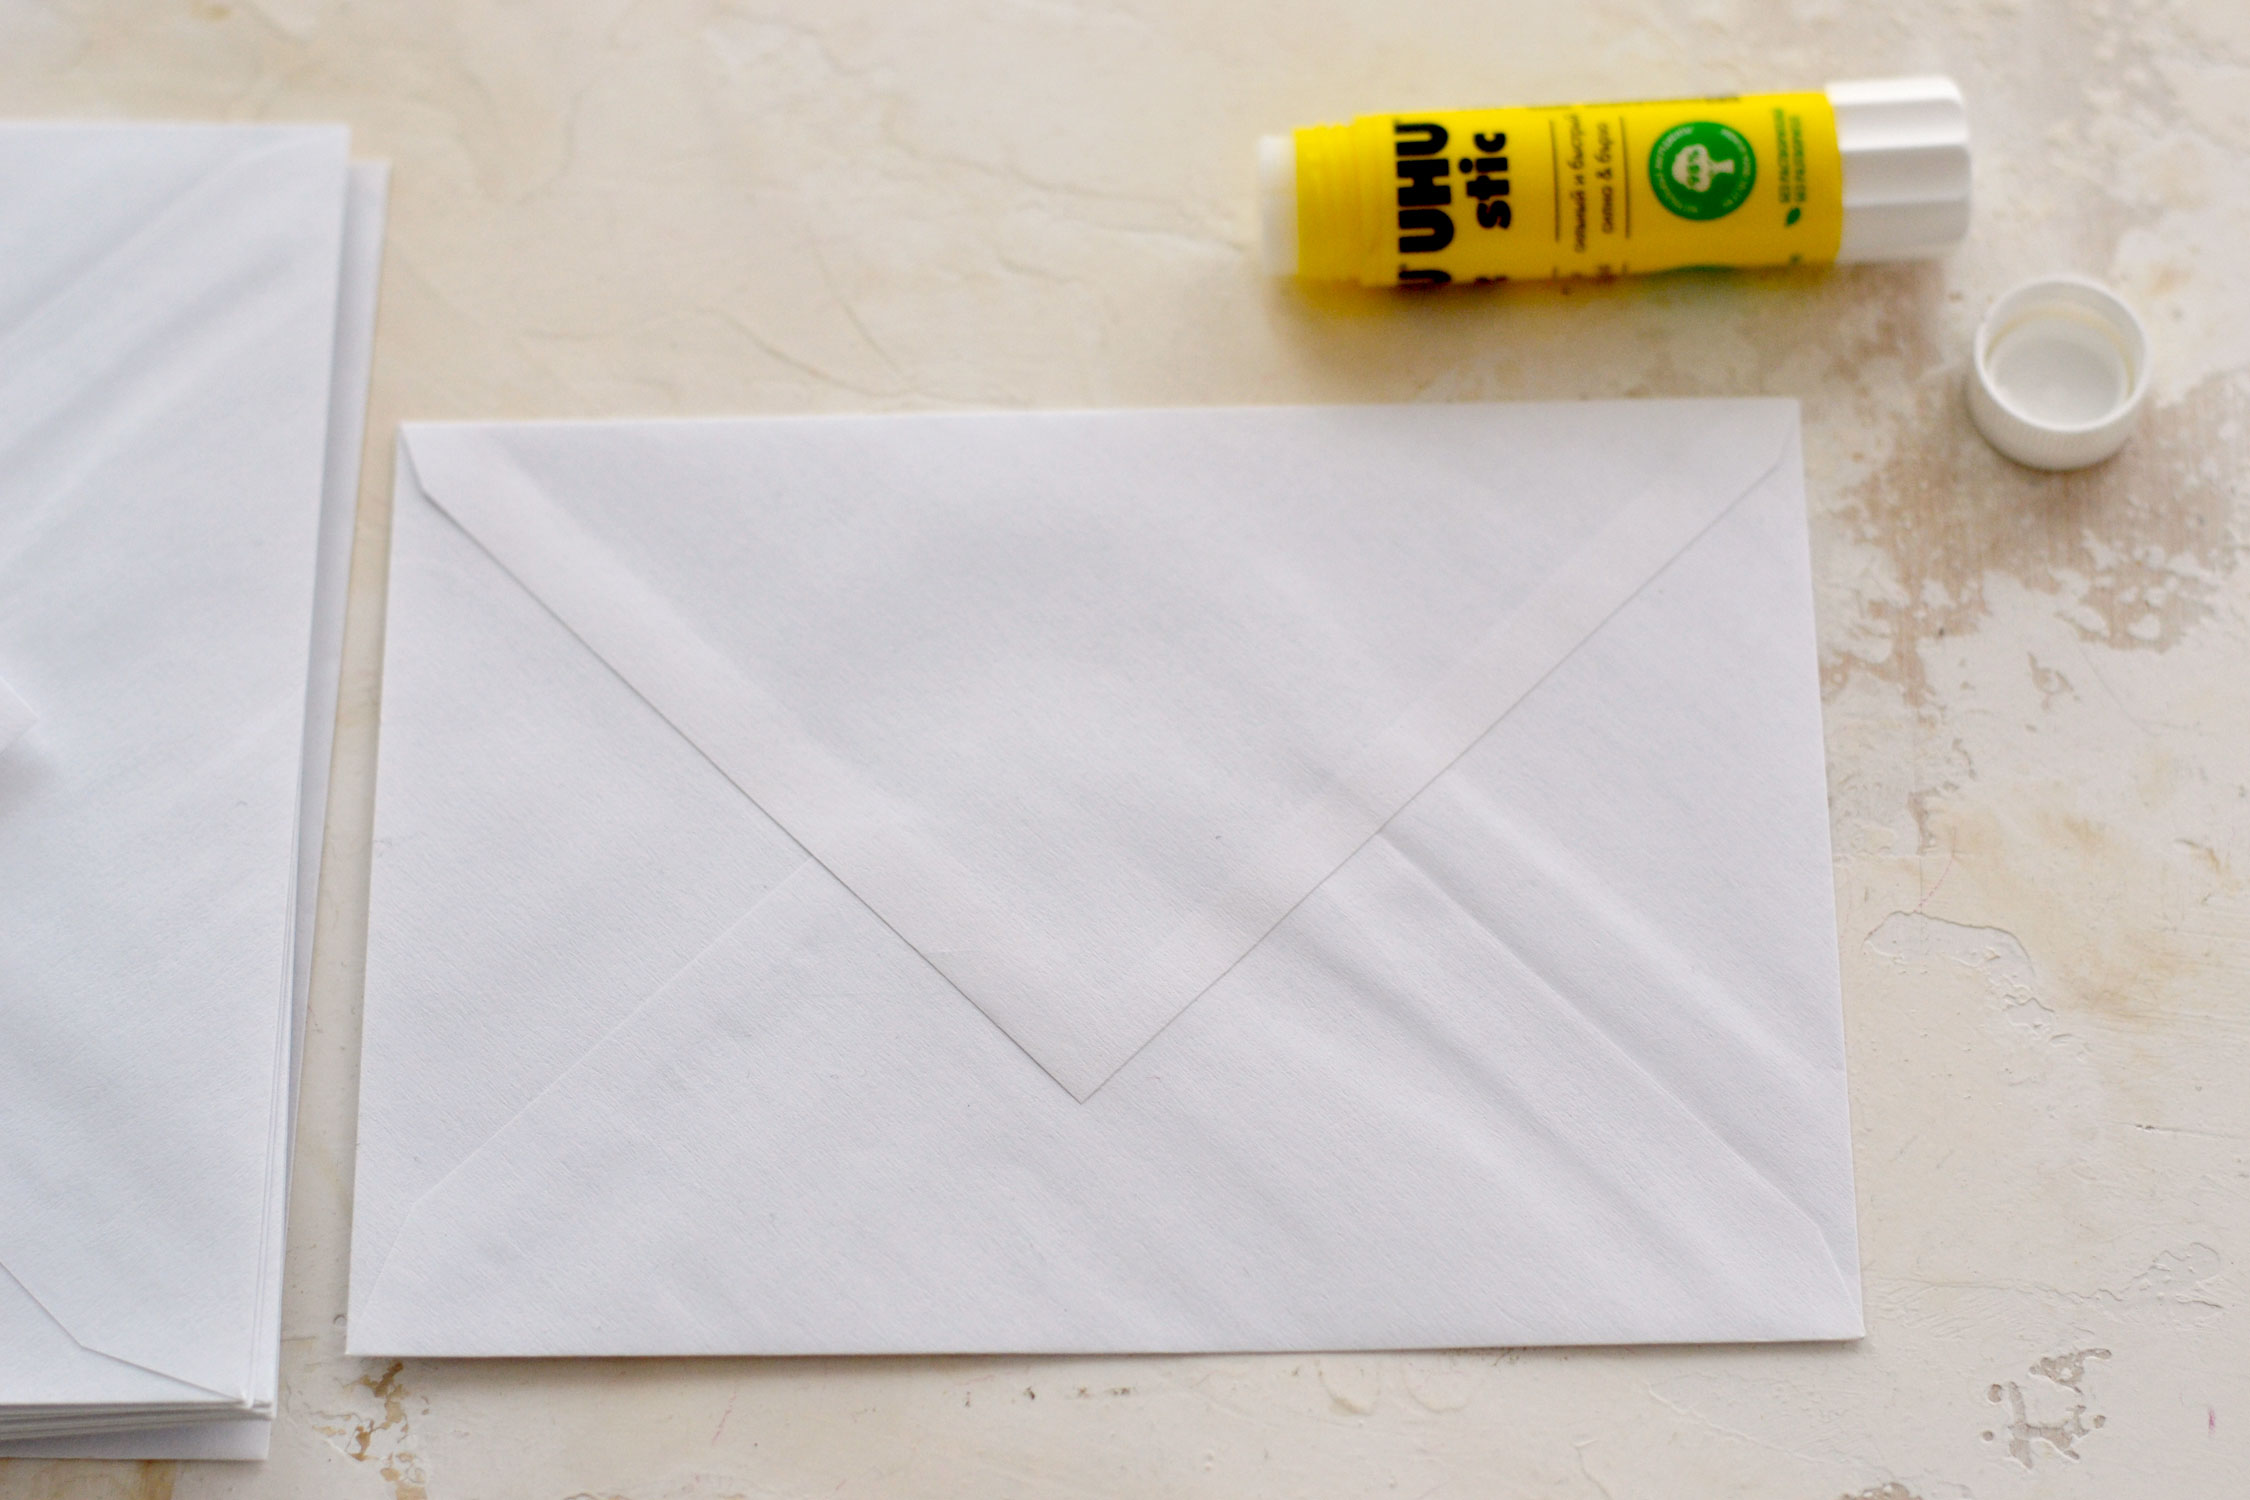
Then simply close down the flap and press it with your fingers to make sure it stays in place.
Follow the same steps for all the envelopes, but make sure you don’t add too much glue, we want to keep the interior of our envelope glue-free!
When you are done, place each envelope on your table and fold it in half.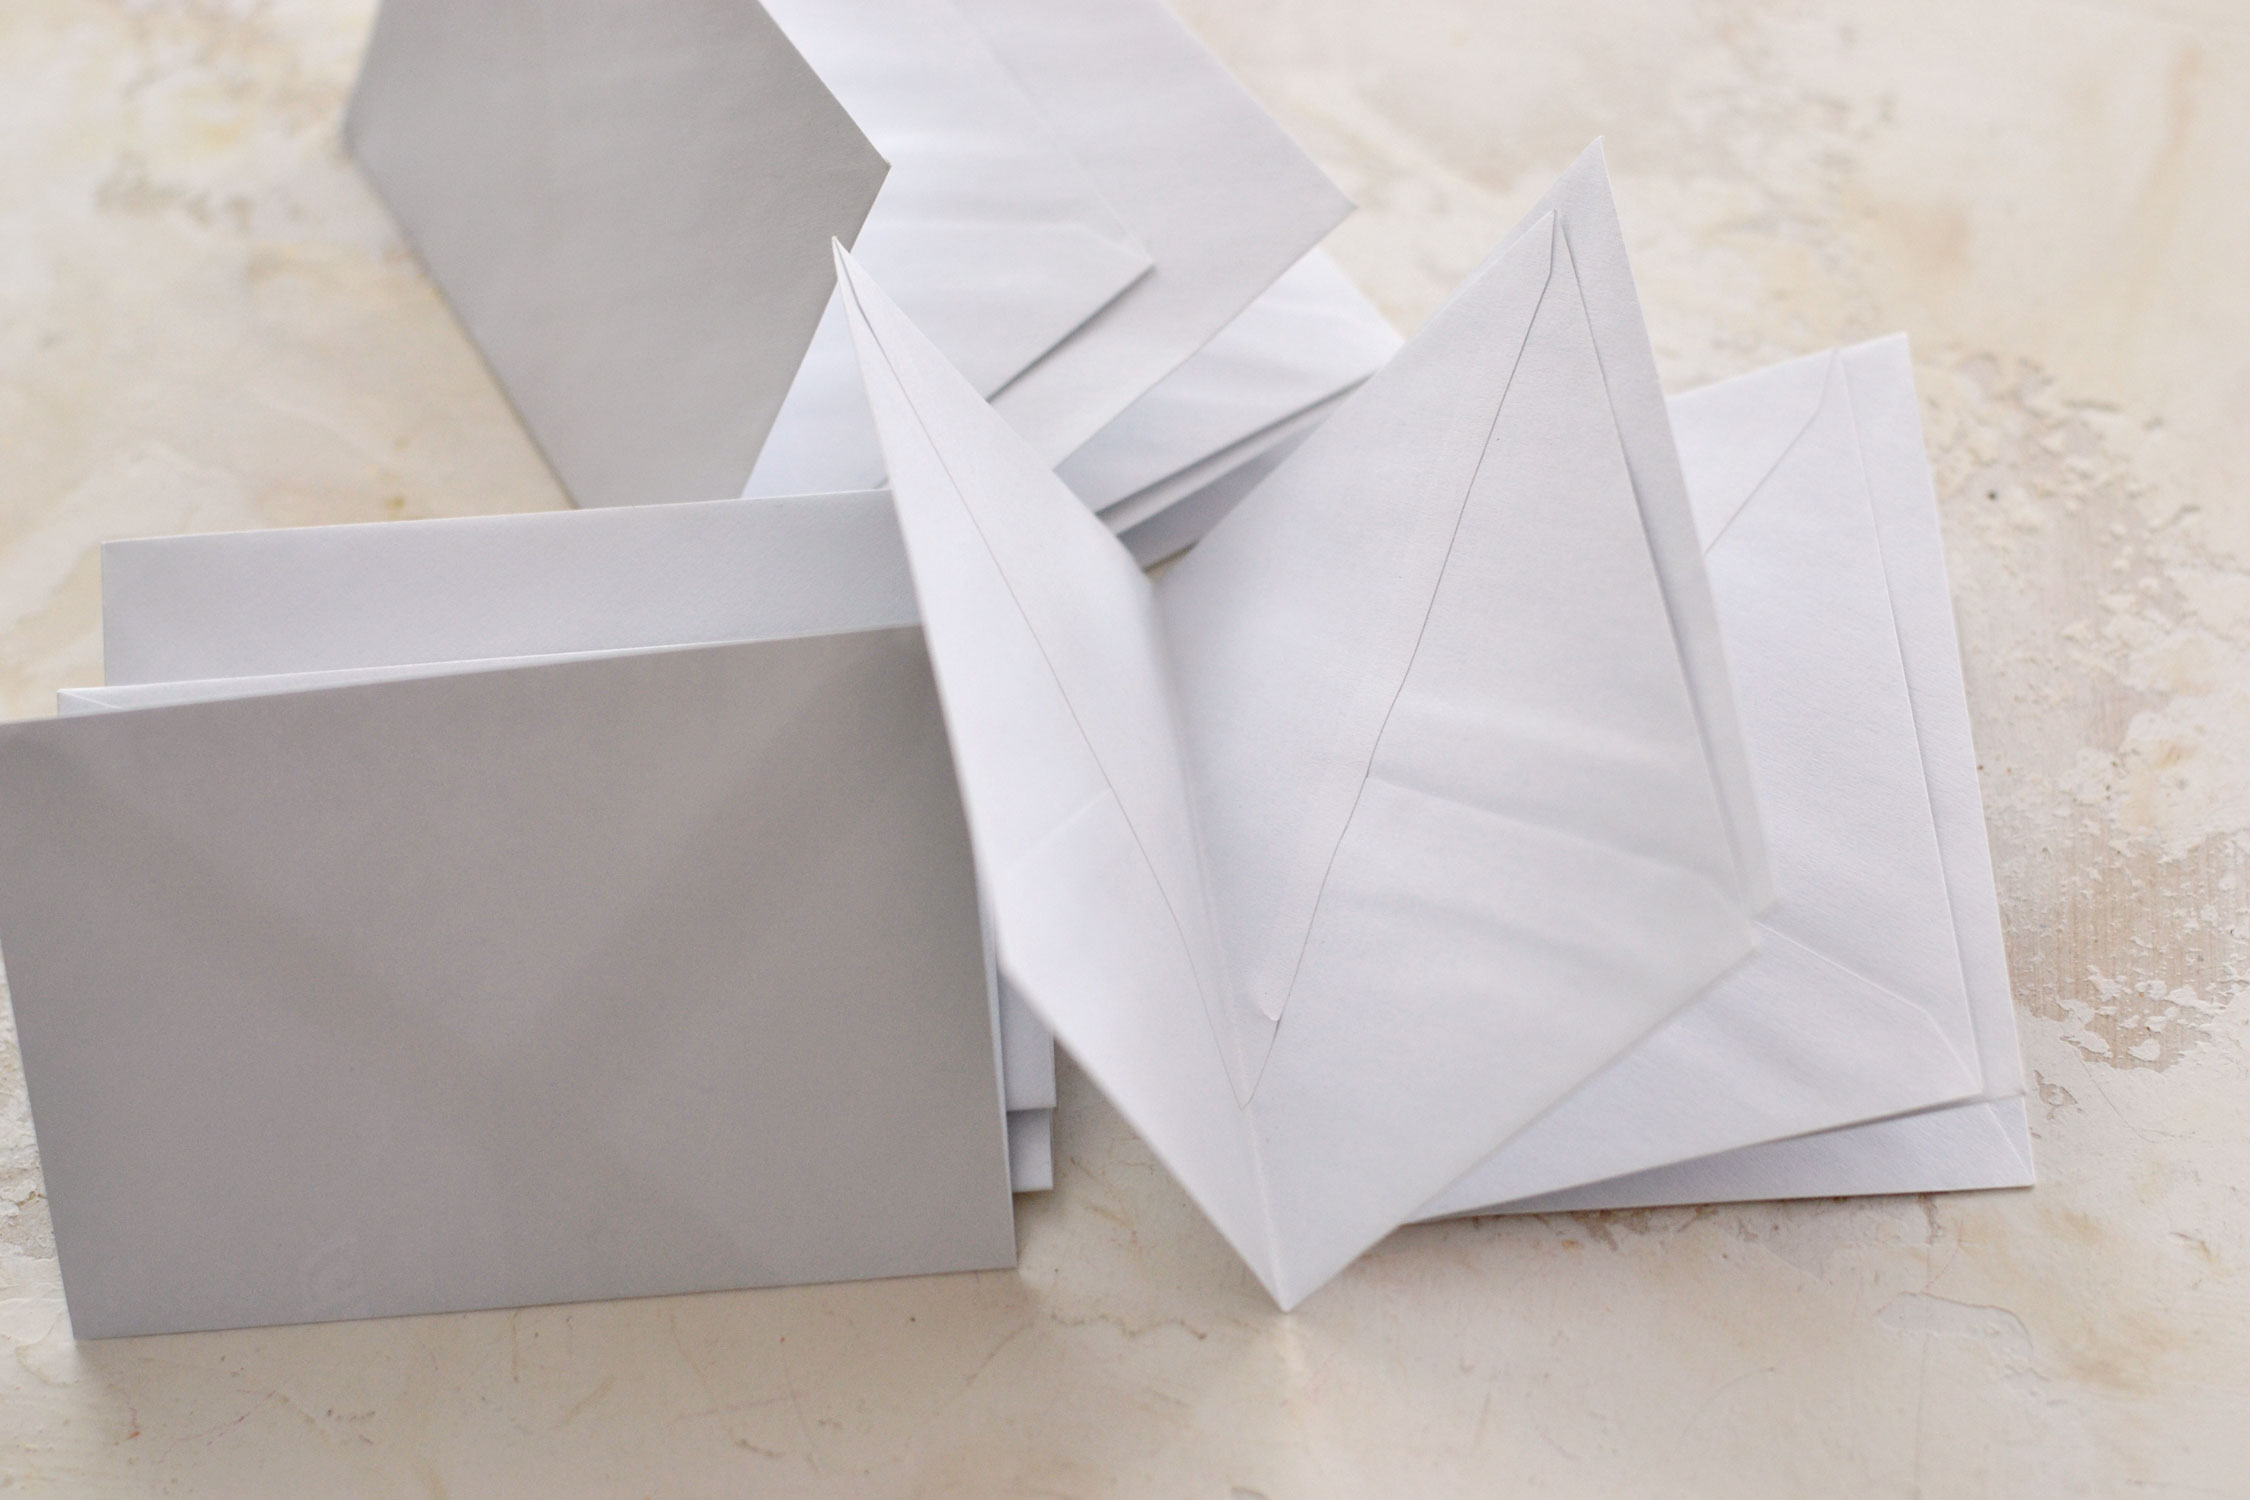
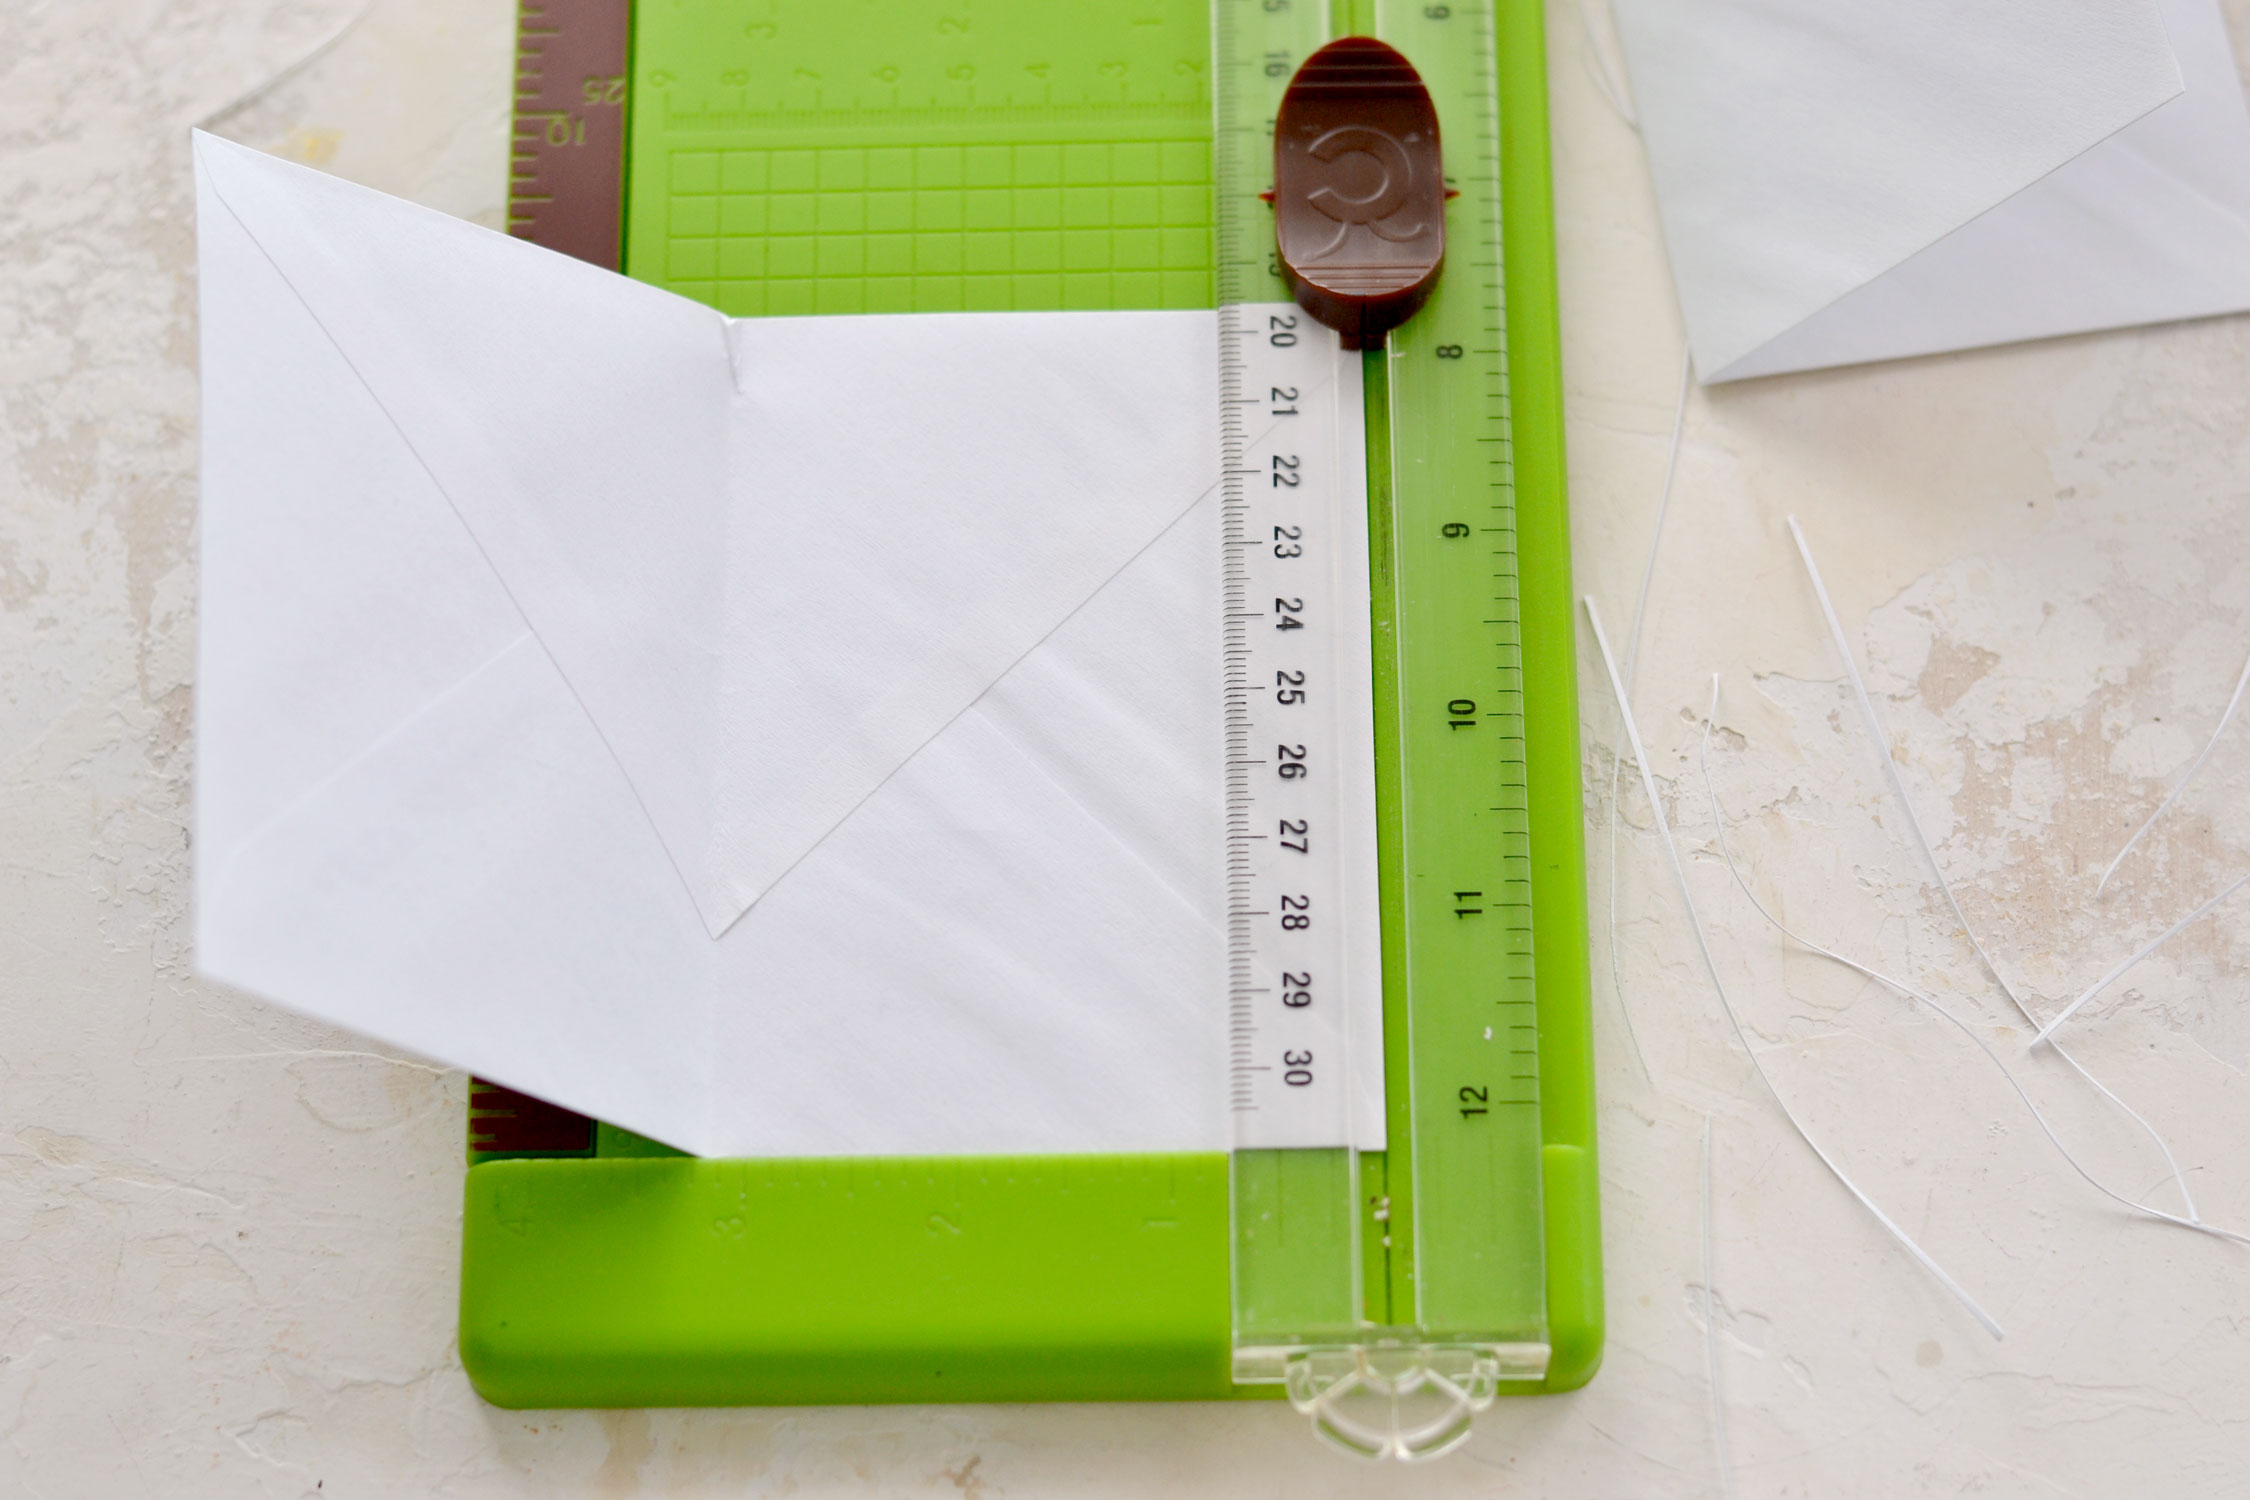
Use your scissors or a paper-cutting machine to snip off the left and right edges of each envelope. Only cut a small section, we just need to create an opening on the left/right sides.
When you are done, you should be able to open your envelopes on each of the left/right sides and take a peek inside!
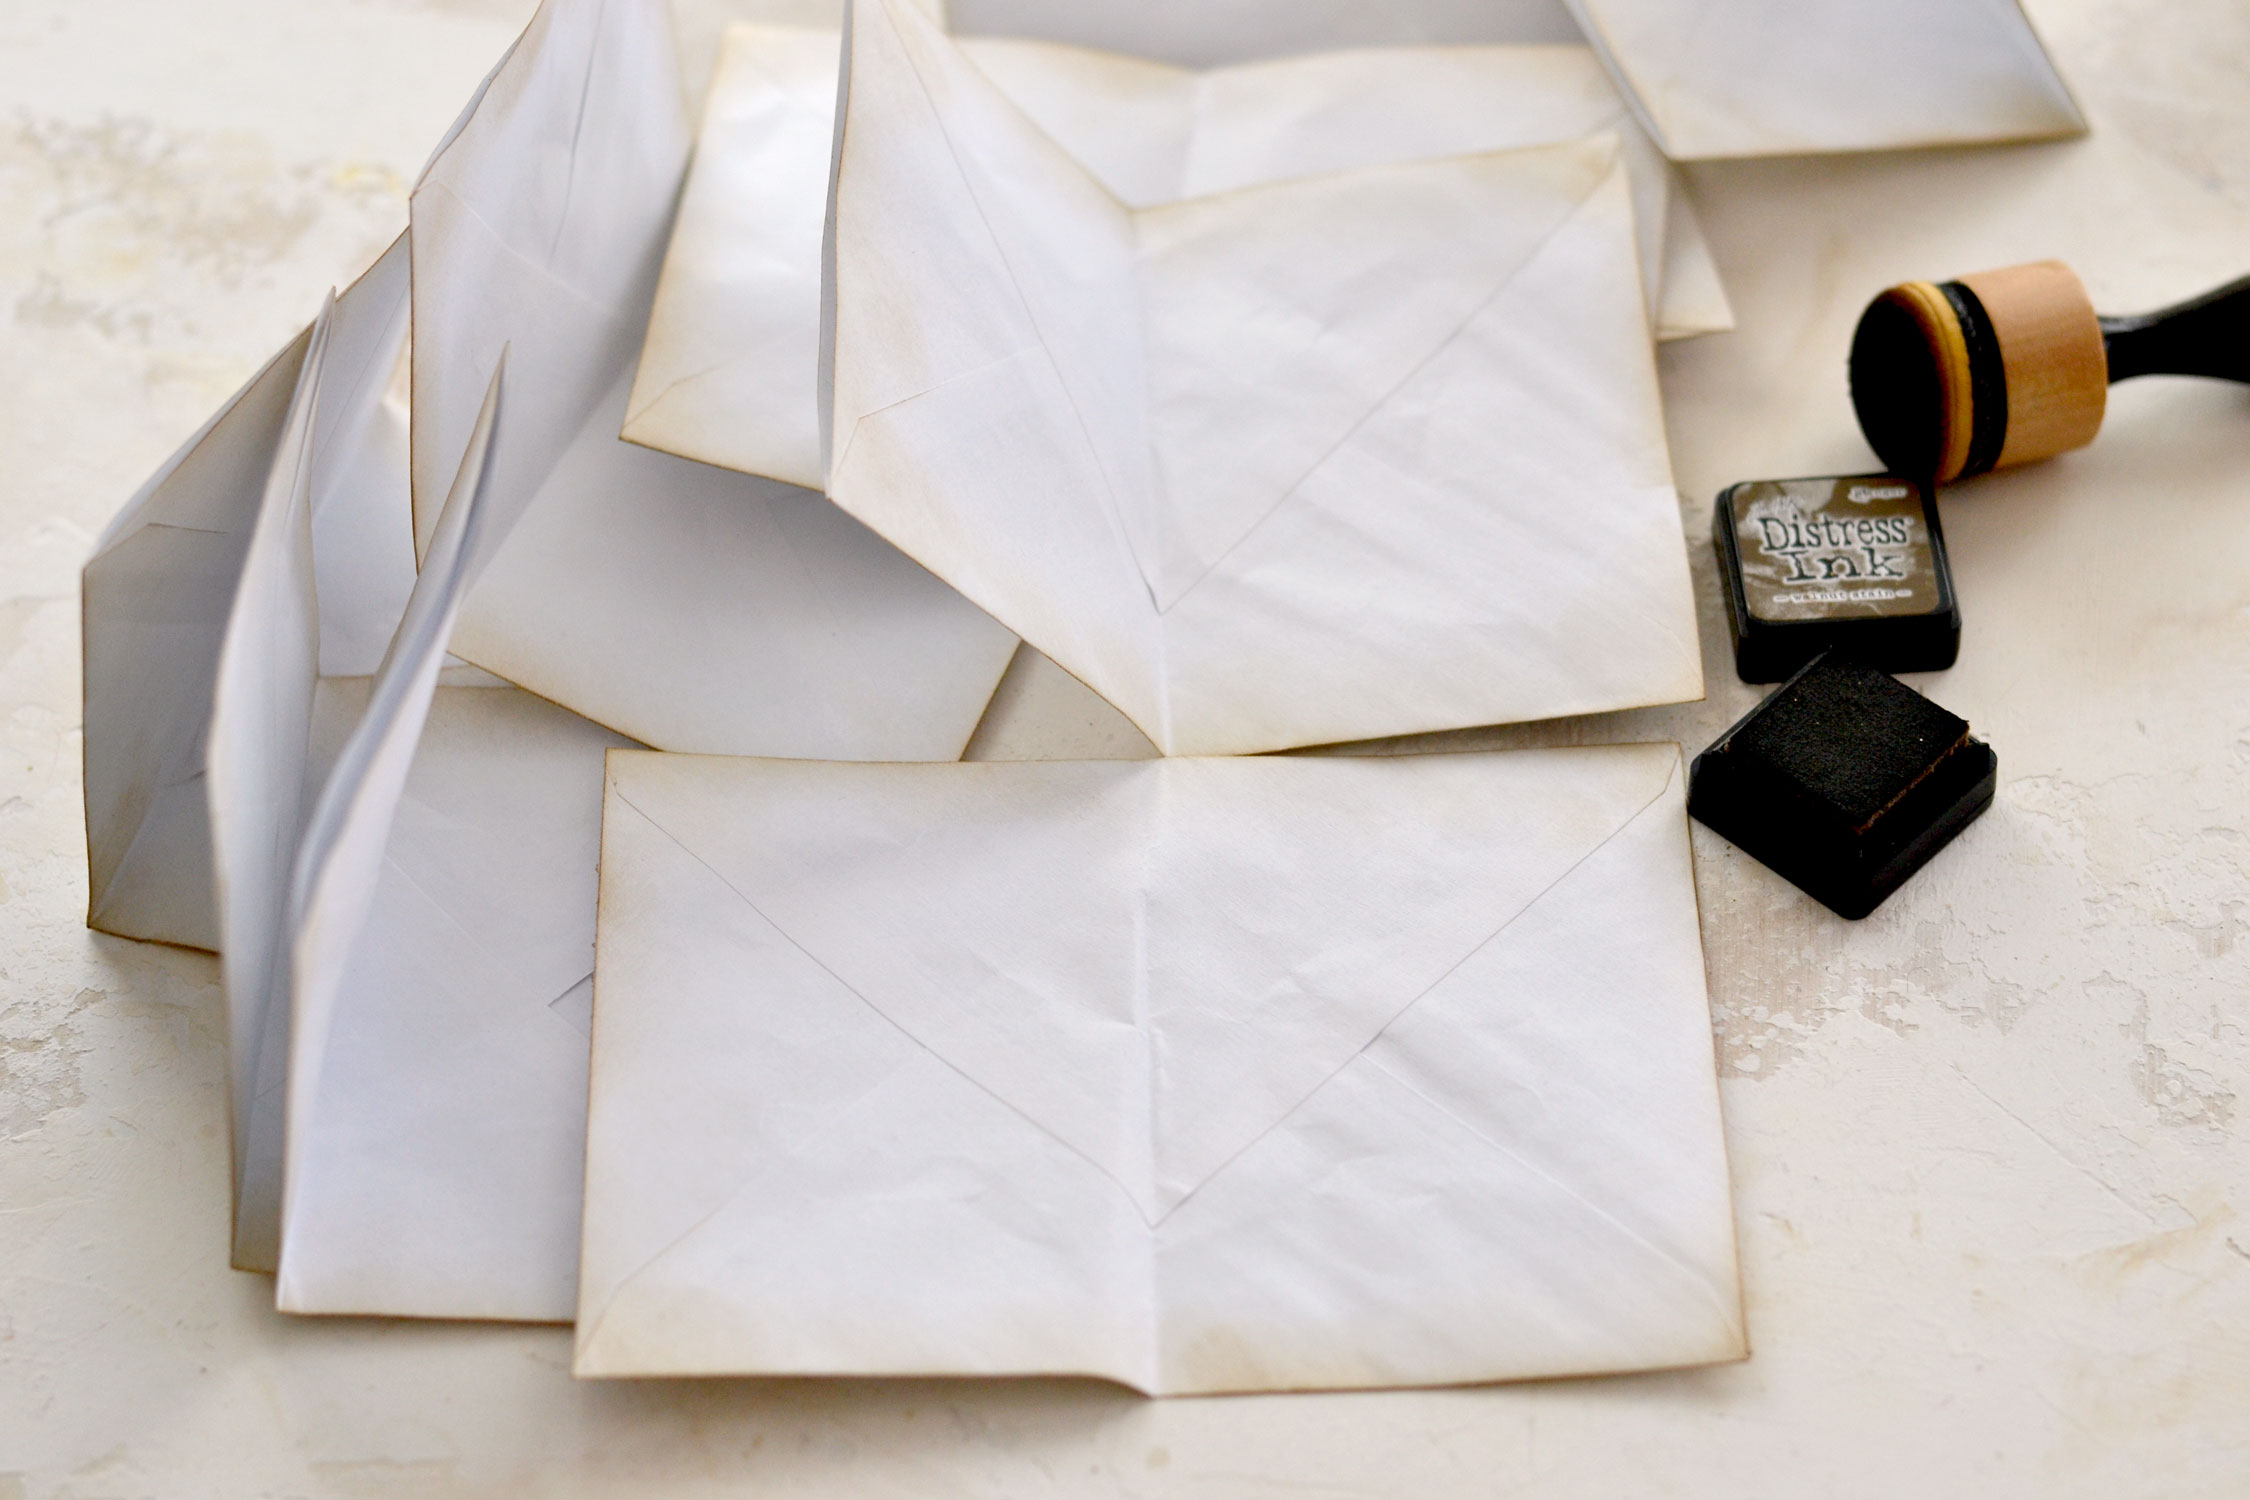
Use a little bit of brown distress ink on the edges to give each envelope a lovely aged appearance. Apply the ink on the back too, and even on the inside to remove the whiteness in the paper and make it look more aged. I usually like to apply quite a bit of pressure while performing this step just because I like the organic crinkles and creases that I can create on paper this way. If you prefer to keep your envelopes more flat, just be more gentle while applying the ink.
When you are done, we can now move to actually assemble the accordion folders! Change the orientation of your first envelope and place it on your table – the snipped edges should now be on top and bottom.
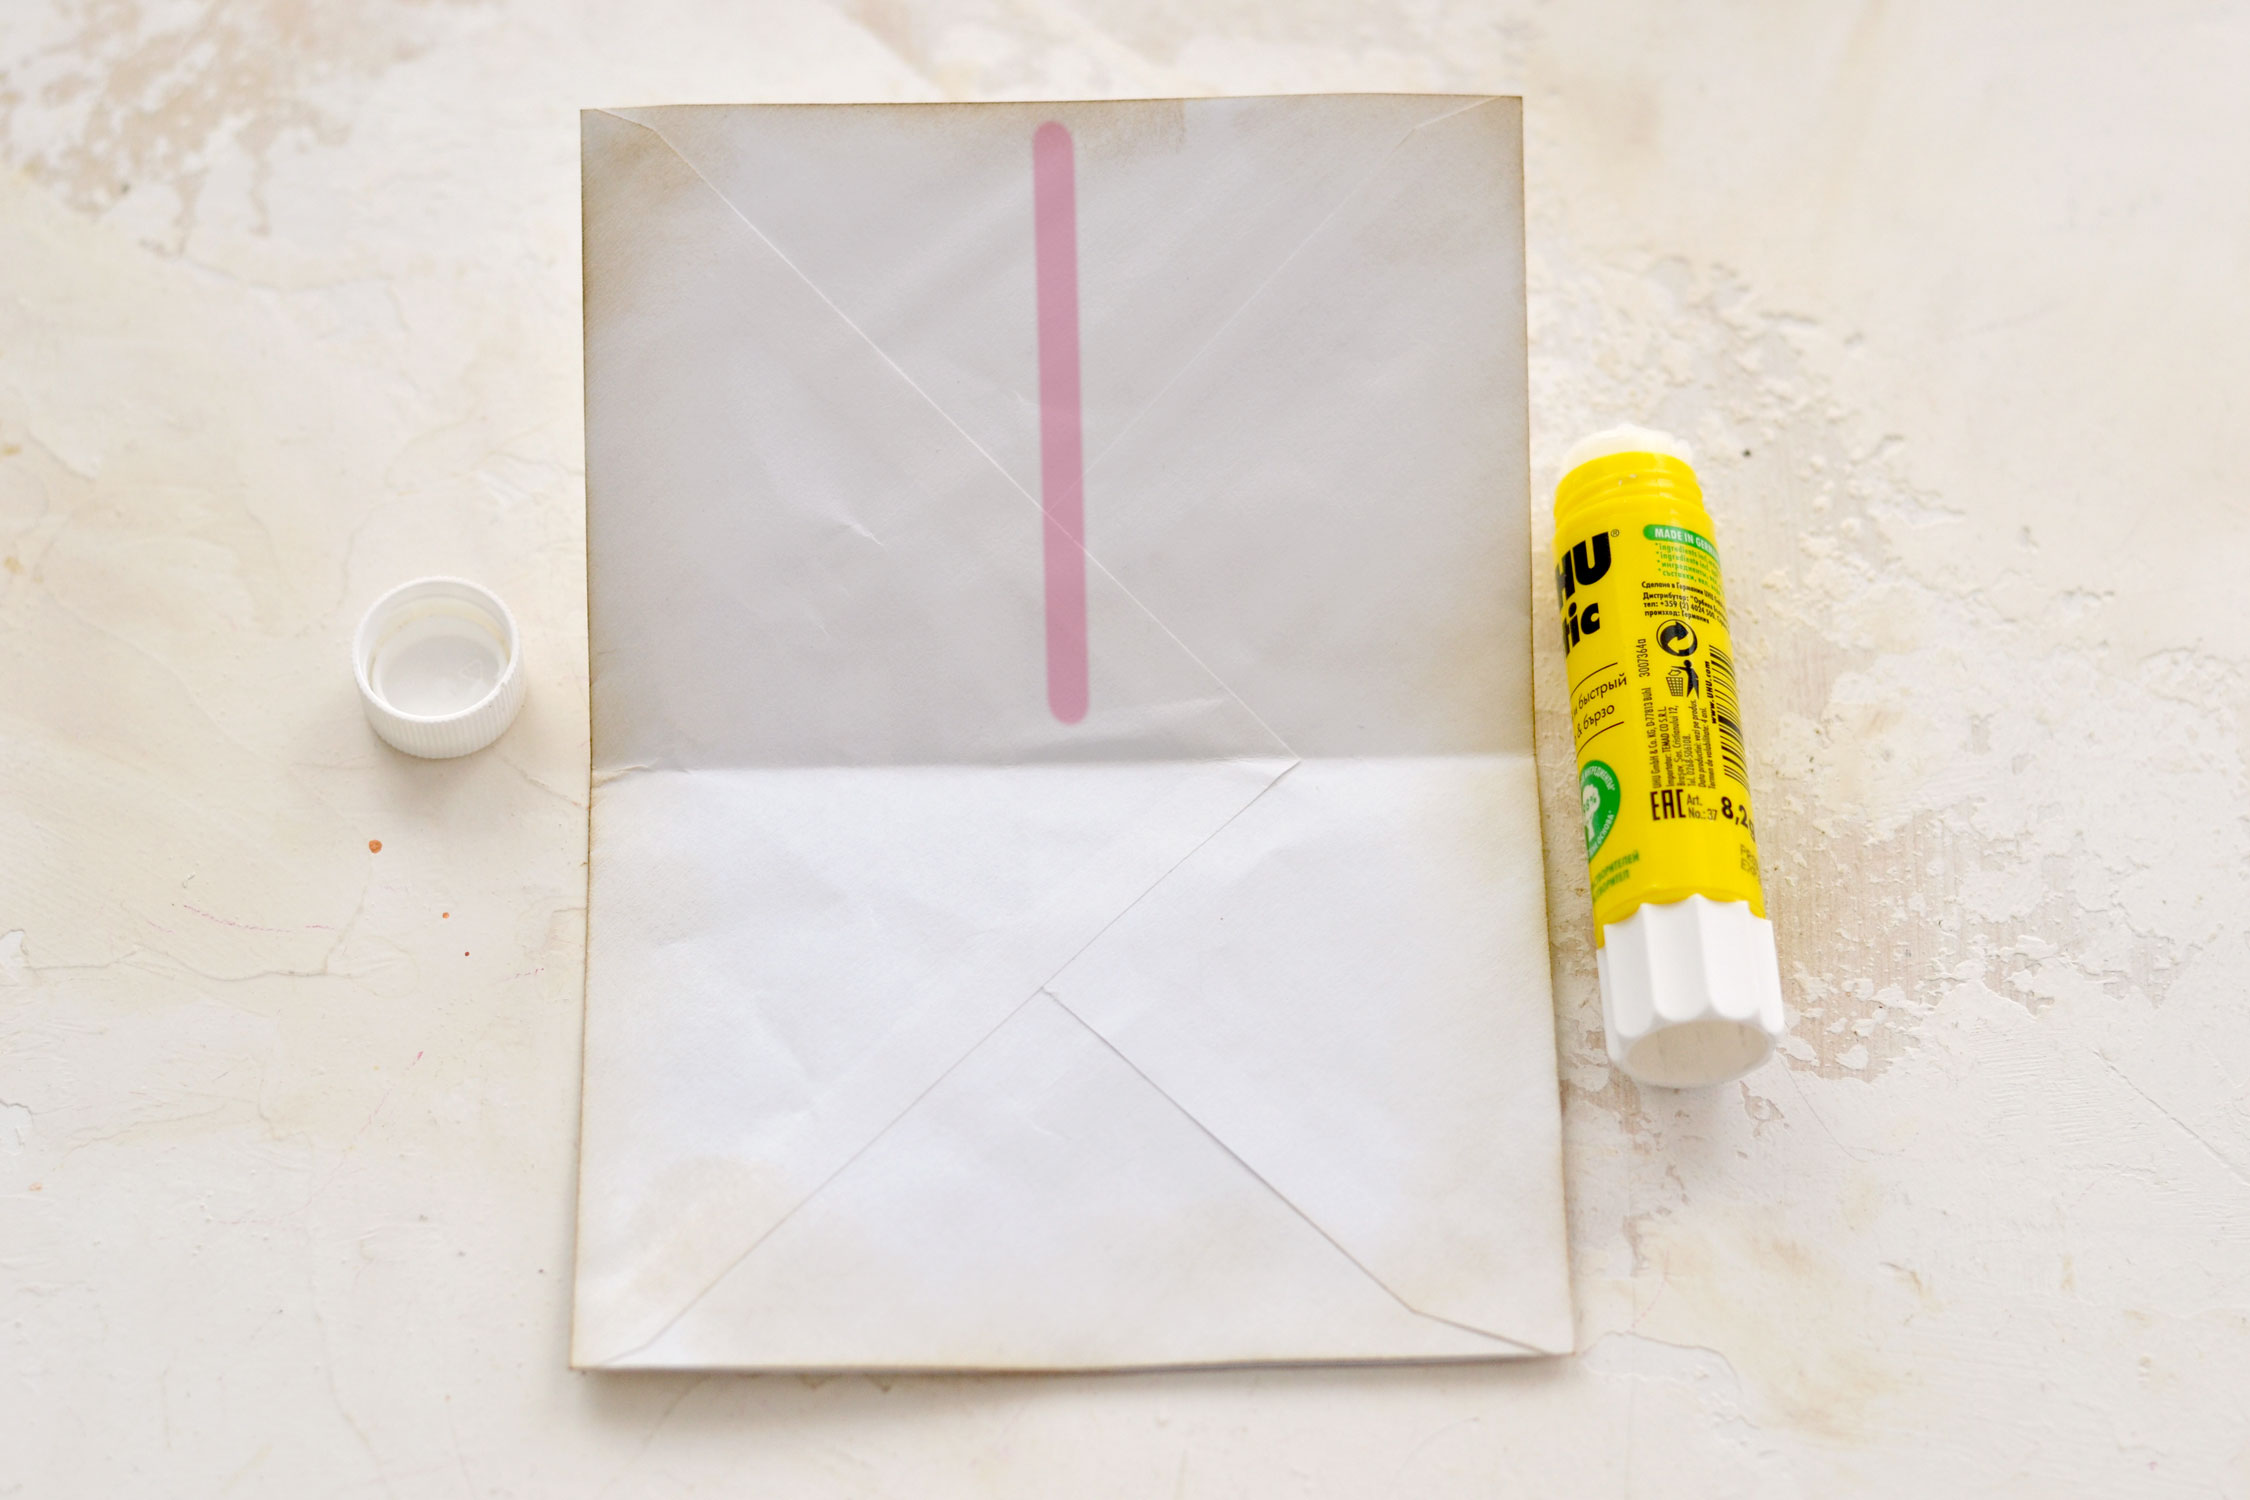
Use glue on the inside of the top section to create the letter I – as you can see highlighted in pink in the image below – then simply bring the lower section upwards and press it with your fingers for a few seconds to glue it over the top section.
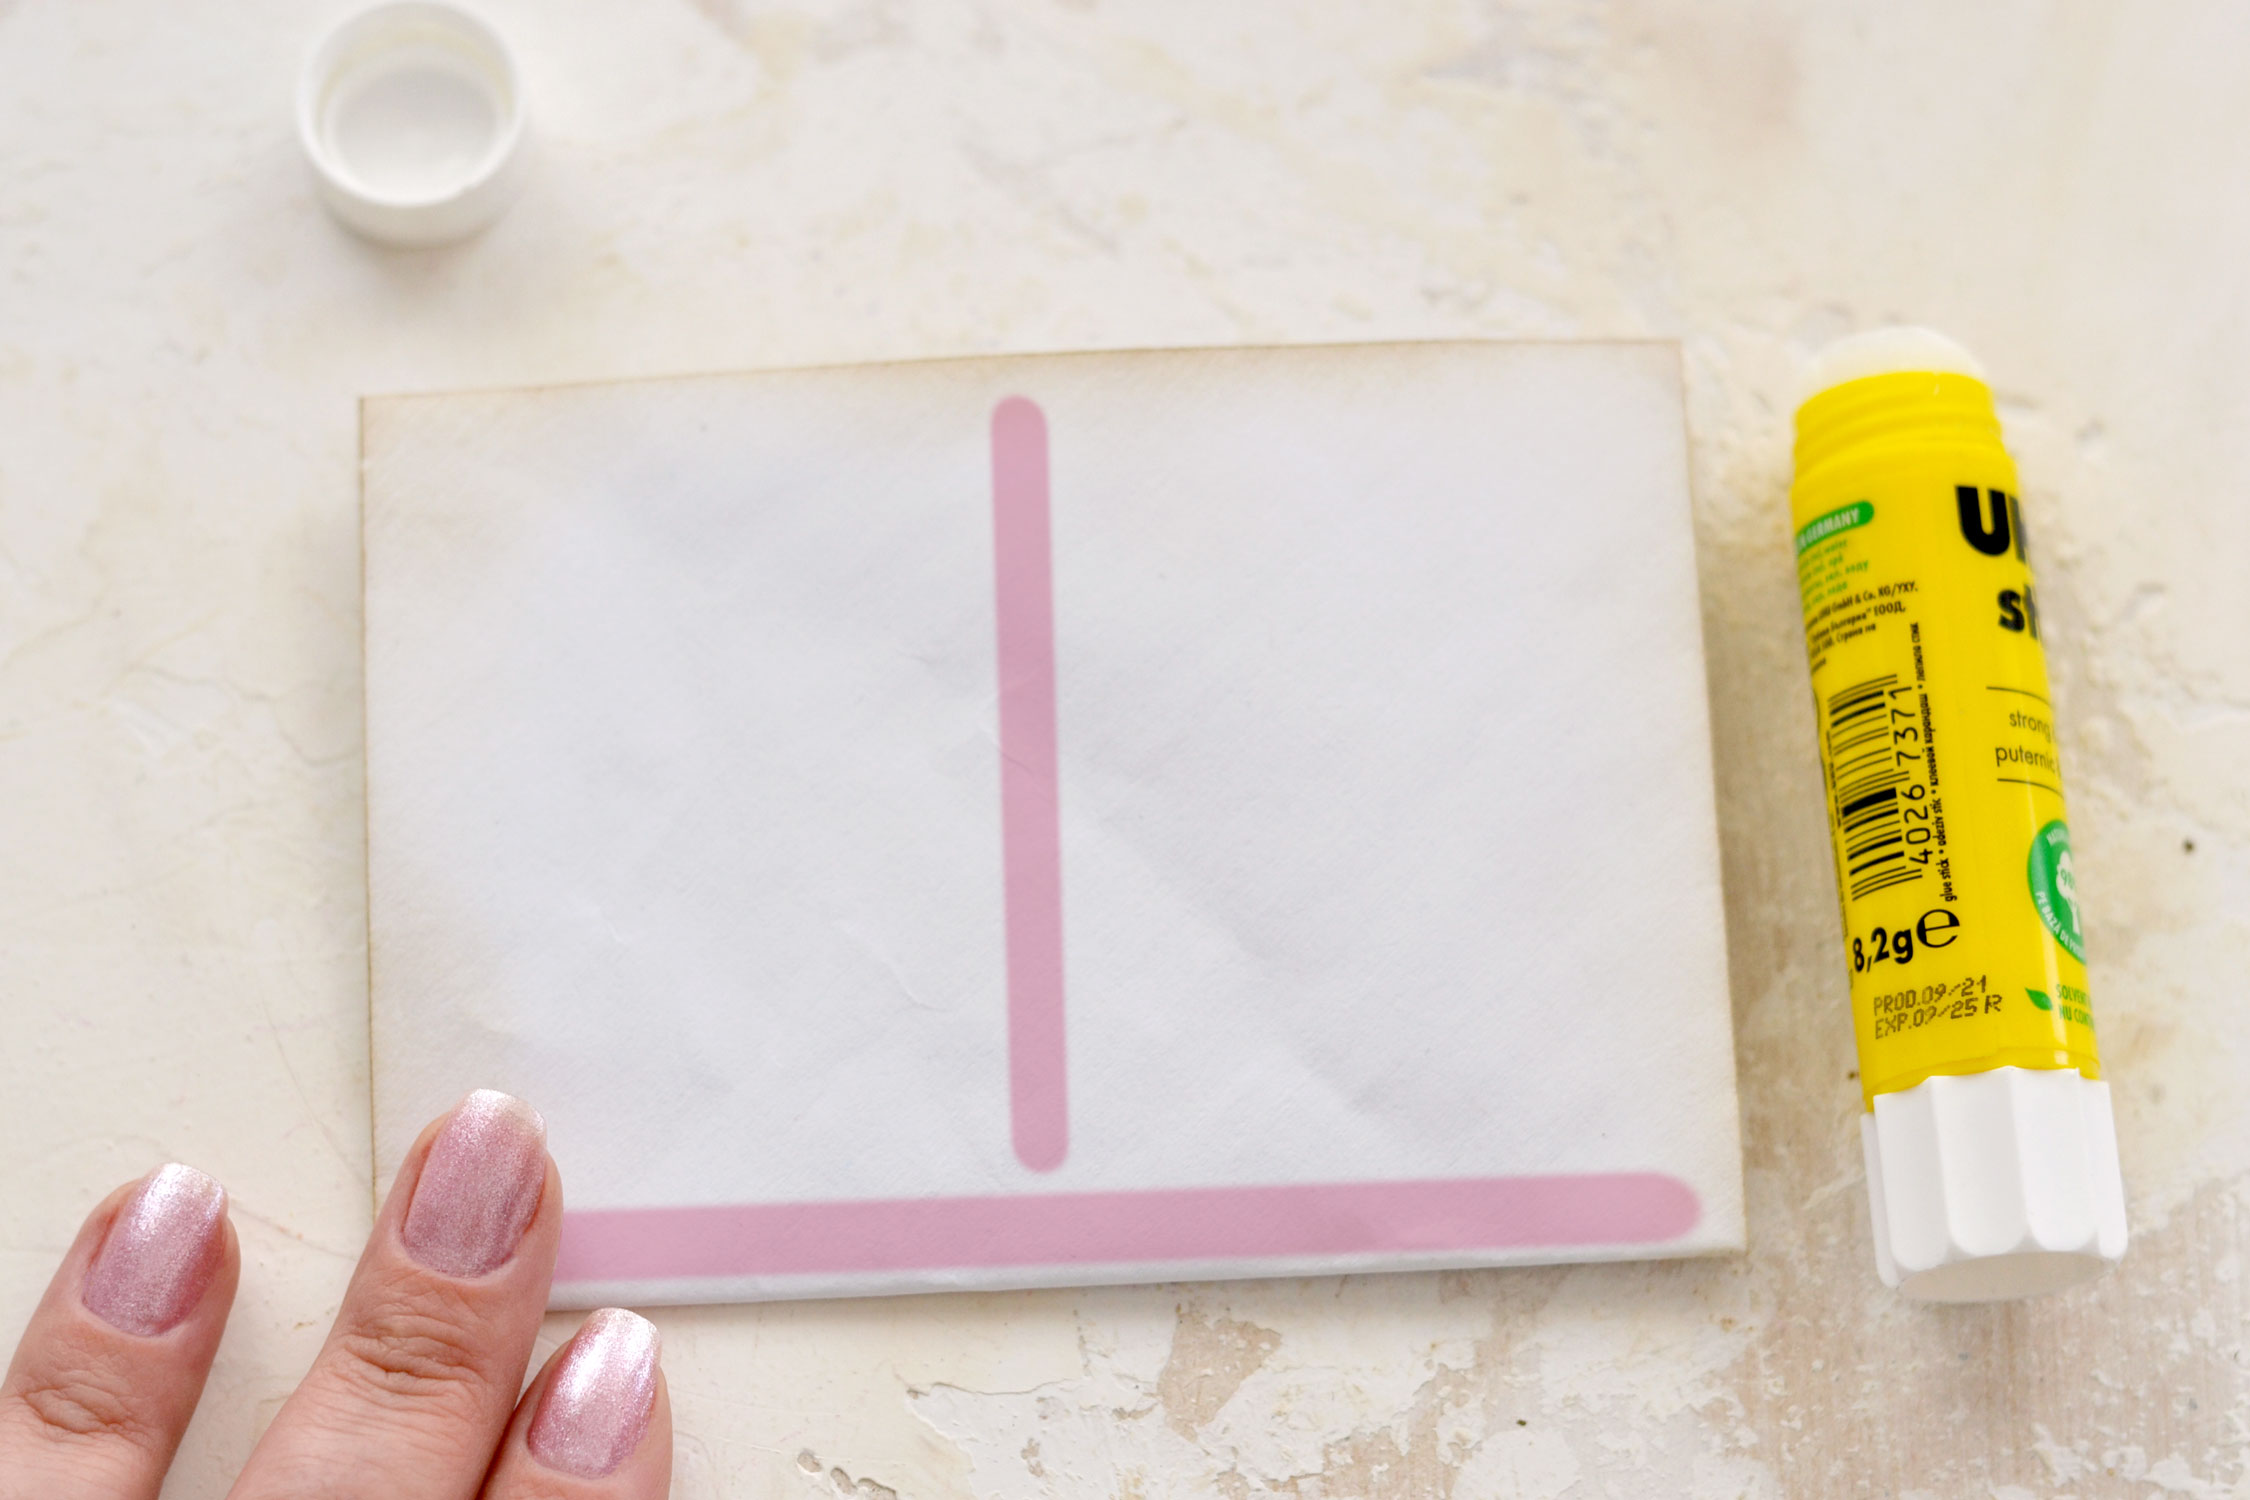
Next, apply glue on the folded section but this time following an upside-down T letter pattern – as you can see highlighted in pink in the image below – then simply add another folded envelope on top!
Follow the same I pattern to glue the top/bottom sides of each envelope and the upside-down T pattern when you want to add another envelope on top. It’s really easy and as I mentioned before I used 3 envelopes to create an accordion folder that will create 6 openings inside. If you want, you can add more!
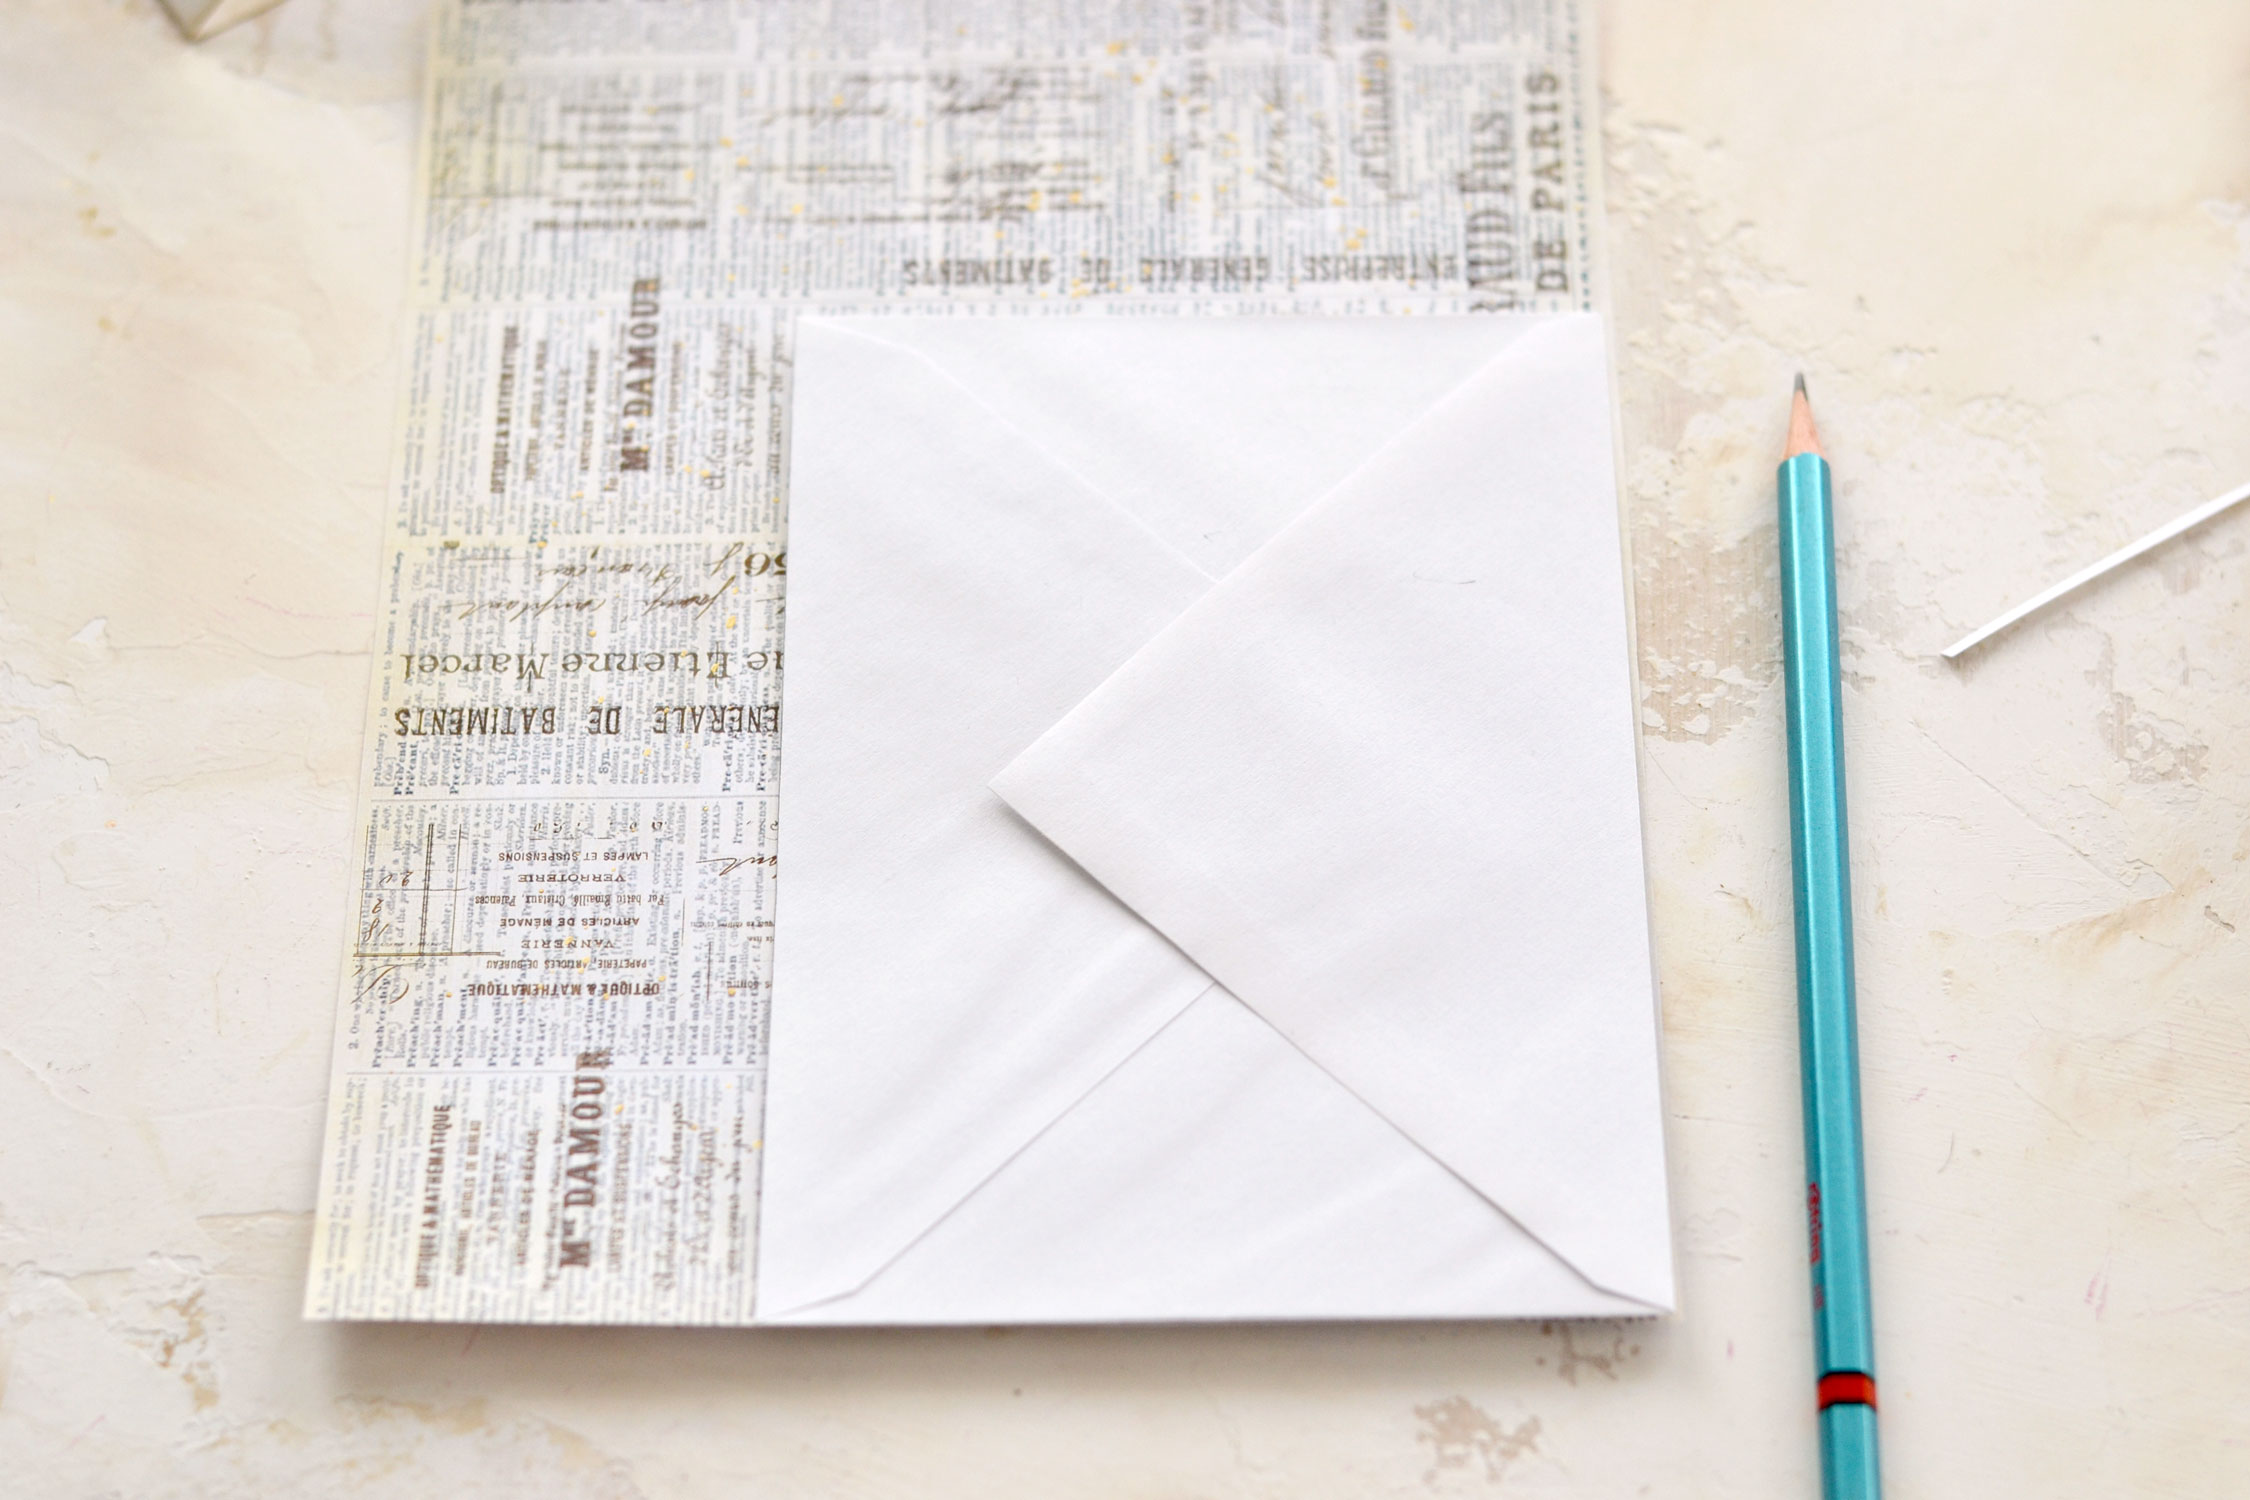
Moving on to creating our lovely covers! Use an uncut/unfolded envelope and place it vertically on your French ephemera collage, as you can see in the image below. You can use one of the already cut edges as guidance to align it on the right side and the bottom, then use a pencil to trace a line on the left side of the envelope.
If you keep the envelope as it is, you will create a cover that is the exact same size as our already glued folder.
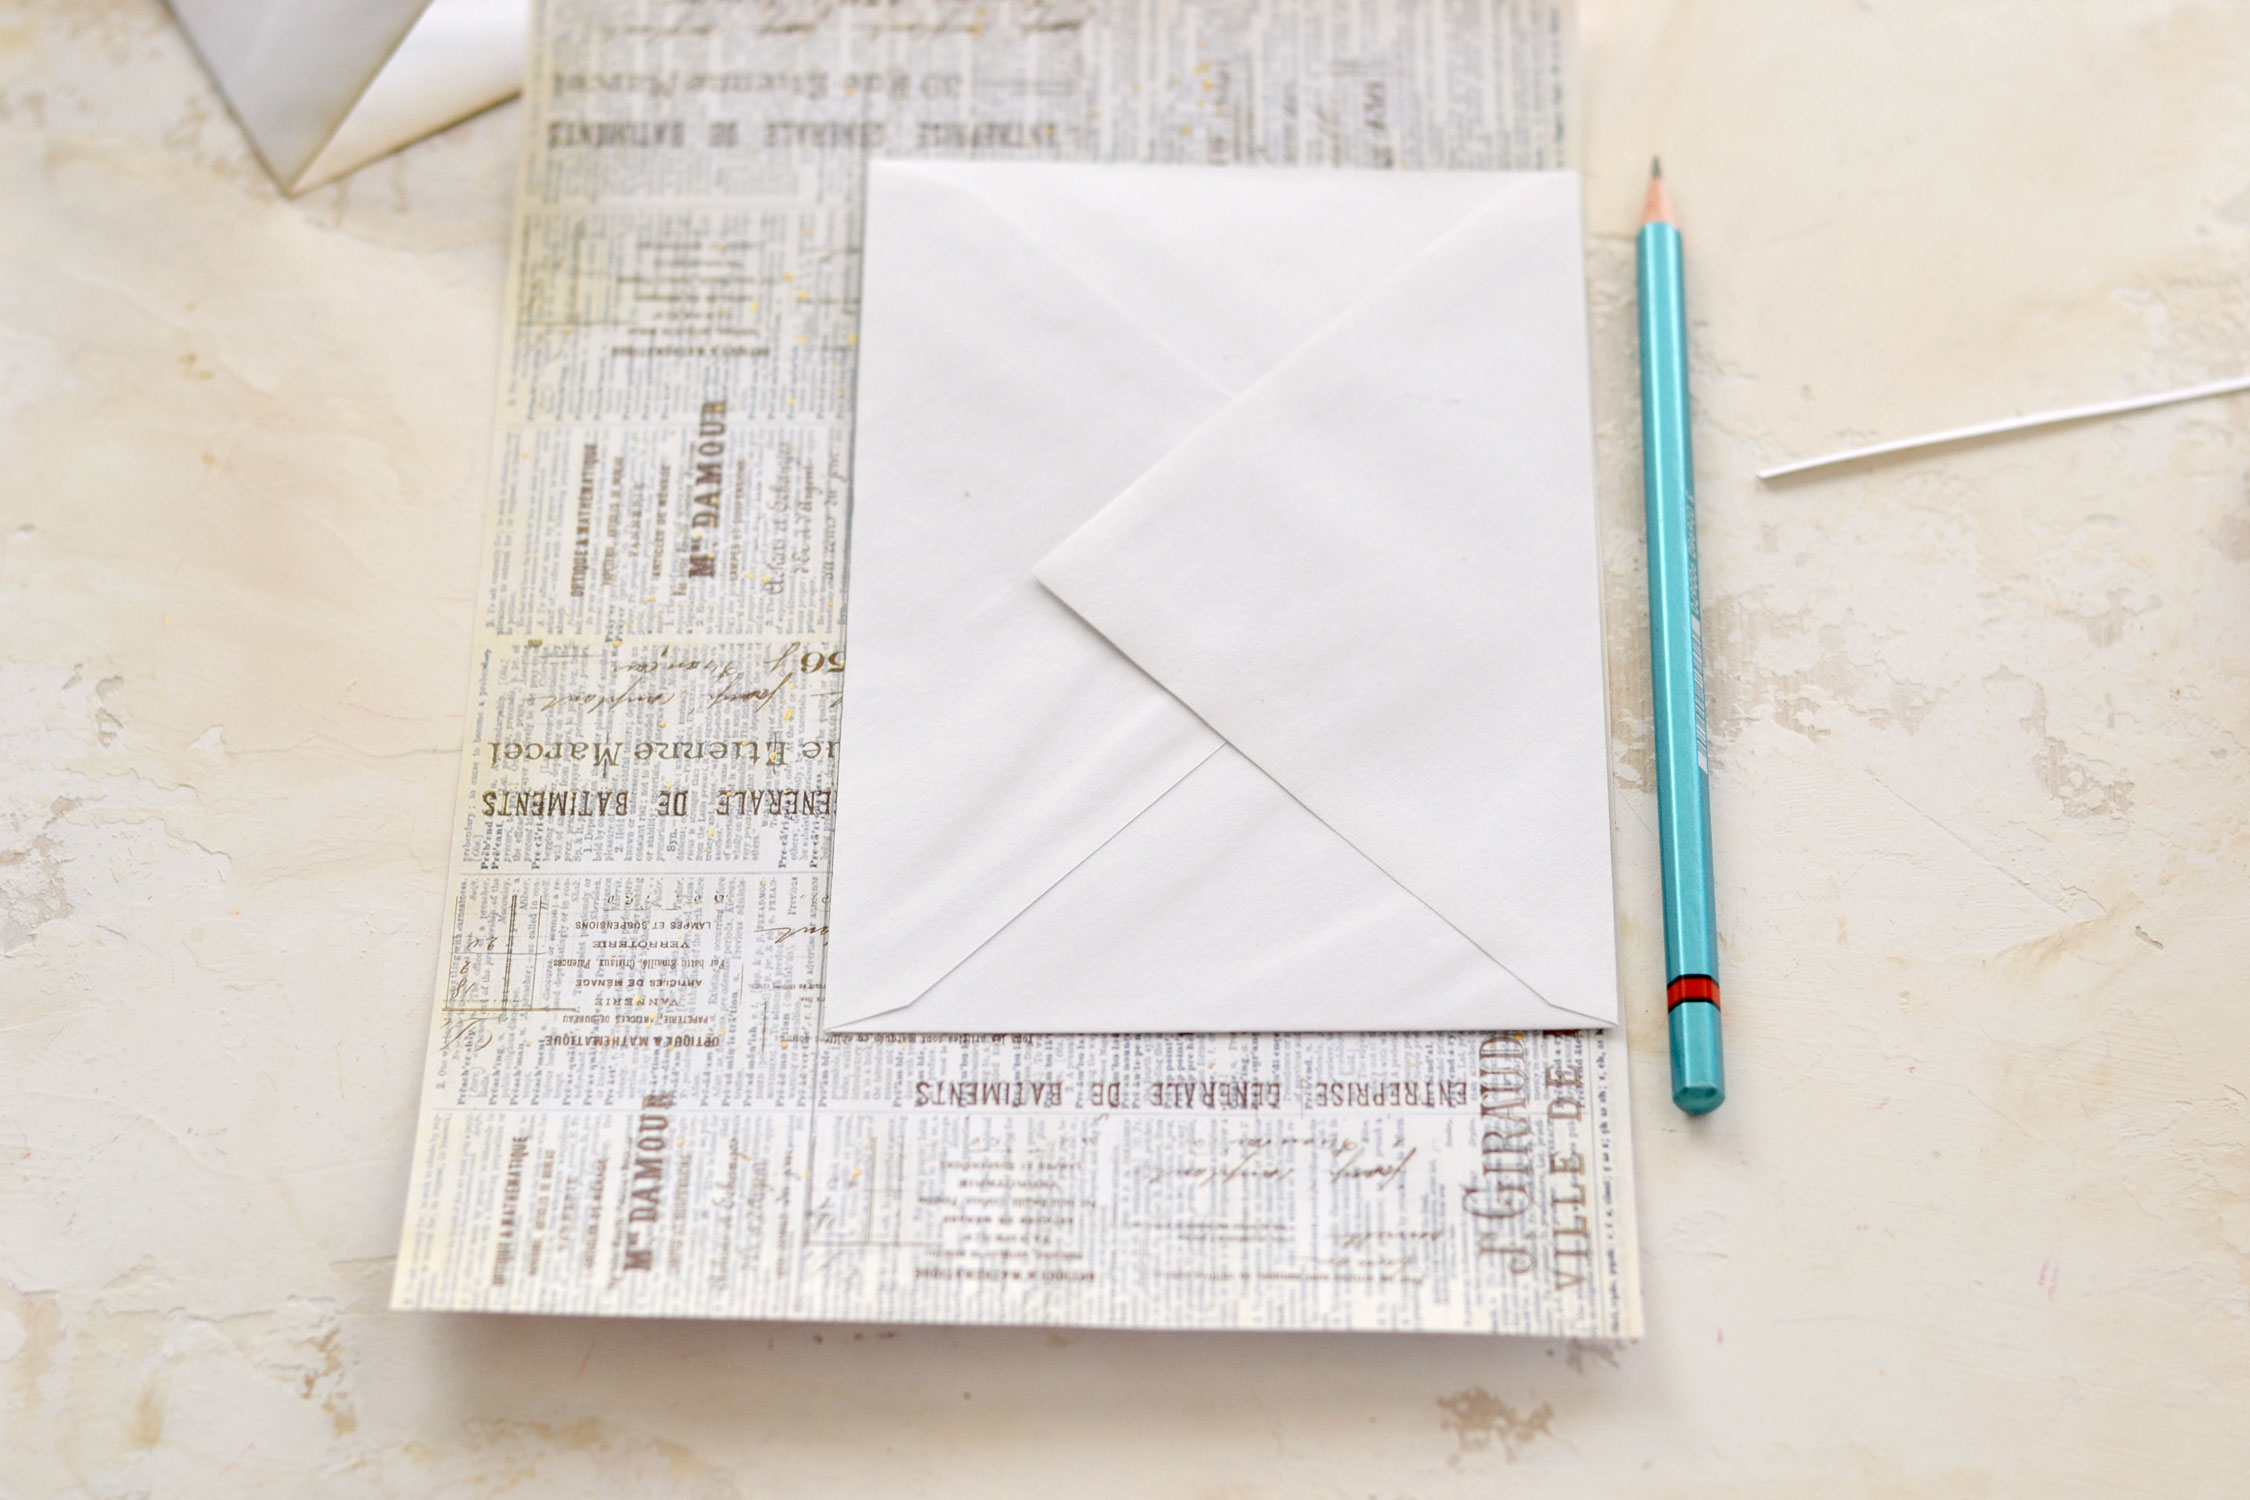
So we need to move the envelope upward a little bit while trying to maintain the same vertical position so we can gain some extra space to create a folded flap on our cover. Moving the envelope upwards around 2 inches (5 cm) will give you enough room to create that folded flap afterward.
Trace the left side of the envelope after moving it upward, then trace the top and use your scissors to cut the shape.
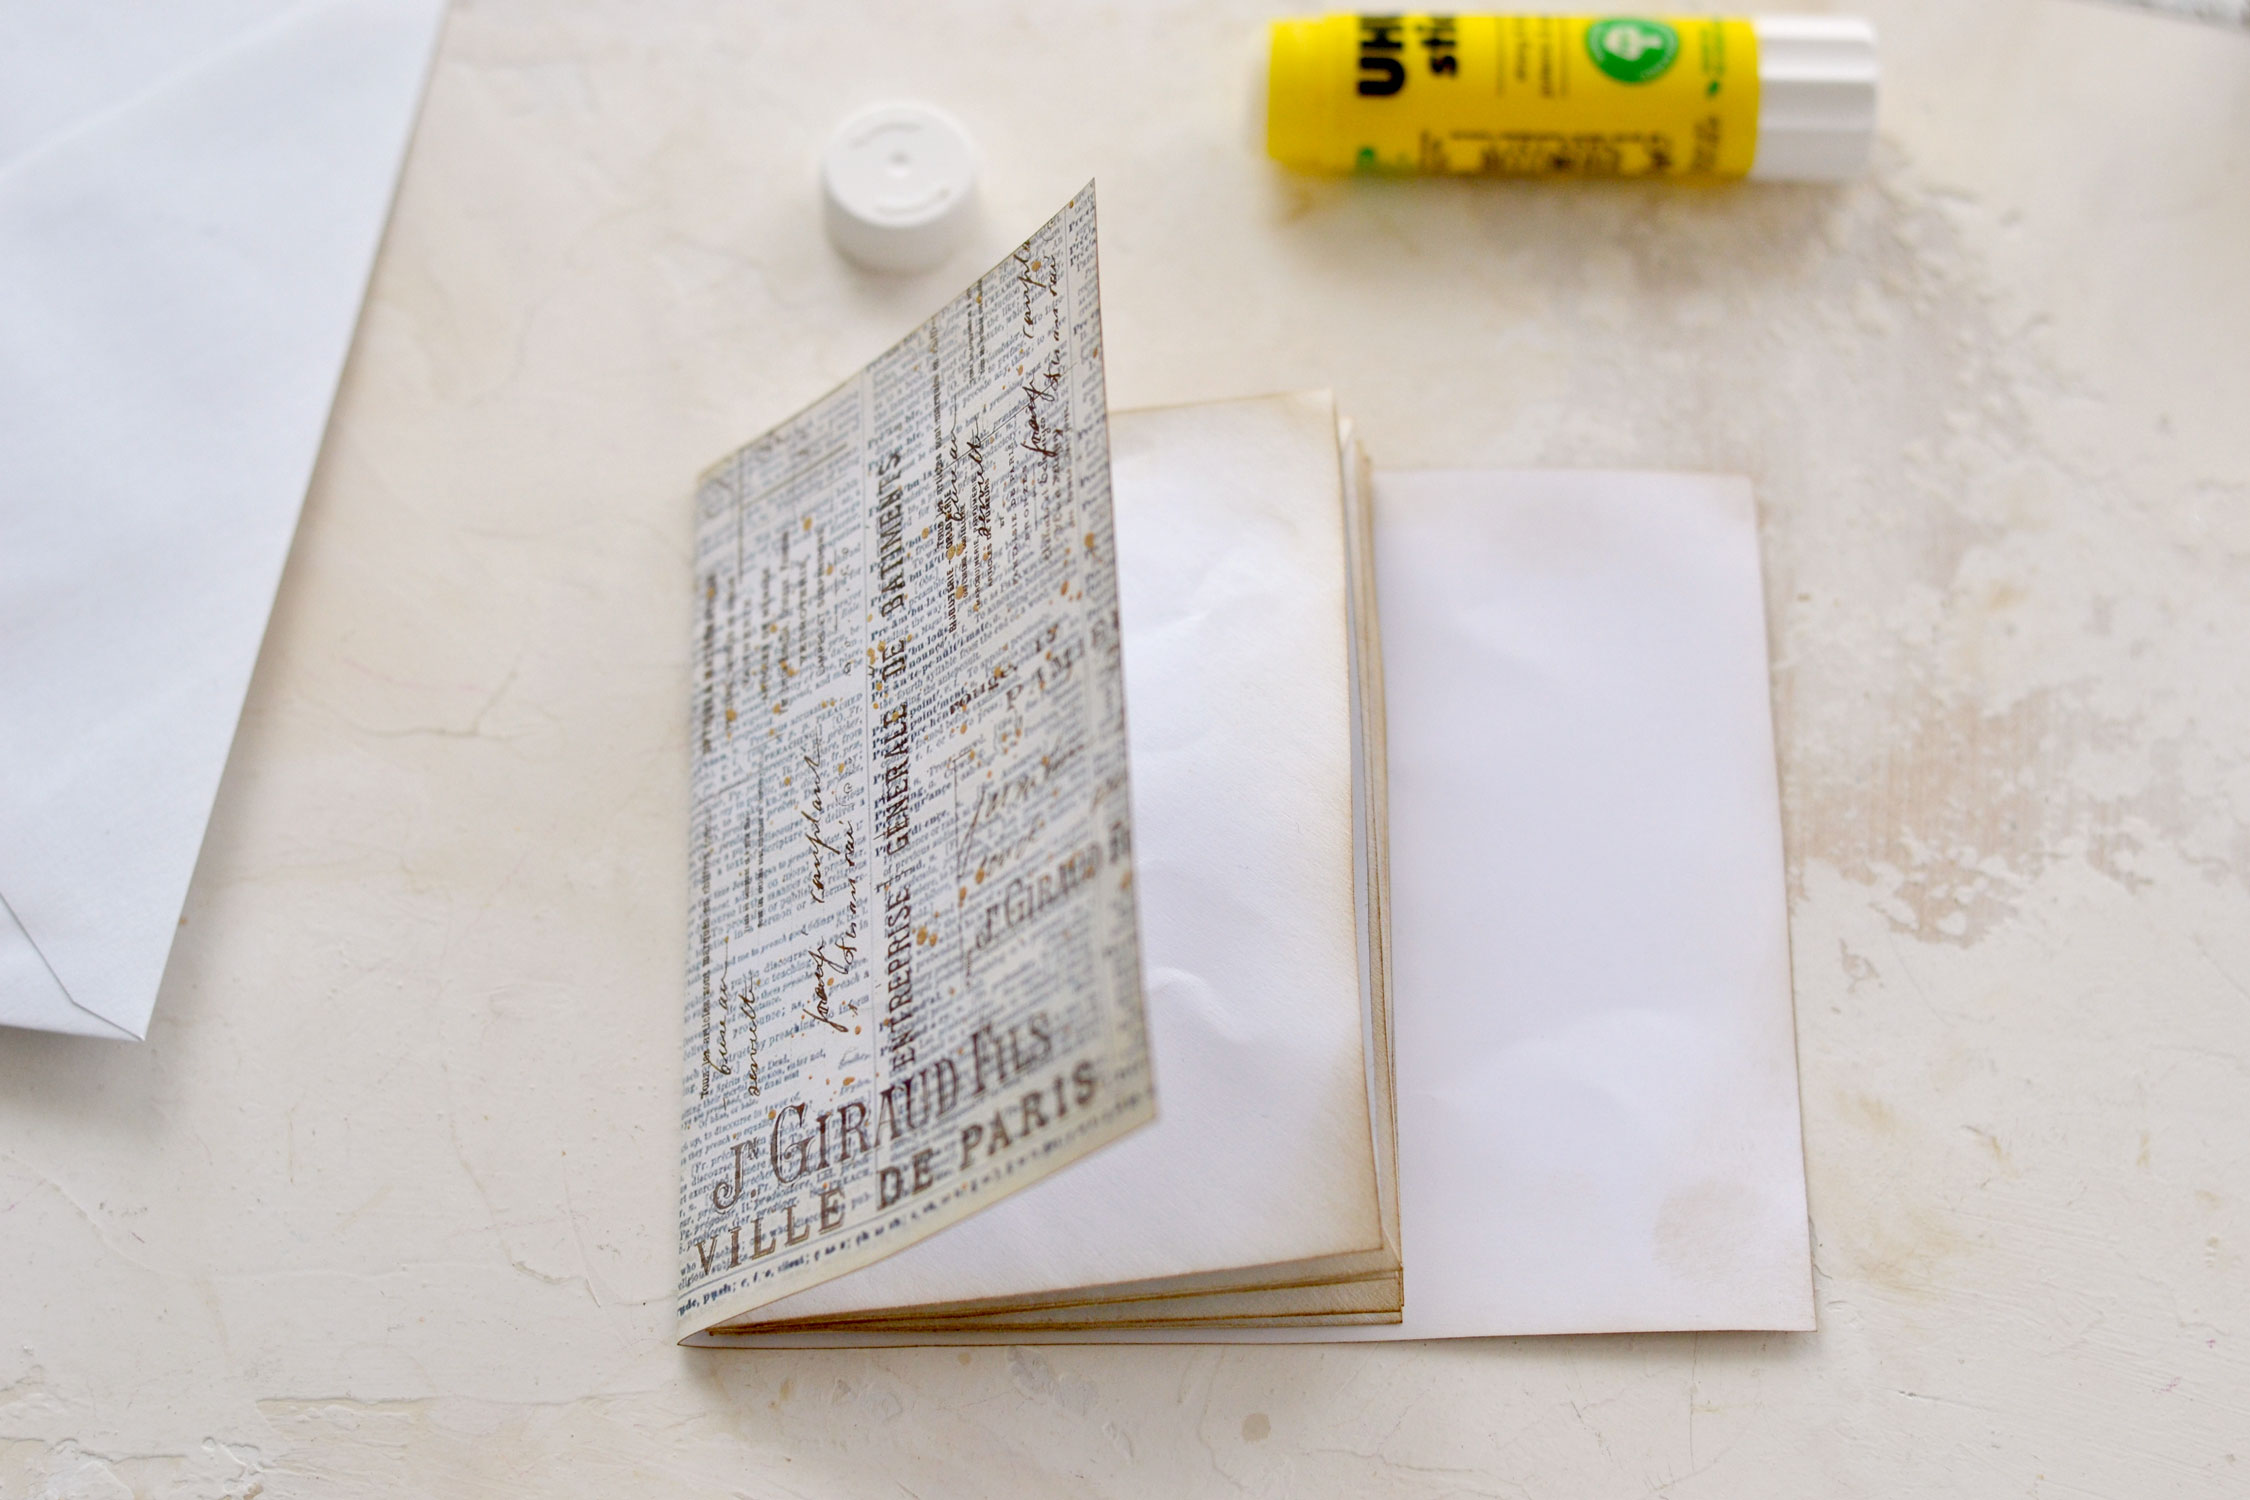
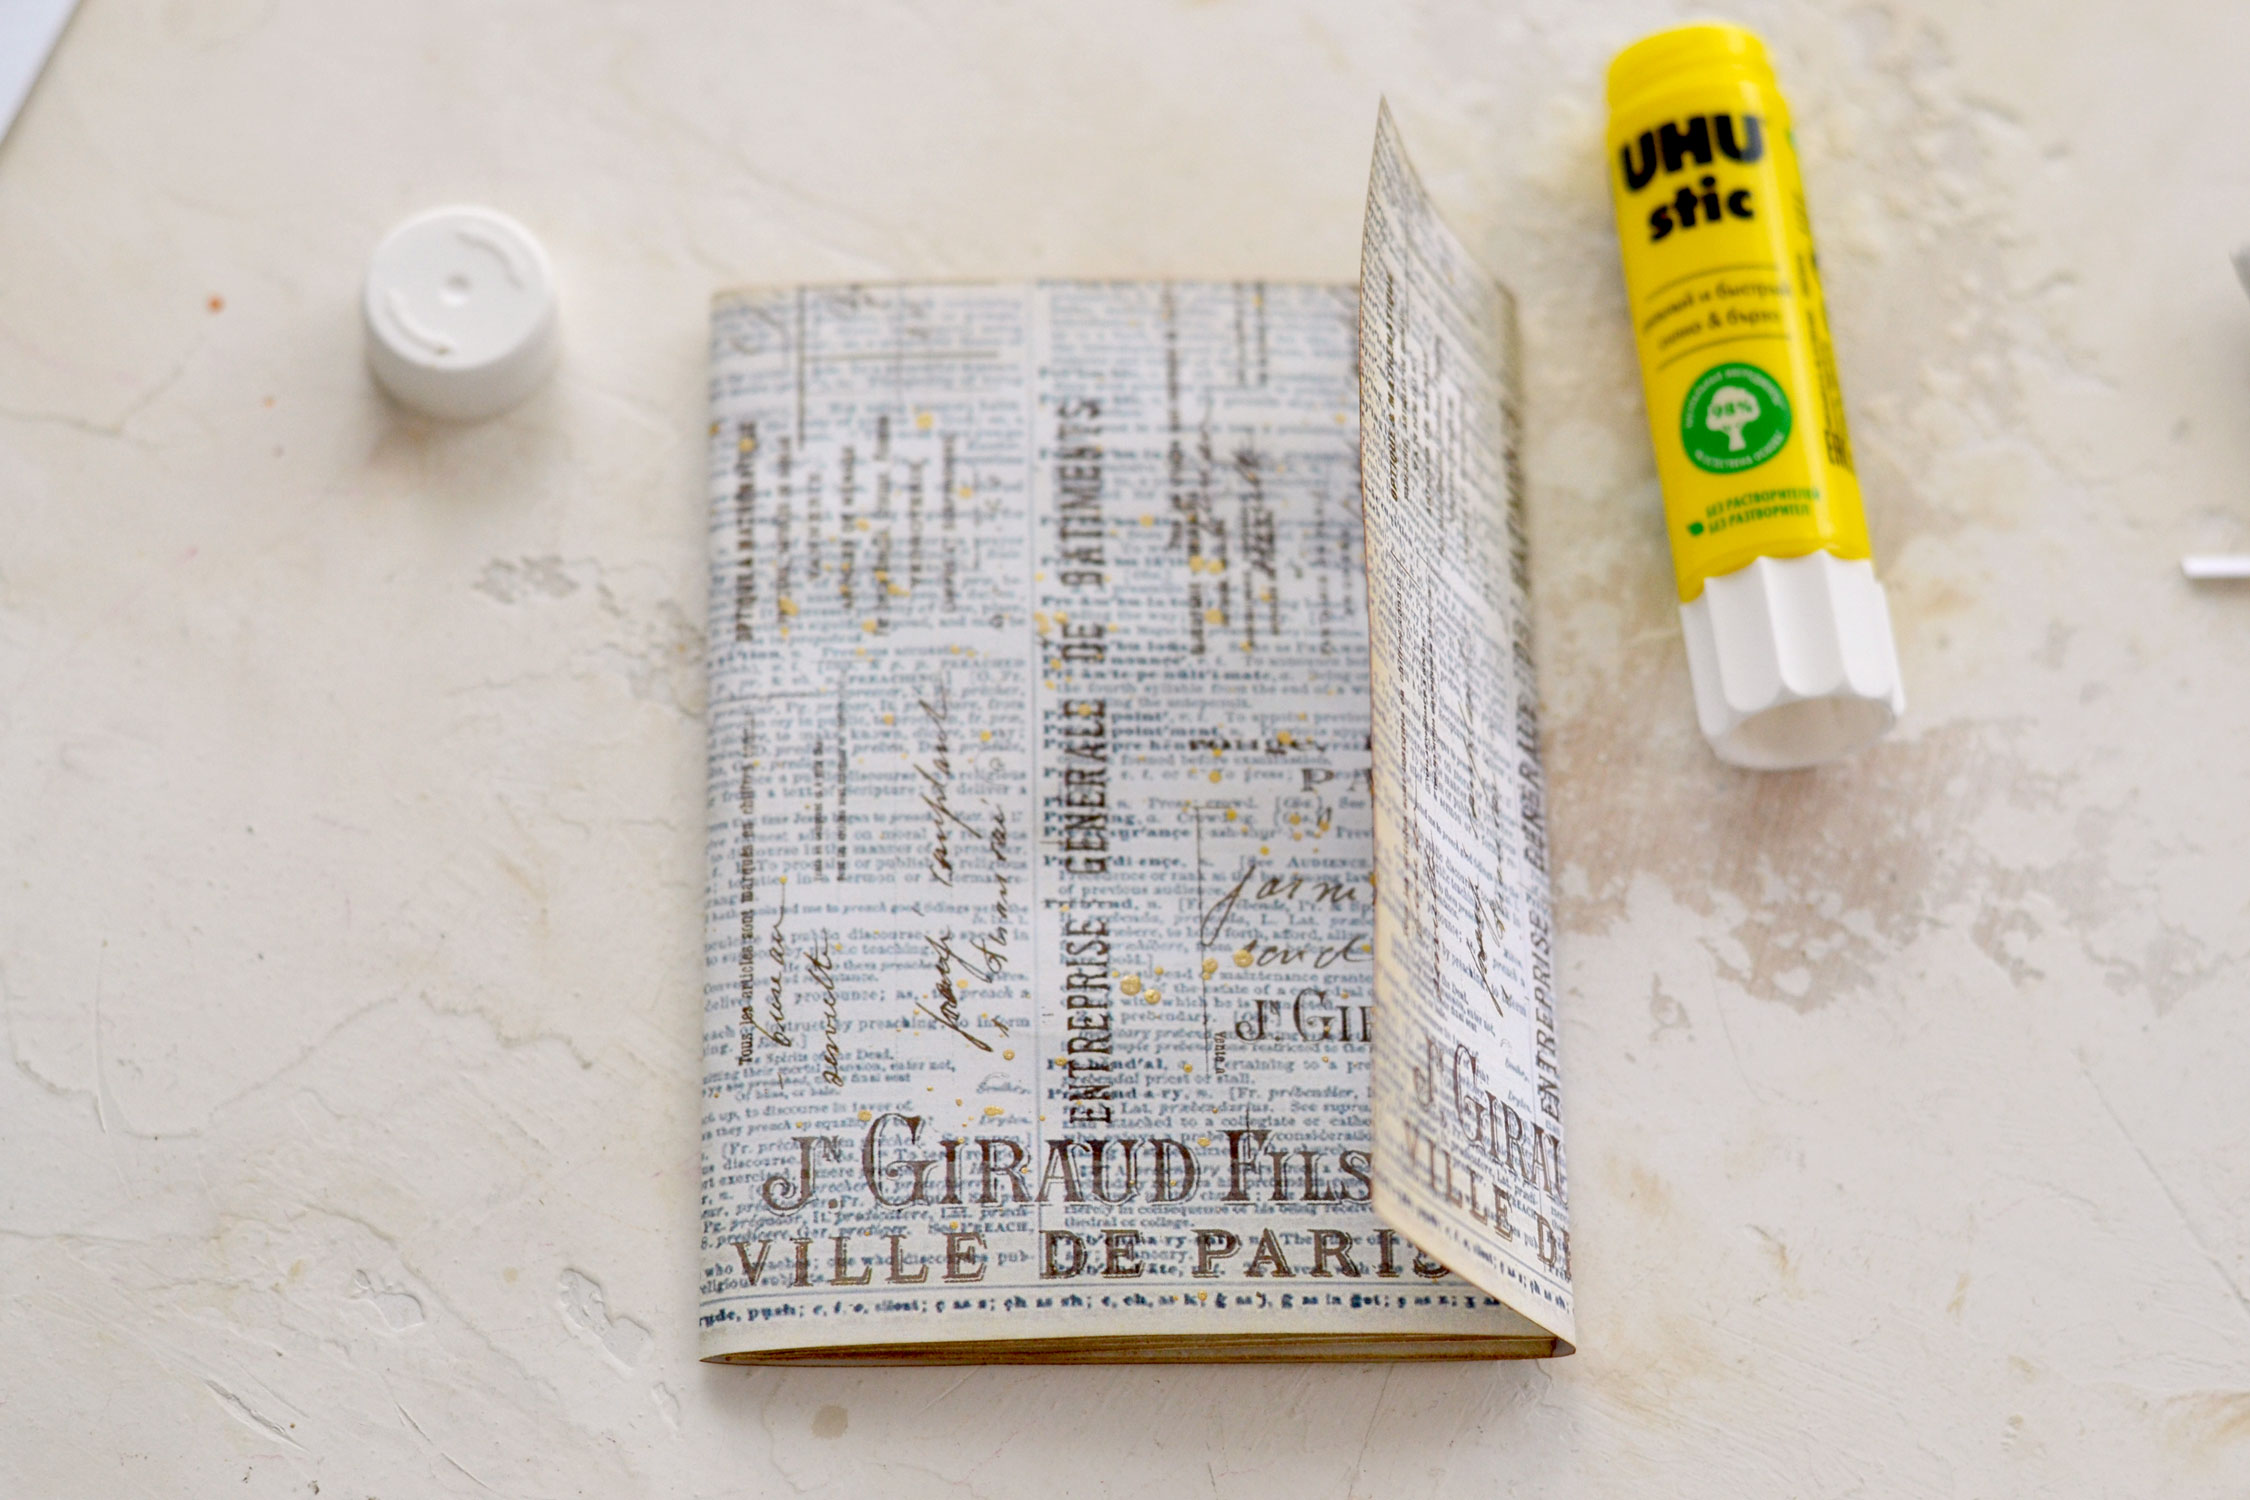
Place the rectangle cover horizontally on your table then insert and align one set of 3 folded envelopes inside. Make the first fold over the envelopes. Add glue on the whole surface of the inside cover or the first page of the folded envelopes, then press for a few seconds to glue it.
Fold the flap over, then unfold it and glue the back cover to the back of the envelopes. Make sure you don’t add any glue to the folded flap!
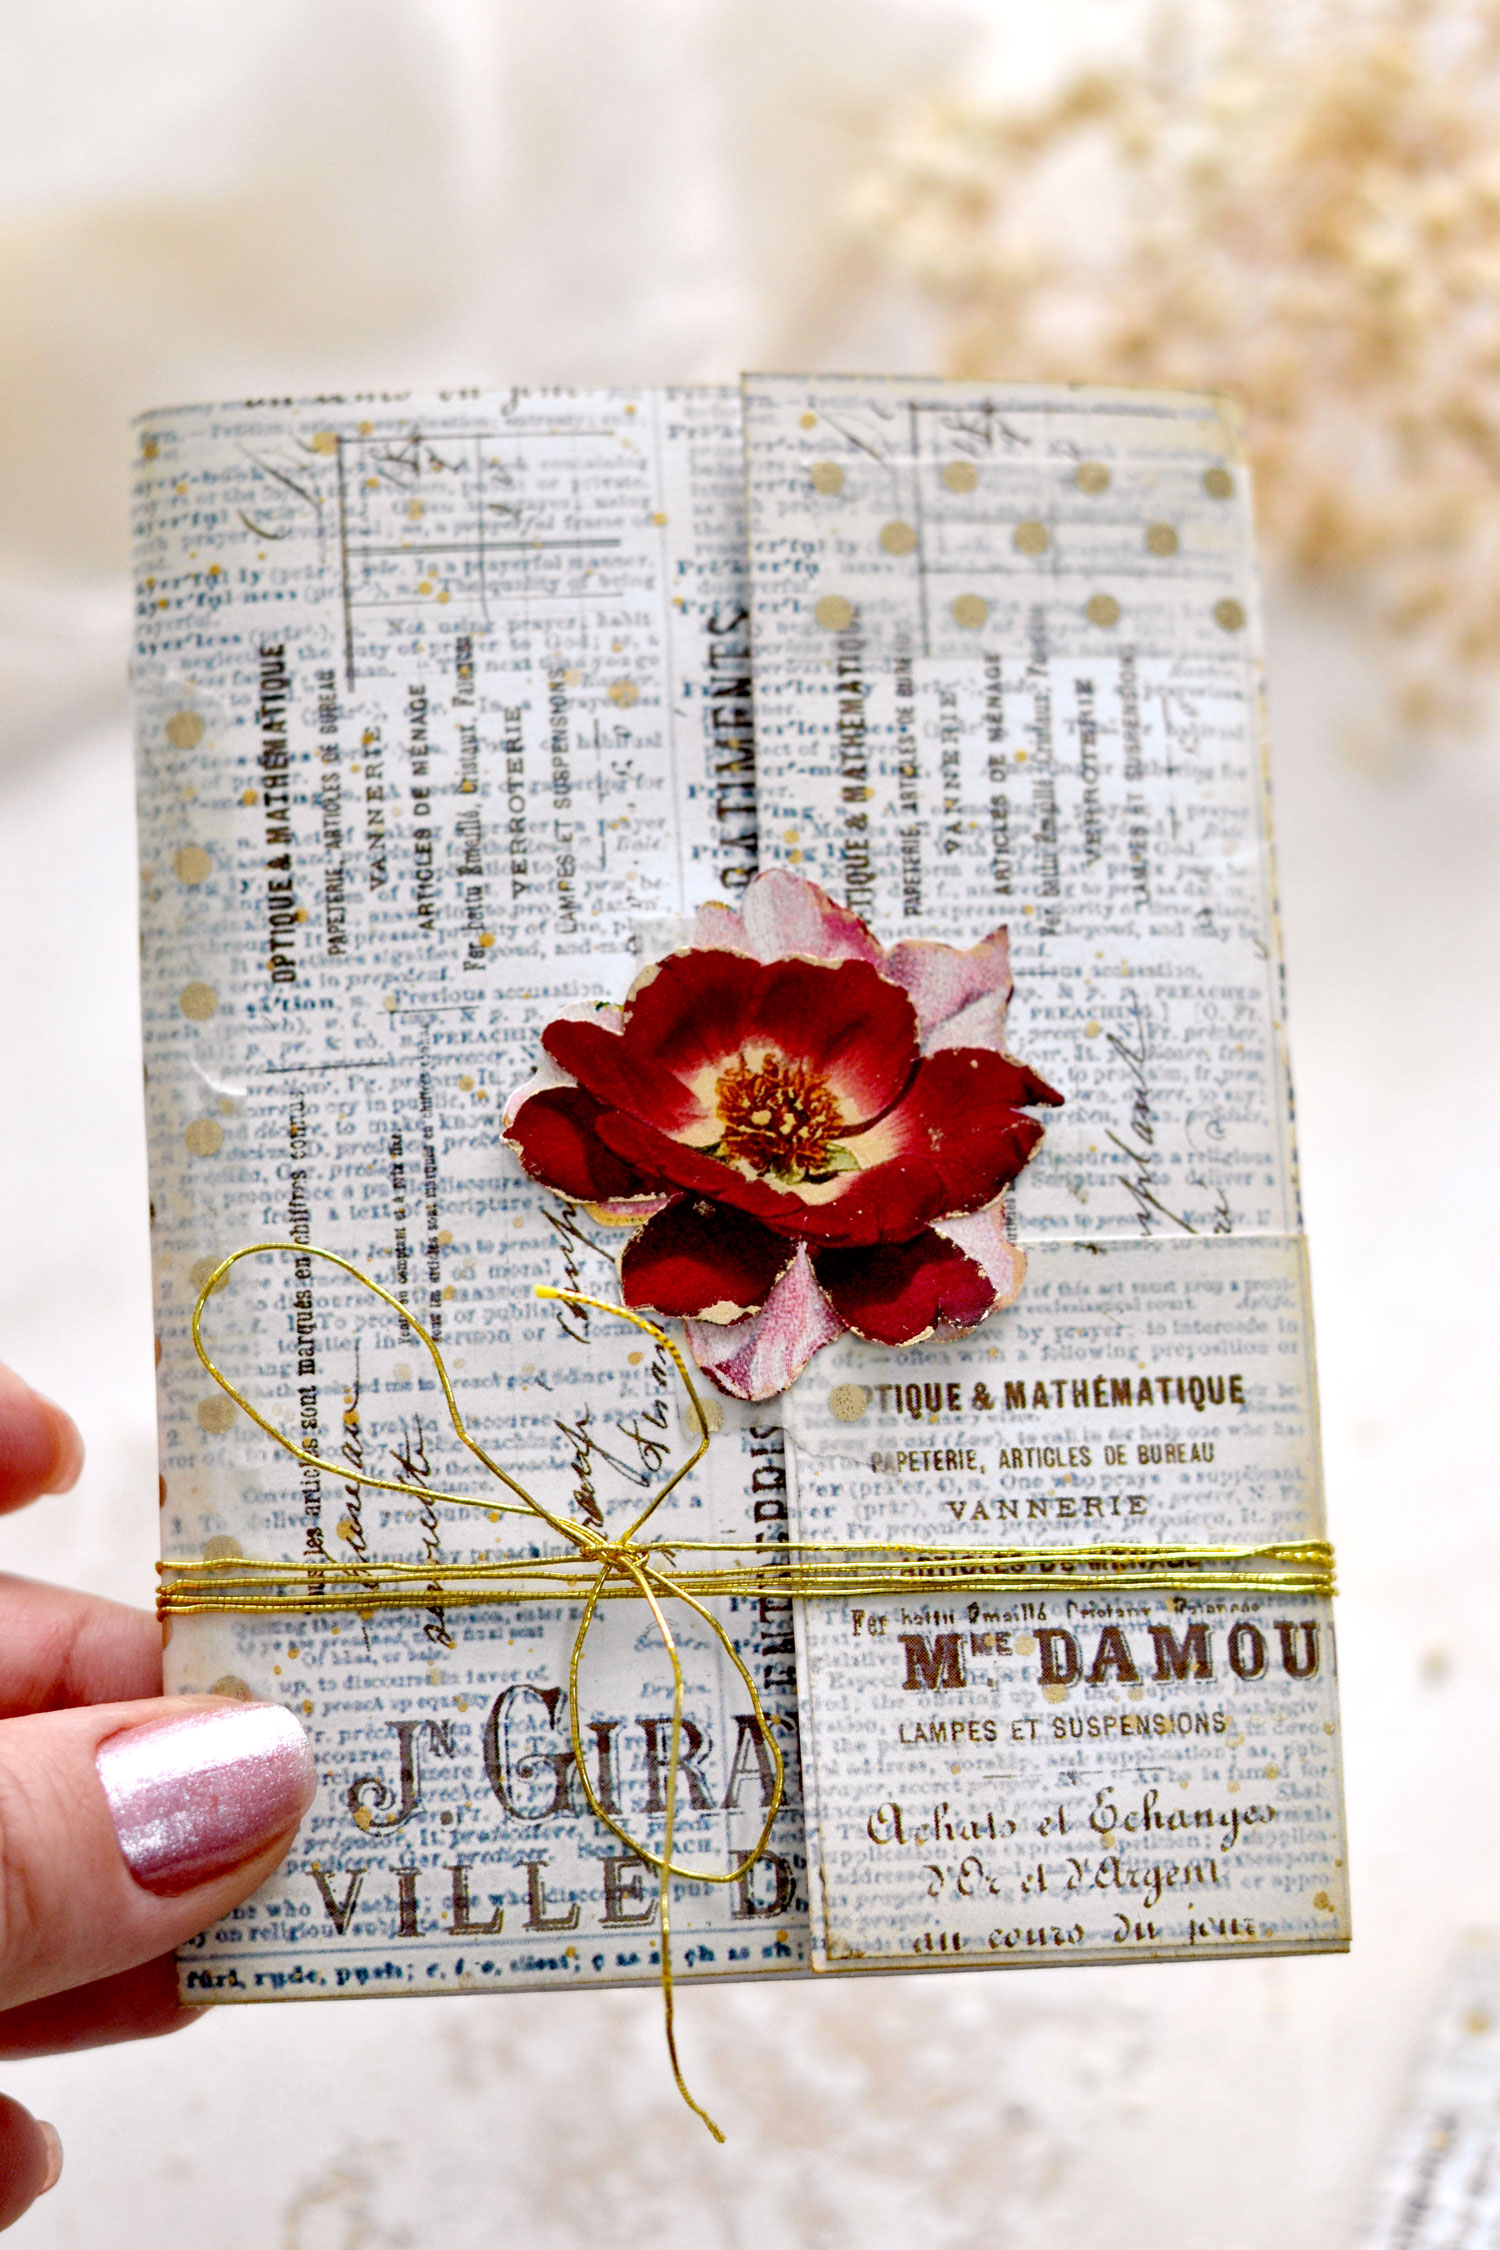
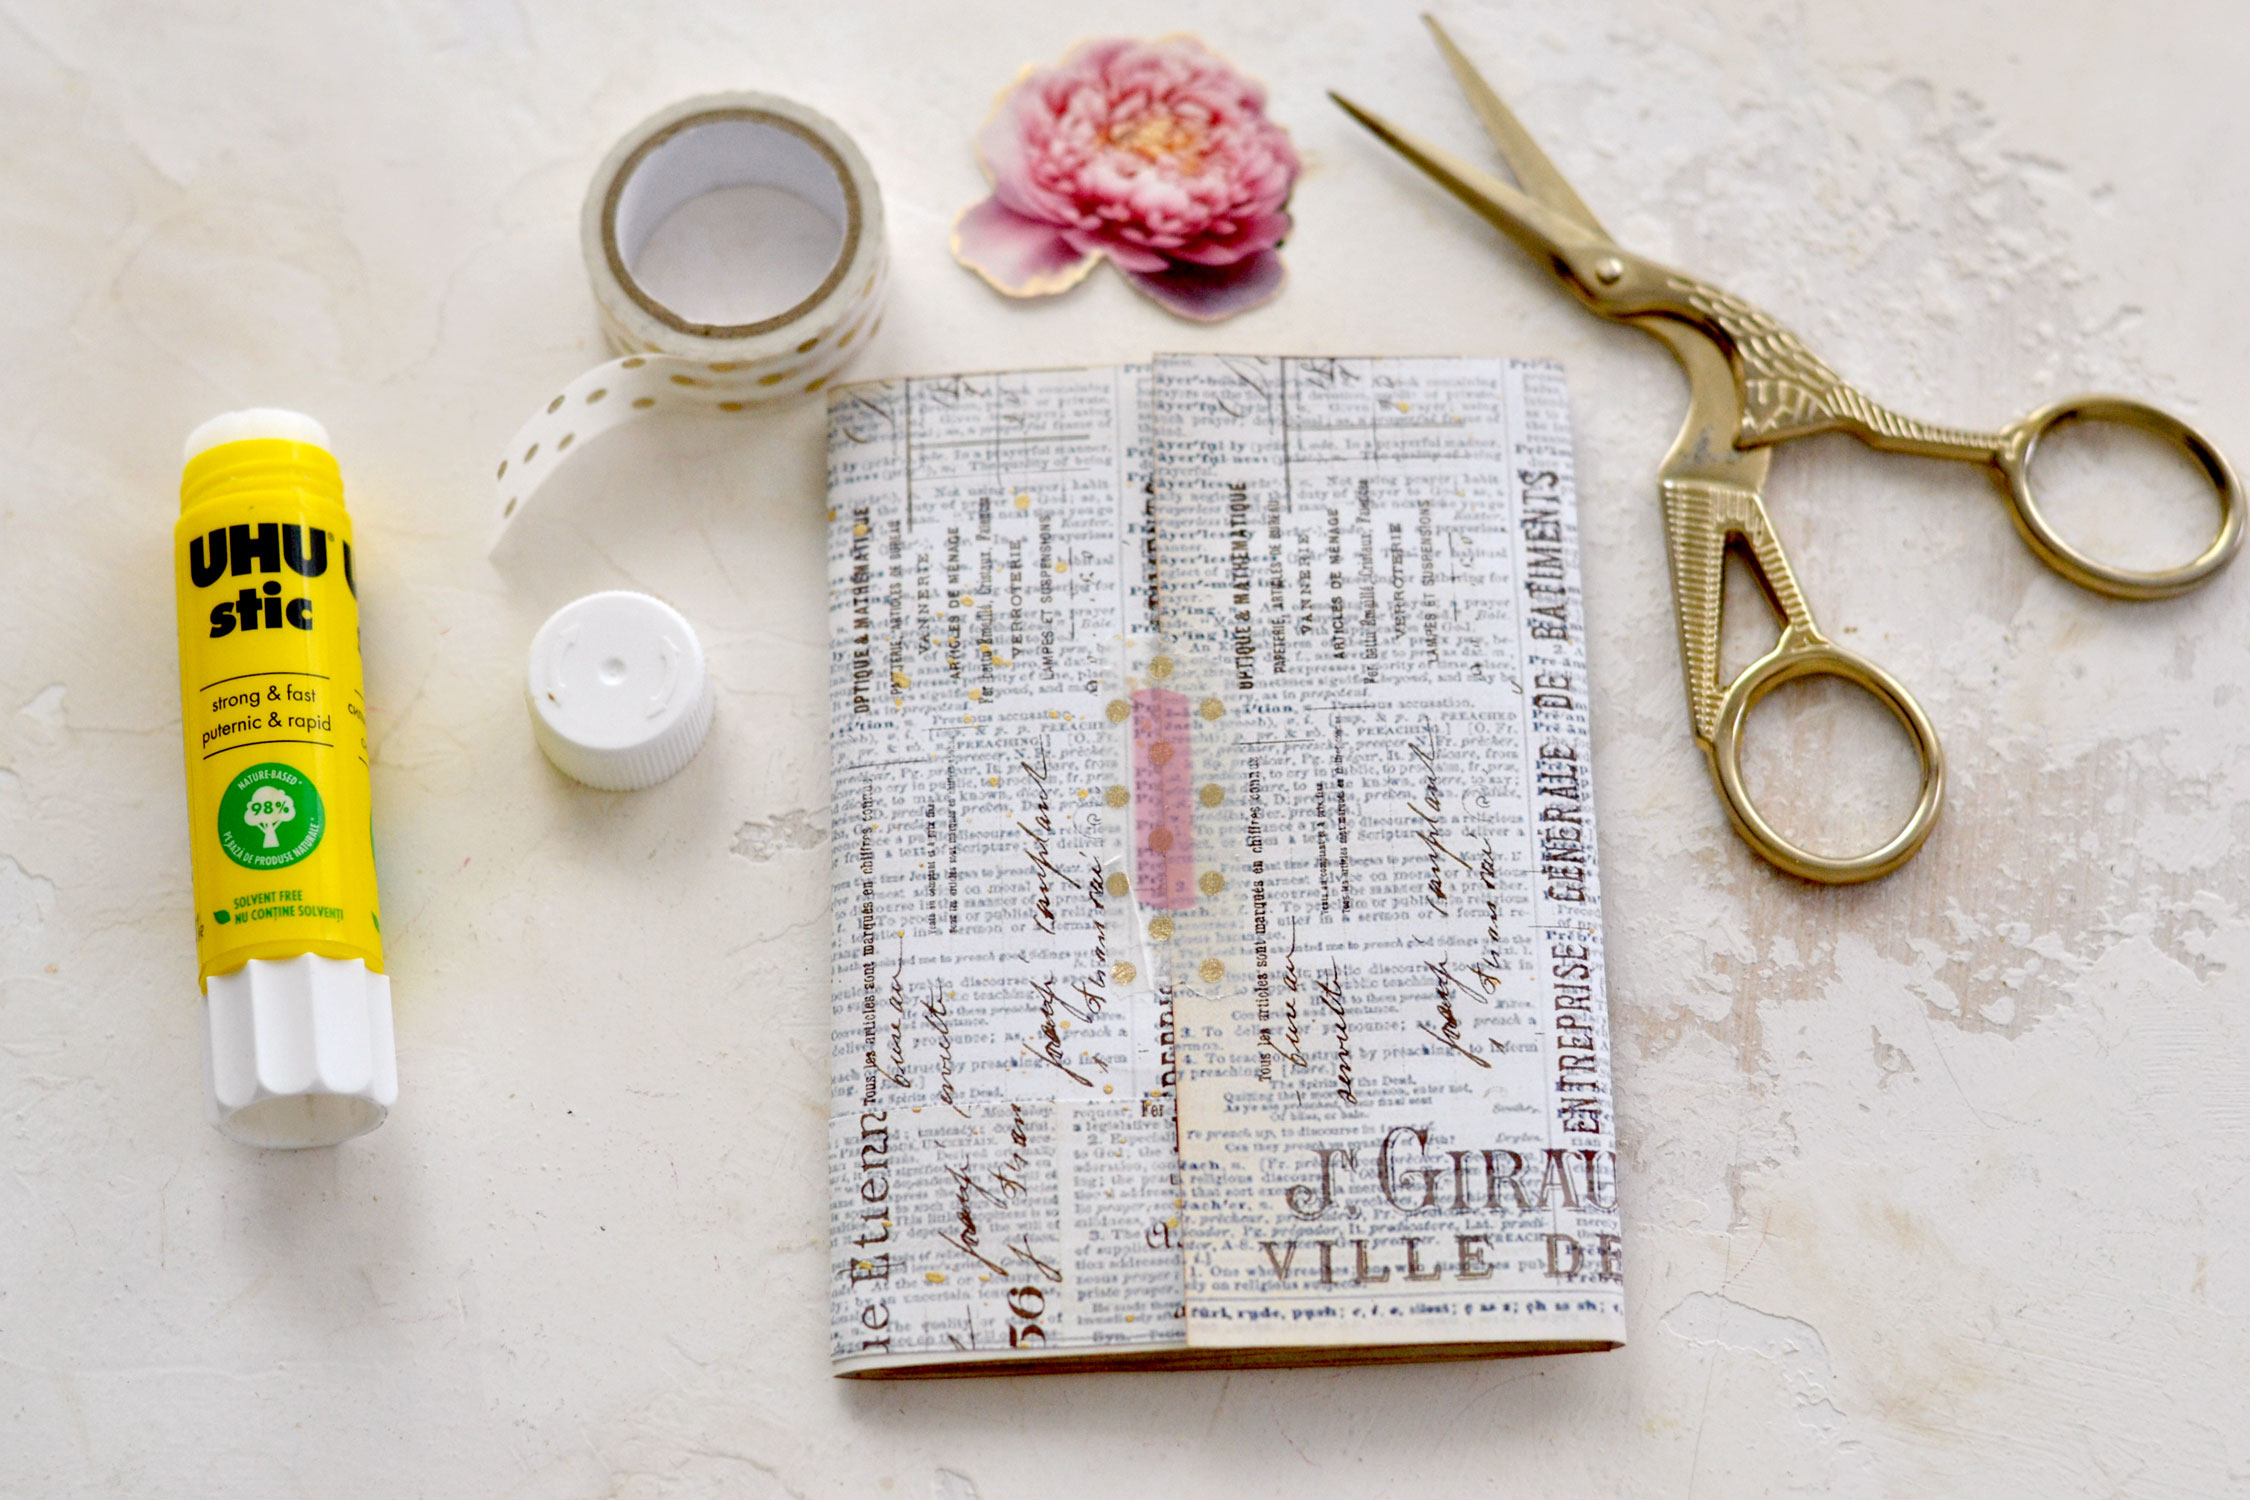
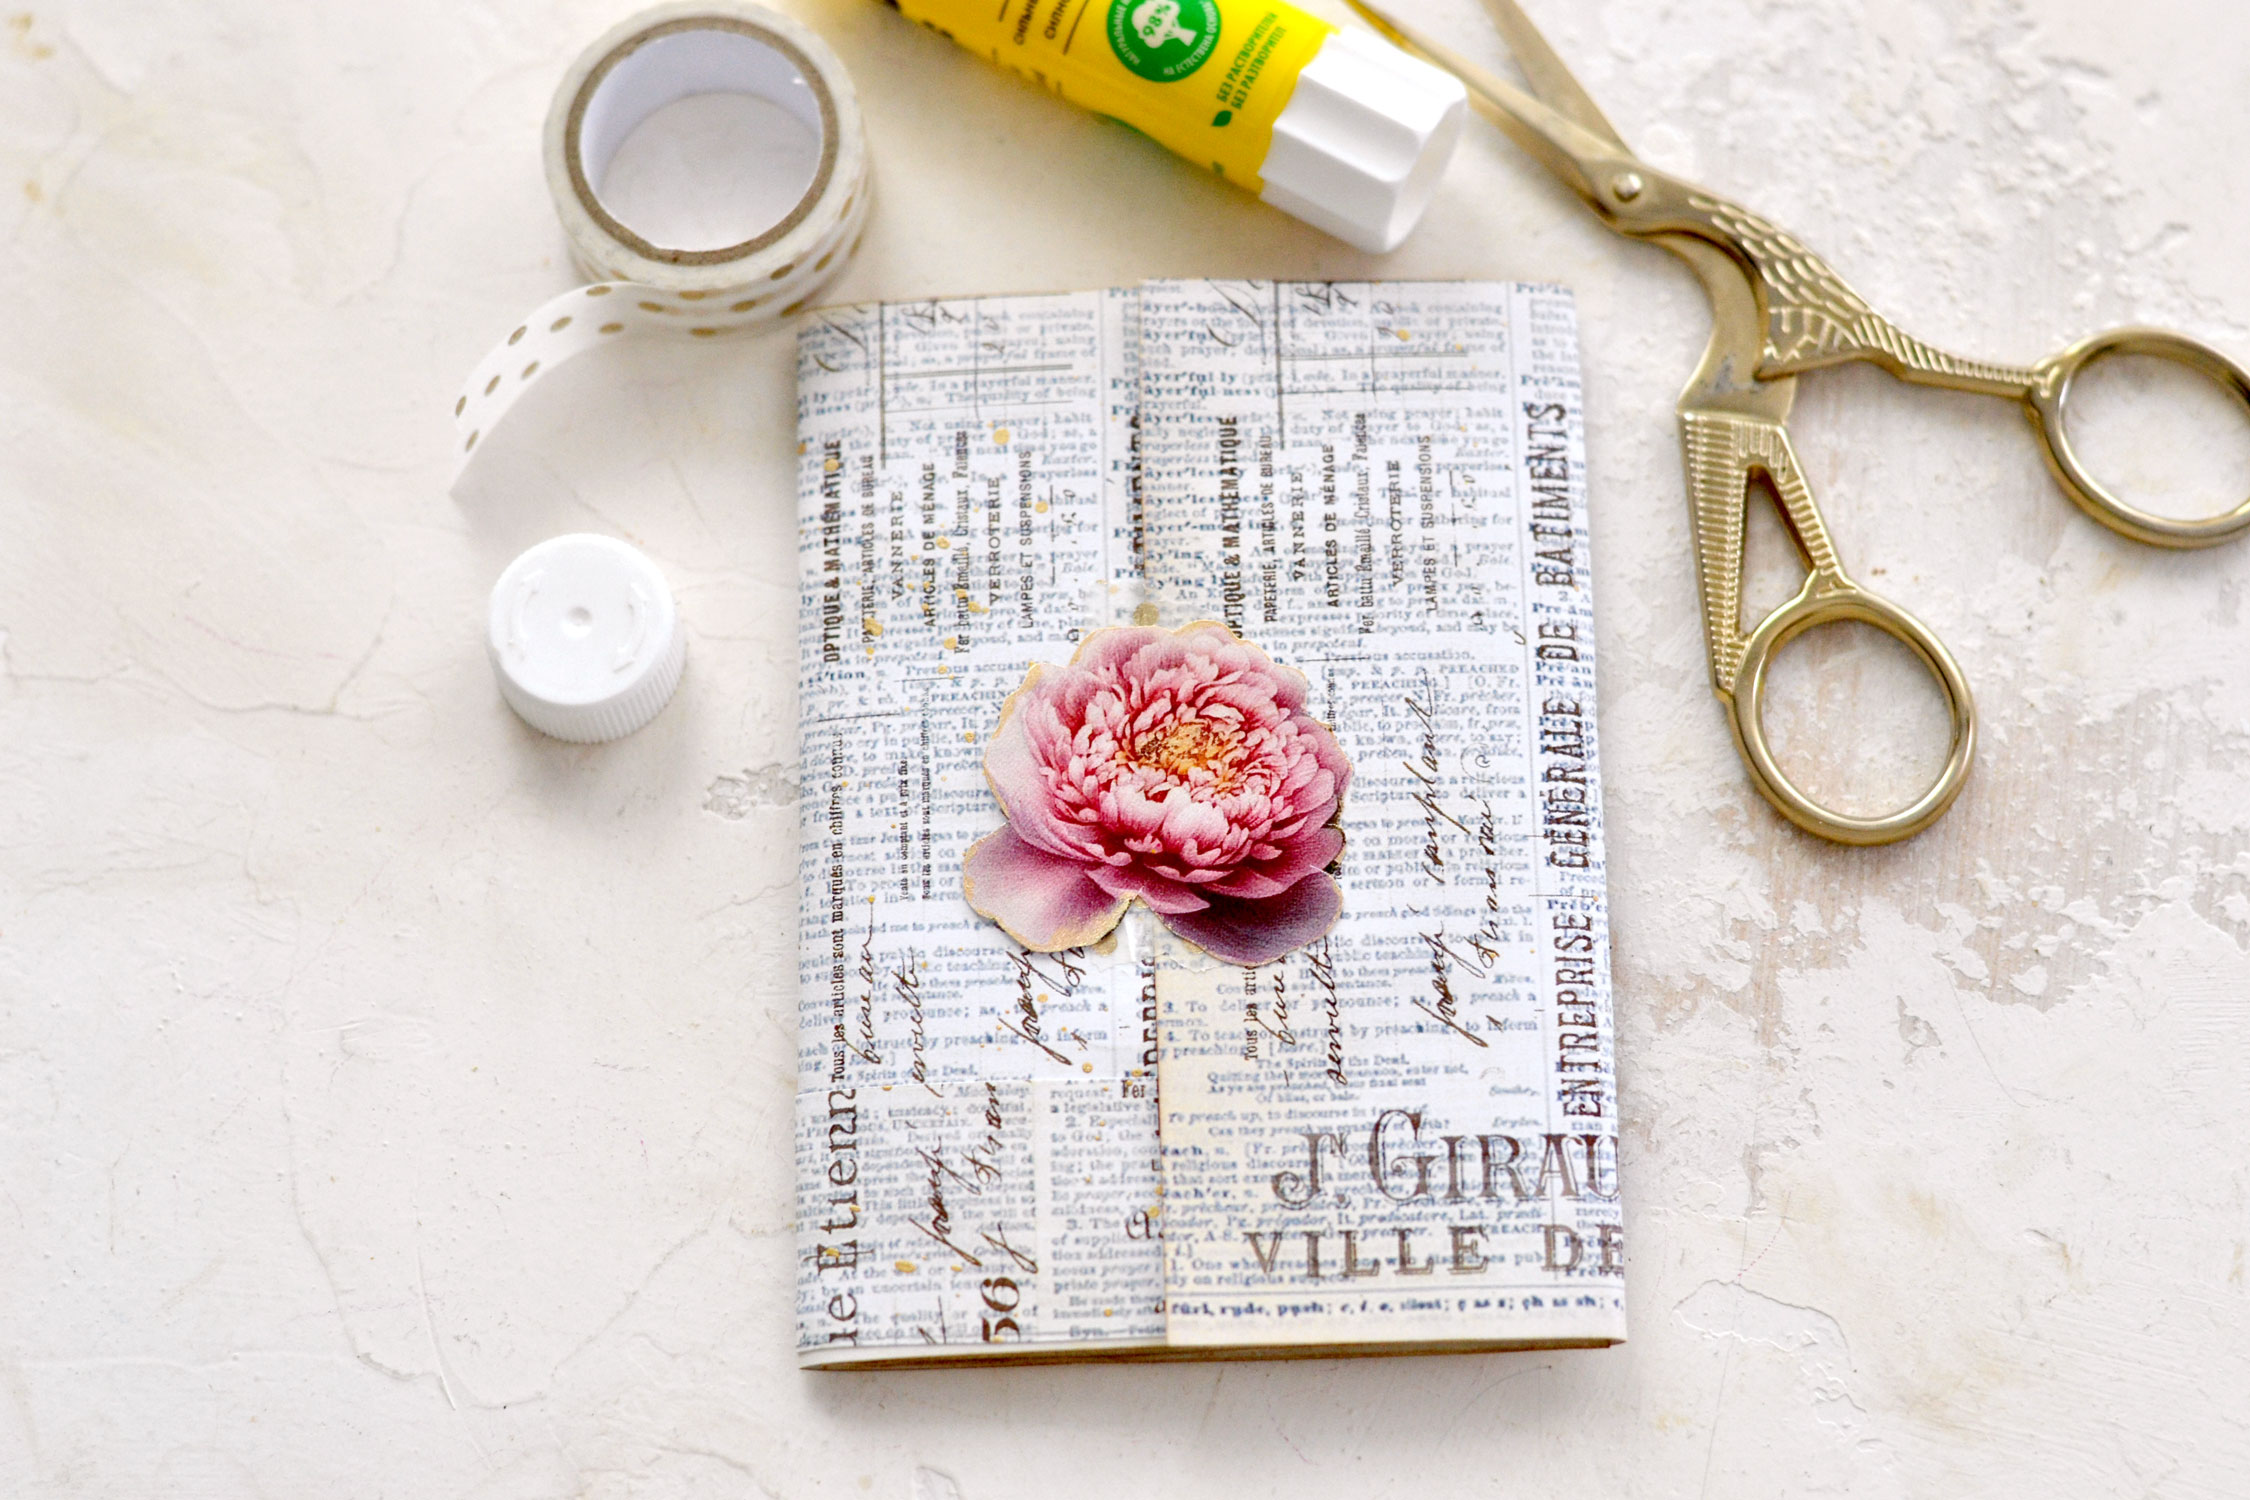
Use a little bit of washi to close the flap and keep it in place, then add a small amount of glue on top of the washi (highlighted in pink) and glue one of our gorgeous flowers on top. I used the same glue stick to glue the flower on top of the washi, but you might need to use some white craft glue to make sure it stays in place.
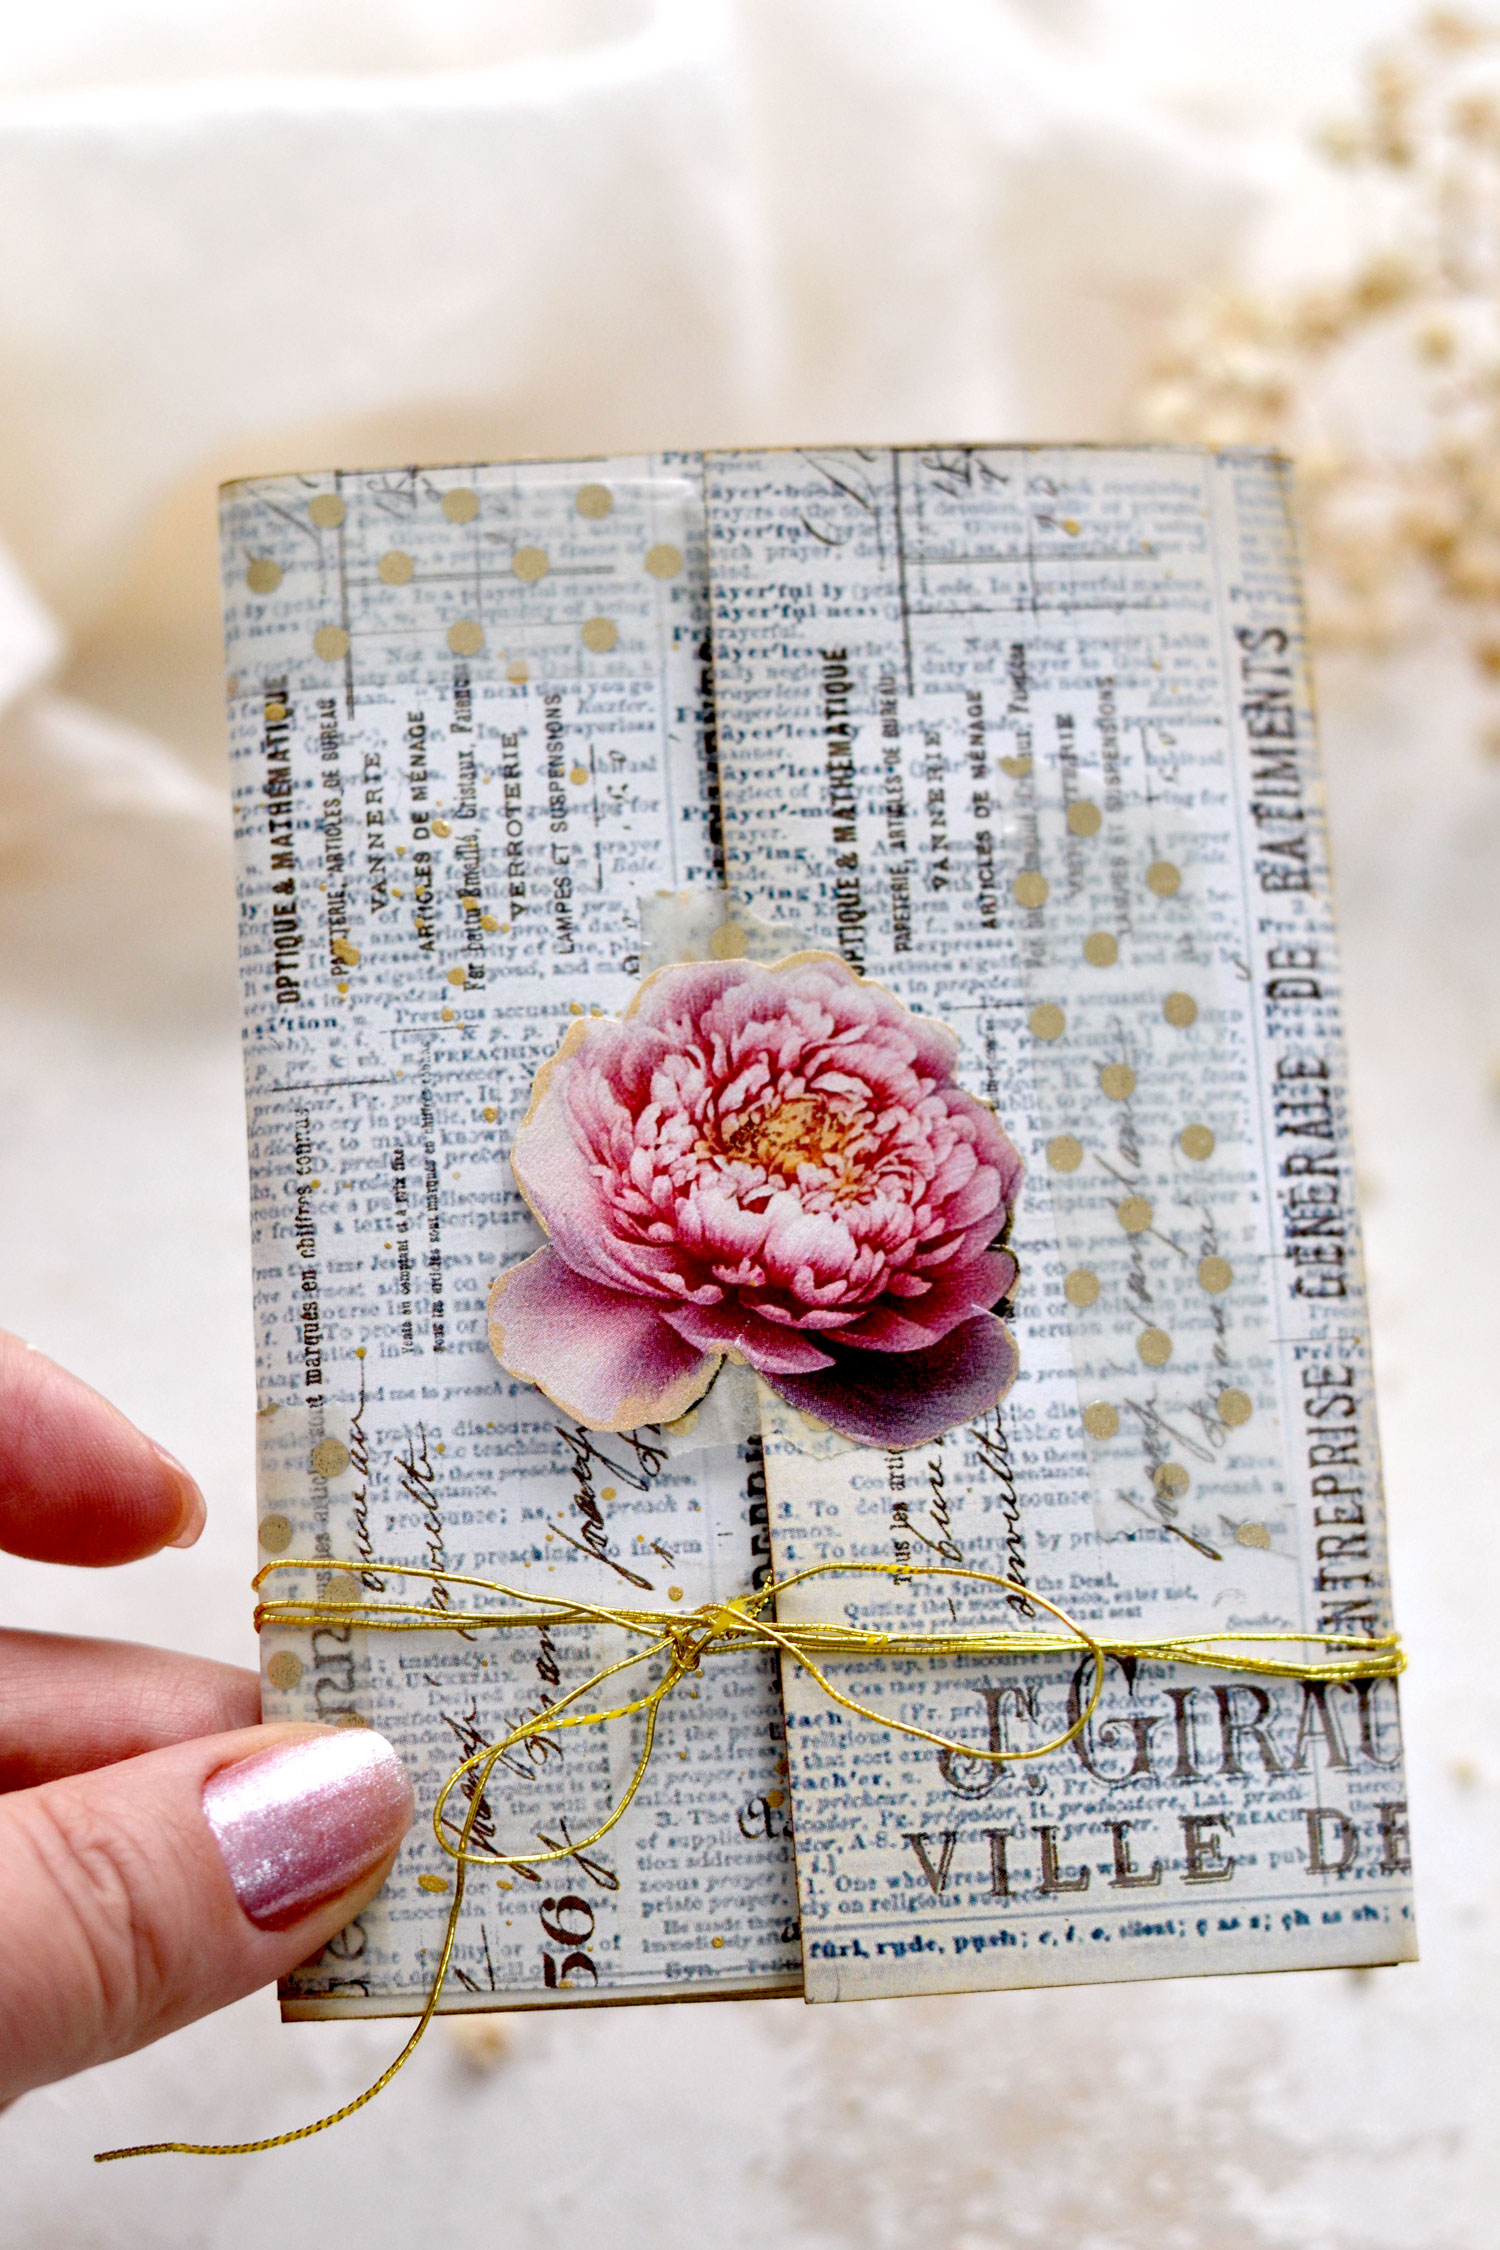
This is how our improvised flower brooch closing system should look, now you will be able to gently peel off the washi with the flower on top to open and close the folder when you want!
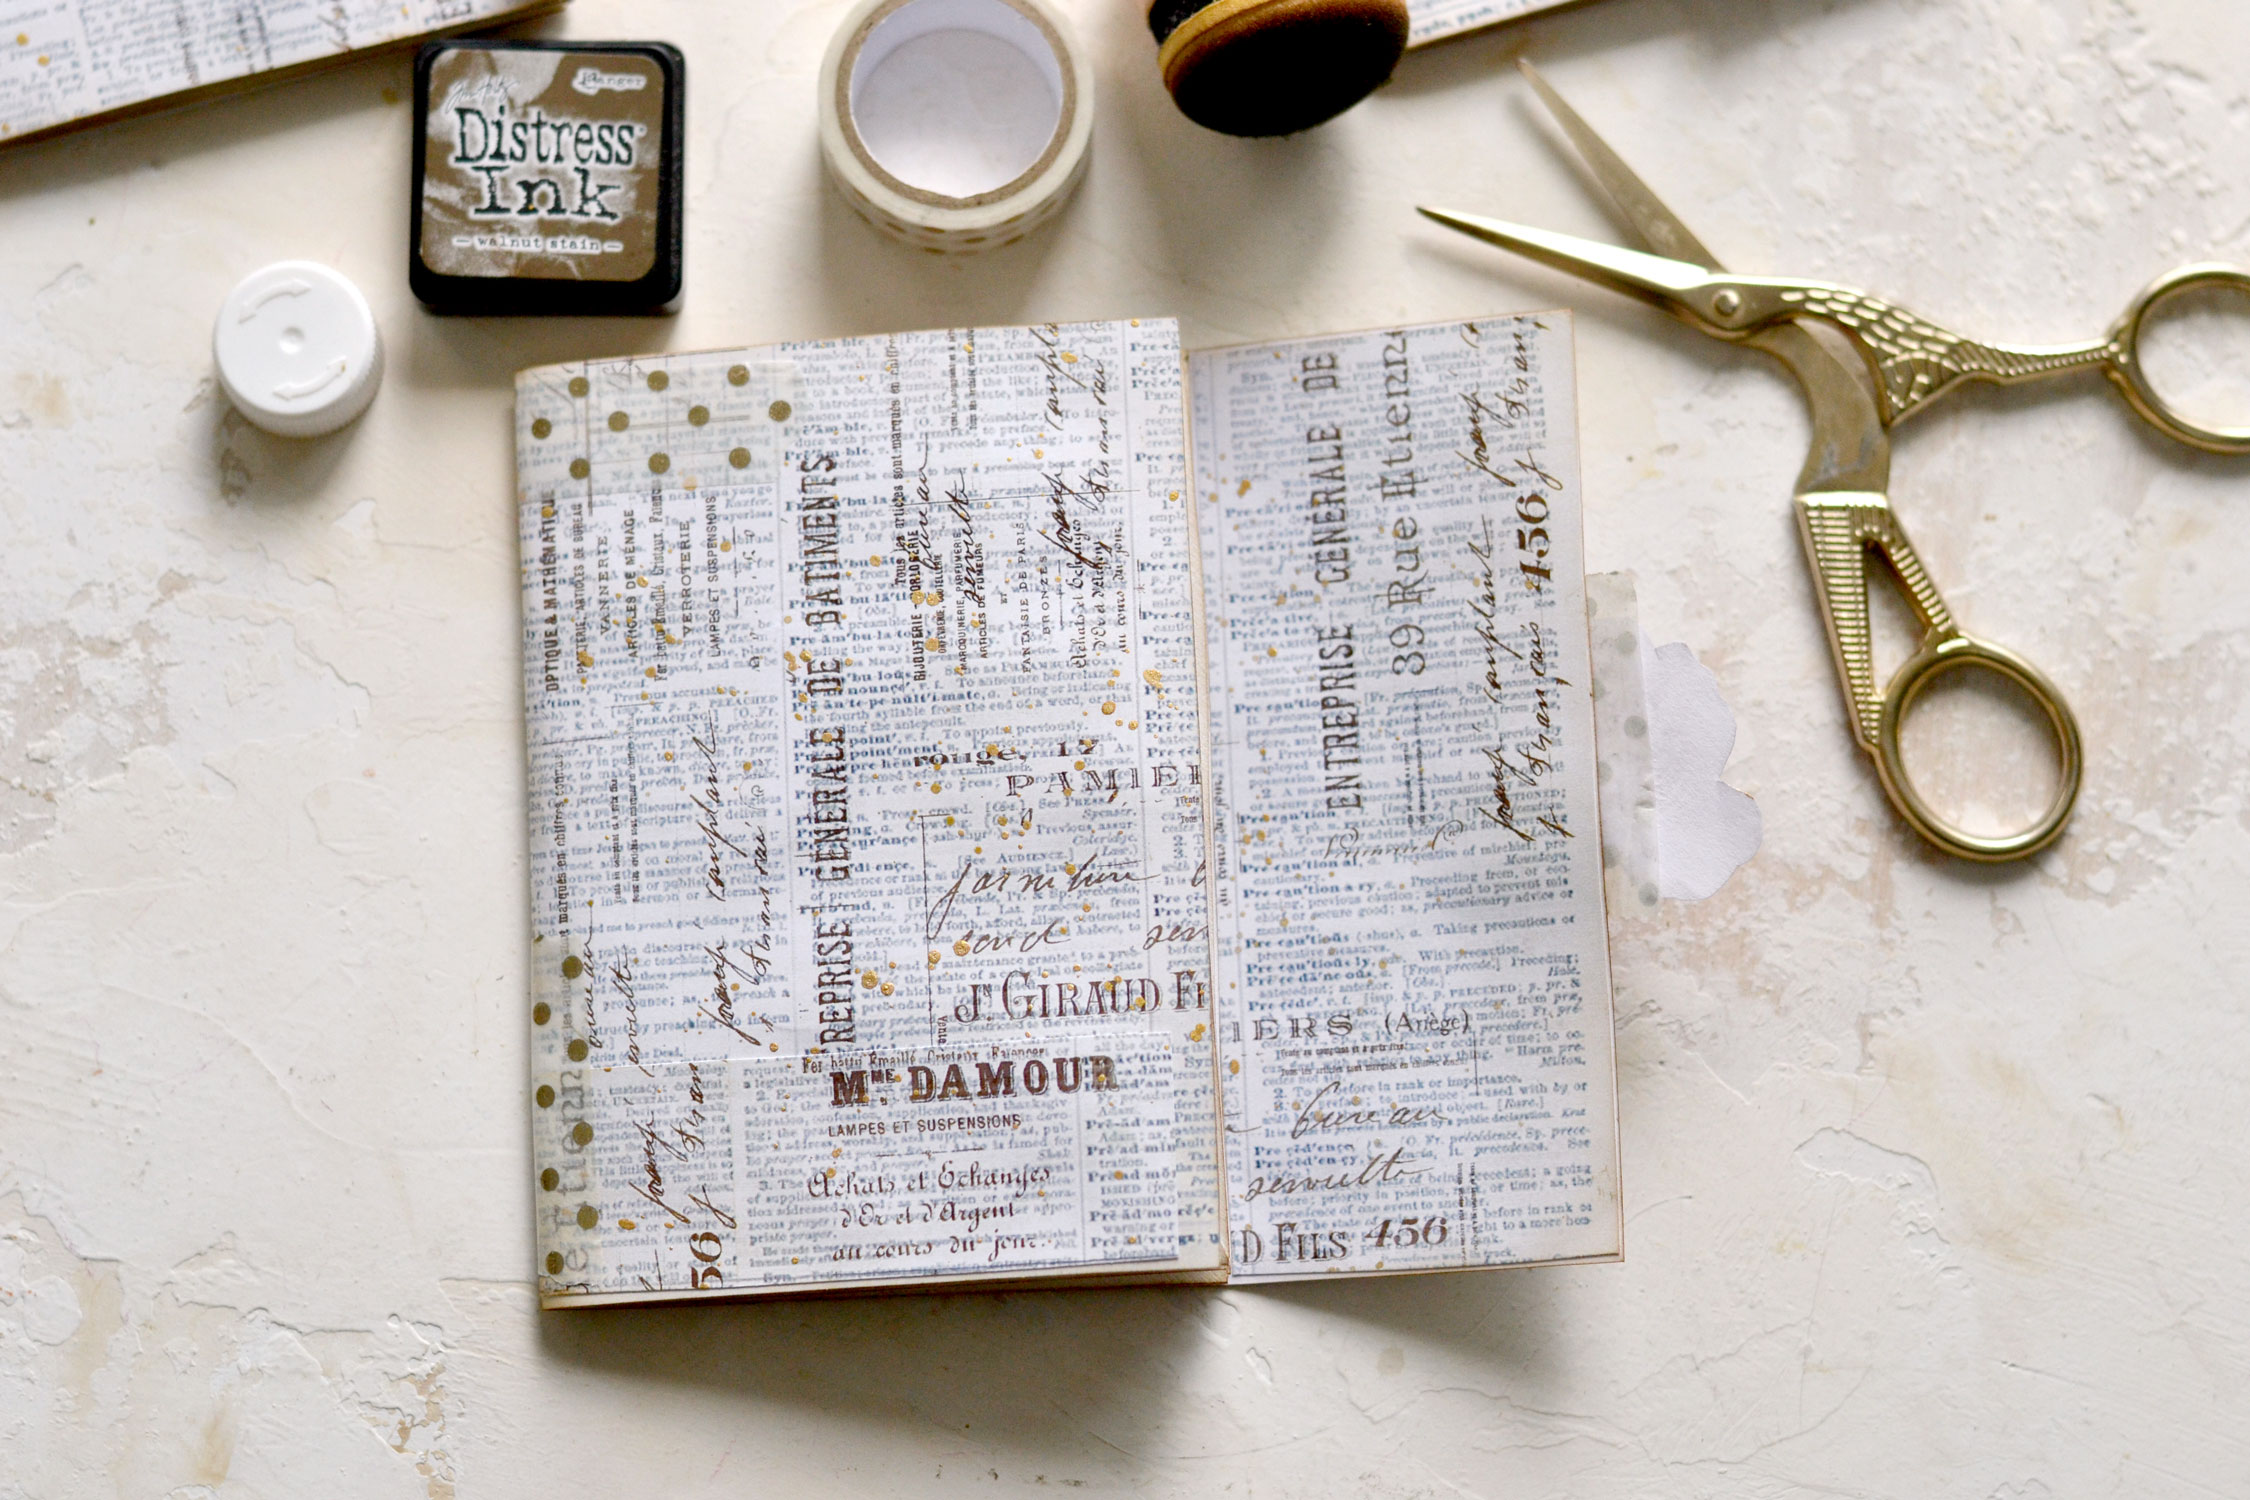
You can also glue a scrap piece from our background on the inside of the flap to get a more beautiful and cohesive look. And why not, use some of the scrap pieces and even some gold accent washi to glue them as small cutouts here and there to create a little bit of a raised effect and add more dimension and interest to our finished folders.
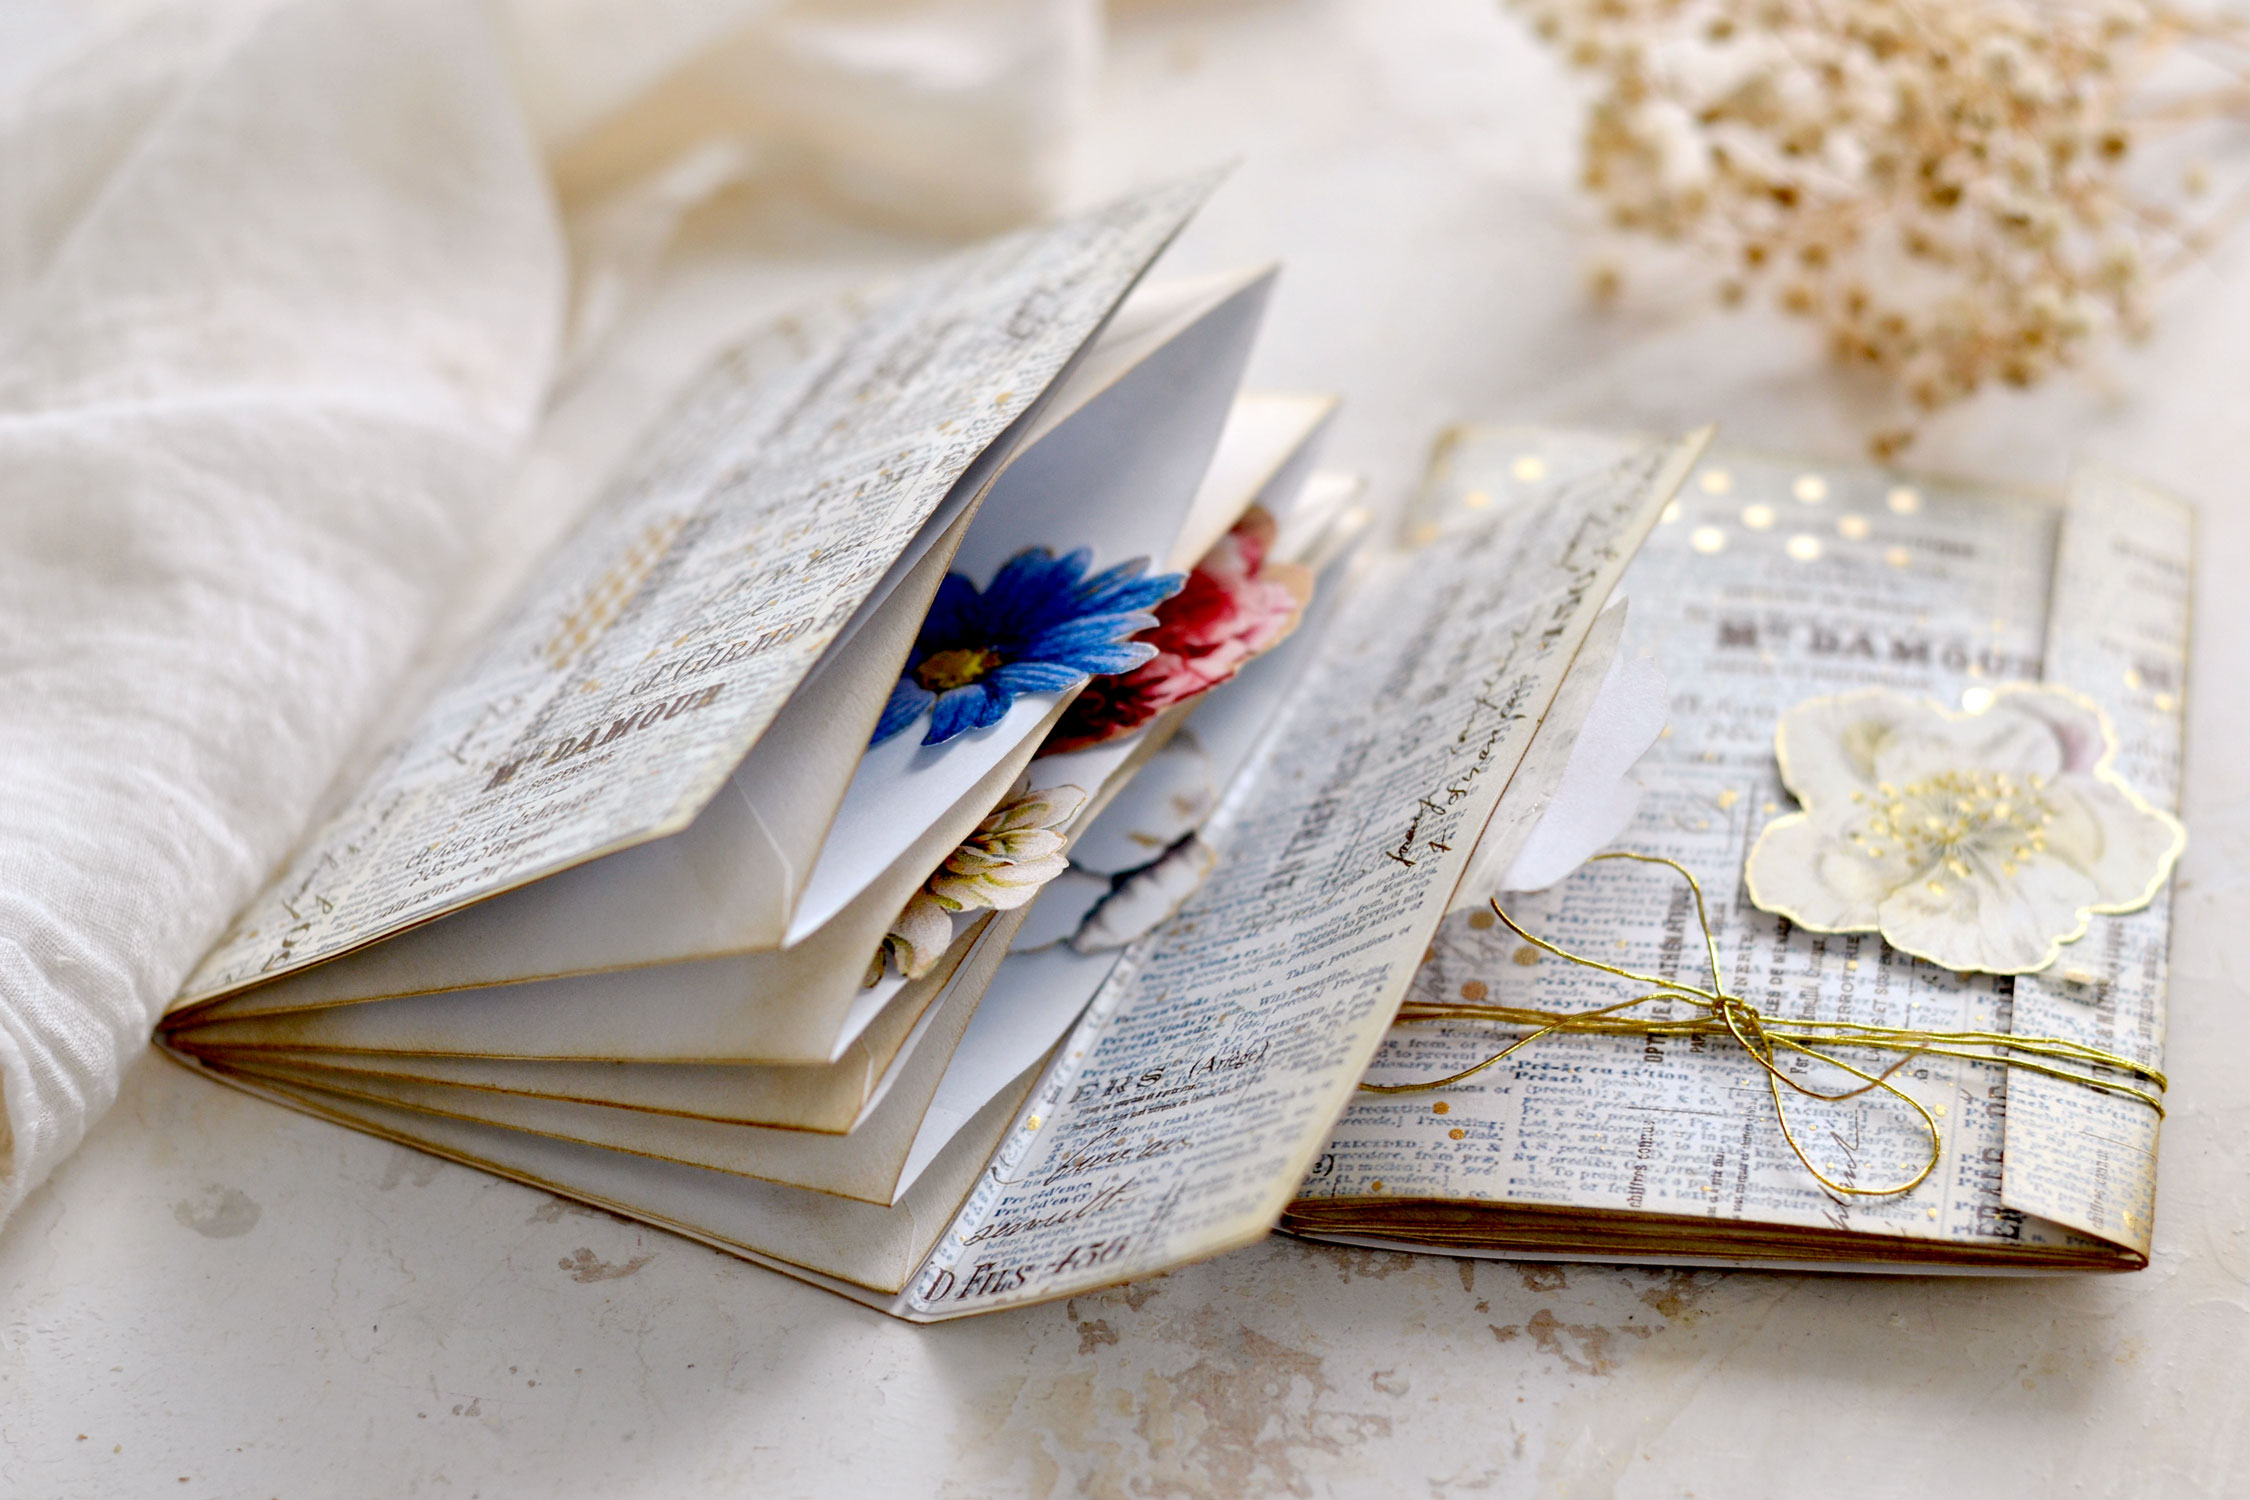
Your gorgeous accordion-style pocket folders are now ready, you can use them to hold all sorts of scrap pieces of ephemera or even some of the flowers from today’s project! It would be a great idea to also distress the inside of the snipped envelopes to remove some of the whiteness in the paper.
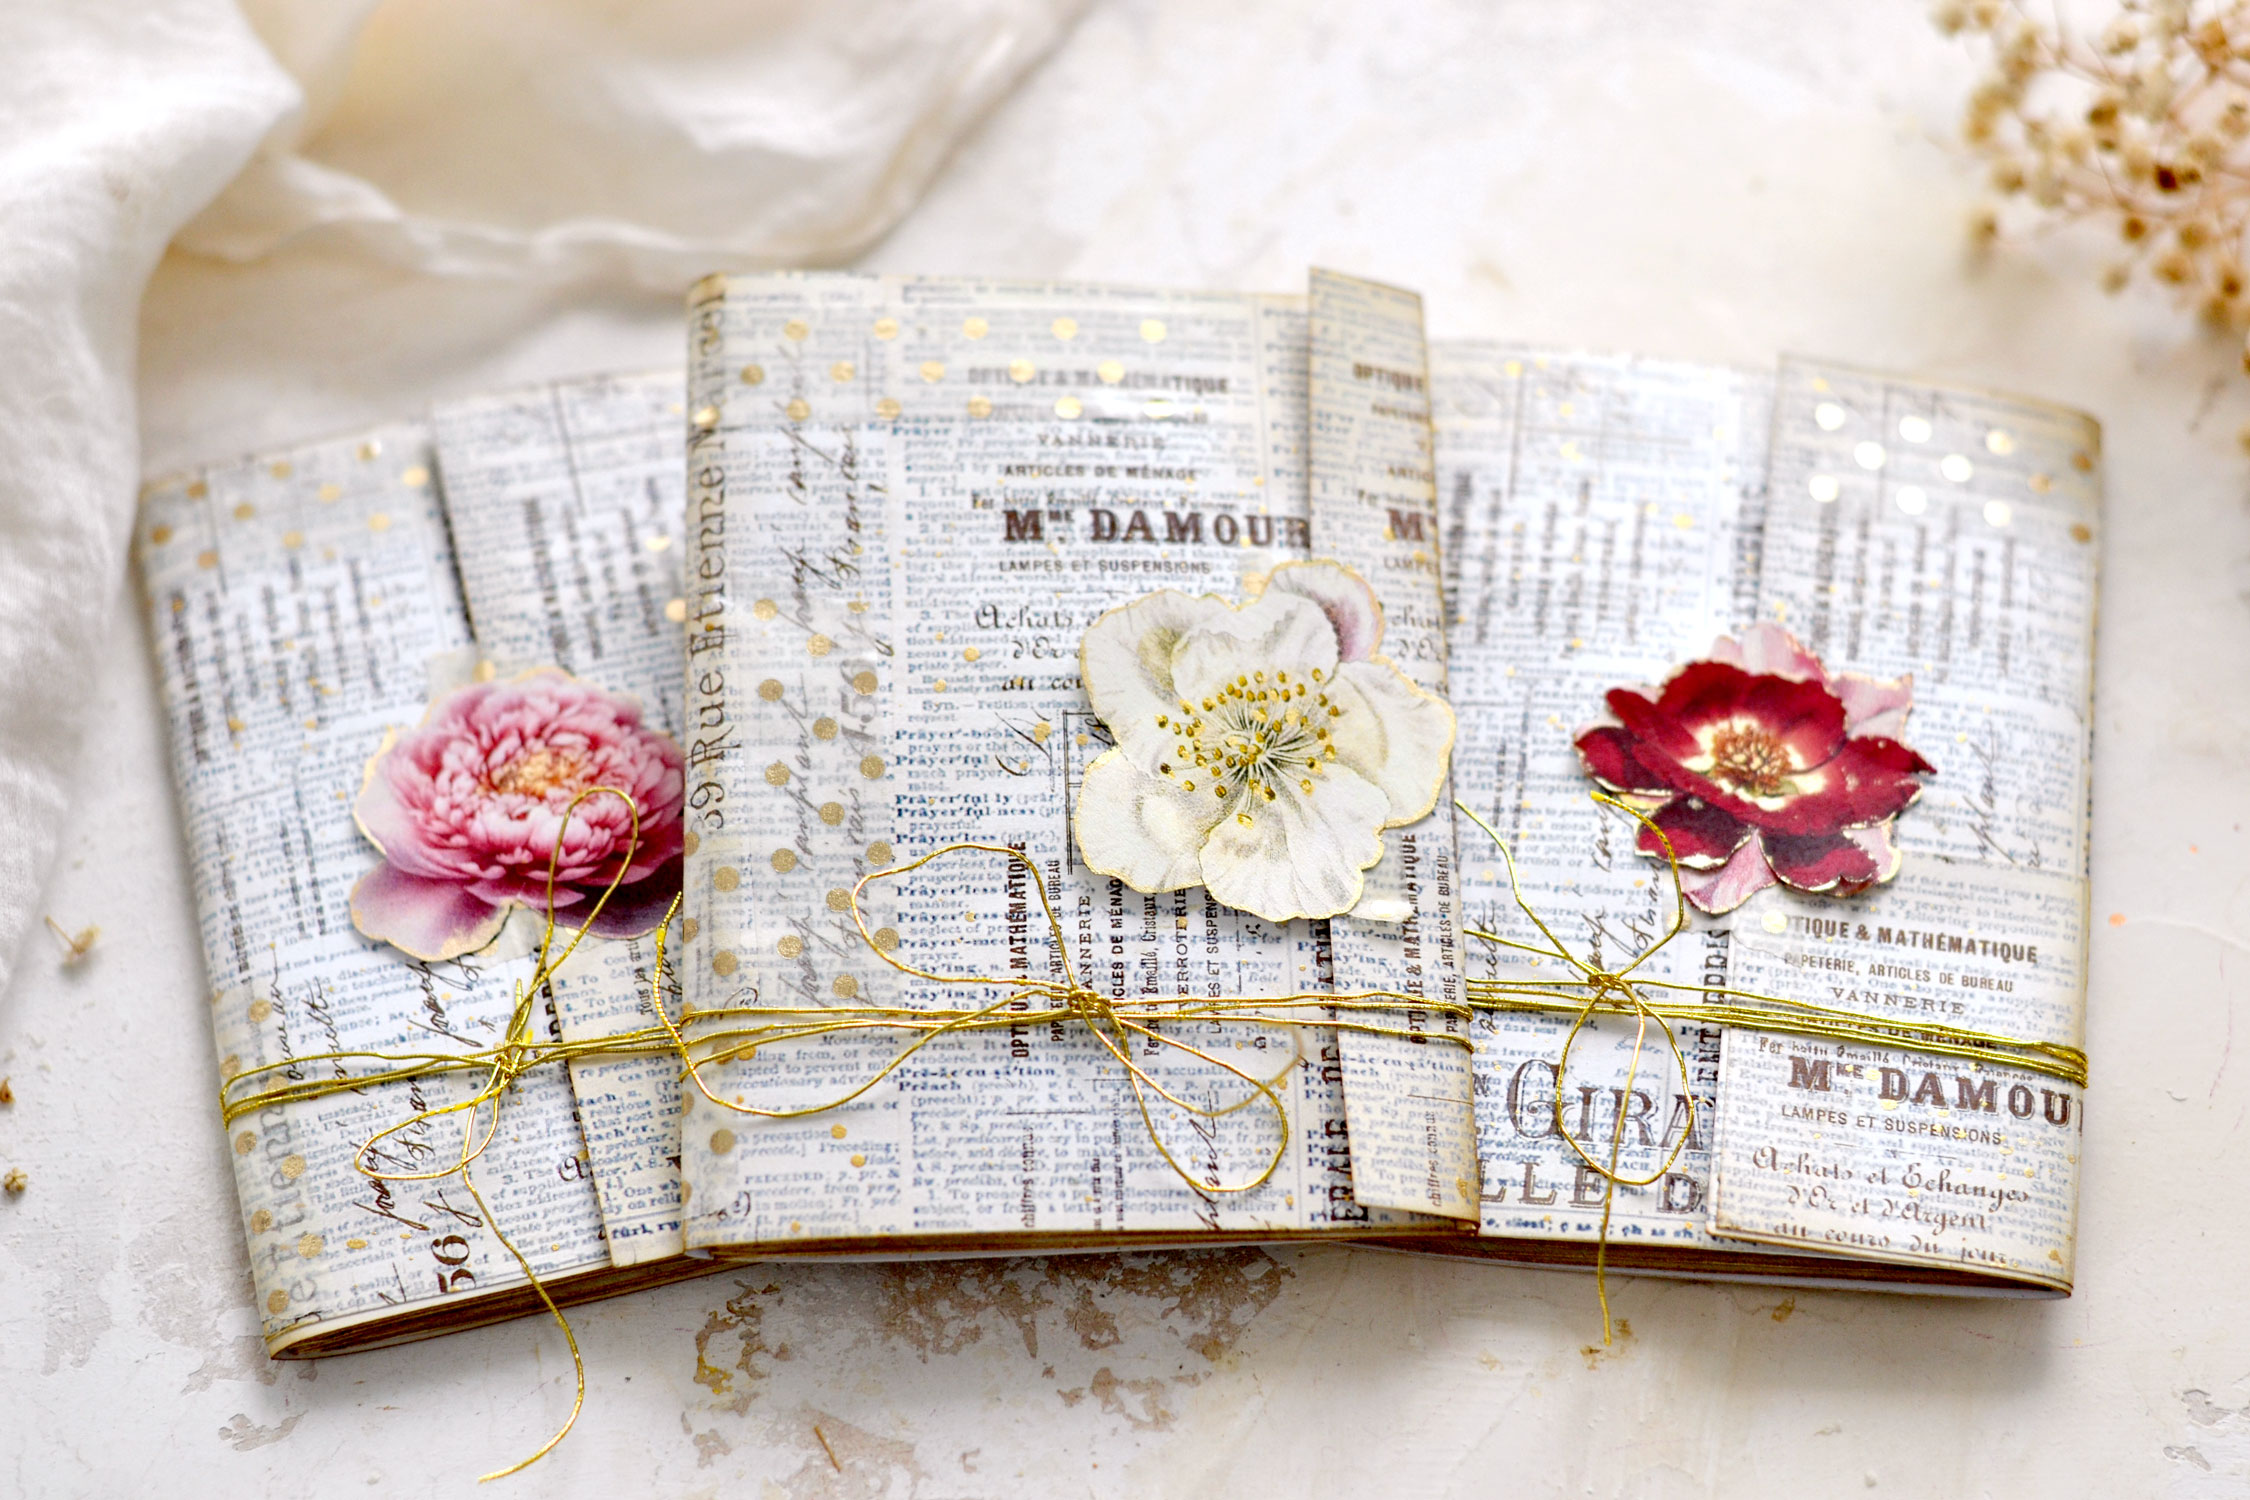
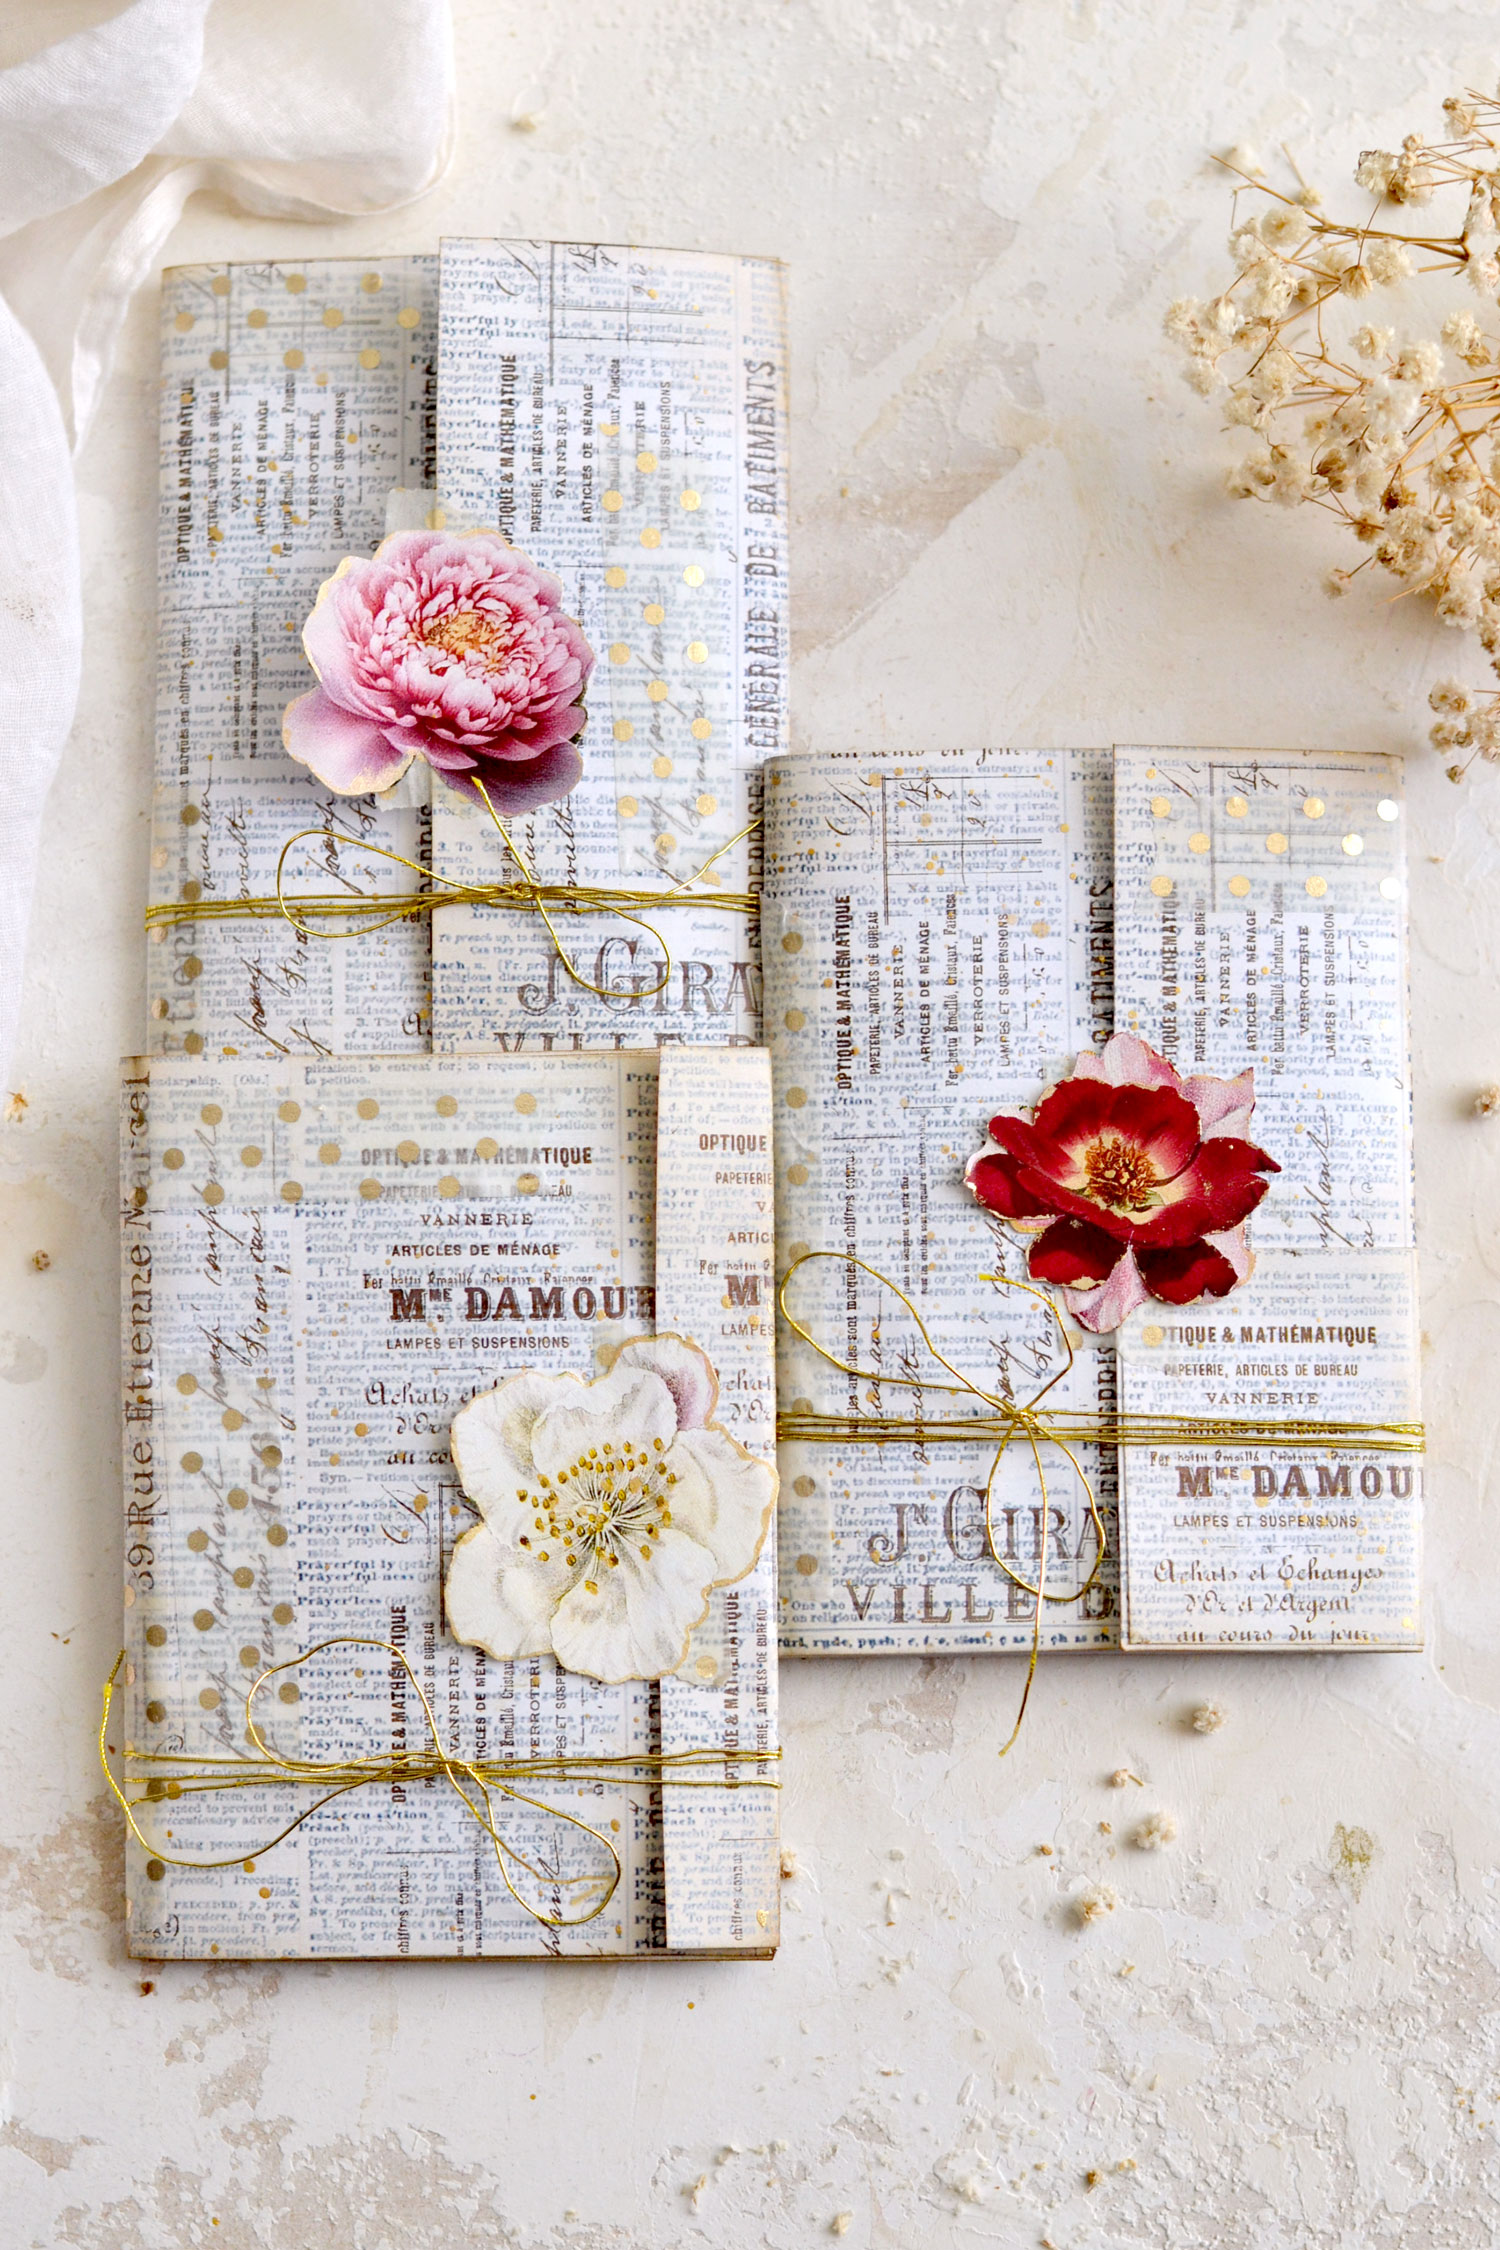
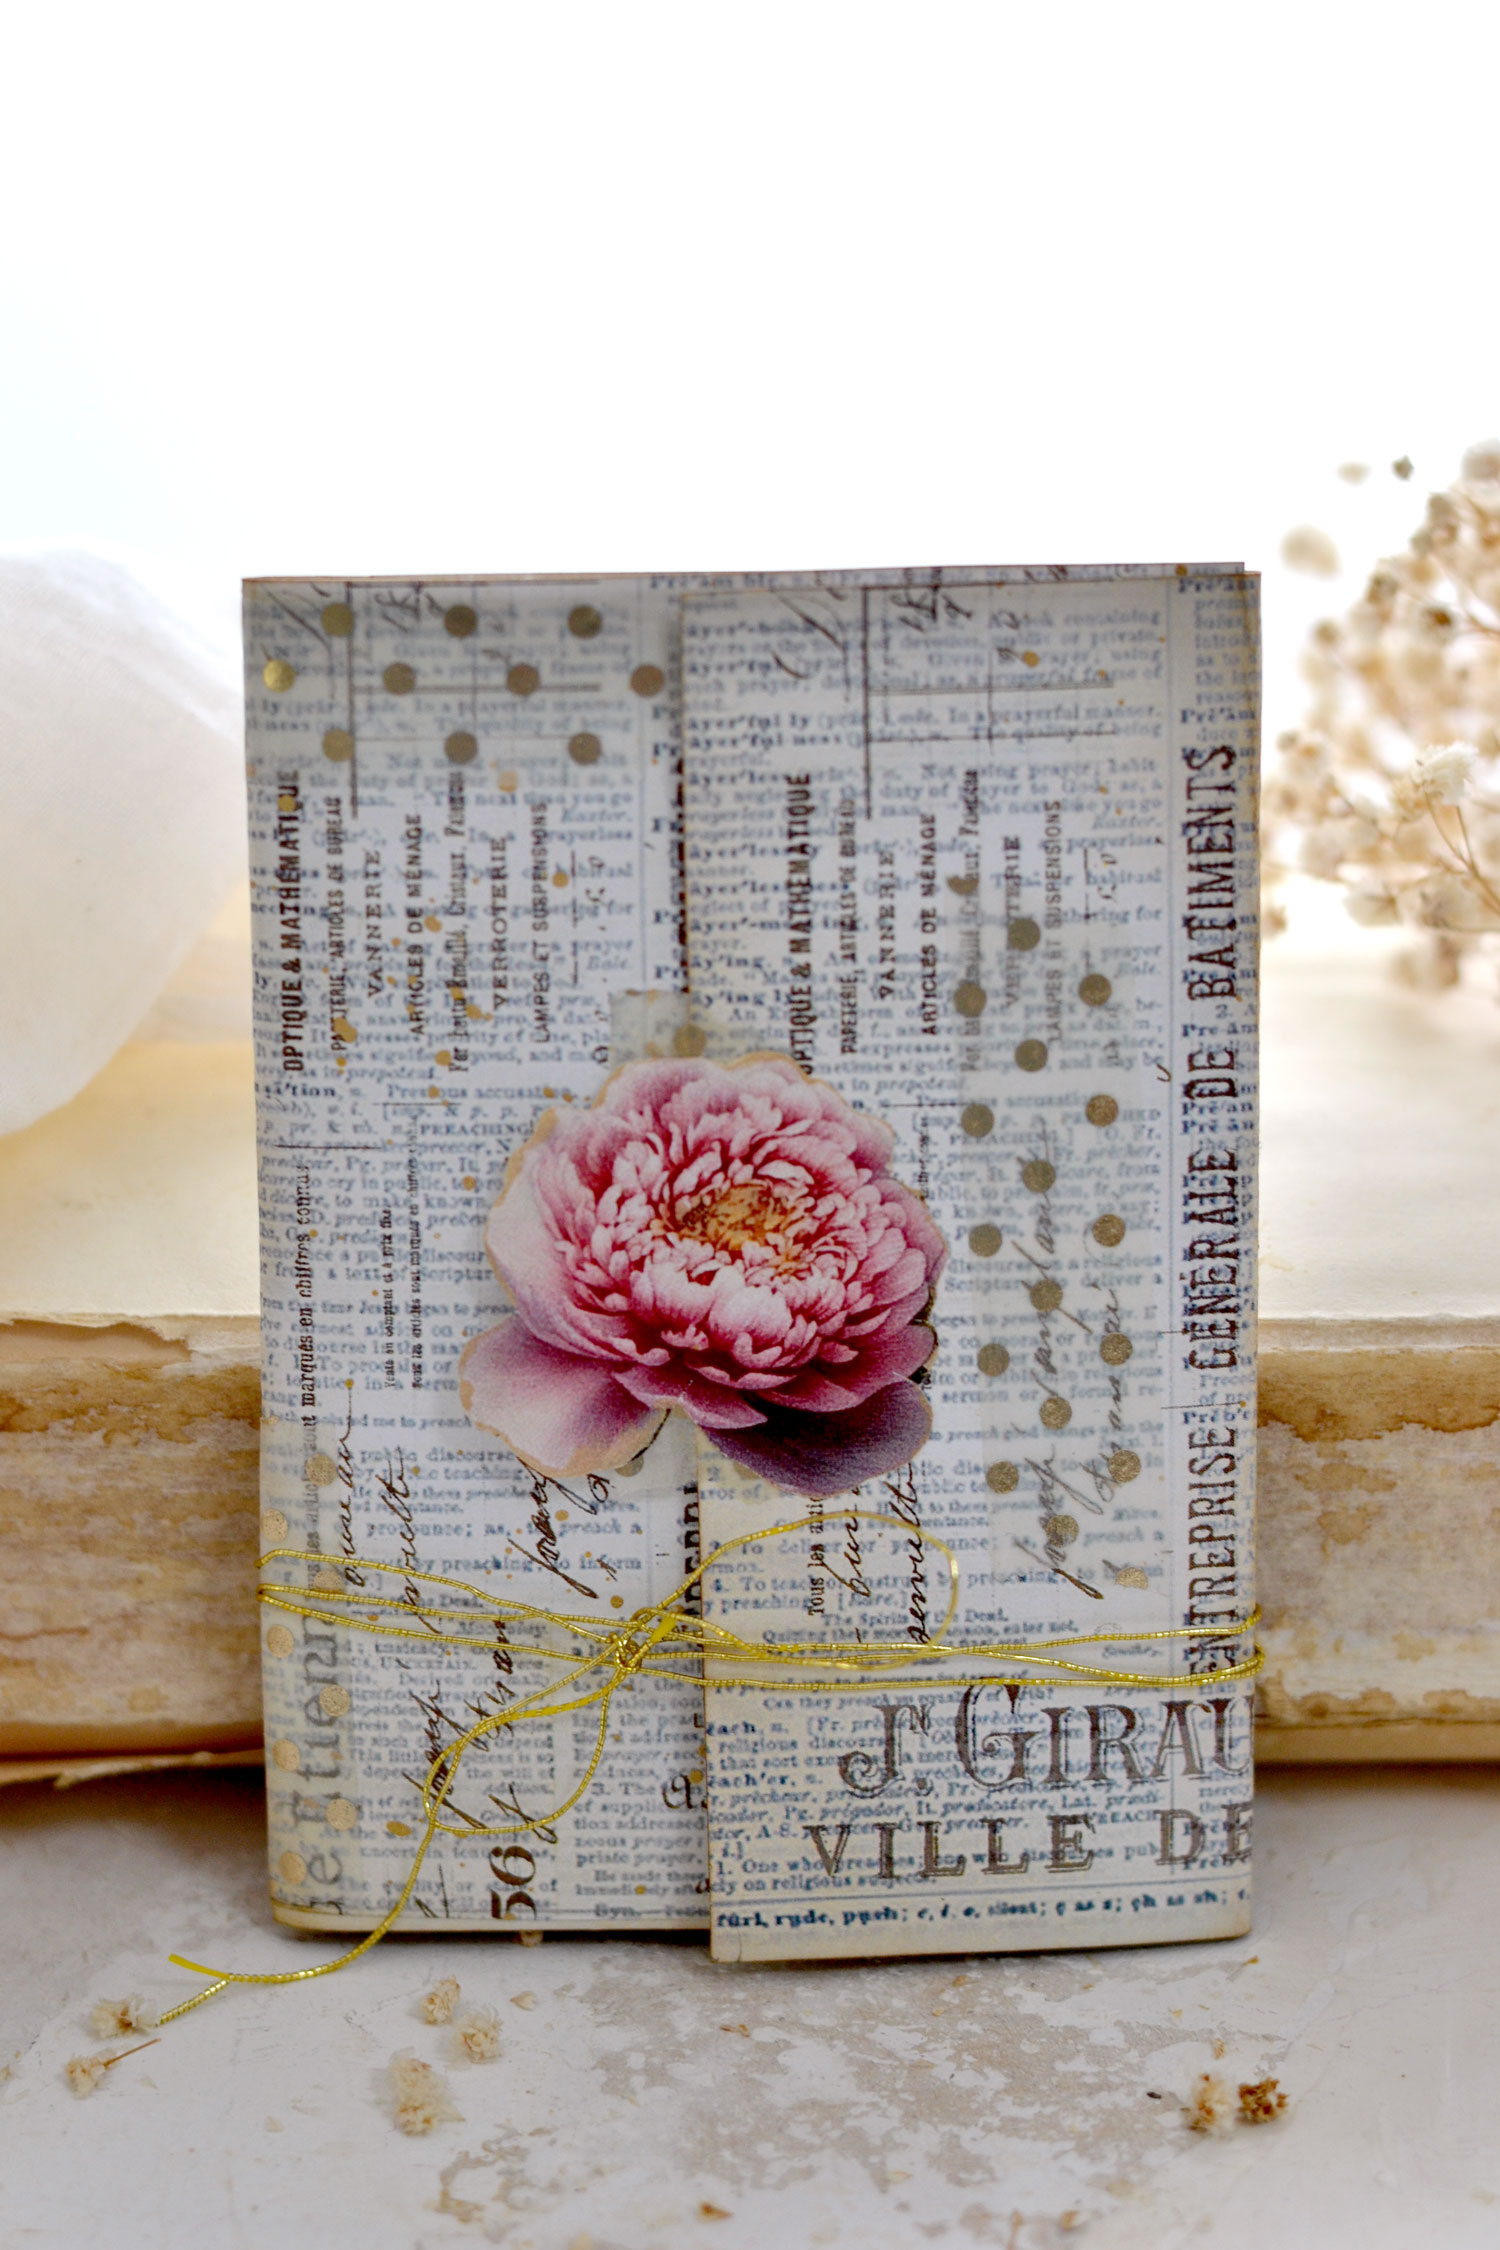
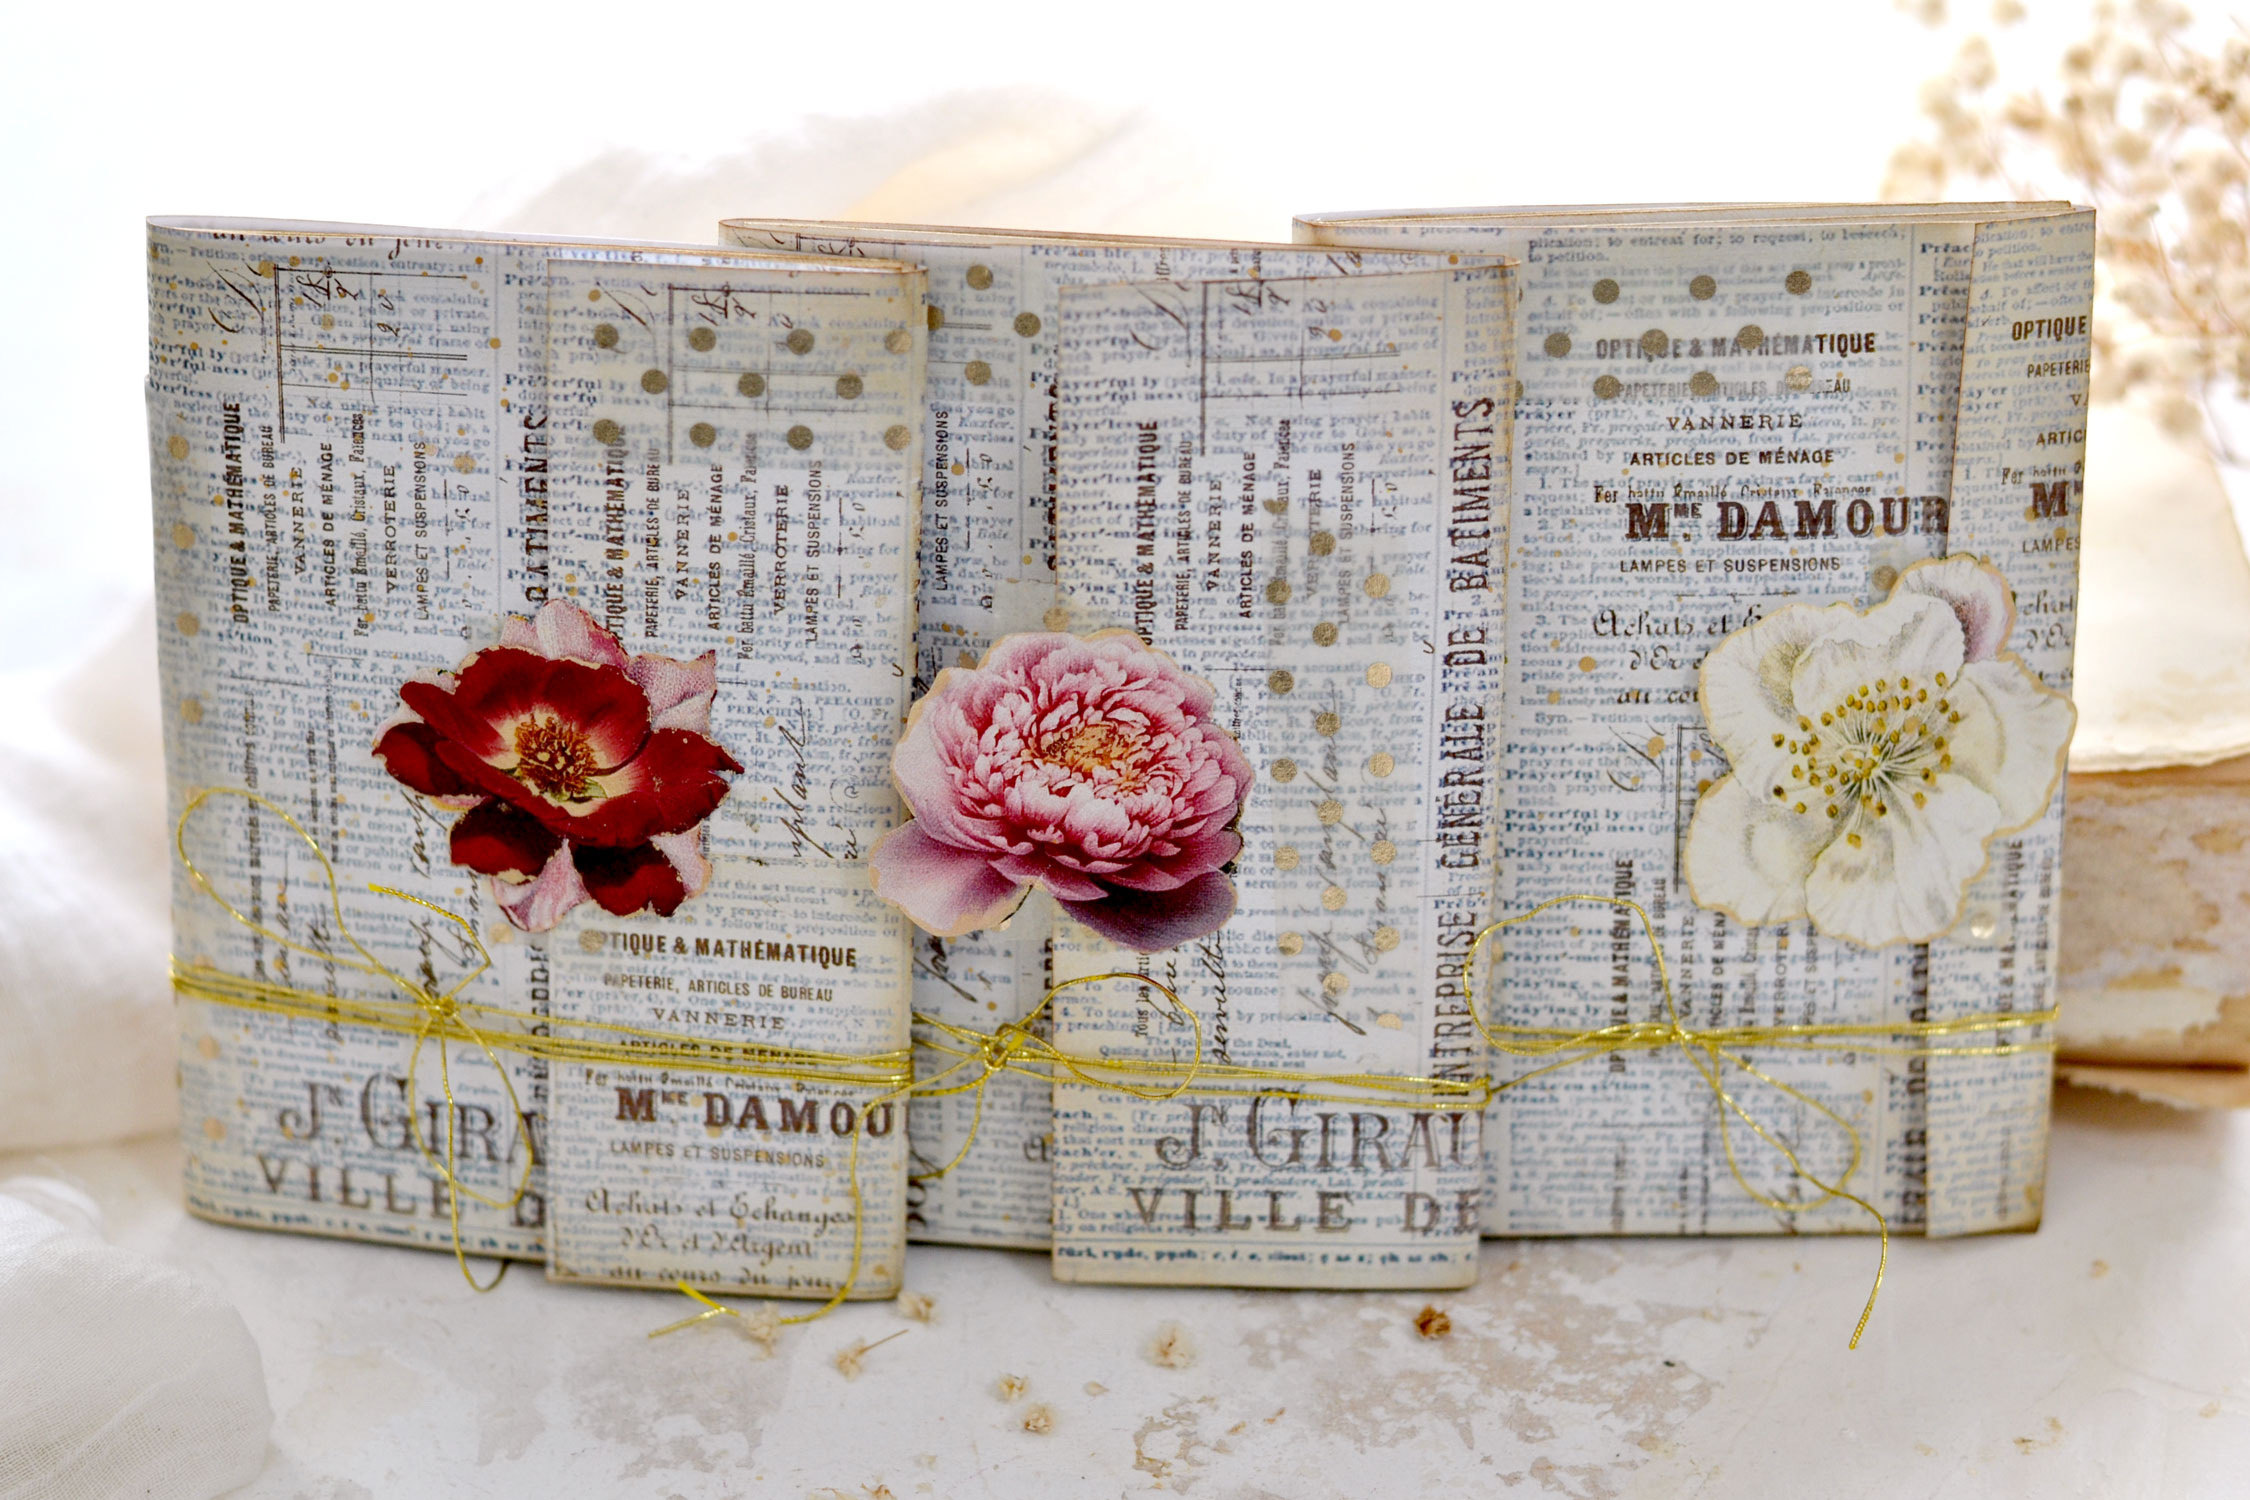
So I created three accordion folders and I used a total of 9 envelopes to create the inside of these beauties!
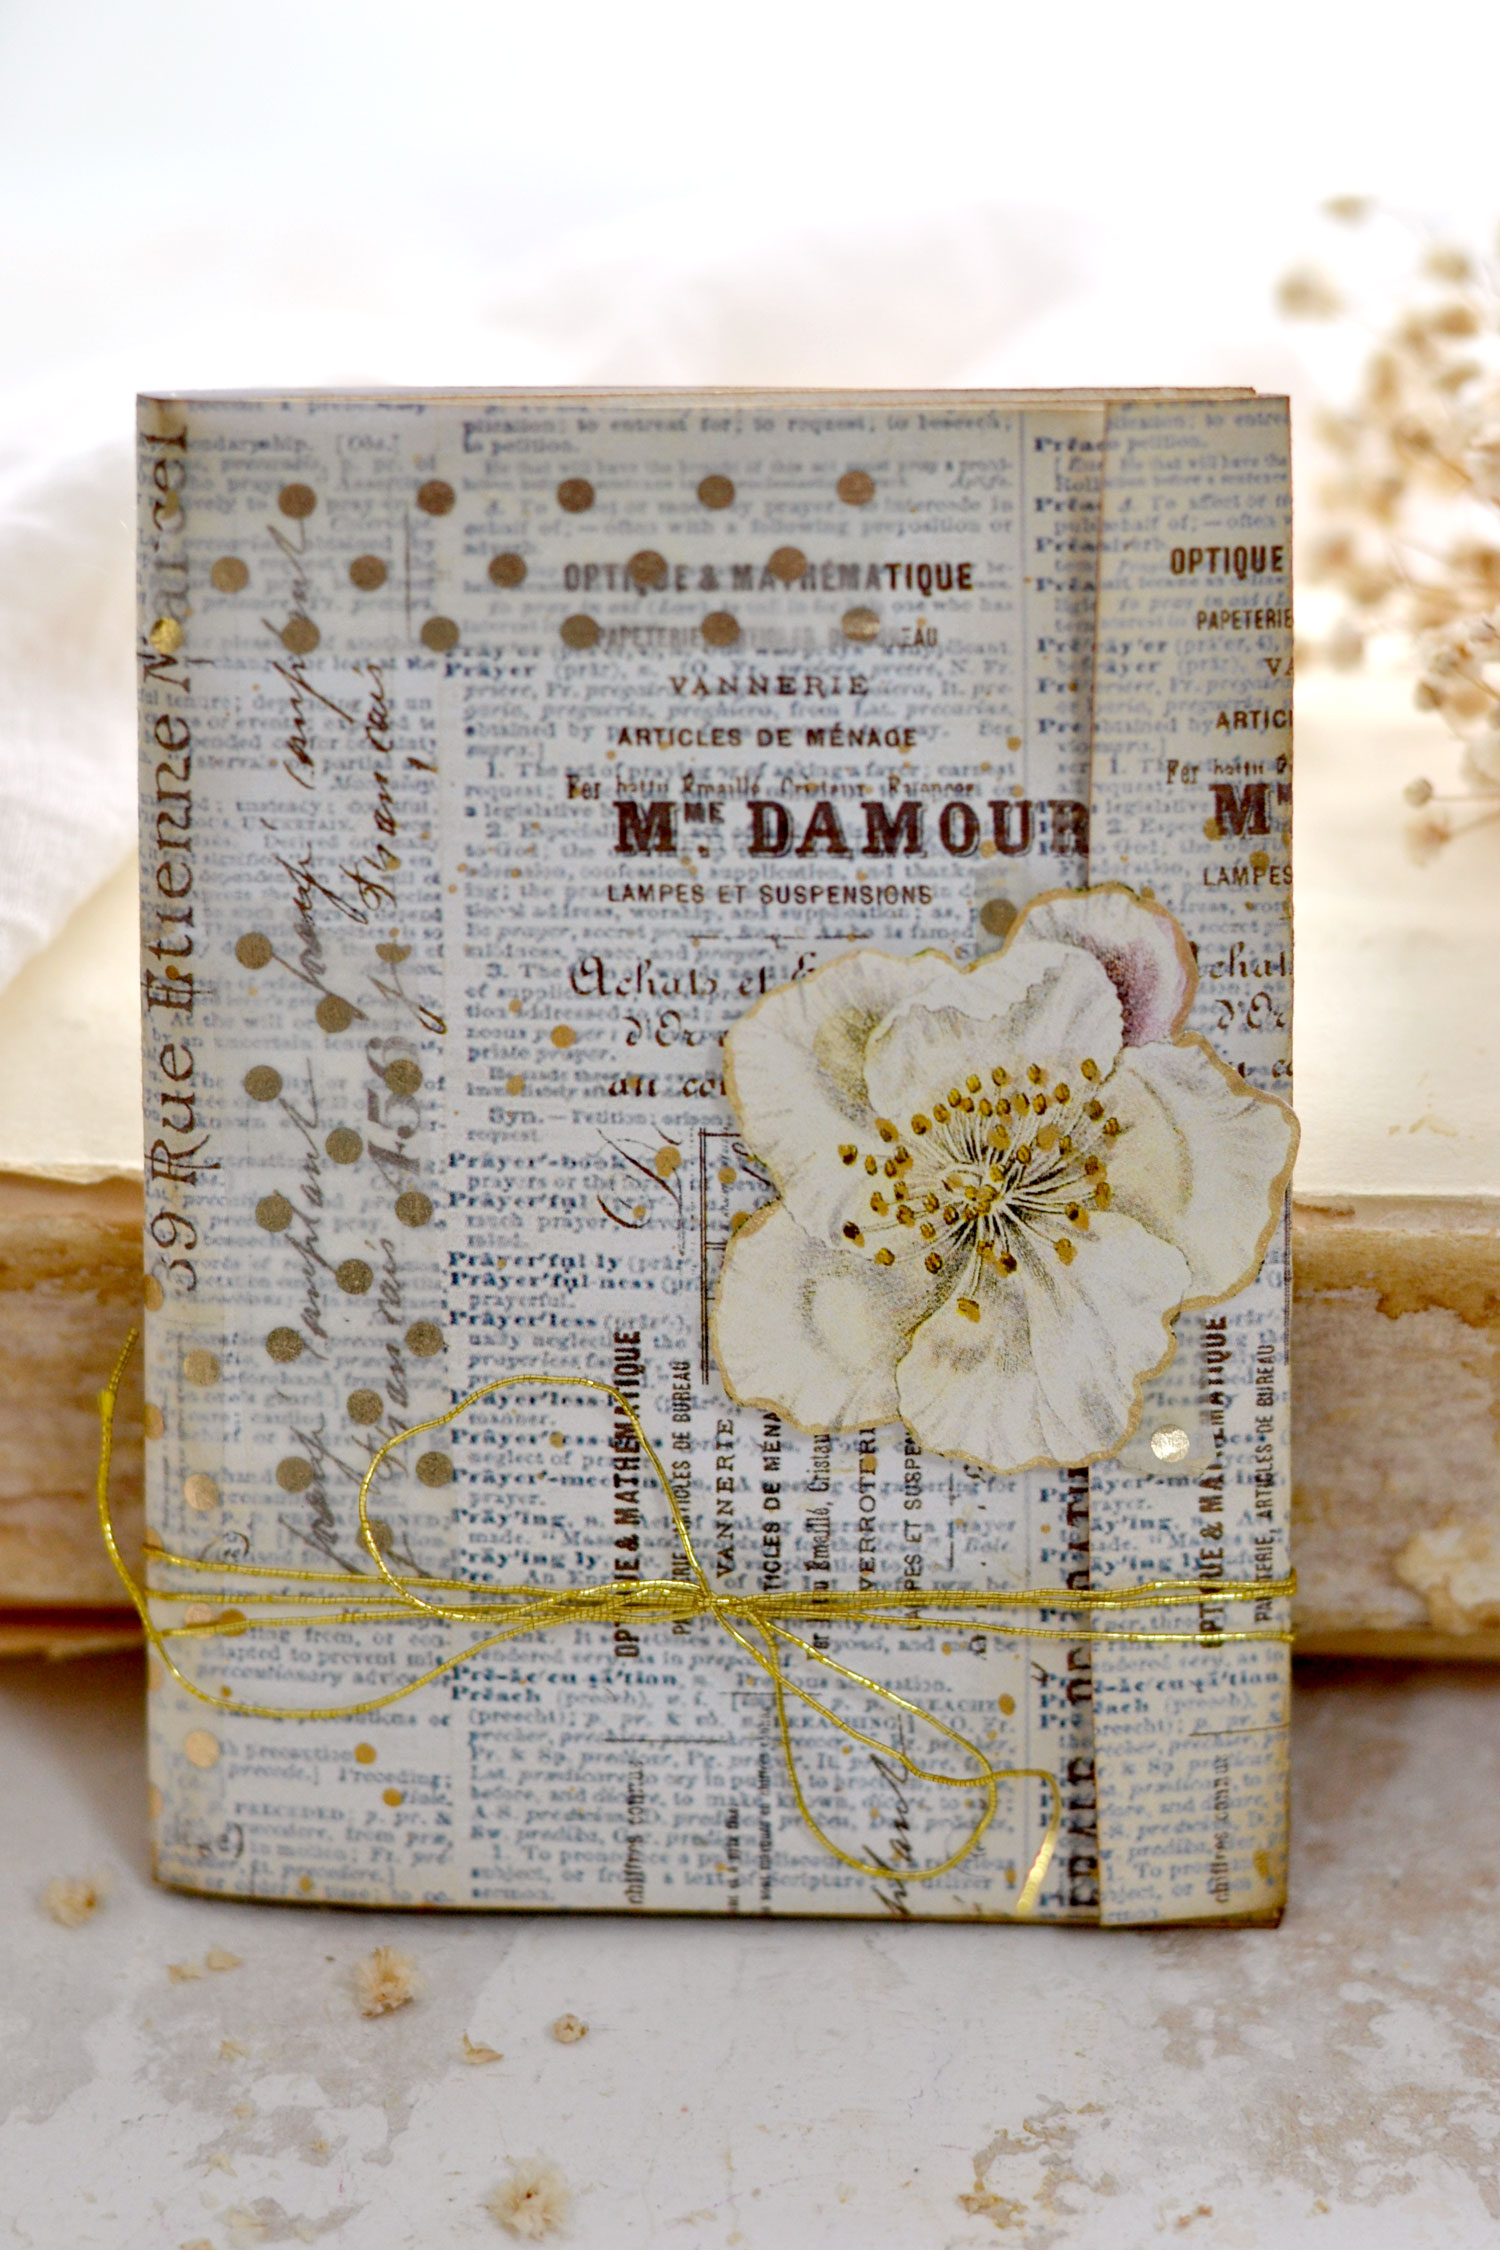
As you can see, the folder with the white flower has the smaller flap of them all. That’s because I initially left too little space for the flap and even though it is a little bit difficult to keep it closed, I love it nonetheless, I think it turned out really beautiful even this way!
Depending on how strong your washi is, you will be able to easily close and open the folders when you need to. But this is more of a quick, easy-to-improvise solution because if you close and open them many times, the washi will start to wear off and you might need to replace it from time to time.
You could also choose another closing system or why not, use some gold thread, some twine or even some elastic cord if you want to keep them closed. I used some gold metallic thread that not only keeps them closed but adds even more charm to these beauties!
The French ephemera collage that we used for the covers is quite neutral, so if you want, you can further embellish the folders to your heart’s content!
The gorgeous flowers will give you so many options to choose from and you’ll be able to match the finished pieces with specific colors from your junk journals or any other projects, depending on the color scheme you are envisioning.
 I hope you will love this project and decide to give it a try! You might also like my DIY Paper Clutches HERE.
Happy crafting,
Diana | by Dreams Factory


lwelsh says
I am confused as to how to put the envelopes together. I am not doing something right with the T and I envelope gluing part.
Could I just put the folded envelopes together and sew down the fold and then glue it into the portfolio?
Karen Watson says
Hi there, I have asked Diana to clarify for you and this is what she had to say … “It’s really easy to glue them together following the pattern that I mentioned – just use the I letter pattern to glue the middle of each folded envelope, then the upside down T letter pattern to glue two or three envelopes together. This will create that lovely accordion style opening, but if you prefer to sew them, you definitely can, just give it a try and see how that goes. Hope this helps!”
Sue says
This project is beautiful, useful, and well-described for the how-to. Thank you very much!
Karen Watson says
I’m glad you enjoyed Diana’s latest project Sue!