DIY Apple Decor
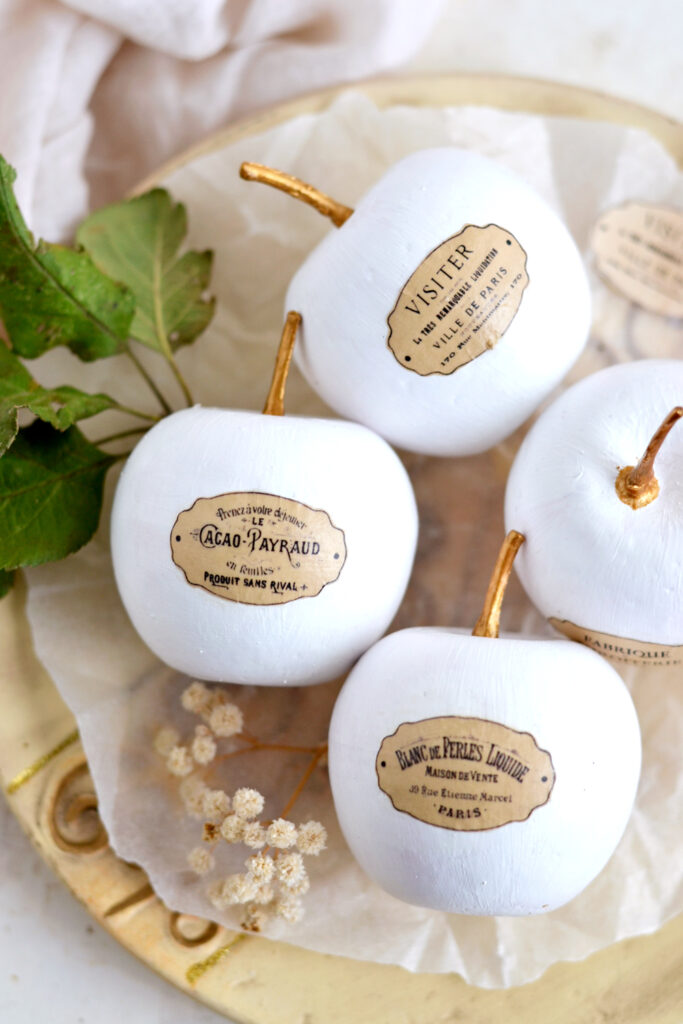
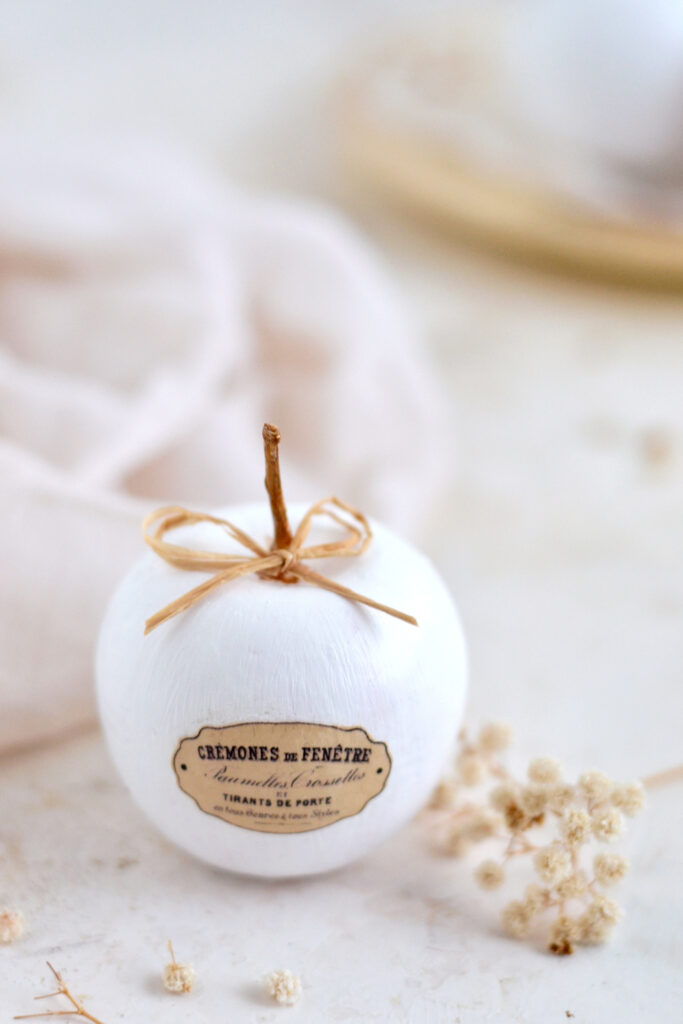
Hello Graphics Fairy friends! Diana from Dreams Factory here, ready to share another fun project with you – today we are making some DIY Apple Decor. They are Ceramic looking French Apples! Only a few inexpensive supplies and you’ll be able to create gorgeous decorative ‘ceramic’ pieces for your home! Simply perfect…and just in time to welcome the new season! 🙂
Transitioning to a new season can sometimes get expensive, especially when it comes to your home decor. But fear not, I have the perfect solution for you right here! A beautiful DIY project like this will surely add that little bit of charm to your home, without breaking the bank.
The best part is that this project can be created in your own terms, which means it’s really easy to adapt it to your house color scheme or your personal choice of colors, even your style. I usually like to give you this option when presenting my projects to you, because let’s face it, we are all different! But that’s OK, these differences are making us truly unique! 🙂
My special ‘ingredient’ for today? Plastic apples! 🙂 We will be turning these simple and inexpensive plastic apples into gorgeous DIY Faux Ceramic French Apples! Of course you can also use other artificial fruits that you have around, I’m thinking pears or pumpkins would also look amazing!
Another special ingredient that ended up on my supply list? Metallic gold nail polish! 🙂 Maybe yet another somehow surprising items to use, but the truth is I ran out of gold acrylic paint and I had to adapt and improvise once again. I wasn’t sure it would even work, but I REALLY loved the final results. So I would say metallic gold nail polish is definitely a keeper!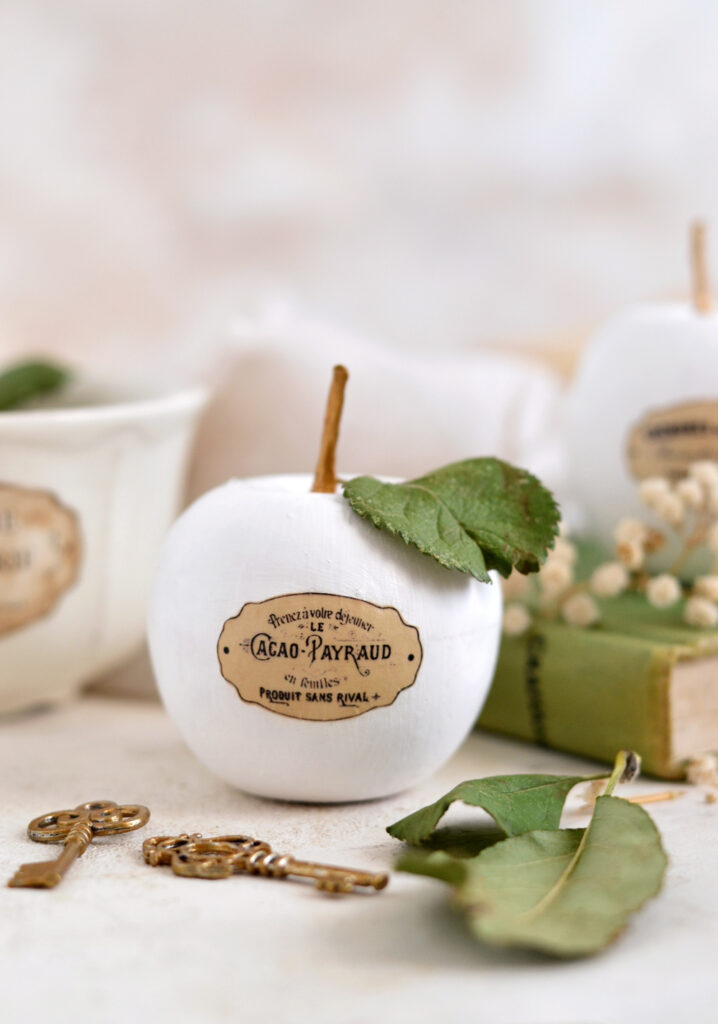
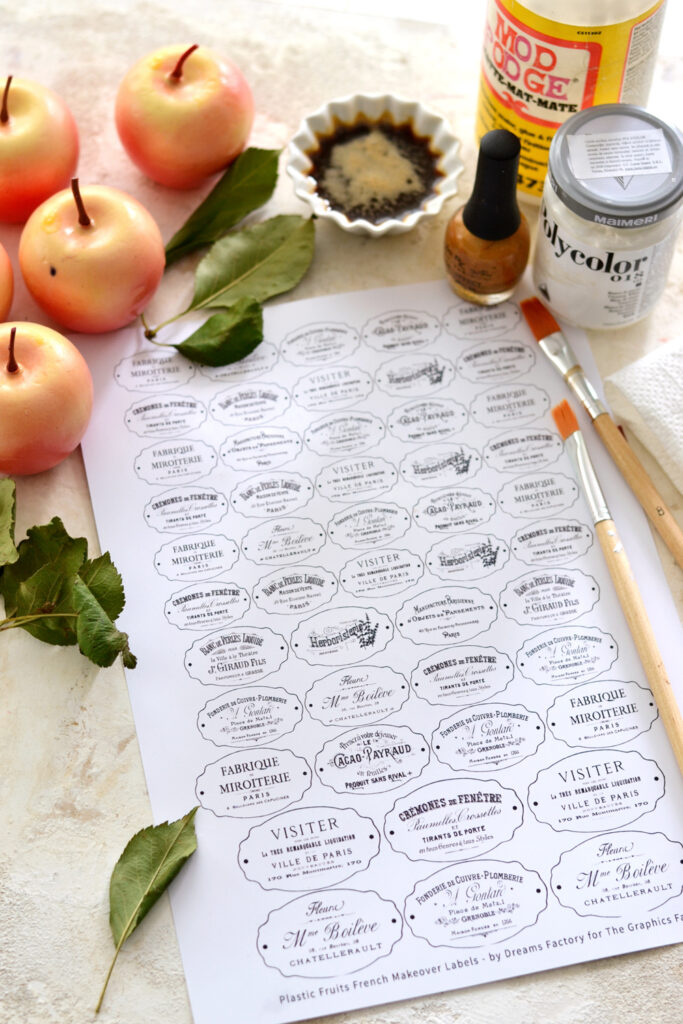
In terms of labels, let’s call the stunning French labels that I’m sharing today a sequel to a few other projects that I shared with you so far. This way you’ll be able to pair different home decor objects around your home and create a somehow cohesive look. I believe it all started with the Faux Rusted French Labels that I shared a couple of years ago. Today I adapted the French ephemera labels to my needs and created several different sizes so anyone can adapt them to their apples needs! 🙂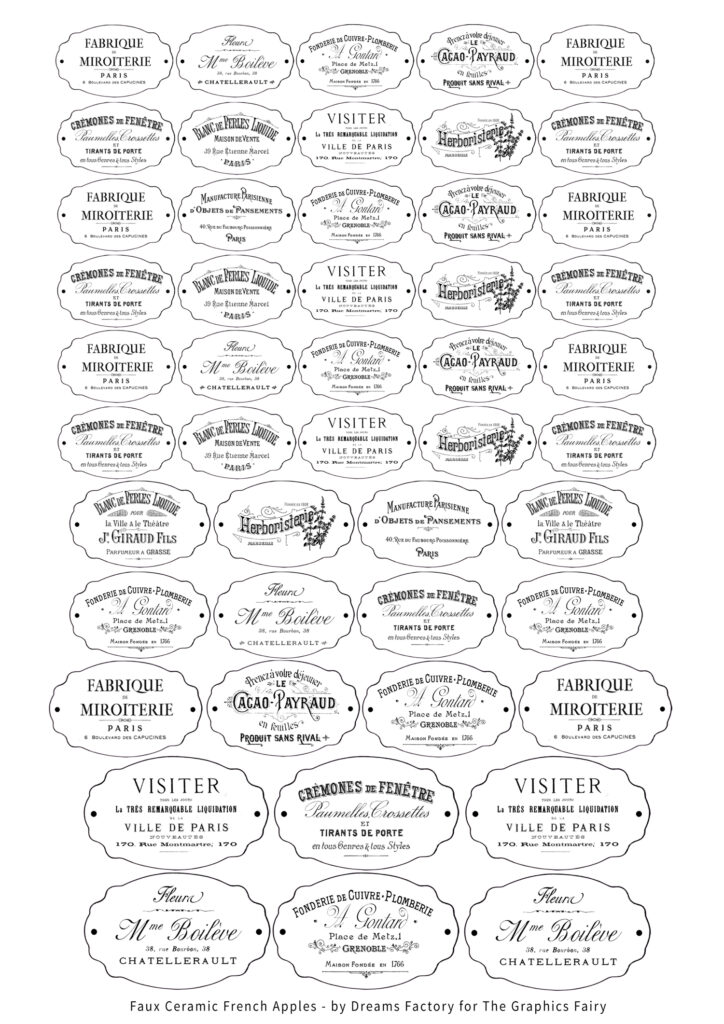
—-> Click HERE to Download the Full Size Printable PDF <—-
DIY Apple Decor Supplies:
- French ephemera labels
- plastic apples (other artificial fruits like pears or pumpkins would also work)
- regular printing paper
- laserjet printer or inkjet printer
- manicure scissors or other small detail scissors
- coffee (or highly diluted brown acrylic paint or watercolors) – to distress the labels
- brushes
- acrylic paint (plus baking soda or chalk powder) or chalkpaint (see notes below) – to paint the apples
- metallic gold nail polish (or metallic gold/copper acrylic paint)
- Mod Podge
- a plastic (or teflon) sheet to protect your working area
NOTES:
Before we jump right in, let’s talk paint for a second. To create a beautiful faux ceramic effect you will need to use a paint with more of a matte finish – acrylic or chalkpaint, that would also create some texture. Of course you can use anything you have around but these two would look more authentic for the ceramic look. I used white heavy body acrylic paint with a semi matte look and it was just perfect.
Acrylic paint
– if your acrylic paint is too runny, you can add a little bit of baking soda and mix everything until your paint becomes more like a paste and has more body – just gradually add the baking soda until you reach the desired consistency;
– another option would be to add chalk powder if you have that around or to finely grate some chalk powder from a white chalk stick into your acrylic paint – just gradually add the chalk powder until you reach the desired consistency.
Chalkpaint
– just use as it is
DIY Apple Decor Instructions:
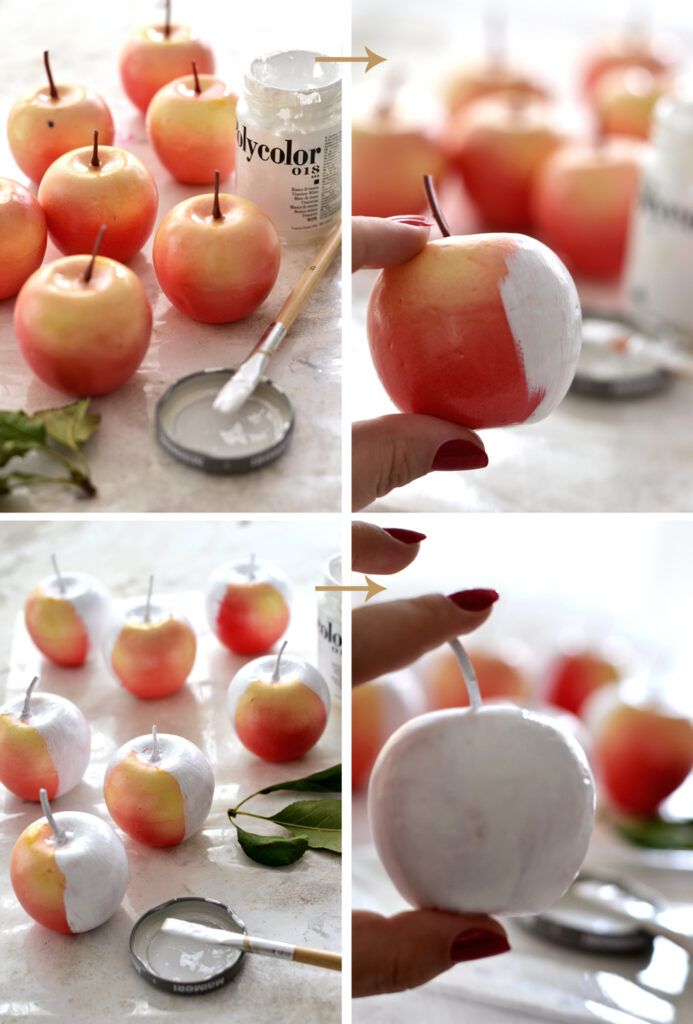
Protect your working surface with a plastic or a teflon sheet first – this part is important, the bottom part of the apples will stick to the surface while painting.
Start by brushing your apples using undiluted paint, using up and down moves to create more texture. I found it easier to hold one apple between my fingers while painting it halfway. I didn’t completely cover the bottom part of the apples with paint at this point.
Then I placed the half painted apple on the protected surface and let it dry completely while painting the other apples.
After the first round of apples have dried, I moved to painting the other half of each apple, carefully placed them on the table and let them dry.
I did two coats following the same procedure, but without completely painting the bottom part, so I could place them on the table.
After drying, I finally painted the bottom part and put the apples on the table on their side, so that the bottom part can dry too.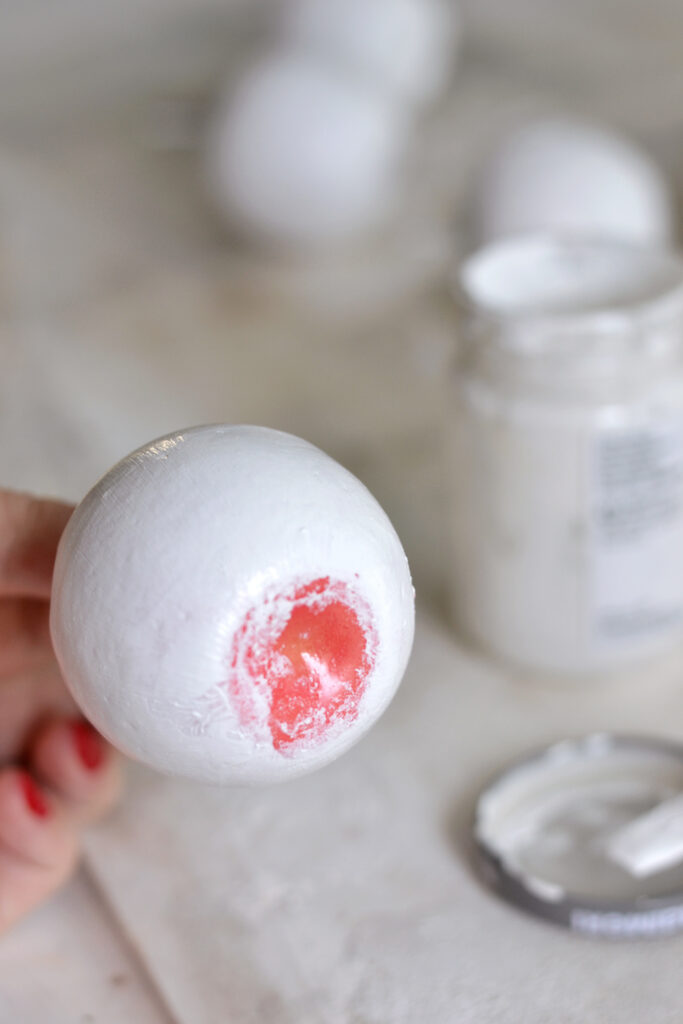
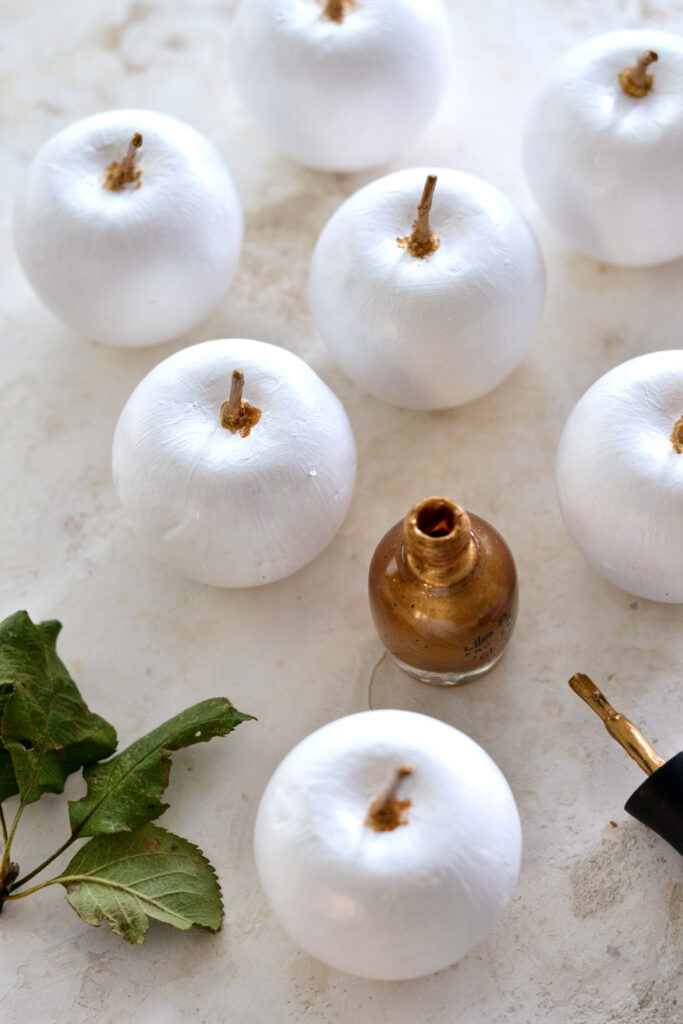
A little bit of a messy process, but I would say it was all worth it. This is how my all white (for now) faux ceramic apples looked after drying, I really loved all the texture the up and downs brush strokes created.
You can definitely use them just like this if you are after a more minimalistic all white look.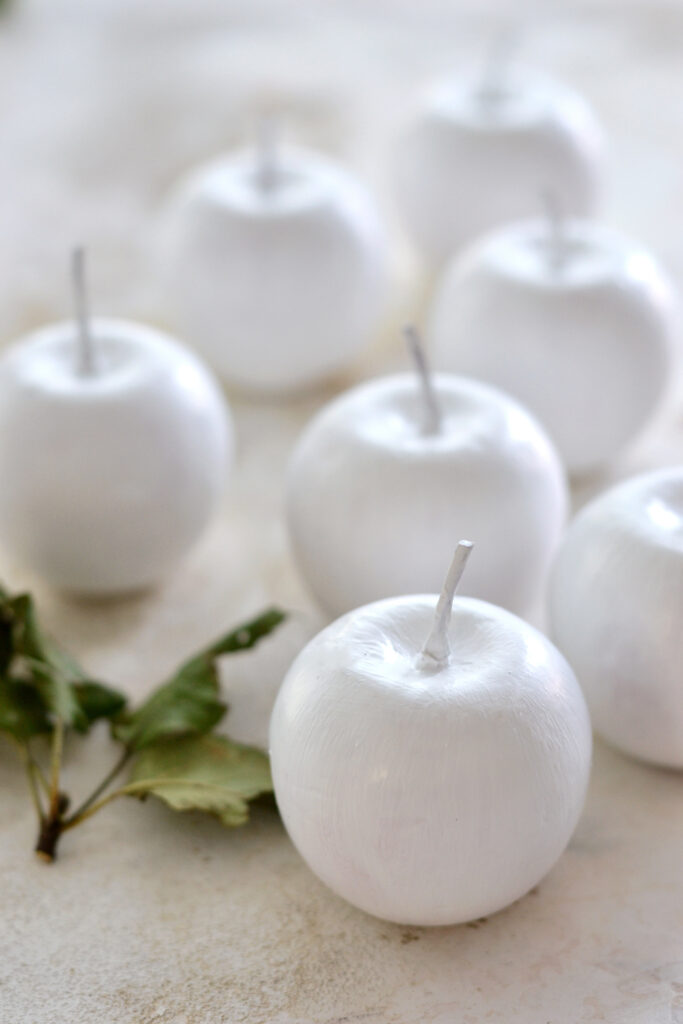
After drying, I used my metallic gold nail polish and completely covered the stems of the apples. I realized it would have been better not to paint the stems with white acrylic paint before this, the water based acrylic paint reacted a bit with the nail polish. But I was able to completely cover the stems using a thick layer of nail polish. I added some dabs of paint on the lower part of the stems and I finished everything with a small ‘dot’ of nail polish applied right on top of the stems, to give them a more natural look. It’s all about the small details, right? 🙂
While the apples are drying you can start working on your paper. This time I only used coffee to give my French labels a stained, vintage look, but you can also use my faux rusted technique to add some of that amazing cinnamon rust to the whole fall scenario! 🙂 Or my faux blue patina technique! Watercolor paint, highly diluted acrylic paint or distress inks would also work, just let them dry before cutting them!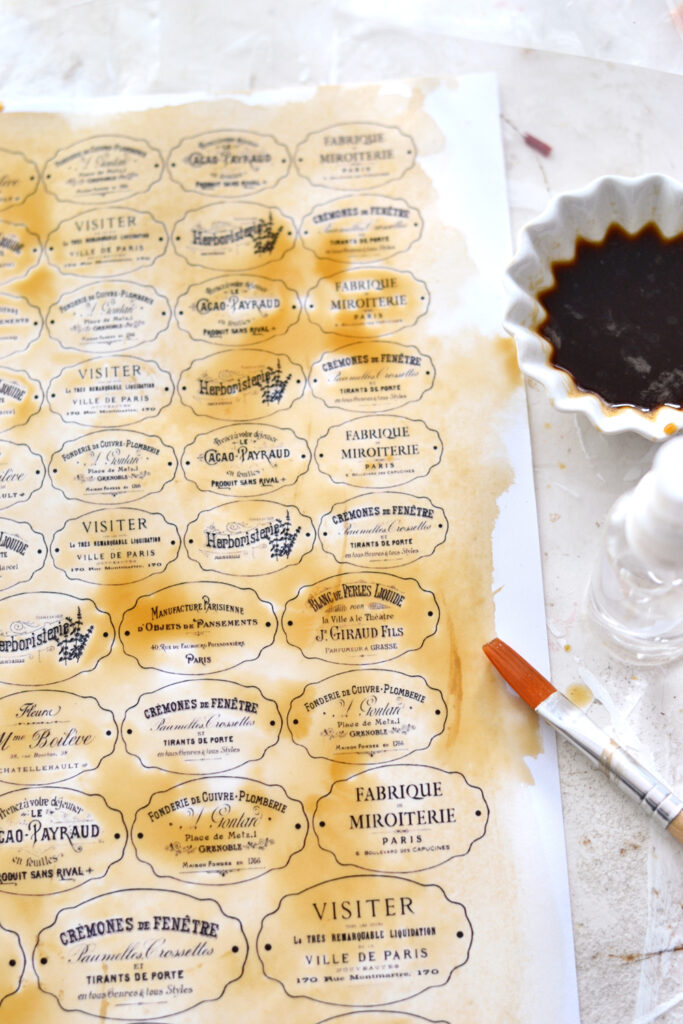
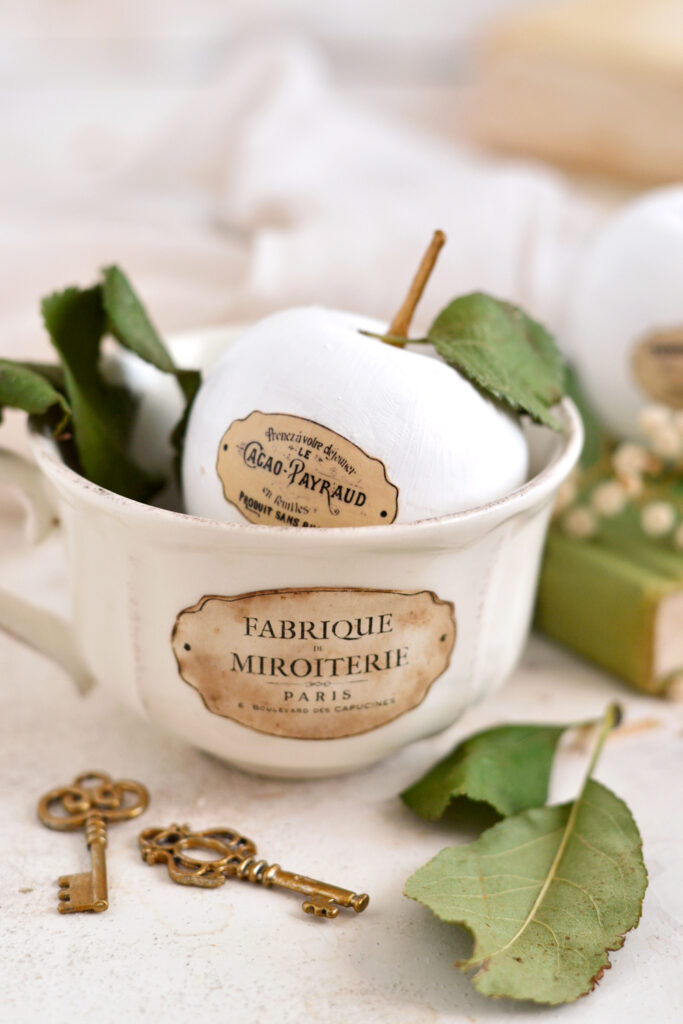
Then I added Mod Podge to the back of the labels and adhered them to the apples. This was a little bit tricky because of the round shape of the fruits, but I managed to remove (mostly) all of the wrinkles of the paper.
And that’s pretty much it! 🙂 Each of these Faux Ceramic French Apples will look simply stunning on its own!
You can add a few small branches with leaves if you have them around. I picked a few leaves from our apple tree to keep things more authentic and natural. I loved how they all looked together! I think I will actually let the leaves dry like this, to have the feeling I’m bringing a little bit of outdoors … indoors! 😉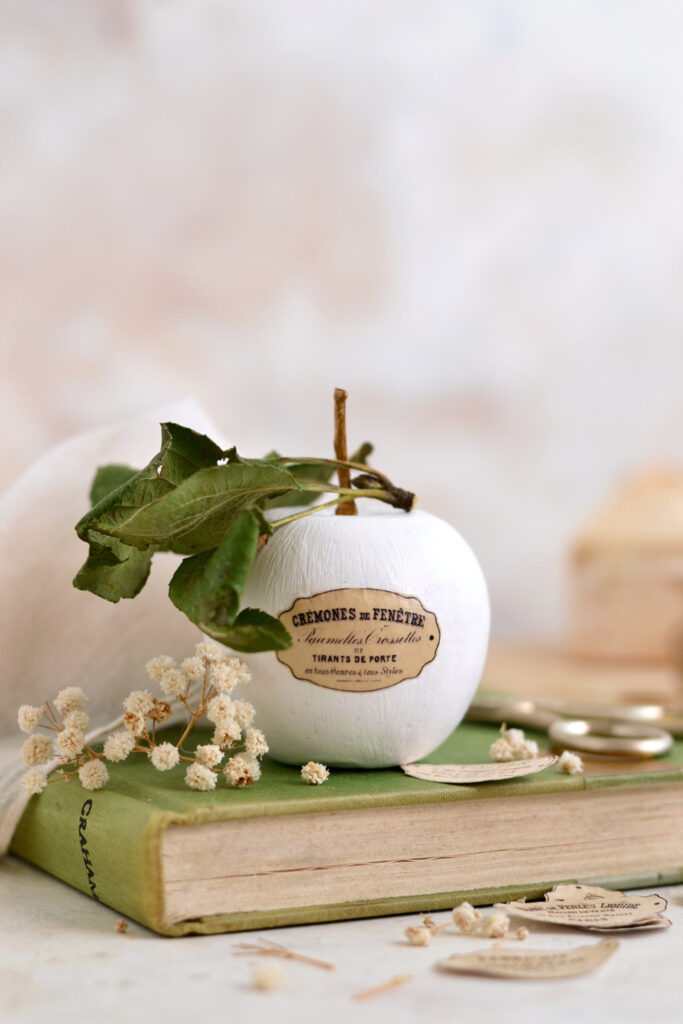
You can also add some neutral twine or some raffia bows to add more chicness.
P.S. Don’t you think that sometimes decorative apples just look … like pumpkins? Like maybe in the picture below? 🙂
Chic and elegant coffee or tea cups could also be a great addition to your fall decor and to these gorgeous DIY Faux Ceramic French Apples!
In terms of choosing the colors for your apples, just go with your favorite! I went with white because I find it easier to integrate into our home. And it’s more universal, if you wish, so it’s also perfect for gifting! I mean, you can never go wrong with white, right? 🙂 You can use other neutral colors, if you want to keep them on the highly-adaptable-to-any-home side of things, but you can also go full fall colors crazy if you feel like it … I promise I won’t judge! 🙂 I would say that the gold metallic nail polish was a great addition to these DIY Faux Ceramic French Apples and the one that really captures the beauty of fall.
And I mean that both figuratively and literally, you will be amazed to see how the metallic gold captures the warm and cozy light of fall throughout the day! And it adds so much character to this whole faux ceramic look, don’t you think?
You can use these DIY Apple Decor pieces in so many different ways! Just remember you can always pair them with small leaves or branches, fresh or dried flowers, scrap pieces of fabric and twine, antique books or coffee stained vintage books, beautiful plates, aged French pitchers or vases, faux rusted pots, French recycled containers, scented French script paper feathers, even wood chopping boards or coffee stained trays. You’ll be able to create truly beautiful and unique vignettes for your home, in your own terms!
And don’t forget to make a few extra, they will make the most amazing gifts for family and friends!
Happy crafting,
Diana / Dreams Factory



Else T. says
These are awesome! They would look great hanging on a christmas tree, also!
graphicsfairy says
Thanks Else, that is a great idea!!
teddeegrace says
You always have the most creative ideas! Thanks for sharing.