DIY Journal Tags
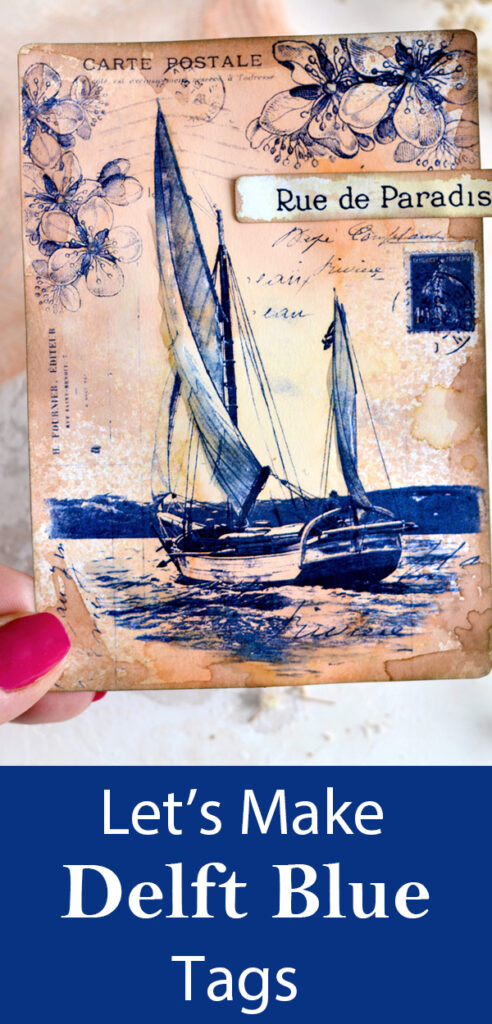
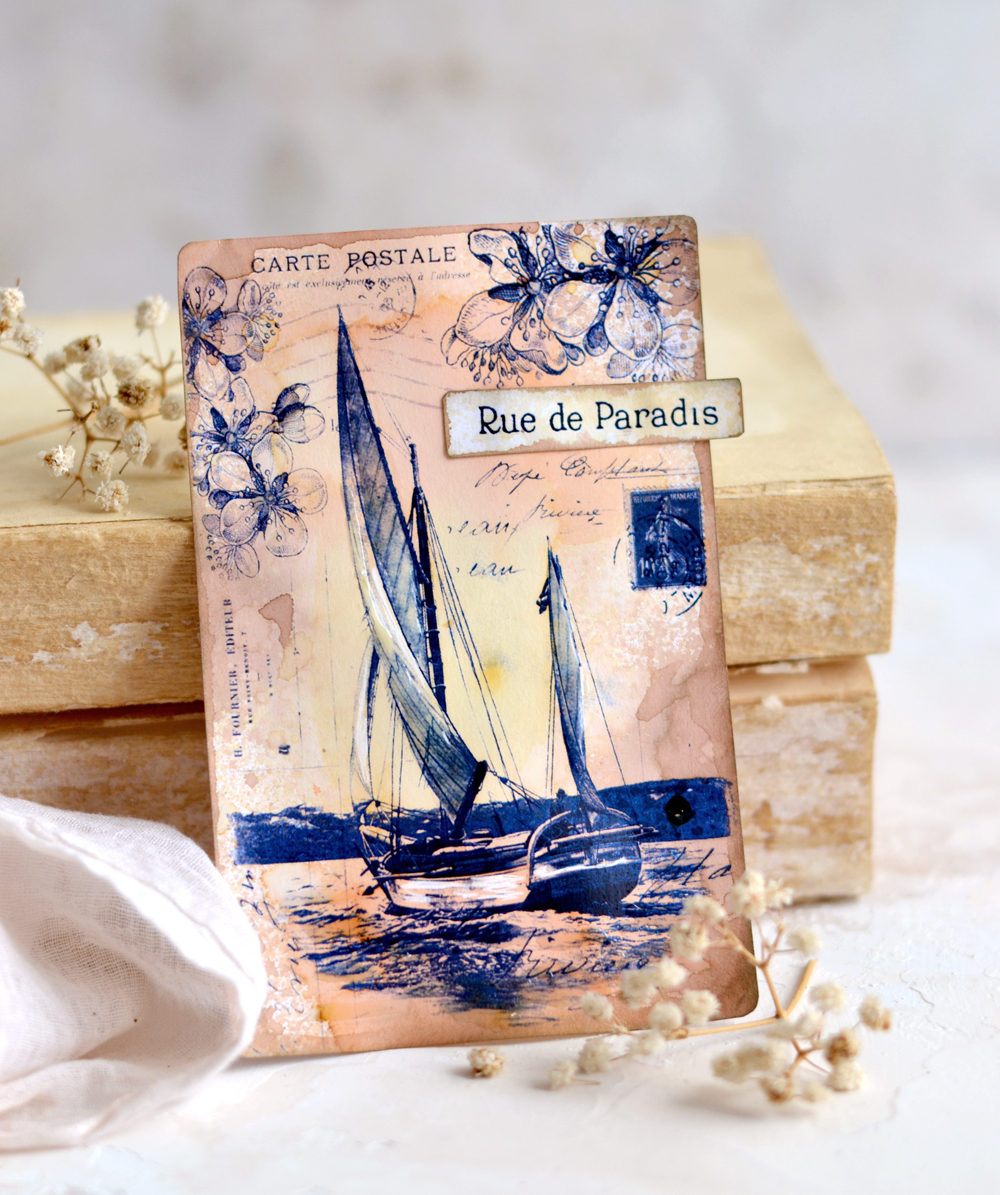
Hello, Graphics Fairy friends! Diana from Dreams Factory here, ready to share another chic DIY project with you! Today I thought it would be fun to bring some vintage summer vibes into our creative session with these beautiful Handmade DIY Journal Tags with a Delft Blue Nautical theme! I’m sure you will agree with me that these postcards look like mini paintings and will make you instantly daydream, but also I they remind me of beautiful Delft tiles!
Your imagination starts rolling and you are picturing a seaside vacation with beautiful sandy beaches, sailing away into a spectacular sunset and soaking in all those bits and pieces that anchor you in the present moment. Because of the chic French ephemera touches that I included while designing these beauties, let’s just pretend these postcards come from a sunny French Riviera, shall we? Or better yet, let’s take things even further and imagine we are already there! 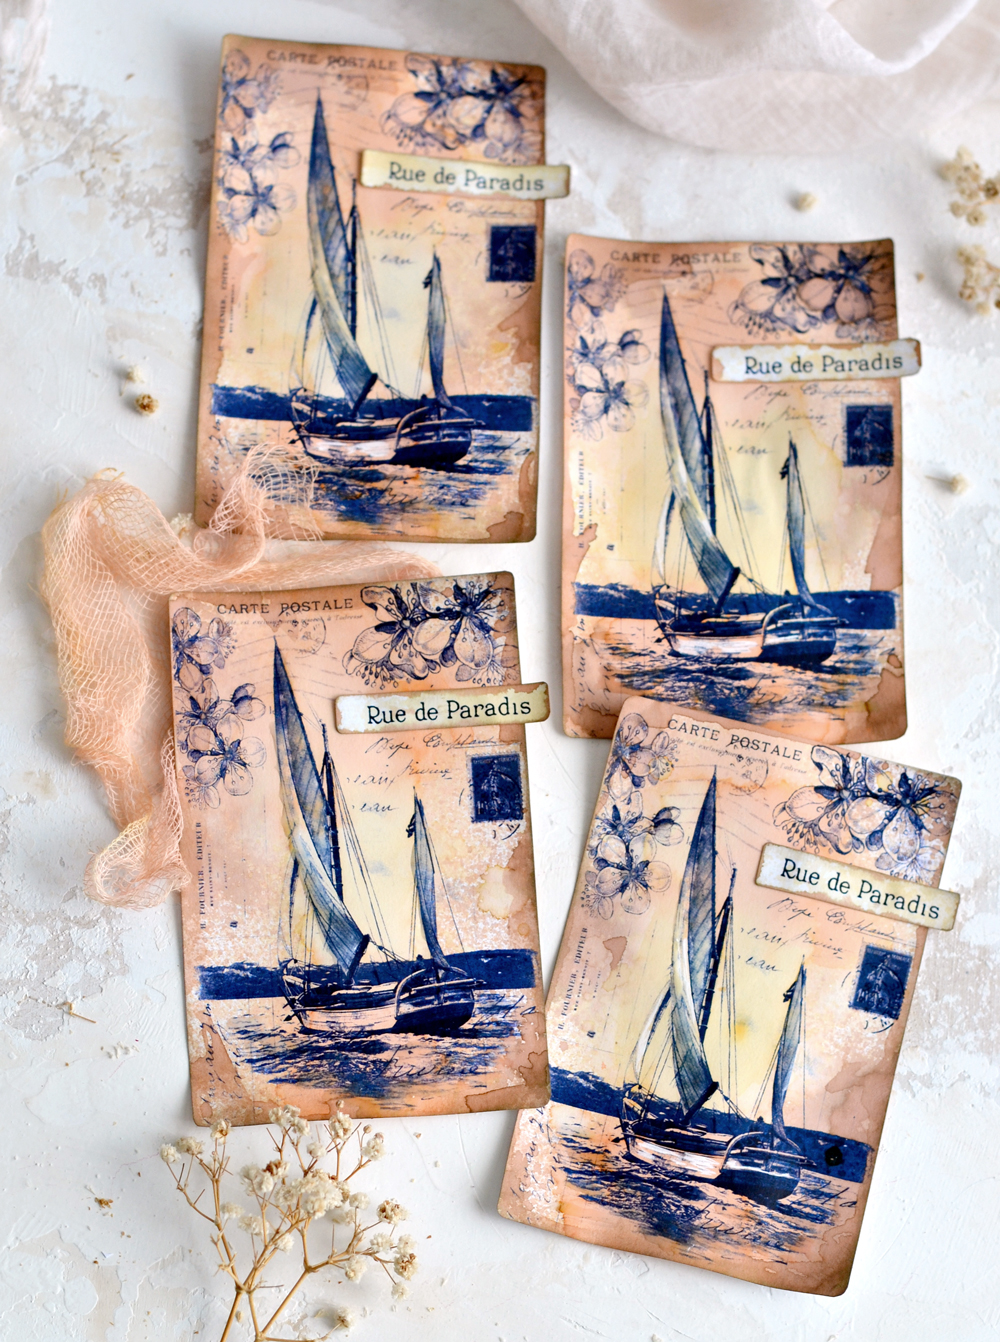
As always, I wanted you to have a simple base for playing with your favorite colors and really take things into the direction that you want. I went with muted colors for my tags and I had the idea to create a blended watercolor sunset, while keeping an overall vintage vibe. But you can go as crazy as you want with yours, if you feel like ditching the muted colors and go bold for a more tropical, vibrant vibe with your sunset, just do it! Also, I wanted to give some depth to the tags so I used a cool trick to mimic the water waves and to ‘reinforce’ the sails.
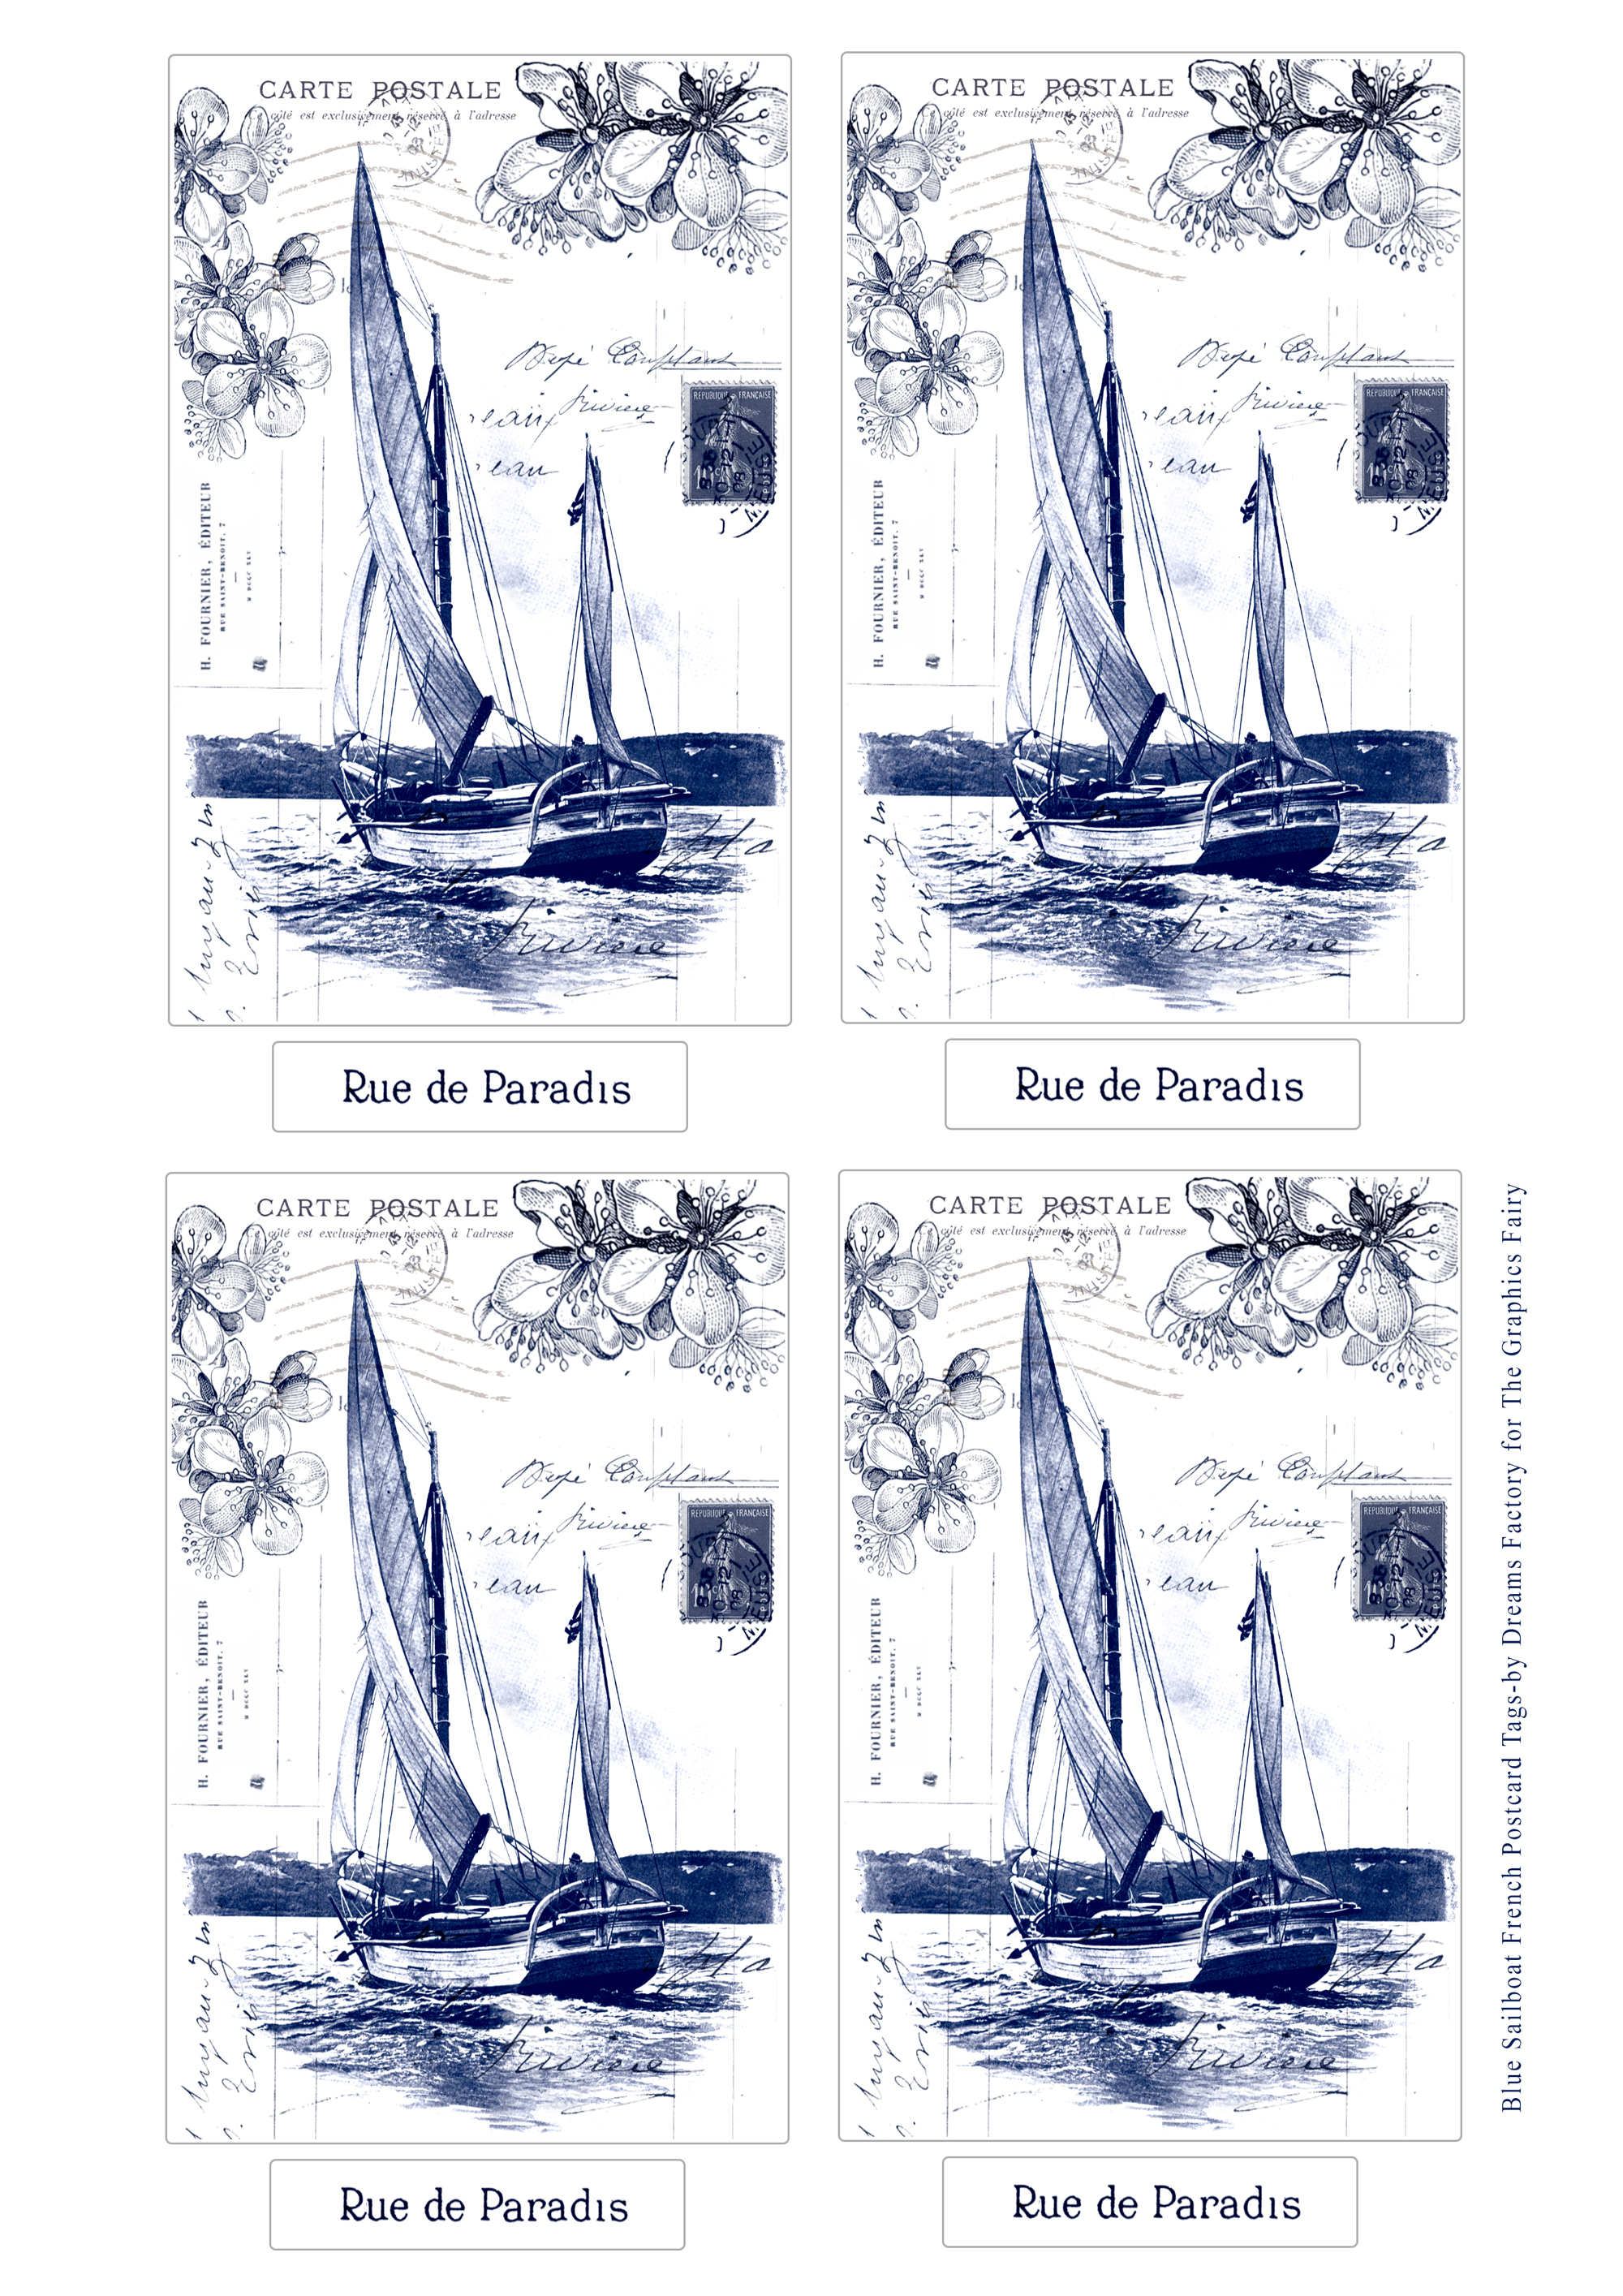
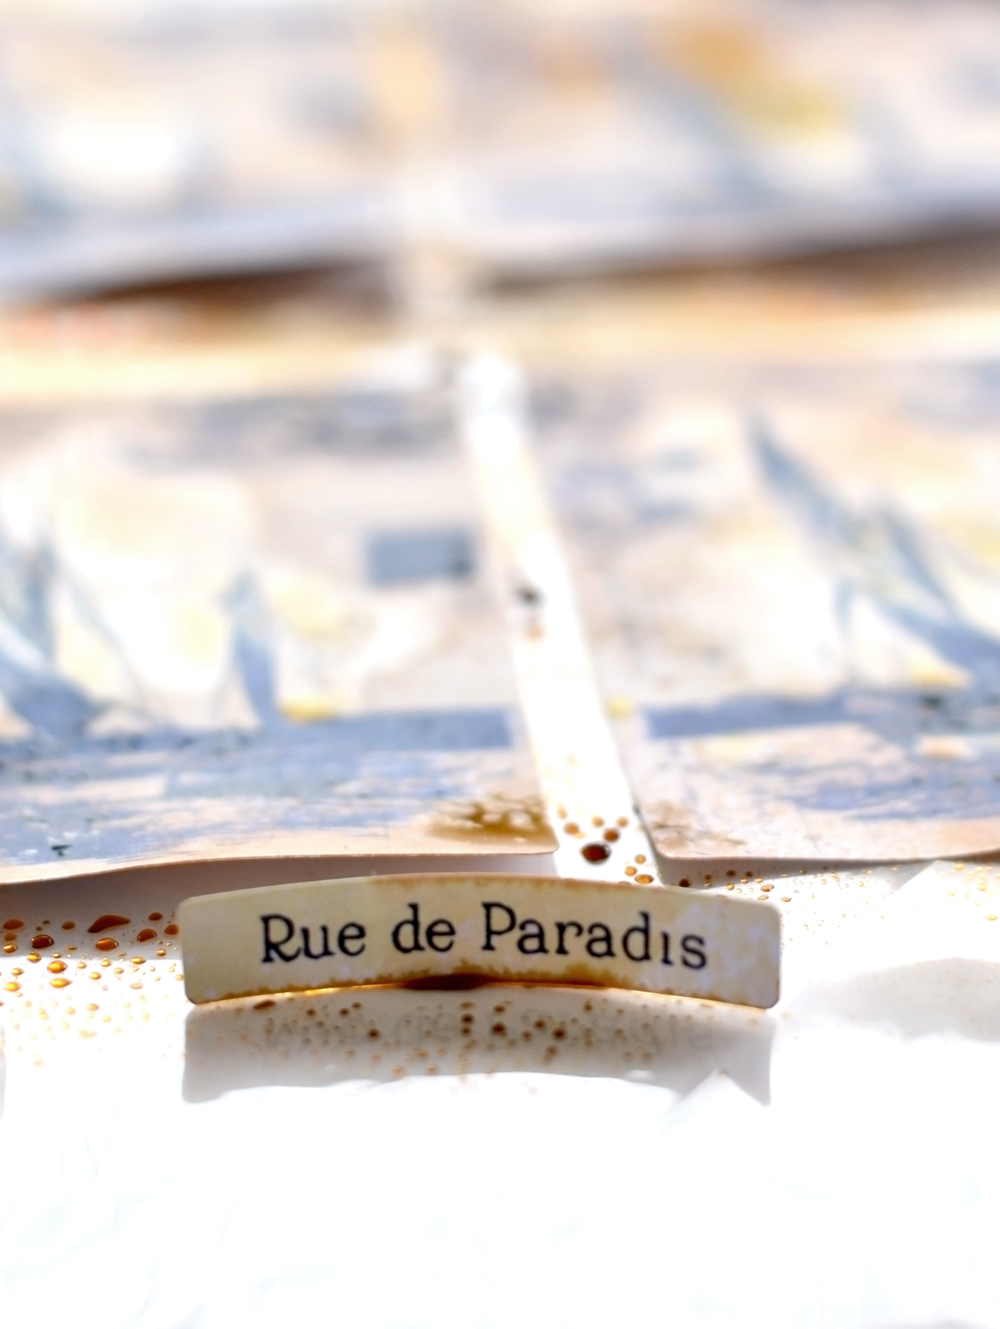
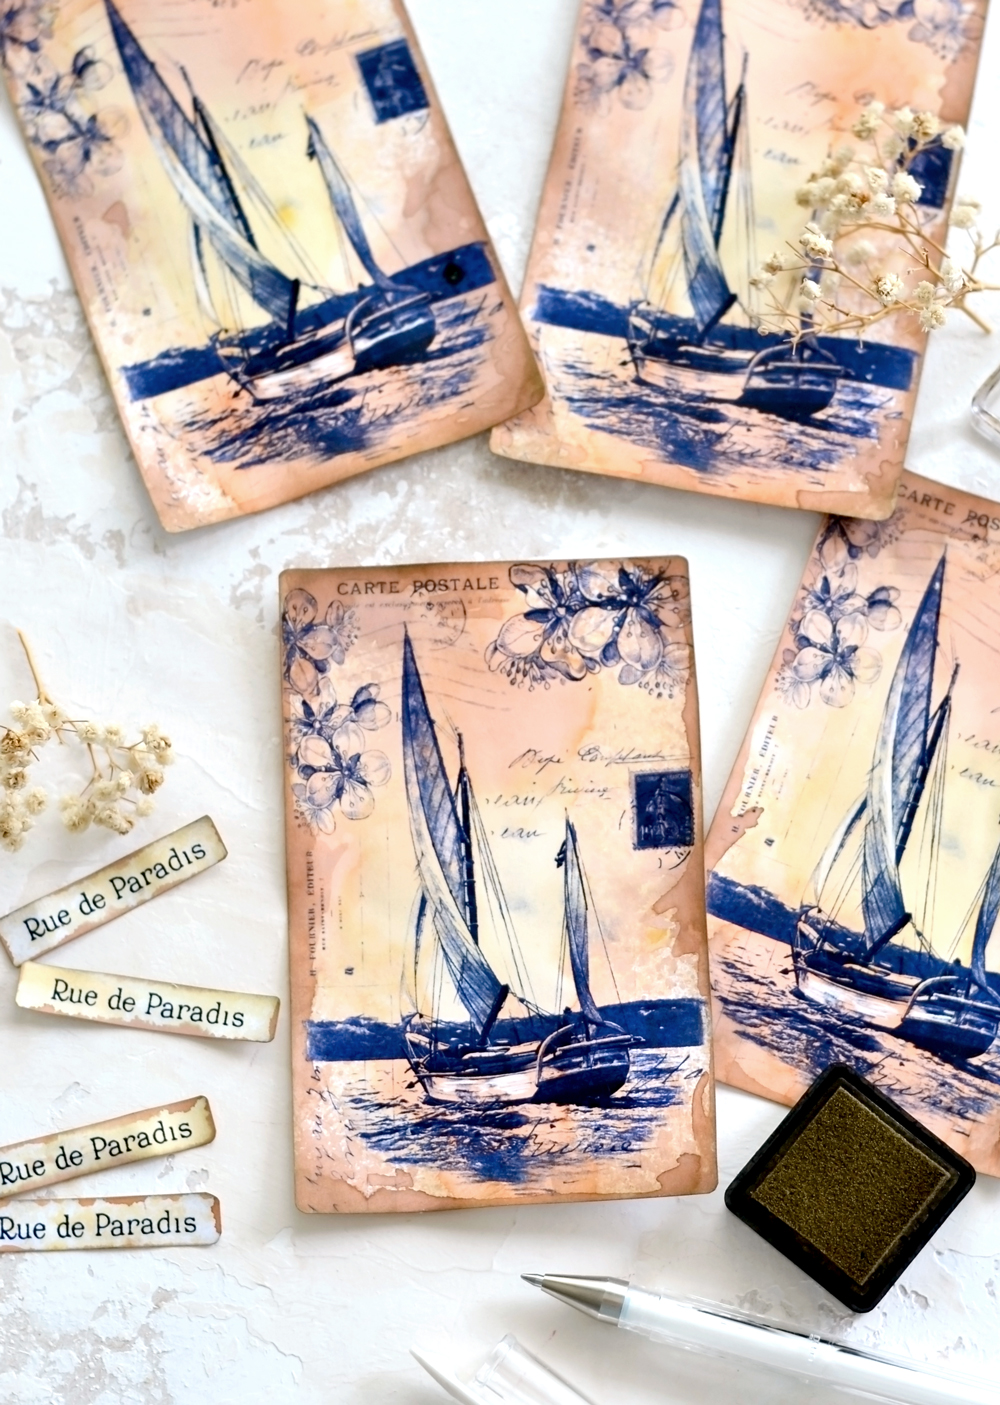
First, you will need to download the free DIY Blue Sailboat French Postcard Tags printable that I created for you. I think the dark blue that I used as my main color gives the postcards a lovely nautical vibe, but also a really chic vintagey feel. This sailboat image is absolutely gorgeous on its own, don’t you think? I included a few simple but beautiful blossoms around the edges and a few other French goodies – French ephemera graphics, a French handwritten script, a French postage stamp. As a separate element I included this French Rue de Paradis that you can cut and glue anywhere on your postcards – it will add a little bit of dimension to your tags and will gorgeously bring everything together!
DIY Journal Tags Free Printable
—-> CLICK HERE TO DOWNLOAD THE FULL SIZE PRINTABLE PDF <—-
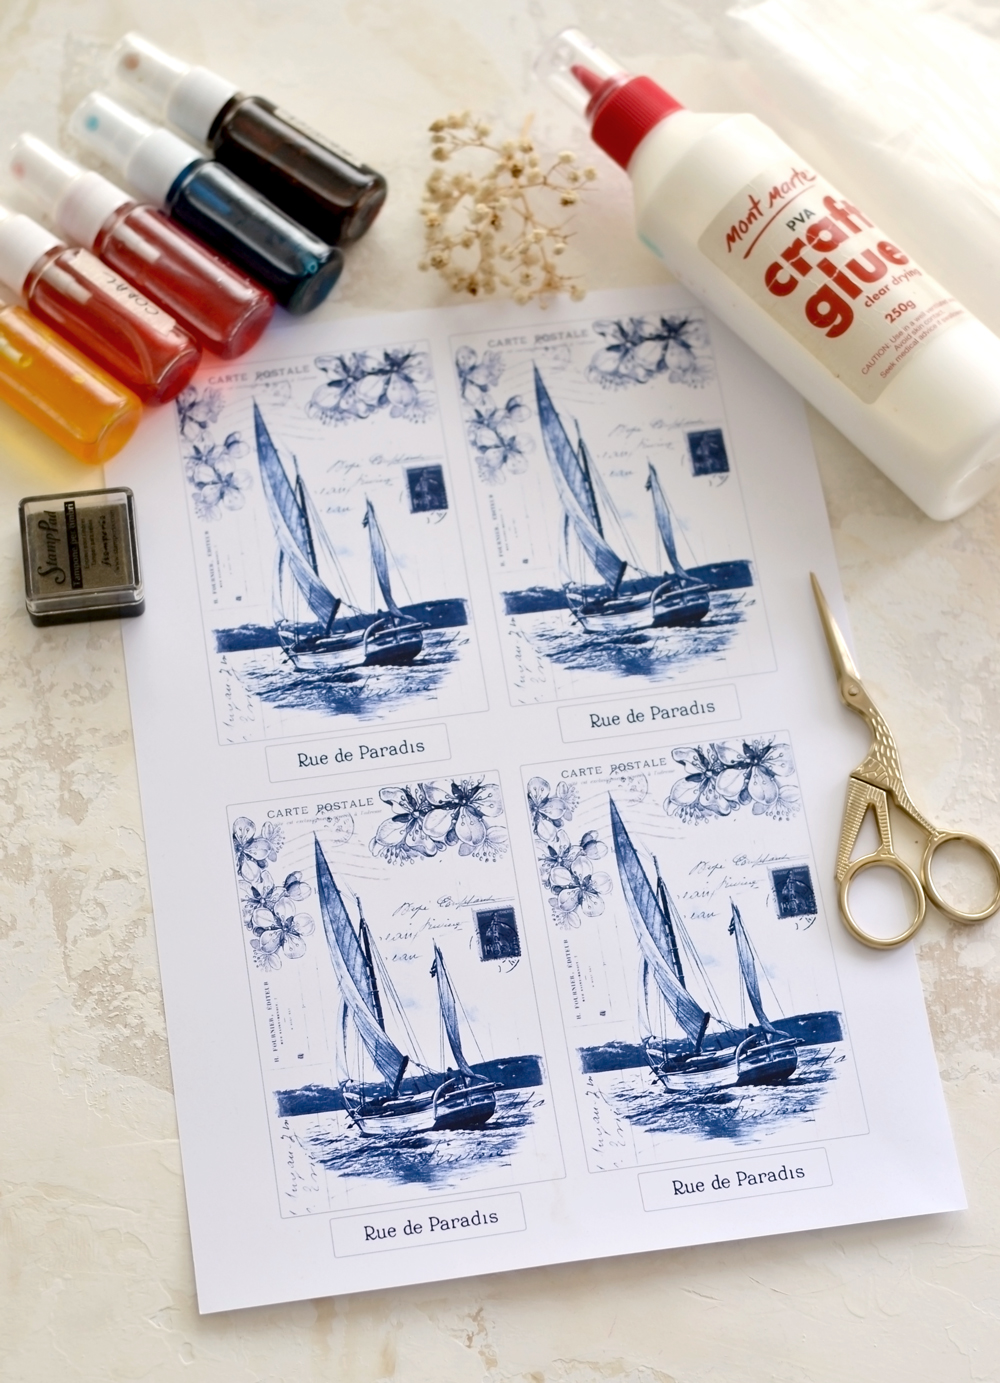
DIY Journal Tags Supplies
- the lovely blue sailboat printable
- cardstock paper
- Home printer
- ink sprays – I used yellow, orange and brown
- a stamp pad (I used dark gold) or a distress ink pad
- scissors
- craft glue with a fine tip
- a plastic sheet or a non absorbent surface (to protect your working area)
- a white ball point gel pen (optional)
As you can see, I only used a handful of supplies to decorate the tags, keeping it really simple as I like it!
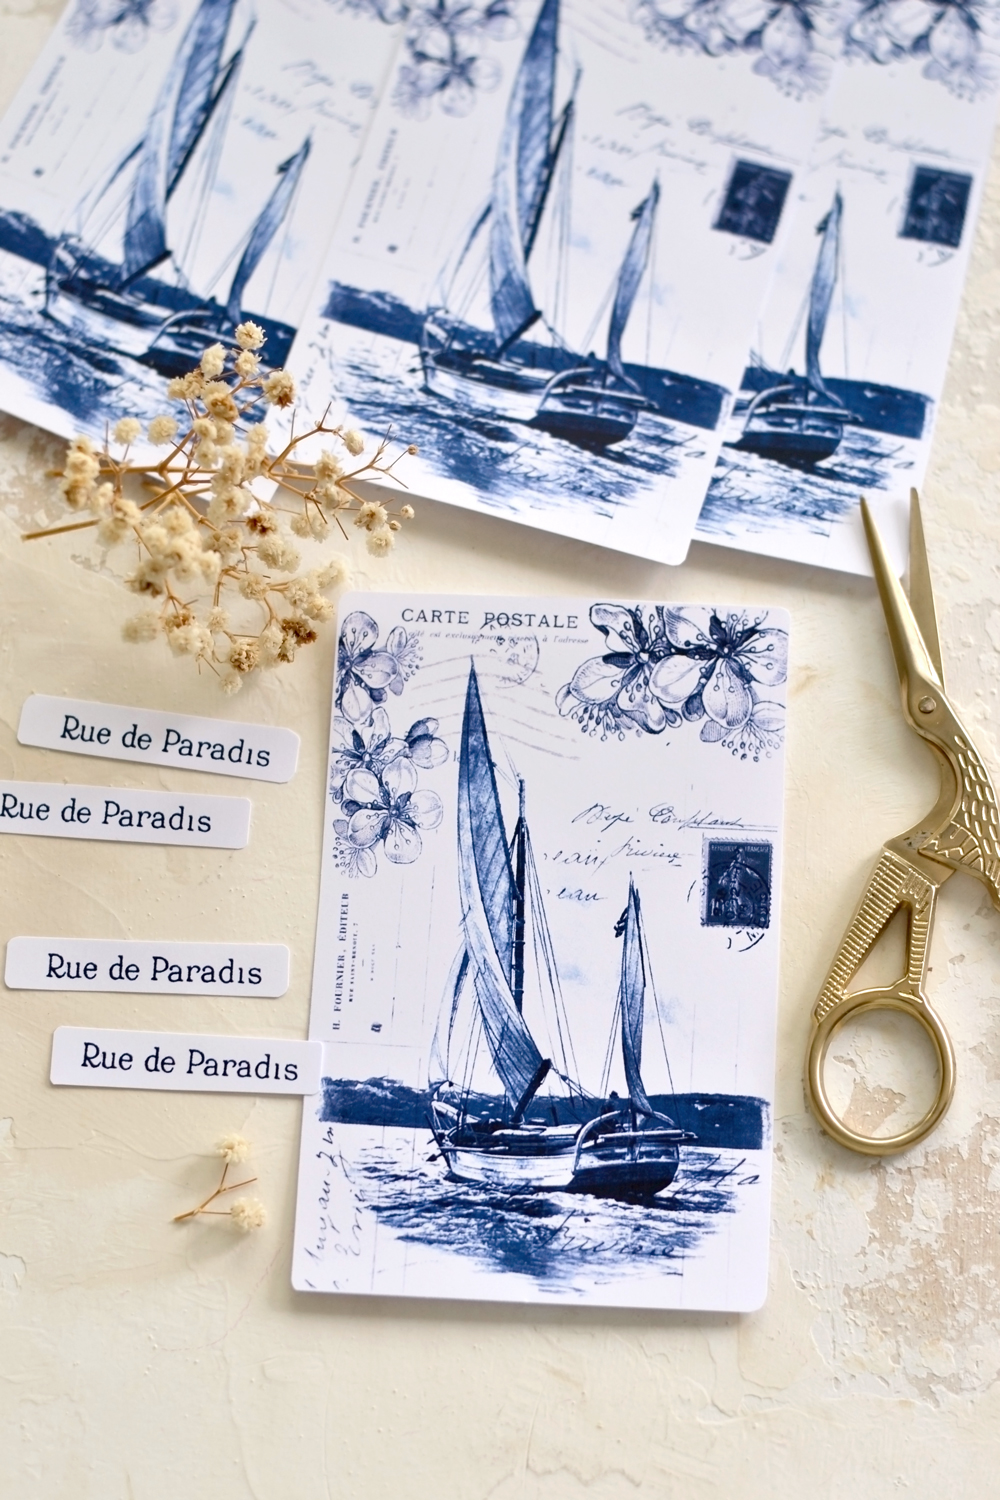
1. I started by printing out the free printable above. I have a laser printer, if you have an inkjet printer you may want to set the ink first with this tip HERE before starting. Then next I begin cutting the tags using my scissors – the borders are only for guidance, make sure you cut them off. You can choose to slightly round the corners of each element (both the tags and the separate French element) using your scissors, like I did.
P.S. Don’t you think the blue sailboat postcards look sooooo beautiful just as they are? I’m sure you could find a few good uses for them even at this stage!
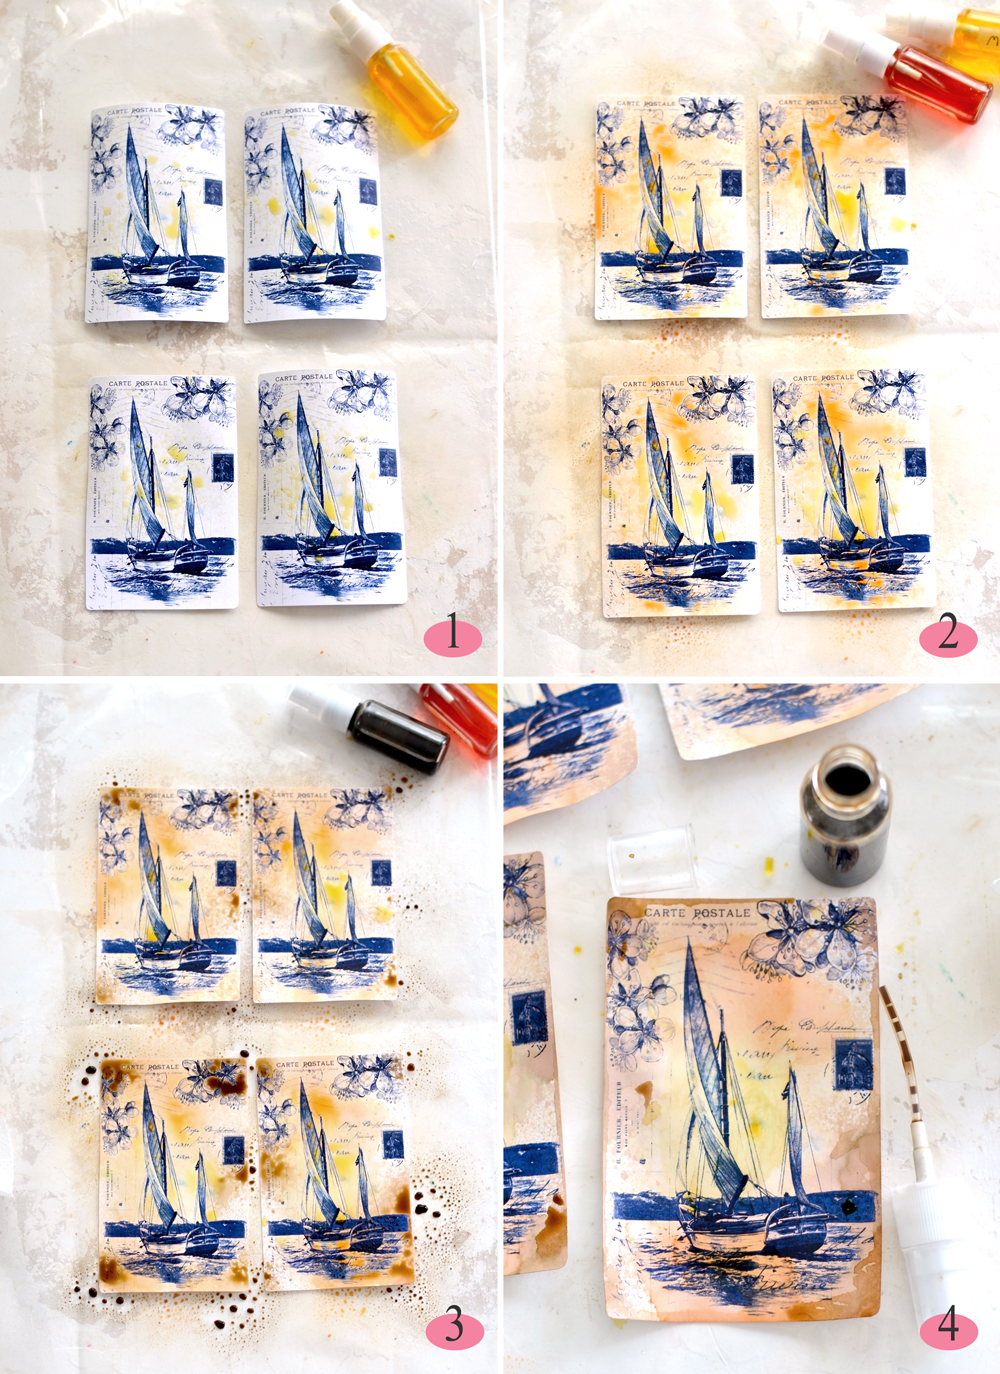
2. To create the spectacular vintage sunset on the tags I used my ink sprays (make sure you use a plastic sheet to protect your surface). I went with a mix of 3 colors – yellow, orange and brown. I initially thought I would also use some magenta and blue (you can see them in my supply list), but never actually used them. You can also use watercolors or distress inks, just use what you have around.
I started with a few spritzes of yellow in the middle (1), then I sprayed some orange on the top and on the bottom part of the tags (2). The colors will soak into the paper and will blend in an amazing, organic way. To give the paper that lovely vintage vibe, I sprayed brown on all the corners and on the left/right sides, here and there (3). Depending on what ink sprays you are using, the colors will be more or less saturated, so it would be best to spritz and test them first on a regular piece of paper. The waiting part here will be the hardest part, ideally you’ll need to let them dry on your table, so you don’t overmix your colors. When the tags are slightly manageable, you can use the tubing of your brown spray ink to add more color on the edges (4). I insisted on the corners and on the edges here and there – I just dipped and painted the paper using irregular strokes, to create a watercolory effect. The irregular strokes are the key here, to keep that organic, blended feel, while the tubing will basically become your imaginary paint brush!
3. While the tags were drying on the table, I sprayed the French Rue de Paradis elements with just a little bit of yellow. I only used a small amount of color for these because I wanted them to pop up and create a little bit of contrast with the surface of the tags. Then I dipped them in some of the brown paint that was already on the plastic surface, while rotating them and ‘distressing’ all the edges.
4. As for my (almost) final touches, I used a white ball point gel pen to highlight some of the elements of the sailboat – the long wooden side of the boat (aka the port) and the sails, here and there. I also used a small dark gold stamping pad and went all around the edges of the tags and the separate French element to lightly distress them.
I was in LOVE with how these DIY Blue Sailboat French Postcard Tags turned out! I would say that the last brown paint strokes that I added using the tubing of the ink sprays around the edges of the tags really completed the look I was envisioning. They were a stroke of genius! This step actually exceeded my expectations because it created these truly amazing watery and splashy effects on the bottom part of the postcards!
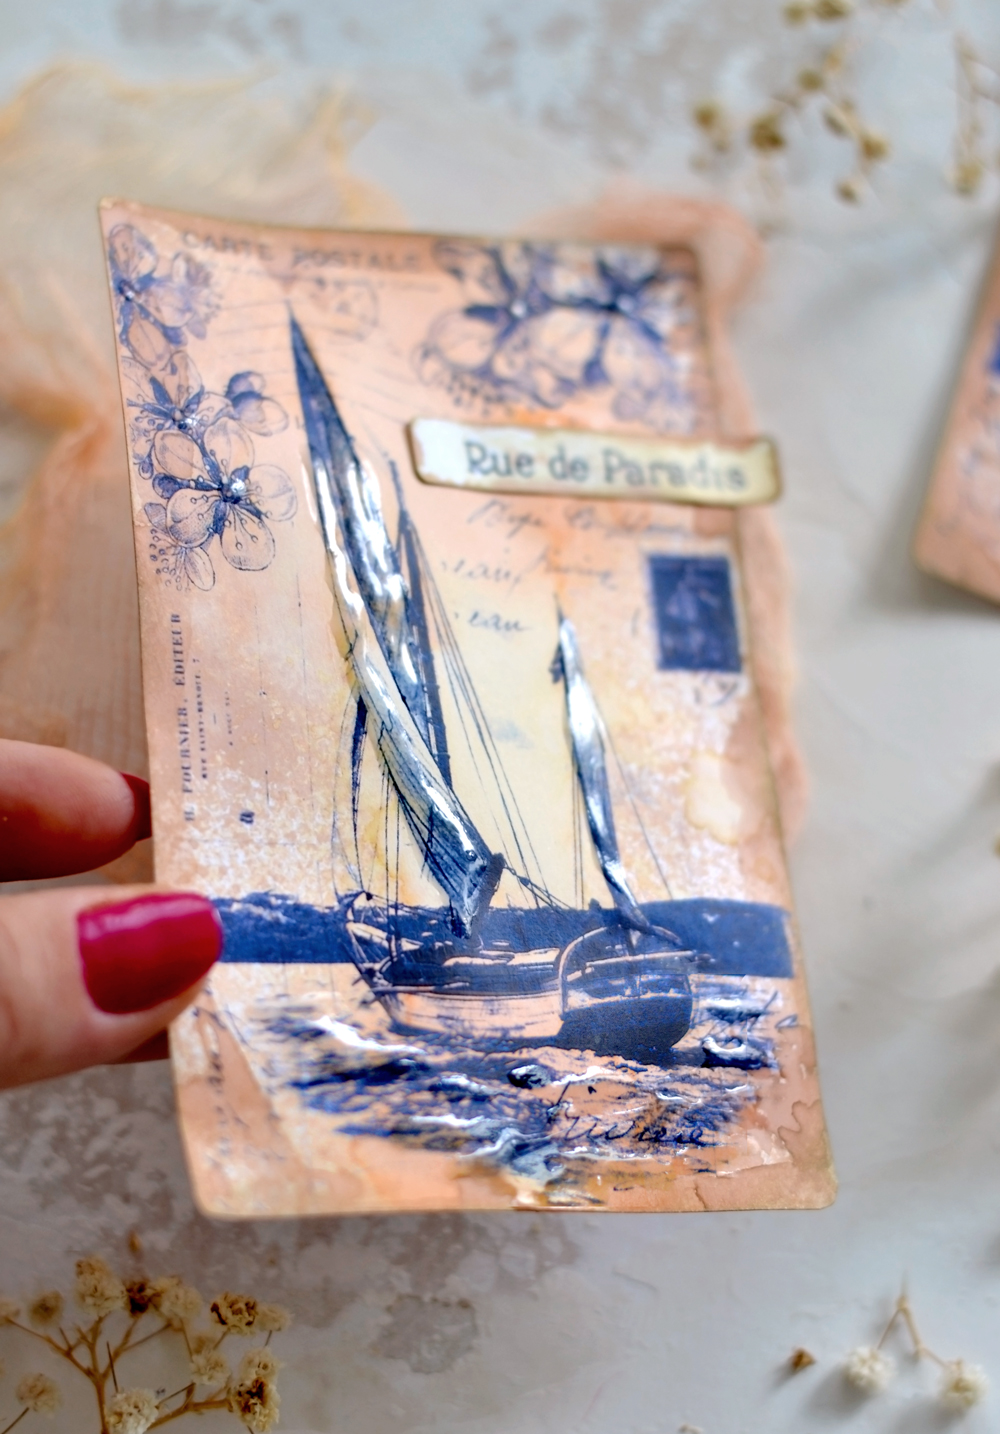
I glued the French separate element on top, then I could have just stopped and enjoy these already gorgeous tags … but I didn’t! I thought about incorporating scrap pieces of cheesecloth as some sort of a 3D element and glue it on the sails, but I felt like that really obscured the beautiful shape of the sails. It had to be something else. So I had this brilliant idea of mimicking the waves of the sea and ‘reinforcing’ the sails with some craft glue! I also added a few glue dots in the middle of the flowers. I knew the white glue will turn clear after drying and I KNEW it was just perfect for what I needed!
At this stage, the postcards don’t speak summer too much and look like they are coming from the snowy North Sea with all that white glue, don’t you think?
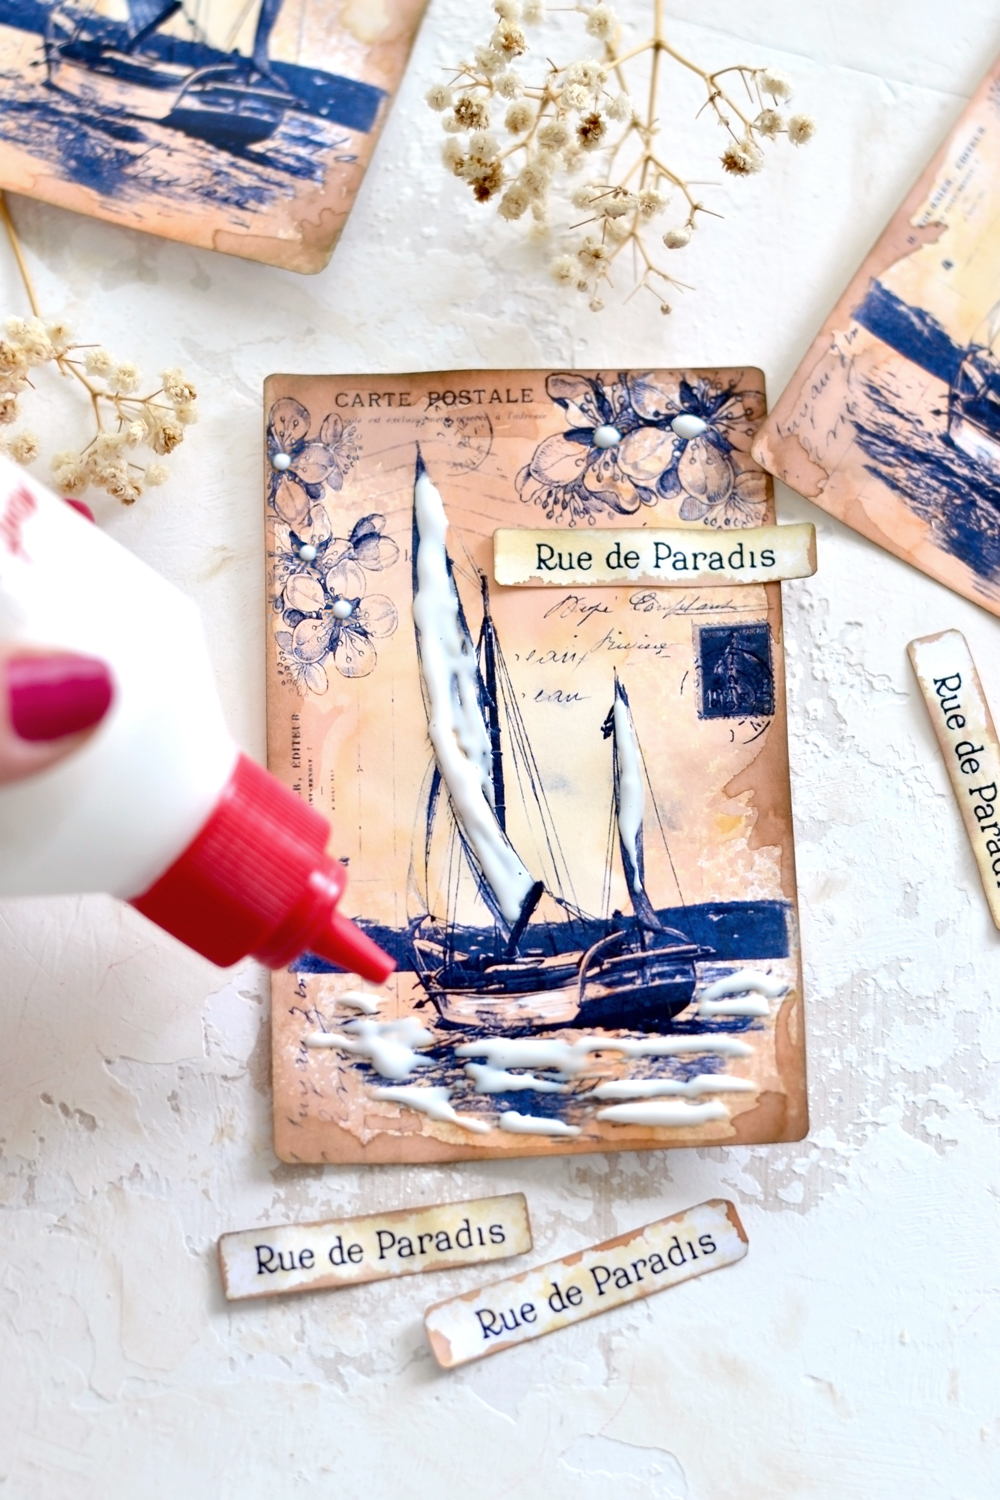
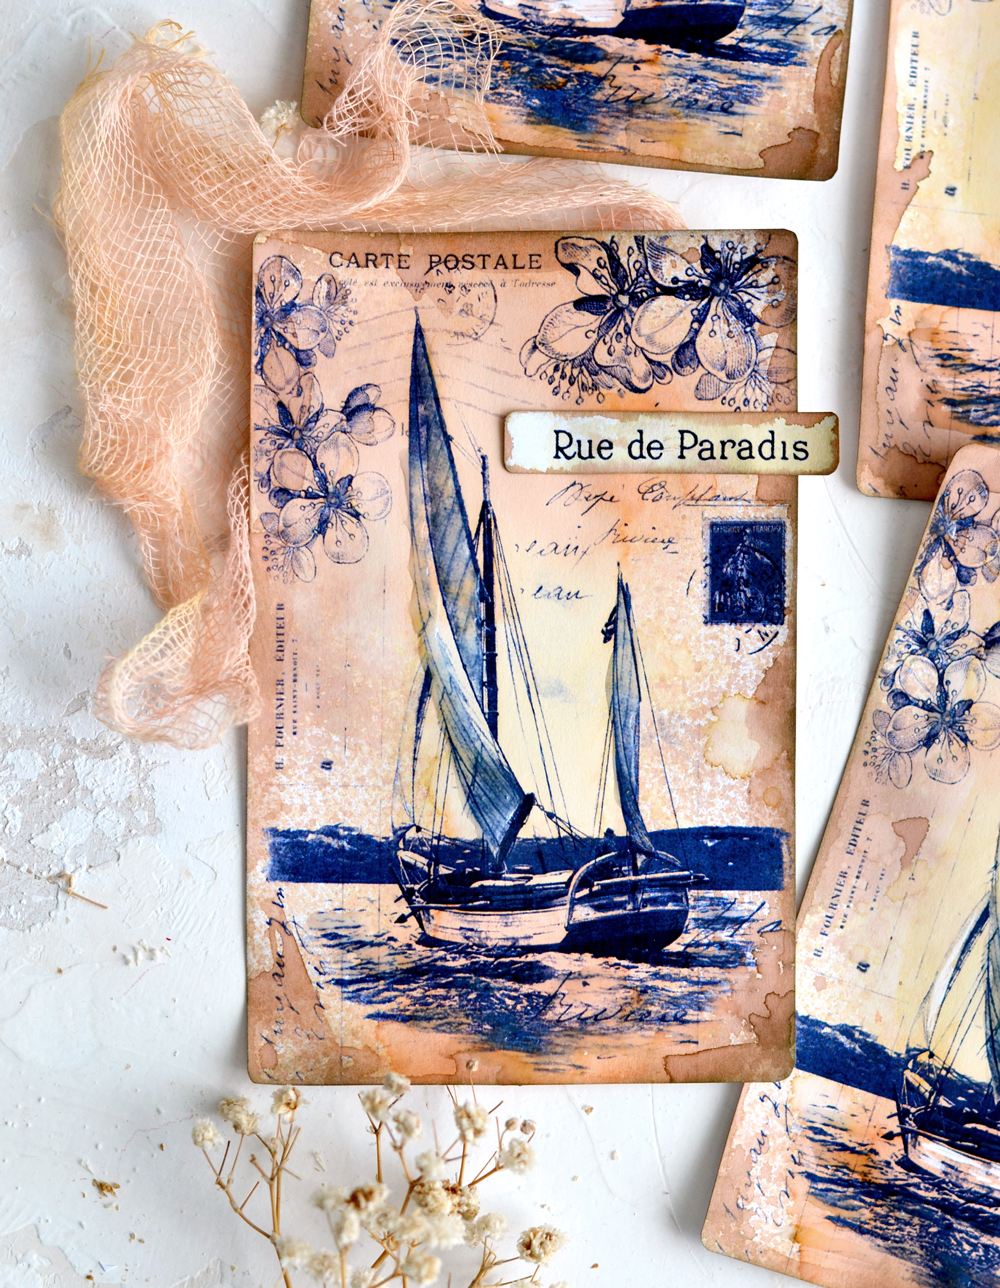
But no worries, the glue will turn crystal clear after drying and will create this stunning 3D effect! Can you believe how realistic it looks?! It took about an hour to fully dry, but I would say it was worth every single second of waiting! I’m pretty sure you could achieve a visually similar effect using clear embossing powder and an embossing pen, but I loved how this simple craft glue also created a super cool raised effect, that feels so realistic even to the touch. Especially on the waves, it’s pretty amazing!
This raised clear glue 3d Effect will be more or less visible, depending on the lighting, but it adds that captivating element of surprise when you are holding or touching the tags.
I hope you will give these DIY Delft Blue Tags a try, you will be surprised how easy it is to make it and how gorgeous the final results are! Use the postcards as tags, include them in your art or junk summer journals (maybe with some of that cheesecloth), display them around your home as mini decorative ‘paintings’, the sky is the limit! And if you are actually visiting the sea or you are admiring a beautiful sunset somewhere on the beach this summer, take the postcards with you and let nature inspire you! Use your watercolors to paint what you see, nature always has a way of inspiring us with its amazing color palette!
 I hope you enjoyed making these lovely Handmade DIY Journal Tags! Be sure and check out my Spinning Eiffel Tower Tags HERE.
Happy crafting,
Diana / Dreams Factory
Junk Journal Video with Ocean Theme
You might also enjoy taking a tour of this Junk Journal. These tags would be perfect to use in a project like this!



Dr. Pamela Hoppers says
I learn something new every minute! The white glue trick is genius! Wow! Thank you! Beautiful tags, will make them soon and use that trick on lots of things now.
Karen Watson says
It is such a good tip isn’t it? I’m glad you found it useful! ⛵
Patricia says
I love the delft blue! So gorgeous. I’ll use these to make a couple of greeting cards. Thanks for sharing these!
Karen Watson says
Great idea Patricia! These would make lovely greeting cards! ⛵
Jacqui says
Wow! I’m I’m love with these and love all things French! I only have an ink jet printer. Can I still make them?
graphicsfairy says
Thanks Jacqui, they are lovely as everything Diana does is! She states you need a laser printer for these, you can always have it printed for you at your local office supply store:) Good luck!
Cynthia says
Thank you! I just printed the pictures and am ready to craft.
Karen Watson says
Yay! Have fun making these Cynthia! ⛵
Wendy Dewar Hughes says
Thank you for these beautiful designs. I love what you did with them. You could also use watercolors to add touches around the edges or on the images.
Karen Watson says
Great idea Wendy! ⛵
Sara Rodriguez says
I’m in love with your beautiful creation and I’m stepping out of my comfort zone and trying this ! I’m naturally drawn to ships and sea this triggered me to at least try it instead of just wishing I could do it Thank You for inspiring me
Karen Watson says
Yes, do give these a try Sara! A perfect Summer project! ⛵
Agnes says
This is so lovely. I’m gonna try to make it this beautiful too! Thank you for sharing this creativity!
Karen Watson says
We’re glad you enjoyed Diana’s project Agnes! 😊
Kimberly S says
These tags are gorgeous; I cannot wait to try them out! Thanks for sharing!
Karen Watson says
Have fun making these Kimberly! 😊
Rose says
Beautiful. Looking forward to using them. Thank you.
Karen Watson says
Have fun creating these Rose! 😊
Kerry Jayne says
Thank you for these wonderful sailboat cards. I am going to try to reproduce them. I live about a mile and a half from some tiny islands called the Isle des Paradis so they are especially appropriate. In fact I may change the wording to Isle.
Karen Watson says
We’re so glad you enjoyed Diana’s project Kerry. I will have to google Isle des Paradis, that sounds lovely! 😊