How to Make Inkjet Prints Waterproof
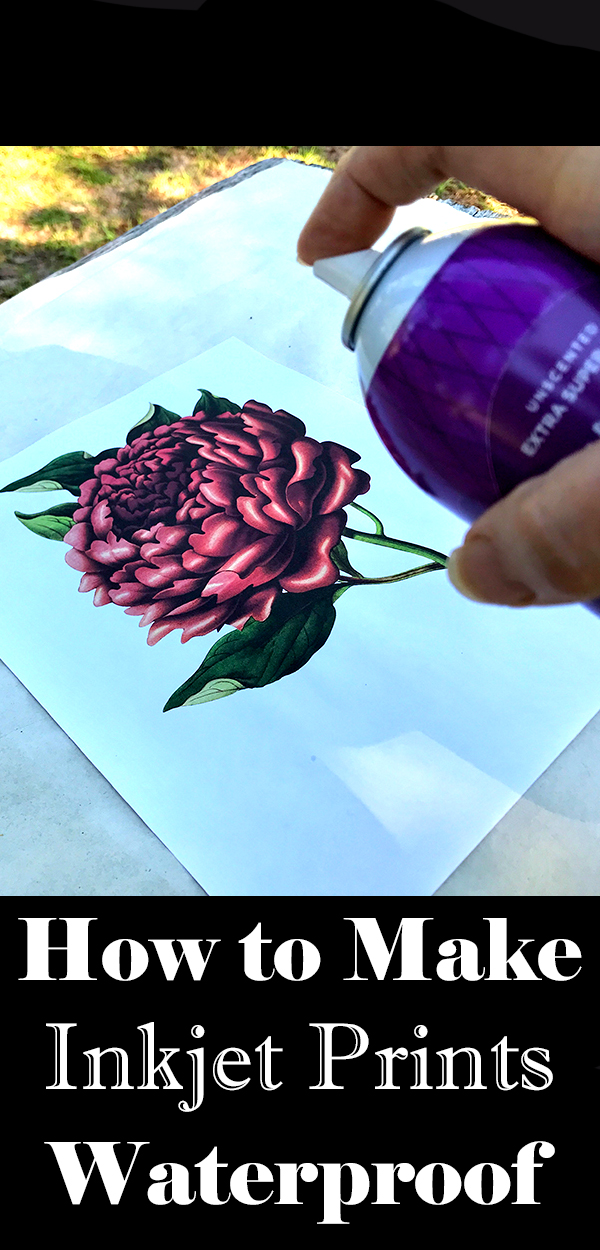
Let’s learn how to make your inkjet prints waterproof, or at least water resistant, with these simple and inexpensive methods. Hello my crafting fairies, it’s Rebecca from the Bookery with some useful tips. Have you ever tried to paint over an inkjet print and the ink smeared? Did the colors run when you applied a liquid glue to one of our Graphics Fairy images? I say, “Never again!” In this simple how-to. I will share my favorite ways to prevent this unfortunate mishap from happening again as we learn how to make your inkjet system, or bubble jet prints, safe for gluing, decoupaging, Coloring and painting.
Waterproofing TGF Prints
If you’ve been wondering How do you Make Inkjet print paper waterproof … then this post is for you! Many of us own inkjet printers like Canon, Epson and HP inkjet printers etc. Unfortunately, unless your printer prints with Pigment Inks they are most likely not waterproof ink which can be tricky for crafting. And printers with ink cartridges that are Pigment Inks are getting to be nearly impossible to find.
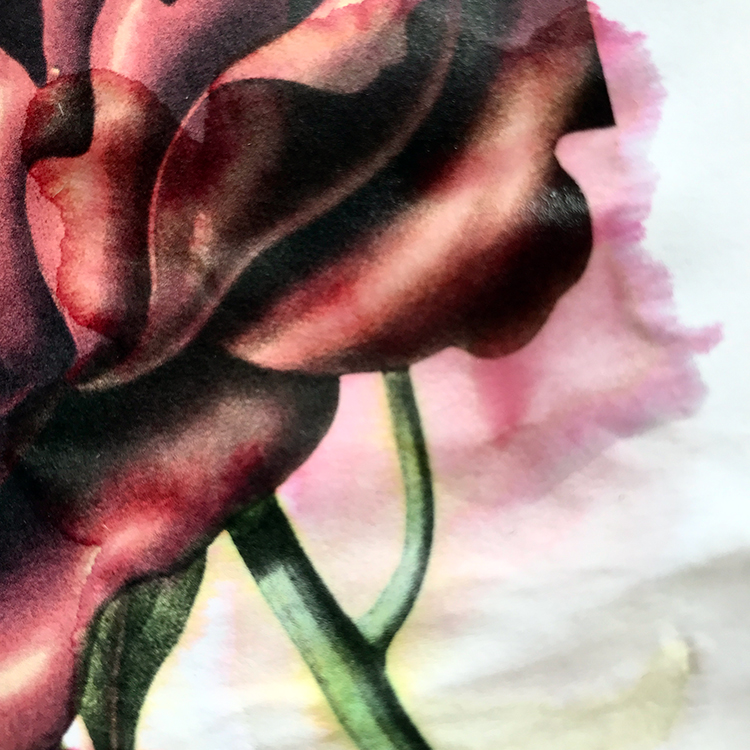
It is essential that you protect your crafting projects from bleeding and smearing (see above) as you are working on them. Let’s say you have found a lovely image here on The Graphics Fairy and you want to paint it with watercolor or markers. You print it on your inkjet printer. STOP!!! Protection is needed when working on top of inks from an inkjet printer.
NOTE: Although sometimes described as being waterproof, no printer inks are technically 100% waterproof. Some are water-resistant, which minimizes damage to inkjet prints. Therefore, you need some ‘waterproofing technique’ for maintaining your inkjet printer crafting items for long-term durability. Below is an example of a bleeding inkjet print that has not been waterproofed.
Several types of aerosol sprays that offer strong, durable coatings with ‘waterproofing’ qualities provide superior protection for your paper crafts. These act as sealers of the pigments on your inkjet paper. Sprayed directly onto your print, it provides a transparent (clear) barrier against additional elements once dry. They are easily found at Craft, Home Improvement, and Department stores. Included are clear acrylic, clear polyurethane, and lacquer sprays.
All are relatively inexpensive and come in finishes like matte, satin, and gloss. Although not specifically for inkjet paper, I have found them necessary additions to my crafting tools.
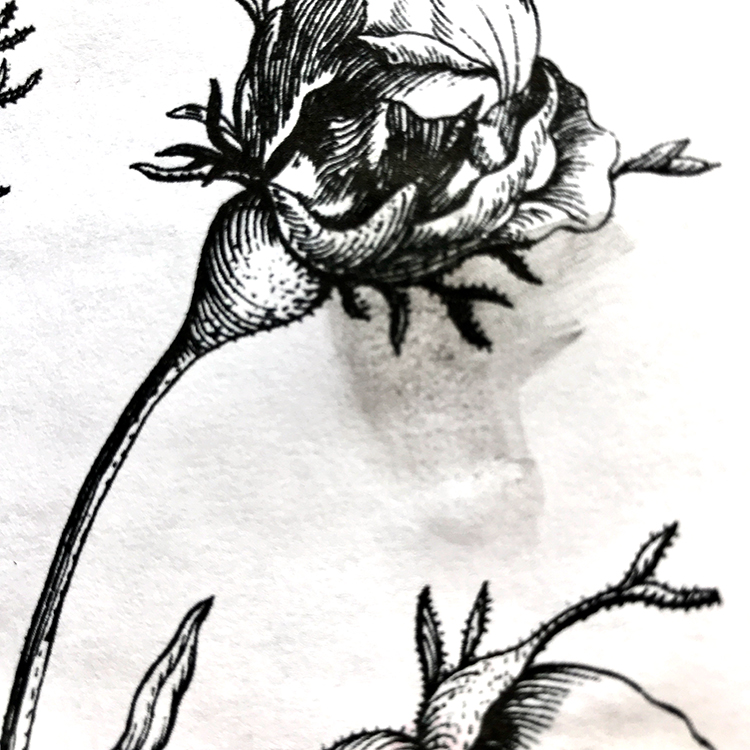
Black and white prints can smear as well:
Alternative Way to Print-Done for you!
A Laser Print is pretty much waterproof without coating it with a sealer. As another option, you can put your TGF prints on a thumb drive and take it to Staples, Office Depot, Kinkos, etc. and have them print it on a Laser printer for you. It should only cost you a few cents per copy so it is pretty cost-effective and is a great alternative if you don’t mind driving there!
Basic Materials
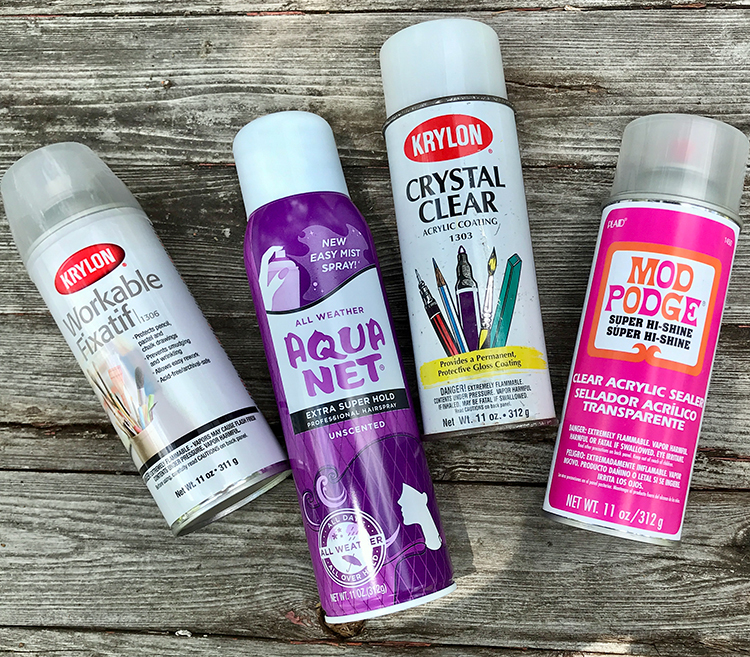
How do you make a printout waterproof? Let’s now look at a few splendid spray options for waterproofing printer inks. Each of these are also considered to be ‘workable,’ meaning that the artist can paint, draw, or glue on the protective coating once it is cured.
- Krylon Crystal Clear Acrylic Coating The clear acrylic finish produced is a smart choice for waterproofing inkjet prints. In addition to moisture-resistance, it also protects well against UV light rays and has anti-yellowing properties. NOTE: The glossy sheens may cause some media, like watercolor, to work differently.
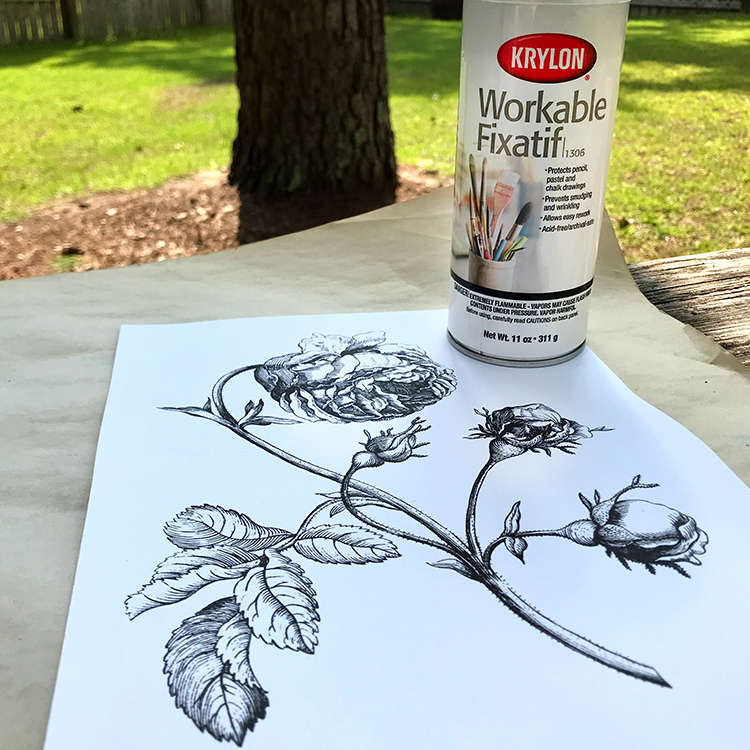
- Workable Fixative Spray (several brands) This type of spray is known as a fixative because it is used to ‘fix’ or set art media permanently. It is great for pastels and chalks especially. Fixatives are considered a very versatile option. They also provide UV protection and anti-yellowing.
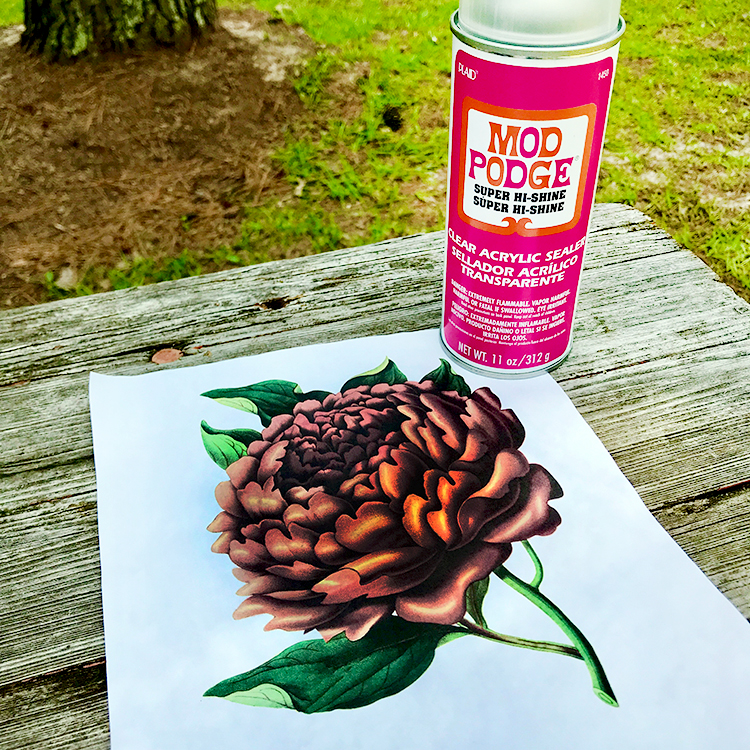
- Mod Podge Gloss Clear Acrylic Sealer Unlike the widely used Mod Podge glue, which is not waterproof, there is a Mod Podge brand Spray Clear Acrylic Sealer for waterproofing print media and decoupage paper creations. It dries quickly to the touch with no runs or drips.
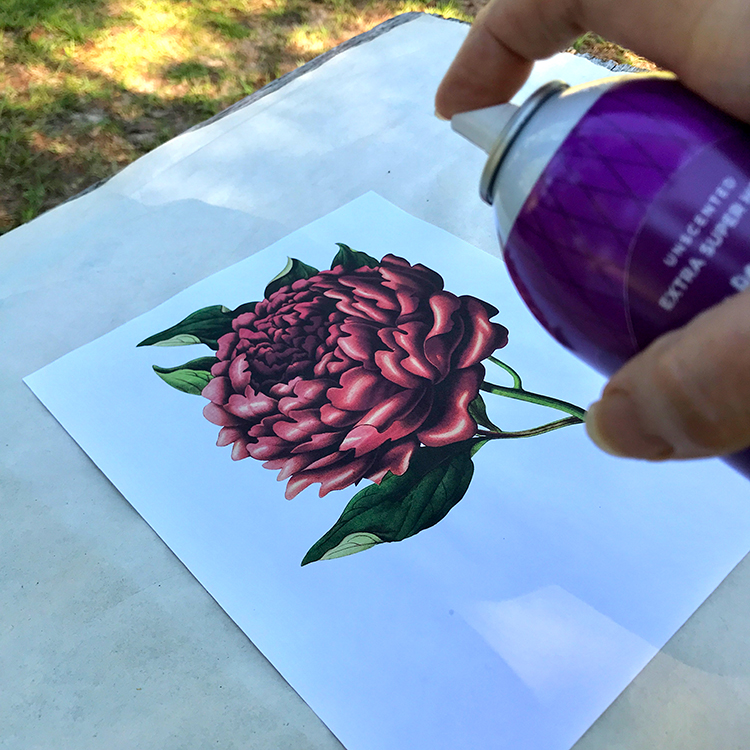
- Hair Spray (several brands) Good old fashioned aerosol hair spray is a great go to waterproofer in the craft room. Sprayed lightly, in several thin coats, hair spray provides a quick transparent barrier for projects using inkjet prints.
The Waterproofing Methods
Protect the work surface before spraying. The spray can travel a good distance, so I usually use a large sheet of newsprint or a large trash bag. Always test the method on a waste print before application. You want an even coat over the entire print. TIP: To prevent excessive build up and drips, apply several think coats rather than one thick coat!
NOTE: Some of the sprays are toxic and/or flammable, so safety precautions are recommended. I usually opt for an area outdoors on a non-windy day. You can spray in a large, well-ventilated indoor space near an open window. Chemical-resistant rubber gloves, safety glasses, and protective masks are considerations. Some crafters fashion a spray booth out of a cardboard box with one side open. Read and follow the manufacturer’s directions for all the products.
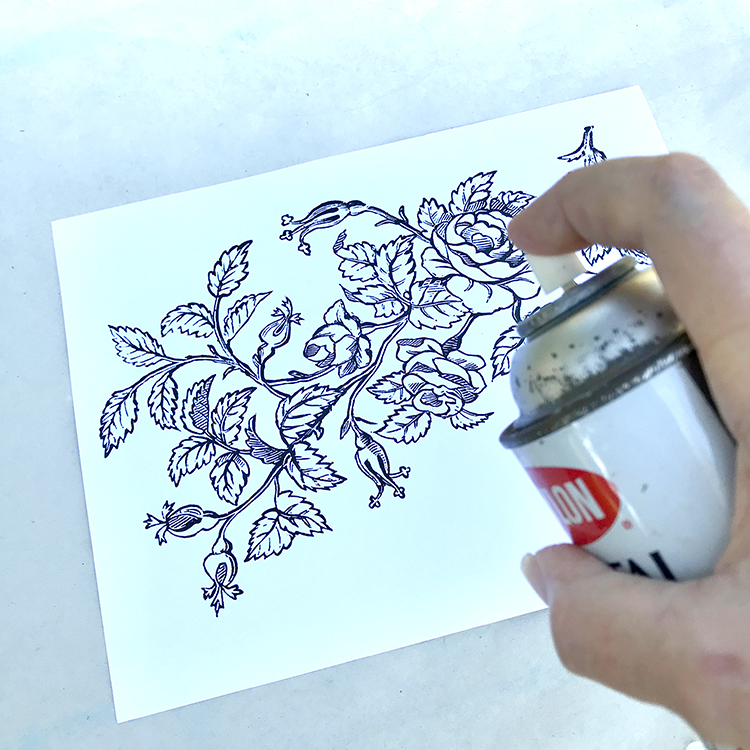
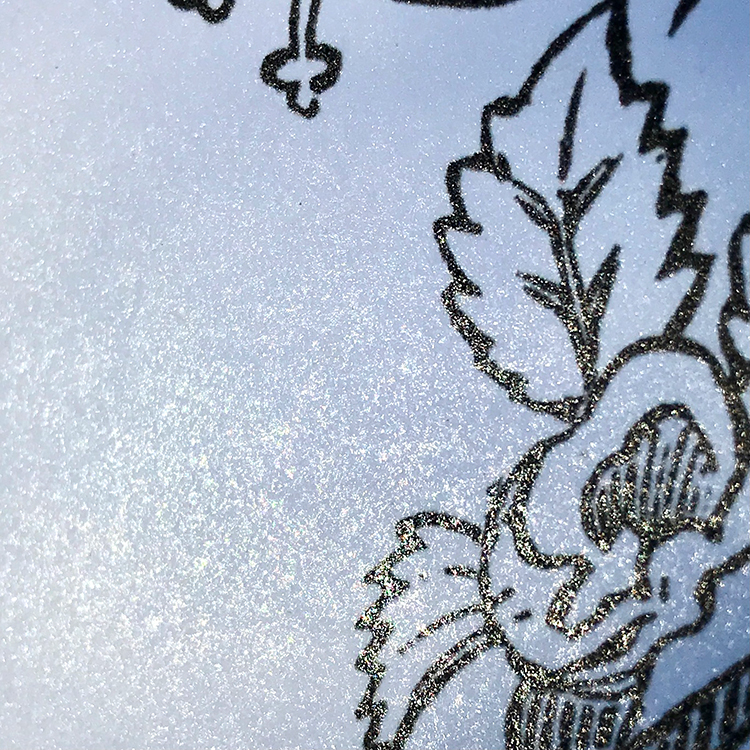
I spray one coat vertically and another horizontally. As you can see below, the sprays leave very tiny droplets of sealer on the surface. If you just spray one coat, some areas could be missed and activate when wet.
Krylon Crystal Clear Acrylic Coating This waterproofing technique requires practice because multiple light layers (2-3) are typically applied, with each layer being very light to prevent beading up or bubbling. This will really help it to get into the pores of the paper.
- Attach print to work surface.
- Shake the can according to manufacturer’s directions.
- Hold the can 10″-12″ away from print. Begin spraying off the side of the print and move onto the paper. This prevents a glob at the edge.
- Move quickly back and forth covering the entire print.
- Allow 3-5 minutes of drying time between each layer.
Allow the print to dry for several minutes (15 minimum) before adding additional material or mediums. NOTE: The glossy sheens may cause some media, like watercolor, to work differently.
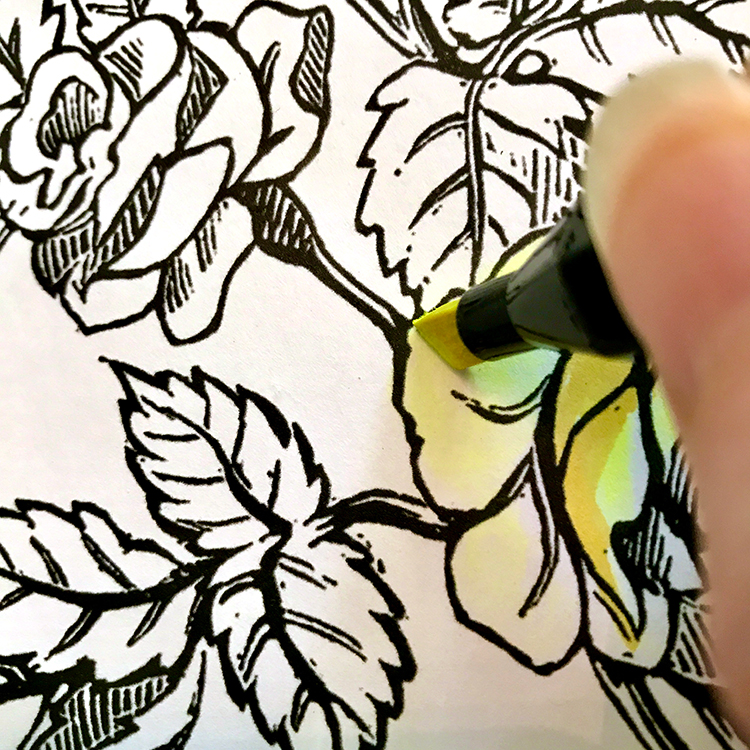
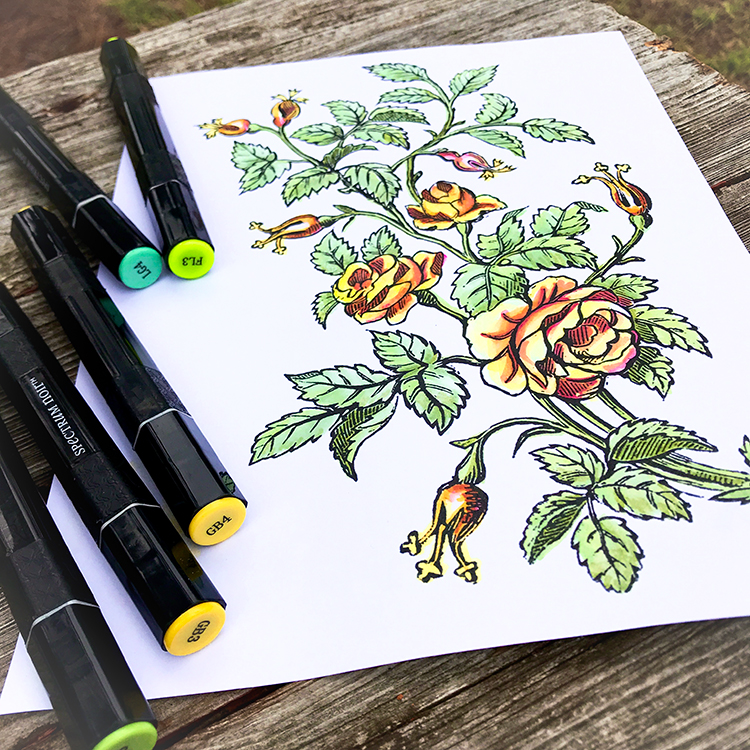
 As you can see below, markers work on this waterproofed print without smearing:
 Workable Fixative Spray (several brands) The application of two coats is typically recommended, allowing 3-5 minutes of drying time between each layer.
- Shake the can according to manufacturer’s directions.
- Hold the can 10″-12″ away from print moving the can constantly back and forth covering the entire print.
Allow to dry according to manufacturer’s directions between coats and before adding additional layers.
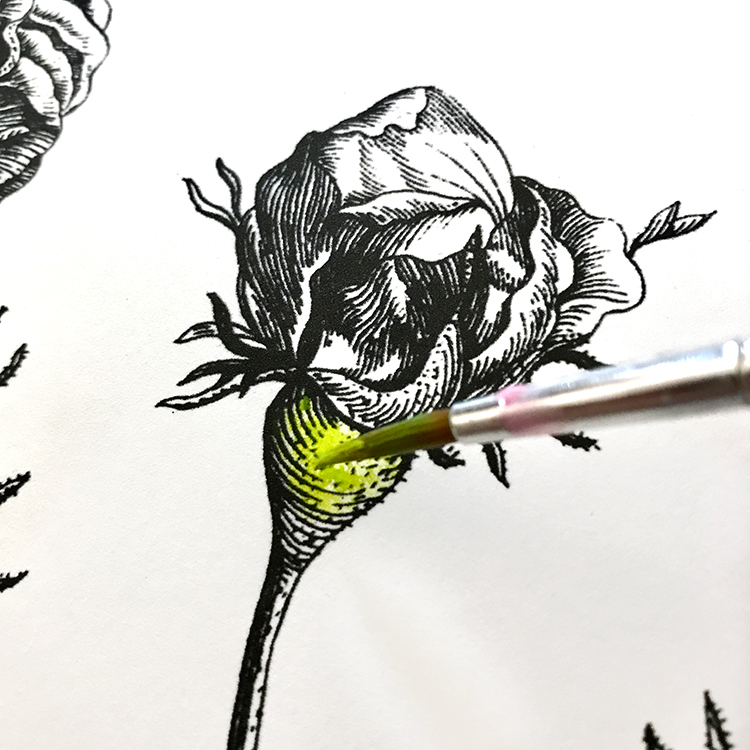
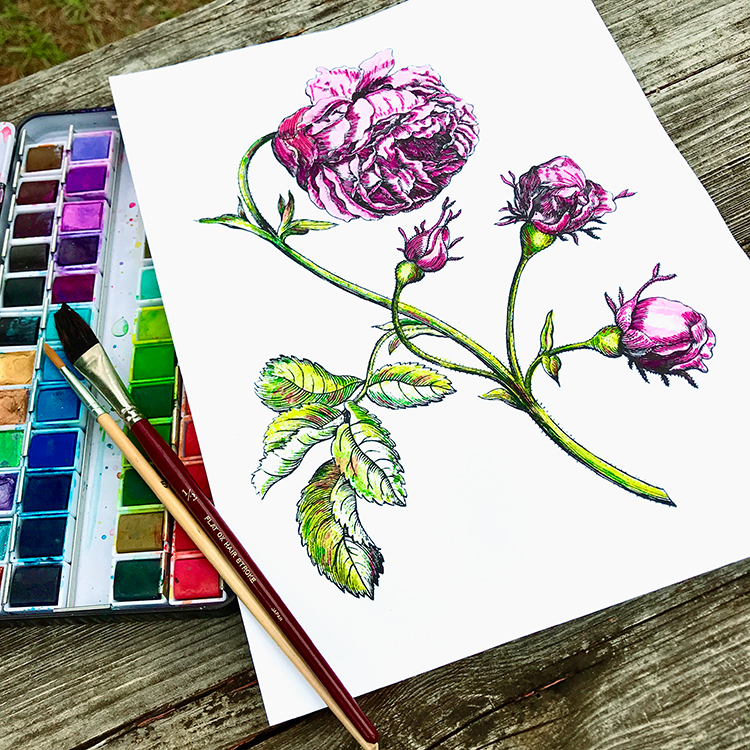
 Here you see watercolor being applied over the fixative. There is no running ink as now you have an inkjet ink waterproof, or water resistant, print:
Mod Podge Gloss Clear Acrylic Sealer Two coats of spray sealer are typically recommended. I spray one coat vertically and another horizontally, allowing 3-5 minutes of drying time between each layer.
- Shake the can according to manufacturer’s directions.
- Hold the can 10″-12″ away from print moving the can constantly back and forth covering the entire print.
Allow to dry according to manufacturers directions between coats and before adding additional layers.
 Hair Spray (several brands) Believe it or not Hairspray can be a protective sealer and it’s certainly cost effective, plus you may already have some in your bathroom!
- Spray 10″-12″ away from print. Practice first. NOTE: Some hair sprays are more wet than others and may cause the ink to run if sprayed too close or too much at a time.
- Spray several (at least 3) coats moving the can quickly back and forth over the printer ink.
- Allow 3-5 minutes of drying time between each layer.
- Allow to dry 10 minutes before adding additional material or mediums.
Below you see an example of holding the spray too close to the paper while spraying. The paper is way too wet:

Example Color Inkjet Print
The sealers will protect The Graphics Fairy’s color artwork prints as well. When you apply any of the waterproofing methods over top of our color images that have been printed on an inkjet printer, they will not run or smear. Once dry, they are ready for glue, collage, mixed media, painting, or drawing.
Of course your other option would be to purchase a Laser Printer you can find our post about that HERE, offering water-resistant inks with out the need to seal your prints, templates or posters. And you can find my Huge Comprehensive post about Topcoats and Sealers HERE.
I hope you had fun exploring the How to Make Inkjet Prints Waterproof with me! They are a wonderful tool for any artist who likes layering and layering papers. I also create Photoshop Elements tutorials and craft project videos over on The Graphics Fairy Premium Membership site. You can find even more of my books, art, and whimsical shenanigans on The Bookery.
May joy be with you all,
Rebecca
Hello! Are you new to The Graphics Fairy?
Welcome, I’m so glad you’re here! Browse around to find thousands of Stock Images that you can use in your projects or designs! I post new Vintage images every day, as well as projects and DIY’s too! Need more info about my site? Try my FAQ page.



Godiva says
I only have an inkjet printer.
I have found that when I print for decoupage or other crafting, you can take an old iron (NO WATER OR STEAM) and about 5 minutes after printing, place a single sheet of brown paper (paper bag) on print and iron gently.
I set my temp to the cotton setting. This helps set the ink so it won’t run when you start to decoupage.
I learned this from my grandmother when I was young. She used to dye clothes with homemade dyes and so that they would run when washed, she would dry them in the hot Texas sun on a clothes line and then bring them in and iron them with a very hot iron placing a brown paper bag between the clothes and hot iron.
It worked. The dyed clothes never ran when washed.
Karen Watson says
Wow! Thanks so much for sharing that great tip! I have not tried that before. So good to know!
Connie Griffin says
Thank you , I would love to give this a try!
Karen Watson says
I’m glad you found it useful Connie!
Beverly Storer says
I want to express my gratitude for the tips and products that can be used to make ink jet prints waterproof. I’m VERY sure this tip will be useful to hundreds of people. Thanks Again.
Karen Watson says
Thank you Beverly, I’m so glad you found it helpful! I’m not sure why I didn’t think of this one before, I think it will give some people more options for sure. Rebecca did a great job putting it together for me. 😊
Madelin C. Wolf says
Thanks for the great article! I have pump-spray Mod-Podge sealer in matte and gloss. Will they also work with ink-jet prints?
Karen Watson says
Hi Madelin, You could give it a try and see. My guess is that it might be difficult to get light even coverage with a pump spray. But worth experimenting with since you already have it and pretty inexpensive to print something out and try with it. If you try it please come back and let us know your results, I’m sure that info would help some other crafters as well! 😊
Mary says
Thank you for this great article! I have been using Krylon Workable Fixative for years on my ink jet printed images. The fixative goes on clear and dries to a matte finish. After my 2 coats have dried, which only takes about 20 minutes to be safe, I can successfully decoupage the image onto glass, wood, etc. I’ve also used this spray on my pastel drawings and it’s worked great. Krylon Workable Fixative doesn’t yellow and is archival safe. I use it on plain printer paper and even tissue paper without any issues. One can has lasted a long time Hope this helps!
Karen Watson says
Thank you so much Mary! We really appreciate your feedback and extra tips. Great point about the pastels too and the tissue paper!! 😊