DIY Butterfly Wall Decor
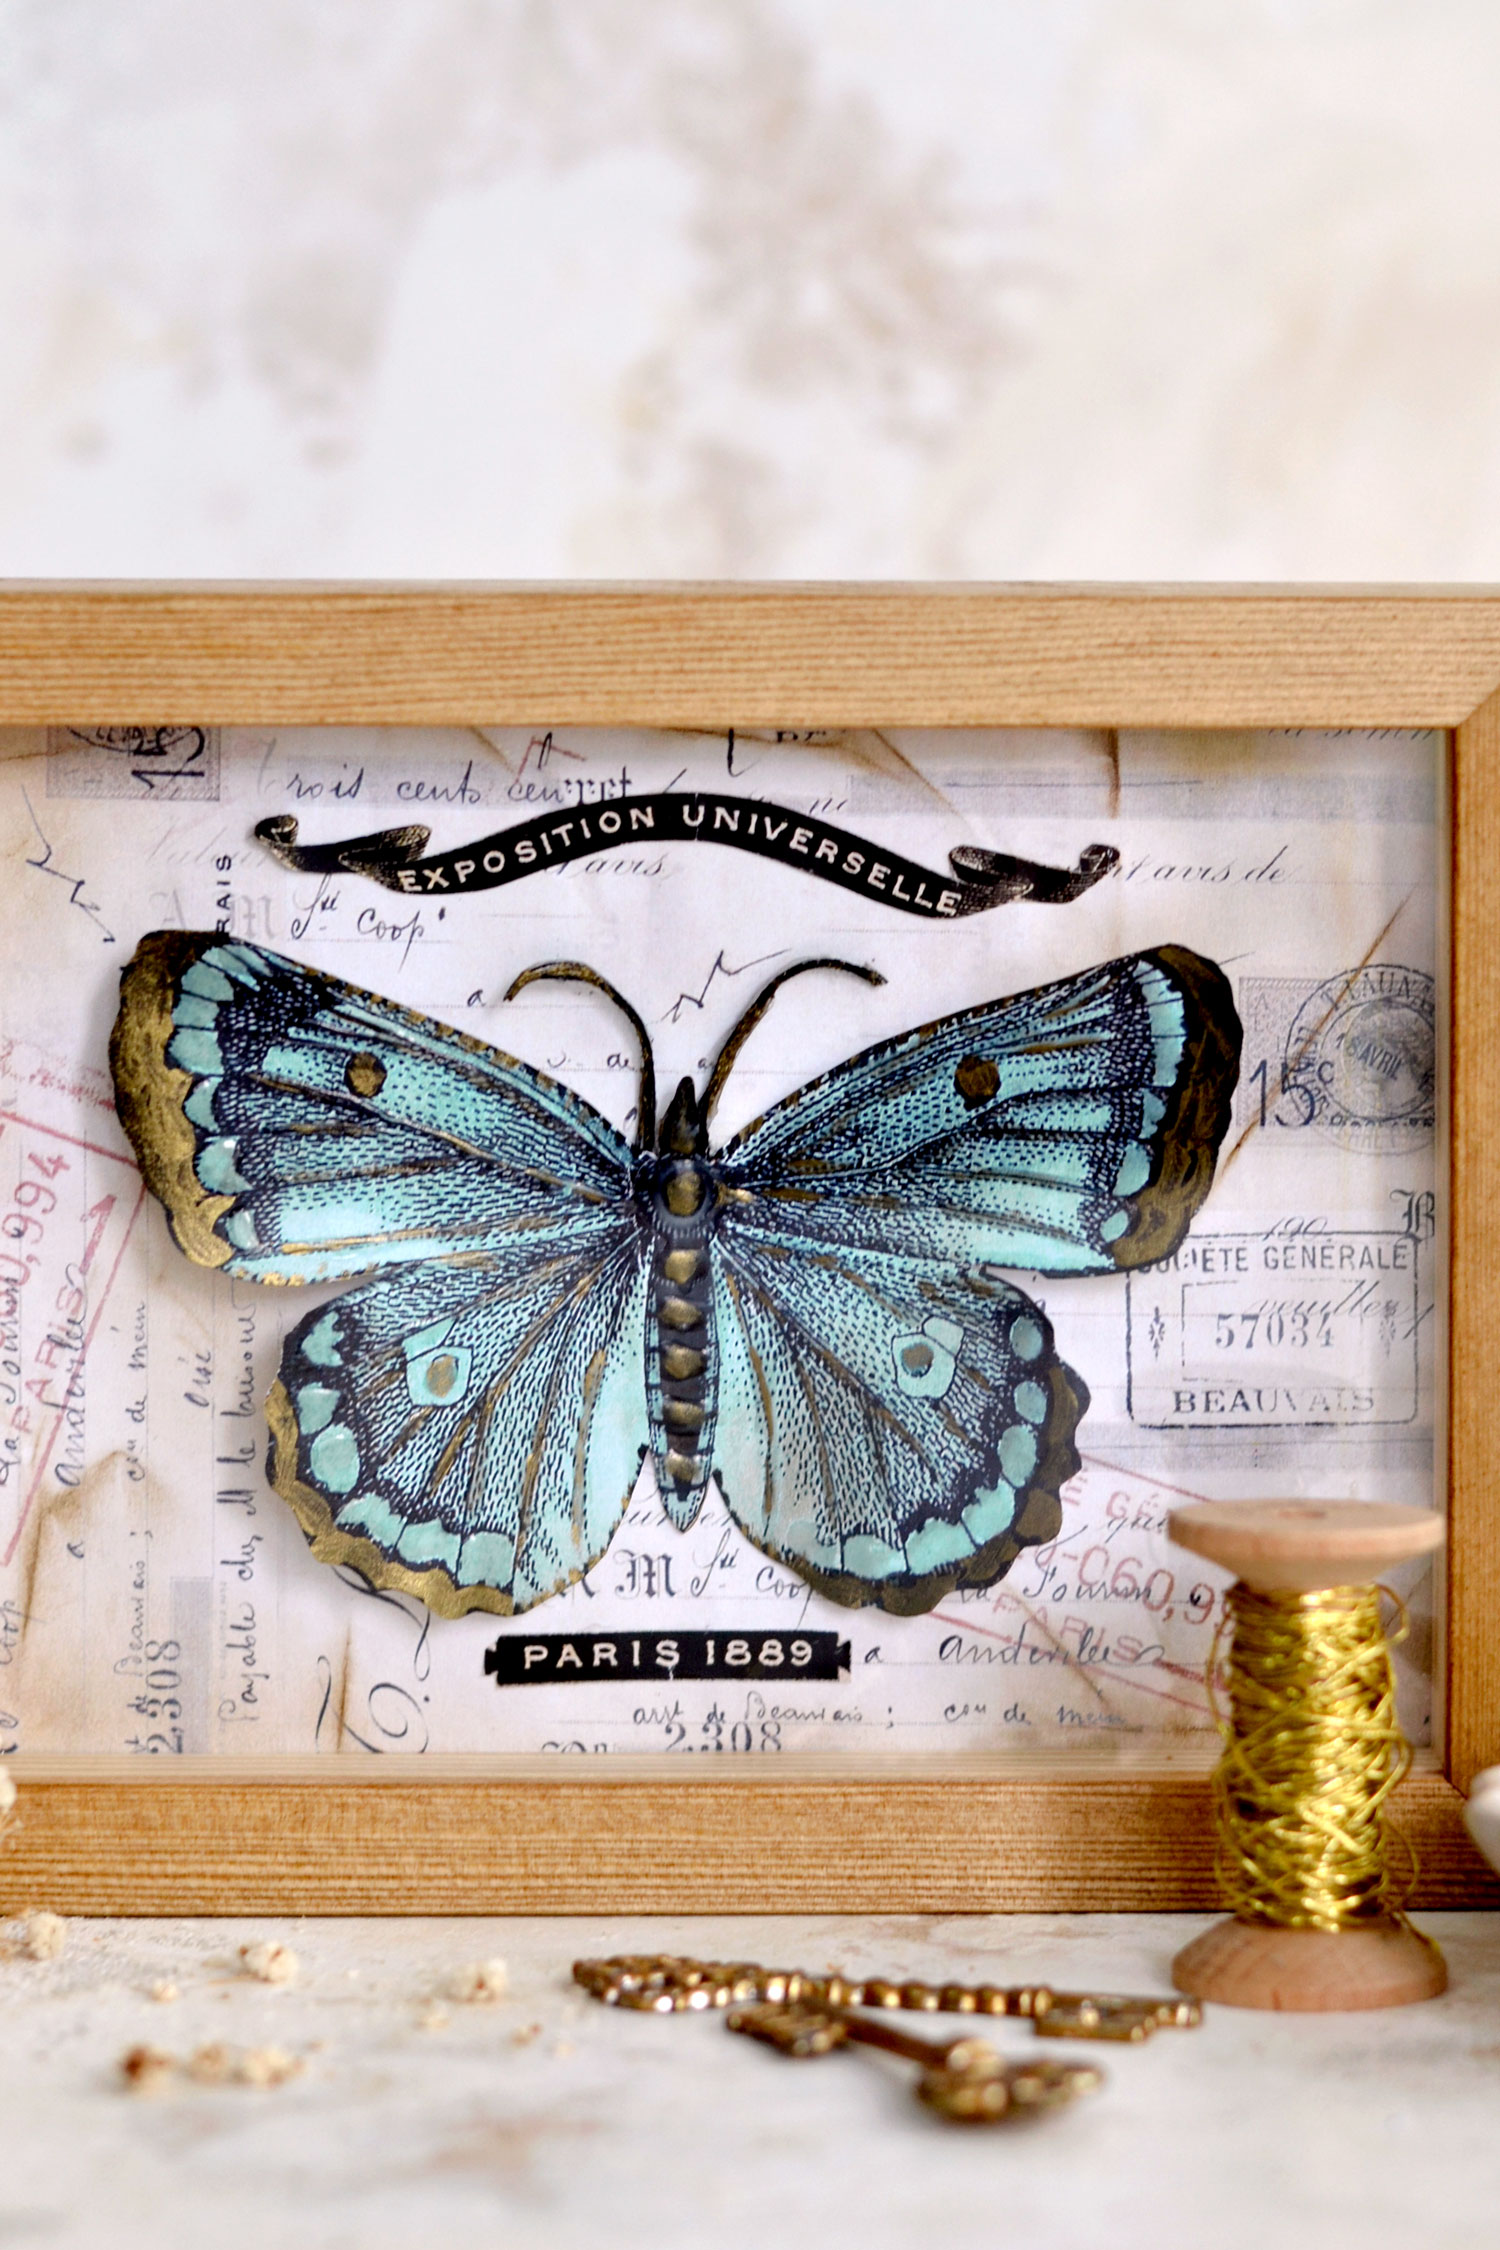
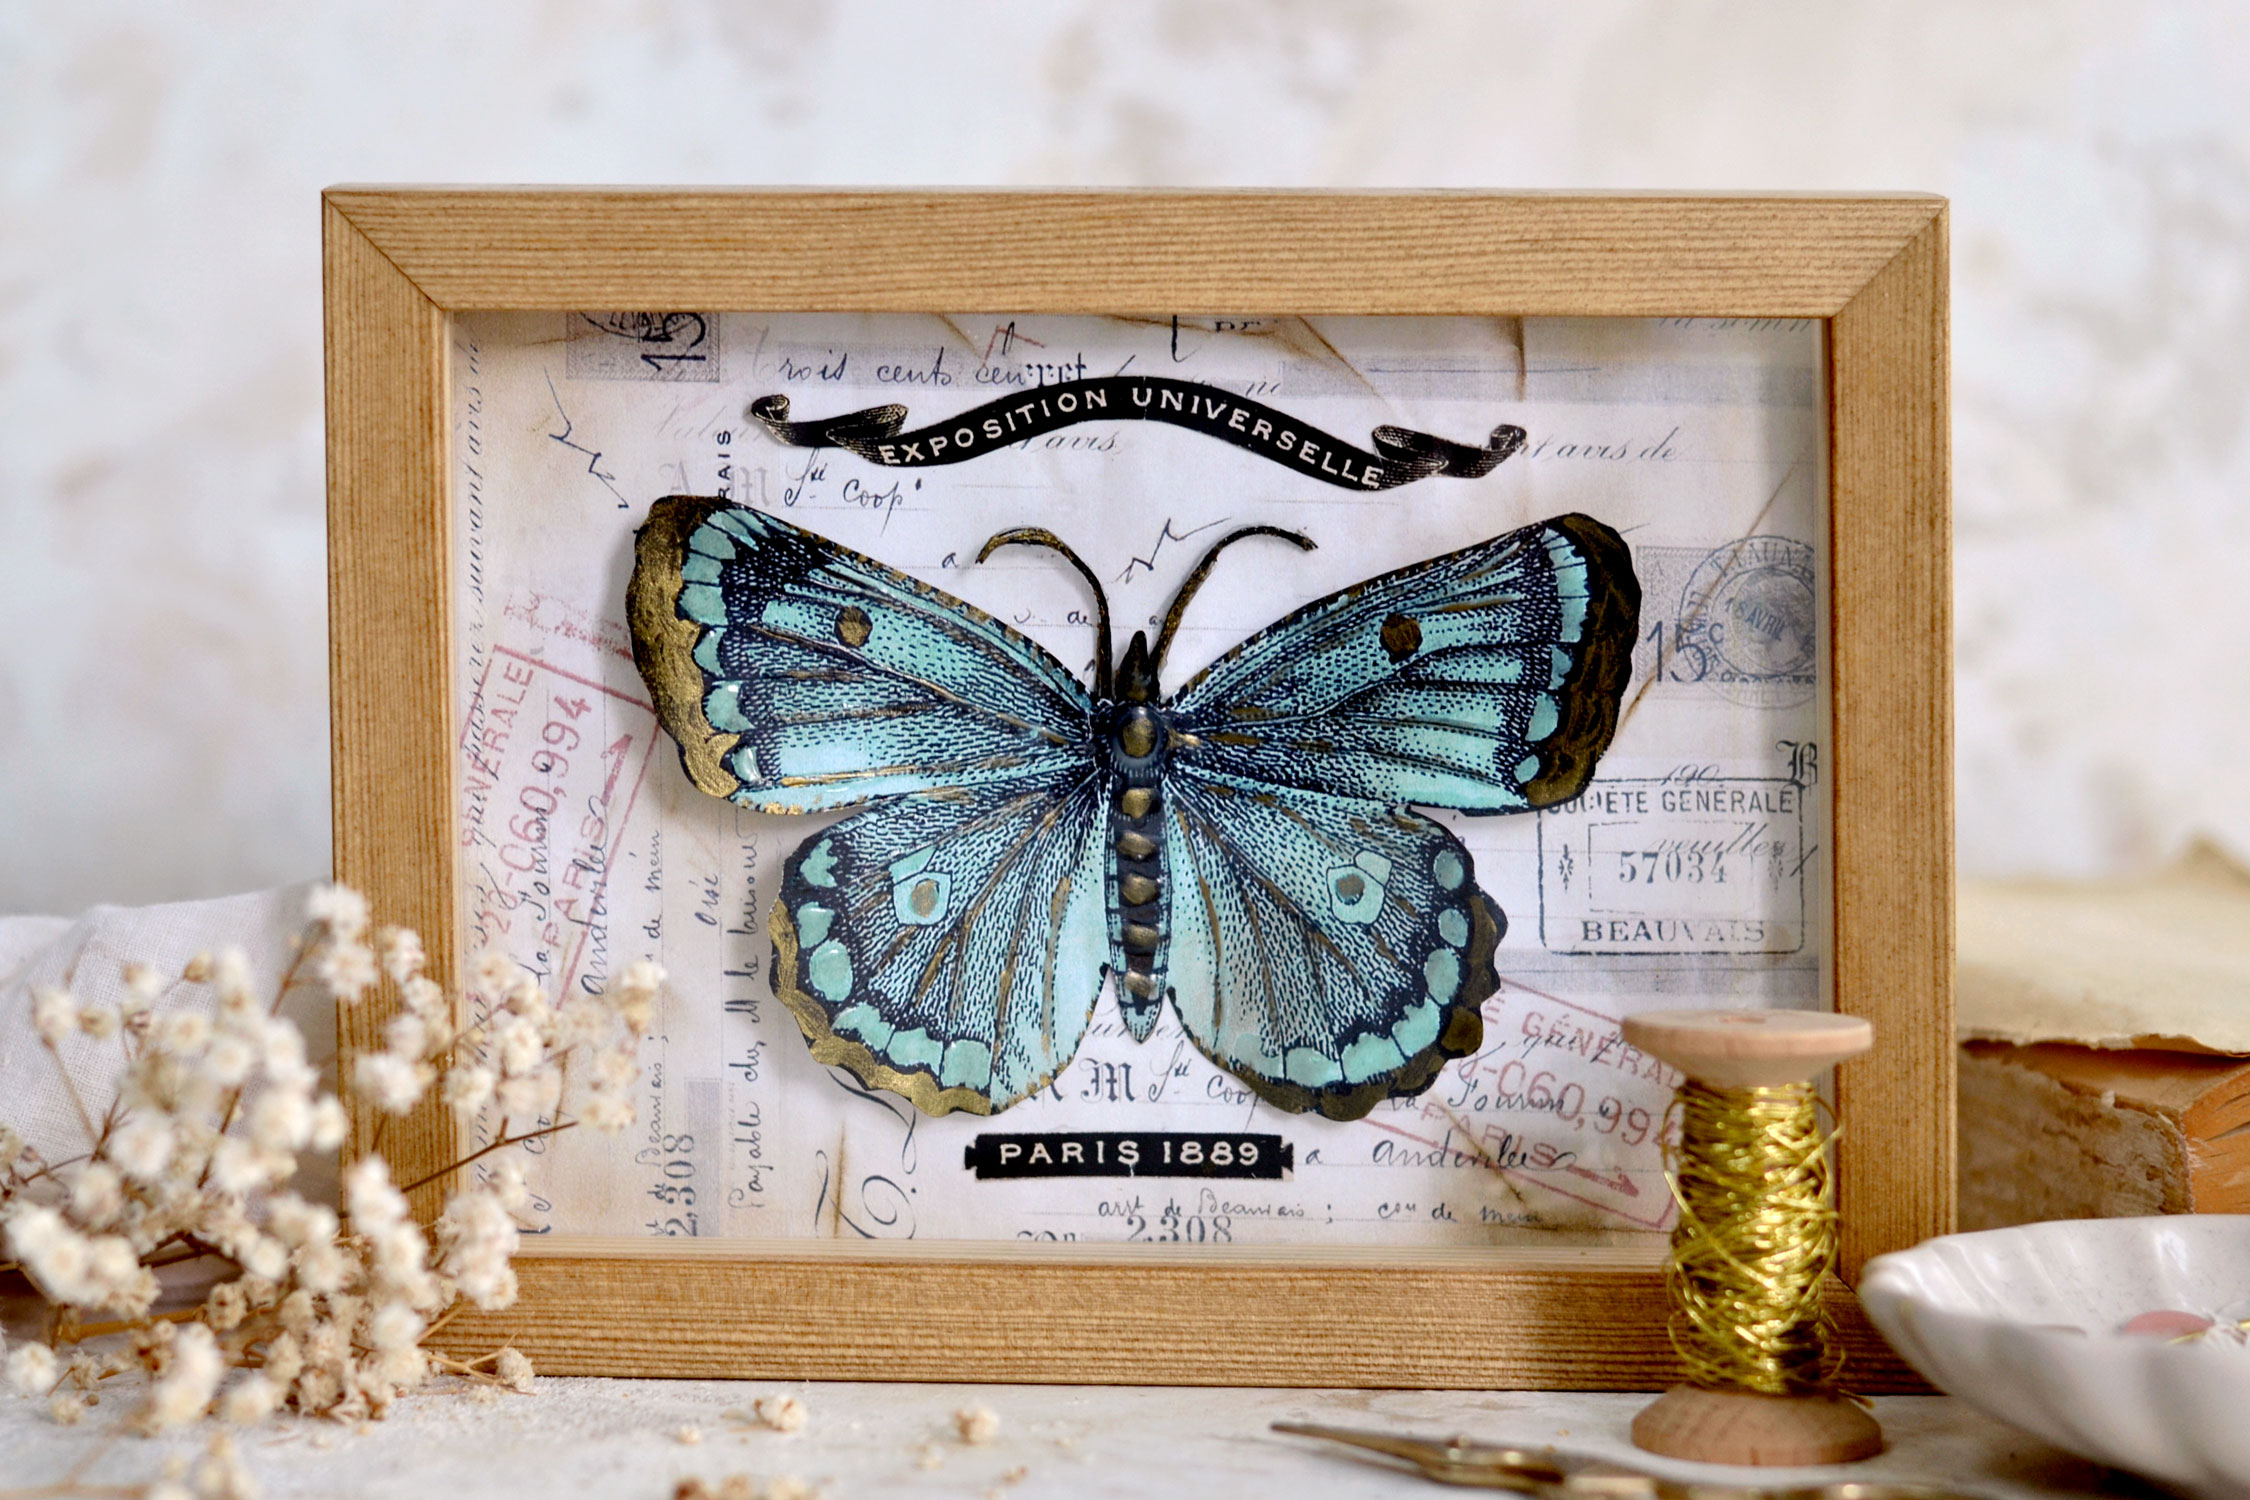
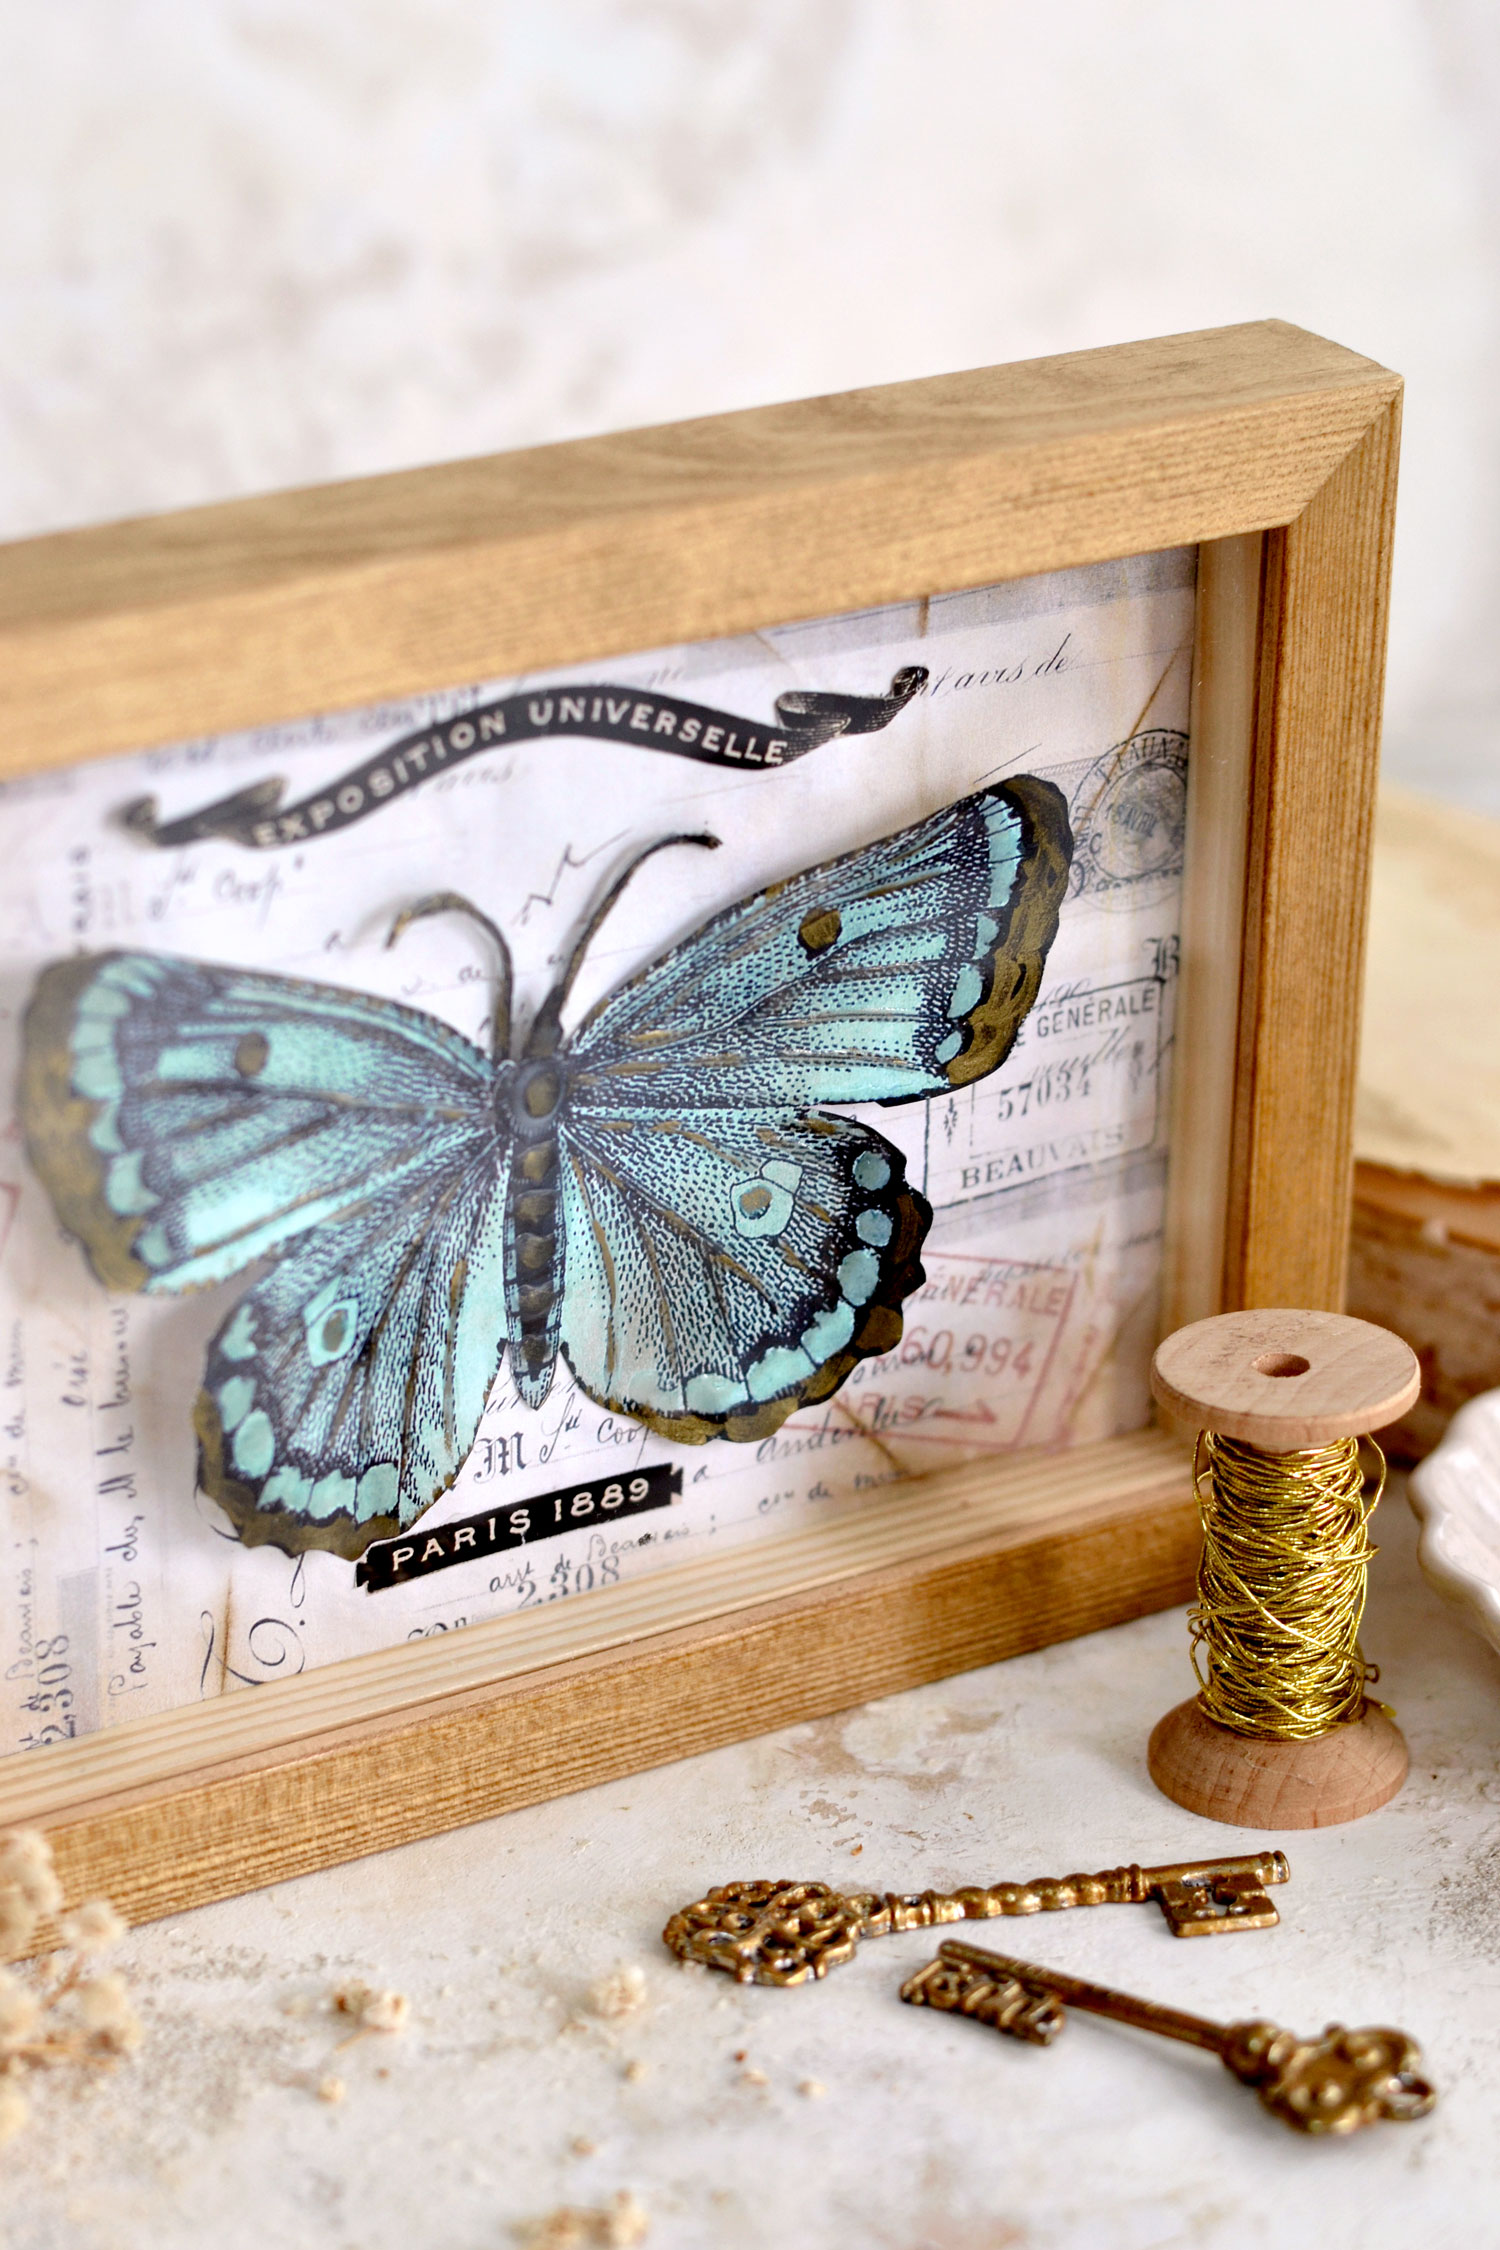
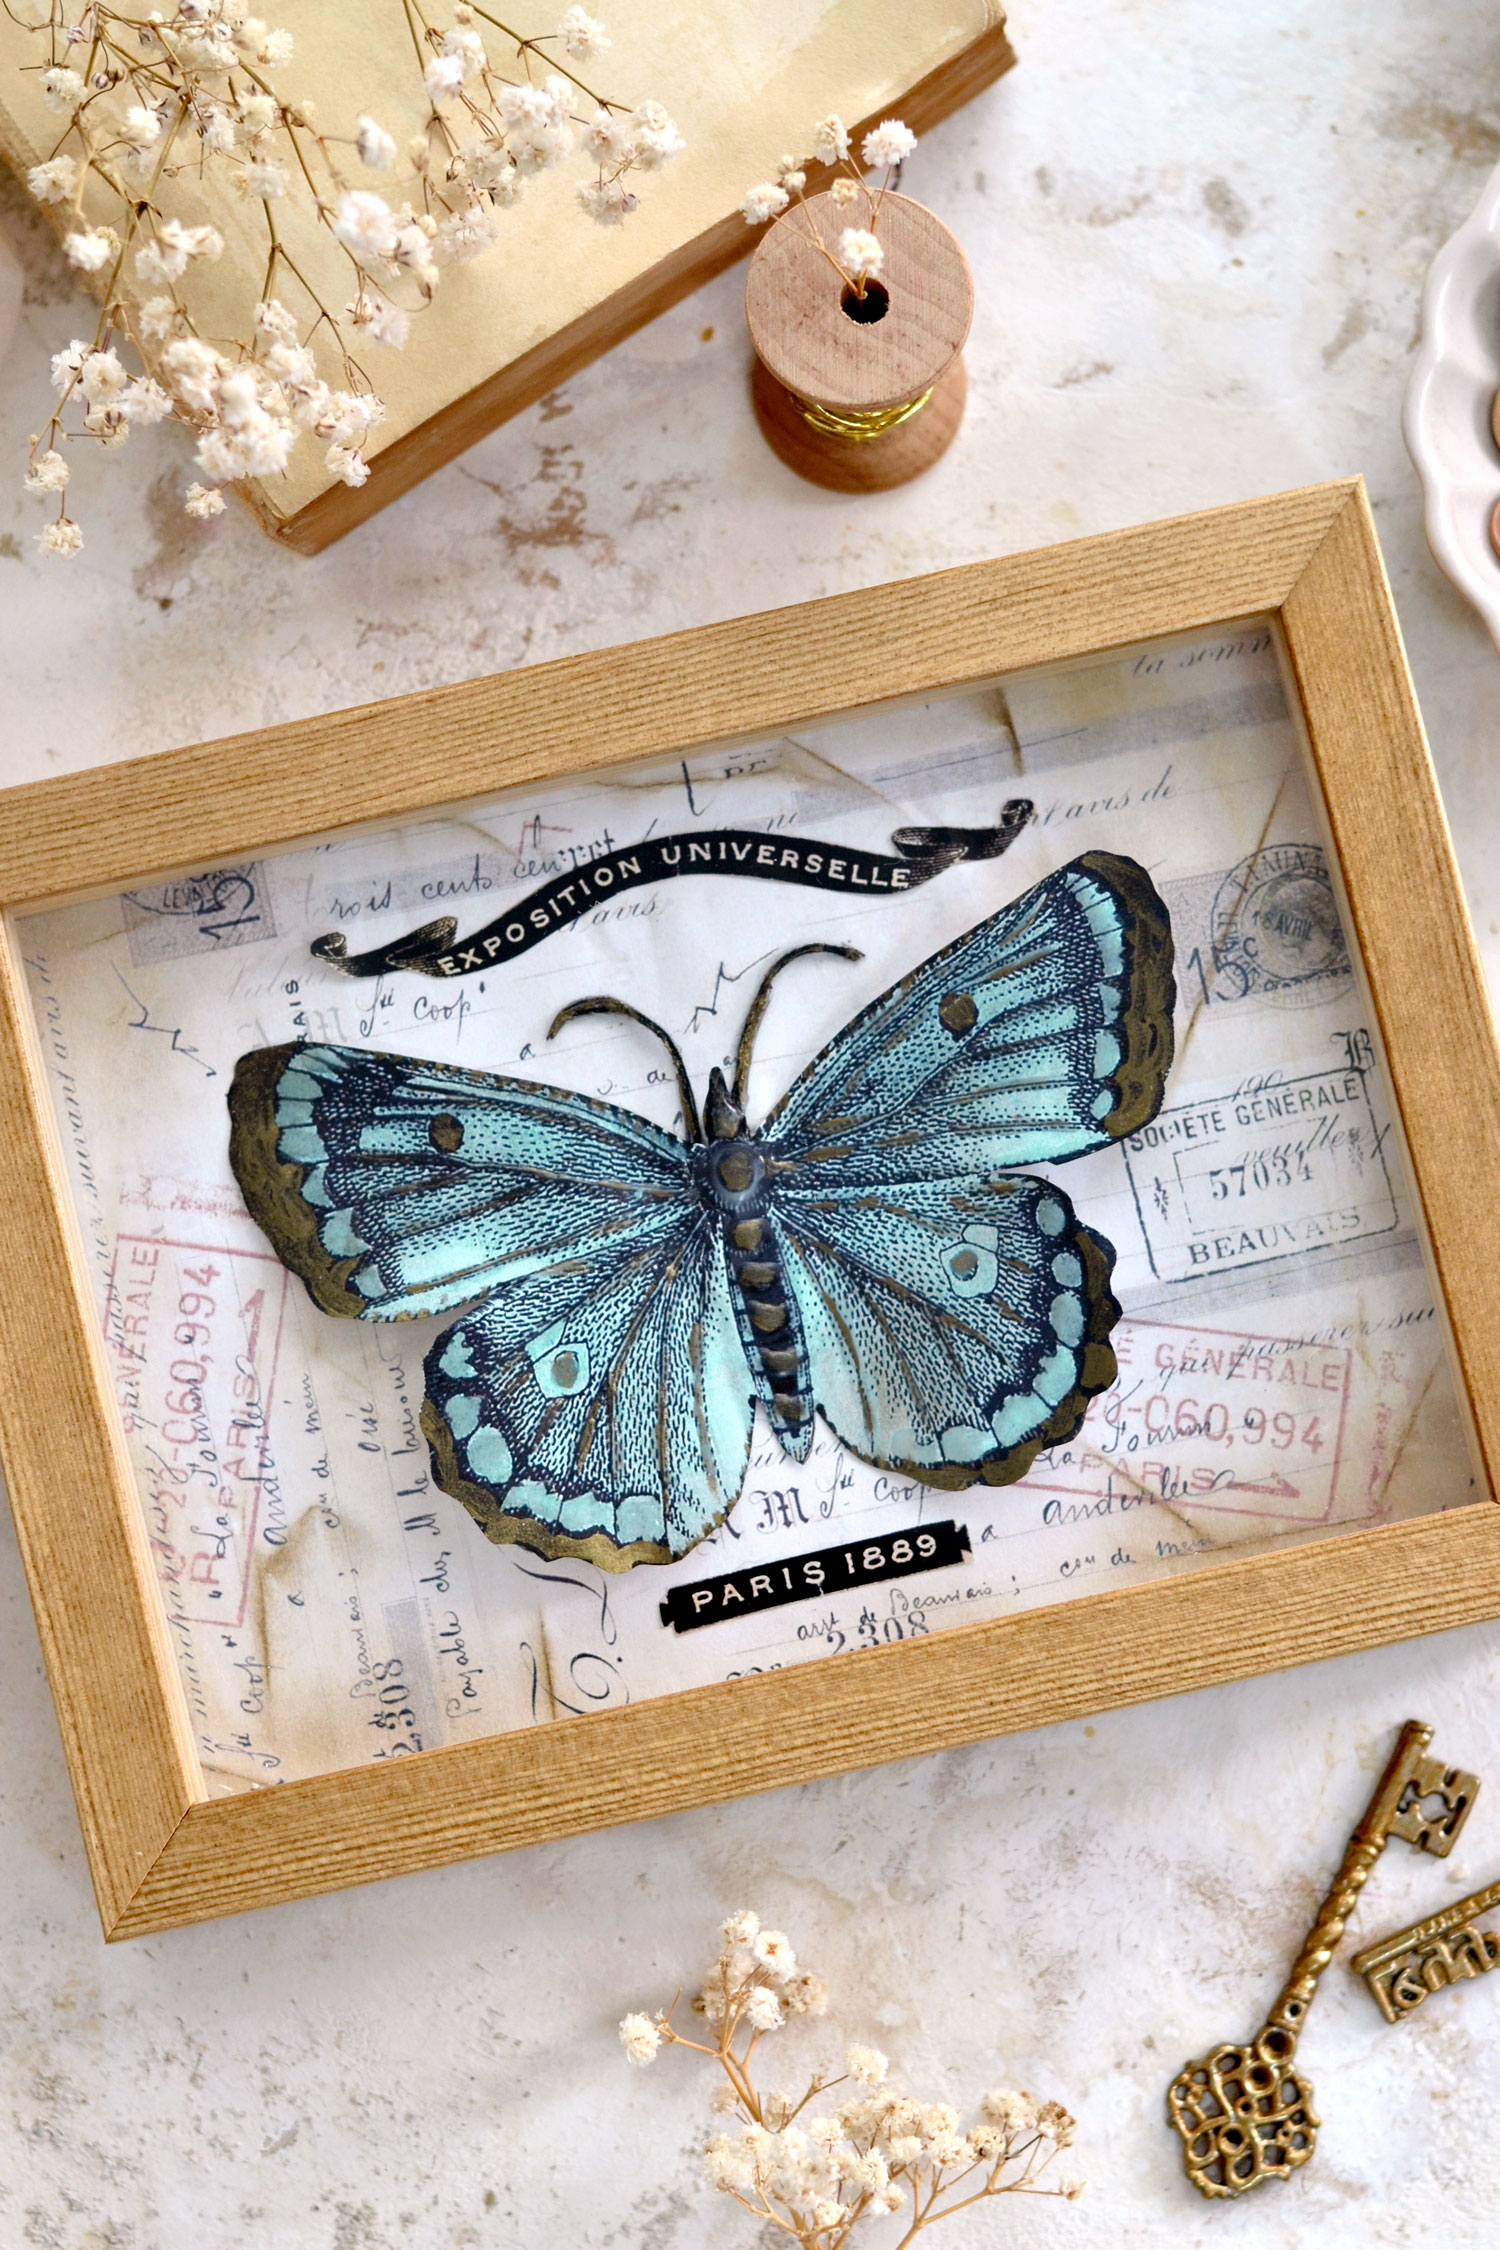
Hello Graphics Fairy friends! Diana from Dreams Factory here, happy to share with you a DIY Butterfly Wall Decor project! Today we will be making this amazing Vintage Butterfly Shadow Box! It’s such an easy but beautiful project that allows you to pick your colors and experiment on your own terms, giving you the opportunity to create something unique for your home decor. I will be sharing a few techniques that will show you how to add dimension to your focal butterfly and we will be finishing things up with a little bit of distress ink. And … a touch of gold!
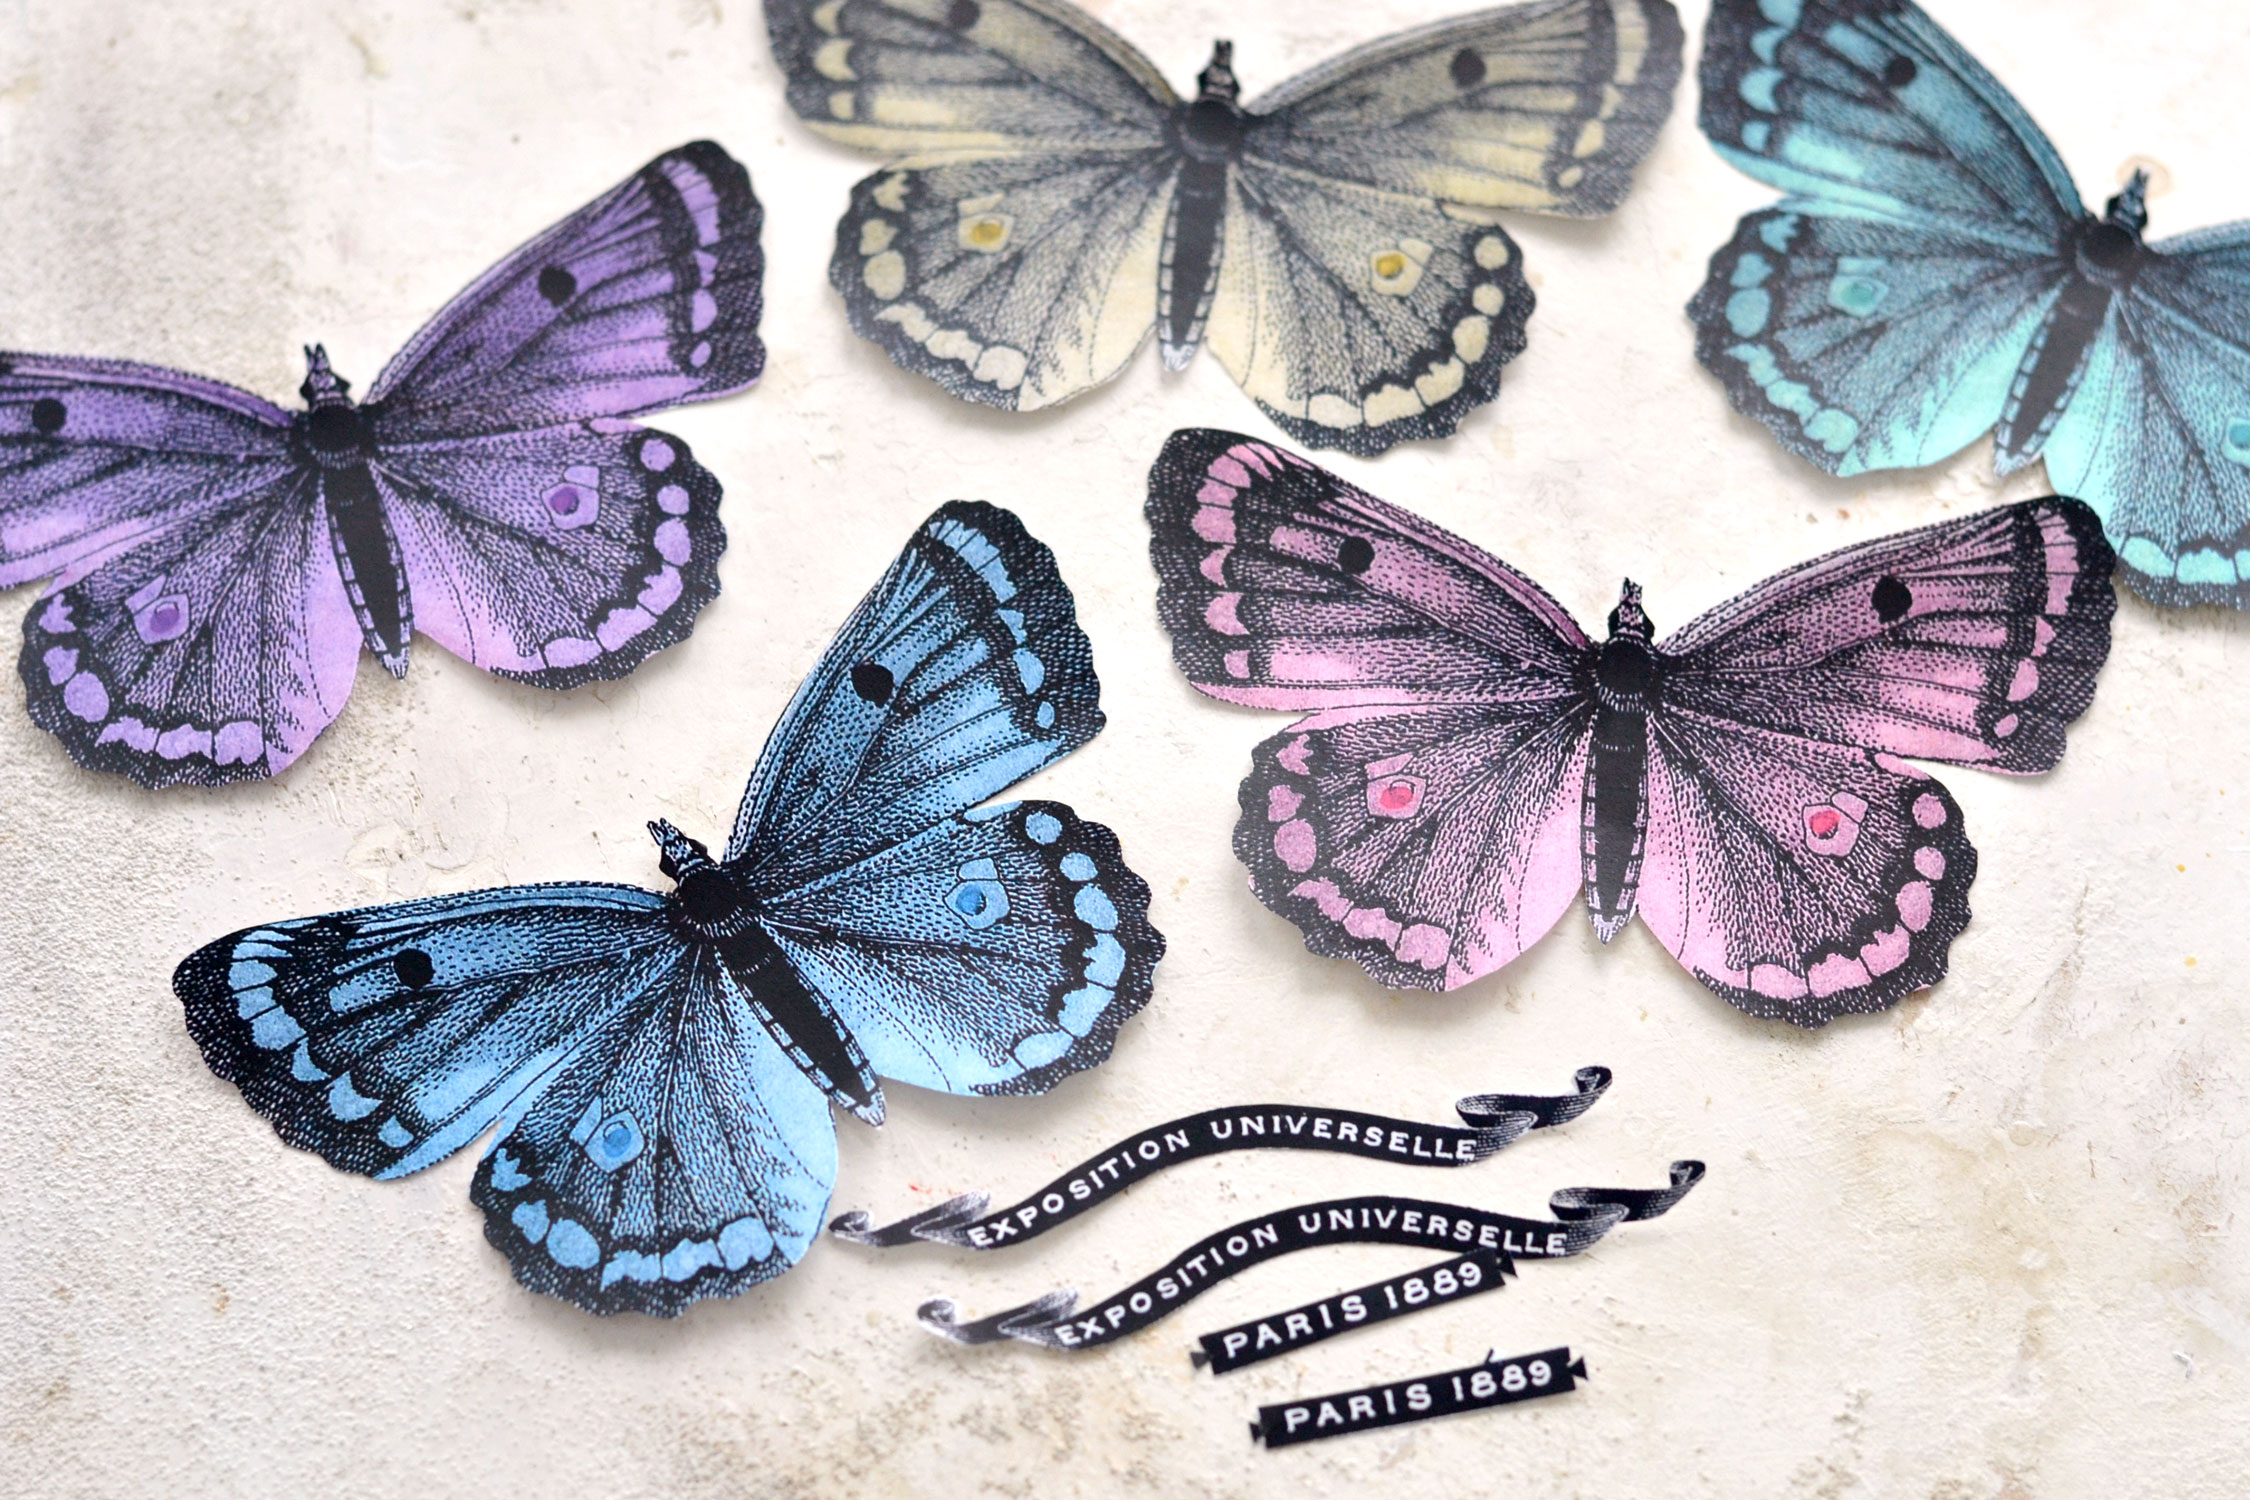
I’m sharing different colored paper butterflies so you can use the color of your choosing. Just pick the one that you like the most and feel works best with the overall color scheme of your home. Or why not, you can choose one that will make a bold statement and bring a nice pop of color!
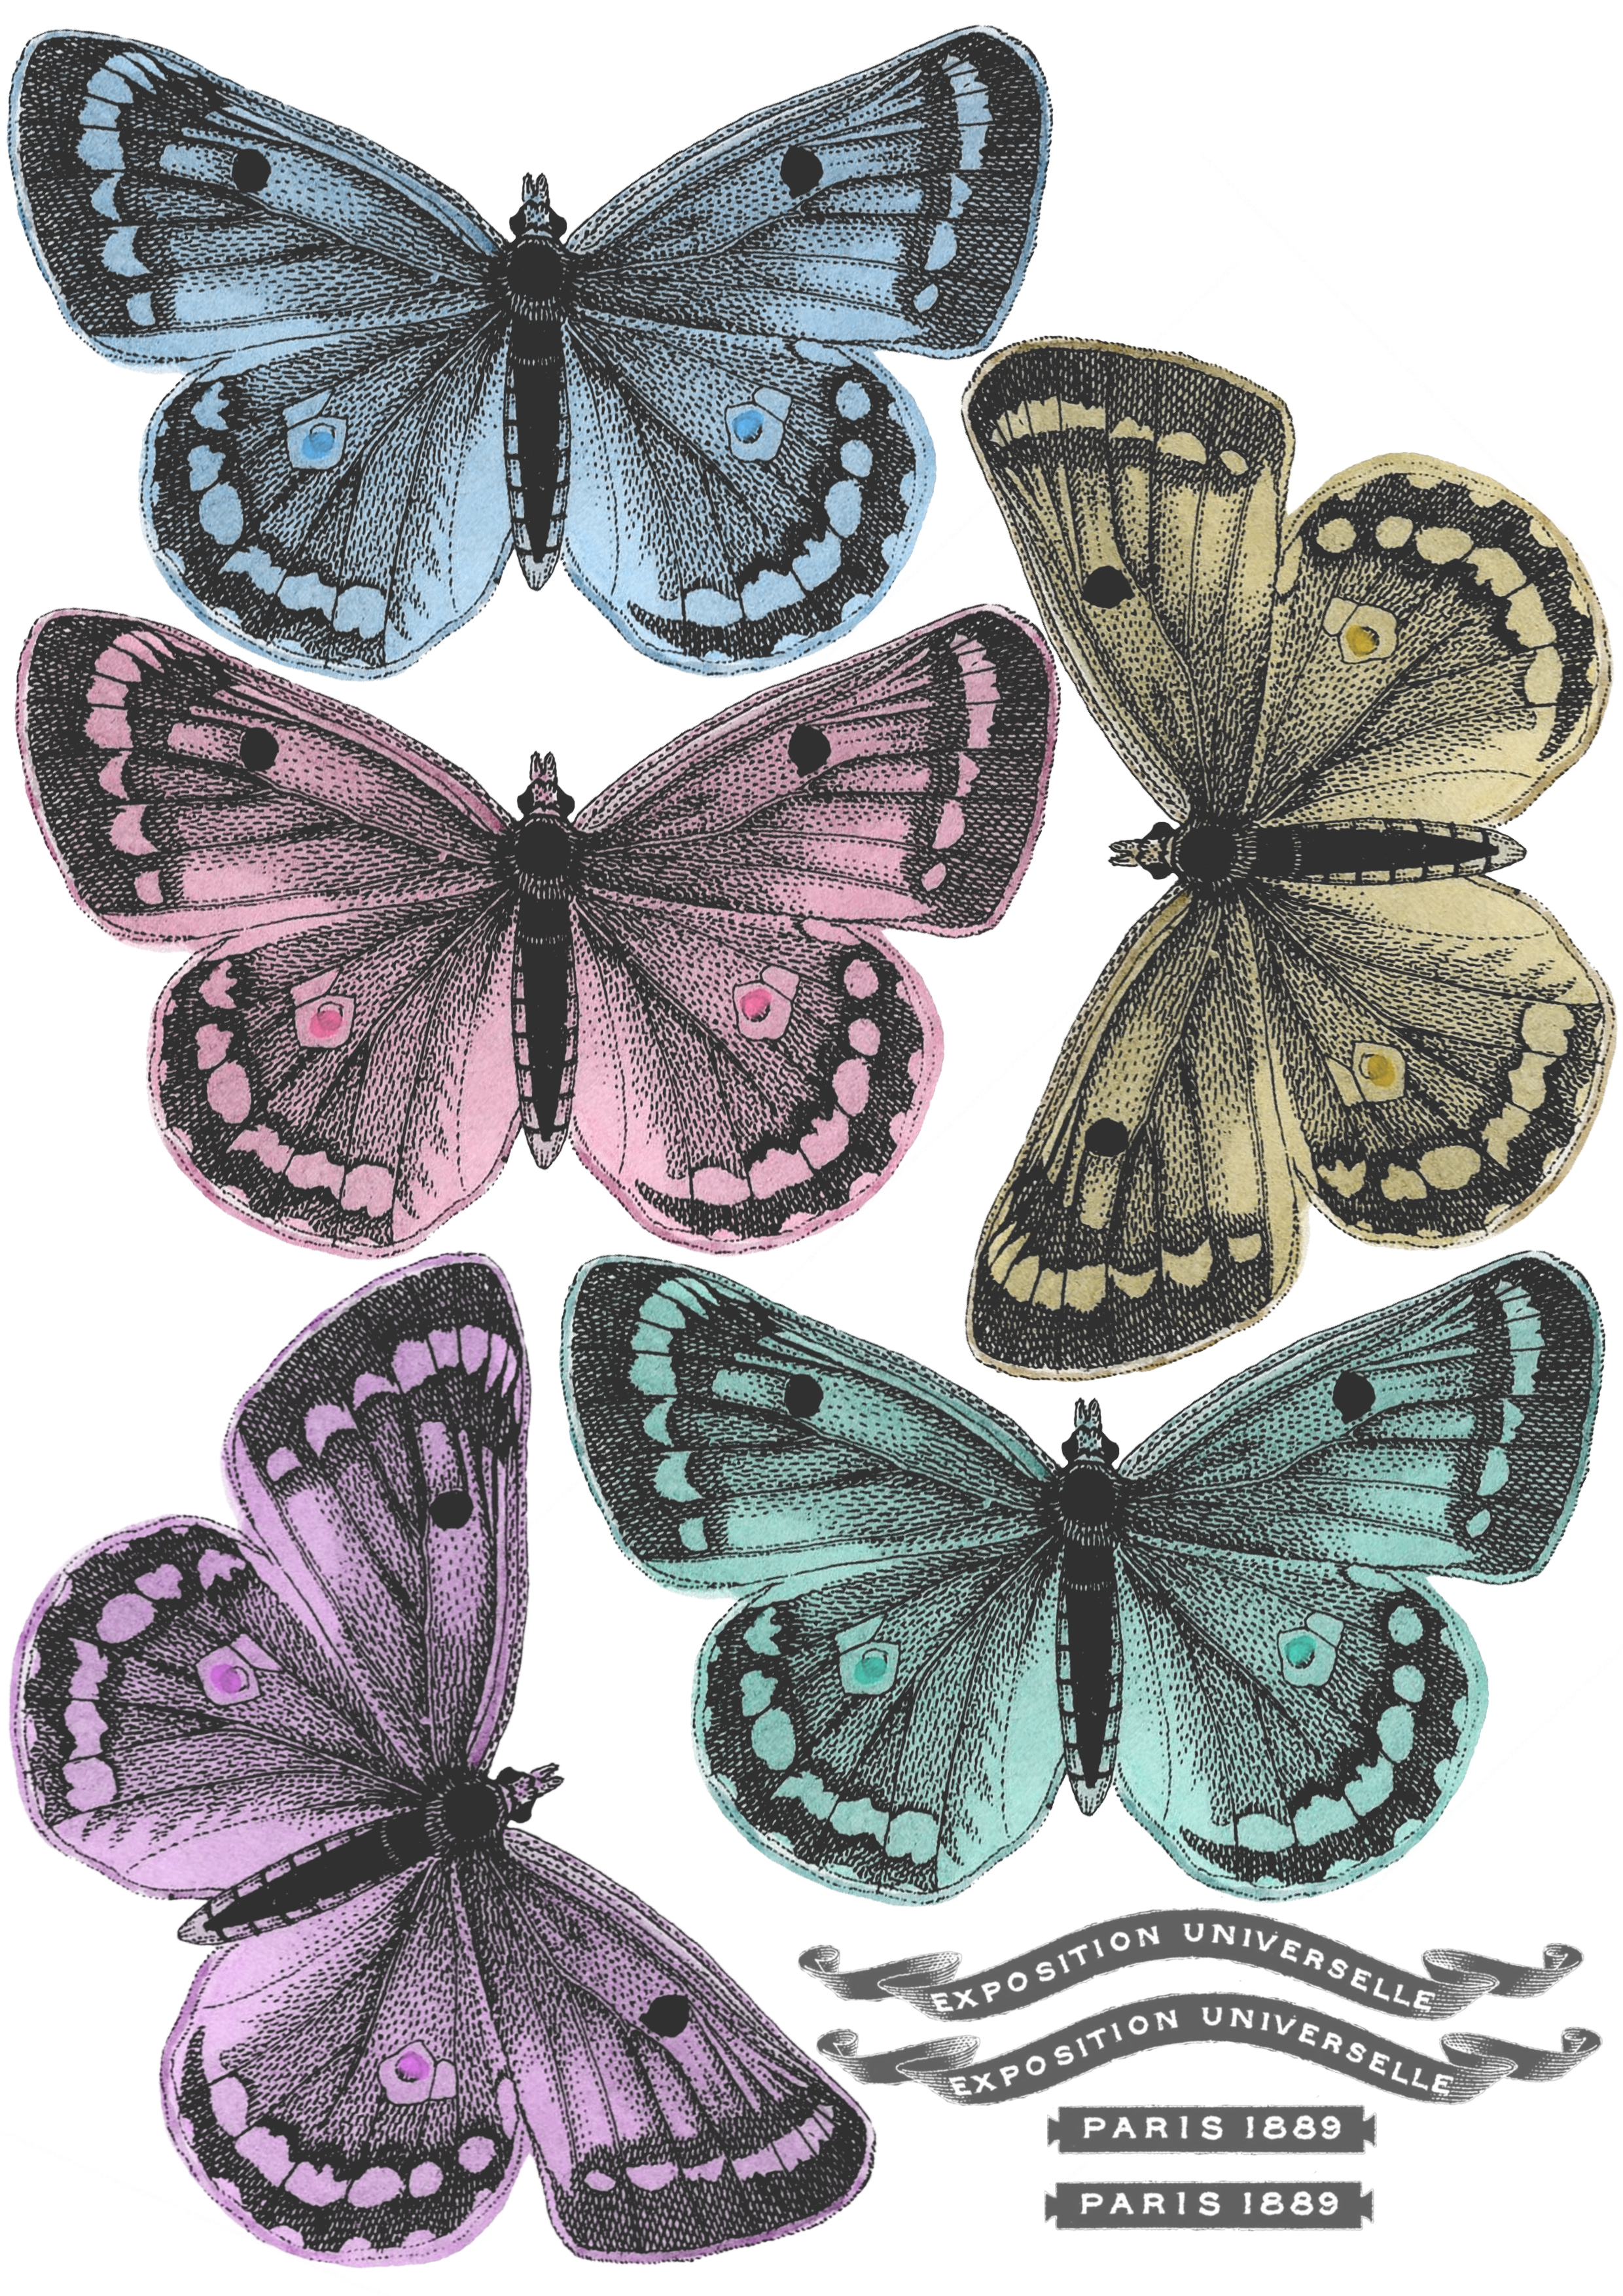
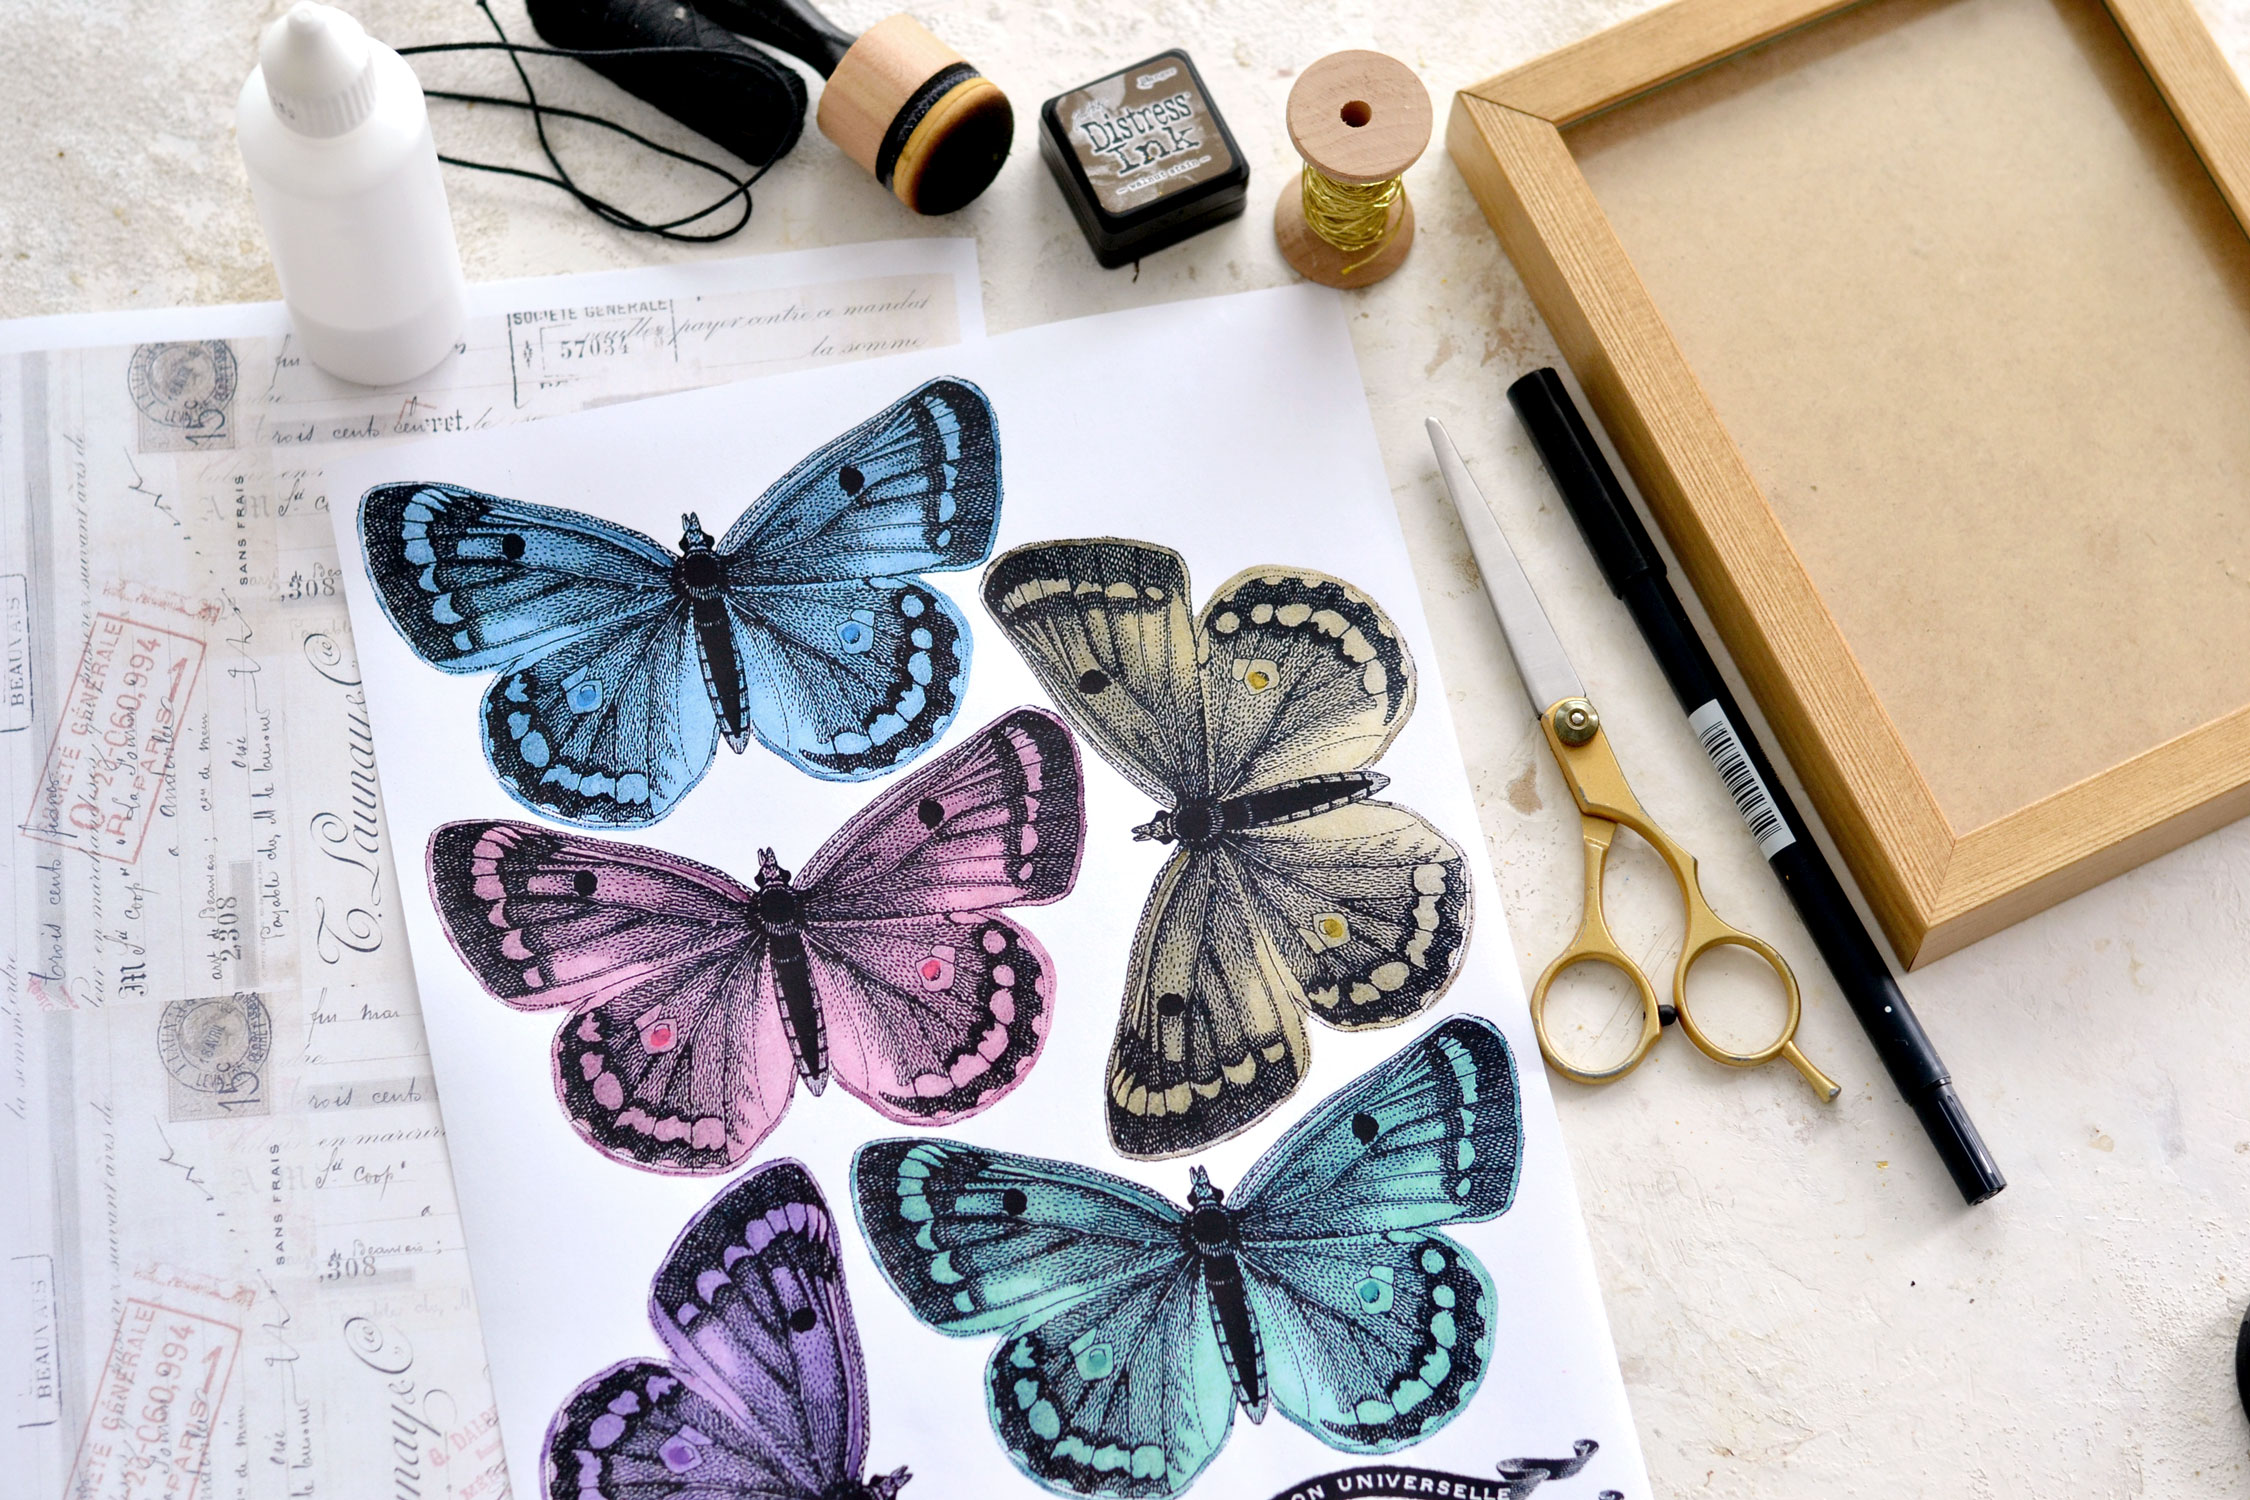
Here is the printable with all the butterflies, you will find blue, pink, purple, yellow and turquoise versions. Let’s just hope it won’t be too difficult to decide which one you love the most! That actually happened to me while making the project, my initial thought was to go with pink, but then I decided to switch to turquoise on the spur of the moment.
Beautiful Butterfly Wall Decor Printables
—-> Click HERE to Download the Full Size Printable PDF Template <—-
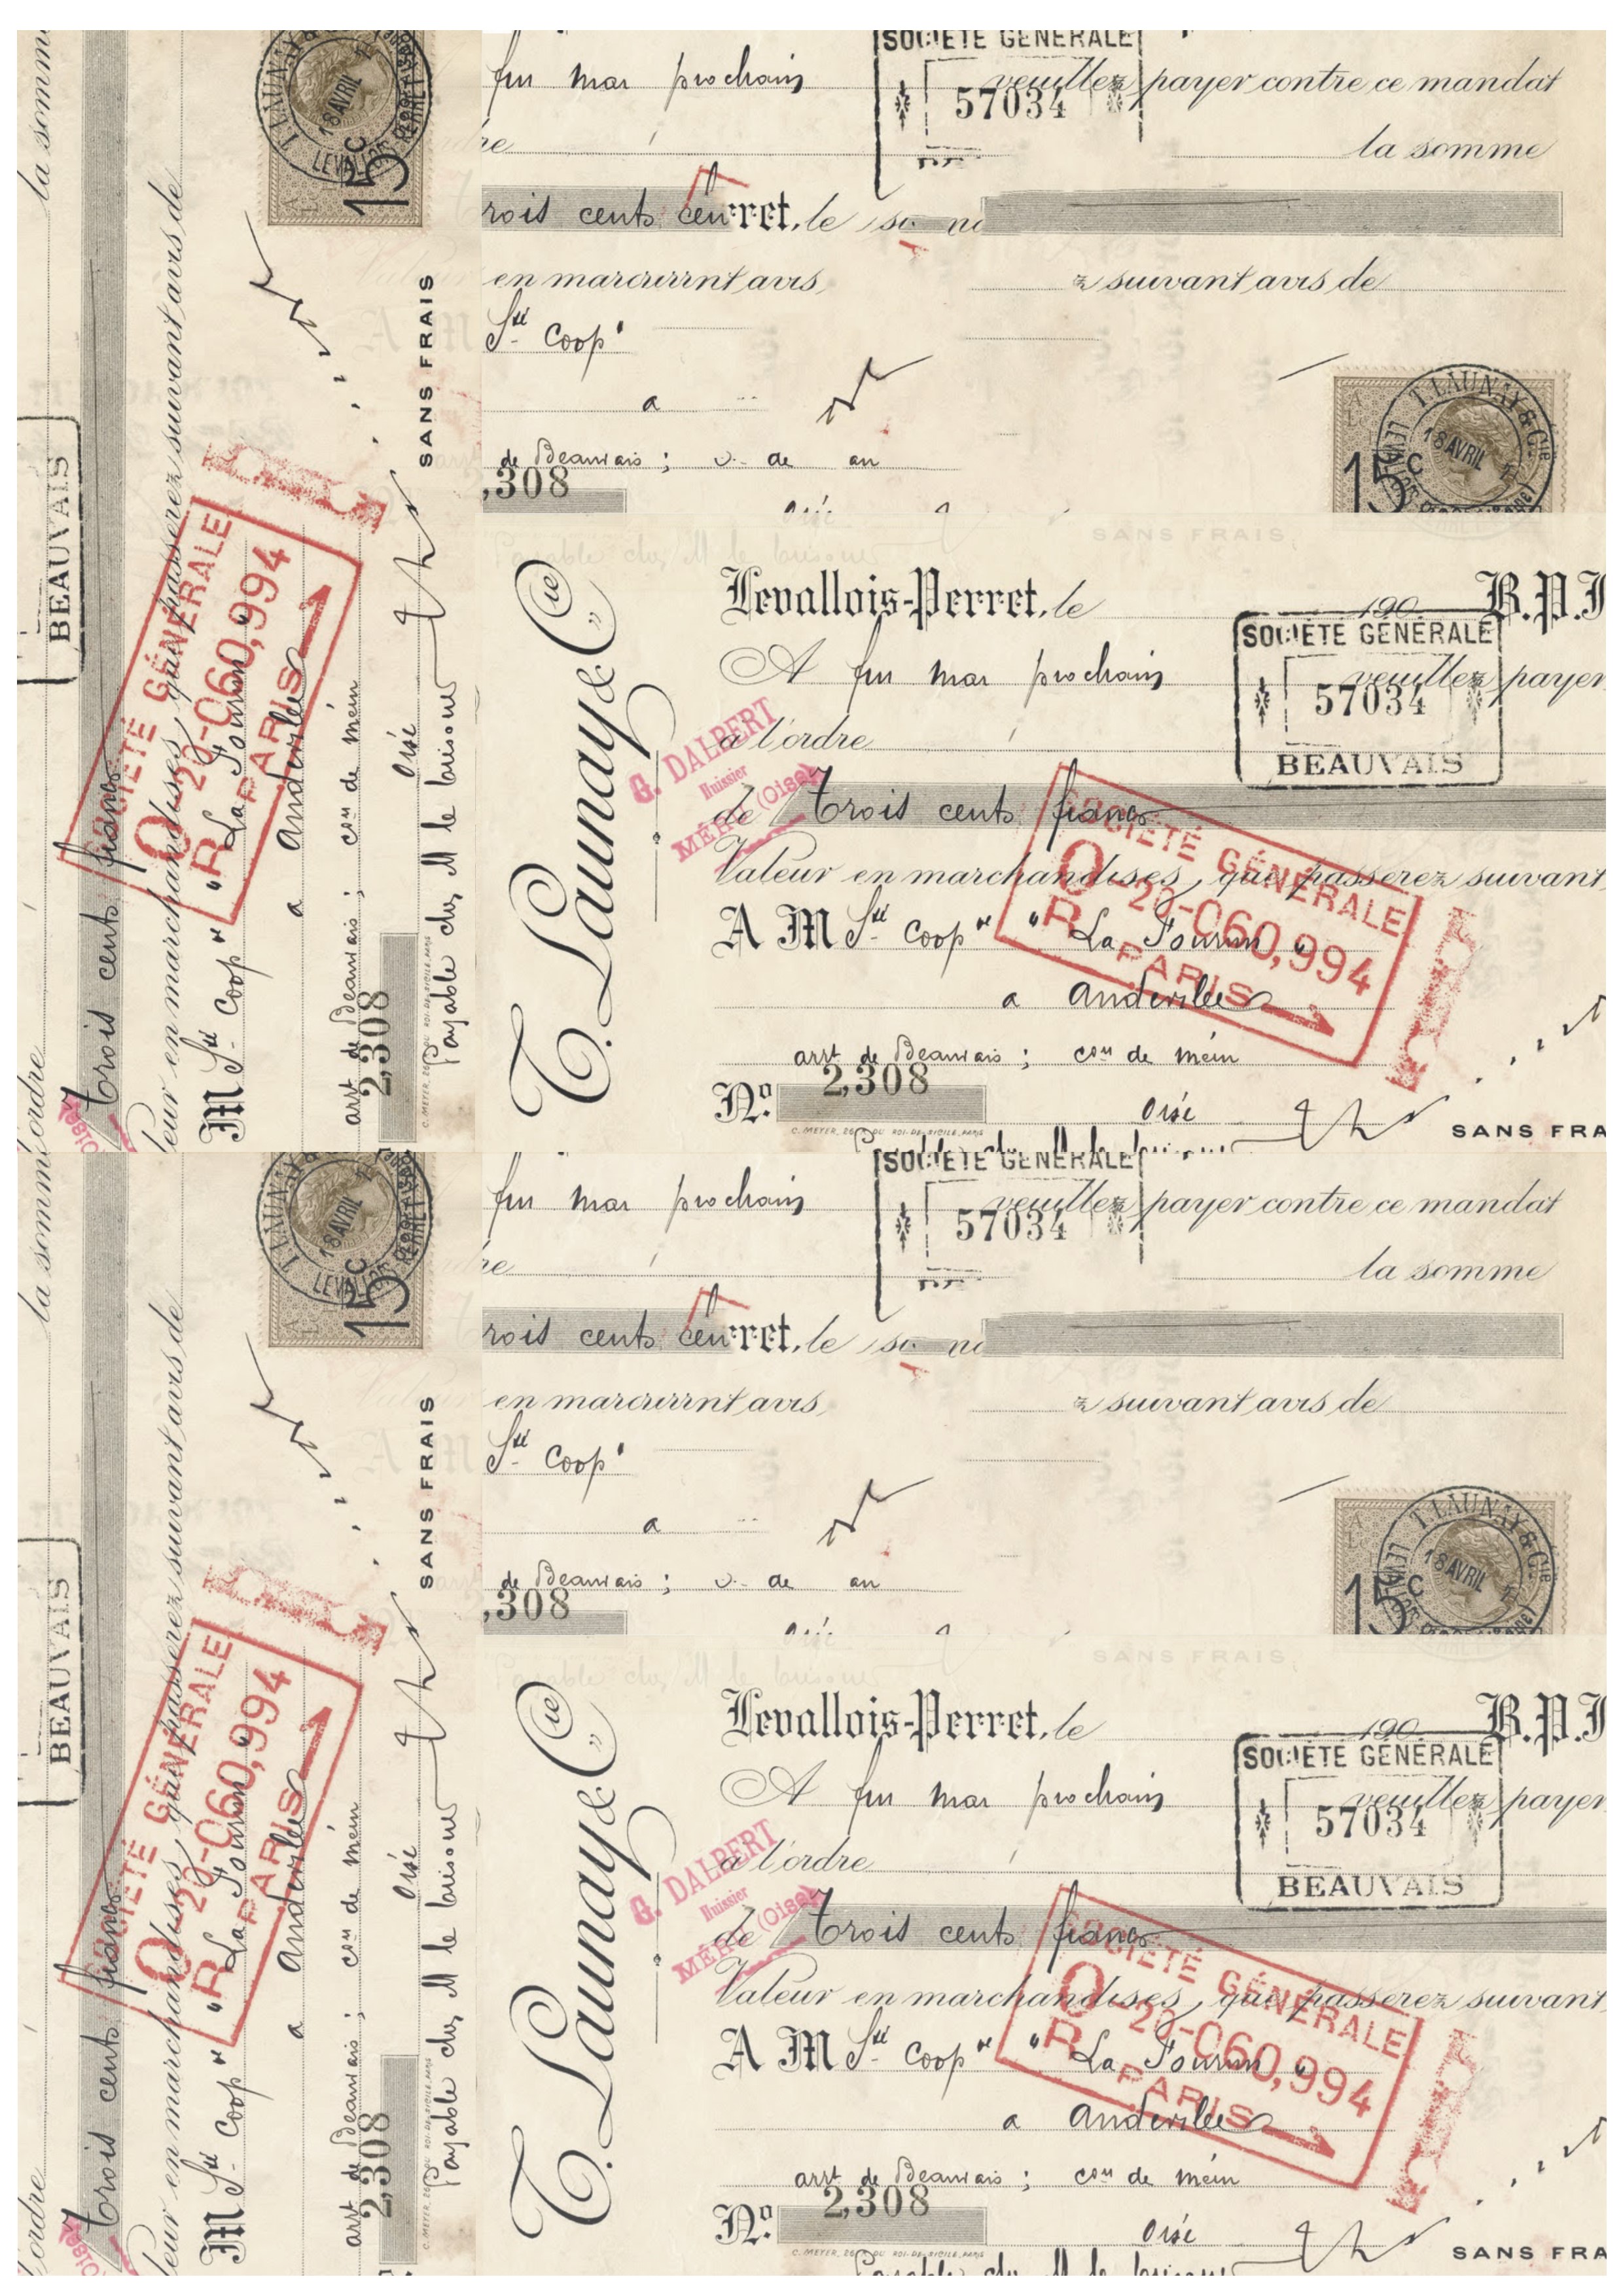
I’m also sharing a French ephemera printable, we will be using this as a background for our lovely butterfly box. If you want, you can use other scrap pieces of ephemera that you have around.
—-> Click HERE to Download the Full Size Printable PDF <—-
DIY Butterfly Wall Decor Supplies:
- cardstock paper
- scissors
- home printer
- box frame
- gold watercolors or highly diluted gold acrylic paint or gold gouaches – you can use metallic gold, copper, bronze or brass
- brushes
- craft glue with a fine tip
- sewing thread, twine or metallic thread
- a plastic sheet or a non-absorbent surface to protect your working area – I used parchment paper
- mini distress inks
- blending tool with foams
- black marker – I used a Tombow dual brush pen
- ruler (optional)
Step by Step Instructions:
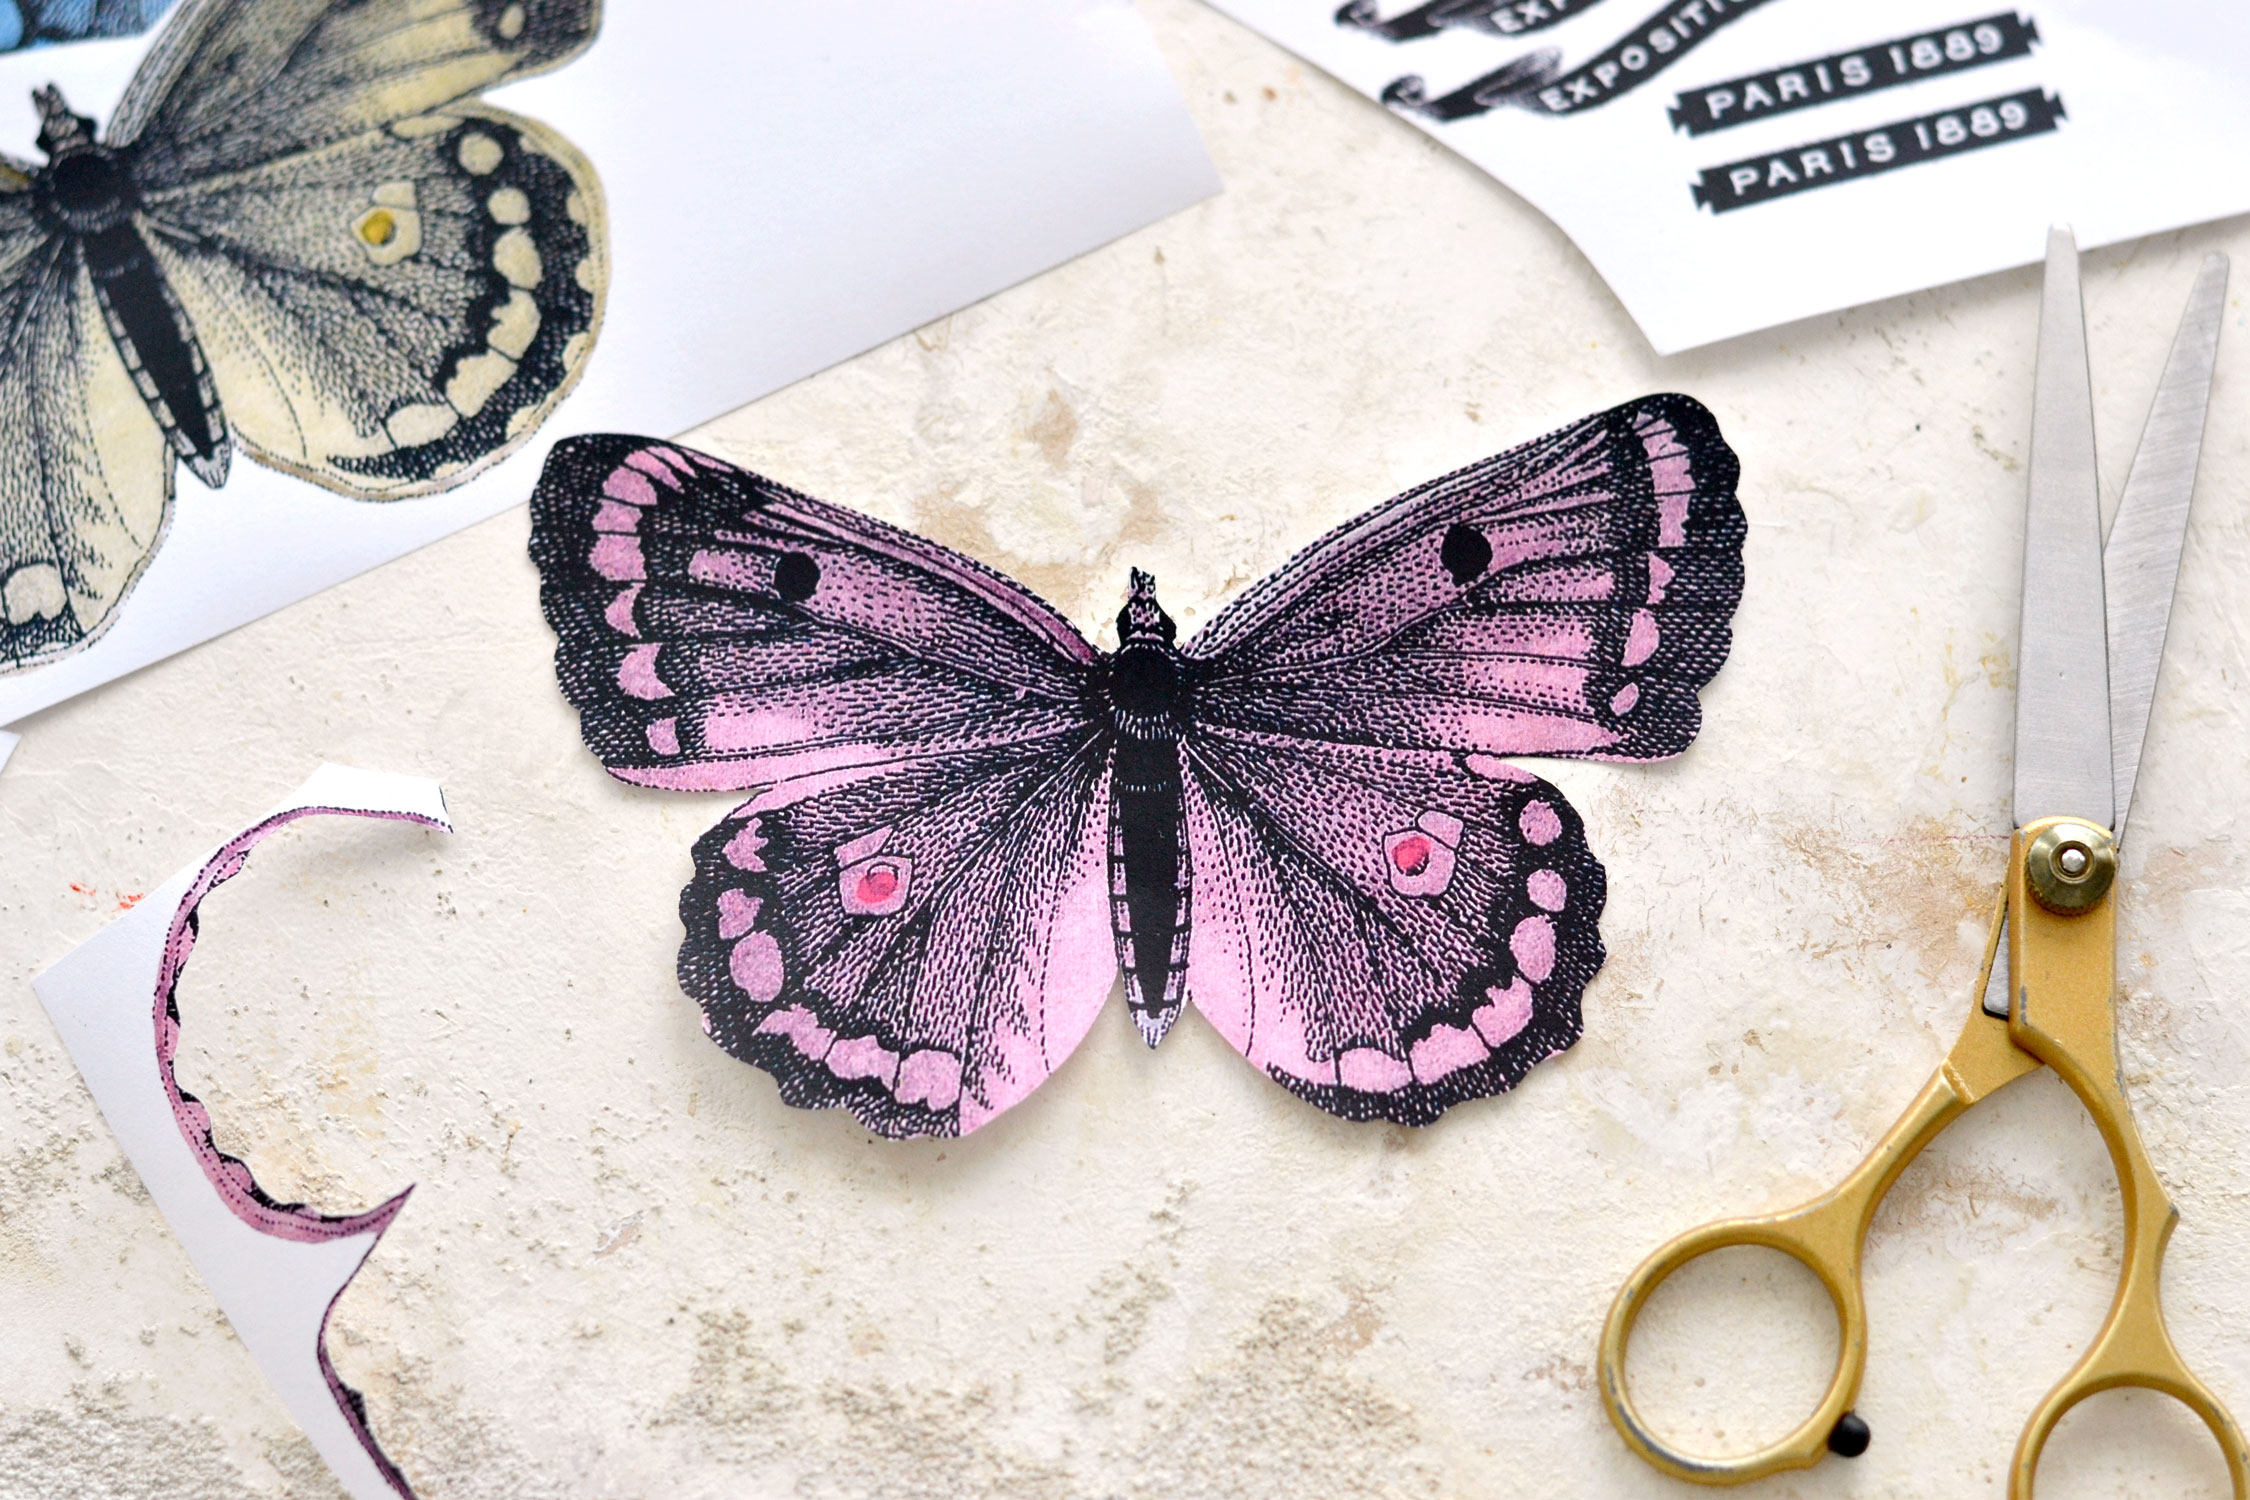
Start by cutting the butterfly or the butterflies that you want. Even if you are using only one of the butterflies for today’s project, you can still prepare the others and have them ready for when in need.
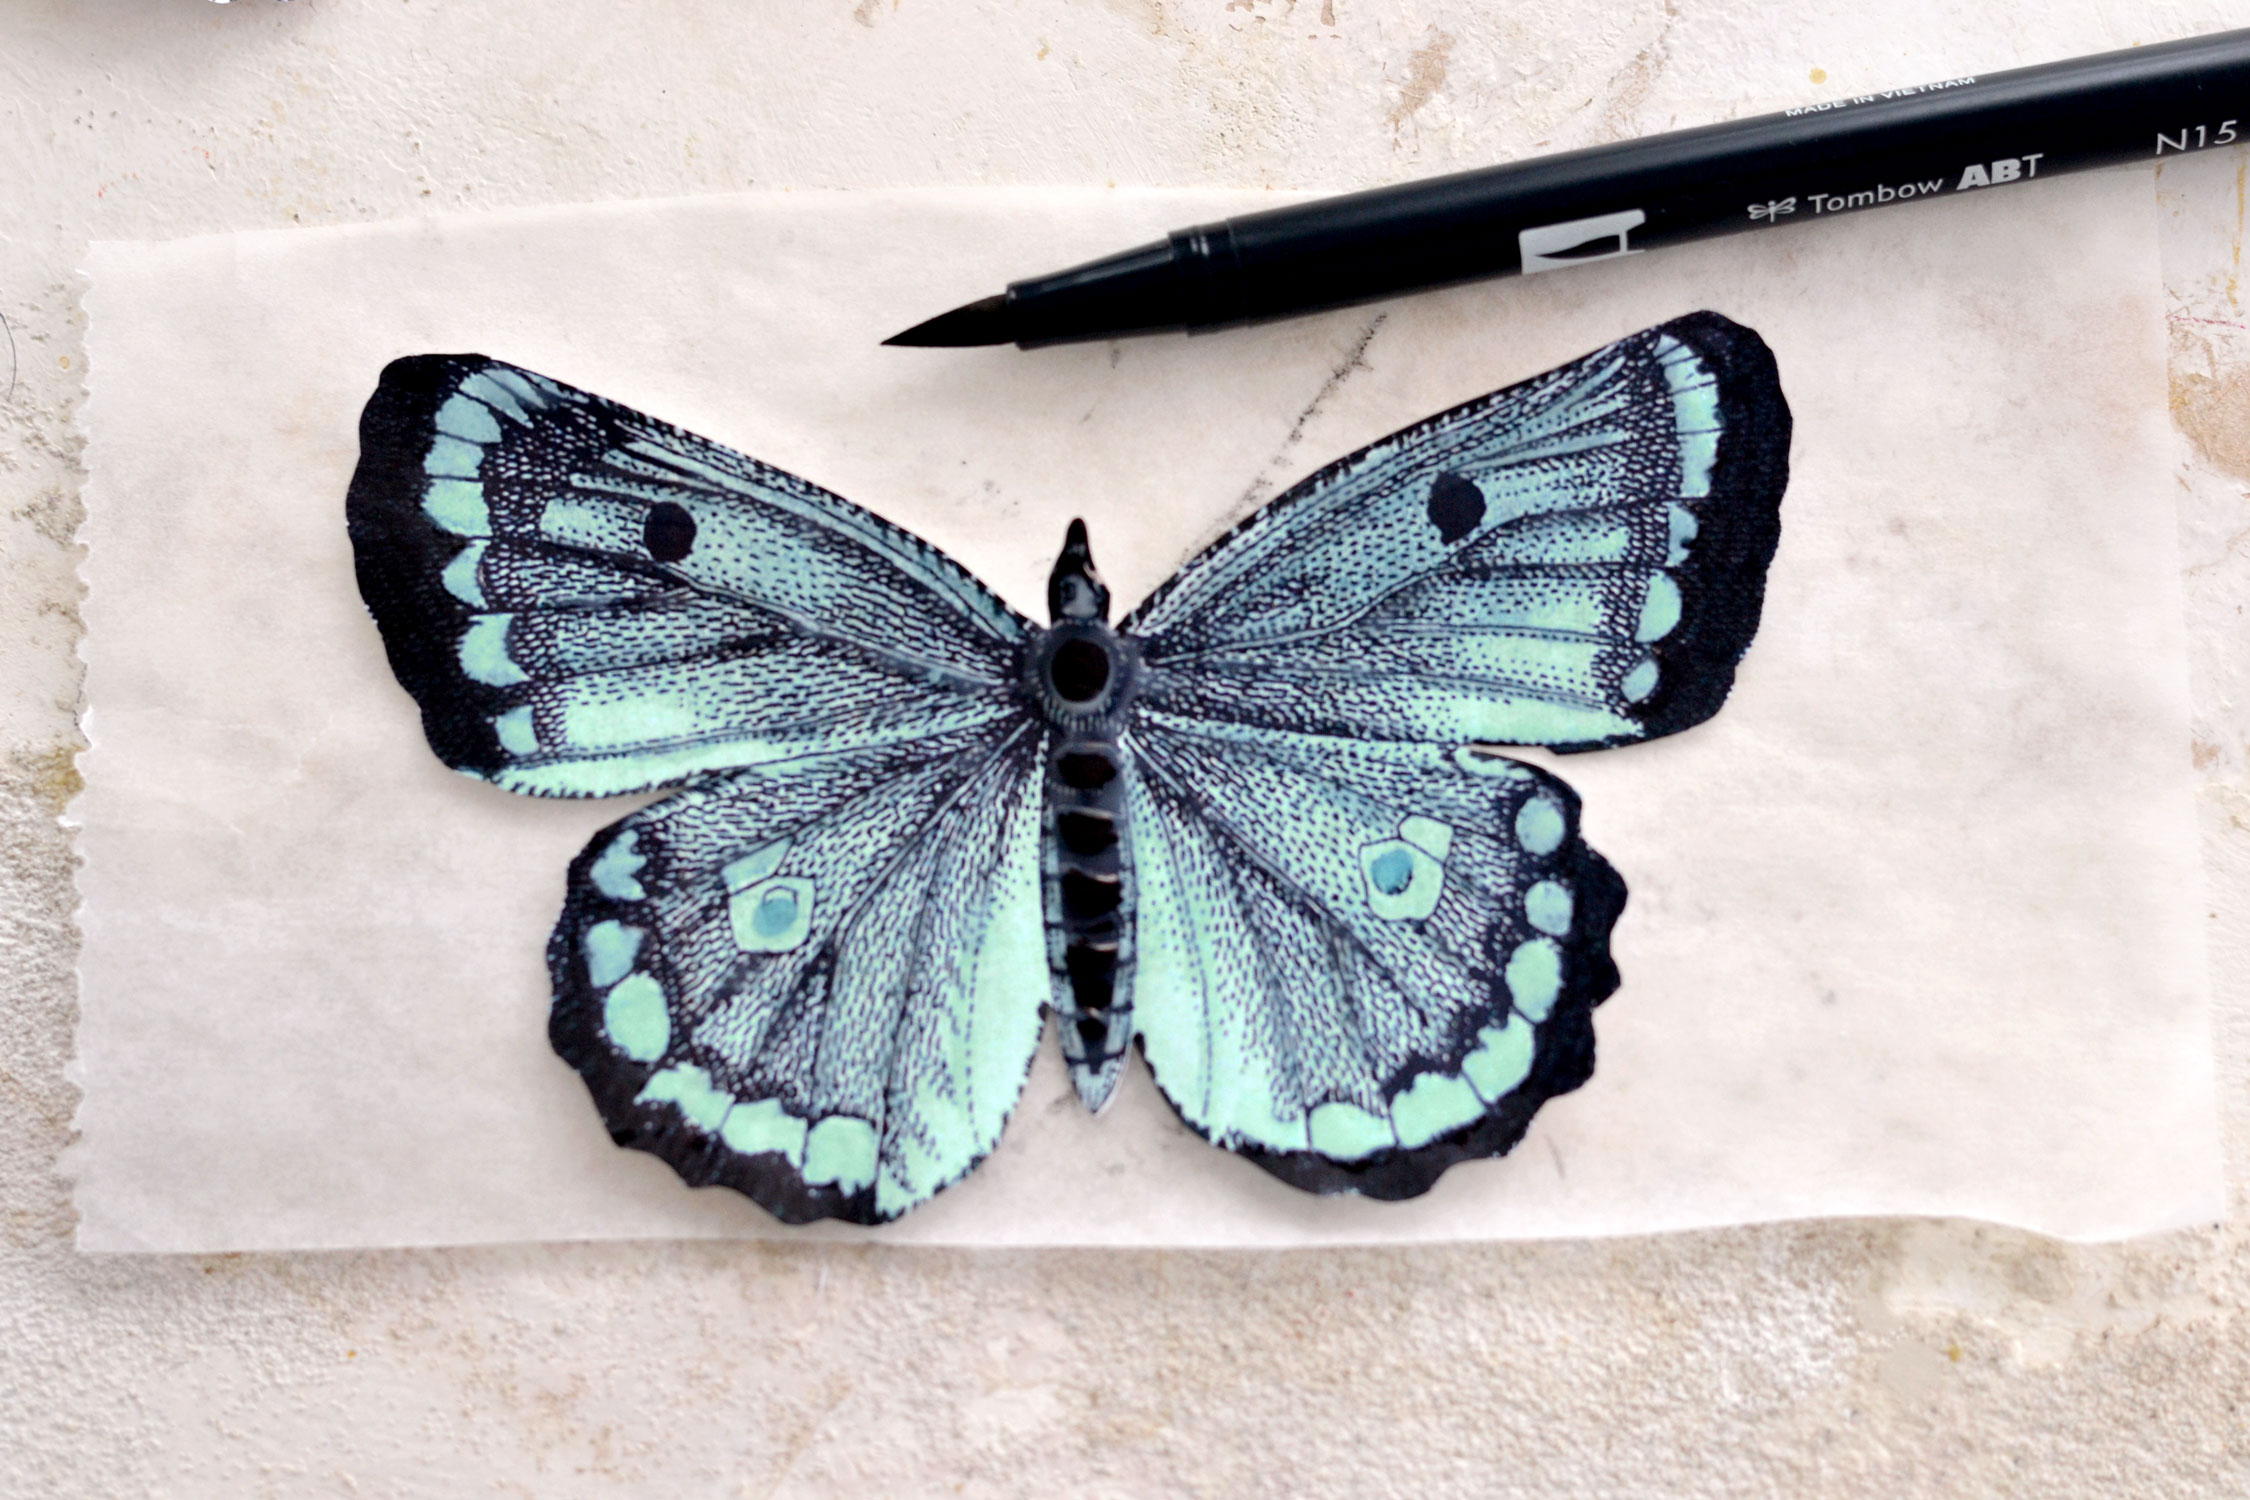
Use your scissors to remove the colored edges of the butterfly and cut creating a wavy black border. The lower wings already have a frayed edge so you can easily follow it when cutting, but for the upper wings, you will have to improvise and create your own. Don’t worry, they don’t have to be perfect!
Cut the other French ephemera ribbon elements that you have on this printable
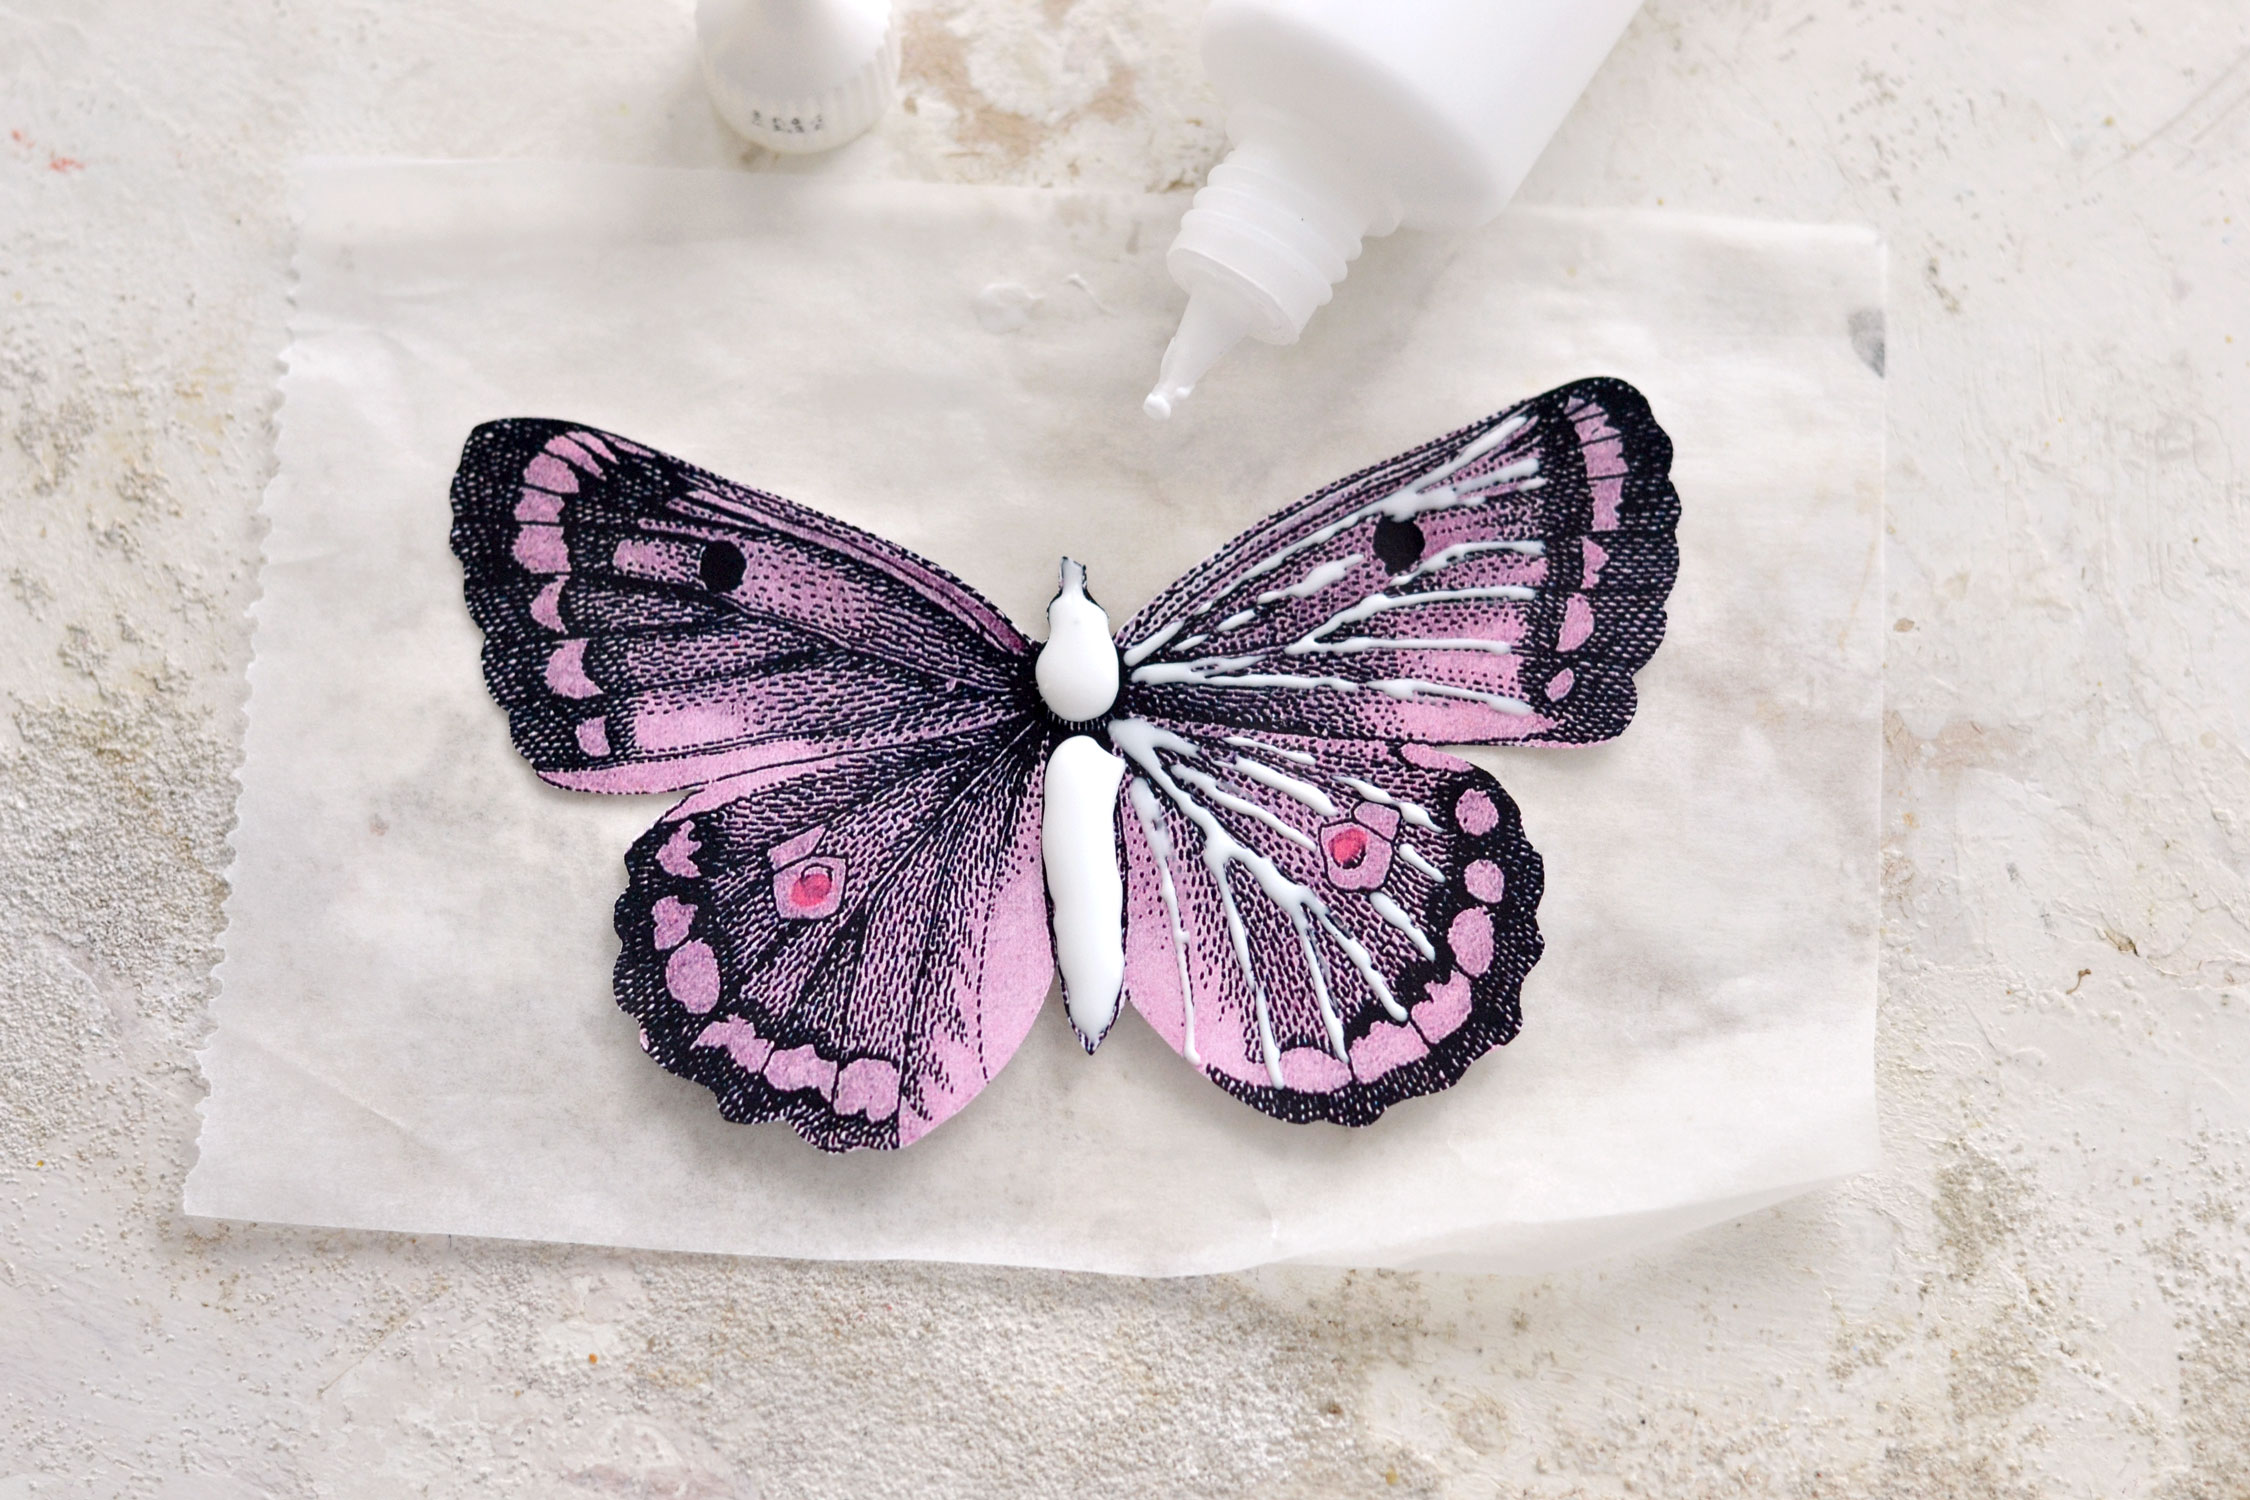
To give dimension to our butterfly we will be using glue! But first, cut a small piece of parchment paper or a plastic bag and place it under each butterfly.
Use any type of water-based glue that dries clear and a fine-tip bottle and ‘paint’ the body of the butterfly first. Add enough glue to create a raised effect, I’m guessing dimensional glue would be even better if you have any around. You can create the body in one piece or in two pieces using glue, but you can also try creating smaller segments if you prefer. After finishing the body of the butterfly, you can move to the wings. Follow the design of the veins and ‘paint’ with glue over them. Don’t overthink this, just move quickly and go with the flow, the glue veins don’t have to be perfect!
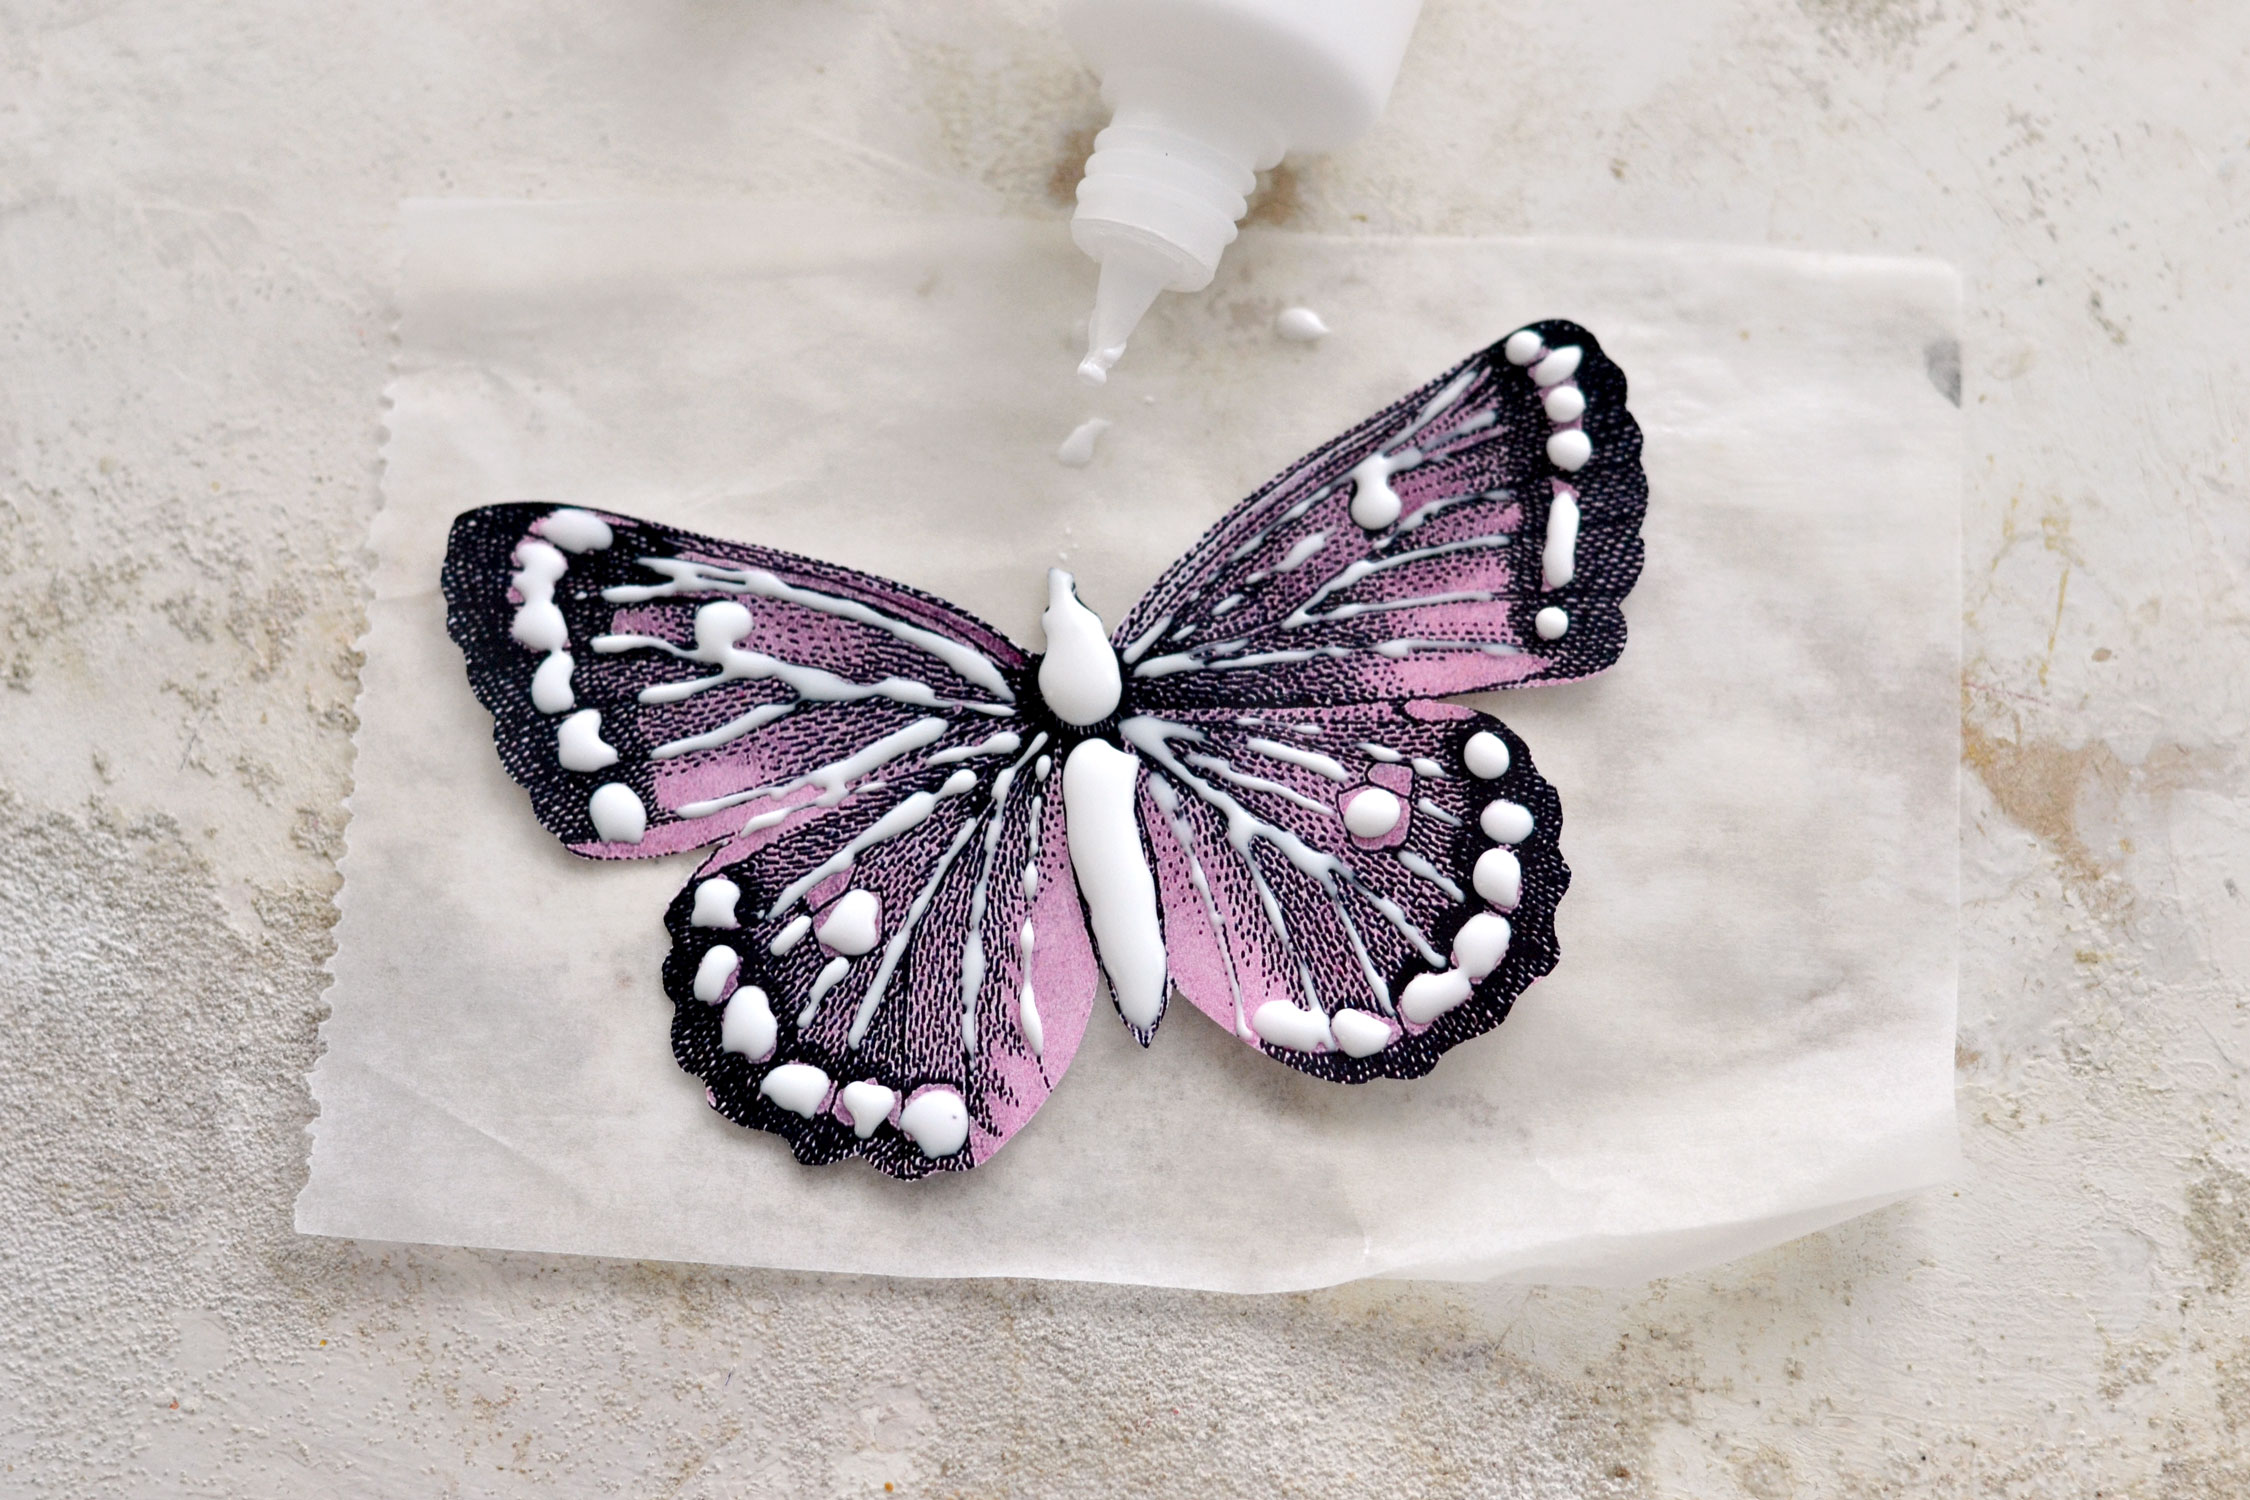
Use more glue and ‘paint’ close to the edges filling the colored spots, as you see in the image below. This is the pink butterfly that I initially wanted to use for this project.
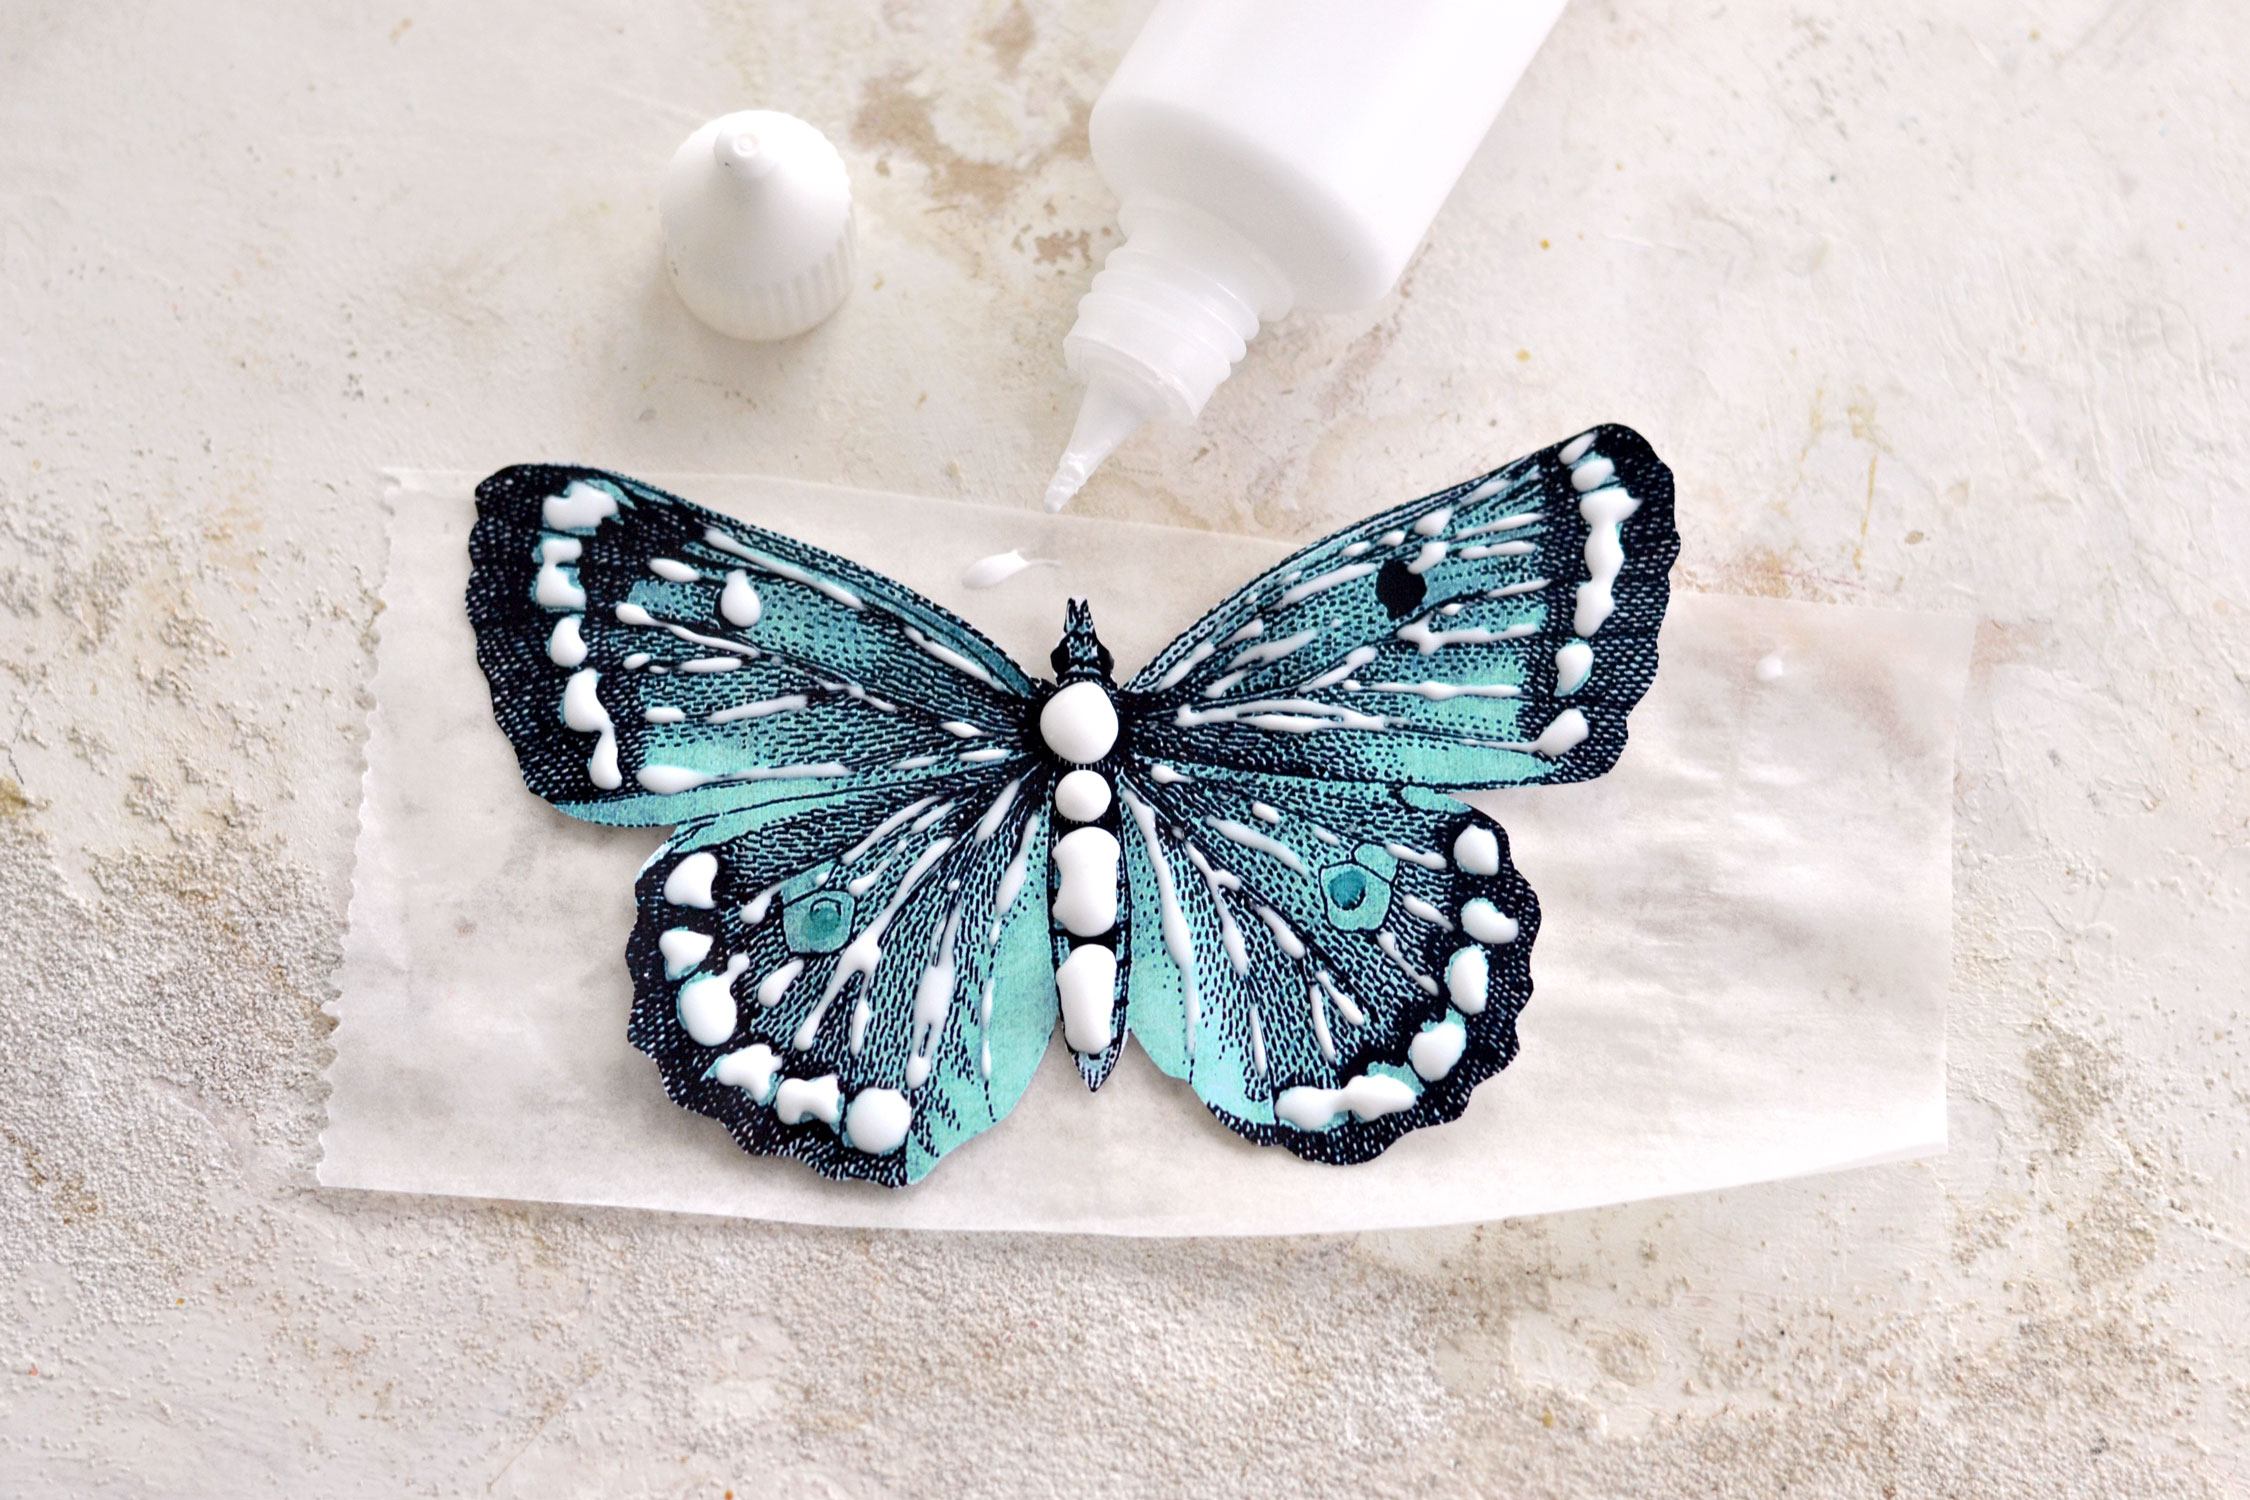
And here is the turquoise one that I actually ended up using.
Let the glue dry completely, you will see how it gradually turns clear as it dries. If you want, you can add another layer of glue on the body to create more like a 3D effect.
At this stage, I wanted to give the butterfly a little bit more depth, so I used a brush pen to color the edges and the segments of the body black. This step is optional, you can skip it if you want, but I feel it just adds a little bit more depth to the overall look.
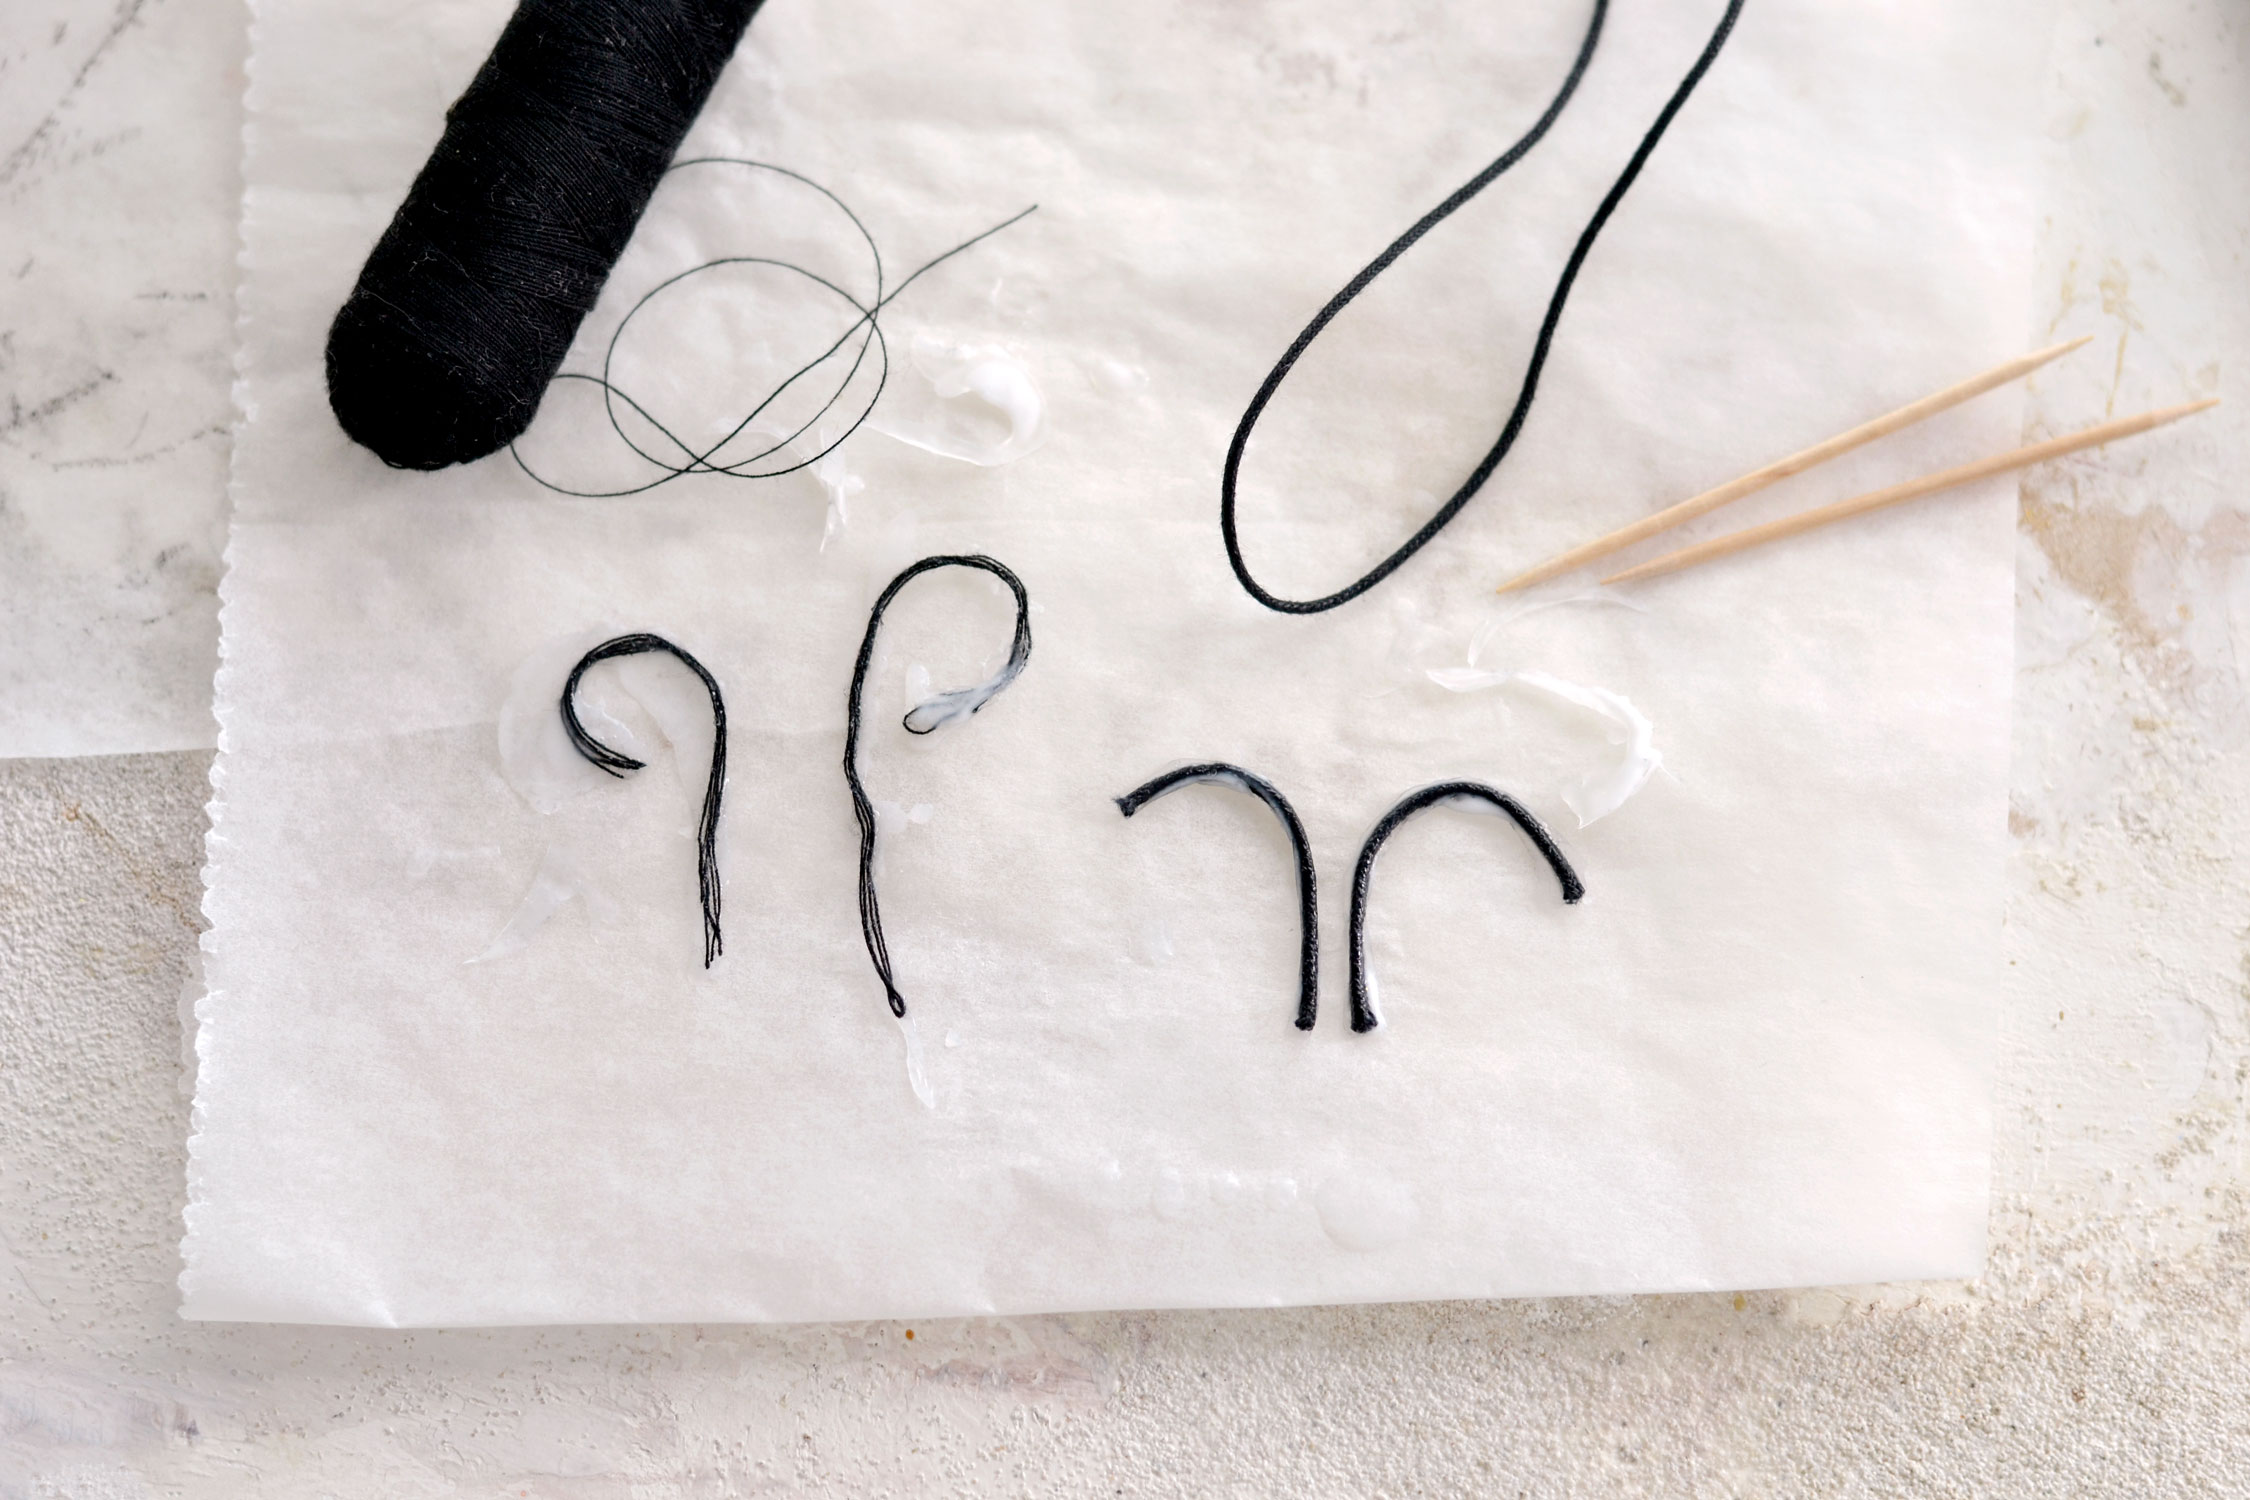
When it comes to the antennae of our butterfly, I decided to experiment a little bit and see if I can use plied regular sewing thread and some black twine. I placed them on another piece of parchment and used more of that craft glue on top. I used two skewers to shape them in the glue and I tried to slightly round them on top. You will need to check on them from time to time so that they don’t return to their regular shape and when they are dried, you can just unpeel them from the parchment and use small scissors to cut the excess glue off. You can then glue them on the back of your butterfly.
If you want to make things easier, you can use metallic thread or even some wire to create the antennas.
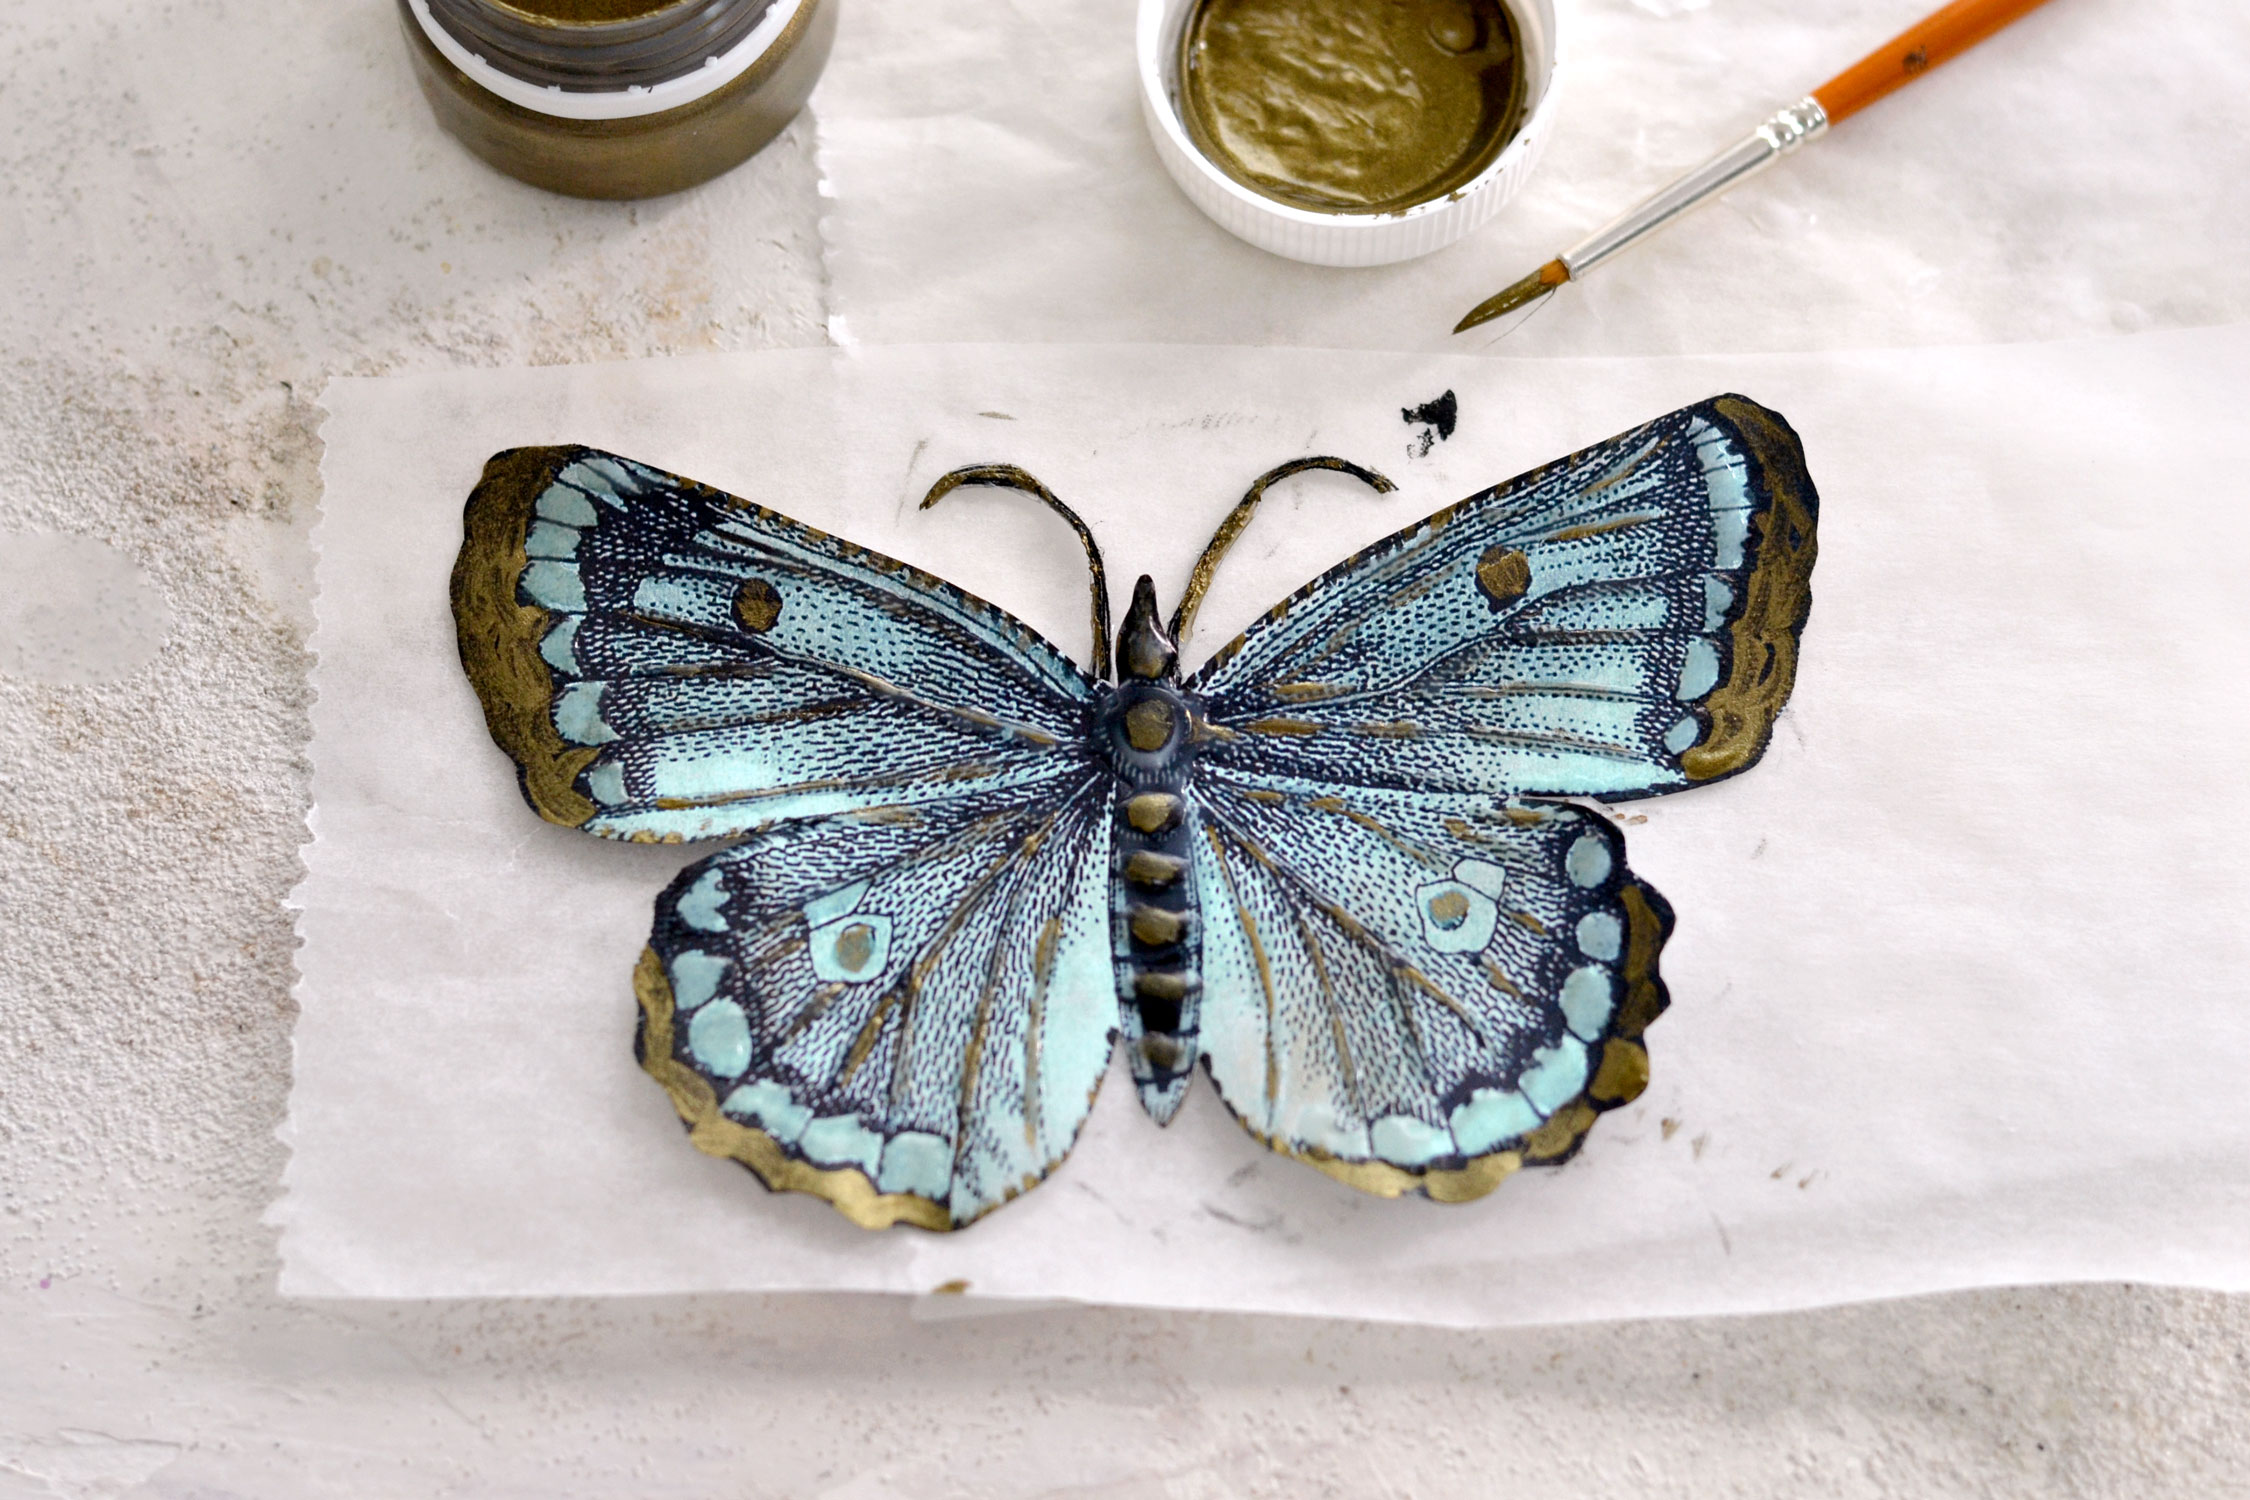
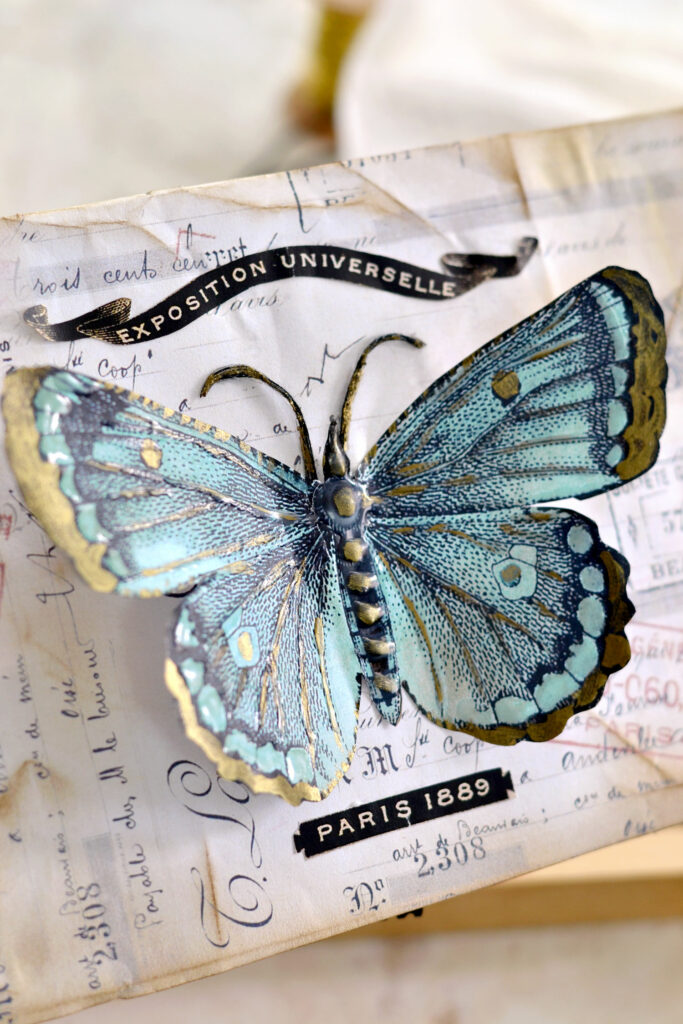
As an amazing added touch, you can add a little bit of gold for breath-taking results! I used dark green metallic gouaches (without any water) and a small rounded brush to paint the edges first. You can paint some gold on the body of the butterfly, you can see that I partially painted the segments of the body here and there, just enough to give them a little bit of dimension. I also brushed some gold on the raised glue veins that now turned clear, but I didn’t completely cover them, I just quickly and lightly painted with gold here and there.
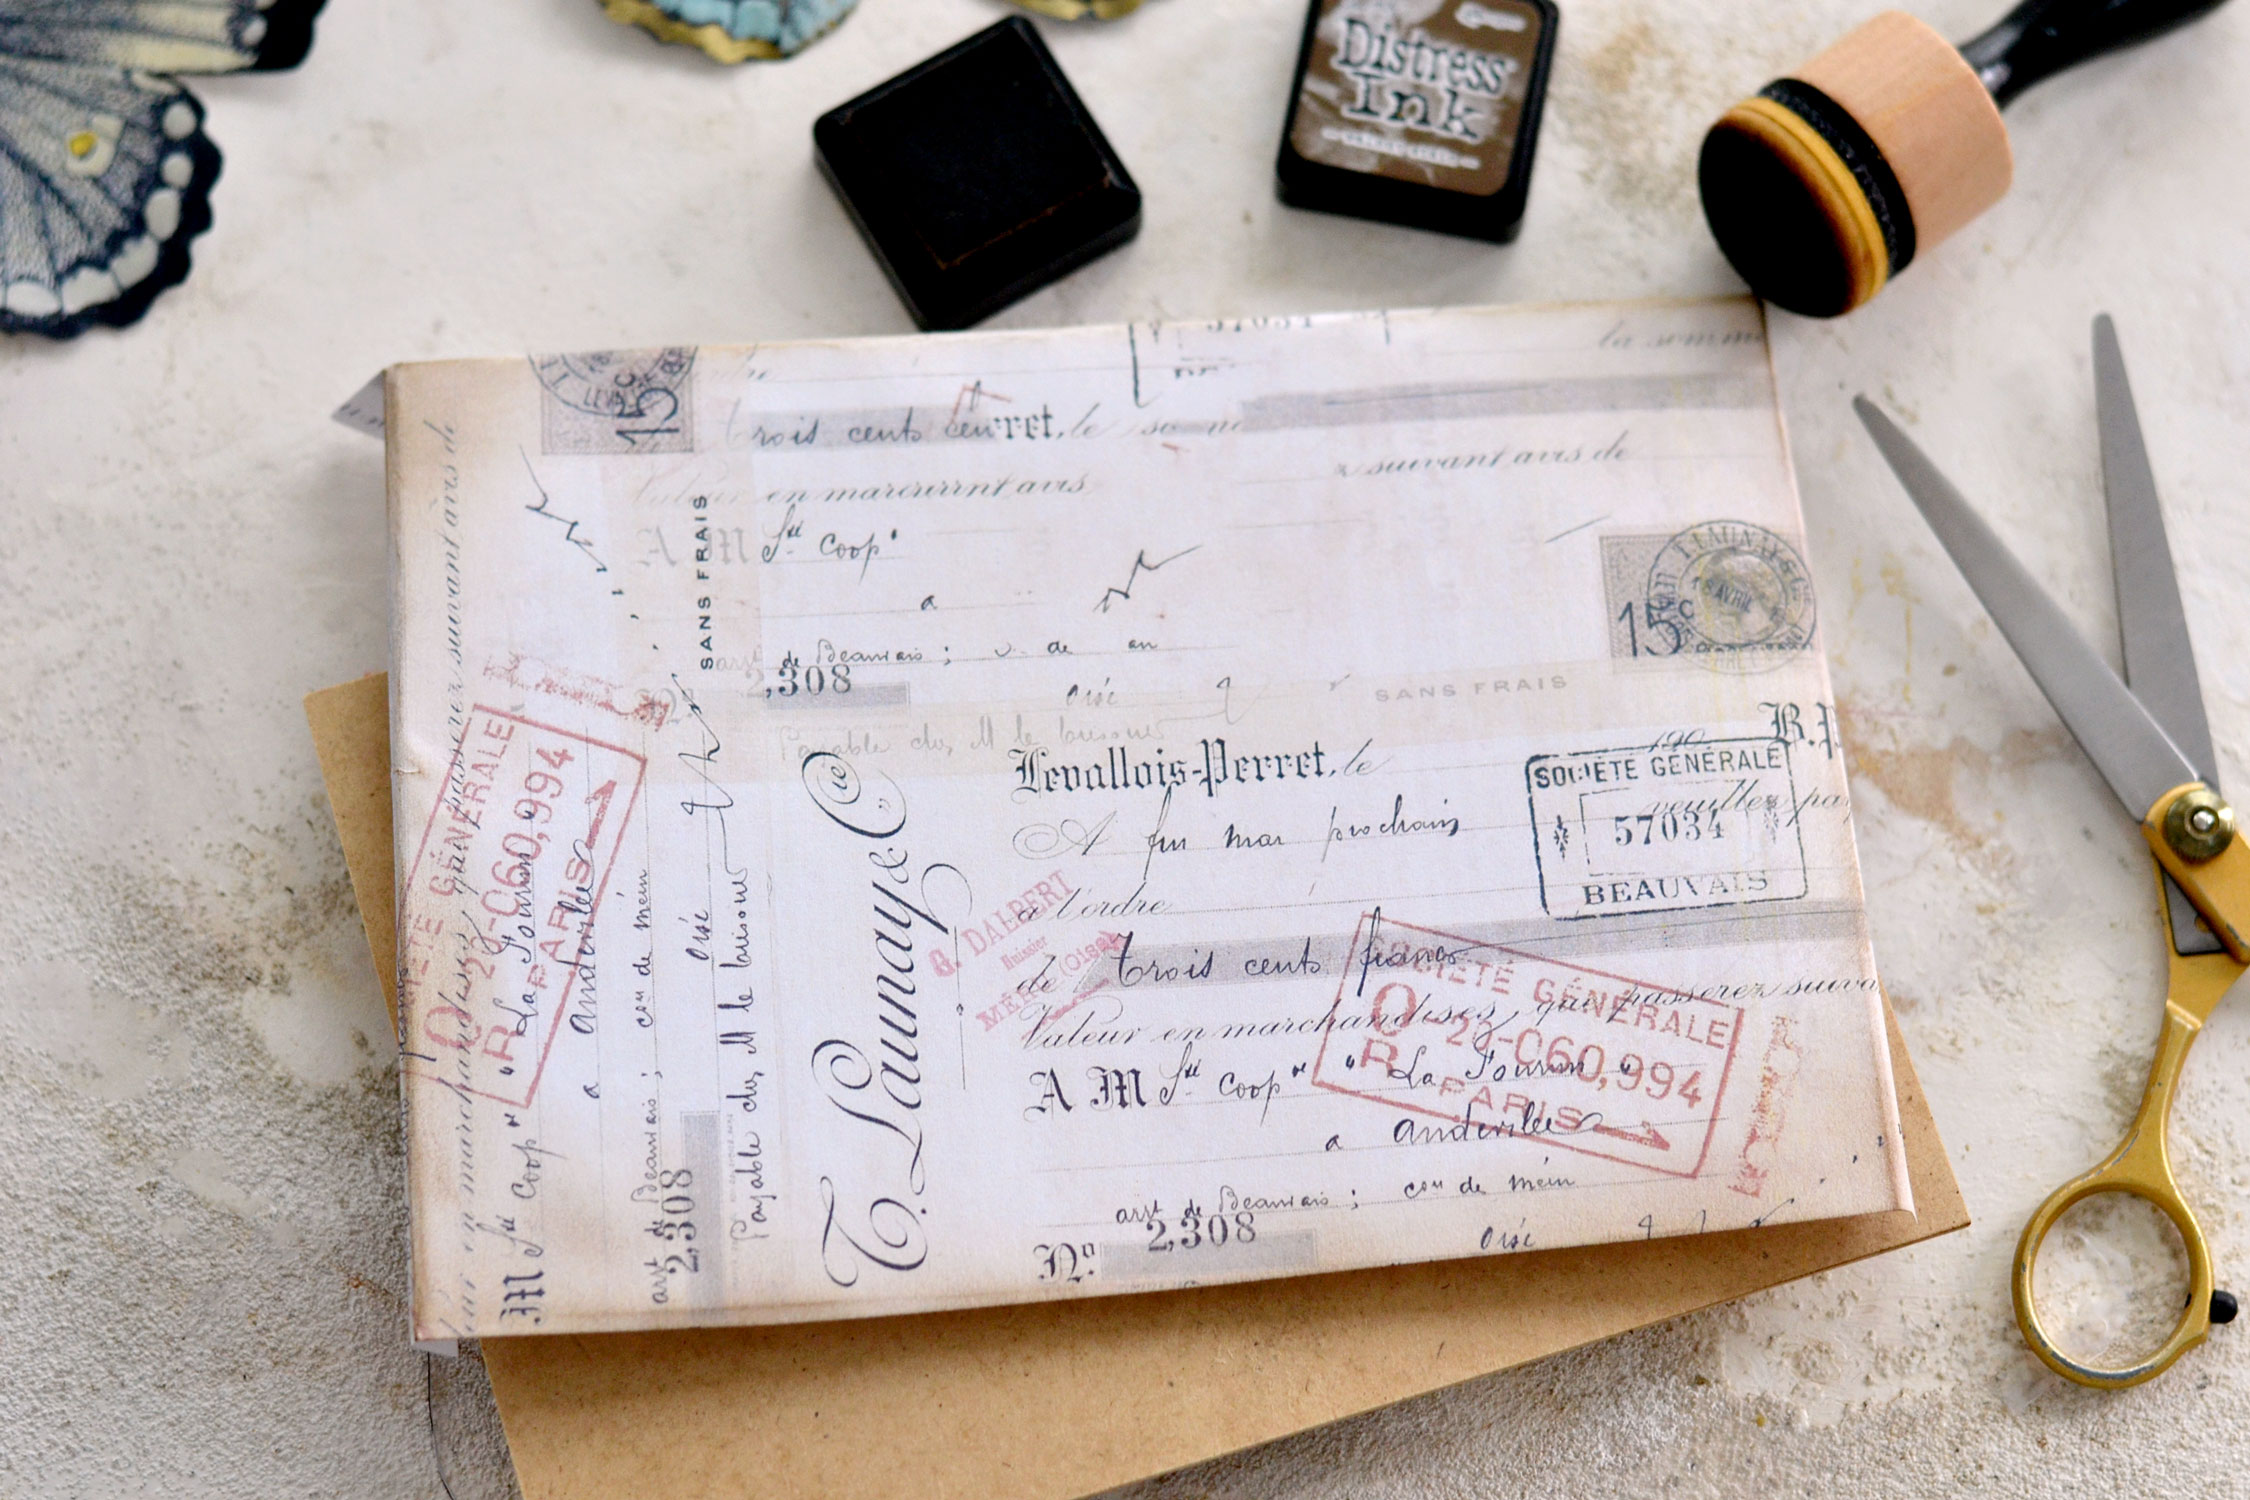
Wrap the French ephemera background printable around the back of your photo frame to quickly measure it, then cut it to size. The large size of the printable will allow you to easily adapt it to your photo frame, no matter its size!
Use distress ink to distress the edges – I like using Walnut Stain.
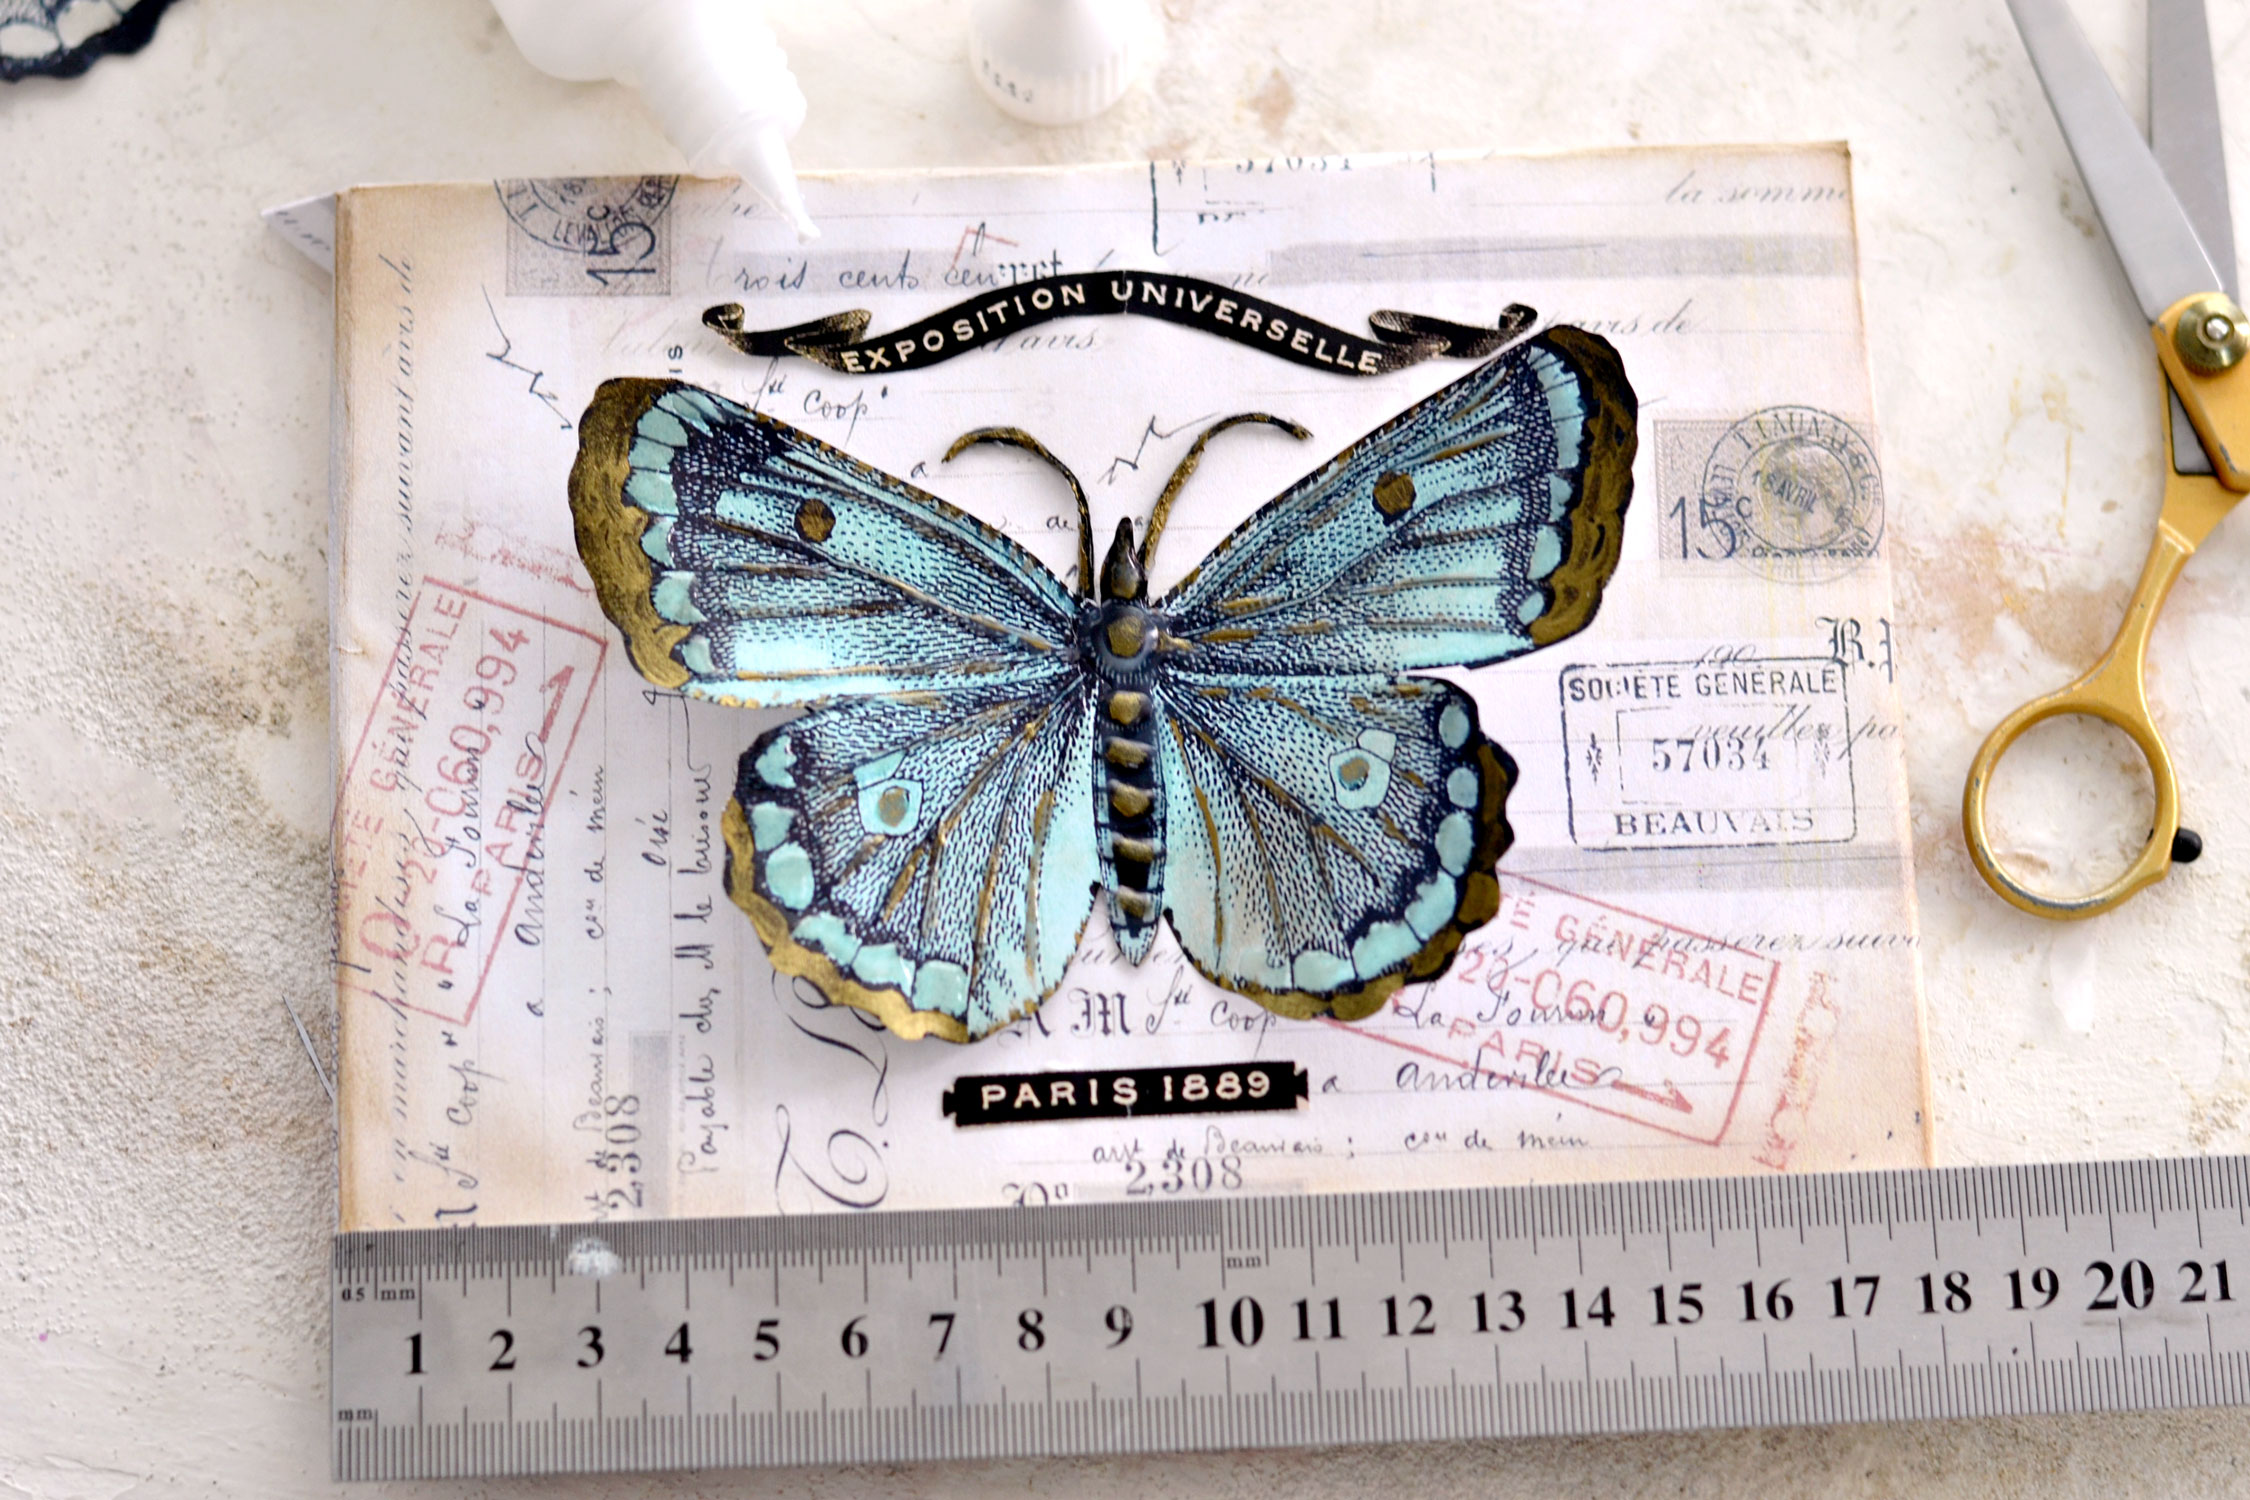
You can use a ruler if you want to check the size of your frame so you can easily determine where the middle is, then glue all the elements on the French background. Just keep in mind that we only need to glue the body of the butterfly and not the wings!
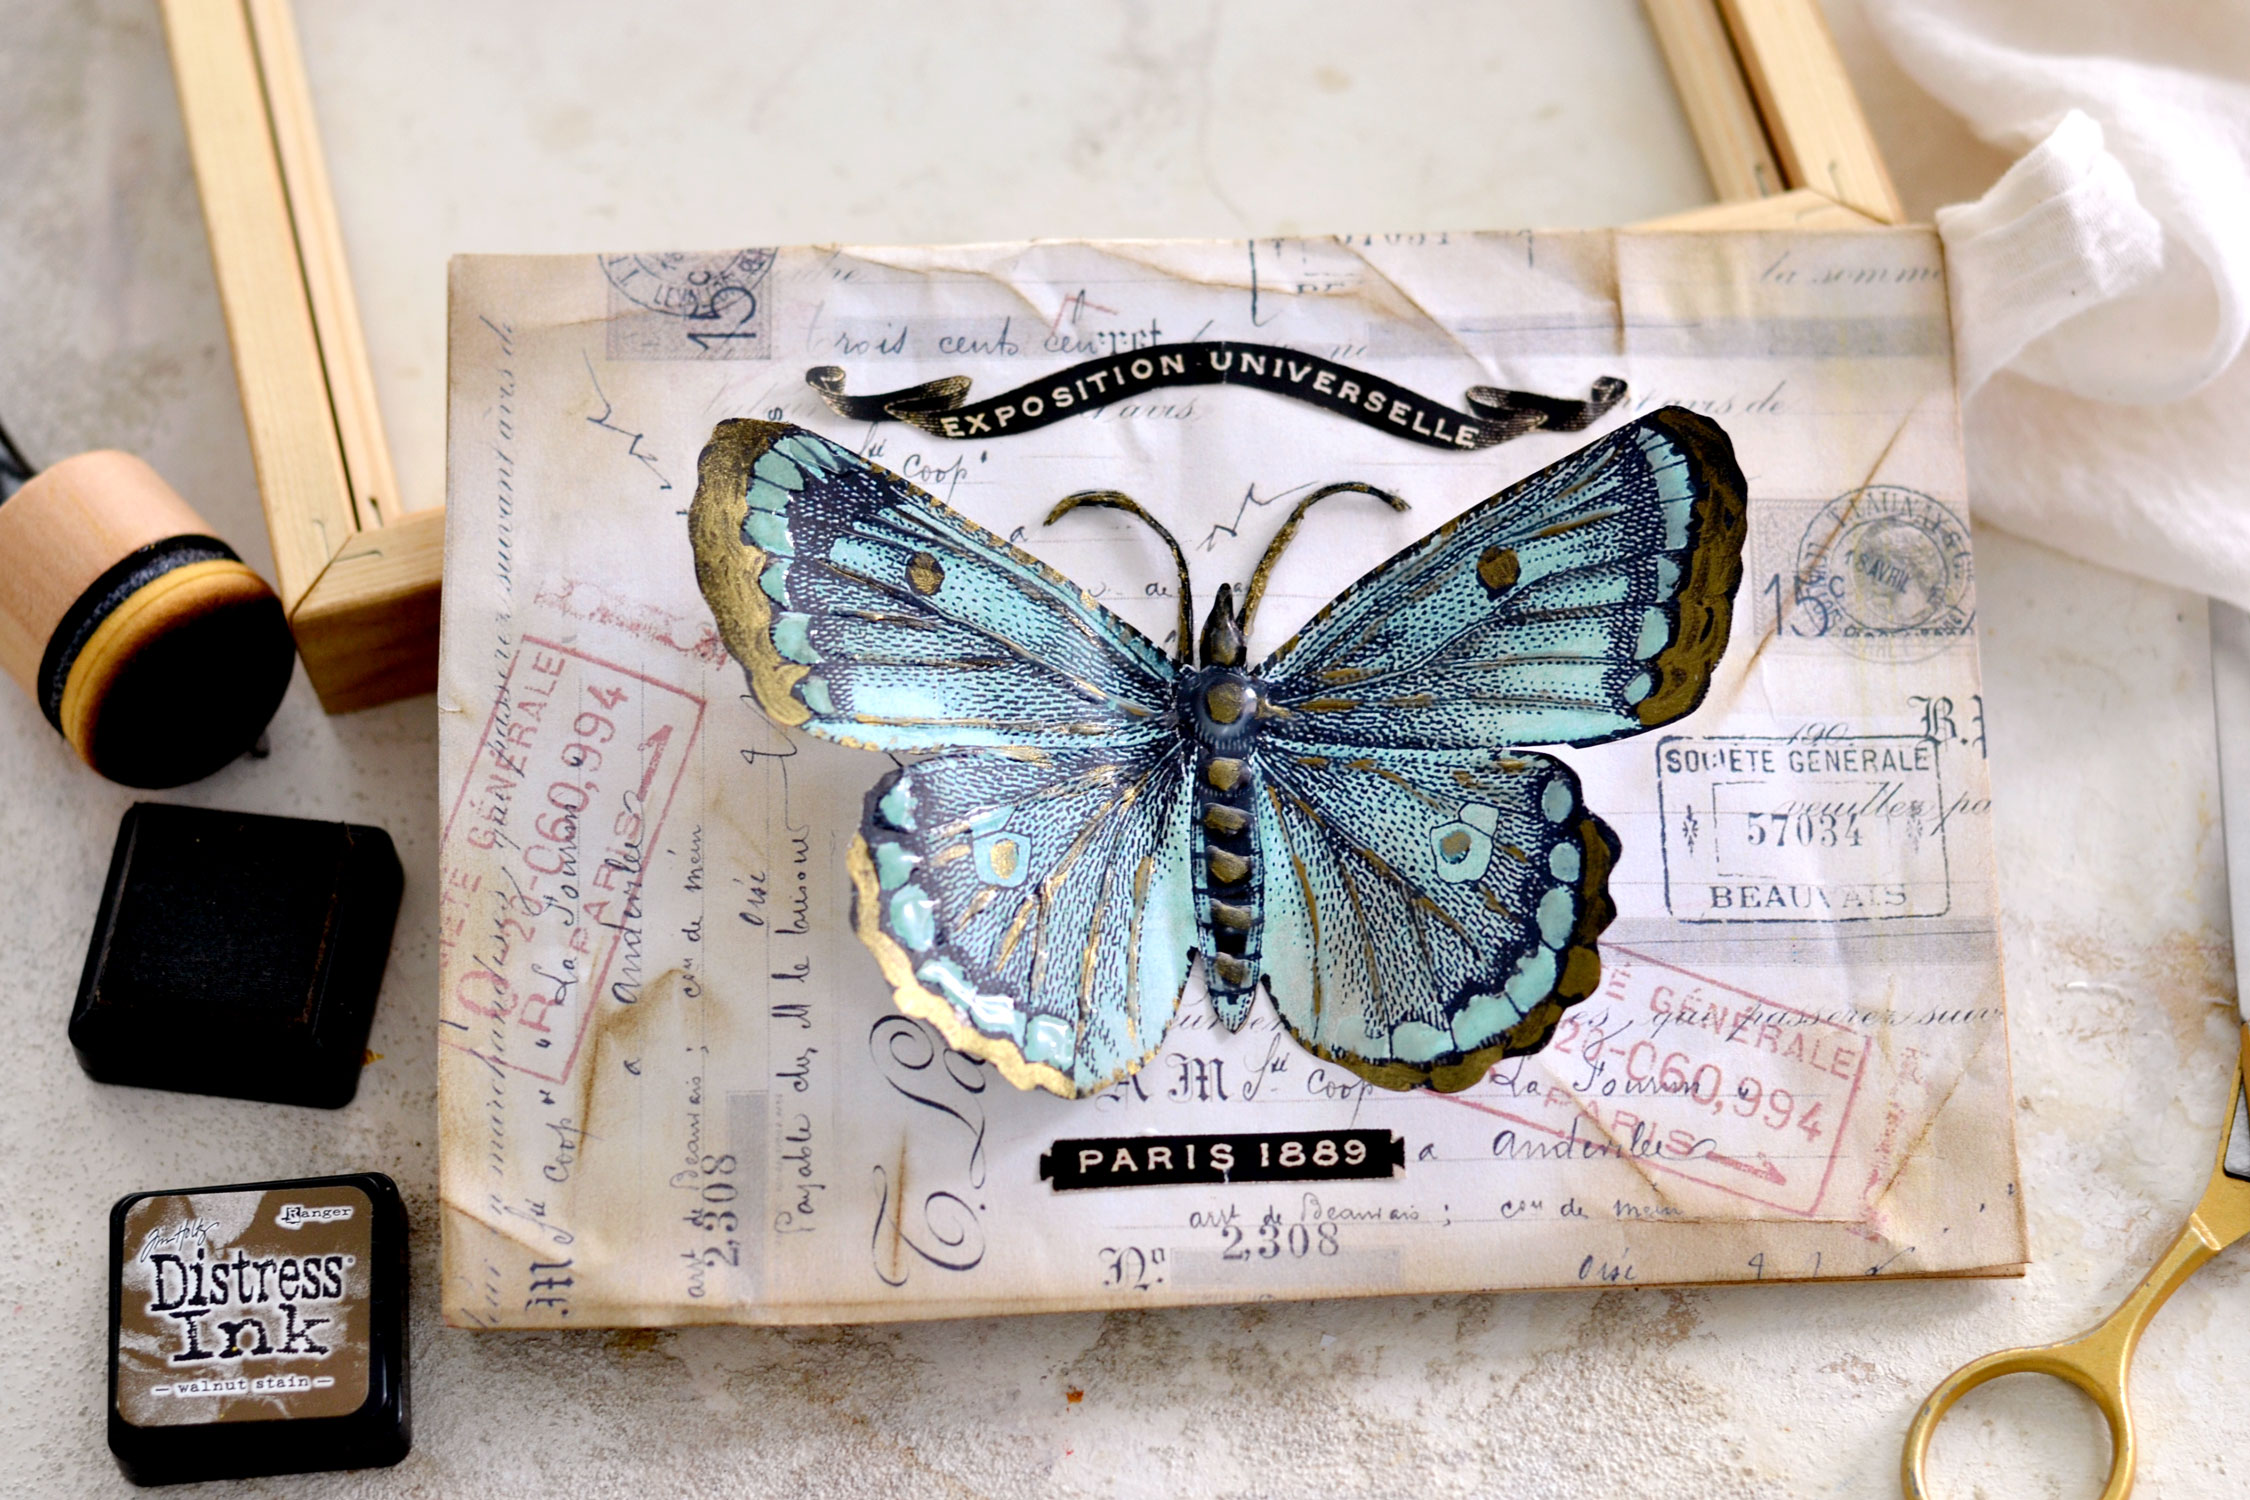
If you want, you can quickly distress the French background paper using more distress ink, you can fold the paper here and there, then unfold it and distress it some more to give it a chic vintage look!
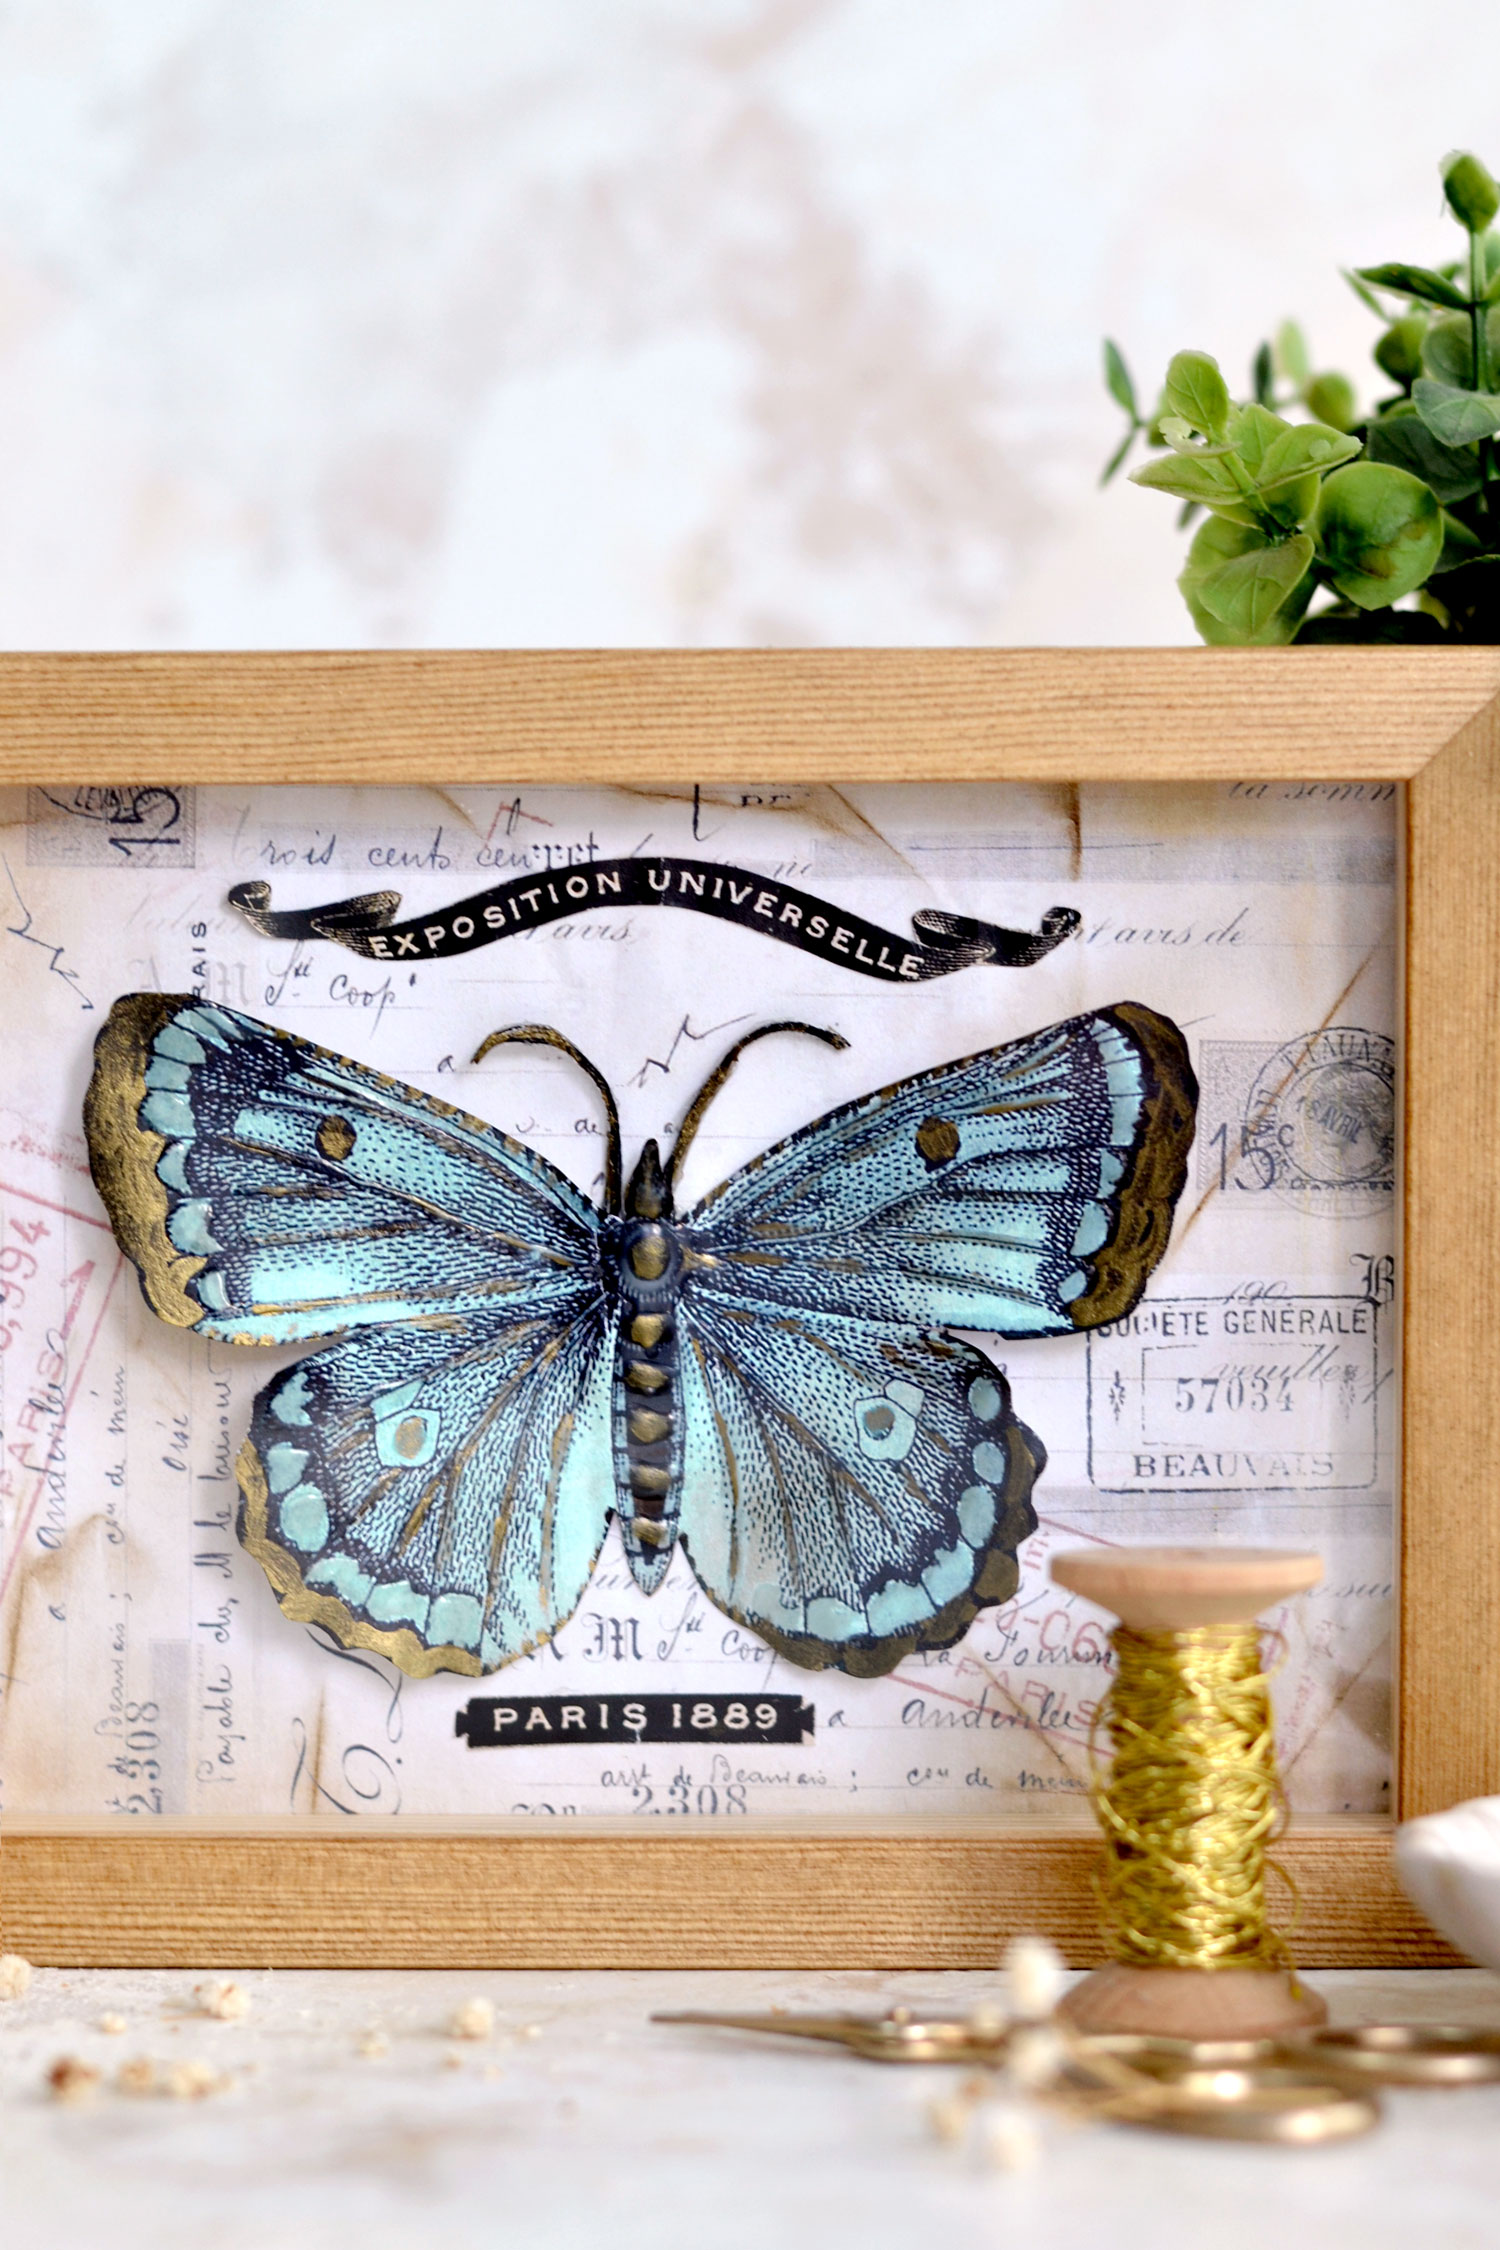
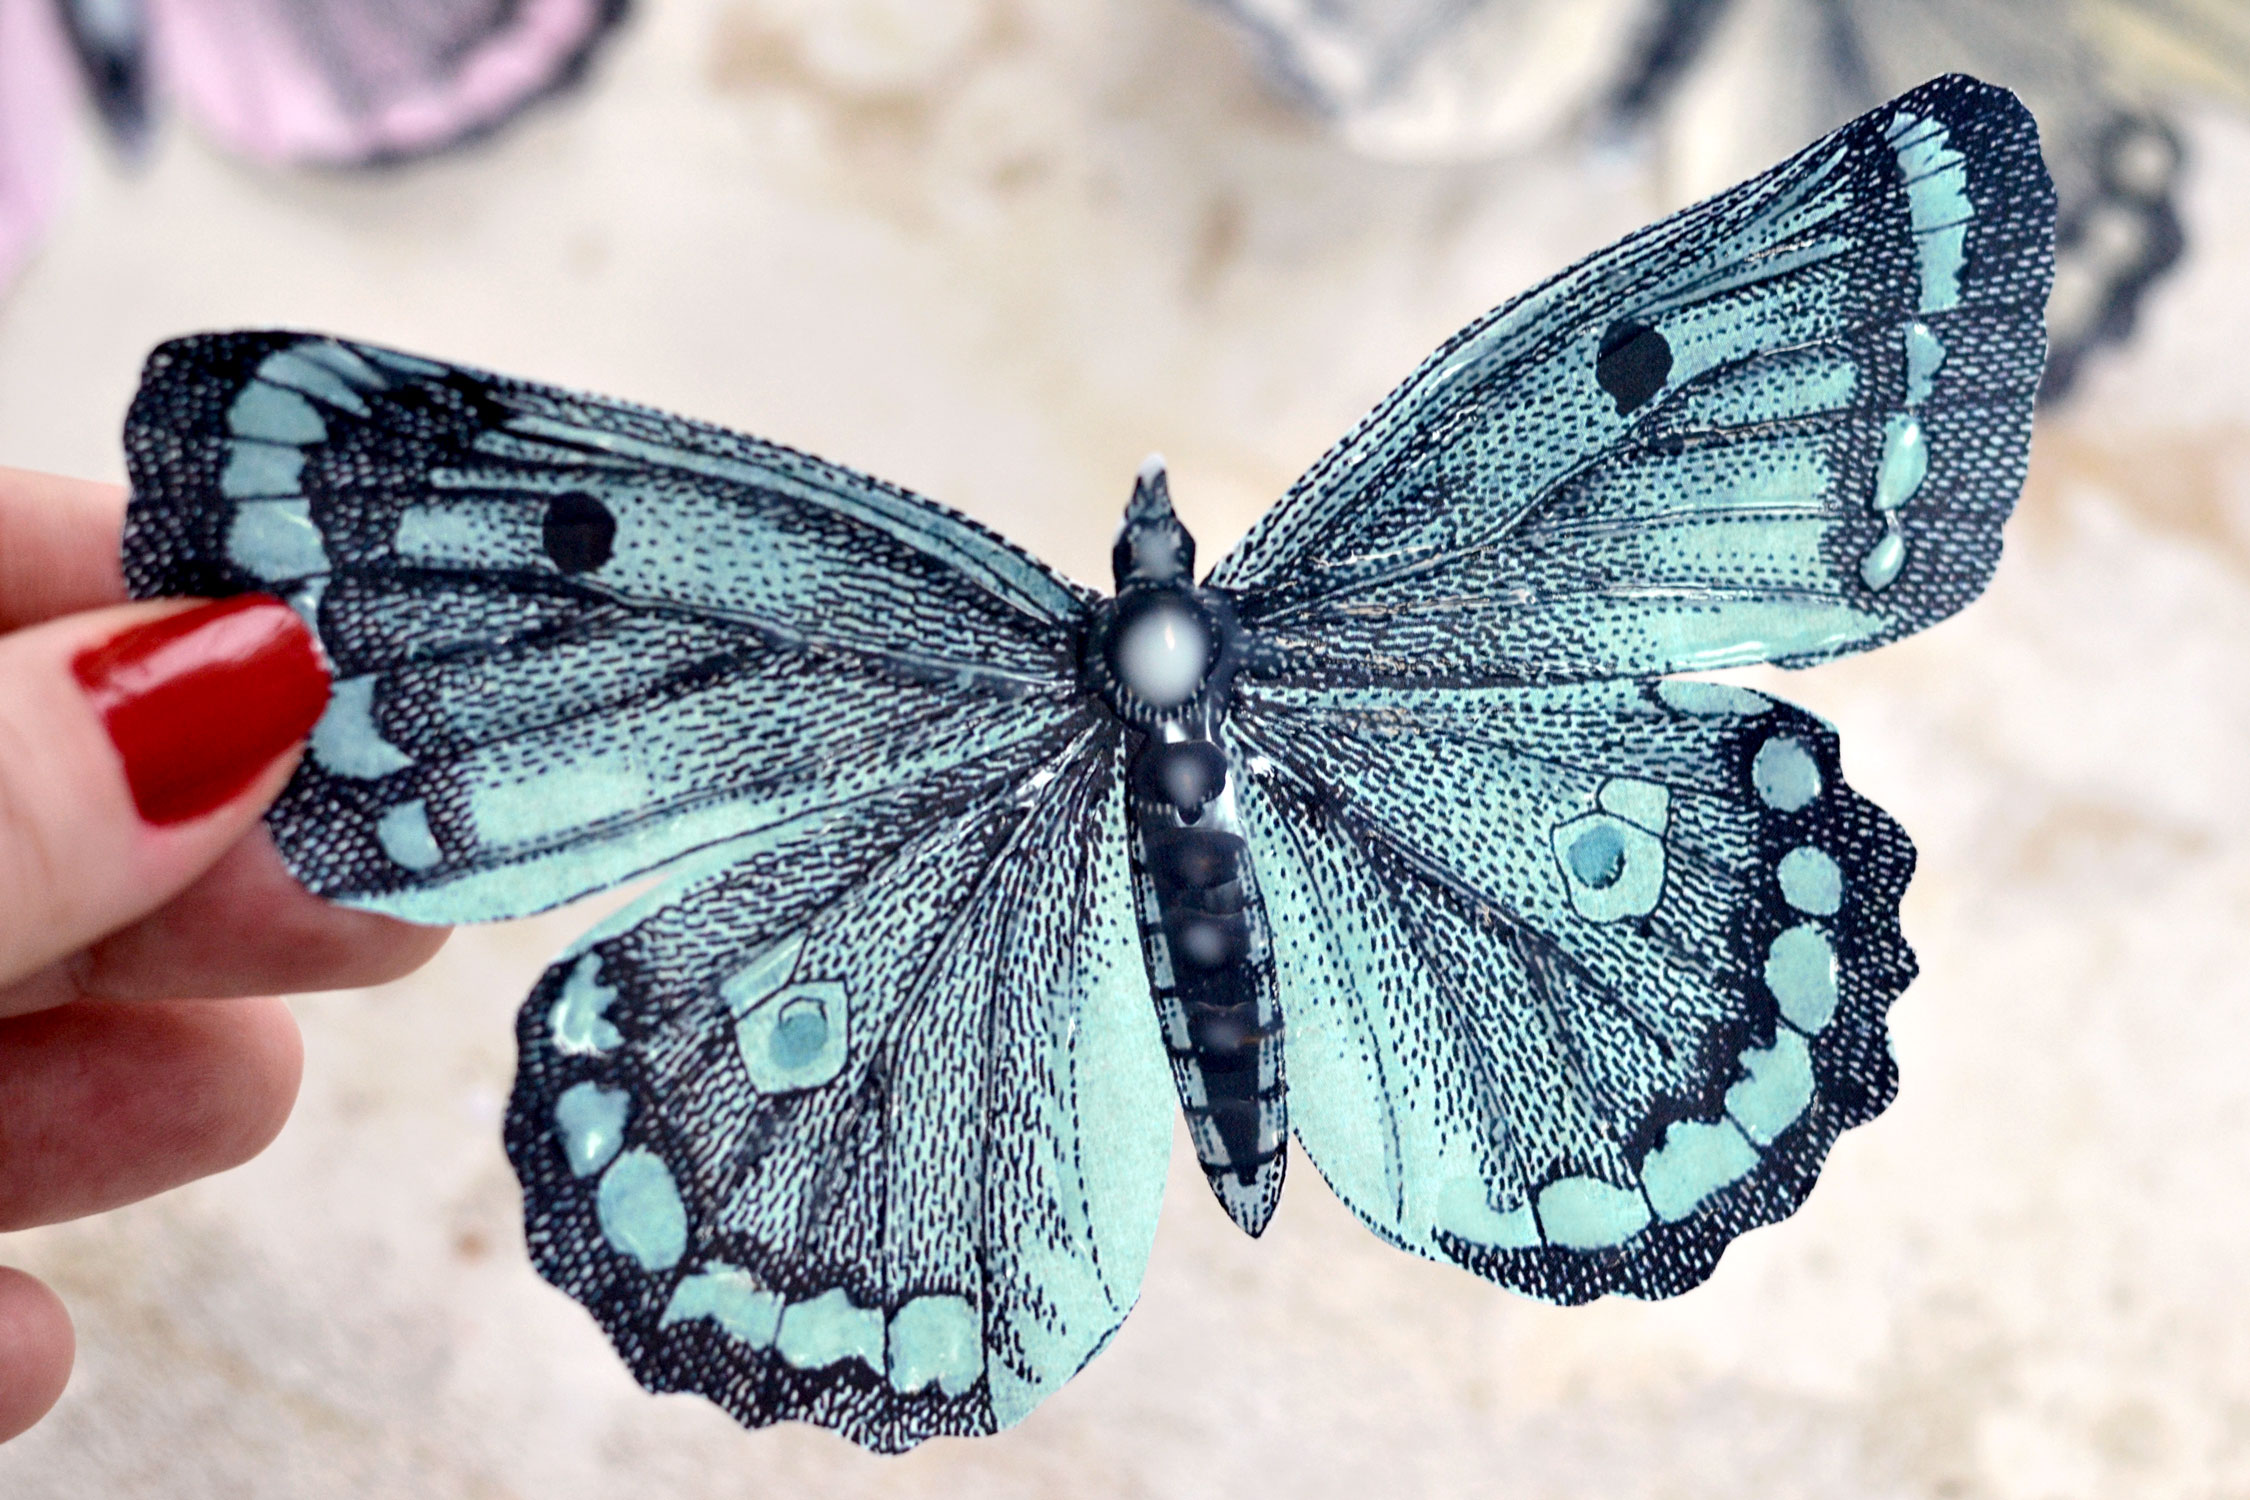
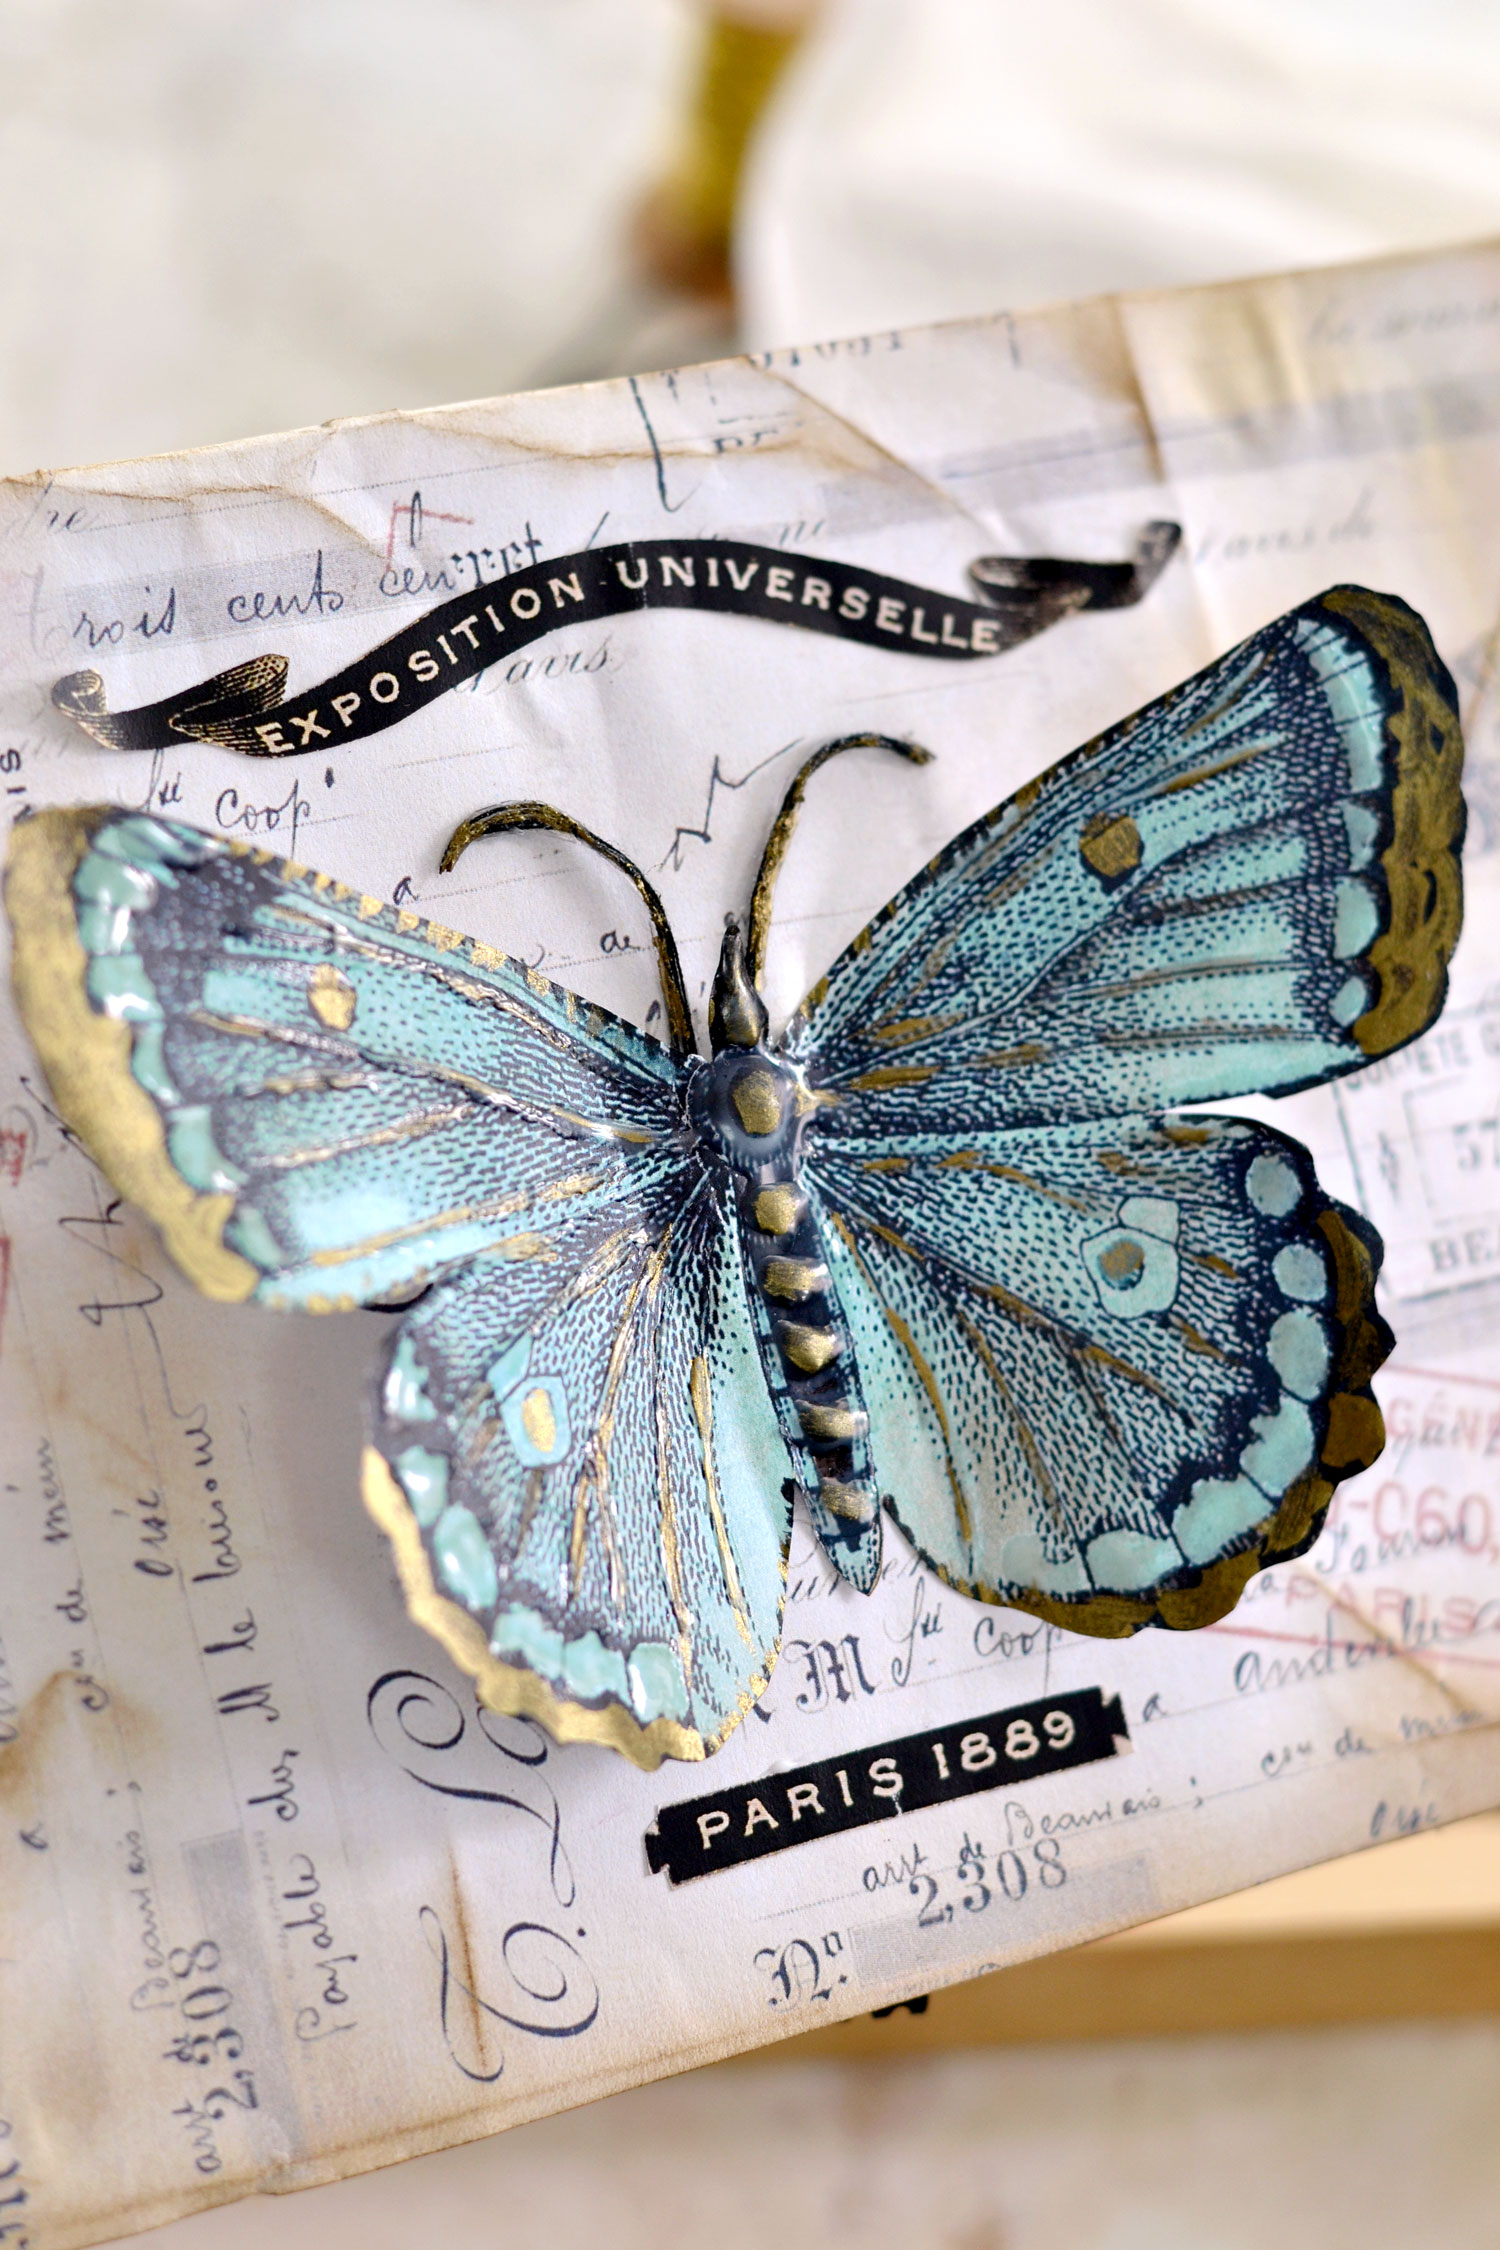
I wanted to show you a closeup of our beautiful butterflies, I feel it looks even more amazing in real life!
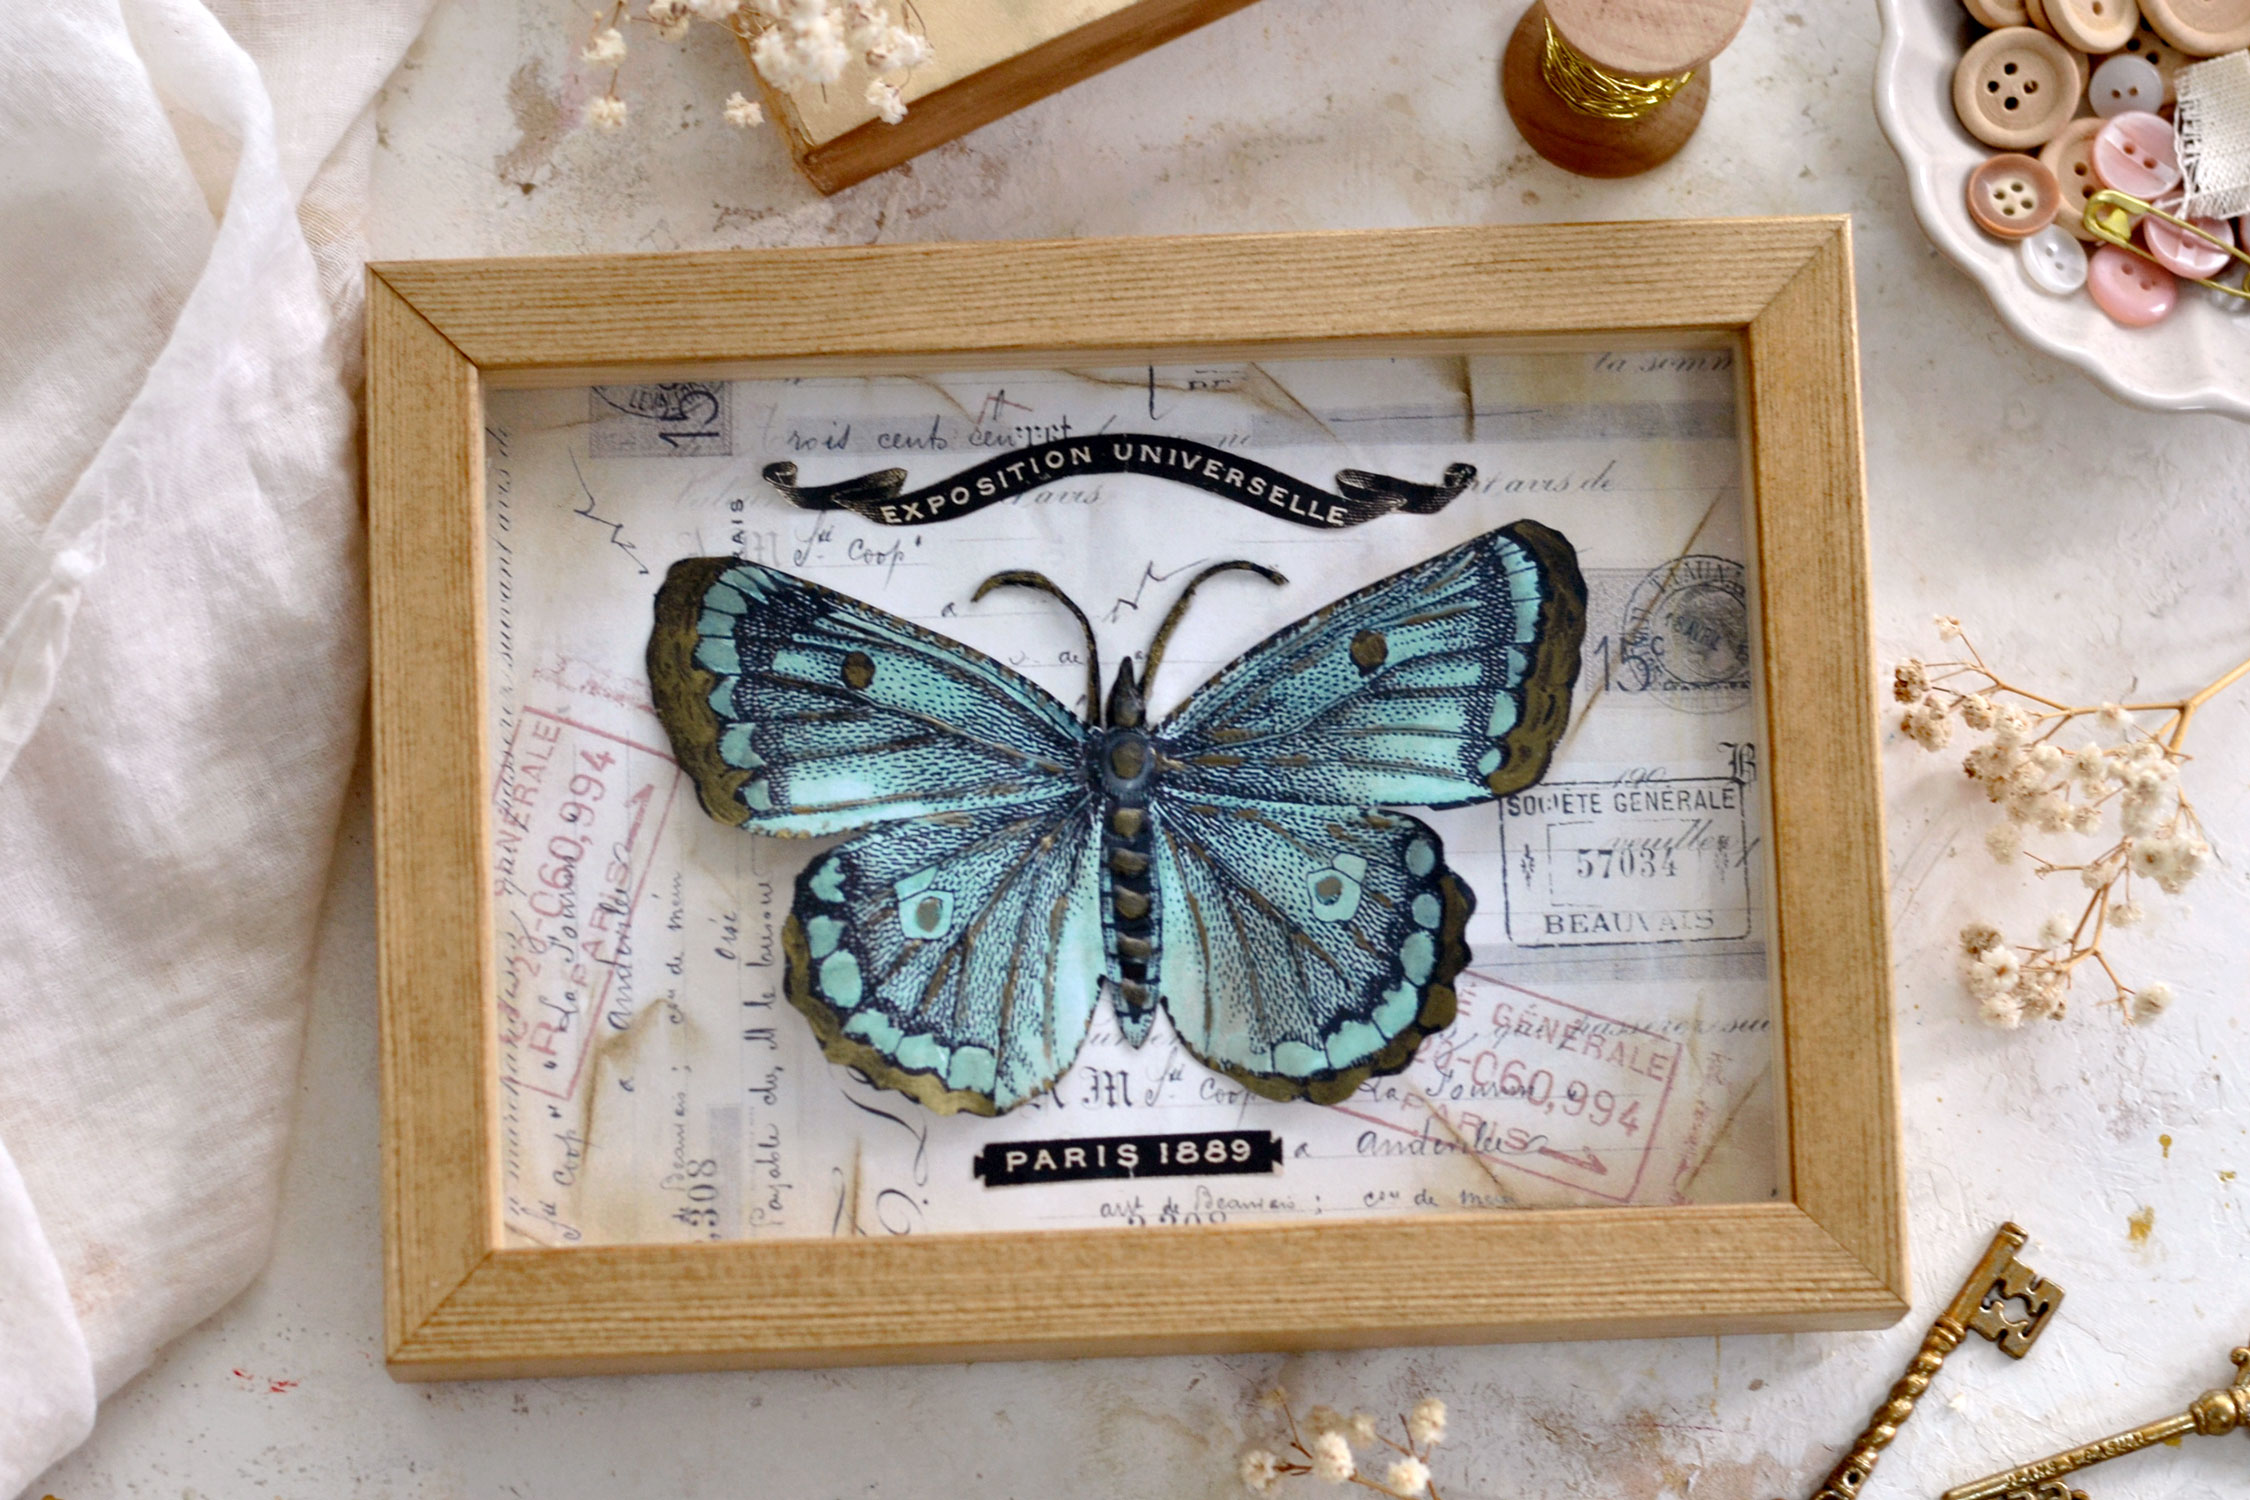
Frame the whole assemble and just admire your beautiful work! I’m really loving the turquoise mixed with the gold, I think they look so beautiful together! You can keep the other butterflies close by and just switch them from time to time if you feel like trying a different color. Or why not, just switch them according to your mood!
You can look for 3D photo frames or box photo frames when shopping online or raiding craft stores for this project, but if you can’t find one, you can use a regular photo frame. If this is the case and regular photo frames are your only option, you can choose to leave the front glass out to keep the 3D effect on our butterfly decor. Or you can keep the front glass and turn everything into a flat but gorgeous nonetheless home decor piece.
I used a box photo frame from Hama (the model is Dana) that had a lovely neutral finish, but of course, you can paint the frame too if you feel like it.
You can style your butterfly box frame with other small decorative items from your home like candles, small angel statues, vintage books, different-sized jar or plates to create gorgeous vignettes. But of course, you can also hang it on your wall, it will instantly beautify any place in your home!
And let’s not forget that this can be easily turned into a gorgeous gift, no matter the occasion! What better way of showing your gratitude or your love than with a handmade gift, gracefully crafted by you!
 I hope you enjoyed this Butterflies Wall Art project. If you want more DIY Ideas with Butterflies check out my Butterfly & Bee Bookmarks HERE and my Paper Butterfly Craft project HERE.
Happy crafting,
Diana / Dreams Factory


Gill says
This looks beautiful. Many thanks for the lesson will have to make this.
Karen Watson says
Yes, Diana outdid herself on this one! Have fun making this for yourself Gill.
Debs says
I absolutely love this project. I cant wait to make it shortly. Many thanks for sharing. Debs.
Karen Watson says
Have fun making these pretty wall decor pieces Debs!
CARRIE says
Thank you SO much for creating and sharing this beauiful project with it. I just LOVE it!
Karen Watson says
Have fun making this Carrie! 🦋