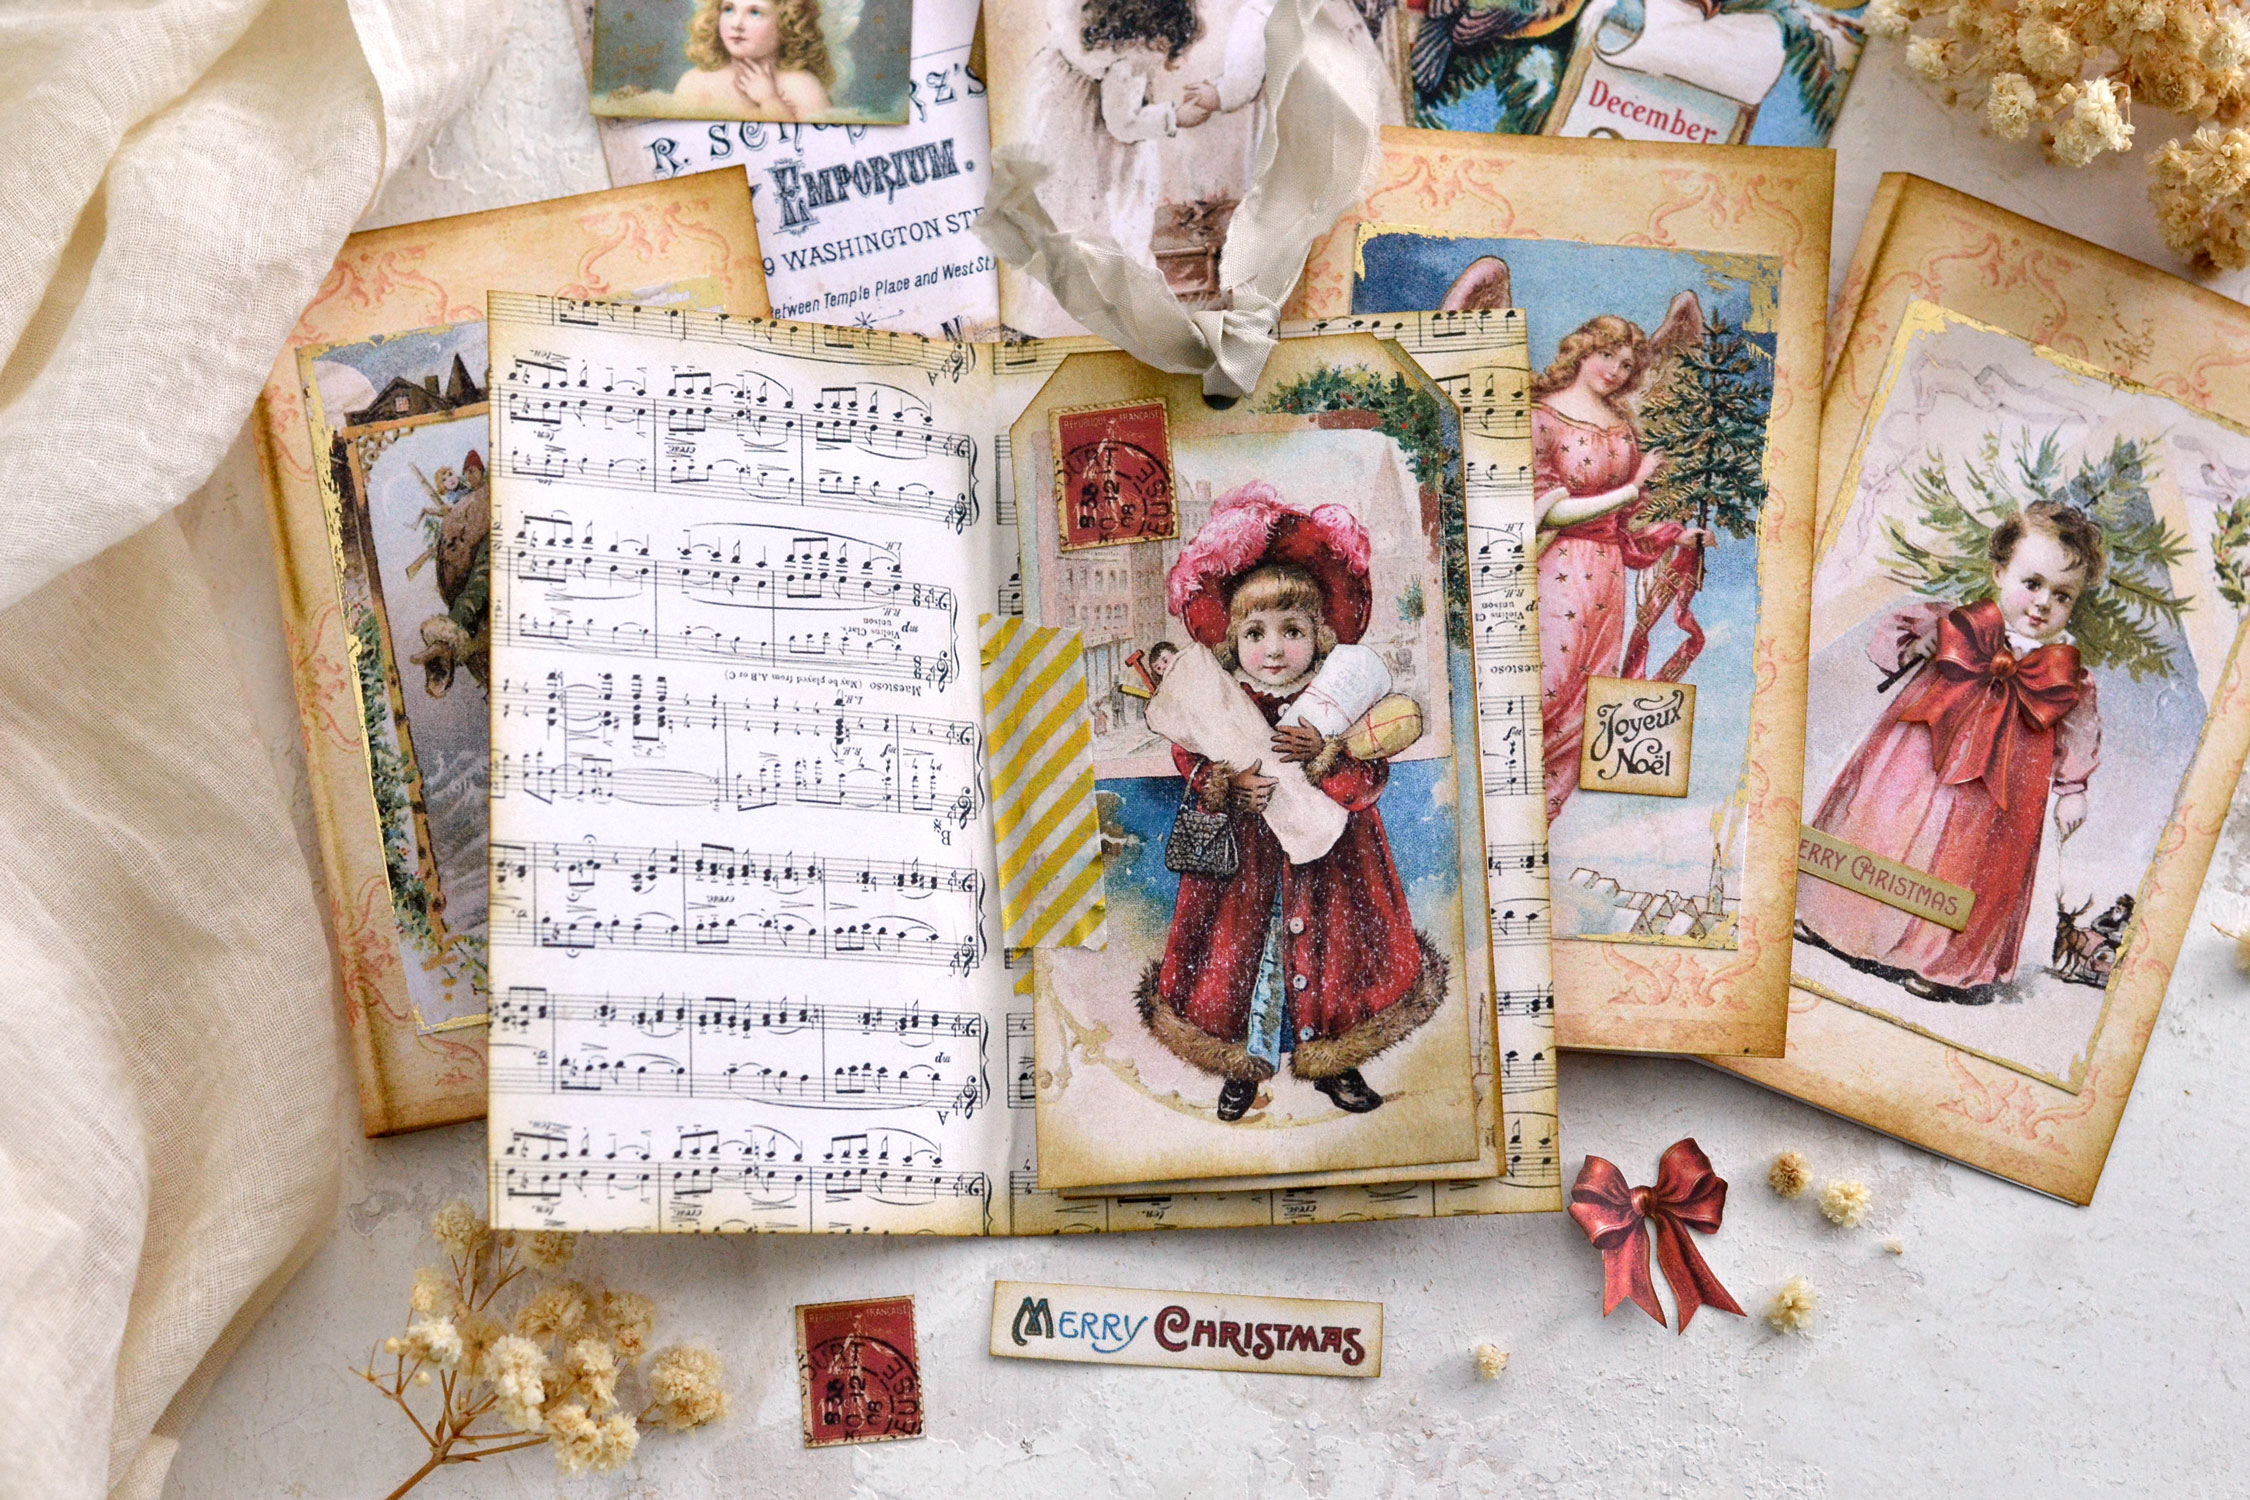
DIY Christmas Gift Tag Albums
Hello, Graphics Fairy friends! I’m Diana from Dreams Factory and I’m happy to be here again to share another creative project with you! Today, I will show you how to make these beautiful DIY Christmas Gift Tag Albums that have a lovely vintage vibe. This project comes as a Christmas gift for you, because I’m not only sharing the steps to create the tag albums, but I’m also sharing all the printables that you need for this. So, you’ll find printables to make and decorate the covers, the back, plus a whopping total of 24 tags, that can be used as flippable pages on the inside!
This post may contain affiliate links which won't change your price but will share some commission, you can find our privacy policy here.
I wanted this project to be pretty quick and easy to make because I know Christmas is literally just around the corner. Printing and cutting each element will probably take most of the time, but you can do that while watching TV or listening to your favorite Christmas songs. I think it’s important to take a little bit of time to decompress by doing something that we love. We all want the holidays to be filled with joy, not add to the already stressful moments we might have faced throughout the year.
The 24 tags that I’m sharing are really amazing and can be used as inserts inside the albums. My idea was to use them as mini flippable pages, but I also wanted to be able to quickly take them and use them for gift decorating if needed. So I came up with a quick ‘binding’ solution that will allow us to do both.

I included some of the most beautiful Christmas images from the Graphics Fairy while designing this project. I think it’s safe to say that I’ve got you covered for all your tag decorating needs this year!
Free Printables:
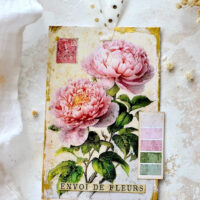
So, you will find 4 printables, each with 6 different tags, one more charming than the other – these will be the inserts for our albums.

—-> Click HERE to Download the Full Size Printable PDF – tags 1<—- —-> Click HERE to Download the Full Size Printable PDF – tags 2 <—-
 —-> Click HERE to Download the Full Size Printable PDF – tags 3 <—-
 —-> Click HERE to Download the Full Size Printable PDF – tags 4 <—-
You will also find a printable to create the covers.

—-> Click HERE to Download the Full Size Printable PDF – covers <—-
And another one that will help you further decorate the top of the covers.

—-> Click HERE to Download the Full Size Printable PDF – top covers <—-
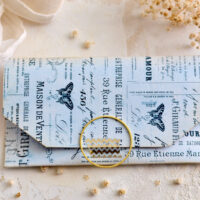
I’m also sharing a printable with a lovely music sheet that can be used to decorate the inside of the covers, but also the back of the tags, if you choose to.
As a bonus, I’ve also included a few Christmas cutouts that can be used to further embellish everything as needed.

—-> Click HERE to Download the Full Size Printable PDF – back <—-
DIY Christmas Gift Tag Albums Supply List:
- white cardstock paper
- home printer
- regular scissors
- mini distress inks
- blending tool with foams
- paper glue stick or any other craft glue
- gold foil (or gold marker, gold acrylic paint, gold watercolors)
- washi tape
- ribbons

STEP BY STEP TUTORIAL:
Start by printing your printables on cardstock paper. You can use any cardstock that you want. The thicker the cardstock, the better, because it will give more body to the finished pieces.
Use your scissors to cut each of our beautiful elements. I started with the tags, but also all the other small cutouts that can be used for further decorating.

Then use distress ink to give the paper even more of a vintage vibe. Go all over the edges and insist on the corners if you want to create that lovely vignette effect.
And now, you can decide whether you want to glue two tags back to back to create a double-sided tag or print the music sheet a few more times and use it as a backing to decorate the back of your tags.

Cut the covers. You will be able to create two covers from one printable. So, if you want to make more, print the cover printable as many times as needed.
I also cut off the white edges of our sheet music page at this point, we’ll need it to decorate the inside covers.

Use paper glue to glue the covers to the back of our sheet music.

This way, we’ll have a double-sided cover that looks great on the outside, but also on the inside.

Use your scissors to cut the glued covers and use distress ink to distress the edges.

Cut the rectangular vintage image elements from the top cover printable. You can use distress ink to further distress the edges or use some gold foil to gild them. I like to use my UHU glue stick for quick and easy, quite irregular gilded edges. I just go all over the edges with the glue and then I apply the gold foil on top. Press the foil into the glue and let it sit for a few minutes to get some adherence, then simply peel it off.

You will be left with perfectly imperfect gilded edges that look absolutely stunning!

Fold the double-sided covers. You can fold the covers exactly in the middle, if you want, but you can also leave a small area on one of the sides while making the first fold. Move to the other side and make the fold, leaving a little bit of space on that side, too.

You should be left with a cover that looks like a small book cover. You can keep the spine as it is or you can go all over it from the inside of the cover, using your fingers to make it less sharp and give it more of a rounded shape.
Now it would be the perfect time to also distress the folded lines of the spine. I found it easier to do this right after making each of the two folds.

I printed the cover printable and the sheet music twice to make 4 of these beautiful double-sided covers.
I then used the top cover images to decorate them.

And now it’s time to add our beautiful tag pages inside! I thought long and hard about using some sort of binding mechanism to add the pages on the inside. I knew I wanted them to be flippable, but I also wanted them to be easy to remove, if needed. So I came up with a quick and easy solution: washi tape! I started from the back and used a piece of washi to adhere the first tag to the back cover. You will need to use only the right side of your cover to add the tags, this way, you will be able to flip them through and also close the album without any problems.

I moved on to the other tags and I used more washi to glue two together. You can use this quick and easy system to insert as many tags as you want!

I added a little bit of crinkled ribbons to the top tag to make it even more festive.

You can have so much fun making these sweet mini albums with tags, the finished pieces will be truly beautiful. And quite unique!

Use the small paper cutouts to decorate both the covers and the tags. Of course, if you want to take things even further, you can! Use small pieces of gauze, scrap pieces of fabric, vintage buttons or other small embellishments to add even more charm to the finished pieces.

You can add as many tags as you want, but if you prefer, you can also use just one, the album will still look beautiful!

I noticed that if you add more tags, you will need to use a small paper clip to keep the covers closed. But that’s not necessarily a bad thing, as you can easily turn it into a small embellishment as well. I love using gold acrylic paint or even gold nail polish to make gold-painted paper clips. Simply paint them and use a small piece of a plastic bag underneath. Let them dry completely before using. You can also use small metal bookmarks to hold everything in place, they are quite inexpensive and look absolutely gorgeous.

Make a few tests before adhering the tags just to ensure they properly overlap.

This is one of those quite lovable, highly adaptable projects, so you can have fun finding other creative ways of using all these amazing paper elements. The tags can be used as inserts for our albums today, but can also be used for gift wrapping, junk journaling or even to be hung in your Christmas tree.
You can also use the covers to make quick and easy Christmas mini junk journals, or even some Christmas notepads. I think they would look quite charming if used in any of these ways!

Chances are you already have all the supplies you need to bring this sweet little Christmas project to life, so I really hope you will love it and decide to give it a try! Use all the 24 super chic tags that I’m sharing, along with all the other paper elements, to create something truly beautiful and unique!

Happy crafting,
Diana | Dreams Factory


Connie Griffin says
Wonderful creation!
Karen says
Thank you, Connie! 🙂
Loretta Brady says
Thank you and Merry Christmas!
Karen says
Merry Christmas to you and your family! 🙂
LYNETTE WALTER says
Happy New Year Karen to you and your family,
and a big thank you for all of your beautiful Freebies
during 2025, I really love what you do Karen, and thank you so much
looking forward to seeing what you create in 2026, cheers Lyn.
Karen says
Thank you Lynette for your kind message and for your support throughout 2025, I’m really glad you’ve enjoyed the freebies.
Wishing you a wonderful year ahead, and I look forward to sharing more in 2026.
Jacqueline Hale says
These are wonderful! Thank you!
Karen says
Happy crafting! 🙂
MartyC says
Thank you for bringing this adorable project to us! Just when I was wishing I had a simple project to make! Merry Christmas, everyone!
Karen says
You’re welcome, Marty! Merry Christmas! 🙂
Debs says
This is such a fabulous project!! Thank you so much Diana. I cant wait to make it.
Karen says
Happy crafting!
Debbie Harper says
Thank you for this awesome project and free printables. They are beautiful. Merry Christmas!!!
Karen says
You’re welcome, Debbie. Merry Christmas!
Louise M says
What a wonderful *gift* this is! Thank you and Merry Christmas!
Karen says
You’re welcome! Happy holidays! 🙂