Cookie Cutter Crafts
Hello Graphics Fairy friends, Diana from Dreams Factory here with a new DIY project – some adorable Cookie Cutter Crafts! We all have some of these in our home, that we carefully store away year by year like some little treasures, ones that are just waiting to be rediscovered and used once again for making delicious treats for family and dear friends. So before actually using the cutters for making tasty cookies, I thought it would be fun to make some pretty Gift Tags first. I’ve also created a free printable template for you, so you don’t even need the cutters! 
With only a few days until Christmas, what a better way to celebrate this magical time of year but with this simple and versatile project? As always, you can give this Cookie Cutter Crafts idea multiple uses.
Think about decorating Christmas presents, candles, old books or cinnamon sticks and how amazing they will all look wearing one of these Cookie Cutter Christmas Tags! But why stop there when their usage is almost limitless? You could also use them as ornaments and hang them in your Christmas tree! There are so many possibilities here, you just have to find the ones that inspire you the most.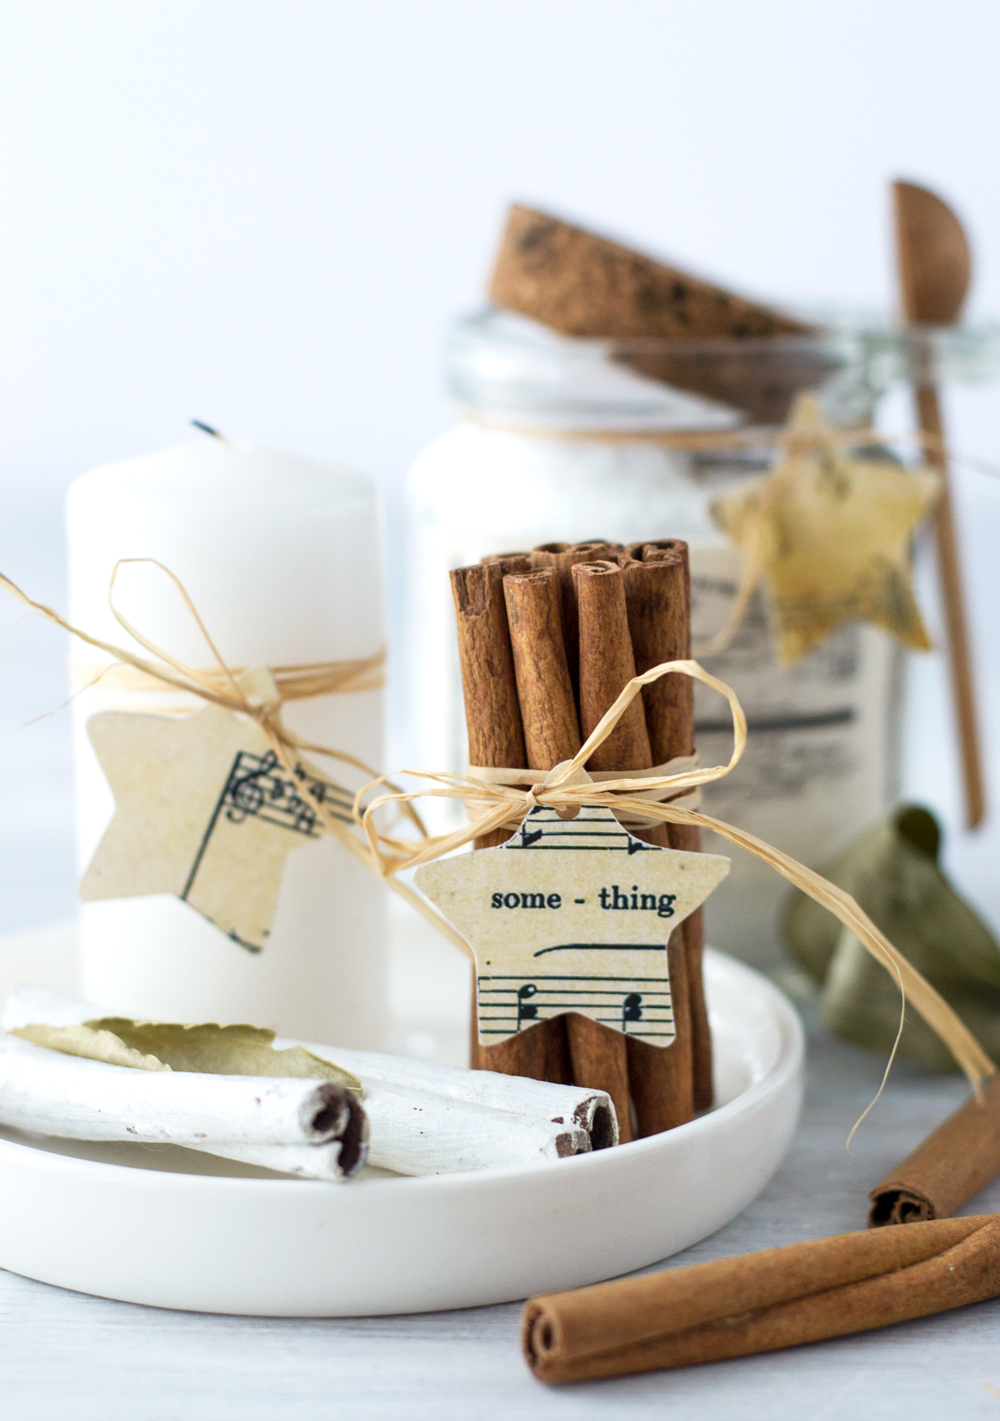
I used three vintage pages from the Graphics Fairy as the ‘base’ for this project (I will link them below in a second) – two amazing ephemera Christmas pages and one vintage Christmas music sheet, but you can also use other graphics that you love from this site.
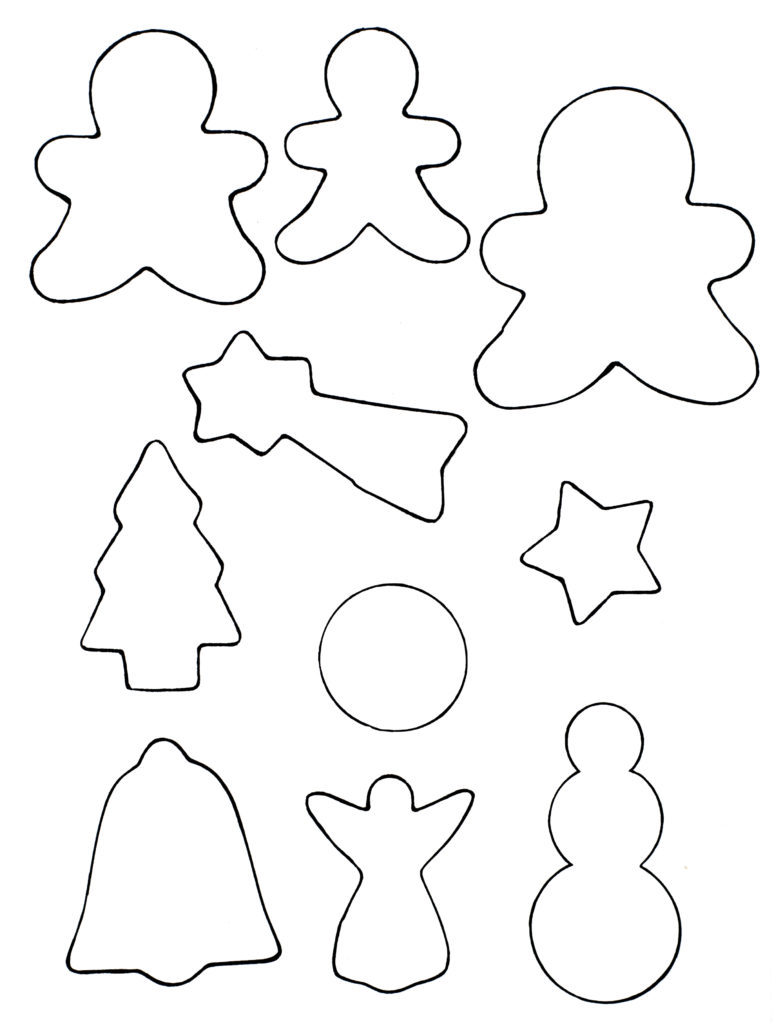
Note: If you don’t have any cookie cutters around or just love the ones I used, here are the shapes that I created using my own. You will have to download the shapes on cardstock paper and just cut and use them as templates. But remember, you will only need these shapes if you don’t have any cutters!
Free Printable for Cookie Cutter Crafts
—-> Click HERE to Download the Full Size Templates – Printable PDF <—-
So let’s gather all our cookie cutters (or templates) and bake make some Cookie Cutter Christmas Tags!
Cookie Cutter Crafts Supplies:
- vintage pages – vintage Christmas music sheet & Christmas Ephemera 1 & Christmas Ephemera 2
- cookie cutters (similar to the ones I used) OR downloadable shapes
- cardstock paper or regular paper
- mechanical pencil
- eraser
- scissors
- hole punch tool
- printer (inkjet or laserjet)
- jute twine or white twine or natural Raffia
Start by downloading the 3 beautiful vintage pages.
Tutorial Instructions: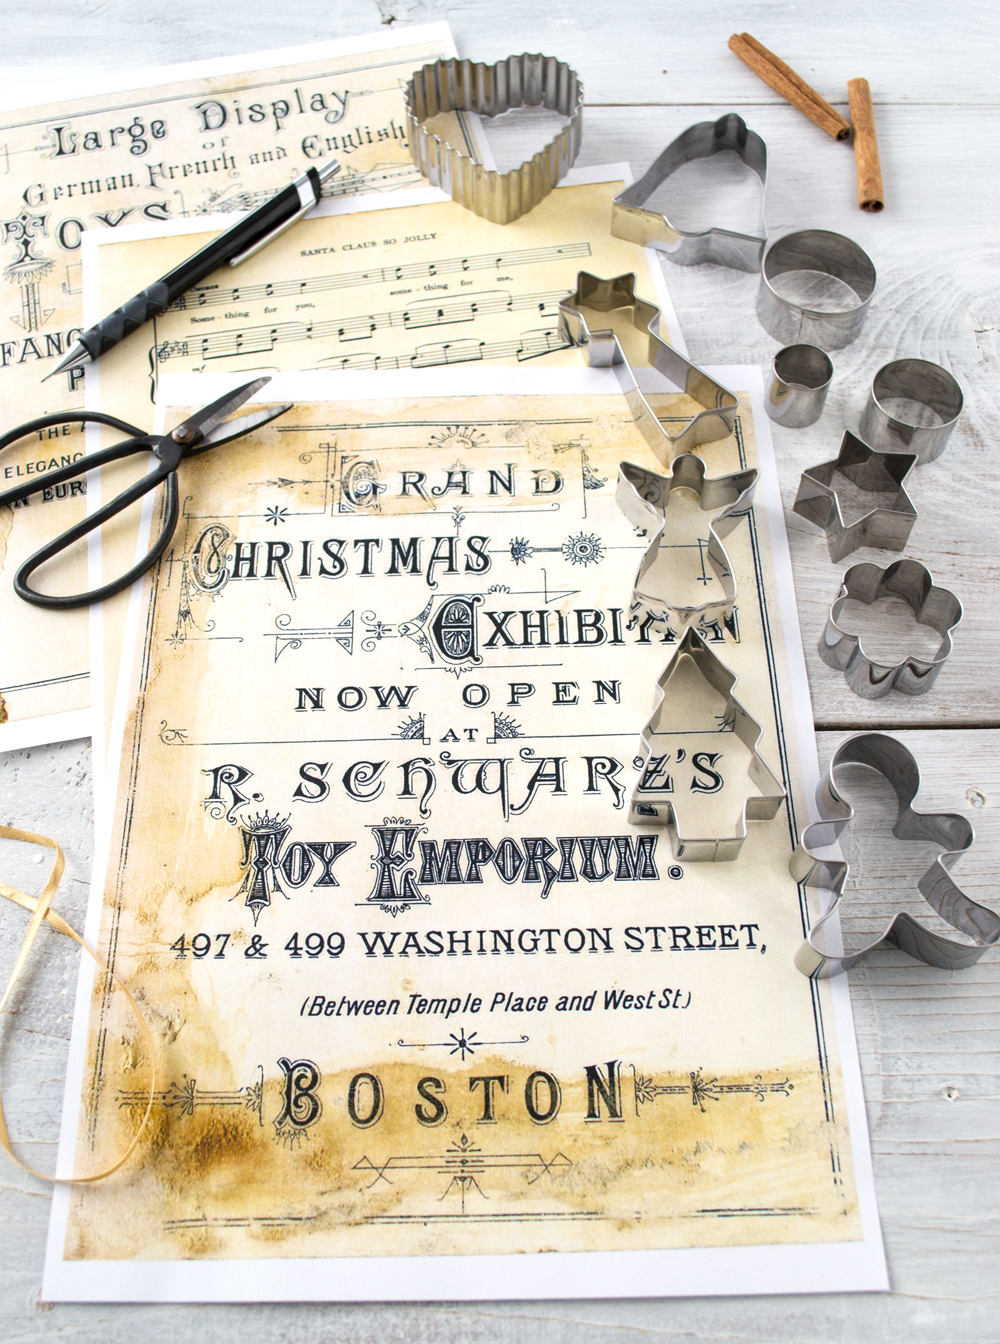
Place a cookie cutter (or a shape from the template) on one of the printed sheets. Try aligning it and moving it around until it encloses a beautiful writing (or different types of writing) and all kind of shapes or embellishments from the design. When you are happy with the result, trace that shape using a mechanical pencil.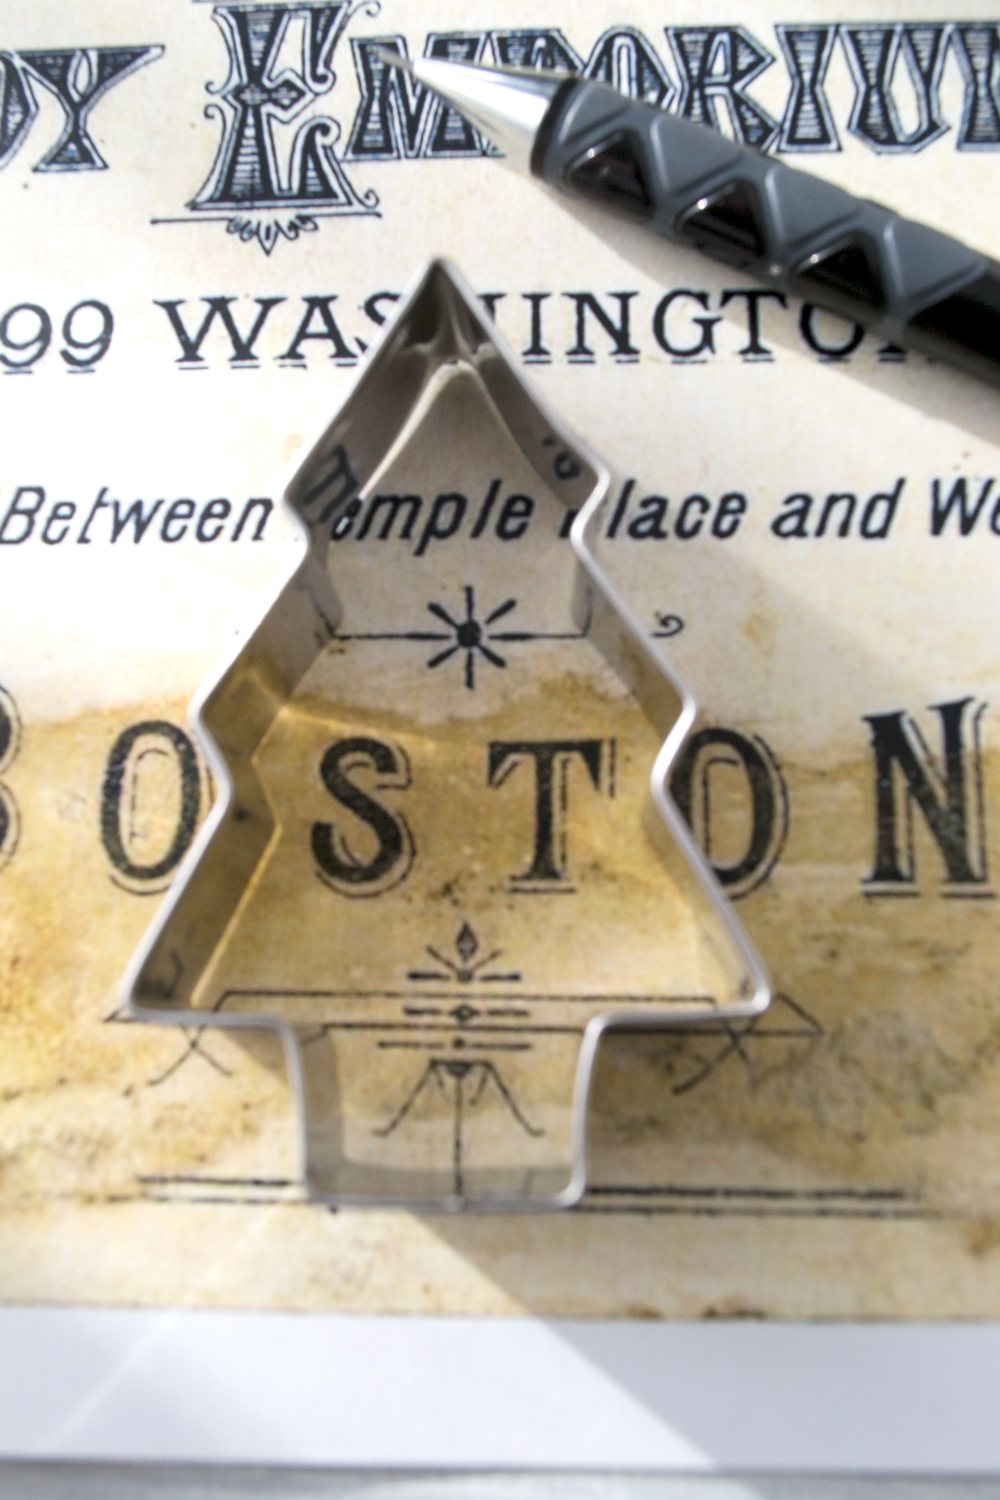
You can use several cookie cutters to trace different tags on the same page, in different sizes and shapes. I even used a drinking glass to create a larger round shape, so don’t be afraid to improvise if you need to. Just move the cookie cutters around and trace until you get beautiful tags, using most of the paper. An eraser might come in handy here if you change your mind and want to try some new arrangements.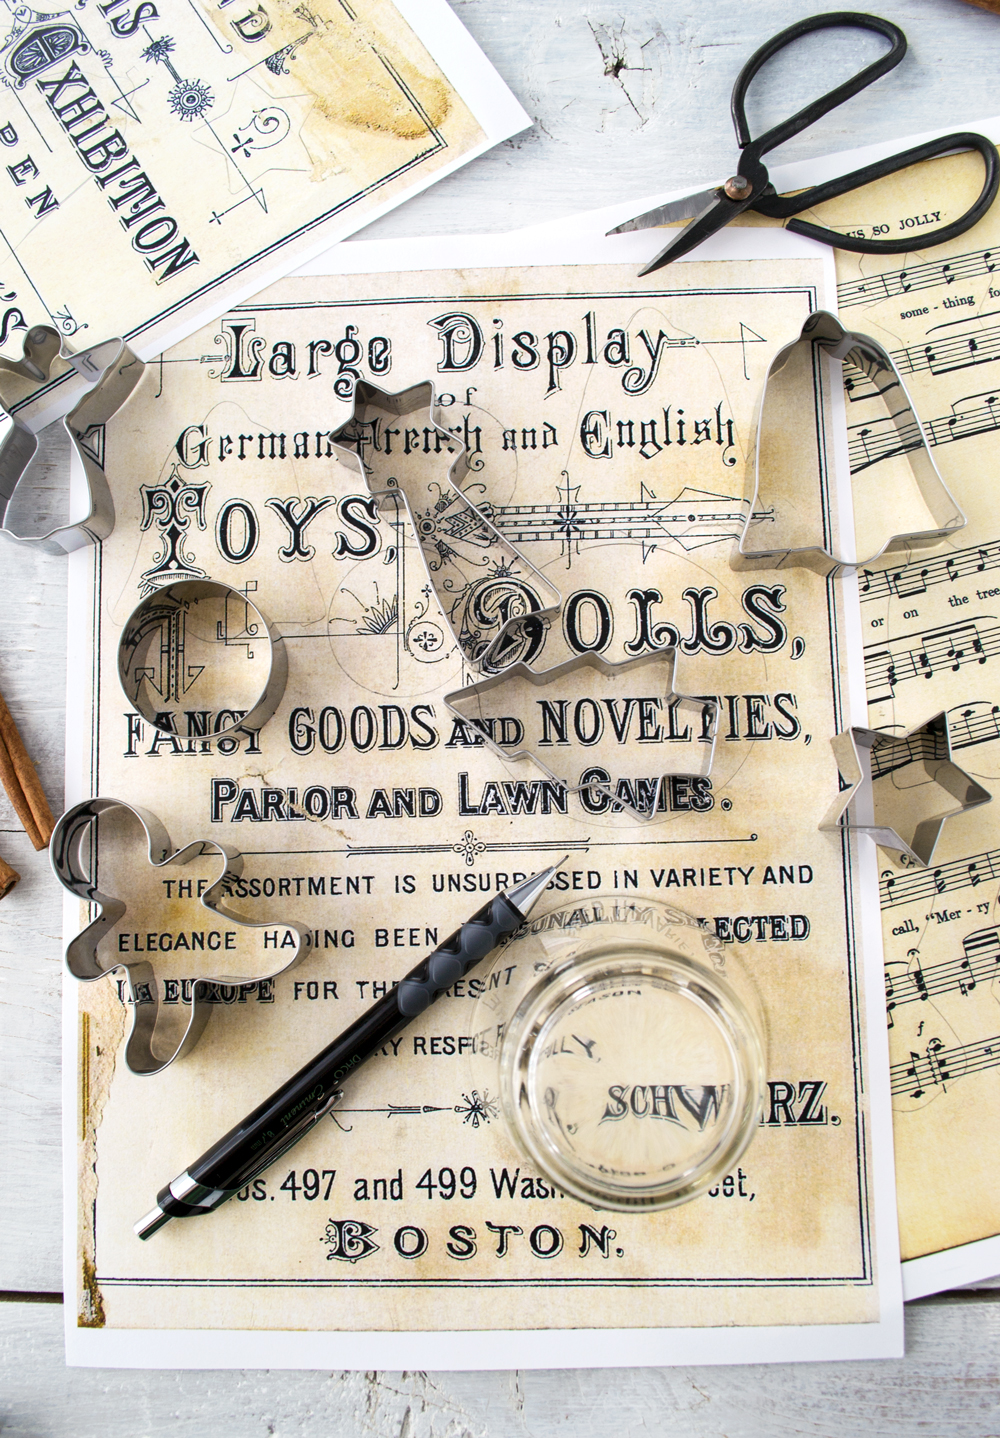
Cut your newly created tags using some scissors.
You can get creative here and even use 3 different sized round cookie cutters to create … a snowman shape! Start with the larger cookie cutter and trace it on the paper, then gradually do the same with the smaller ones – try overlapping them a little bit to create a more bounded final tag and erase the overlapping marks afterwards.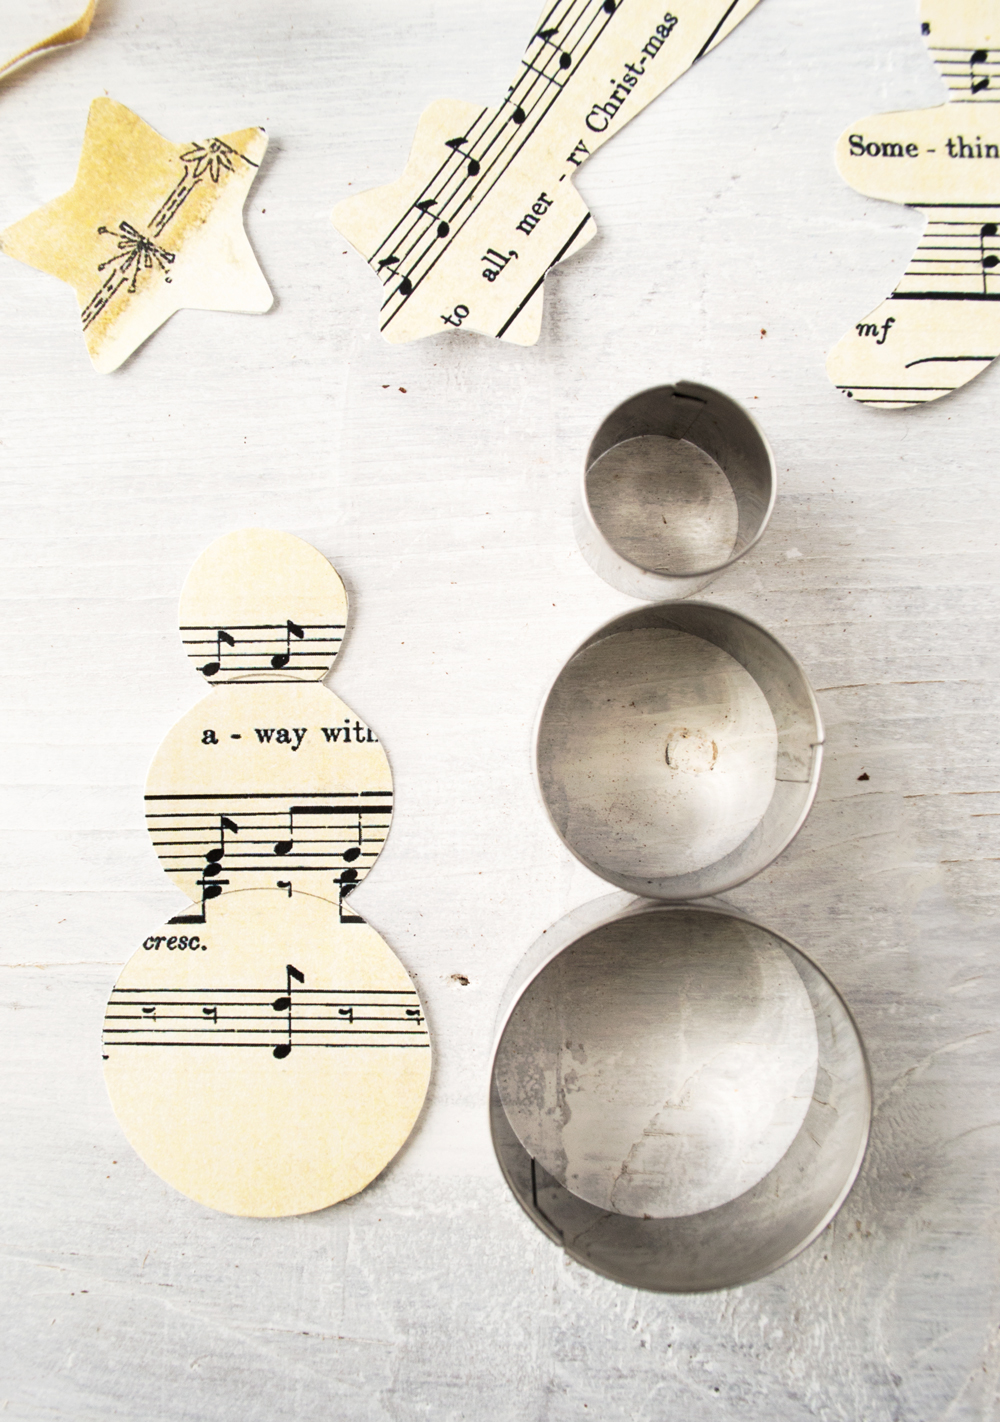
Use the 3 pieces of paper (the 2 ephemera and the music sheet) to trace all the tags that you can! Don’t waste an inch of this precious vintage looking paper and use smaller cookie cutters on the scraps to create cute little Christmas Cookie Cutters Tags (perfect for smaller gifts or smaller decorative items).
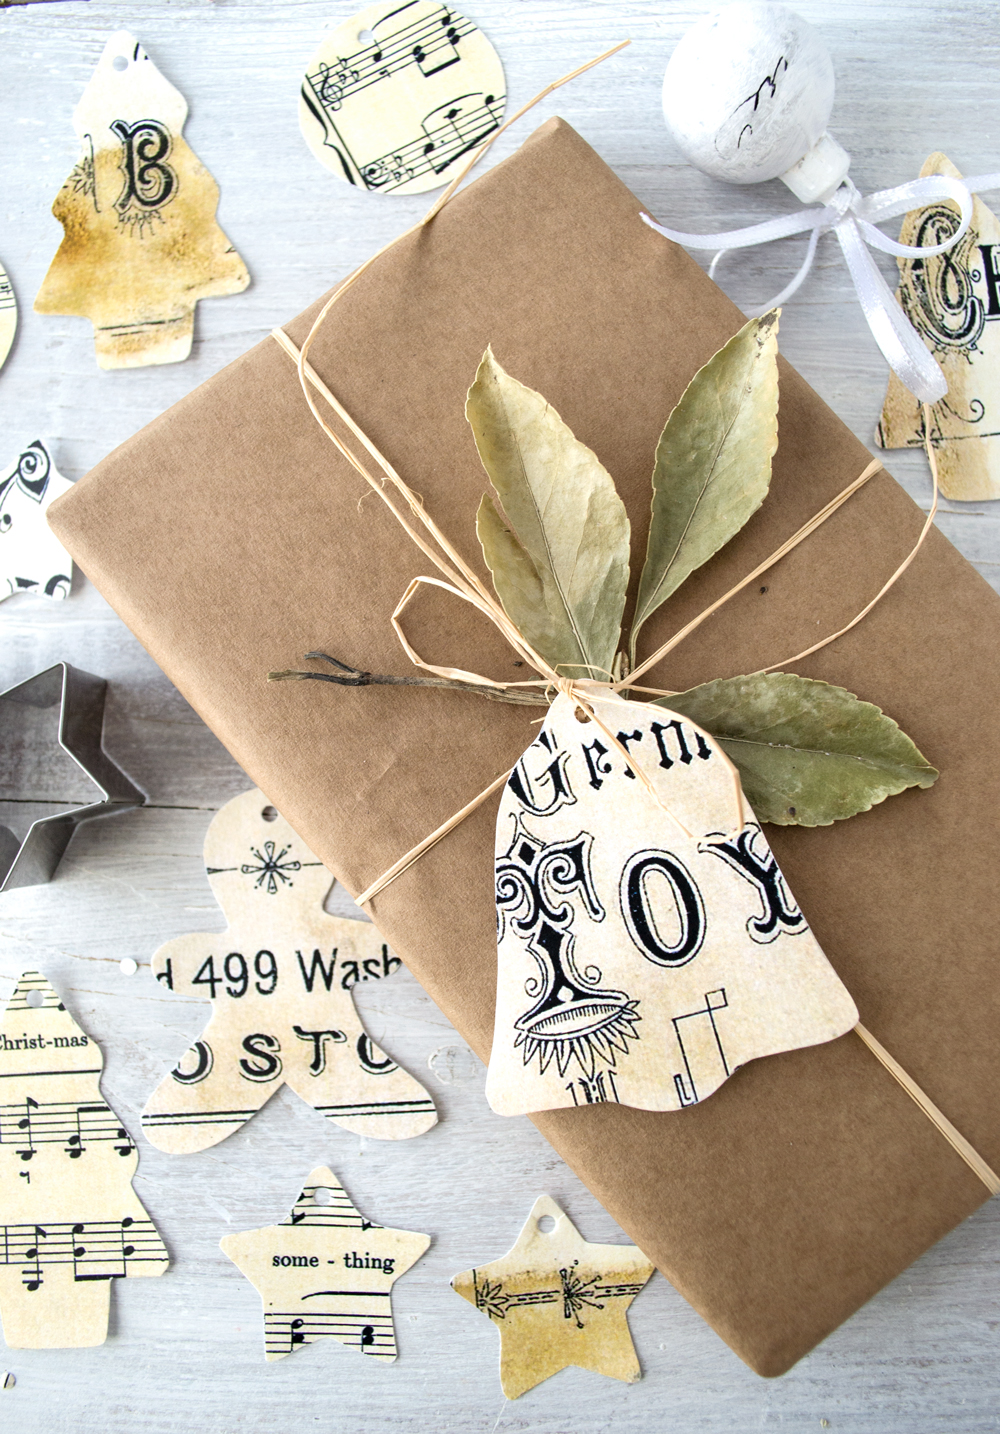
Here are some of my ephemera Christmas Cookie Cutter Tags. I just loved them all, but especially the ones that got a little bit of that aged looking effect from the Christmas ephemera paper!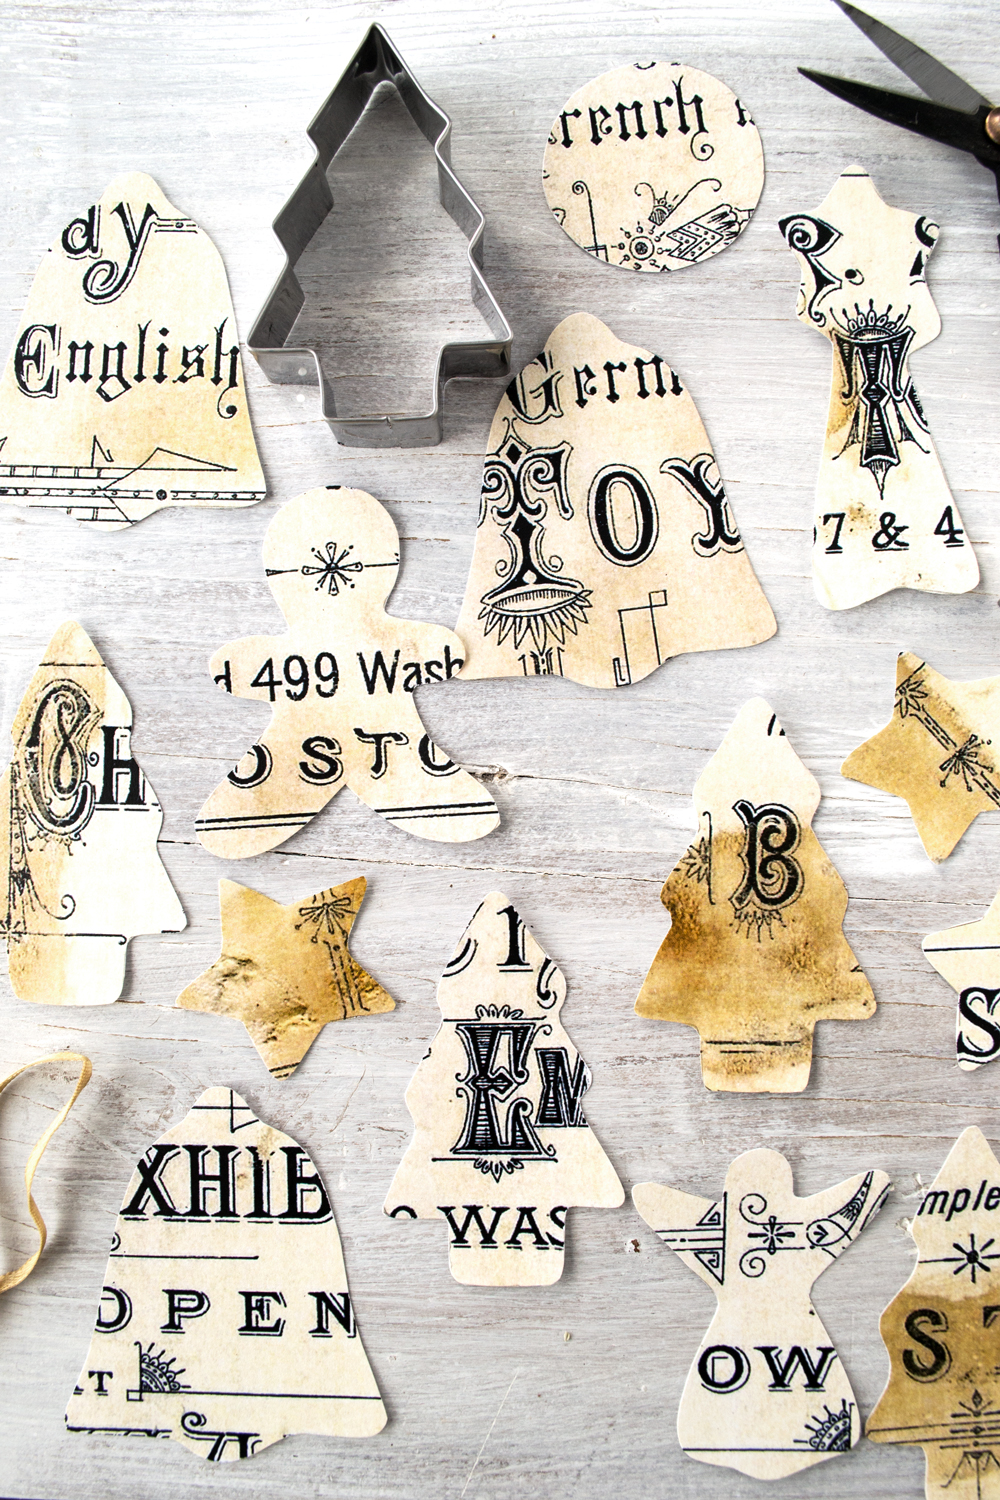
And here are the ones I made using the music sheet paper. Simply beautiful!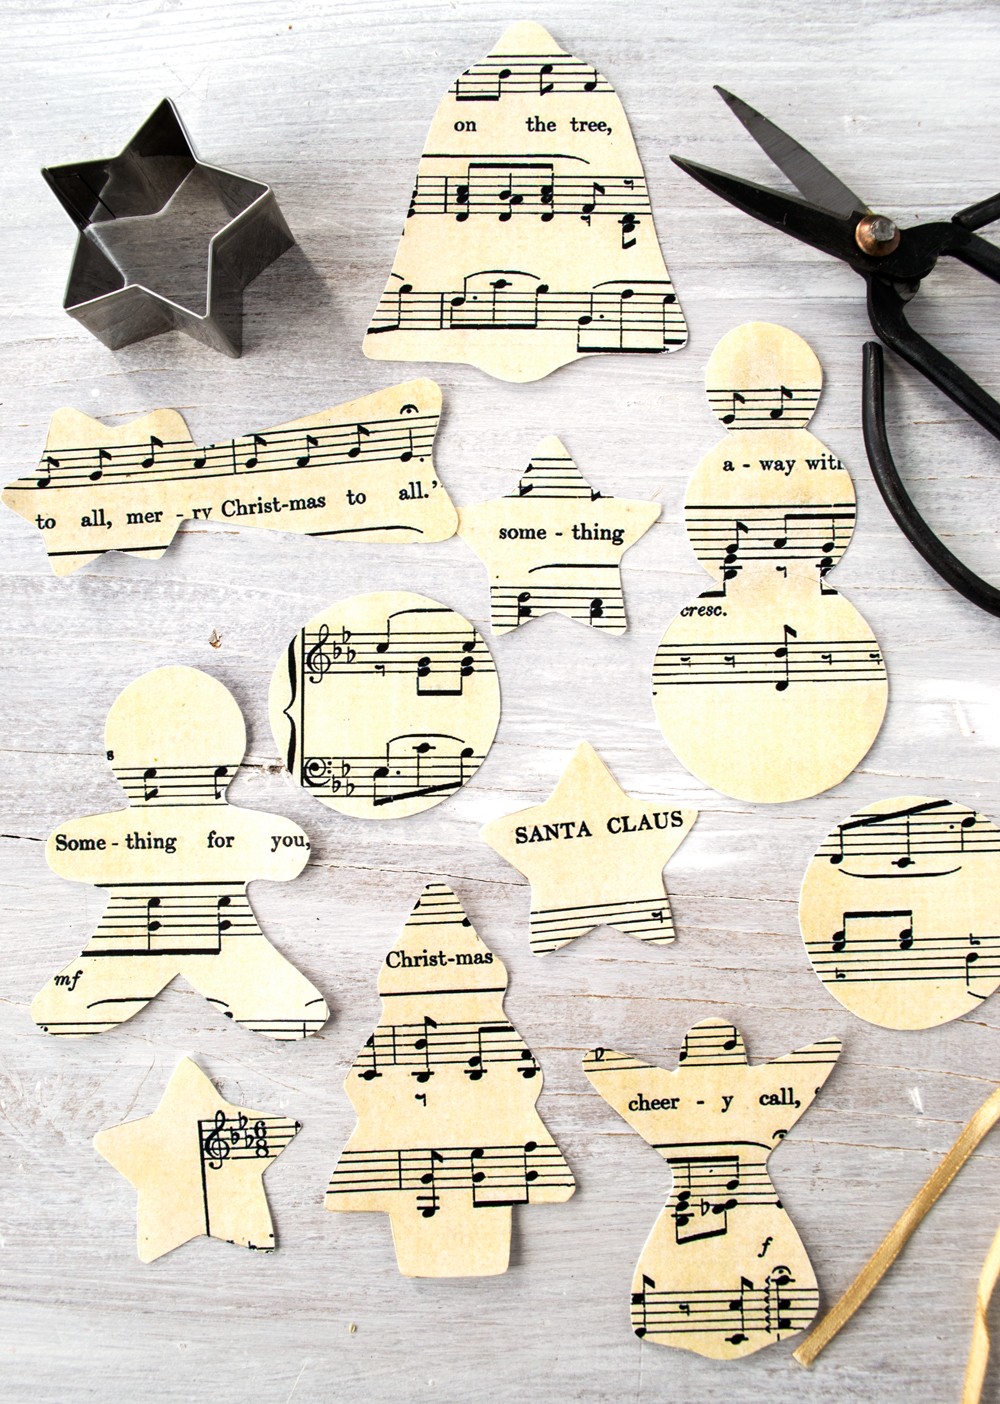
Punch some holes (I used an utensil for leather but you can use whatever you have on hand) and sit back and admire your work. You are all done! 
Because of their beautiful vintage look you will have no problem incorporating the Cookie Cutter Christmas Tags into any color scheme. If you are going for a more neutral appearance, like I did, you can use brown (or white) wrapping paper, natural Raffia and fresh or dried greenery (even small leaves) to create simple but beautiful gift wraps. A little bit of red will work too! 
You can use other small decorative items, like pine cones to add dimension to your gifts.
Or some cinnamon sticks … this way your gifts will not only look great, but will smell amazing too!
Or you could turn several cinnamon stick into a present on their own! One that you can give to friends or include as a beautiful decorative piece into your home!
Add the beautiful Cookie Cutter Christmas Tags to candles or to an Epsom salt and lavender detox bath jar and you’ll have some amazing gifts in no time!
Or add them to actual cookie cutters and turn them into thoughtful gifts for friends that love baking.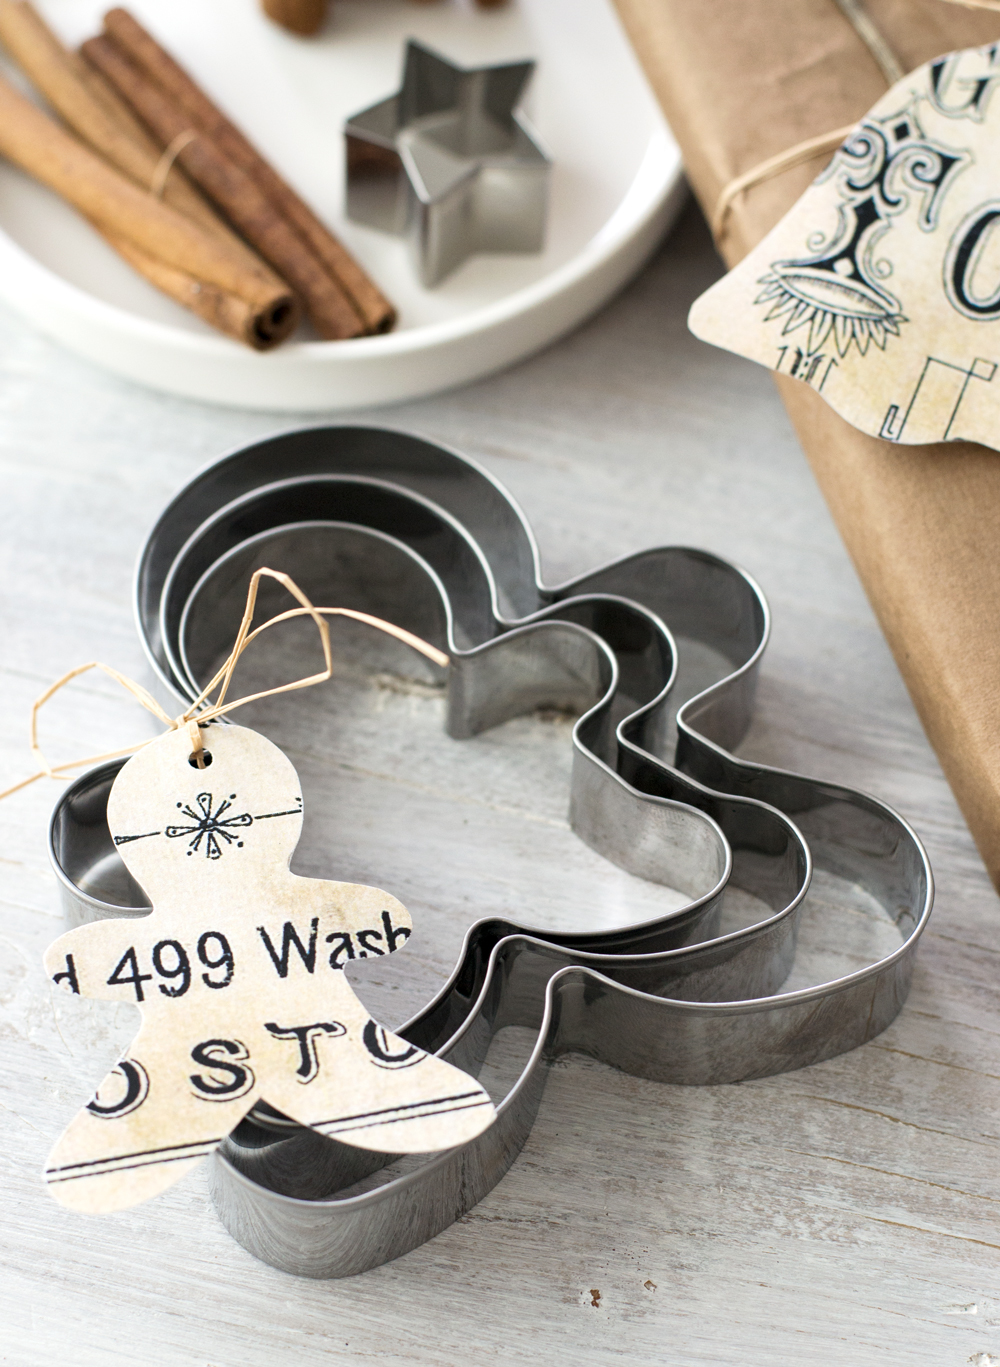
That’s it for today! Have fun creating your own Cookie Cutter Crafts Christmas Tags. You might also like How to Make a Bow out of Wrapping Paper … and don’t forget to visit my blog – Dreams Factory for more similar projects!
I hope you all have some peaceful holidays, filled with love, surrounded by all your family and friends!
Have fun creating,
Diana




Sharon Albin says
Love this great idea!
graphicsfairy says
Thanks so much Sharon!
Jennifer says
Thank you so much for sharing your precious ideas.
graphicsfairy says
It is my pleasure Jennifer, I am so happy you enjoy them!
Francine says
I absolutely love this! What a lovely card to attach to a plain brown bag of cookies, or a mason jsr with treats as a gift!
Thank you!
graphicsfairy says
Thank you Francine, those are wonderful ideas for how to use them!
CJD.Sign says
Thank you so Very Much Ladies! These are the perfect addition to our “Christmas Carol” Themed Christmas! We have been making all our gifts, making all the decorations and now these will be our finishing touches!
Bravo!
CJD.Sign
graphicsfairy says
Oh yea!! So happy you like them, good luck!
Elaine says
Love the idea – but would be so much easier to cut them on my Silhouette Cameo.
graphicsfairy says
Thanks Elaine, Happy Holidays 🙂