DIY Easy Junk Journal Cover
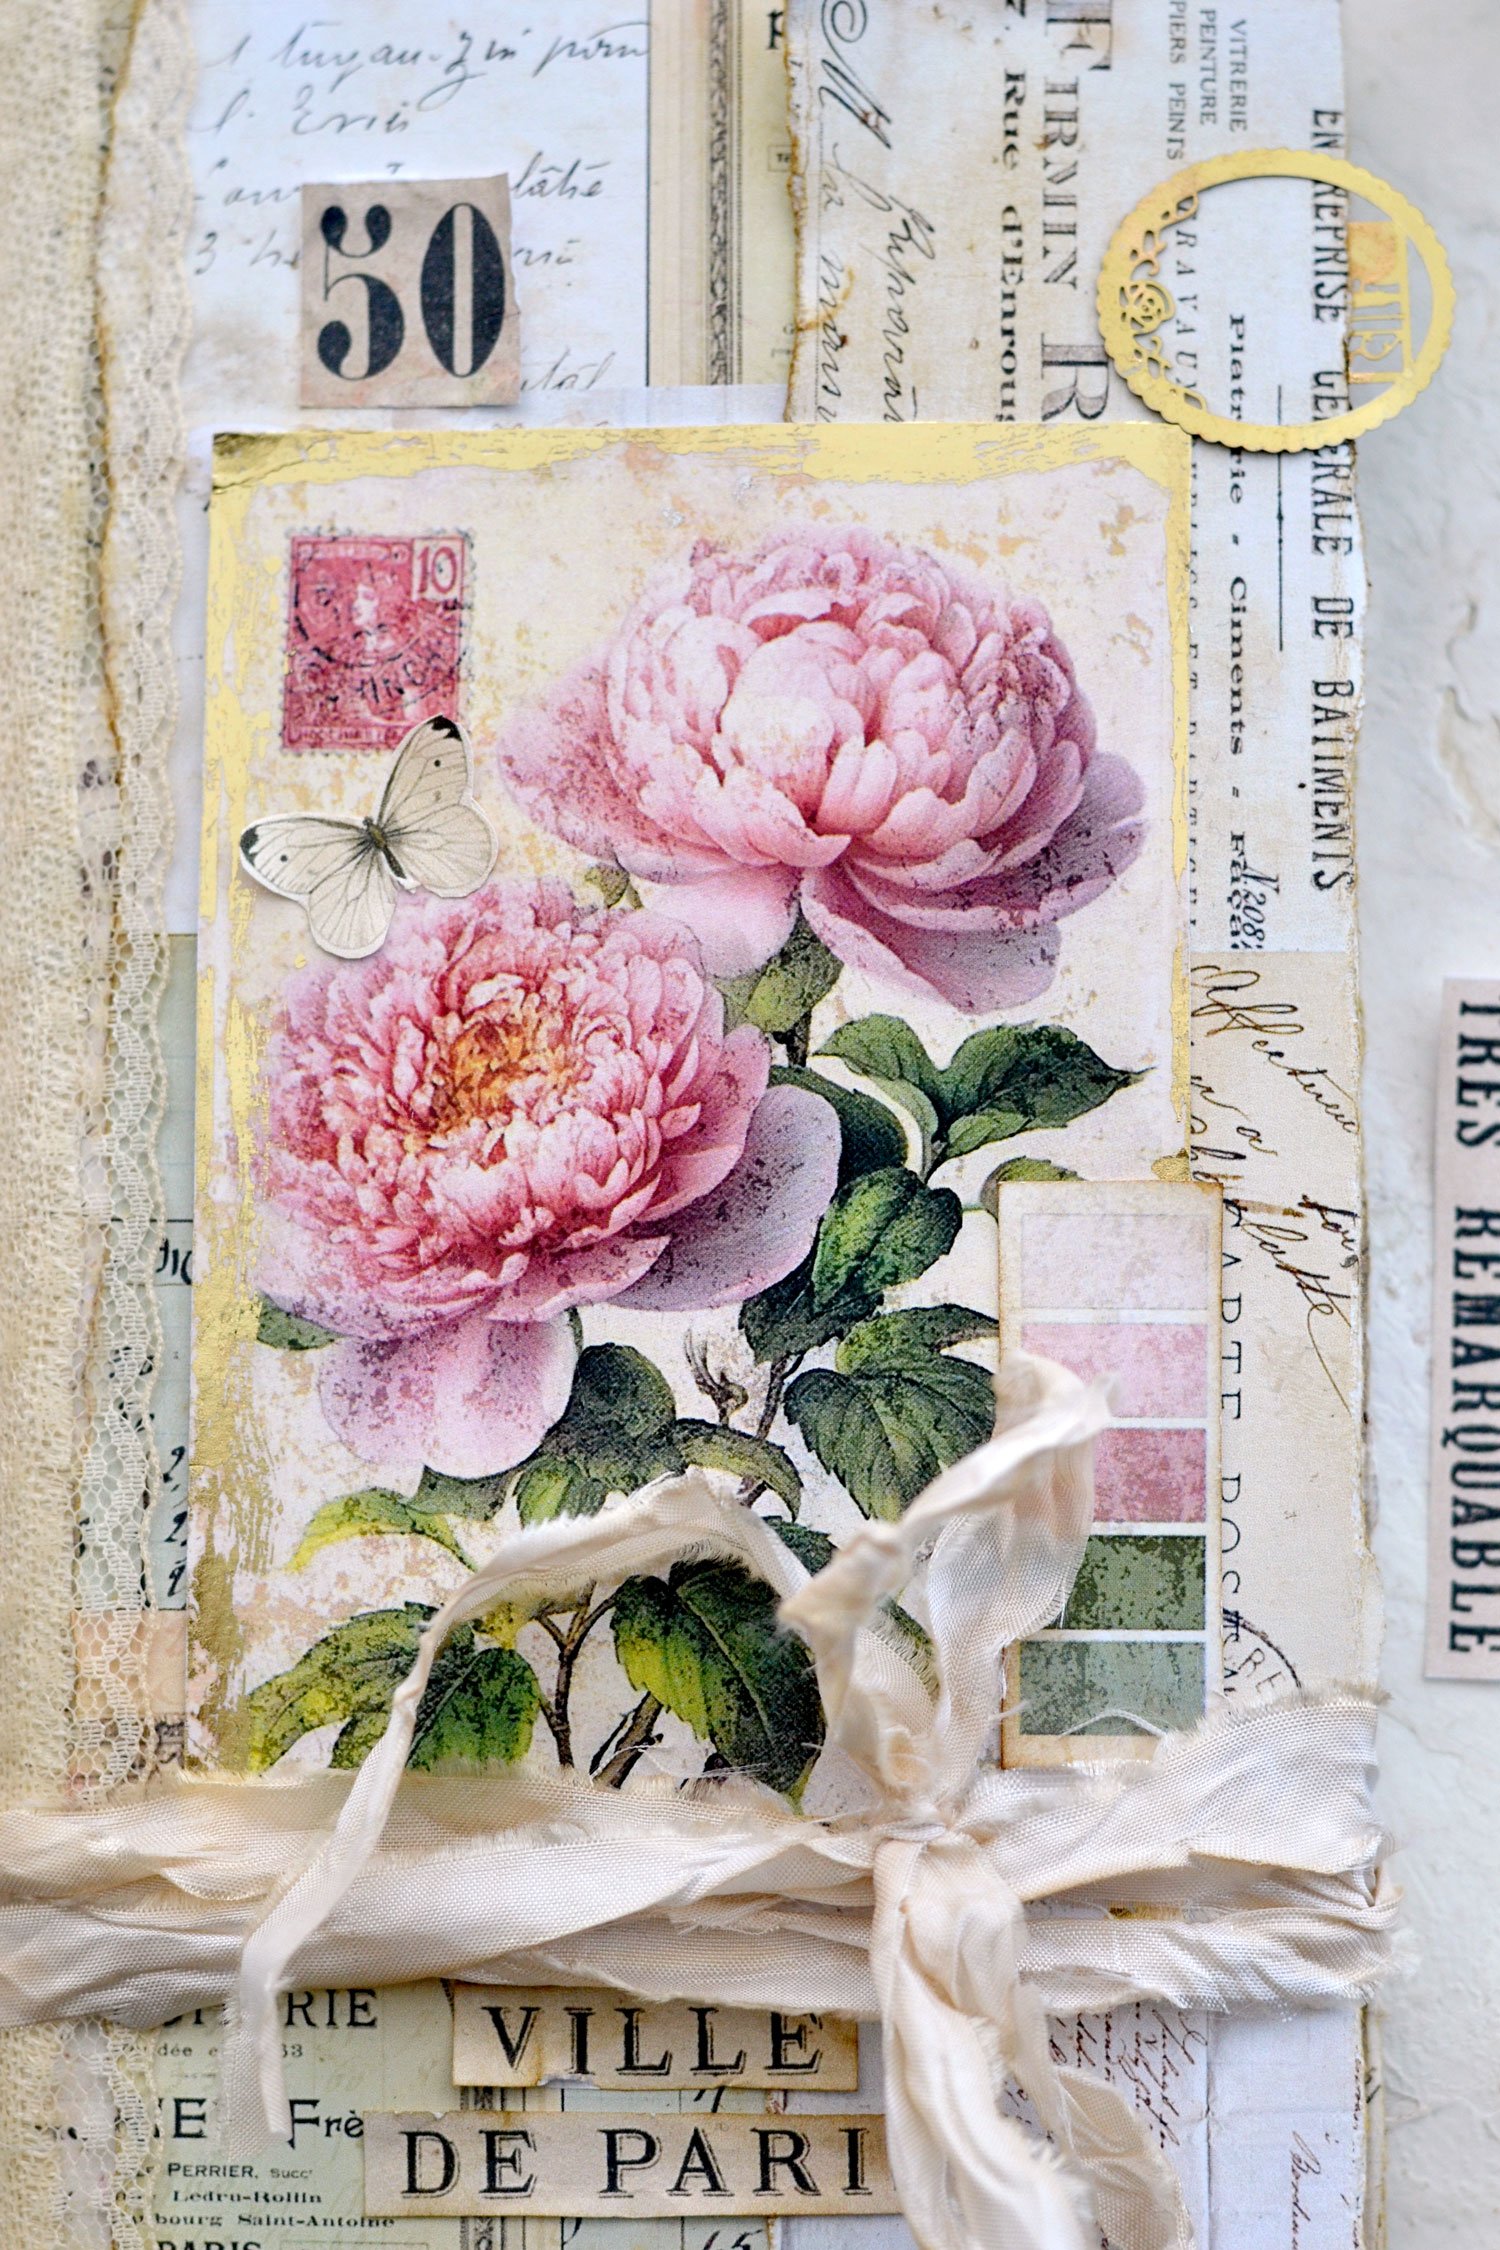
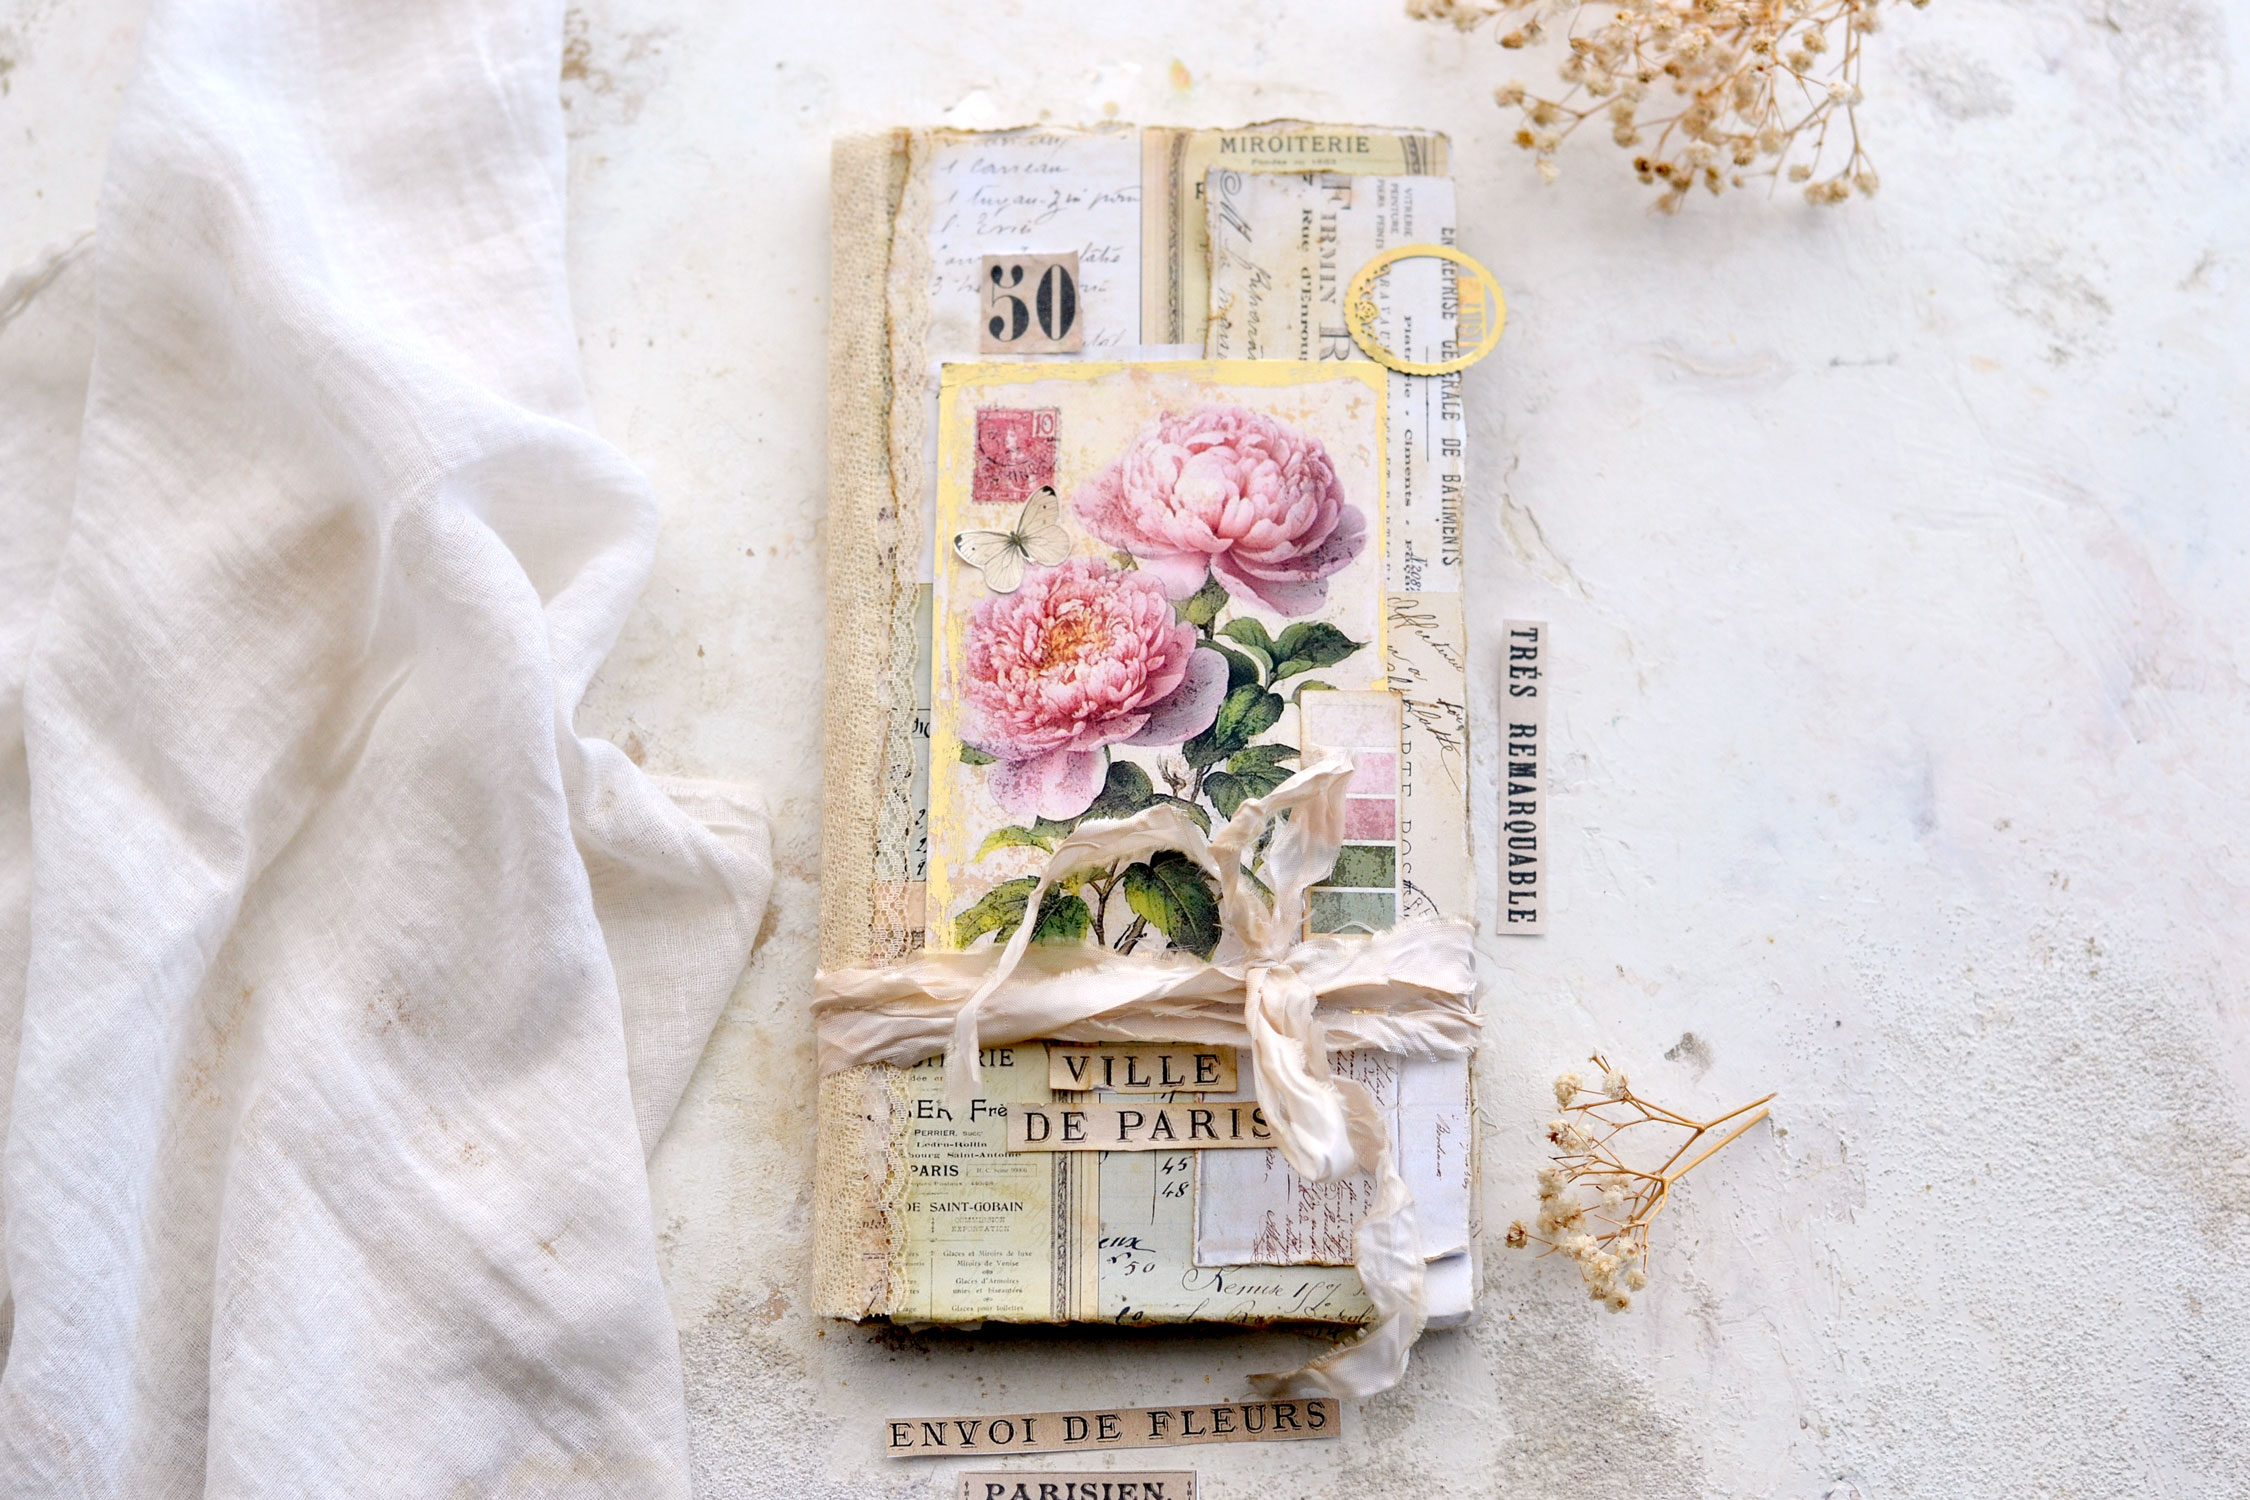
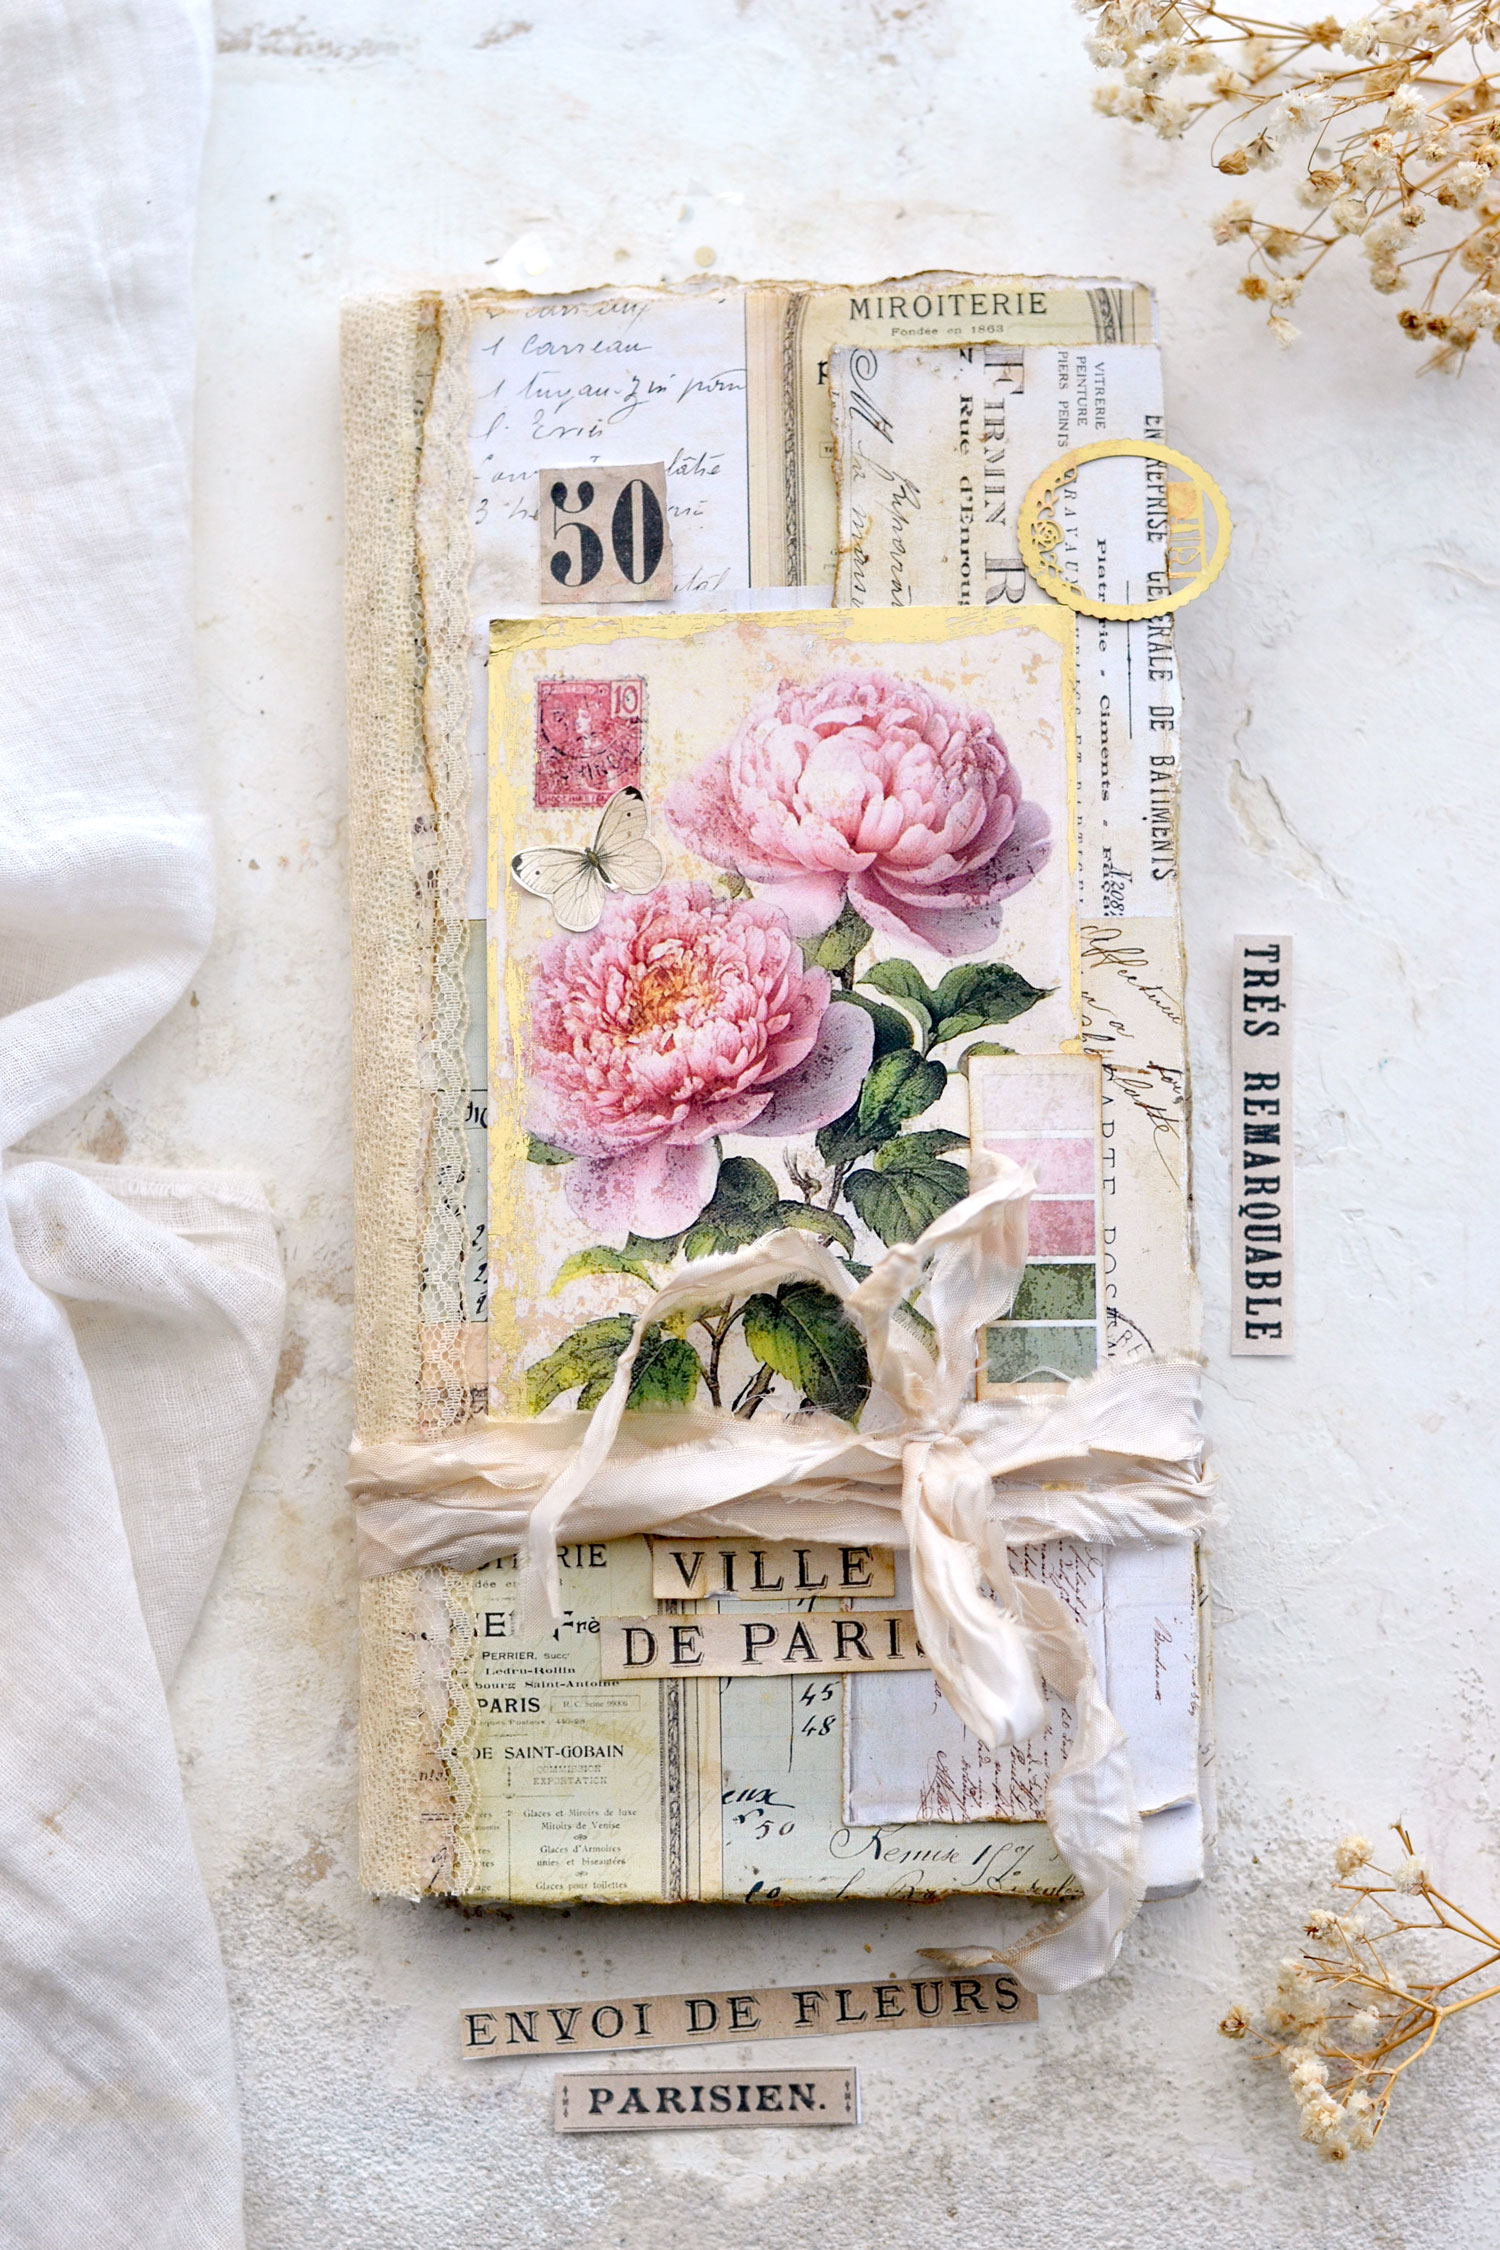
Hello Graphics Fairy friends! I’m Diana from Dreams Factory and I’m happy to be here again to share another DIY project with you! Today I will show you how to make a super chic and easy French Ephemera Junk Journal Cover with a lovely vintage vibe! I wanted the covers to have more like a traveler’s notebook feel to them, so I used two envelopes as my base to get that lovely vertical rectangular shape. Of course, the covers will dictate the overall shape of our journal, so feel free to experiment with other shapes if you want to take things in a new direction.
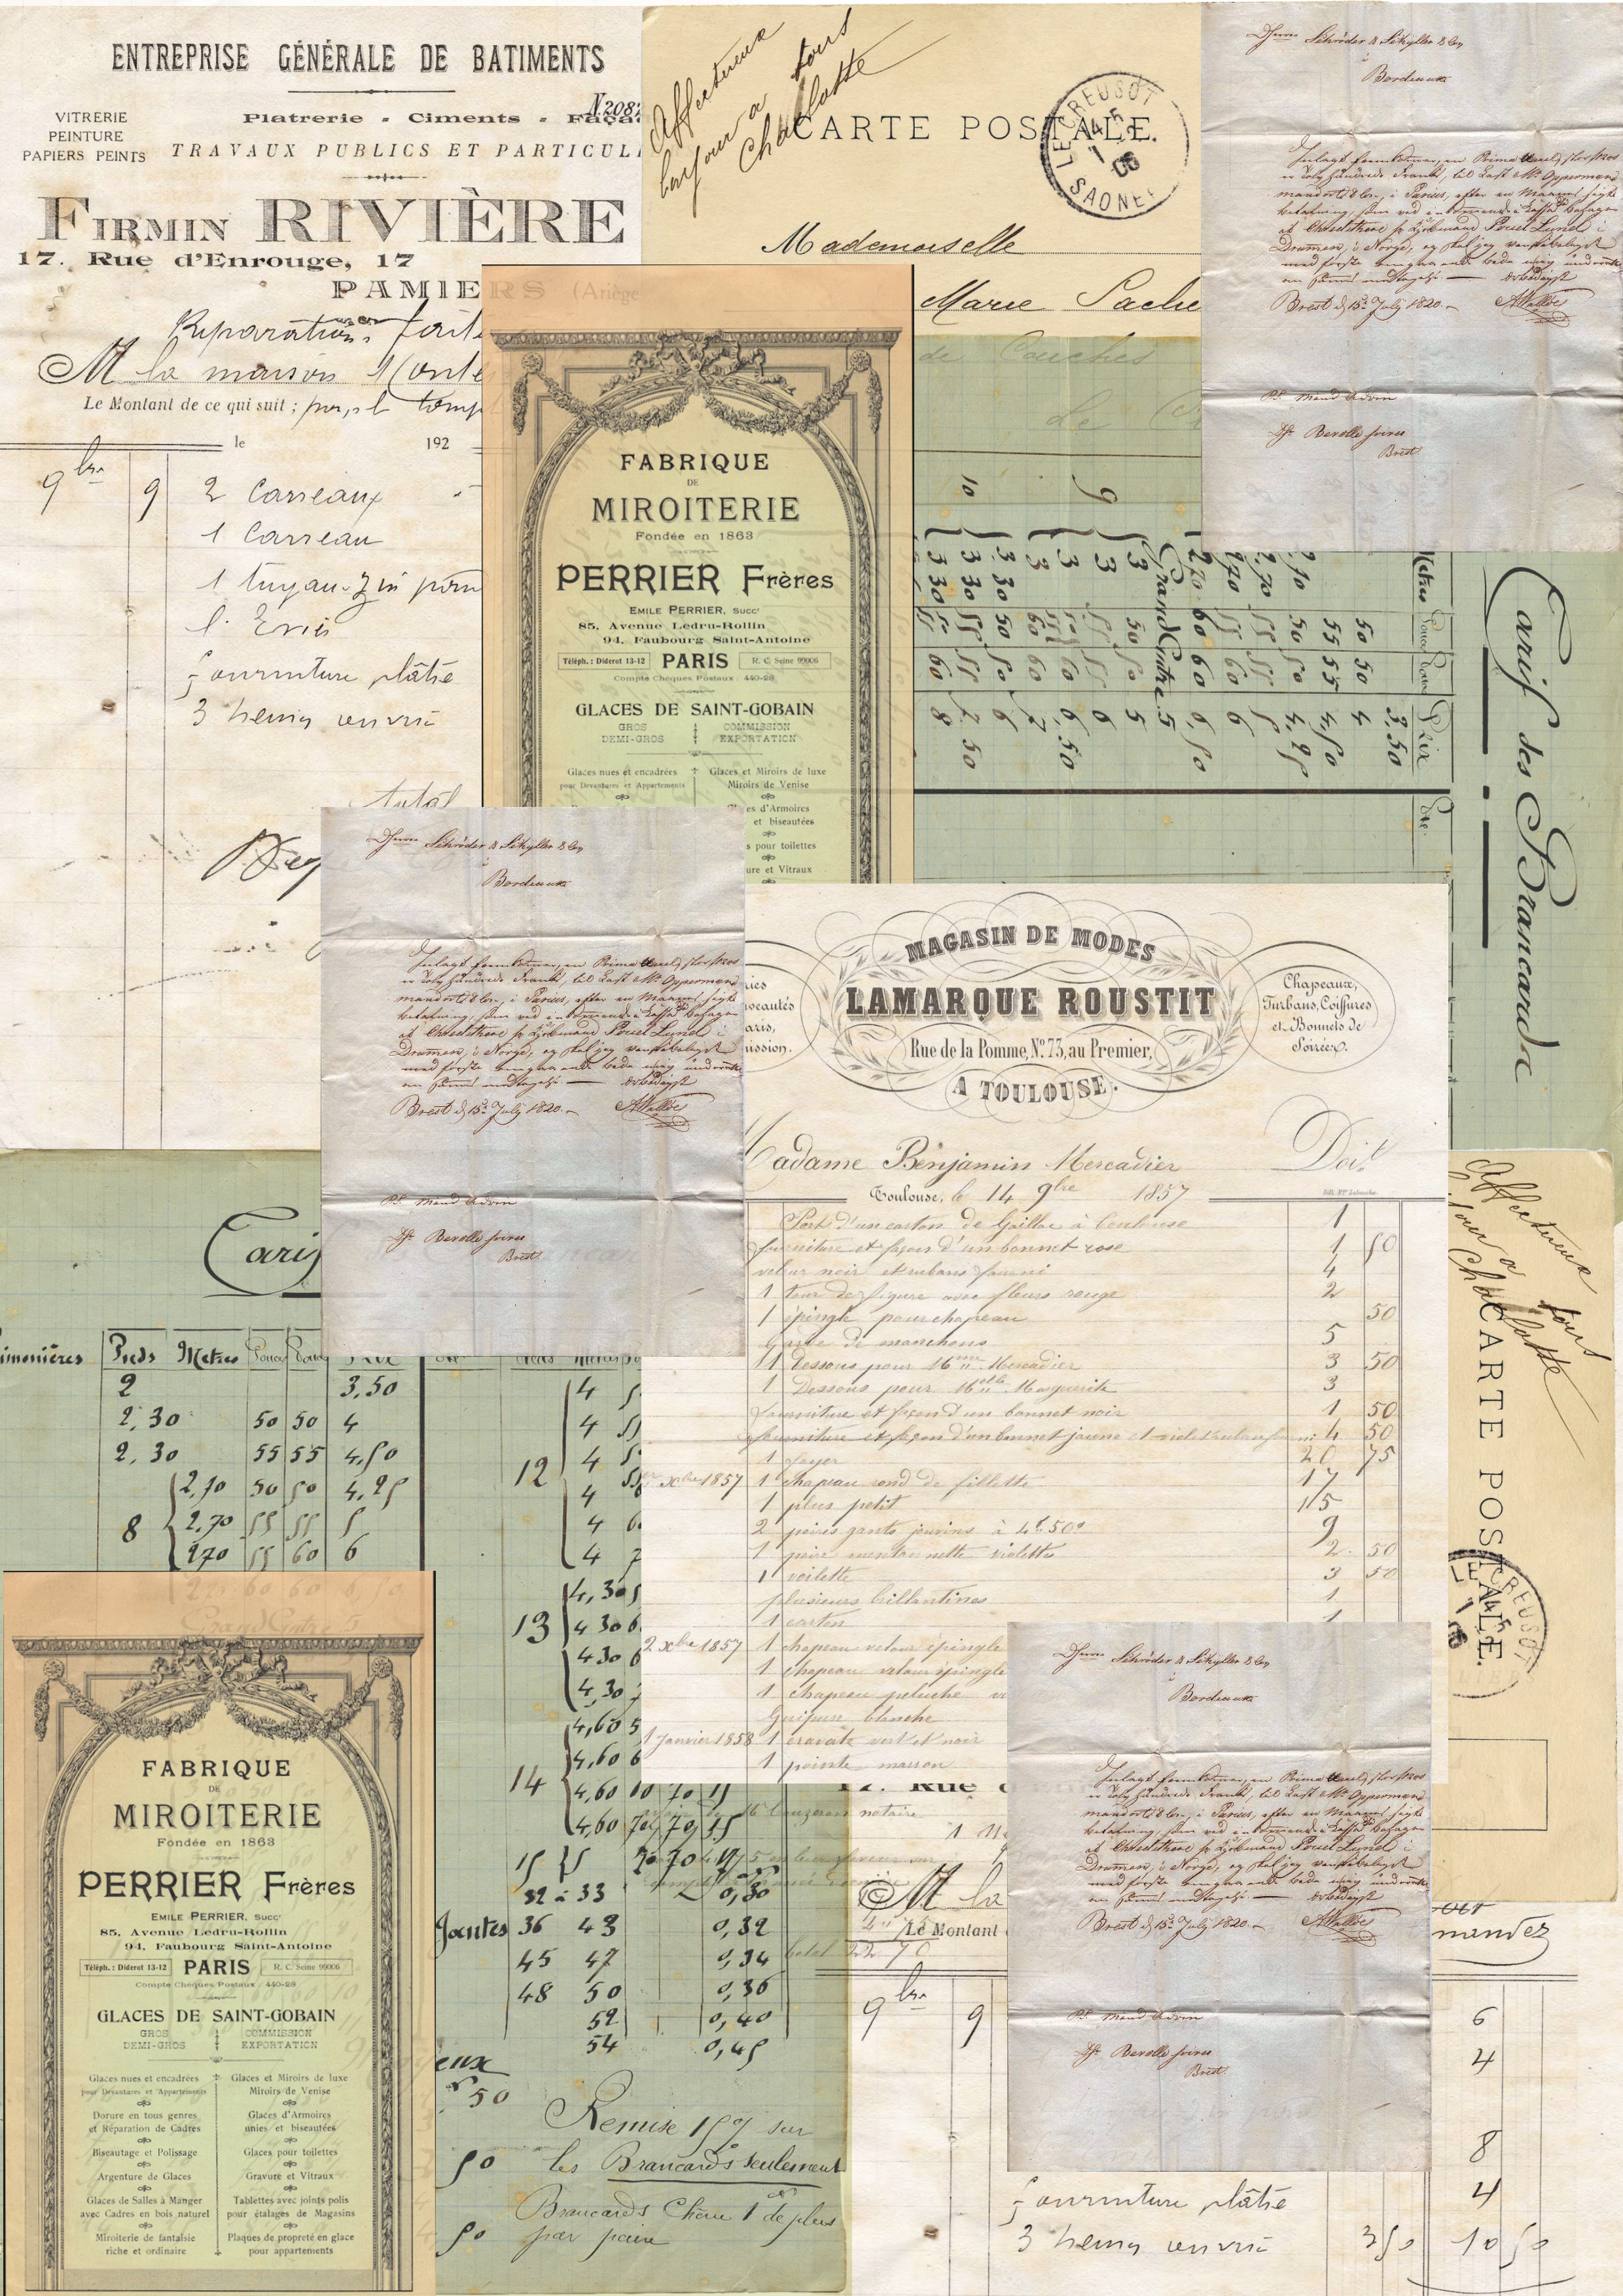
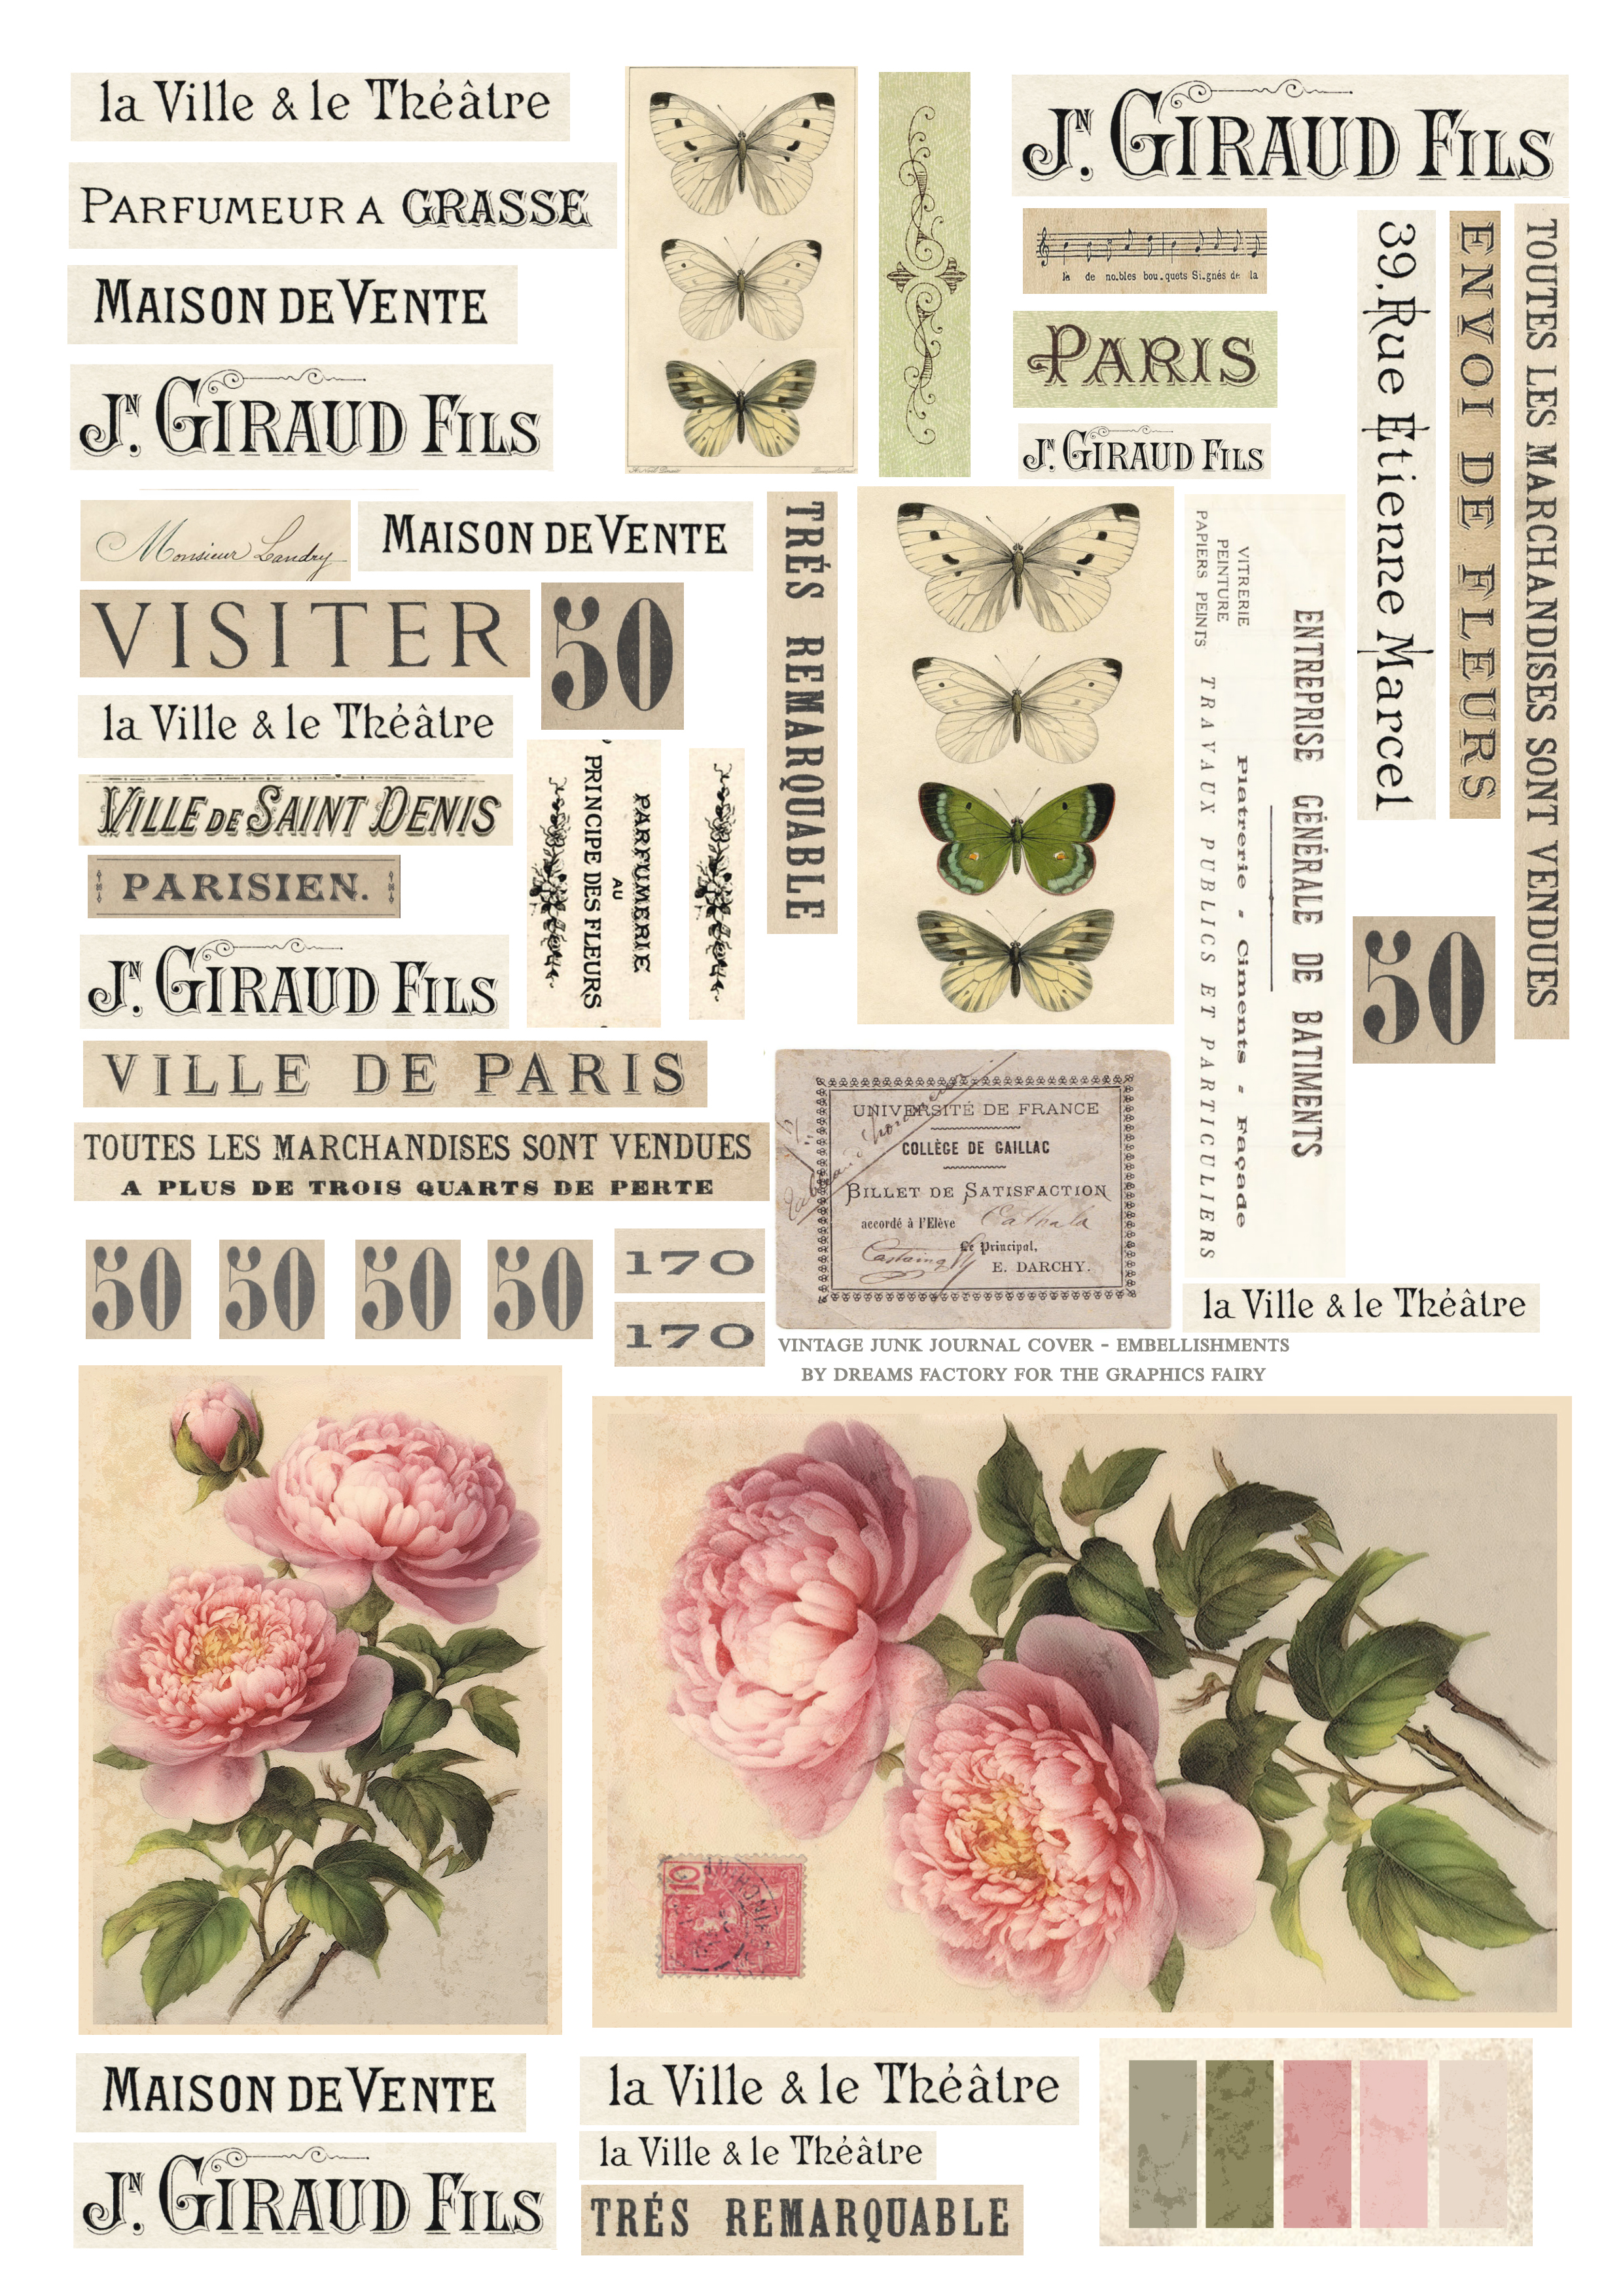
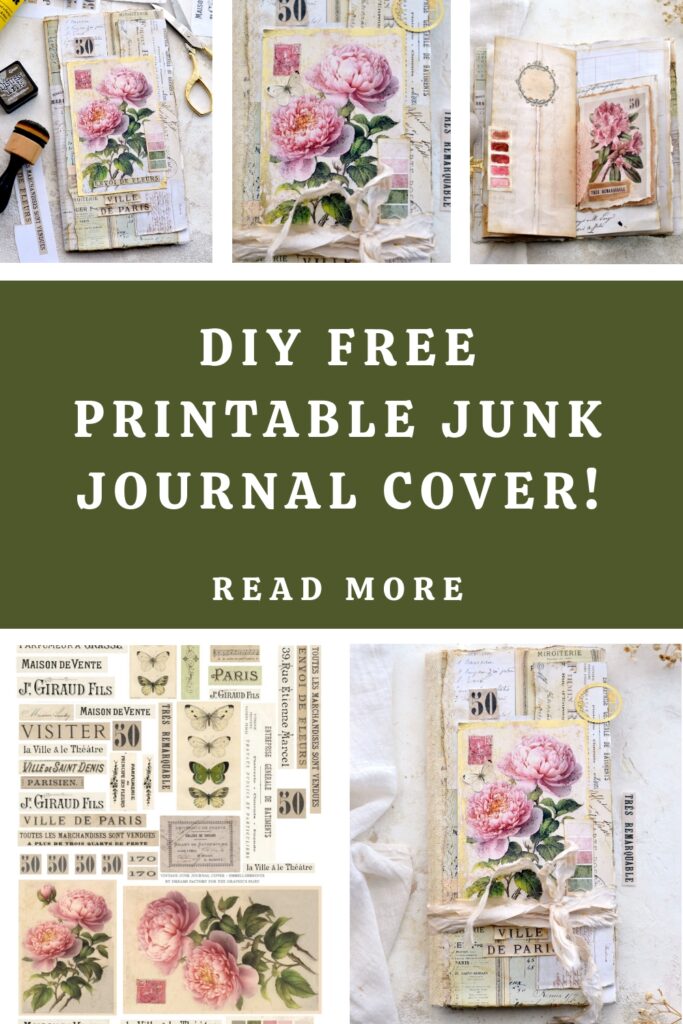
You know how I love to make things easier for you when it comes to trying my projects, so this time too I created not one, but two printables for you! You will find one with layered French ephemera images that can be used as a background for your cover. And one with all sorts of French cutouts and some gorgeous peonies that will help you further embellish the covers. And even though I envisioned these two printables to be used for the cover, you will see that you’ll have so many beautiful elements that can also be used inside or even on other creative projects.
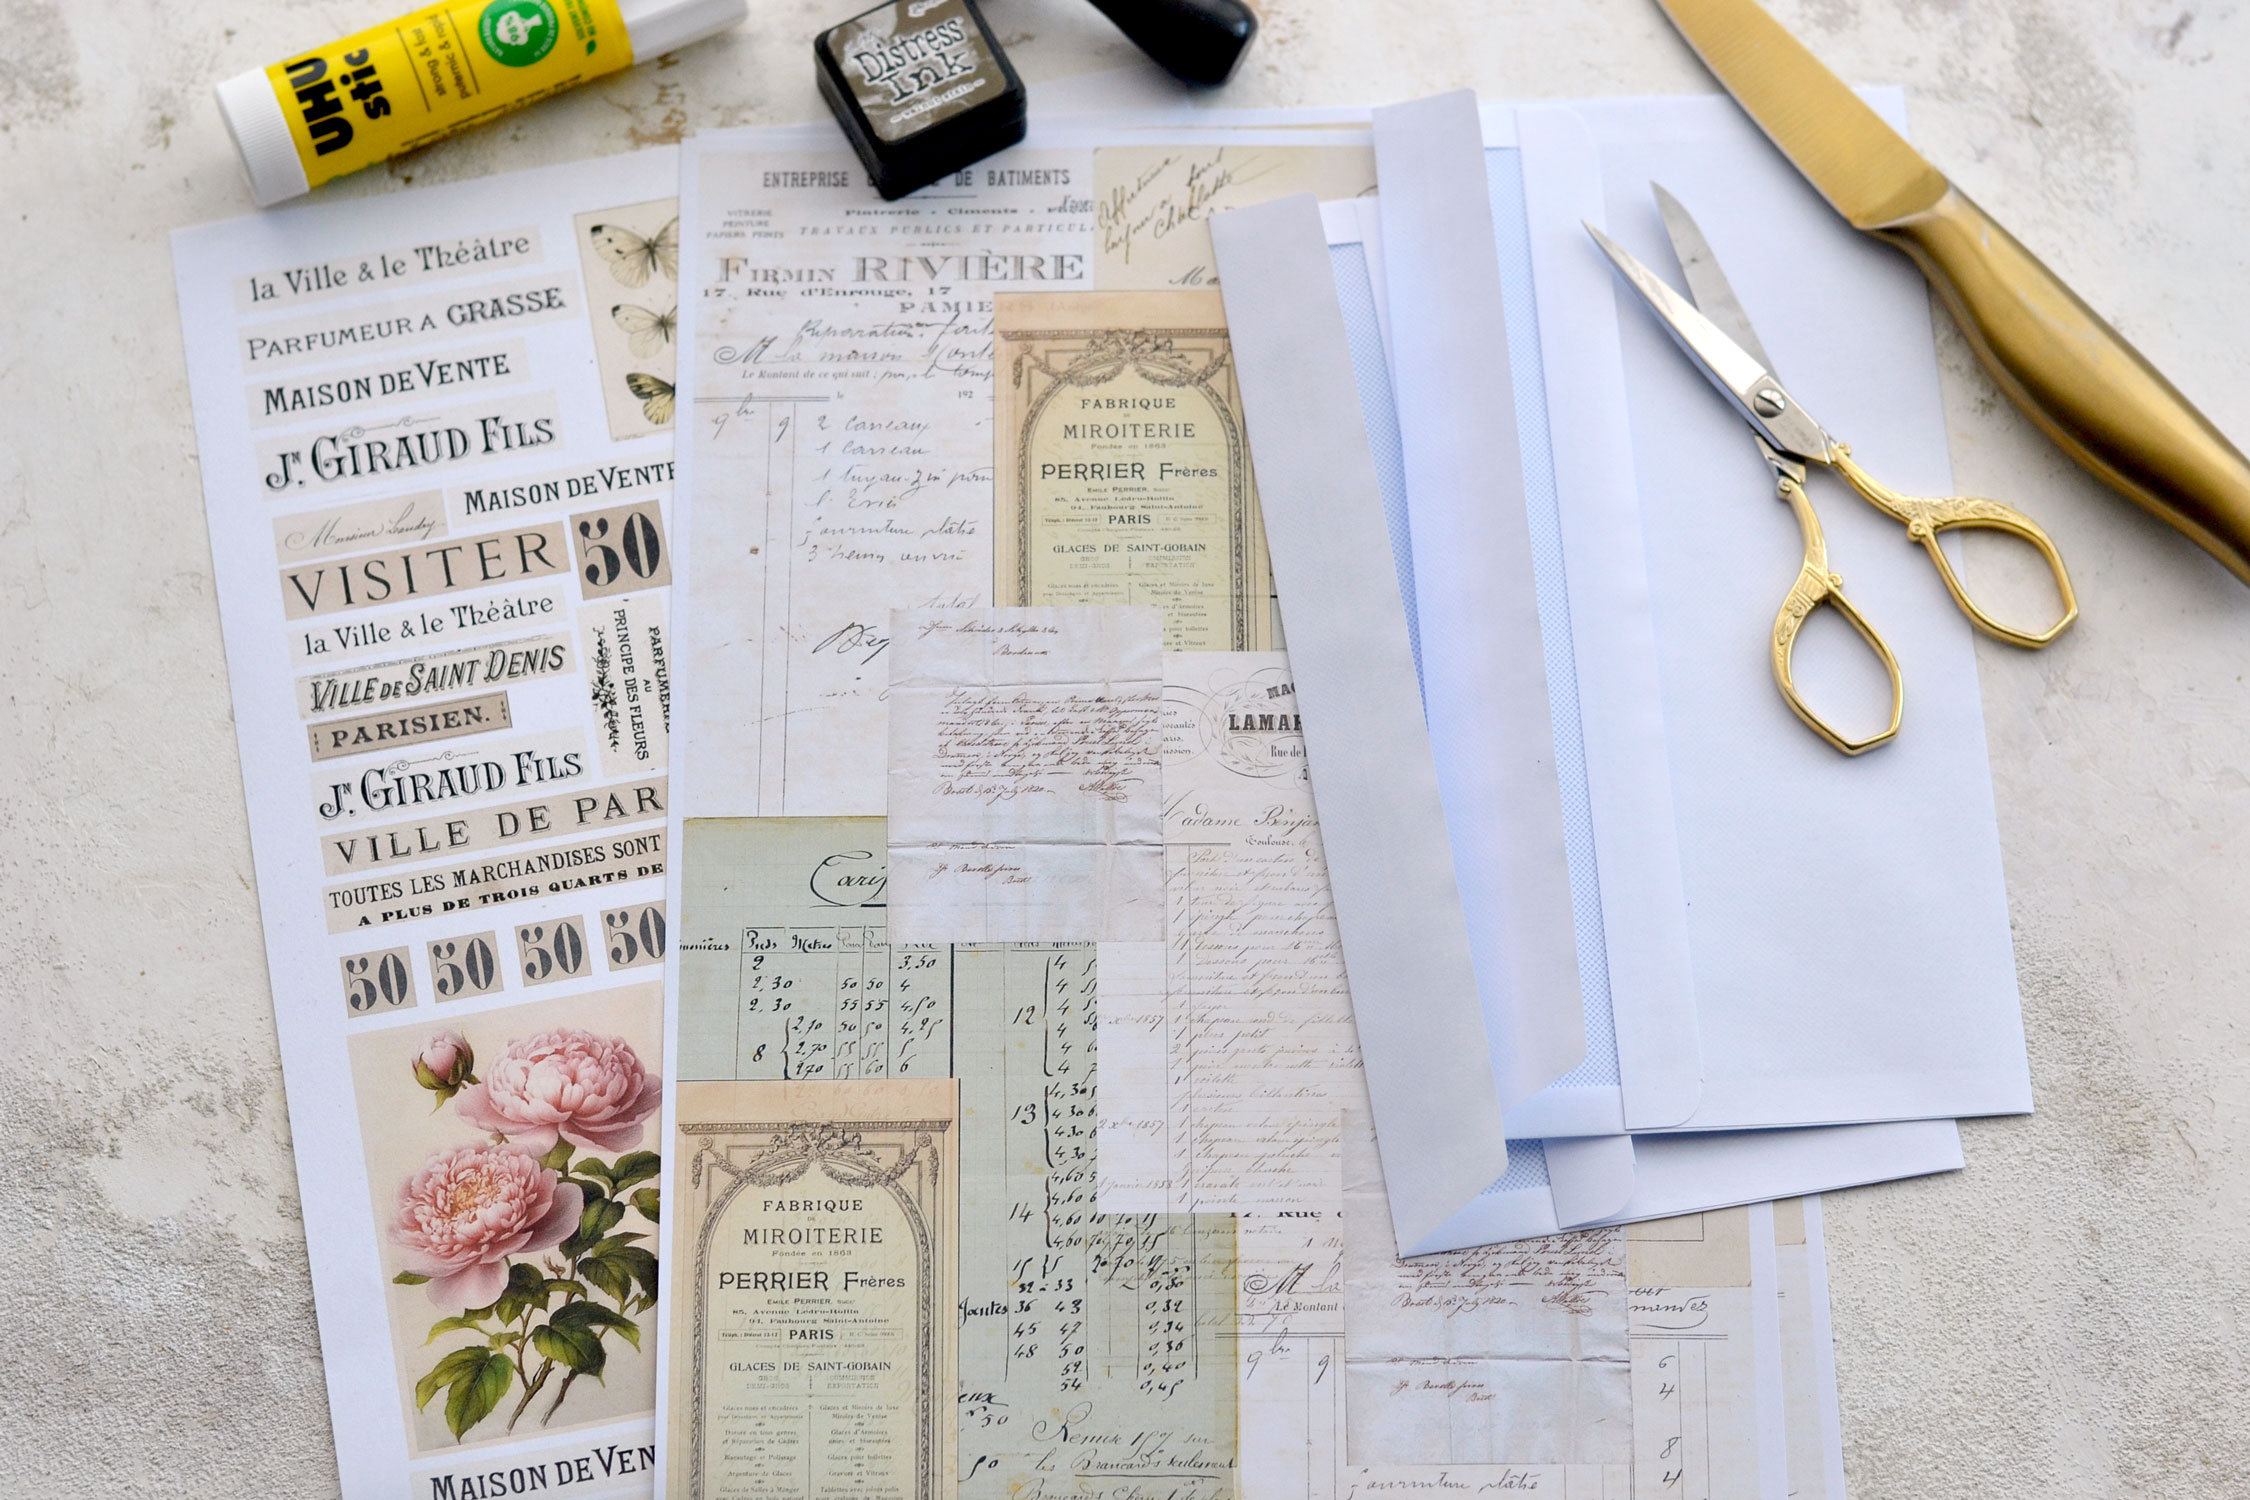
Here are the two printables that I designed for this project, depending on the size of your covers, you might need to print the layered French background more than once to completely cover the whole surface.
Free Printables:
Supplies:
- white cardstock paper
- home printer
- scissors
- knife
- mini distress inks
- envelopes (I used the 4-1/8 x 9-1/2 inches)
- blending tool with foams
- paper glue – I used UHU
- Mod Podge or any craft glue that dries clear
- lace
- scrap piece of fabric
- gold foil or gold wax or gold acrylic paint or gold watercolors
- crinkle ribbons
Before we jump right in, I want to take a second to talk about the envelopes that I used as my base for the cover and the idea behind it. I initially wanted to just decorate the envelopes with the French background and maybe include them in a junk journal, but I always wanted to try making a traveler’s notebook shaped junk journal, so when I placed two envelopes together, I knew I wanted to try this instead. You might think that the envelopes are not sturdy enough to be the base for your cover, but since I used cardstock paper to print the layered background, I hoped they would be enough. And they were! Of course, if you want to give your covers even more sturdiness, you can use the envelopes as a template to trace them on a piece of cardstock instead.
Step by Step Tutorial:
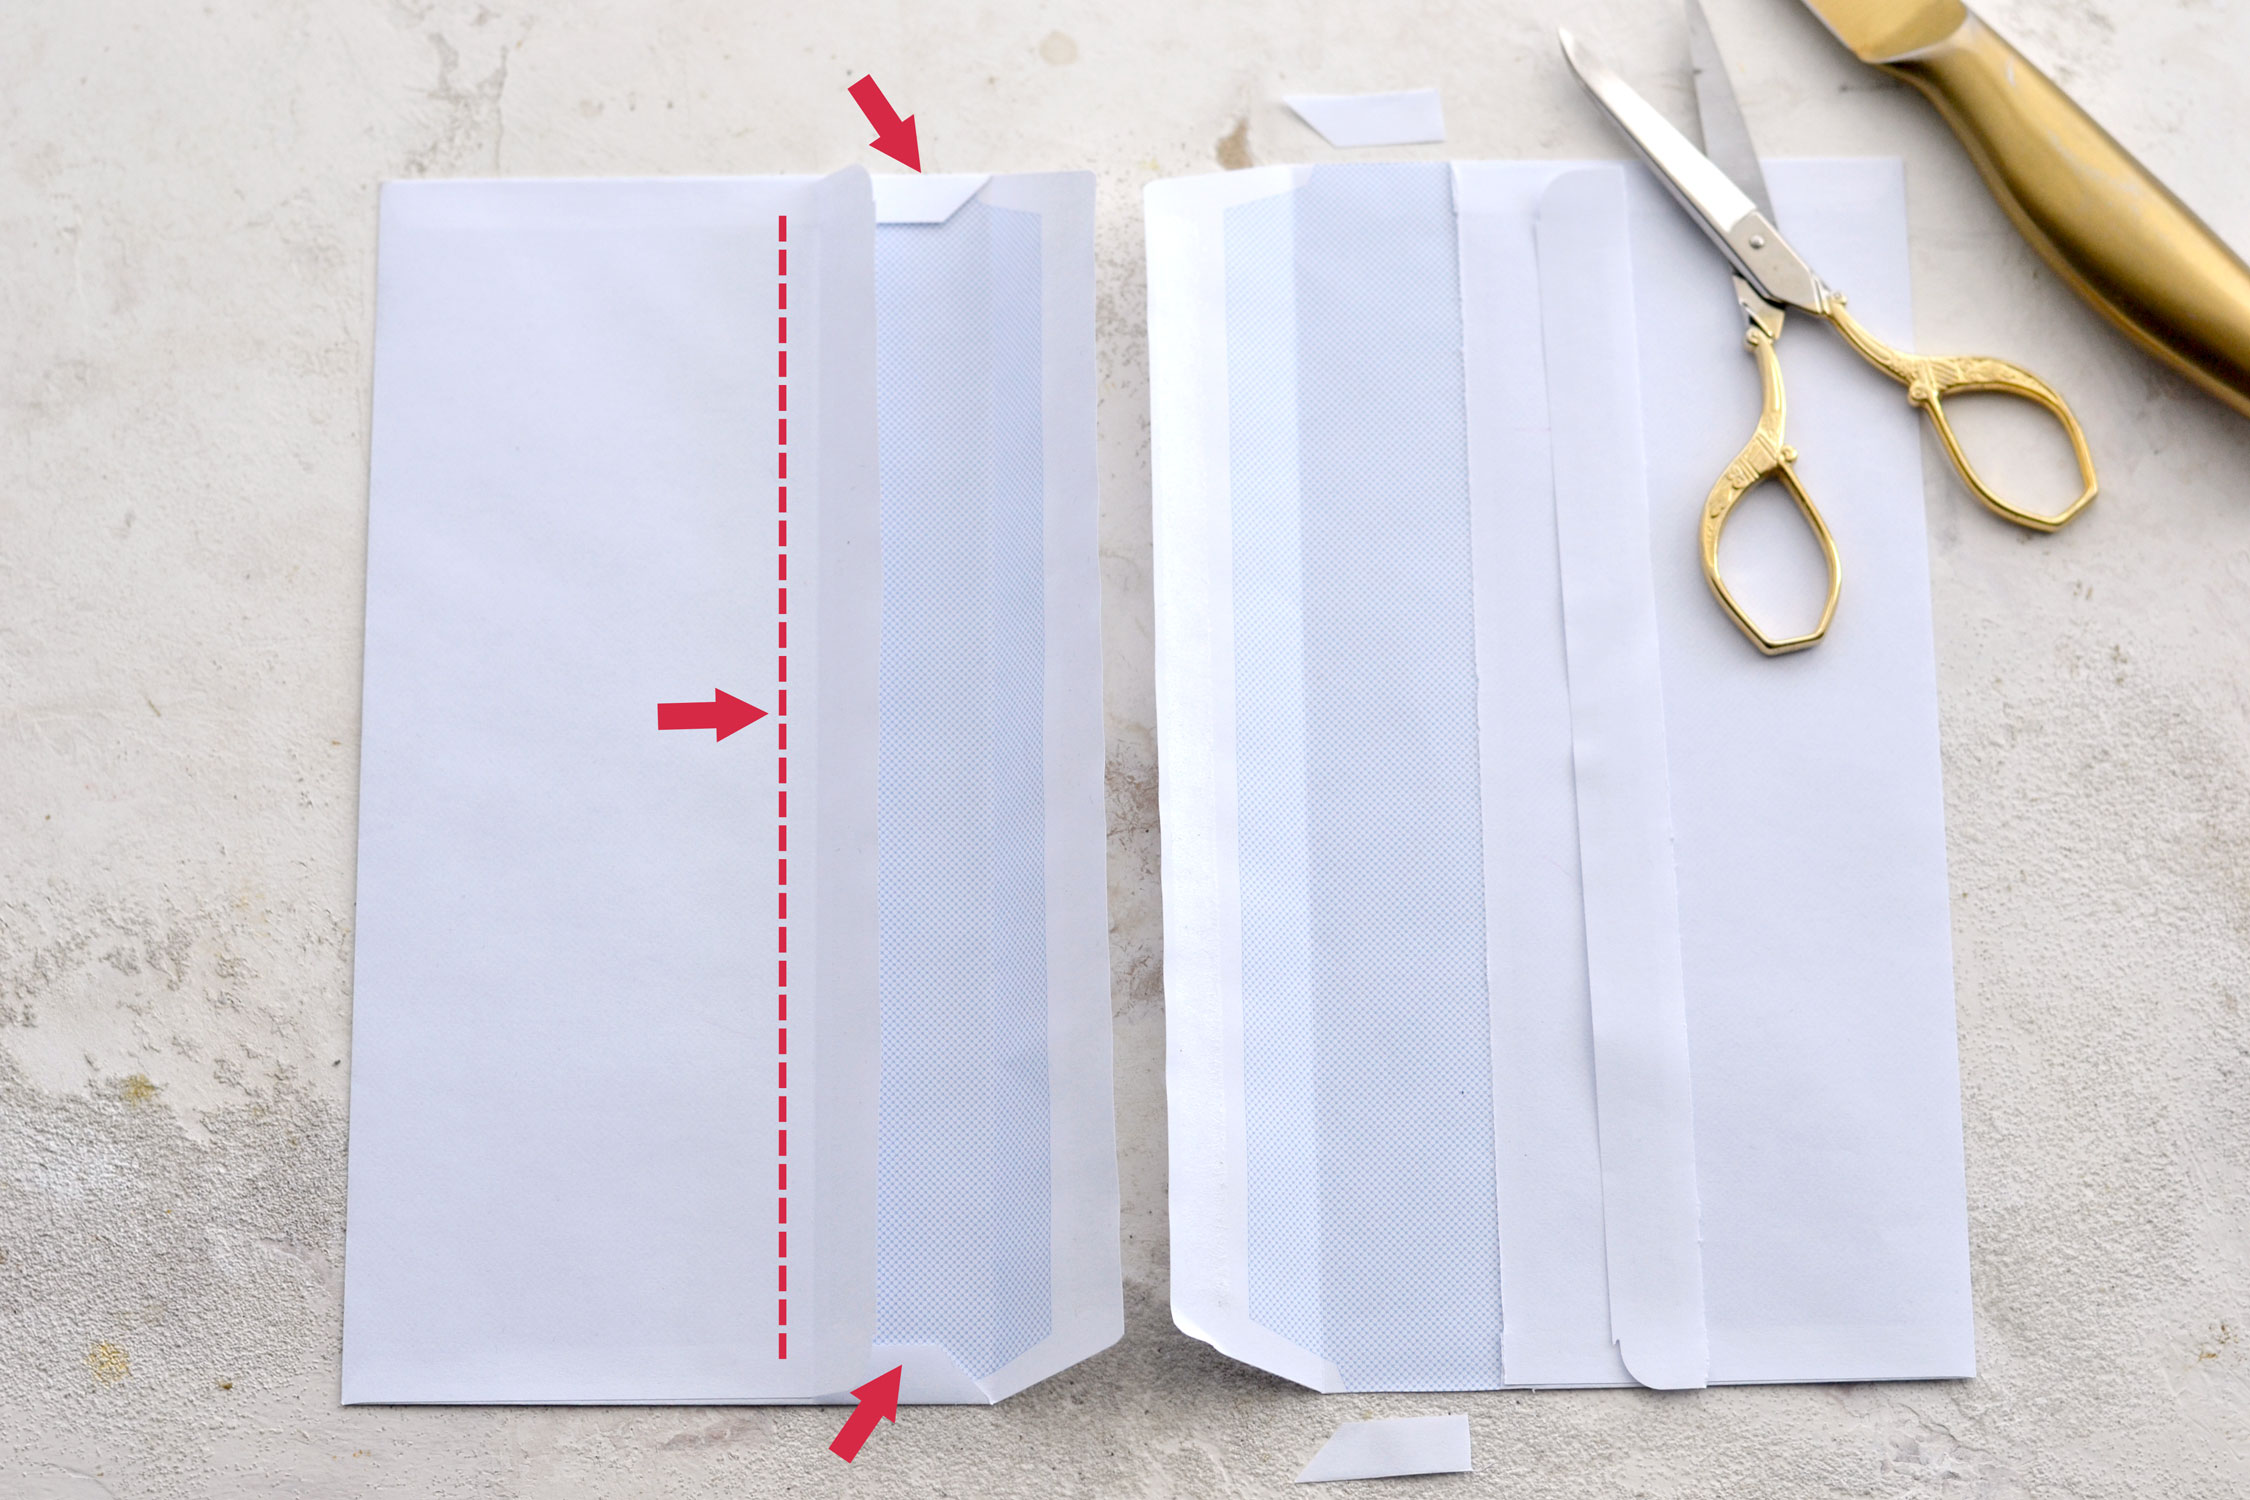
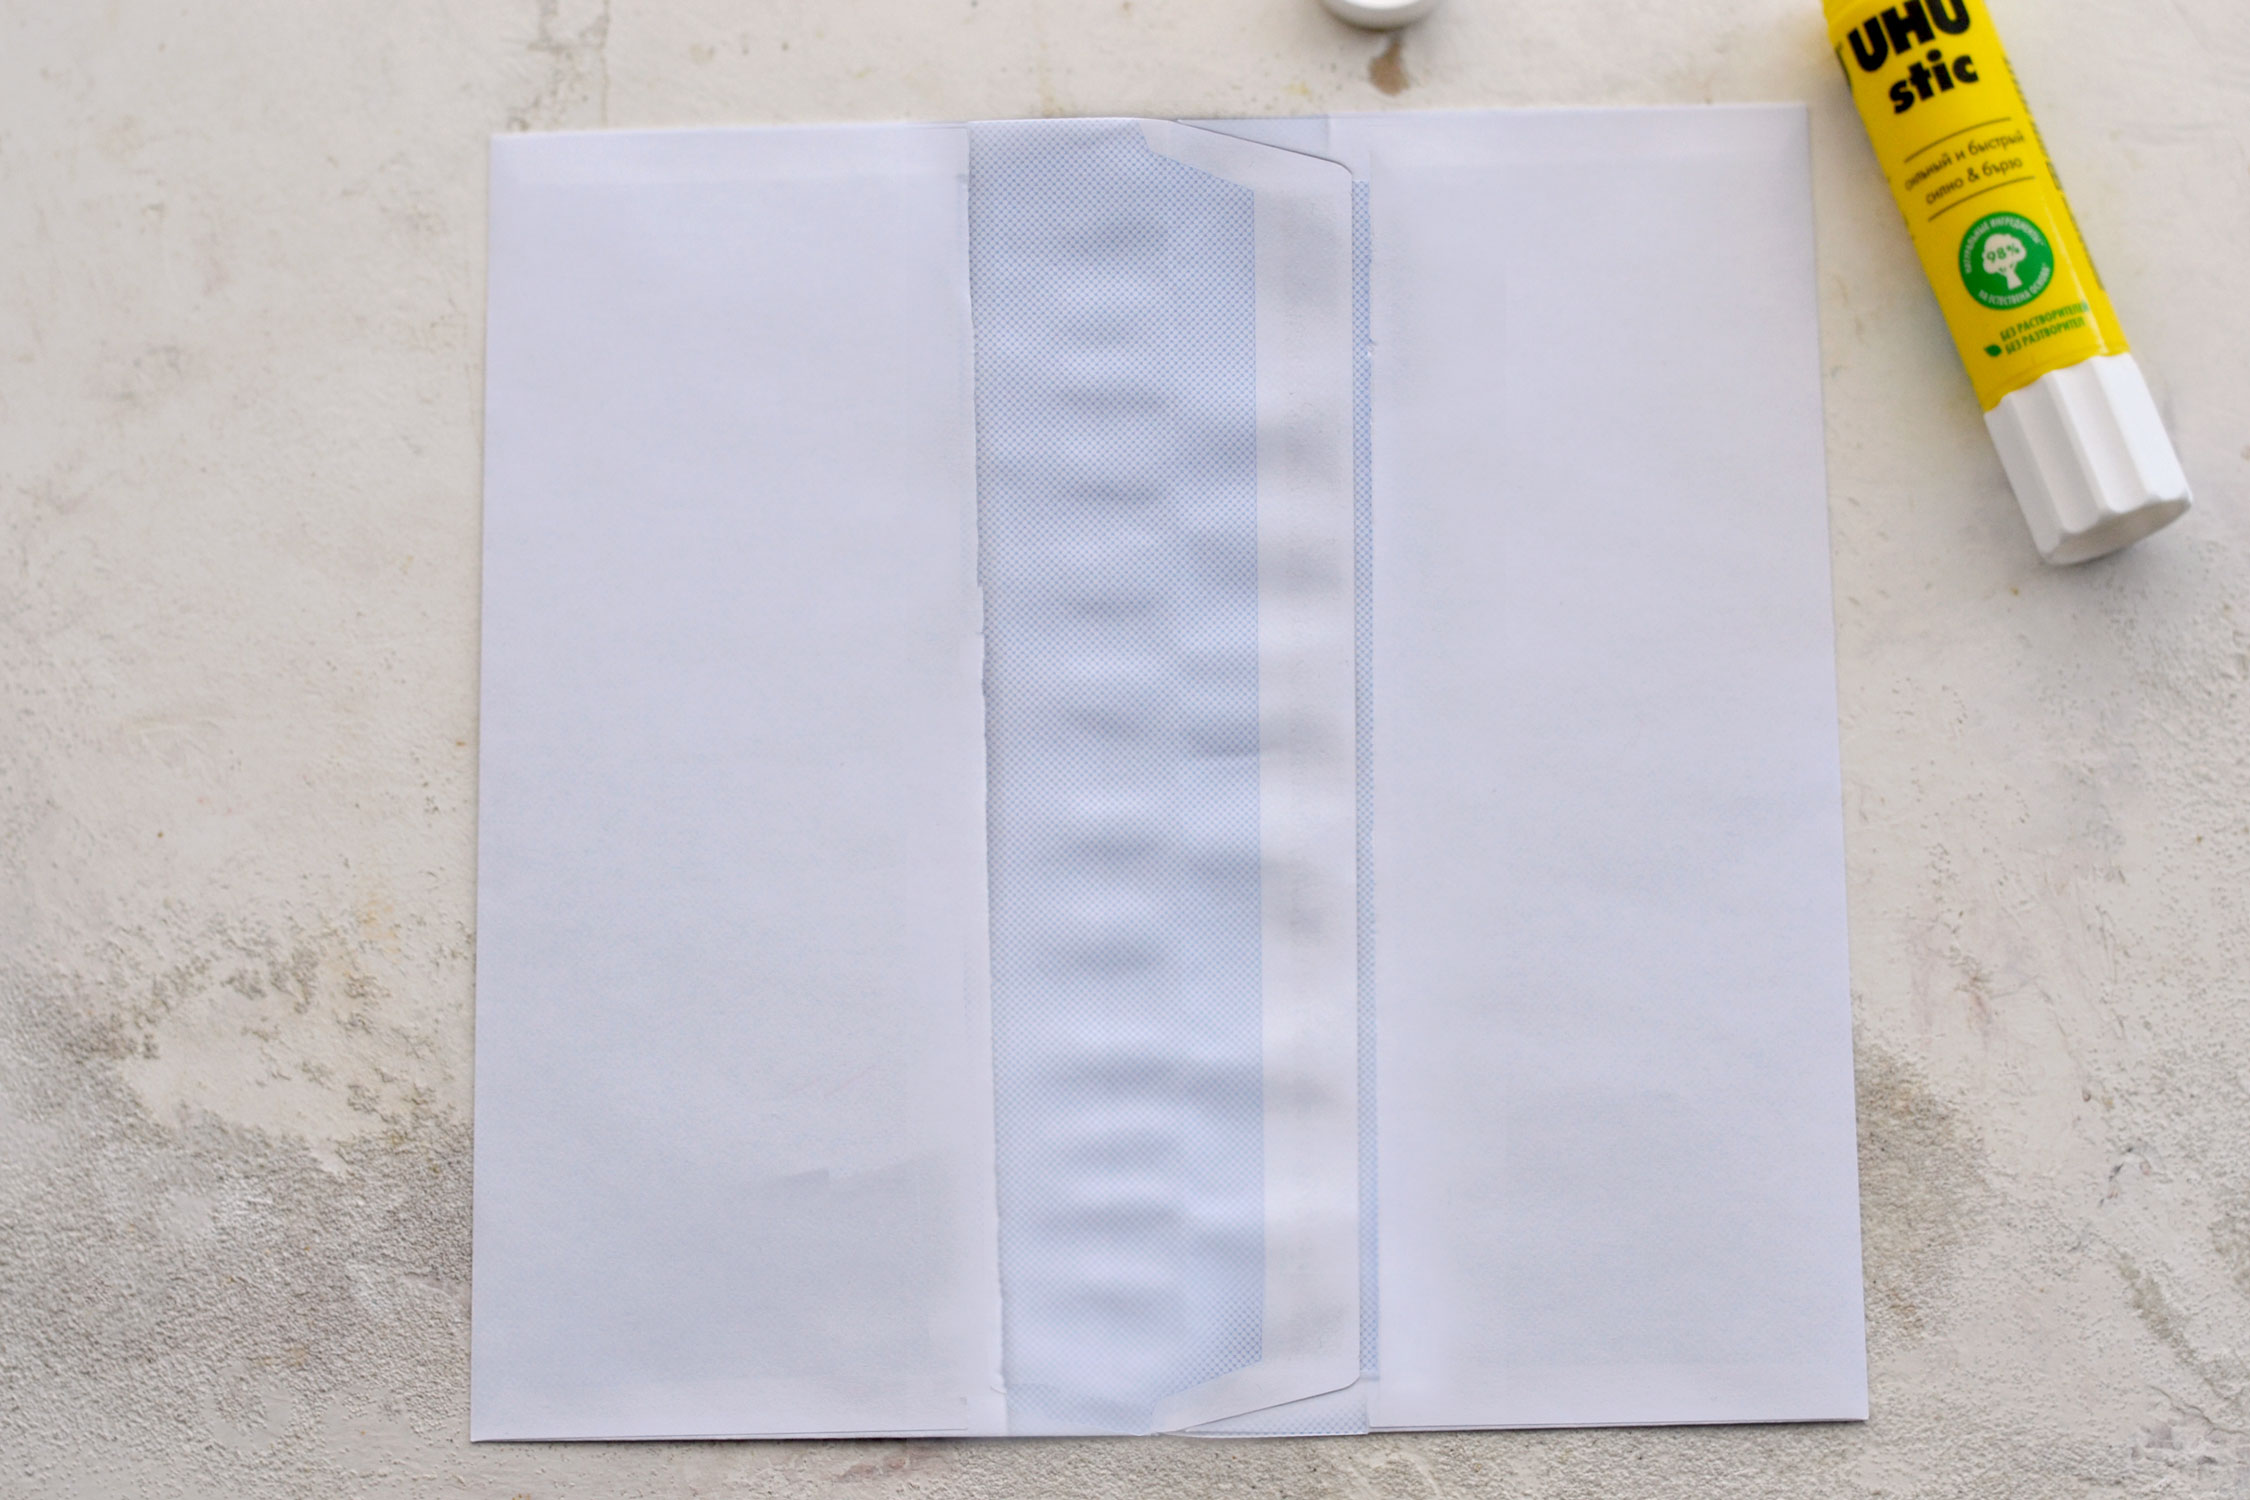
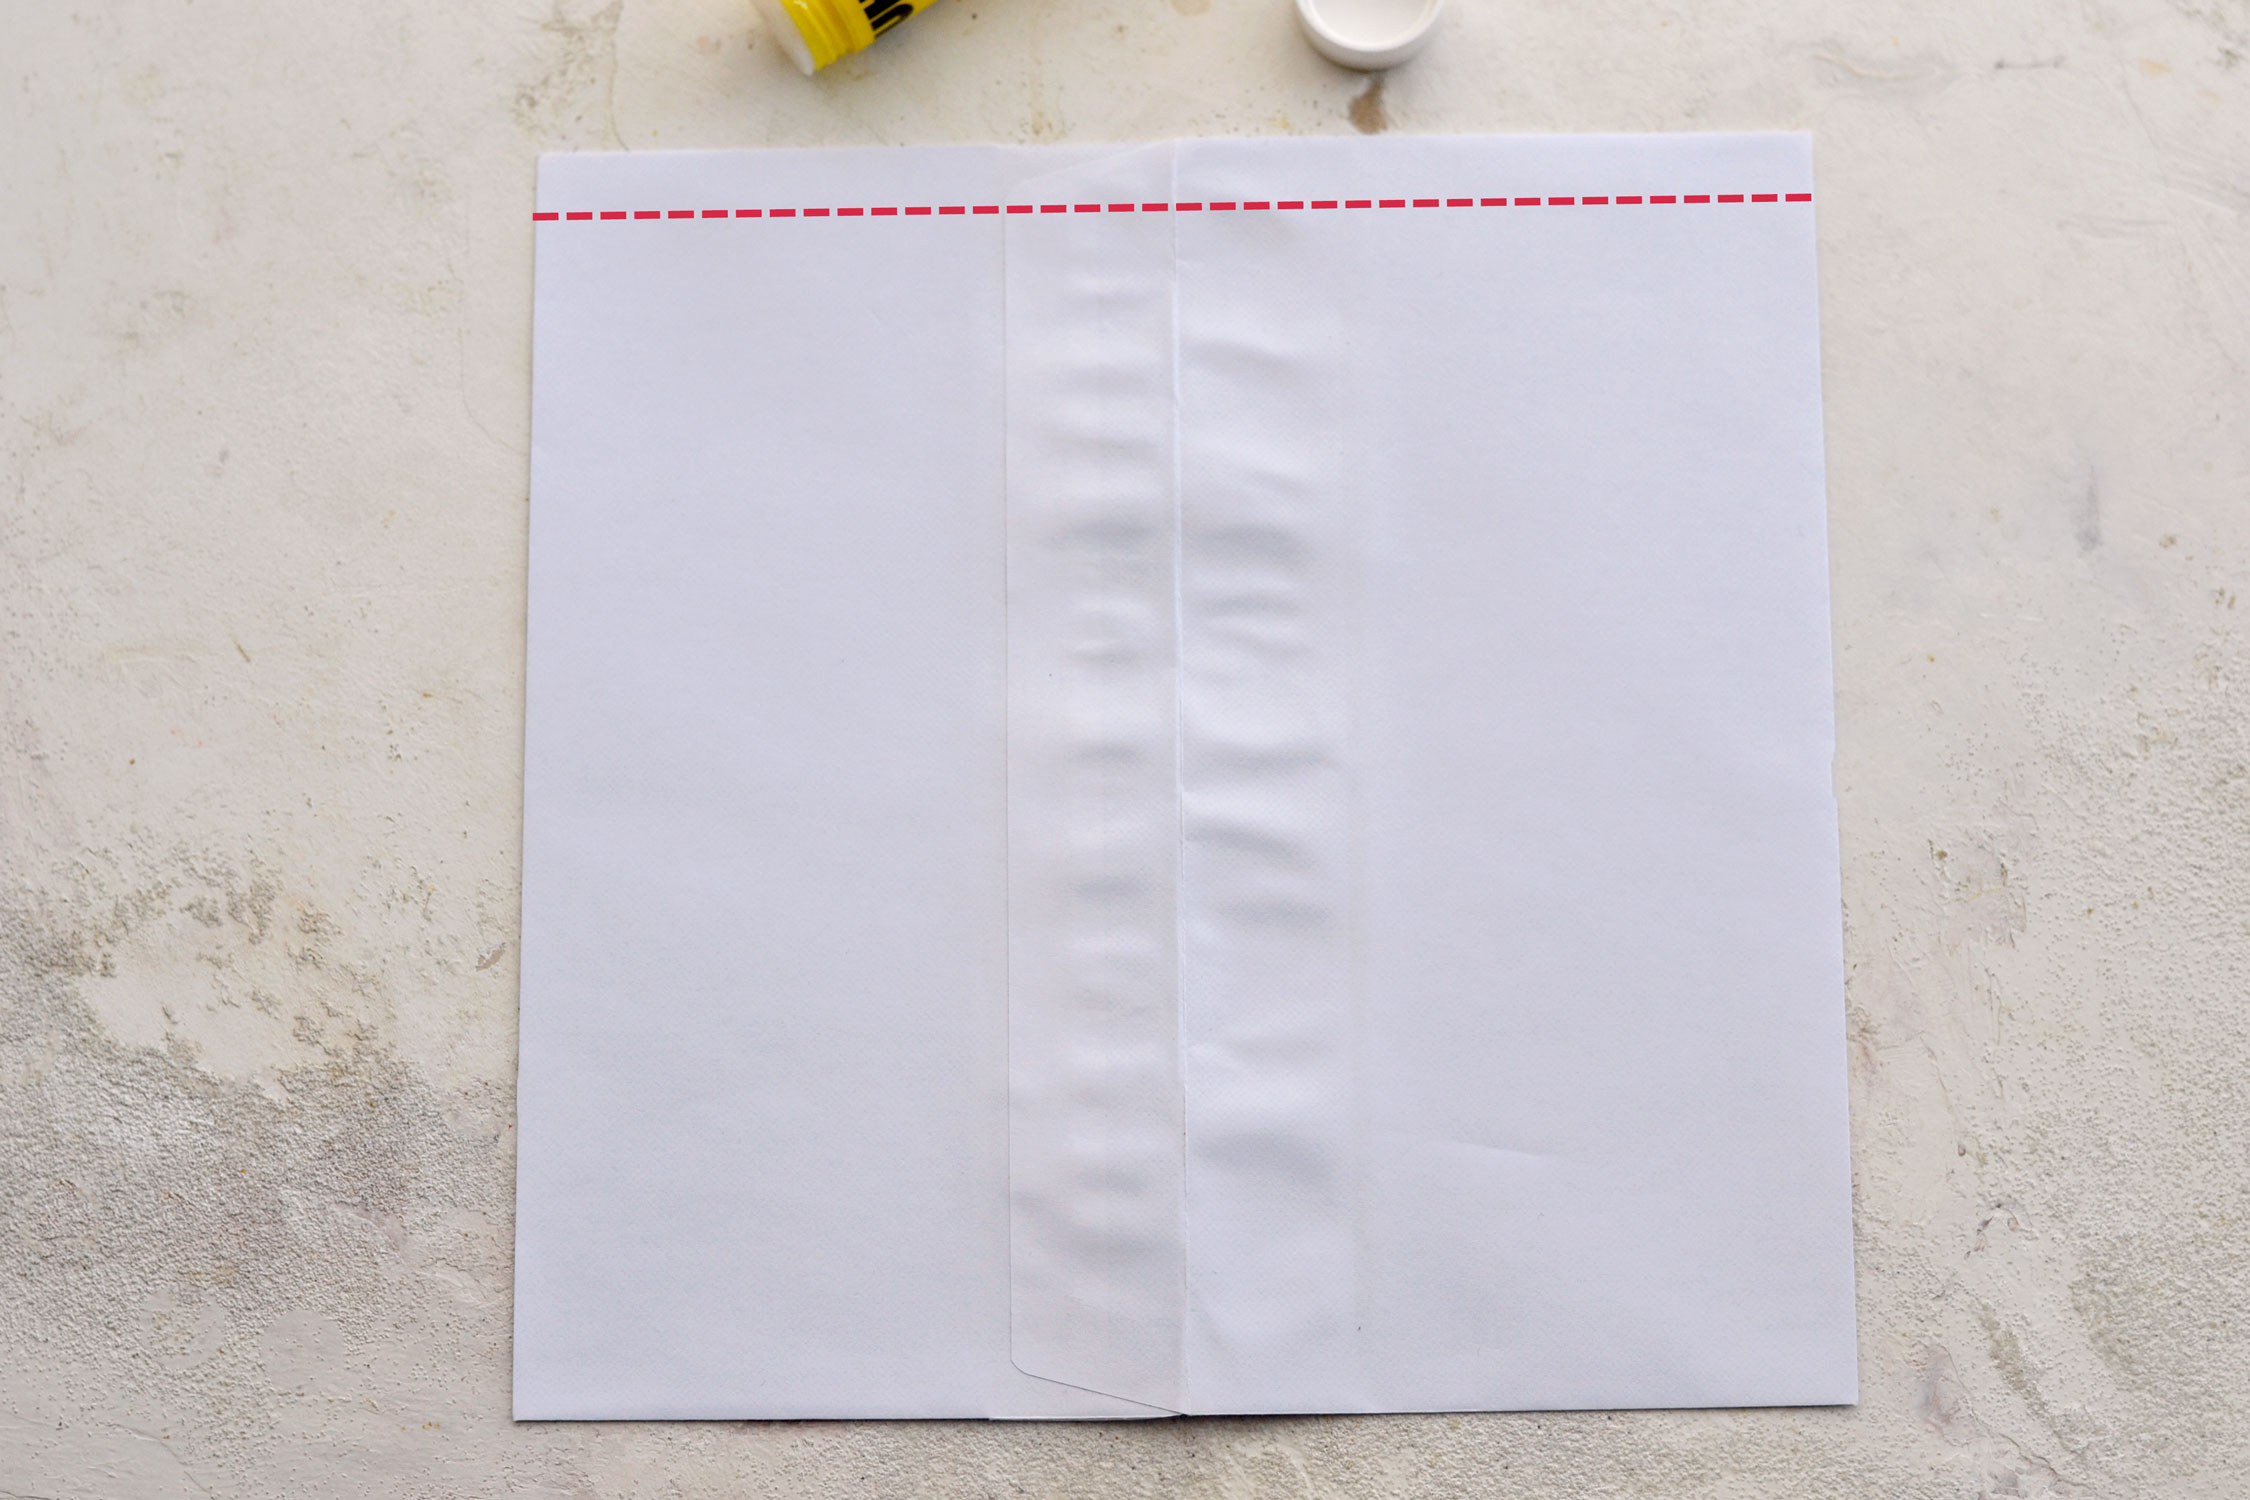
Start by placing two envelopes on your table with the flaps next to each other, on the vertical. Use your scissors to snip off the small top/bottom edges and a knife to remove the long vertical flap (where the red dashed line is). I already cut these off on the second envelope on the right.
P.S. Your envelopes might not be exactly like mine, just adapt things to what you have around and don’t worry about making everything too perfect.
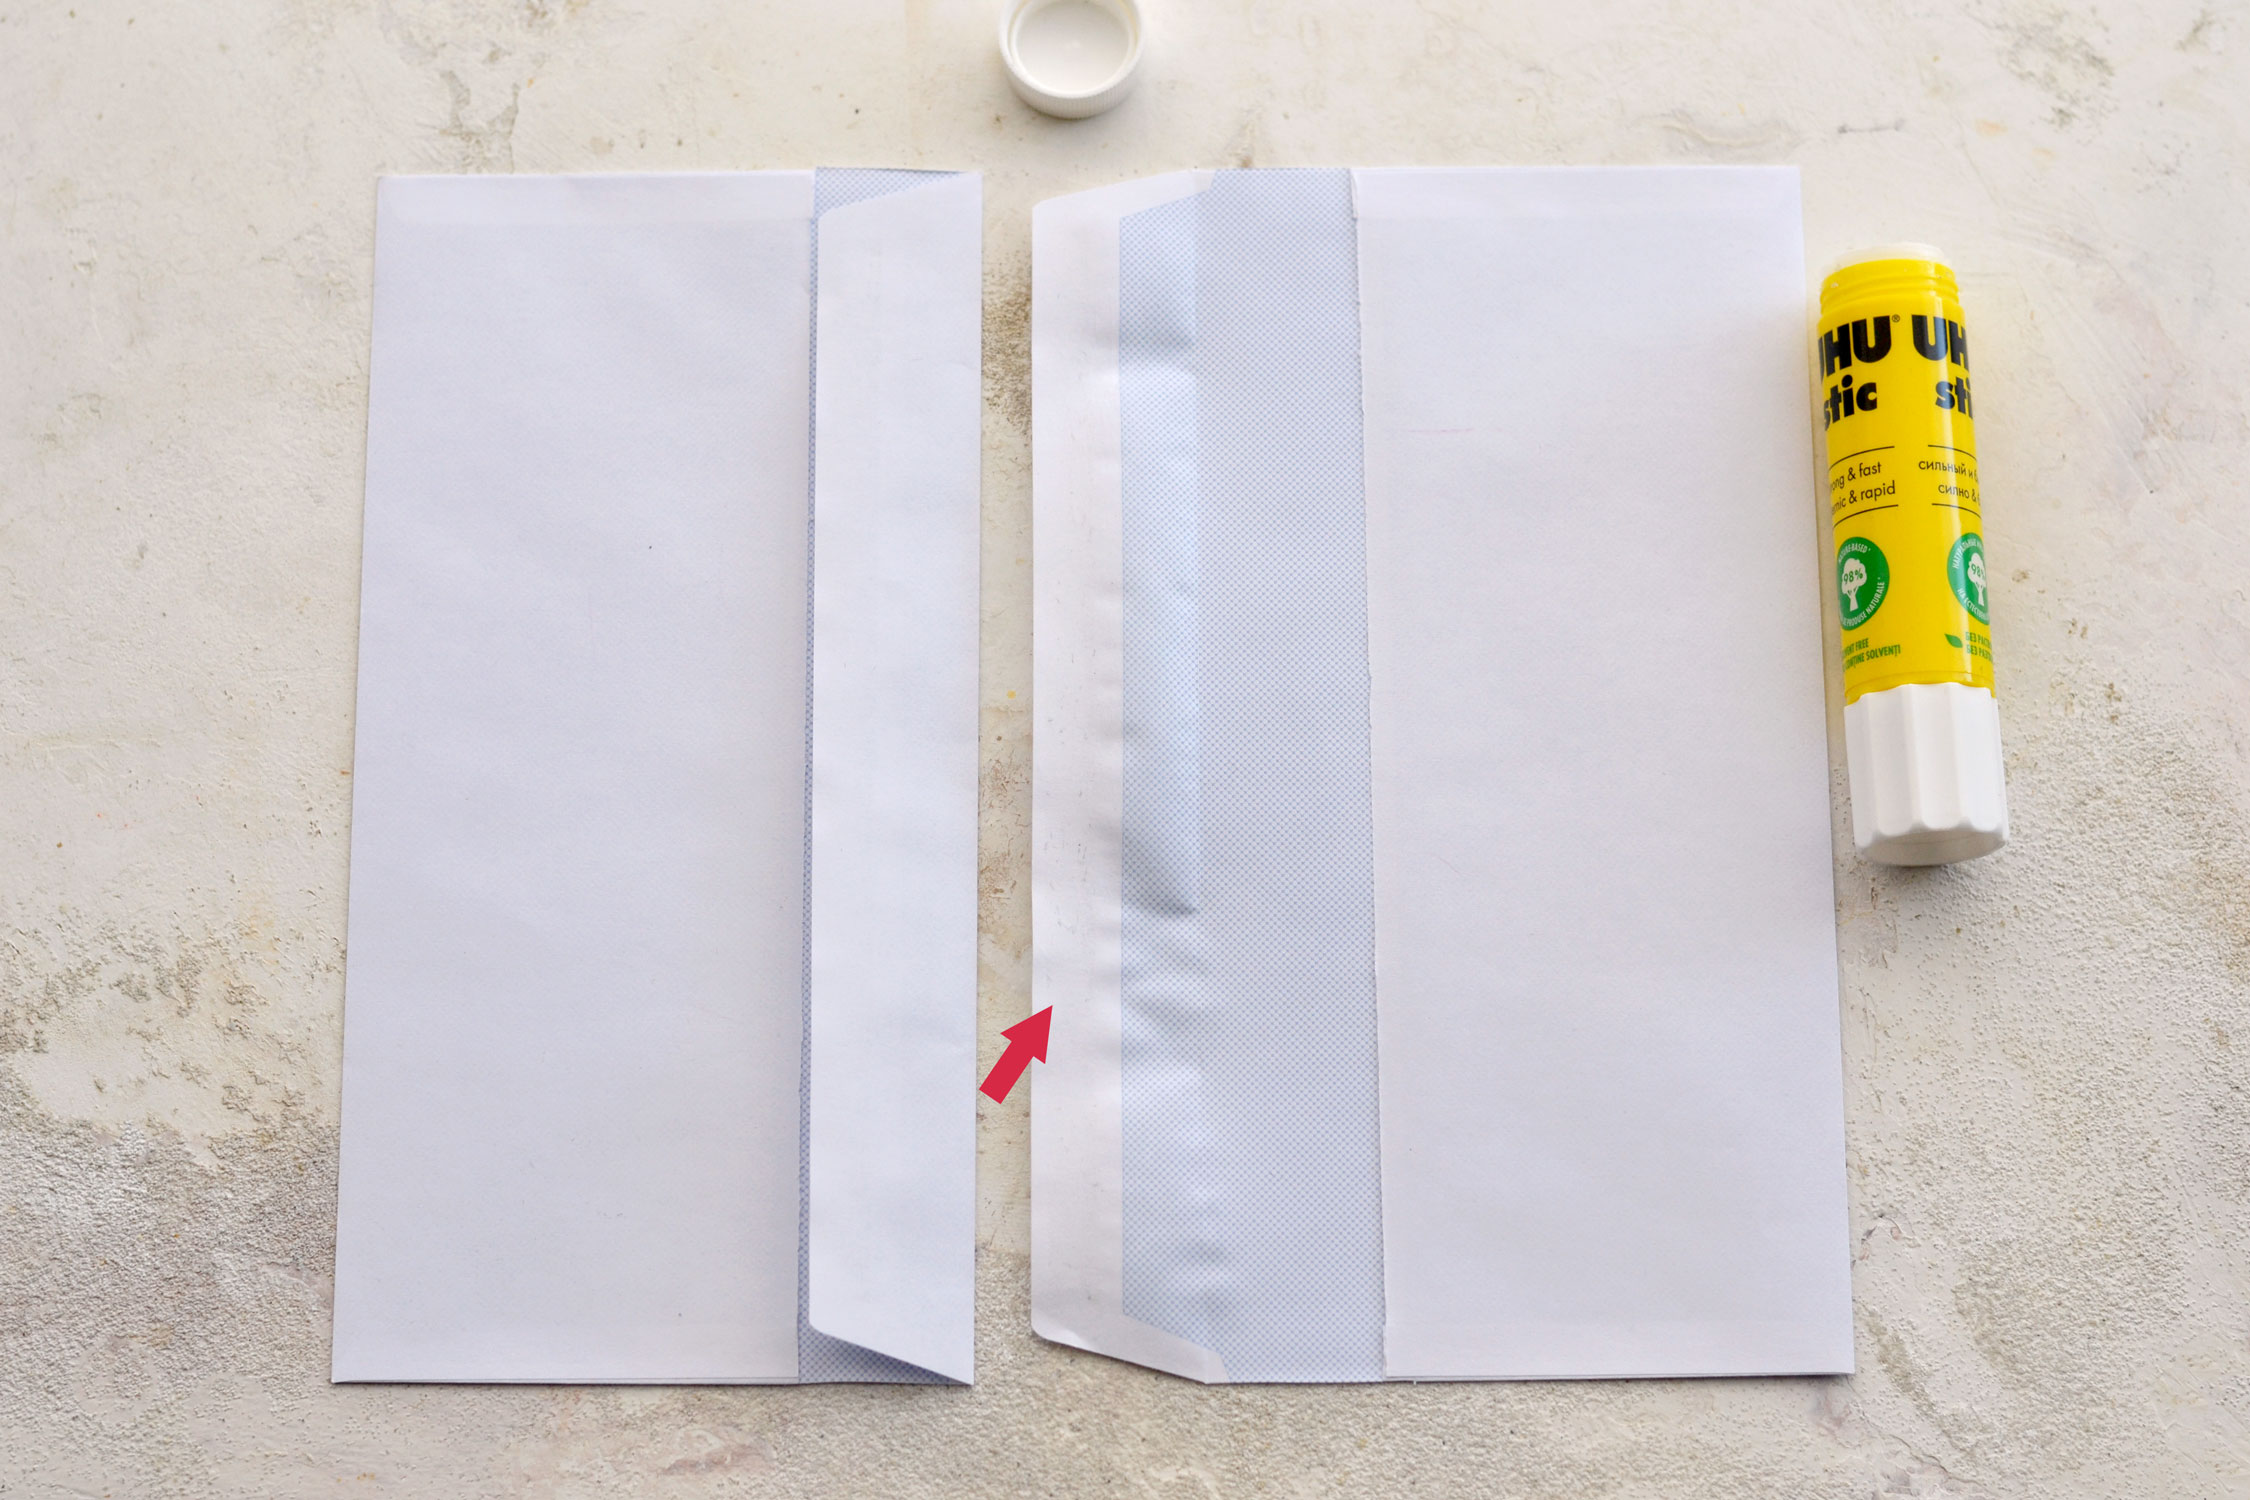
Close the envelope on the left. Use glue on the flap of the envelope on the right, then glue the envelope on the left on top.
You need to work quickly to perfectly align the edges of your envelopes. If they are not perfectly aligned, the base for your cover will be off and so it will be your cover. I actually messed things up the first time and had to do it all over again … Oops. But it’s a quick and easy process and you’ll be able to make another base in no time!
Glue the top flap of the other envelope or use your knife to cut it off if you want.
Flip your envelopes over, this is how they should look on the other side. This will be the front of our cover.
If you want, you can use your scissors at this point to cut a small segment on top of your envelopes – this will create a lovely pocket inside that can be used to store all sorts of scrap pieces of paper afterward.
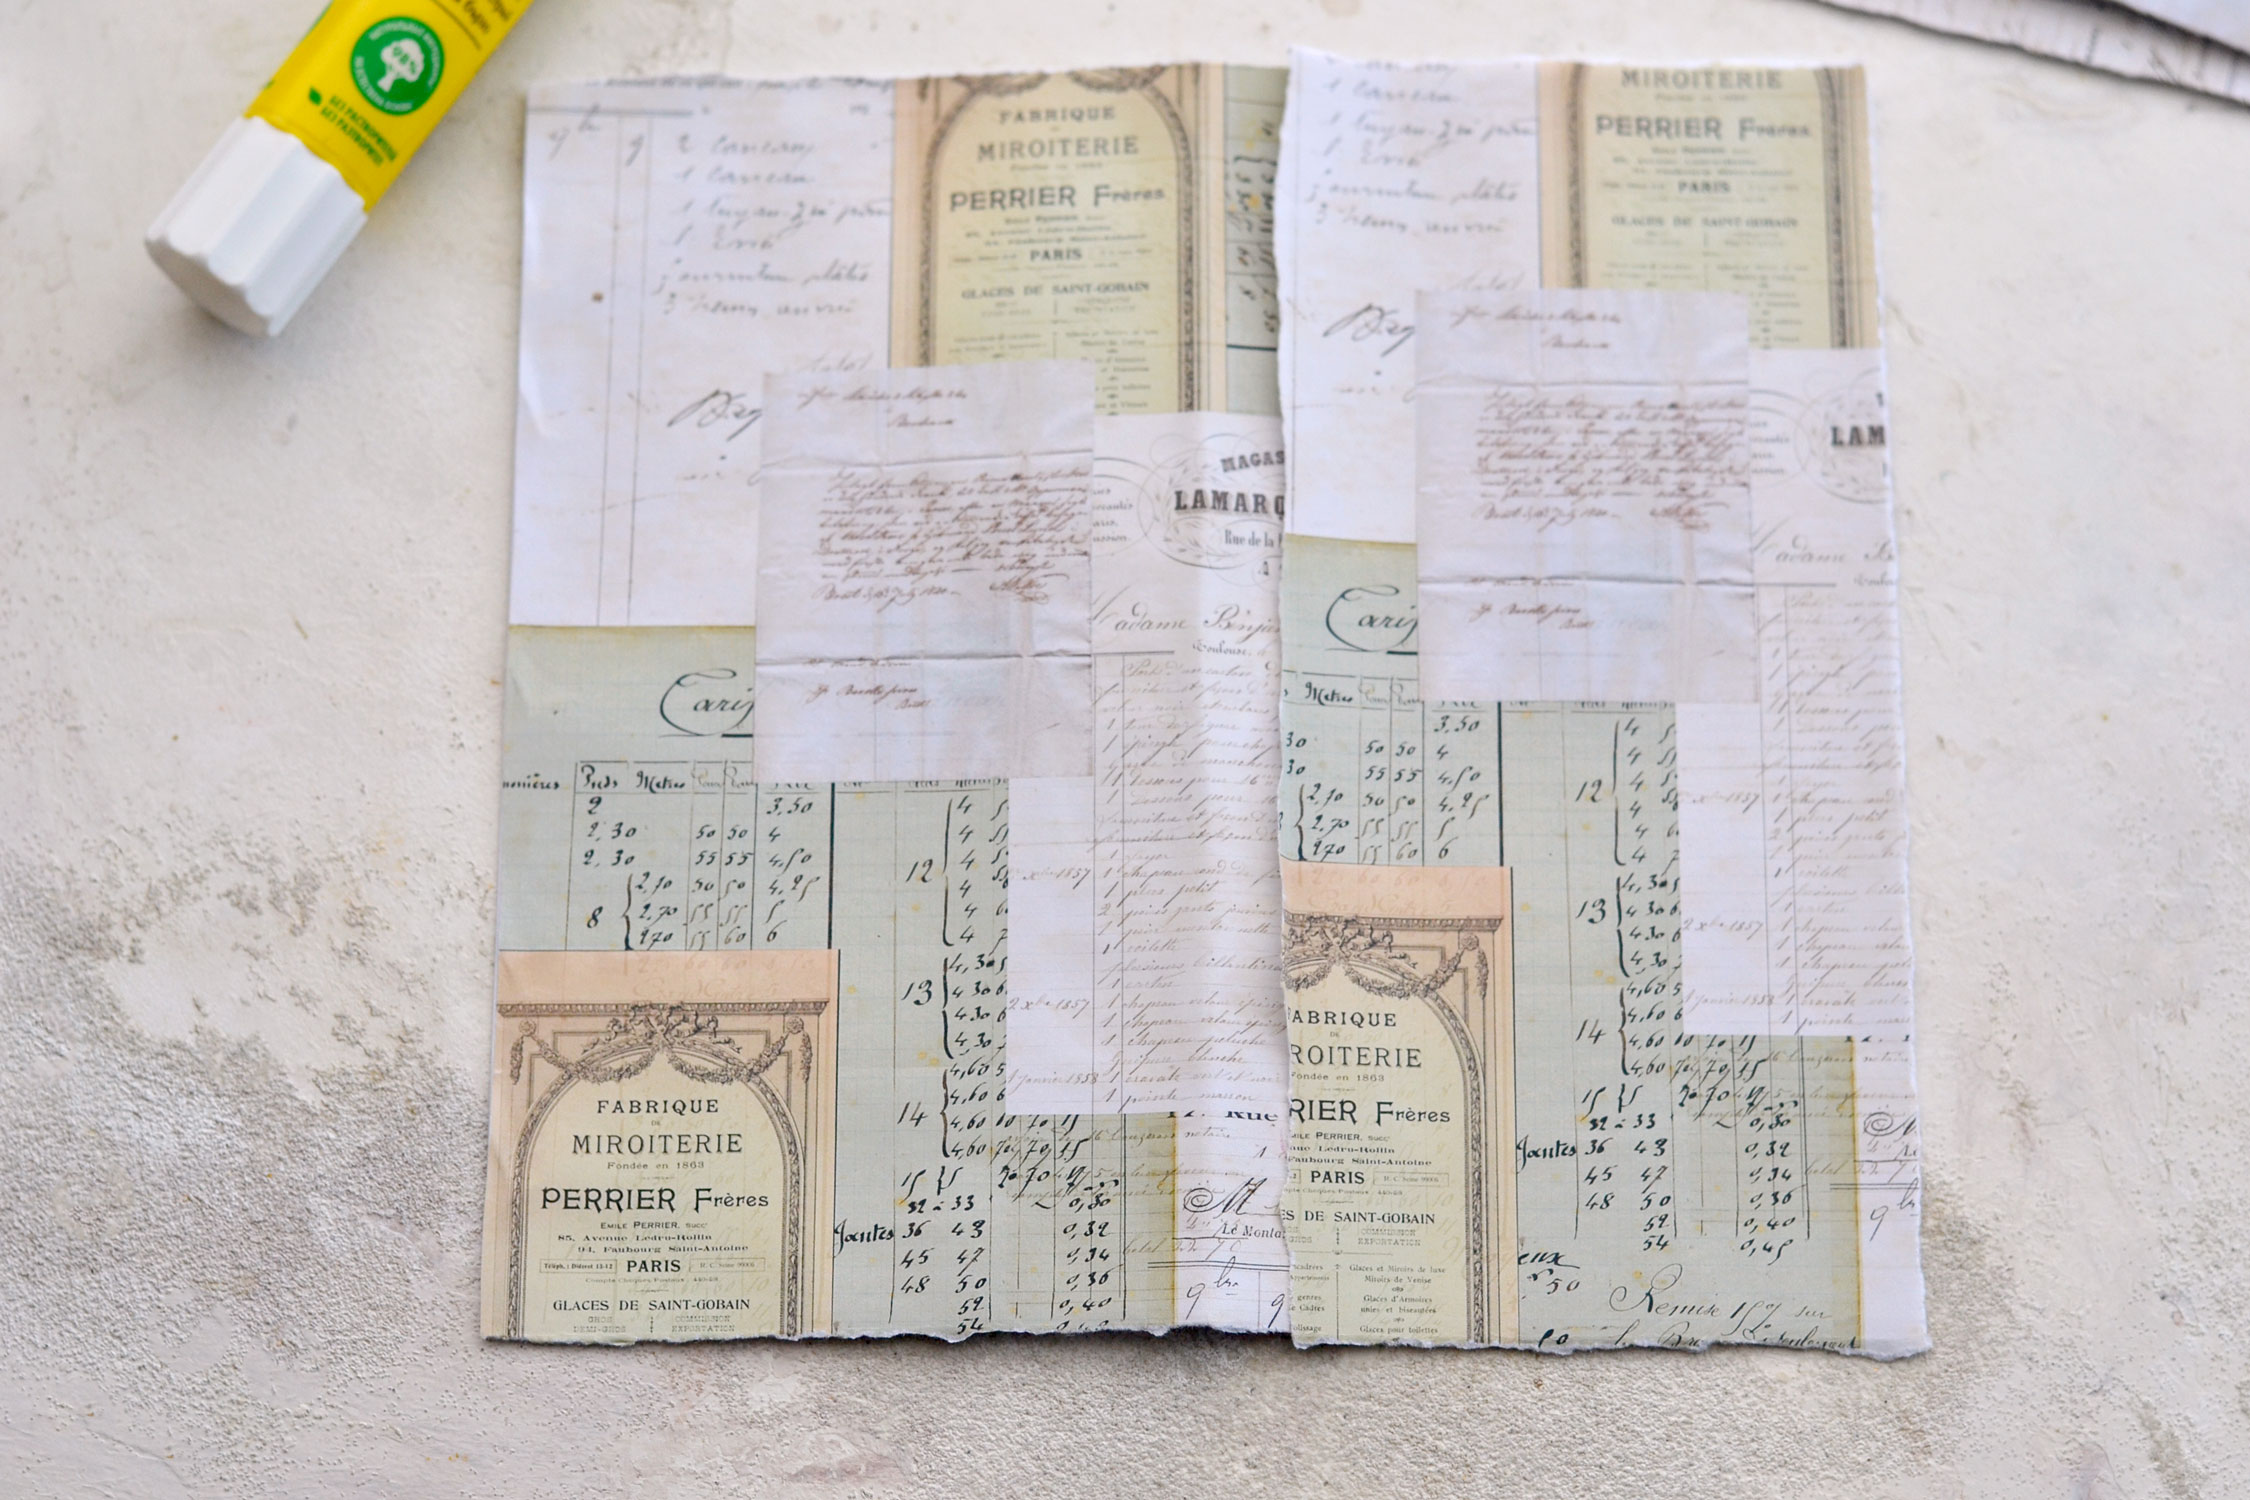
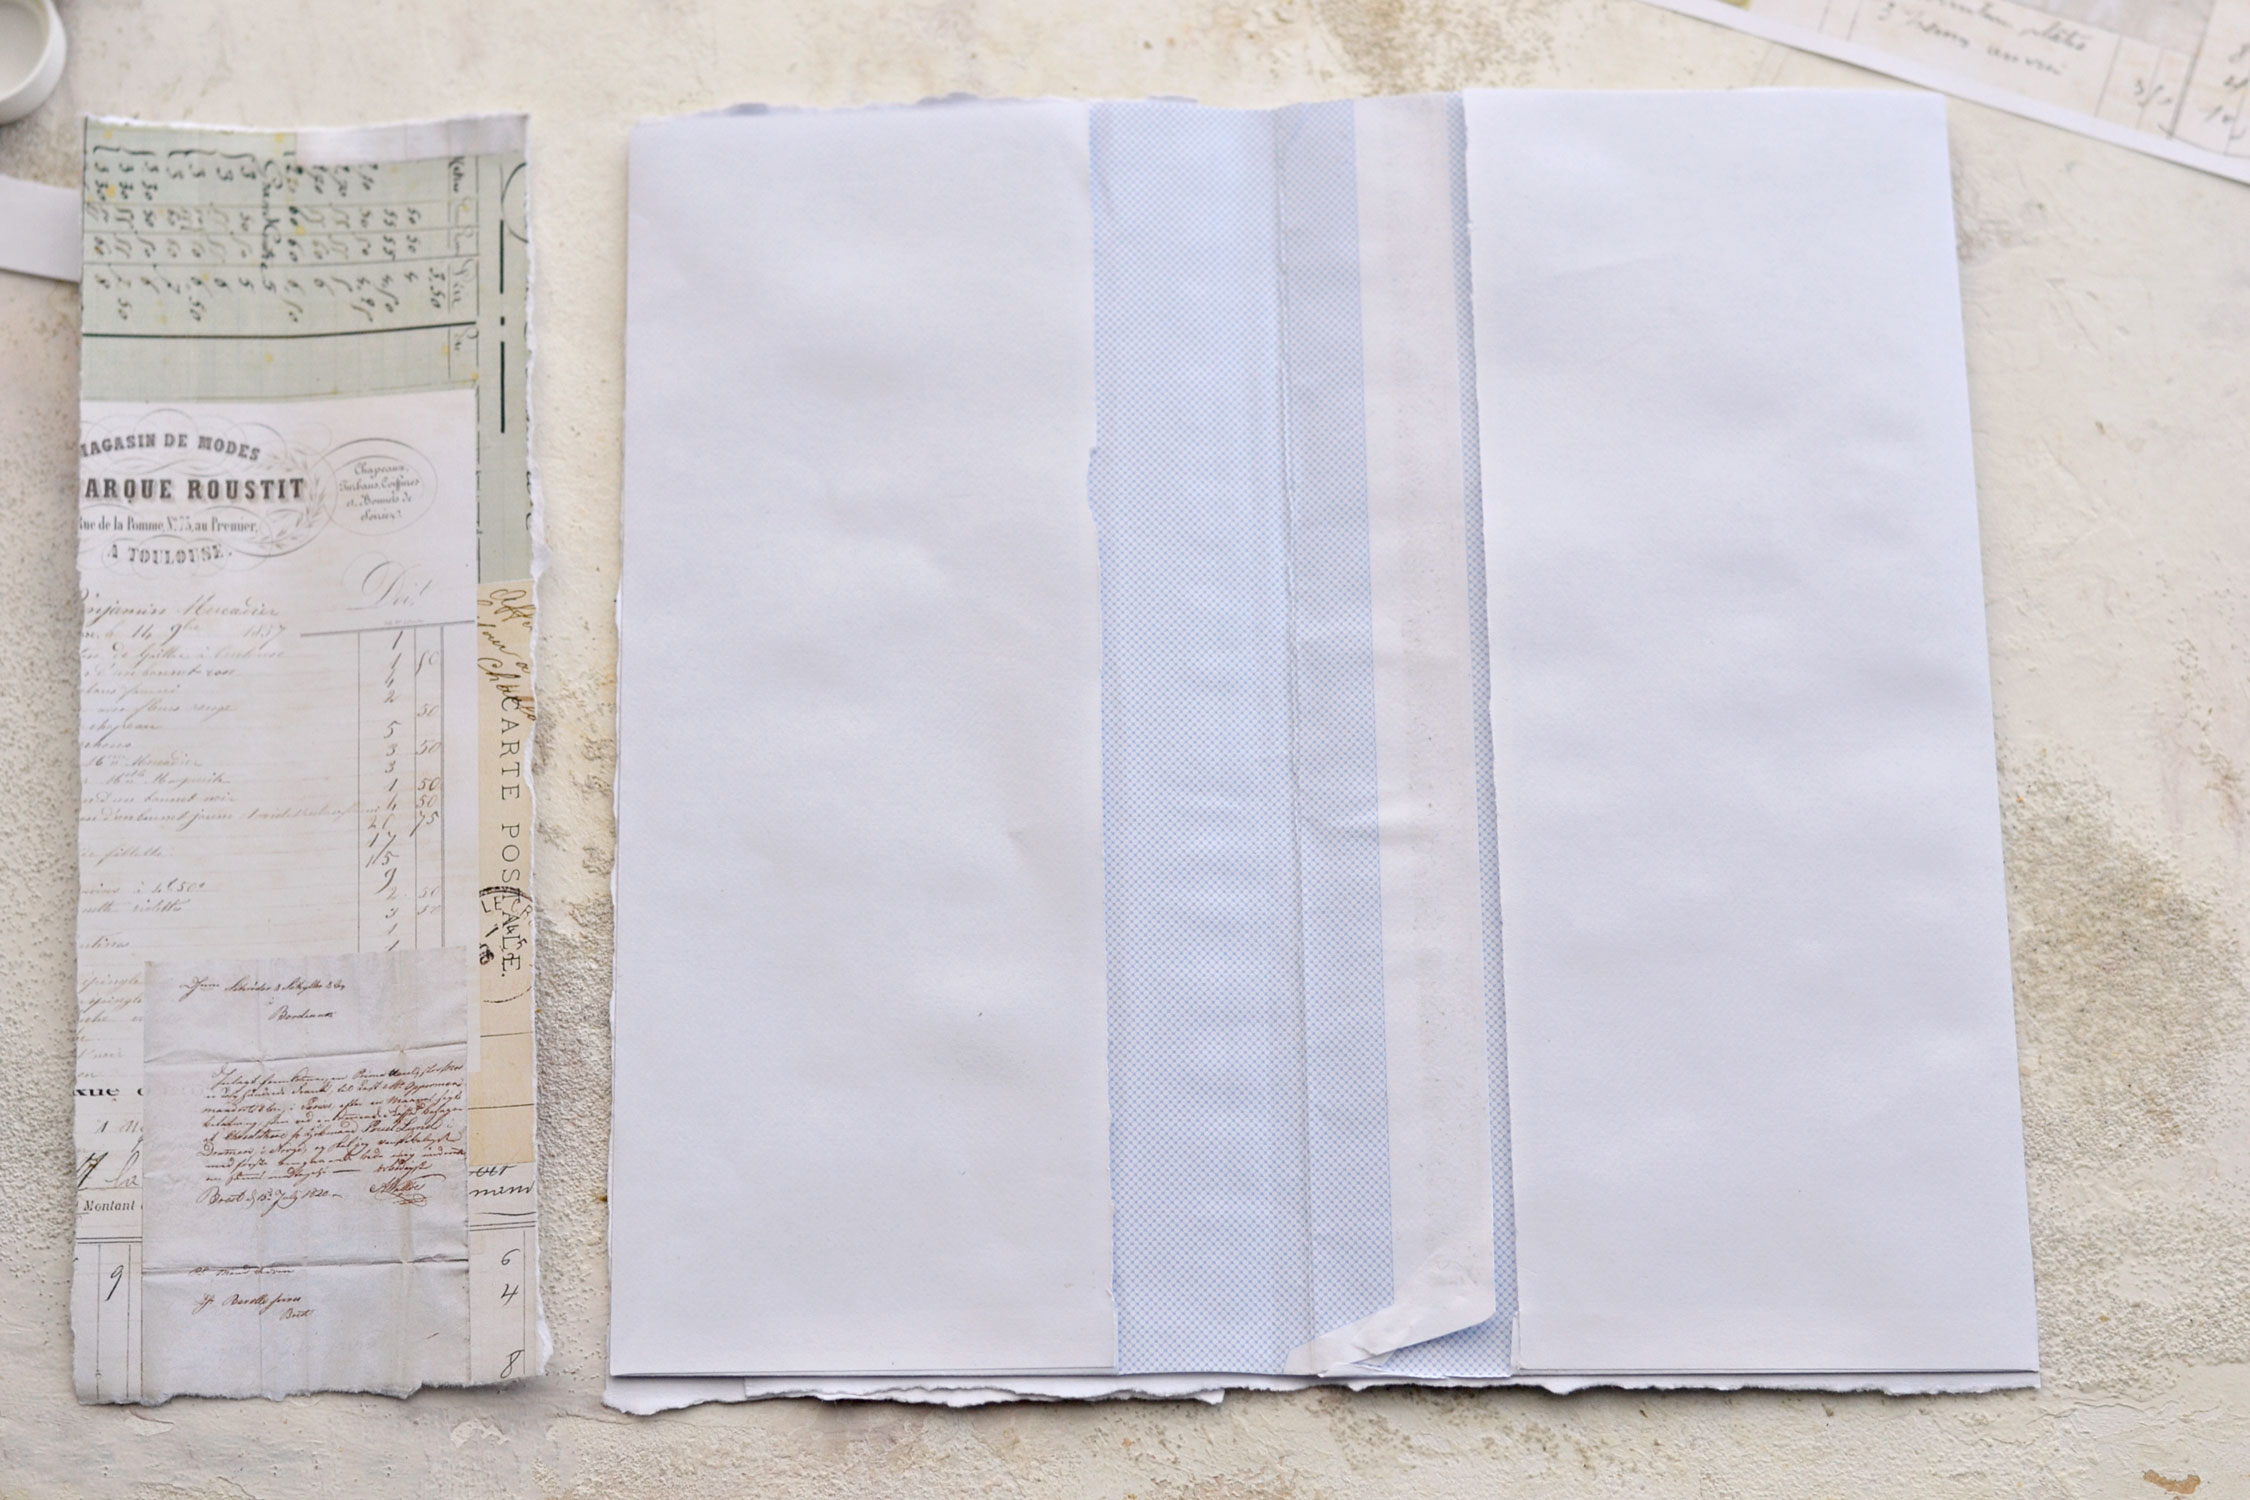
Now it’s time to measure and cut your French ephemera covers! Place the envelopes on top of your French paper and use a pencil to trace the size. Or if you prefer to give the paper more of a deckled effect, you can just fold and tear, as I did! Remember that you will need to print the layered ephemera background at least two times to completely cover the surface of your top cover and the inside. It would be best to leave a tiny bit of space all around the background to make it slightly larger than your envelopes, just to make sure it completely covers them.
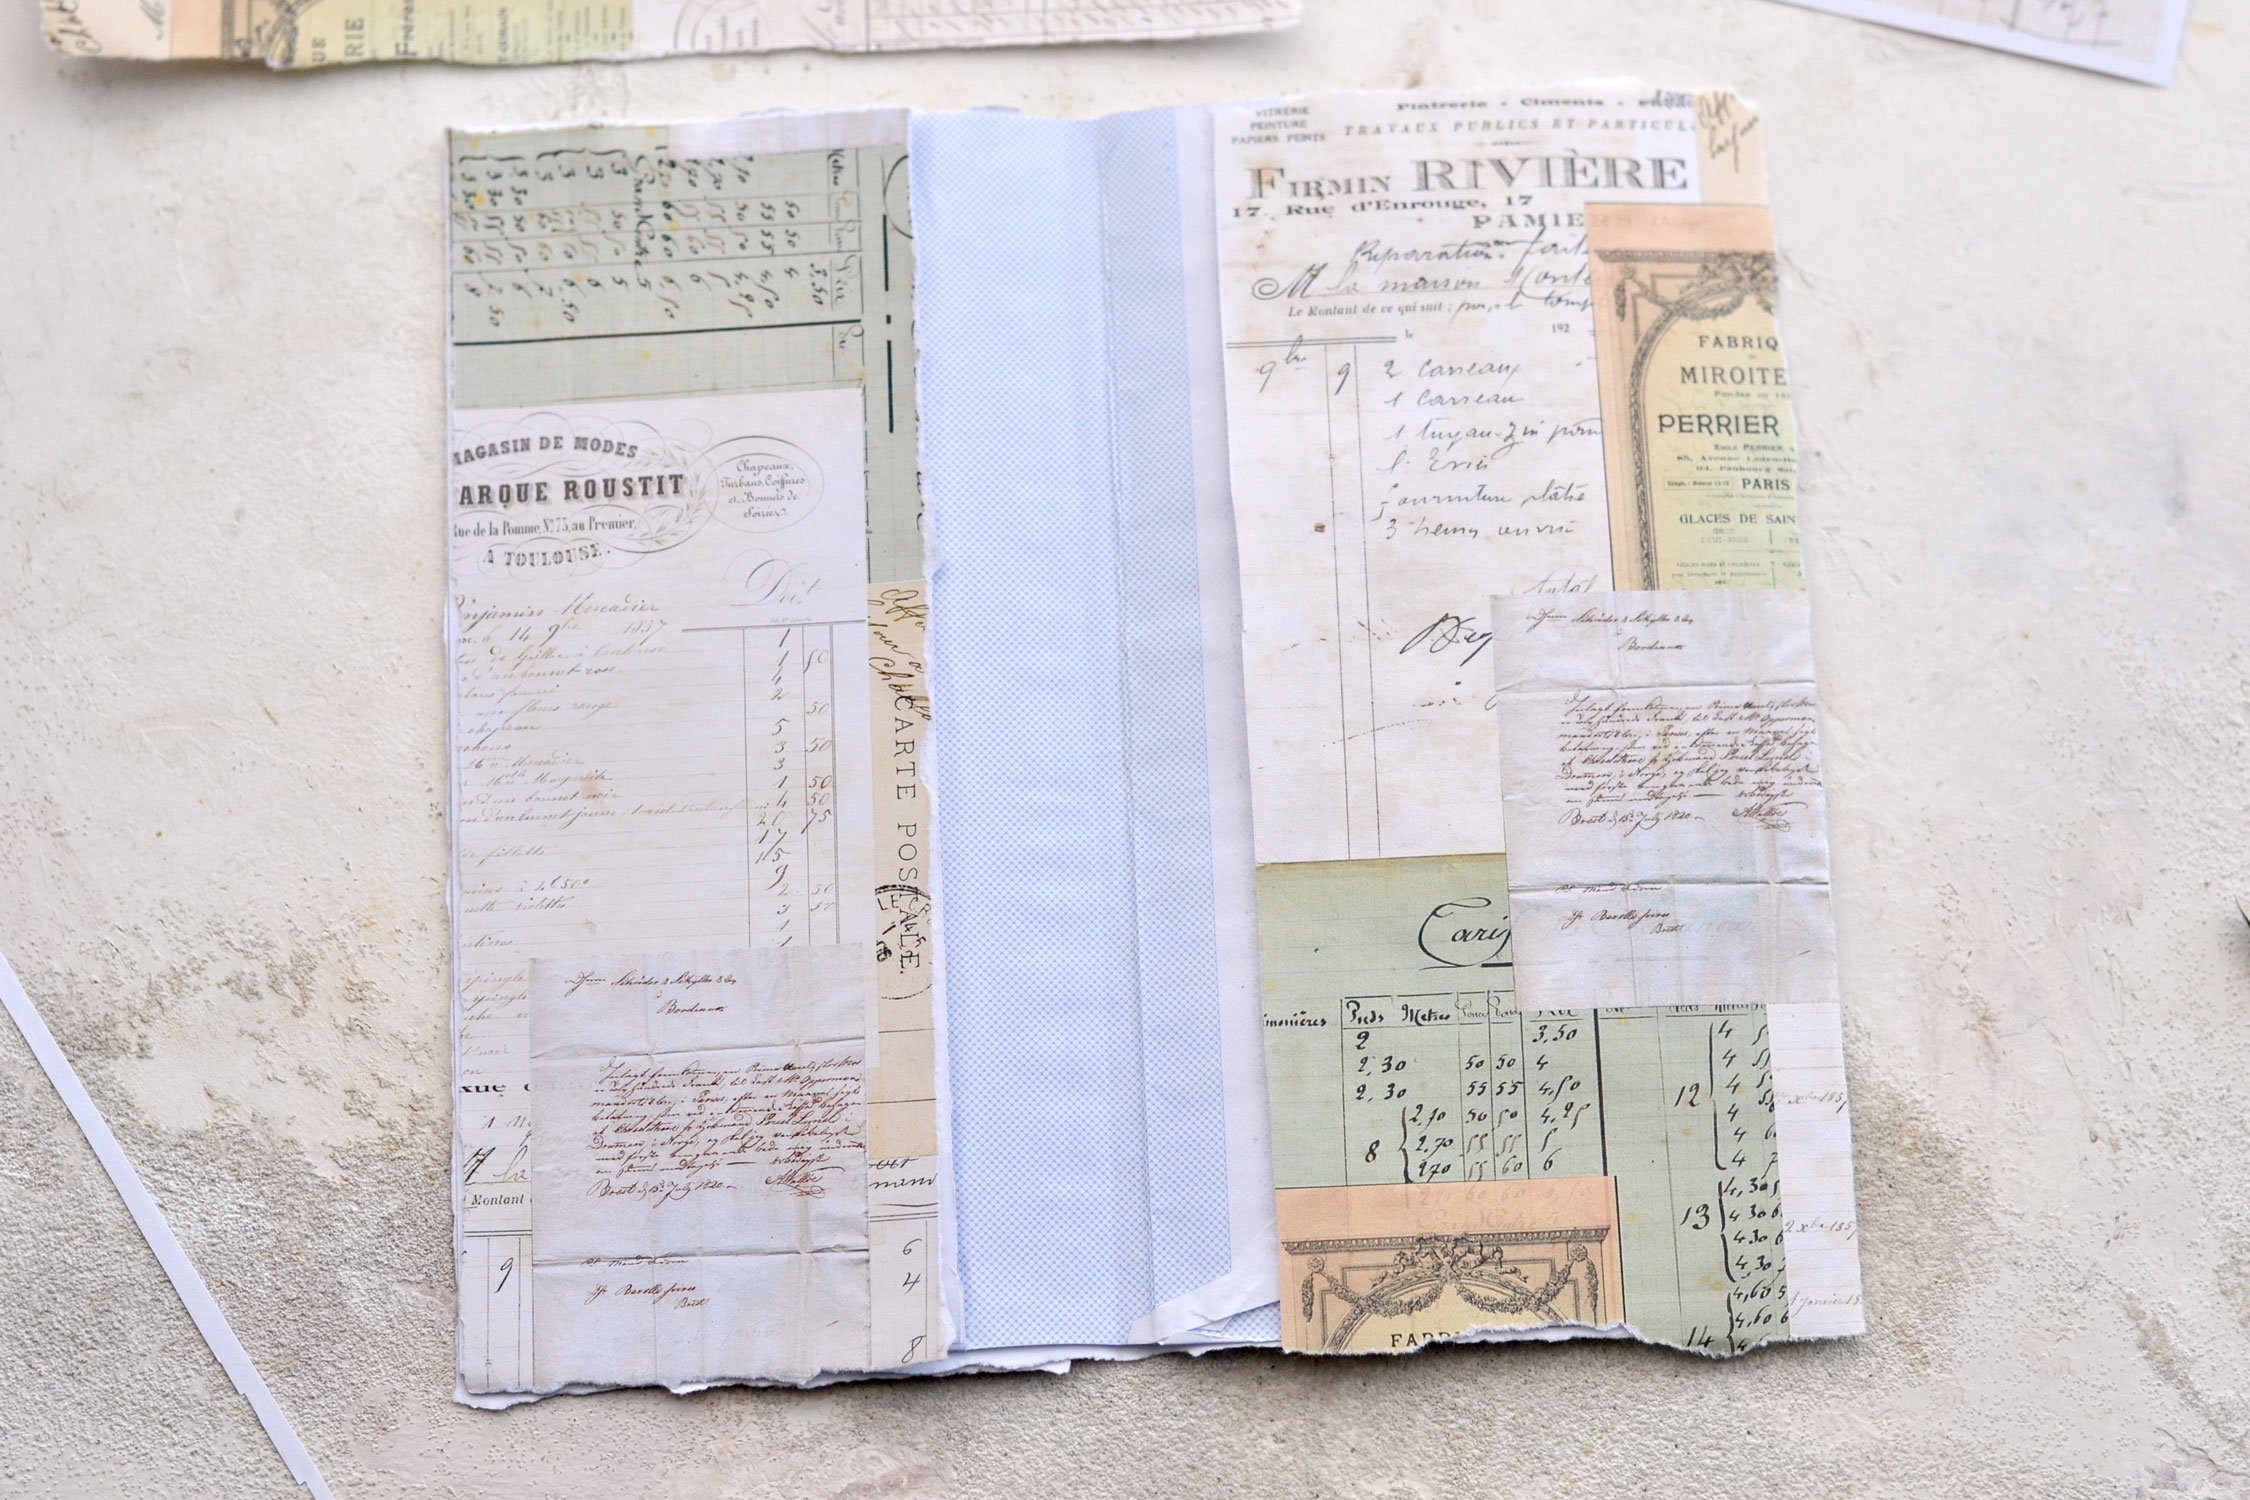
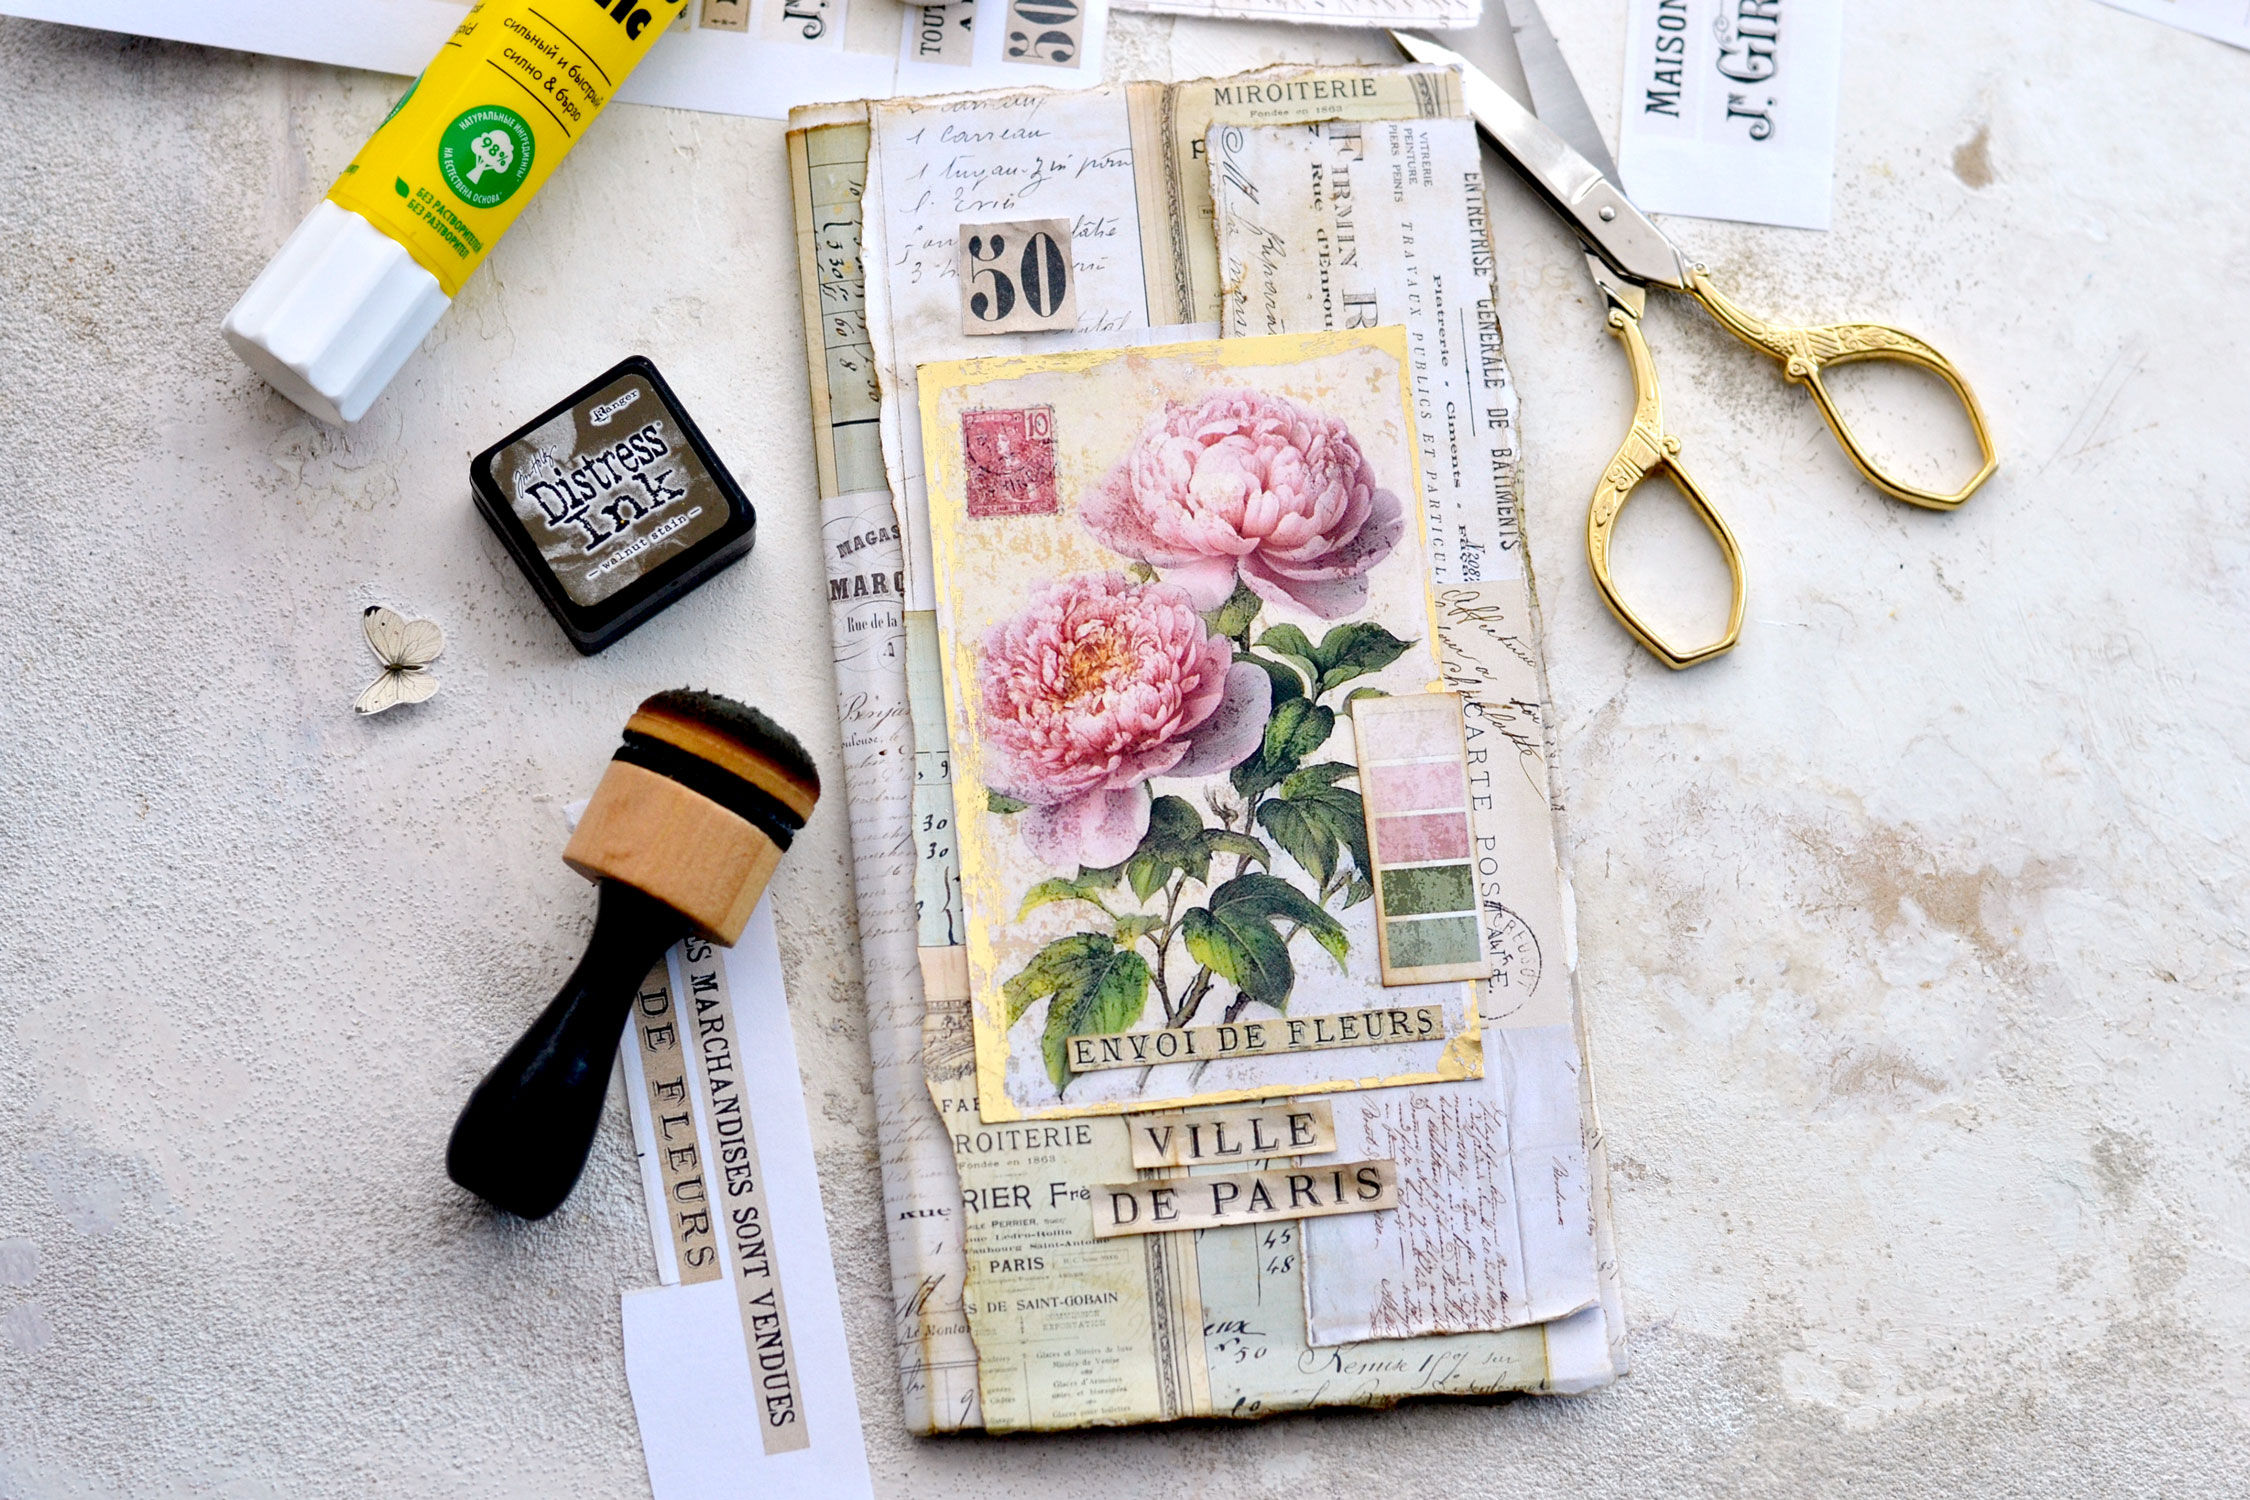
When you are done, you can use glue to adhere the French collage on top of the envelopes. I used a larger piece (the one on the left) to wrap around almost the whole surface of the envelopes and another smaller one (the one on the right) to glue on top of them afterward.
I found it easier to place the envelopes (with the flaps facing down) on my table and then glue the two pieces of cardstock on top. You don’t have to completely glue the parts that are overlapping, you can leave them to create a little bit of depth and dimension. Just make sure you completely cover the envelopes underneath, we don’t want to necessarily see them afterward.
Flip the envelopes over, then use scrap pieces of your French background to also cover the inside of your cover.
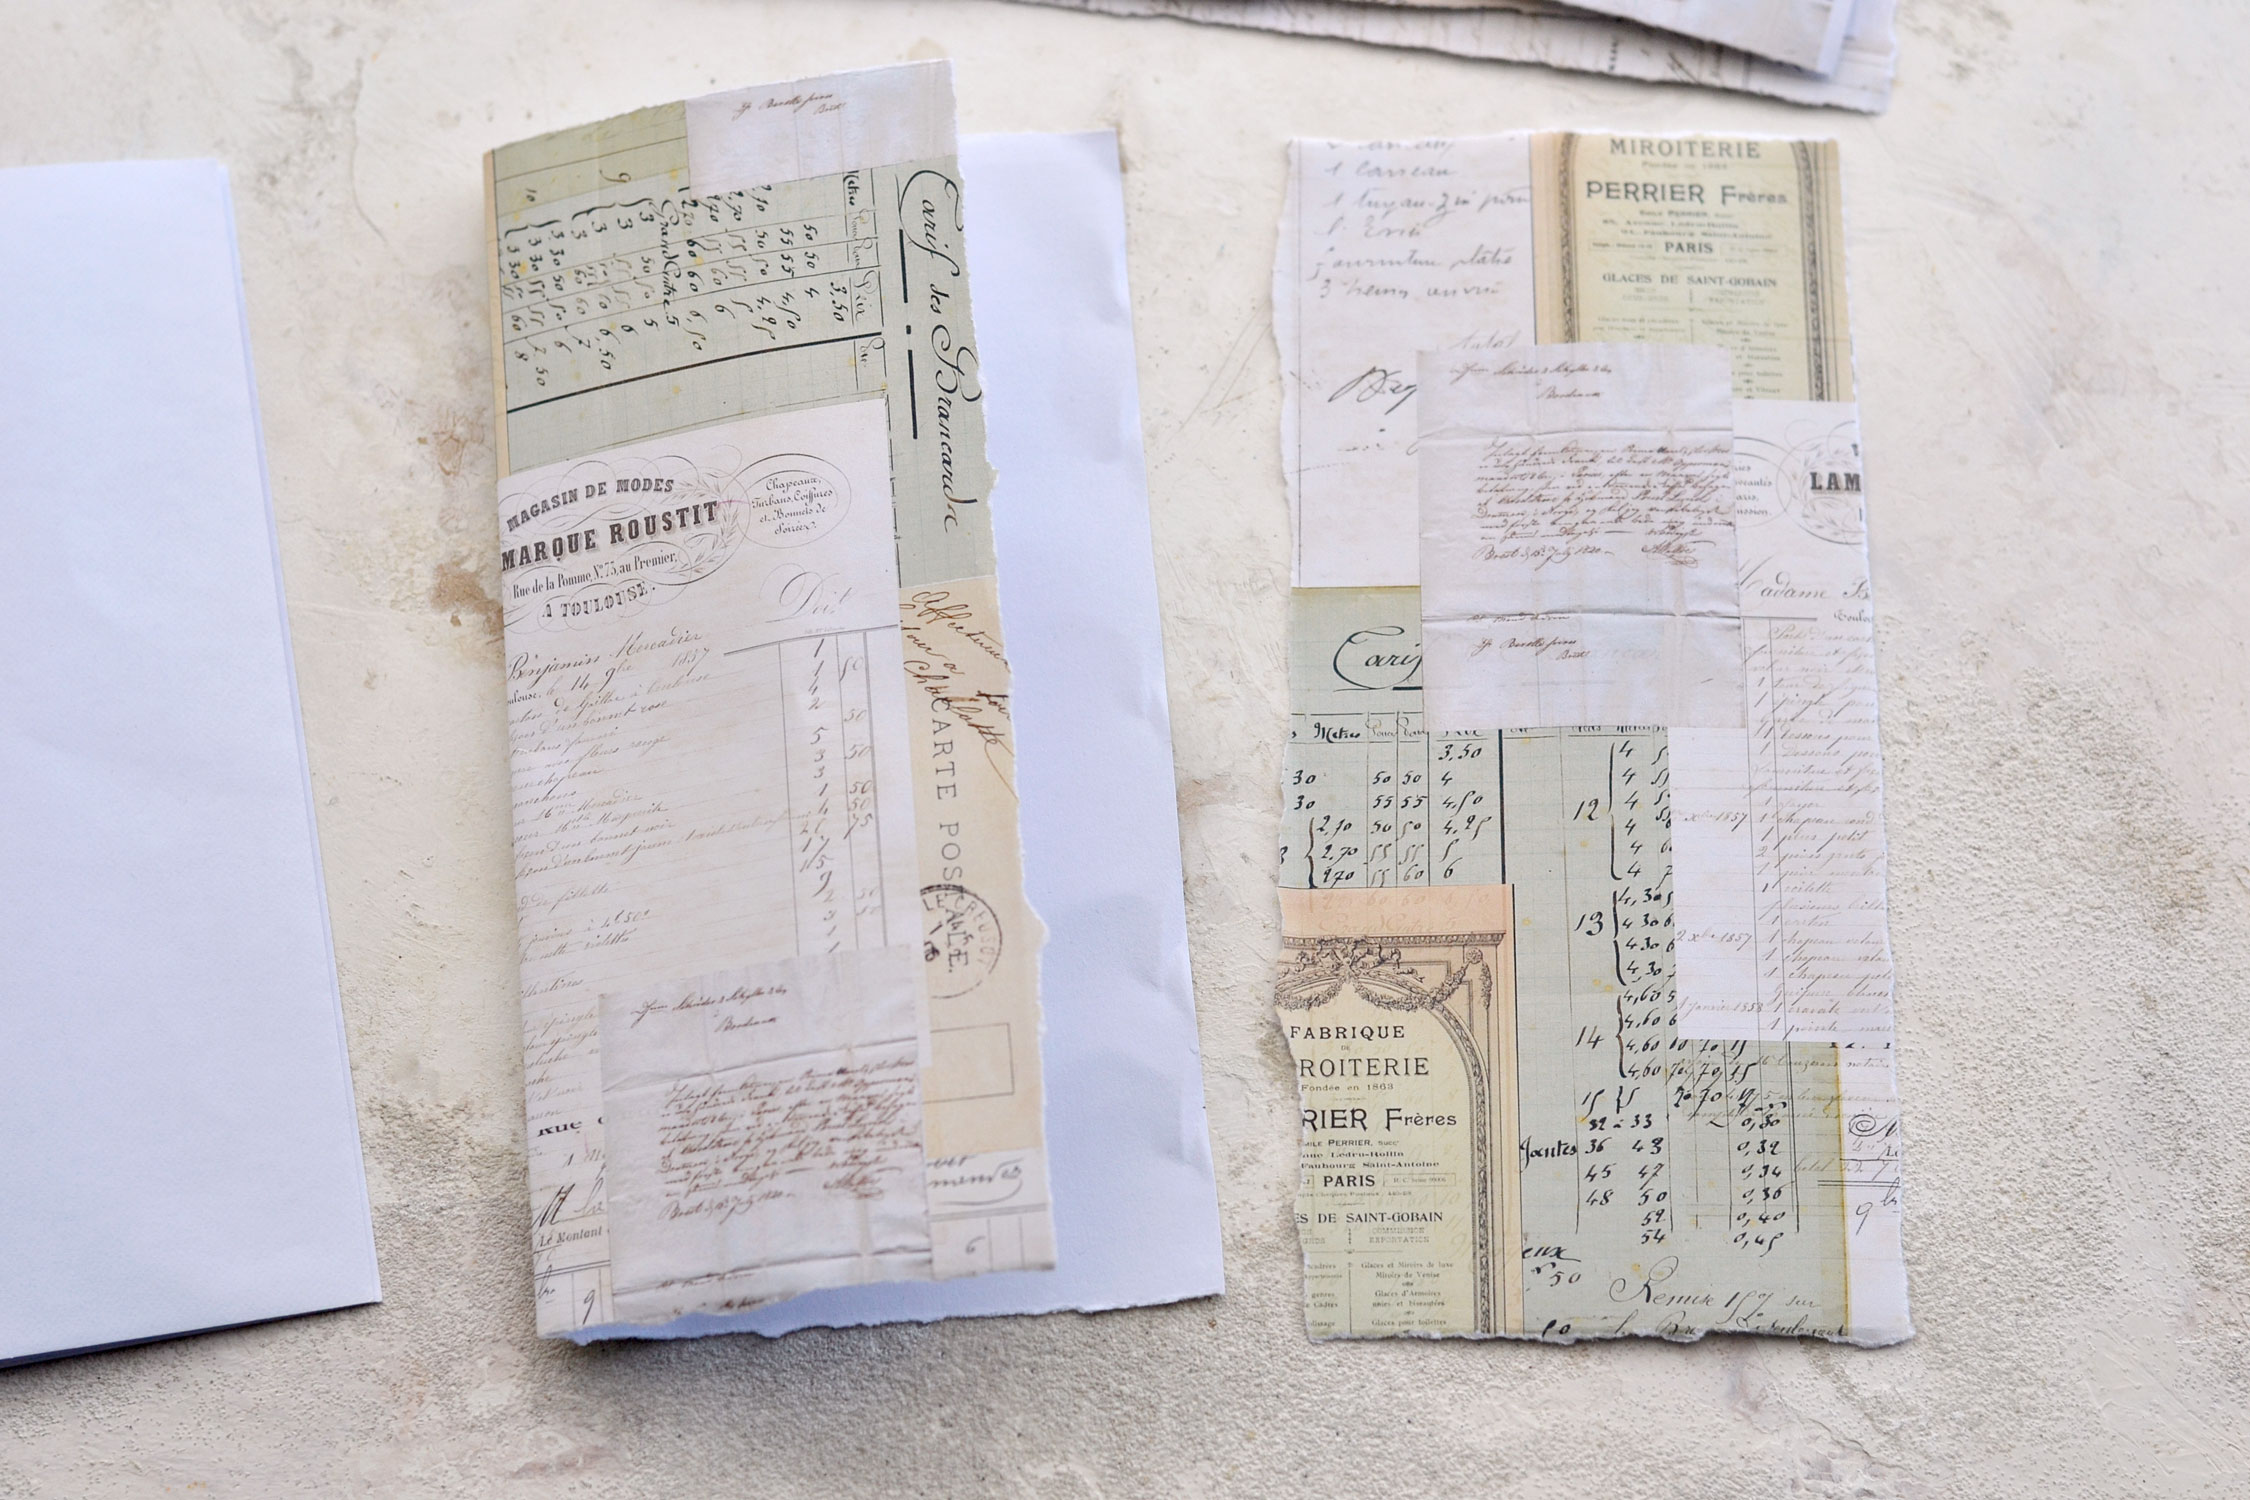
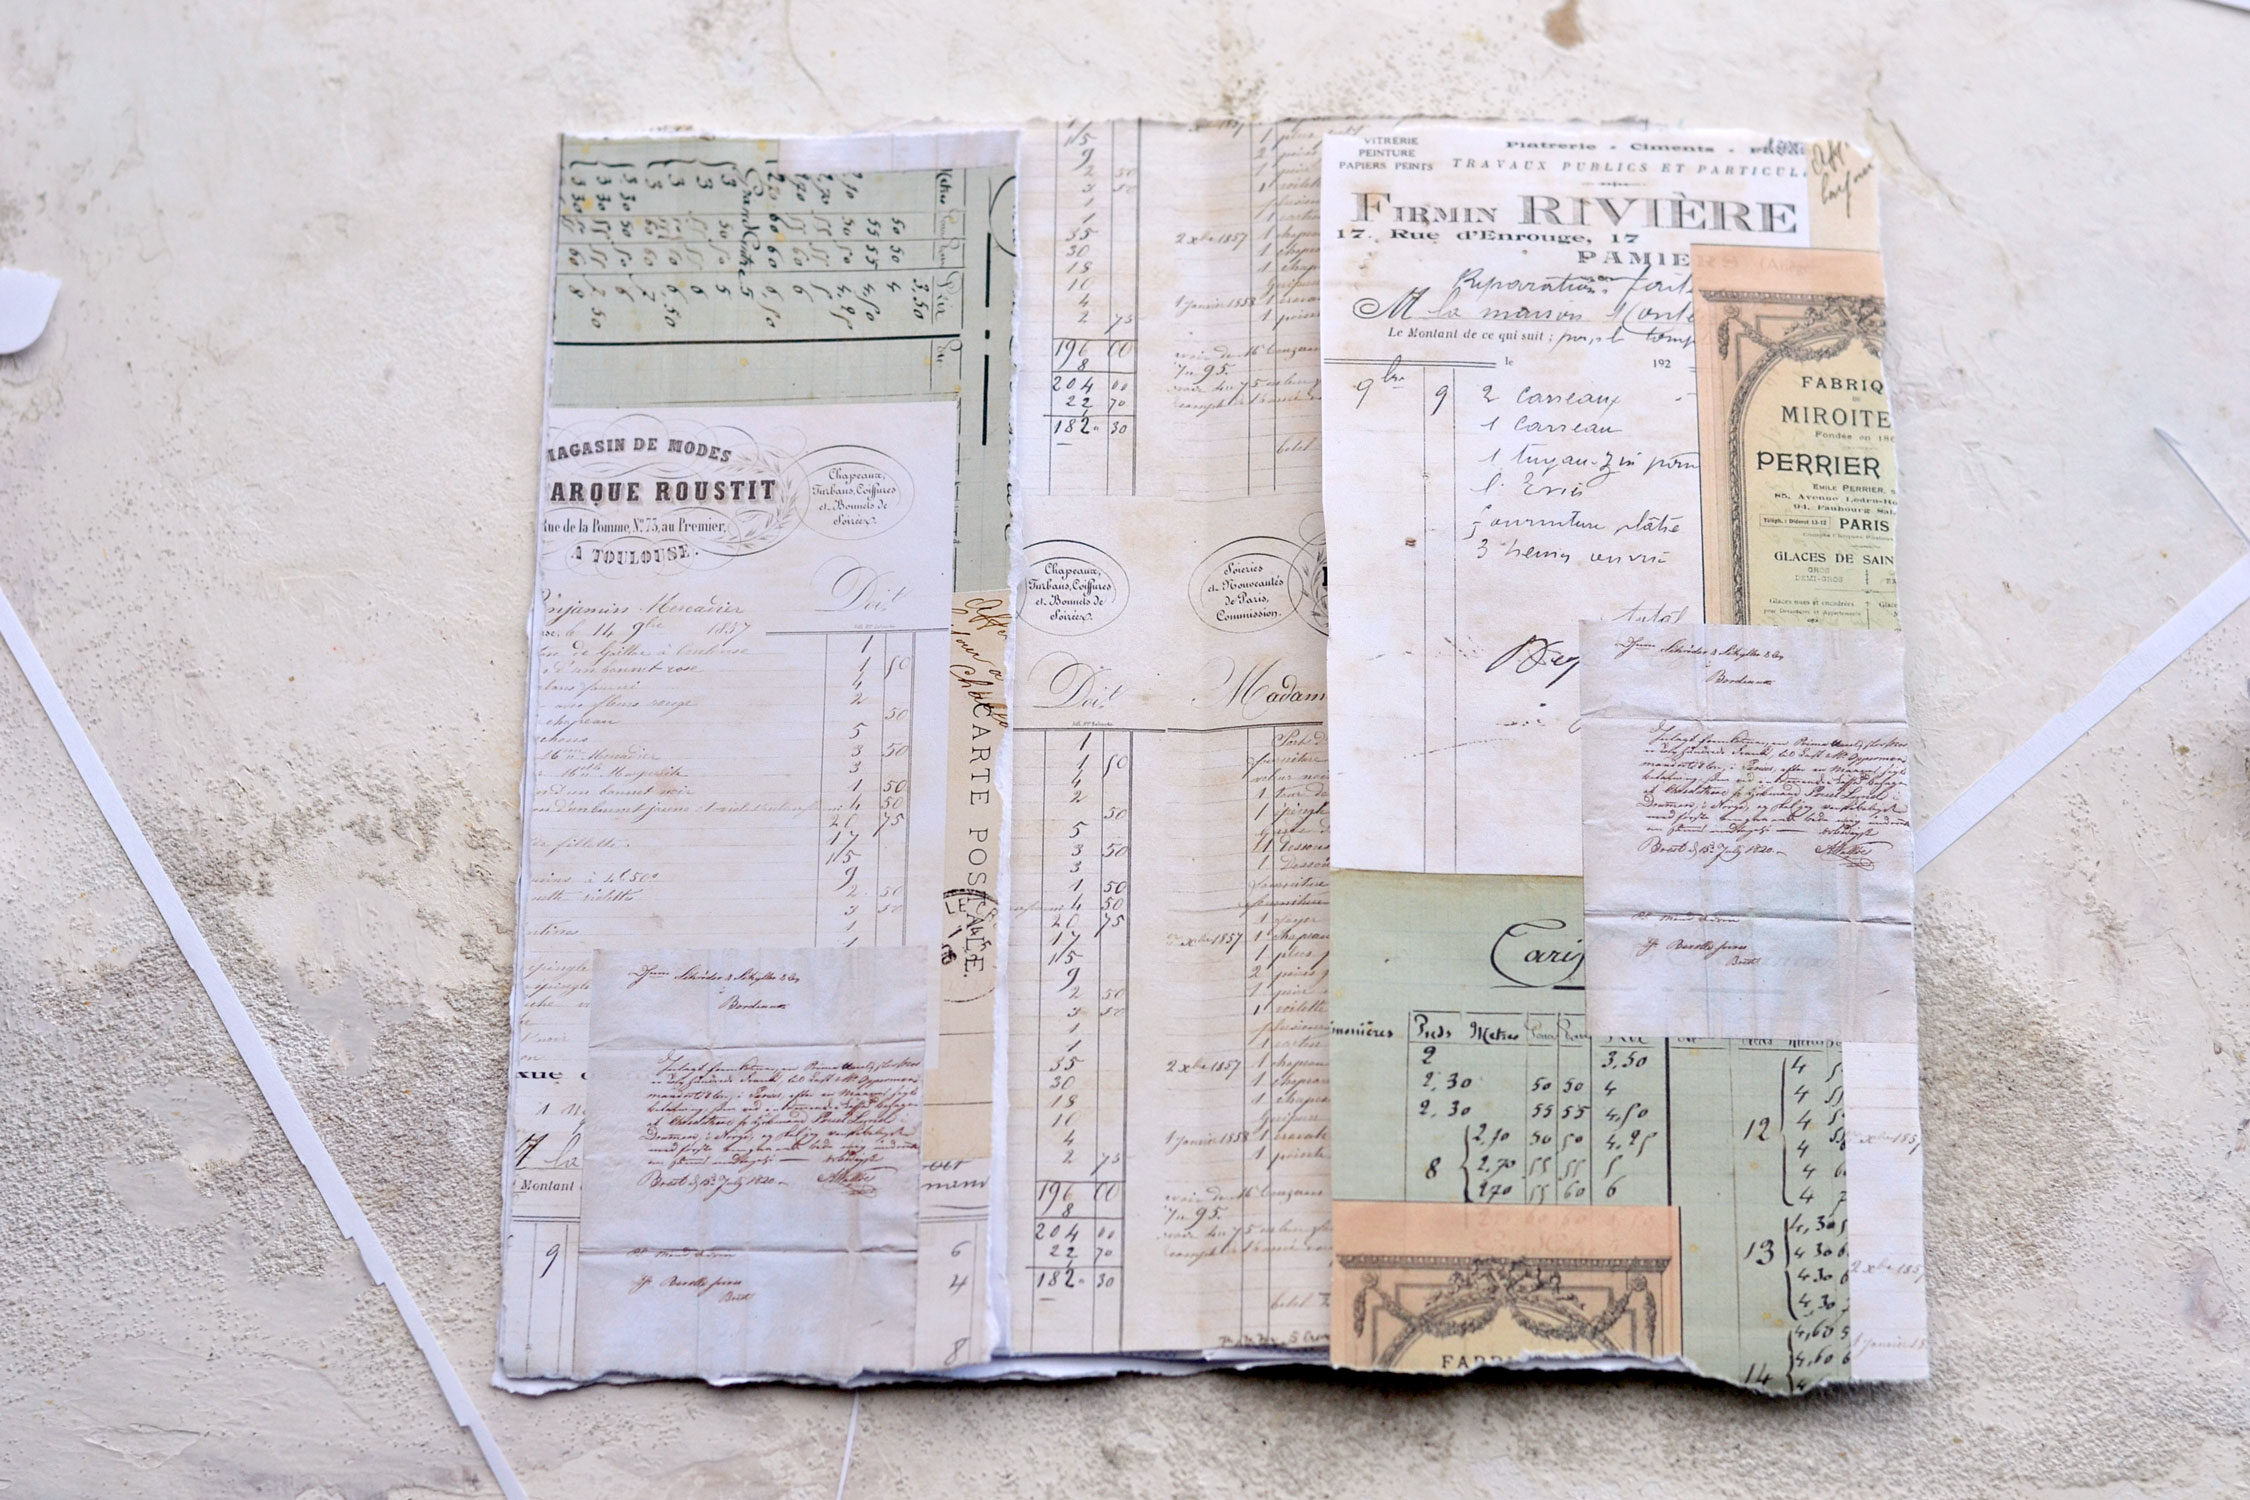
I first tore two pieces to cover the left and right sides, our large pockets, leaving the top unglued.
And then I used some scrap pieces of ephemera (printed on regular paper) to also decorate the pockets inside. You can use any scrap piece of paper you have around, even kraft paper or old dictionary pages will work here.
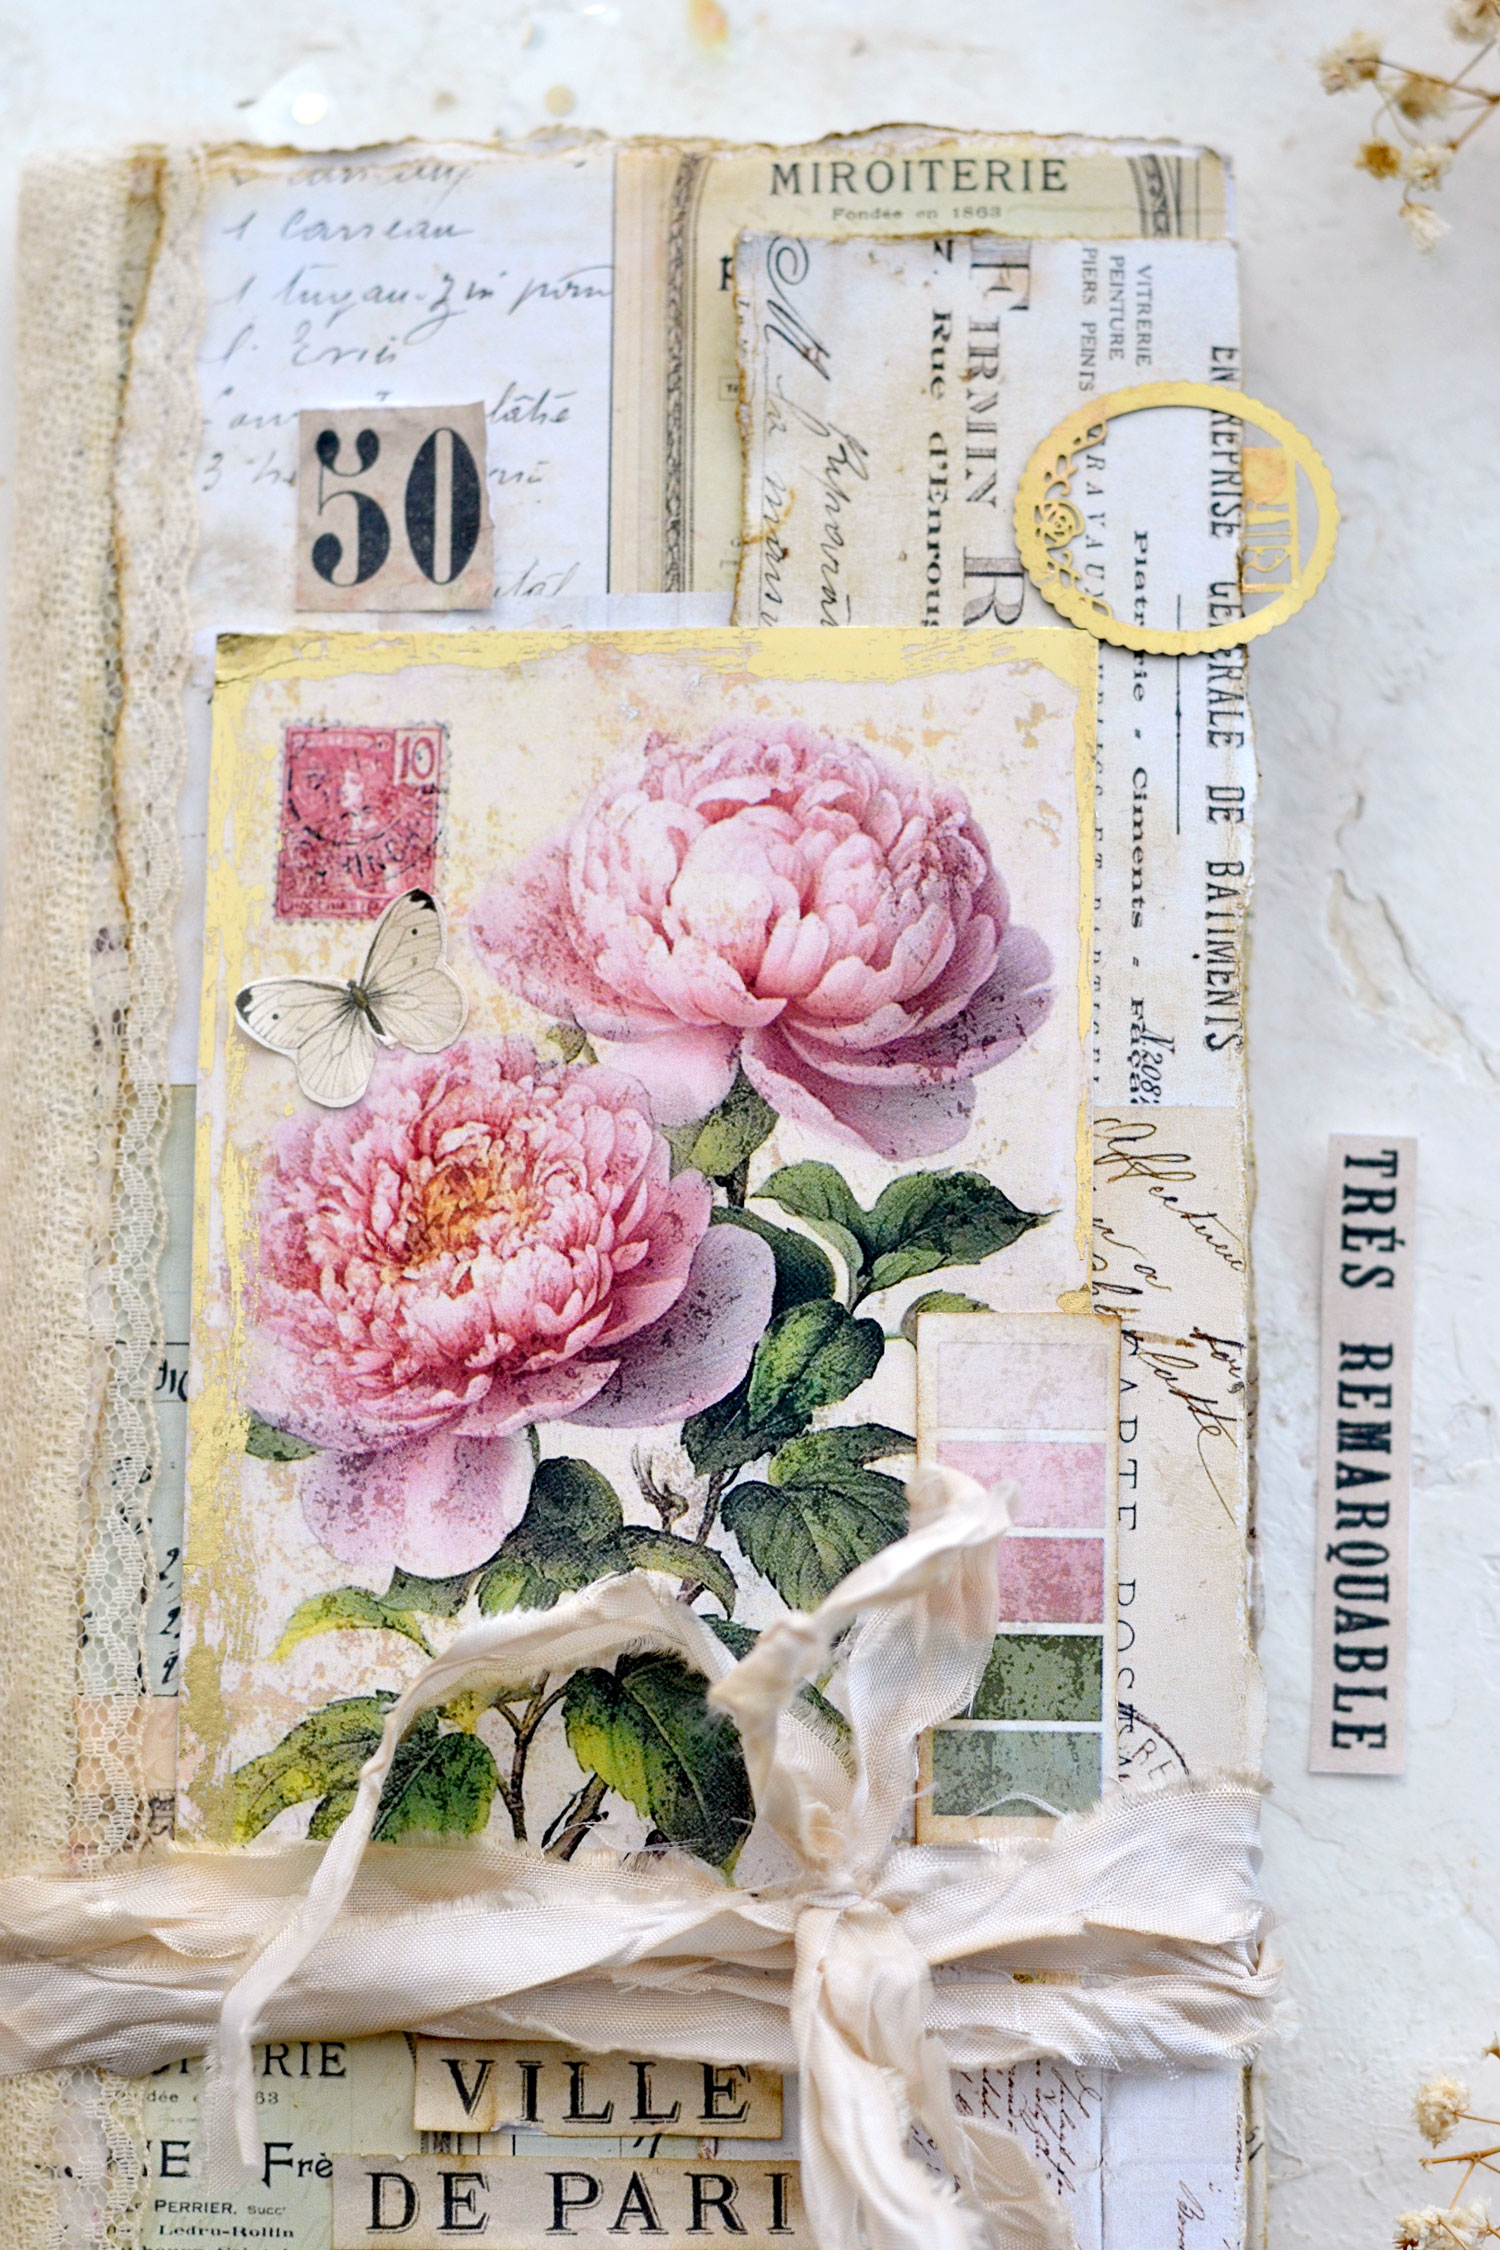
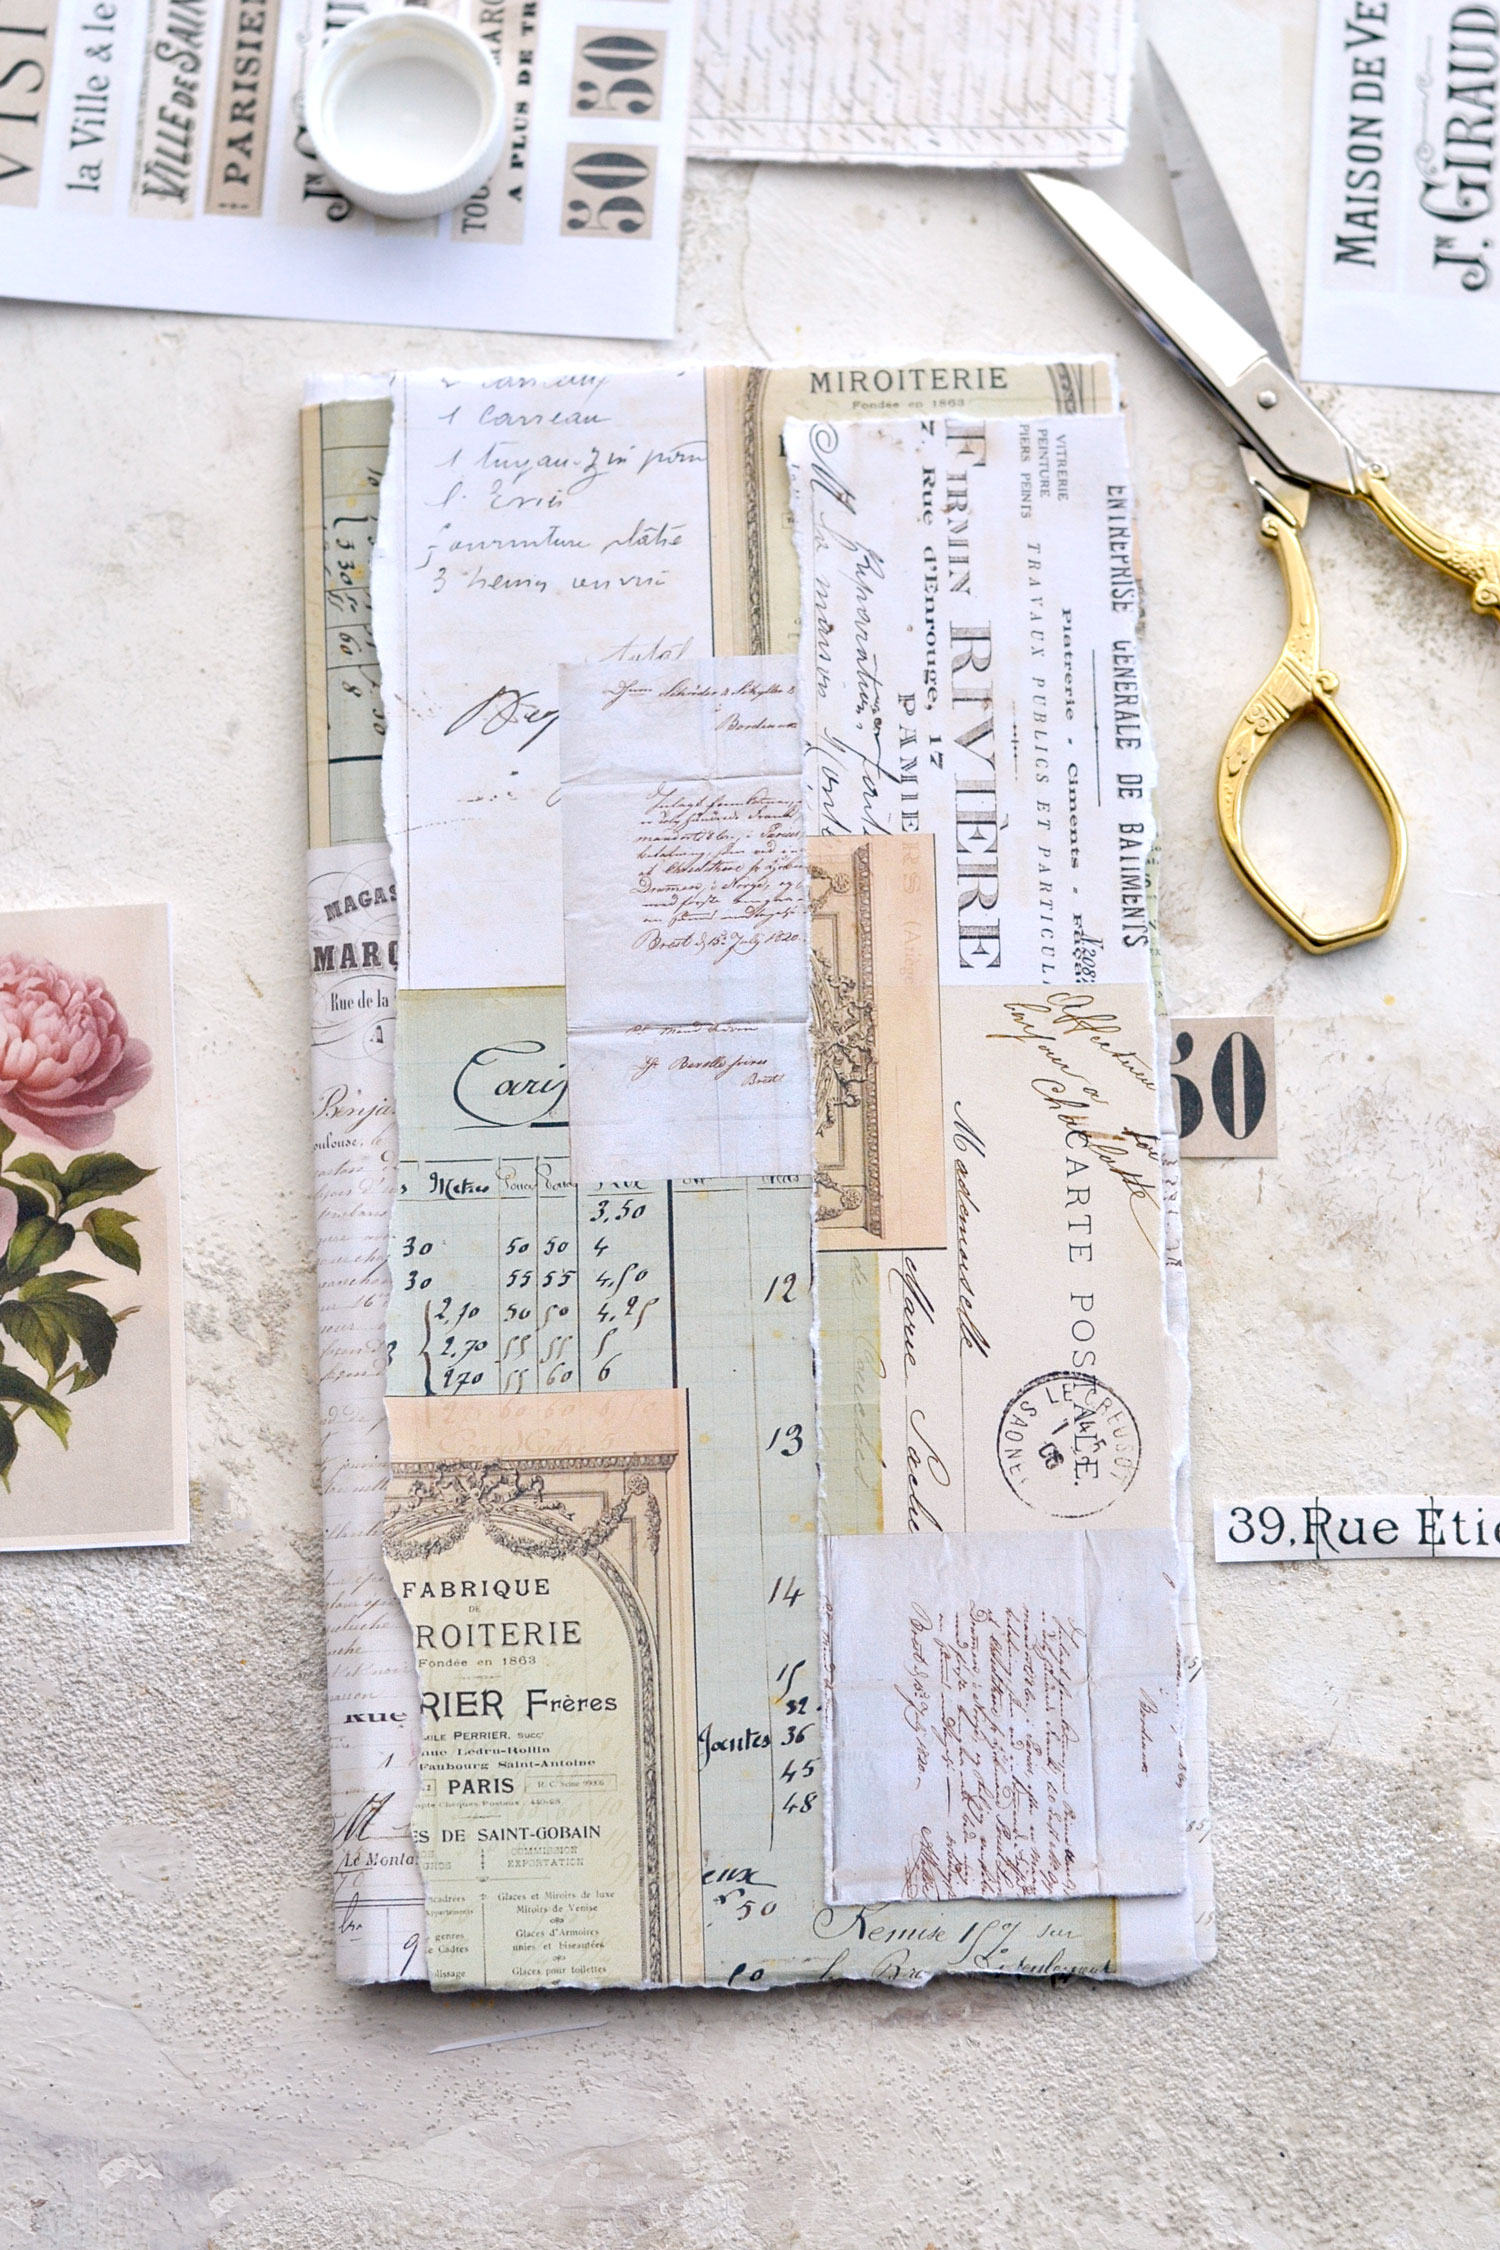
Moving on to the top cover again. If you take a closer look you will notice that I also added another torn piece from our French background on the right side of my cover, but this time I placed it with the writing on the vertical to create more interest. Don’t forget to use distress ink to distress the French background covers and give the paper even more of a vintage vibe.
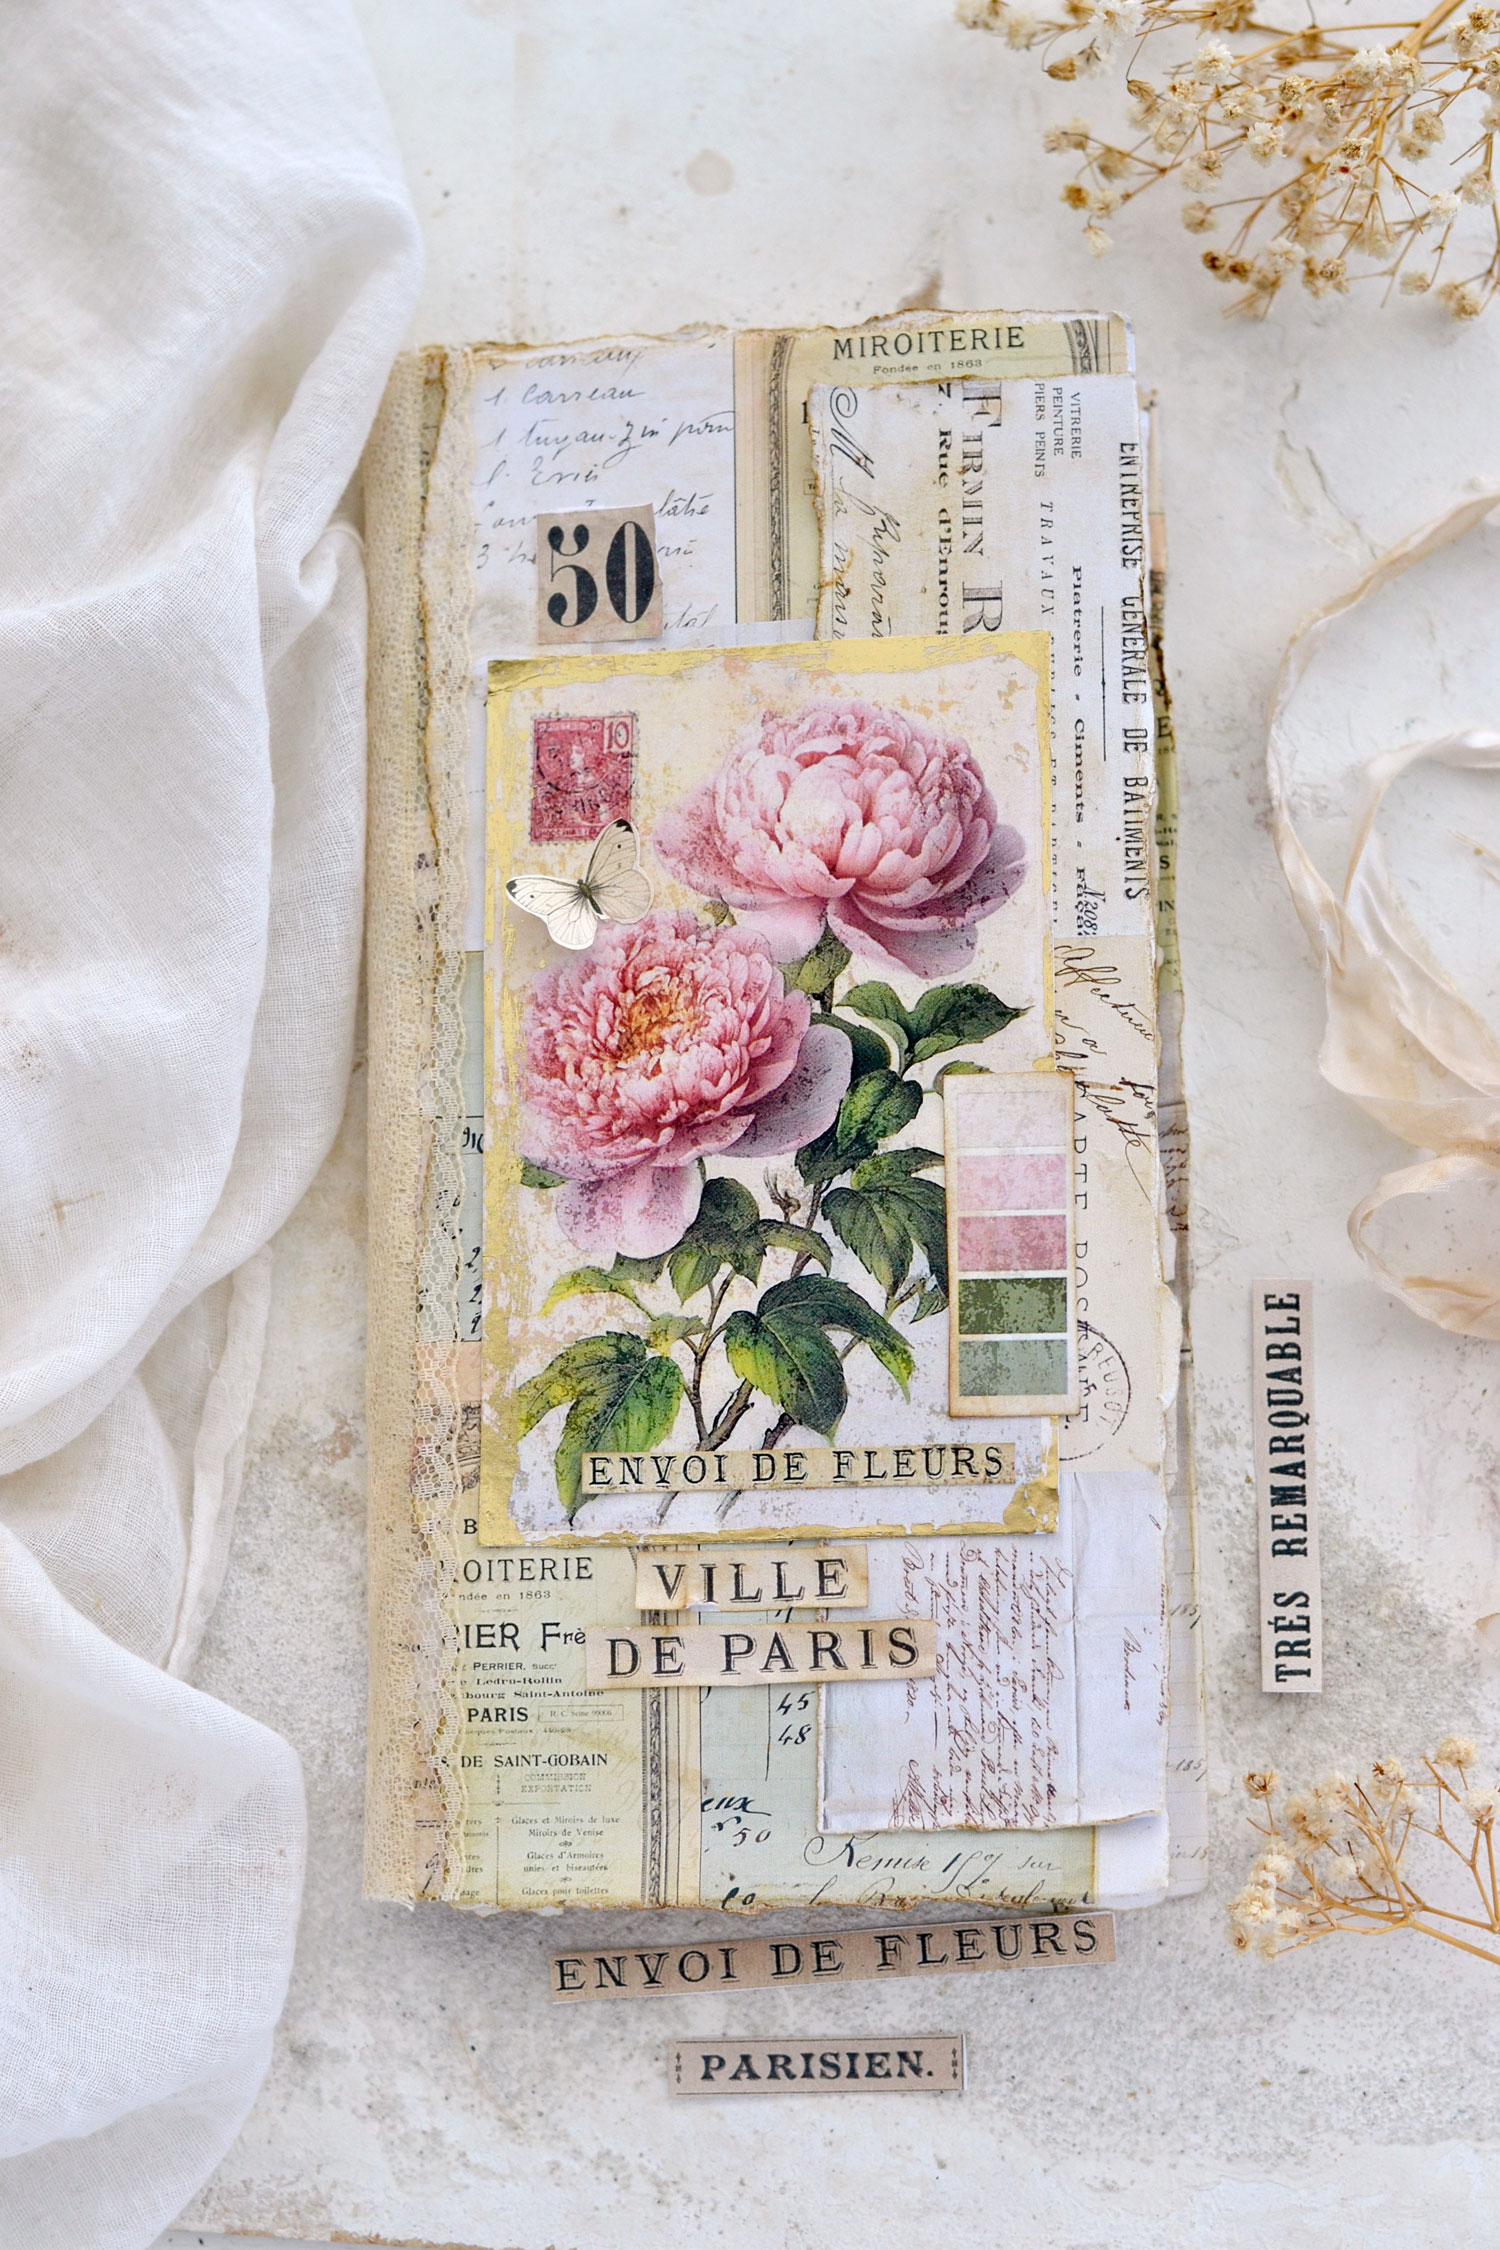
And then it’s time to further decorate the cover and add the focal point image according to your preferences … or your inspiration for the moment. Use gold foil, gold wax, gold acrylics or gold watercolors to decorate the edges of our gorgeous peony image before adding it to your cover. This step will make it pop even more and will add more elegance and charm to this beauty. You can also add one of the beautiful color swatches that I included in the printable.
Depending on how you are planning to add the inserts to your junk journal, you can further decide to decorate the spine or leave it as it is. I used a hole paper punch to punch holes into all my inserts and the covers and then I simply sew them all together using a cream crochet thread. Easy peasy!
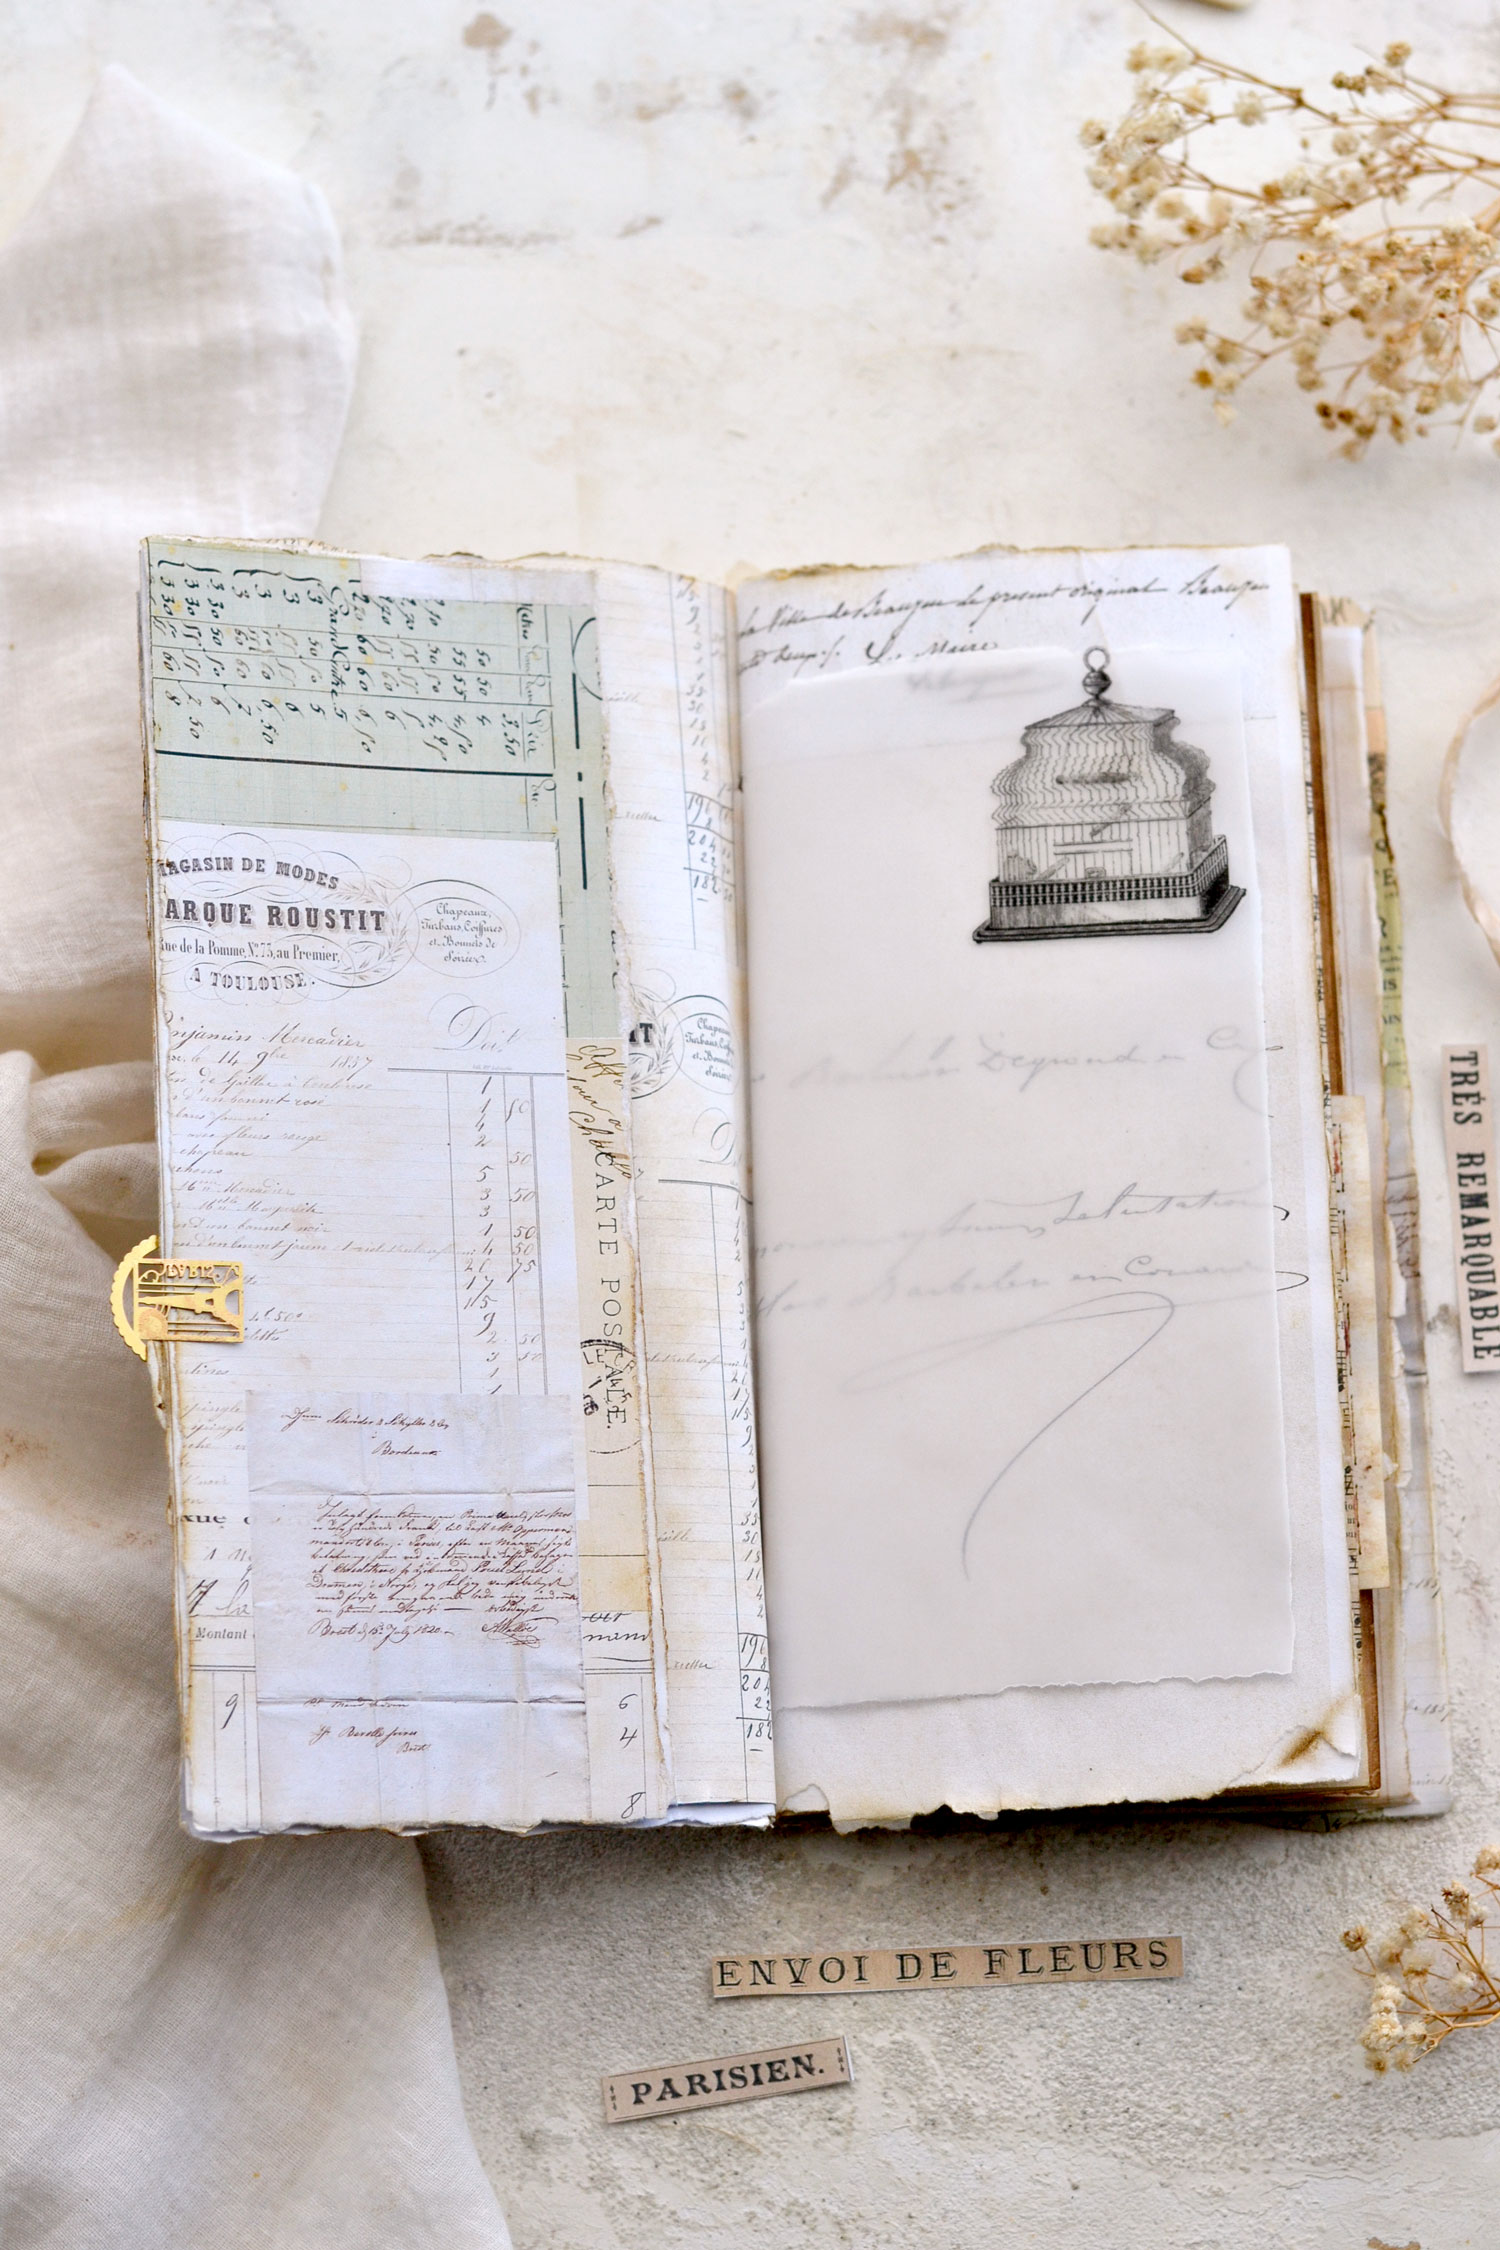
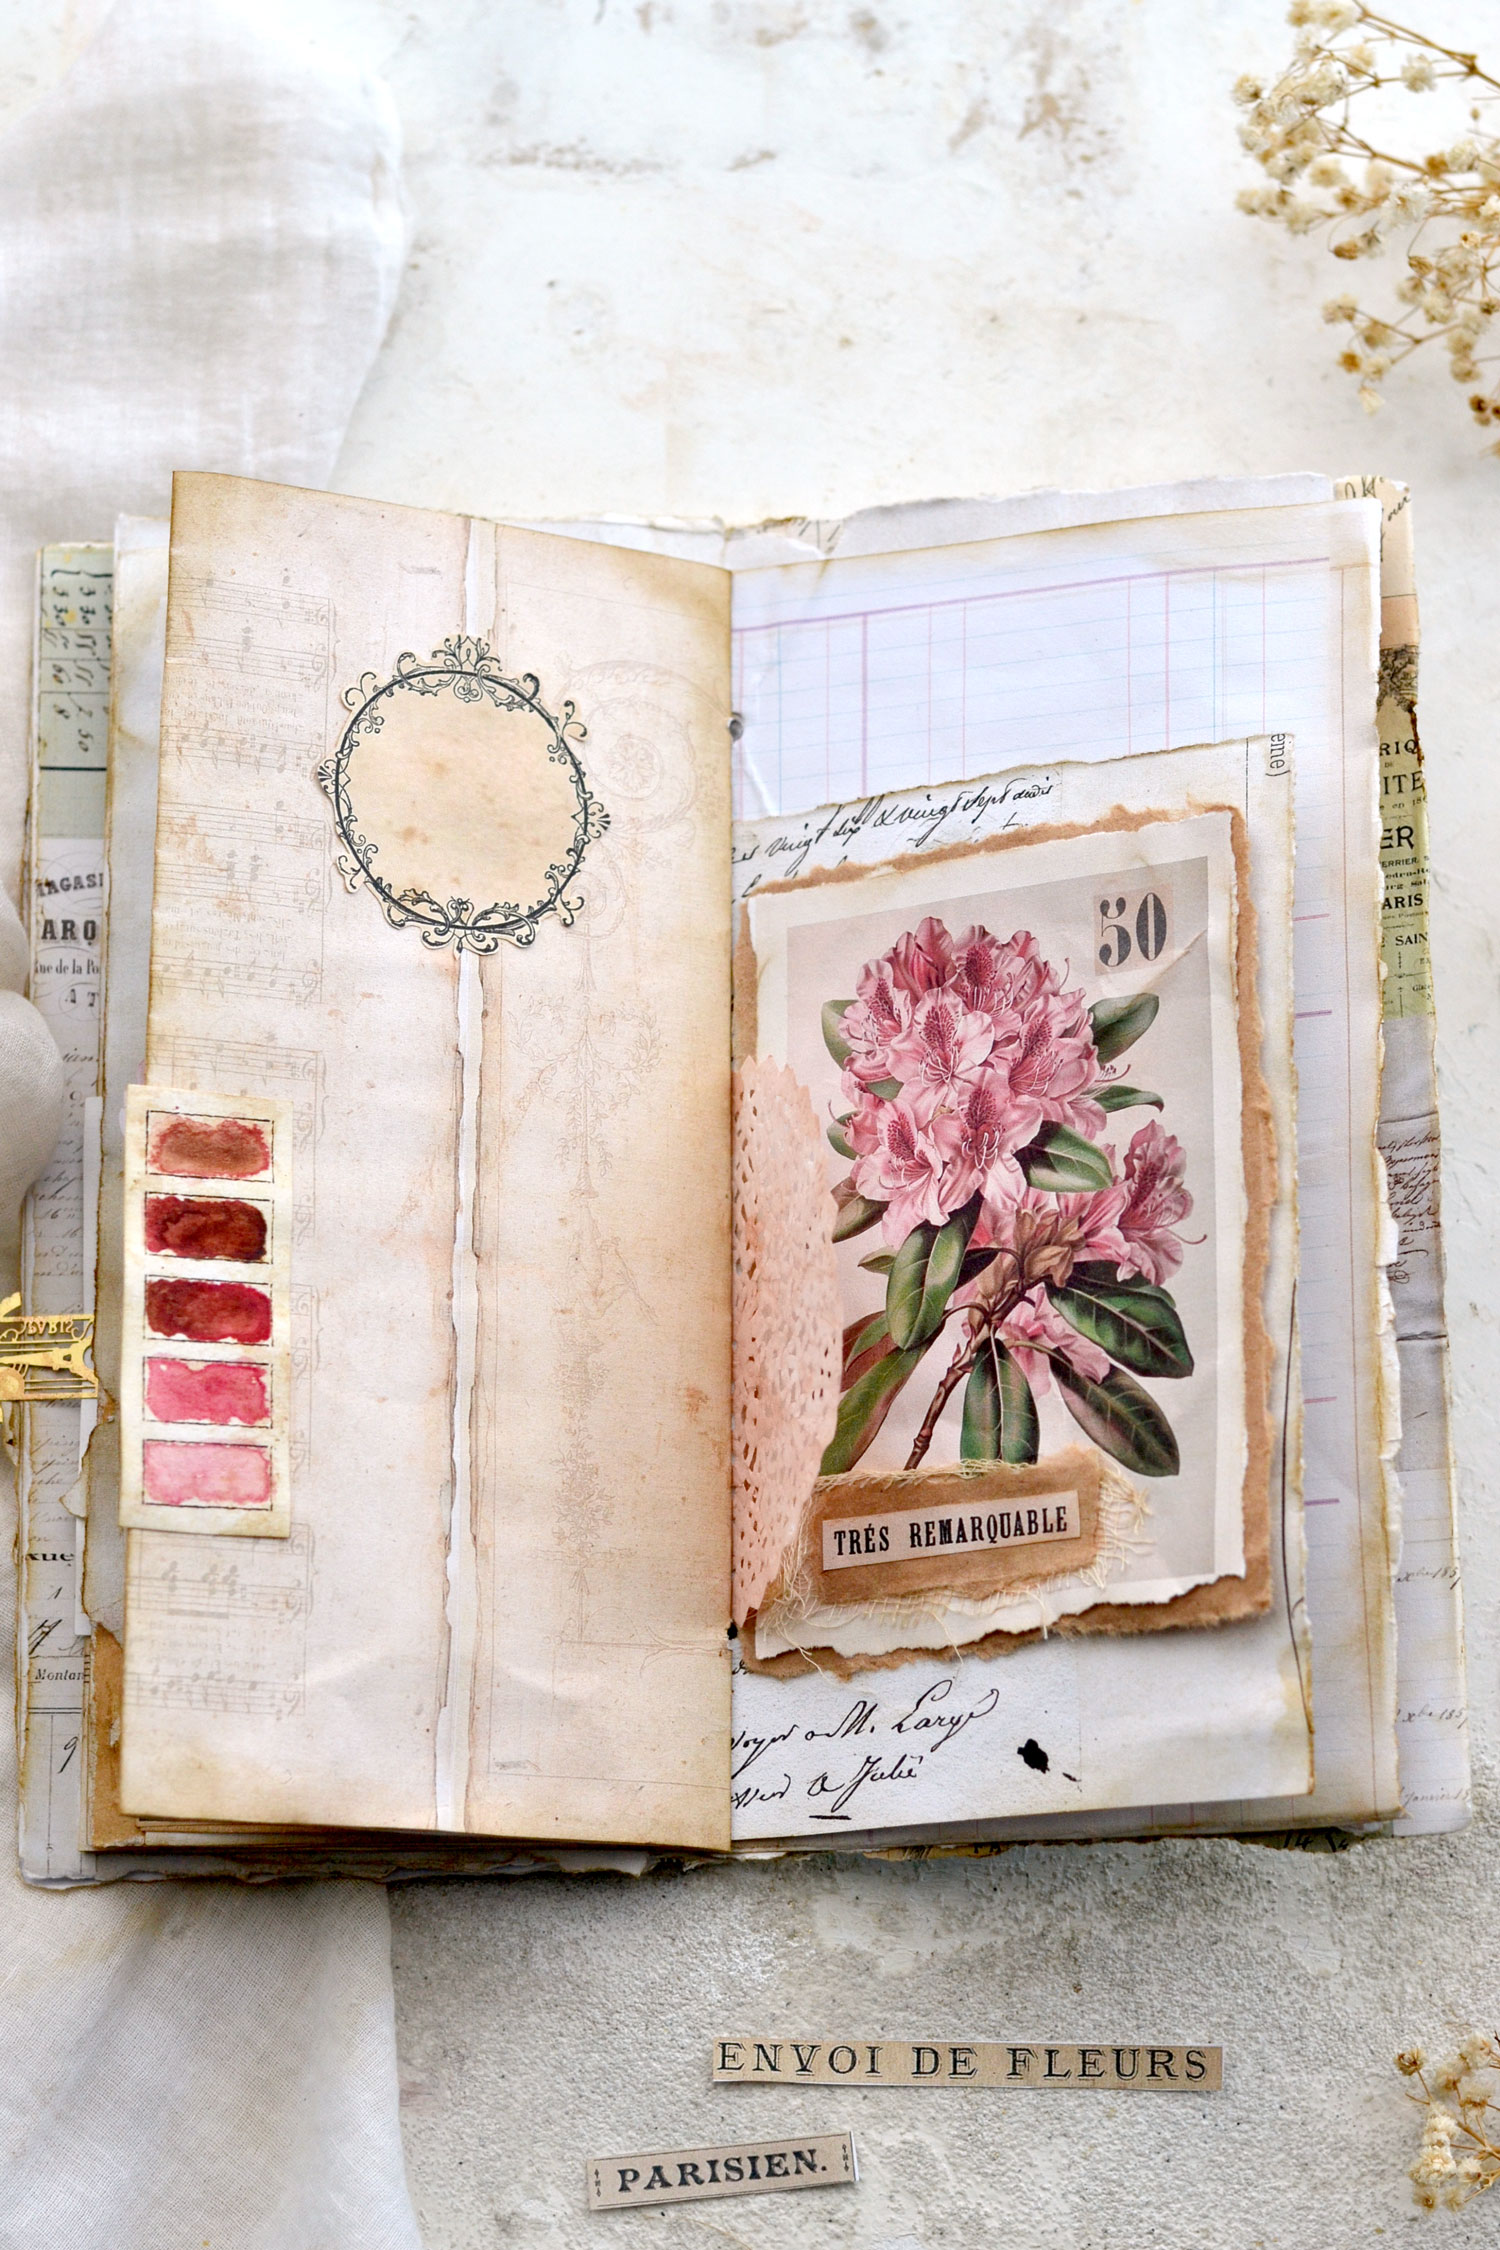
And speaking of the inserts, you can get as creative as you want in deciding what to include inside! But just to give you an idea, you can use regular paper printed on one side or on both sides, coffee or tea distressed paper, sheet music, script pages, dictionary pages, French invoices or other ephemera, there are so many possibilities here! Use different sizes and choose white, cream, avocado pink or coffee brown dyed pages to keep things universal but also to create variation. I also love including tracing paper to add some delicate sheerness here and there.
You can also find inspiration in my other projects, I love including these black and white stickers, these vintage flower stickers or these bee glitter stickers inside. You can also try including faux postage stamps, bird and flower tickets and even these lovely watercolor swatches. And let’s not forget these beautiful junk journal tab embellishments that will add so much charm to your pages.
P.S. If you want to take things to the next level, you can learn how to actually design your own junk journal pages using a Photoshop Elements tutorial that I shared on the Premium site not too long ago. I’m also sharing quite a few finished pages there, so if you are a member you can just save them on your computer and print them as many times as you want!
Then I closed the journal and used Mod Podge to glue a long strip of fabric on the spine and even added some coffee-dyed lace on top.
You can use crinkle ribbons or some delicate lace that will serve a double purpose here: to better hold everything in place but also to create a visually appealing effect that will add more charm to your cover, but also to the overall appearance of your junk journal. They all look amazing together, don’t you think?
Don’t forget to add a few French ephemera cutouts here and there, then use the other ones to decorate the inside pages or include them in all sorts of other lovely crafts! I hope you’ll love this project and decide to give it a try, making s super chic French ephemera junk journal cover has never been easier!
 You might also like these French Floral Journal Tags HERE or these DIY Junk Journal Embellishments HERE.
Happy crafting,
Diana / Dreams Factory




Karen Bright says
I love this idea and can’t wait to try it!! I think the idea of a small, really cute journal is so great. Quickly made and really beautiful. I am loving this French Vintage vibe! Also – I really like those circle paper clips. Anyway thanks, as always for you great ideas!
Karen Watson says
Thank you Karen! Have fun making this pretty Journal!