How to Make Stickers
Hello, I’m Diana from Dreams Factory and I’m back with our monthly project! Today I’m going to show you how to use some Aesthetic stickers Printables to make the most amazing vintage stickers! We are diving into the world of sticker making with 3 different types of paper and a few other variations that will help you become … an expert! I created three different free printables, with over 100 different sized stickers! That might seem like a lot of pieces, but trust me, you will love (and need) them all!
I created these vintage stickers having a planner in mind, but they can also be used on any other objects that need a little bit of makeover. You know how much I love making my printables ‘universal’, so feel free to use these on other projects as well.
I started a bullet journal recently (best decision ever, will tell you more on my blog soon) that combines the need of organizing / planning with the need of getting creative in a perfect way. The thing with planners or journals is that you have to find THE ONE that works best for you, the one that you can easily adapt to your needs.
And speaking of journals, I also loved following the junk journal series here on The Graphics Fairy, people find such unique ways of expressing themselves, once they unleash their creativity and put their minds (and hearts) to work!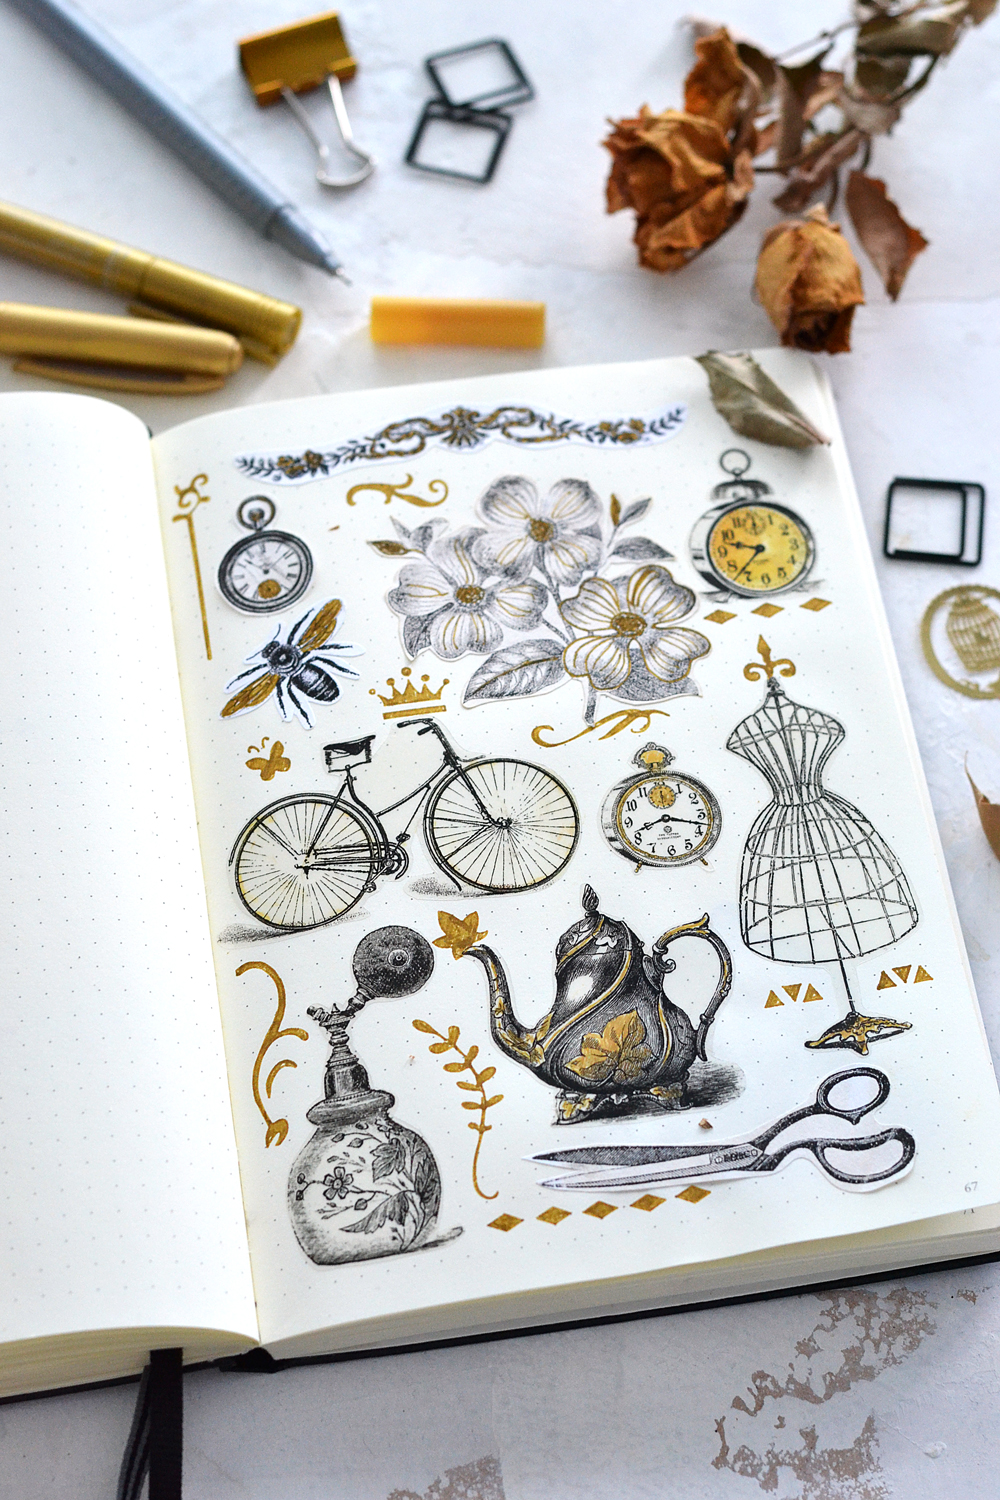
I used to buy stickers, but once the powerful world of DIY projects opened up for me, I found them somehow limited and they only left me wanting more … or wanting something else.
I wanted to learn how to make my own stickers. So based on my needs (and hopefully your needs), I decided to figure it out! I picked some of my favorite vintage images from The Graphics Fairy and structured them into three different categories.
• objects
• botanicals
• dividers and embellishments
Aesthetic Stickers Printables
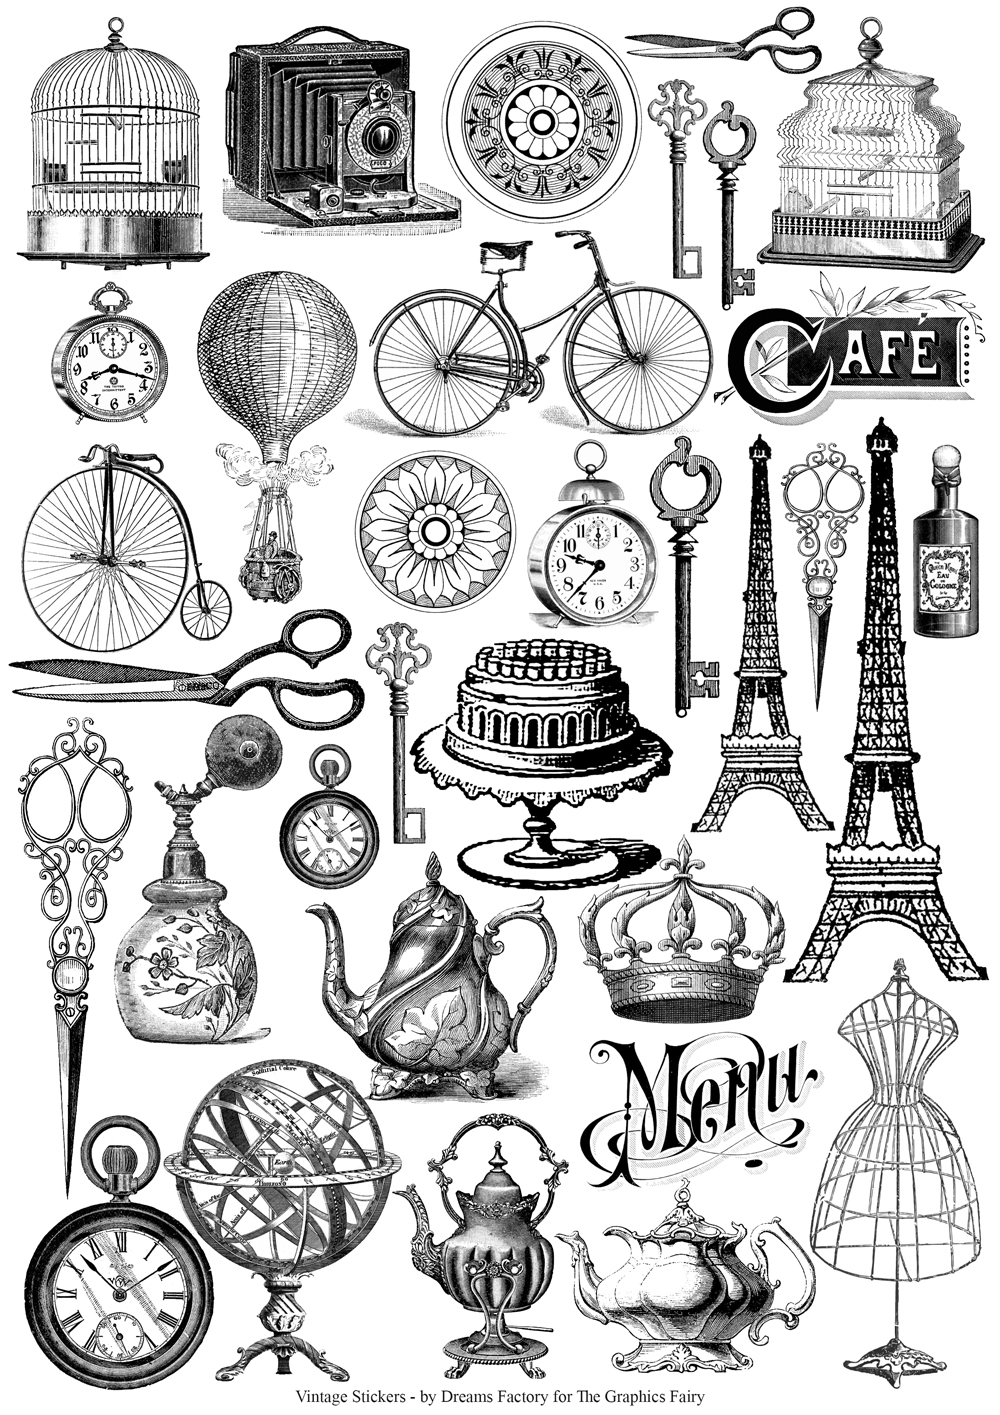
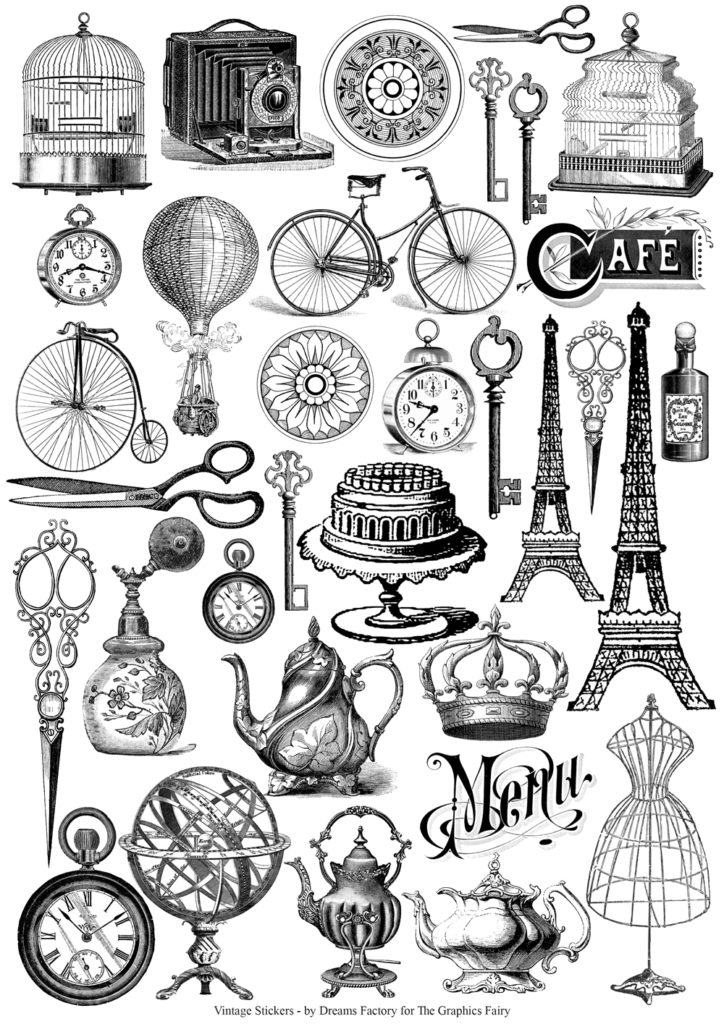
- The ‘object’ category
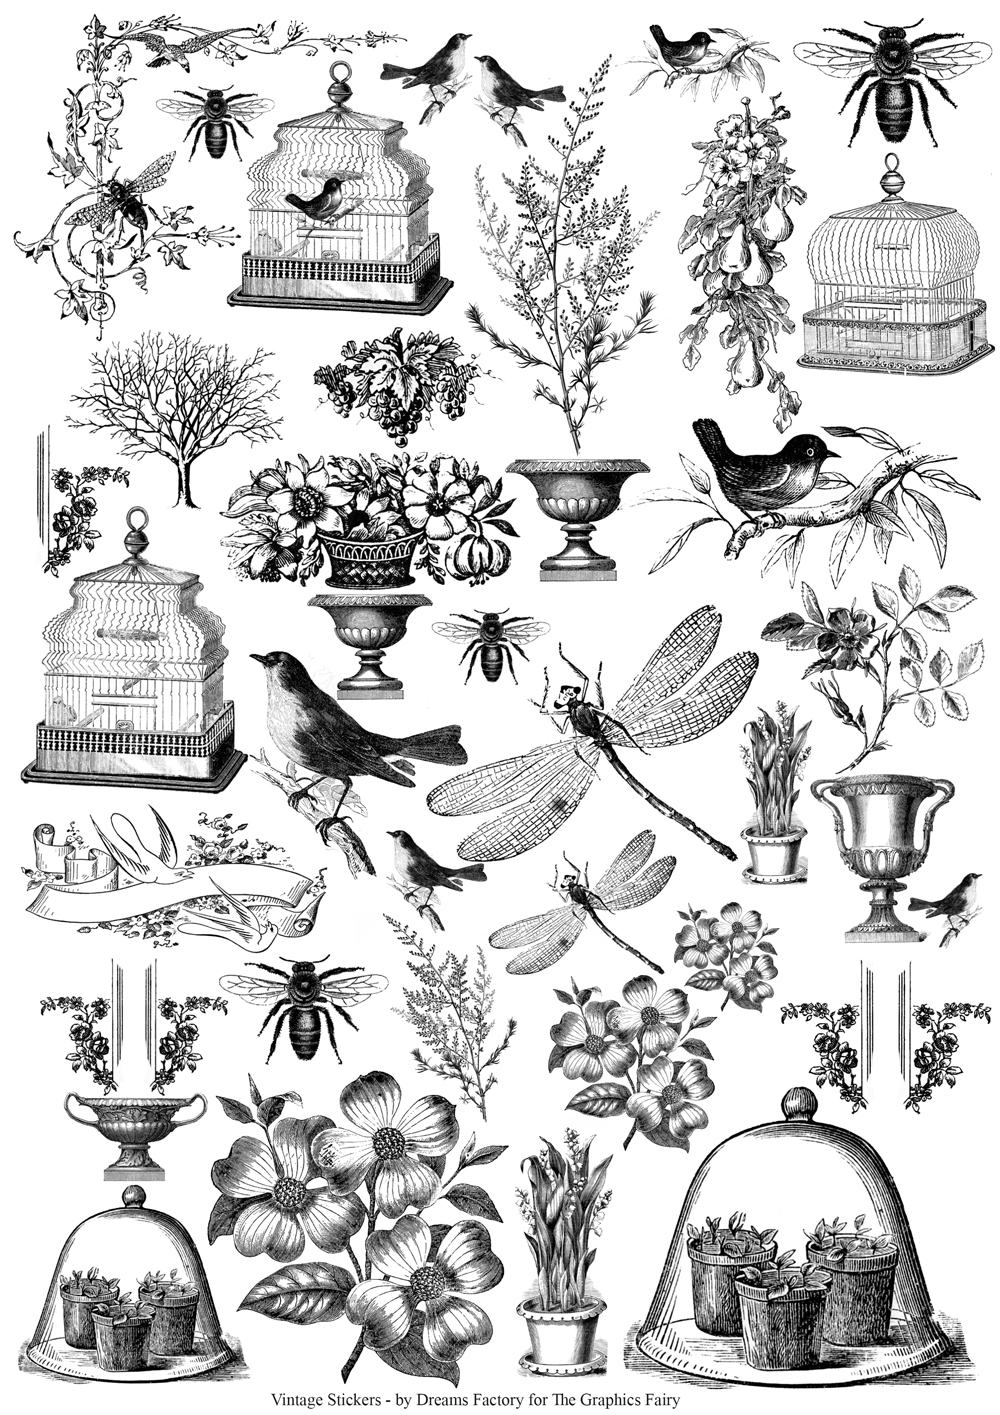
- The ‘botanical’ category
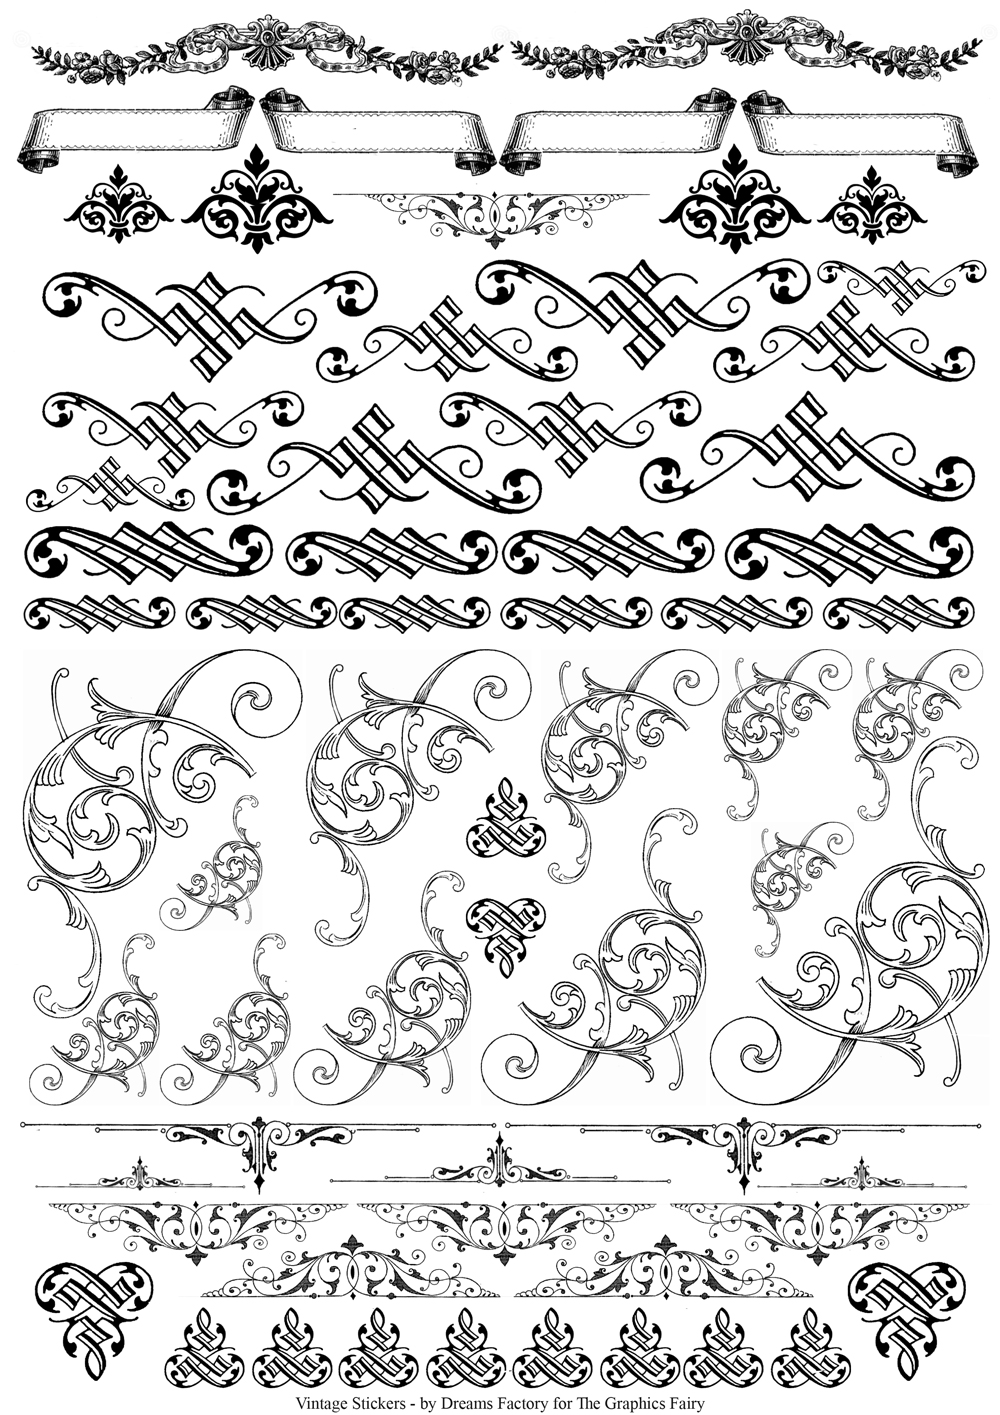
- The ‘dividers and embellishments’ category
—-> Click HERE to Download the Full Size Printable PDF <—-
And in case you are wondering why I only chose black and white images for today, here are my main reasons:
- they are highly adaptable
- they can be stained with coffee (and even with this secret ingredient)
- they can be easily transformed into ‘coloring pages’ stickers if using markers, colored pencils or even watercolors or acrylic paint – if you want to completely color the images or highlight some of the details
Aesthetic Stickers Supplies:
- clear sticker paper
- white sticker paper
- regular white paper
- inkjet or laserjet printer
- scissors
- coffee
- brushes
- paper towels
- a brush
- Mod Podge
NOTE 1: I ordered the clear and the white sticker paper online in my country (I live in Romania) but I’ve also seen them in craft stores. The products from Avery that I found on Amazon have great reviews and will just give you a starting point -but I haven’t actually used them myself.
NOTE 2: You will find online universal sticker paper, but you will also find sticker paper made especially for inkjet or laserjet printers, make sure you check that aspect before buying.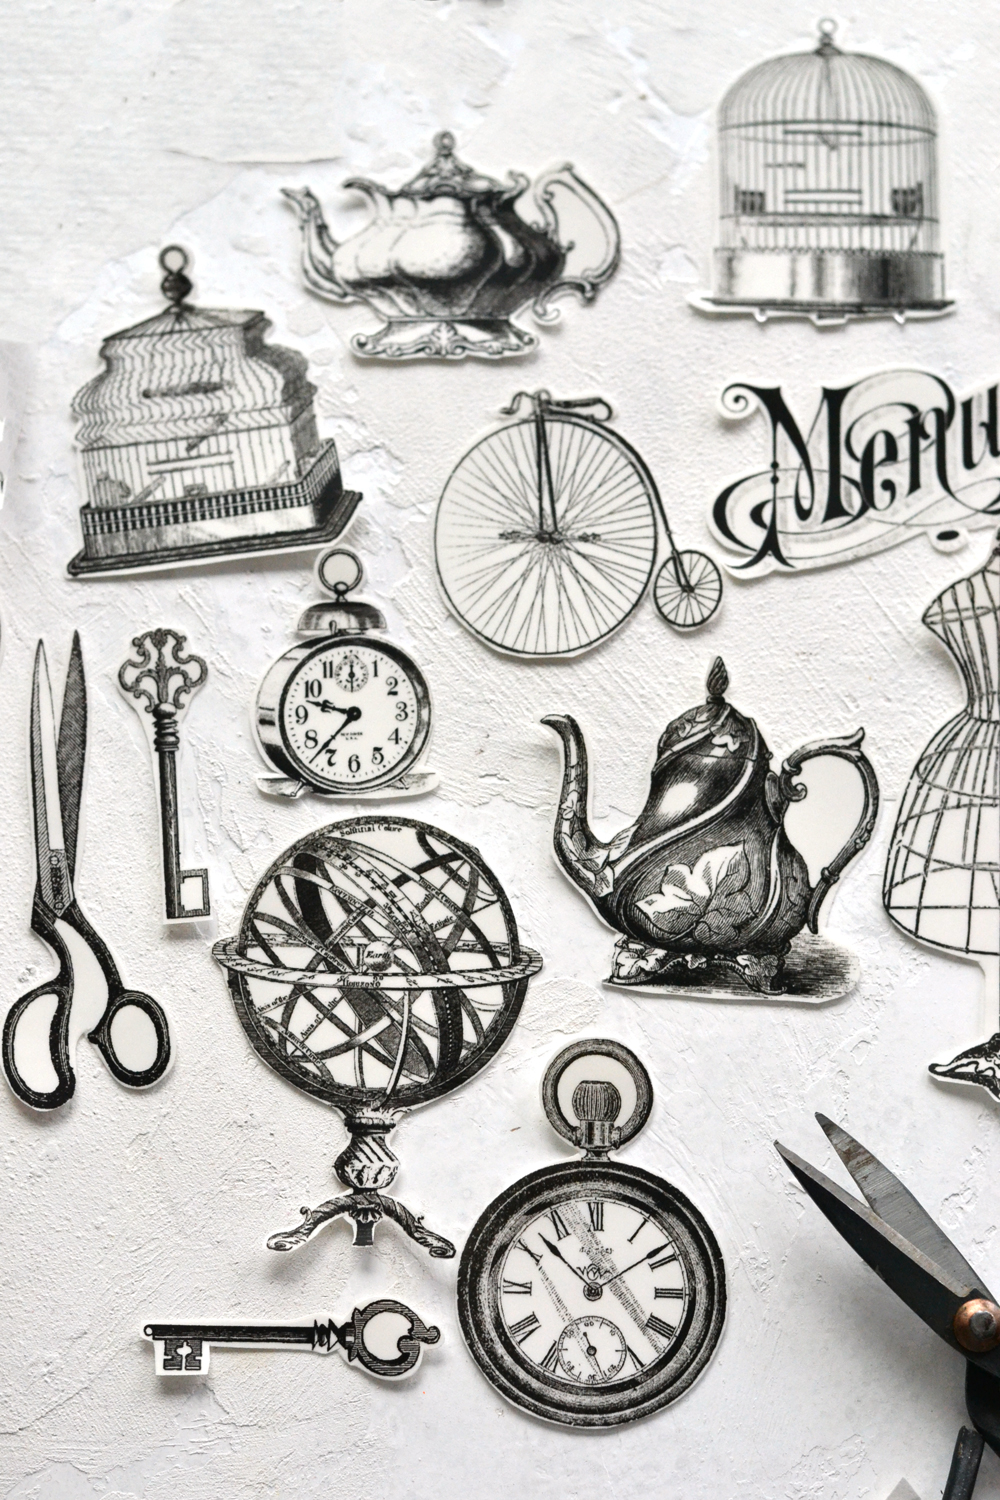
How to make stickers:
The whole experiment started with the three types of paper I mentioned in the supplies list, each having its own beauty and charm.
So we will have 3 different categories for our stickers, 3 different printables and 3 types of paper (and a few coffee stain variations) to experiment with! You will see that this will give you endless possibilities when it comes to using the stickers, but also adding your personal touches so they would perfectly fit your needs!
I used one category for each of the three types of paper for demonstrating purposes, just to give you the insights, but please keep in mind that you can print ALL the Aesthetic Stickers Printables that I created for you on ANY of the papers that I will be showing you below, with all the variations available.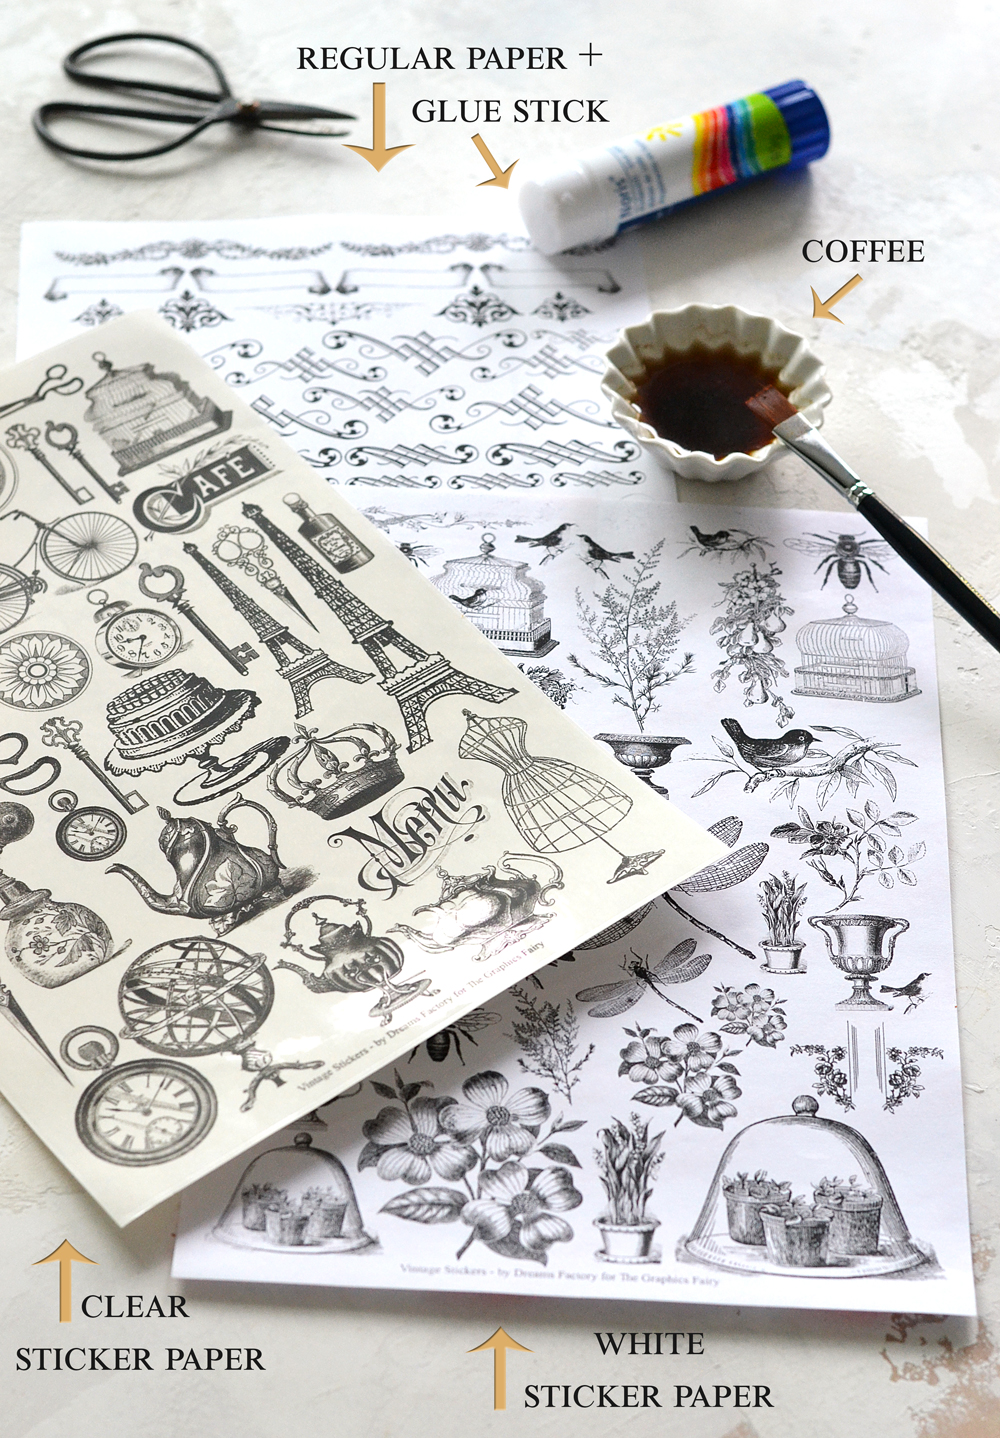
1. Clear sticker paper
The first type of paper I will be showing you today is the clear sticker paper. This is pretty much self explanatory, you will just have to print the pages out and you will have some beautiful clear stickers ready to be used when needed. I started by roughly cutting each sticker first.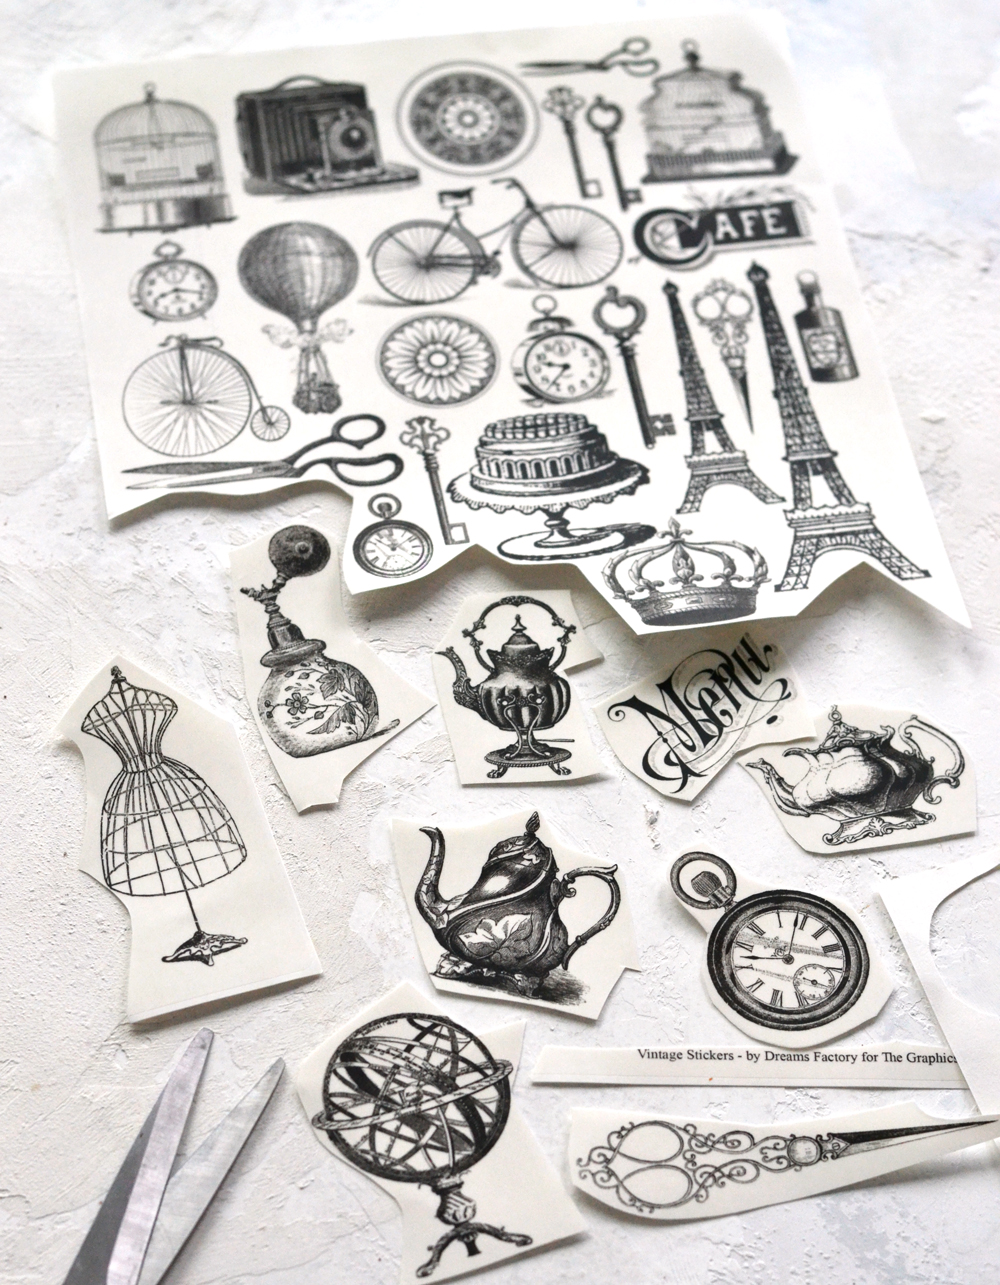
I printed the ‘object’ category on this type of paper and because each object already had a well defined silhouette, I completely removed the excess paper by cutting as close as I could to the images. I tried making rounded cuts when following the shape of each image, with an almost circular hand move on the edges, to give them a more natural feel – instead of making blunt cuts with sharp points. If the images have delicate details that somehow need a little bit of help, you can create some ‘structure’ around those specific details by leaving some uncut paper around that area. This structure will help you to better handle the stickers and without it, the whole sticker (or some parts of it) might be ruined when pealing the back paper and actually using them.
To give you an example, you can check the wire dress from the image below where you can see how I intentionally left some paper on the left and on the right side of its standing leg.
The clear sticker paper is the most adaptable if you wish, because of its clear background, and once peeled of, it will easily blend in onto any surface.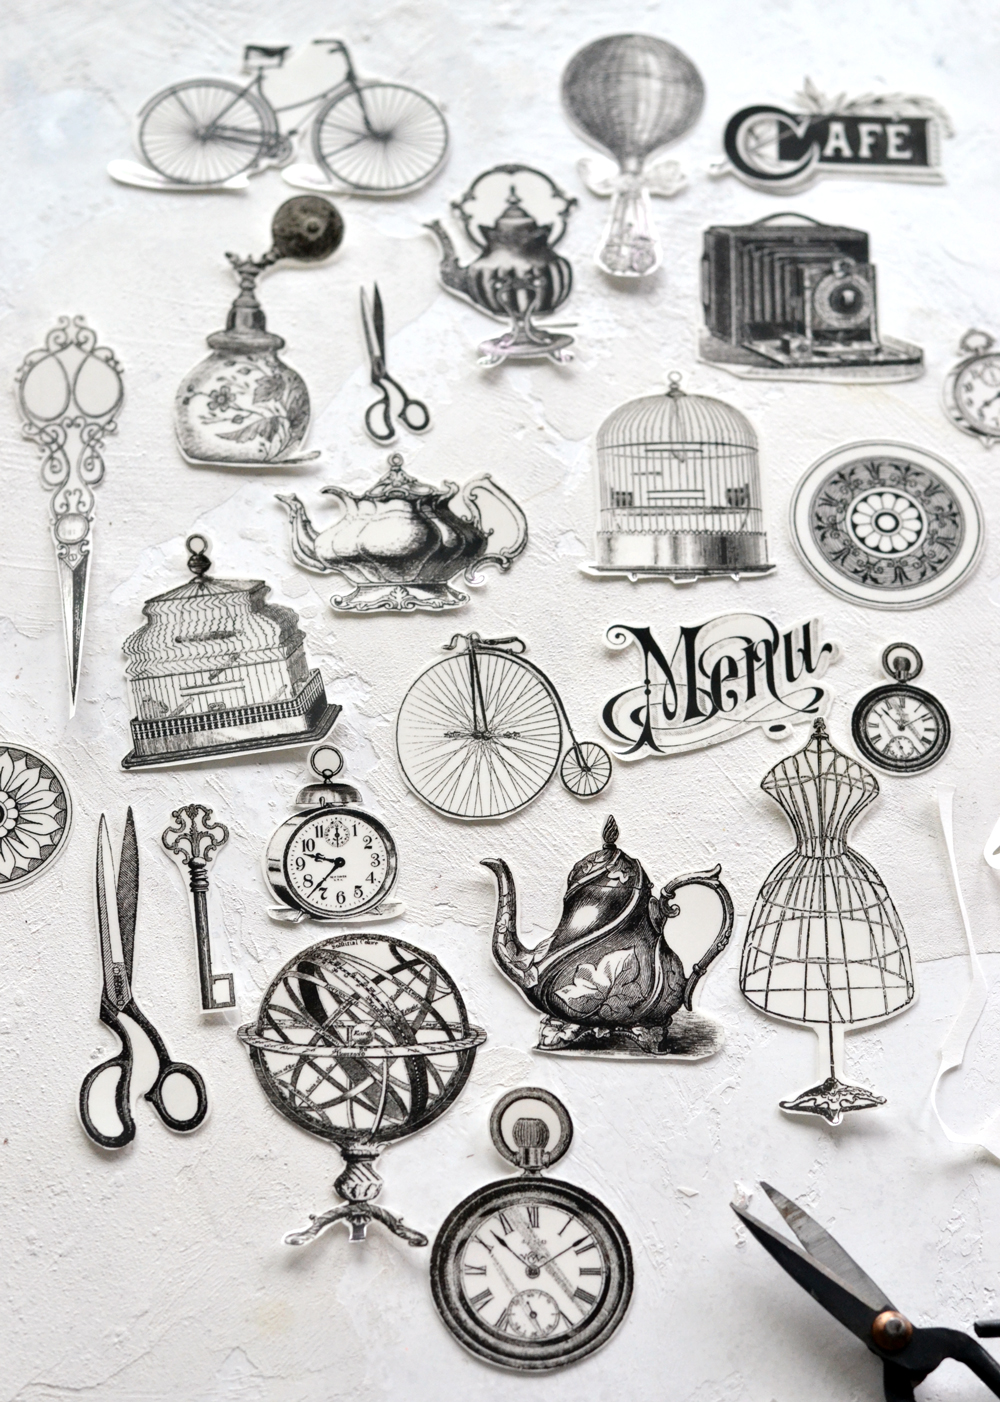
2. White sticker paper – simple or stained with coffee
Moving to the next type of paper – the white sticker paper, a self adhesive white paper that will give your stickers a white background.
This type of paper is the one used to usually make self adhesive labels and you have to be careful when buying it not to get the one that is already pre-cut into different sized sections. You need the one-sheet white sticker paper, just keep that in mind before making your purchase!
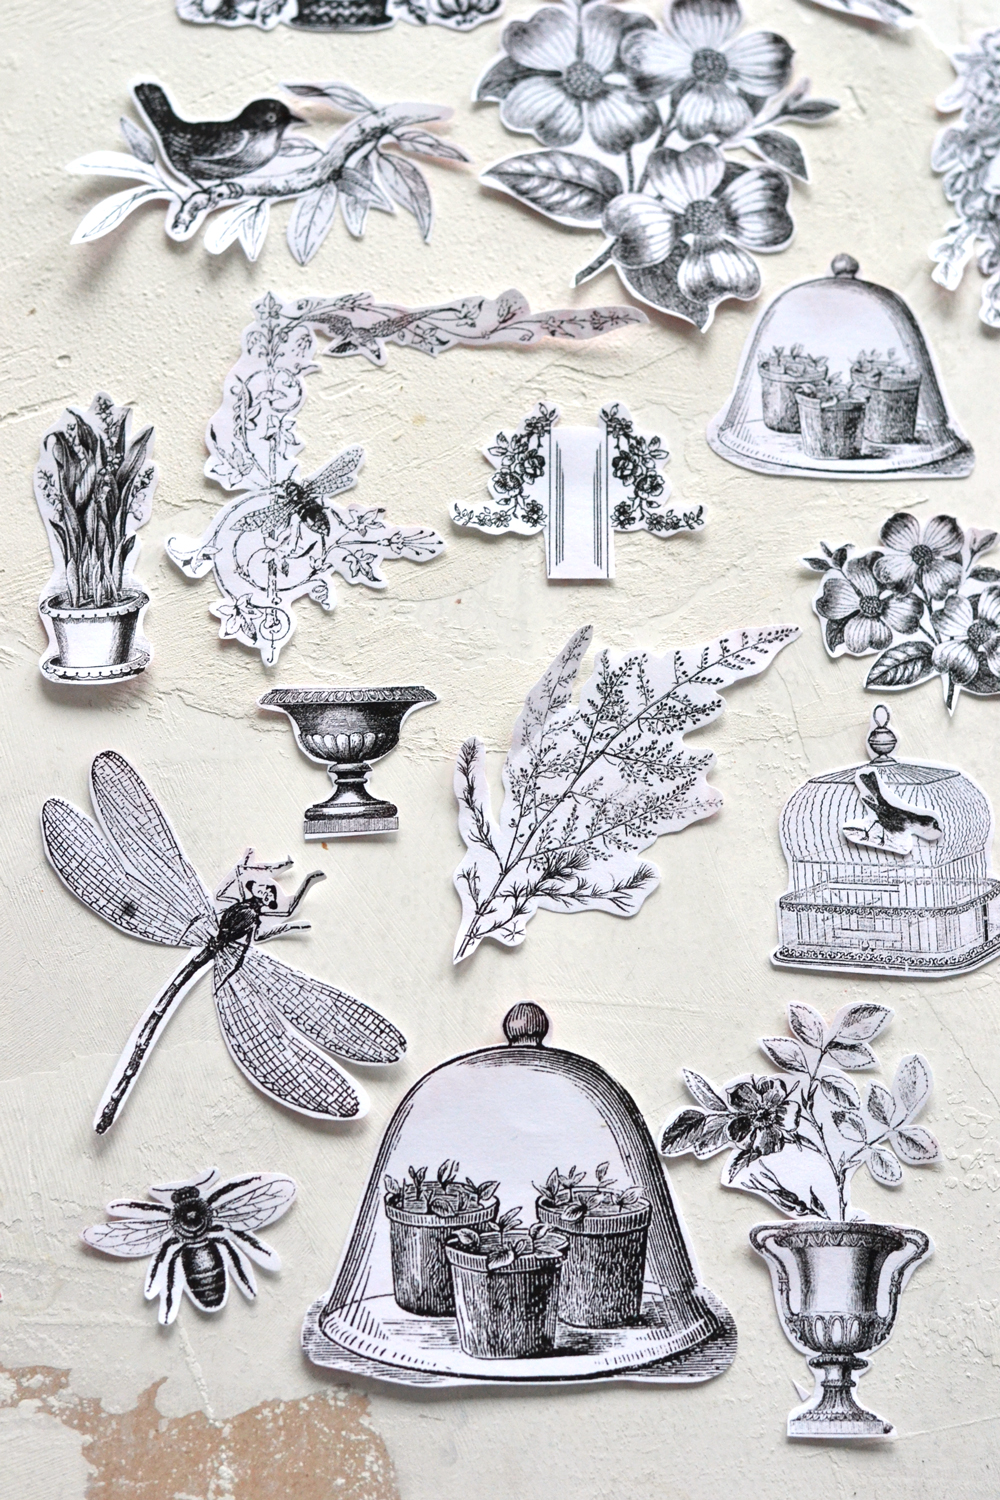
I used the ‘botanical’ category here and I started again by roughly cutting each sticker.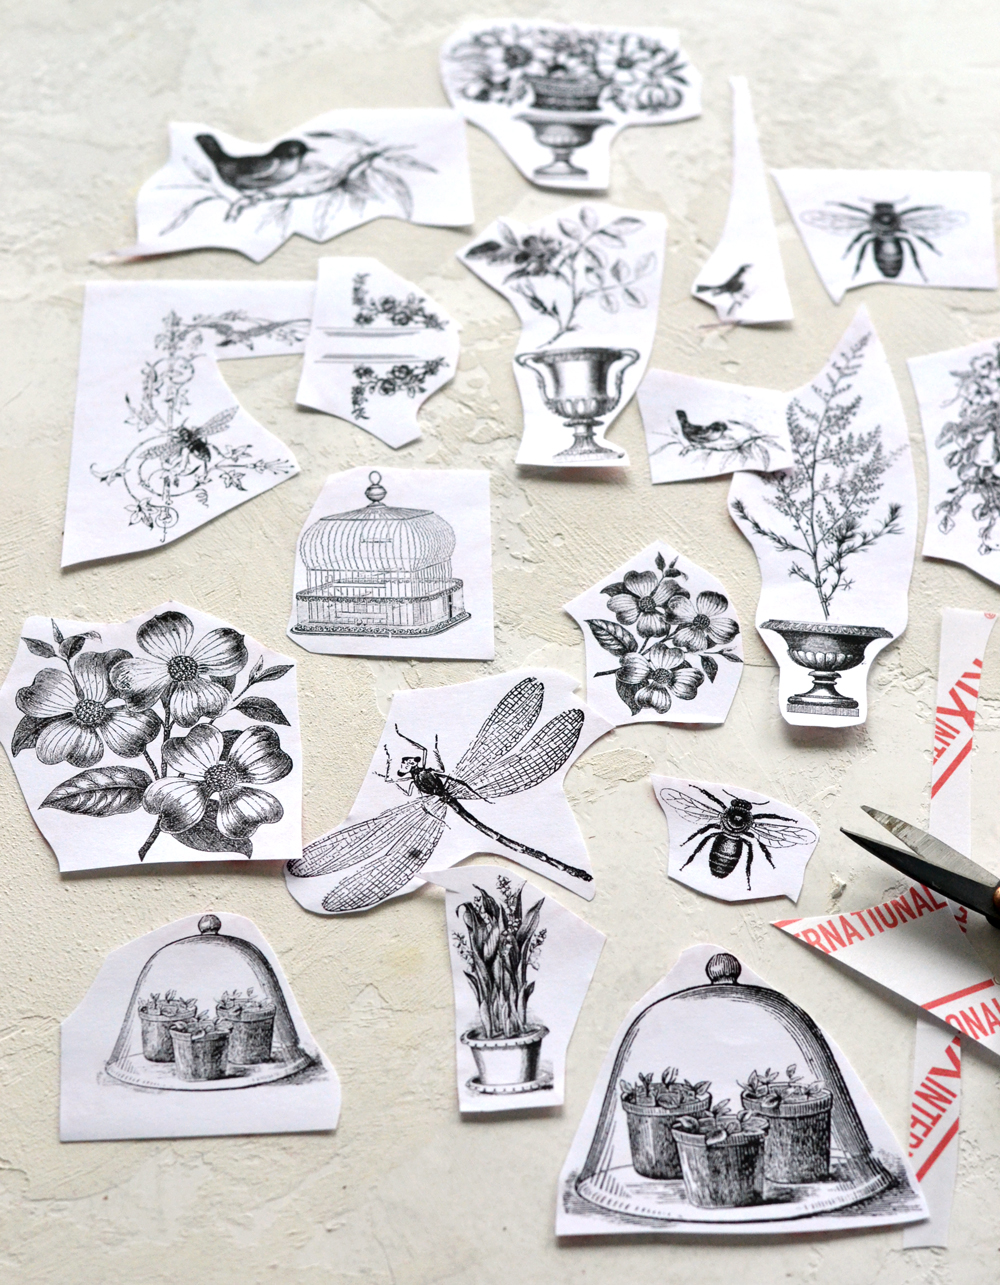
This category includes images with well defined silhouettes, but also consists of images that have more intricate details. And like I mentioned before, when handling these delicate details, I found it easier to use some of the blank paper around those specific details to create structure.
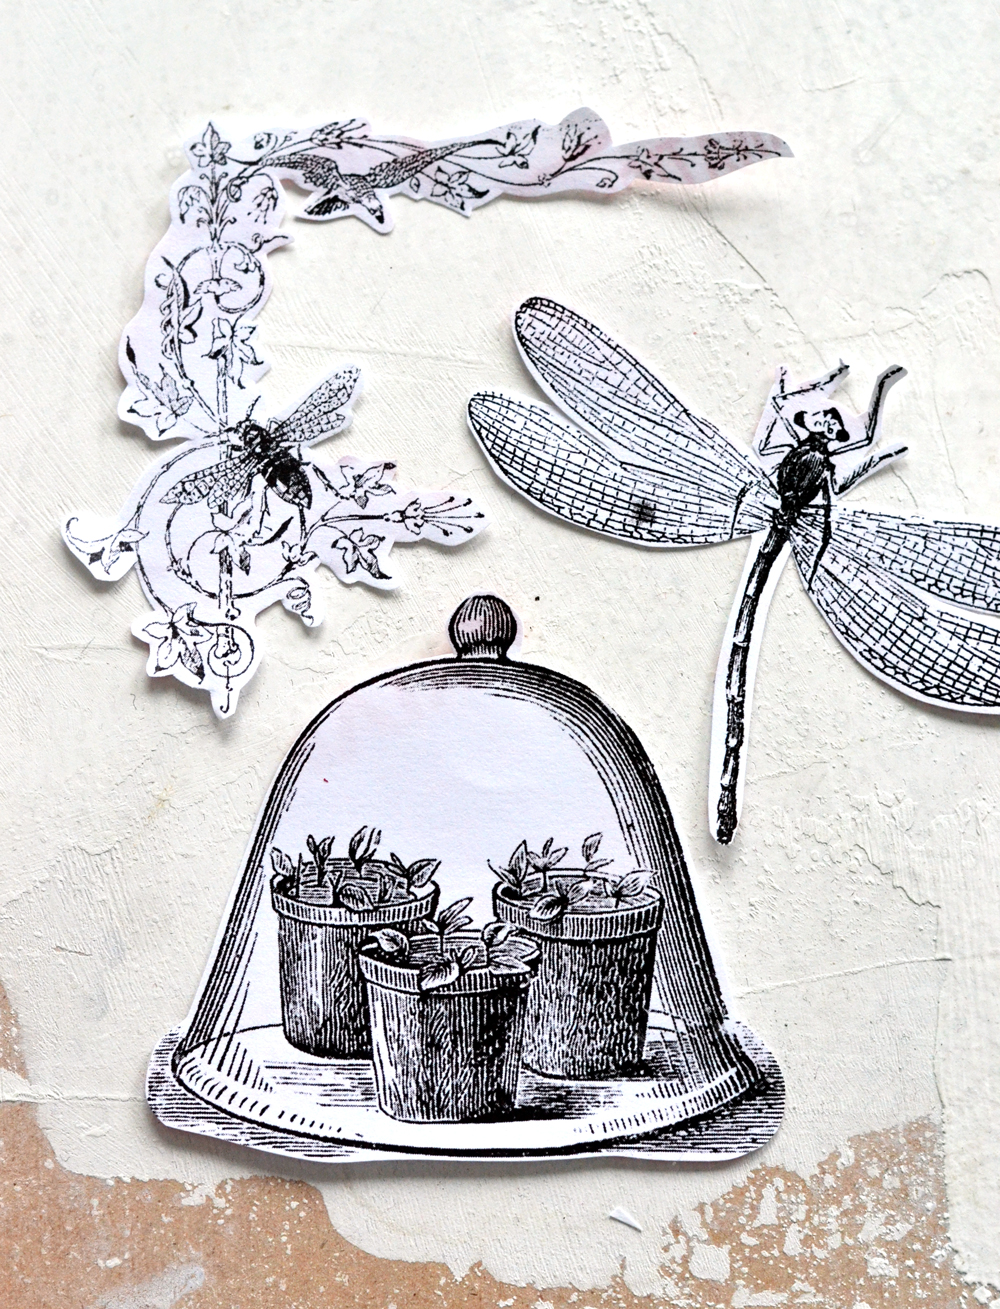
Below you can see how I followed the well defined shape of the cloche image and removed all the white paper around it.
But also how I used the white paper to create rounded edges around the dragonfly’s antennae and body and an even more defined structure around the third image, the one that had more intricate details.
I cut all the images following the same guiding lines and I was starting to feel really excited about this project! I couldn’t wait to use these beauties!
And just to give you some behind the scene details, it took me almost a full day to search for and decide what images to use, to scale them down, to see how they look in different sizes and arrange them, to group them on the 3 printables and include them into categories. But I would say it was all well worth it, wouldn’t you?! The images are simply stunning!
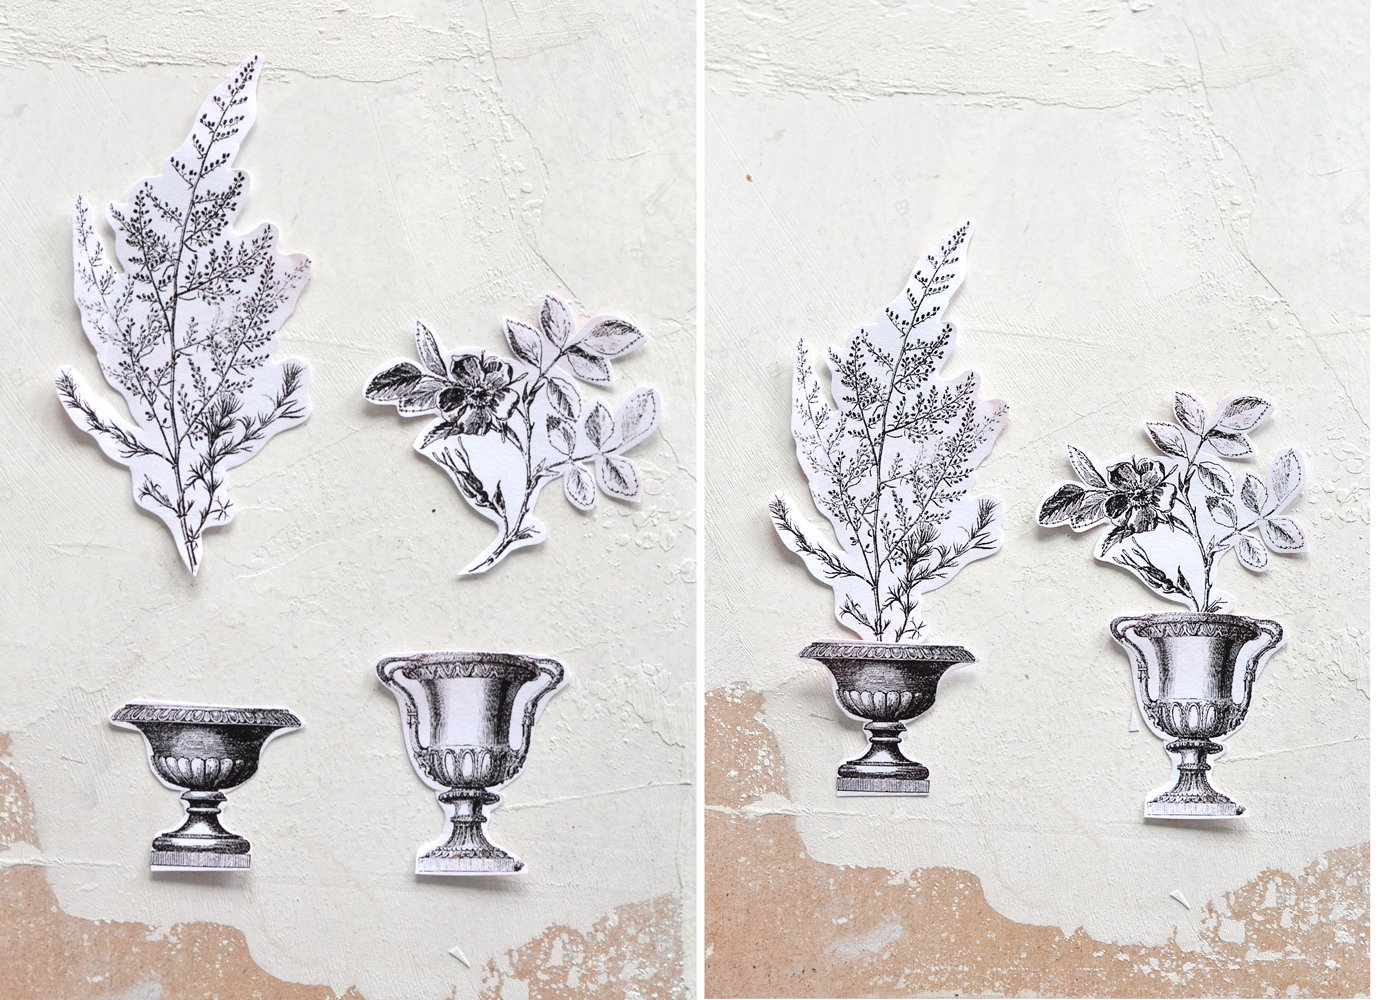
While I was trying to figure all these things out I thought it would be fun to include a few elements that could be easily used on their own, but can be also combined and used with other complementary elements. A good example – the beautiful urns and botanicals from the images below. Each image can be used as a standing element, but they all make the most gorgeous arrangements when combined!
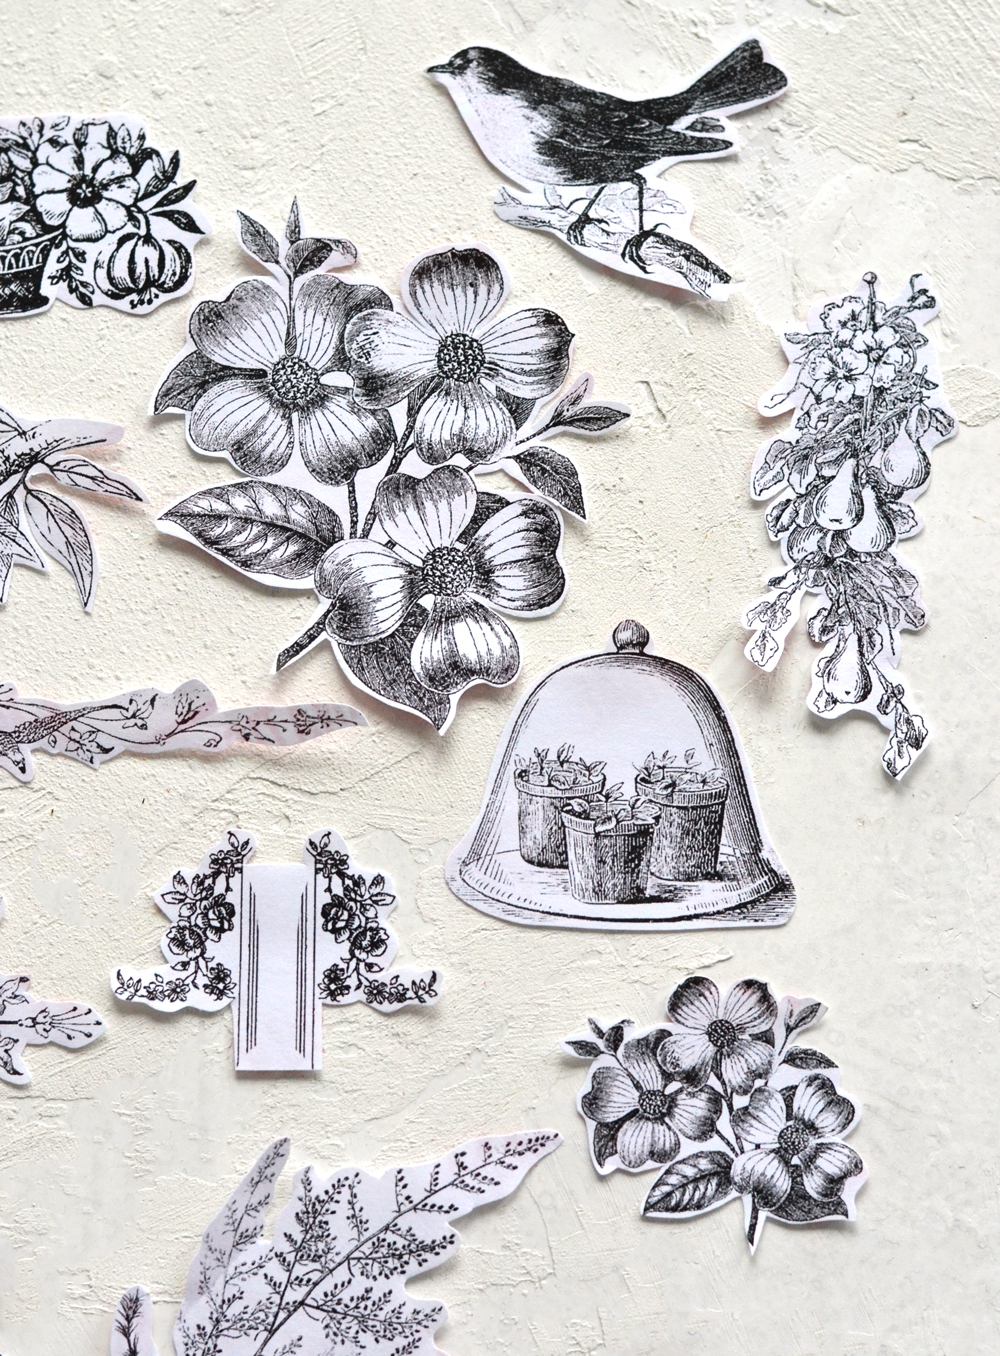
I also added a few smaller elements like bees, birds, and flowers, so you can get really creative if wanting to make different combinations – you can add birds to cages, bees to flowers, birds to flowers, flowers on top of cages, flowers and birds in urns, branches and bees in urns … you name it!
The images are vintage enough on their own and have so many beautiful details! If you are happy with this clean and white look, you can just start and use them as is. Just peel the back paper and stick them on the pages of your bullet journal, planner, junk journal or on any other type of surfaces you want to try – yes, you can adhere them to other surfaces, too!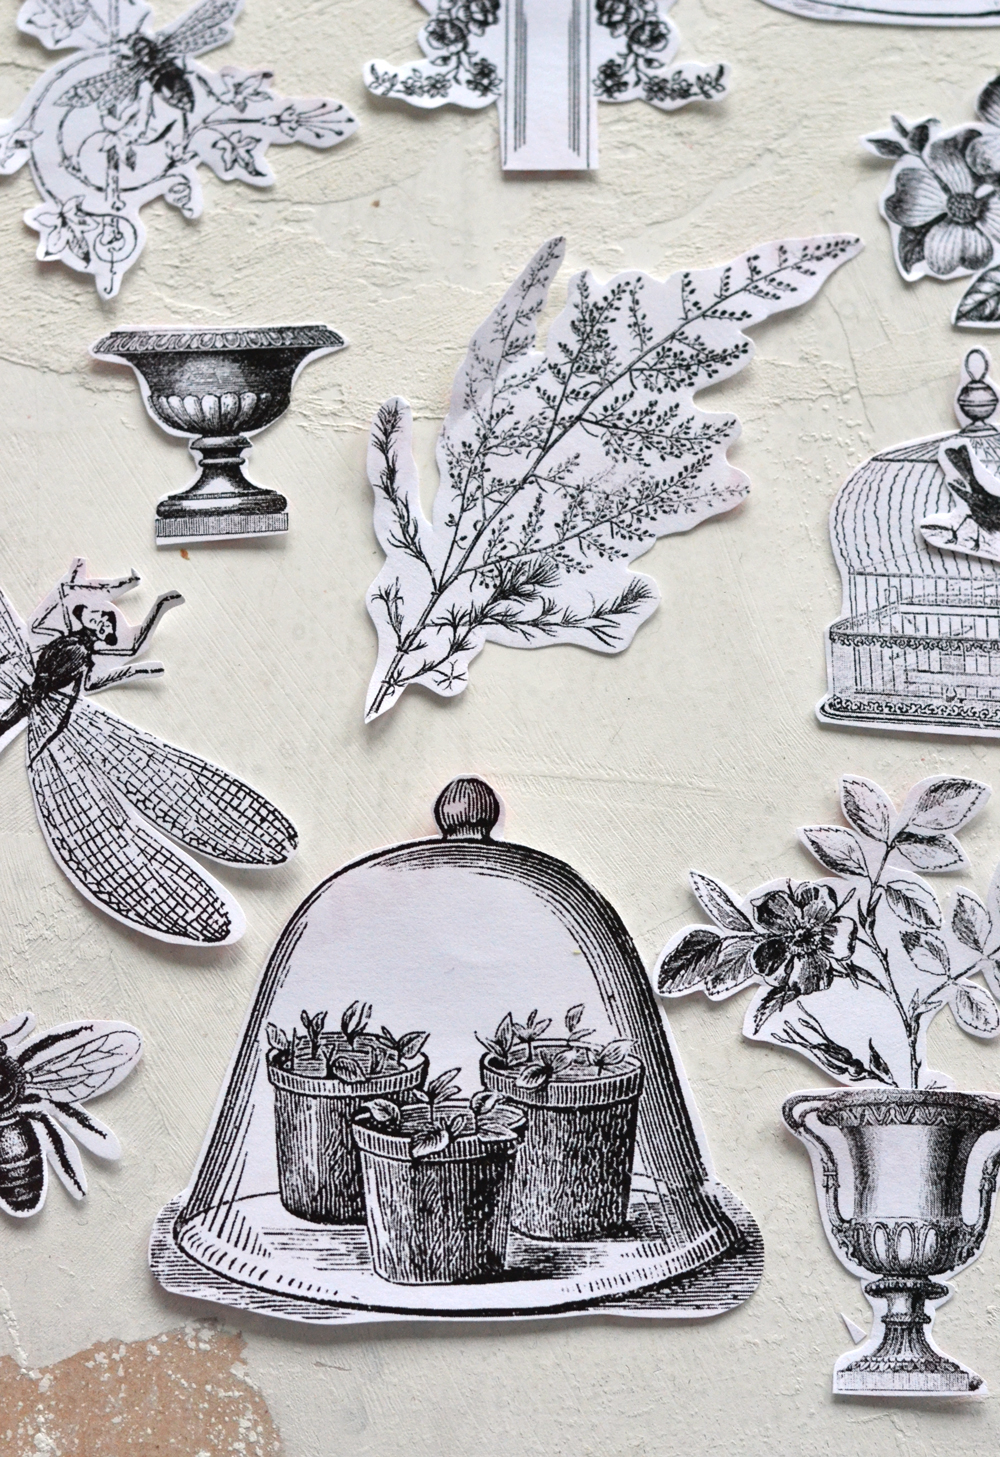
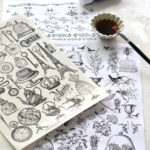
But if you want to take the vintageing (a new word?!) process a little bit further, use coffee to stain them and give them an aged appearance! I only added a small amount of liquid on each piece (using a brush and some paper towels underneath) and I could instantly see the difference! I loved their new (but aged) look, their whole appearance was somehow toned down, naturally aged and softened.
P.S. The red highlights that you see are some words that were printed on the back paper and they will not be visible when using the stickers.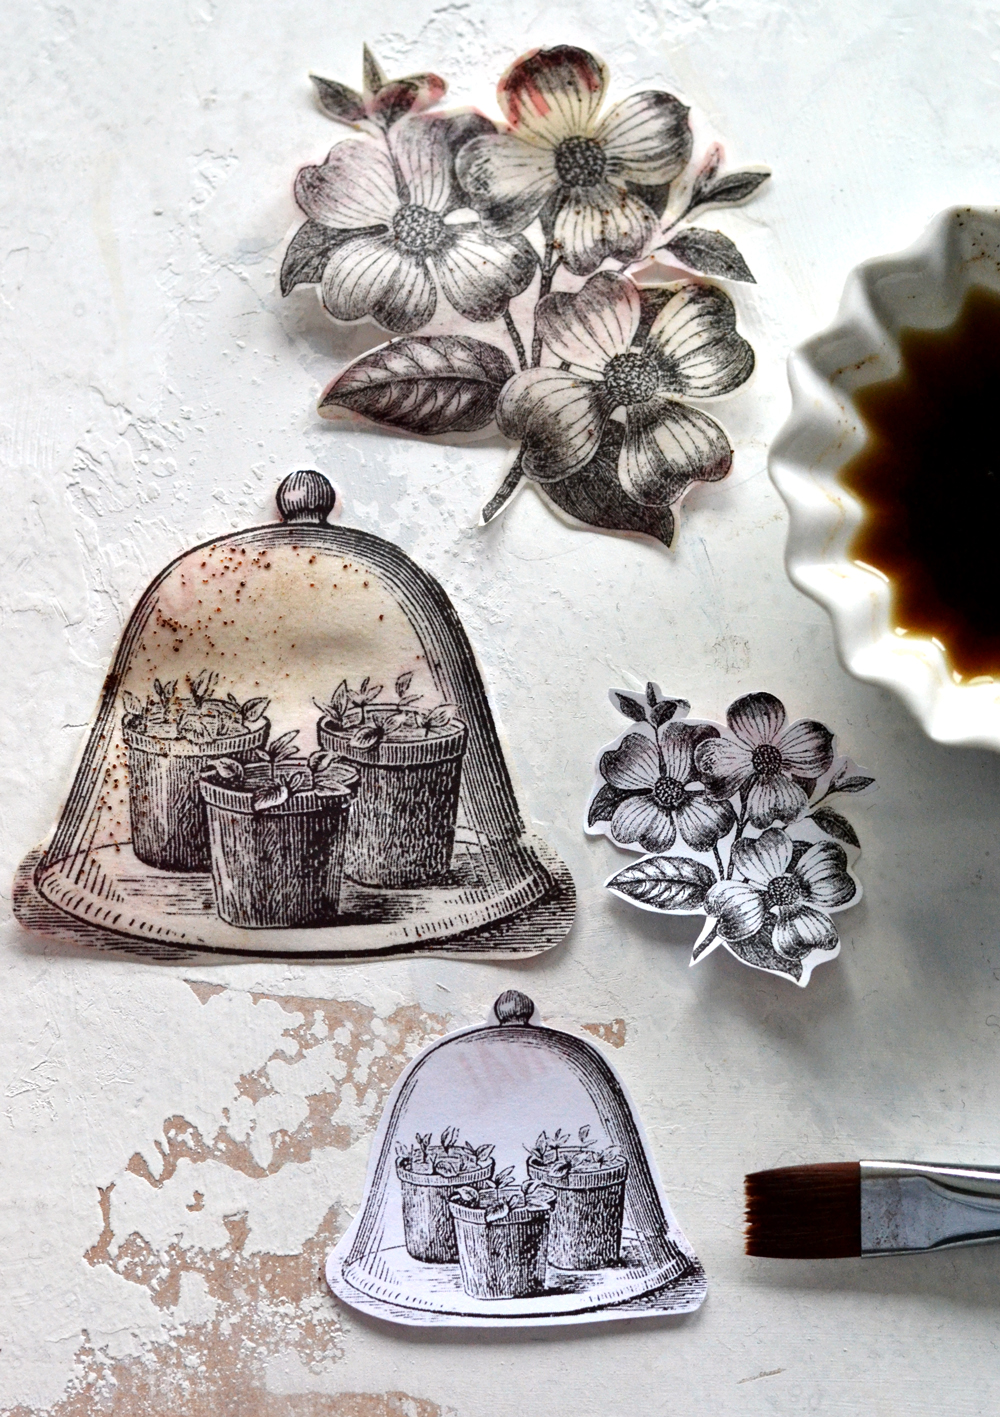
You can also use cinnamon, the secret ingredient that I used last month to create faux rusted French labels. Well, the secret ingredient that is not that secret anymore
Let the stickers dry before using them, peel the back paper and …have fun!
3. White regular paper – simple or stained with coffee
Moving to the last type of paper – the regular white paper. I wanted to include this type of paper even though this is not really self adhesive paper and not much of a sticker on its own. You will need some glue to actually adhere it, but the final results are similar (if not even the same) with the white sticker paper, so I thought it was worth the mentioning. The white regular paper is definitely the most affordable and accessible one and you can actually start making your own stickers … right this minute!
As I mentioned, regular white paper is very similar to white sticker paper when it comes to achieving the final, almost identical results. It is a little bit lightweight and will wrinkle and curve a lot, but this is actually a plus because it adds so much character to the whole vintage look we are looking for!
On one ‘objects’ page I brushed the coffee before cutting each image.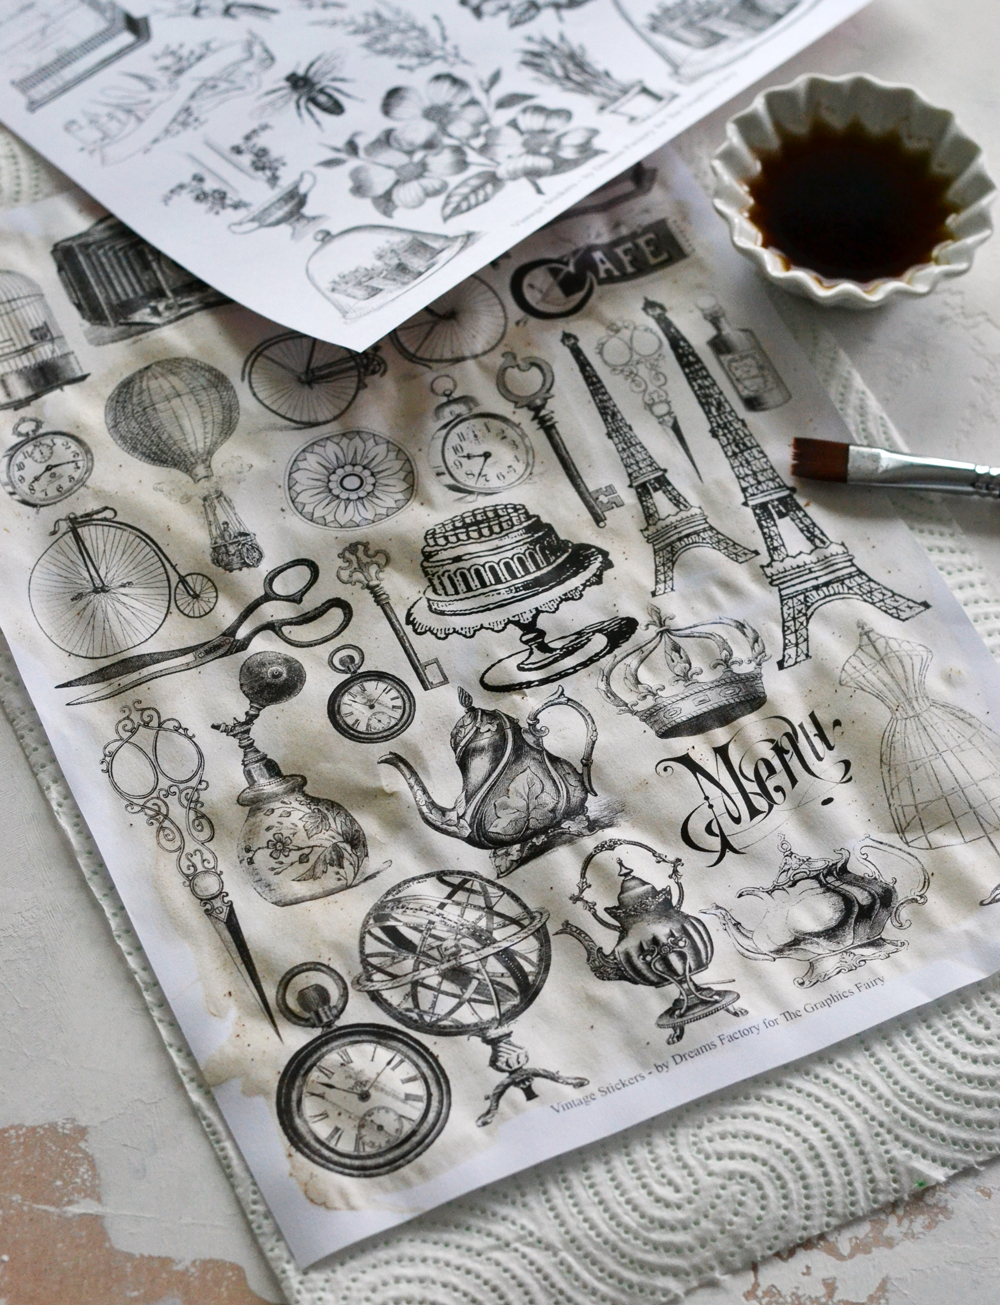
I let the paper completely dry and followed the same guiding lines like before when cutting the images (paper around the delicate edges that needed some structure and rounded cuts for a natural look).
I’m simply in love with all the different shades coffee creates every time, all the perfect imperfections highlighted and beautifully accentuated!
I added the unstained cloche in the image below so you can see the difference between stained and unstained white regular paper.
All have their own charm, don’t you think?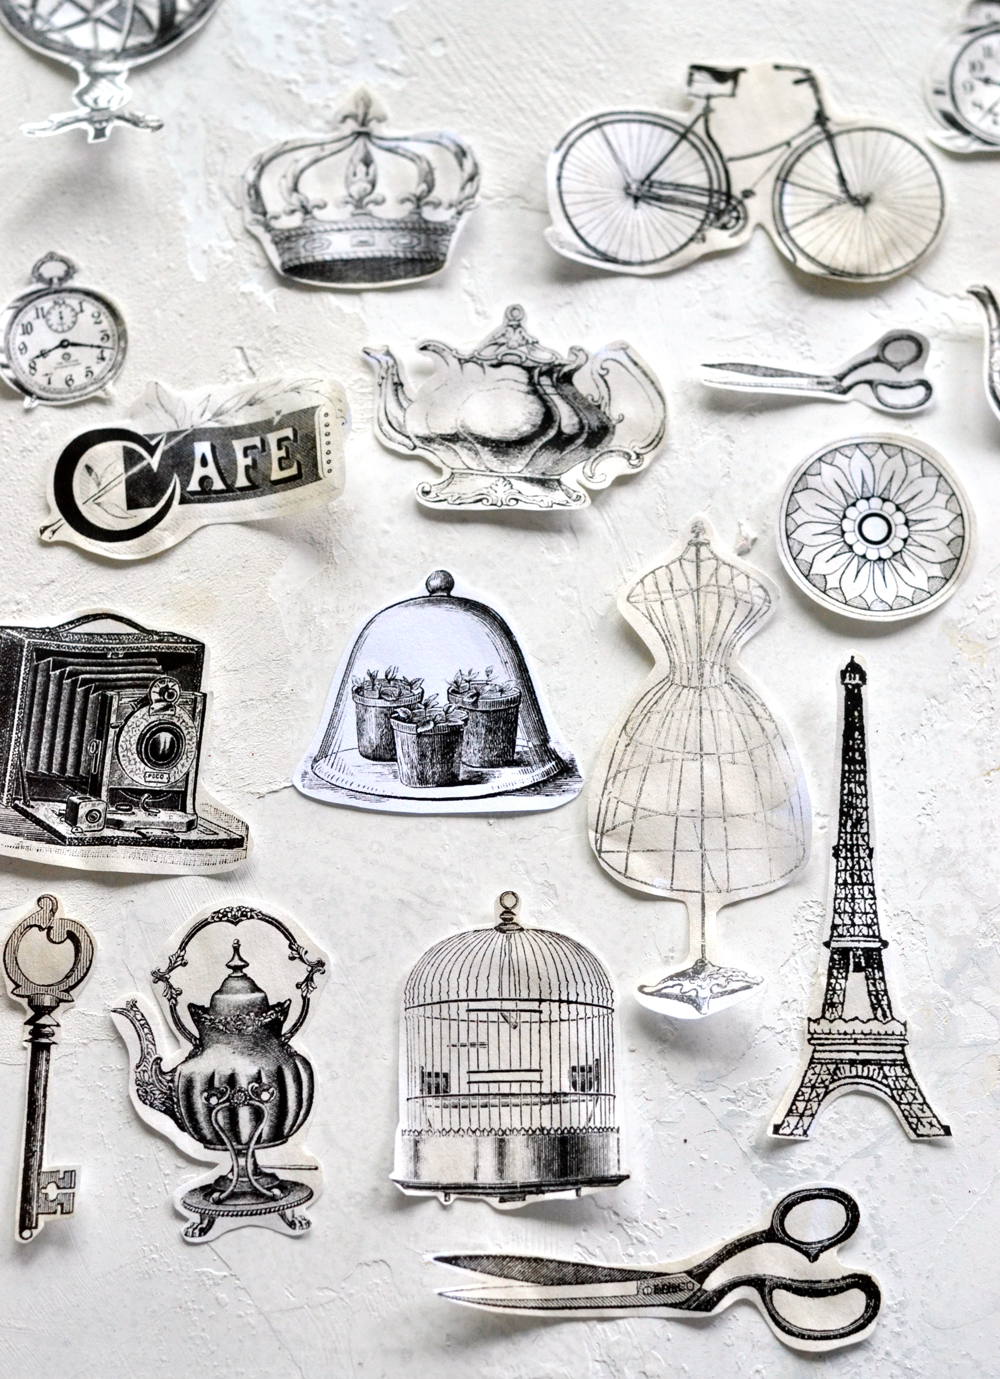
I printed the third category ‘dividers and embellishments’ on regular paper too – following the same steps when it comes to cutting the images, but I didn’t stained them with coffee, so you can see them all together.
Just remember you will need some glue when using regular paper, a simple glue stick will work just fine, or you can Make your Own Sticker Glue with this Recipe!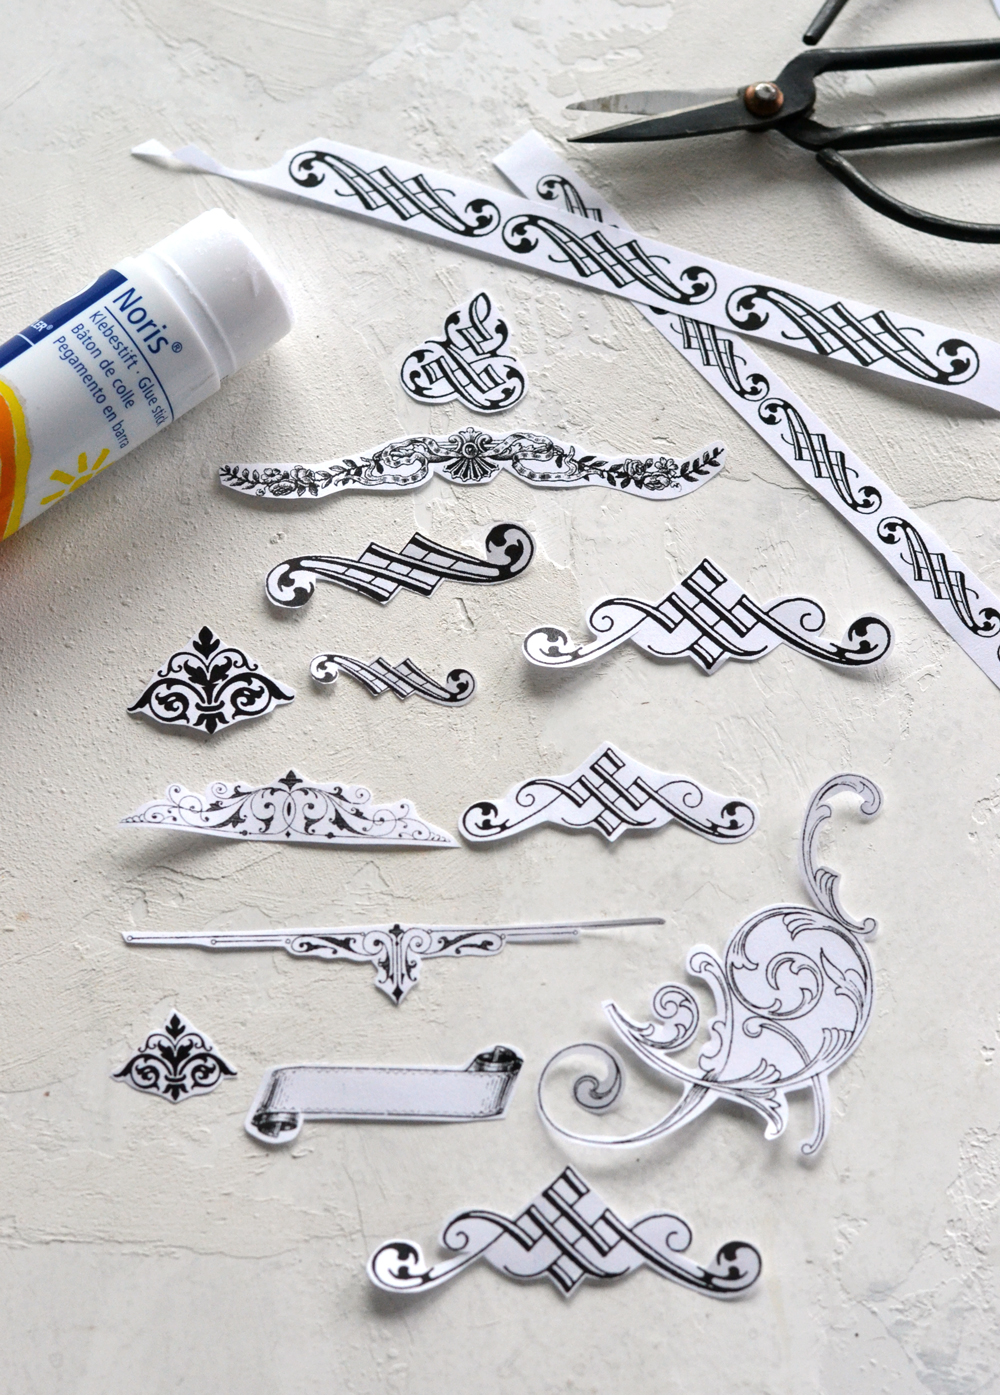
And here they are! Now your keen eye will be able to tell the difference and spot all the types of paper. All the categories, stained , unstained, they are all represented here! 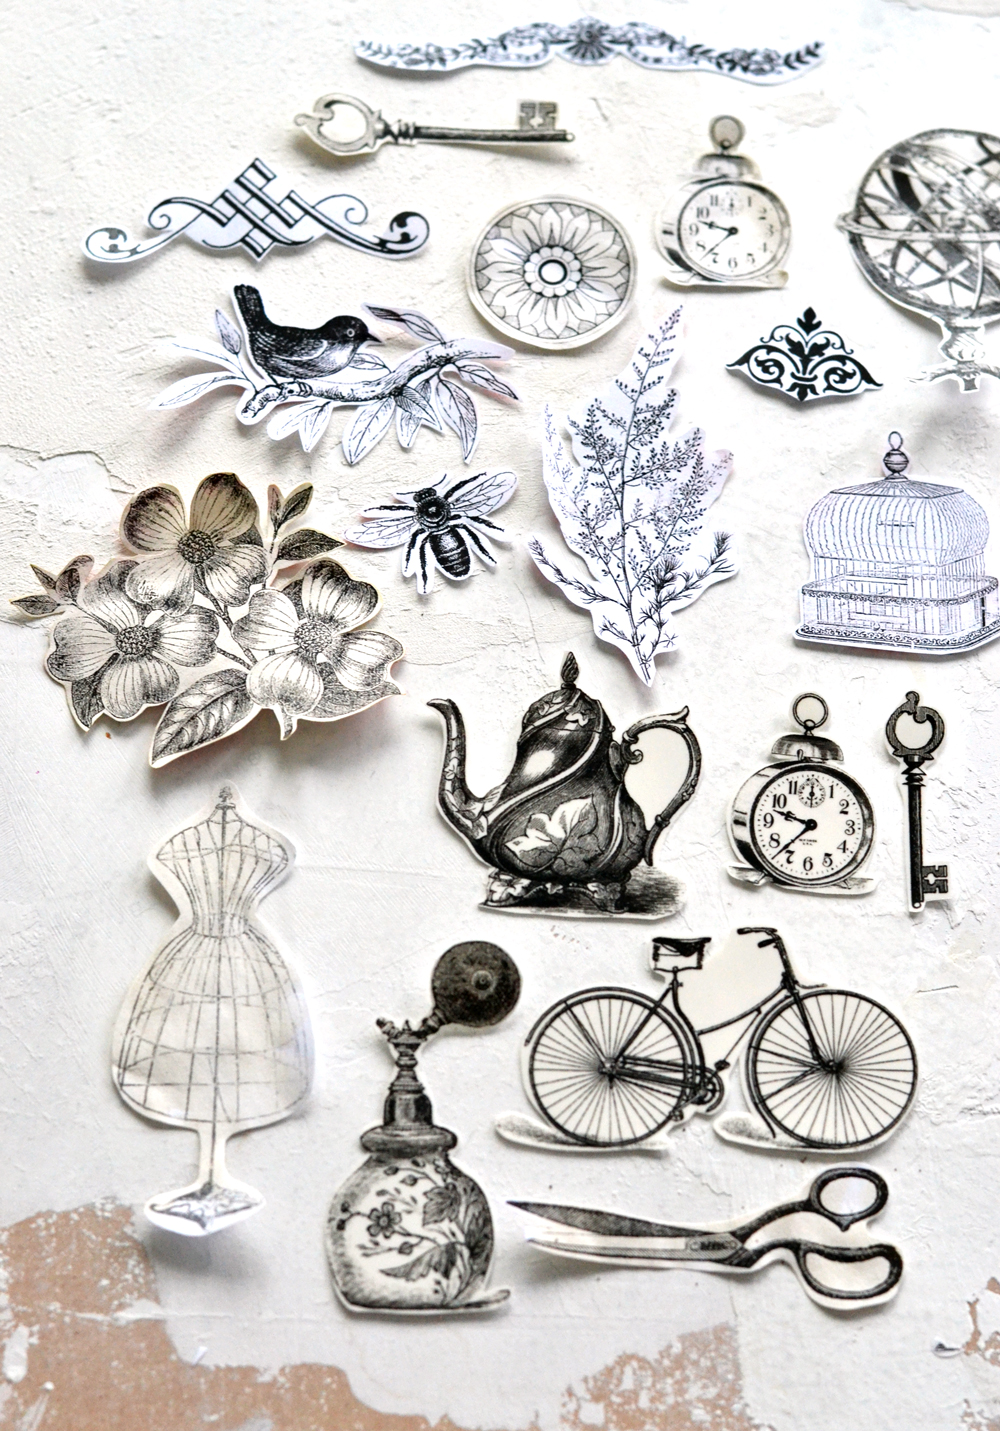
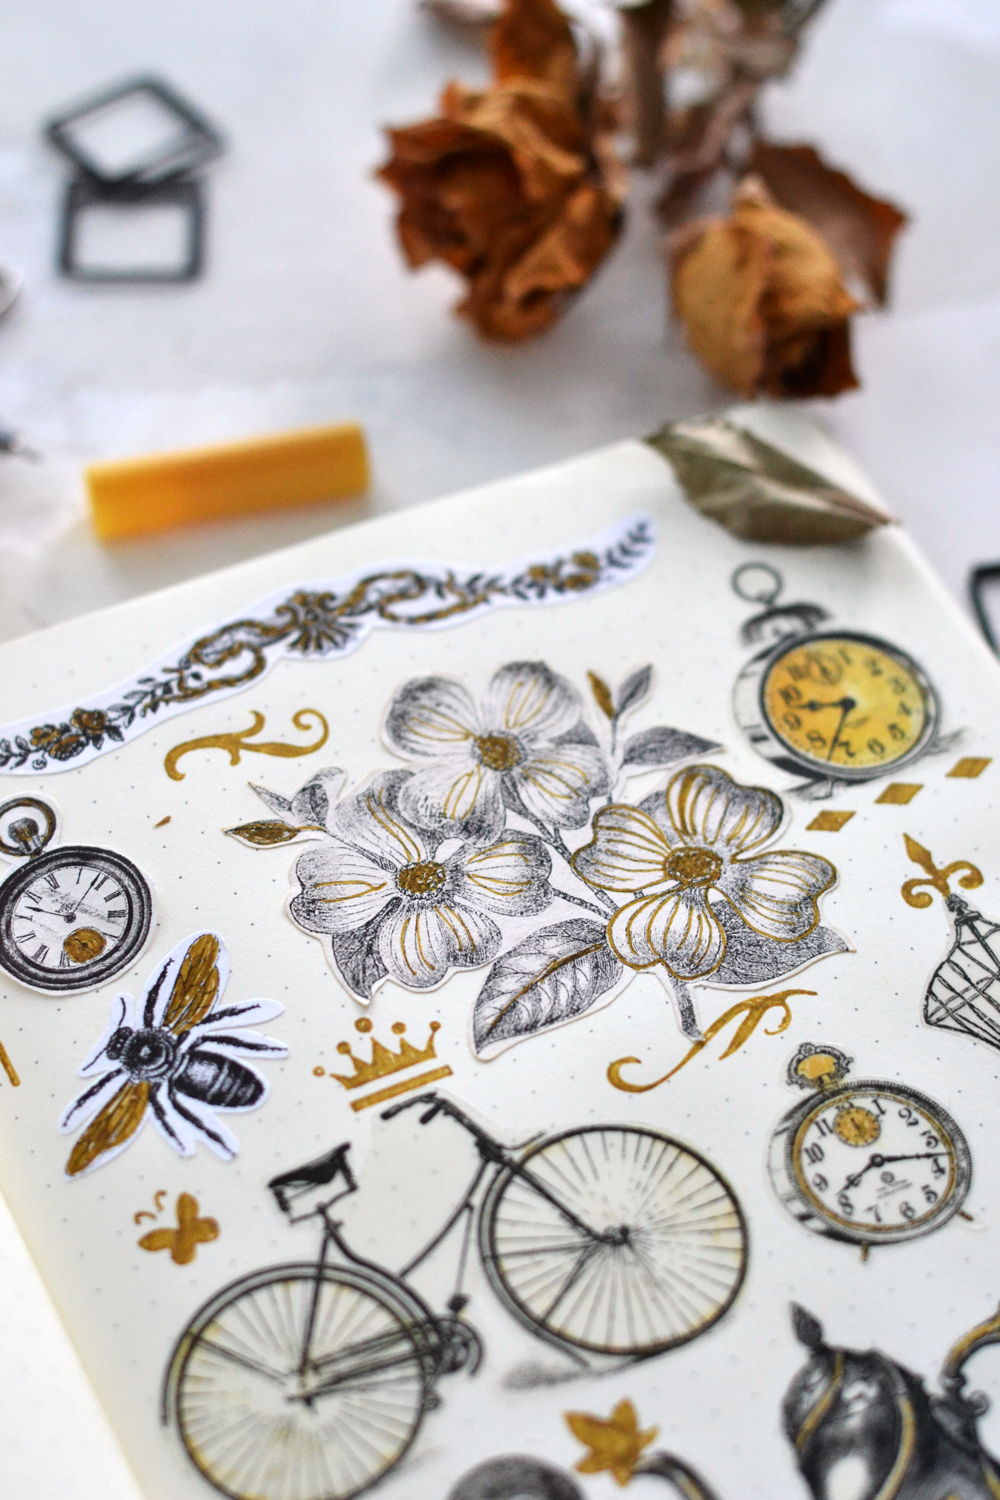
But if you can’t tell the difference (just yet) here they are, all adhered to my bullet journal and shown bellow.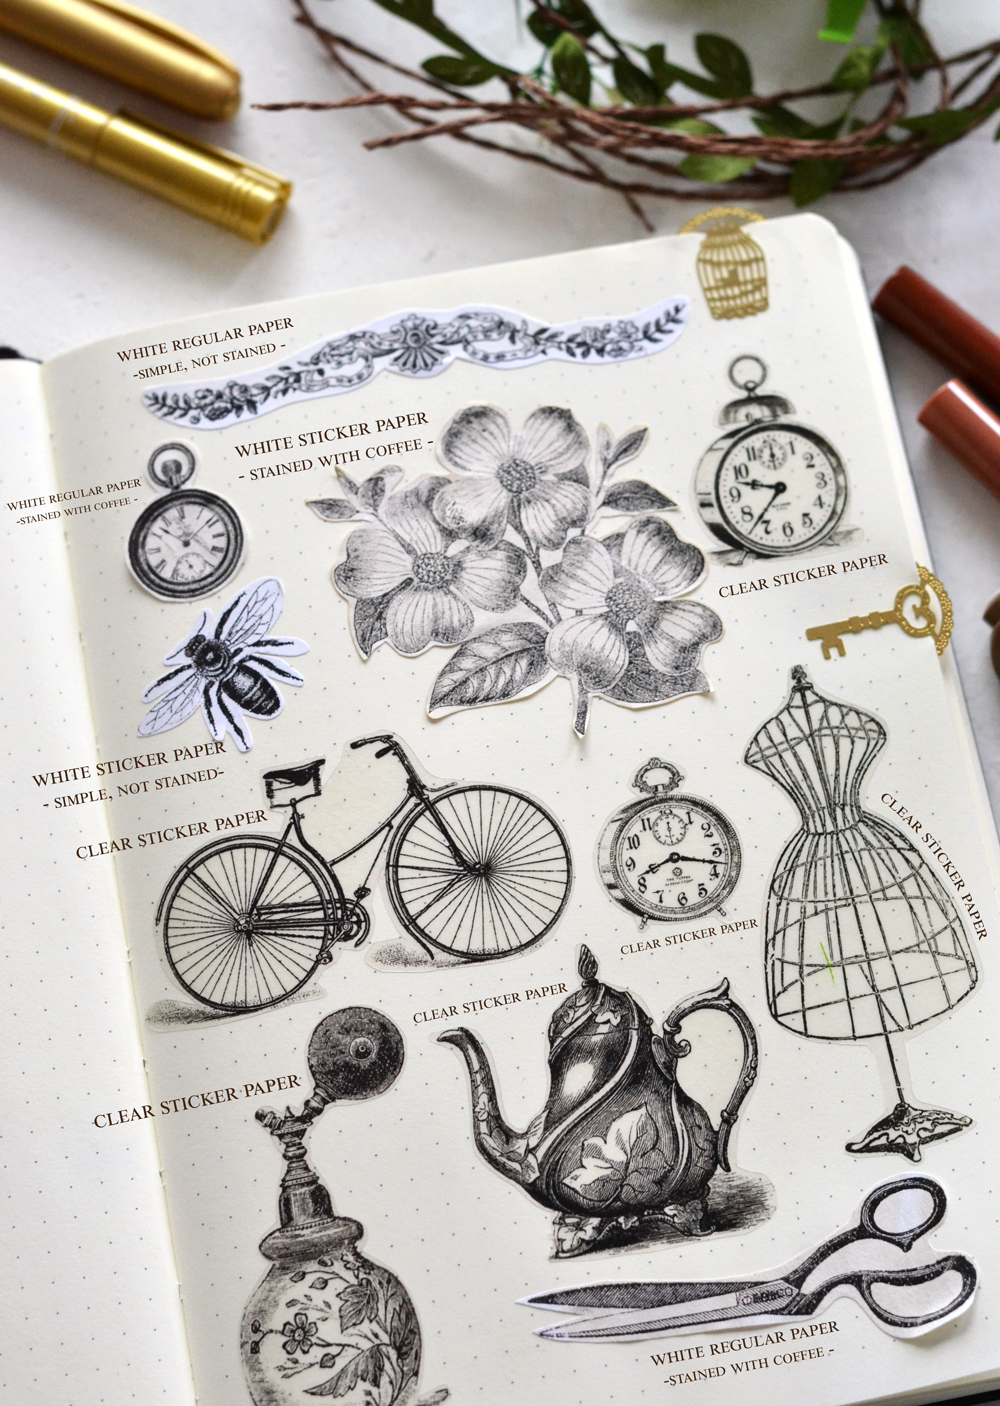
As you can see, my bullet journal has a beautiful creamy color on which the stained paper and the clear paper blended in really nice. The white paper not so much, and it sort of visually pops too much for my own tastes. But if you are using a journal or a planner that has white pages, it will feel more natural there, so it really depends on how and where you are deciding to use these Aesthetic Stickers Printables. 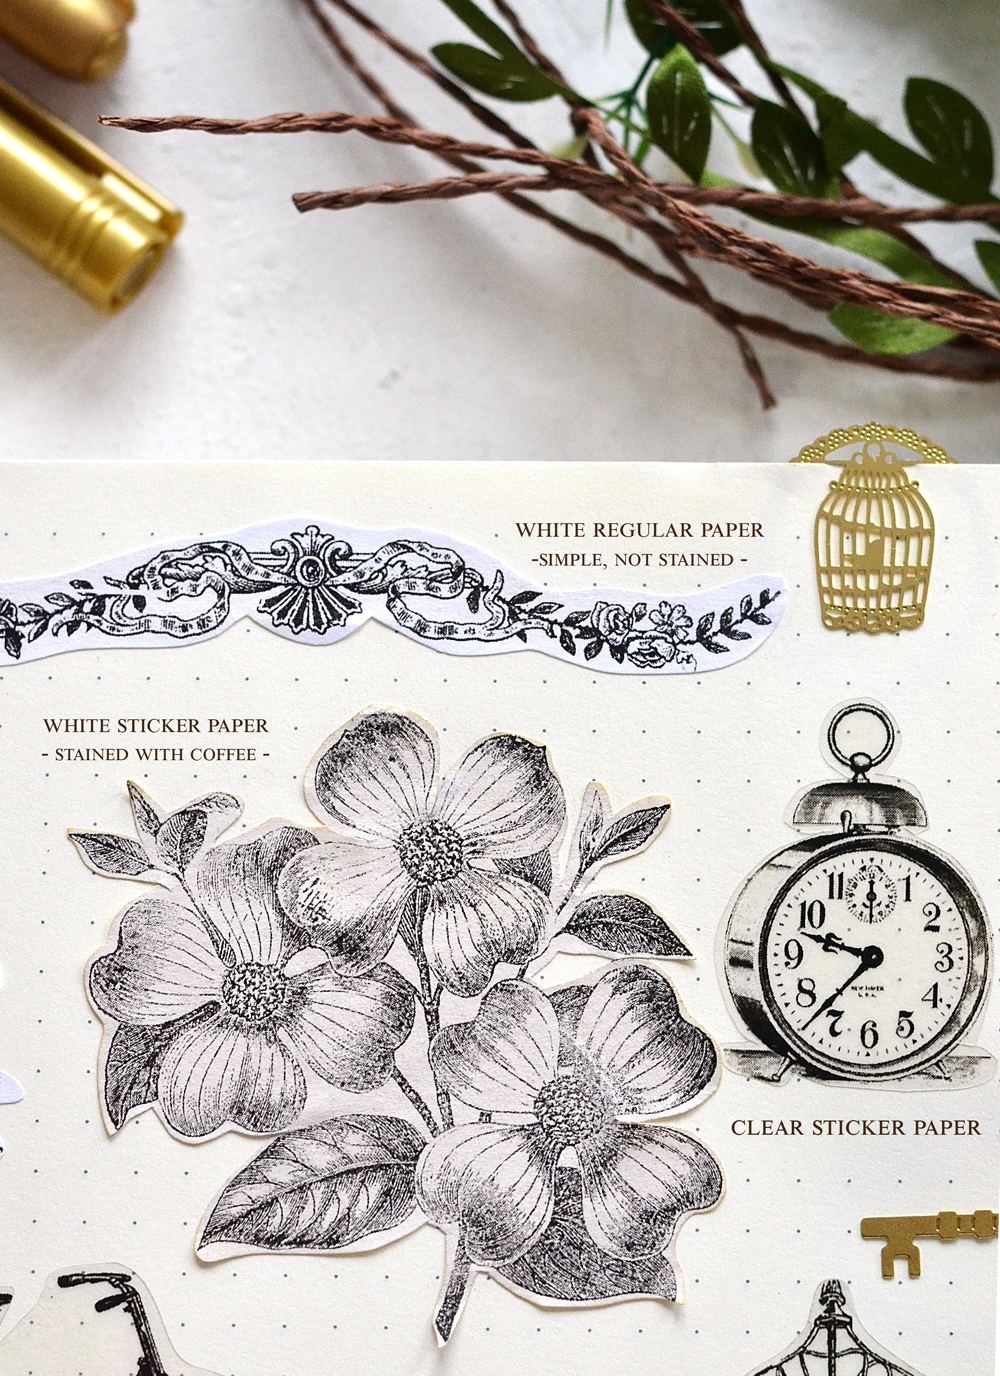
You can get creative with these chic stickers and integrate them into your journals in so many ways! The sky is the limit here, you just have to allow yourself to be creative! You might be surprised how therapeutic this whole process is and once you get things started, there’s no stopping you!
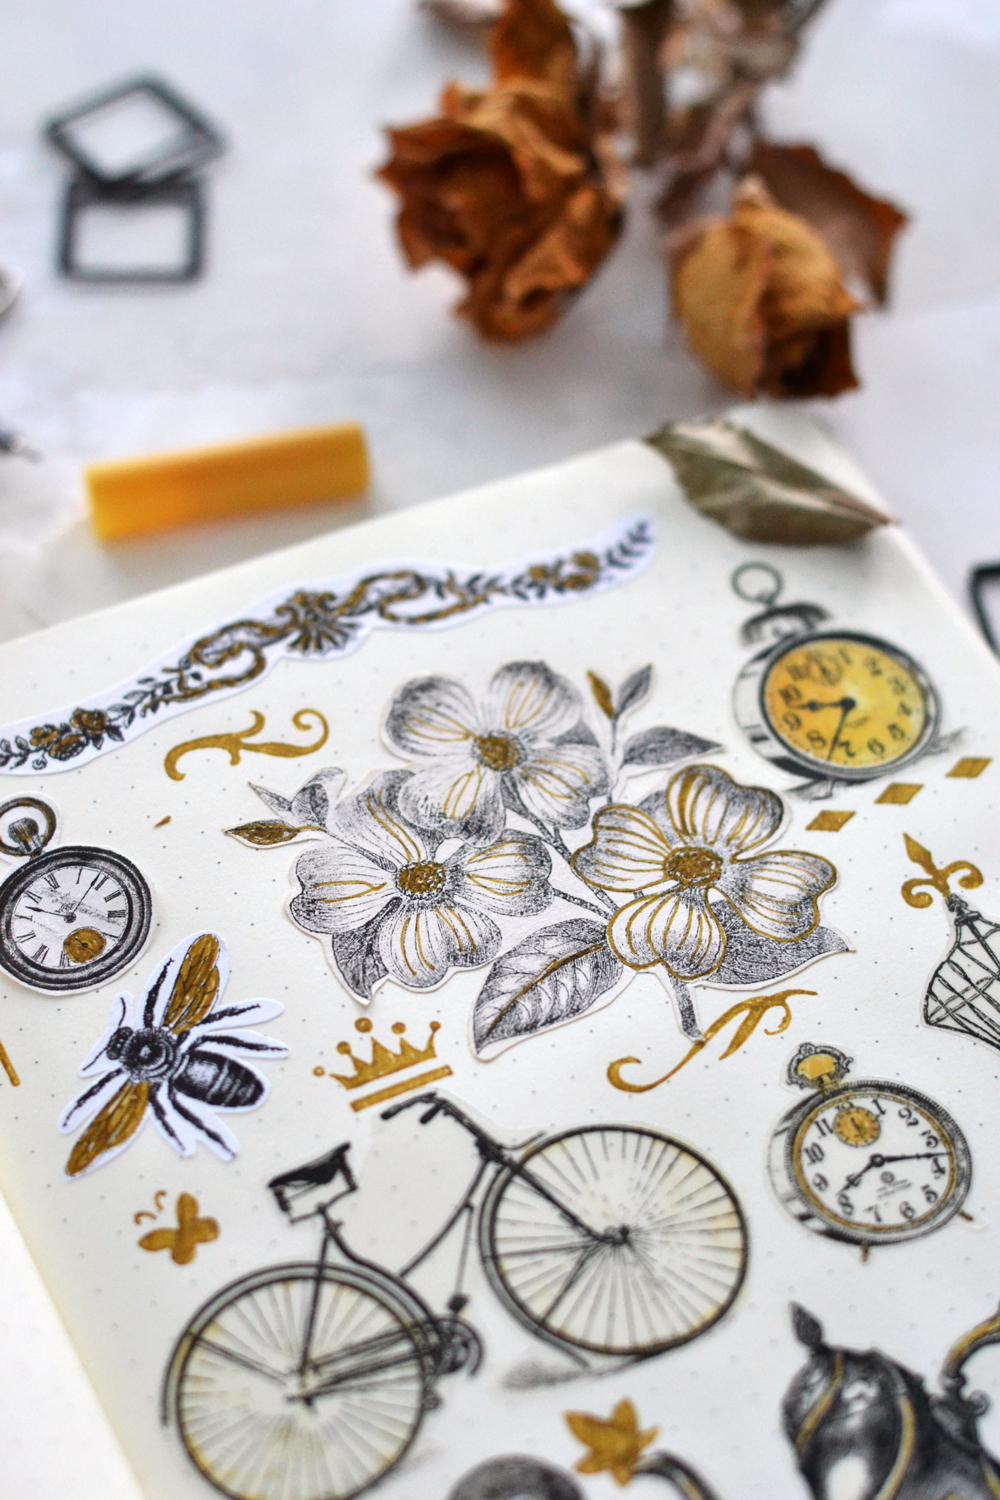
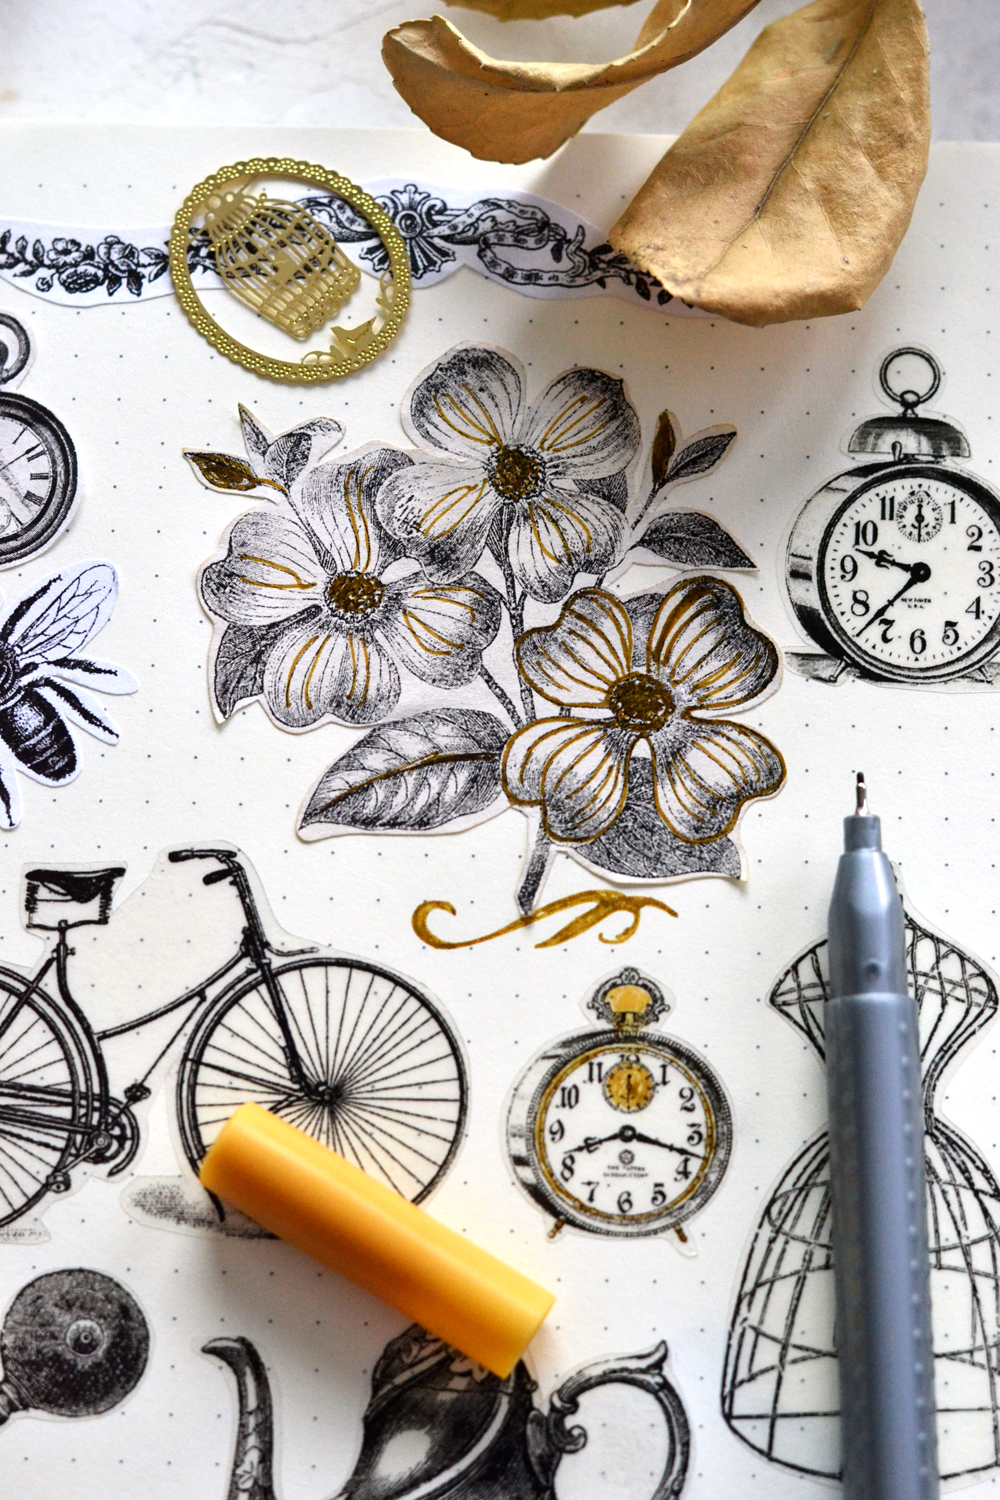
And do you remember that I mentioned in the beginning of this post that you can easily turn these into ‘coloring pages’ stickers? Once I finished the project I started using a yellow gold-ish liner to add a few accents and highlights to the flower and I really loved how it looked! You can choose a single color, according to your mood (why not?), but you can also use markers, colored pencils or watercolors to create something beautiful.
I added a few other embellishments here and there and the whole page looked completely transformed in just a few minutes!
Even though the images are quite amazing on their own, you can still add your personal touches to create something that is more…YOU!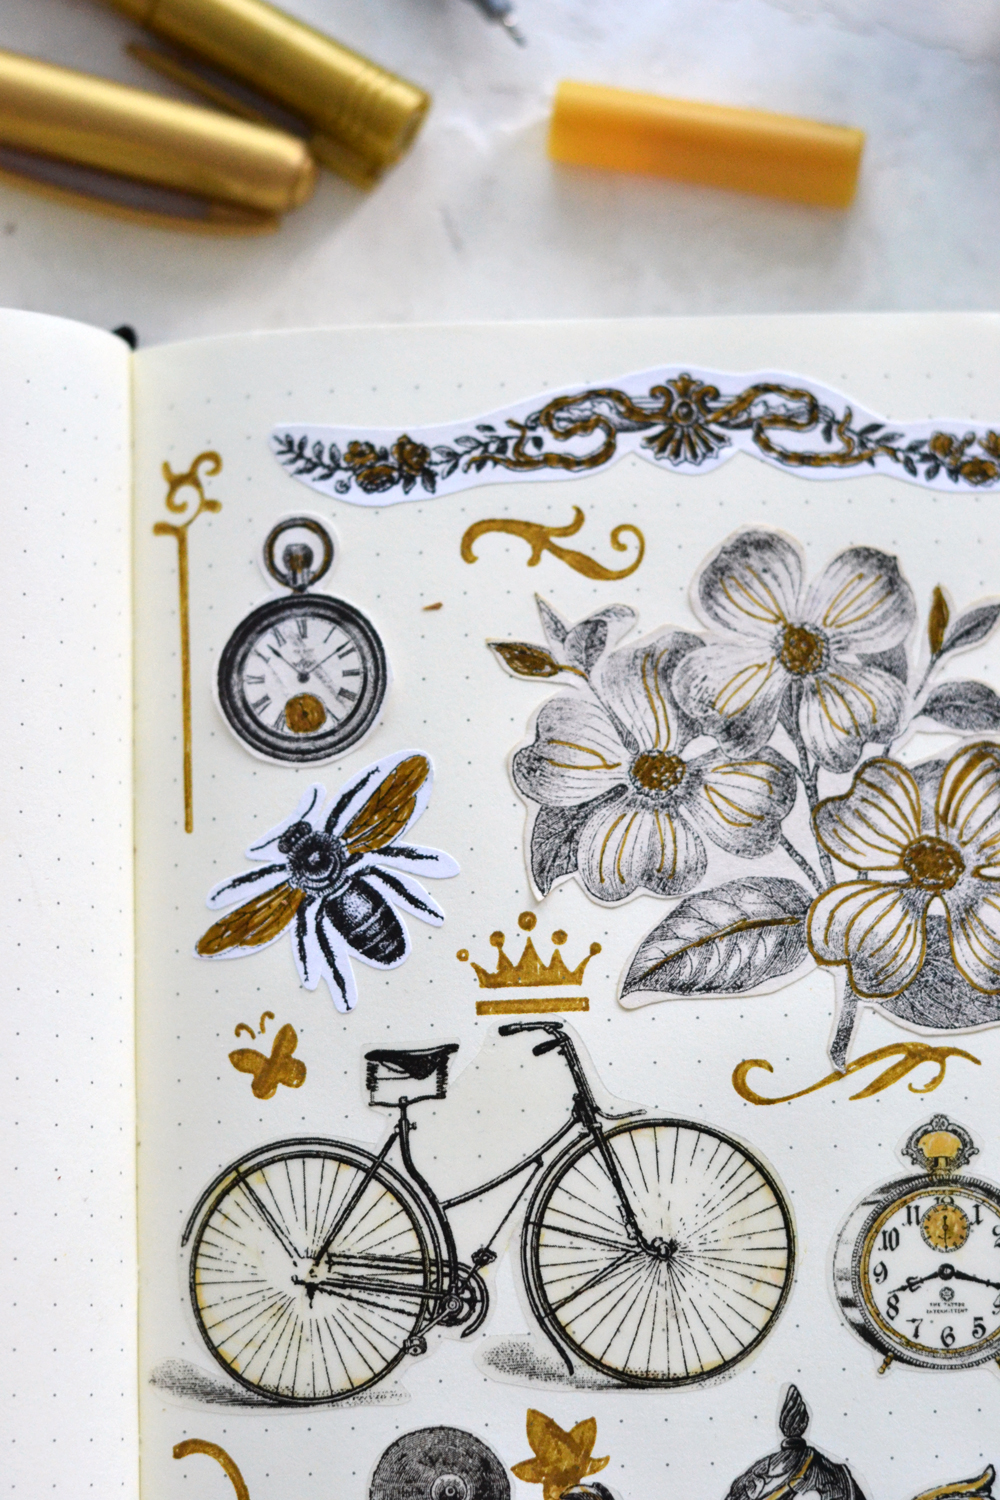
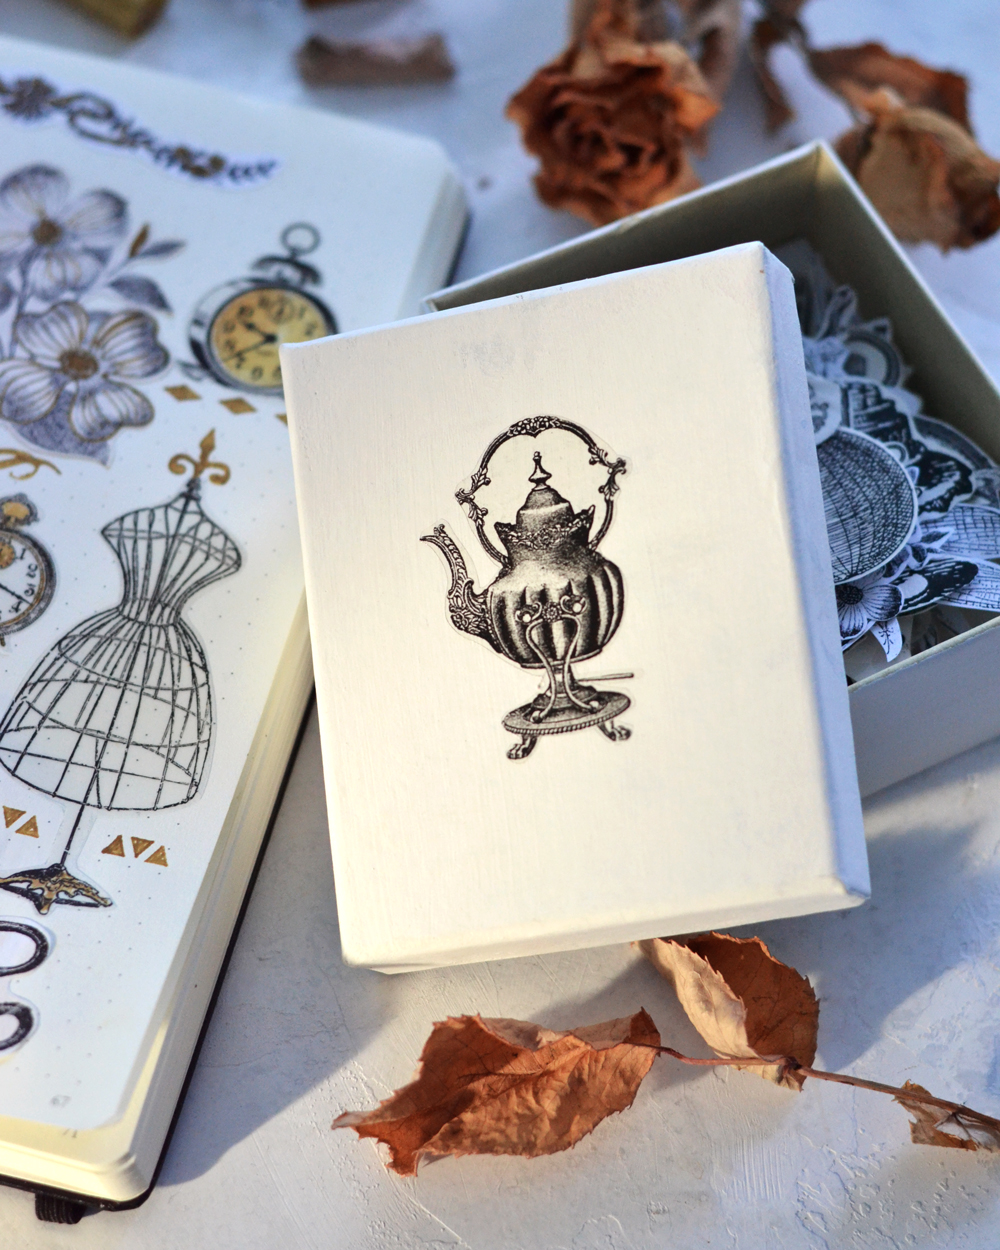
All of these cuties needed a place of their own so I used a small box that I painted with white acrylic paint to hold and treasure them! And to have them on hand whenever I feel like using them.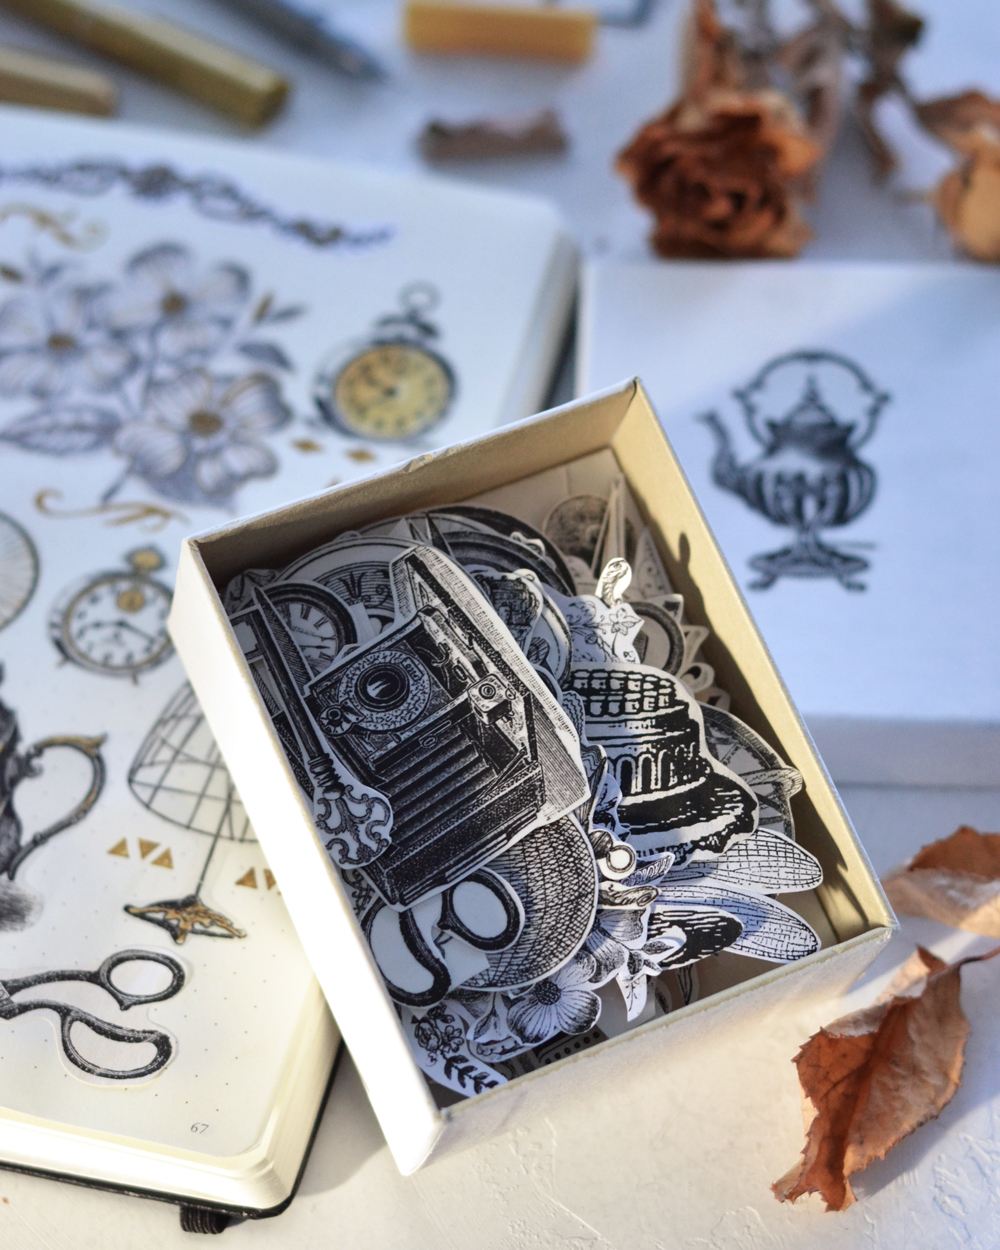
I even added one of the lovely clear stickers on the box. I loved it! And yes, it looks like clear paper does stick to white acrylic paint, so I’m guessing this opens up a whole new world in the whole DIY department.
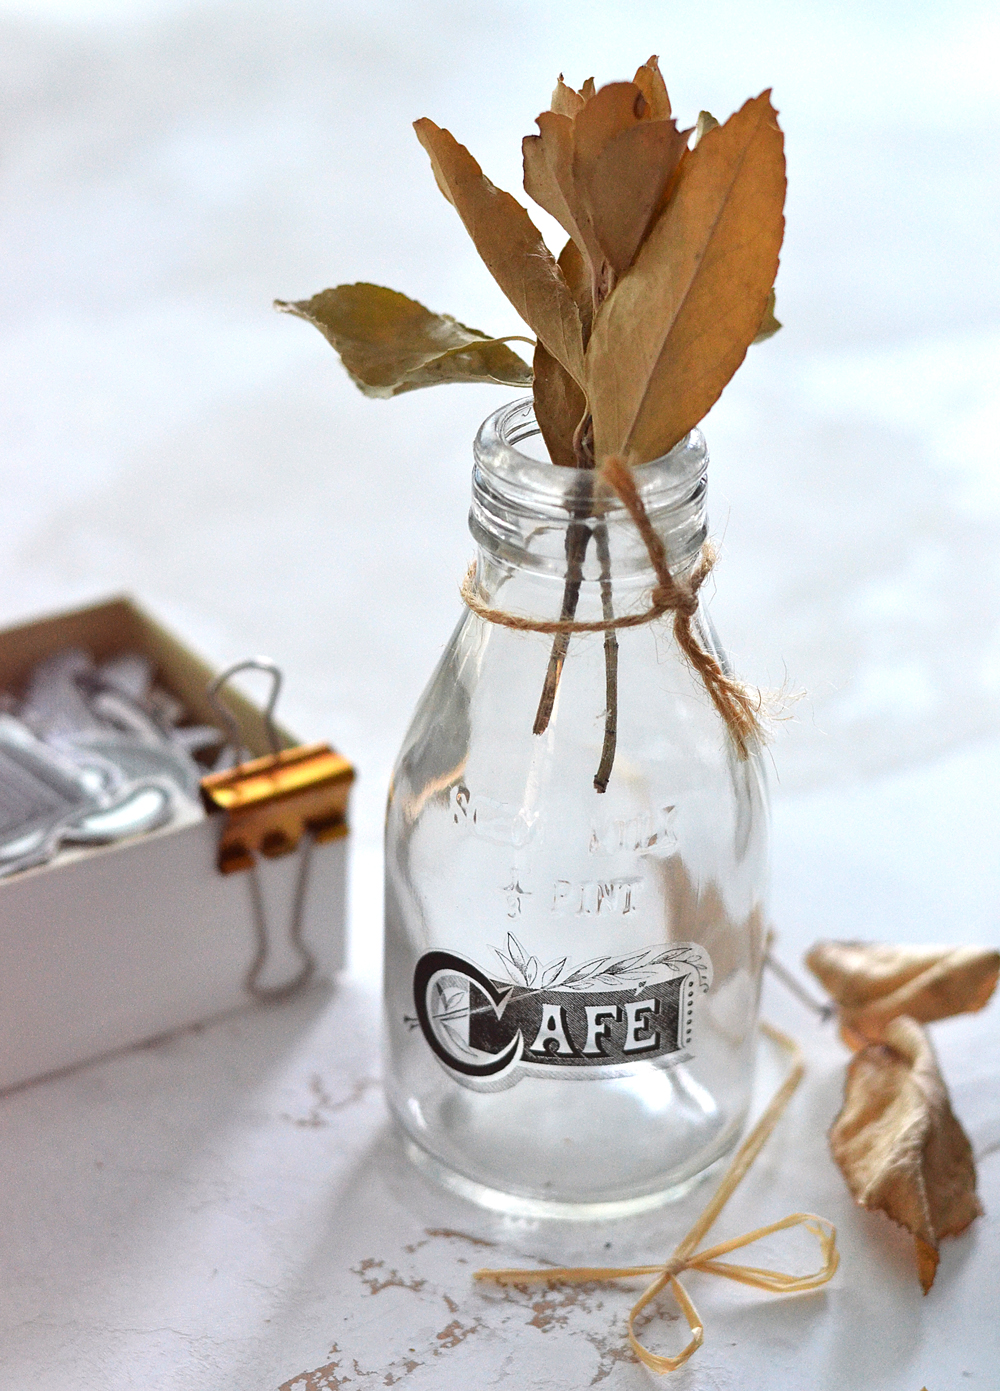
I added one clear sticker to a small milk bottle and it looked perfect!
You know that every time you unstuck a sticker to place it somewhere else, it looses its sticky powers and you will have a hard time actually using it again, right?
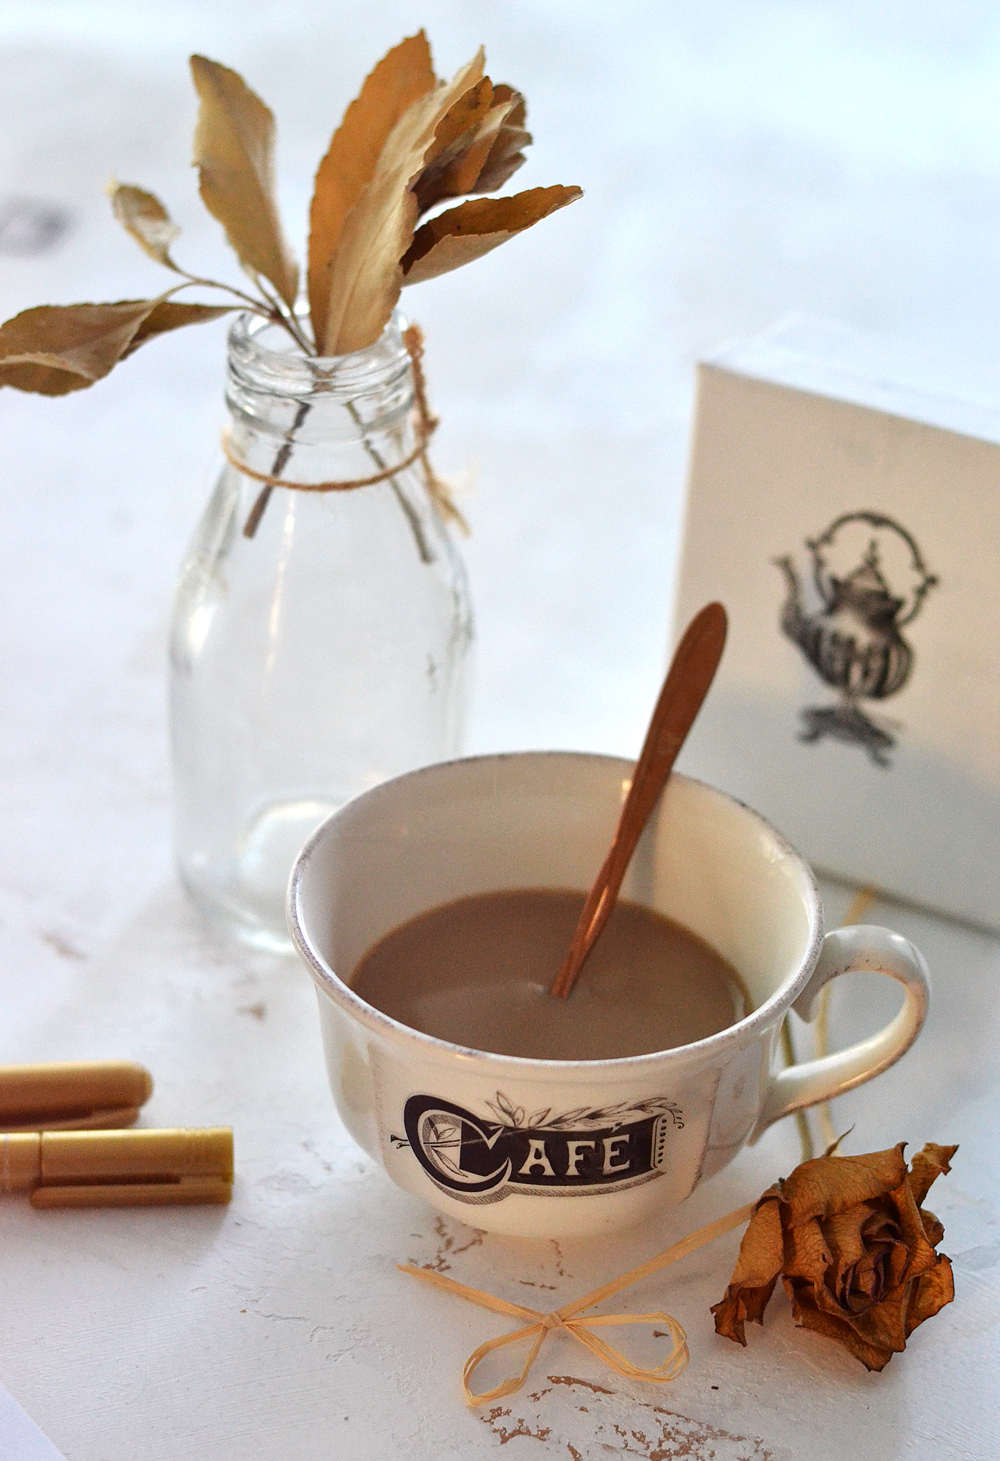
But for further experimenting, I unstuck that clear one and put it on a vintage coffee cup! Not sure how long it will hold, but for now, things are looking good!
I hope you loved learning how to make this craft today with these Aesthetic Stickers Printables and that you decide to make your own version … as soon as possible! Would love to know which of the types of paper would you like to try first, would you stain them or not and where you will be using them. Feel free to leave some new ideas in the comments section below.
Have fun creating!
Diana – Dreams Factory



Suzanne says
Hello, where do I purchase A4 size sticker paper that will run through a printer please?
Karen Watson says
Hi Suzanne, the sticker papers linked in the supply list on the post are for 8.5″ by 11″ which I think is very close to A4. If you need exact A4 measurements then I would search Amazon for something similar or try your local copy office supply store. I hope that helps!
Jeanne Ritz Rollier says
These are the best! Thank you for sharing you creativity.
Karen Watson says
Have fun making these cute stickers Jeanne! 😊
Connie says
Thank you so much.
Karen Watson says
☺
Kelly says
Hi. I would like to join your membership and use your beautiful graphics to make them into stickers like this. But what software do I use to arrange them before printing them into A4 sticker paper?
Thank you.
Karen Watson says
Hi Kelly, We like Photoshop Elements for editing these images. We currently have nearly 200 Photoshop Elements Tutorials, included on our Membership site. They are split into beginner tutorials and intermediate to help you get started with the program. We look forward to having you join us as a member!
Kelly says
Thank you so much. Definitely looking forward too!!
Mary says
Thanks so much for sharing, love how you think outside the box.
graphicsfairy says
Thank you Mary, you are so sweet 🙂
Wanda says
Wonderful stickers, thank you so much
graphicsfairy says
Thanks so much Wanda, so glad you like them!
Victoria Golojuch says
Love the stickers!! I also love your torn edge labels. Can’t wait to try them out!
graphicsfairy says
I am so glad Victoria, enjoy!!
Gail Scott says
Fabulous work here – thanks for sharing and for offering the printables as well
graphicsfairy says
Thanks so much Gail, I am so glad you enjoy them!
Anne Dwyer says
Have you tried the Water Slide Transfer Decal? I’m going to give that a try as well. Thank you so much for this easy to download and use Sticker sheets.
graphicsfairy says
Yes! Give it a try Anne, so much fun and so easy!
Sherlene Mats says
Fabulous fun and so lovely! My gears are turning. I don’t think I would be able to cut all these out, but I am going to try to combine creating digital stickers and upload as svg files to use my Cricut. Will try to let y’all know how that goes.
Also, I love your gold paper clips and the liner pens. Where can I find those?
Another great project in ‘the can’! Wonderful job!!!
graphicsfairy says
Thanks so much Sherlene, I hope you have fun making them and yes please, tell us how they turn out 🙂
Maria Merlino says
Thank you so much for all your time and talent! These pdf files are a work of love.
Maria
graphicsfairy says
That is so kind of you Maria, thank you 🙂