DIY Fall Card
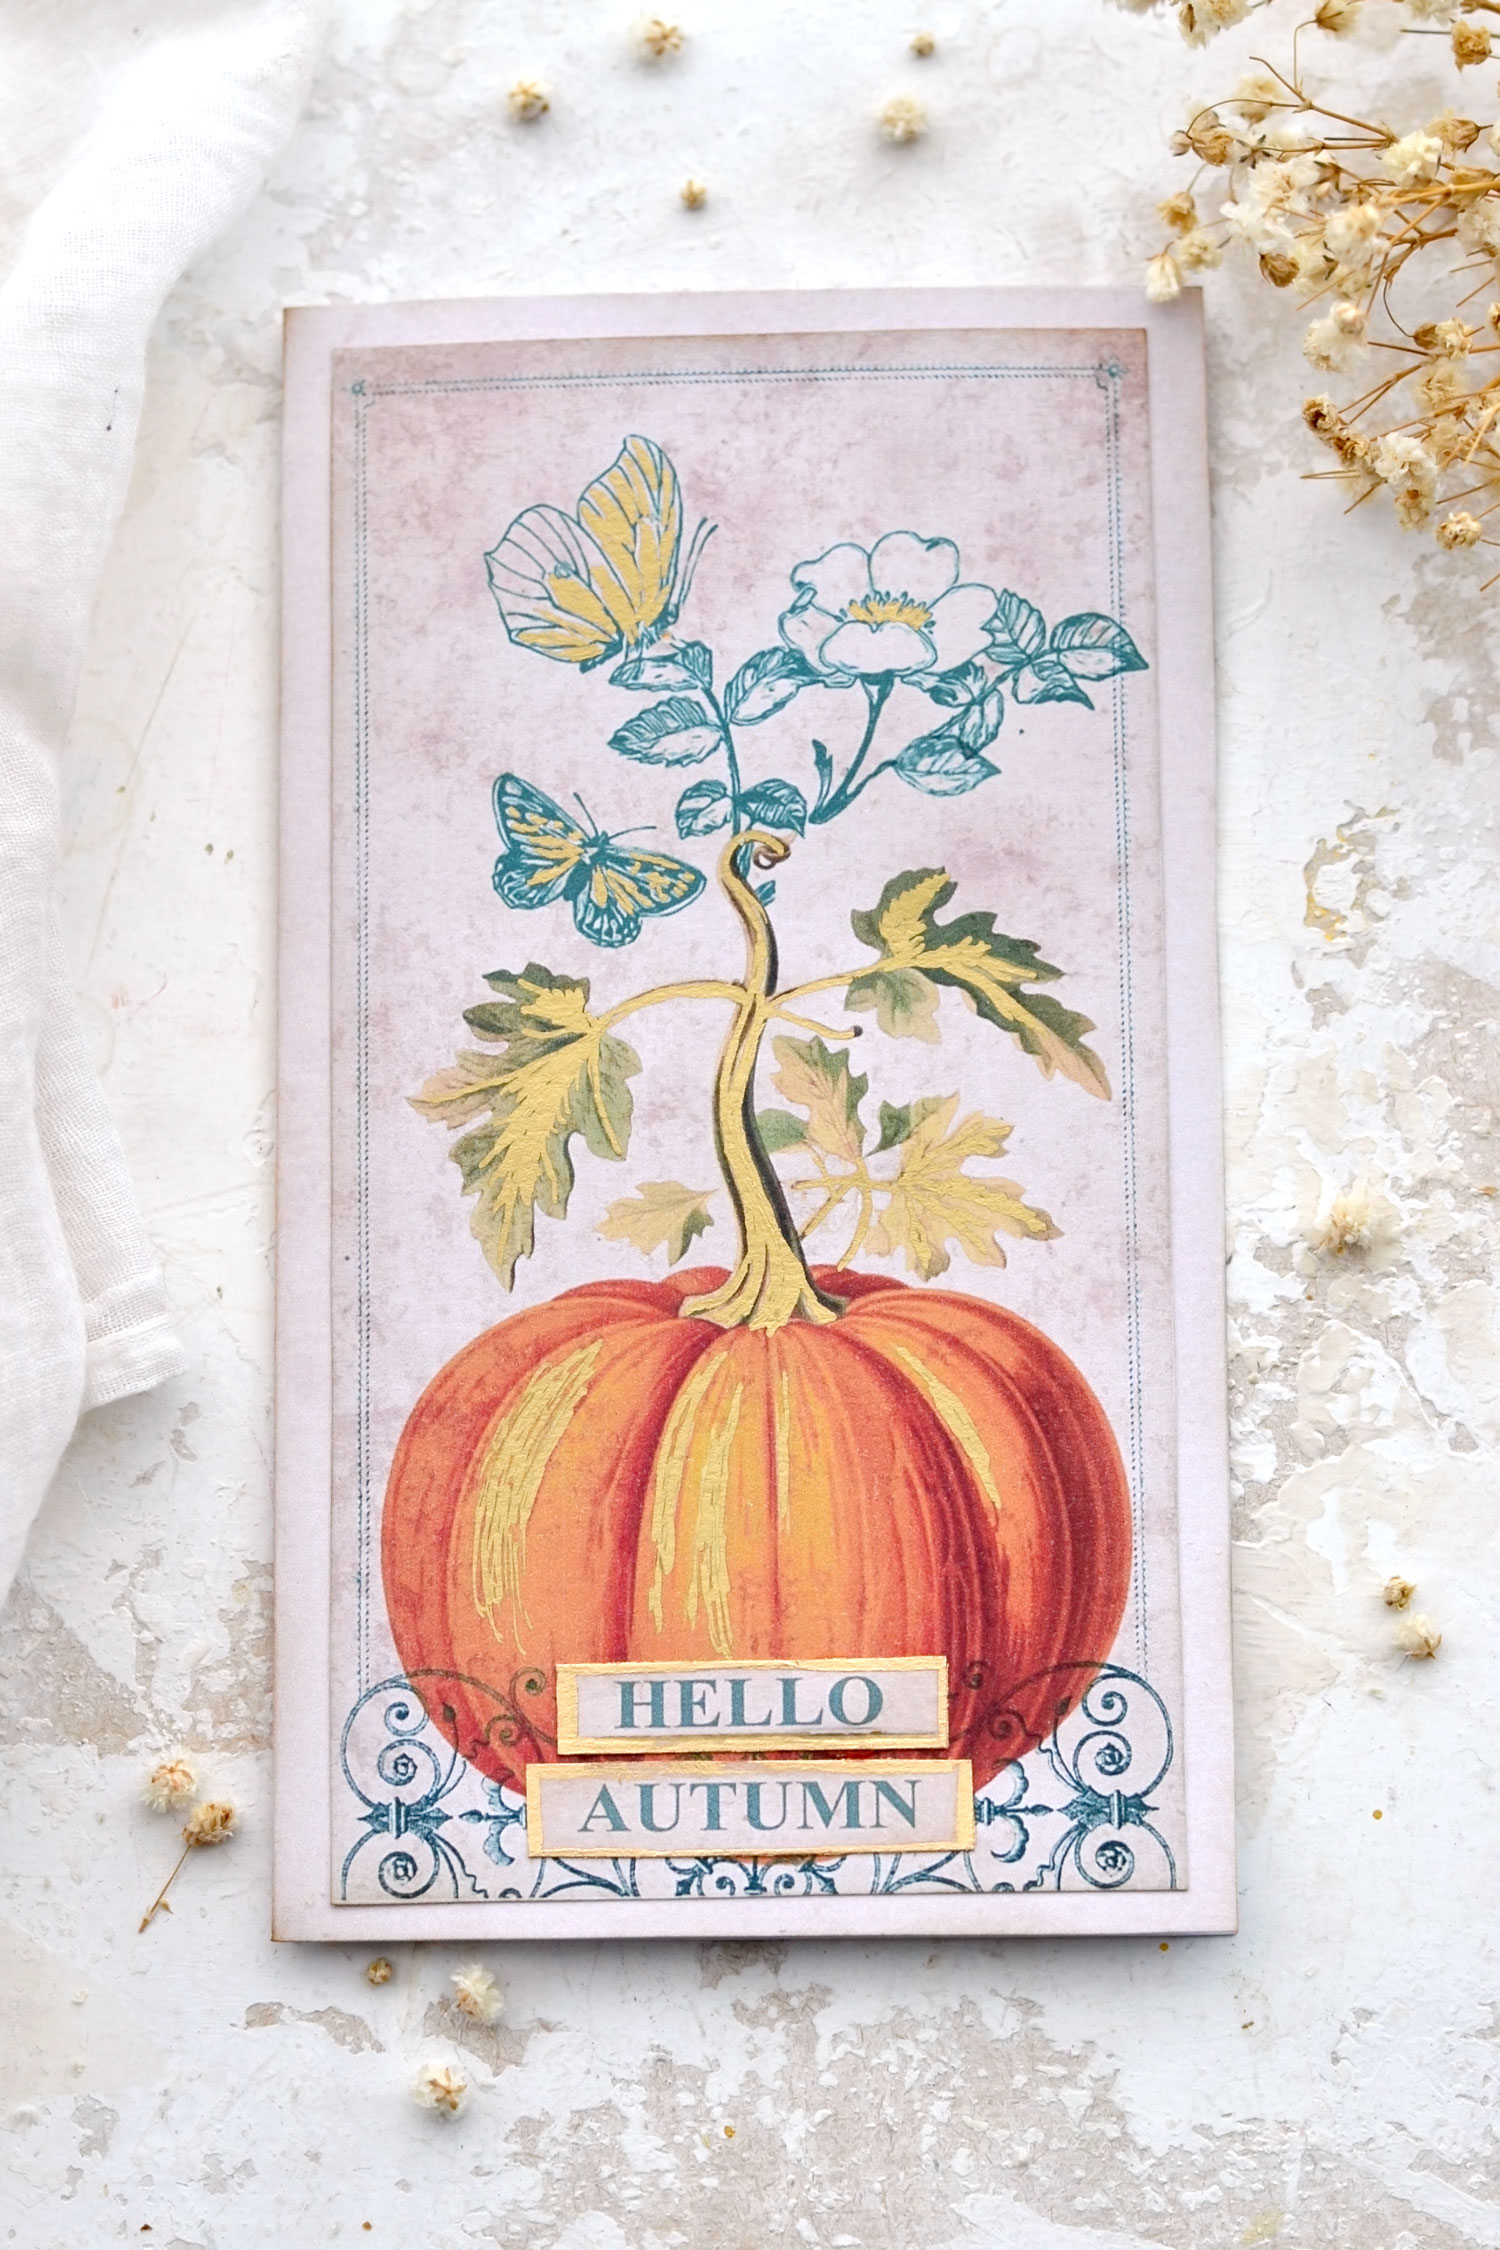
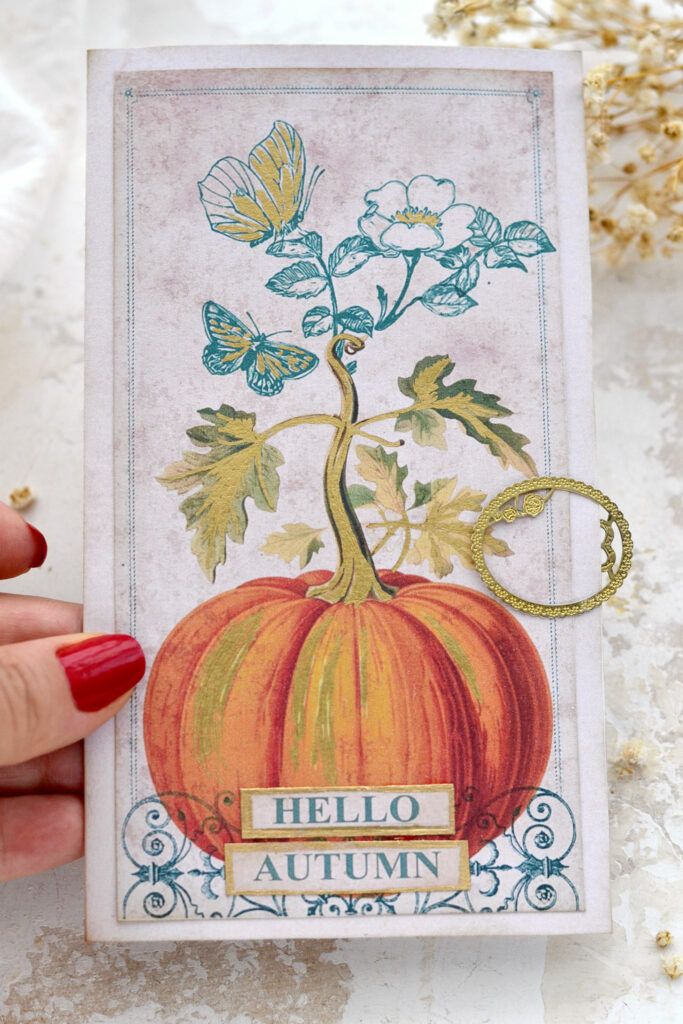
Hello Graphics Fairy friends! I’m Diana from Dreams Factory and I’m happy to be here again to share another DIY project with you! Today I will show you how to make this super chic DIY Fall Card, with a cute Pumpkin, that will be perfect for welcoming the upcoming fall season! We’ll only need a few supplies to make this project so you can have it ready in no time! You can use distress ink to give the paper a more aged appearance and if you like adding a little shimmer, you can add a touch of gold here and there!
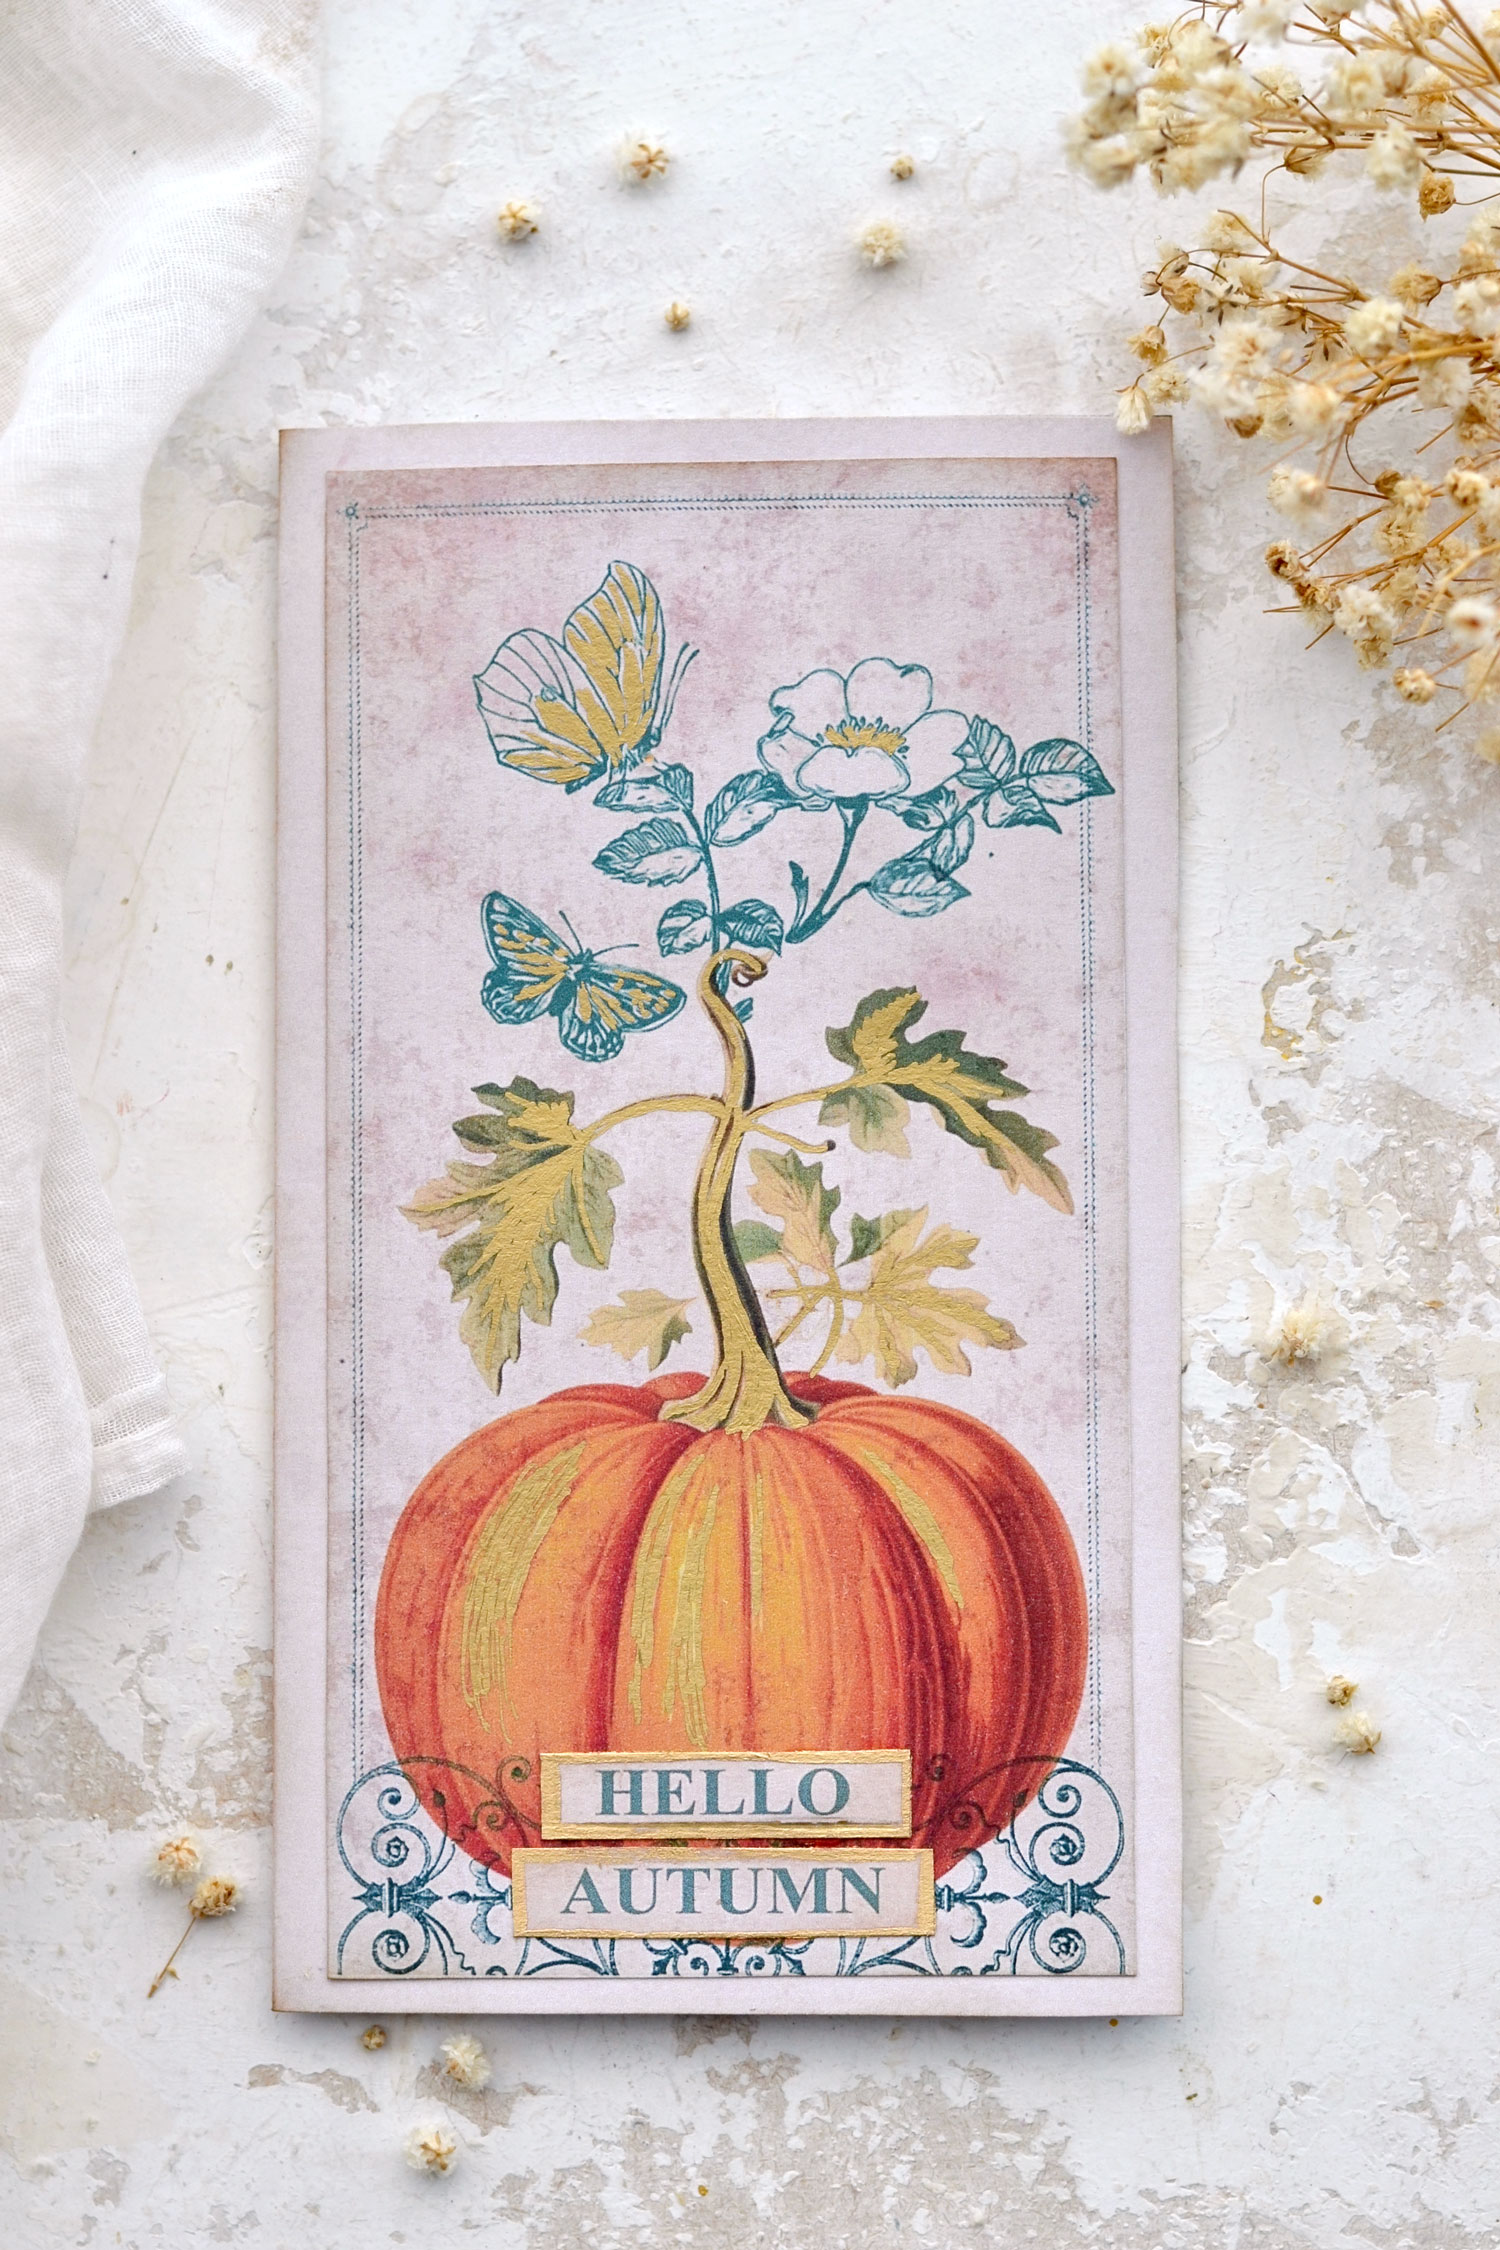
I used an orange pumpkin image with leaves that was recently shared here on The Graphics Fairy. There was something about this image that really caught my eye and I instantly fell in love with it! I also added a teal flower image with butterflies that looks like a beautiful hand-drawn sketch and an ornamental iron grill that looks like a small fence that is placed in front of the pumpkin.
Teal and orange go well together because they are complementary colors and they manage to create a visually appealing contrast that is pleasing to the eyes. I know that teal might not be the first color to choose in terms of a fall color scheme, but I loved their whimsical appearance and the overall vibe they emitted when placed together.
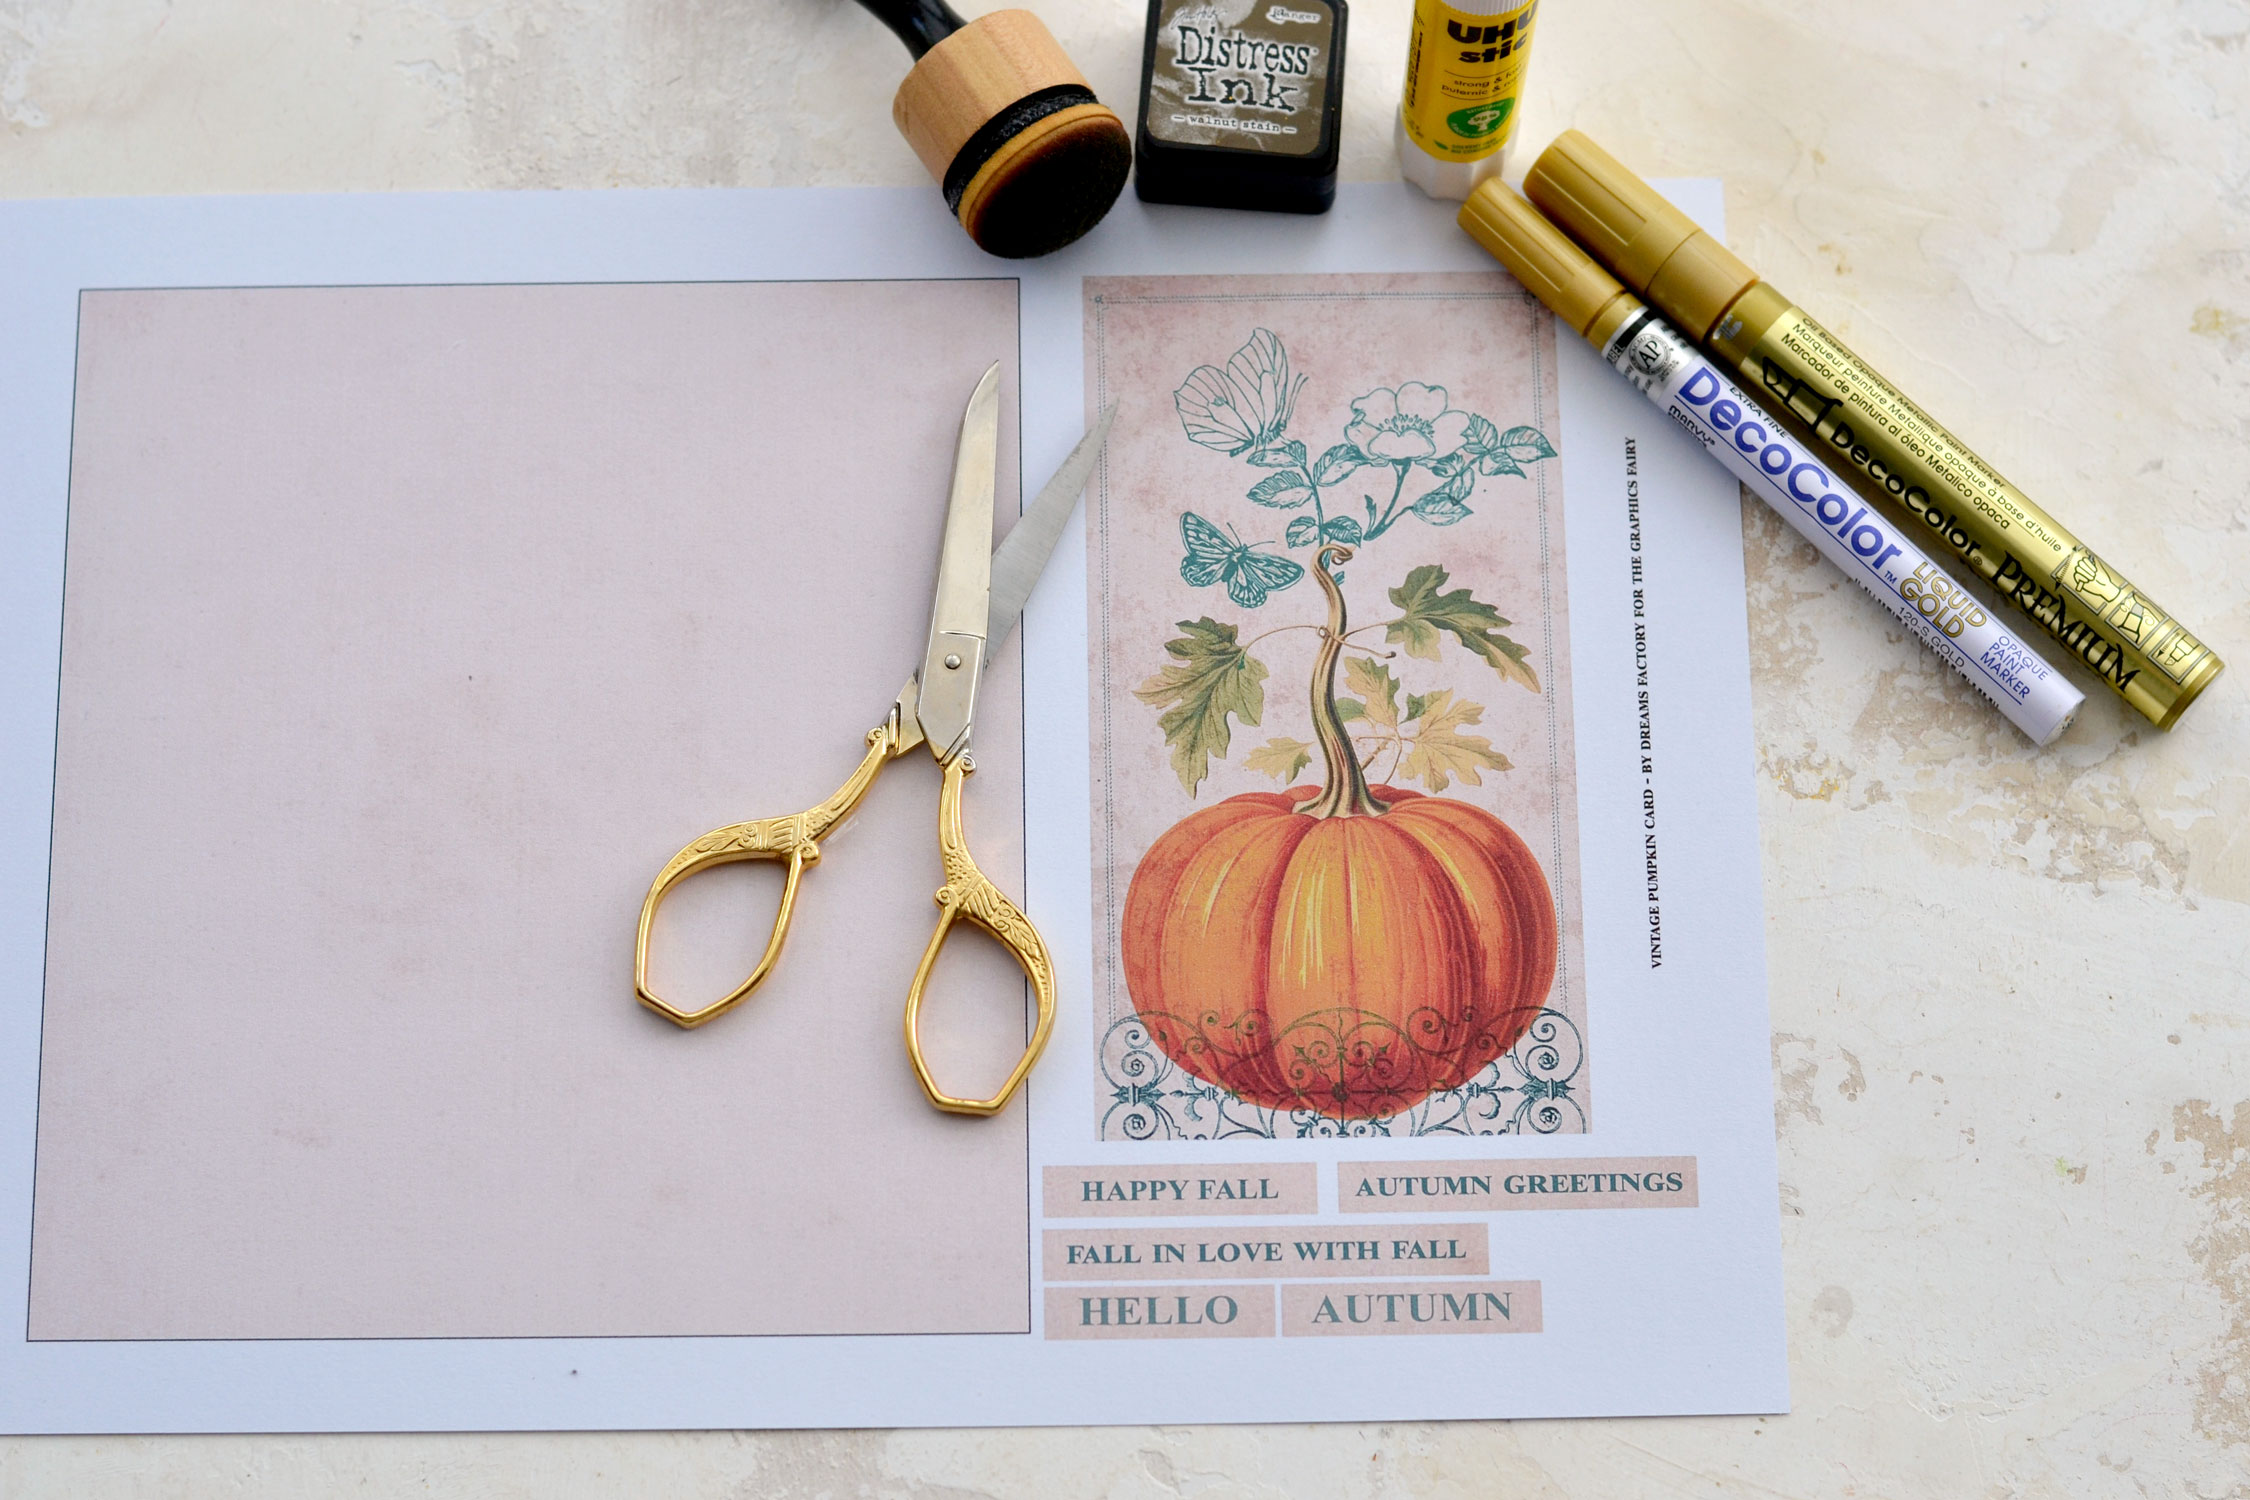
Below you will find the printable that I designed for this project, you can save it on your computer and print it as many times as you want! The printable includes a vintage card base that you will need to fold in half and the top with our lovely pumpkin. I also included a few fall wishes embellishments that you can cut and use according to your preference.
Free Printable: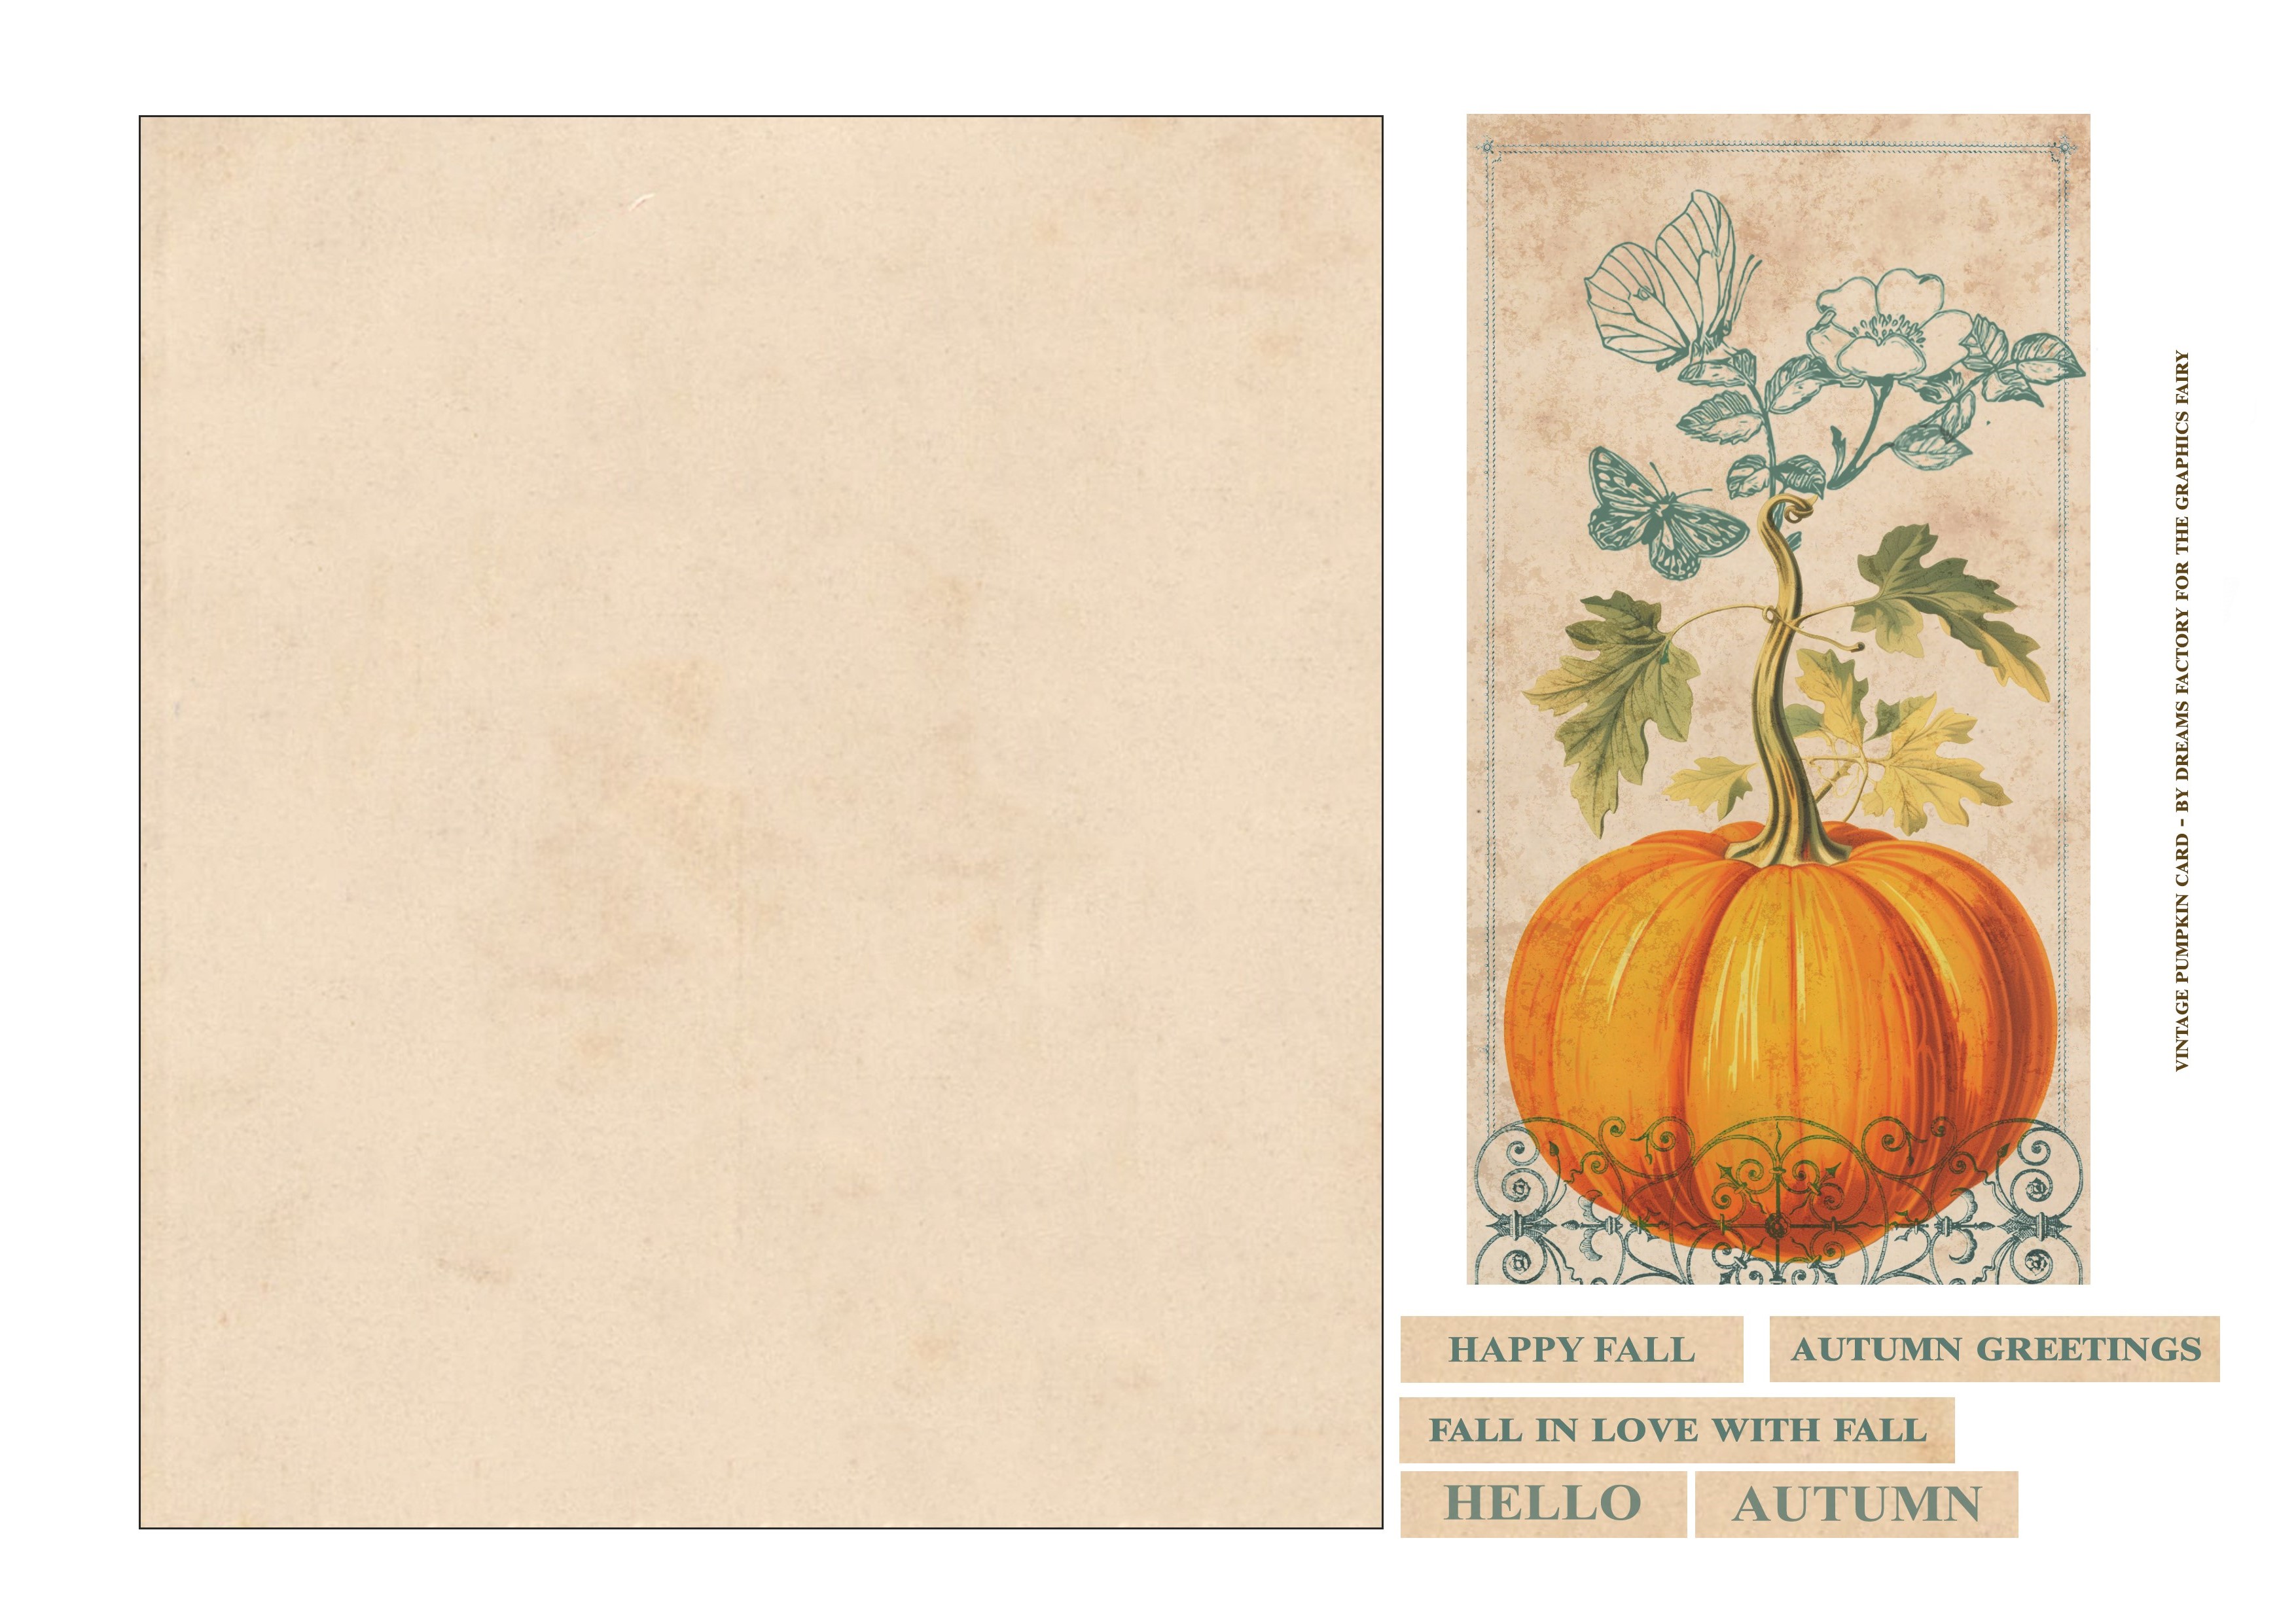
—-> Click HERE to Download the Full Size Printable PDF <—-
Supply List for DIY Fall Card:
- white cardstock paper or regular paper
- home printer
- scissors or a paper trimmer
- mini distress inks
- blending tool with foams
- paper glue
- gold marker – I used my favorite Decocolor gold markers
Tutorial:
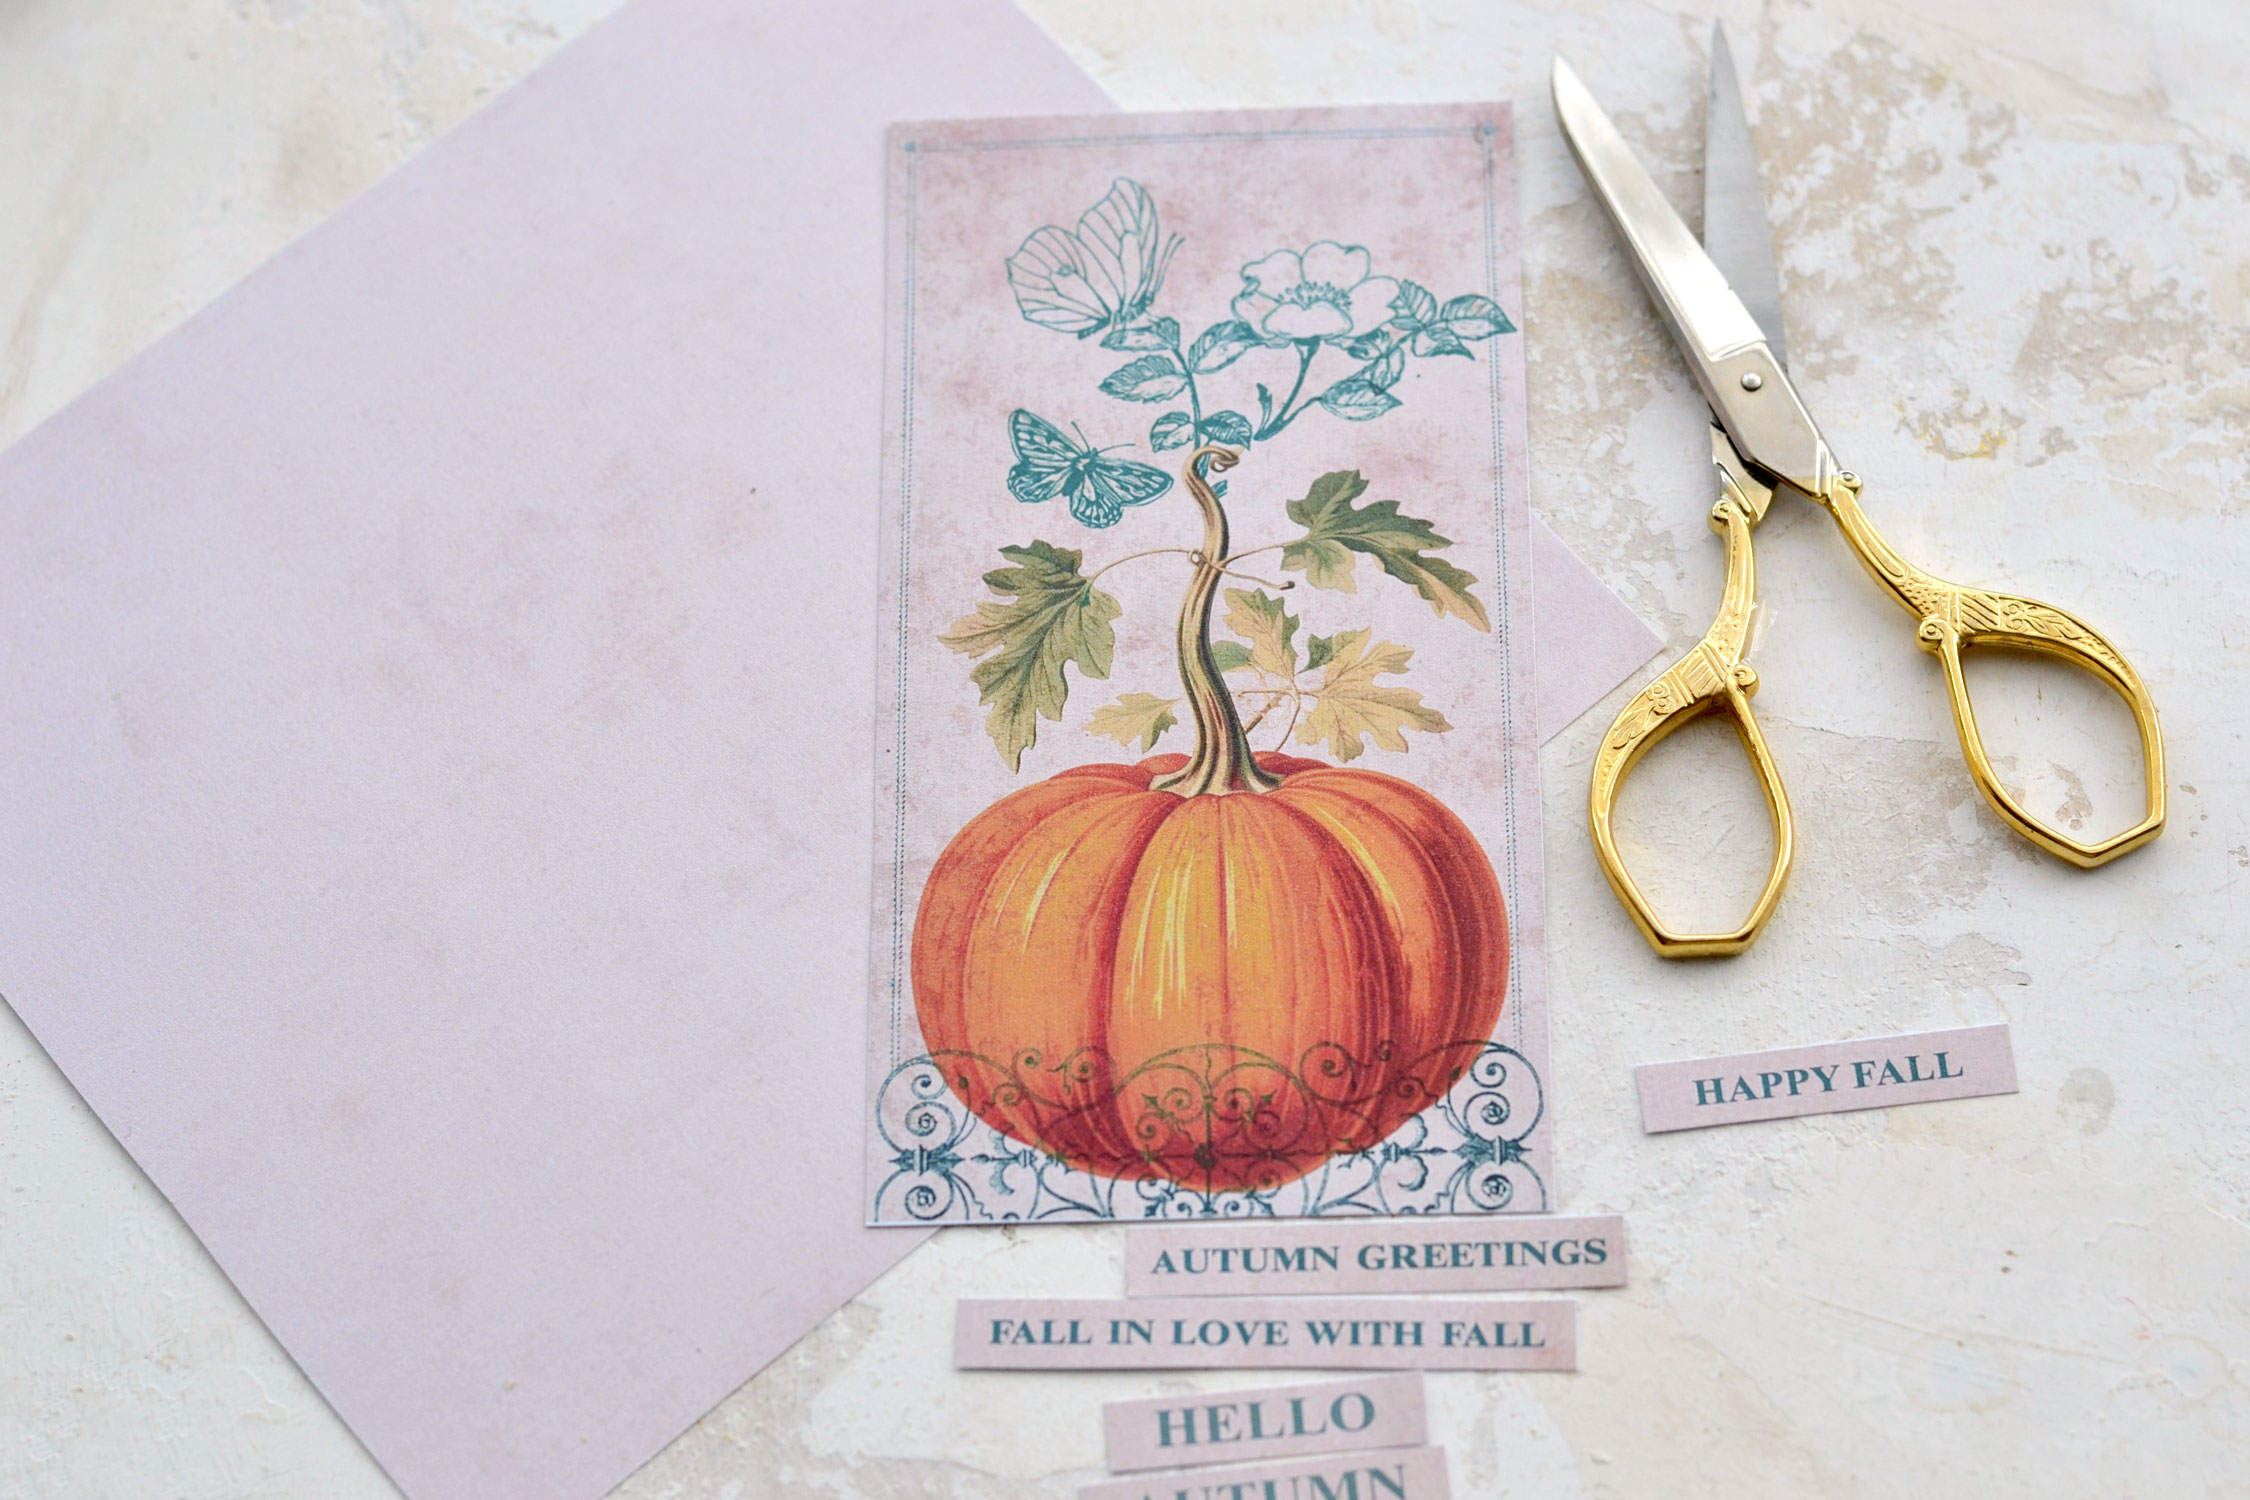
Print your printable on cardstock paper, then use your scissors or a paper trimmer to cut all the elements. I included a black border around the card base so it would be easier to cut, just make sure you completely remove it, we only need to keep the card base, we don’t need the border.
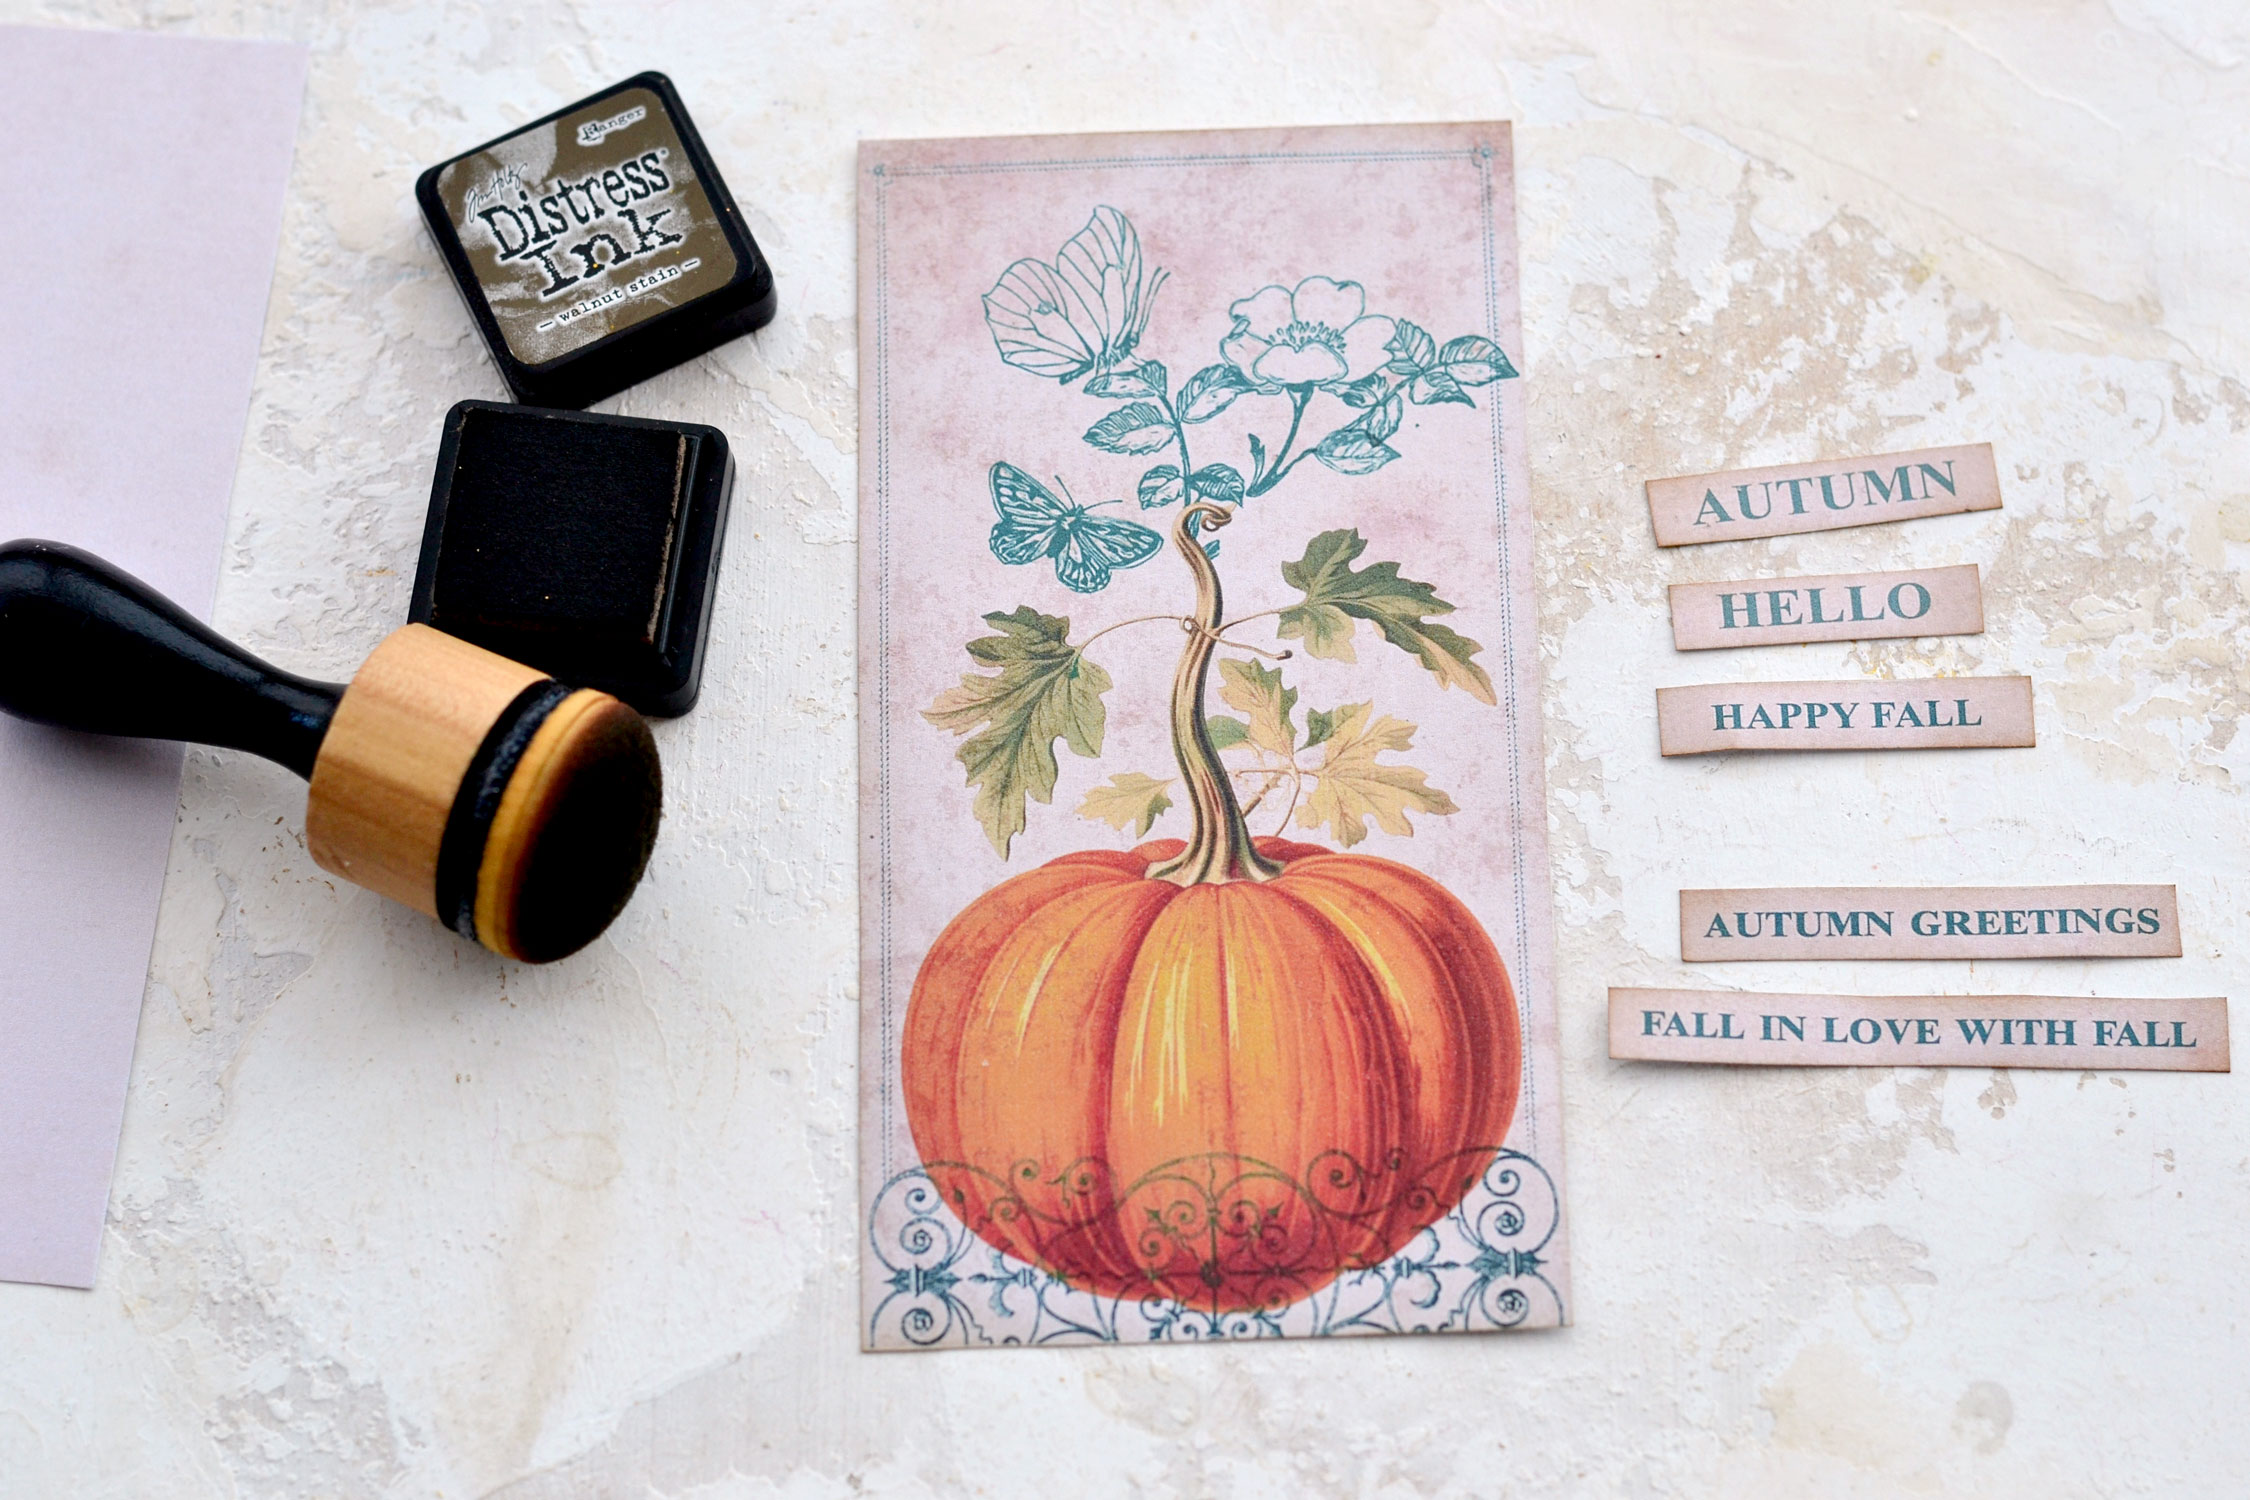
Use brown distress ink to give the paper a light, aged effect all over the edges. I usually prefer to use Walnut Stain, but you can use any other browns that you prefer. You could also use some colored distress ink if you feel like adding more color to this beauty, orange or teal will keep our color scheme cohesive and will give a more playful overall vibe.
Don’t forget to also distress the small fall cutouts and the card base if you want. I wasn’t sure at this point if I wanted to distress the base, so I just left it as it was.
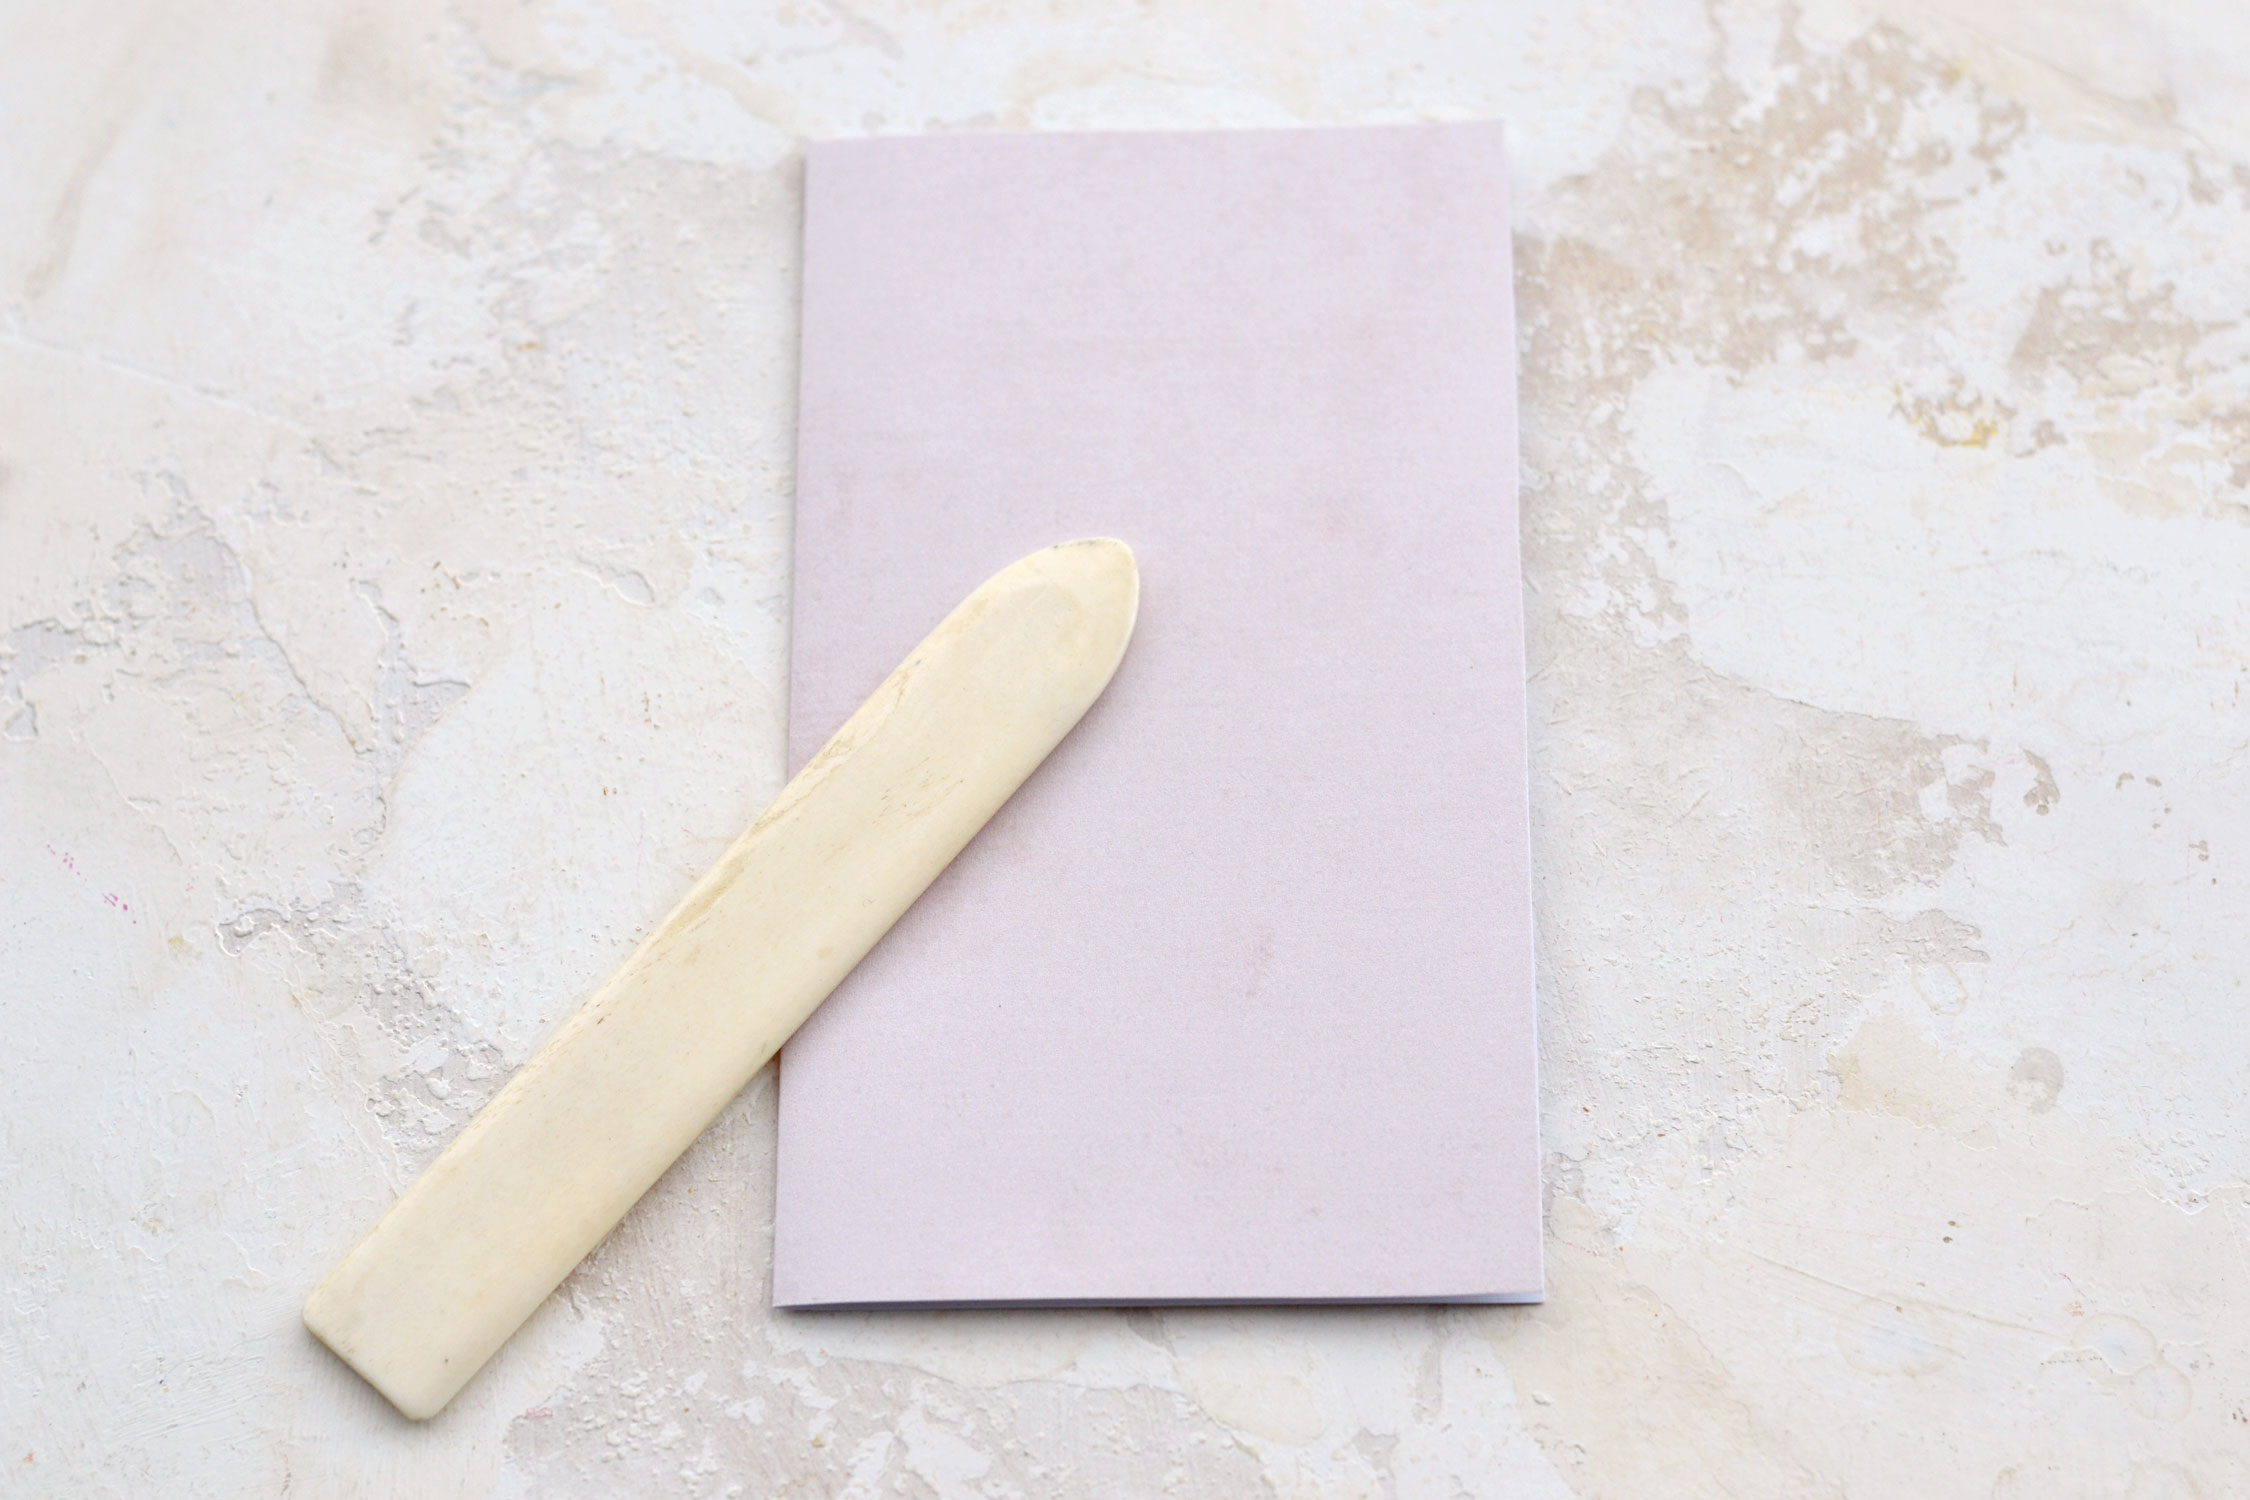
Fold the card base in half and use a bone folder to create a smooth folding line. You can score it first if you prefer, just make sure you fold it to match the top of your card. If you are not sure how to fold it, place the pumpkin paper on top, you should be left with only a small amount of paper around it.
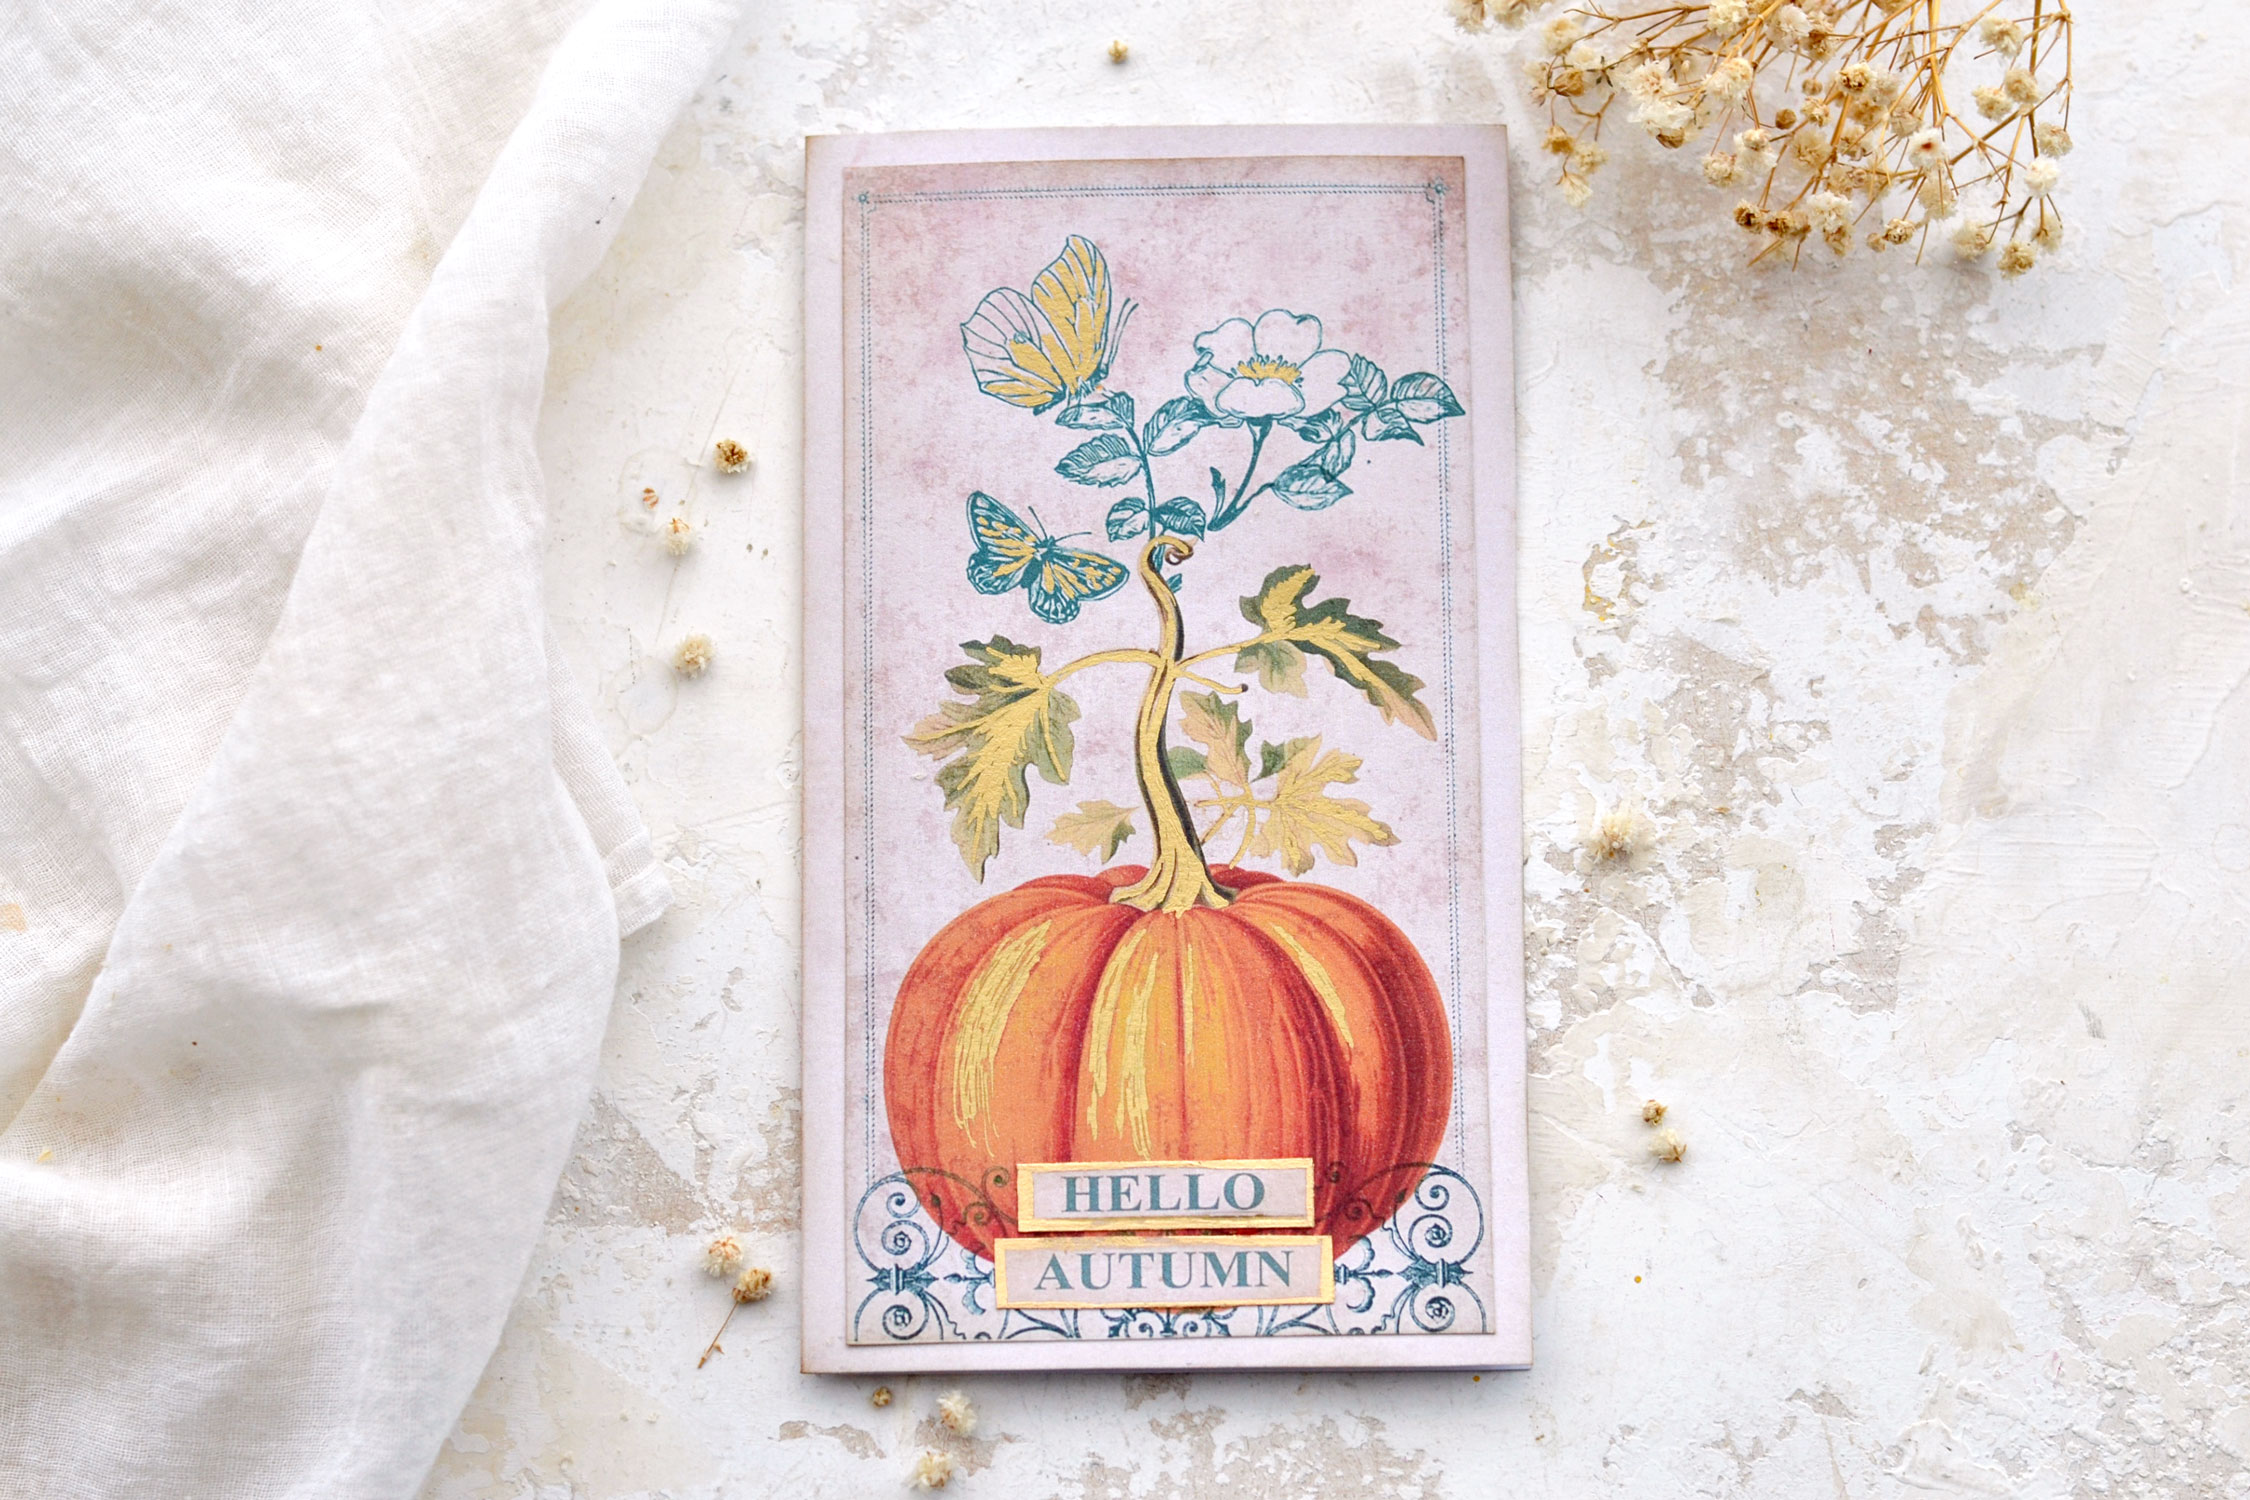
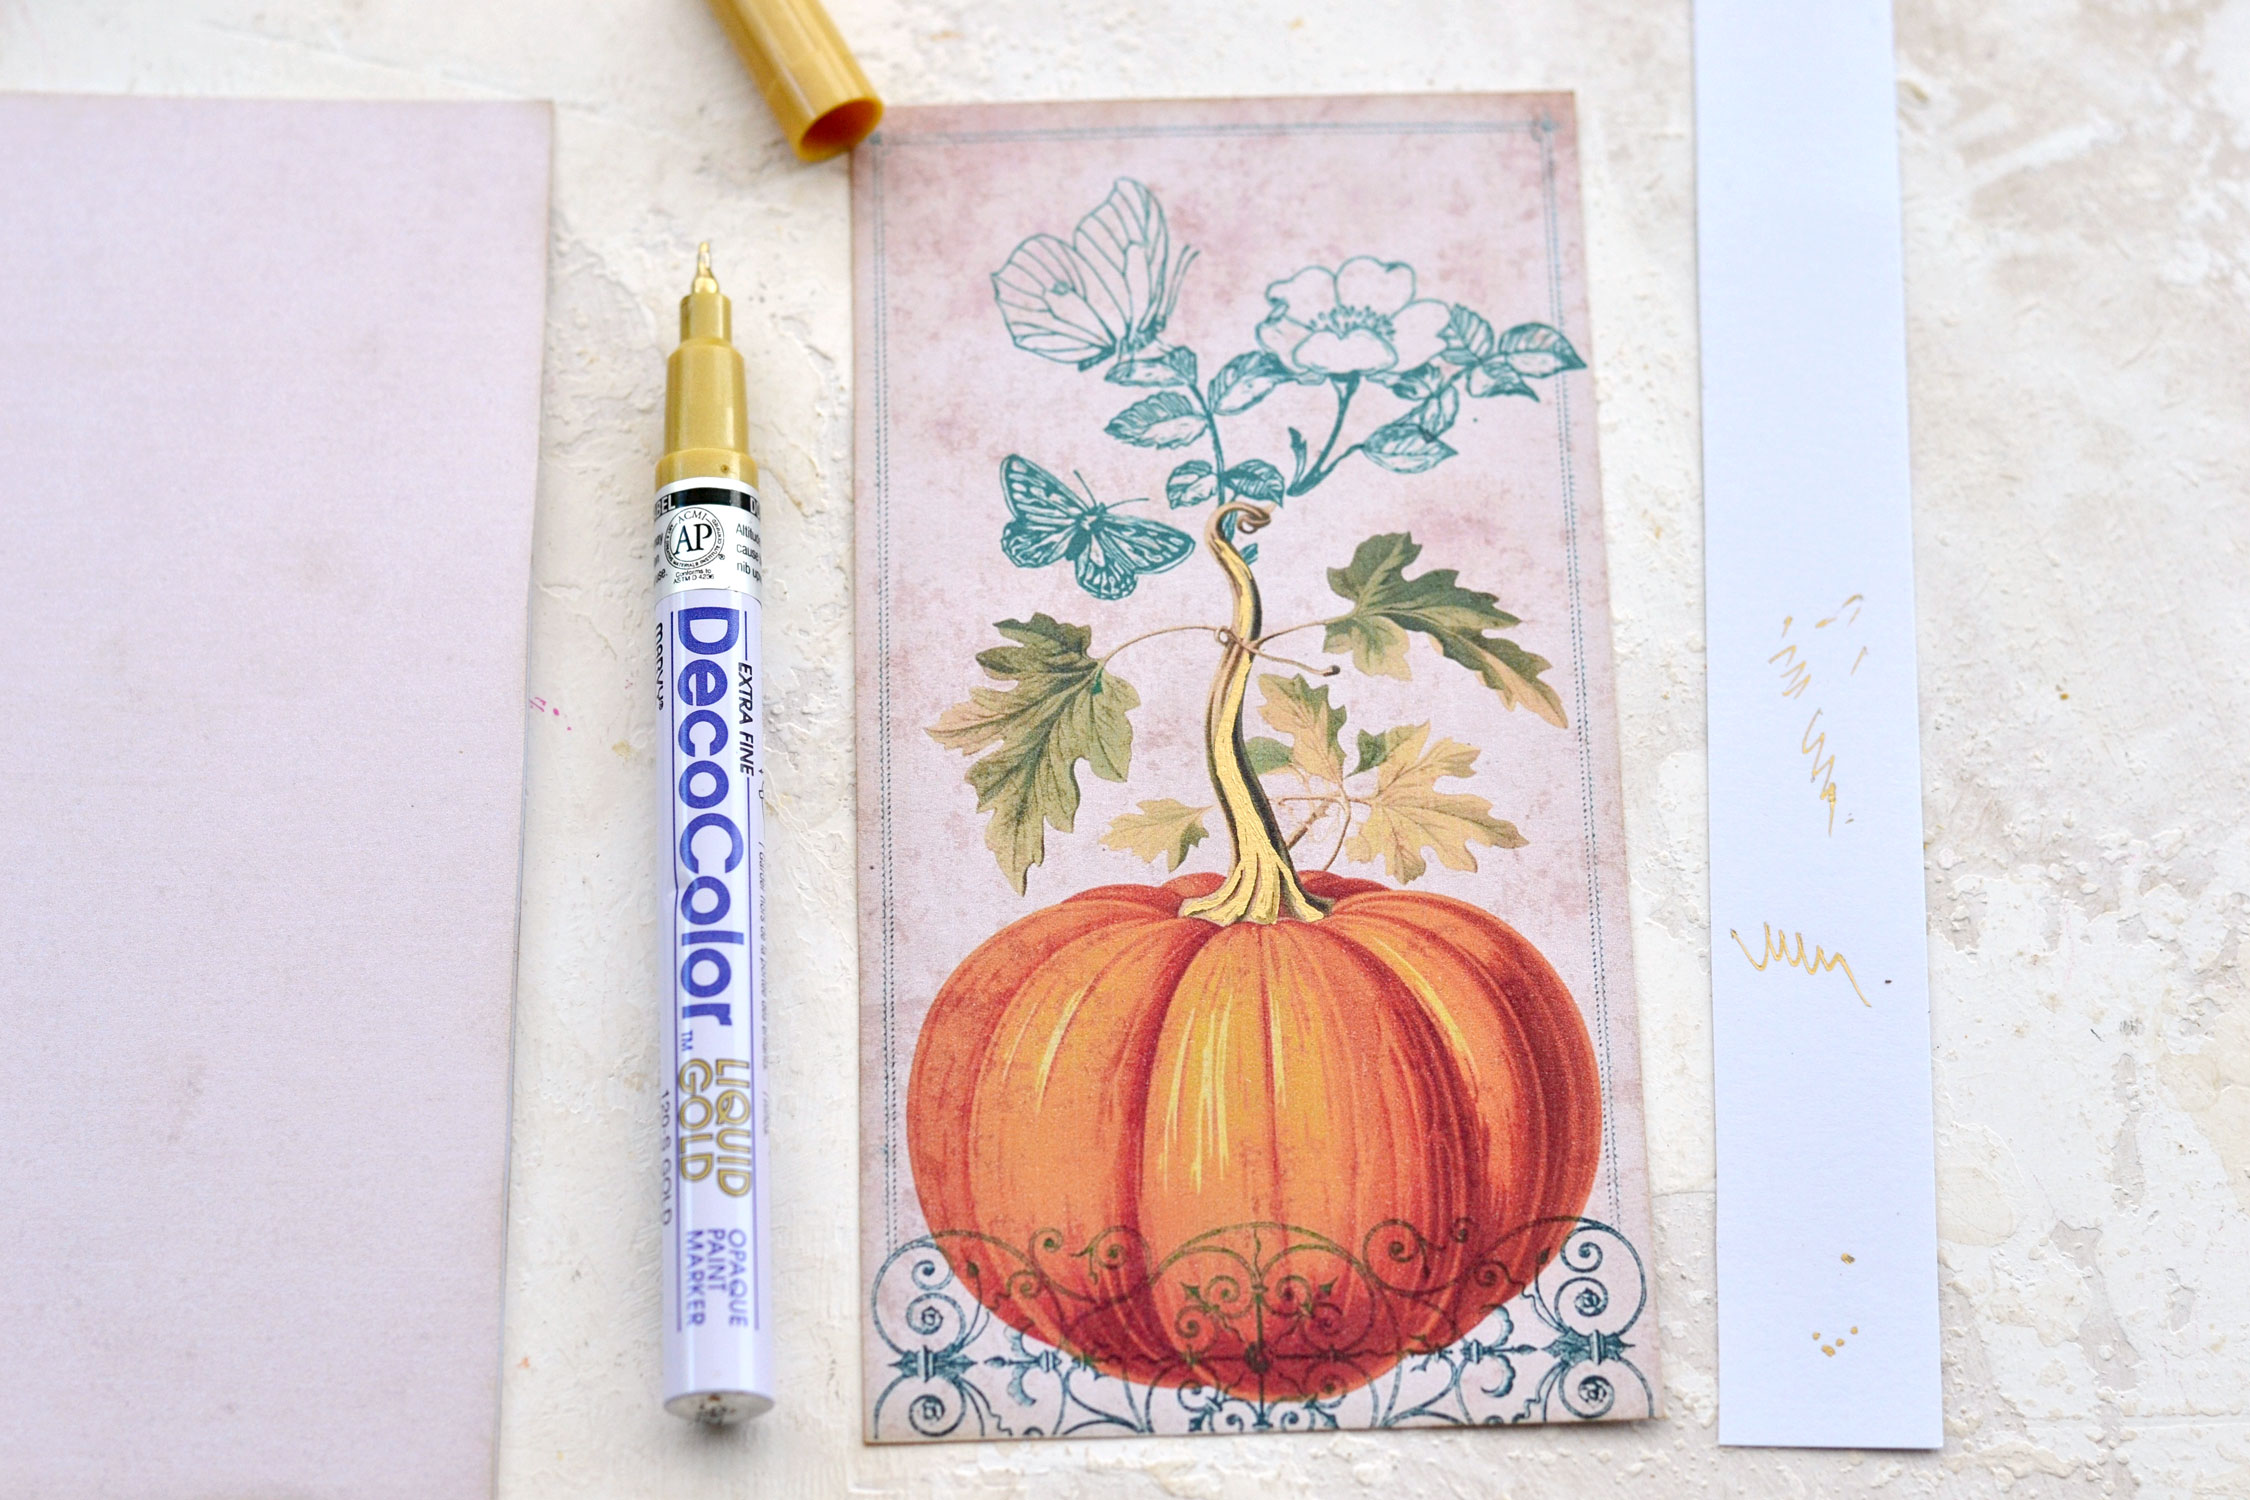
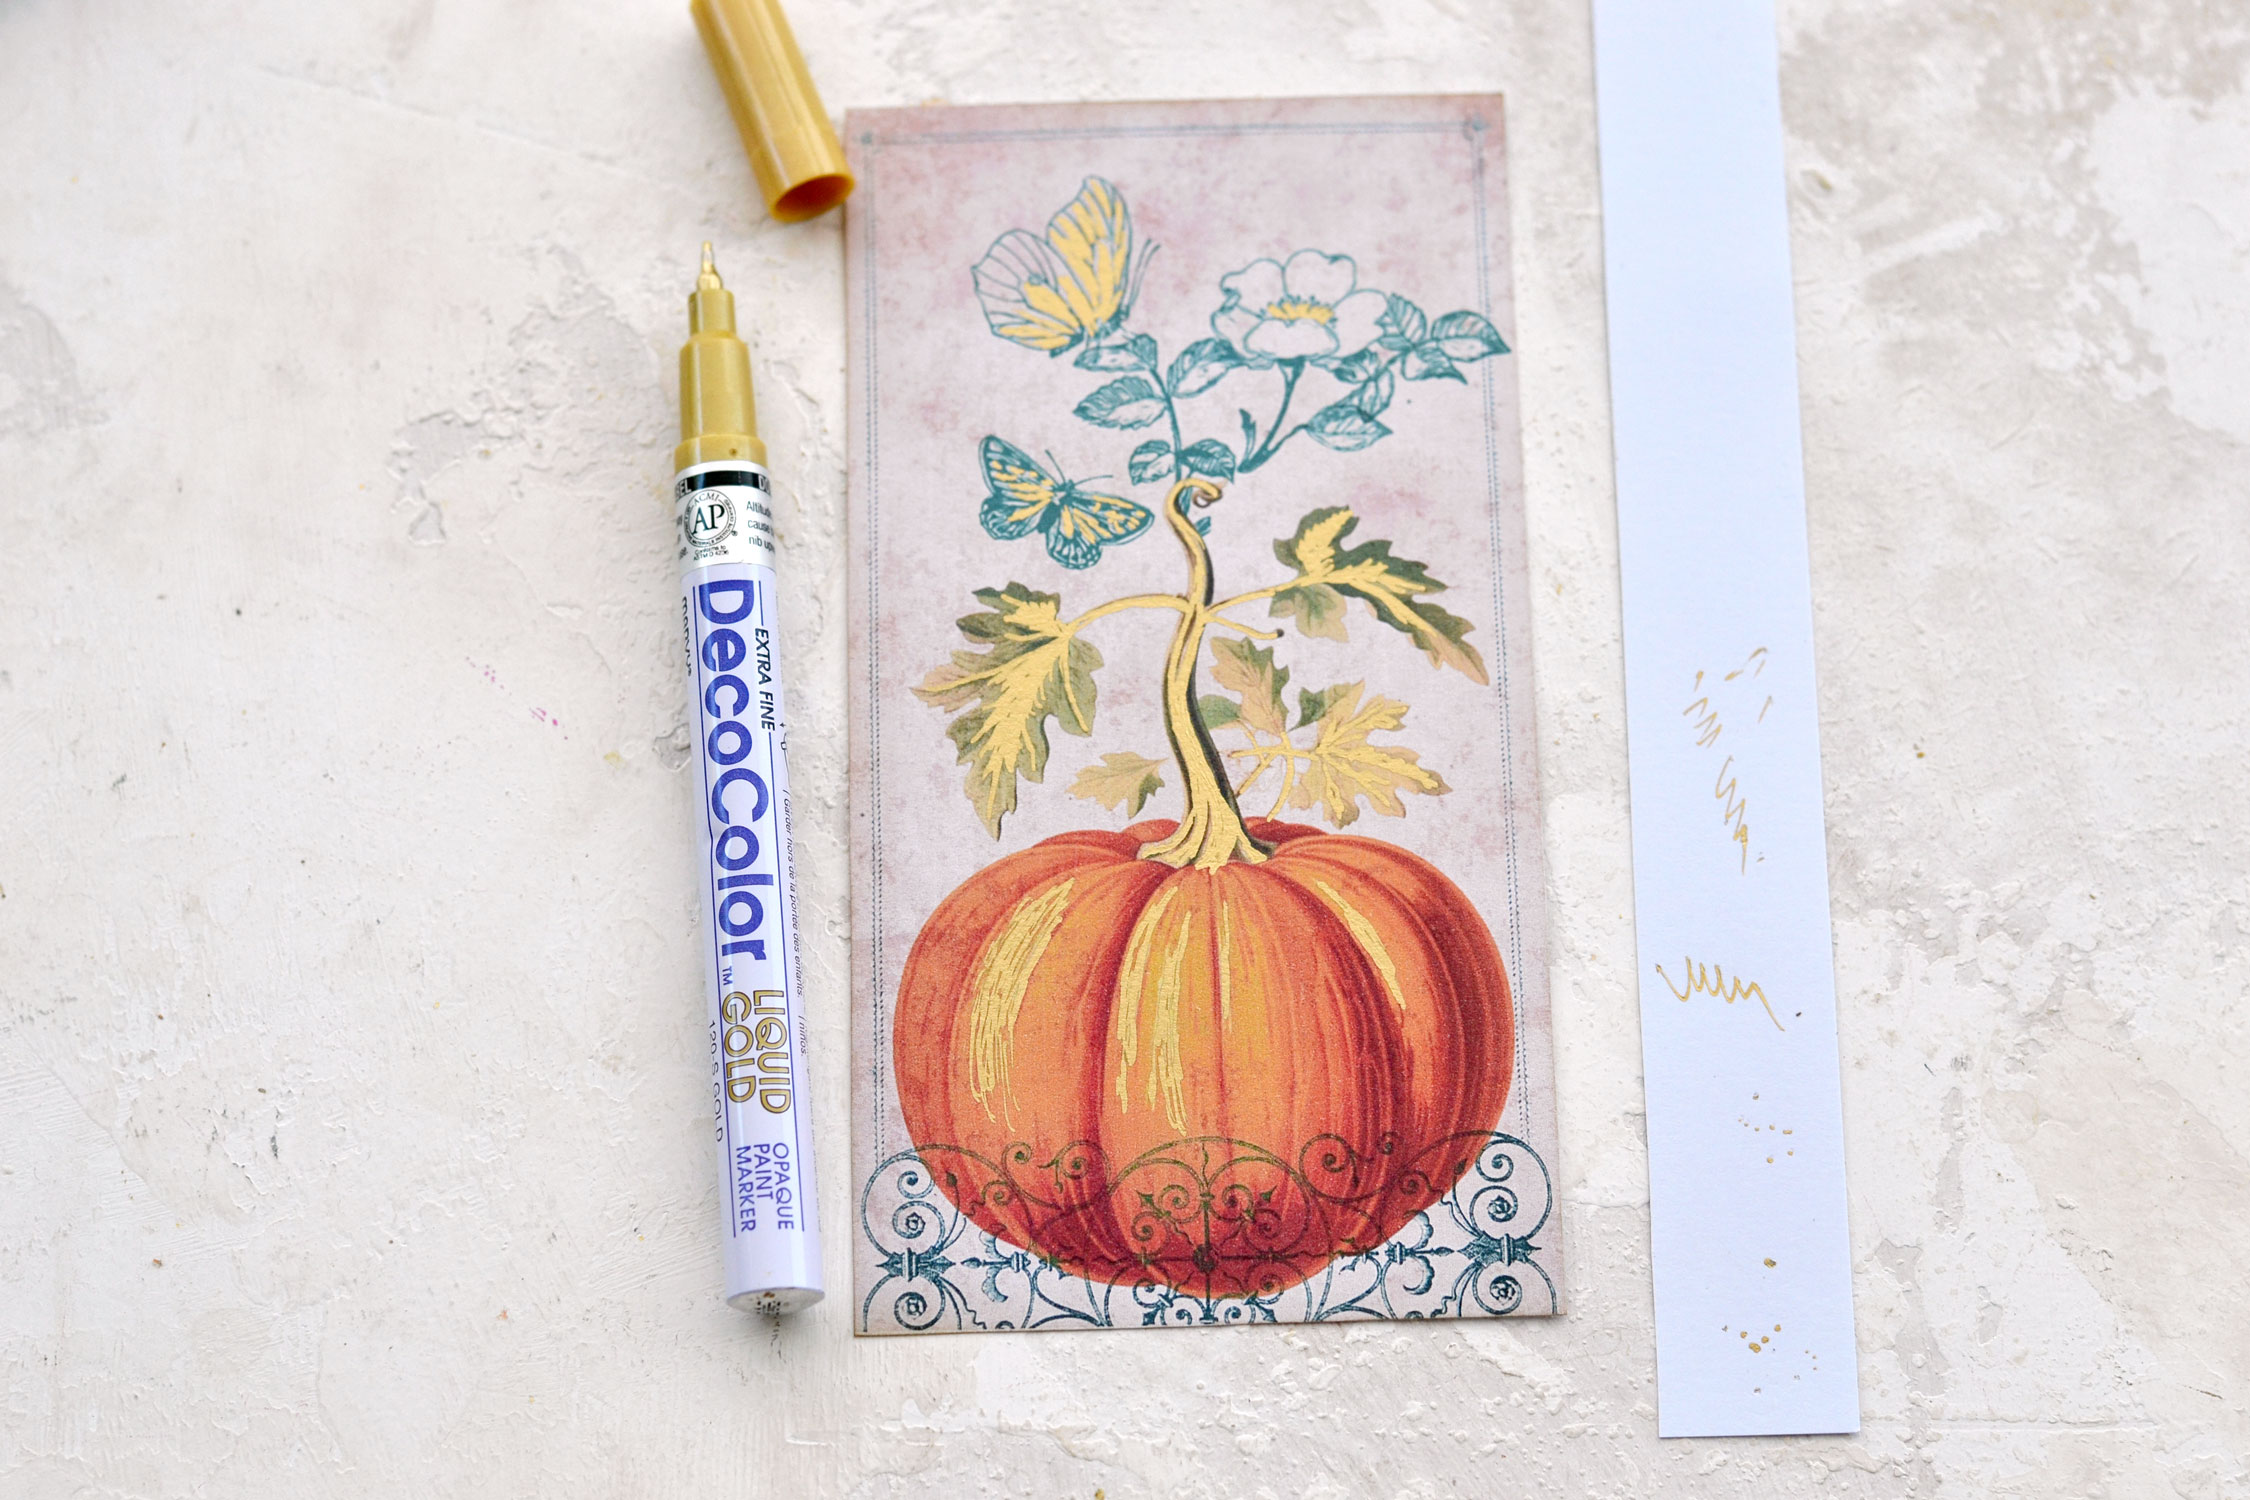
Moving on to adding the gold touches, which is always my favorite part, no matter the project! I used my favorite Decocolor gold marker, but this time in its smaller and thinner version. I started with the stem of the pumpkin and I painted it with this lovely marker. I had to keep a scrap piece of paper close by to tap the fine tip of the marker from time to time so it would release the gold paint properly. Make sure you don’t completely cover the surface of the stem, and keep the darker printed areas unpainted, so you can still have some contrast. I then moved on to the pumpkin itself and used the fine tip to draw gold lines following the design. If you look closely you will see that the pumpkin image is quite realistic and there are some brighter lines where it reflects the light. So I used my fine-tip marker to cover those lines with gold and I really loved how it started to look!
You can add as much gold as you want, as you can see I added some on the vintage pumpkin’s leaves, but also on the teal flower and butterfly image, here and there, just to bring everything together.
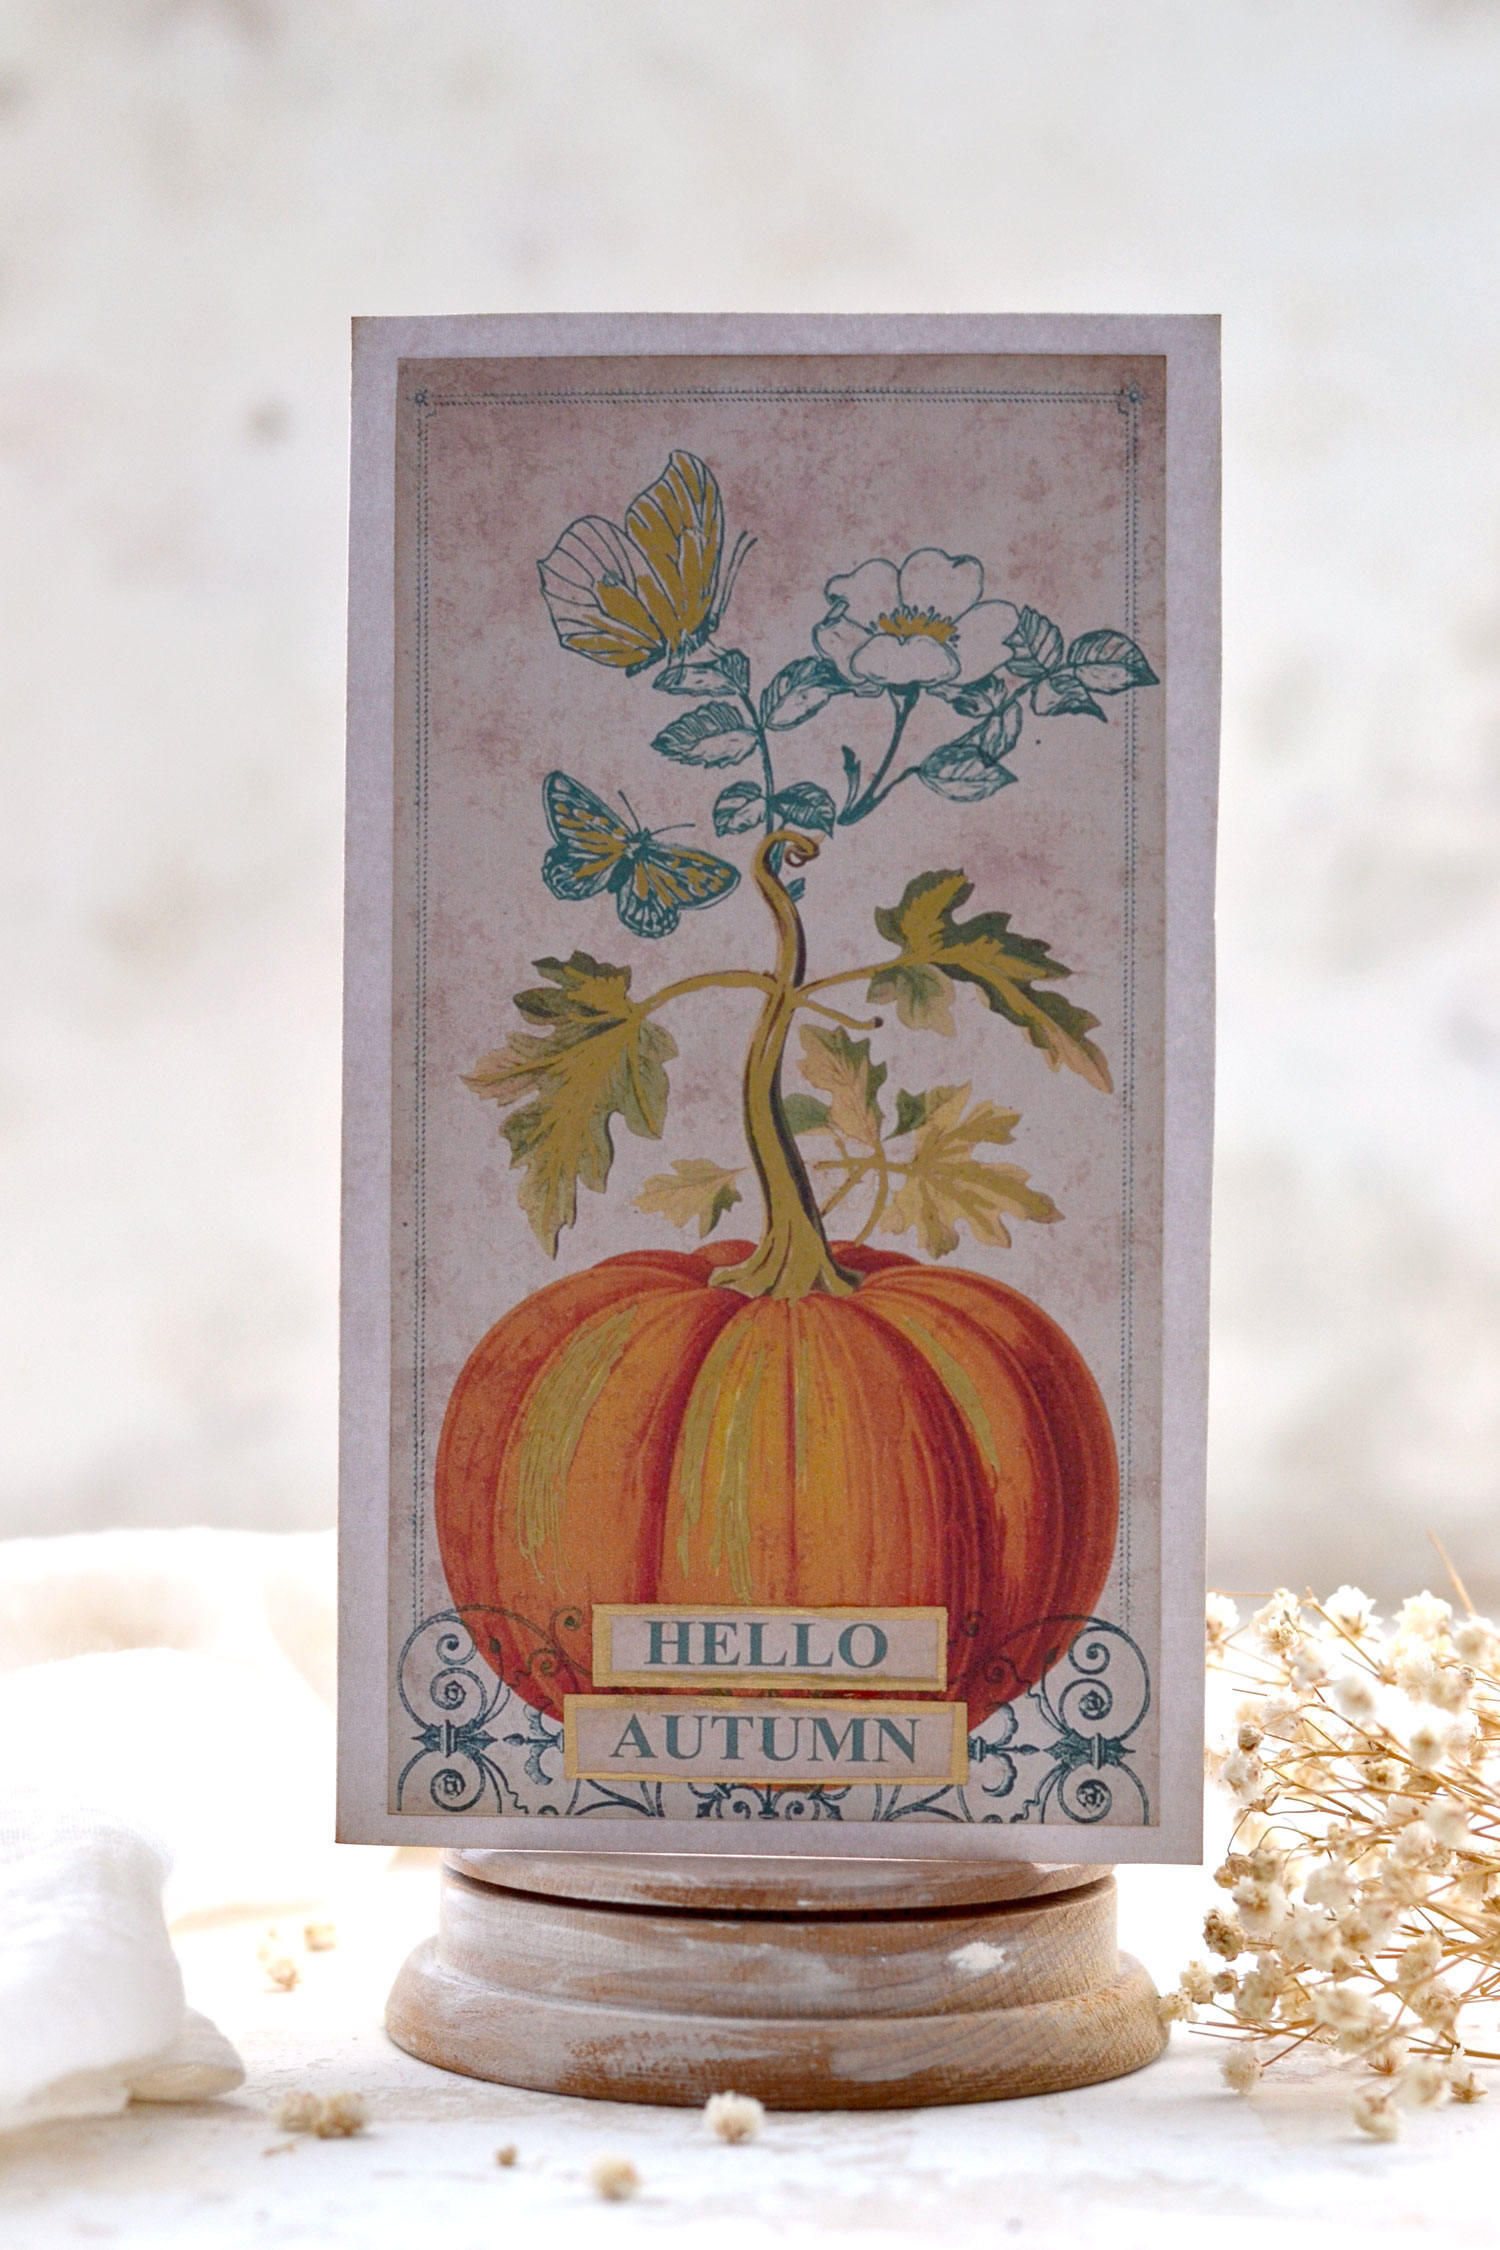
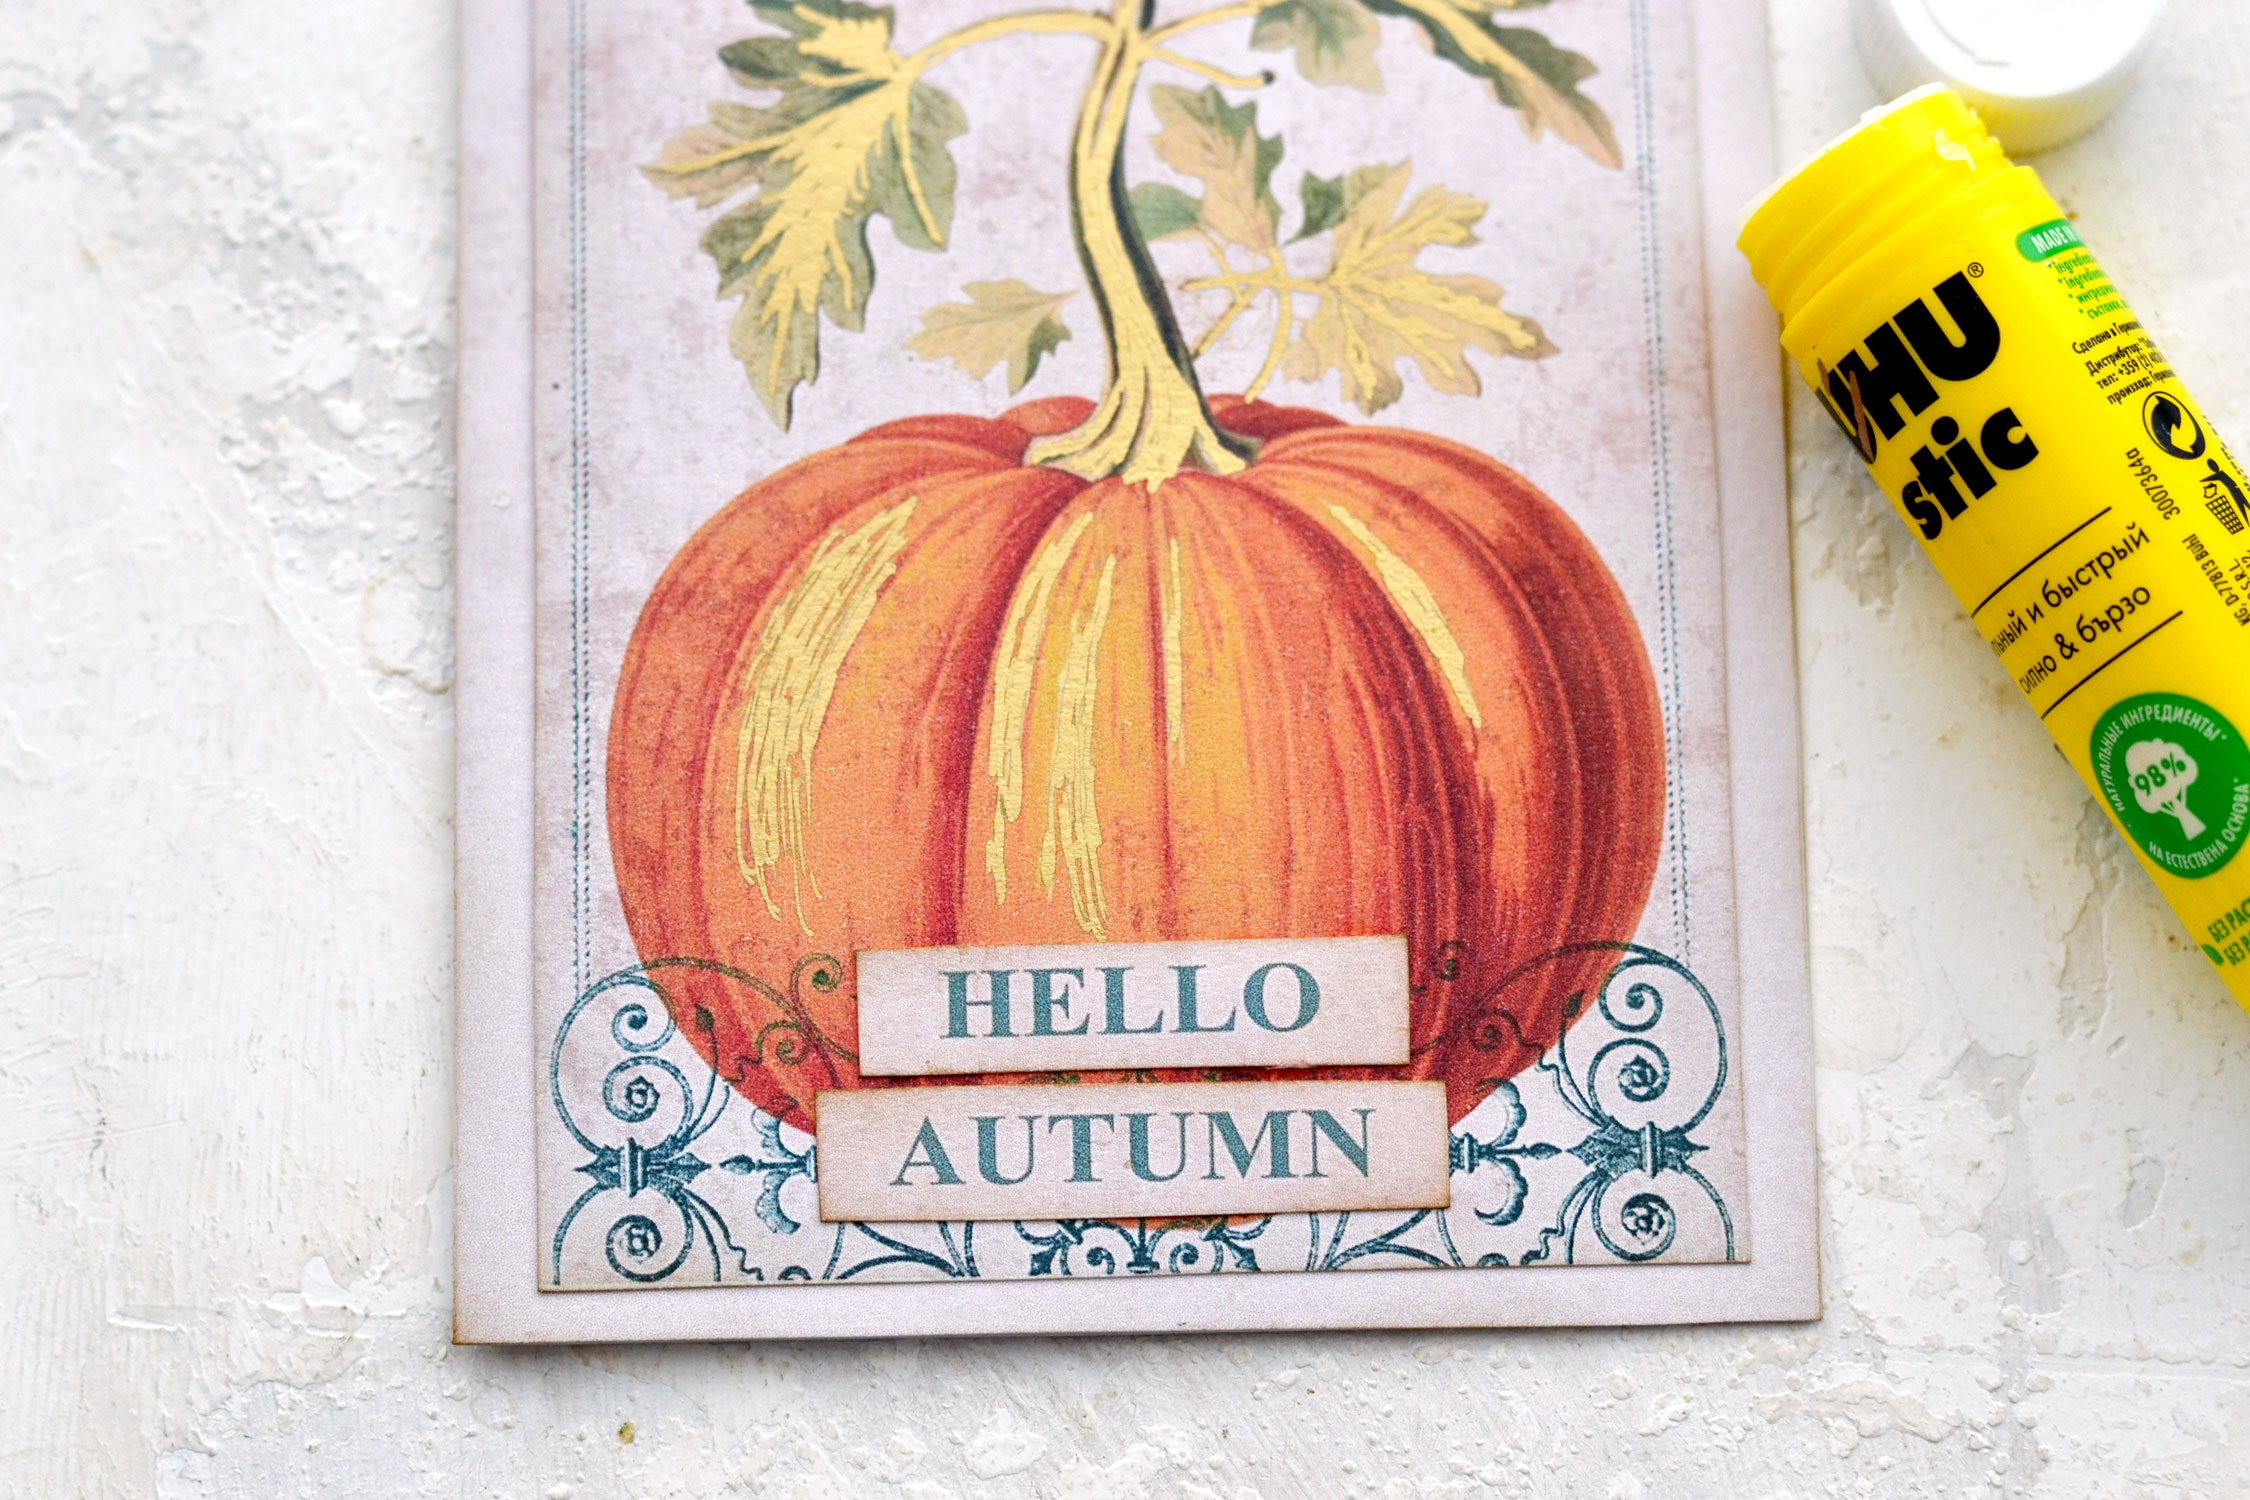
When you are happy with how the top looks, you can move on to assembling all the parts. Use glue to adhere the pumpkin to the folded base, then choose your preferred embellishments and add them on top. I went with Hello Autumn for my card following my inspiration for the moment.
Then I decided to also distress the card base, so I just lightly distressed it a this stage, while everything was already folded and assembled.
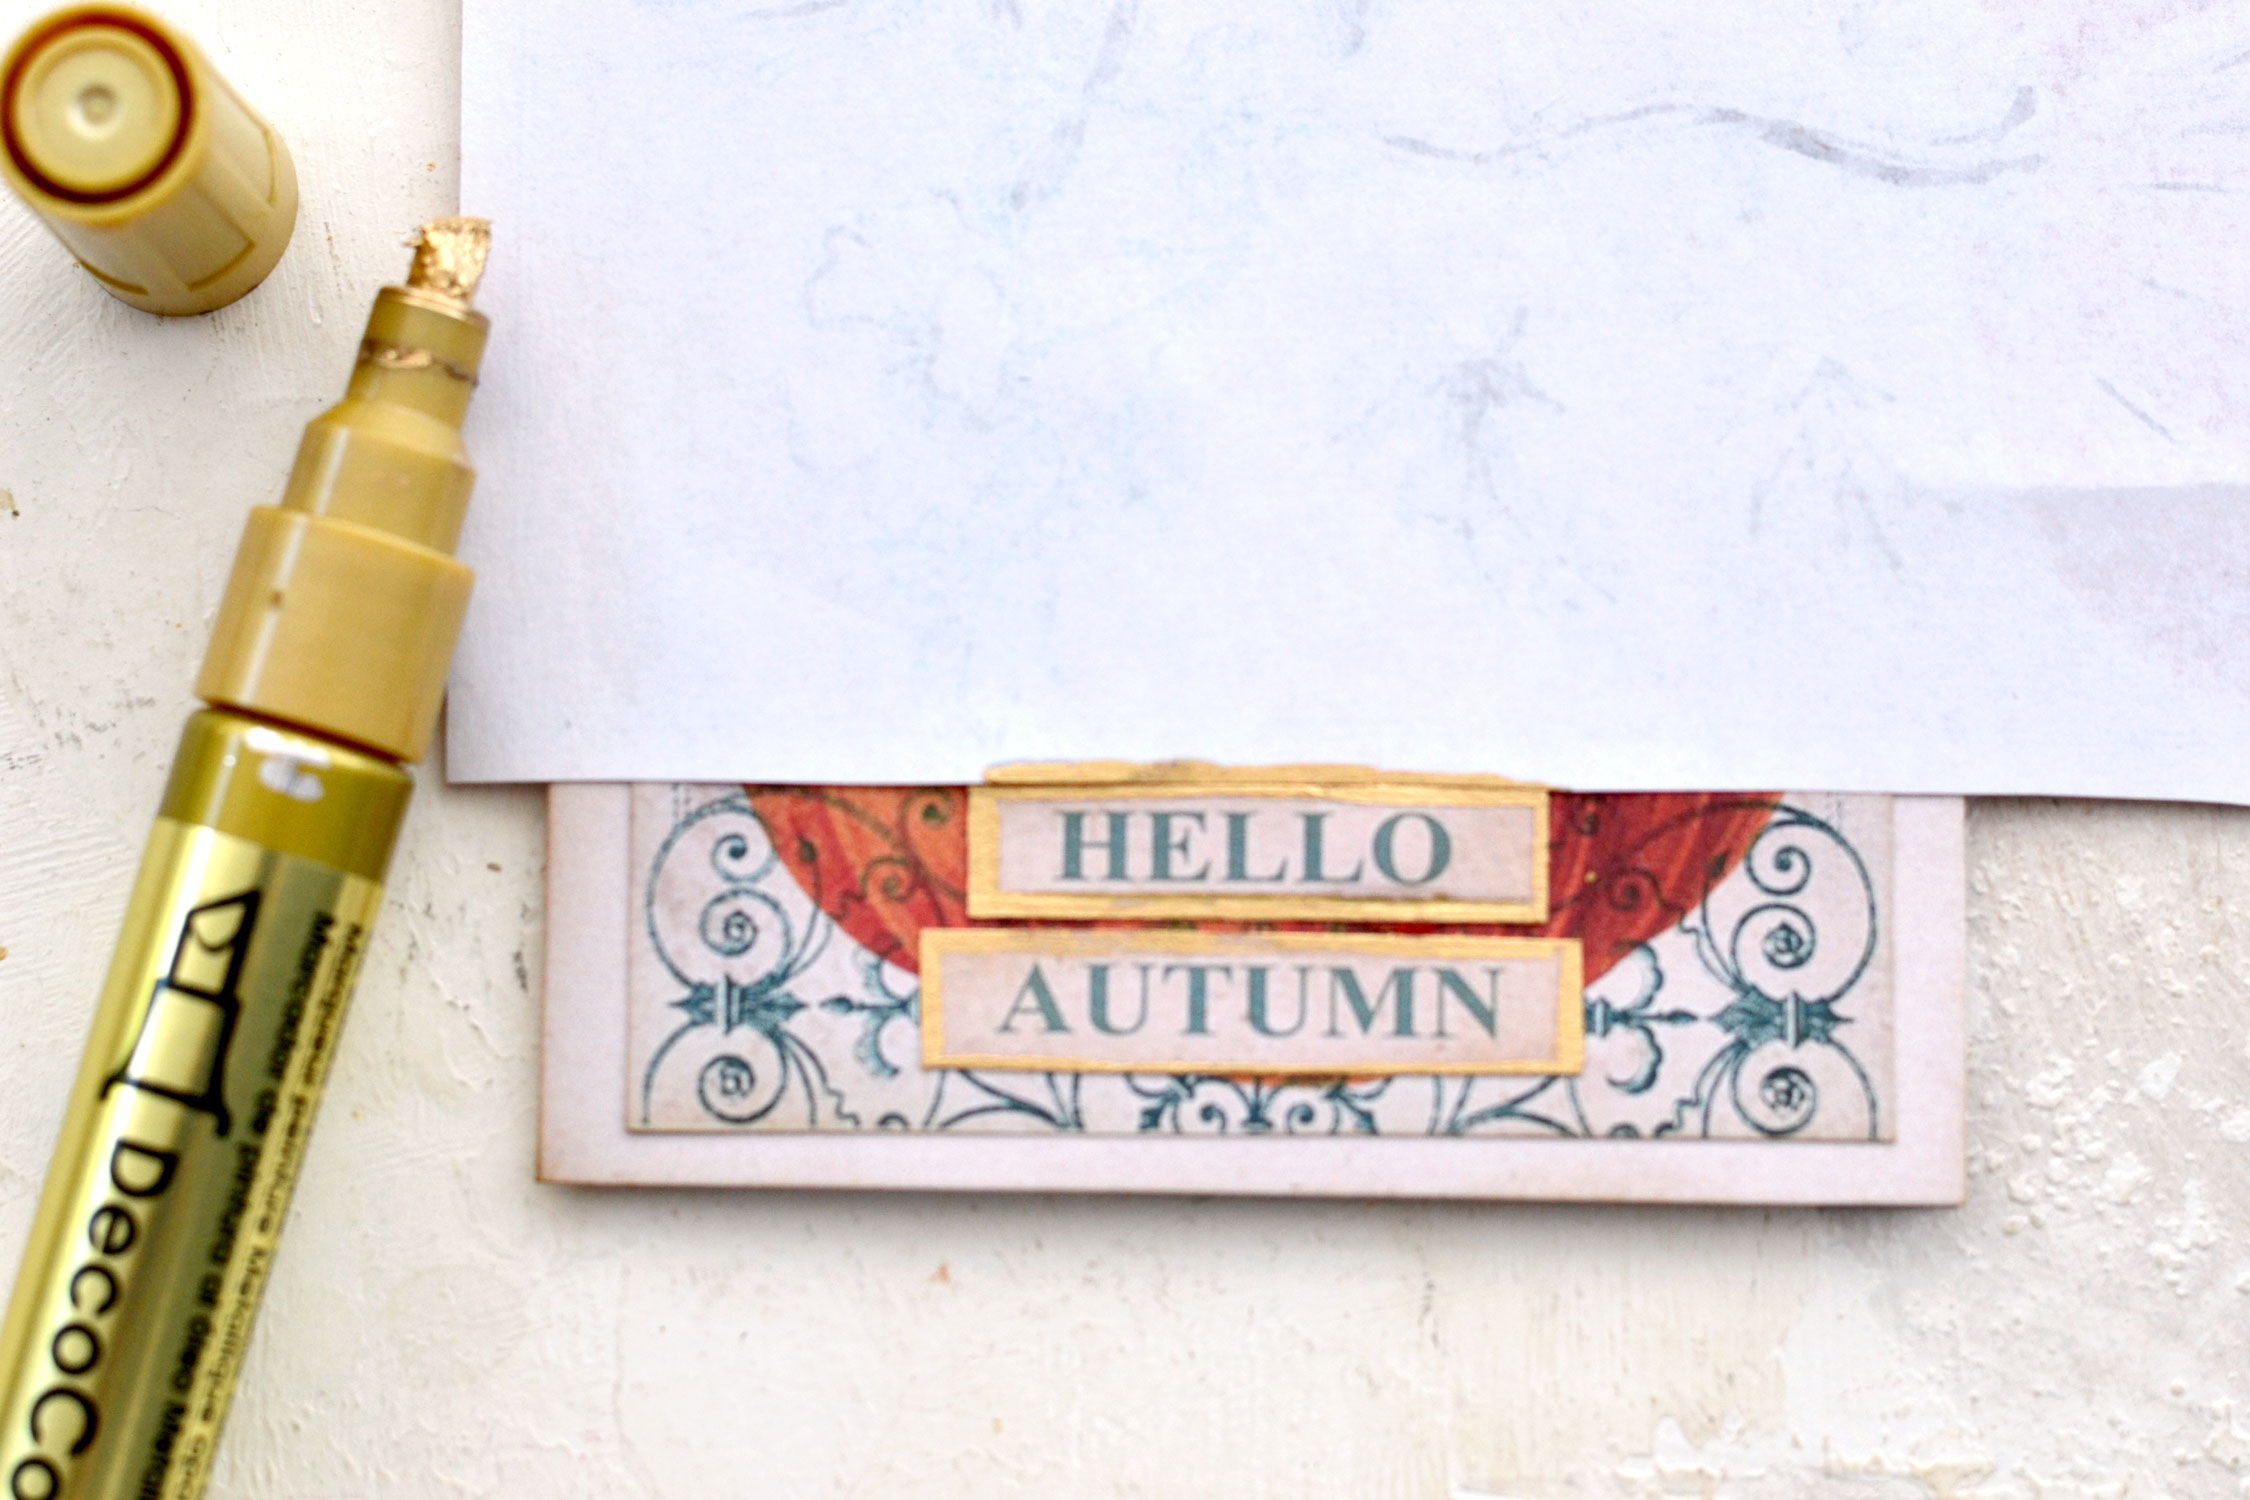
After gluing the Hello Autumn wishes I knew I should have also added a little bit of gold to their edges. I initially tried using the fine-tip gold marker to draw some simple lines using a ruler, but my marker decided to stop working all of a sudden so I used the thicker marker and some scrap paper to create a small gilded edge.
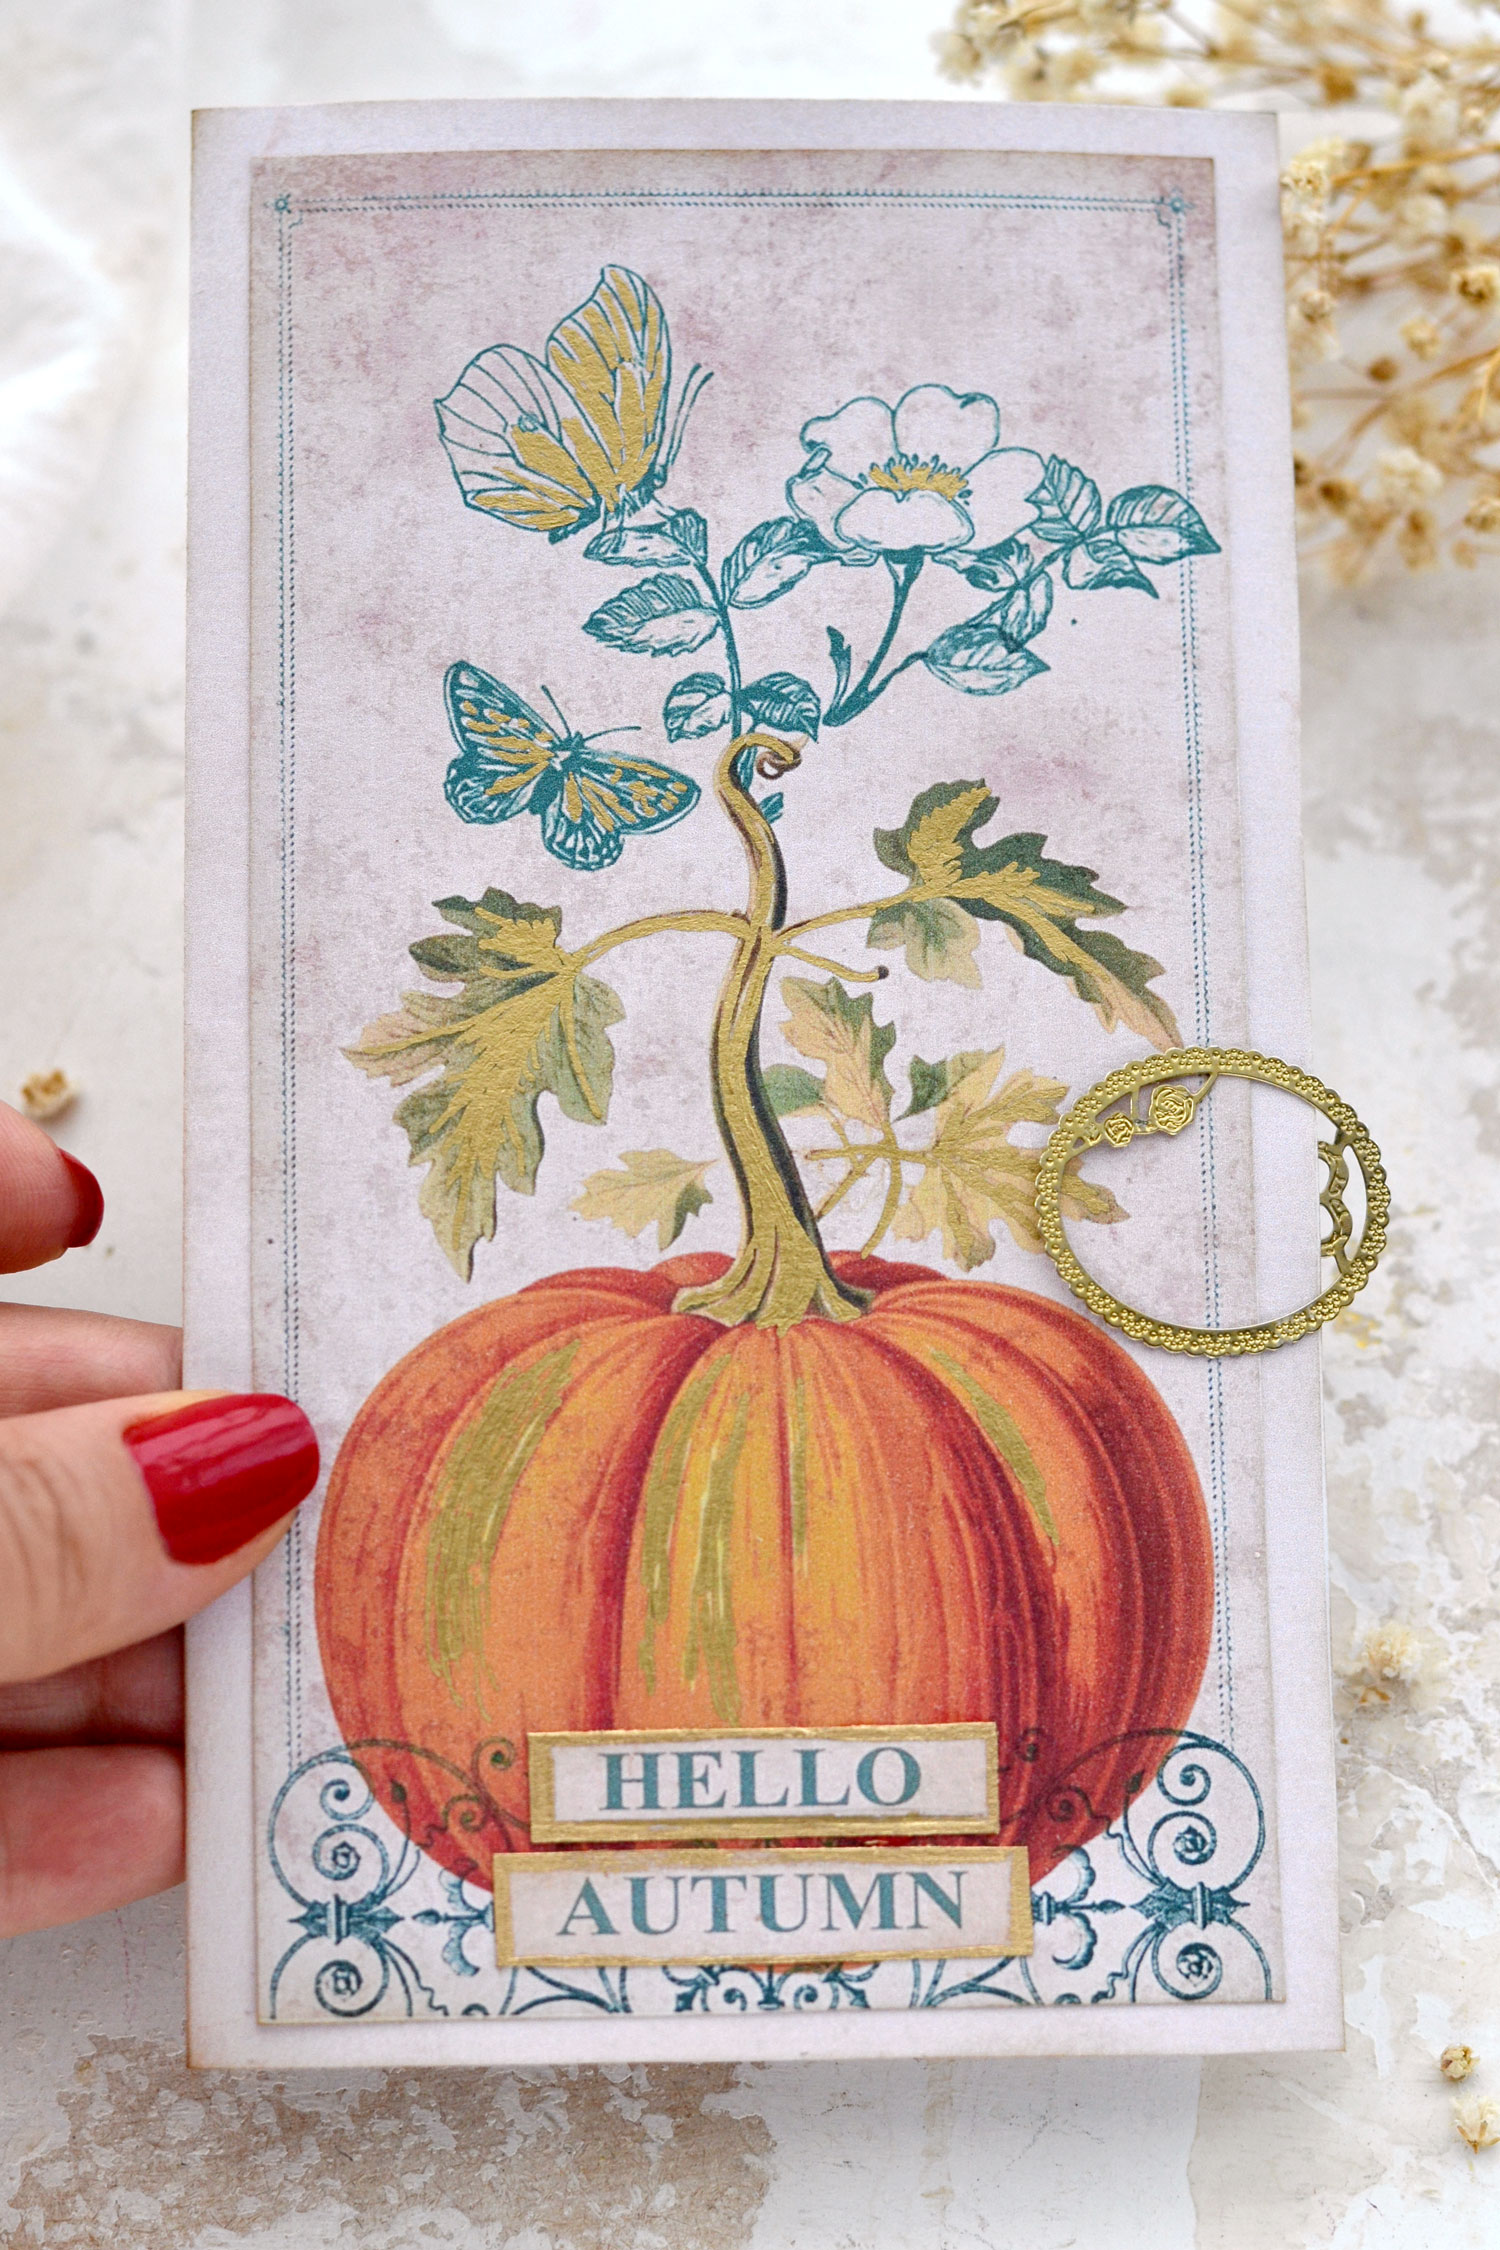
And then you are done, your super chic Vintage Pumpkin Card is now ready!
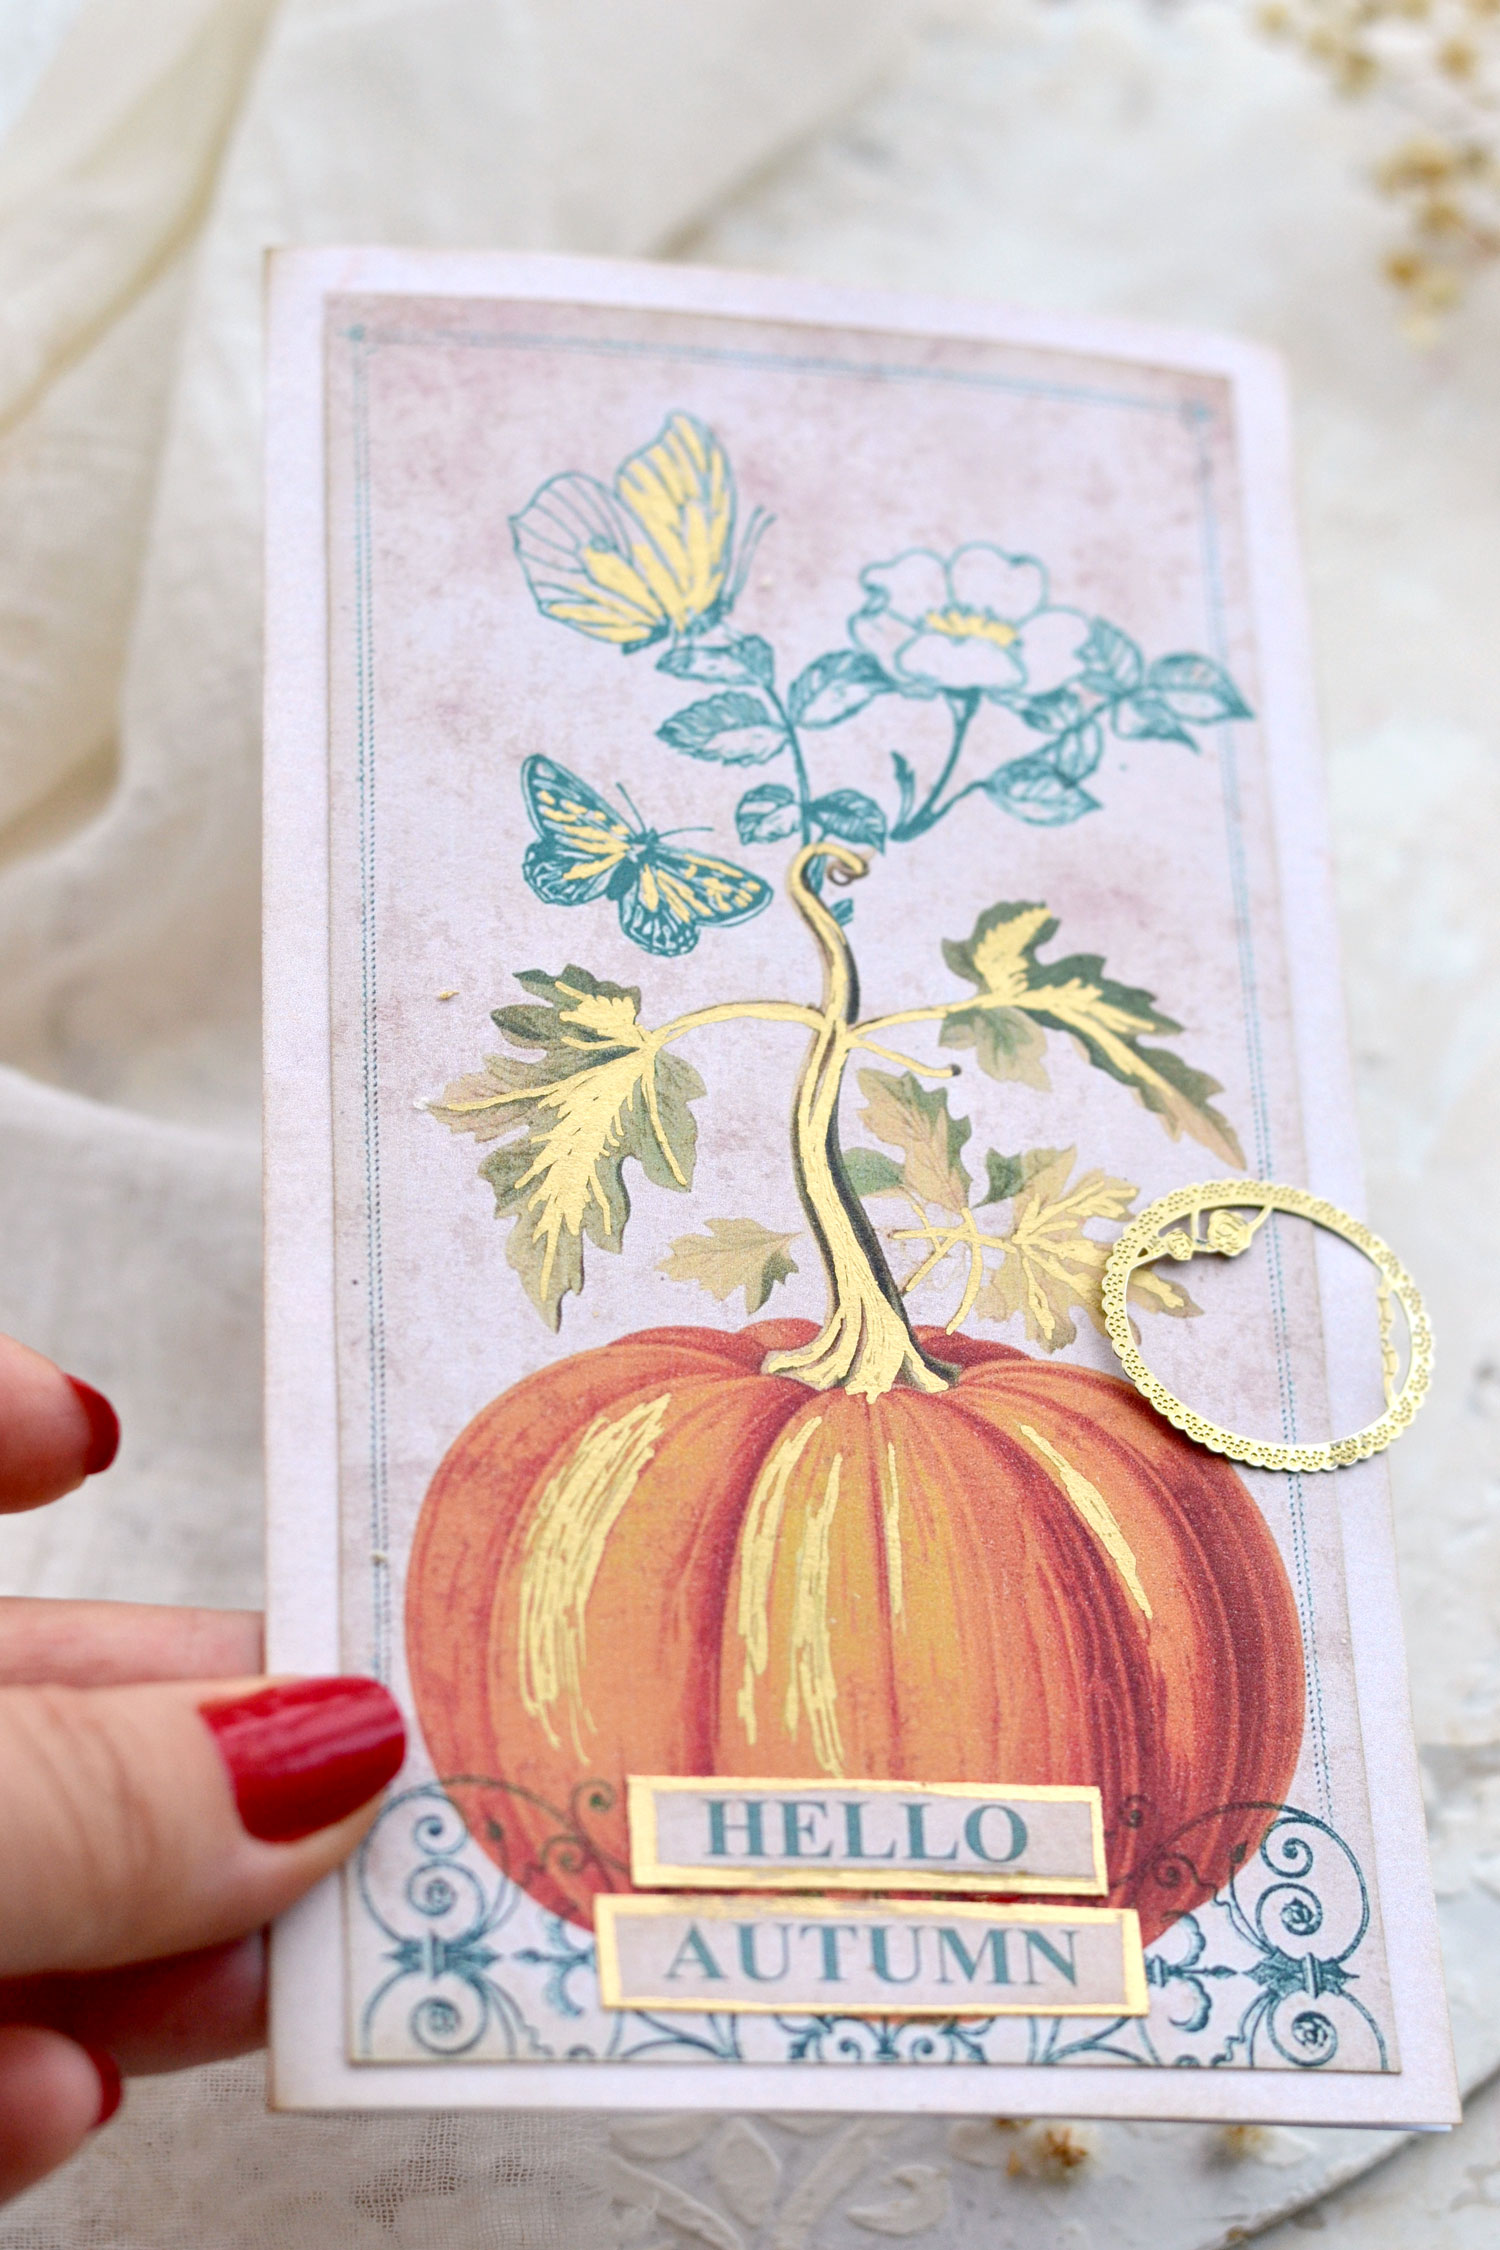
If you want, you can add a small gold metallic bookmark to bring more chicness to this seasonal beauty. These lovely bookmarks are fairly inexpensive and can be found online, I love adding them to cards or tags, they create such an elegant gilded statement especially when gifted on special occasions!
And when you tilt your beautiful card, you will be able to catch different shades of gold that perfectly highlight your pumpkin!
I’m sure you are already contemplating the ideas on how to use this gorgeous card, its chic overall vibe will allow you to include it in all sorts of projects! Gift it with a lovely seasonal message inside, or add it to your fall-themed junk journals. You can also display it in your home to make a chic transition to the new season.
 There are so many ways of getting creative with this whimsical Handmade Autumn card, I hope you will love this project and decide to give it a try! You might also like my Fall Coaster Project HERE.
Happy crafting,
Diana / Dreams Factory


Debbe says
Super nice! Thank you
Karen Watson says
Happy Fall crafting Debbe!