Patina Paper Technique
Hello, Graphics Fairy friends… I’m Diana from Dreams Factory and I’m happy to be here, once again, sharing another project with you, today we will learn a Patina Paper Technique! It feels like the perfect time to perform a few more experiments, so today we are making some super chic DIY Faux Blue Patina French Labels. Playing with faux patinas has never been more easier and fun!
I initially wanted to name my project DIY Faux Copper Patina French Labels, because everyone instantly thinks of copper when seeing that beautiful oxidized blue or green film appearing on top of aged things. But I actually used different shades of metallic gold and just a little bit of bronze to make my labels, so no copper was involved here! But feel free to experiment with the colors that you love, or with what you have on hand. To give the project a little bit of shine, I would suggest using metallic versions of gold, copper, bronze or brass acrylic paint. Or even a combination of all or some of these! The metallic shine will not only look amazing, but it will give more authenticity and create some depth with the other contrasting colors. For our stunning blue patina contrast I used some turquoise paint. At this stage it would be best to use blue acrylic paint with more of a matte finish, even chalk paint! Here you can also experiment and have fun with so many different versions that will create so many different and stunning outcomes! Use different shades of blue or green or some of their endless mixed variations – turquoise, aqua, teal, mint, etc. This part of mixing colors can be really fun (and pretty addictive) on its own, because you can create the colors and shades that you like and fall in love with new ones that you just created!
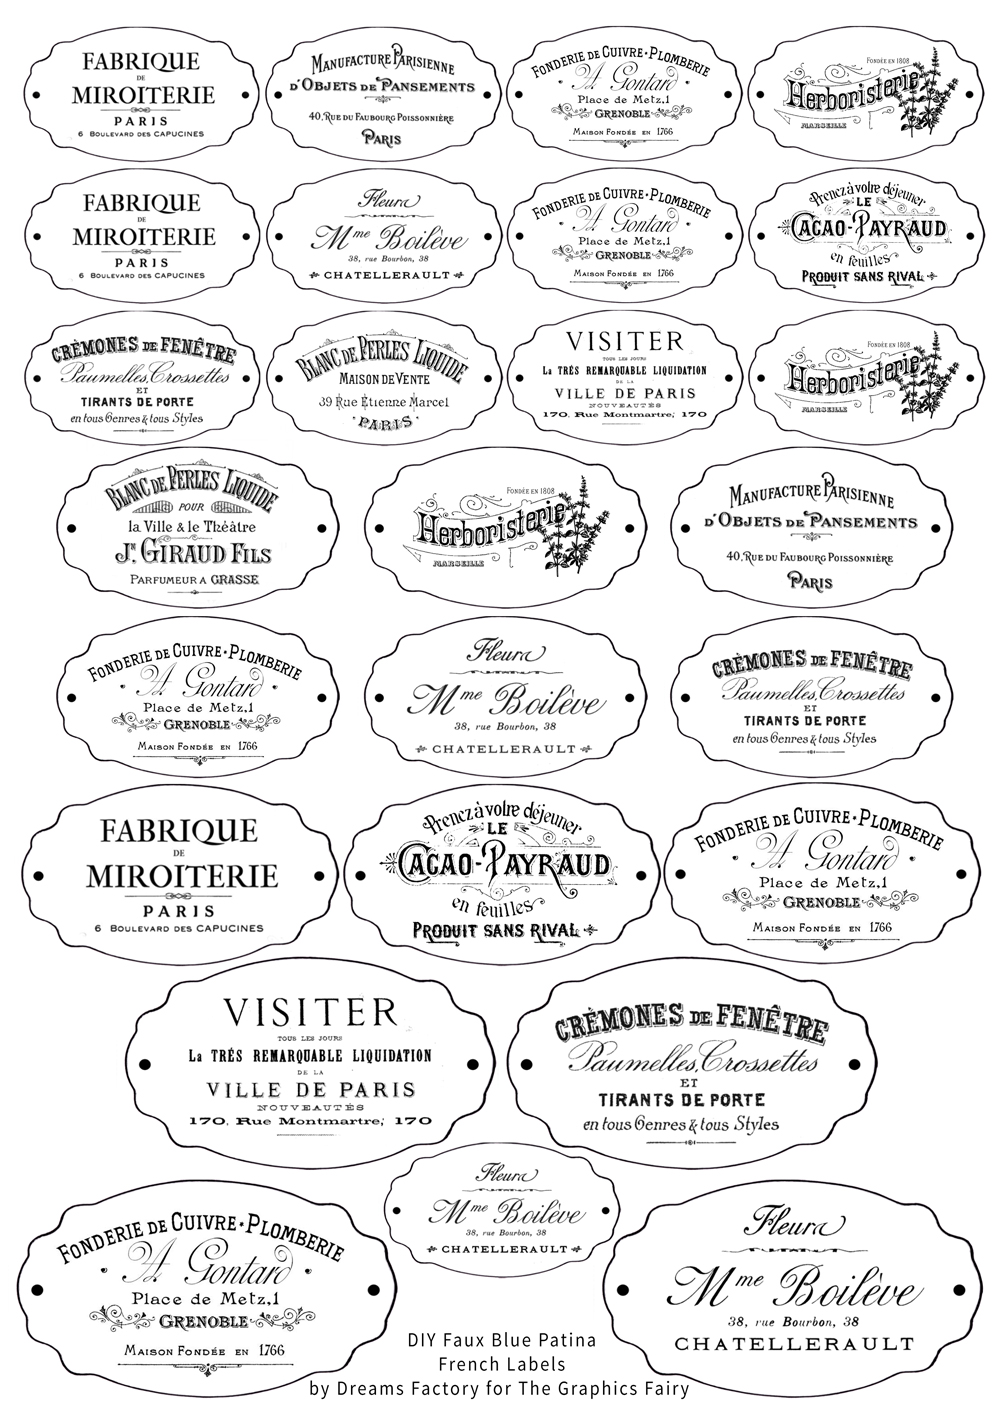
Before jumping right into this super exciting project, I have to tell you that the free printable that I created today is just another variation of the printable that I created for our DIY Faux Rusted French Labels. I actually created a few smaller labels on this one and added a few more beautiful French ephemera designs, now you’ll have so many different sizes to play with! So I am basically empowering you to conduct your own experiments, in your own terms, adapted to your own needs!
Free Printable for Patina Paper Technique
—-> Click HERE to Download the Full Size Printable PDF <—-
Supplies for Patina Paper Technique:
- cardstock or regular printing paper ( I used cardstock)
- Printer
- manicure scissors or other small detail scissors
- acrylic metallic paint – gold, copper, bronze or brass
- acrylic paint or chalk paint – blue, green, aqua, mint, teal or turquoise
- acrylic regular paint – dark brown, orange
- plates for mixing the paint (I used small heart shaped porcelain bowls)
- water bottle
- a blending sponge
- pocket binders (or a non absorbent material) to protect your working area and also to blend the paint
- paper towels
- Mod Podge and a small paintbrush (optional, for attaching the labels afterwards)
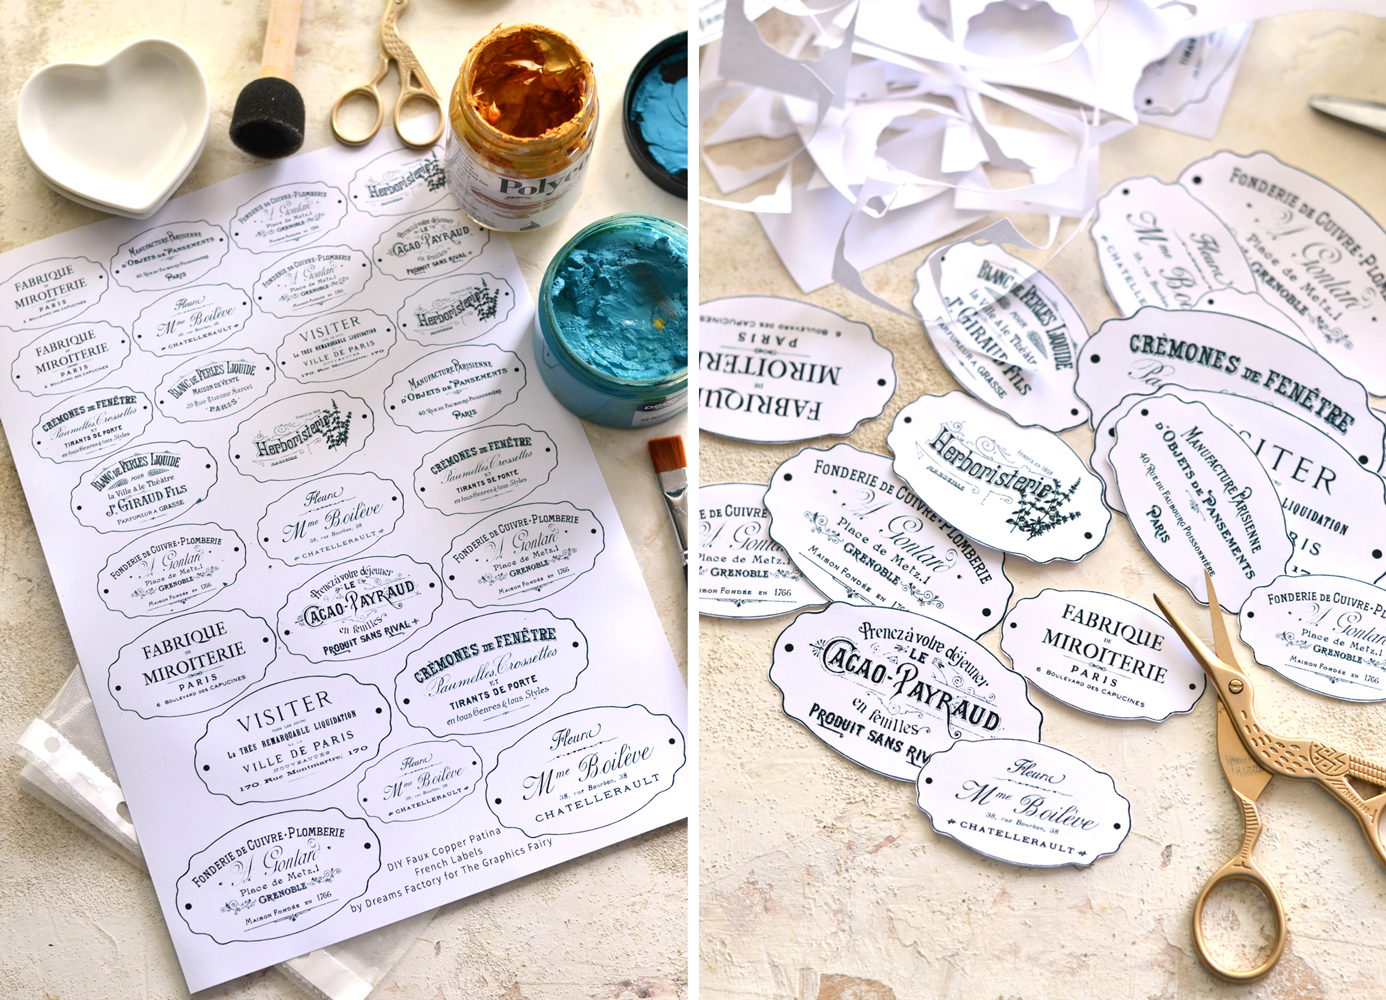
Print the free printable French labels and gather all the other supplies.
Cut the French labels following each border’s shape – you can choose to leave the black border in or completely remove it.
For the next steps I want you to try to completely clear your mind! It’s best to start with no expectation and just let your creativity and intuition show you the way to go. Like getting your fingers covered in paint … and literally involved in the whole process! I accidentally discovered that tapping my fingers with paint created some of the best effects on paper, so who needs a brush anyway!? Use my ideas as guiding lines, but don’t be afraid to conduct your own experiments and try new things.
Now put your alchemist hat on and let’s learn this fun Patina Paper Technique!
CREATING THE METALLIC SHINE
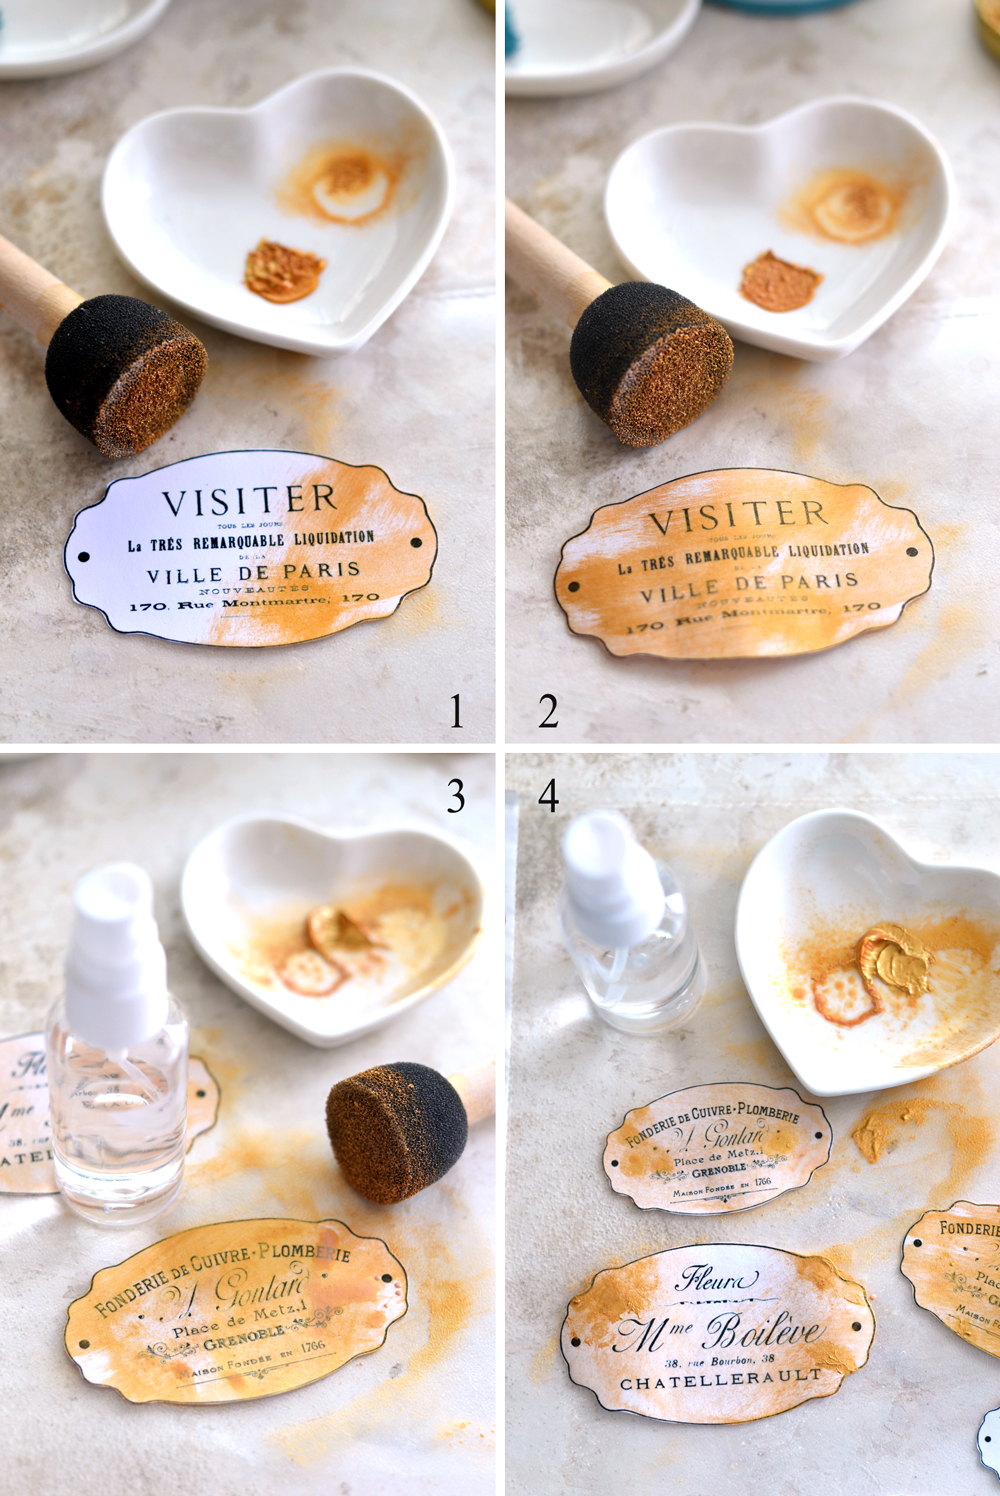
1. One way to go is to use your choice of metallic acrylic paint ( I used 2 different types of gold) and a blending sponge to dry brush the surface of the labels. You don’t have to add any water just yet, just dab the excess paint on your plate before applying it to the paper. The idea is to add enough paint to color your labels and give them some shine, but also try to keep in mind not to add too much paint on the image itself, we still want that chic French image to come through.
2. The coverage doesn’t have to be perfect, you can even leave some small unpainted areas here and there by simply applying more or less pressure with your sponge.
3. Another thing that you can try is to dip one of your fingers into the metallic paint, add just a mist of water on top of that and then quickly tap it on different areas of your labels. Add more paint and more water as you go.
4. You can also use your fingers to tap some undiluted metallic paint on the edges to create more dimension. Use one finger to tap the paint and another clean finger to dab it and blend it onto the surface.
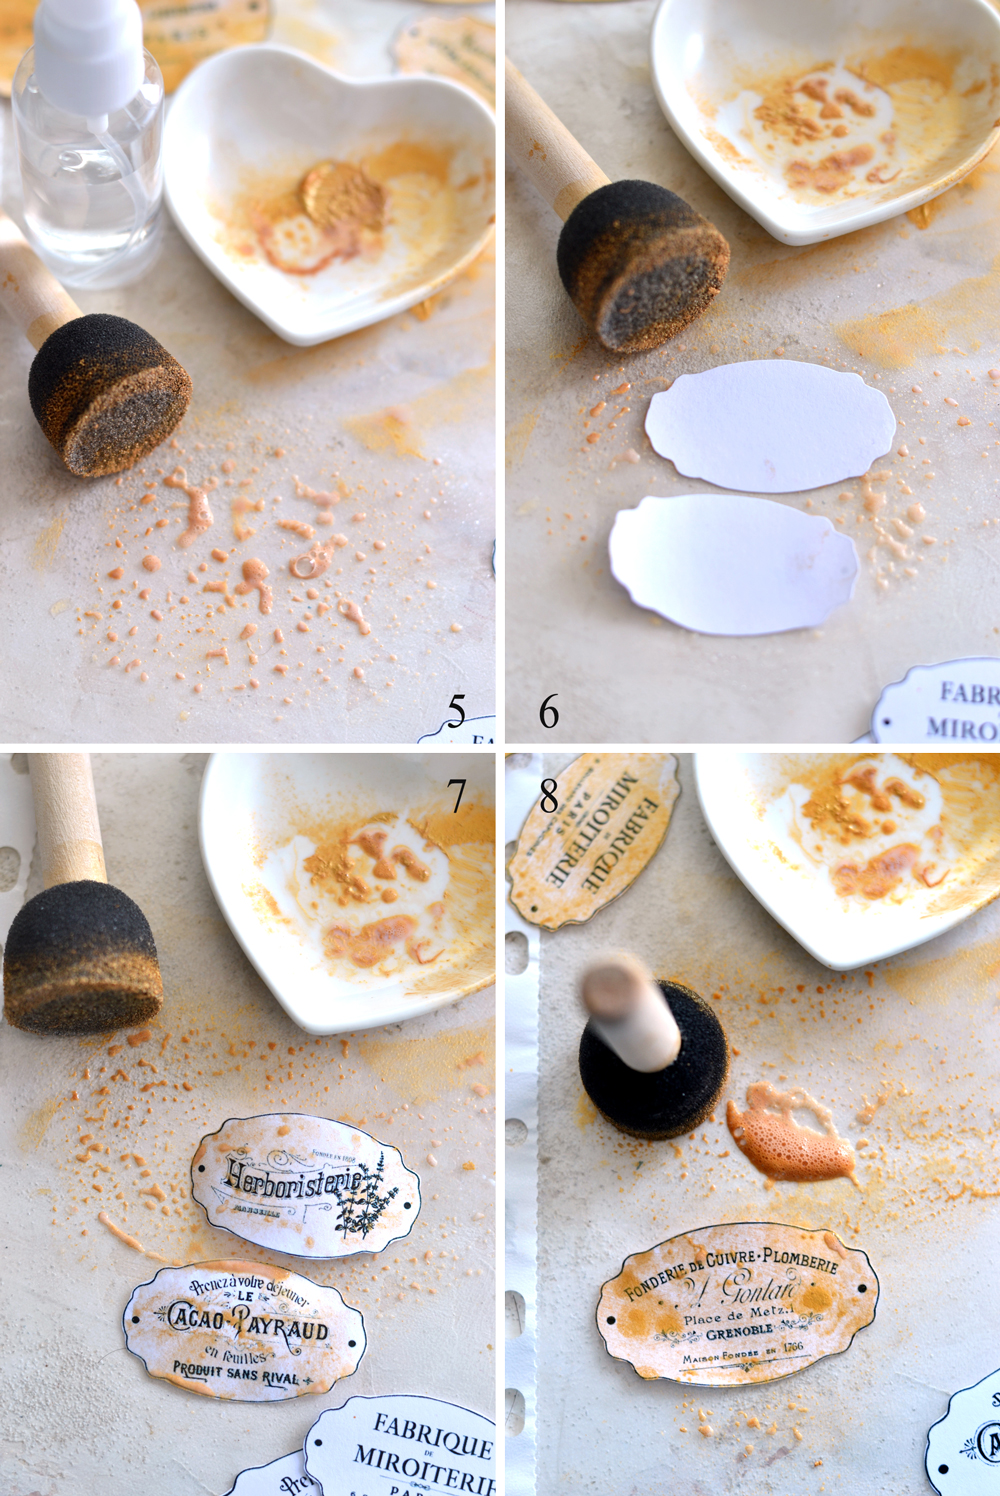
5. Another idea? Put some metallic paint on your blending sponge, mist some water on your pocket binder (this only works on a non absorbent surface ) and dab the sponge on top to create water droplets and some diluted paint foam.
6. Add some labels (facing down) and press them with your fingers, even move them around a little bit, let them soak some of that water and paint.
7-8. You will be able to create some interesting shapes and spots on your labels, just repeat the same process and add more water or paint until you are fully satisfied!
You can use just one of these ideas to rustify a label, or you can use them all and see what you get! You can mist the surface of the labels with water, you can then come back with your fingers and dab more or less paint, you can even use your sponge with more paint or more water, there are really no rules! But the more you experiment and have fun, the more you will be amazed to discover that each and every one of your label will be COMPLETELY DIFFERENT AND TRULY UNIQUE!
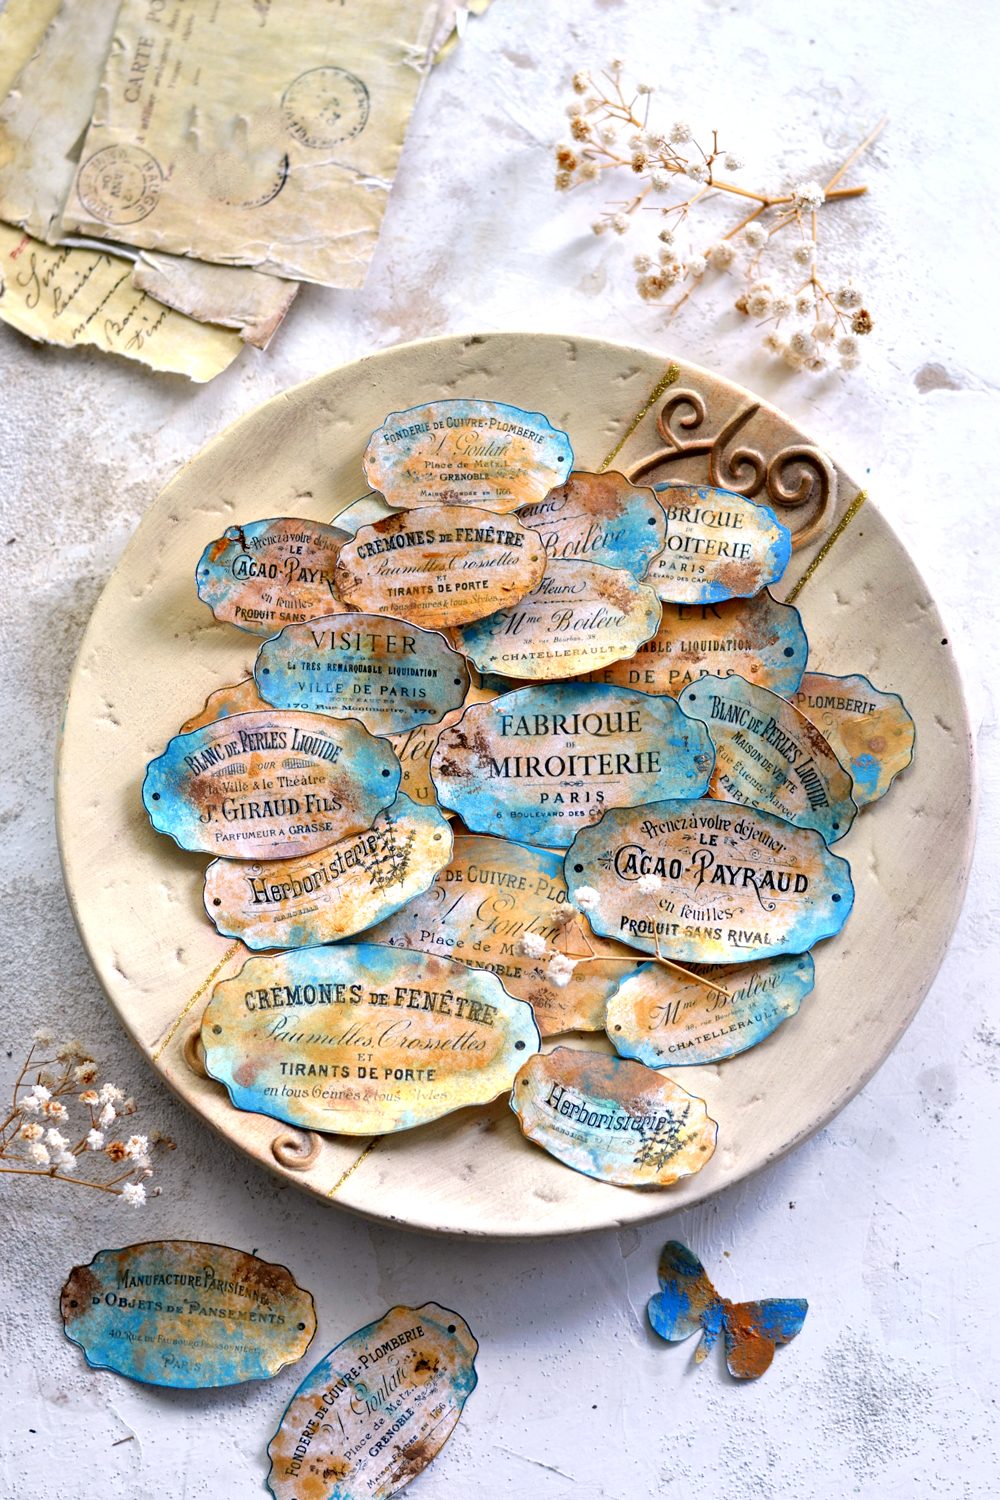
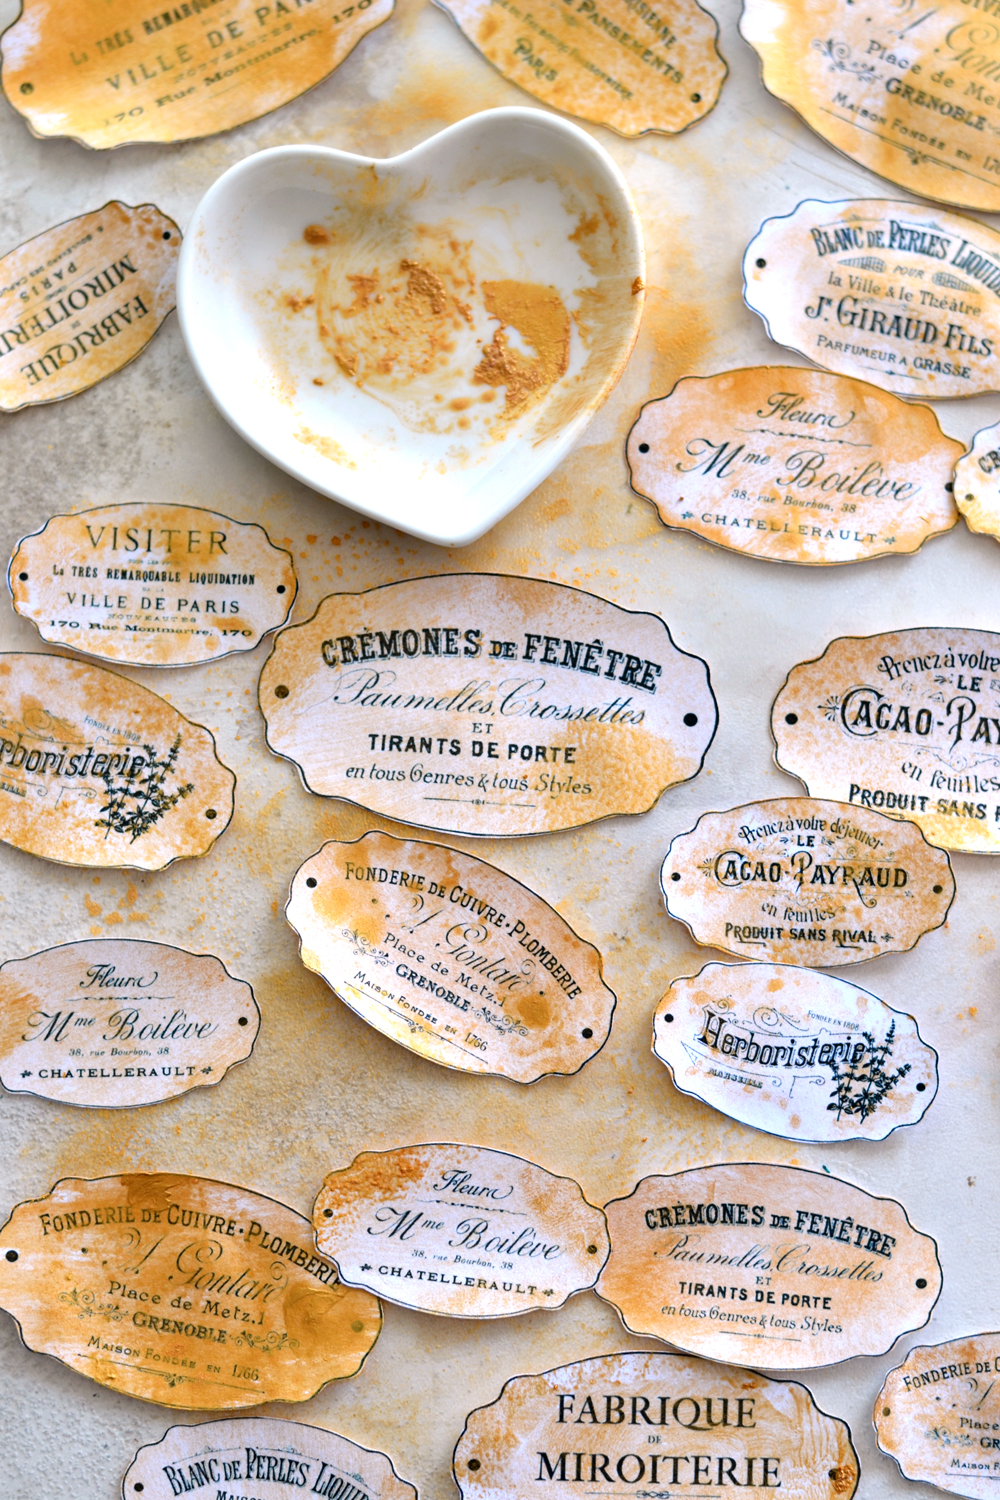
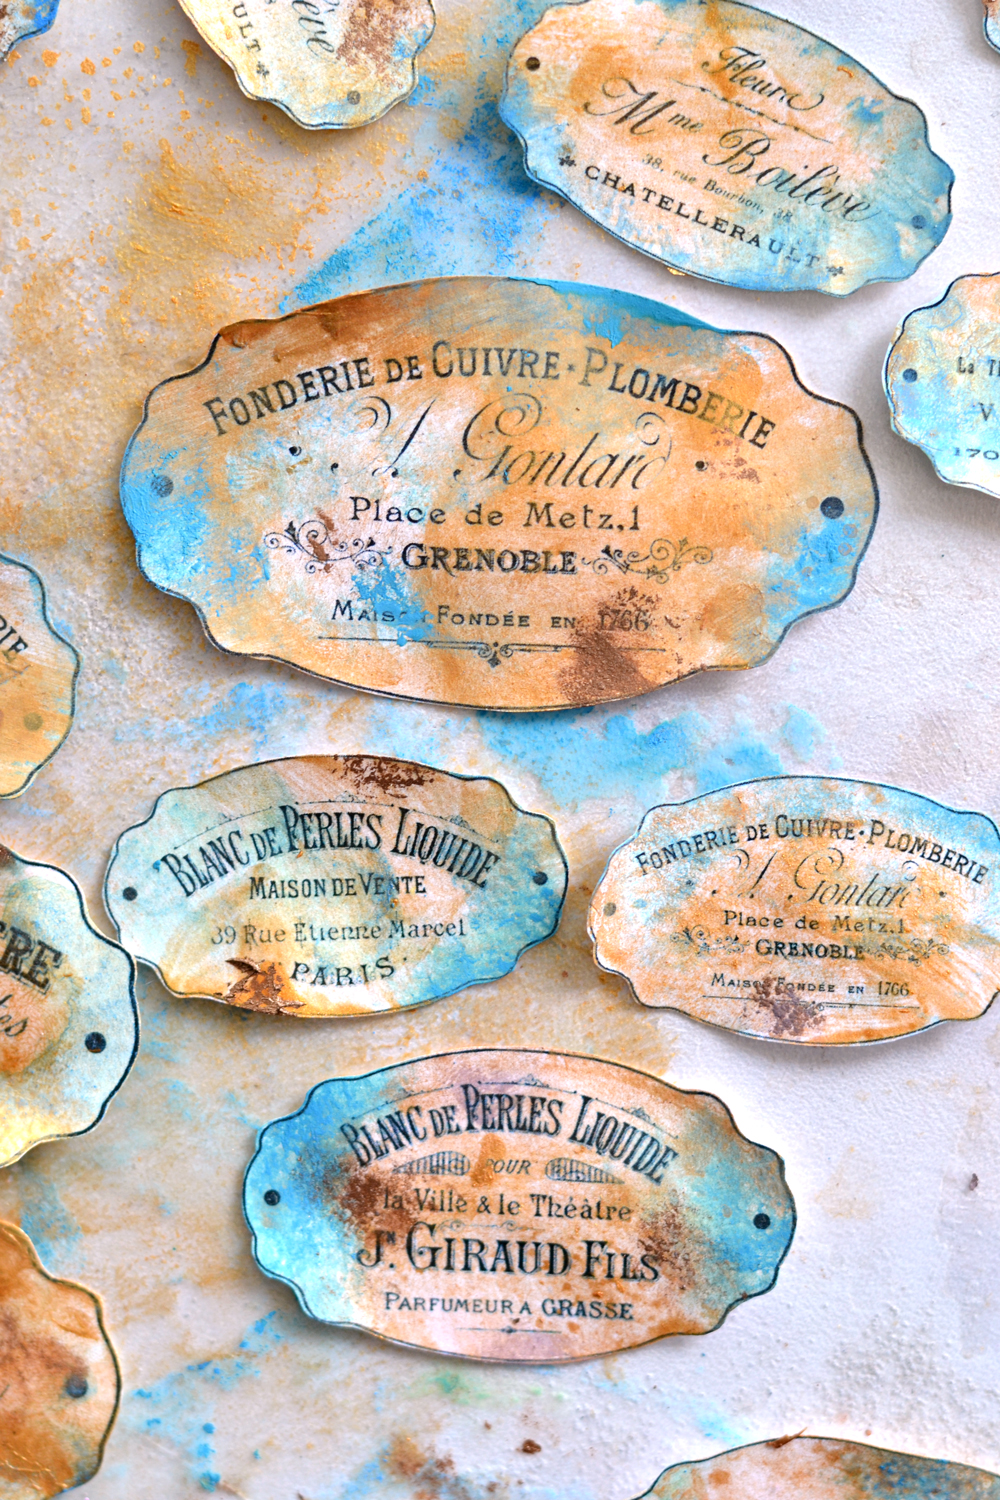
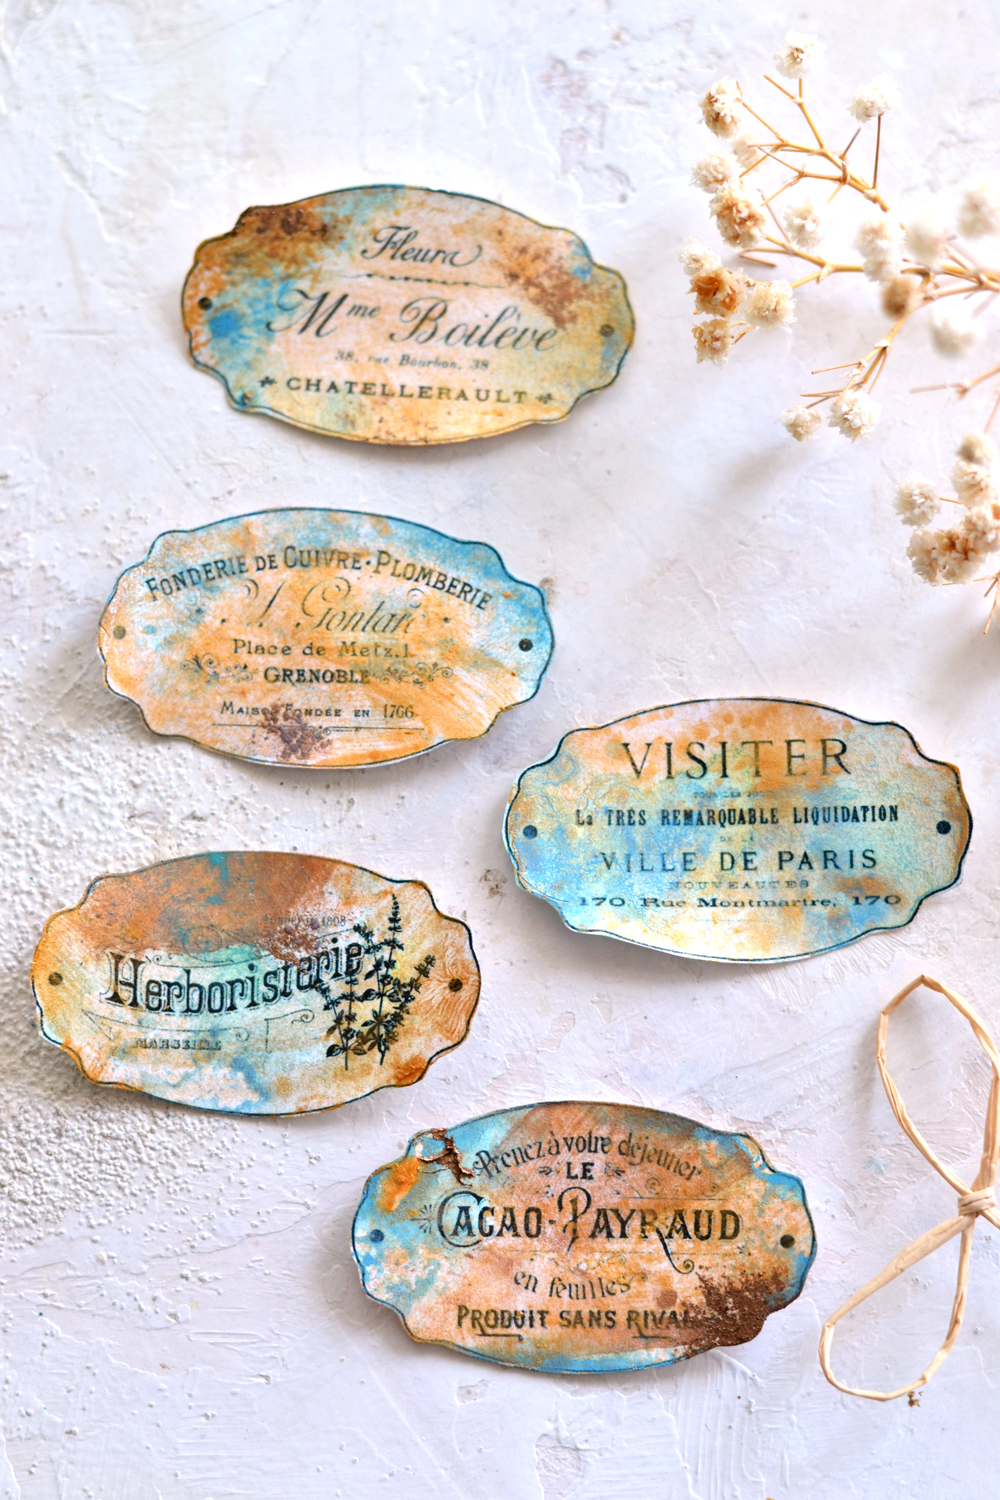
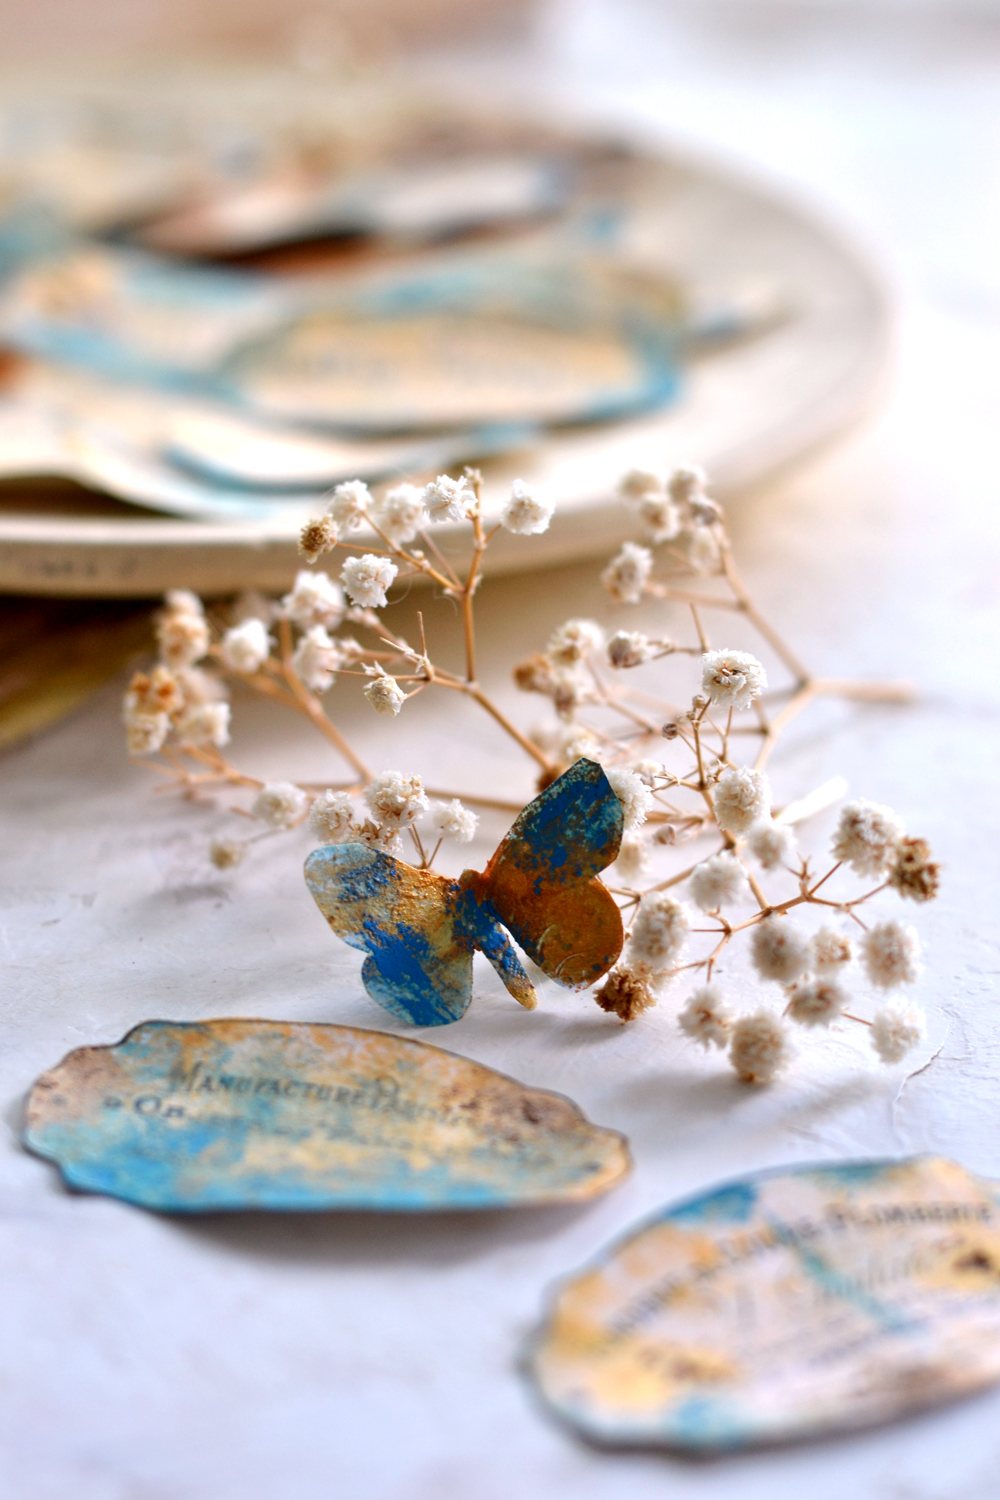
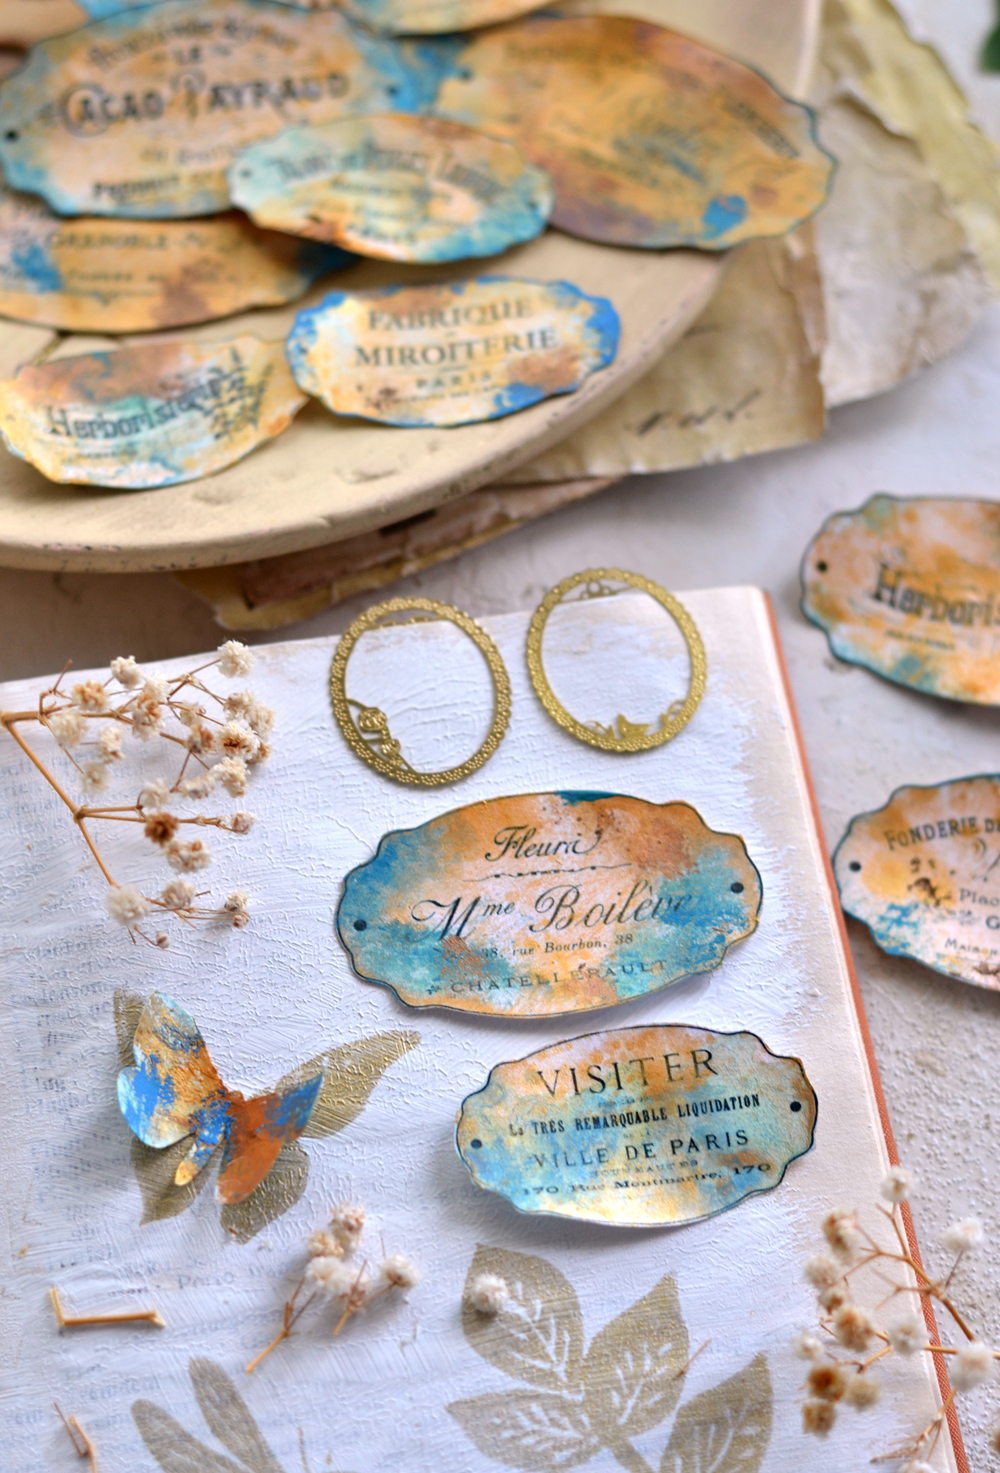
Here are my one of a kind French metallic rustified labels, I bet you could also just use them like this! I know I could!
CREATING THE FAUX BLUE PATINA
But moving on for now, because I can’t wait to show you this super exciting next step! This will completely turn your already amazing metallic French labels into stunning faux oxidized … pieces of art! Can I please just call them pieces of art? OK, thank you, I knew we were on the same page here!
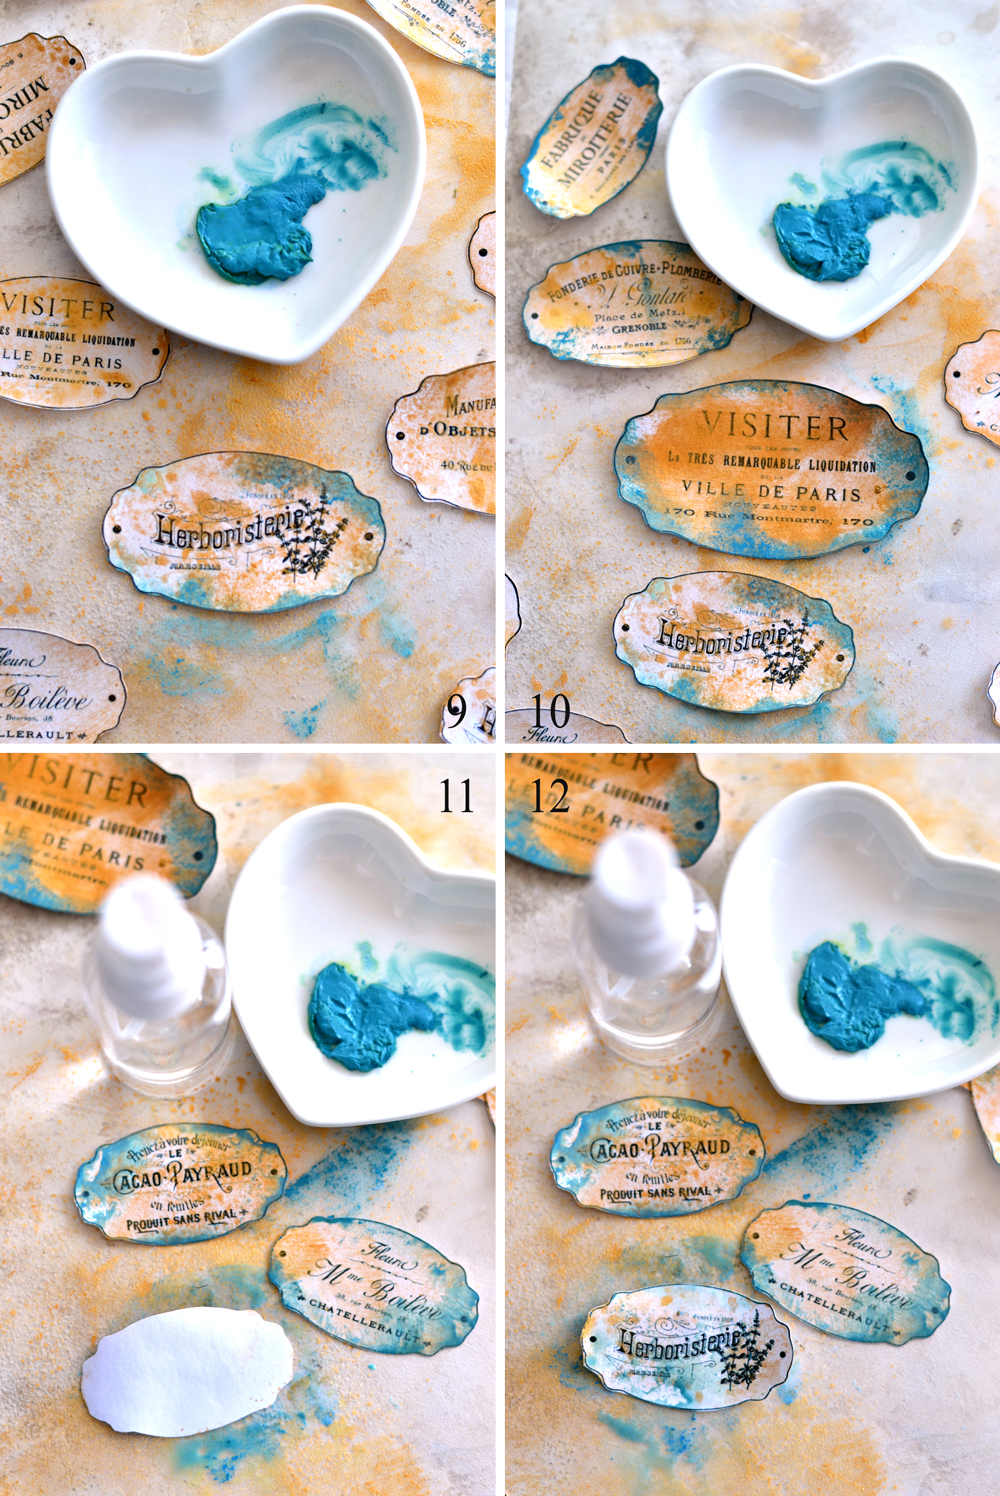
9-10. To create the blue patina, I almost exclusively used my fingers again and dabbed undiluted or diluted paint on the edges, but also my water bottle to create some fine mists here and there. The undiluted paint created some realistic, highly corroded effects and added more depth. The diluted paint on the other hand created a gorgeous, also realistic, more like a watercolor blended effect. I loved them ALL!
11-12. I tried the same technique of spraying the (protected) working area with some water and this time I added blue paint and let the labels soak everything in. I got a lovely watercolor corroded effect … I was in owe!
P.S. I forgot to mention one important thing! Painting your nails in some beautiful turquoise color first might help with the creative process!
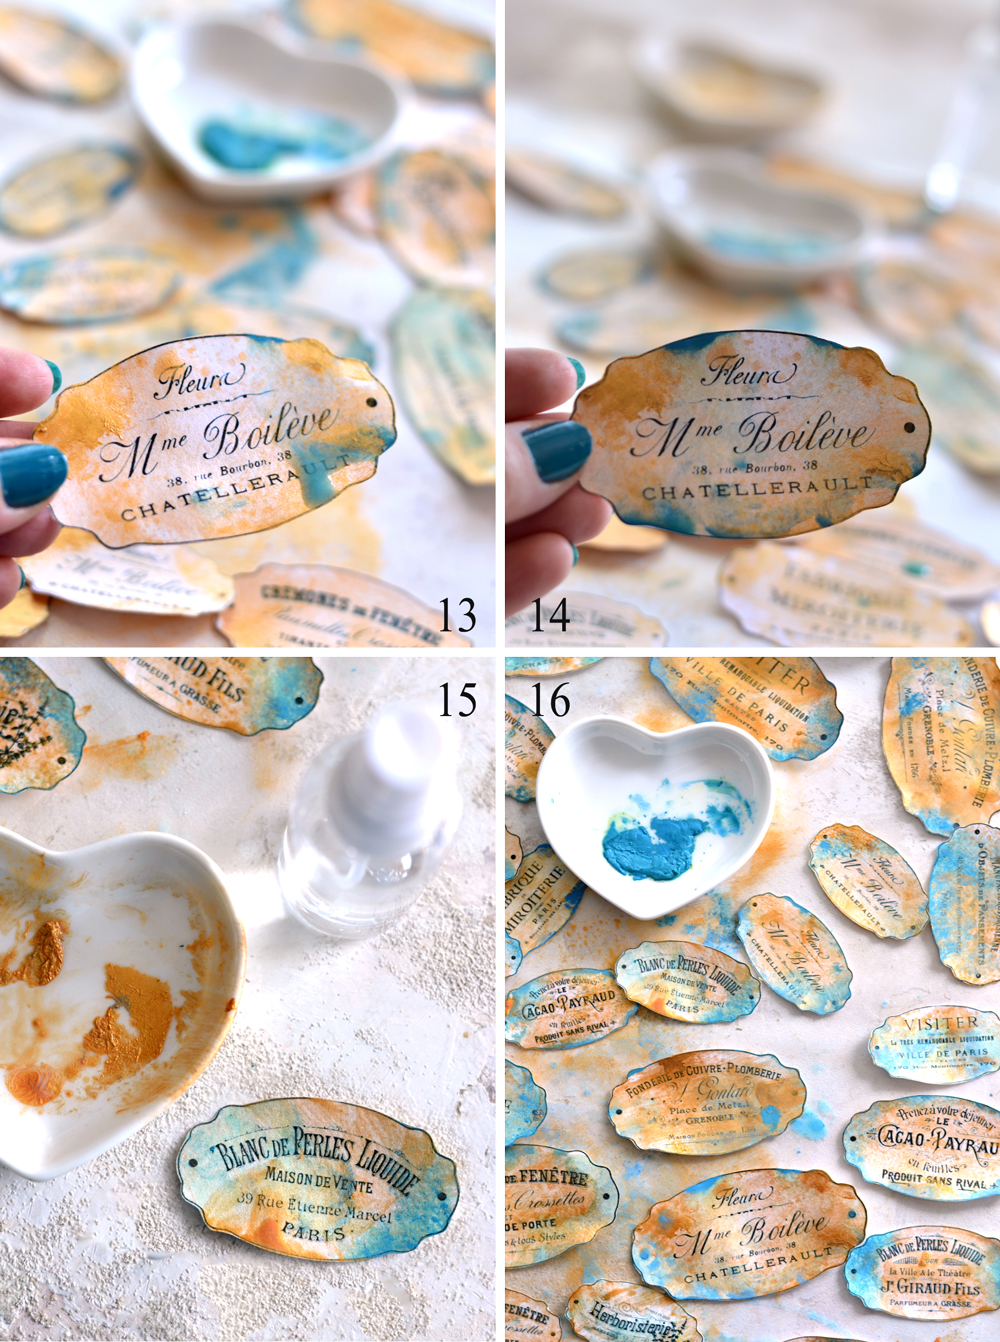
13-14. Another thing I tried – I dabbed some undiluted blue paint on different spots on the edges, then used my spraying bottle to create drips directly on paper.
15. If you feel like maybe you added too much water and your first layer of metallic paint is too diluted or faded, just come back and add more metallic paint!
16. My faux blue patina was looking good, I just loved how I was able to create so many different shades and highlights simply using just one color … and more or less water!
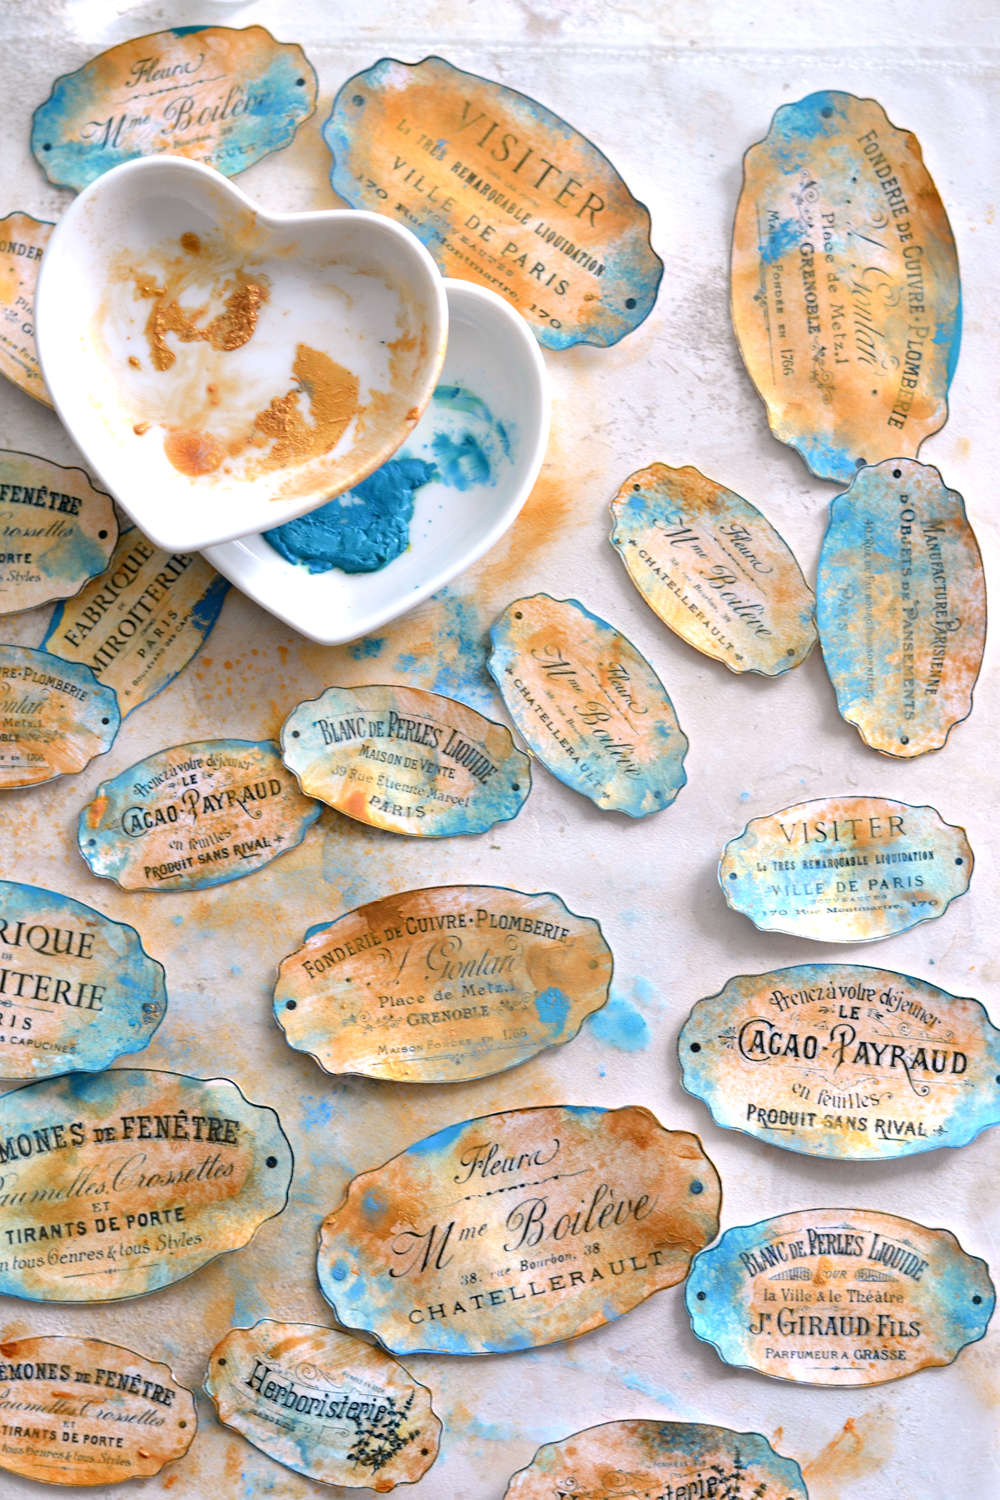
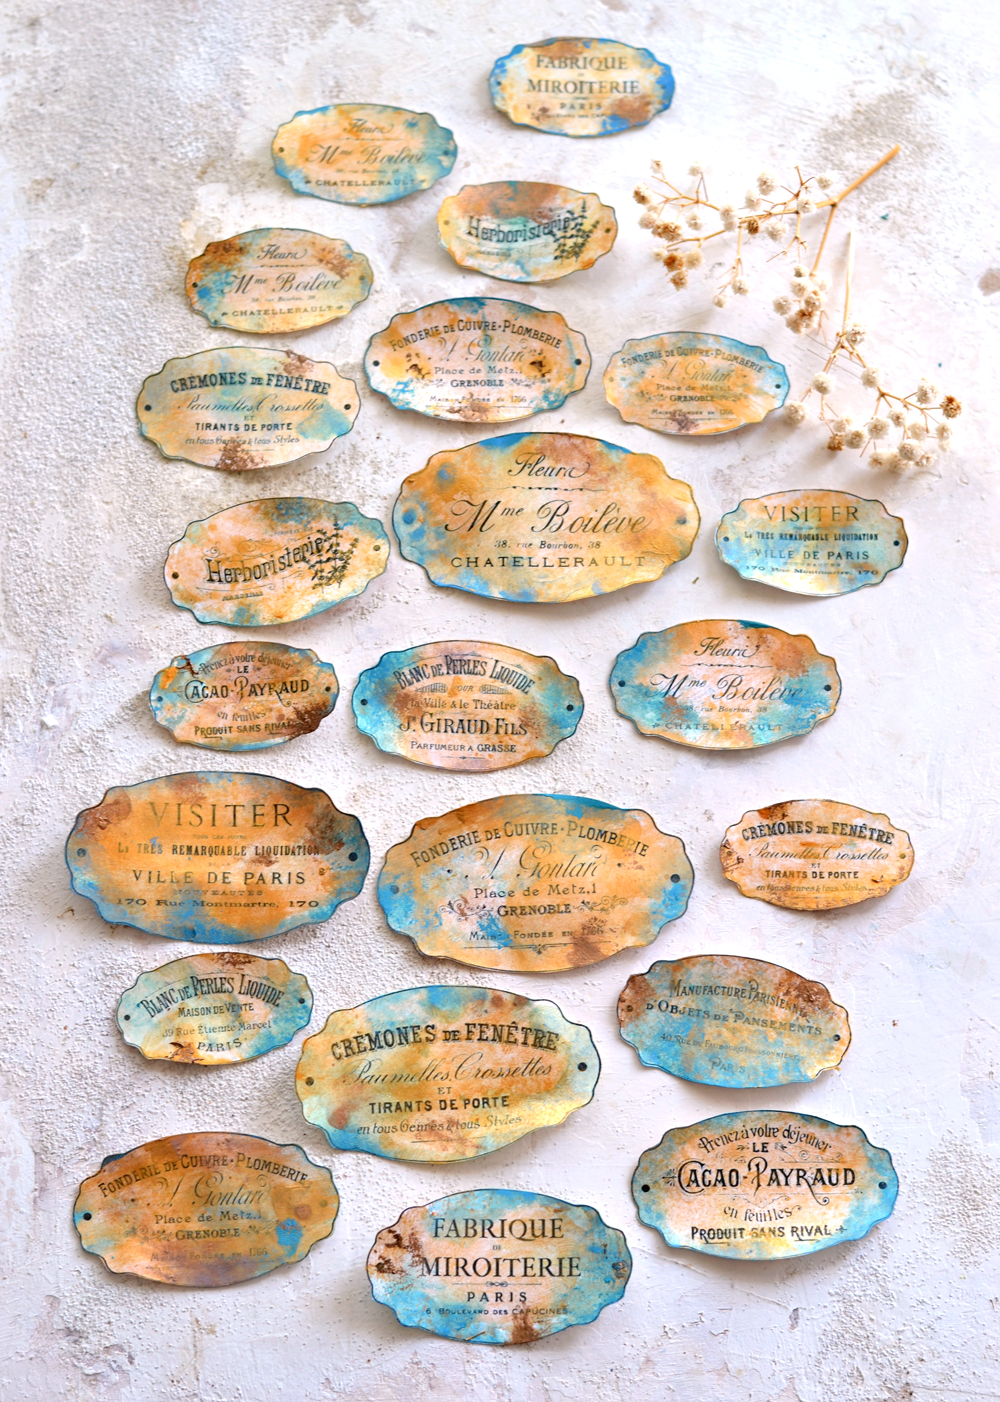
Here are the final results, you can dab more metallic gold paint or blue paint to add more interest to your new labels made with the Patina Paper Technique! It’s all about layering here, depending on your taste.
CREATING MORE CONTRAST
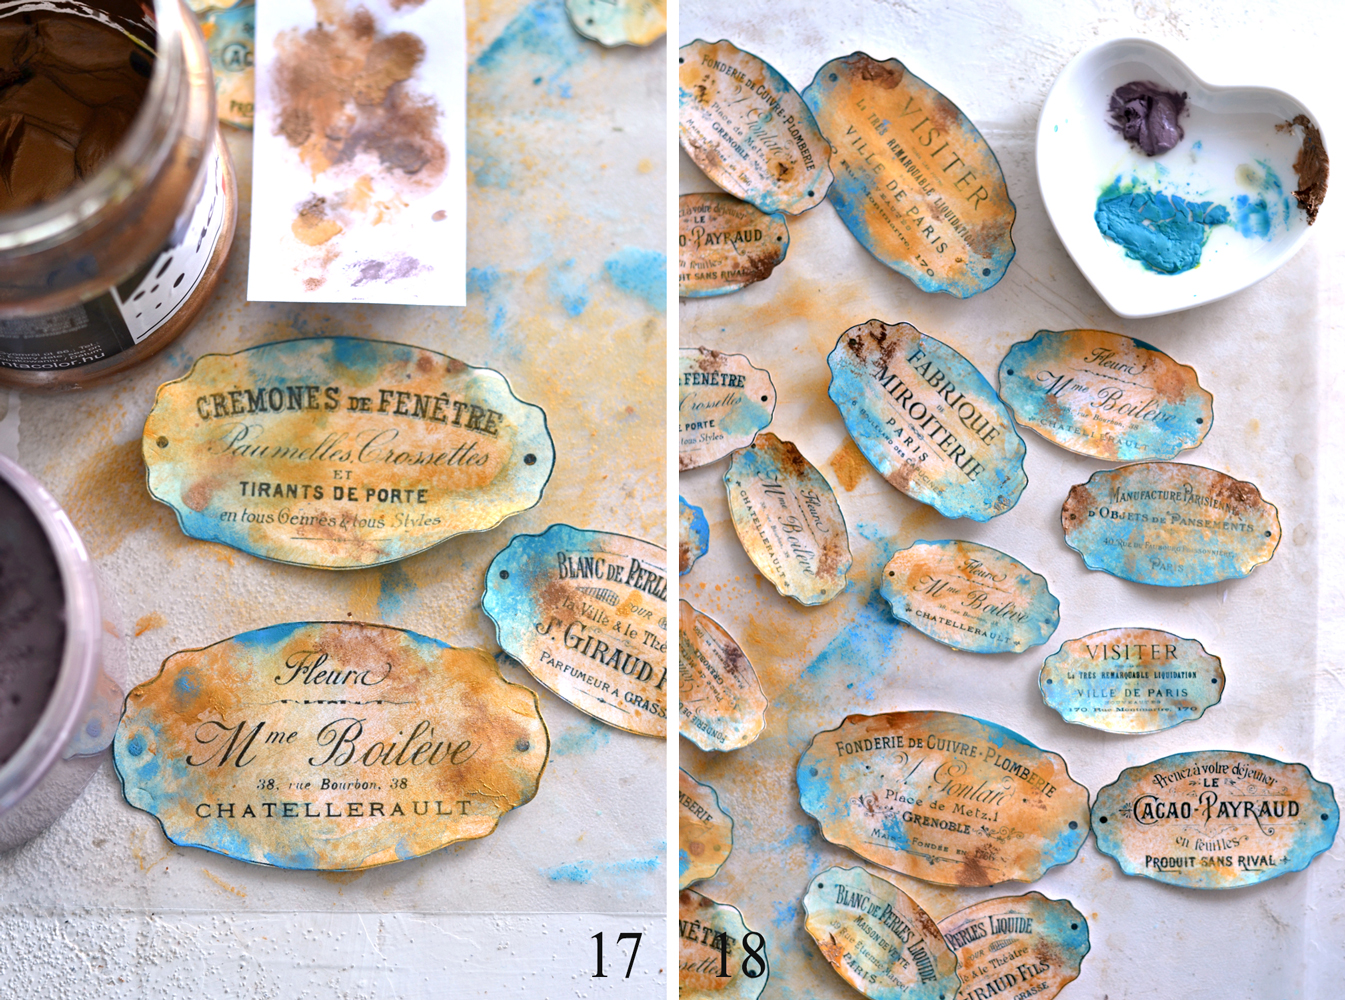
17-18. I could say that this final part is somehow optional, but highly recommended … if that was even possible! But adding another contrasting, more darker color somehow completed the whole corroded and oxidized look. I actually tried mixing two darker colors, but I ended up using only the dark bronze color, I thought it was exactly what I needed! It worked best when dabbed with my finger on top of the metallic gold paint. It was like adding just a sprinkle of beautiful rust on top!
And that sprinkle on top completed the whole look for my DIY Faux Rusted French Labels, can I just say again that this is one of my favorites projects so far? Did I just say that out loud?
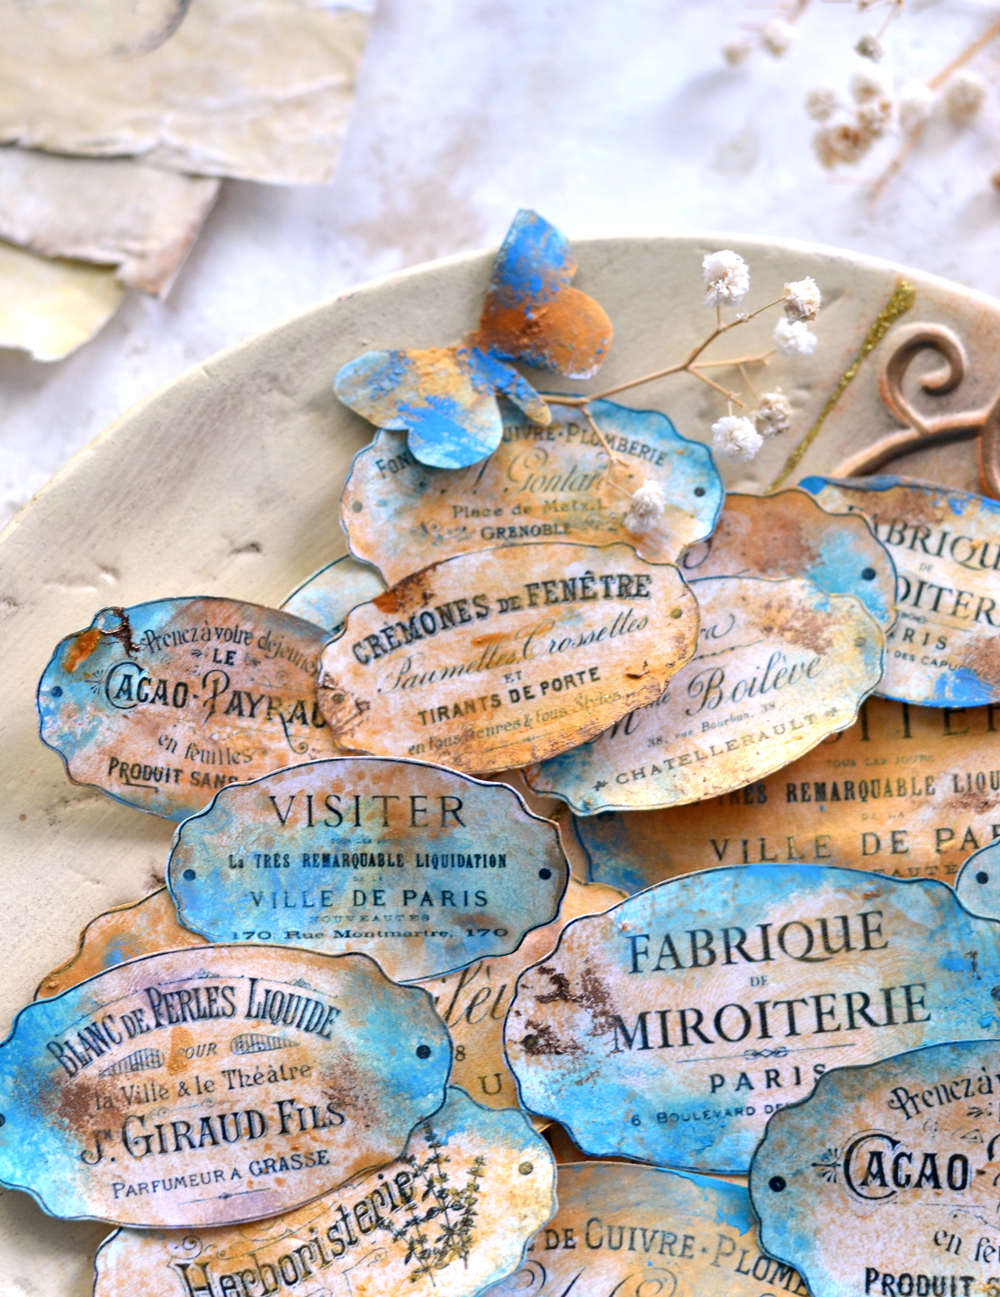
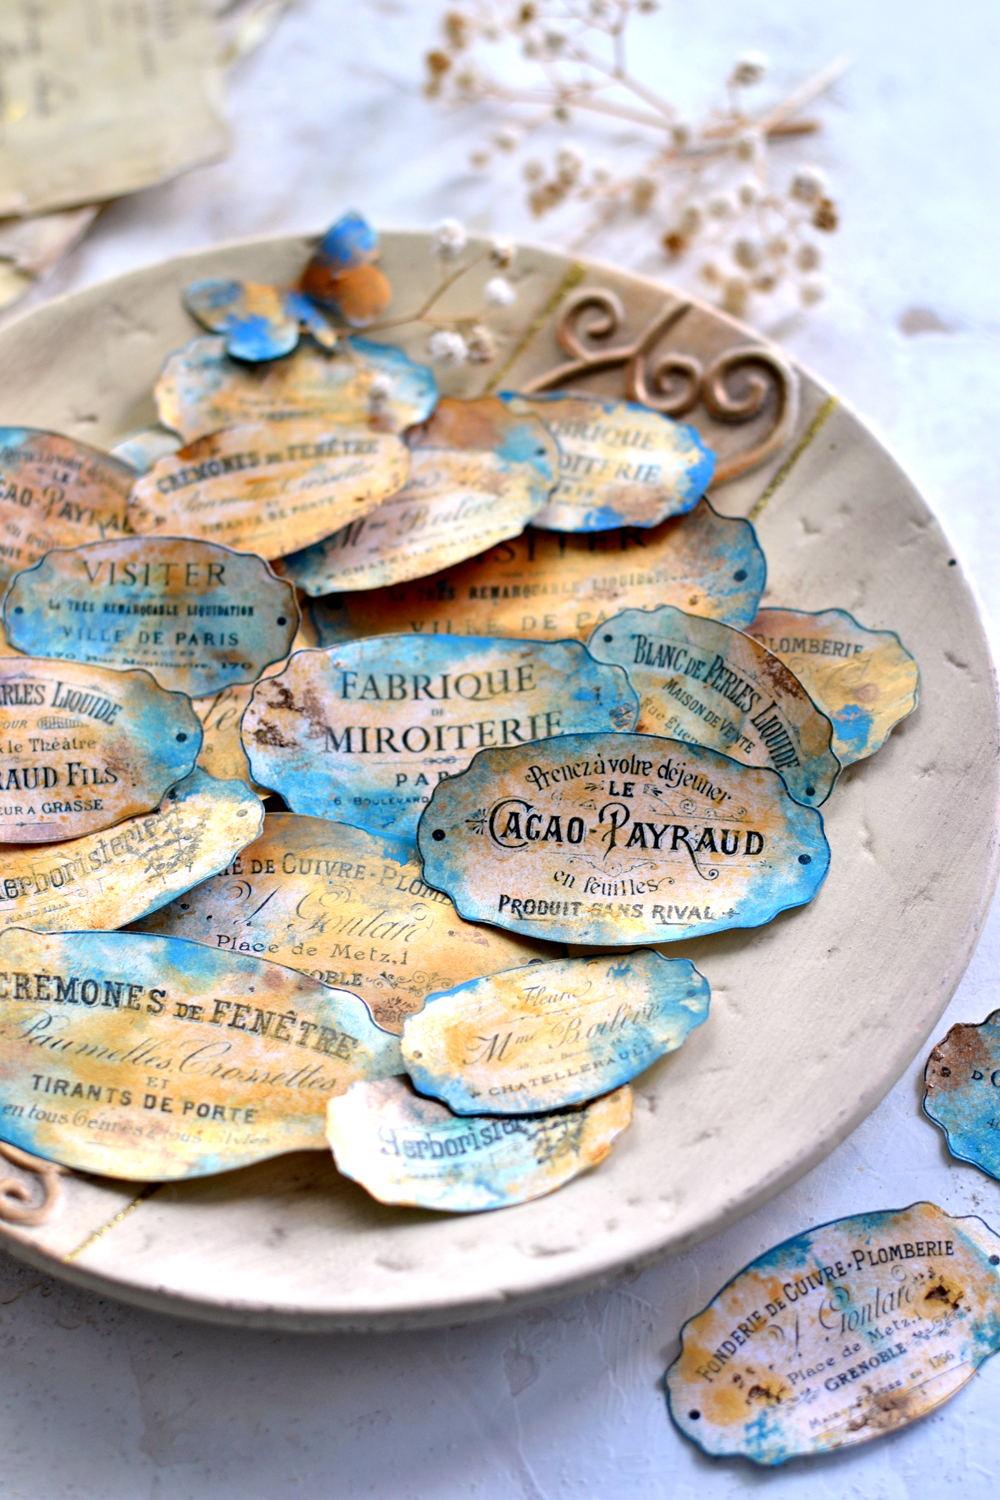
Each label has so much character and is indeed truly unique! I thought the color combos I managed to get were simply charming and I couldn’t stop admiring how realistic they look! And then I realized once again how nature basically provides the most appealing color pairings ever, with all its natural ongoing processes, we just have to take a minute and look! I know mine are not exactly natural, but they are pretty close, don’t you think?
Another amazing thing I noticed? Both the metallic and the blue patina colors and shades will look different, depending on the lighting you will get throughout the day!
And the angle you are using when looking at them!
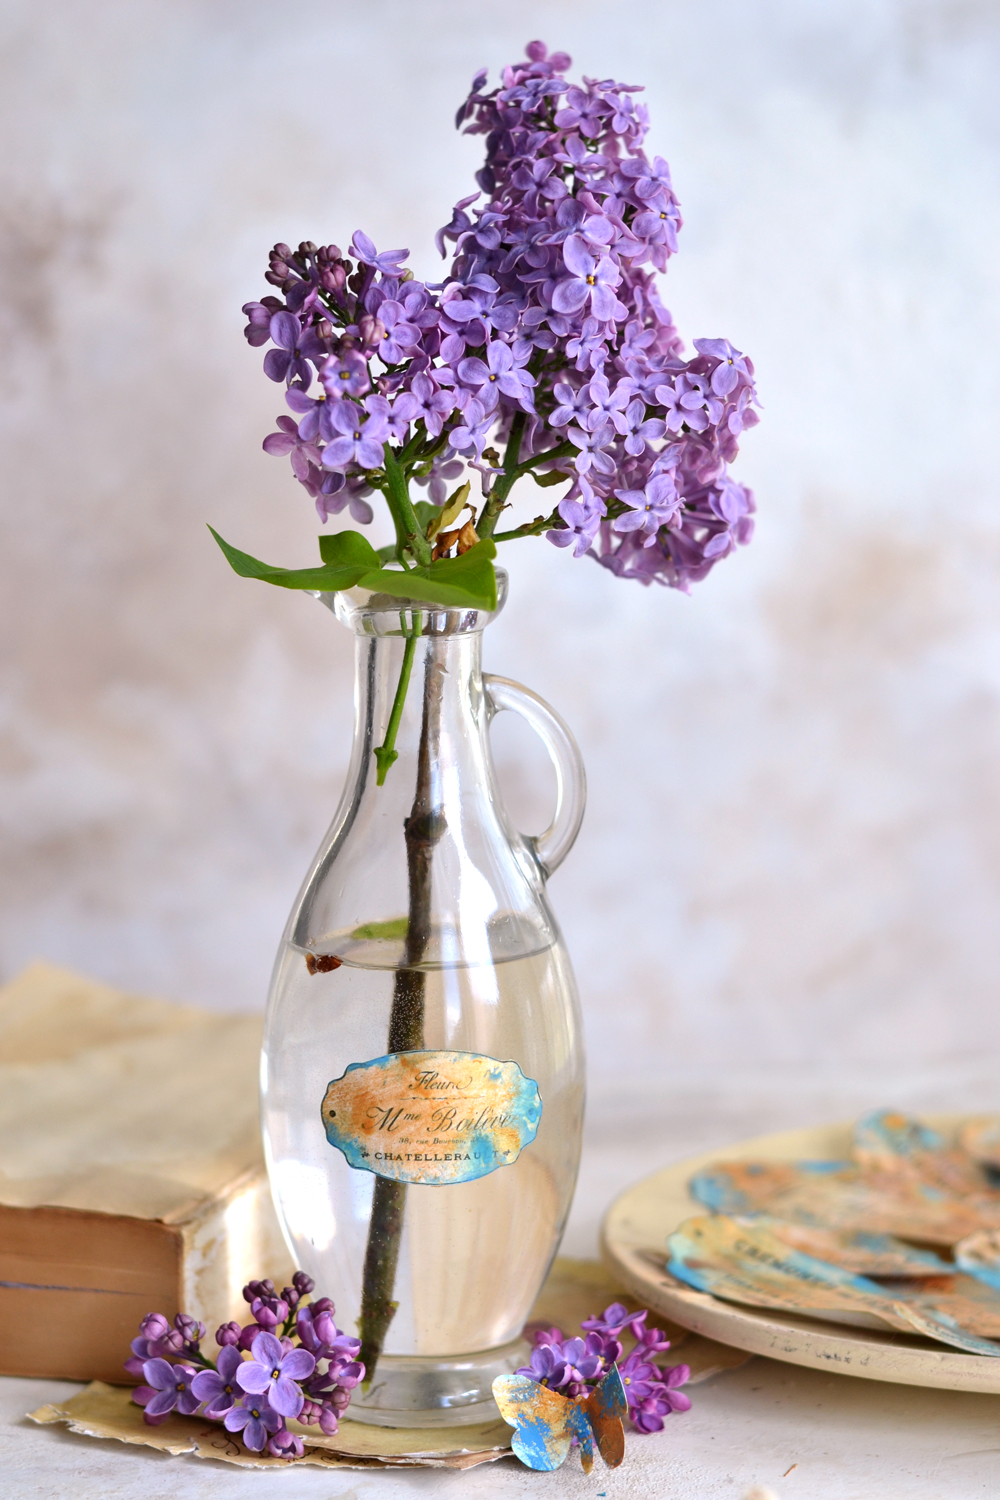
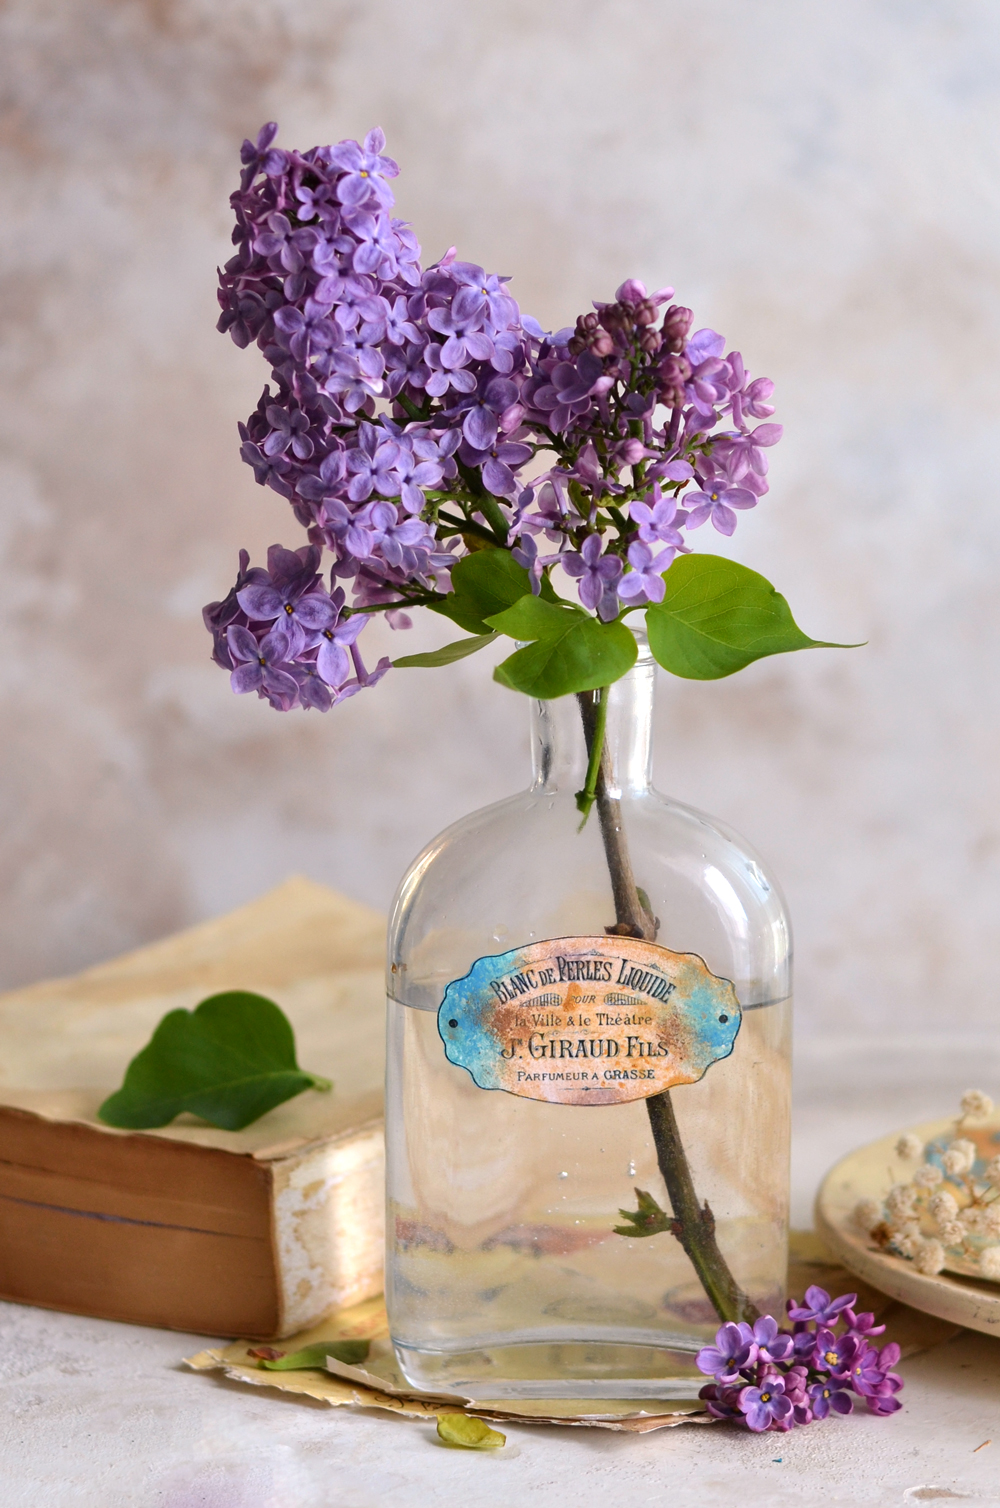
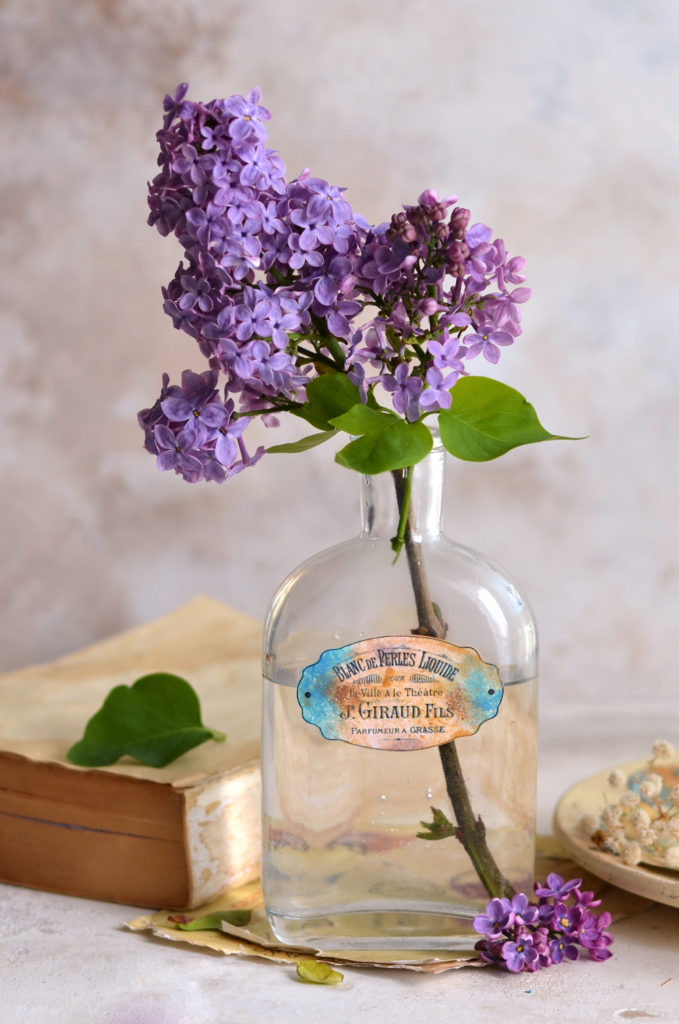
As always with my projects, I love the versatility of this project too! I used Mod Podge and a brush to adhere the labels on some glass bottles I had around. Maybe not the first thing you would expect to find an oxidized blue patina french label, but they make the perfect vases, don’t you think?
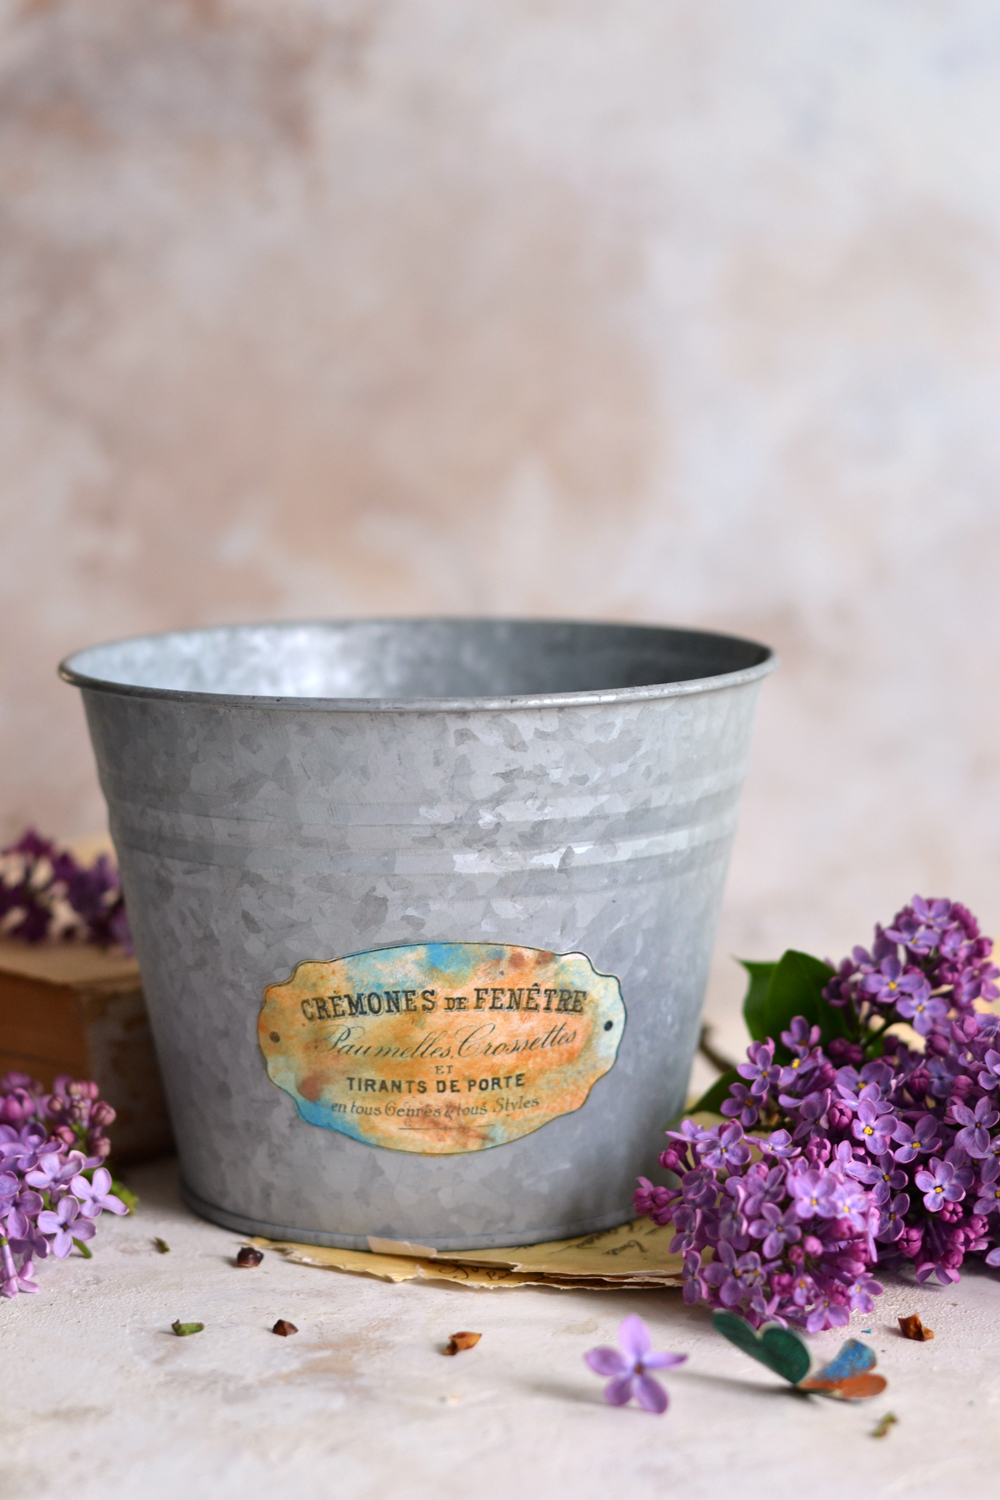
You can also use them on other objects that need a little bit of a makeover, like this zinc pot here.
I created a small quick and easy butterfly shape and applied the same painting techniques to it, now I just want to add my faux blue patina everywhere!
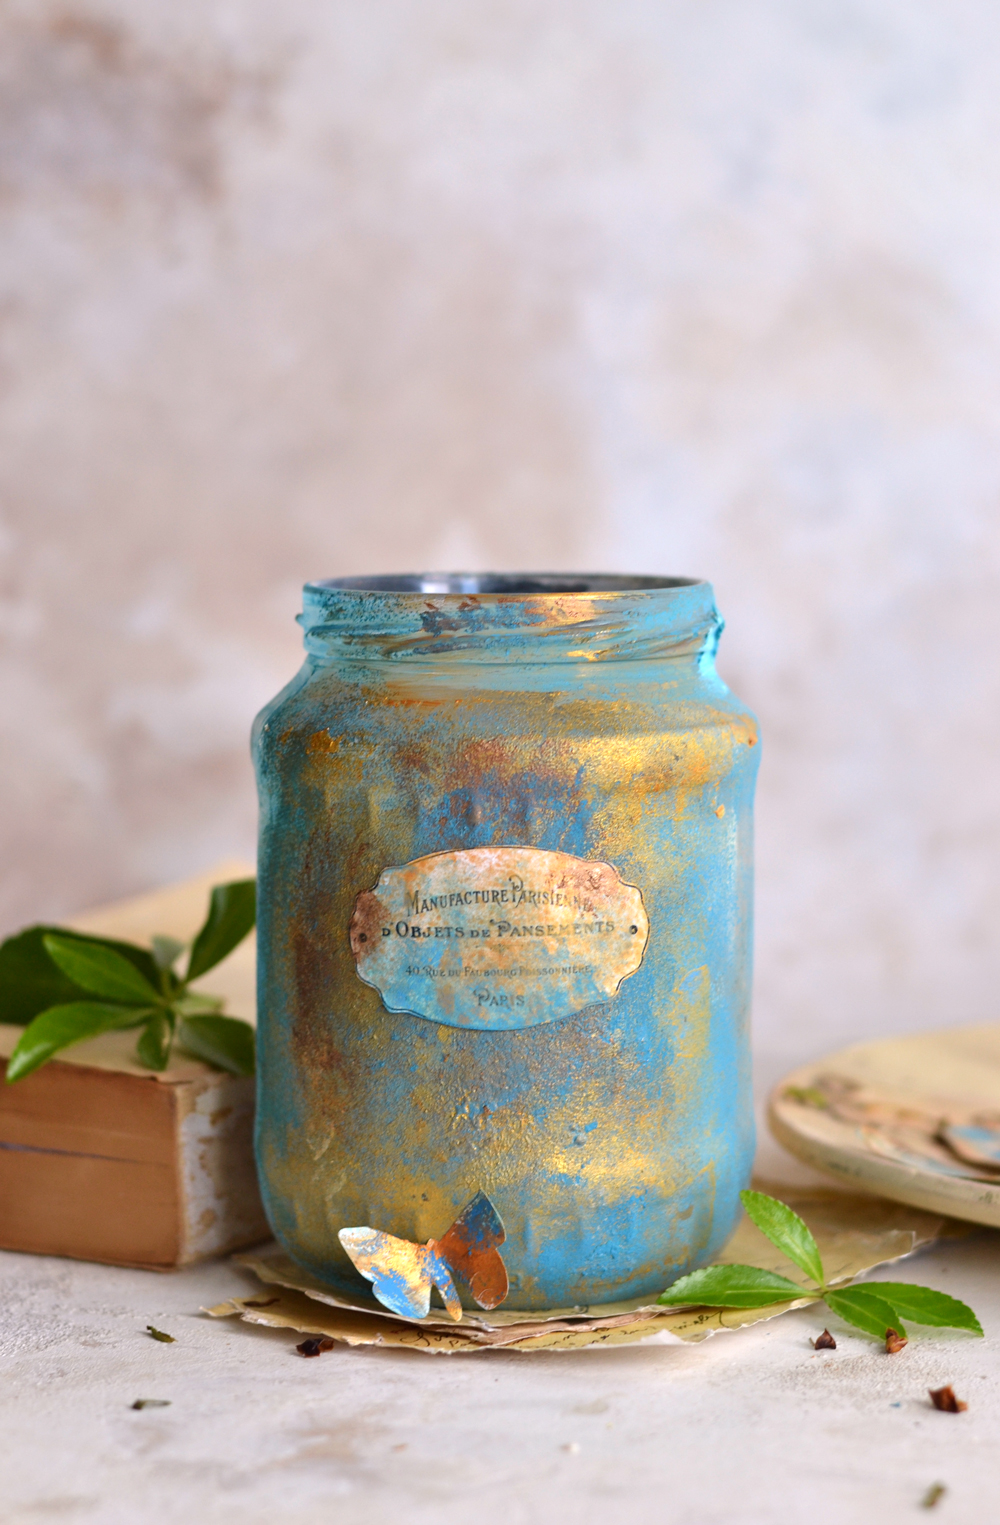
I even tried using the same method on a recycled glass jar, I guess you CAN really add faux blue patina everywhere!
Now it’s time to conduct your own experiments!I hope you enjoyed learning this Patina Paper Technique! You might also enjoy our DIY Patina Paint Tutorial HERE.
Have fun creating,
Diana / Dreams Factory


Cynthia Murphy says
I love all your tutorials! Thanks for sharing.
graphicsfairy says
Thanks so much Cynthia